- Super Mario Odyssey – Cloud Kingdom – Moon Locations
- Super Mario Odyssey – Metro Kingdom – Power Moon Locations
- Super Mario Odyssey – Mushroom Kingdom – Moon Locations
- Super Mario Odyssey – Ruined Kingdom – Moon Locations
- Super Mario Odyssey – Luncheon Kingdom – Moon Locations
- Super Mario Odyssey – Cascade Kingdom – 100% Power Moons and Coins
- Super Mario Odyssey – Speedrun Routes
- Super Mario Odyssey – Snow Kingdom – Moon Locations
- Super Mario Odyssey – Purple Coin Runs
- Super Mario Odyssey – Cap Kingdom – Moon Locations
- Super Mario Odyssey – Wooded Kingdom – Moon Locations
- Super Mario Odyssey – Lost Kingdom – Moon Locations
- Super Mario Odyssey – Lake Kingdom – Moon Locations
- Super Mario Odyssey – Sand Kingdom – Moon Locations
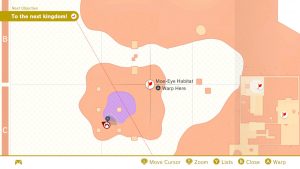
1 – To get this power moon we will need to collect all of the moon shards! To do this we need to capture the Easter Island looking dudes (Moe-eyes) and use thier “shades” to show where we can walk…
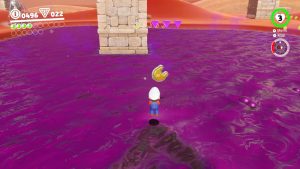
2 – Once we do this, we can head over to this power moon shard above the poisoness waters, don’t fall!…
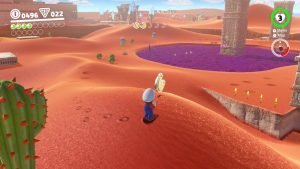
3- The next shard is on a hill above where the Easter Island dudes are walking around…
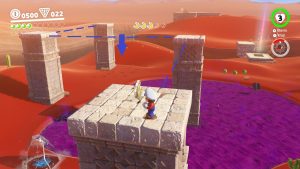
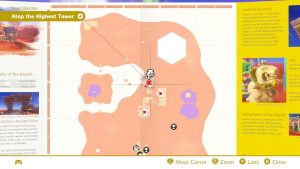
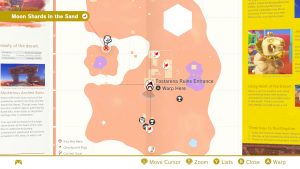
4- The next shard is on top of the pillars. Use the Easter Island Shades to see where you can and cannot walk, OR just follow the image below!…
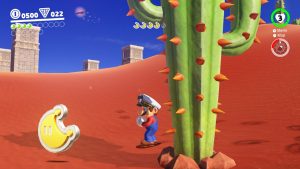
5- The last shard is hiding below the sand dunes, you can spot it from the pillars. It’s right in between some cacti…
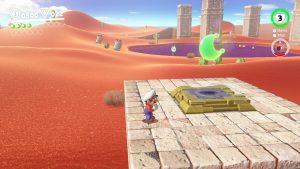
6- Now that you’ve collected them all, the Power Moon will appear!

—Beat the boss by punching it with its own hands!
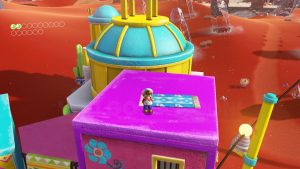
1 – Get on the rooftops by either jumping on the flowers, umbrellas, or capturing the elctric wires. From here you can easily jump and walk over the the location!
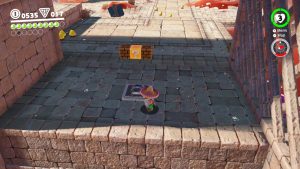
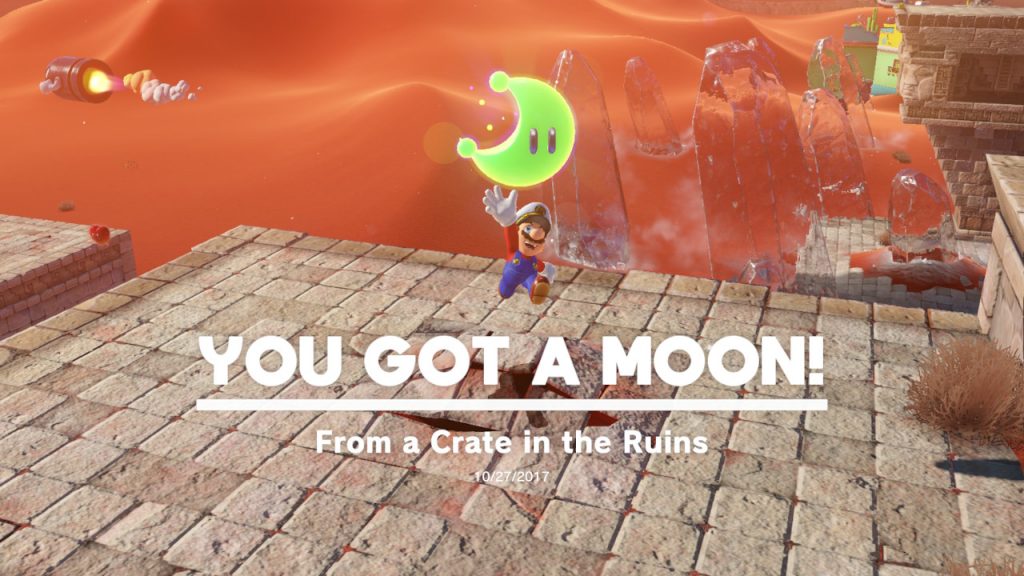
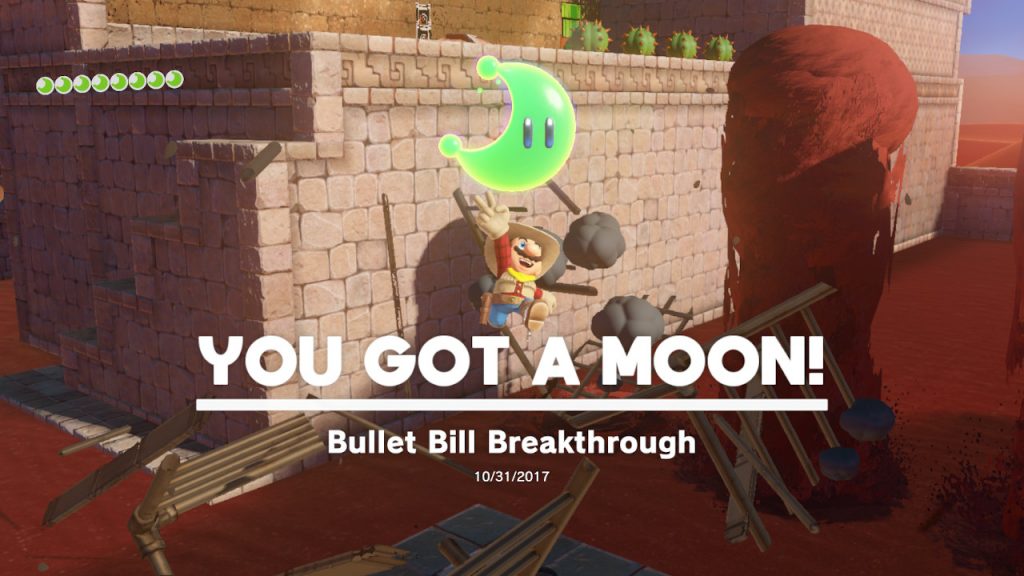
1- This one may be a bit tricky to explain but here goes… There is a switch that needs to be hit to open up a gate…
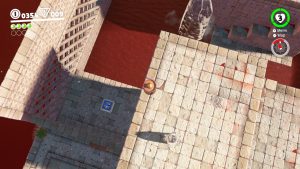
2- The switch needs to be accessed from the opposite side, from where “A Crate in the Ruins” can be found…
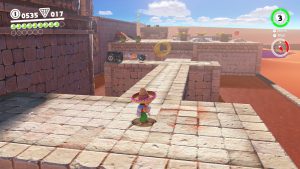
3- Once the switch is hit and the gate is lowered, you’ll have to find a Bullet Bill to capture…
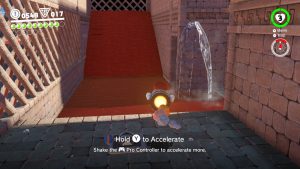
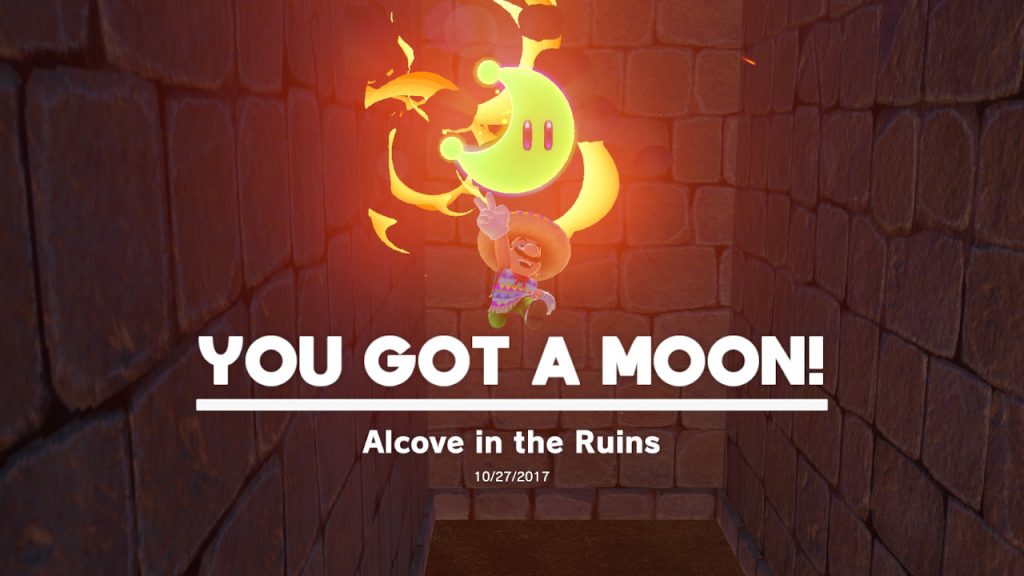
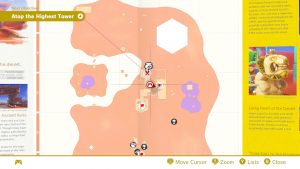
4- Fly around the corner and you’ll see a cove along side the wall just beyond the ice slab…
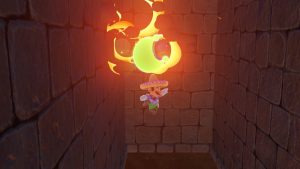
5- The Power Moon is waiting for you inside!
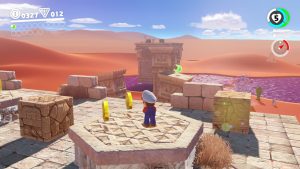
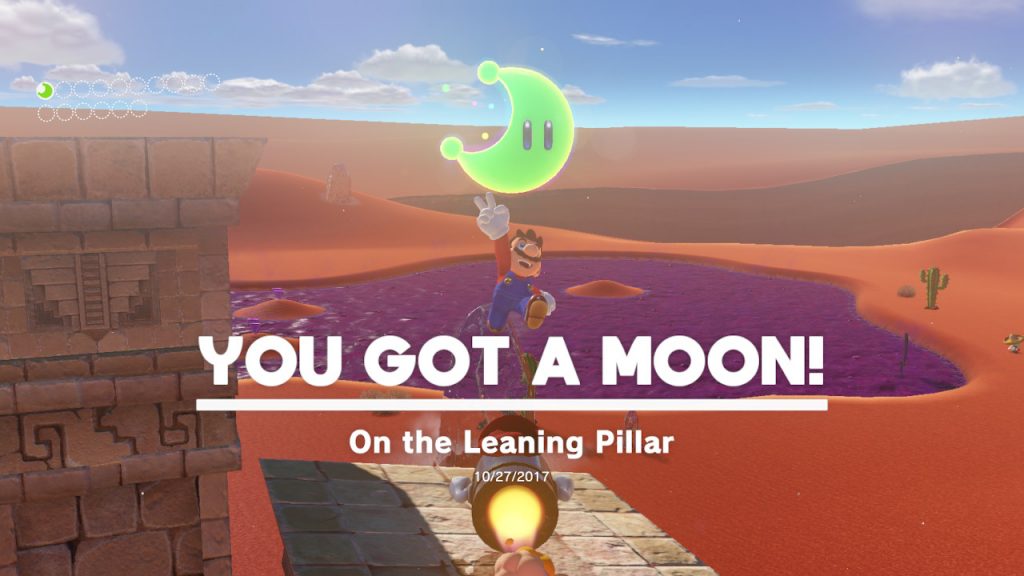
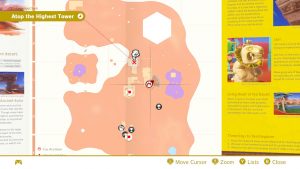
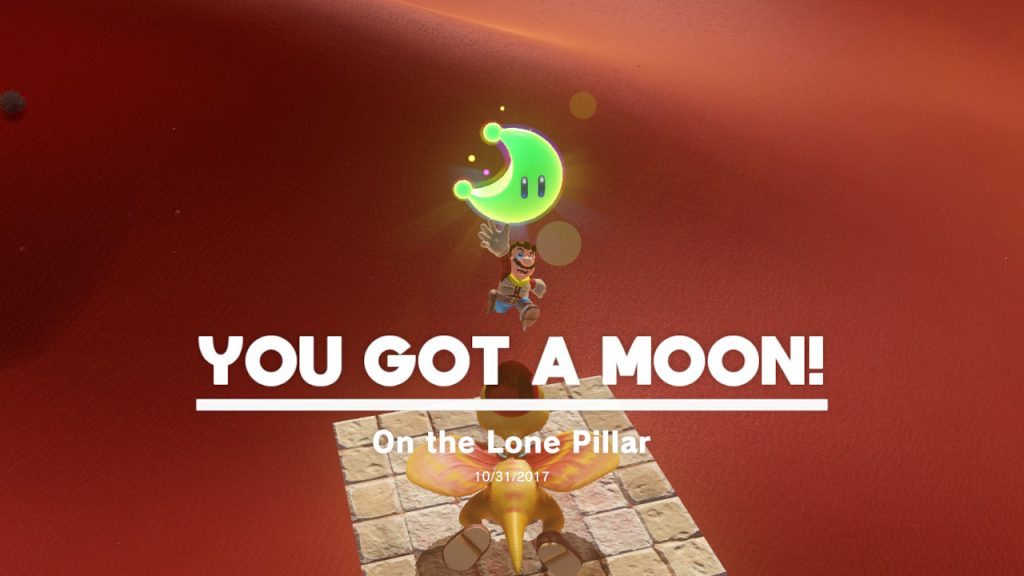
1- You will see the power moon out of easy jumping reach…
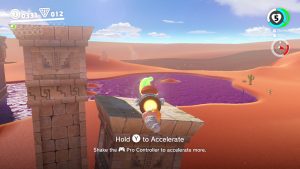
4- Fly across the gap and onto the pillar!
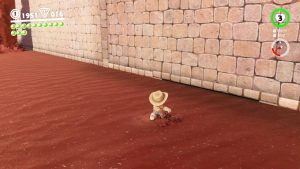
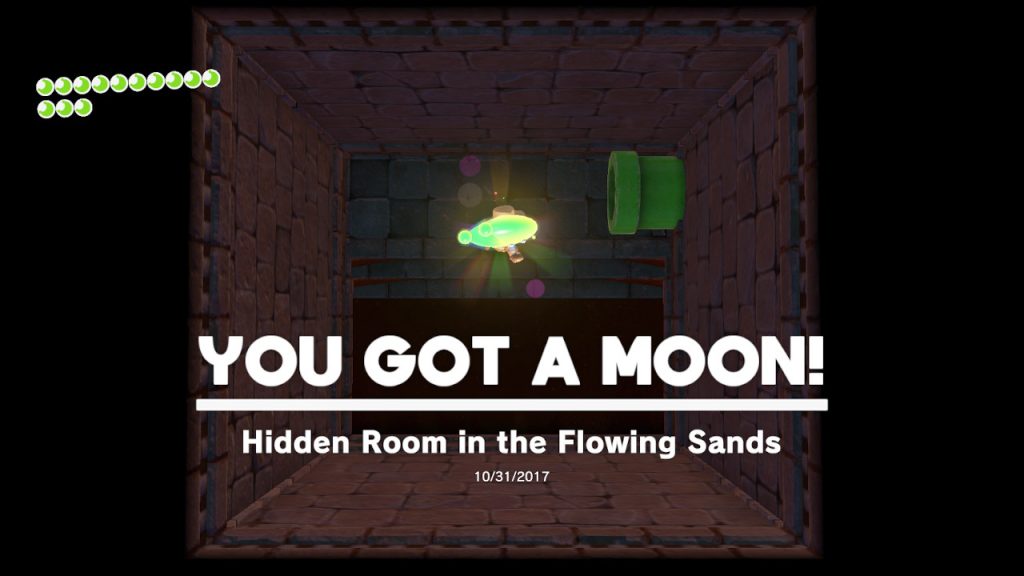
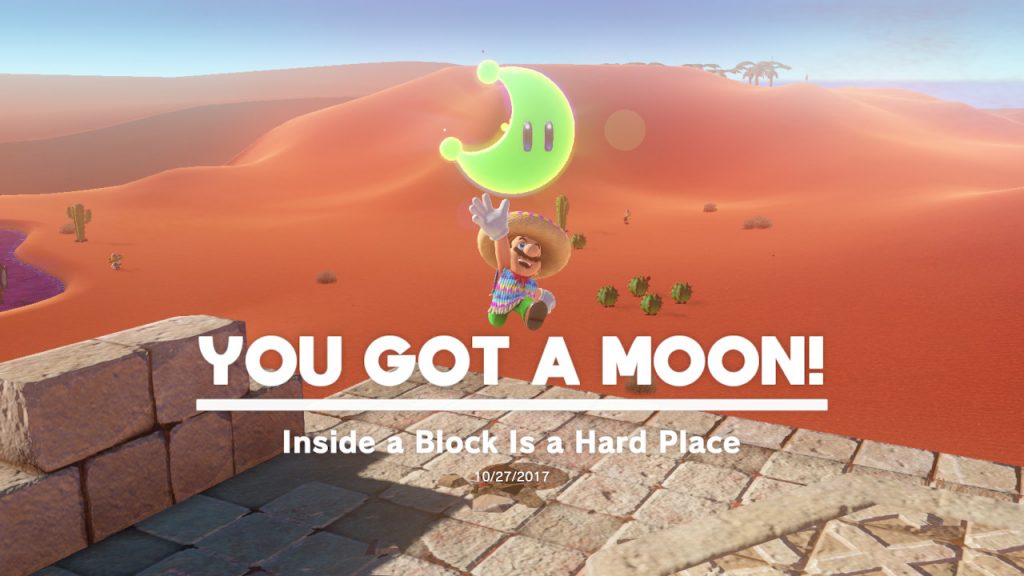
1- Right to the side of the whirlpool of sand there is a SUPER TINY gap in the wall….
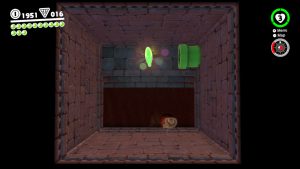
2- Fall into it while jumping so you don’t drown…
3- Inside you will find a Power Moon!
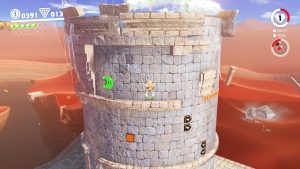
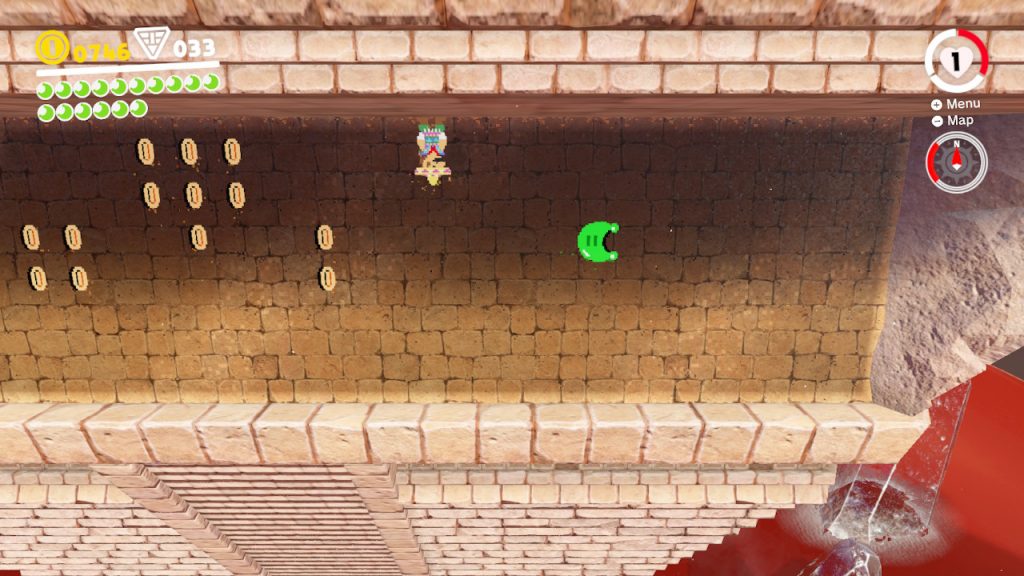
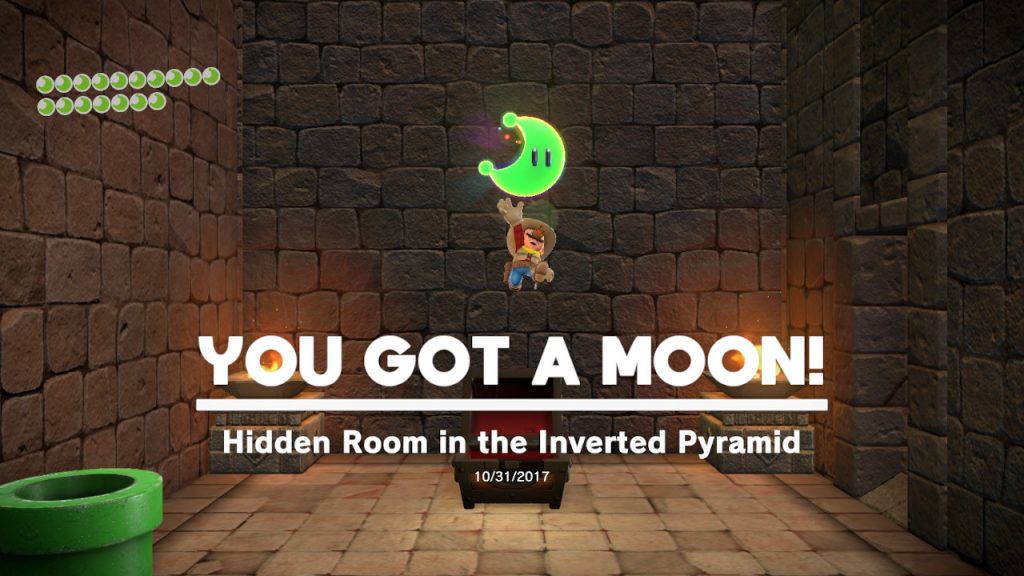
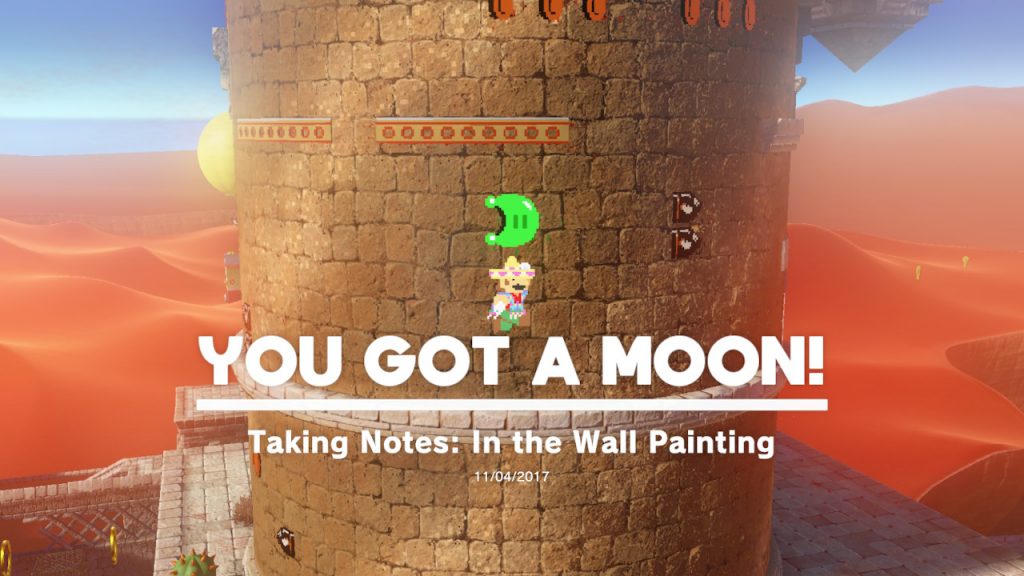
1- As you climb the last area of the ruins before you reach “the highest point”, you will enter into an 8-bit area. You can get here by going to the “Tostarena Ruins Round Tower” Checkpoint and jumping down below the 8-bit section. Once you do this,go into the 8-bit pipe and climb to the top. When you reach the top, BE SURE NOT TO JUMP OUT OF 8-BIT! Directly to the left there is a solid wall…. hmmm a solid wall just standing there with no purpose? My Nintendo secret finding senses are tingling! Jump INTO the solid wall and you will find that it is a secret area with the Power Moon!
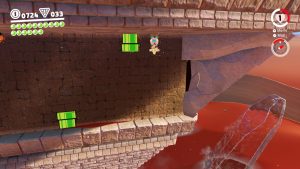
1- As you travel through the 8-bit section of the Inverted Pyramid Power Moon, there is a crack in the wall before the warp pipe…
2- Jump through the wall and the Power Moon is yours!
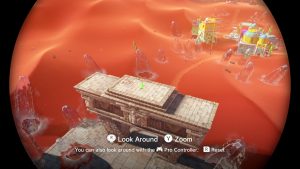
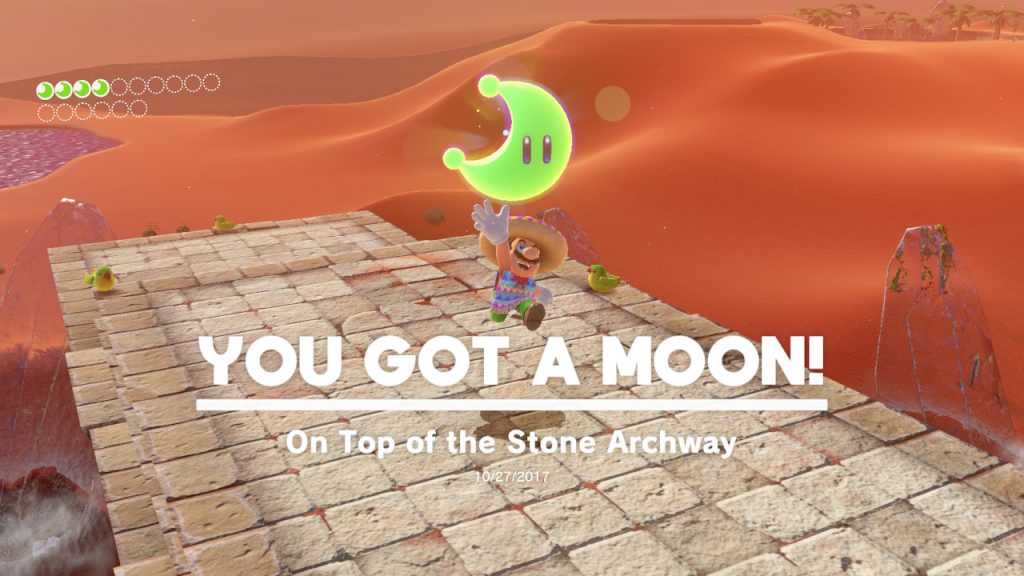
1- There is a Power Moon above the giant archway in a seemingly difficult place to reach…
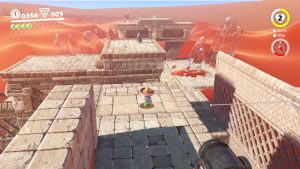
2- To reach the archway, you’ll have to capature a Bullet Bill from the same area wher the “From a Crate in the Ruins” Power Moon is found…
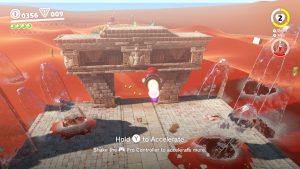
3- Capture the Bullet Bill anc accelerate as fast as you can the whole time, you’ll need to be boosting nonstop…
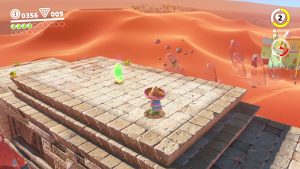
4- Make it to the archway and you’re all set!
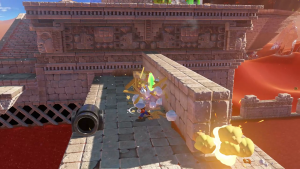
1 – After going through the 8-bit section and dudging bullet bills, you will see a box of crates, hit it with cappy…
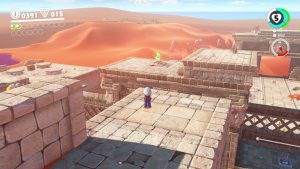
2- After doing that the Power Moon will jump across a gap to a platform…
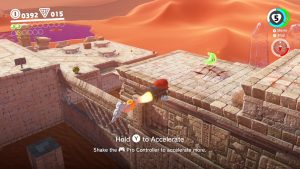
3- Either do a fancy long jump and cappy hop OR simply capture the bullet bill to get to the other side!
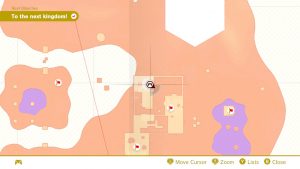
Location- Tostarena Ruins Round Tower
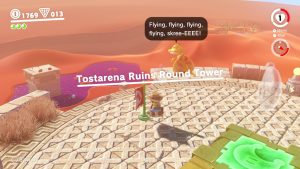
1- From the “Tostarena Ruins Round Tower” checkpoint you will see Glydon… (After you’ve visted the “Lost Kingdom”)
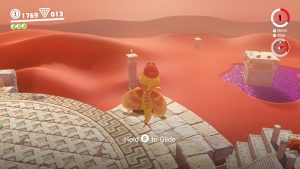
2- Capture him with Cappy and you should be abe to see a pillar with a Power Moon…
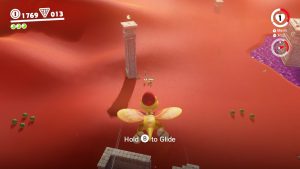
3- Jump off the tower and glide towards to the pillar!
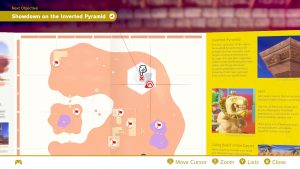
Location- On top of the Inverted Pyramid
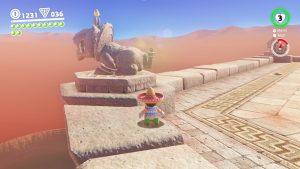
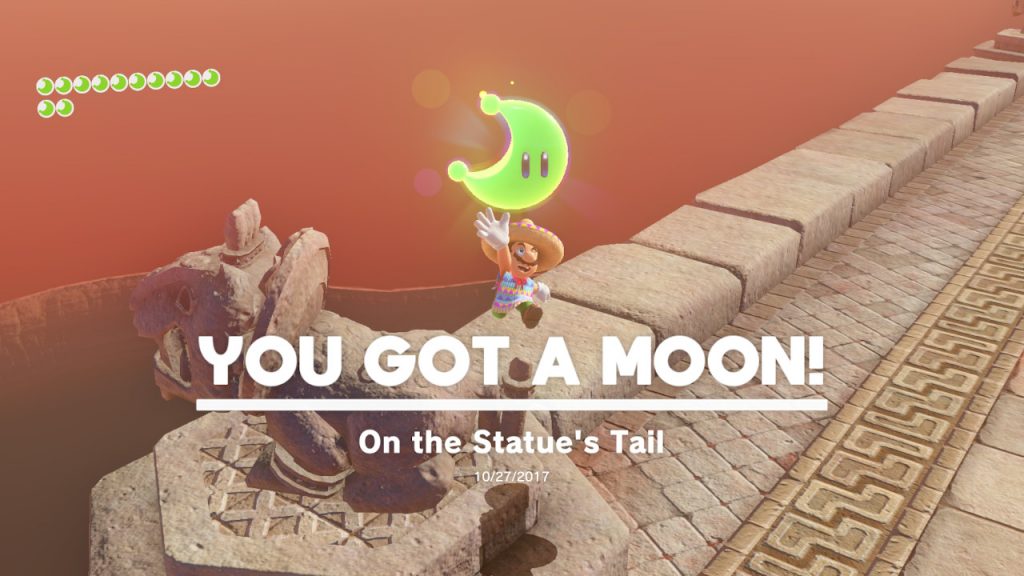
1- Get on top of the Pyramid by either using the checkpoint marker OR riding the electrical wires to the top. Once there, find the statue that is facing the opposite direction of the ruins and village…
2- Throw Cappy at its tail but HOLD the button to keep Cappy Spinning! After a few seconds, the Power Moon will come out of… his tail… Yay!
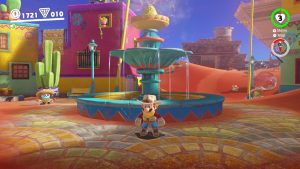
1- A fountain is located in the middle of downtown Tostarena….
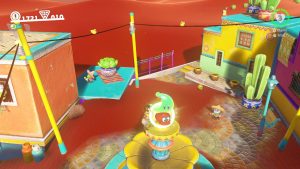
2- Throw Cappy on the top of it, HOLD the button down so cappy can spin around for a few seconds. The Power Moon will spring out!
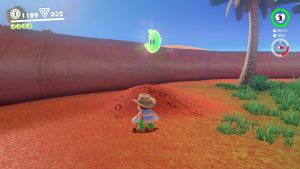
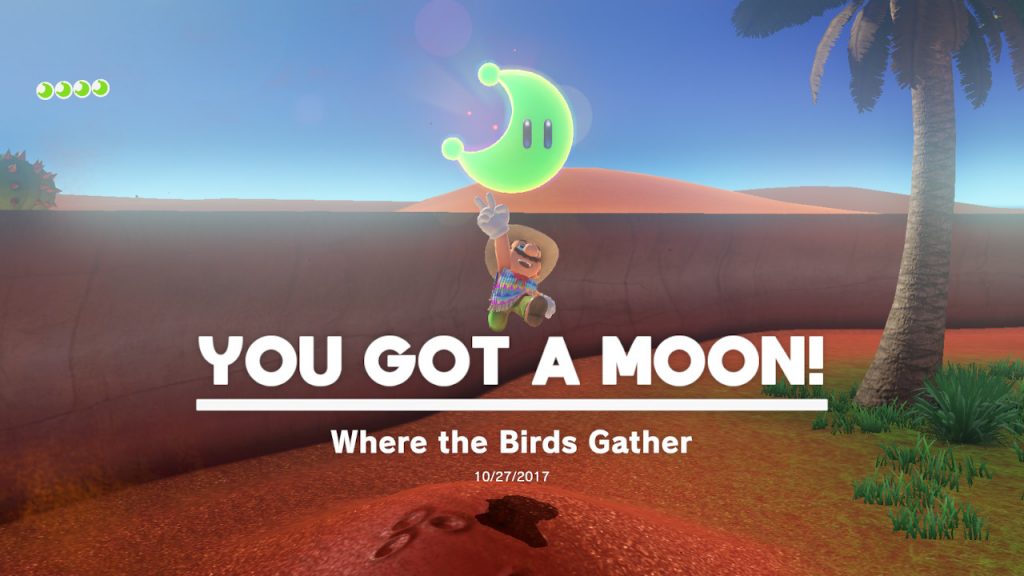
1- Right behind where the Lakitu is fishing, you will see a dirt pile with a punch of birds hanging out on it… Ground pound it!!! Done!
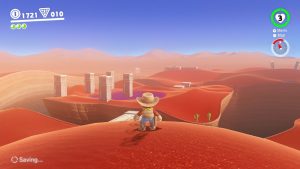
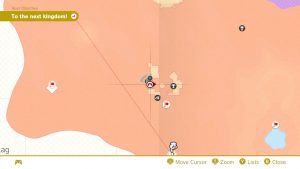
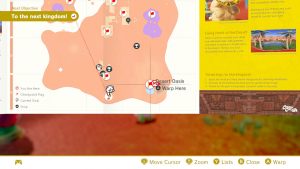
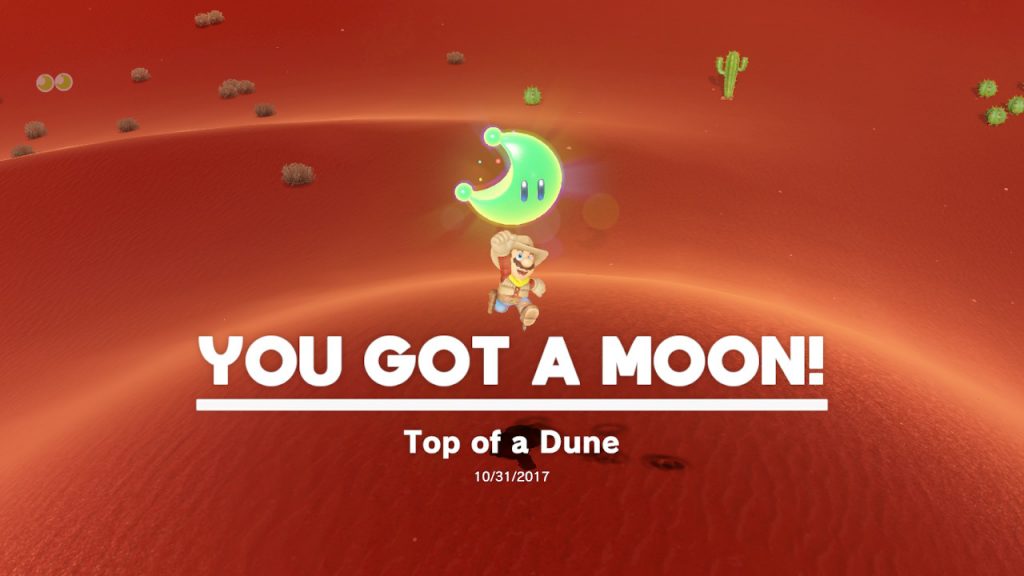
1- On top of this dune in the dessert you will feel rumblings…
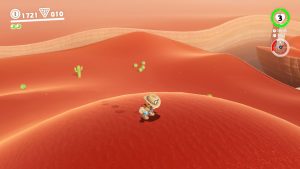
2- Feel the rumble and ground pound RIGHT HERE! The Power Moon is under the sand!
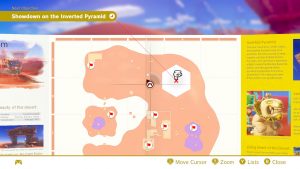
Location – Right before the Inverted Pyramid
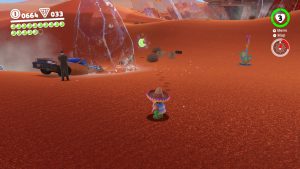
1- Right next to where the human (If we didn’t see New Donk City footage yet WOW would we be tripping out here) has his car stuck in the ice, you will see a bunch of luggage scattered around the ground. In the location where you see sparkles coming out of the sand, GROUNDPOUND and a Power Moon will appear! (In this image the Power Moon is already there, I didn’t get a picture from before I ground pounded, so just slam the ground in between the luggage where you see sparkles)
Location- Tostarena Ruins Sand Pillar
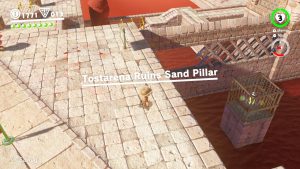
1- From the Tostarena Ruins Sand Pillar checkpoint you will notice a Power Moon inside of a cage…
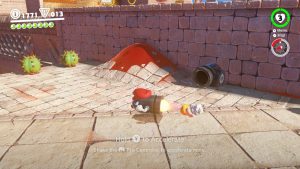
2- Capture a Bullet Bill using Cappy…
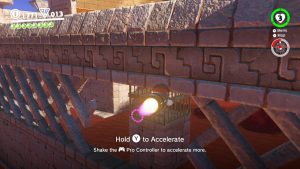
3- Fly through the hole in the wall/fence and smash into the cage! The Power Moon is now within your grasp!
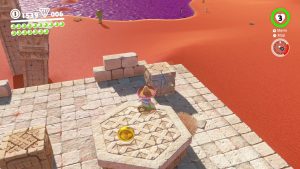
1- This block right here looks mighty suspicious… (It’s got a Power Moon in it!)
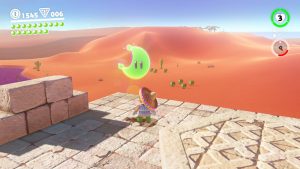
3- Smash open the block, and we have ourselves a Power Moon!
Location- Desert area (Oasis, Jaxi’s area, etc)
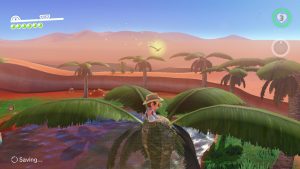
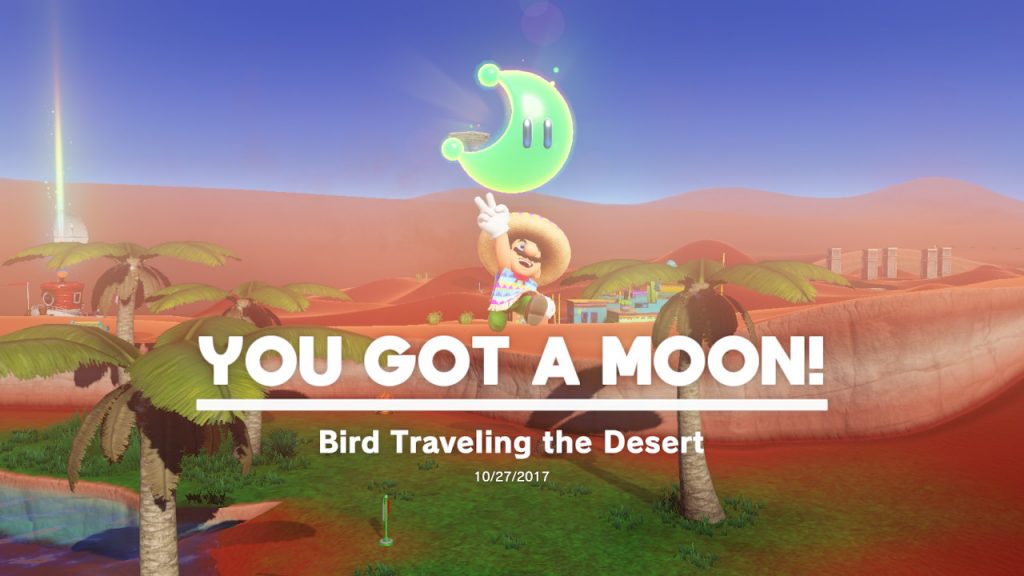
1- This one is tough because two birds can be found flying all throughout the Kingdom, but it’s often out of reach. There are two birds to capture for two Moons. I found the best place to try to get this Power Moon (Dessert Bird) was in the Oasis. You need to hit the bird with Cappy, which is not an easy thing to do…
2- Just go for Power Moons throughout the Kingdom and if the bird is nearby STOP EVERYTHING to try to hit it!…
3- Eventually you’ll hit it and get the Power Moon! (It was easier in Mario 64!)
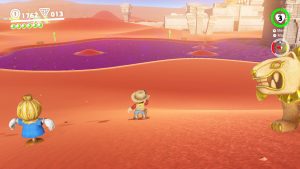
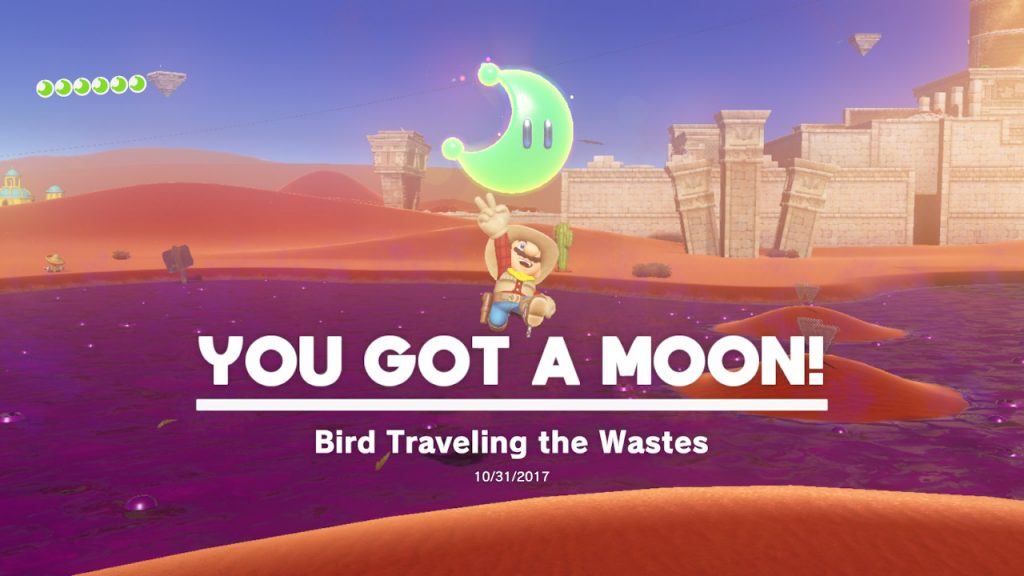
1- The second of the traveling birds, this one can be found flying above the poisonous waters, I found the best thing to do is wait in this spot…
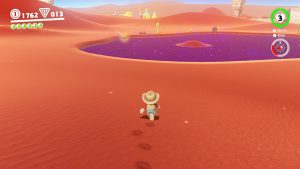
2- It flies in a short circle around the poison, so ou don’t have to wait long at all…
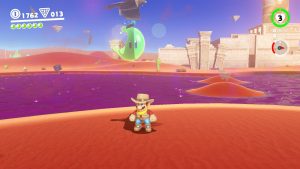
3- Once he flies by, hit him with Cappy and he will drop a Power Moon!

Location- On top of the Inverted Pyramid
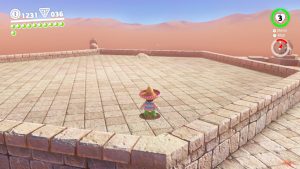
1- Get on top of the Pyramid by either using the checkpoint marker OR riding the electrical wires to the top. Once there, you will see a lump moving around beneath the surface…
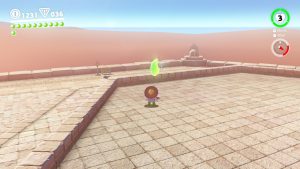
2- Hit it with cappy and then ground pound it, hoozah!
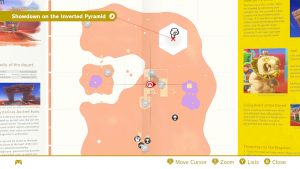
Location- (Same as “Ice Cave Treasure”)
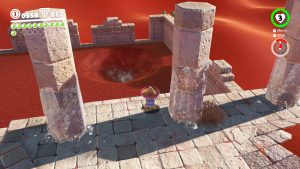
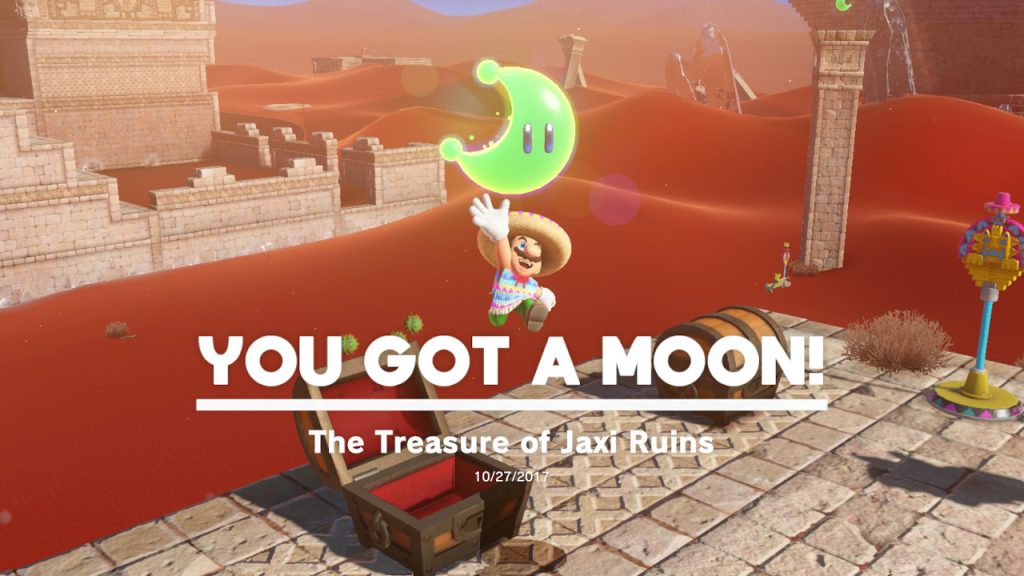
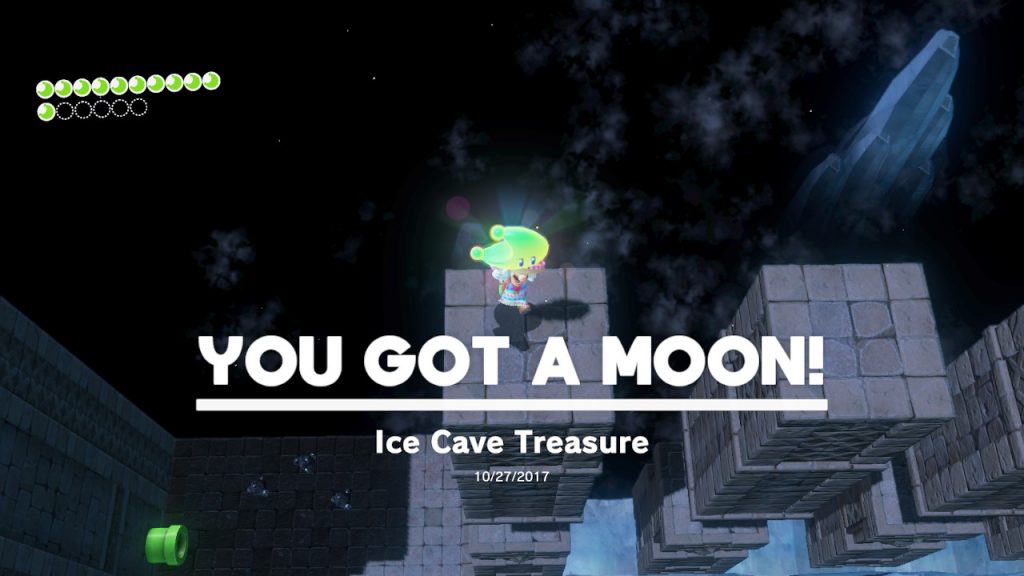
1- From inside the ruins, you will see a quick sand whirlpool…
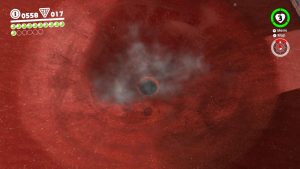
2- Jump into the middle of the whirlpool, be careful not to actaully drown in the sand itself…
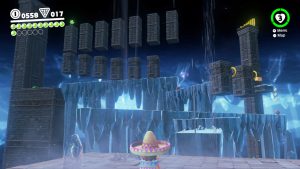
3- You will fall into an ice cave with a traditional Mario obstacle objective, go from point a to point b without falling…
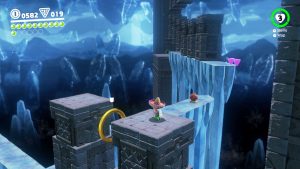
4- Don’t slip on the ice, pick up the purple coins where you can, and avoid the crushing pillars…
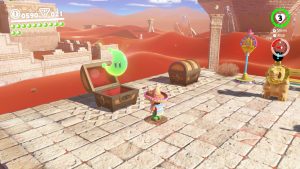
5- Once you reach the end, you’ll go through a warp pipe and arive on top of “Jaxi’s Ruins”, the Power Moon is waiting for you inside the treasure chest!
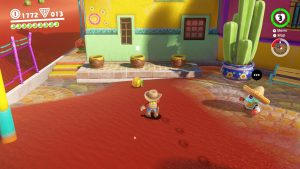
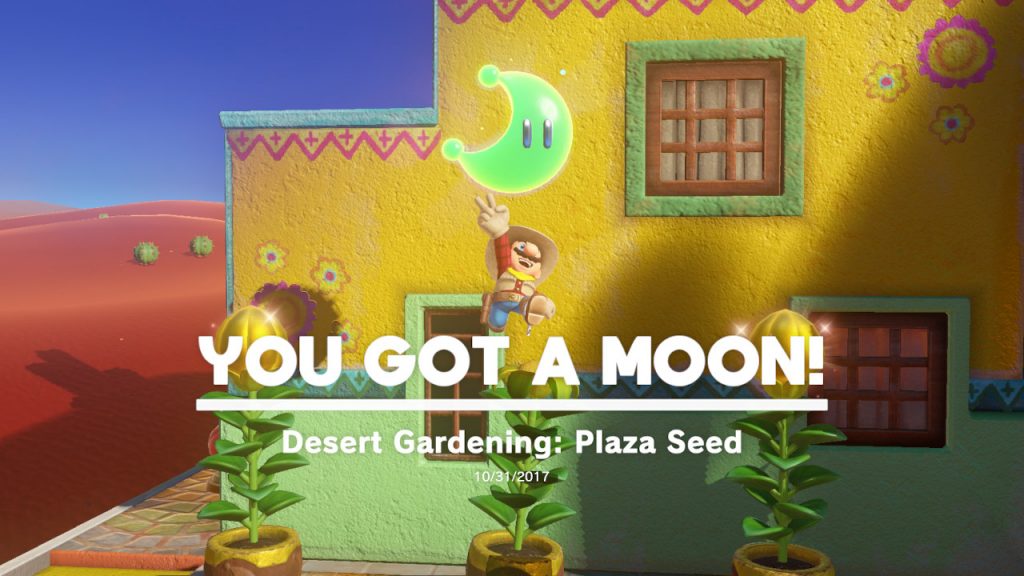
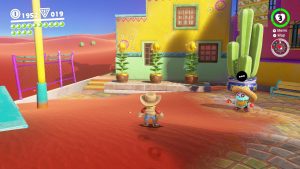
1- Right in downtown Tostarena, near the fountain, you will find three pots and one seed in front…
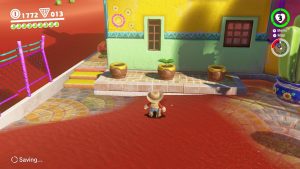
2- Throw the seed in one of the pots and wait…
4- In time the plant will be fully grown and a Power Moon is inside! (Is this where they come from?!?!?!)
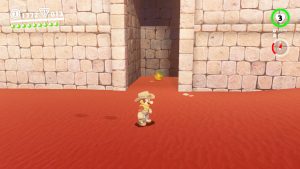
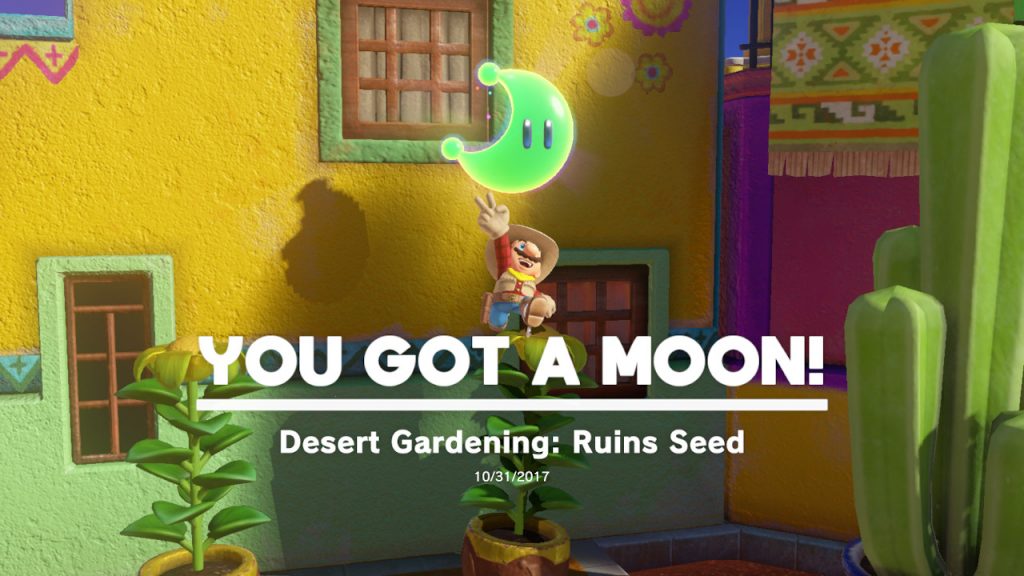
1- On the right side of the ruins, inside an alley you will find a seed…
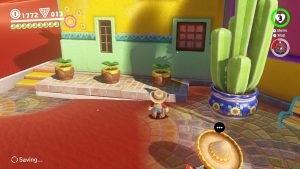
2- Take the seed back to the plaza in Tostarena where you will find three pots, throw it in one of them and wait…

4- In time the plant will be fully grown and a Power Moon is inside! (Is this where they come from?!?!?!)
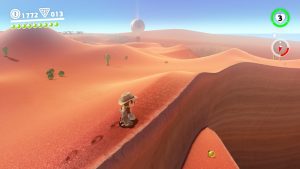
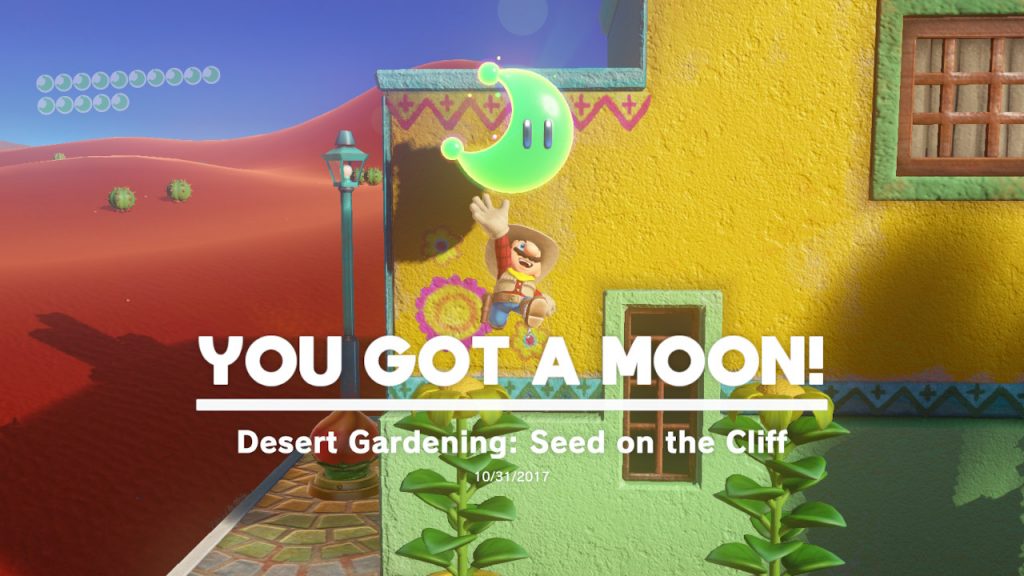
1- On the cliffside off the edge you will see a seed…
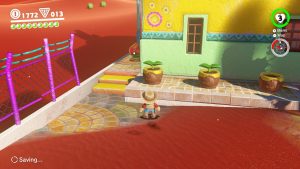
2- Take the seed back to the plaza in Tostarena where you will find three pots, throw it in one of them and wait…

4- In time the plant will be fully grown and a Power Moon is inside! (Is this where they come from?!?!?!)
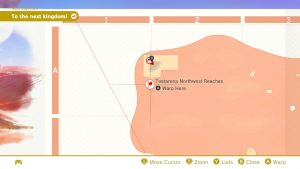
Location- Tostarena Northwest Reaches
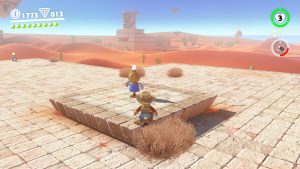
1- On top of the structure at the Tostarena Northwest Reaches checkpoint, you will find a scarecrow…
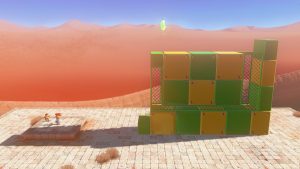
2- Throw Cappy on the scarecrow and the obstacle course will appear…
3- Roll, wall jump, and long jump your way to the Power Moon!
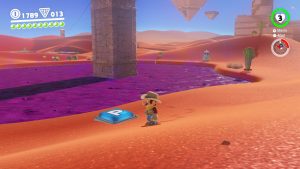
1- From the moe-eye habitat you will see a “P” switch in between the pillars…
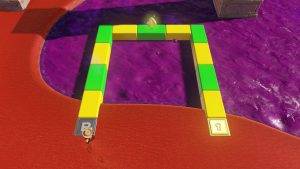
2- Hit the switch and a platform will appear, it will also dissapear in a moment so memorize the loaction…
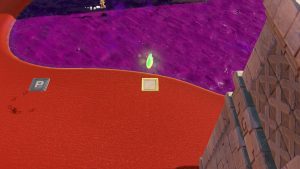
3- Half-way through you will grab a key, which will allow the Power moon to appear, run all the way around without falling to snag the Power Moon!
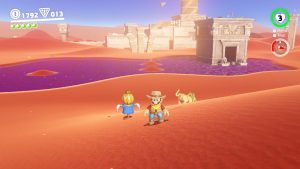
1- On the other side of the poisonous swampy area, you will find a scarecrow…
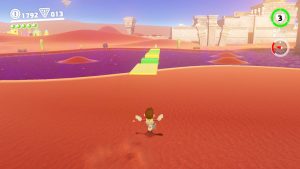
2- Throw Cappy at the scarecrow to allow the obstacle course to appear, this one is tough…
3- You’ll need to time your long-jumps perfectly all the way across to reach the Power Moon!
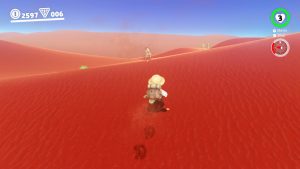
1- From the very front of Tostarena you will see an adorabe dog, go up to him and stand still for a moment, he will run off…
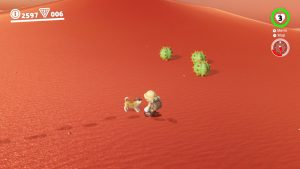
2- Chase after him and he will lead you to a Power Moon…
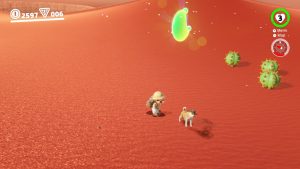
3- Ground pound the area he digs up for the Power Moon!
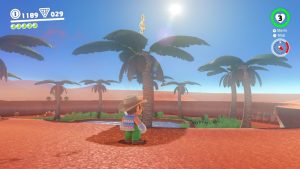
1- On top of the palm trees to the right of the lake, you should see a music note…
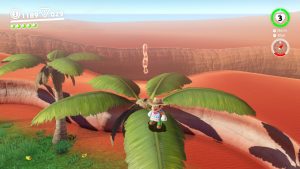
2- Climb the palm tree by either jumping from the dessert area or simply climbing the tree, hit the music note and more notes will appear…
3- Collect all the notes and the Power Moon is yours!
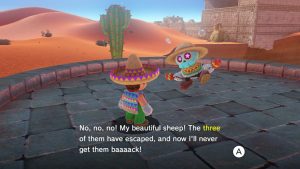
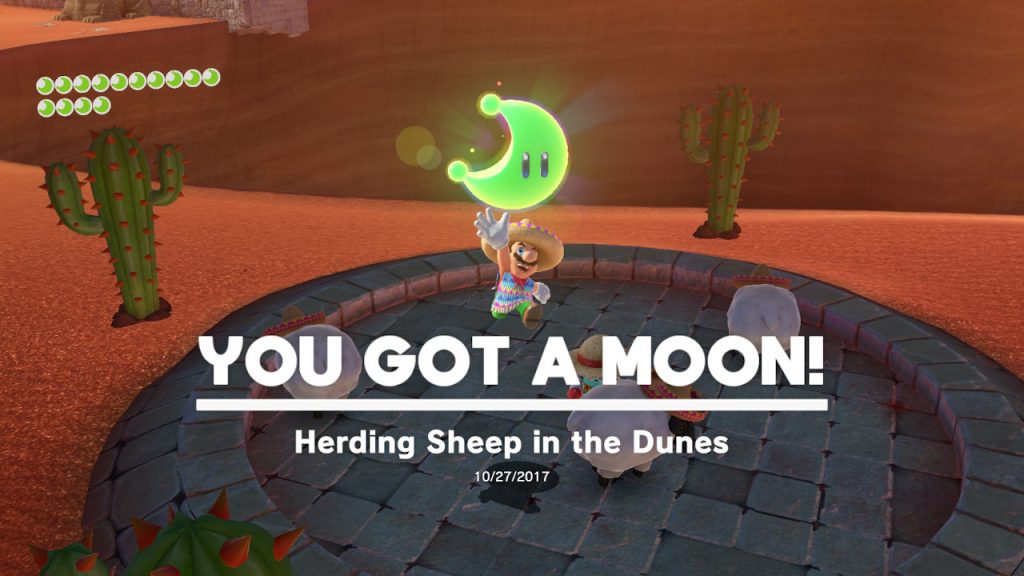
1- This guy lost his sheep and he needs our help! Thankfully all the sheep are close by…
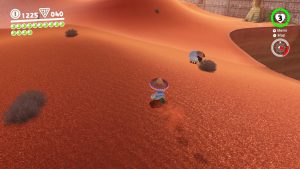
2- The first sheep is 20 feet away…
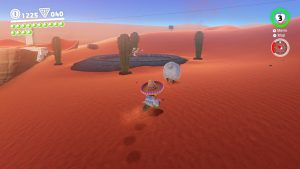
3- Herd it by walking behind it and directing it back…
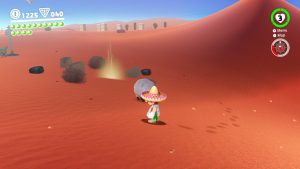
4- The second sheep is near the GIANT hole, herd it along as well…
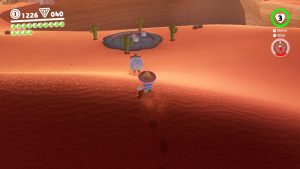
5- And the last one is JUST above on the other side of the dune hill…
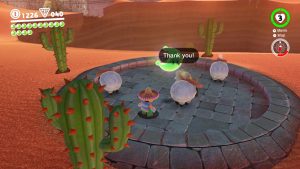
6- Bring them all back and the Power Moon is yours!
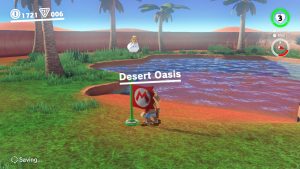
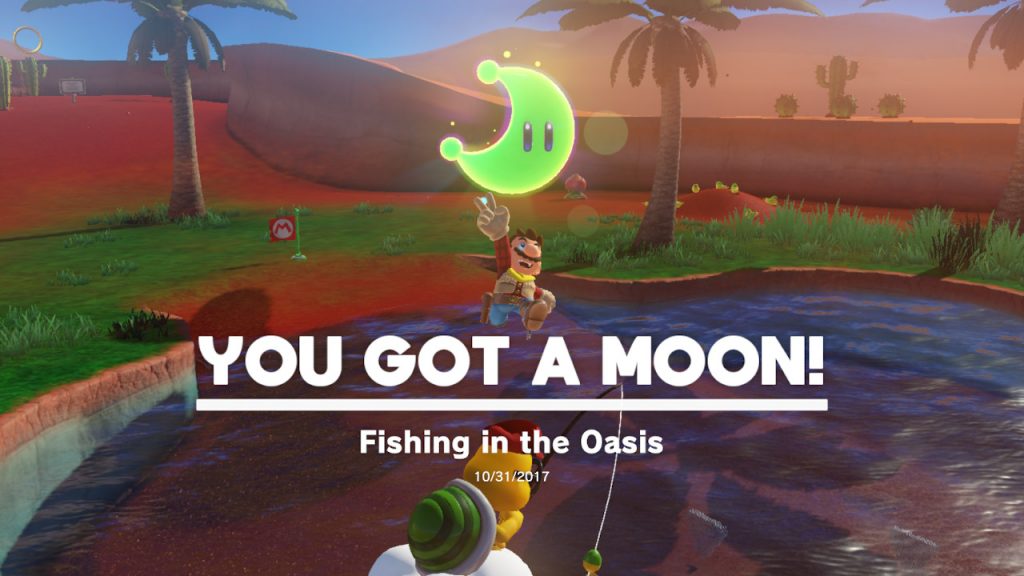
1- In the Desert Oasis you will see a small body of water and a Lakitu…
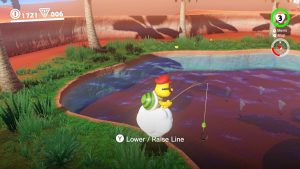
2- Capture the Lakitu and start fishin’…
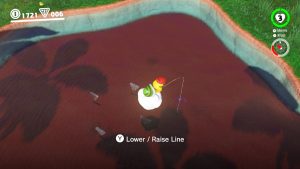
3- Look for the biggest fish silhouette and lower the rod…
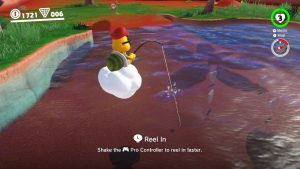
4- Once he bites, reel him in and get your Power Moon!
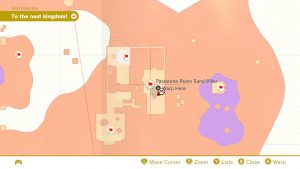
Location- Tostarena Ruins Sand Pillar
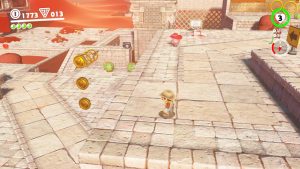
1- From the “Tostarena Ruins Sand Pillar” checkpoint you will see a lady Goomba sightseeing the Ruins…
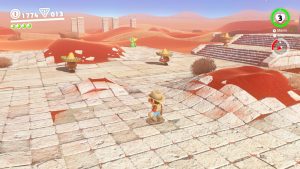
2- Towards the entrance of the Ruins you will see a bunch of Goombas…
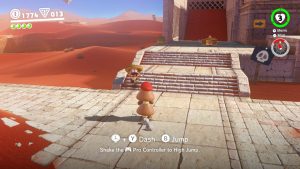
3- Capture a Goomba and start “stacking” by jumping on other Goombas…
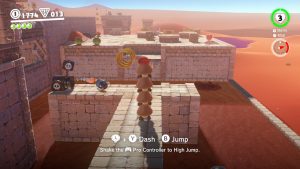
4- Stack them high and start heading towards the lady Goomba…
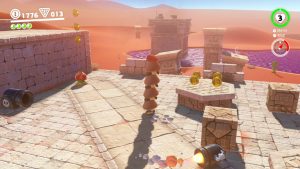
5- Dodge Bullet Bills and jump on flowers to reach her…

6- She is so amazed with your handsomeness that she gives you a Power Moon! (Now that I’ve thought of it, you may not NEED to stack the Goombas, one may be enough)
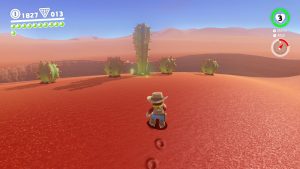
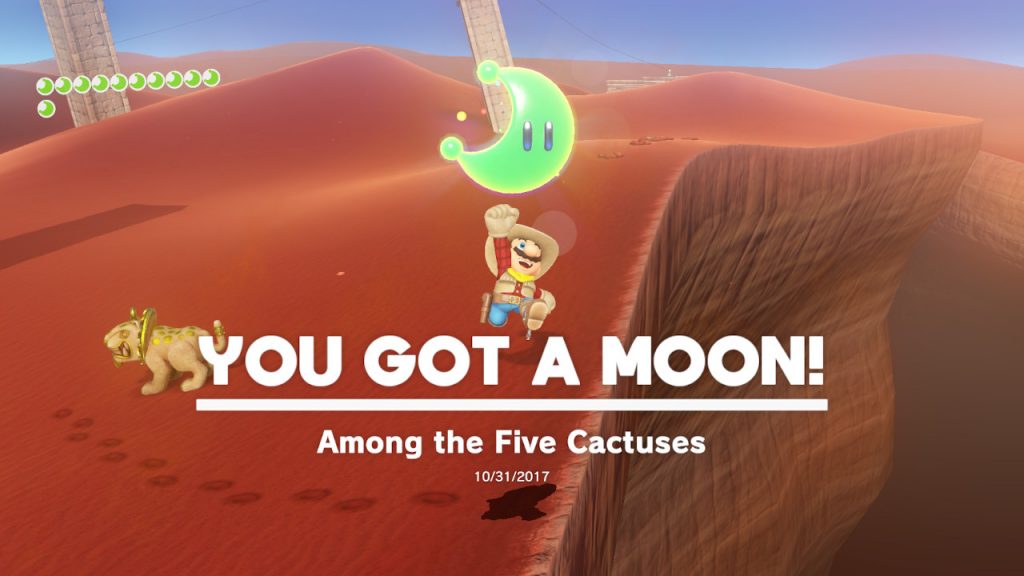
1- There are five curious cacti (cactuses? cacti?) right up against the cliff…
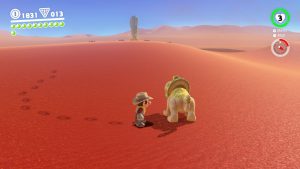
2- You’ll need Jaxi for this one, so bring him to this location from any of the spots you can pick him up (closest will probably be Tostarena Northwest Reaches)…
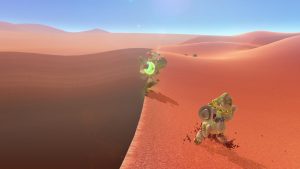
3- Smash into the MIDDLE CACTUS for the Power Moon!

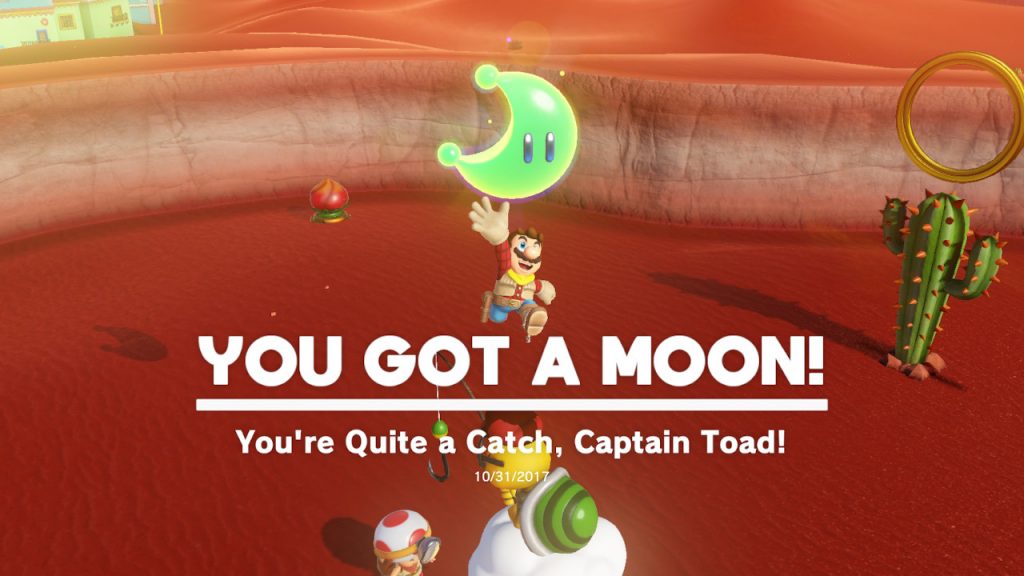
1- In the Desert Oasis you will see a small body of water and a Lakitu…
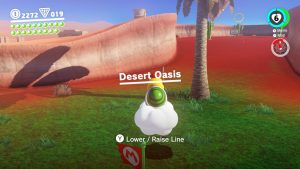
3- Instead of fishing in the water, head towards the sandy area…
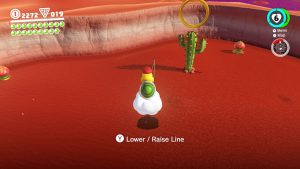
4- For some reason there are fish under the sand?…

5- Catch the largest fish aaand…..
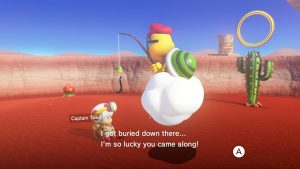
6- Captain Toad pops out of the sand?!?!?! Yay Power Moon!
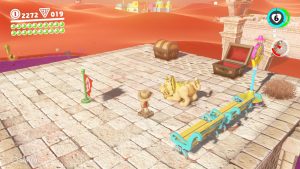
1- You will need Jaxi for this one ride him over to the other side of the Desert Oasis…
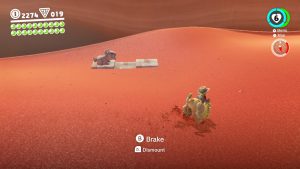
2- You will see a statue that looks like Jaxi with an empty slab of rock right in front of it…
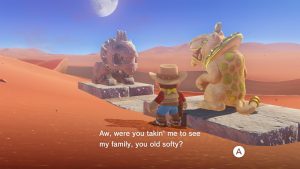
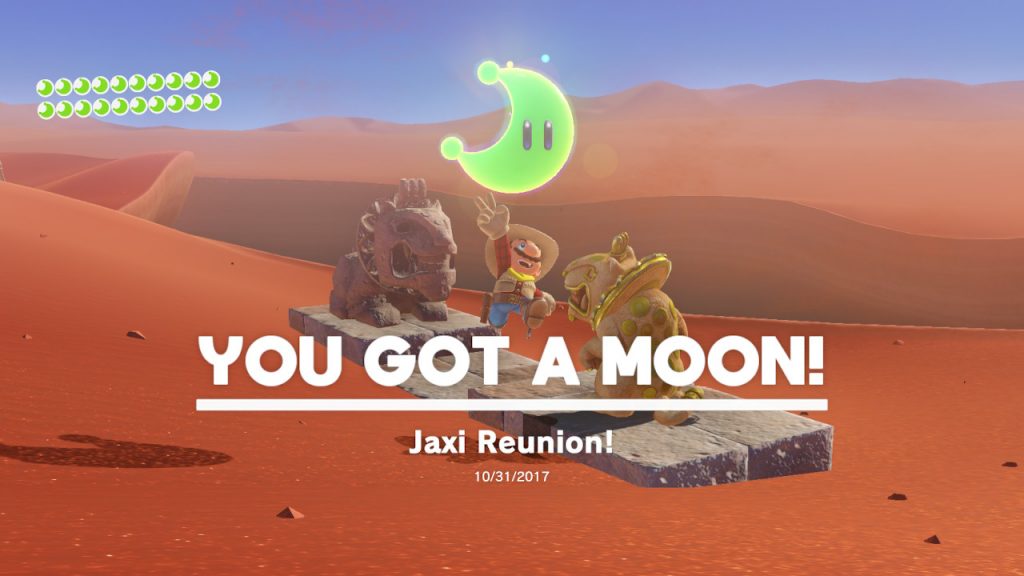
3- Ride Jaxi onto that empty spot, he will be tahnkful that you brought him to see his family, we will give you a Power Moon!

Location- On top of Inverted Pyramid
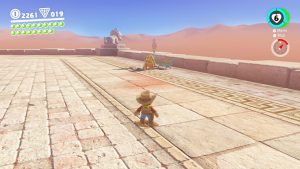
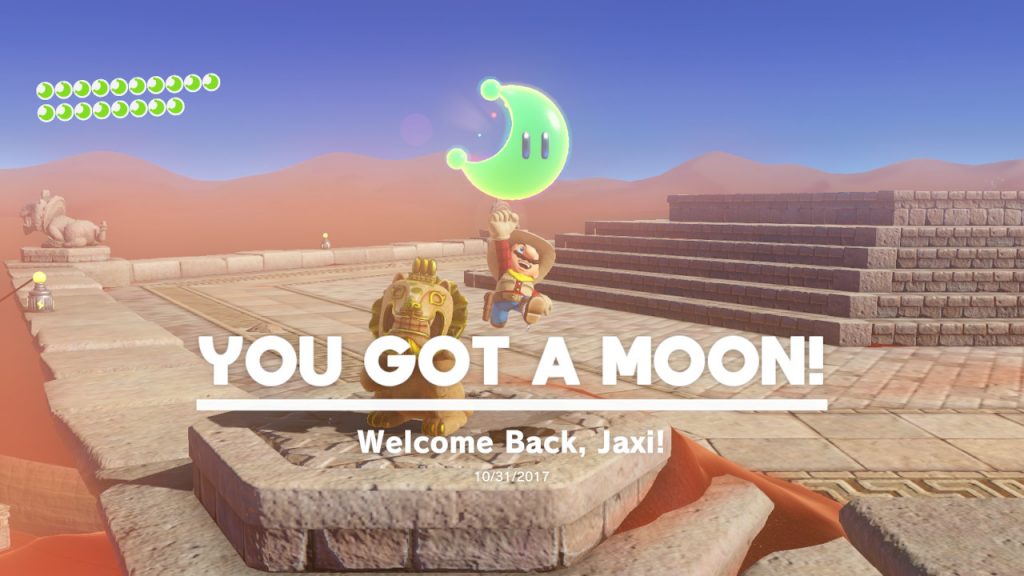
1- On top of the Inverted pyramid you should see Jaxi (I didn’t always see him here, so this may be a case of you needing to progress in the game to some degree for him to show up, not entirely sure)…
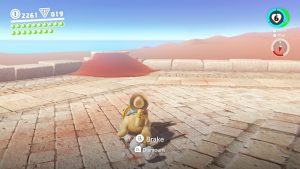
2- There are FIVE Jaxi looking statues on the pyramid, but there’s an empty spot where a SIXTH looks like there should be. This is where Jaxi used to be at one point. So ride Jaxi onto this spot (remember to use break to be able to steer him properly)…
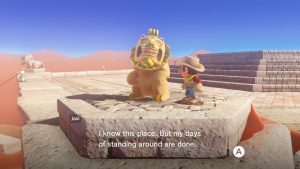
3 Jaxi likes the moment of nostalgia, but his standing days are long gone! Which is great for us because he is a helpful friend. Speaking of which, he gives you another Power moon!
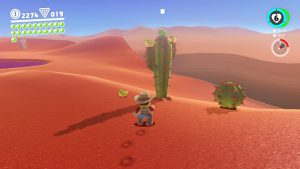
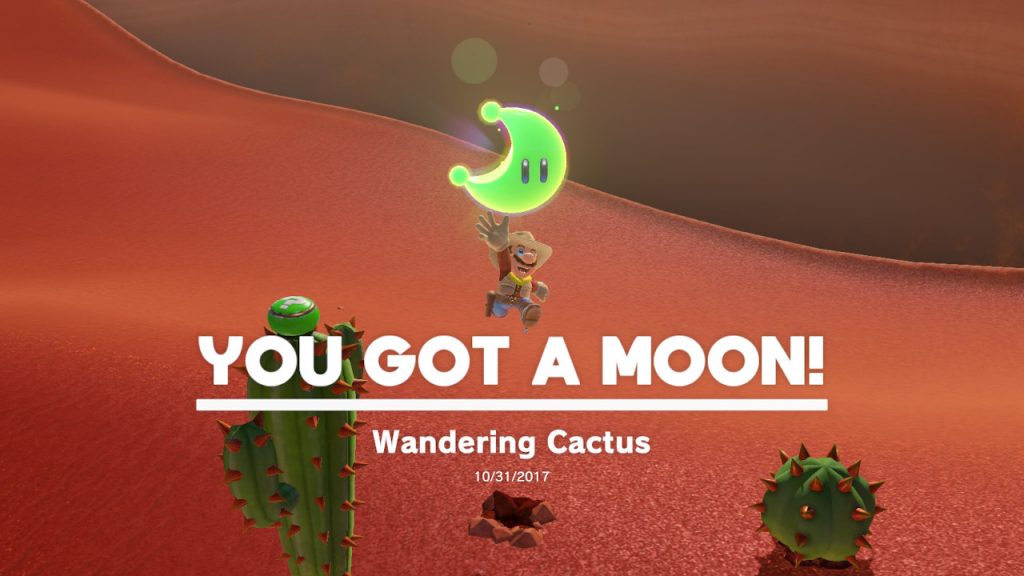
1- Just outside of the Desert Oasis you will see a peculiar looking cactus…
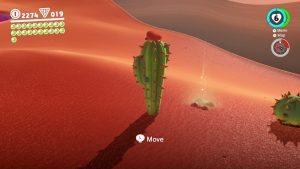
2- Use cappy to move teh Cactus. Now GROUND POUND the area that is all sparkly! Guess what is burried in the sand?!?!?
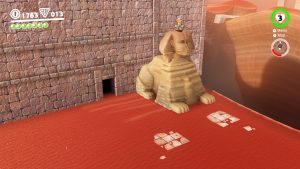
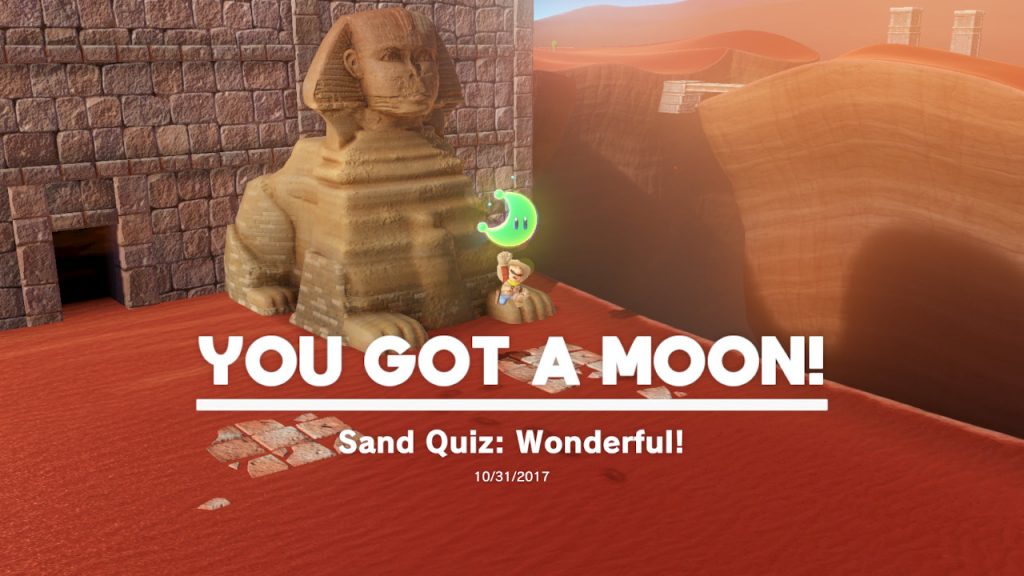
1- We’ve talked to the Sphinx before for a Power Moon, but he’s got another one for us…
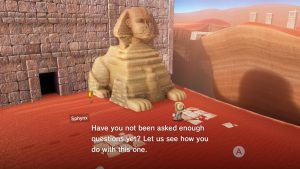
2- He is going to ask us a few more questions, we need to get them all right. After you guess correctly, just keep talking to him for more questions…
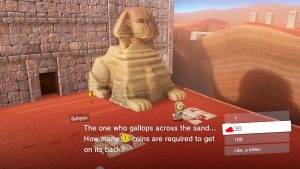
3- It costs 30 coins to ride Jaxi across the sands…
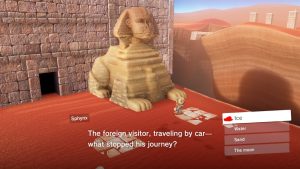
4- The traveler’s car was stuck in ice…
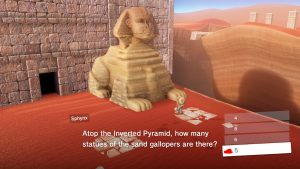
5- There are 5 Jinx statues on the Inverted Pyramid (normally 6 of them , but Jaxi is running wild)…
6- On the final question he will ask you what his name is. (Sorry I didn’t capture an image for this one) His name is SPHINX…..
7- Once you guess the final answer, Sphinx will reward you with a Power Moon!
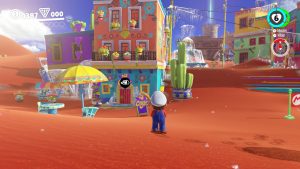
1 – Go to the “Crazy Cap” store…
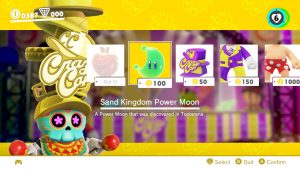
2 – When you get into the store, you will see a Power Moon for 100 coins! Buy it!
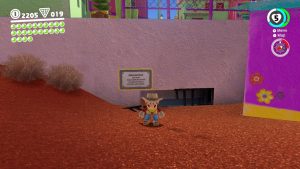
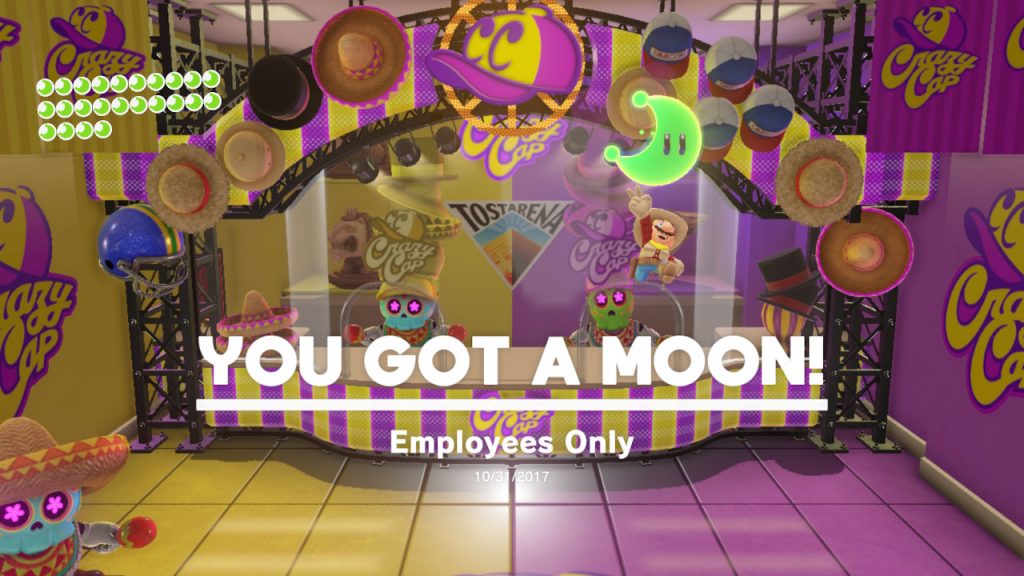
1- There is a Power Moon behind the counter in Crazy Caps! But how do we get it? Outside and around the corner there is a crawlspace…
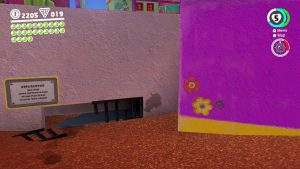
2- Crouch and crawl your way through it…
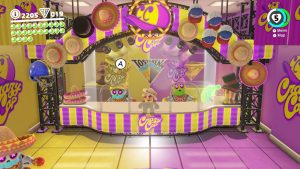
3- Once inside, you will have access to the Power Moon! Be sure to talk to the employees as well for a good laugh!
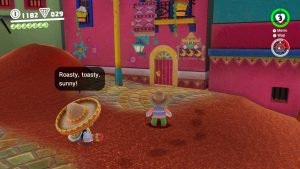
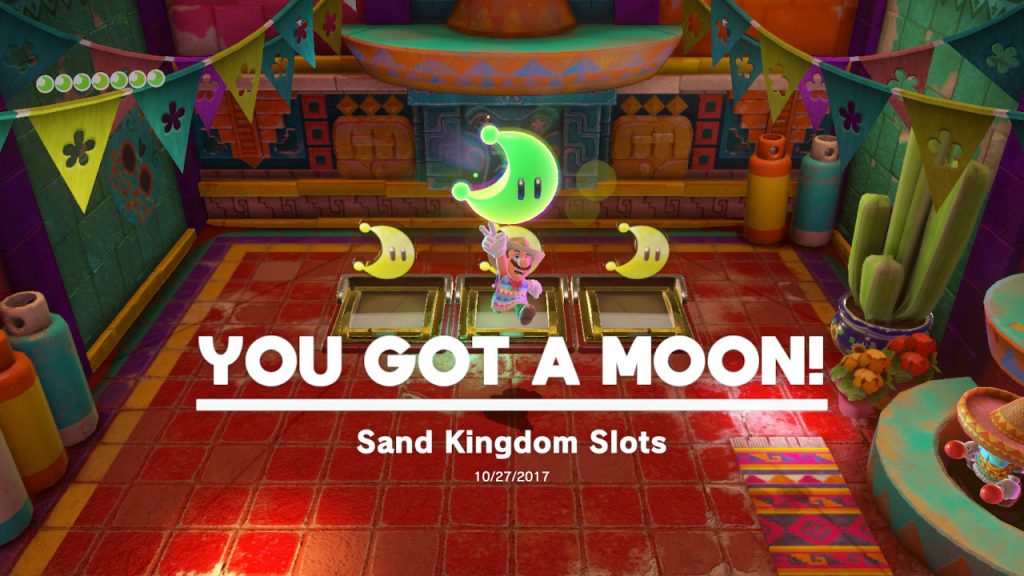
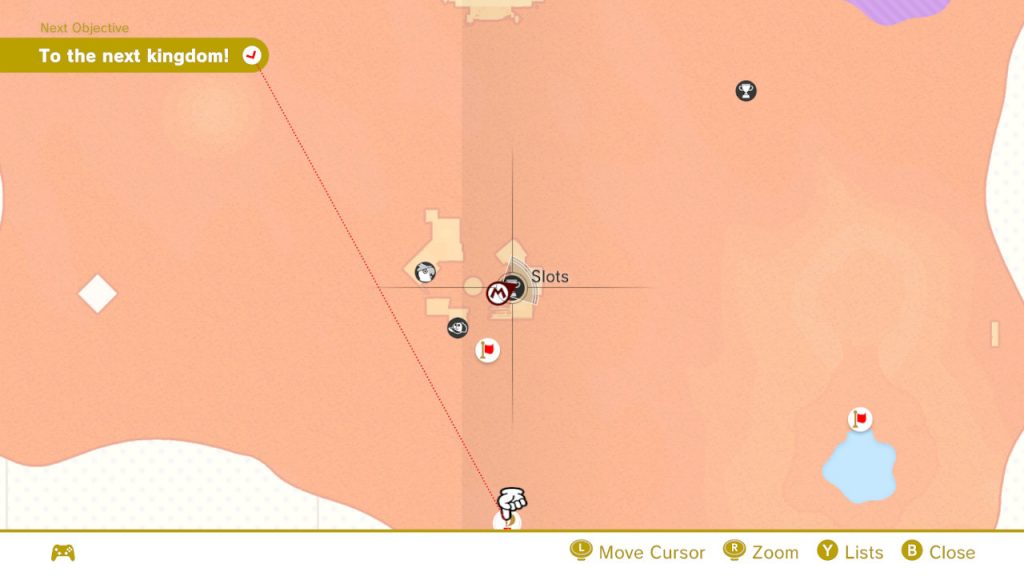
1- Right in the downtown area within the right set of structures is a slots building…
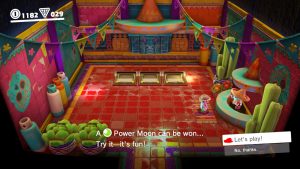
2- Inside you can play a game of slots for 10 coins…
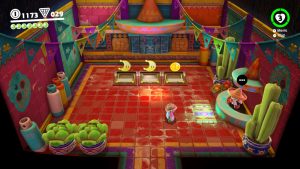
3- Line up three of any of the items and you will win, obviously the goal here is to get three Power Moons…
4- Throw Cappy a SPLIT SECOND before each the heart changes into the Moon and you should be good to go! Three in a row and it is yours!

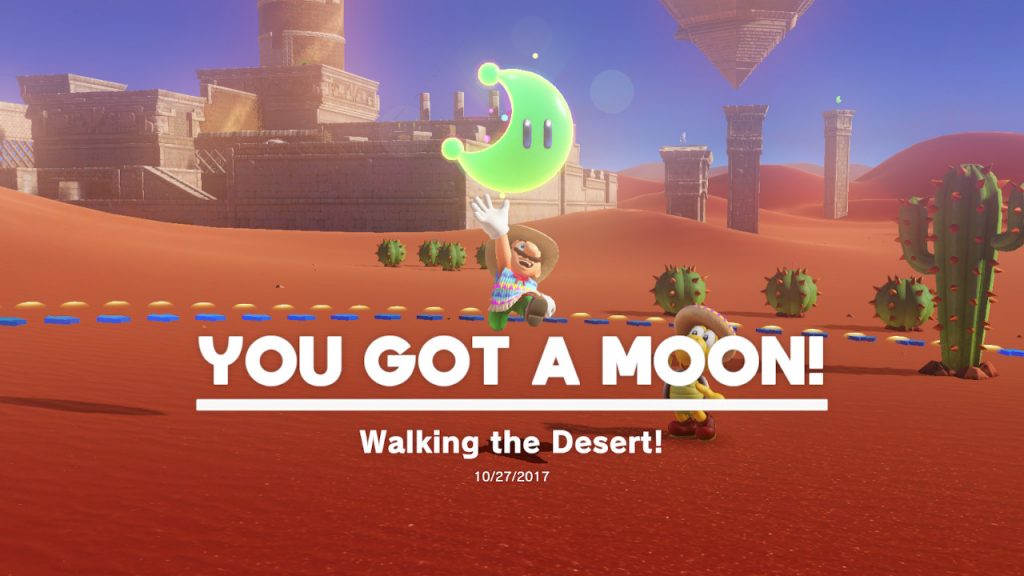
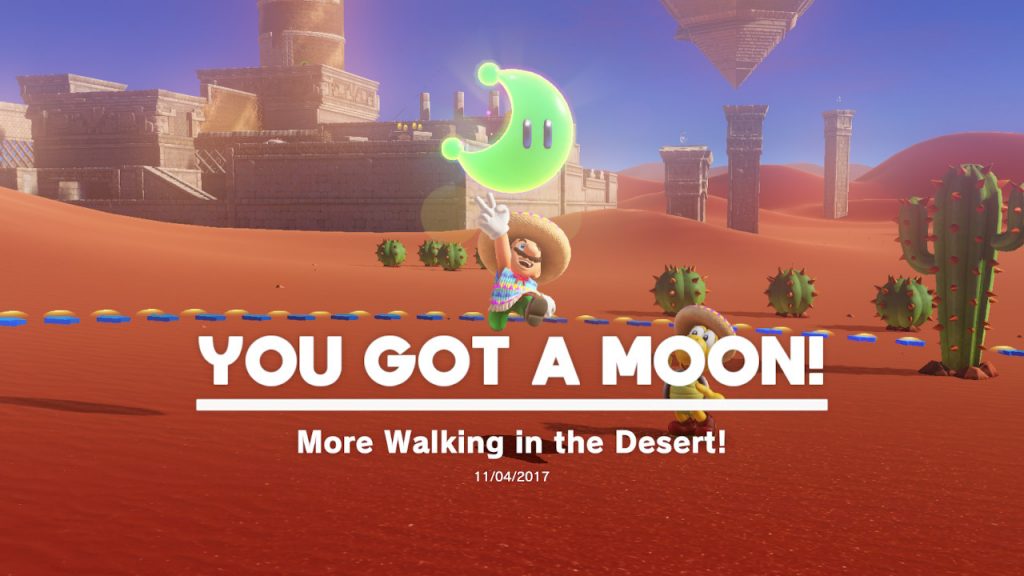
1- Between the ruins and the Oasis you will see a friendly Koopa Troopa…
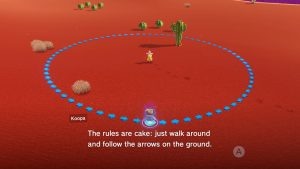
2- He will ask you to play a game… walk around on the line…

3- You need to score 80, but remember, the line will dissapear about halfway through…
4- Walk all the way around and stay touching the blue line, even when it disappears, and you will get the Power Moon!

Location- Inside Inverted Pyramid
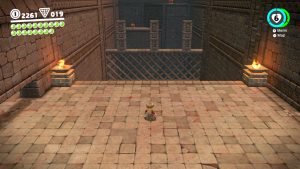
1- This one is one of the trikier to spot… You can get here from either going into the Inverted Pyriamid from the front, and then moving throughout the Pyramid’s obstacles. OR, and this is the better choice, just entering the doorway from the ROOF of the Inverted Pyramid. There are platforms that move across that you are supposed to dodge using the Bullet Bill. However there is a room hiding in-between the platforms and the wall… The next video shows this…
2- To get into the room, jump on the conveyor that the platforms are moving on…
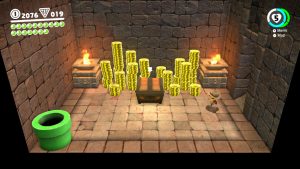
3- The room is filled with SOOOO much money! And the Power Moon of course!
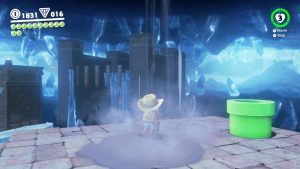
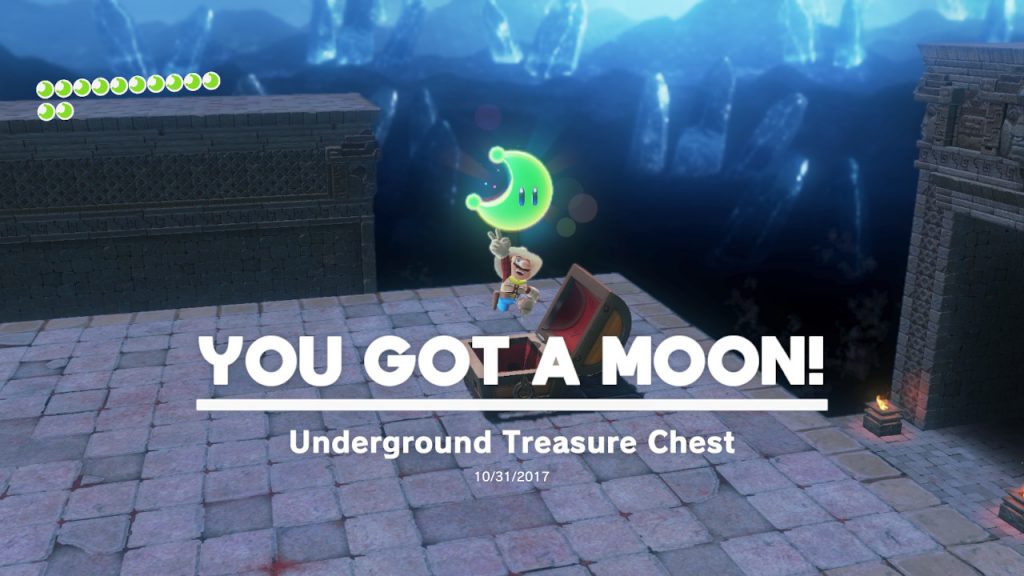
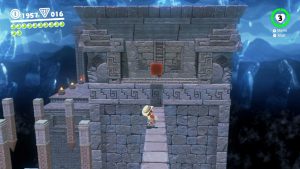
Location- Inside the Underground Temple
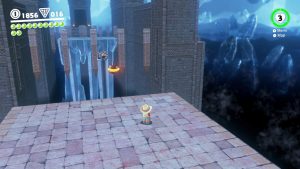
1- Progress through the Underground Temple as you normally would, however once you reach the Bullet Bill spot, you’ll need to go off path…
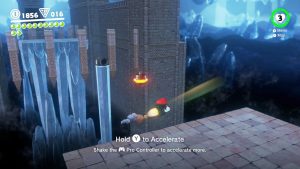
2- Capture the Bullet Bill and head to the right…
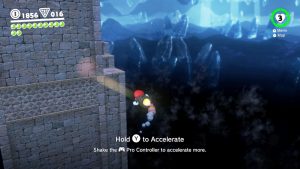
3- Around the pillar you will see some steps…
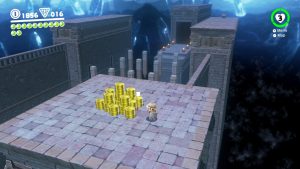
4- On top of the giant pillar is a bunch of coins…
5- But that’s not all! Walk across the catwalk and hit the invisible block…
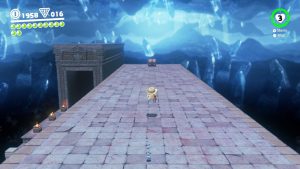
6- Jump onto the next pillar and WOOOOHOOO a treasure chest with GUESS WHAT inside?!?!
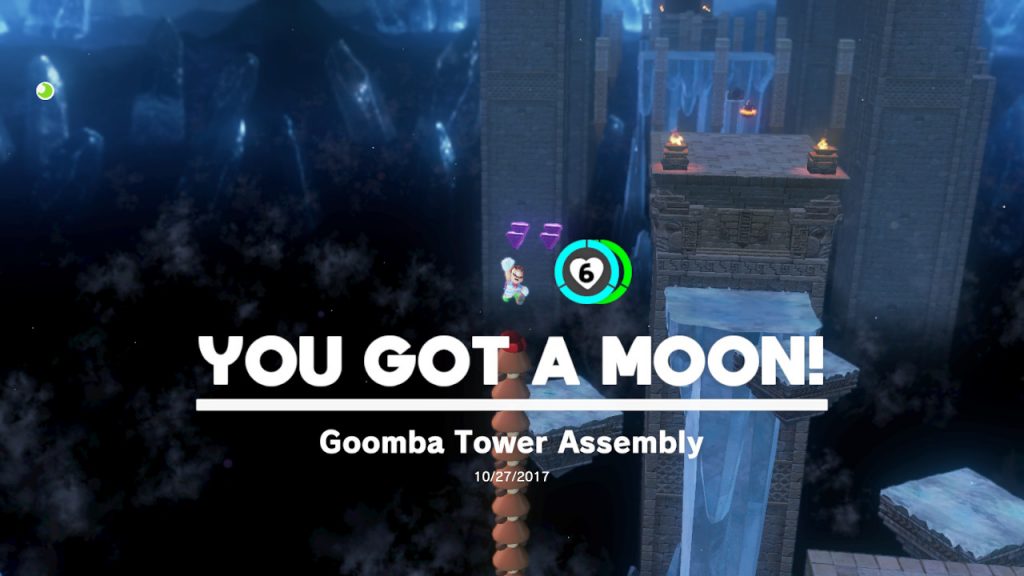
Location – Inside the Underground Temple
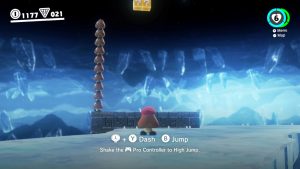
1- Use Cappy to capture the first Gooma you see, he’s just chilling by himself…
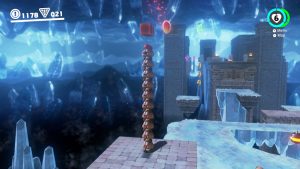
2- Follow the path and capture the tower of Goombas…
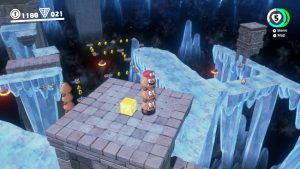
3- Use the tower to jump on top of the platform with the triple Goombas, capture the triple Goombas…
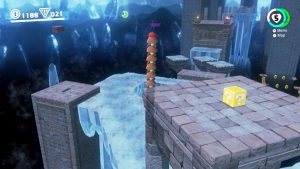
4- While still capturing the triple Goombas, JUMP ON TOP of the tower of Goombas to make an even BIGGER tower of Goombas… (Goombaception?)
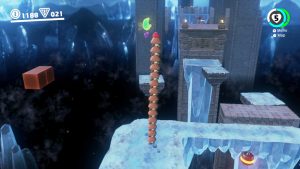
5- Now go get the Power Moon that is dangling in the air 50 feet high!
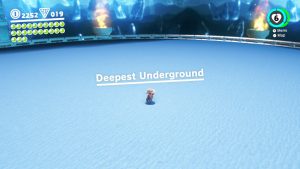
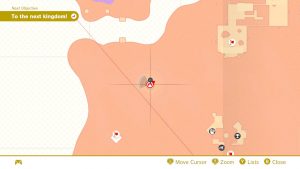
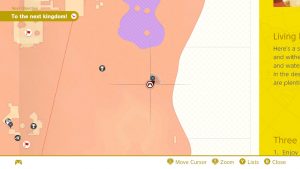
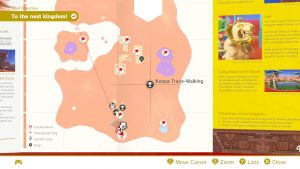
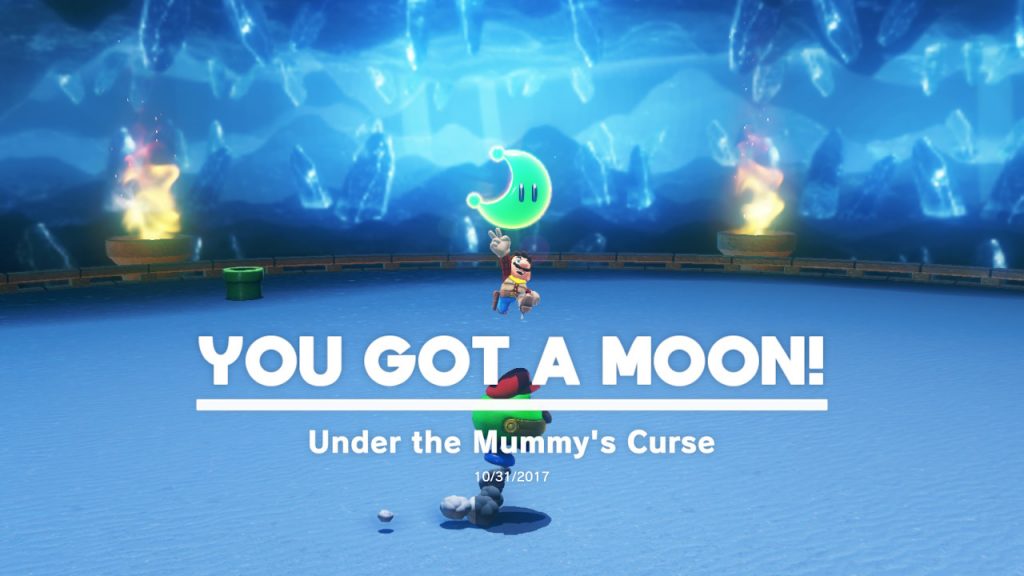
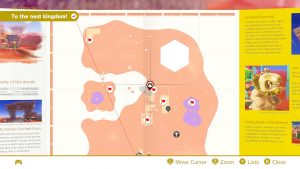
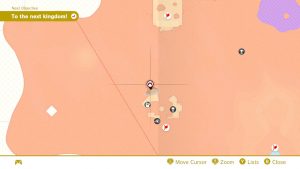
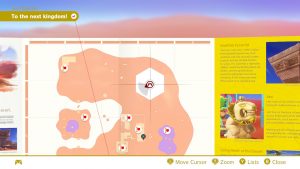
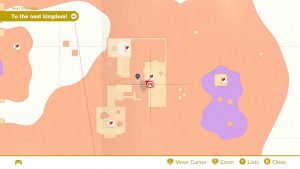
1- Drop into the “Deepest Underground”, which is where you had the big boss fight, by droping into the hole that is located on the map above…
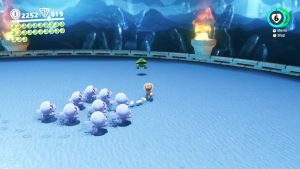
2- Once down there, you will be attacked by a million little mummies! Find the green coin purse frog guy from Mario 64! Capture him with Cappy…
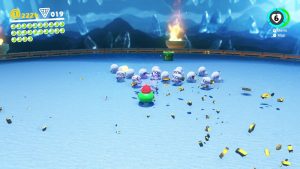
3- Now attack all the mummies with your coins…
4- When you kill them all, a Poer Moon will appear! And then more mummies pop up as well so RUUUUUN!

1- From inside the ruins, you will see a quick sand whirlpool…

2- Jump into the middle of the whirlpool, be careful not to actaully drown in the sand itself…

3- You will fall into an ice cave with a traditional Mario obstacle objective, however instead of going directly to the end (which you need to do for another Power Moon), you’ll need to do some tricky jumping at one point…

4- Instead of running directly under the giant crushing pillars (which again, you will need to do for another Power Moon), you need to wall jump inbetween the pillars to reach the top…
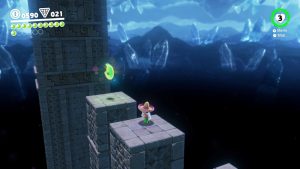
5- At the top, the Power Moon is waiting for you!
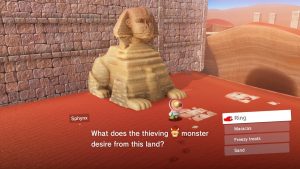
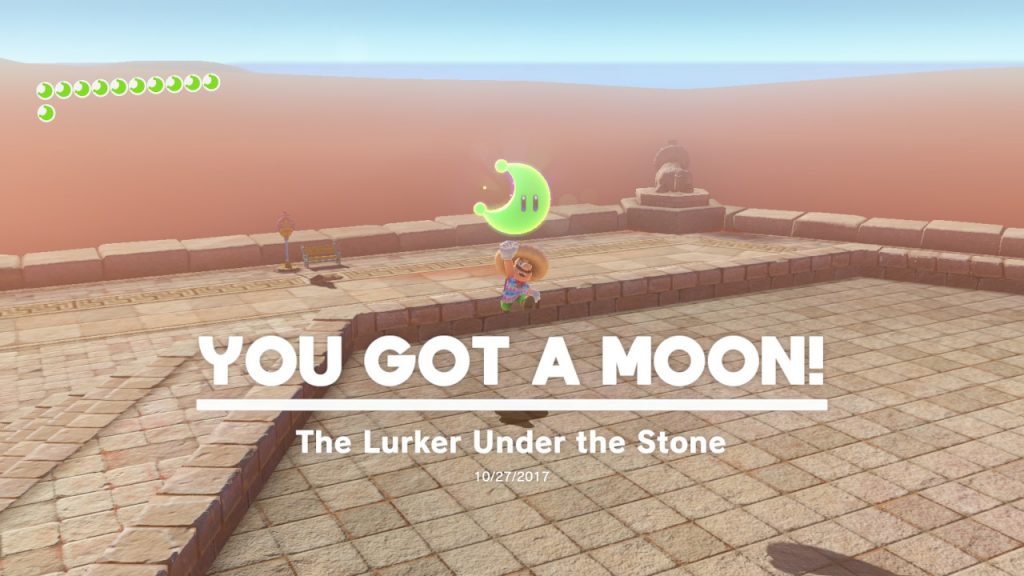
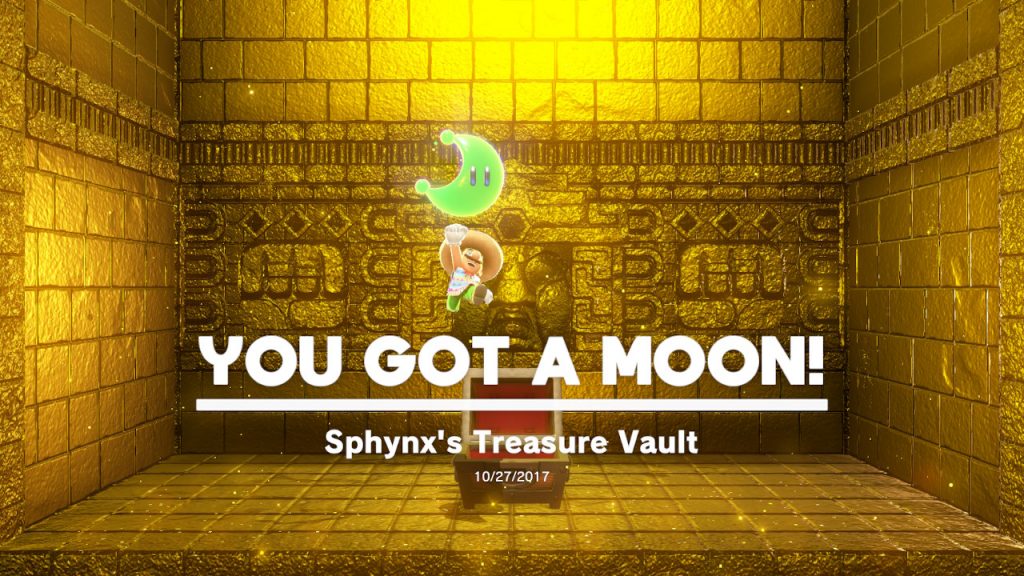
1- The large Sphinx sorta blends in at first because it’s hard to tell that it’s an actual living creature! Talk to him and he’ll ask you to answer a riddle…
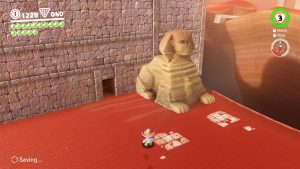
2- The answer to the riddle is “THE RING”, Bowser wants the ring…
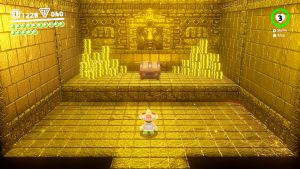
3- Once answered correctly, the Sphinx openes the door and the Power Moon is all yo…. LOOK AT ALL THAT MONEY!!!!
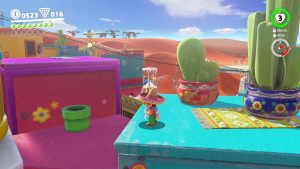
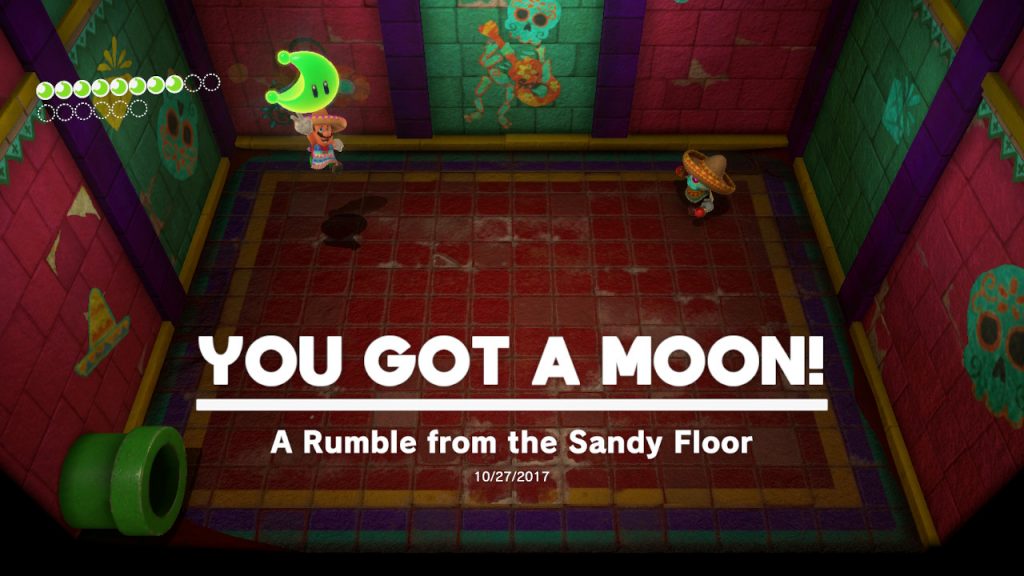
1- From the rooftops, you will see a warp pipe hidden between a couple roofs…
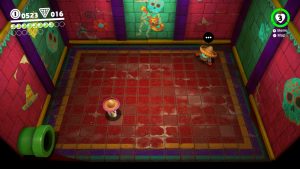
2- Go down the pipes and you will be greated by with a game…
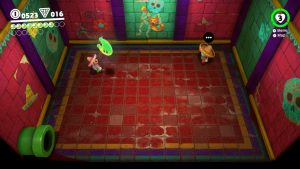
3- You are tasked with finding the area that “rumbles” the most. I beleive it’s the same for everyone, if so just ground pound the area in this image.
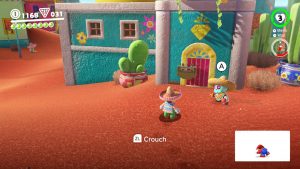
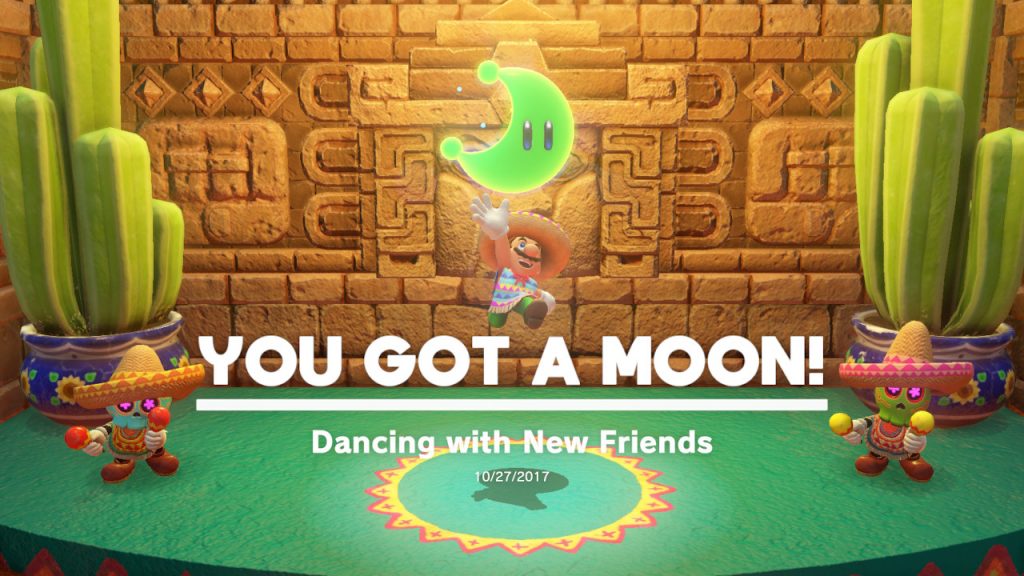
1- This one is located on teh backside of the village, facing the ruins. However the door is locked unless you are wearing the cool gear that the bouncer at the door requires…
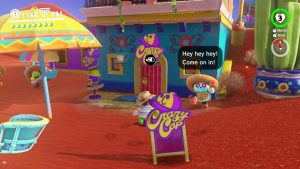
2- You’ll need the poncho and the sombrero, both of which can be purchased at Crazy Caps in the front of town…

3- They aren’t too expensive (10 and 5 Purple coins)…
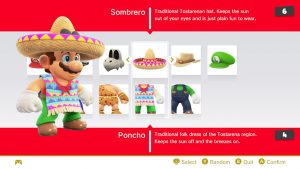
4- Put on the poncho and sombrero…
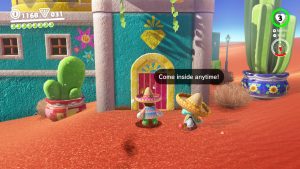
5- And now return to the locked door, the bouncer will let you in…
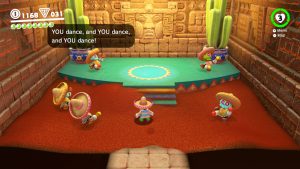
6- Once in, take center stage, dance, and play…
7- You made some new friends! (And earned yourslelf a Power Moon)
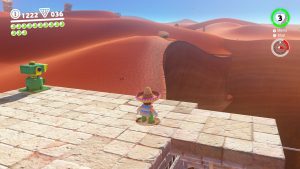
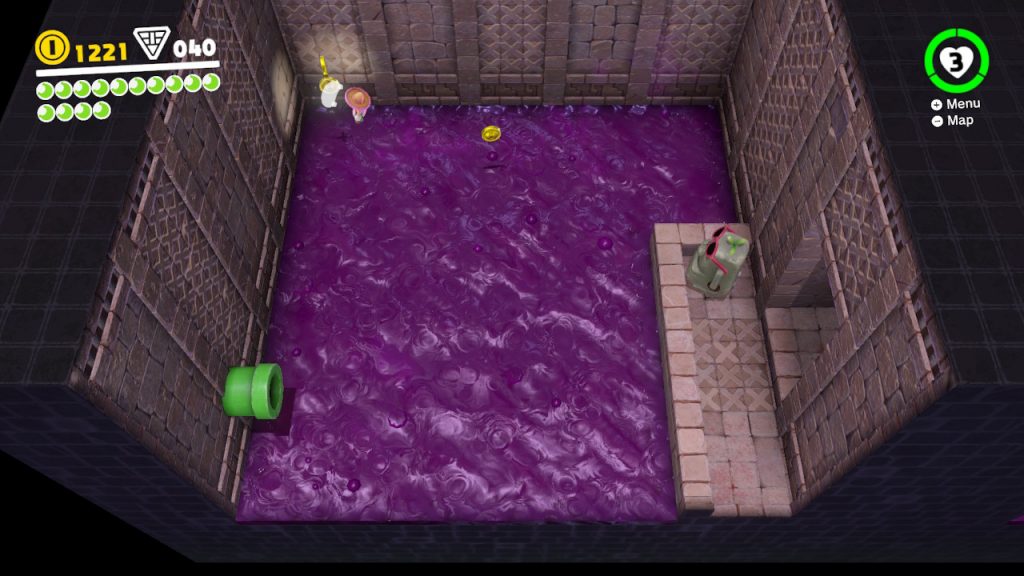
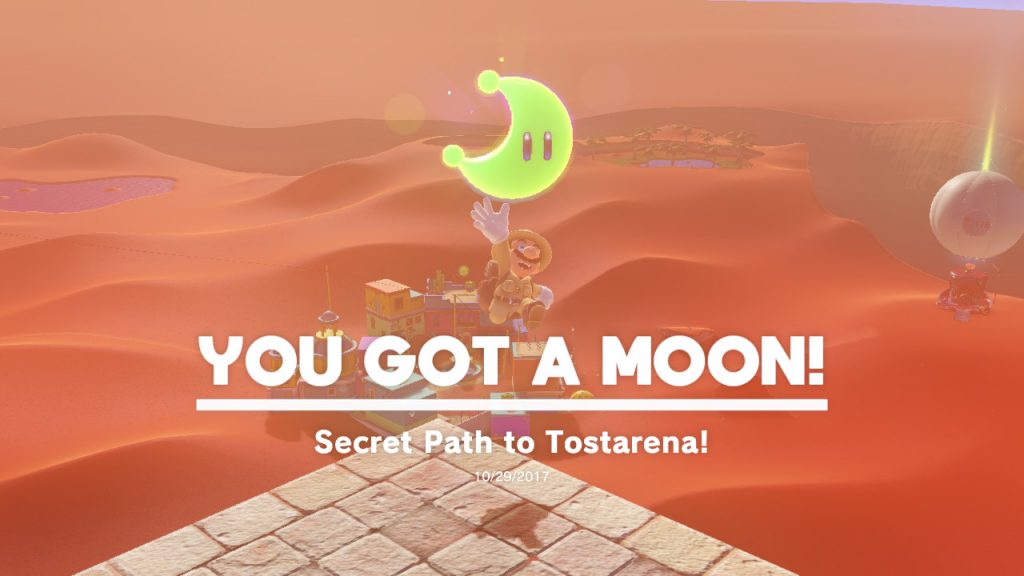
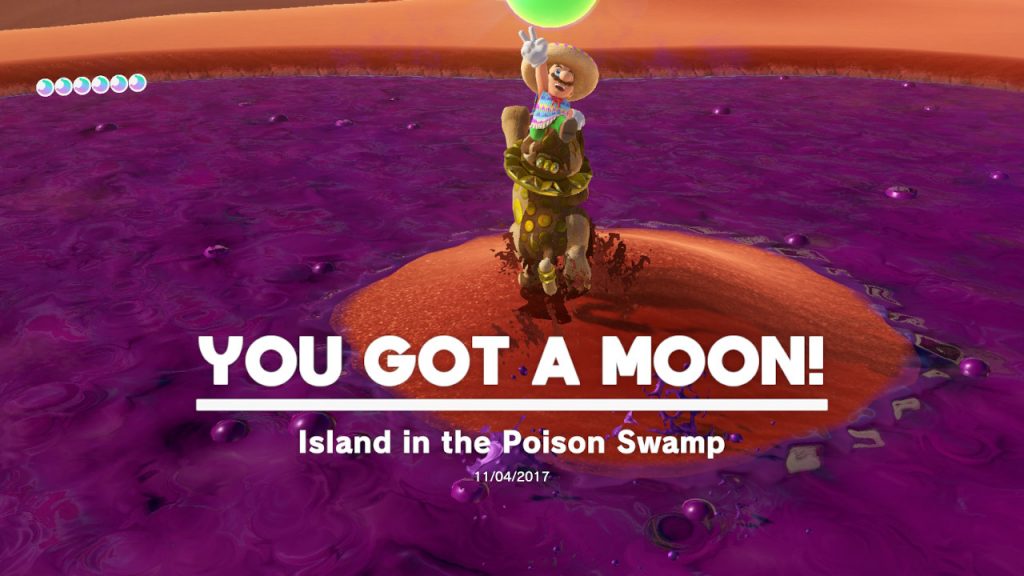
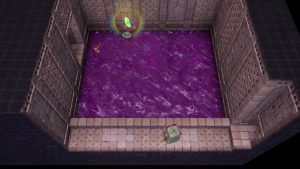
1- Hidden along side the cliff there is a gap in the ground…
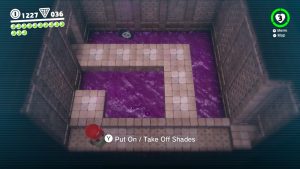
3- With the help of Cappy, we can use the Moe-eye’s shades to spot out where to travel above the poison…
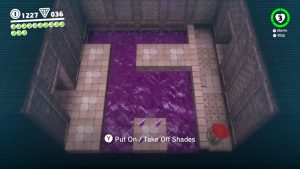
4- There are a total of three rooms…
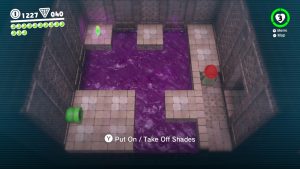
5- Don’t die! Capture the Power Moon! Easy peasy!

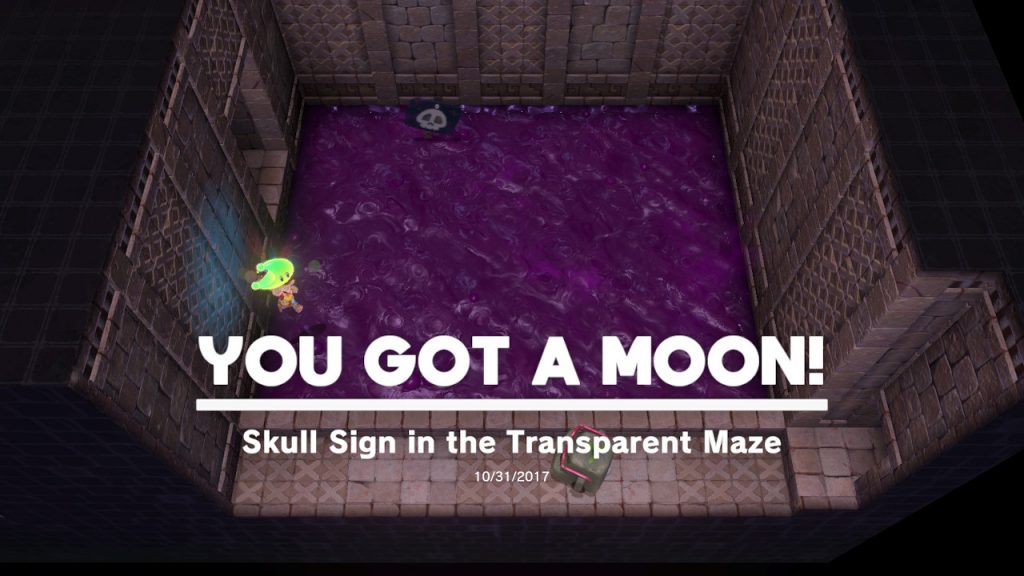
1- Hidden along side the cliff there is a gap in the ground…

3- With the help of Cappy, we can use the Moe-eye’s shades to spot out where to travel above the poison…
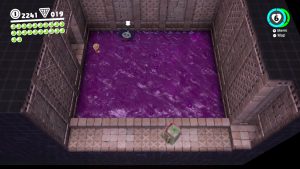
4- However, before we progress past the first room, throw Cappy at the Skull Sign!
5- Make sure to hold down the button so Cappy SPINS for a few moments, the Power Moon is yours!
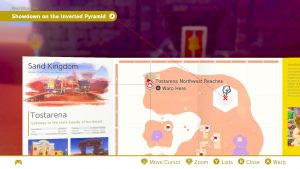
Location – Tostarena NorthWest Reaches
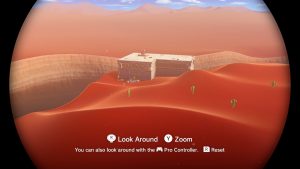
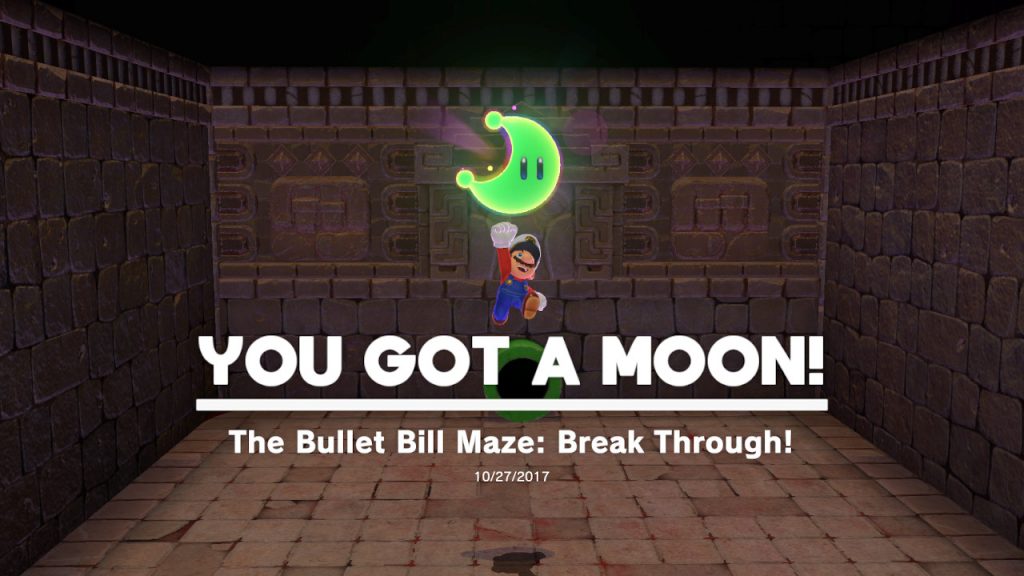
1 – Off the beaten path, the opposite direction of the inverted pyramid, there is a fortress of sorts…
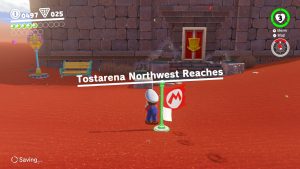
2- Go that way and you will also get a checkpoint (Tostarena NorthWest Reaches) to be able to fast travel to that area…
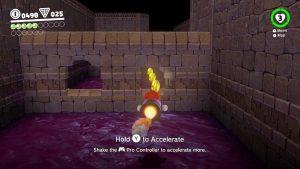
3- Once inside, you will see poiness waters and a Bullet Bill, capture the Bullet Bill and navigate through the holes…
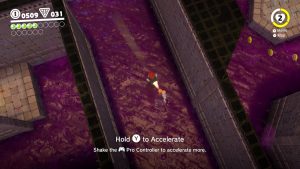
4- Whenever you have footing below you, switch out of the Bullet Bill and get ready to capture the next one…
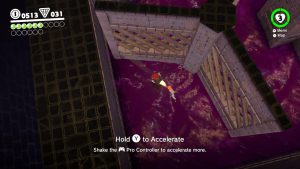
5- Avoid the obstacles and use the accleration ONLY when you have a straight away…

Location – Tostarena NorthWest Reaches
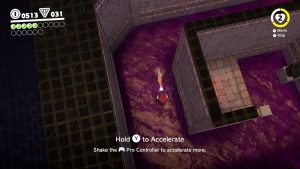
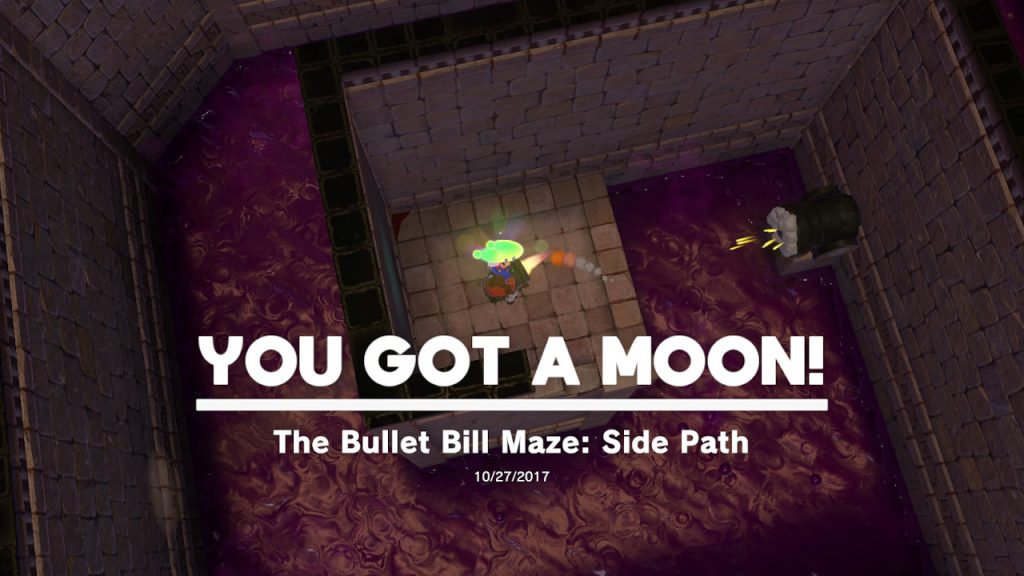
1 – This Power Moon is in the exact same location as Bullet Bill Maze: Break Through!, so see the ABOVE INSTRUCTIONS for how to get here. Instead of flying straight after capturing the SECOND Bullet Bill, hug the left side and go through the opening…
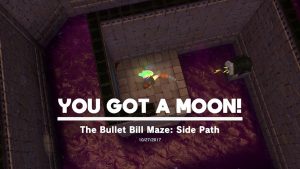
2- Circle around carefully and the Power Moon will be waiting for you!

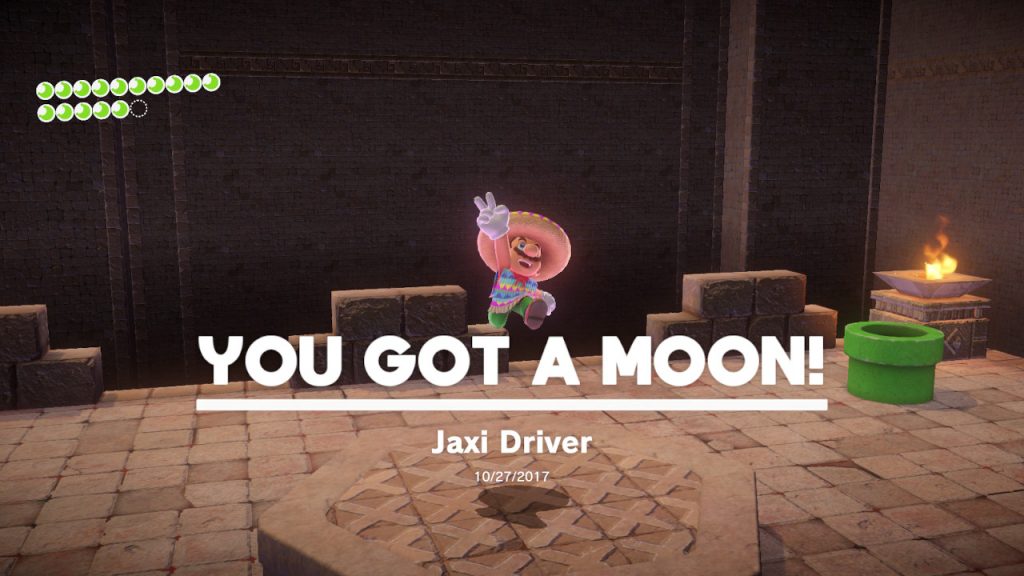
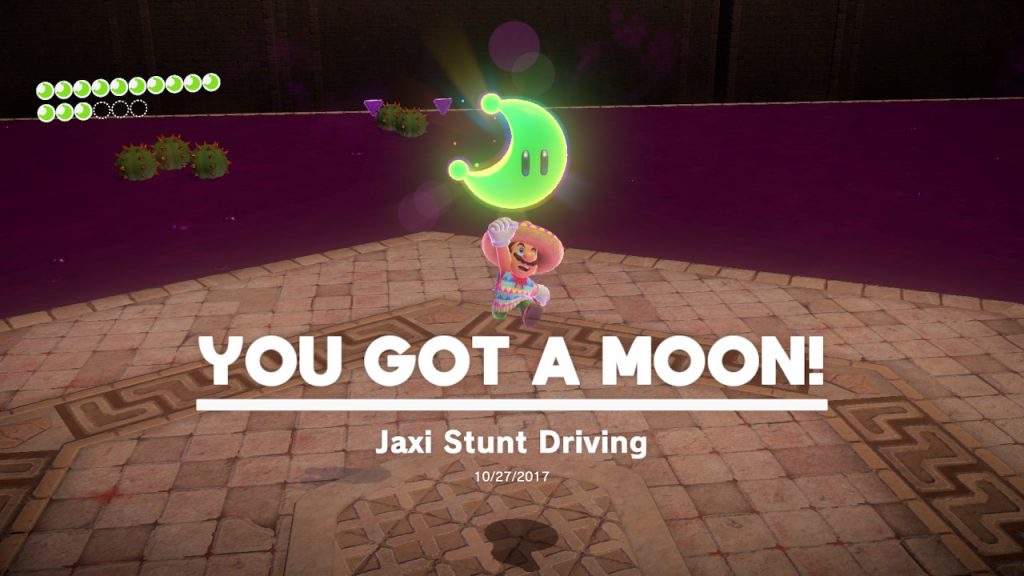
1- Before being able to do this mission you will need to have found “Jaxi”, the Jaguar Taxi Sphinx (because you know, Nintendo!). To do this you will need to complete “The Treasure of Jaxi Ruins”, which you can find directly above. Once that one is completed, talk to Jaxi once and then you can find him throughout the Sand Kingdom to ride him around for 30 coins.
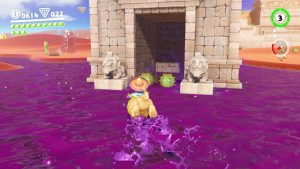
2- Once you pay for a Jaxi ride, you can use him to go through the hole in the pillar that is DIRECTLY BELOW where you find Jaxi initially…
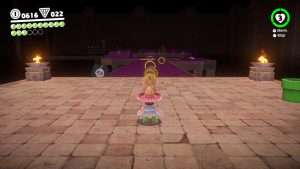
4- Once you’re down, you will notice a crazy Jaxi course of death…
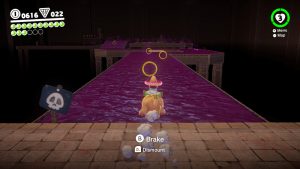
5- Ride Jaxi, stay on course, try to get the purple coins! There’s also a hidden additional Power Moon down here, you’ll see it below…
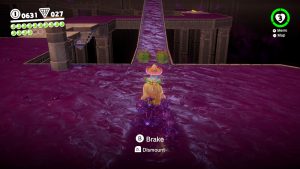
6- Don’t forget to use break (“B” button) as often as possible, it’ll save your life around tight corners…
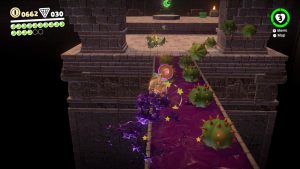
7- With unlitmied lives, don’t worry if you fall a bunch (I did)…

1- Before being able to do this mission you will need to have found “Jaxi”, the Jaguar Taxi Sphinx (because you know, Nintendo!). To do this you will need to complete “The Treasure of Jaxi Ruins”, which you can find directly above. Once that one is completed, talk to Jaxi once and then you can find him throughout the Sand Kingdom to ride him around for 30 coins.

2- Once you pay for a Jaxi ride, you can use him to go through the hole in the pillar that is DIRECTLY BELOW where you find Jaxi initially…

4- Once you’re down, you will notice a crazy Jaxi course of death… (deja vu?)
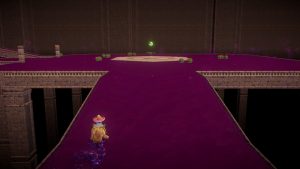
5- About halfway through the course you will see a big opening with a platform Mario can jump on in the middle, to the left you will see a music note! Hit the music note and a million more music notes will pop up! Hit them all to reveal….
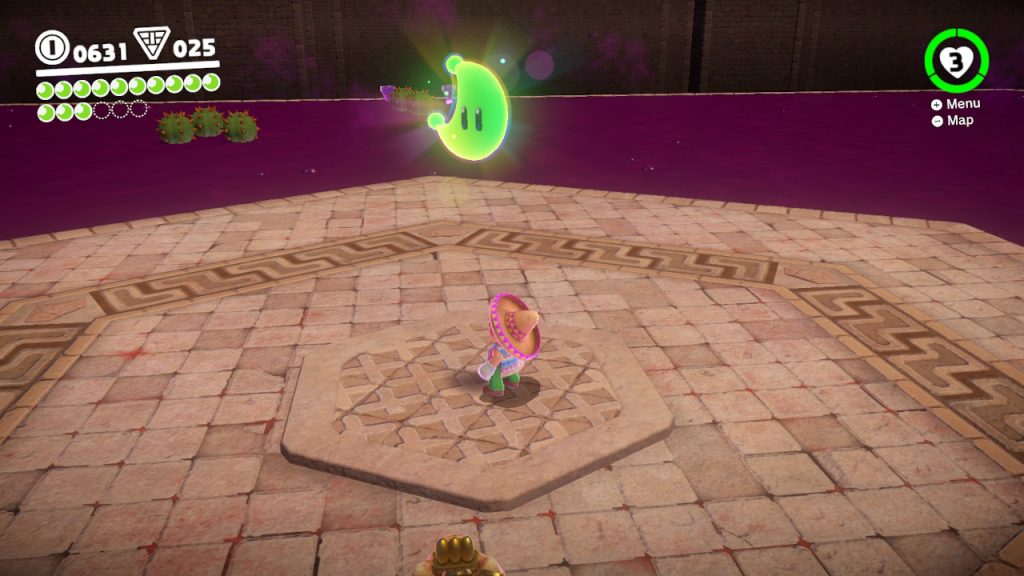
6- The Jaxi Stunt Driving Power Moon!
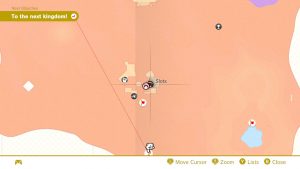
Location – On the rooftops, above the slots building
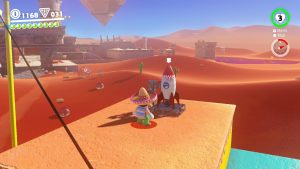
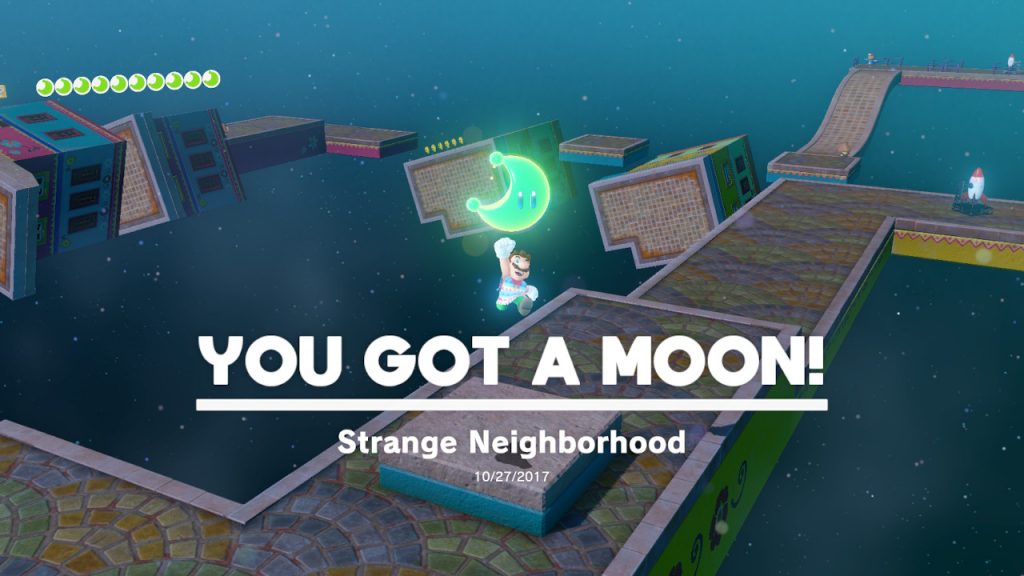
1- Climb onto the rooftop by jumping, using the flowers, electrical wires, etc. You will see a rocket ship…
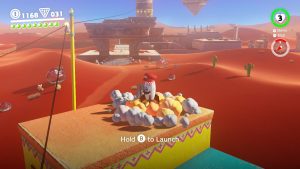
2- Cappy the rocket ship and BLAST OFF….
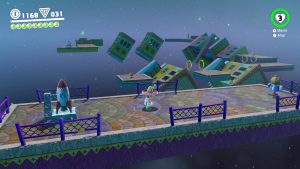
3- You will land in a strange obsticle course where you need to get to the end WITHOUT the help of Cappy….
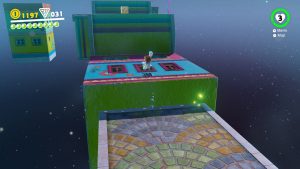
4- Time your jumps, collect purple coins along the way…
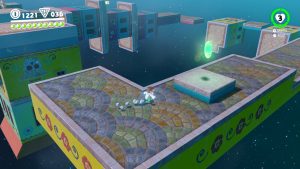
5- And don’t die! And you’ve done it! Congrats!

Location – SAME AS “Strange Neighborhood”, it is hidden within this level

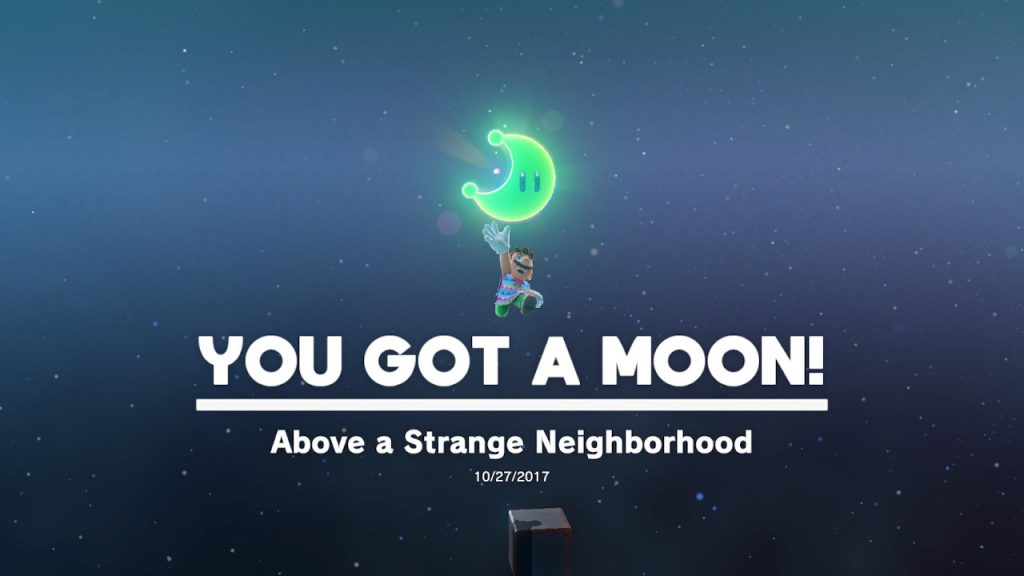
1- Climb onto the rooftop by jumping, using the flowers, electrical wires, etc. You will see a rocket ship…

2- Cappy the rocket ship and BLAST OFF….

3- You will land in a strange obsticle course where you need to get to the end WITHOUT the help of Cappy….
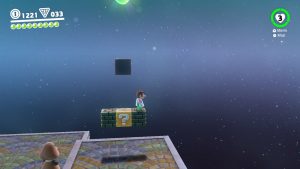
4- This time, about half way through you will see some blocks and a question block. Jump on TOP of these, on TOP of the next block, and….
5- BAM! There’s a Power Moon hiding up there!
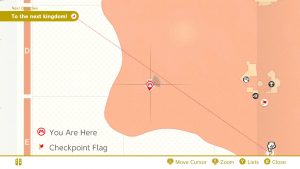
Location- Southwestern Floating Island
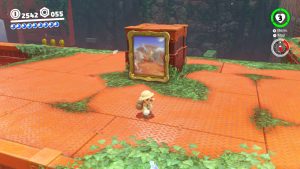
1- This is a “painting” moon. The only way to get this Power Moon is by jumping into a painting from ANOTHER kingdom. This is also random for every playthrough. The paintings will be in the same place for everyone, but where the painting leads is random. For me, as you can see in the image, the Wooded Kingdom painting took me here…
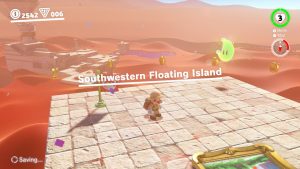
2- Once you jump into painting it will take you to another kingdom, in this case, The Sand Kingdom…
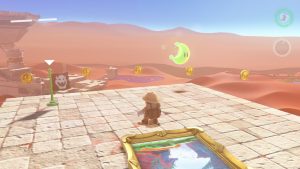
3- There will also be checkpoints in these areas so you can warp to these spots from other locations in the Kingdom as well! And every one of these rewards you with a Power Moon!
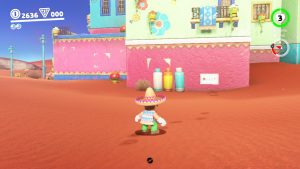
1- In Tostarena there is a poster with “Hint Art” plastered on the wall…
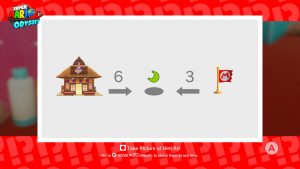
2- “Hint Art” Power Moons are a bit tricky and confusing. The “Hint Art” shows were a Power Moon is hidden IN ANOTHER KINGDOM. However, even though the Power Moon is found elsewhere, it still counts as a Power Moon from where the “Hint Art” came from.
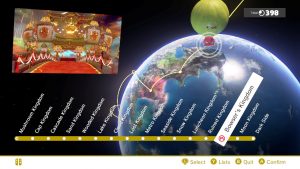
3- In this case, the “Hint Art” is telling us to go to “Bowser’s Kingdom”…
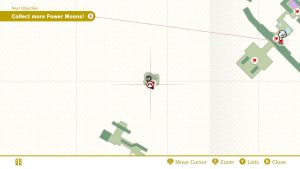
4- Once in Bowser’s Kingdom, fast travel to the checkpoint where you find Crazy Caps…
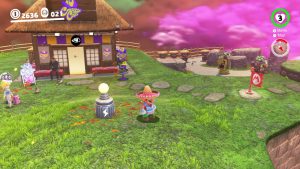
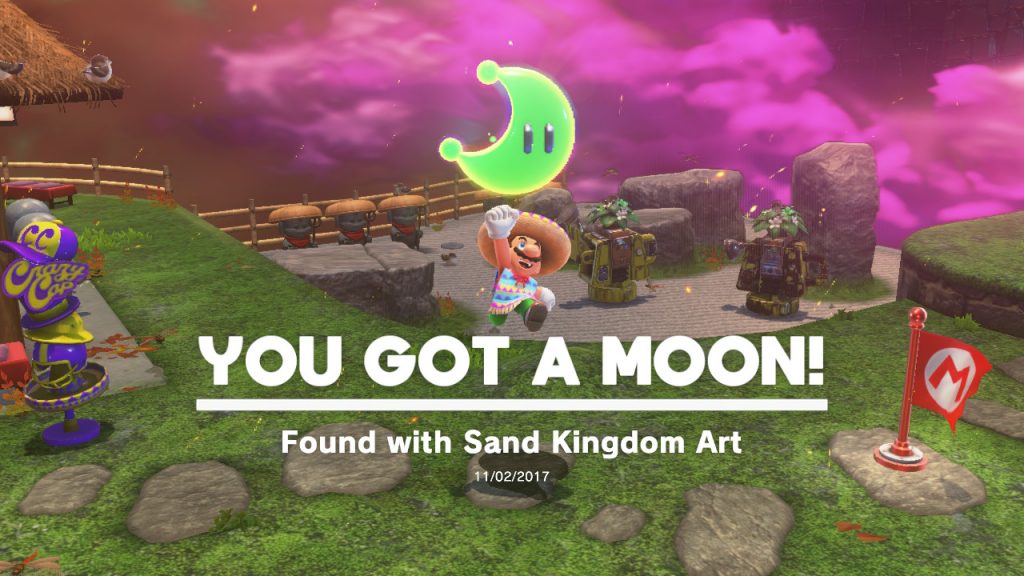
5- Here you may notice the resemblence to the “Hint Art” from the Sand Kingdom…
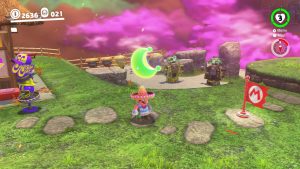
5- Ground pound the “6th” rock from the shop and the “3rd” rock from the checkpoint! The Power Moon is yours! remember, it counts towards the Sand Kingdom!
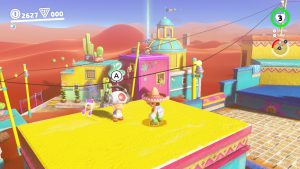
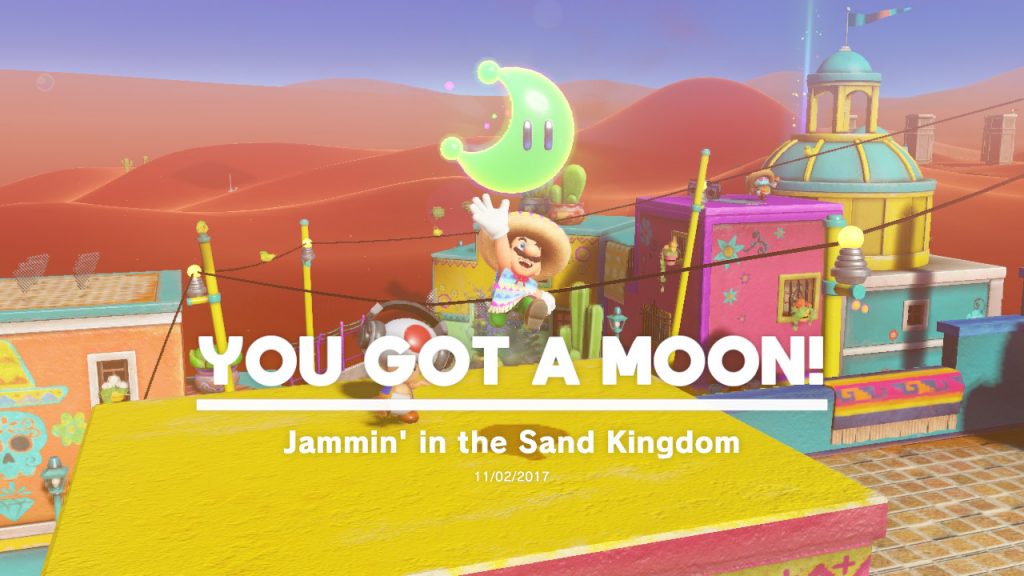
1- Toad is hanging out on the rooftops of downtown Tostarena jammin’ out…

2- Talk to him and he’ll ask you to play a song; he wants something with the theme of “Memories of a tough battle”…
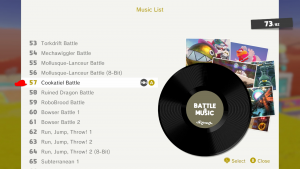
3- Once the song list pops up, select the tune “Cookatiel Battle”…

4- That’s EXACTLY the song he was looking for! Toad will excitedly reward with with a Power Moon!
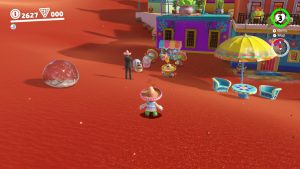
1- Right next to Crazy caps is an popsicle stand with a long line…
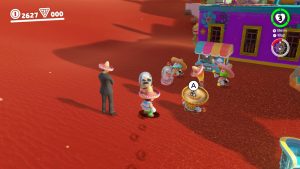
2- On top of one of the customers is a “Bonneton” disguised as a sombrero! Talk to him and he’ll give you a Power Moon to stay hush-hush about his secret!
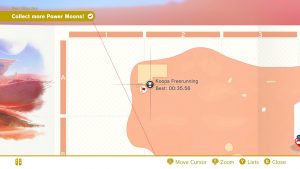
Location- Tostarena Northwest Reaches
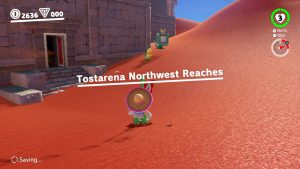
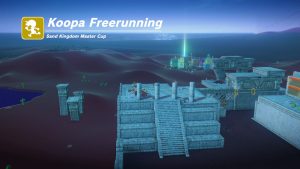
1- From the “Tostarena Northwest Reaches” checkpoint you will see a Koopa getting ready for a race…

2- Talk with him to start the freerunning race…

3- You’ll need to race from here all the way to the other side of Tostarena…
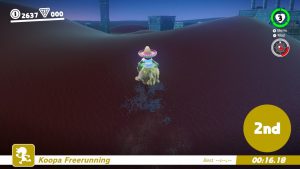
4- You will start on the roof, jump down and jump on the Jaxi for gigantic boost of speed…
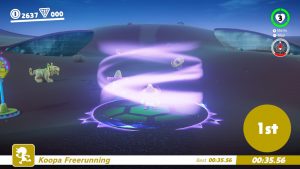
5- Reach the finish in first place and your reward is a Power Moon!
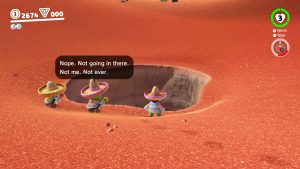
1- Now that you’ve beaten the game, all of the iconic memories for each Kingdom have been returned! Jump down the hole to check it out…
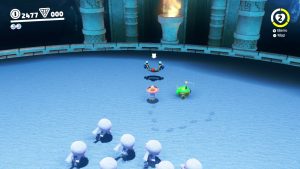
2- Use the slingshot to launch upwards…
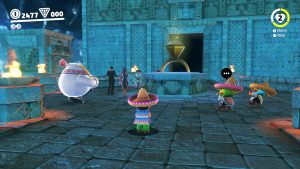
3- Up here you will find a whole bunch of tourists checking out the gigantic ring…
4- Ground pound the top of the ring (don’t worry, it’s diamond, it won’t crack) and a Power Moon will appear!
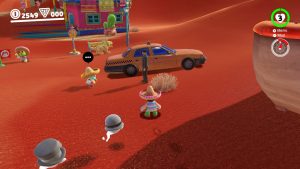
1- This Power Moon takes quite a few steps. This “Desert Wanderer” has been touring the world with the help of his taxi driver. But to make him appear HERE again you will need to visit him in all the locations that he visits. You need to find him and talk to him in the Metro Kingdom, Cascade Kingdom, Luncheon Kingdom, Moon Kingdom, and lastly the Mushroom Kingdom. Once you meet up with him in all of these areas he will return back home…

2- Once he’s traveled the world and returned home, talk to him and he will give you a Power Moon!
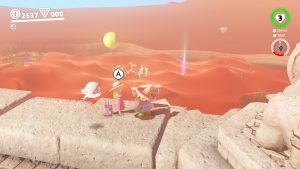
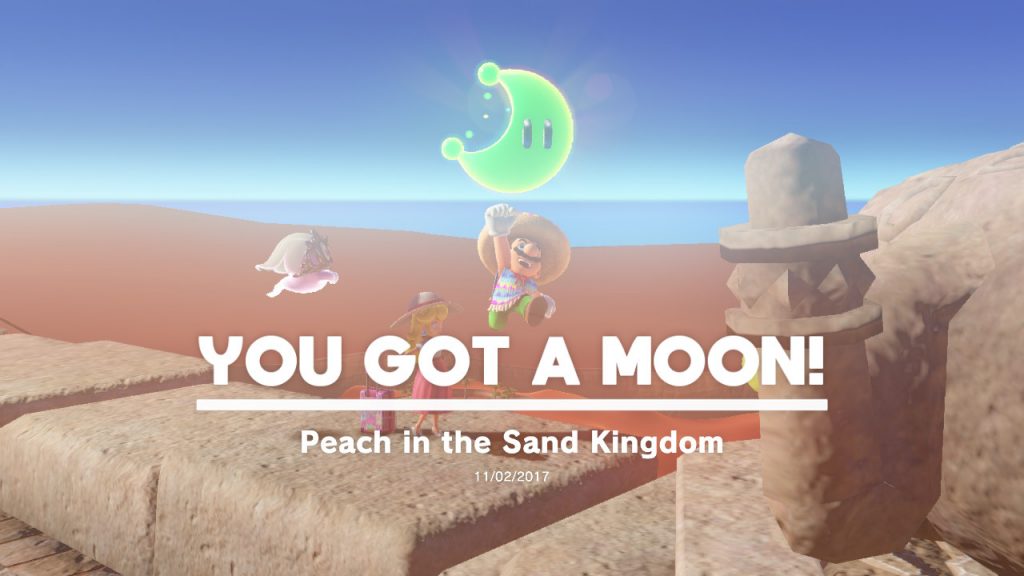
1- Now that Peach is free from Boswer’s grasp, she is sight-seeing the world…
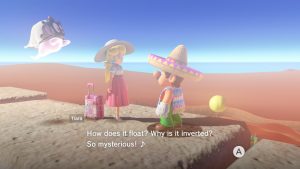
2- In the Sand Kingdom she is checking out the view from on top of the Inverted Pyramid. Talk with her and she will give you a Power Moon!
The remaining Power Moons can only be found in the “End Game” portion of Mario Odyssey!
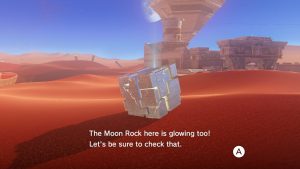
– Now that you’ve beaten the game, these mysterious Moon Rocks can be BUSTED open! In doing so, MORE Power Moons will spread throughout the Kingdom!
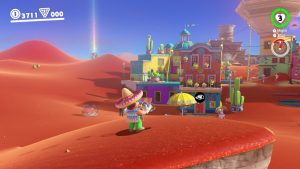
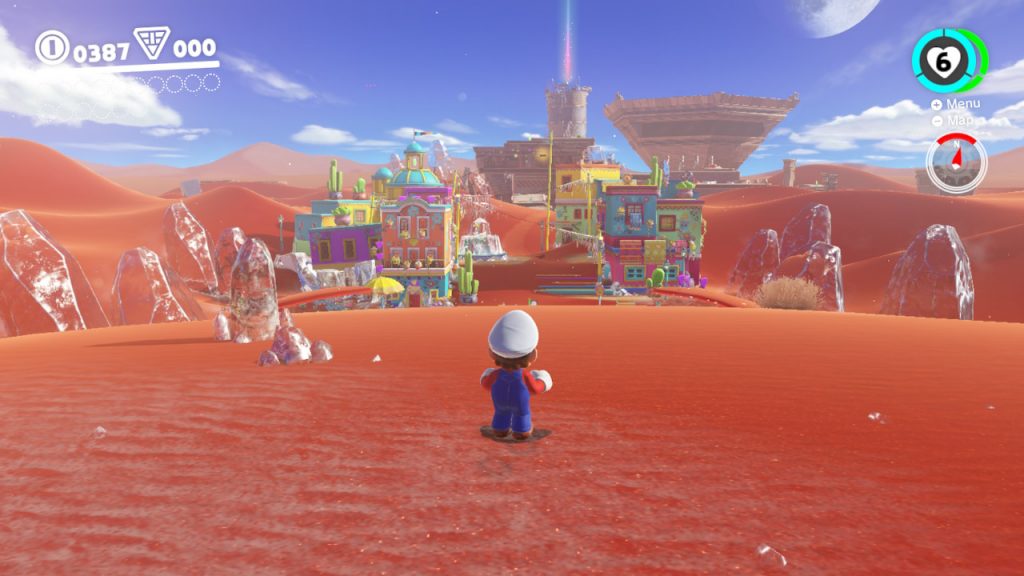
– You can see the Moon Rock from in front of downtown Tostarena, it is in the sand dunes to the left!
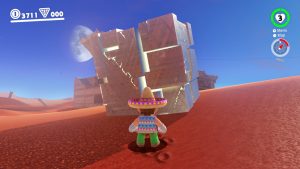
– Break open the Moon Rock to spread 20 more Power Moons throughout the Sand Kingdom!
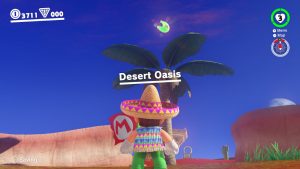
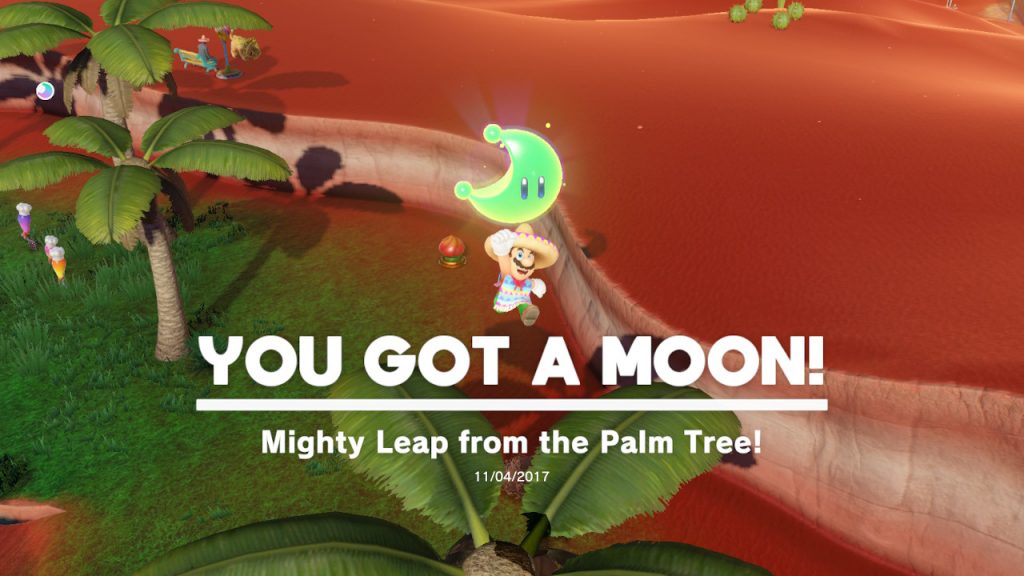
1- From the “Desert Oasis” checkpoint, if you look directly above you will see a Power Moon above the palm tree…
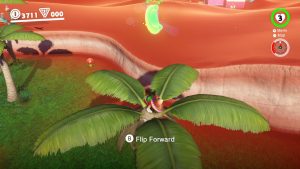
2- Climb the Palm Tree and jump high (Backflip, ground pound jump, etc.) to grab the Power Moon!
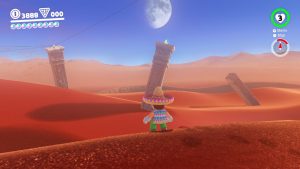
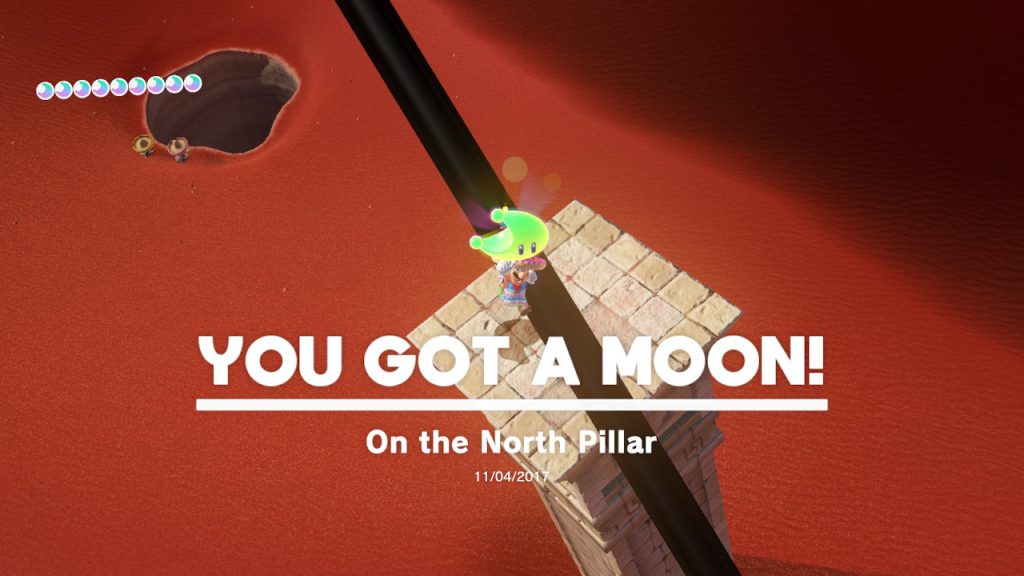
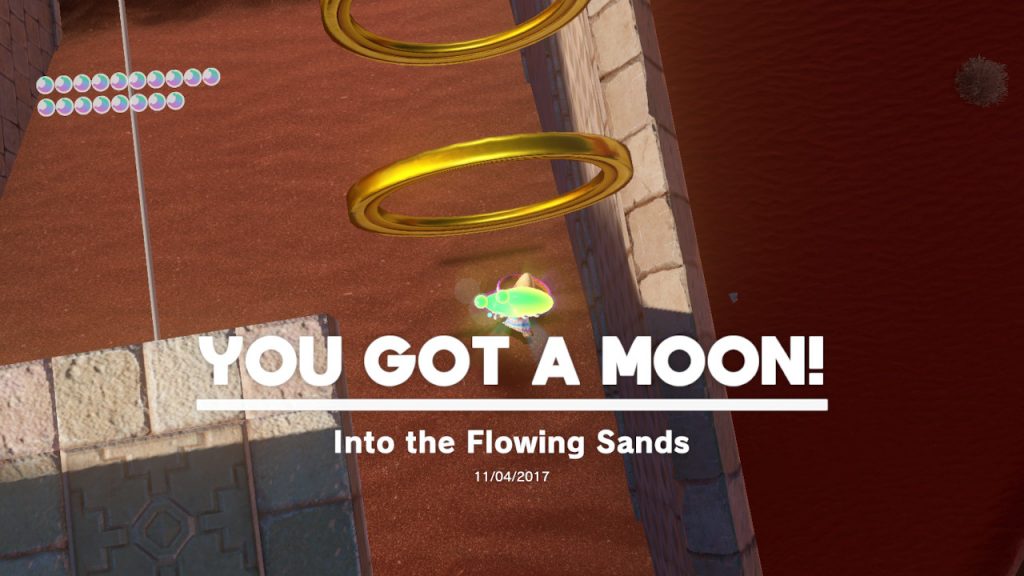
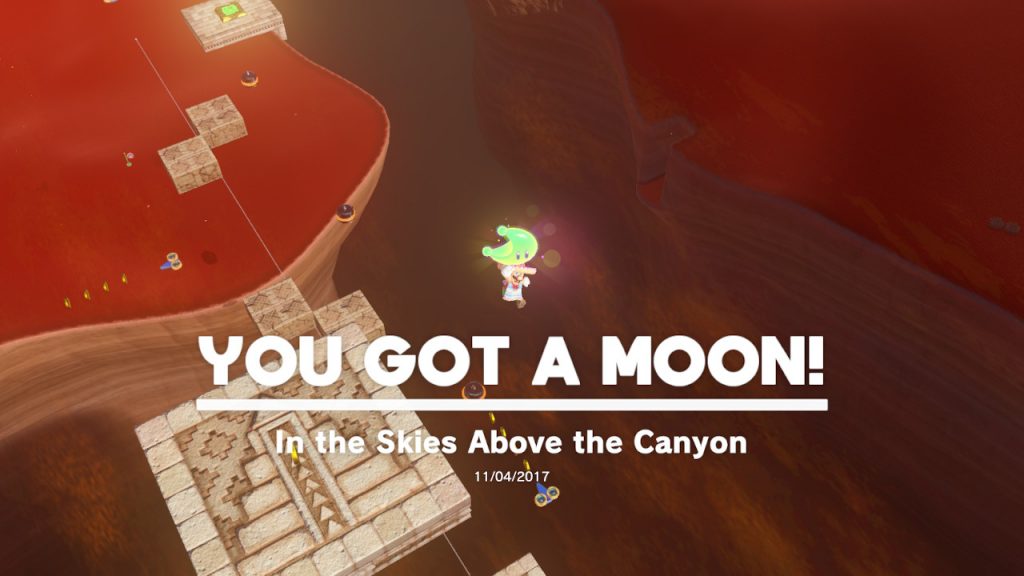
1- Above the northmost pillar there is a Power Moon dangling in the air…
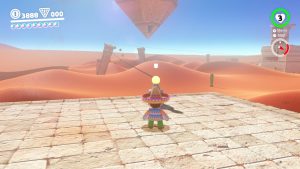
2- perhaps it is reachable with a skillful jump, but the easier rout is to go on top of the building right next to the “Tostarena Northwest Reaches” checkpoint…
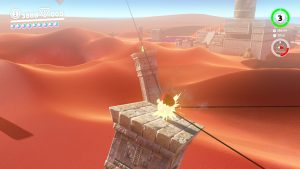
3- From there, jump onto the electrical wire and start riding the wire towards the Power Moon…
4- Drop down at the PERFECT time to land on the Power Moon! (Check out the video to see how it’s done)
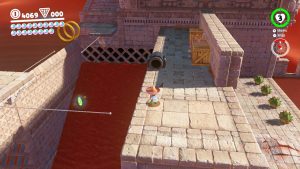
1- Right next to the lone Bullet Bill in the Tostarena Ruins you can see a Power Moon below on top of the sandfall (sand waterfall? sanderfall?)…
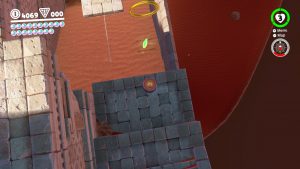
2- As soon as you tough this fast-flowing sand you will slide downward, so drop on top of it from this vantage point and you’ll snag it easily!
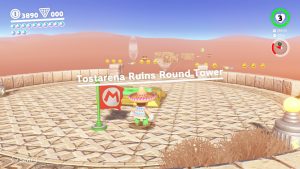
1- Start off on the “Tostarena Ruins Round Tower” checkpoint…
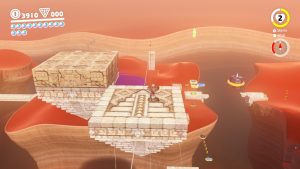
2- Jump on the platform to make it move, wait til you reach the Power Moon and you can grap it!
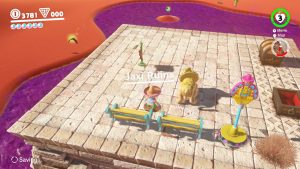
1- Start from the “Jaxi Ruins” checkpoint. The Power Moon is surrounded by poison so you’ll need Jaxi for this one…
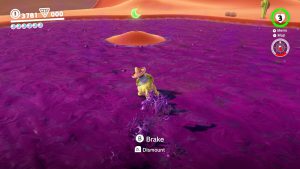
2- Jump on Jaxi (enjoy the music) and ride to the Power Moon! (Then give Jaxi a high rating on Uber)
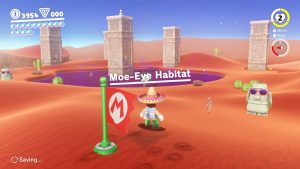
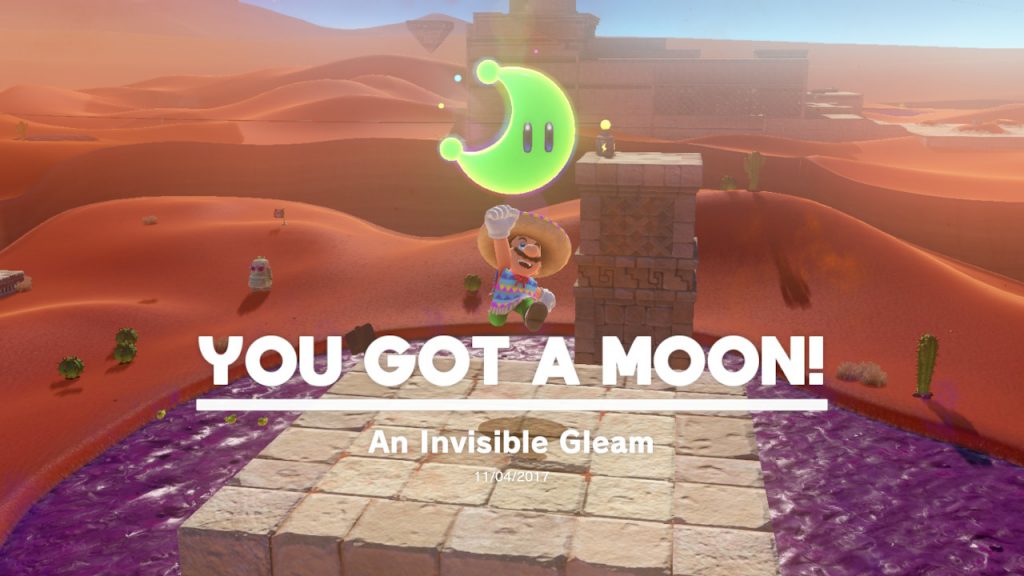
1- This Power Moon is up on one of the pillars at “Moe-Eye Habitat”…
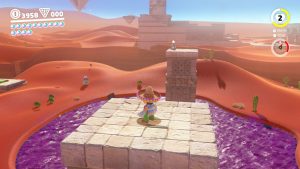
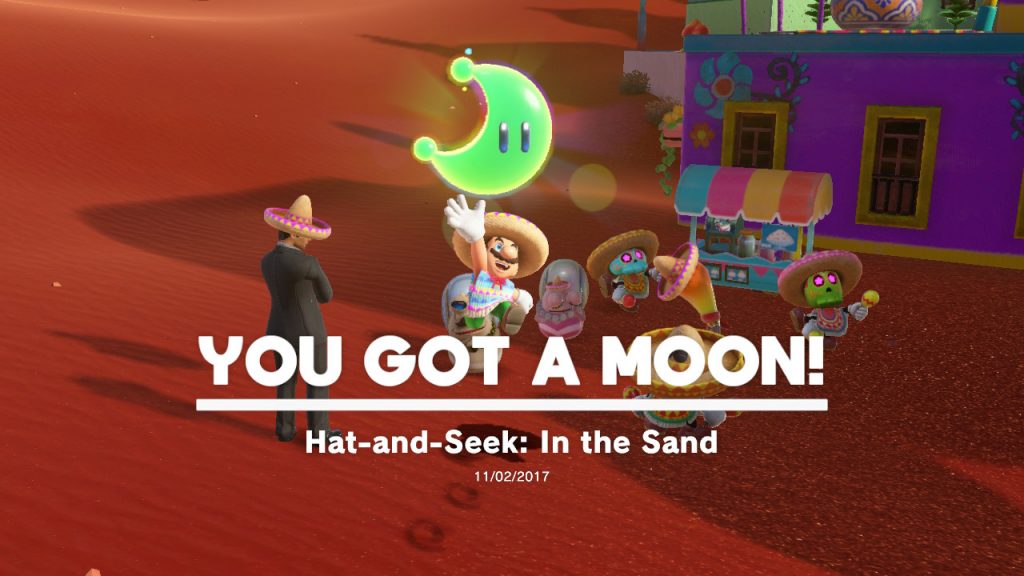
2- Ride the lift to the top, then on top of the BACK MIDDLE pillar you will find the area of the Power Moon. Ground pound this spot (which will be rumbling and also have a shiny glimmar to it) and the Power Moon is yours! (To be honest the name of this Power Moon confuses me… How can something that is Invisible Gleam? Wouldn’t it be visible if it is gleaming?? oh well…)
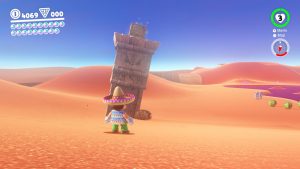
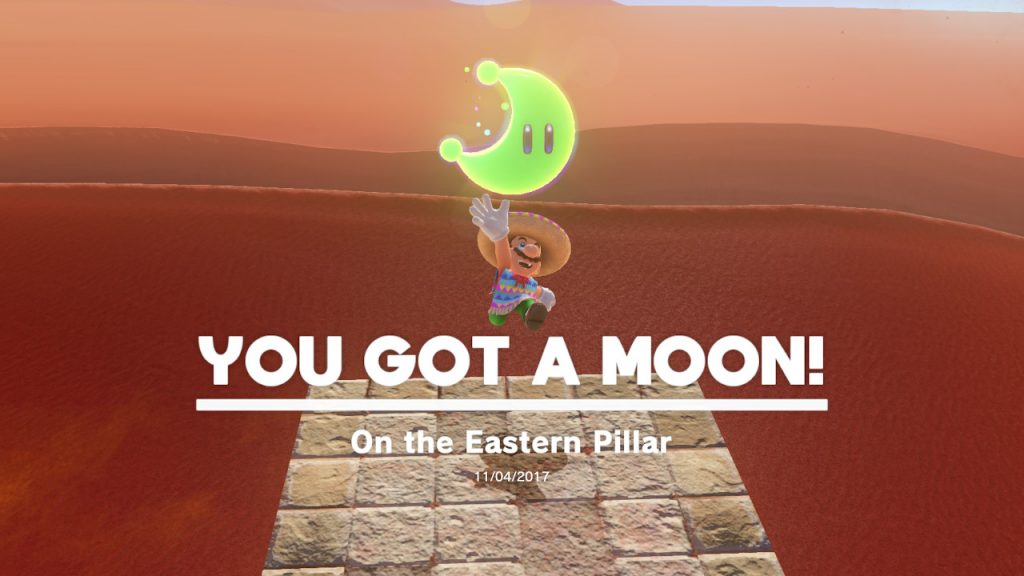
1- Allright, time for perhaps the trickest Power Moon in all of the Sand Kingdom! On top of this pillar is a mysterious block, the only way to blow this block open is with a Bullet Bill…
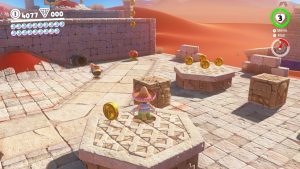
2- You’ll want to head over to the “Tostarena Ruins Sand Pillar” checkpoint and drop down below where unlimited Bullet Bills spawn…
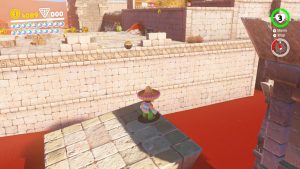
3- You’ll need to catch a Bullet Bill from THIS pillar, because the Bullet Bill is timed and will blow up before you make it to the Power Moon if you capture one any closer.
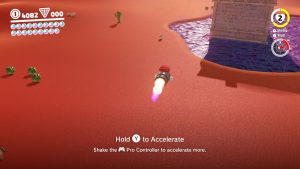
4- You will then need to accelerate AND shake your controller/joy-con for extra boosts to make it to the pillar with the block… It isn’t easy at all. Watch the video below, hopefully it helps…
5- So get a Bullet Bills attention, jump to the pillar, THEN capture it, and finally ACCERATE AND BOOST your way to the Eastern Pillar!!
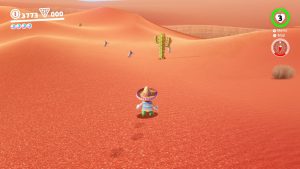
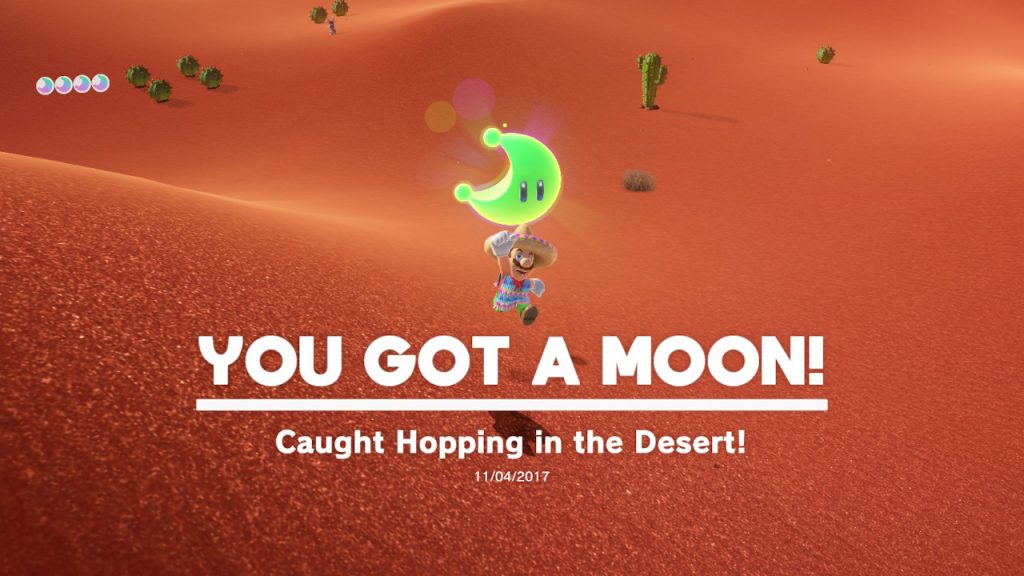
1- In the dessert that is left of downtown Tostarena you will find THREE rabbits…
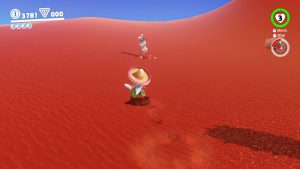
2- You do not HAVE to catch all three, because only one of them is holding the Power Moon…
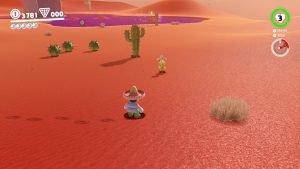
3- BUT, you don’t know which one it is…
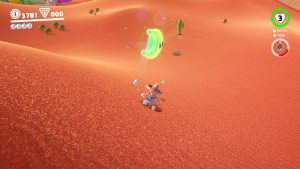
4- So you may end up needing to catch all three after. Just catch one, and if it doesn’t give you a Power Moon, move onto the next! Eventaully the Power Moon will be yours!
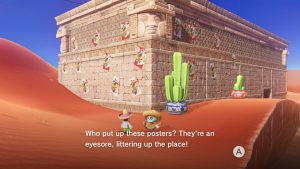
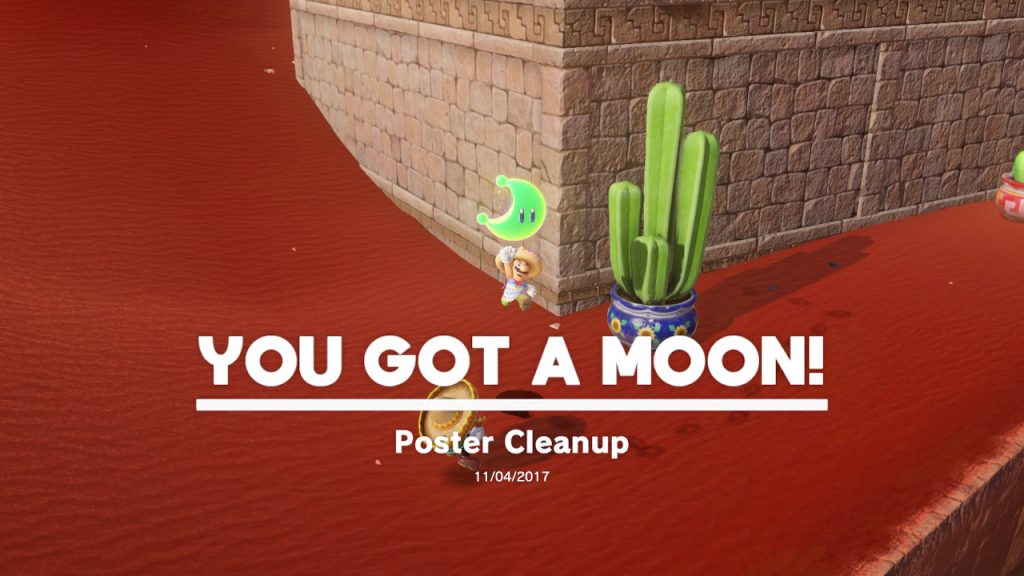
1- Right around the corner of the “Tostarena Northwest Reaches” building you will find a distressed Tostarenan…
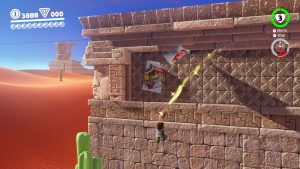
2- Someone put up hideous Bowser posters all over the wall!…
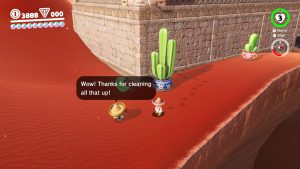
3- Clean them all up by throwing Cappy at them and the Tostarenan will give you a Power Moon!
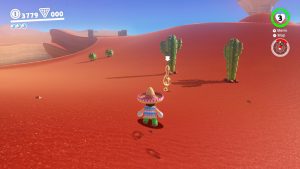
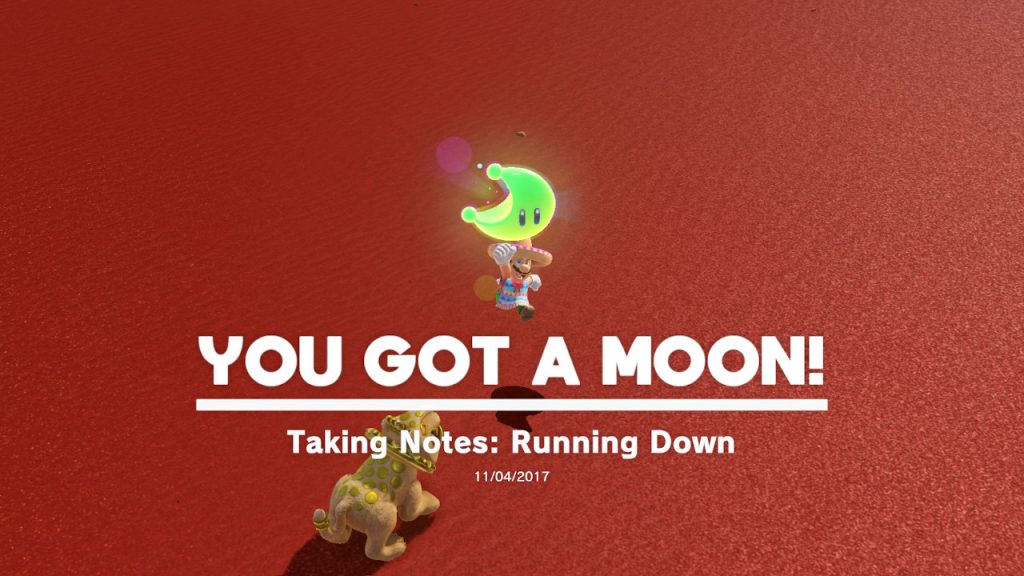
1- In the desert west of downtown Tostarena is a music note…
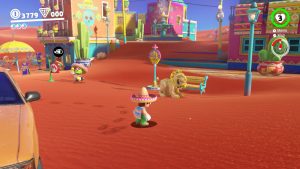
2- It’s not easy to snag them all on foot, perhaps it’s possible, but I found it easier to use Jaxi…
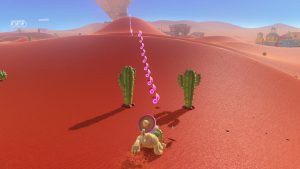
3- Use the break to slide into place and then just rush forward and you can grab them all…
4- Check out this video to see how it is done!
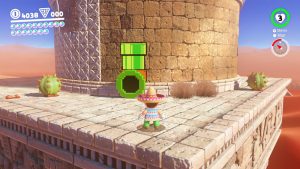
1- Just below the “Tosarena Ruins Round Tower” checkpoint is an 8-bit warp pipe…
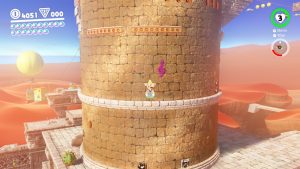
2- Crawl into the pipe and part-way through you will see a music note…
3- Grap all the notes in time and the 8-bit Power Moon is yours!
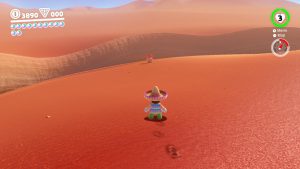
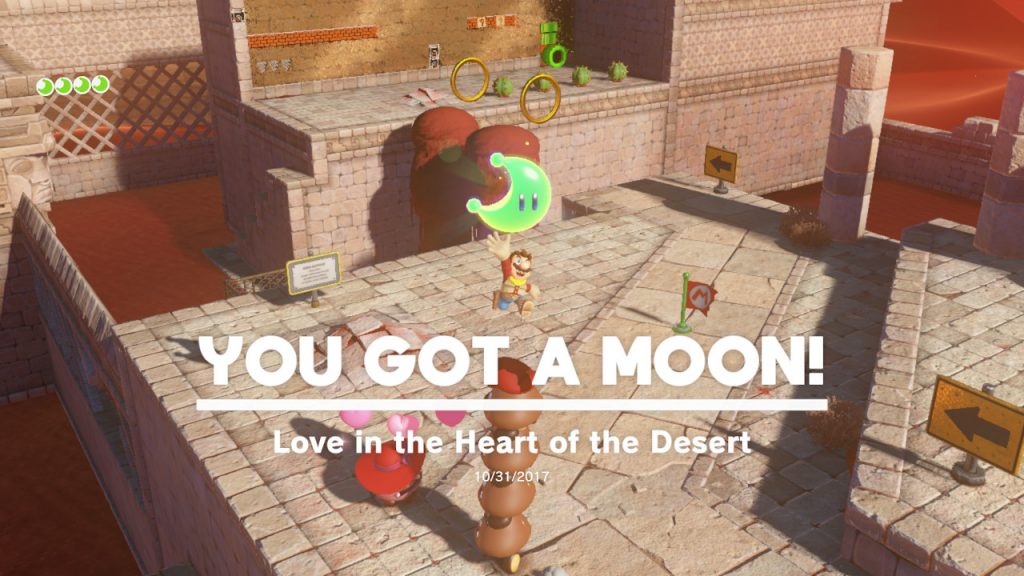
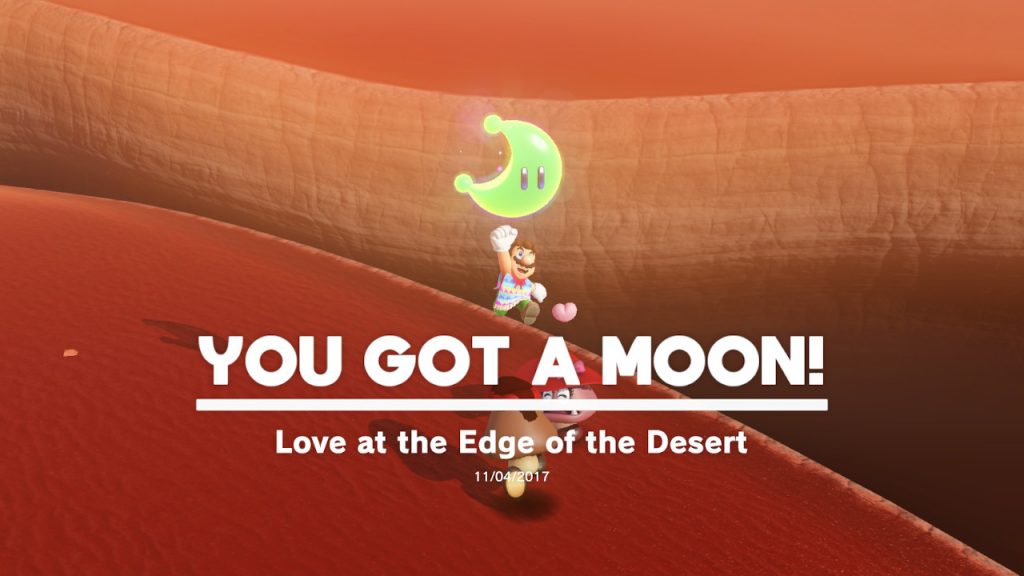
1- Waaaaay out in the northmost edge of Tostarena is Goombette (a lady Goomba) looking for love…
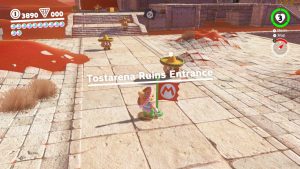
2- You’ll have to head all the way back to the “Tostarena Ruins Entrance” checkpoint…
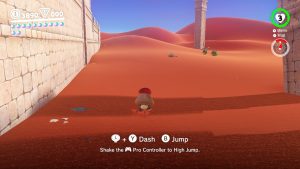
3- From here, capture a Goomba and start your trek across the desert…
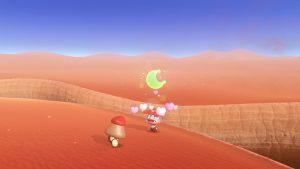
5- When you finally reach Goombette, she will give you a Power Moon!
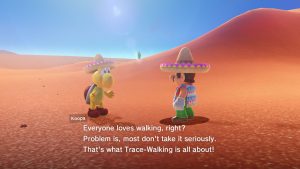
1- If you loved the adrenline-filled rush of walking in a giant circle the first time, get ready for round two!!!…

2- Talk to the KoopaTroopa and he’ll tell you that you need to score at least 90 points… (last time it was 80)

3- Stay on course, remember the lines disappear about half way through…
4- Here’s a video to give a good idea of the path and speed you should take, just use the first half to get the angle and then HOLD that angle the whole way through!
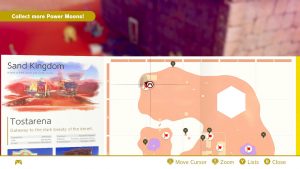
Location- Tostarena Northwest Reaches
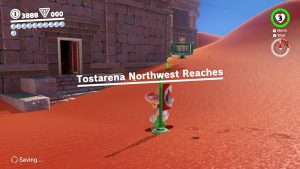
1- Travel to the “Tostarena Northwest Reaches” checkpoint, a Goomba is there ready to race…
2- The freerunning race asks you to make it all the way to the front of downtown Tostarena…
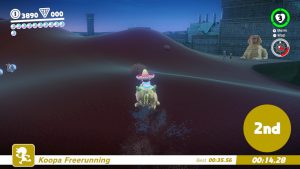
3- You’ll start on top of the building, just jump down and jump on Jaxi…
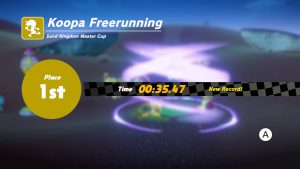
4- Ride him all the way to the finish, the koopa is quite fast as well so you’ll have to get first place by timing around 36 seconds or faster! Good luck!
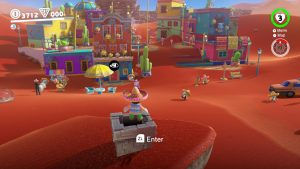
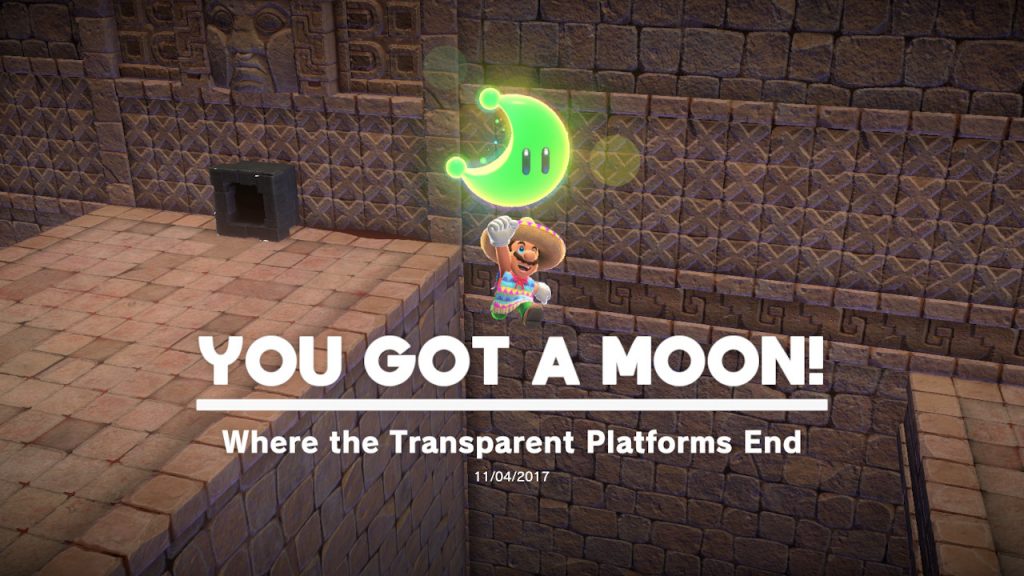
1- After you bust open the Moon Rock, this Moon Rock Warp Pipe will appear right in front of the Tostarena Plaza area, you can’t miss it…
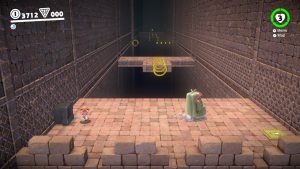
2- Inside is a Moe-Eye and a difficult obstacle course…
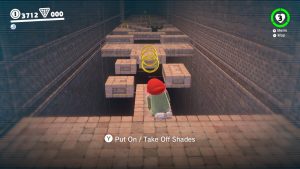
3- Capture the Moe-Eye and use his “shades” to see where the invisible platforms are…
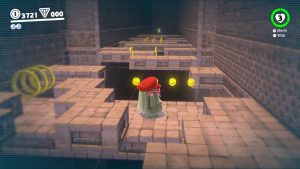
4- You’ll have to swap back and forth between using the shades and taking them off because the Moe-Eye moves slowly when the shades are on, and some points you will need to run…
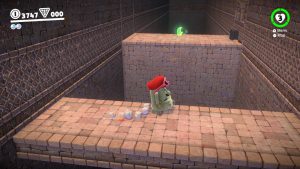
5- At the end of the Moe-Eye maze is your Power Moon!
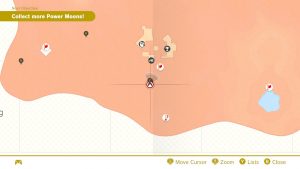
Location- Same as “Where the Transparent Platforms End”

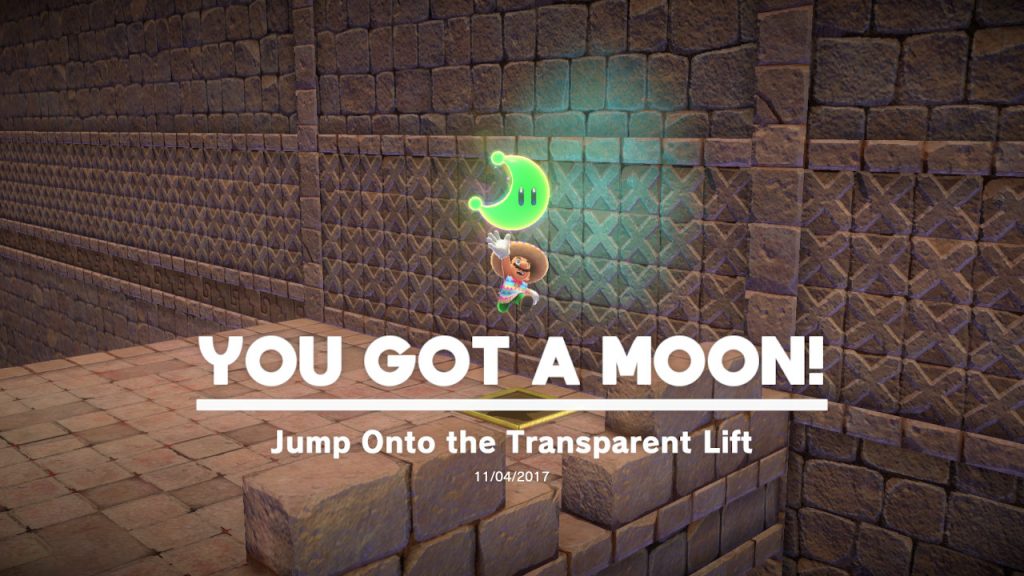
1- After you bust open the Moon Rock, this Moon Rock Warp Pipe will appear right in front of the Tostarena Plaza area, you can’t miss it…

2- Inside is a Moe-Eye and a difficult obstacle course. You’ll need to capture the Moe-Eye and use his “shades” to see where the invisible platforms are…
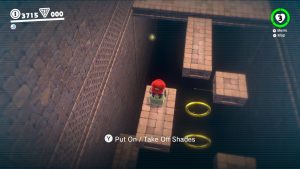
3- But instead of progressing forward, right away look down and you will see a key…
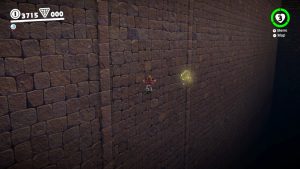
4- Drop down on the invisible platform and it will start to move you towards the key…
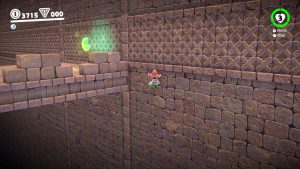
5- It’ll run you right into the key and back up on the platform where the Power Moon has now appeared! (Check out the video below to show exactly how it’s done)
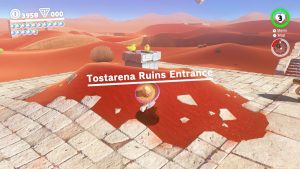
Location- Tostarena Ruins Entrance
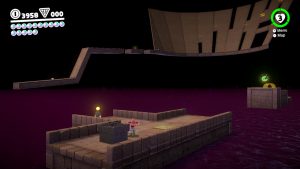
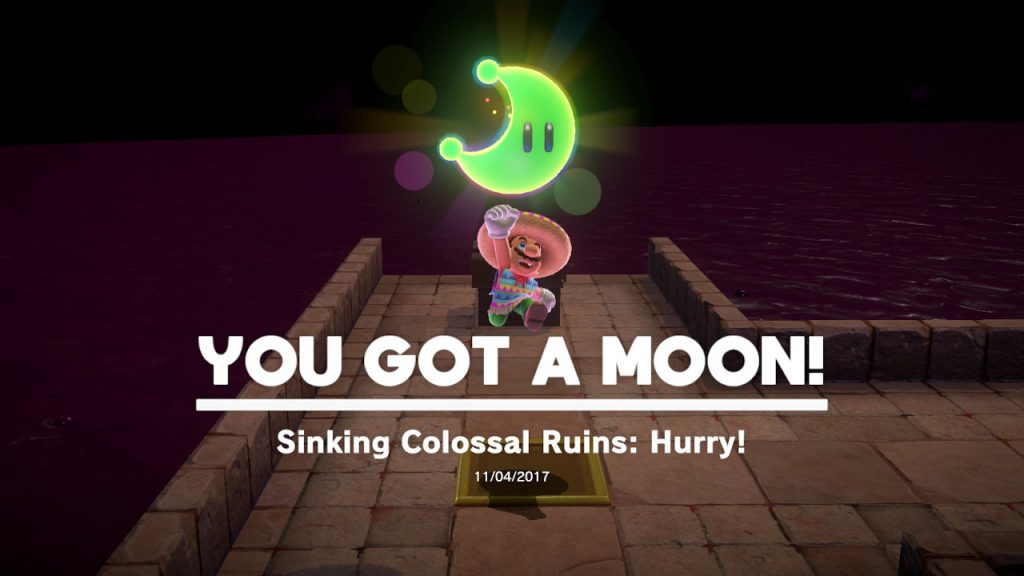
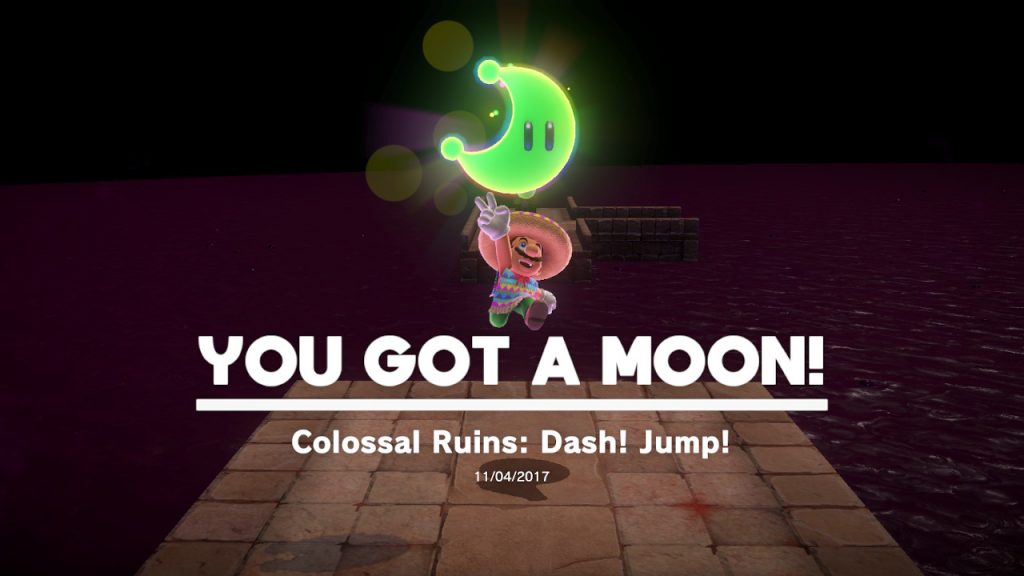
1- Directly in front of the “Tostarena Ruins Entrance” checkpoint is a new Moon Rock Warp Pipe…
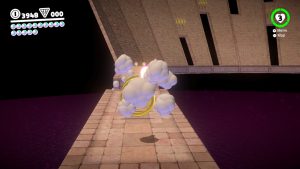
2- Inside is a GIANT wall running course with the help of the dash flowers…
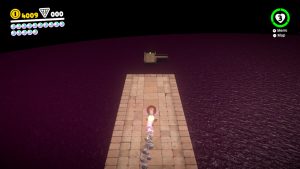
3- Throw Cappy at every flower you see to maintain your speed and reach the Power Moon at the end before the whole thing calapses! (There’s also an aditional secret Power Moon in here, scroll down to see how to get it AND a video that shows me capturing BOTH Power Moons)
Hurry!

Location- Tostarena Ruins Entrance

1- Directly in front of the “Tostarena Ruins Entrance” checkpoint is a new Moon Rock Warp Pipe…

2- Inside is a GIANT wall running course with the help of the dash flowers…
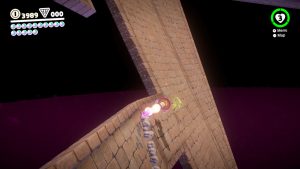
3- But there’s also a secret additioanl Power Moon in here, you’ll need to snag this key to get it…
4- You’ll need to hug the bottom edge and jump over the gaps. Check out this video to see the path you need to take!
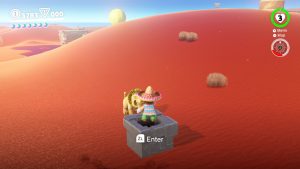
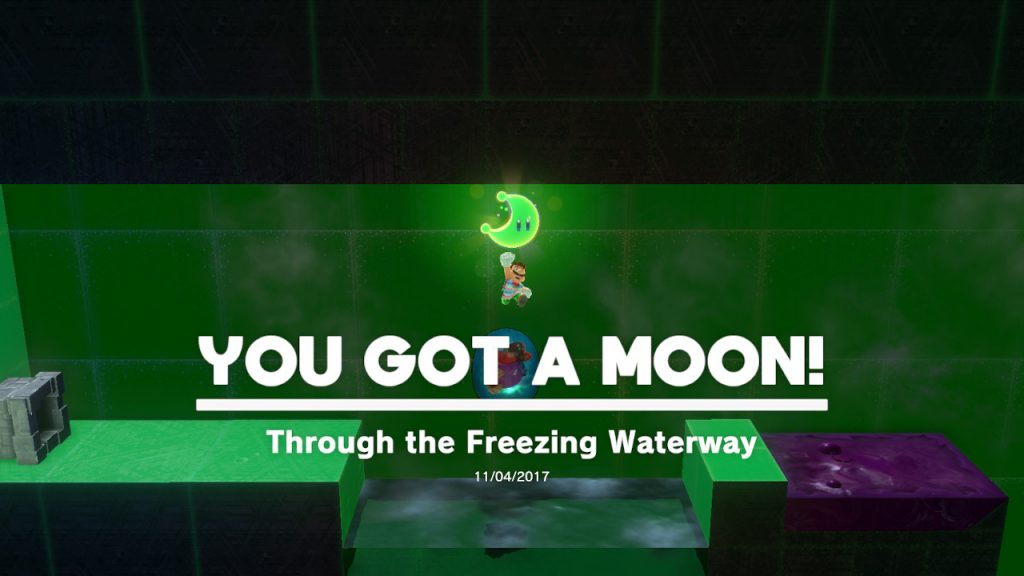
1- A new Moon Rock Warp Pipe has appeared underneath and to the east of the Inverted Pyramid…
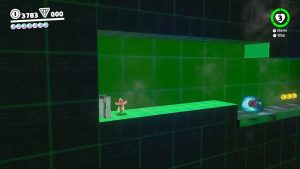
2- Inside is a maze filled with poison and freezing waters…
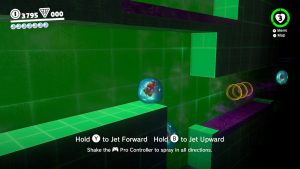
3- Capture a Gushen and start dashing through, be careful not to touch the poison…
4- The last dash is a bit tricky, you’ll need to dash to the right, up, and back to the left without touching the ground! (Here’s a video to show you how it is done)
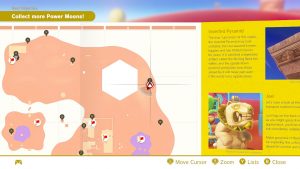
Location- Same as “Through the Freezing Waterway”

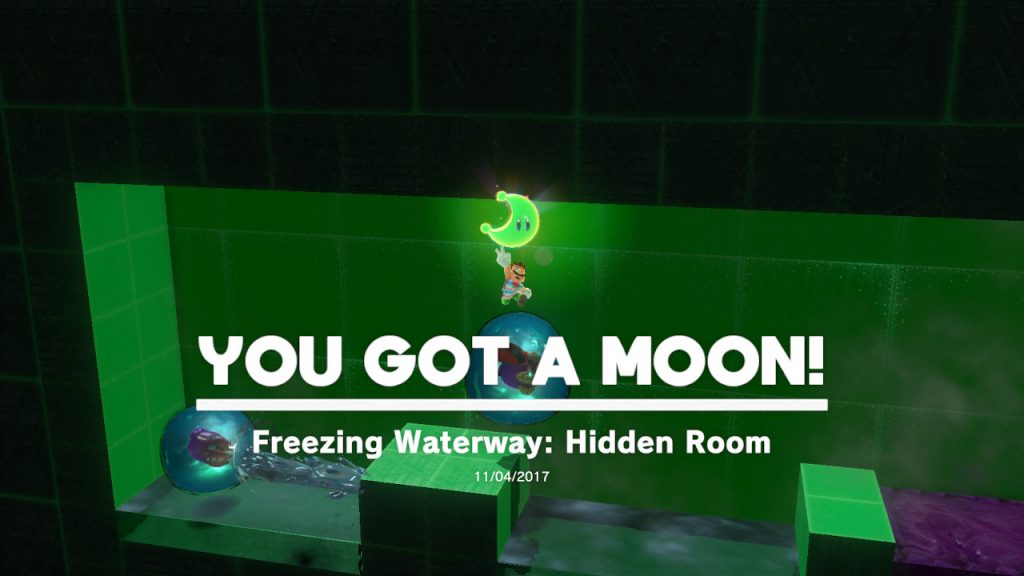
1- A new Moon Rock Warp Pipe has appeared underneath and to the east of the Inverted Pyramid…

2- Inside is a maze filled with poison and freezing waters. you’ll need to capture a Gushen and work your way through the treacherous waterways…
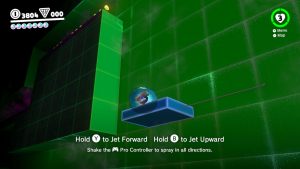
3- A few moments into the labyrinth, if you look upwards you will notice a secret path…
4- It’s a bit tricky navigating through without touhing the poison. This video should show how to make it to the end and reach the secret Power Moon!
