- Super Mario Odyssey – Cloud Kingdom – Moon Locations
- Super Mario Odyssey – Metro Kingdom – Power Moon Locations
- Super Mario Odyssey – Mushroom Kingdom – Moon Locations
- Super Mario Odyssey – Ruined Kingdom – Moon Locations
- Super Mario Odyssey – Luncheon Kingdom – Moon Locations
- Super Mario Odyssey – Cascade Kingdom – 100% Power Moons and Coins
- Super Mario Odyssey – Speedrun Routes
- Super Mario Odyssey – Snow Kingdom – Moon Locations
- Super Mario Odyssey – Purple Coin Runs
- Super Mario Odyssey – Cap Kingdom – Moon Locations
- Super Mario Odyssey – Wooded Kingdom – Moon Locations
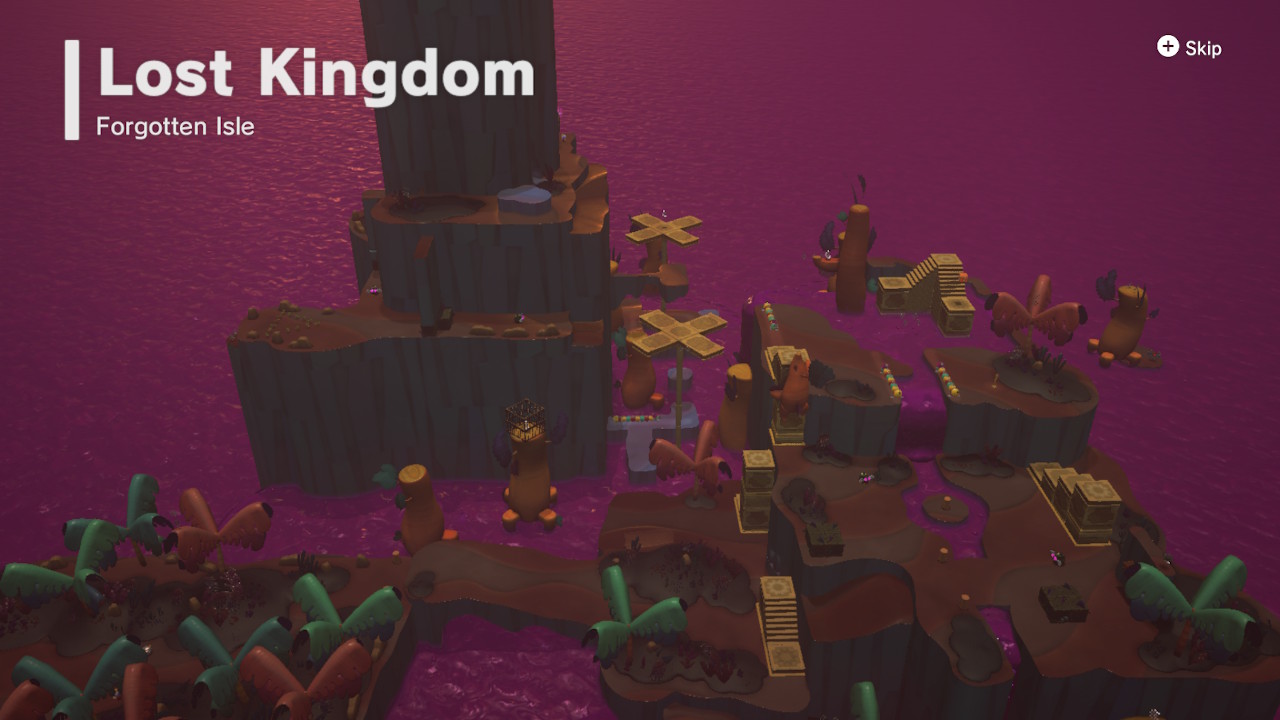
- Super Mario Odyssey – Lost Kingdom – Moon Locations
- Super Mario Odyssey – Lake Kingdom – Moon Locations
- Super Mario Odyssey – Sand Kingdom – Moon Locations

Location –

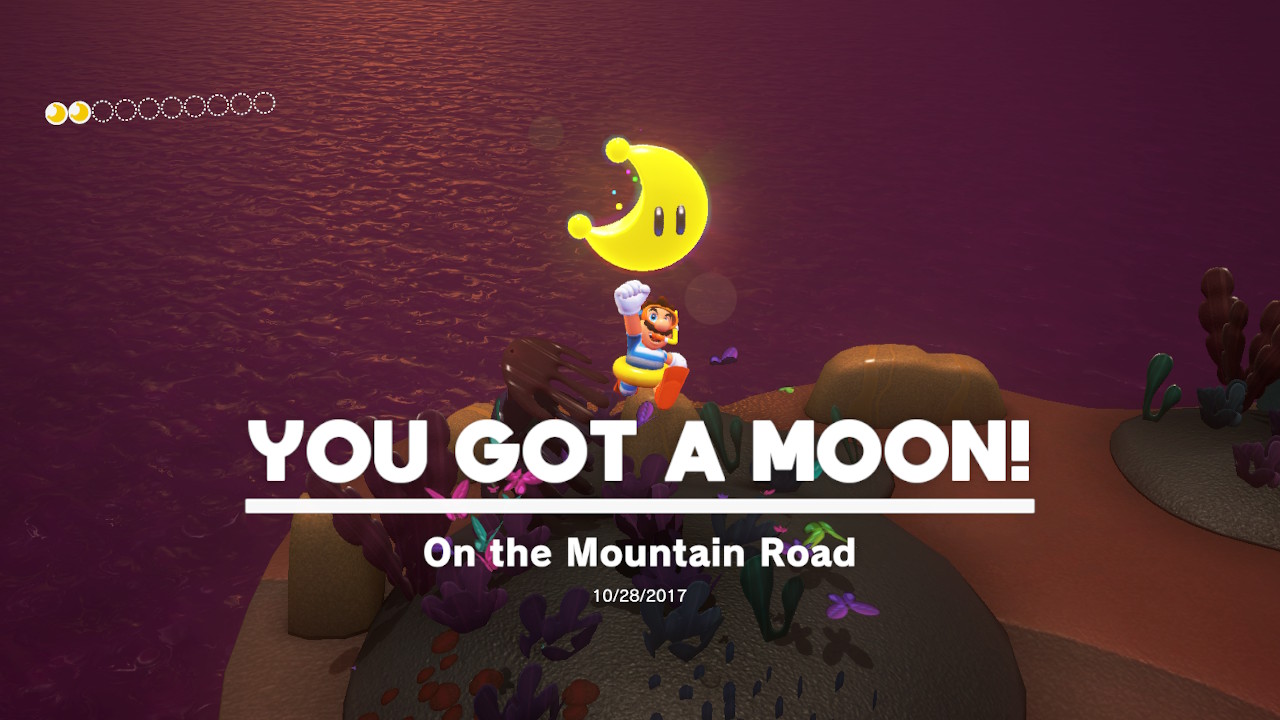
1- From the very first checkpoint that you reach, you will see a Power Moon above the spinning platforms to the north…

2- Jump across the platforms and the Power Moon is yours!
Location-
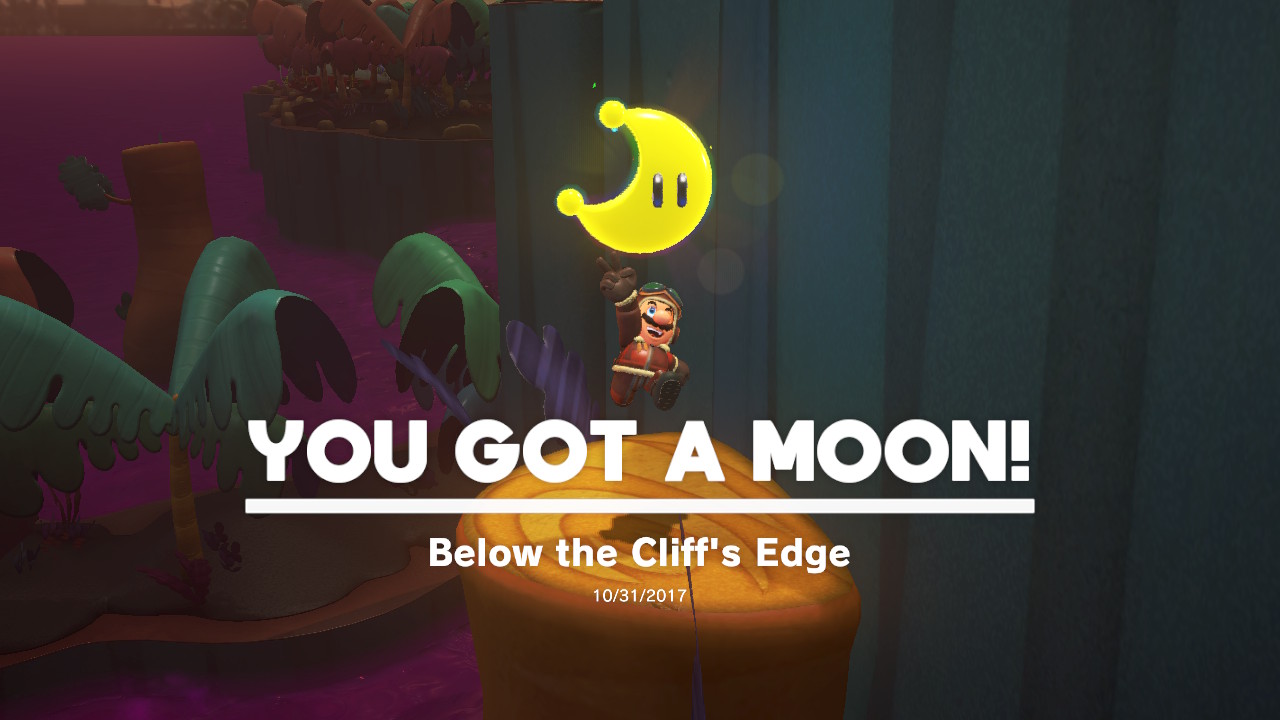
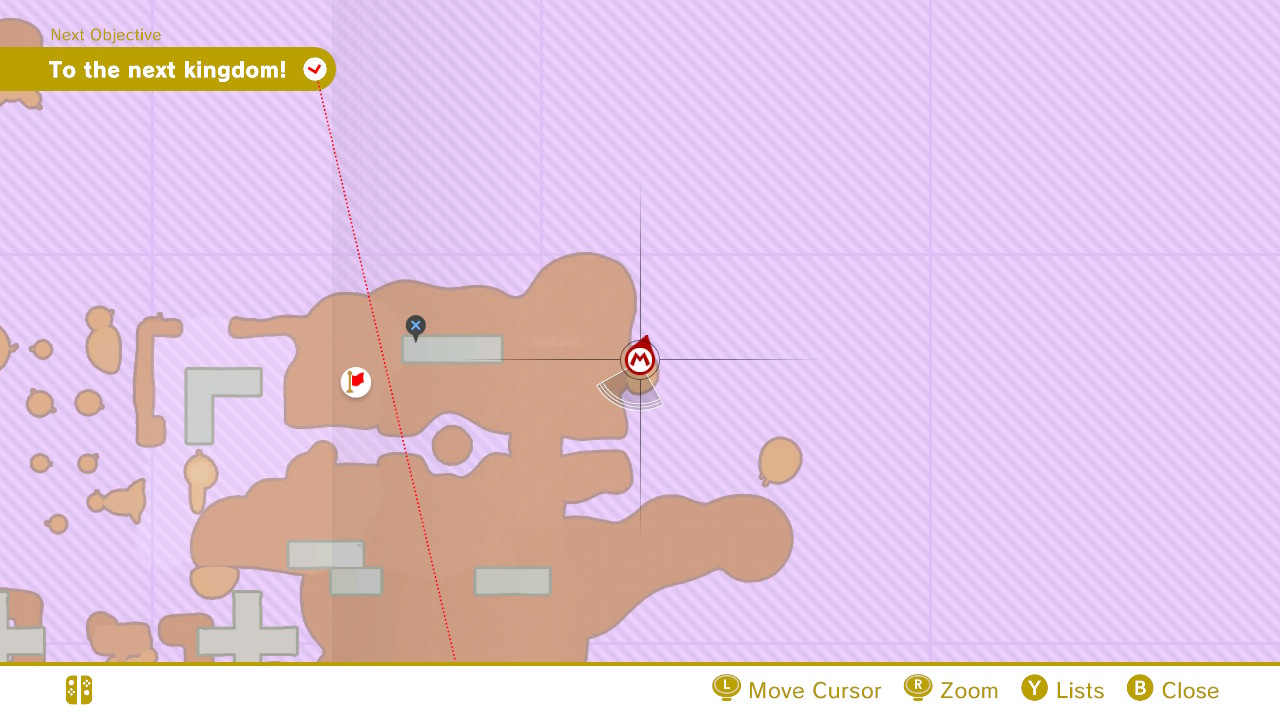
1- Right off this edge there is a Power Moon just sitting there…

2- Drop down and pluck it away!
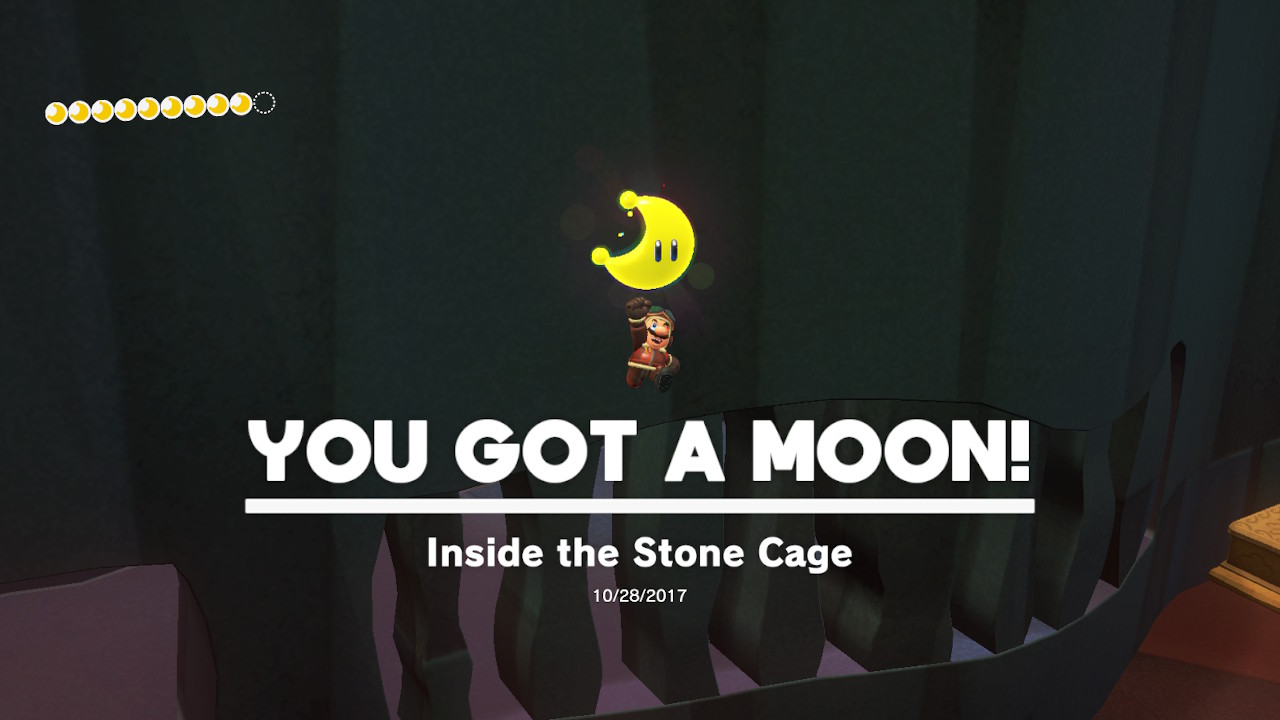

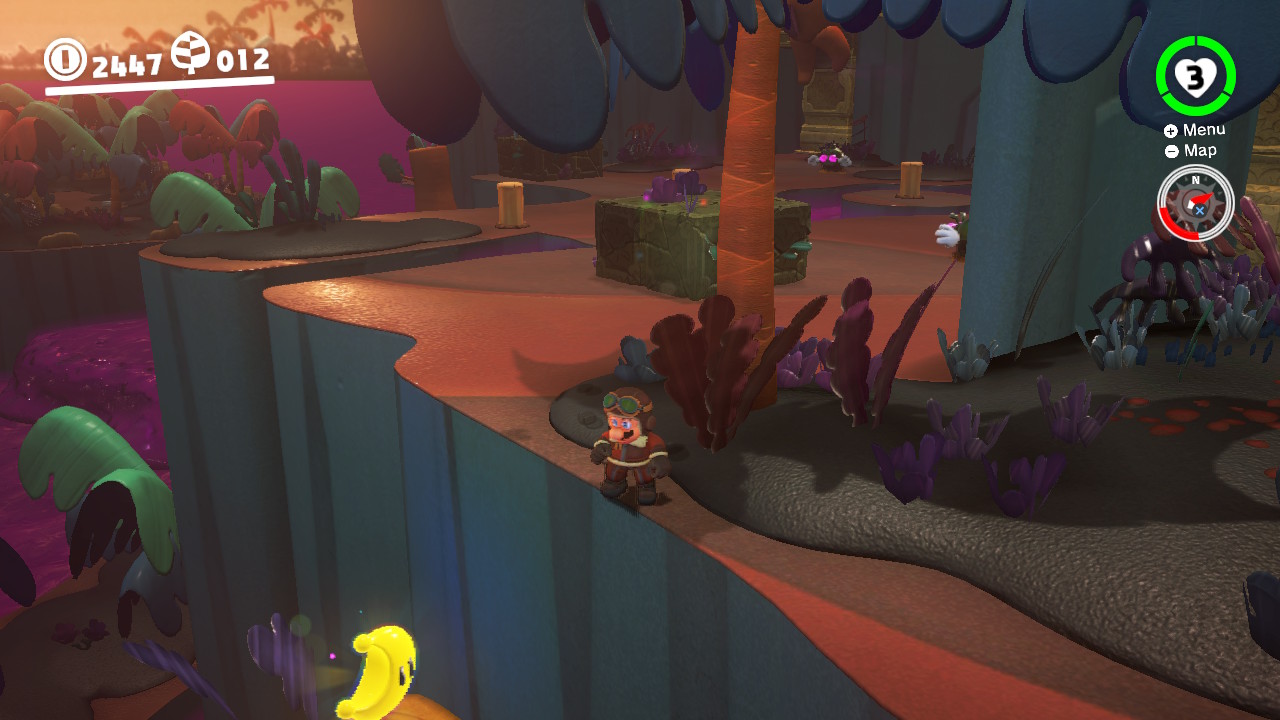
Location –
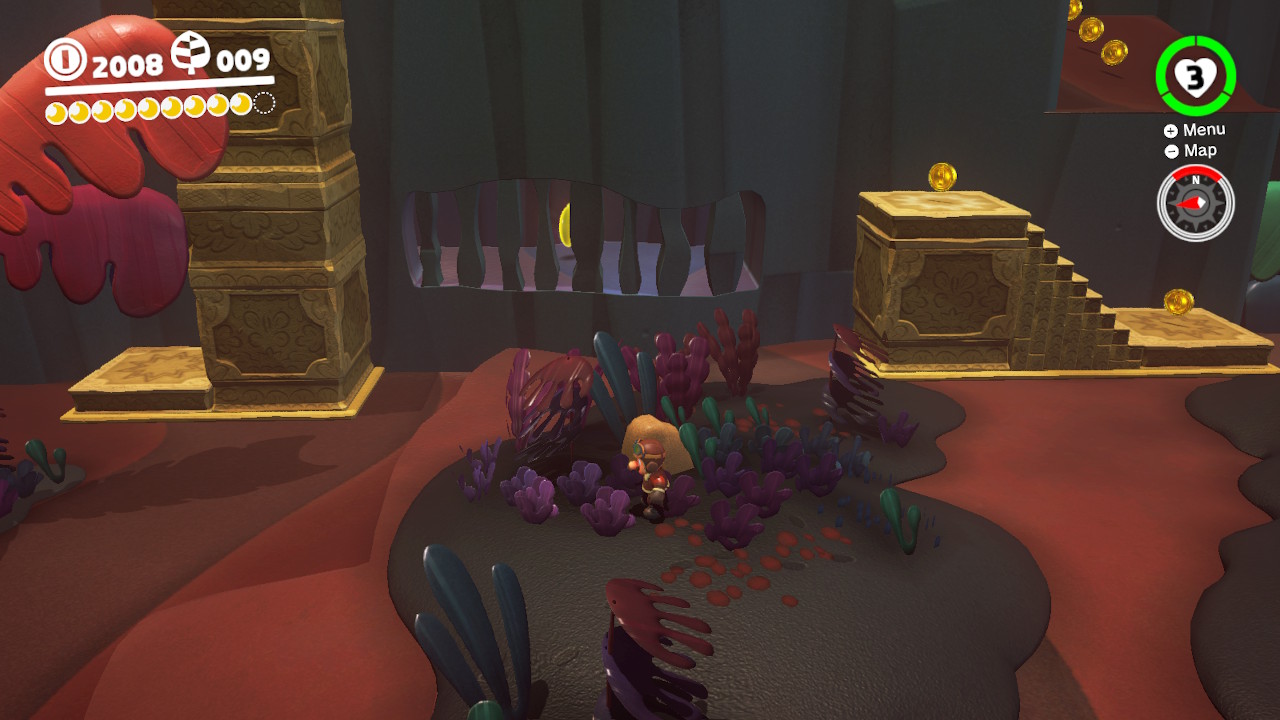
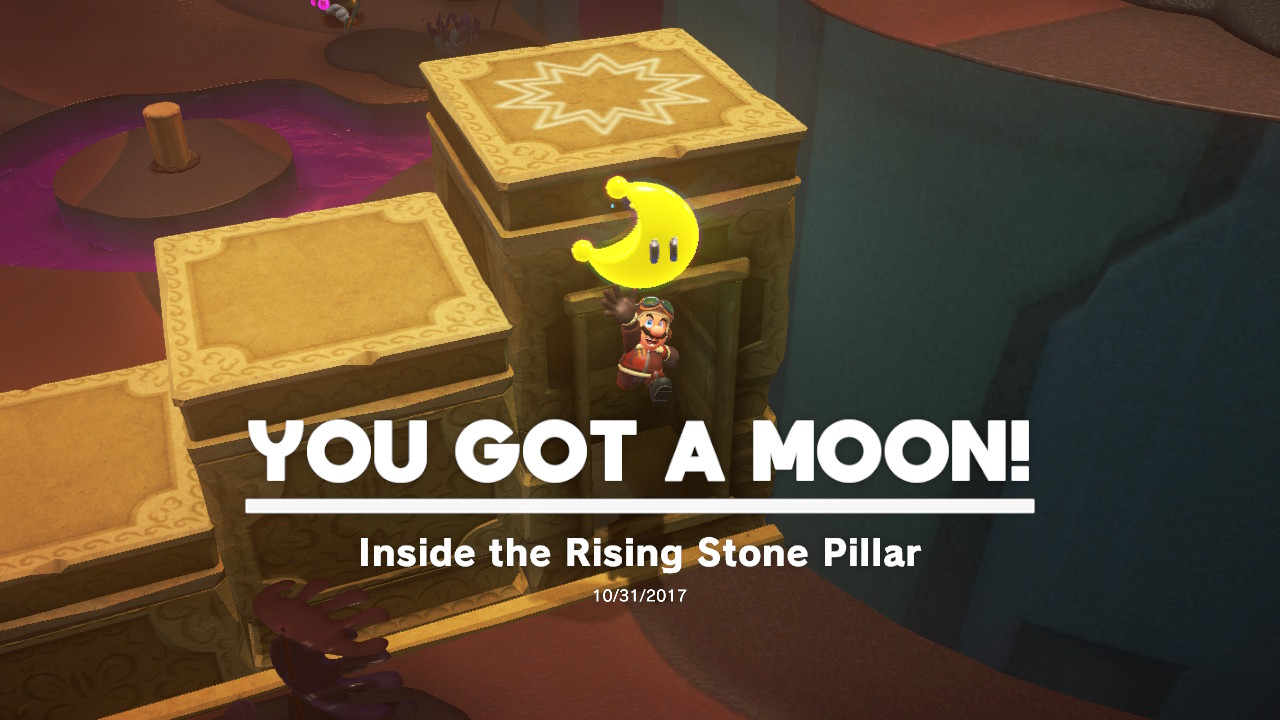
1- Hiding behind a stone bars in a cave is the Power Moon…
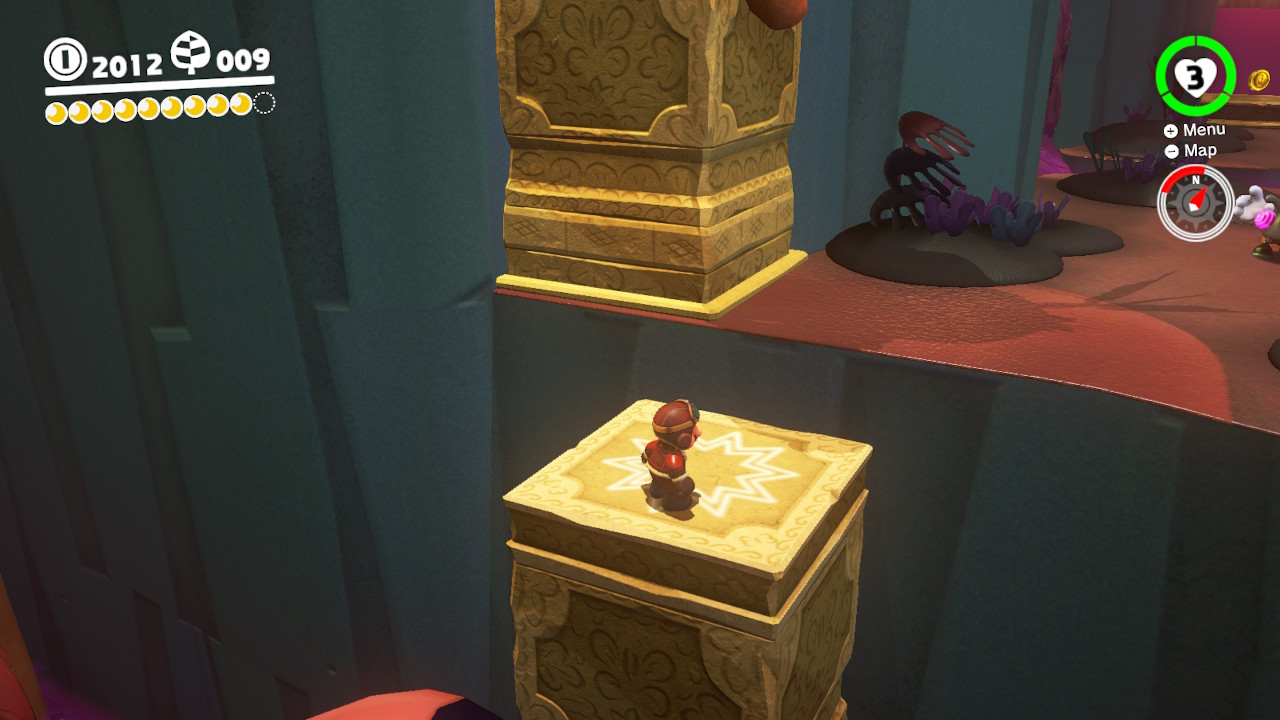
2- Climb directly above it and you will see a pillar to the right…
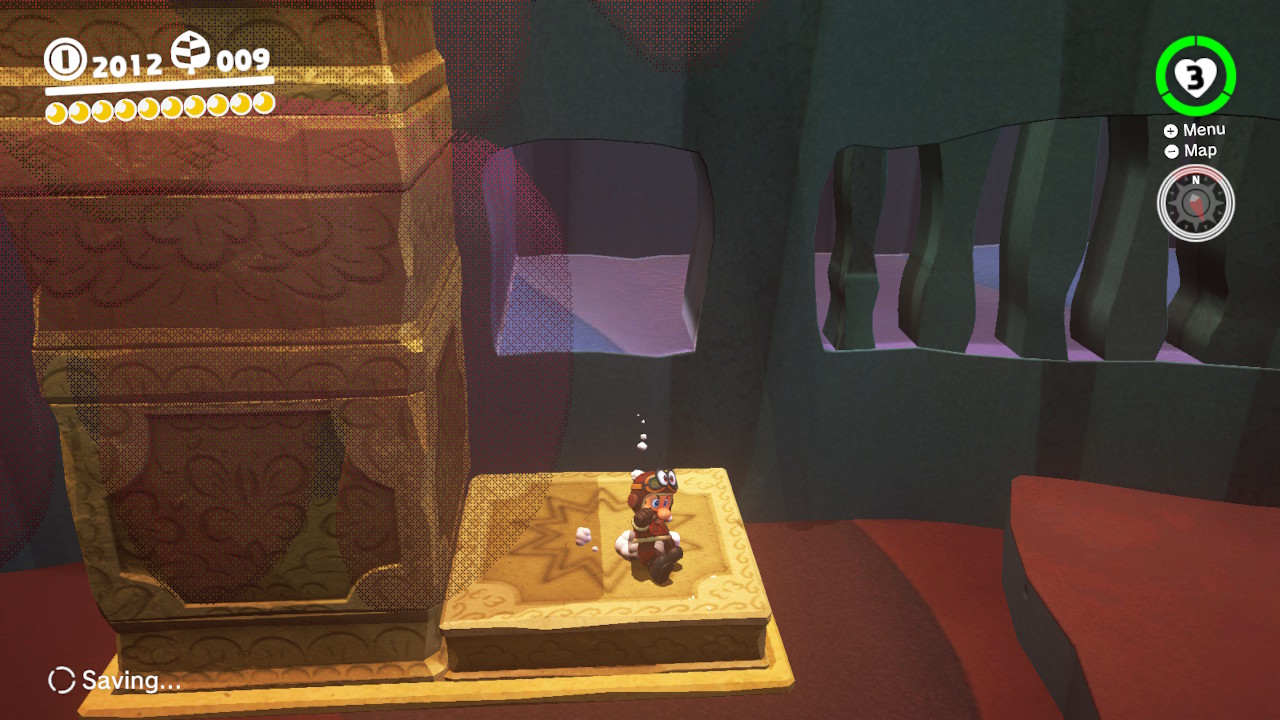
3- Ground pound and lower the pillar and you can now reach the Power Moon!
Location-
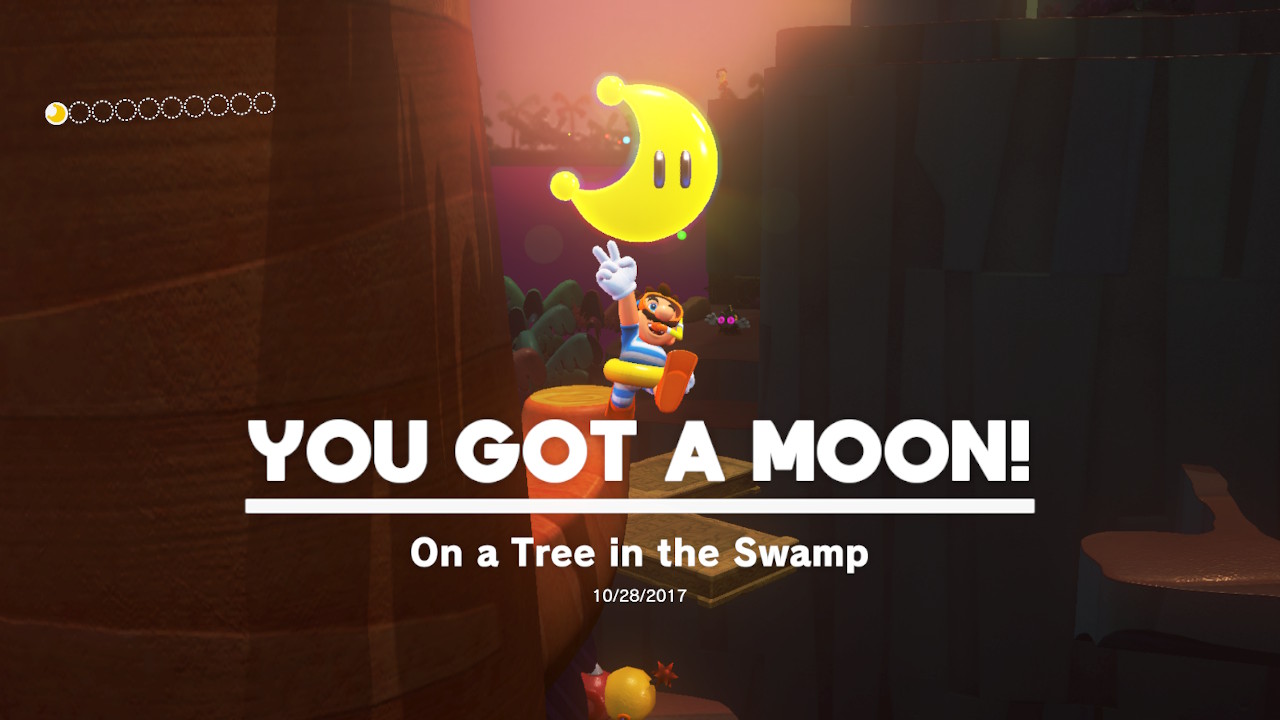
1- This Moon is hiding on a branch that seems JUST out of reach…
2- Ground pound the yellow platforms to raise them up. Now it will take some tricky jumping, but the Power Moon is now reachable! (You may die getting it, like I did!)

Location-
1-Right from the checkpoint you will see a Power Moon, one in the wall and one in the open. For this one, you want to jump on the platforms across to get the moon!
Location-
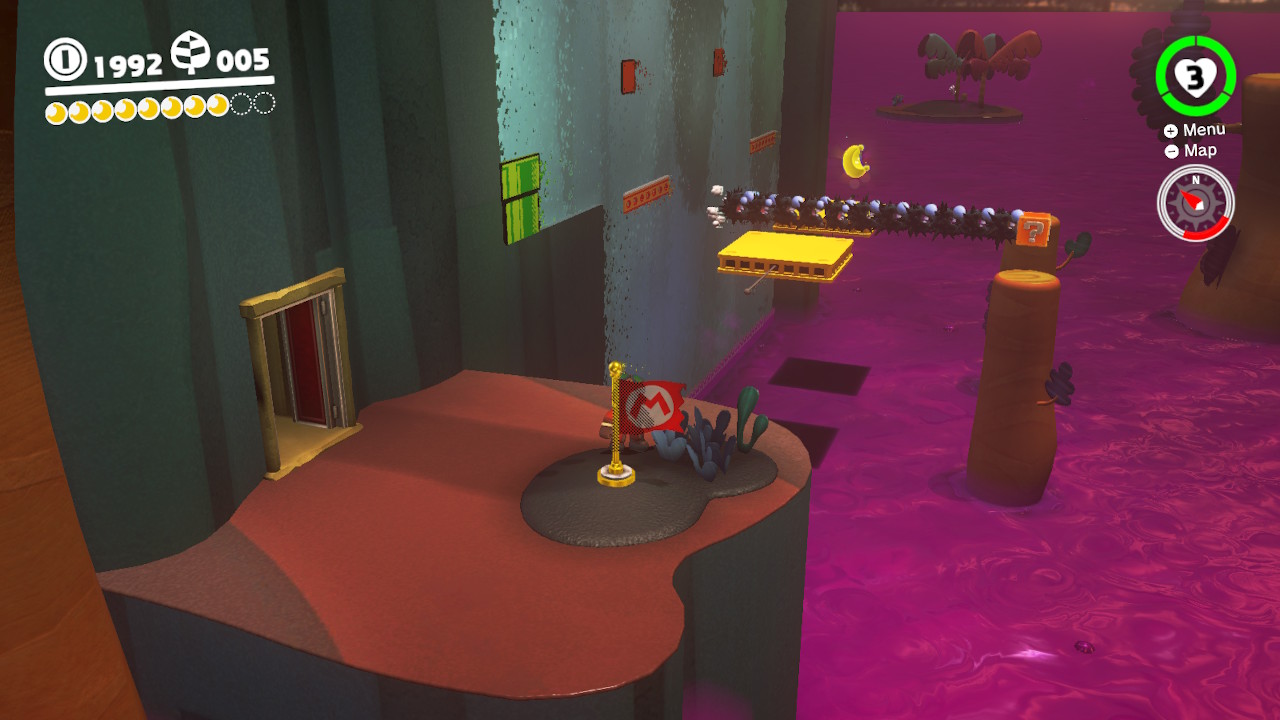
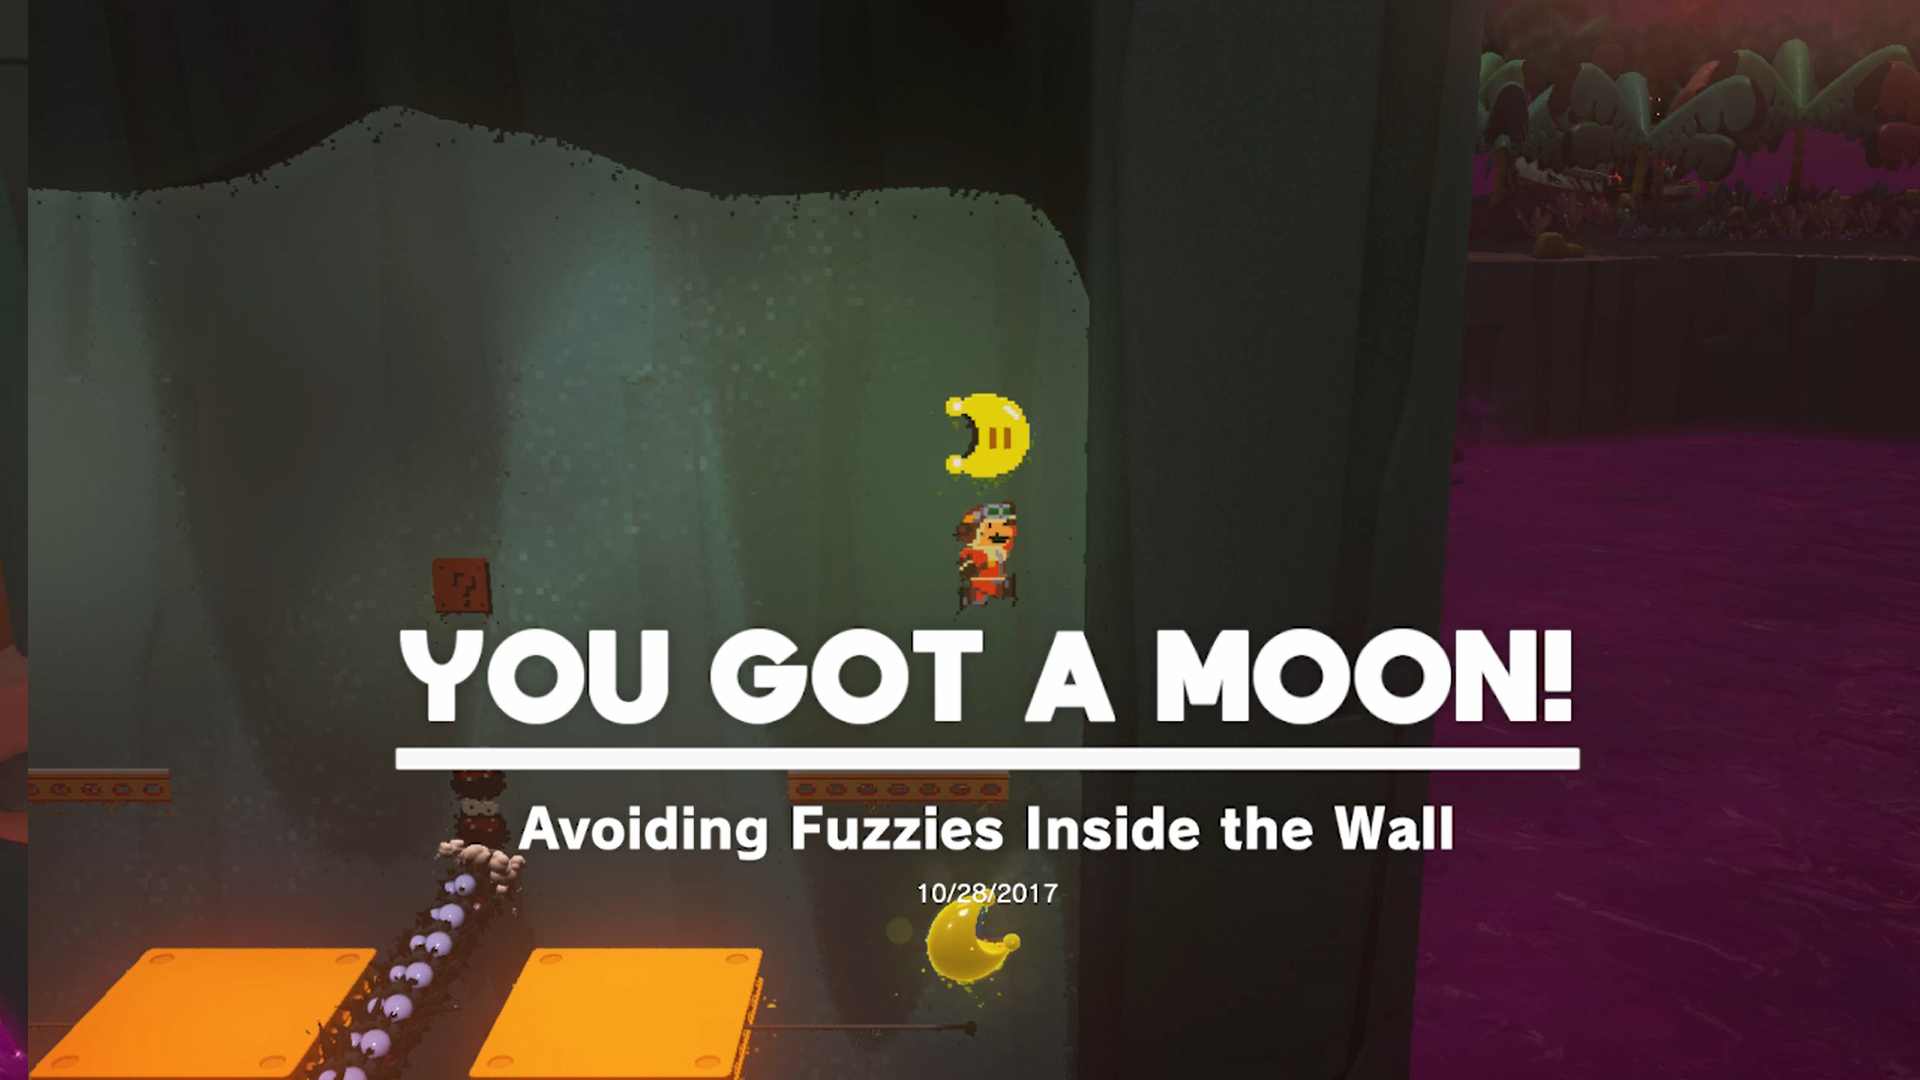
1- From the checkpoint you will see a door, open it with Cappy and an 8-bit tunnel is behind it…

2- Go through the pipe, jump on the moving platforms, and the Power Moon is waiting for you! (Take a minute and enjoy the 8-bit music while you’re at it!)
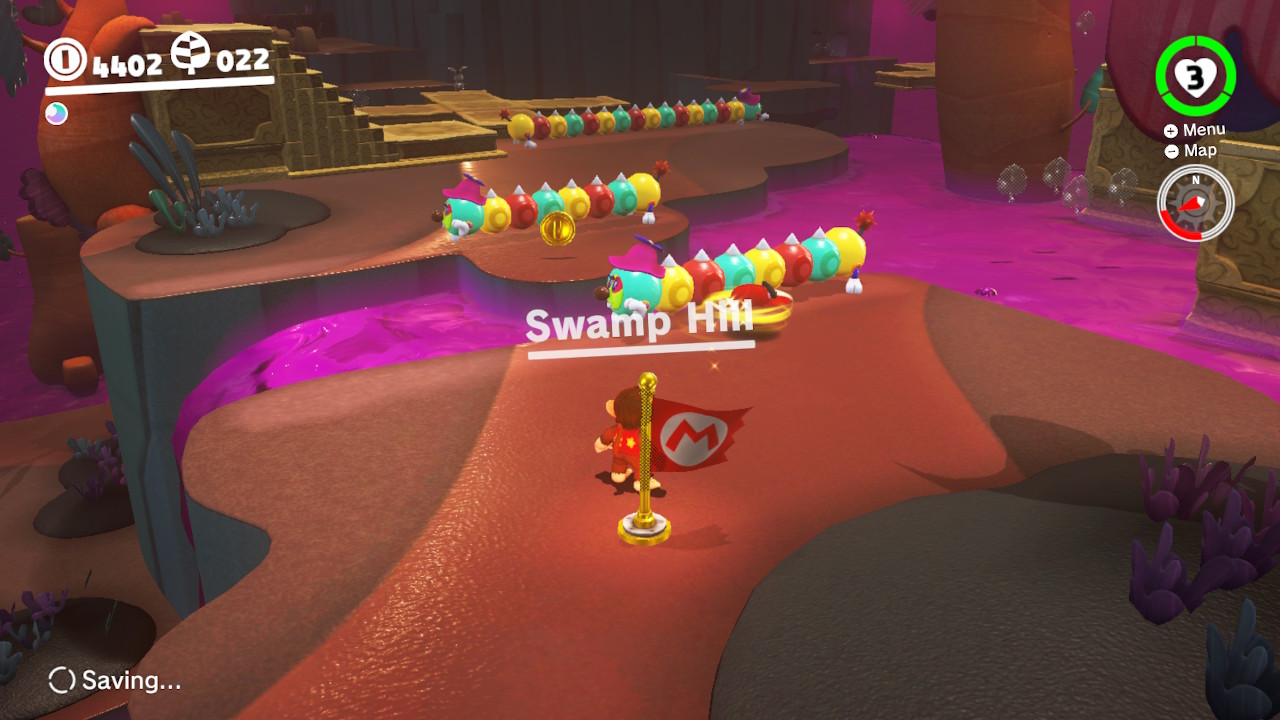
Location-

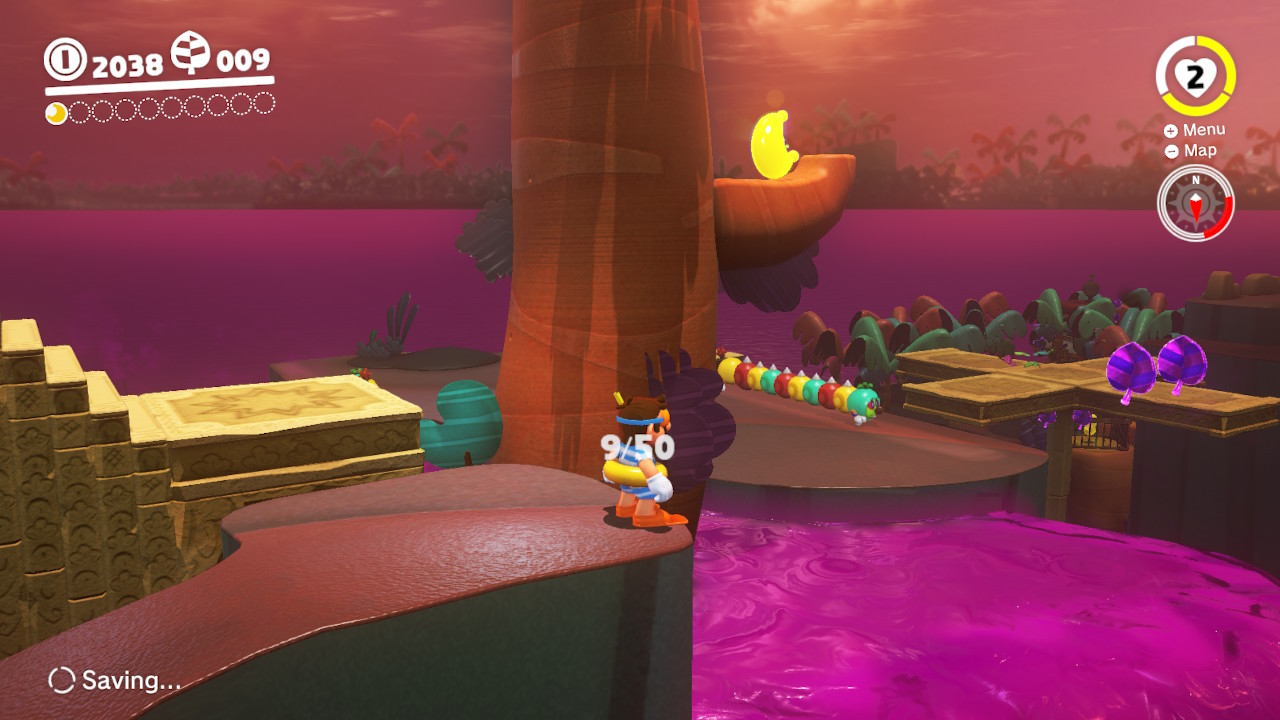
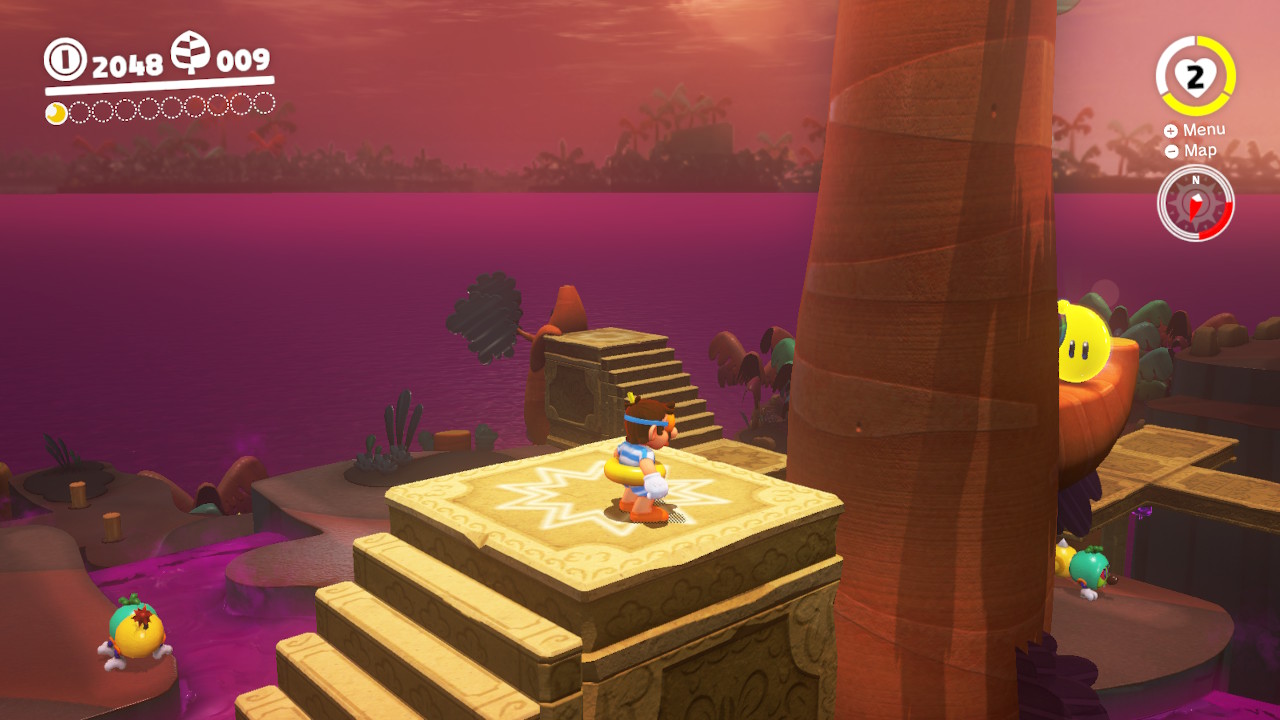
1- On the rising pillar that you initially used to reach the “Swamp Hill” checkpoint, there is a Moon hiding underneath…

2- Ground pound the pillar and…. Check it out! Look what’s hiding down there!

Location-

1- Directly to right right of “Crazy Caps” you will see a tree, dangling above it is the Power Moon! Climb the tree and check out the view!
Location-
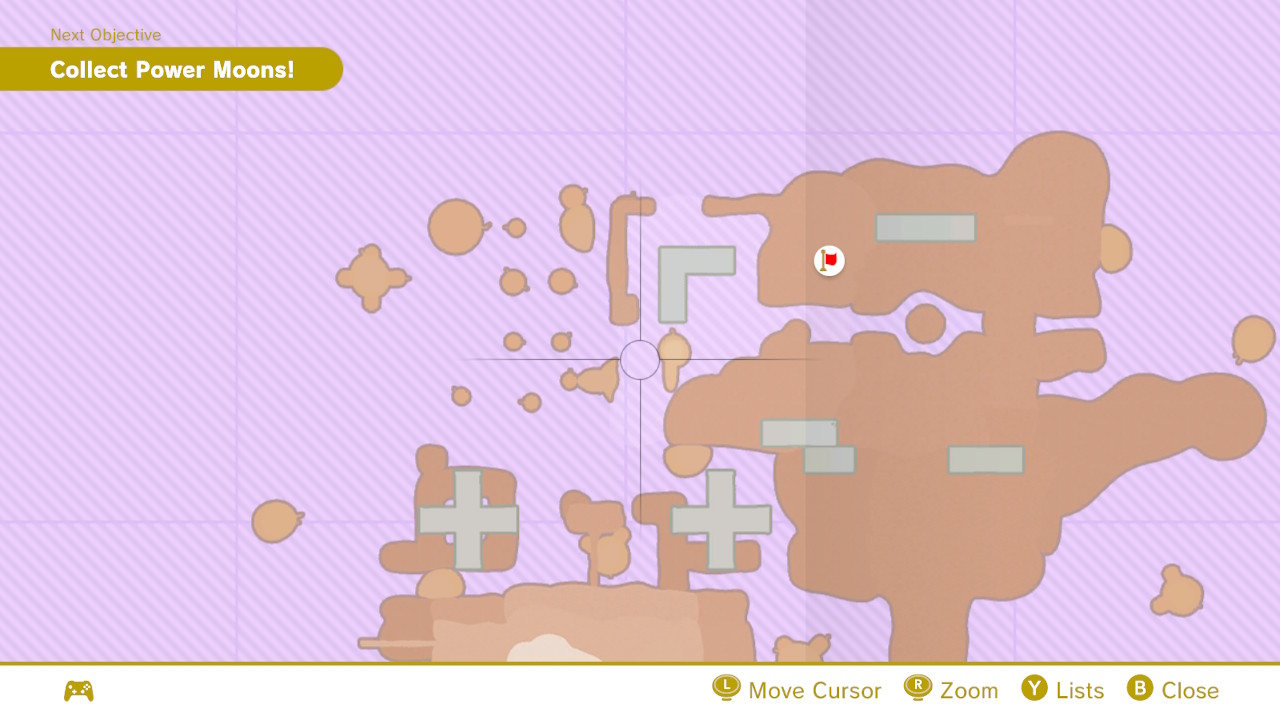
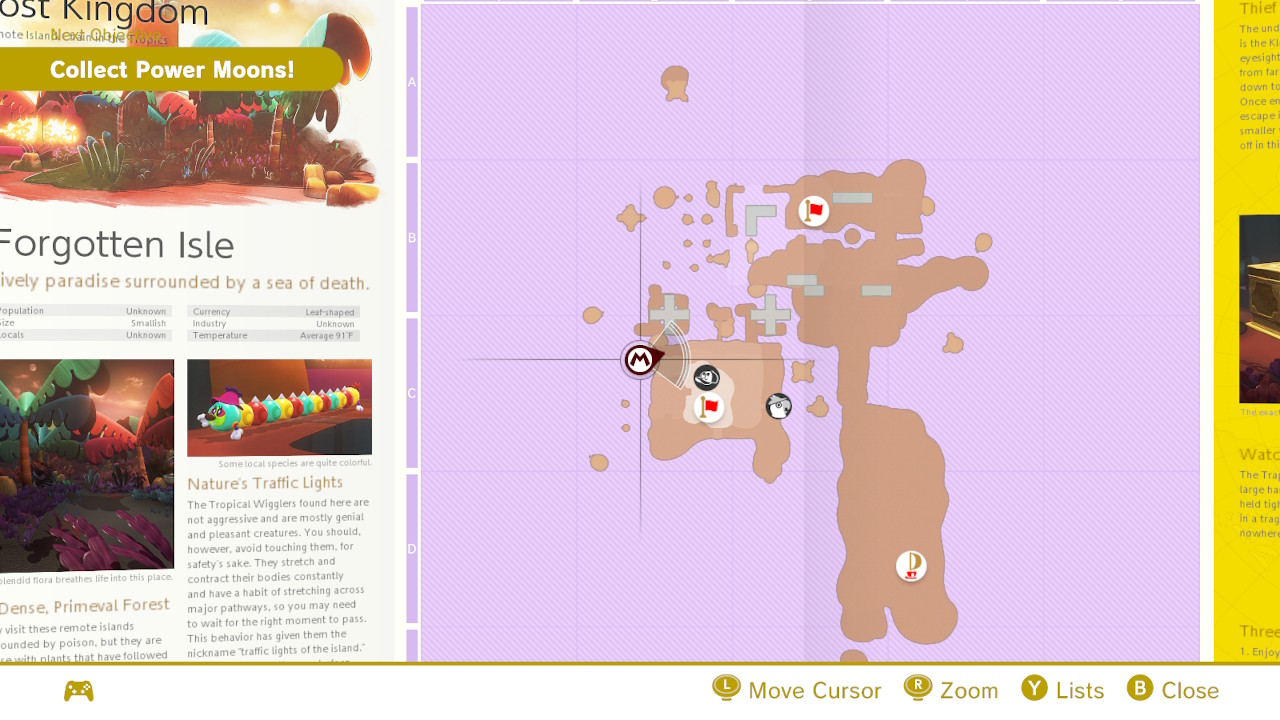
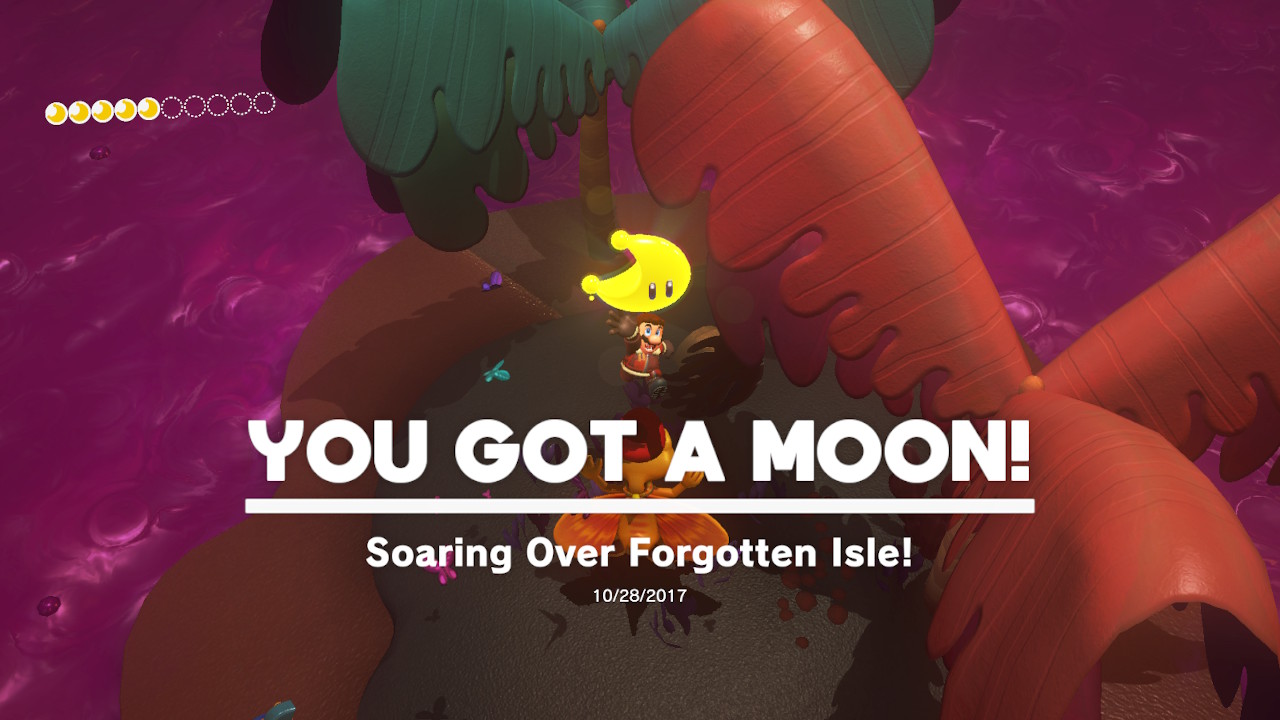
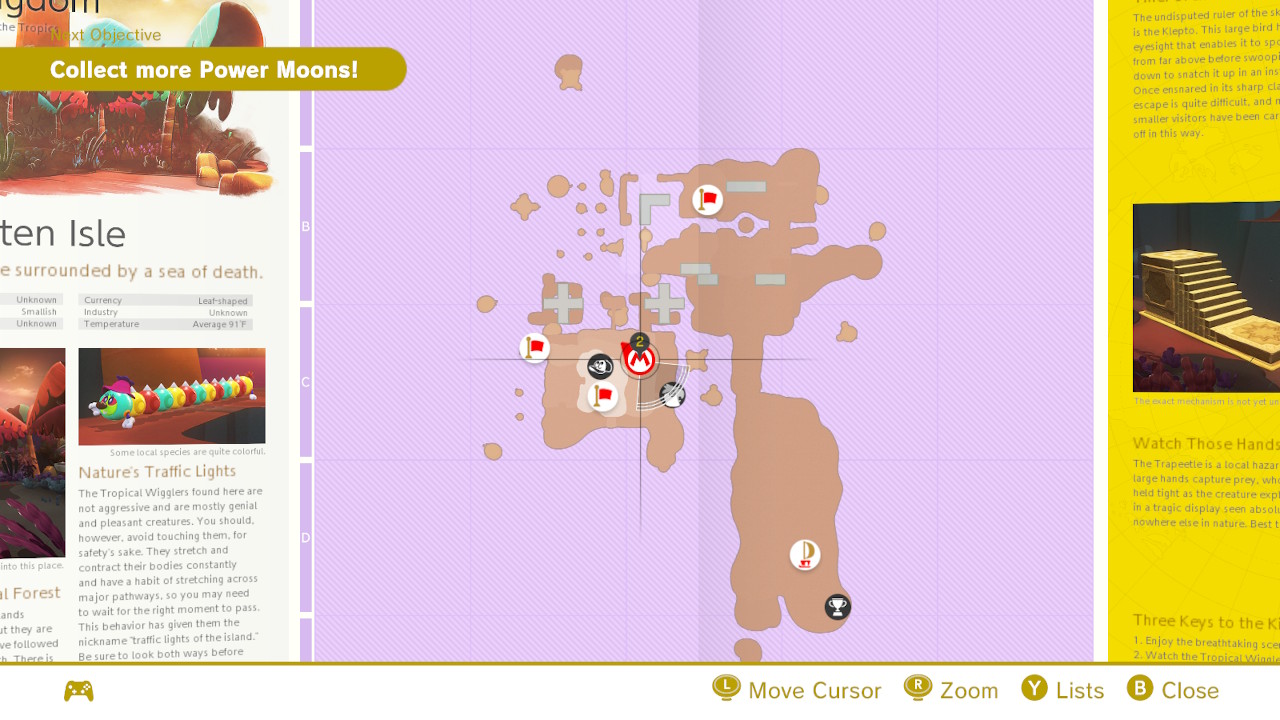
1- On the path towards the top of the Forgotten Isle mountain you will see a glowing light coming from a pile, ground pound it and the Moon will pop out!

Location-
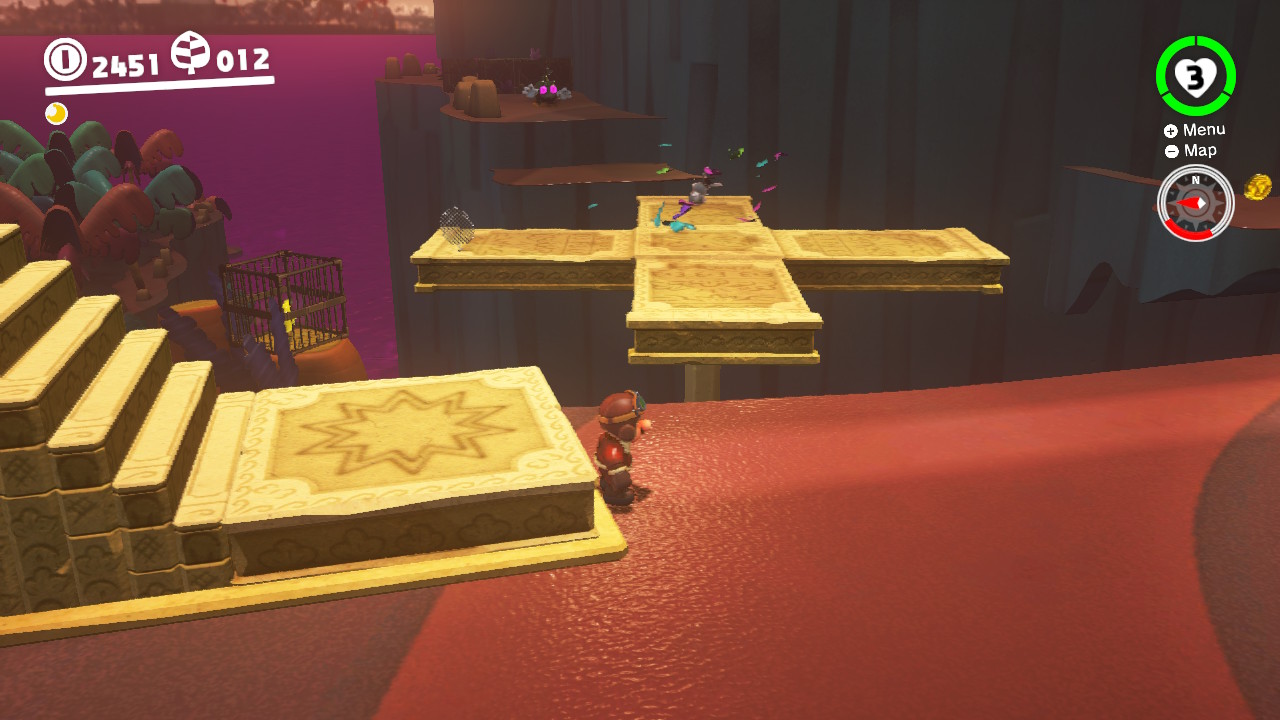
1- On the spinning propeller pillar with a bunch of butterlies…
2- You should be able to feel a vibration right in the middle…
3- Ground pound that spot and Power Moon pops up!

Location-
1- From this spot you will see a pile of four blocks and a sparkling light coming out from one of them… throw Cappy at the enemy…
2- Once it grabs Cappy, he will home in on you to try to blow you up. So stand on top of the blocks and he will blow the blocks up for you! You may need to do this four times to blow them all, but once you do, the Moon will appear!

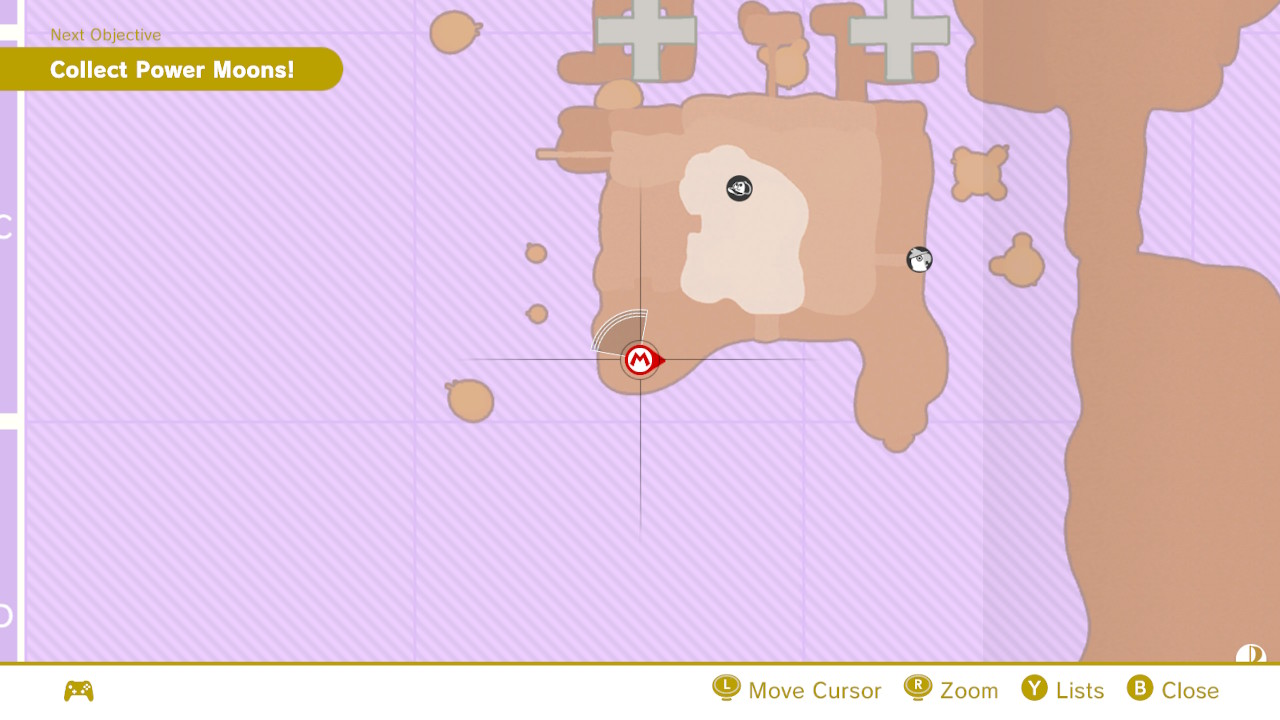
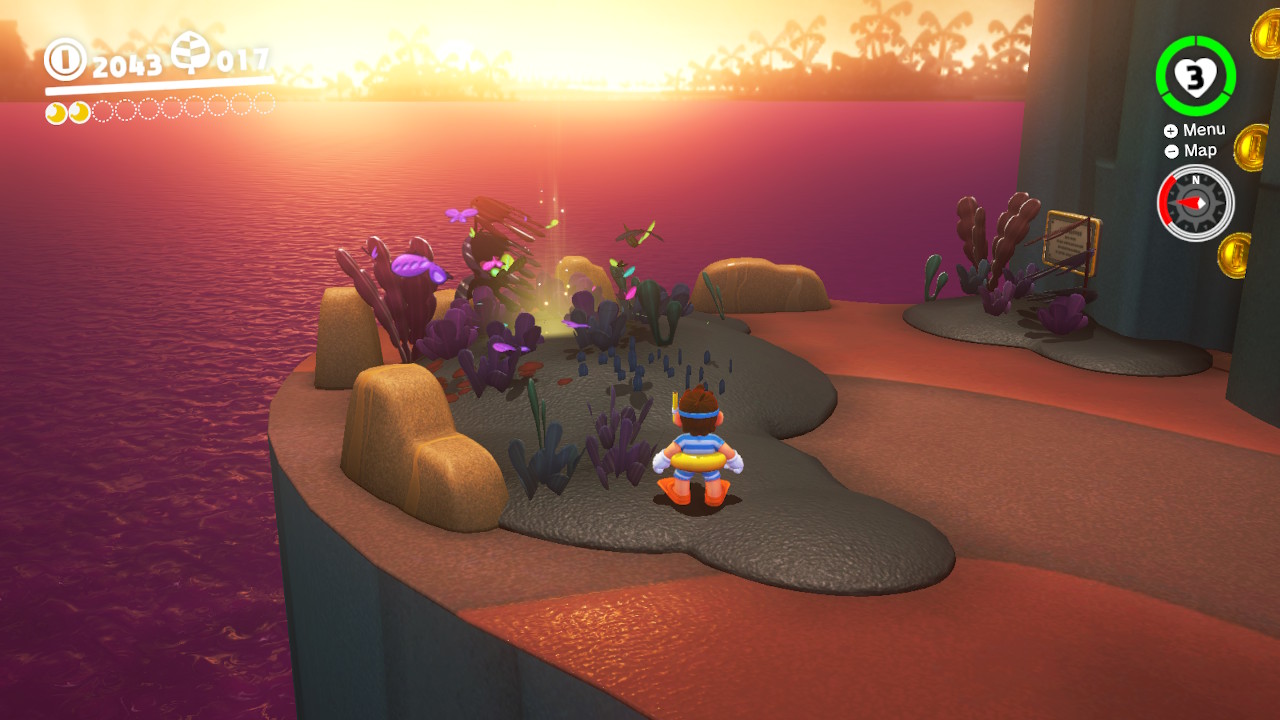
Location-

1- There is a sparkly butterfly relaxing on the ledge…
2- Crouch walk up to it VERY slowly and once in range, hit it with Cappy!!!
Location-

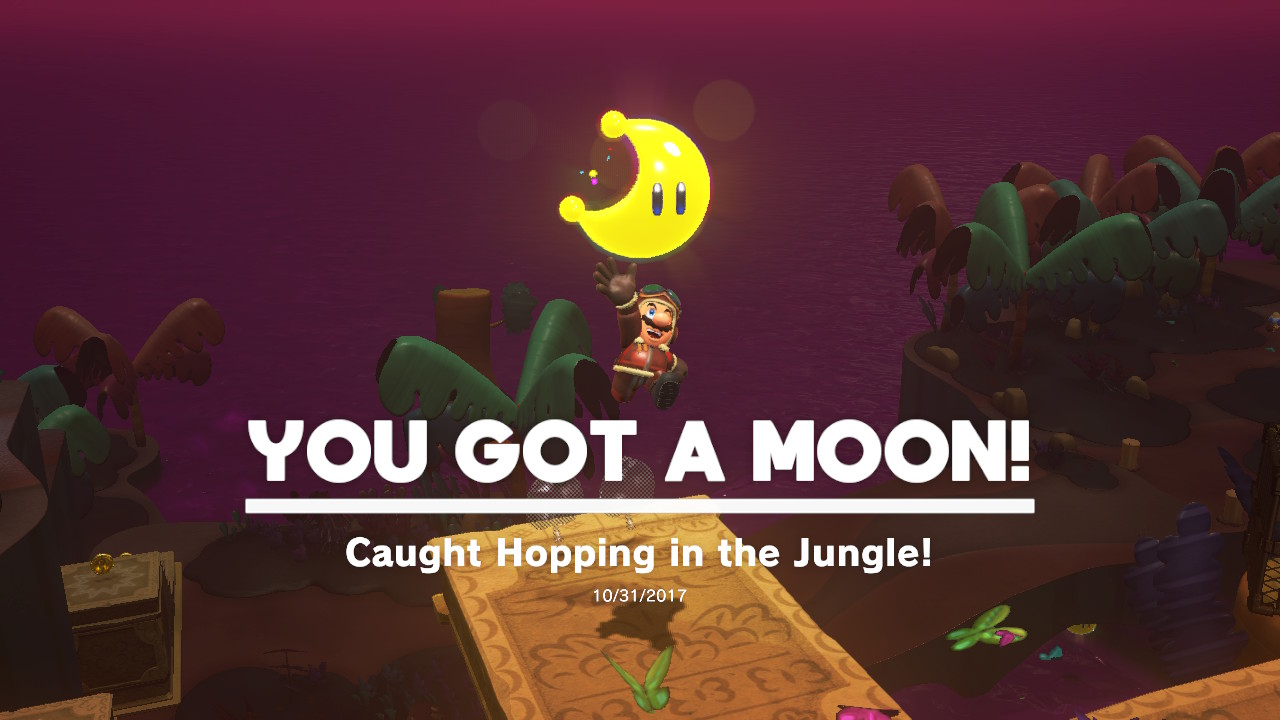
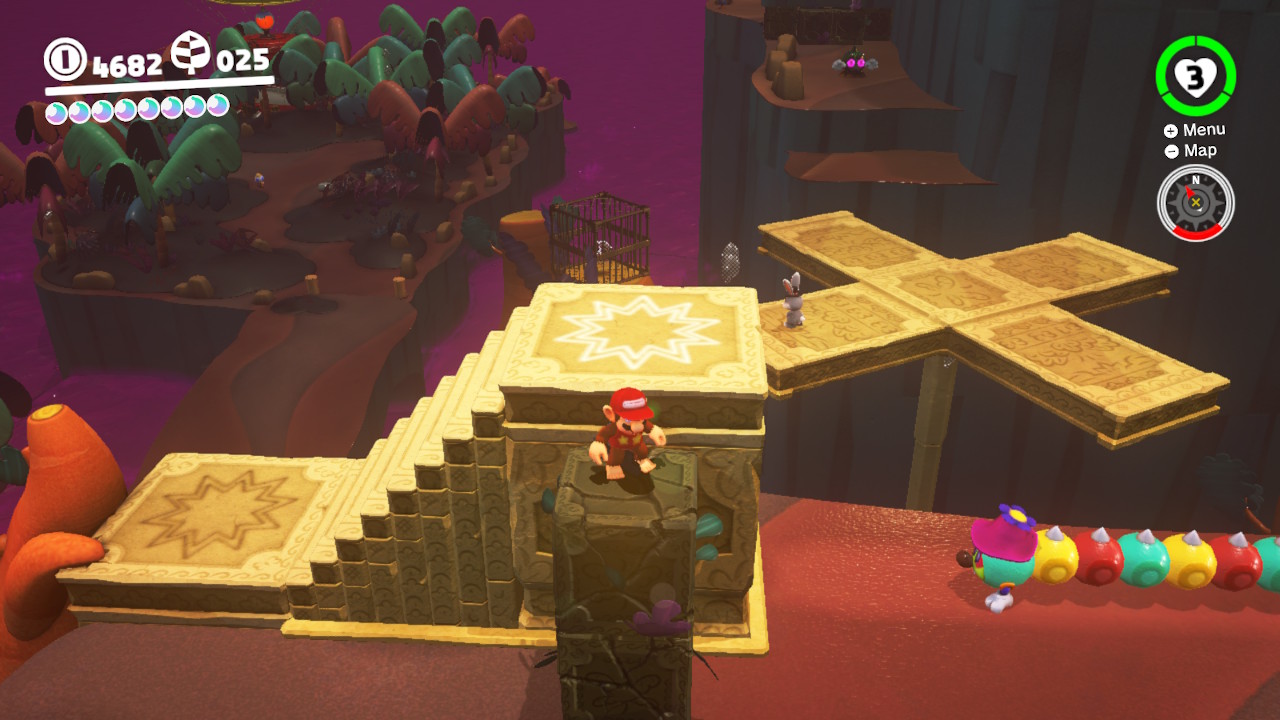
1- From the “Swamp Hill” checkpoint, run towards the spinning propeller platforms…
2- You will see the rabbit jumping around…
3- Cut the rabbit off, hit it with Cappy, and it’ll give you a Power Moon!
Location-
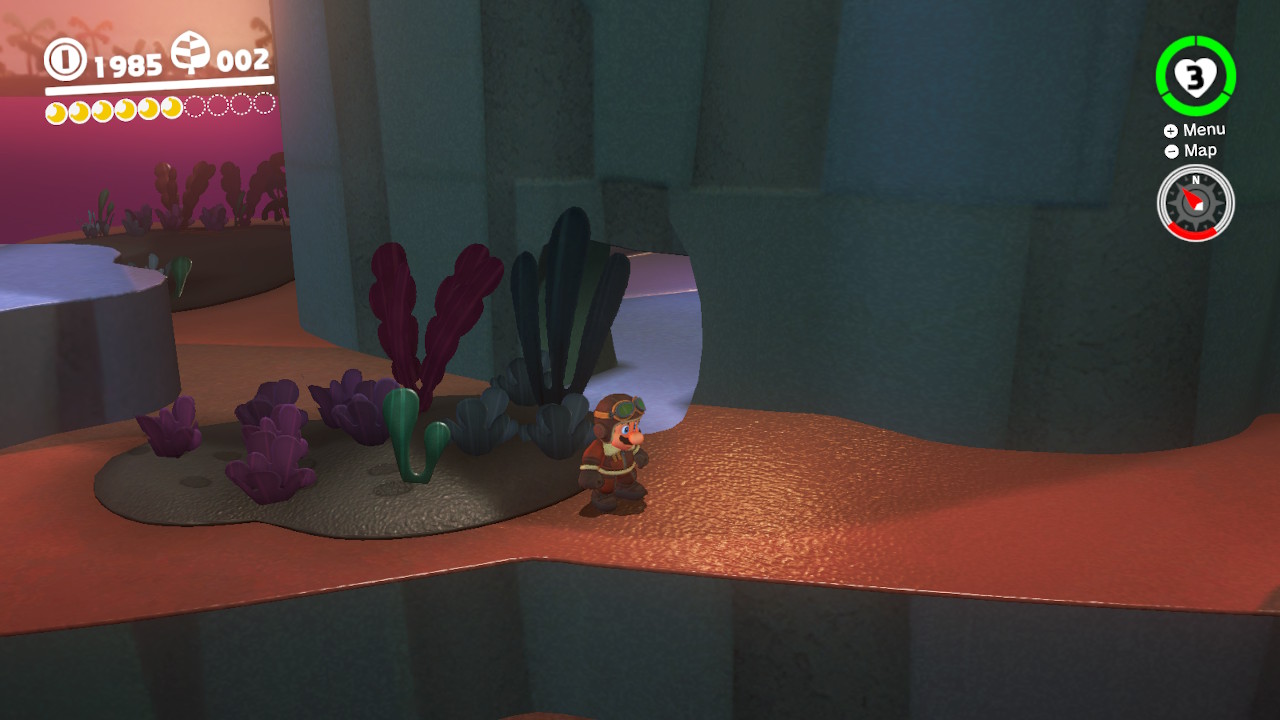
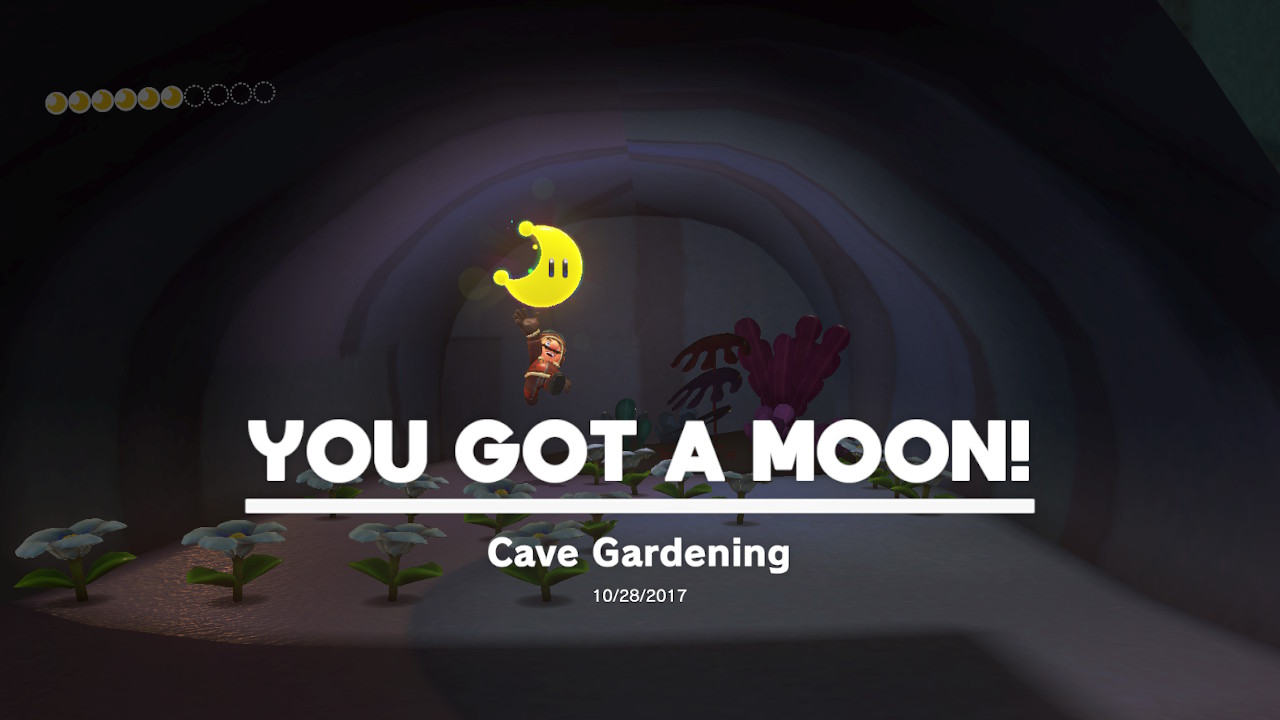
1- On a skinny ledge wrapping around the tip of the mountain top there is a cave…
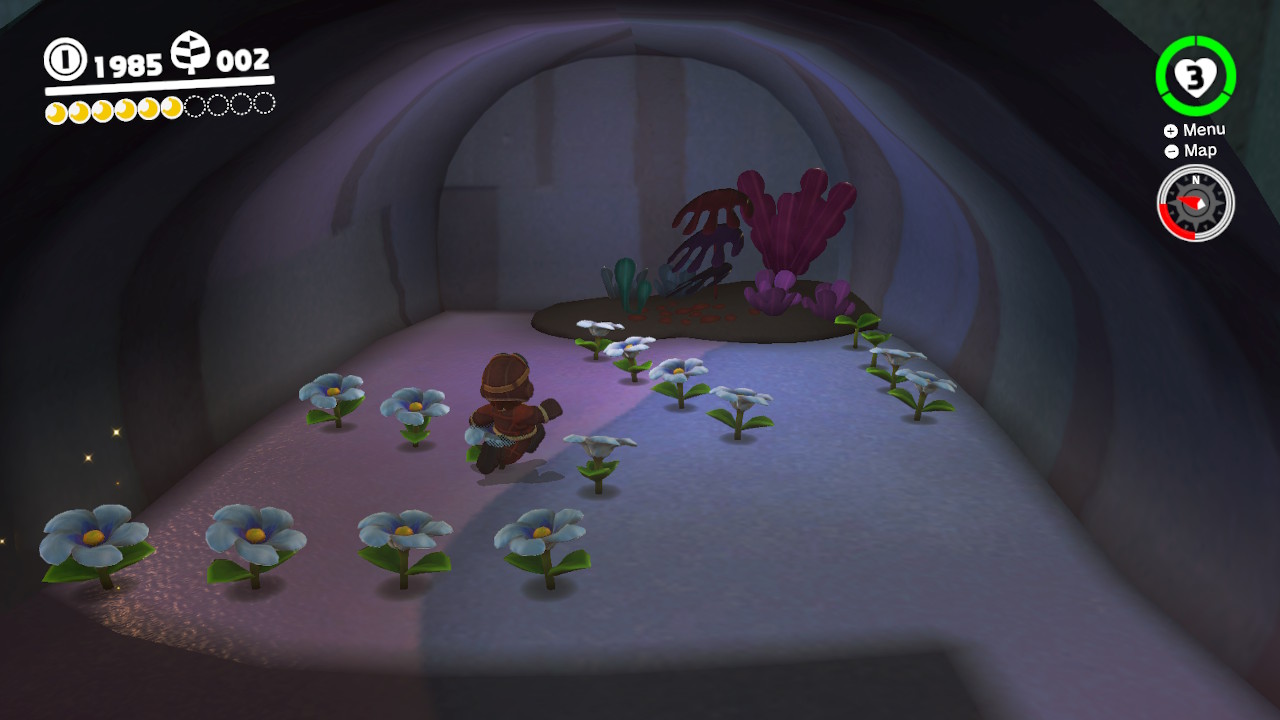
2- Inside the cave you will see a bunch of little flowers…
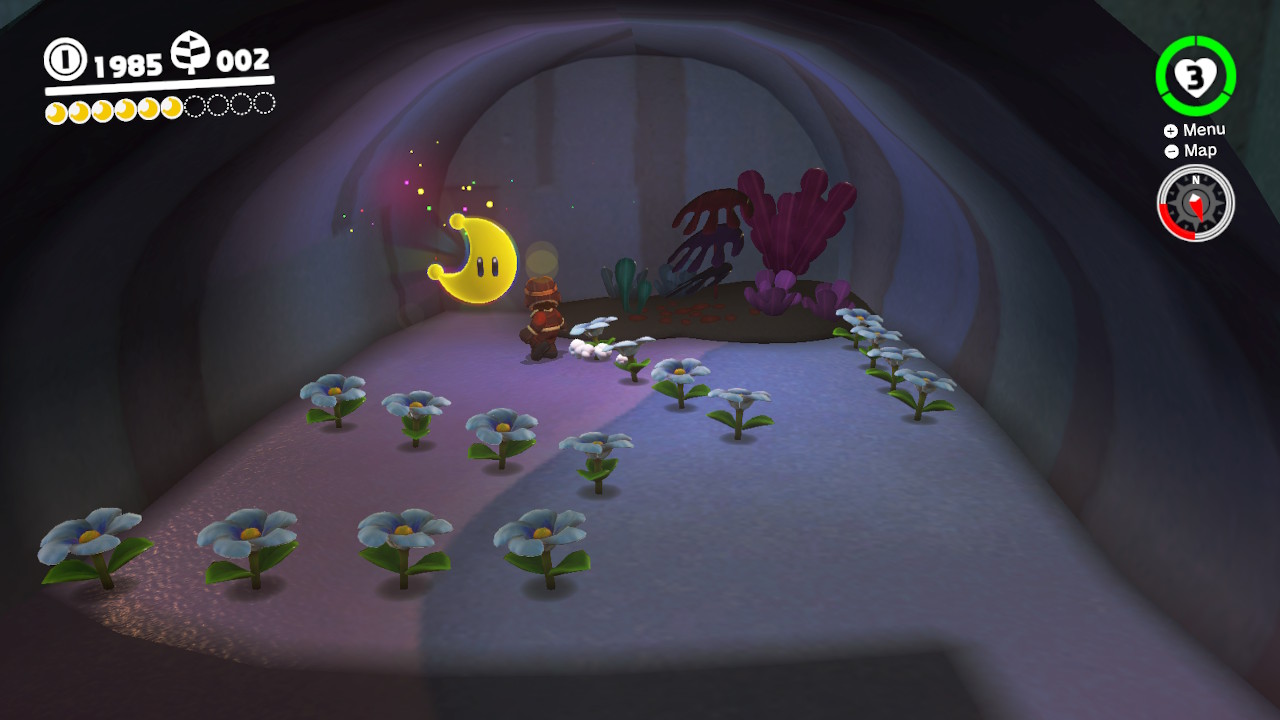
3- Throw Cappy at all of them and they will bloom! When all of them bloom, the Power Moon will magically appear!
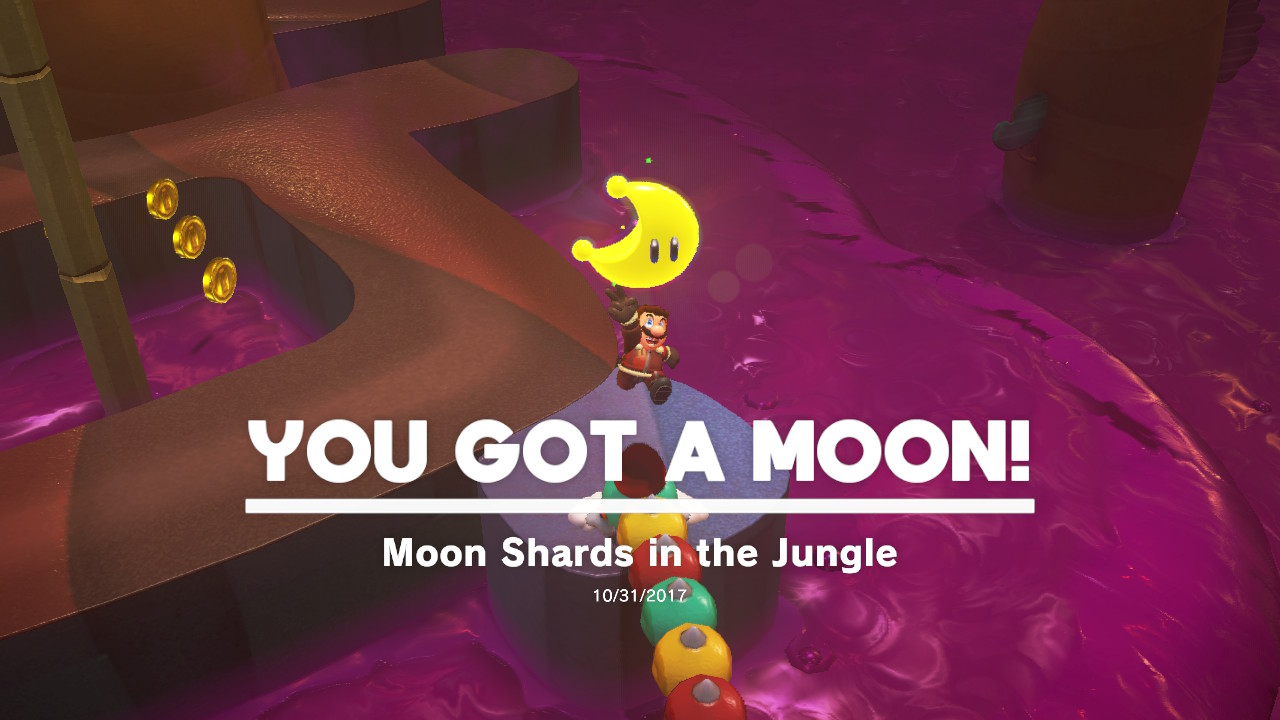
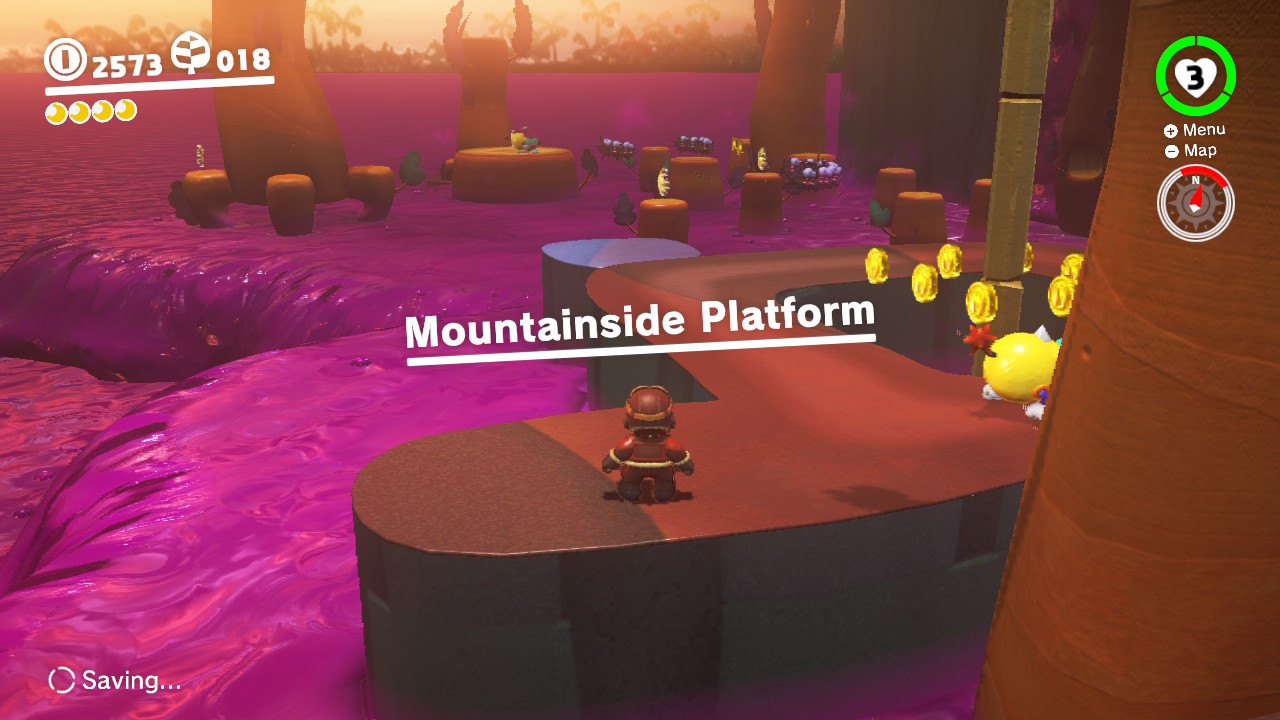
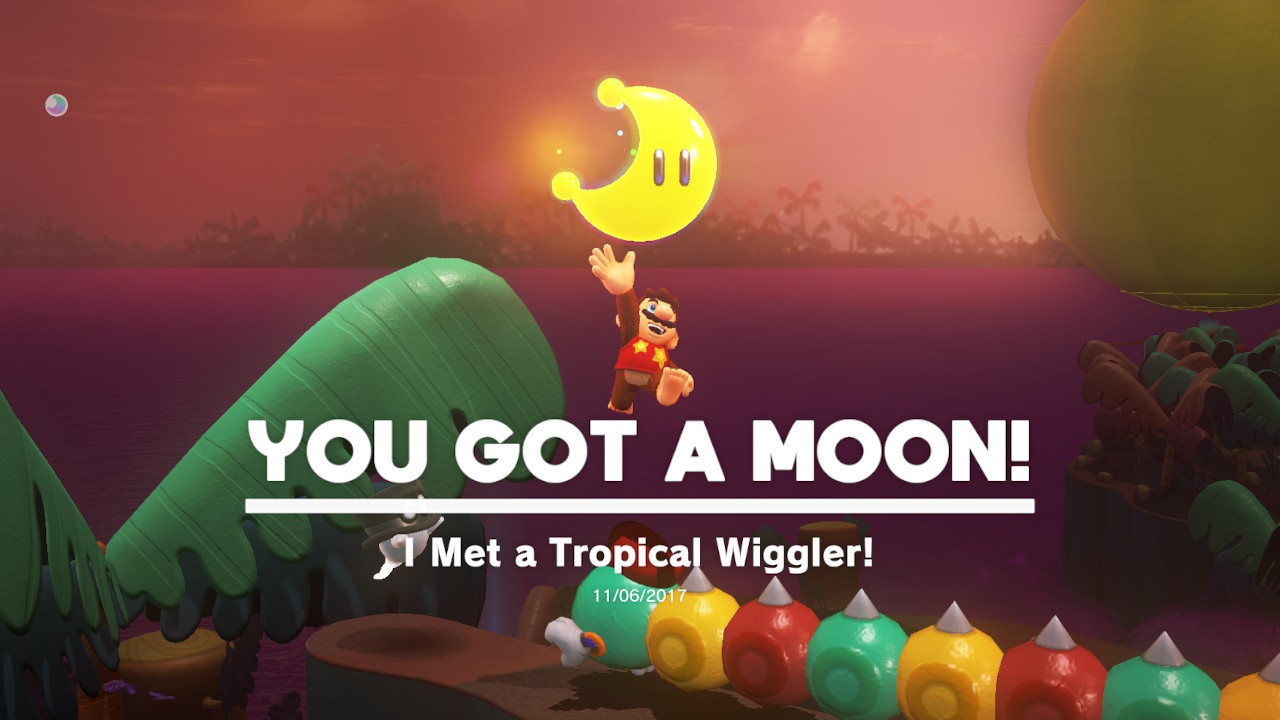
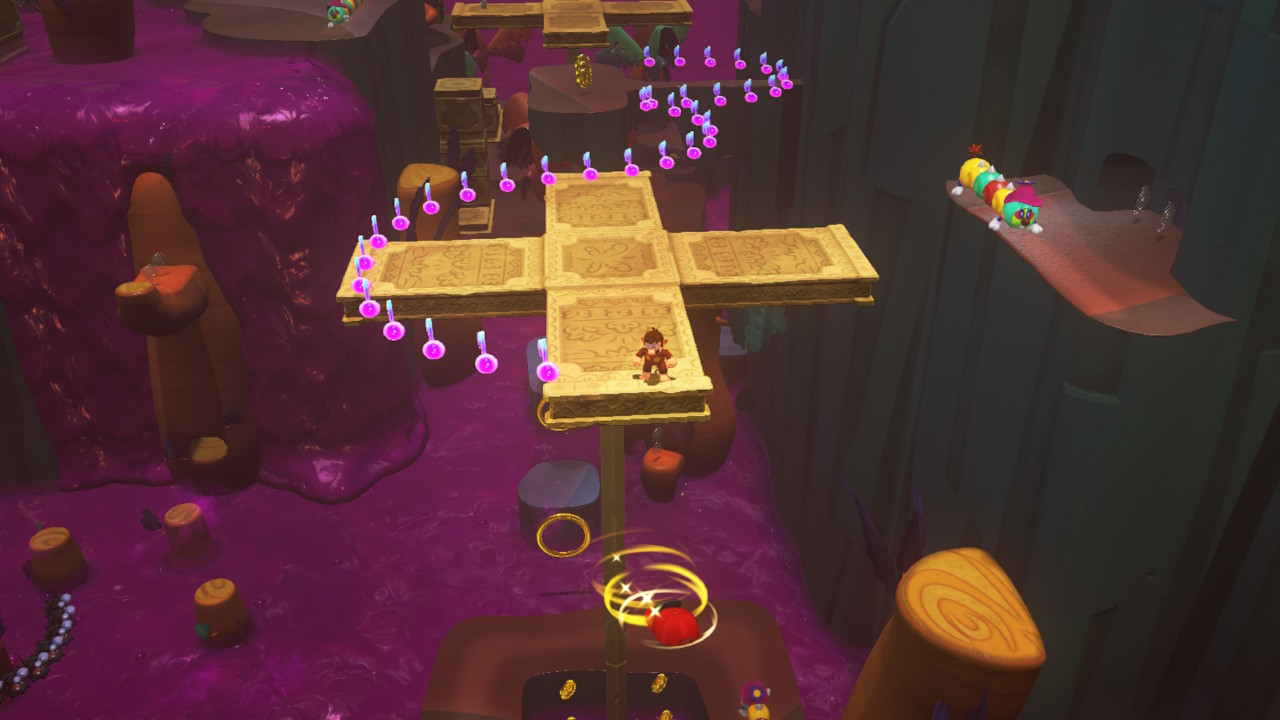
1- From the “Mountainside Platform” checkpoint you will see a bunch of moon shards dangling above the poison…
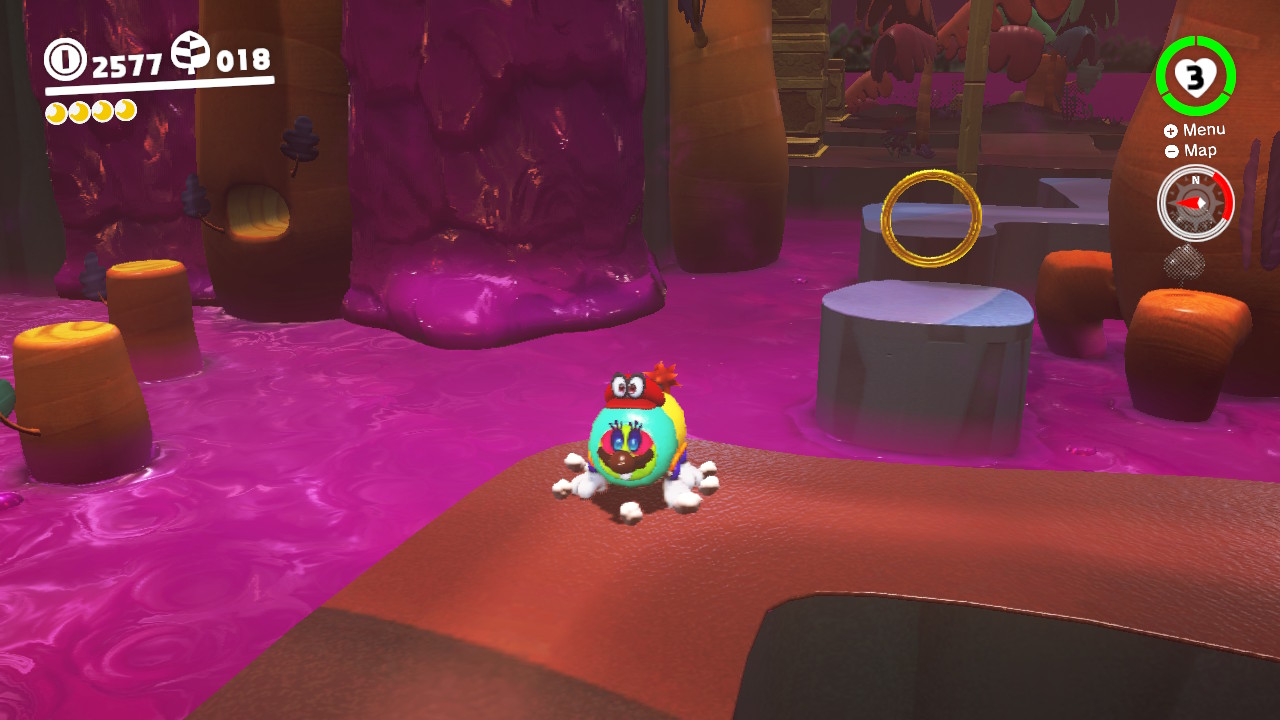
2- Capture one of the Tropical Wigglers

3- Stretch across the platforms and over the poison to start collecting the shards… (Shard 1/5 shown)

4- Avoid the enemies… (Shard 2/5 shown)
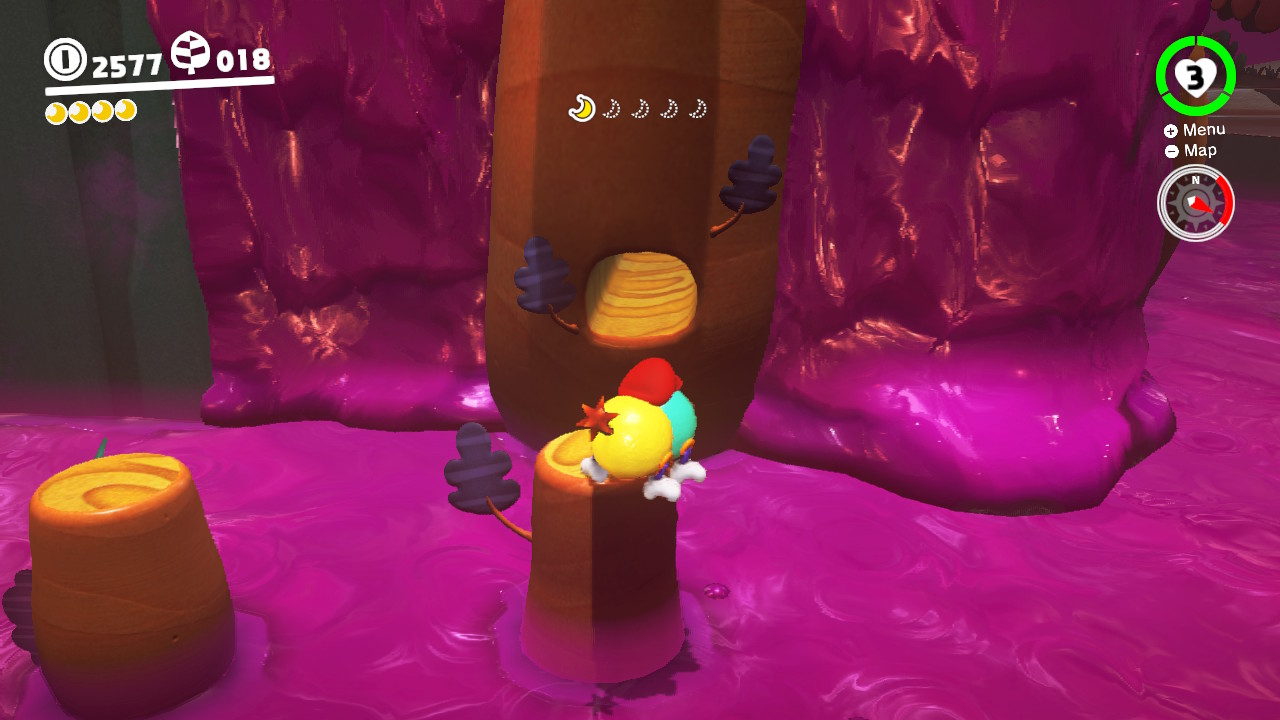
5- One of the shards is hiding inside this tree… (Shard 3/5 shown)
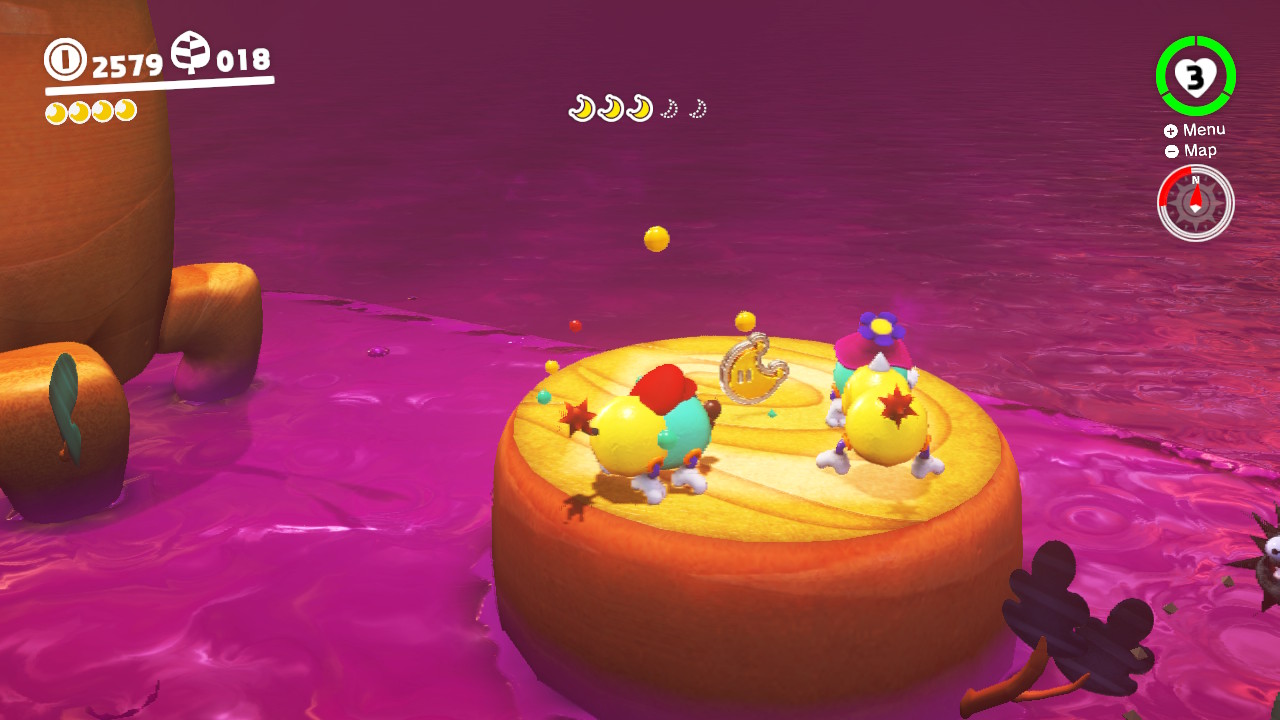
6- Here’s another shard… (Shard 4/5)
7- The last shard is hiding around this tree! (Shard 5/5 shown) Now you can get your Power Moon!!!!
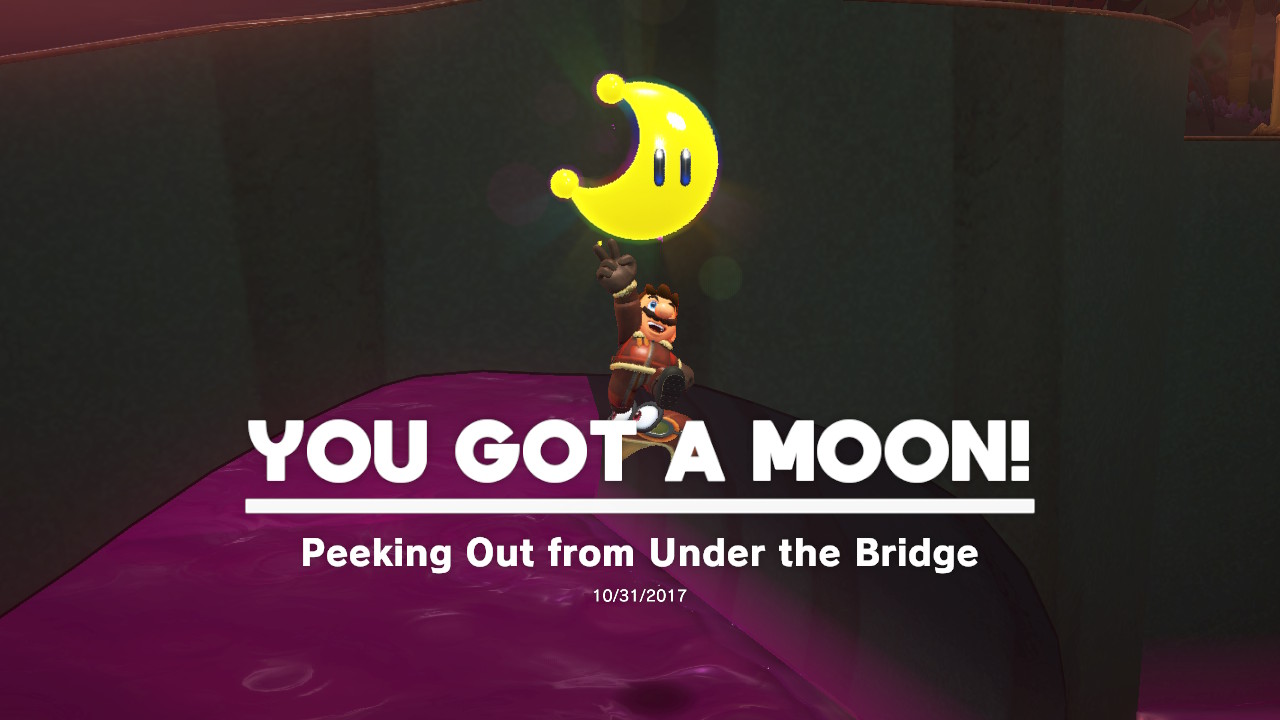

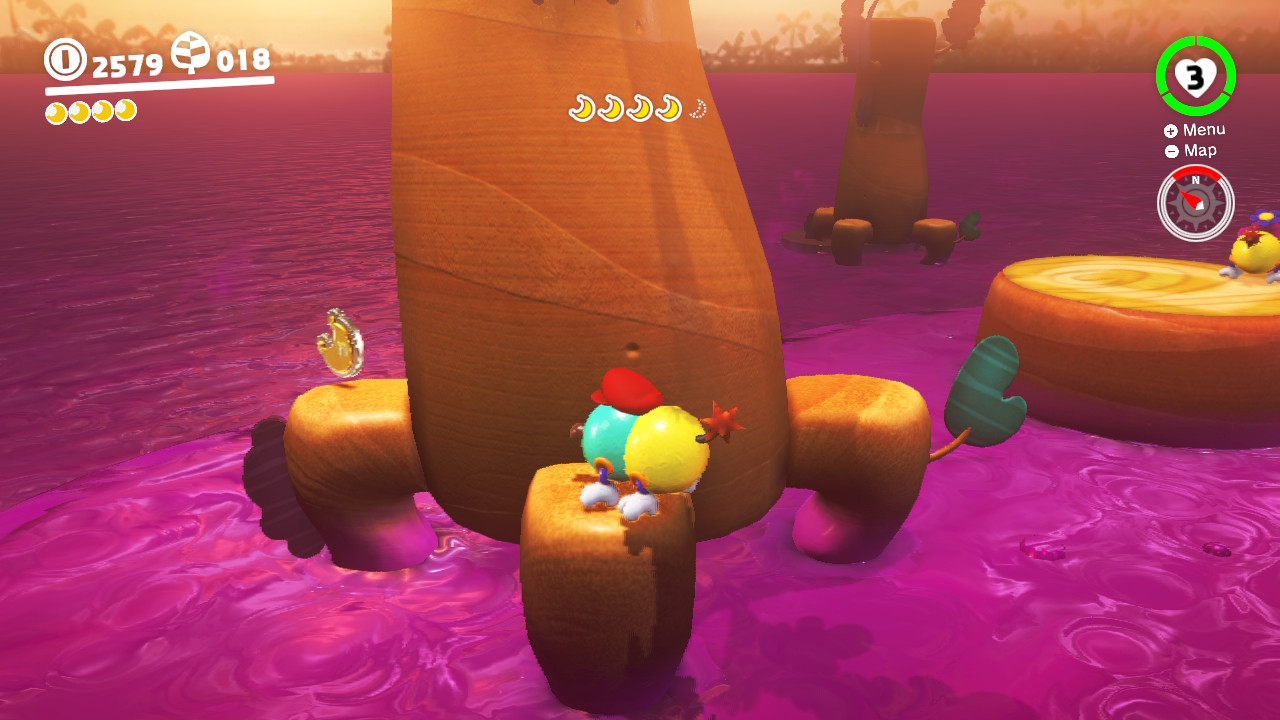
Location-
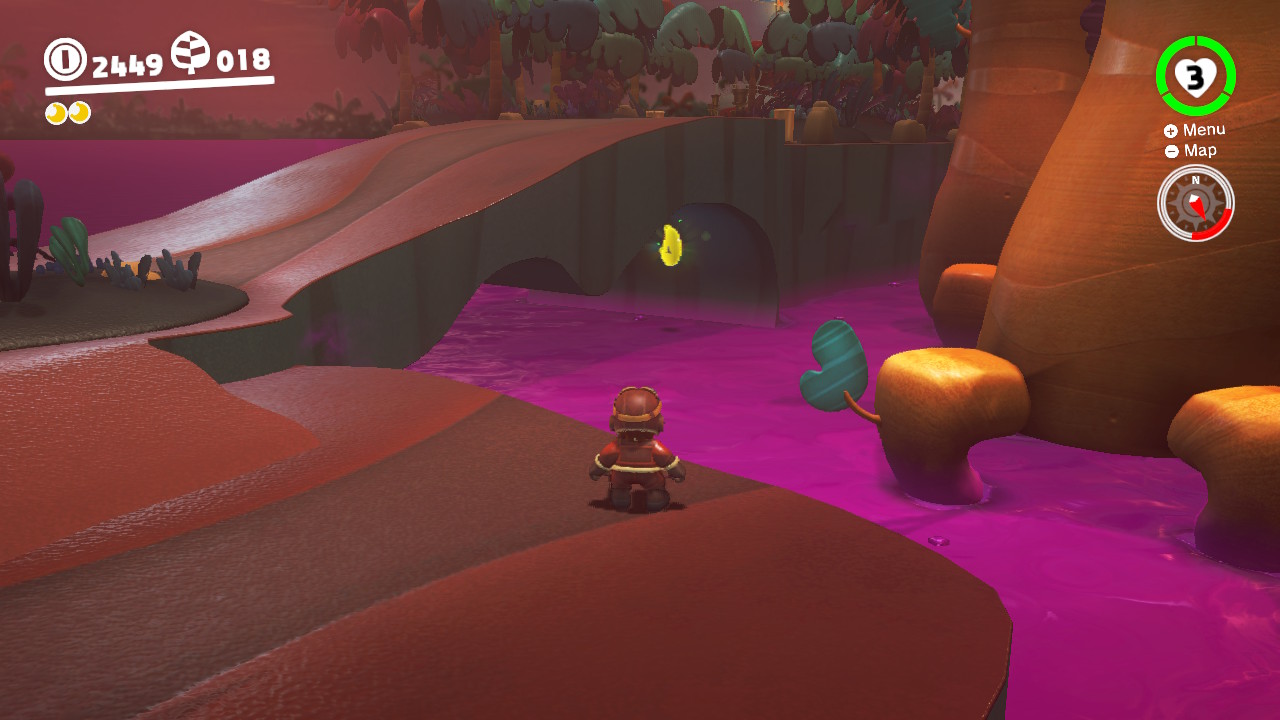
1- Underneath the first bridge (The one you pass over after getting off the Odyssey) is a Power Moon…
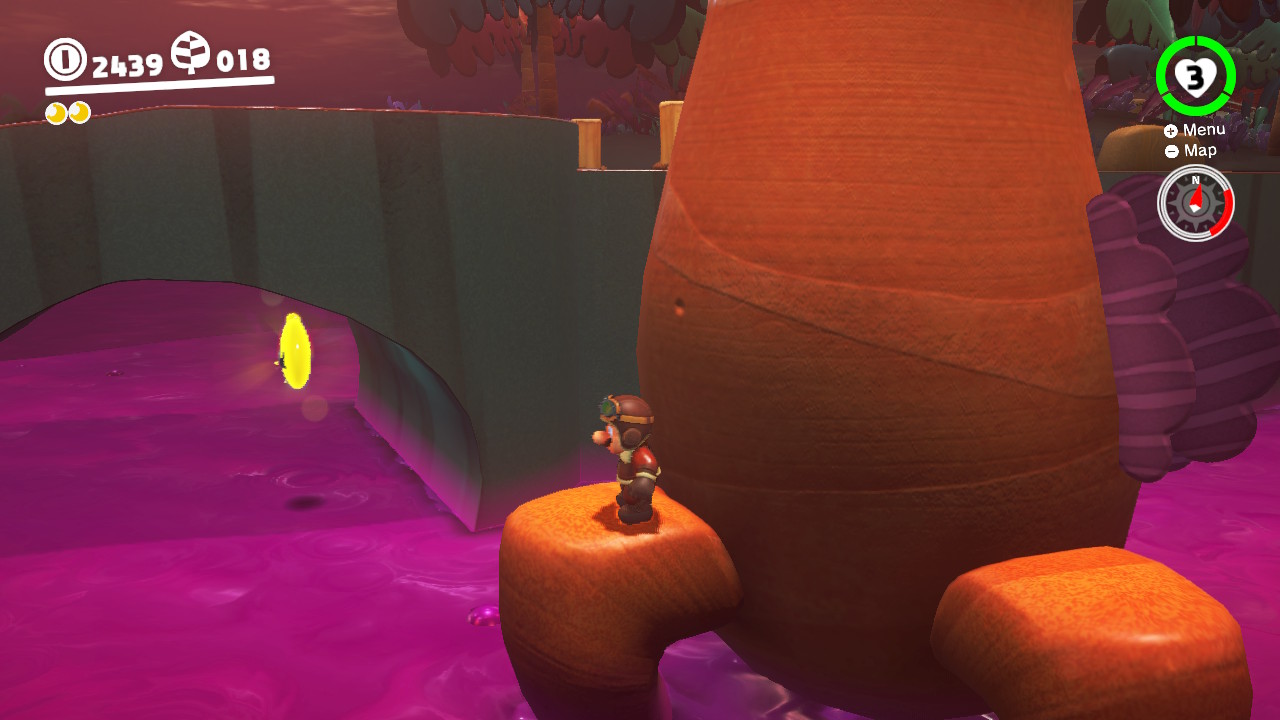
2- There are a few ways you can grab it. The best method is to use a Wiggler to stretch right underneath. Another way uses Glydon, but it’s super tricky to glide under the bridge. I chose to just long jump to it…
3- Of course as soon as I snagged it, I fell to my death… But oh well I got my Power Moon!

Location-

1- Right beside the Odyssey and over a ledge there is a small flat shoreline. A KEY is hiding close by…

2- To get this Moon we will need a Tropical Wiggler… (Grab one from the “Swamp Hill” checkpoint)
3- Take the Wiggler back to where the KEY is hiding…

4- Now you can ssstttttrrretttcchhhh across the poison to grab the KEY and then grab the Power Moon!
Location-
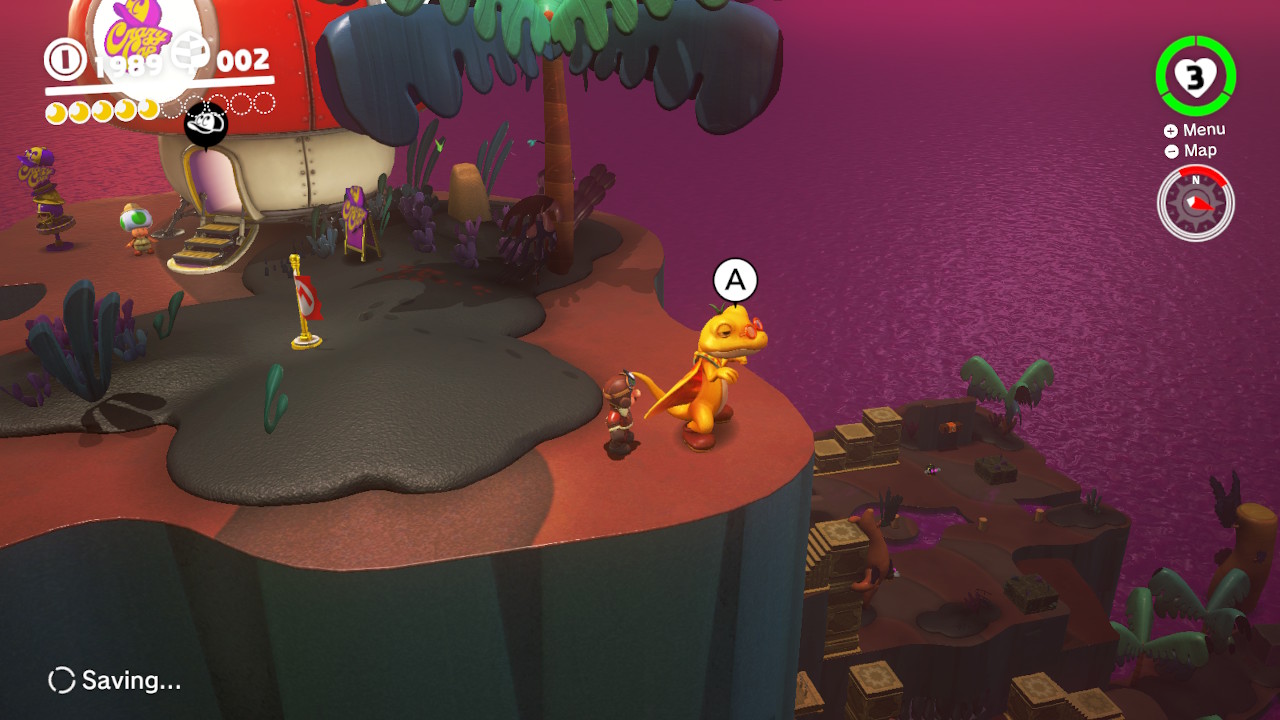
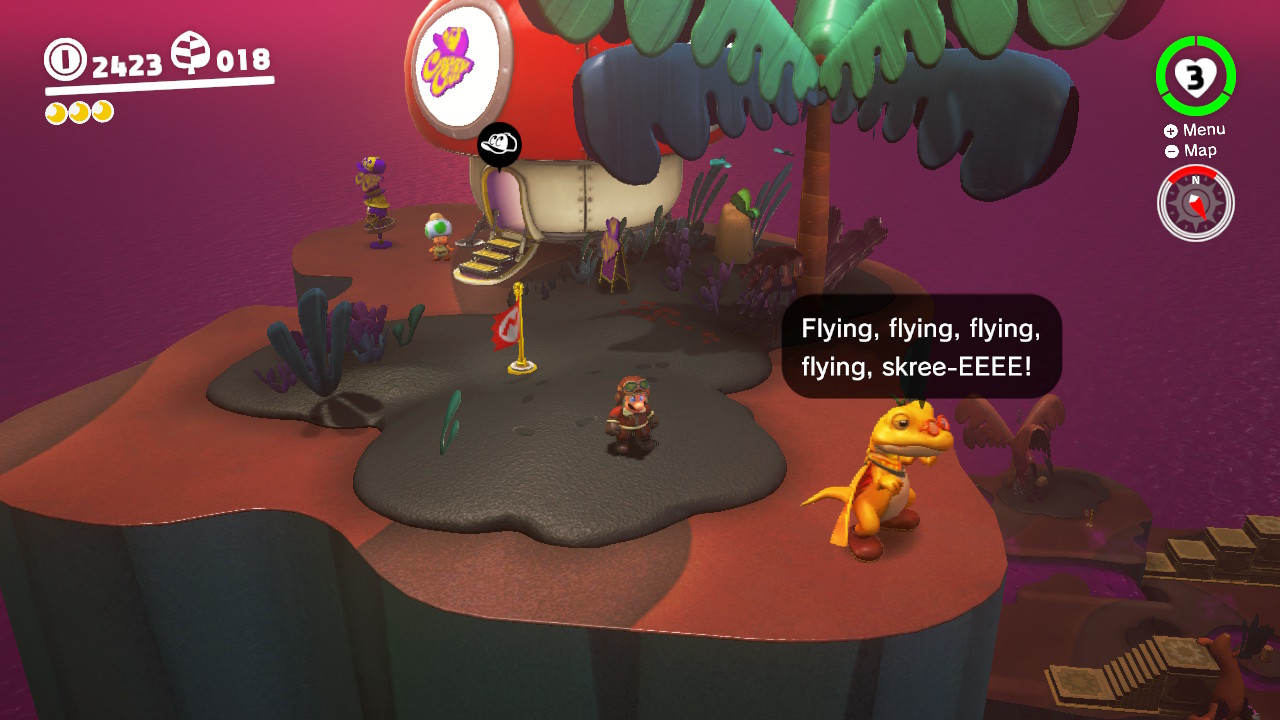
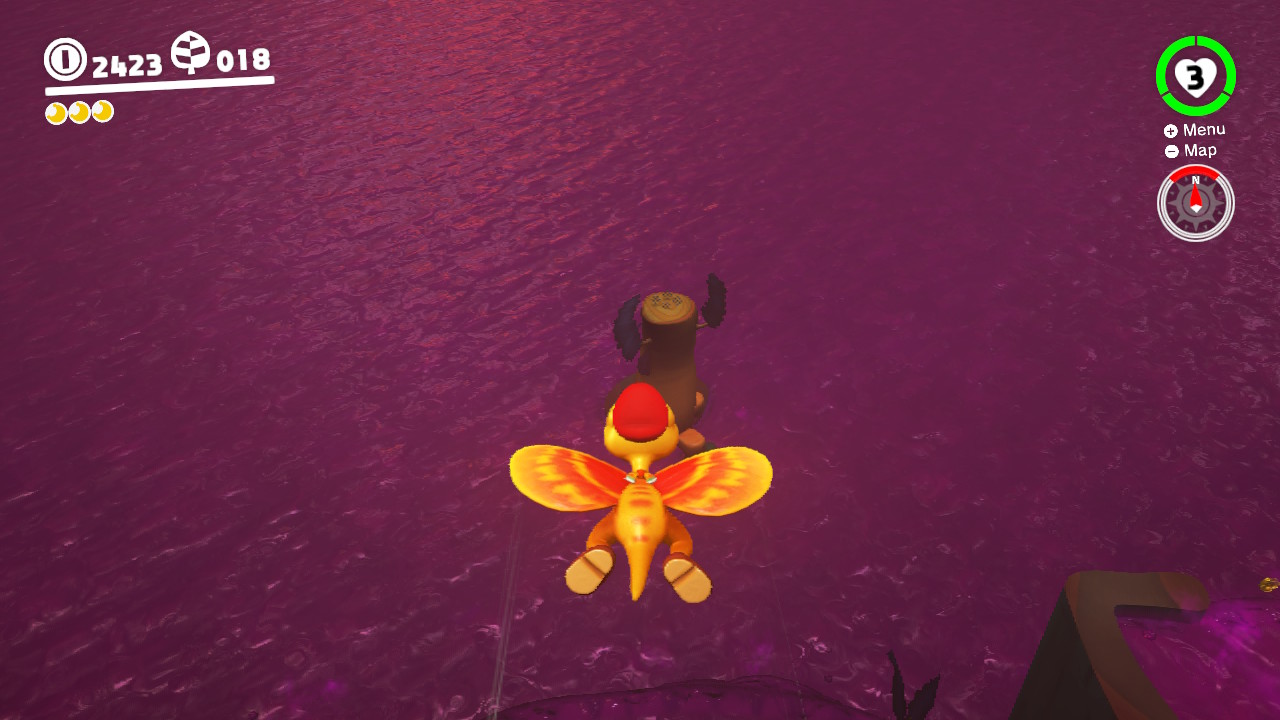
1- From the very top of the Forgotten Isle, you will see a flying dinosour friend named Glydon…
2- Throw Cappy at Glydon, now we can fly! Look down towards the northen end of the isle and you will see a tiny island with our Power Moon…
3- Jump and glide alllllll the way down and TADA! The Power Moon!
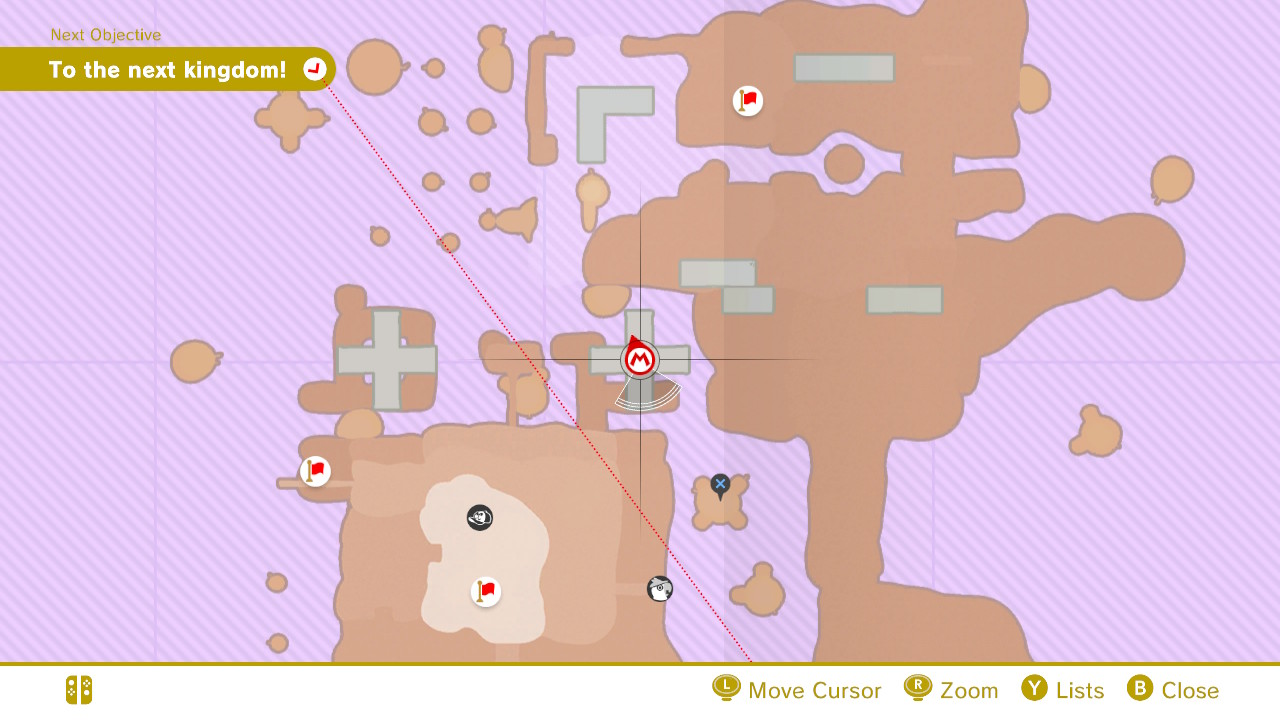
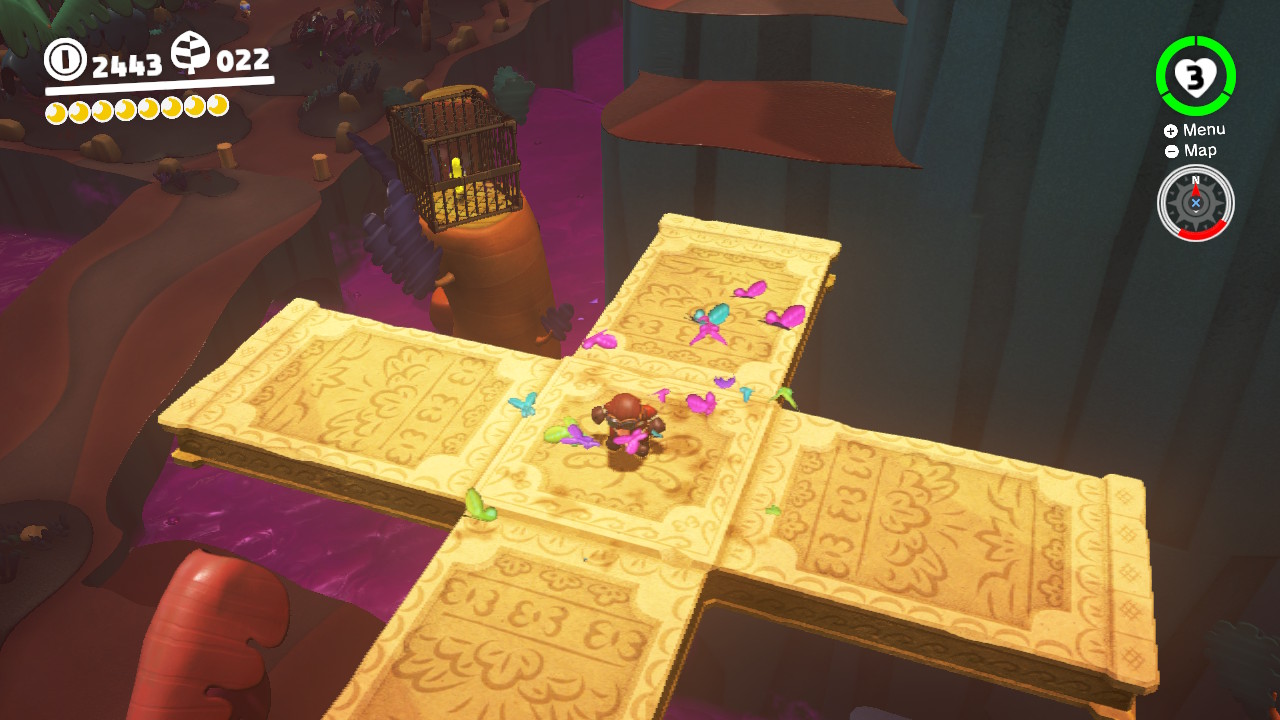
Location-

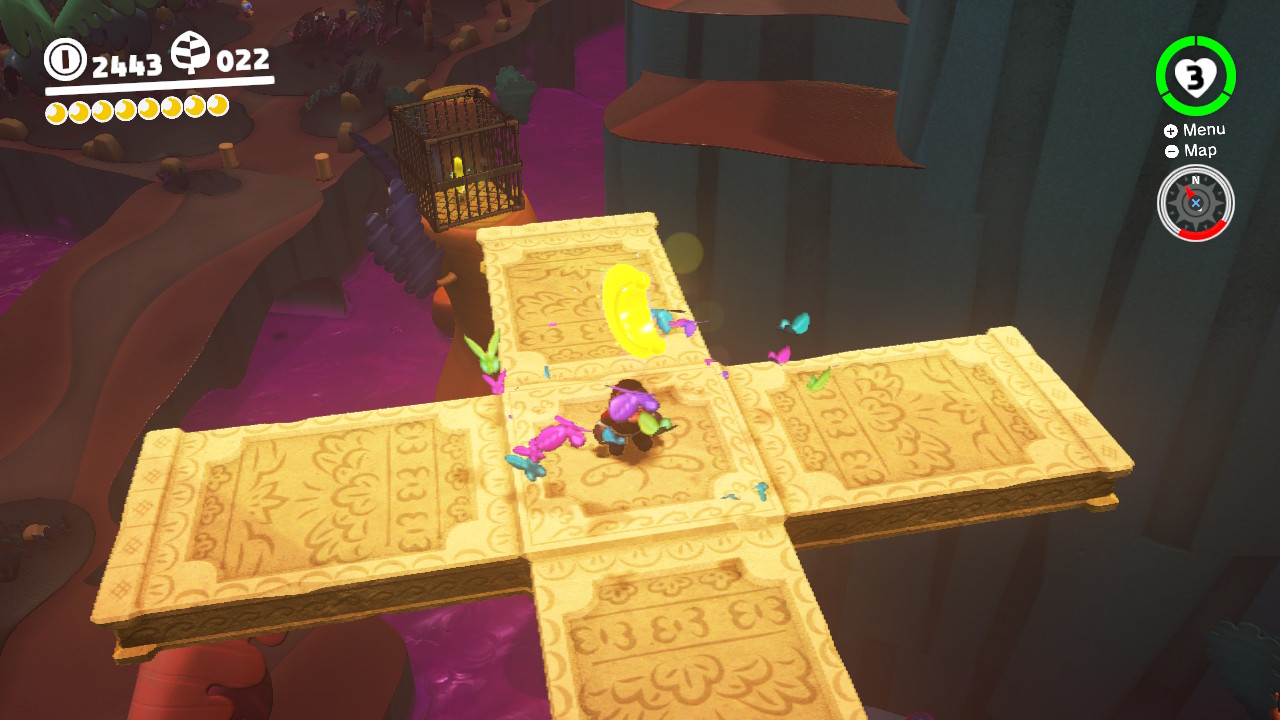
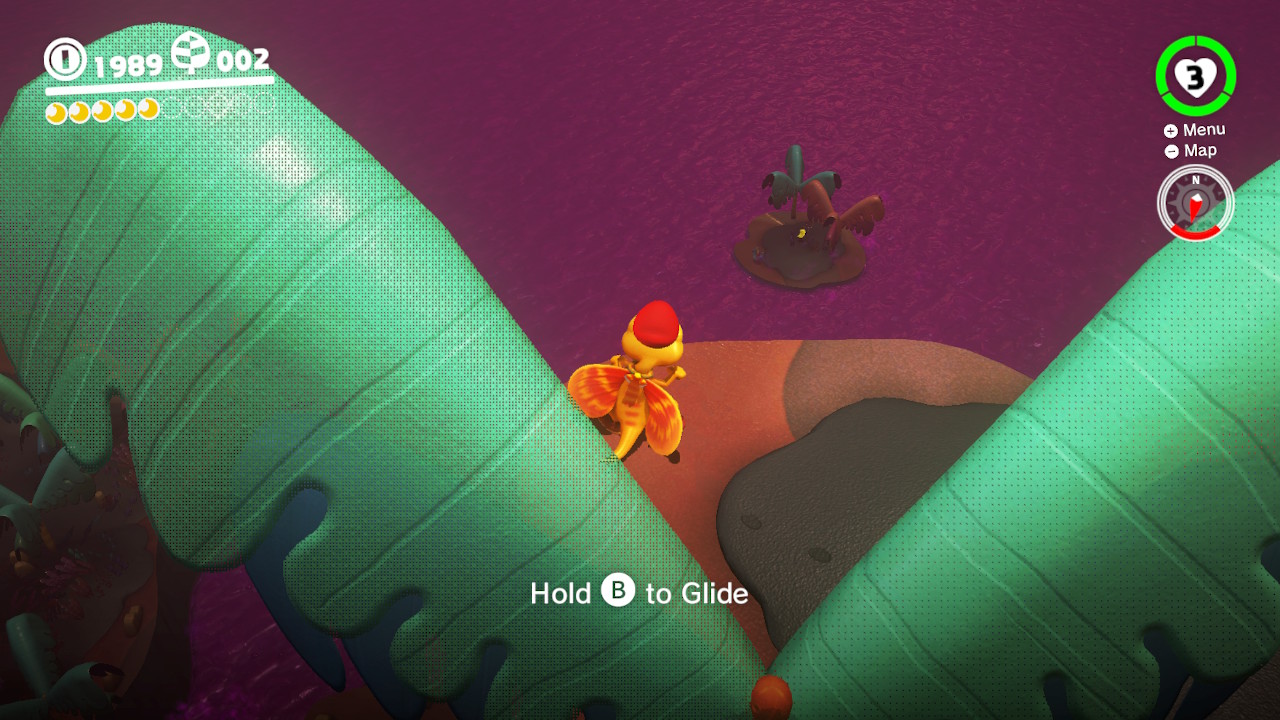
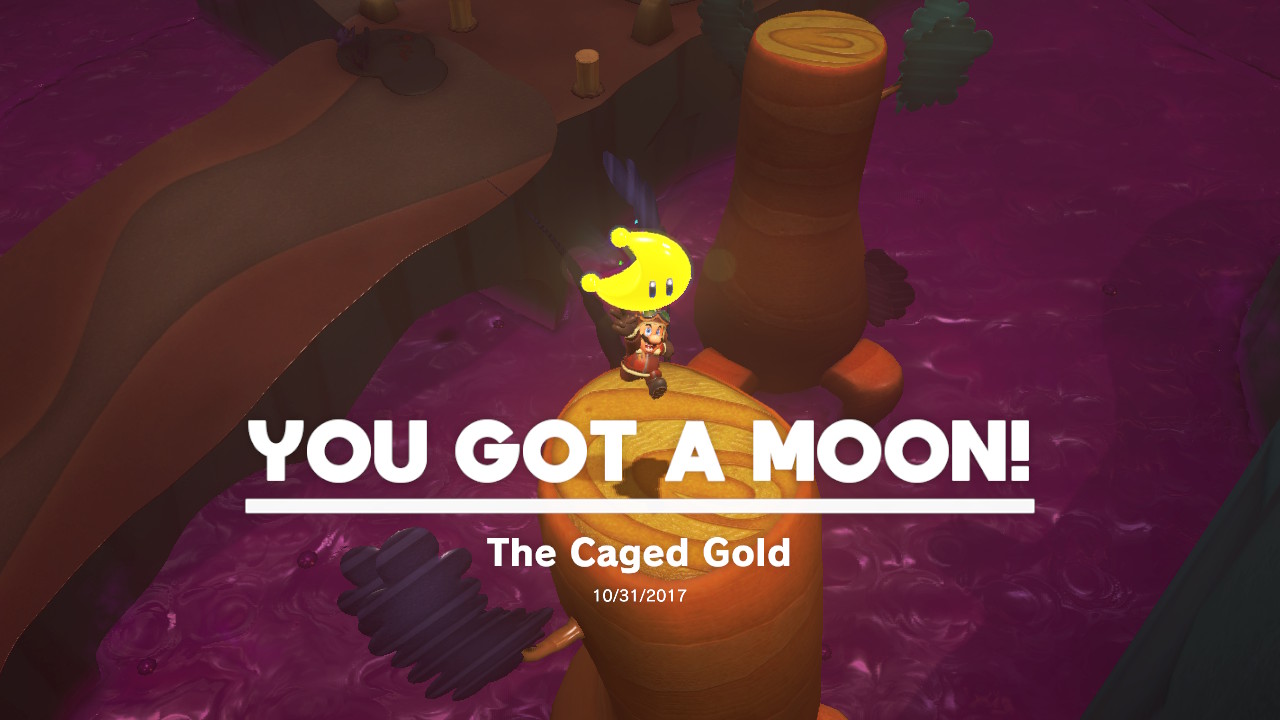
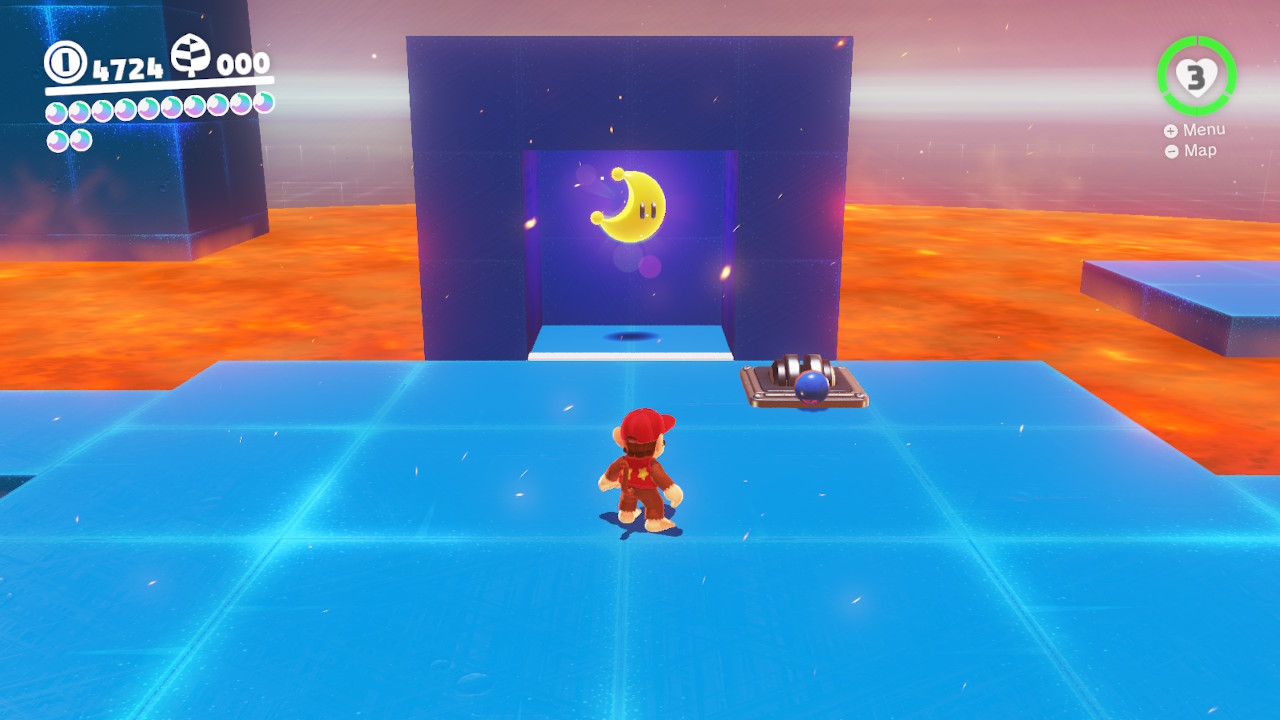
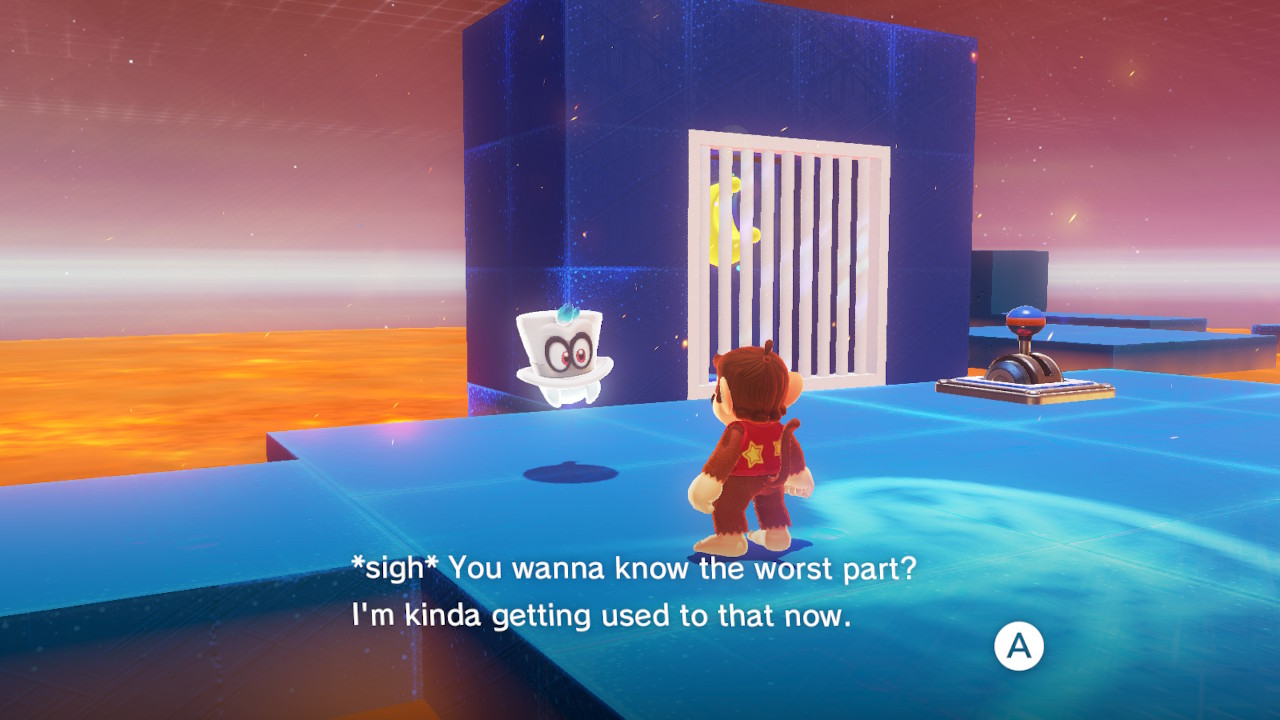
1- Right smack-dab in the middle of the jungle is a Power Moon in a cage…
2- To BLOW it open you will need to throw Cappy at one of these guys and then face the cage, he will launch towards the cage…
3- Do this perfectly and the Power Moon is alllll yours!

Location-
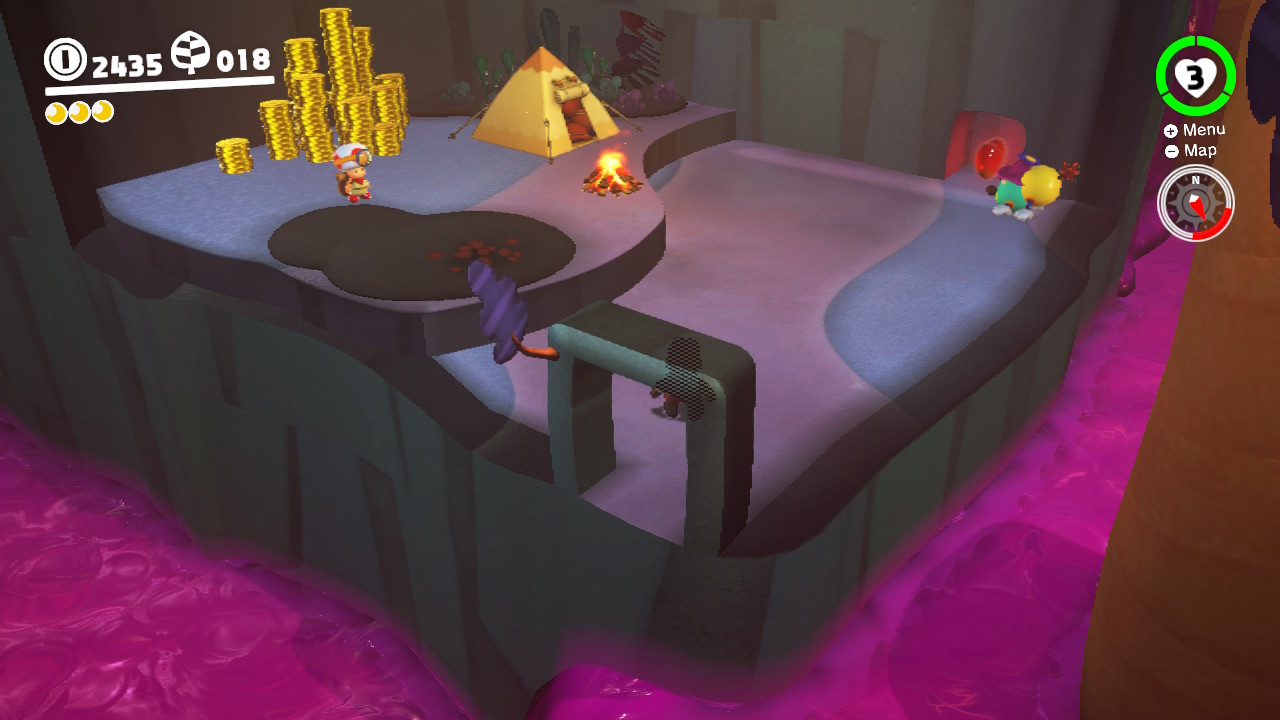
1- Captain Toad is camping out in a cavern inside of a crevasse next to the poison waterfall…
2- We need to capture Glydon…
3- Soar down to this pillar…
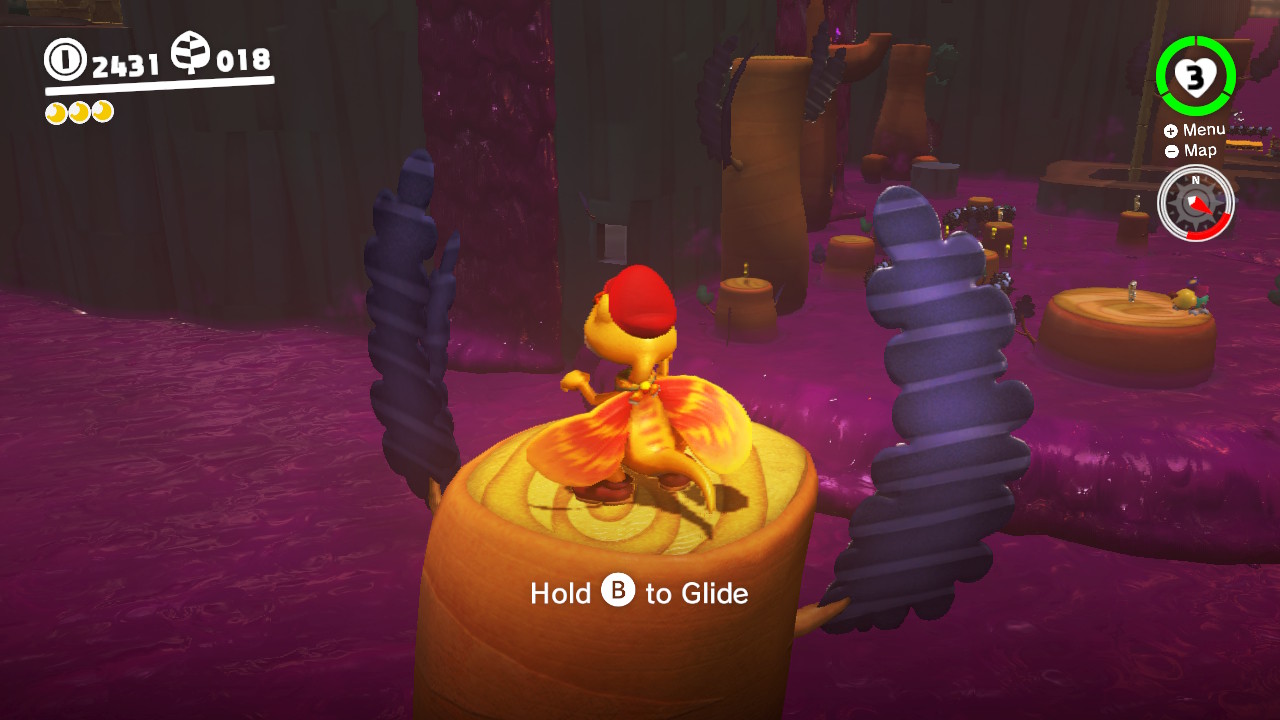
4- Then glide into the small hole! Captain Toad is waiting for you! (How did he get here?)

Location-
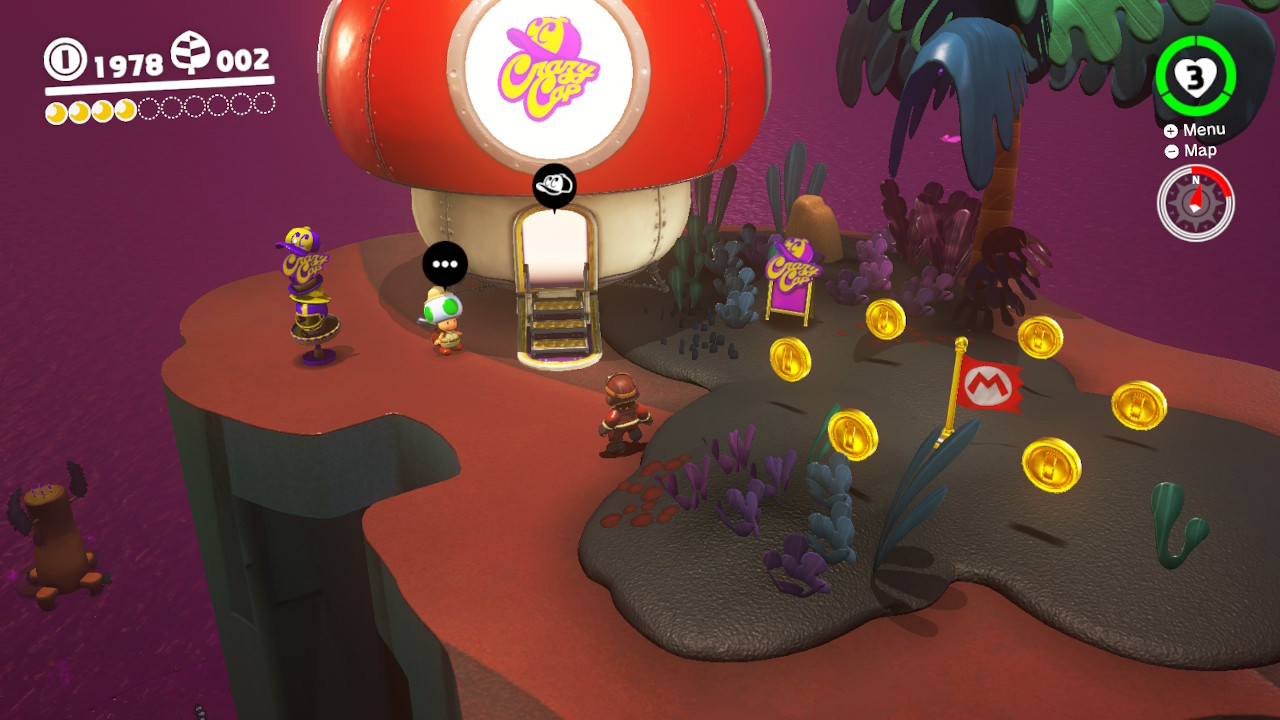
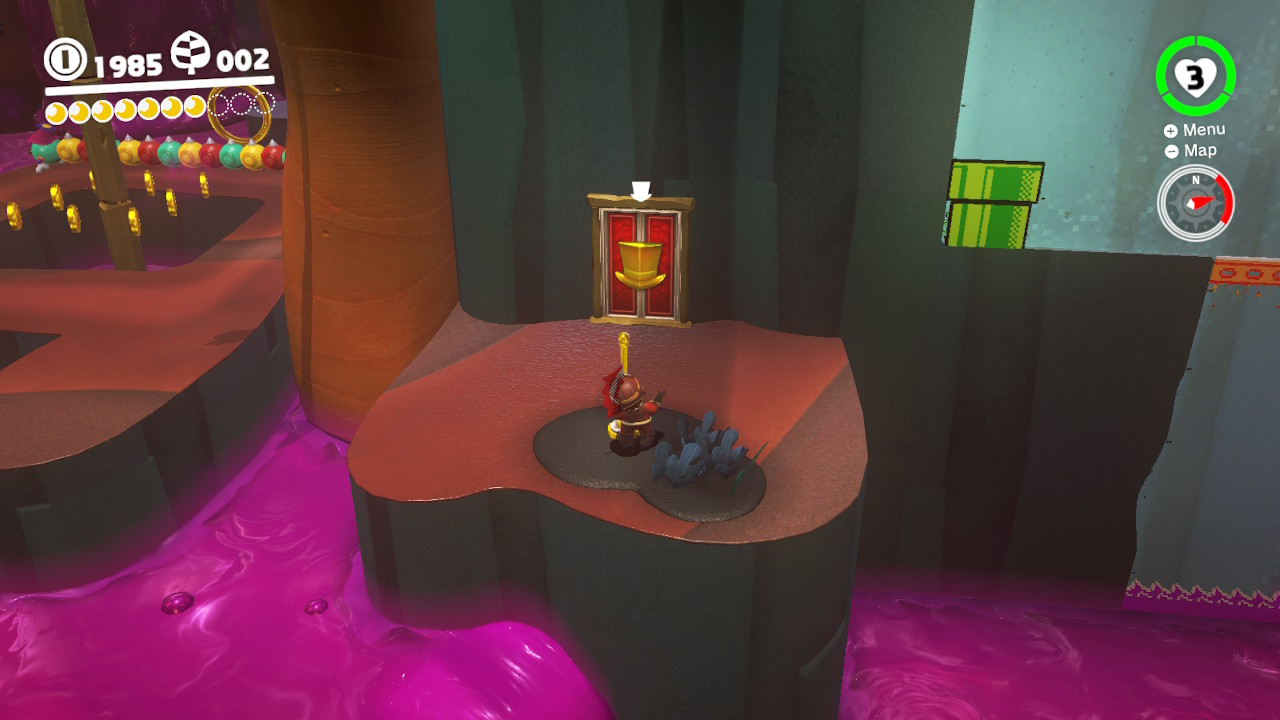
1- Crazy Cap is on the very top of The Forgotten Isle mountain…
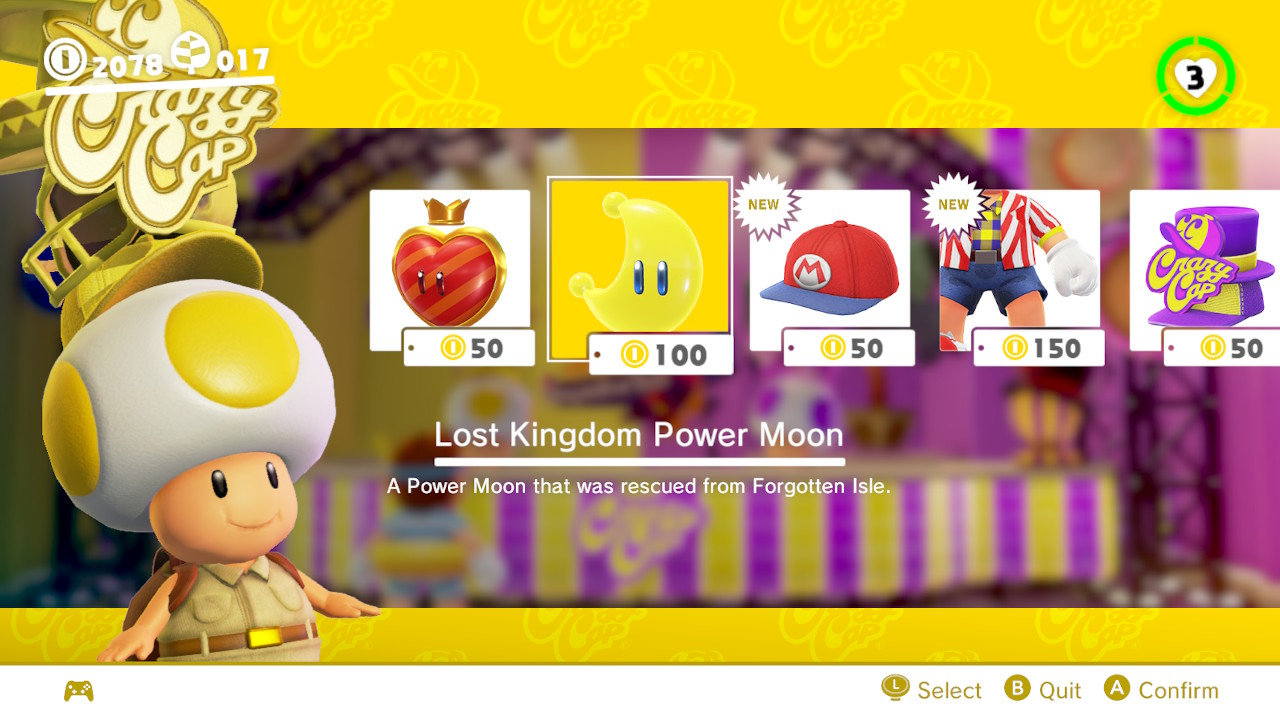
2- Inside you can purchase a Power Moon for 100 coins!

Location-
1- Right behind the Odyssey you will find the binoculars…
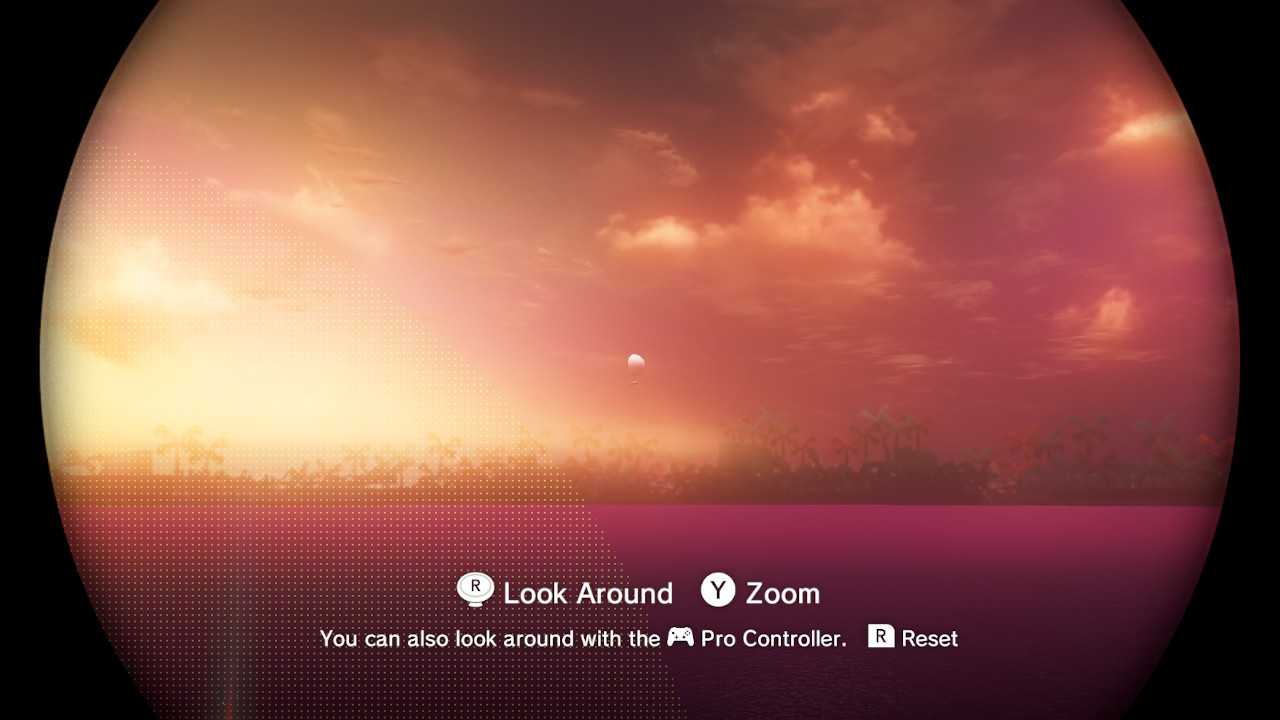
2- Above the Odyssey to the right you should see something flying in the air…

3- Zoom in and you’ll see that it is a taxi! Stare at it for a few momenst and it will shoot a Power Moon down at you!
Location-
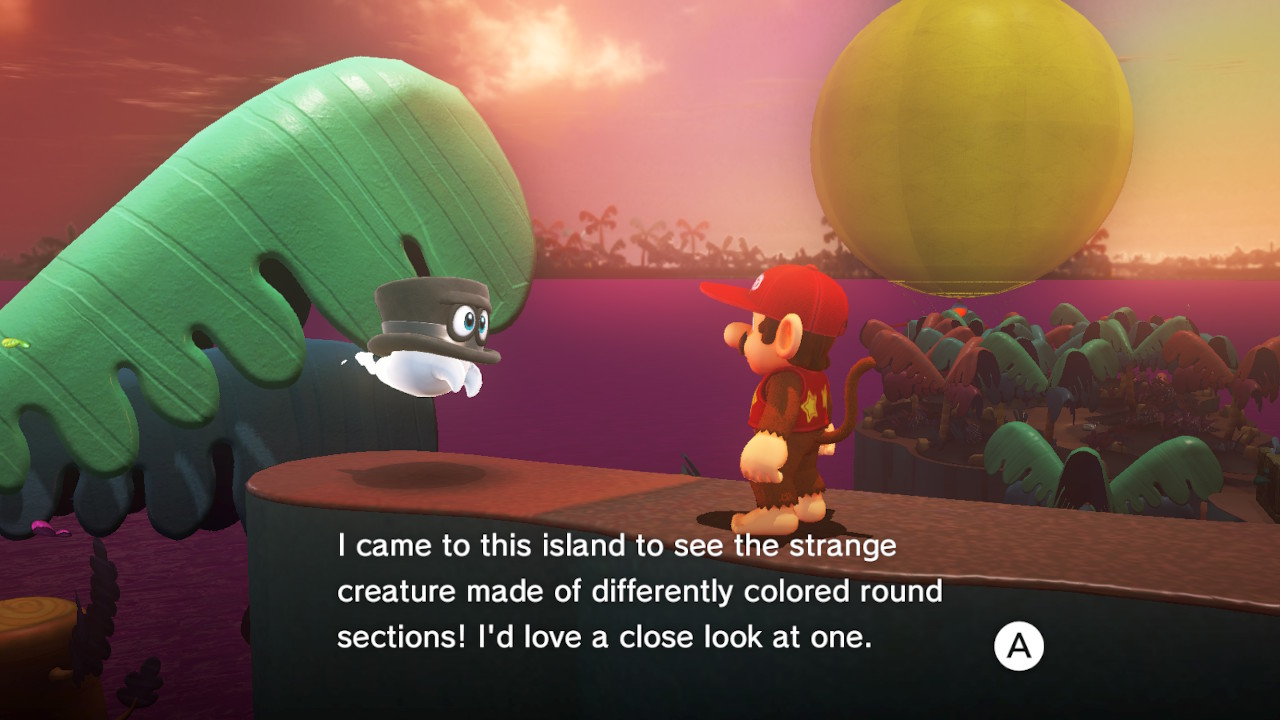
1- Right below the “Swamp Hill” checkpoint you will find a Bonneton who is looking for a “Tropical Wiggler”…
2- From the “Swamp Hill” checkpoint, you will need to capture a Wiggler…
3- Head back down the ground pound staircase, take the wiggler to the bottom and jump back out as Mario! Now ground pound the opposite side…

4- The staircase will now be high enough for you to reach the Bonneton…

5- Stretch over to him and he will glady give you a Power Moon!
– Check out the video to see how it’s done!
Location-

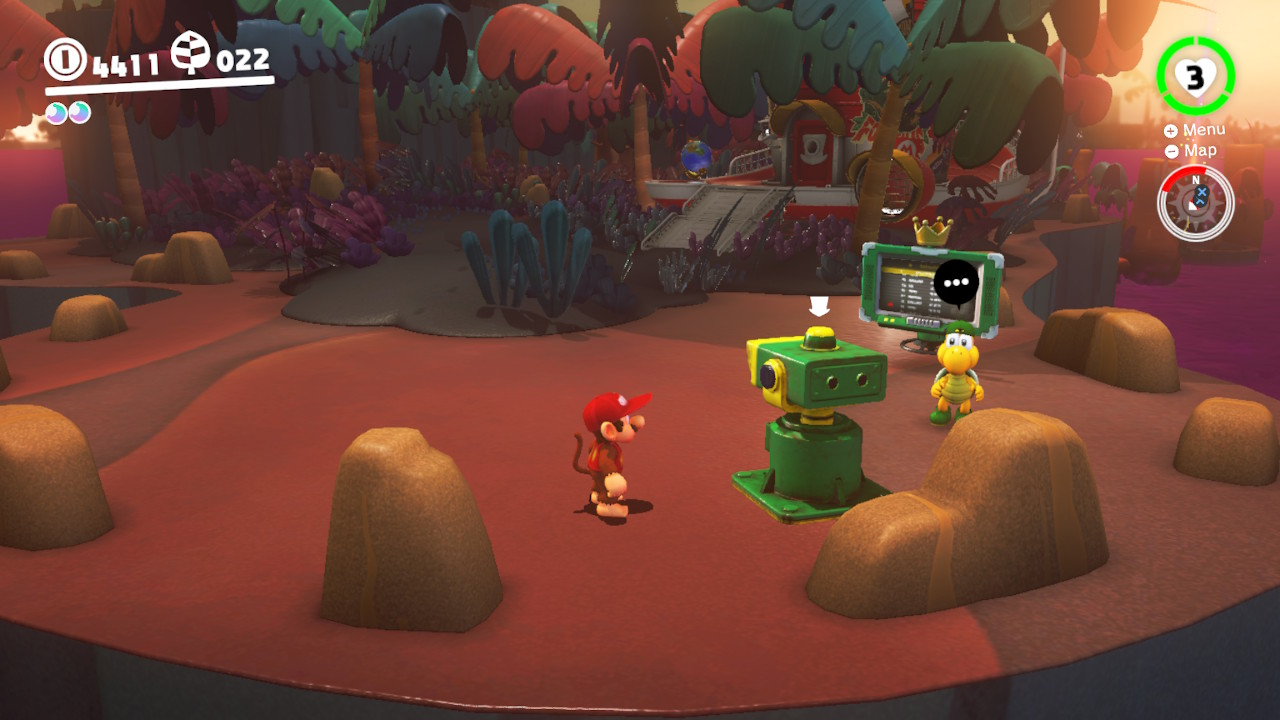
1- Right behind the Odyssey is where you can find the Koopa who is ready to race…
2- The finish line is the top of the mounatin…
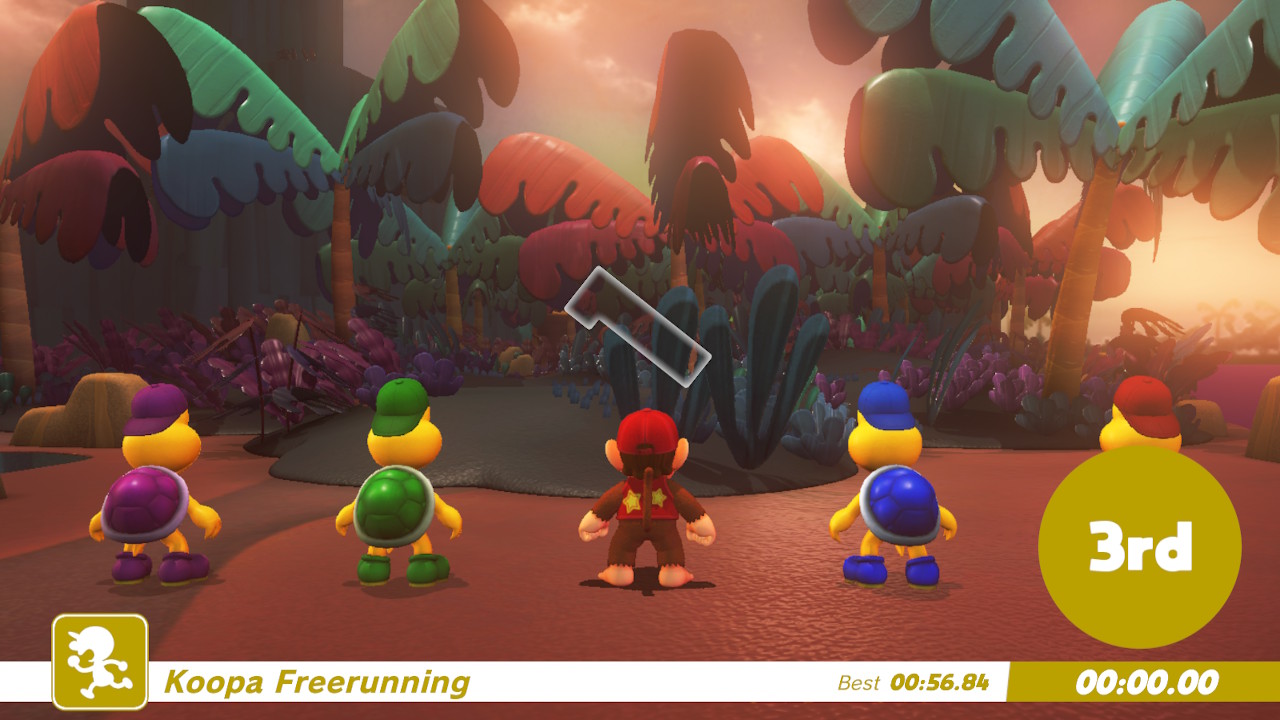
3- Race to the top, using shortcuts where you can…
4- The last stretch is a wall-jumping section…

5- Get the the finish line first and your reward is a Power Moon!


Location- Rockey Mountain Summit
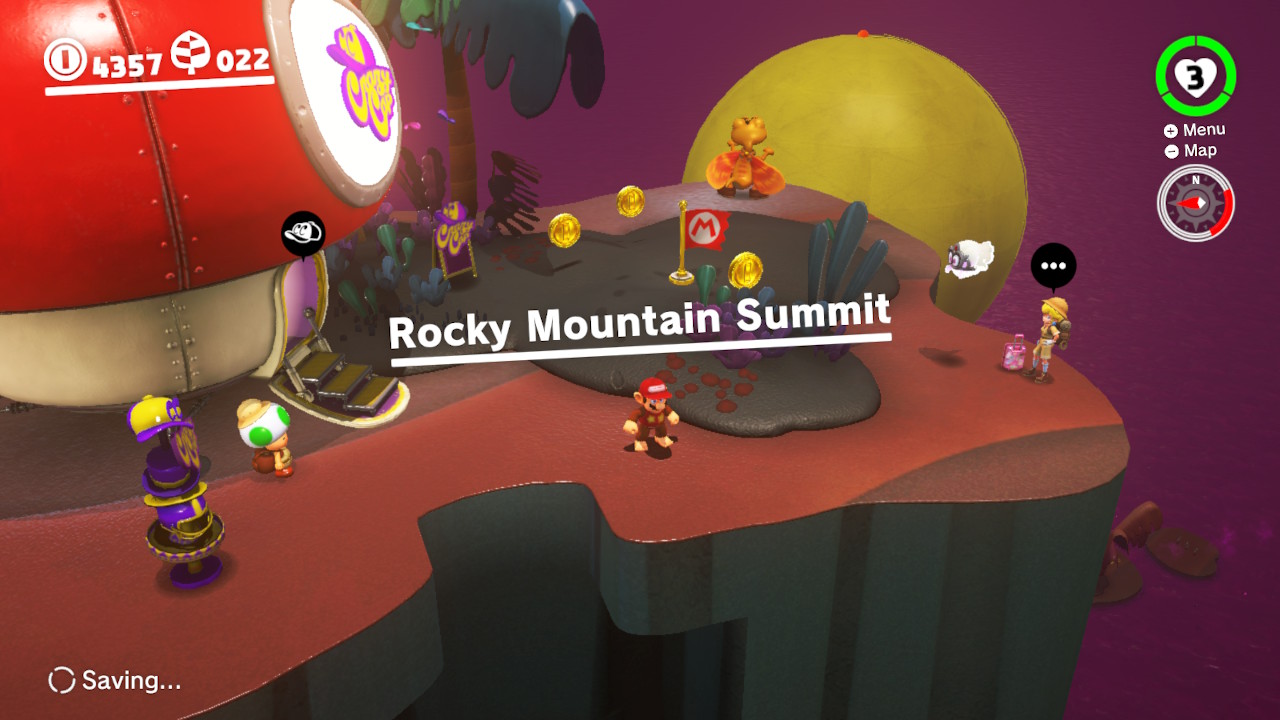
1- Peach and Tiara are on the top of the Rockey Mountain Summit…

2- Talk to Peach and she’ll give you a Power Moon!
The remaining Power Moons can only be found in the “End Game” portion of Mario Odyssey!
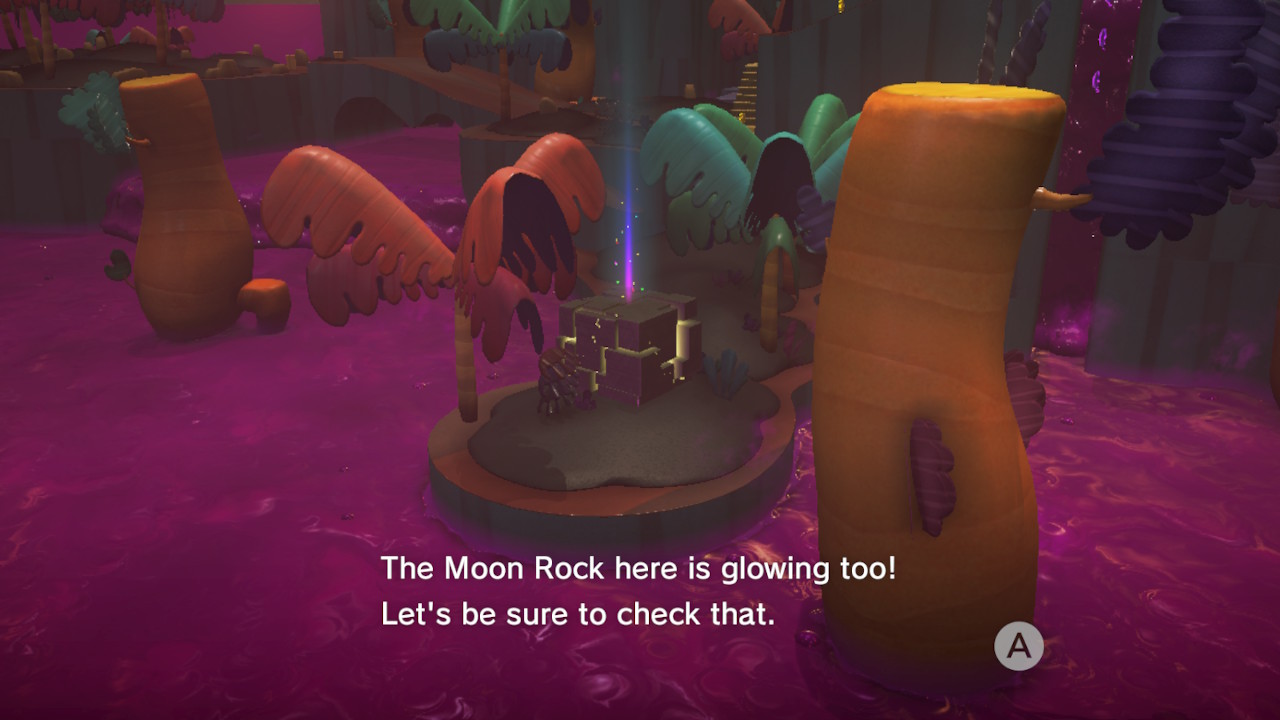
– Now that you’ve beaten the game, these mysterious Moon Rocks can be BUSTED open! In doing so, MORE Power Moons will spread throughout the Kingdom!
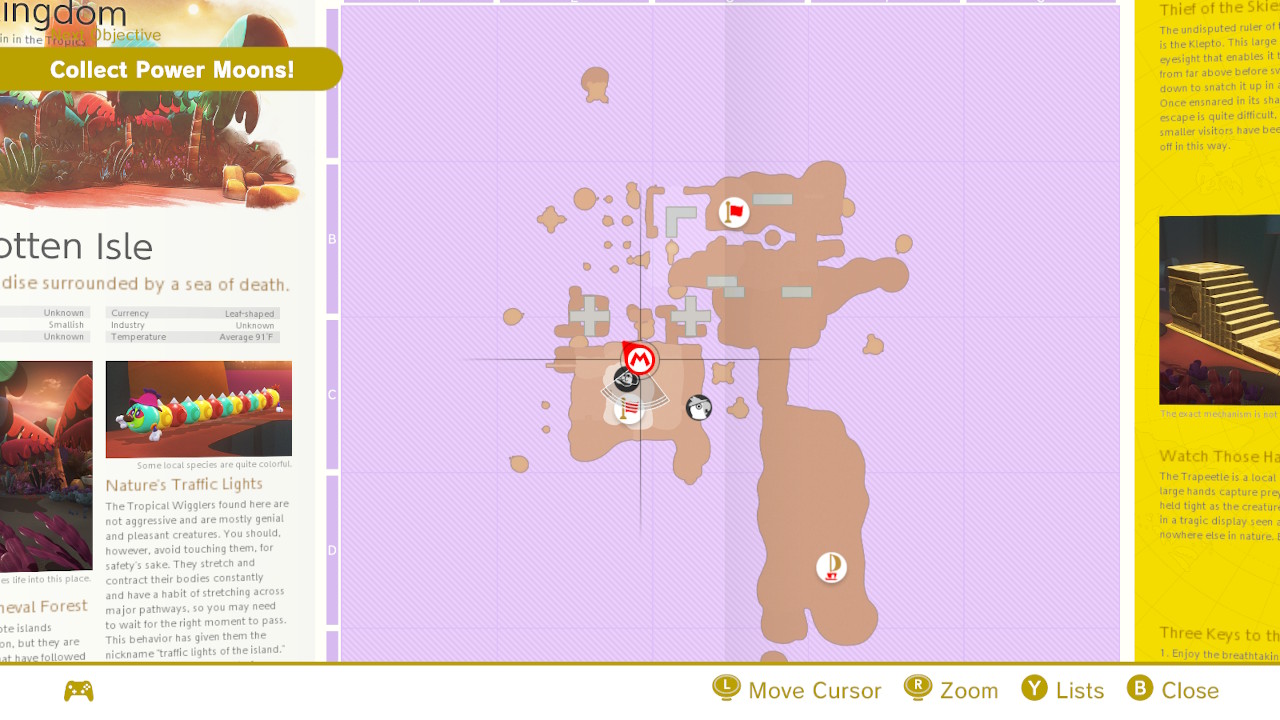
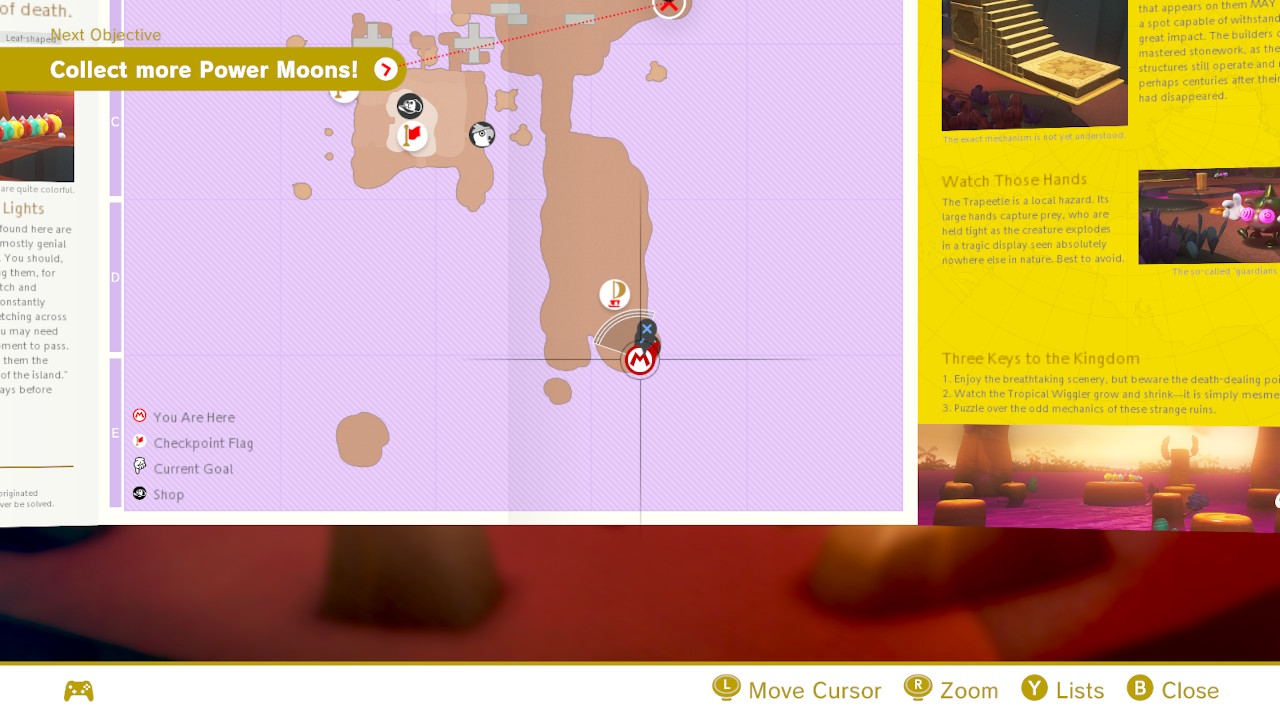
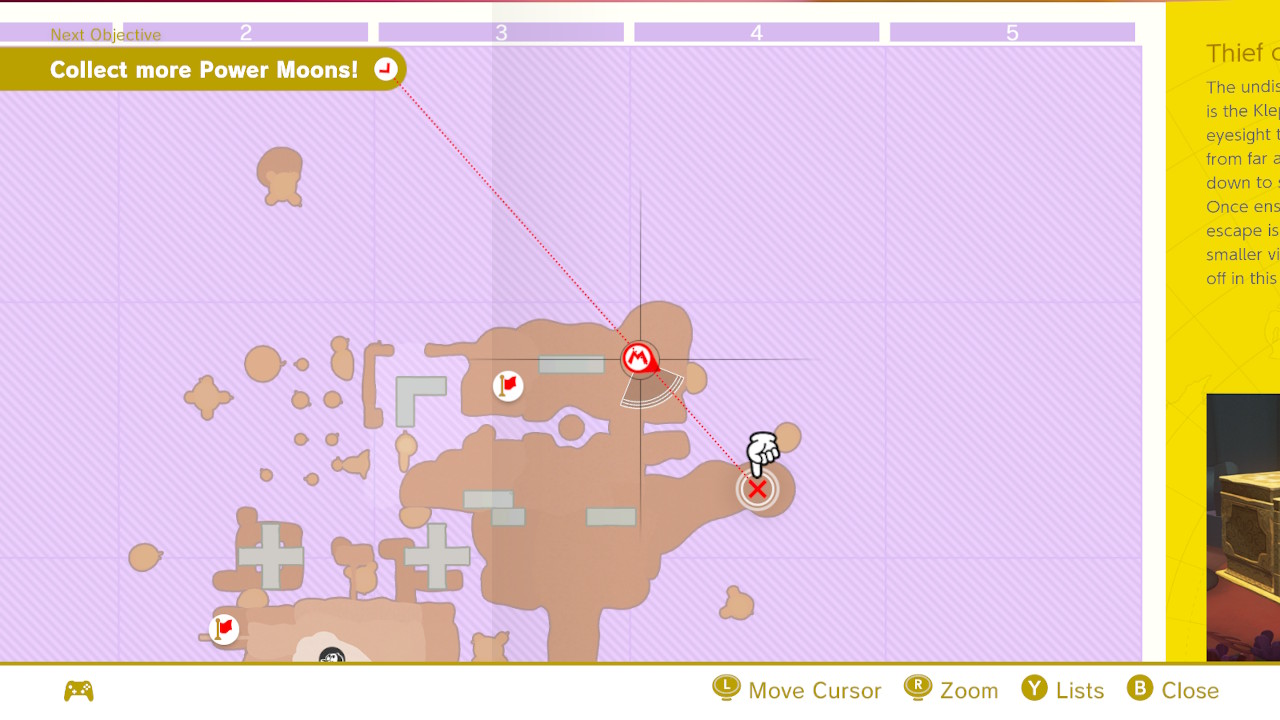
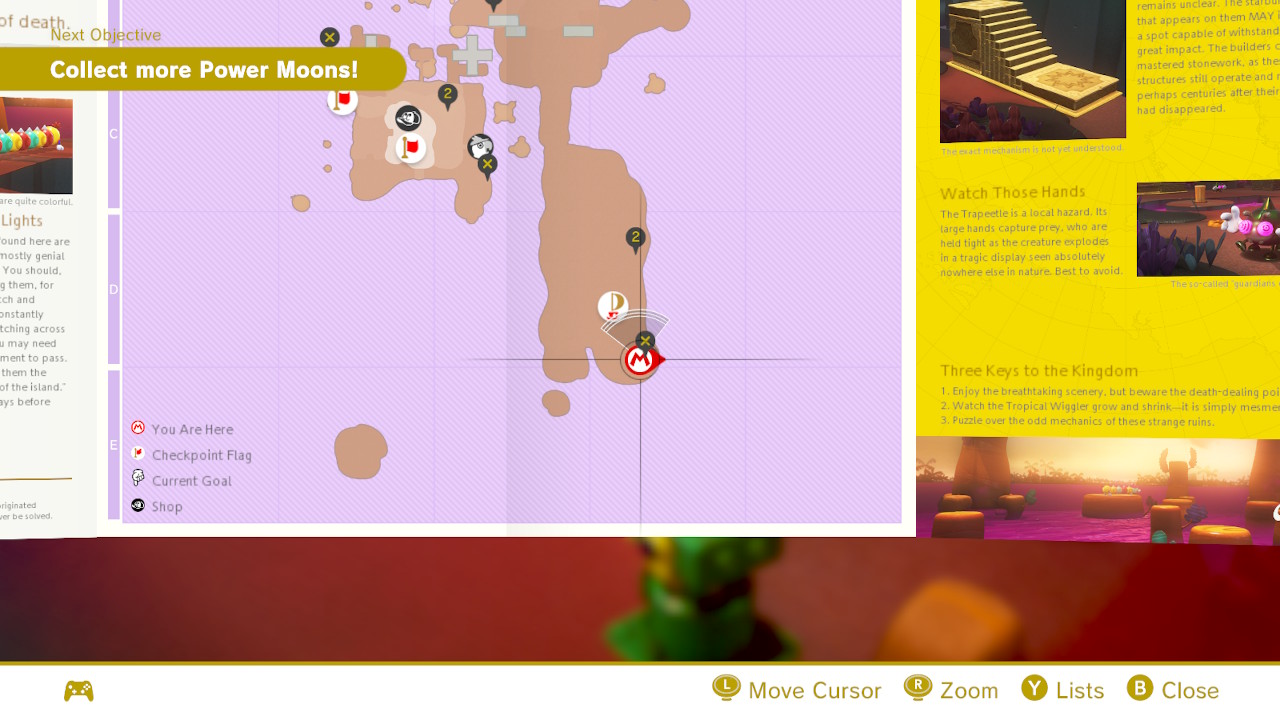
– The Moon rock in The Lost Kingdom is down on a ledge in the southeast side of the island. Break it open and 10 brand new Power Moons will spread throughout the kingdom!

Location-
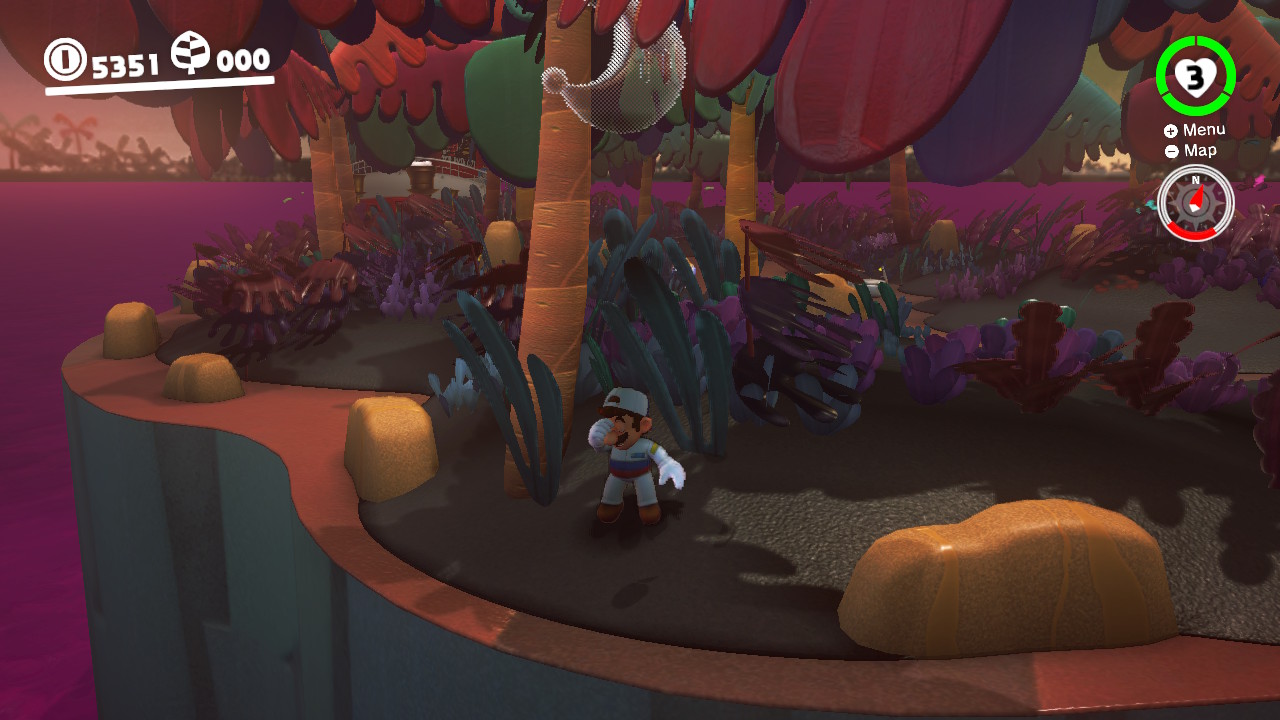
1- This one is super easy to spot and get. (I actually forgot to capture footage of myslef grabbing it!) It’s right on the edge of the opening jungle area just sitting under a tree!
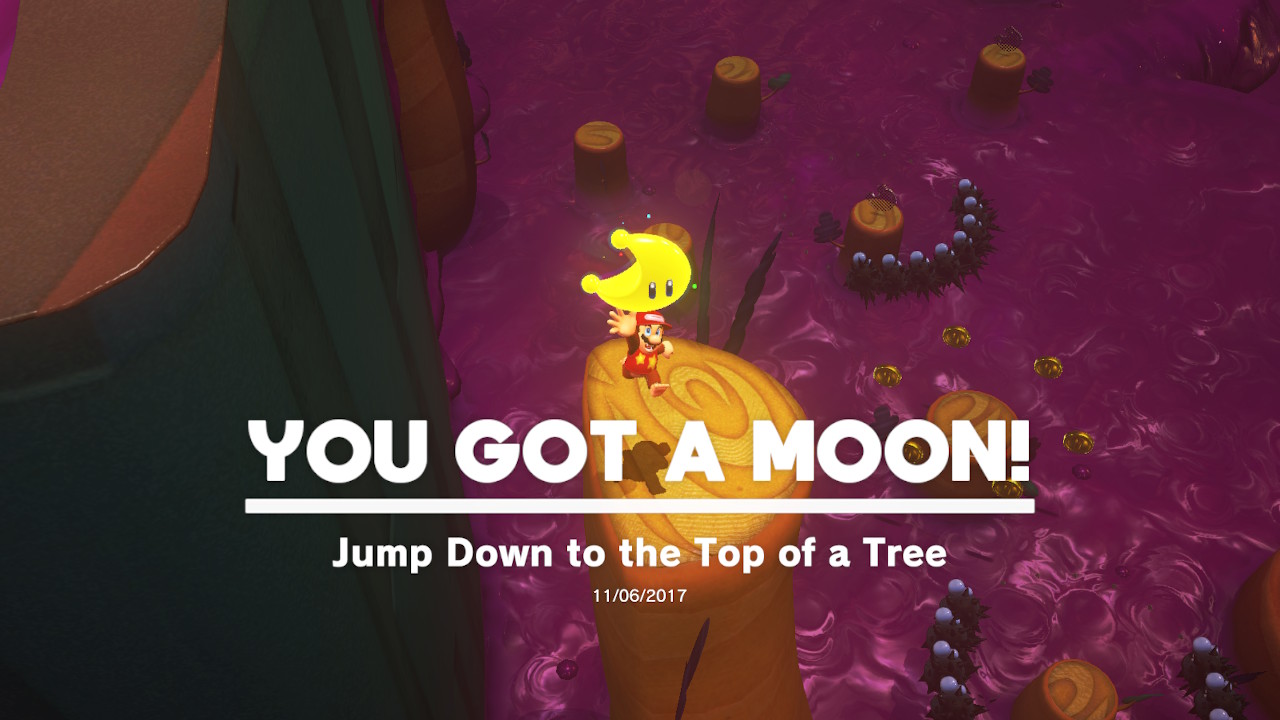
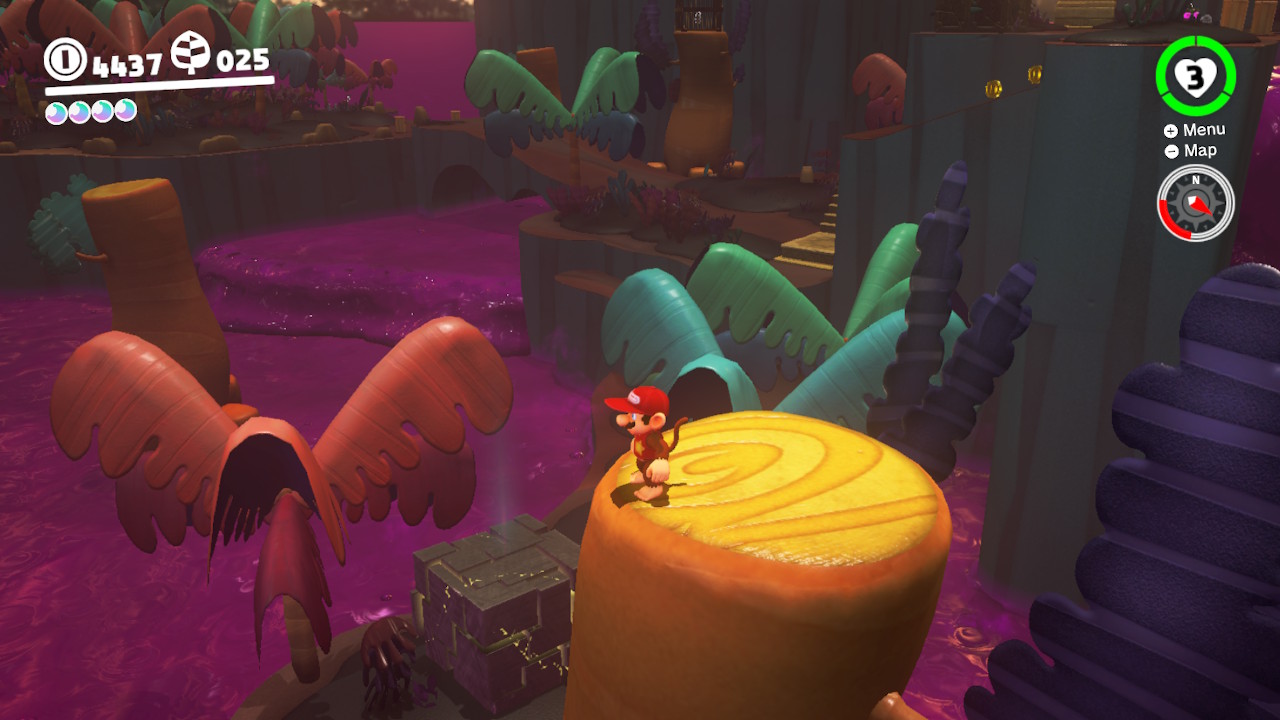
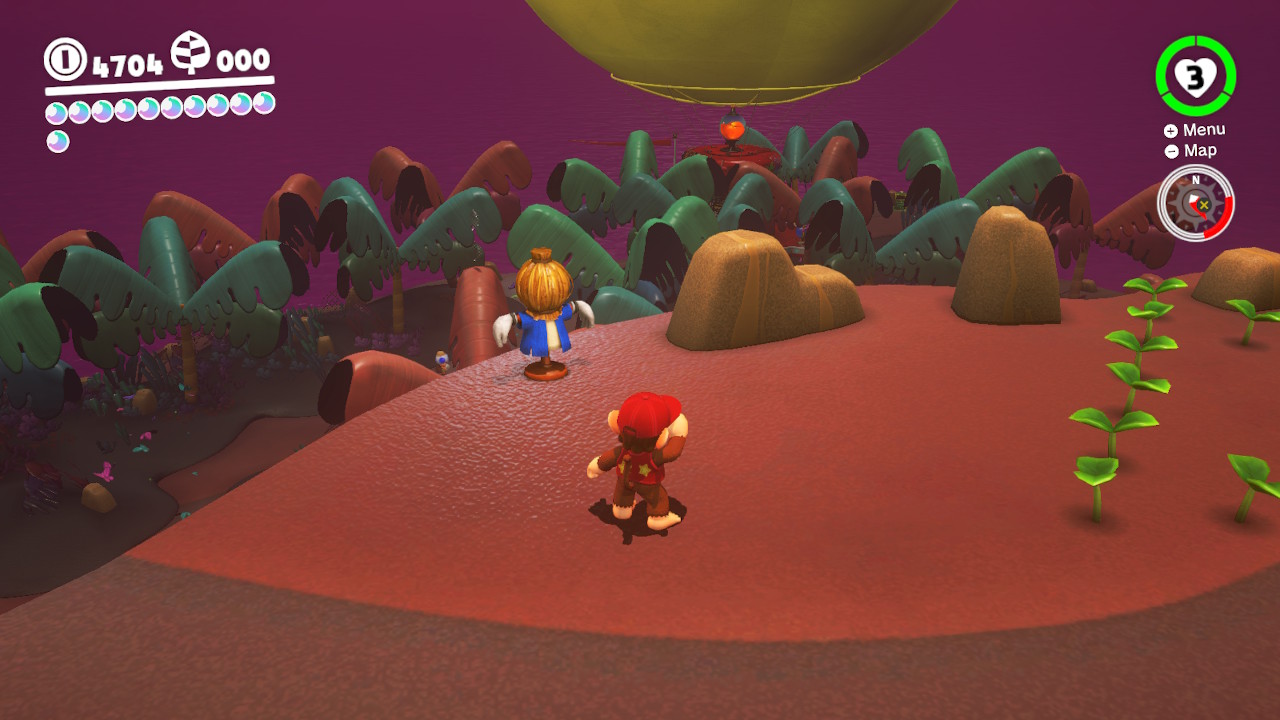
Location-
1- There’s a Power Moon above the poison, on top of the tree, and below the “Swamp Hill’ area…

2- Just drop down onto the Moon to grab it!
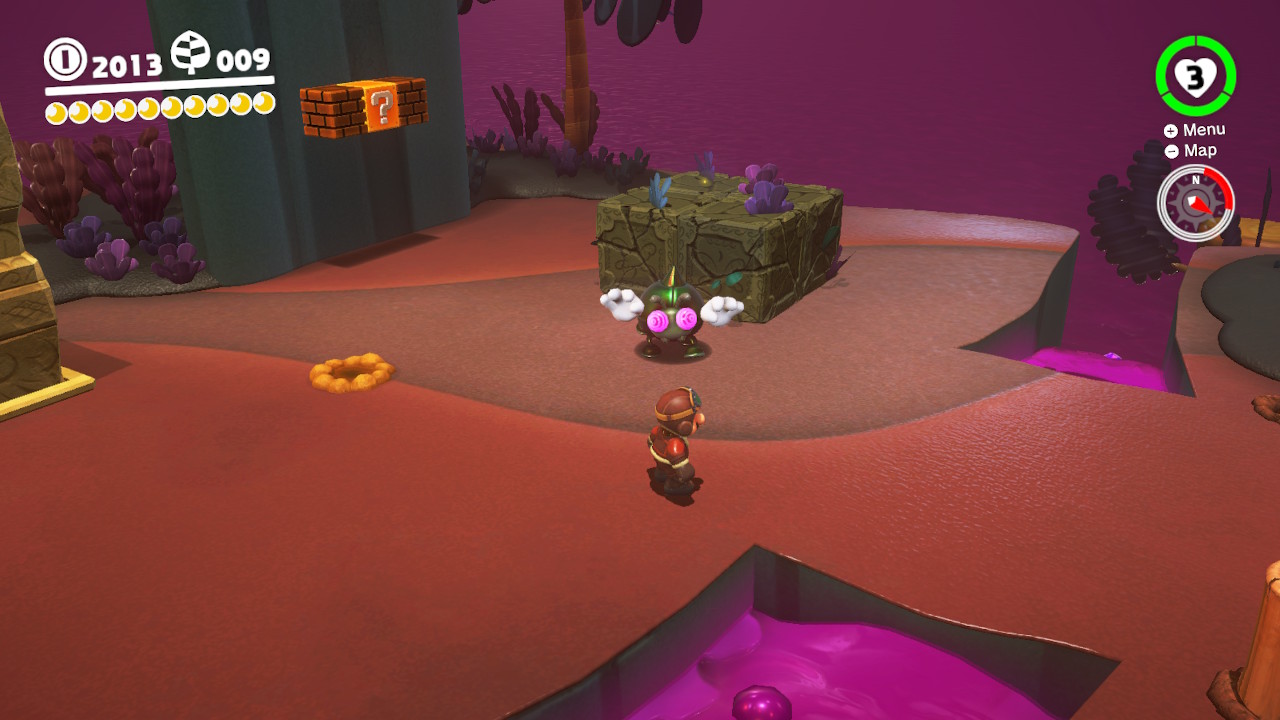
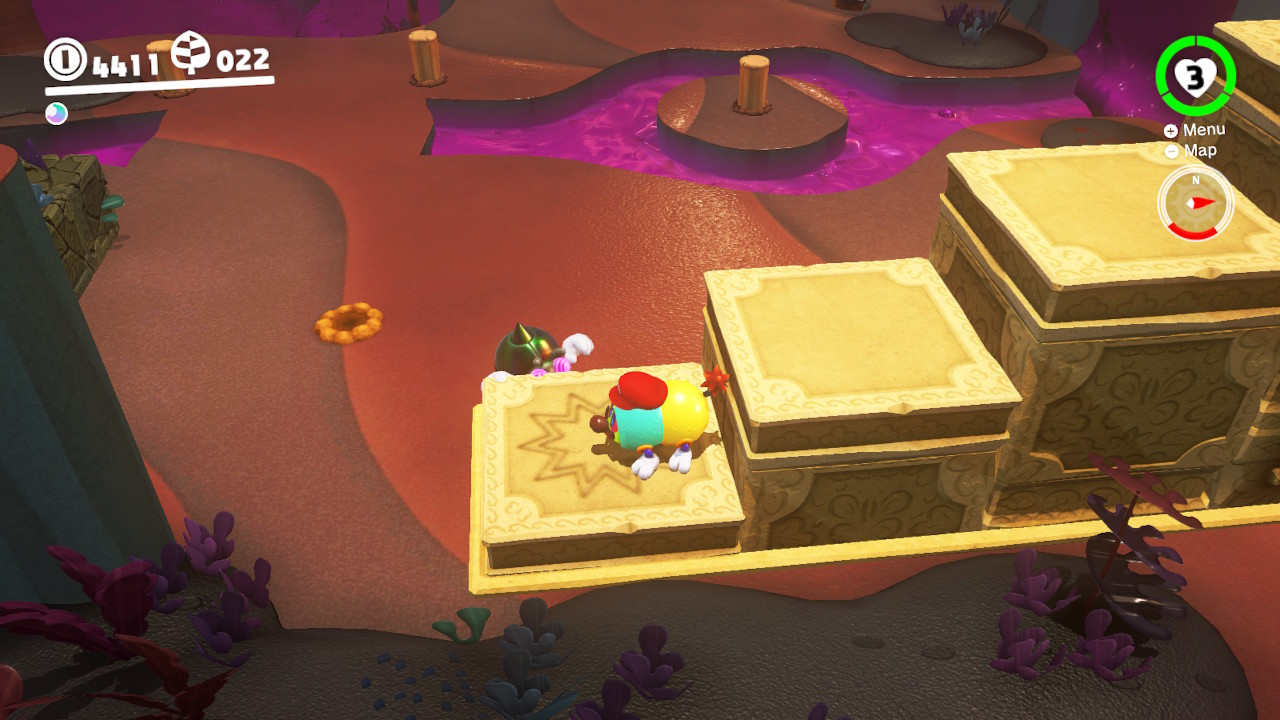
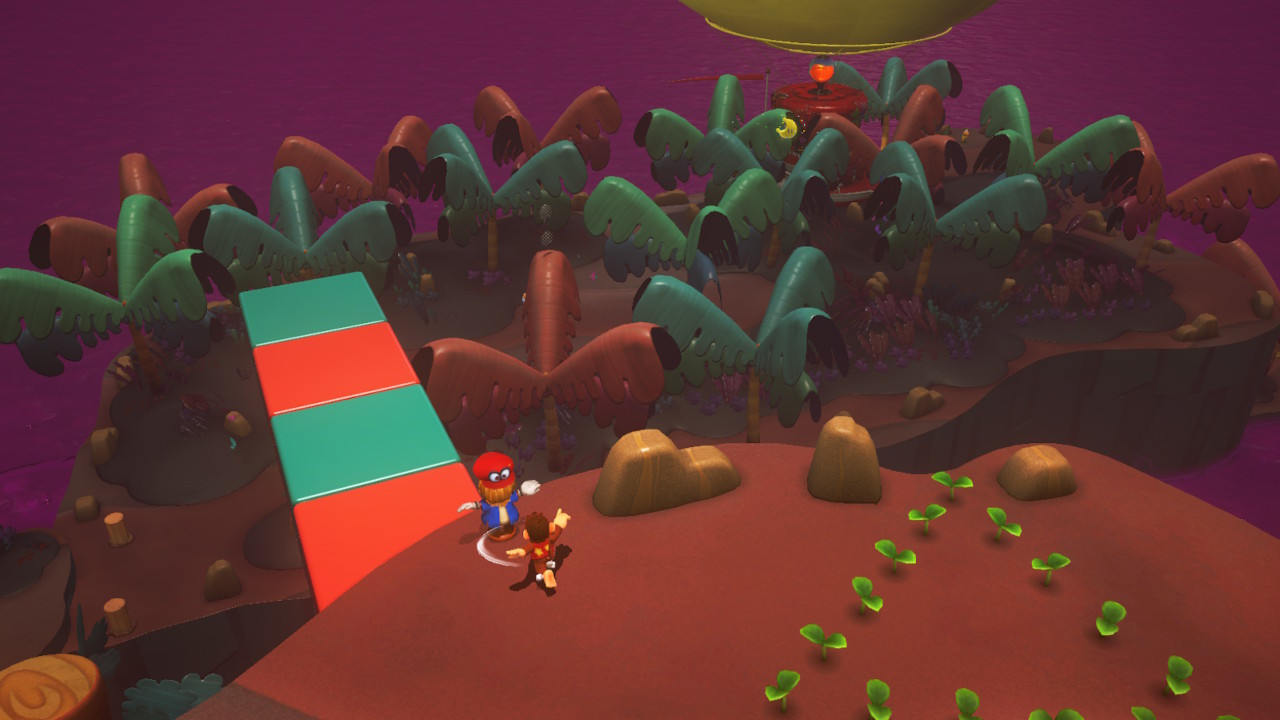
Location-
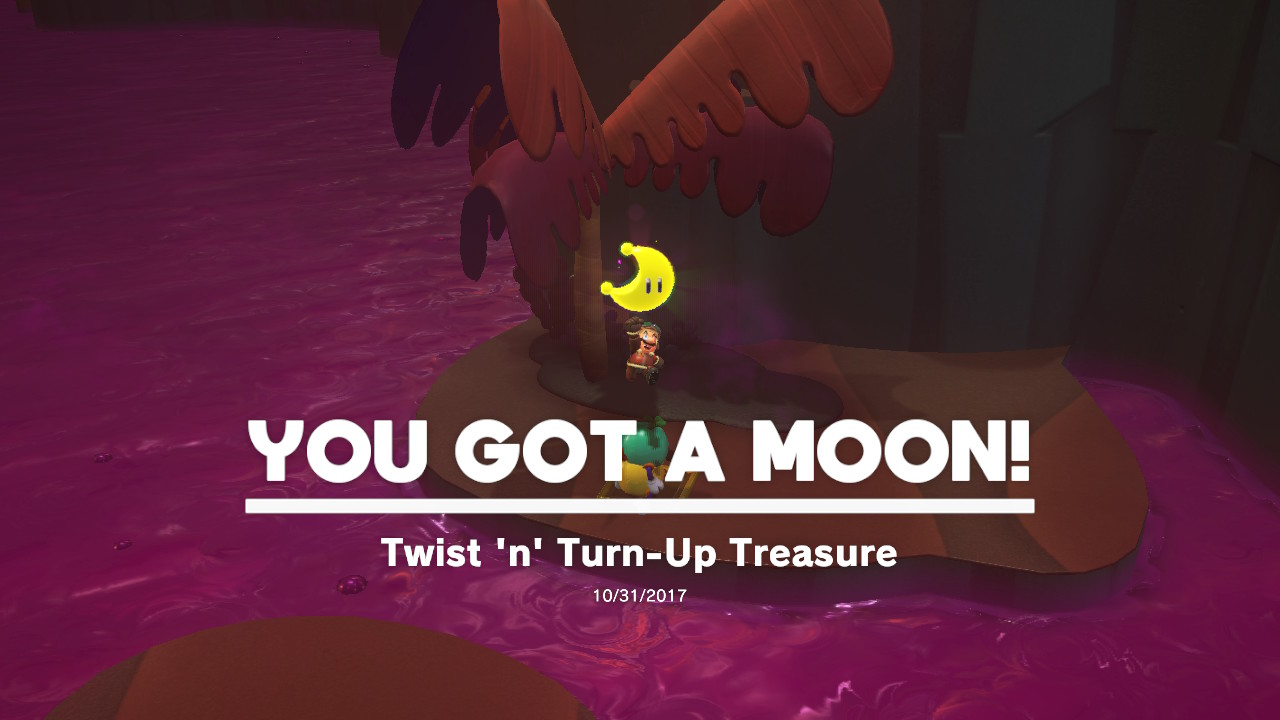
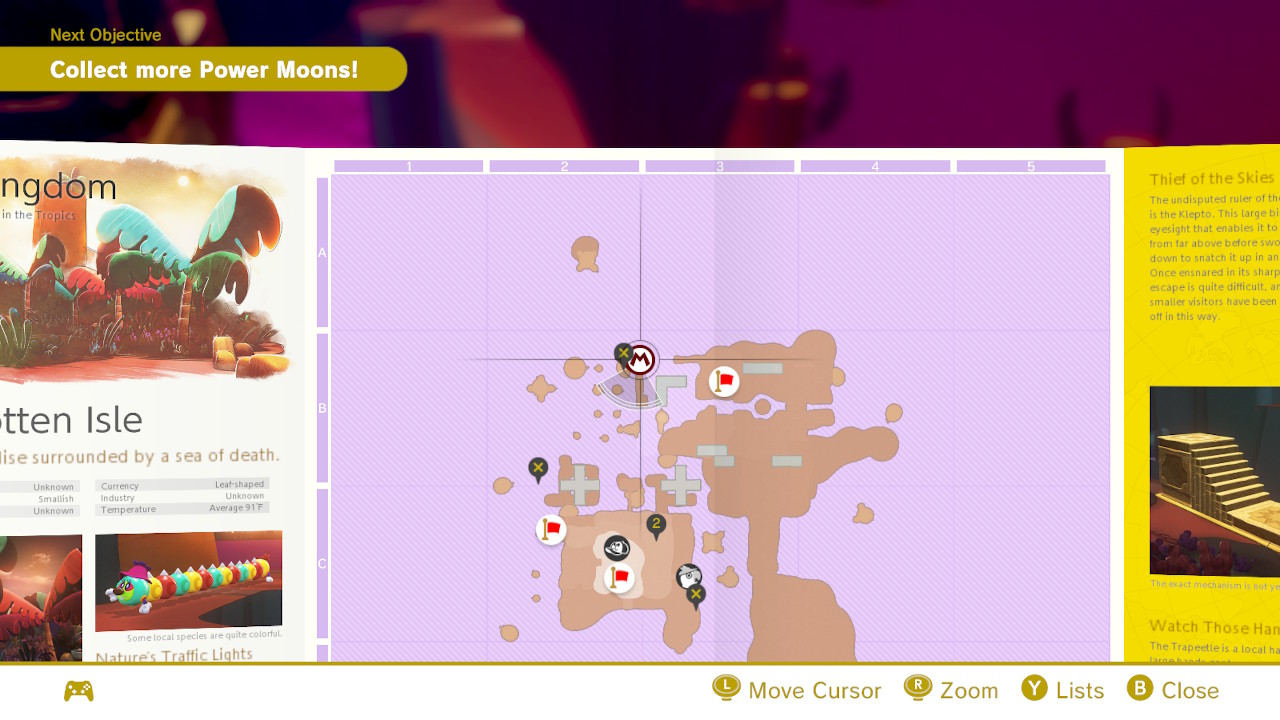
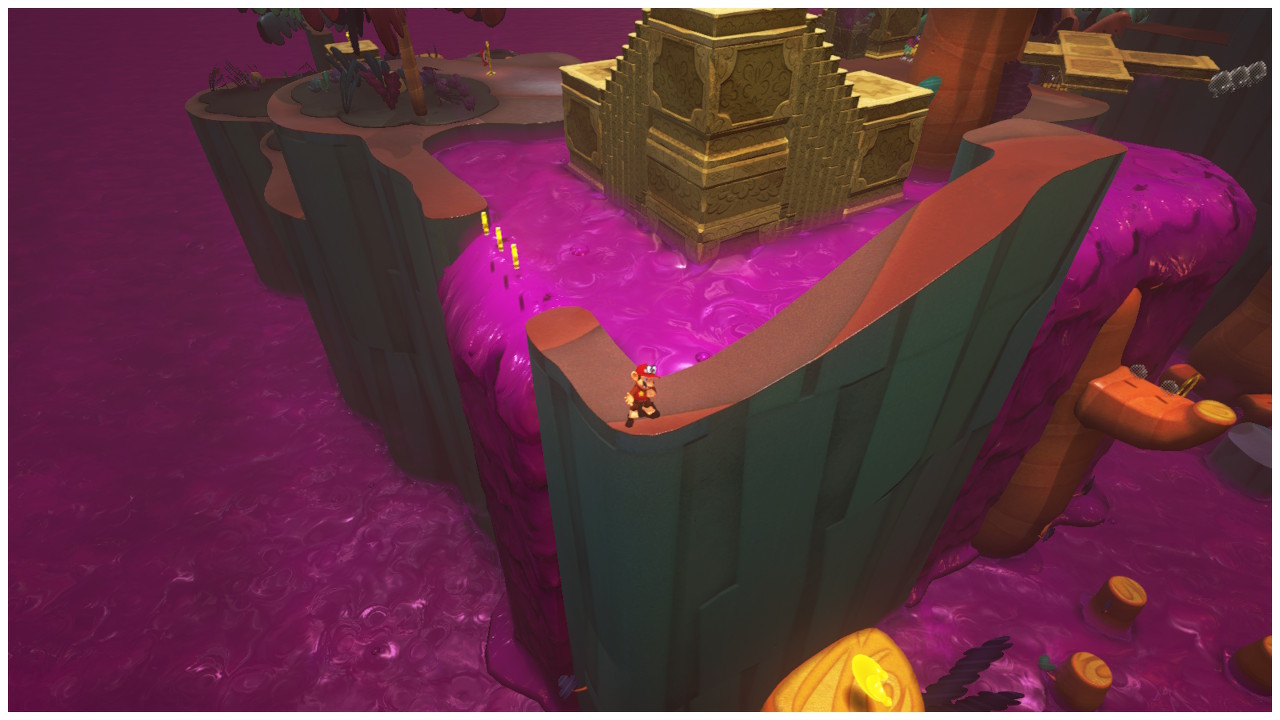
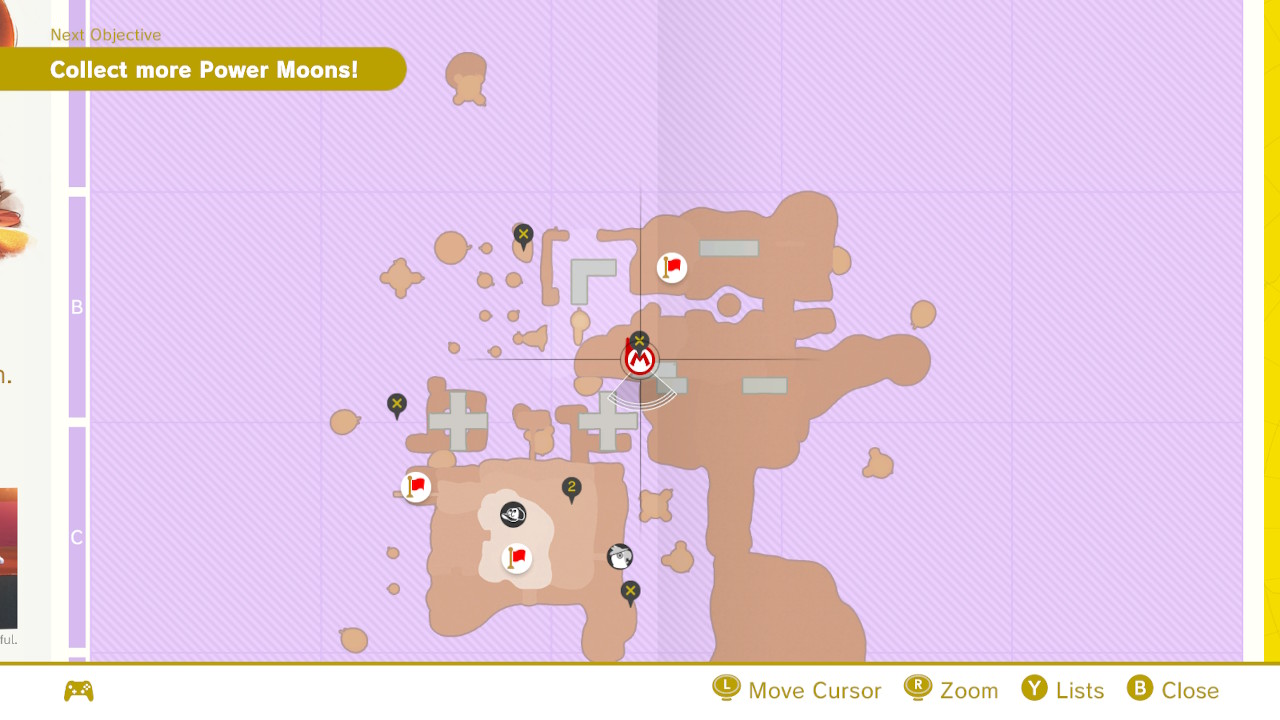
1- Right in the “Swamp Hill” area you should see a sparkly block, it’ll need to be blown up…
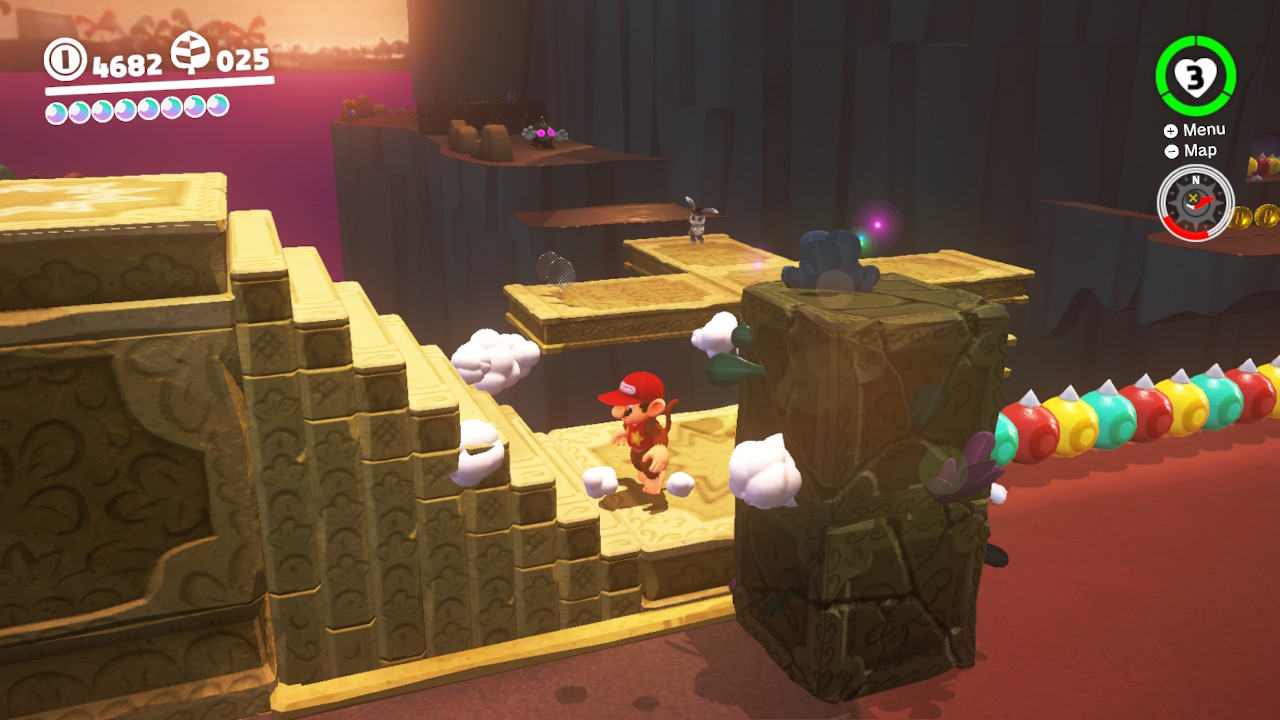
2- Ground pound the staircase so that the block can be accessed/blown up…
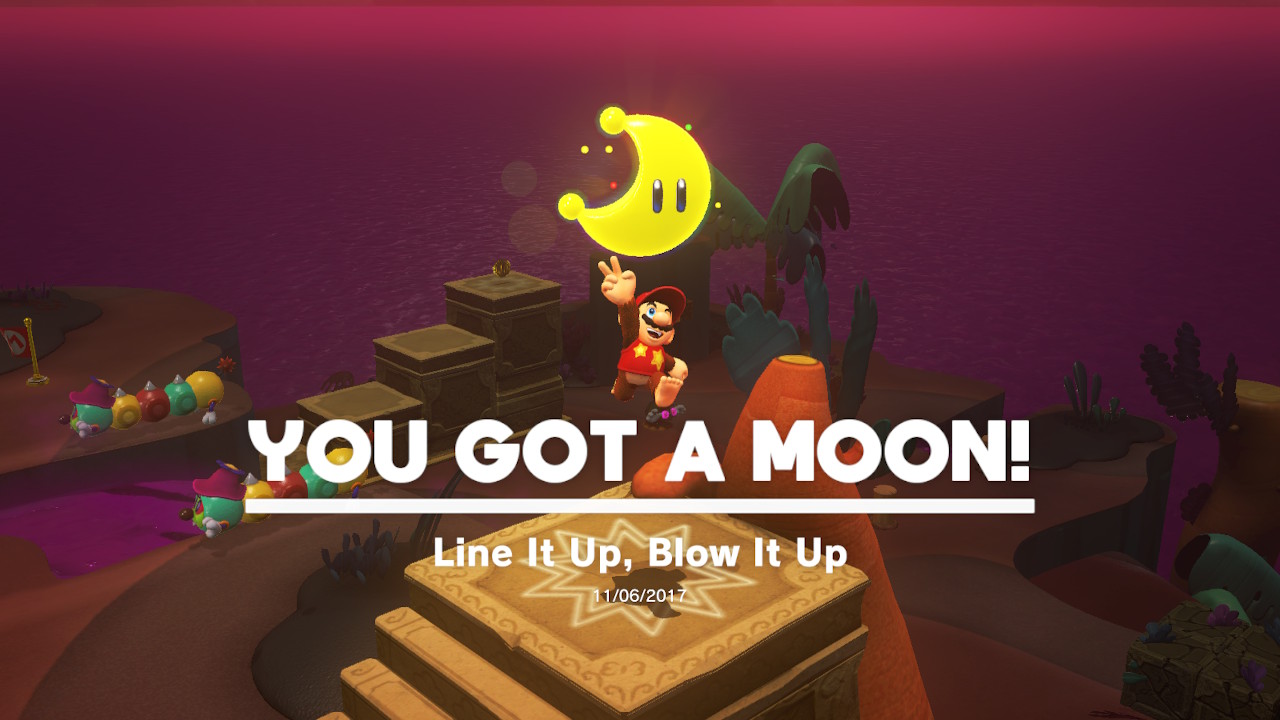
3- Now you’ll need to throw Cappy at the “Trapeetle” and line it up so he launches towards the block with the Power Moon! (Watching the video should show you all you need to know!)


Location-
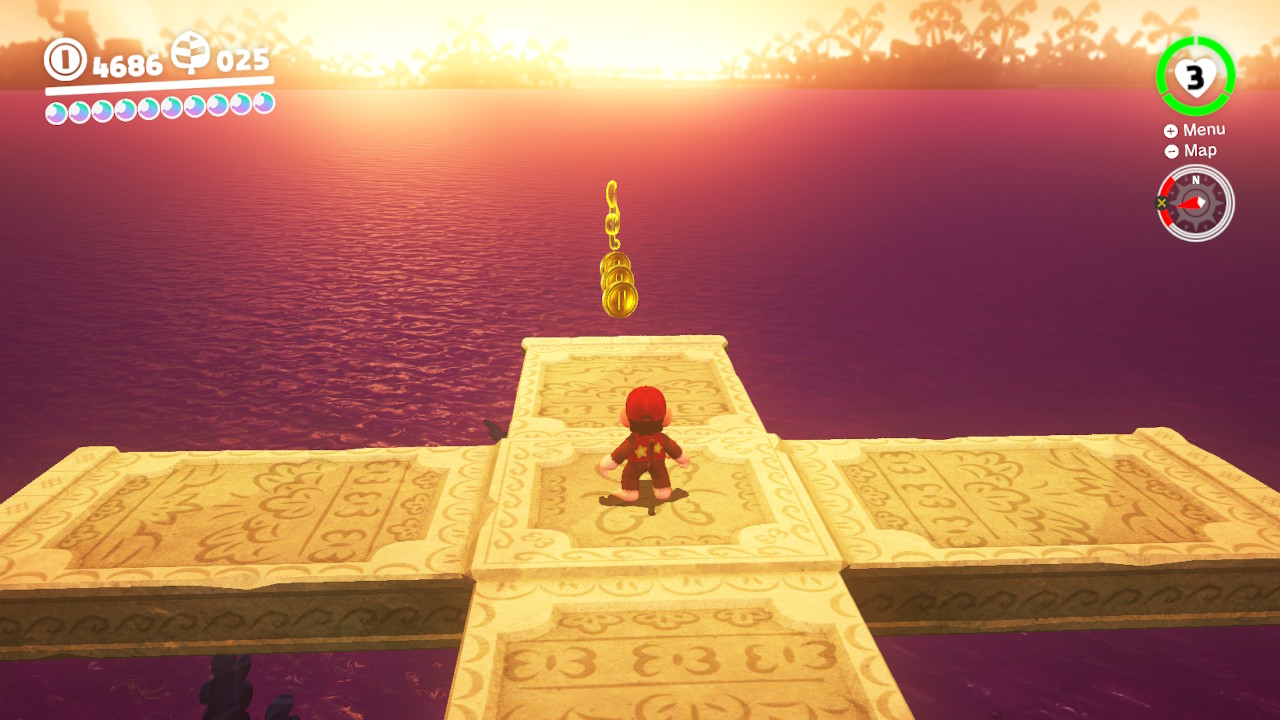
1- On the furthest spinning pillar is where you can find a music note…
2- Collecting all the music notes in time is pretty tricky, you’ll need to throw Cappy, spin Cappy, etc. to grab them all…
3- This video shows how I did it, it took me a couple tries! Good Luck!

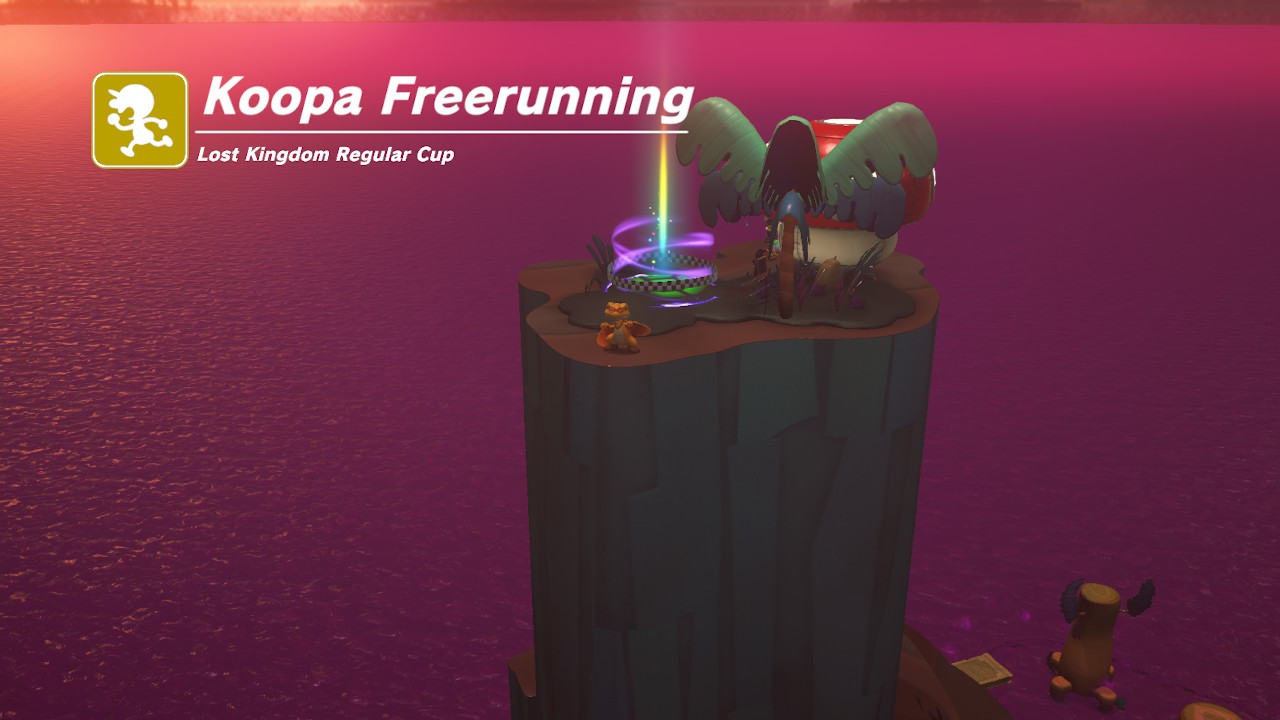
Location-
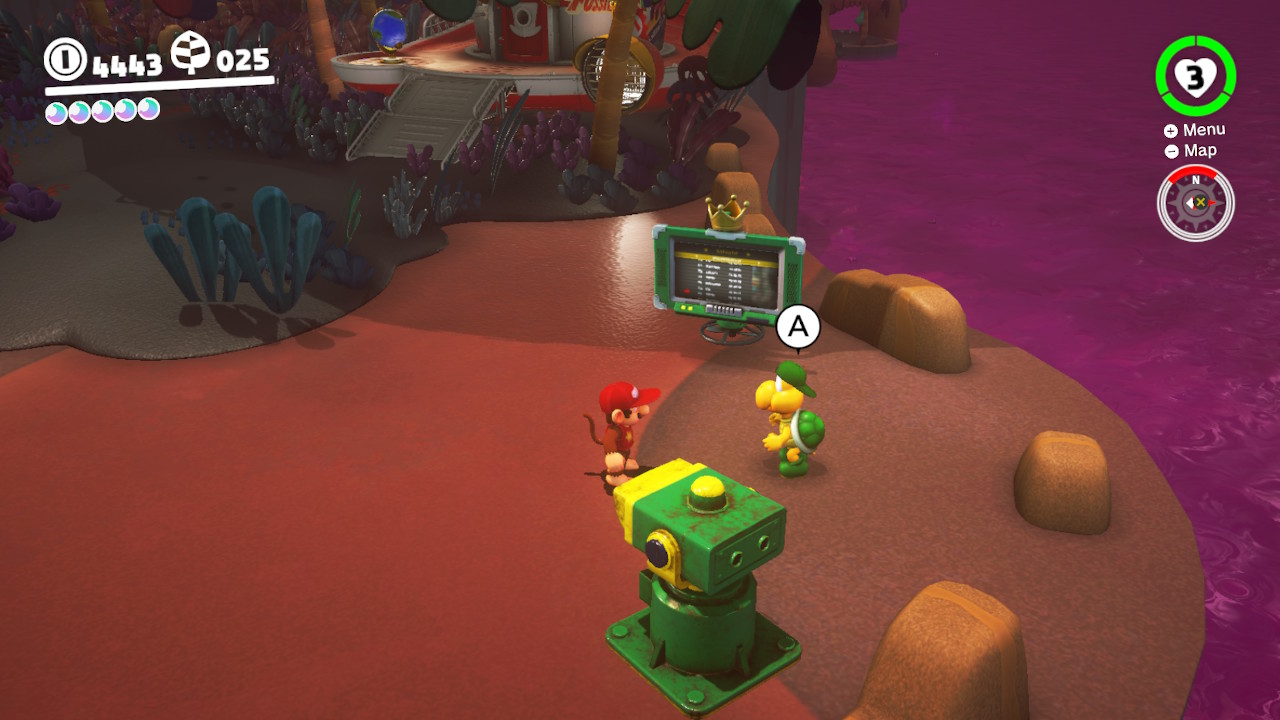
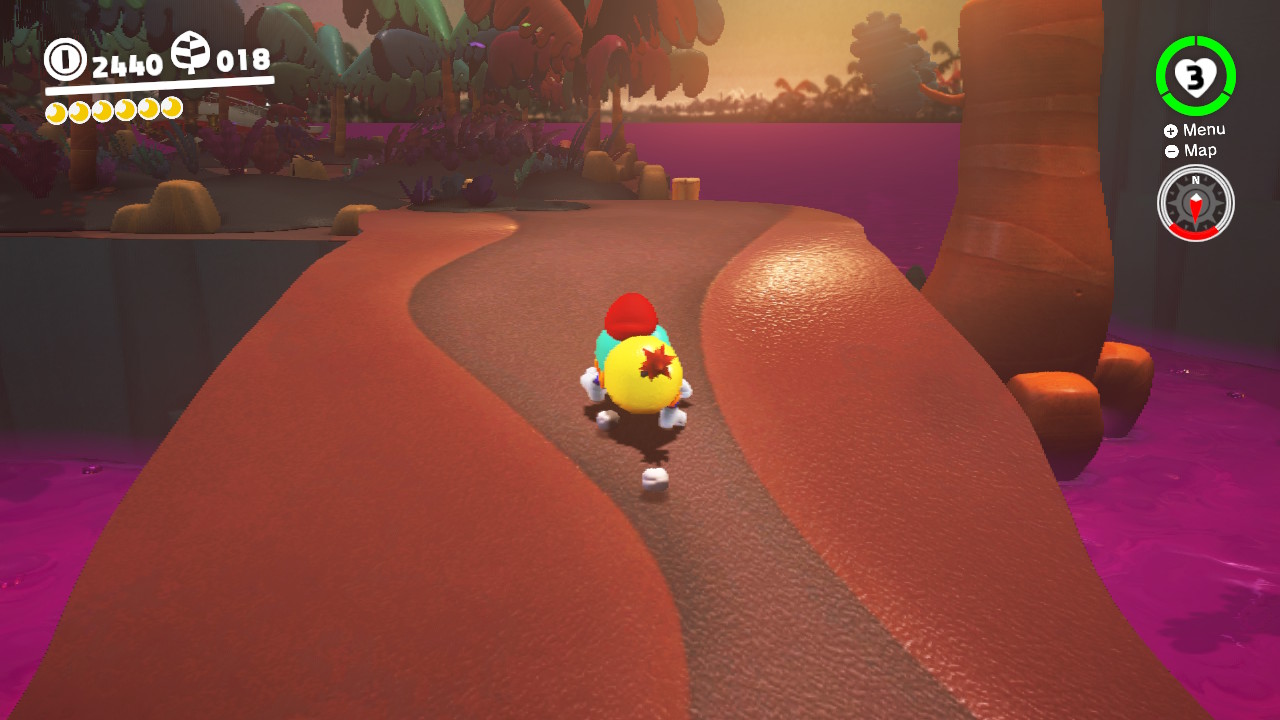
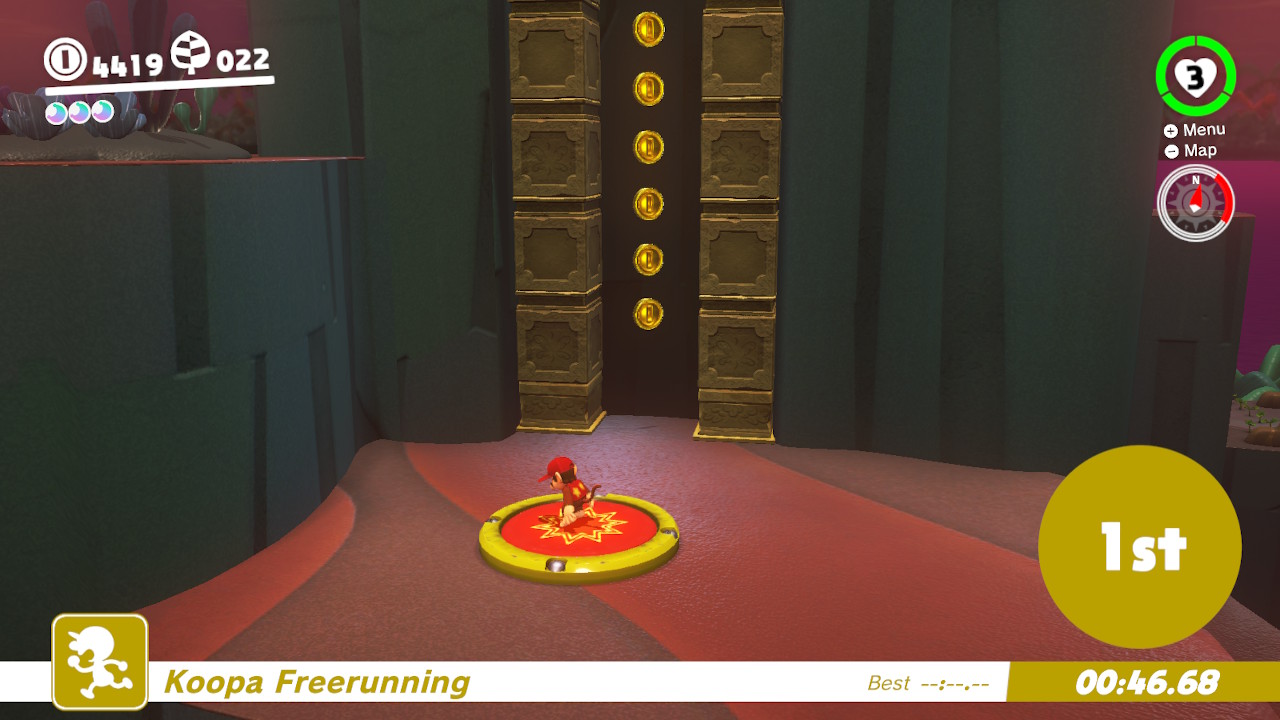
1- You will find Koopa right behind the Odyssey…
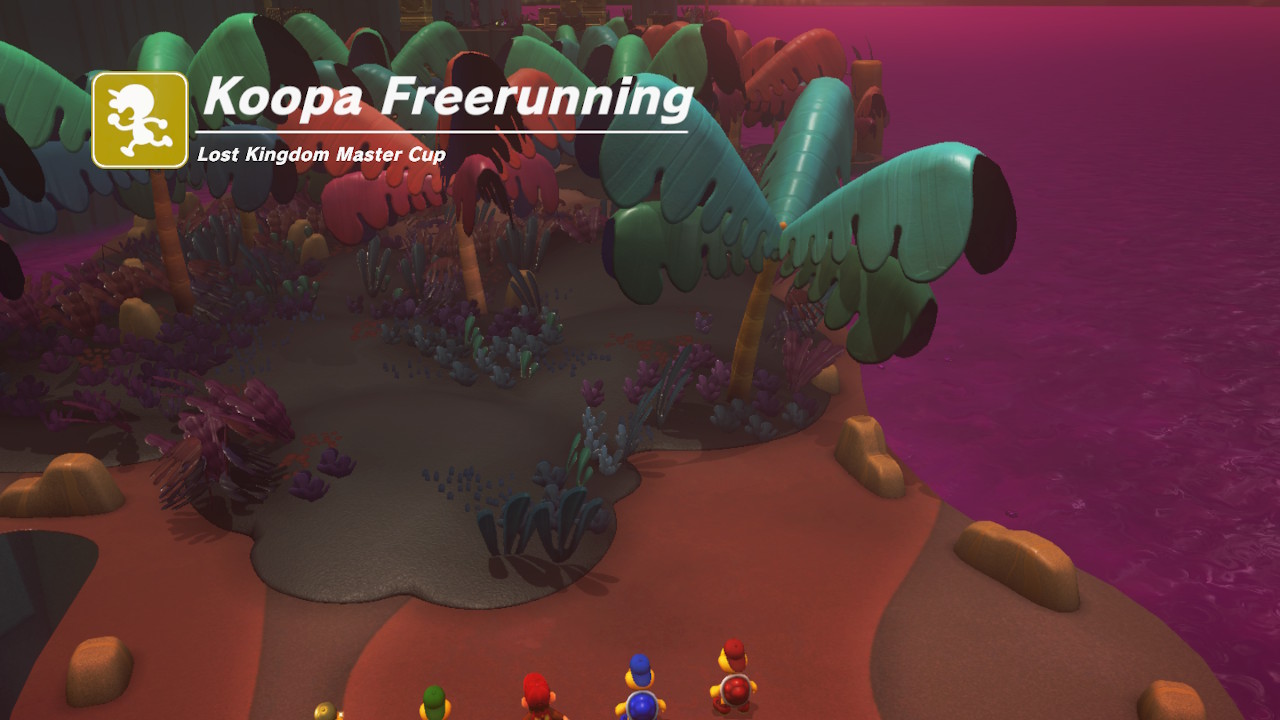
2- Talk with him to start the race, the finish line is on top of the mountain…

3- If you have trouble finding a good short cut, watch the GOLD Koopa, he takes a few great shortcuts…
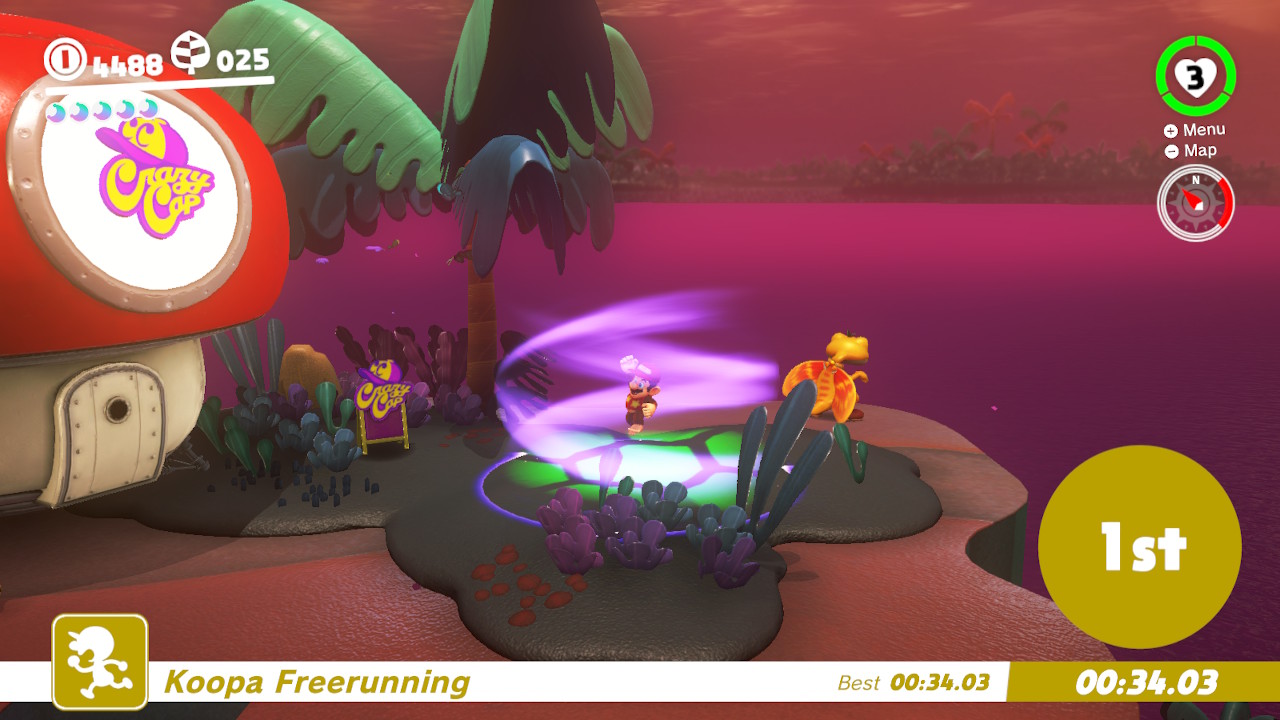
4- First place nets you a Power Moon!
– This video shows a difficult path but one that’ll net you first place with ease!


Location-
1- You will find a scarecrow overlooking the jungly area and the Odyssey…
2- Throw Cappy at the scarecrow, a Power Moon will appear in the Jungle…
3- Long jump down; if you land on the tree tops you can grab it even quicker, but if not you’ve still got time to climb up the tree and get the Power Moon!
Location-
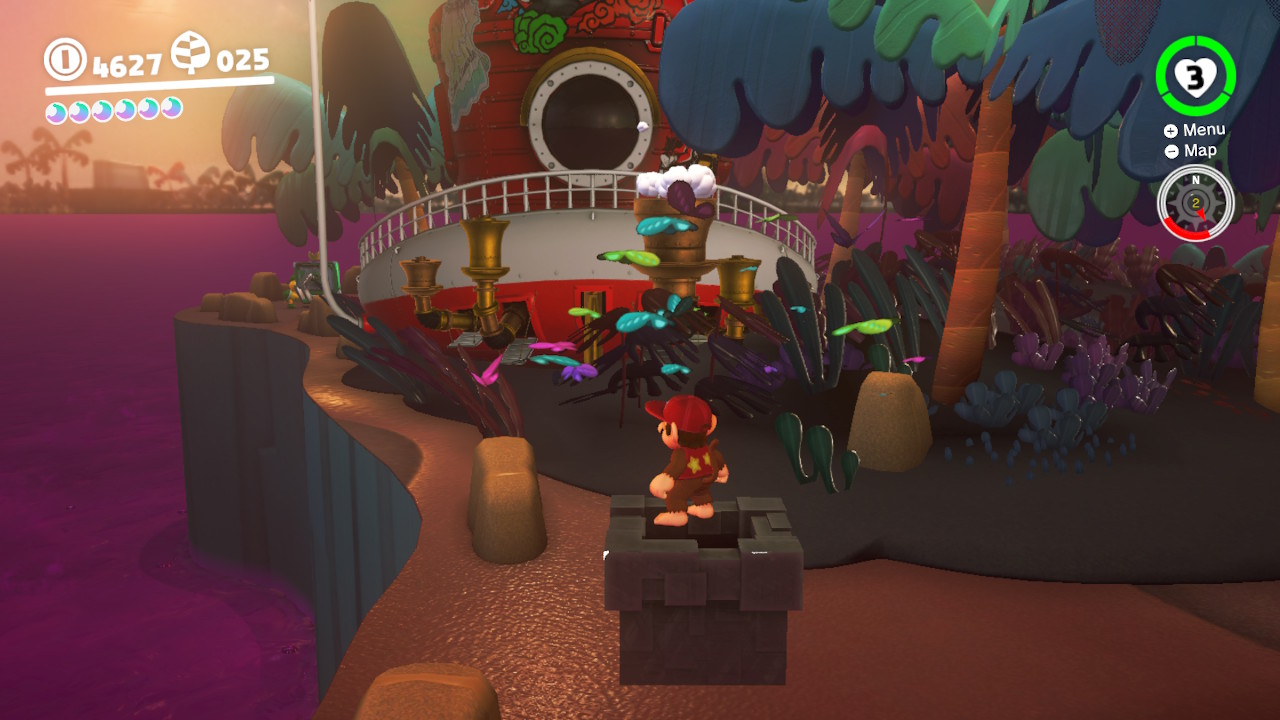
1- After busting open the Moon Rock, a brand new Moon Rock Warp Pipe will appear in front of the Odessey…

2- Inside is a poison death trap with Tropical Wigglers…
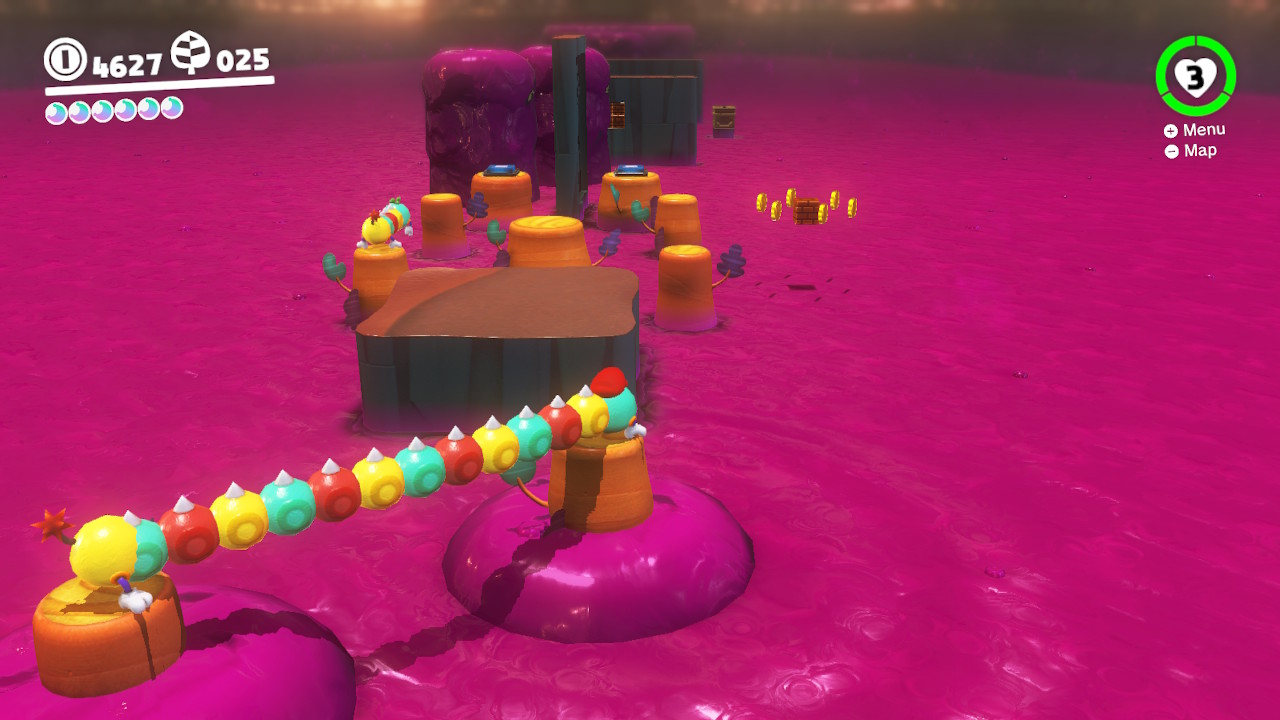
3- Capture the Tropical Wiggler. You’ll need to hit the P switches and STRETCH above the poison…
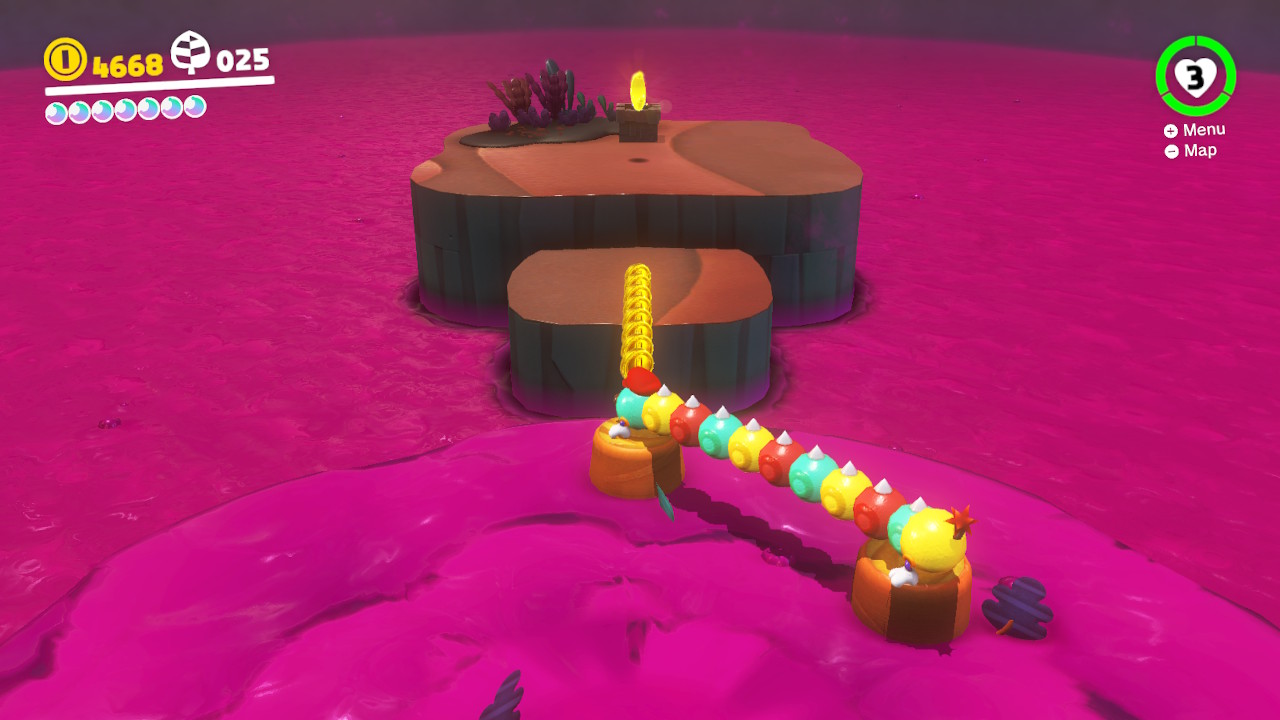
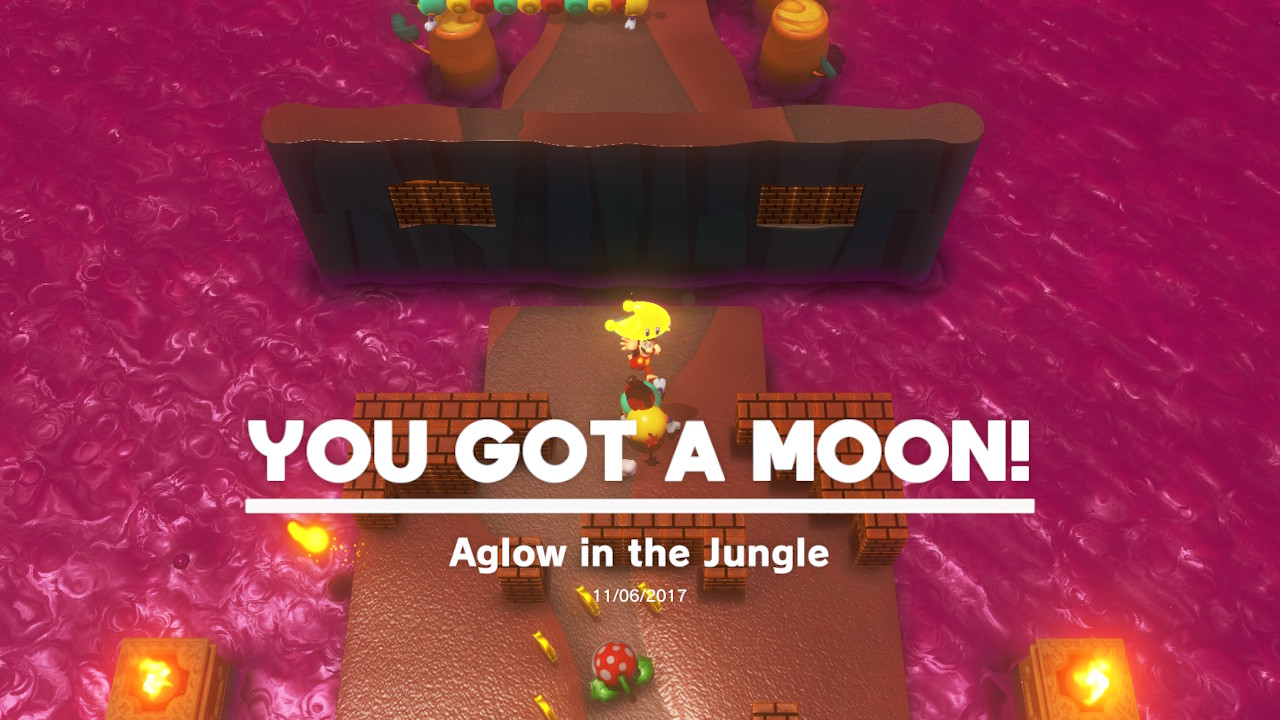
4- A Power Moon is waiting for you at the end!
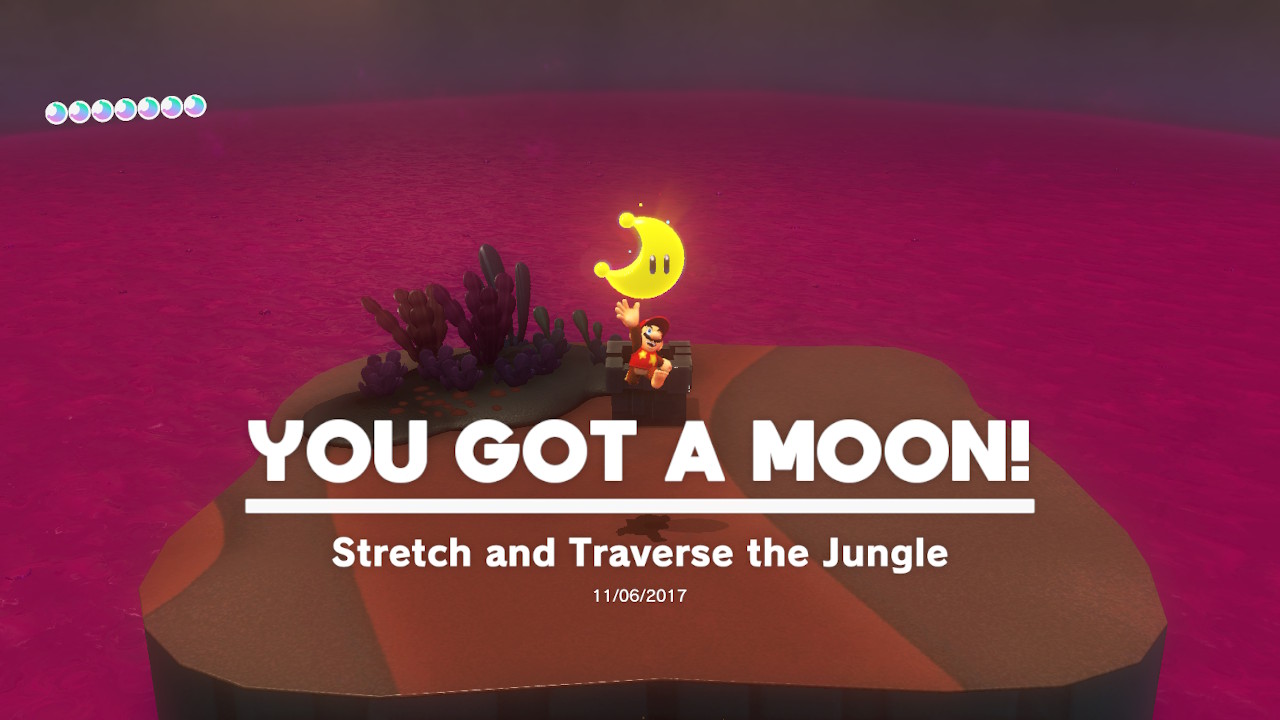
Location- Same as “Stretch and Traverse the Jungle”
1- After busting open the Moon Rock, a brand new Moon Rock Warp Pipe will appear in front of the Odessey…
2- Inside is a poison death trap with Tropical Wigglers, you’ll need to capture one and stretch above the poison…
3- About half way through is an area with a Piranha Plant and a bunch of breakable blocks…
4- Destroy the blocks and line up the Piranha Plant’s fireball to hit the lanterns on each side…
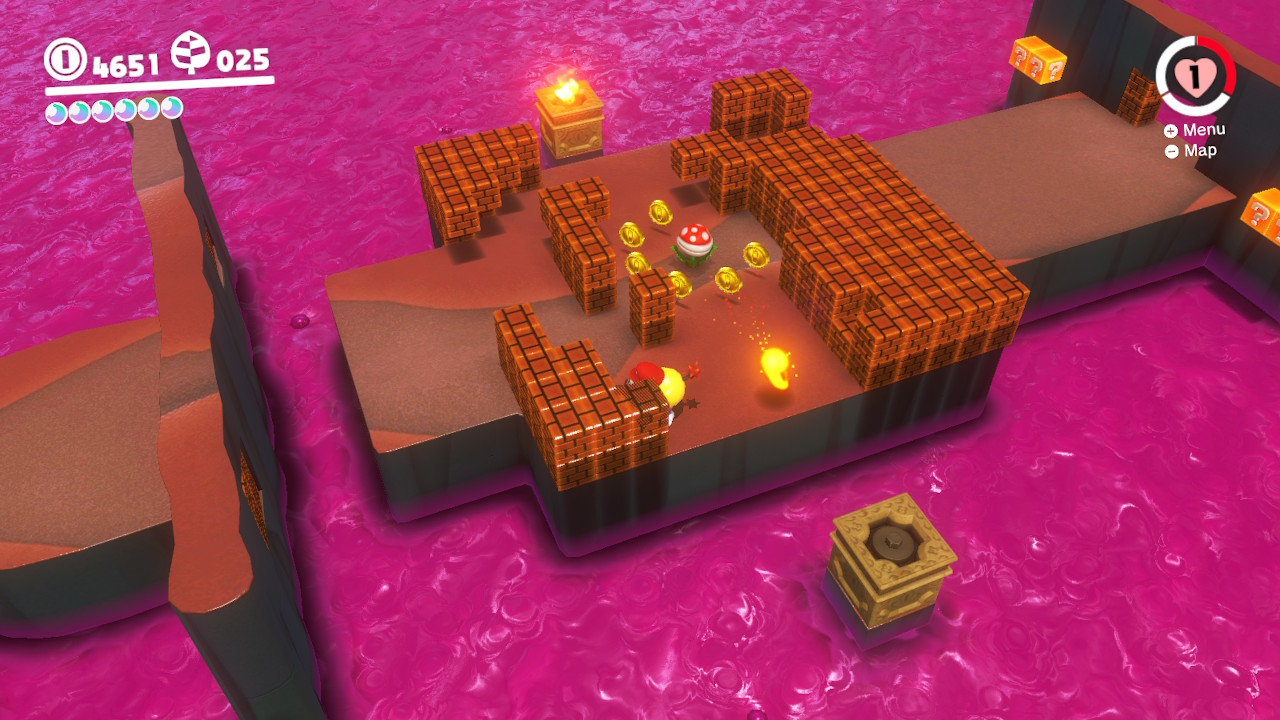
5- Once both lanterns are lit, the secret Power Moon will be yours!
– Check out this video to show how it is done!

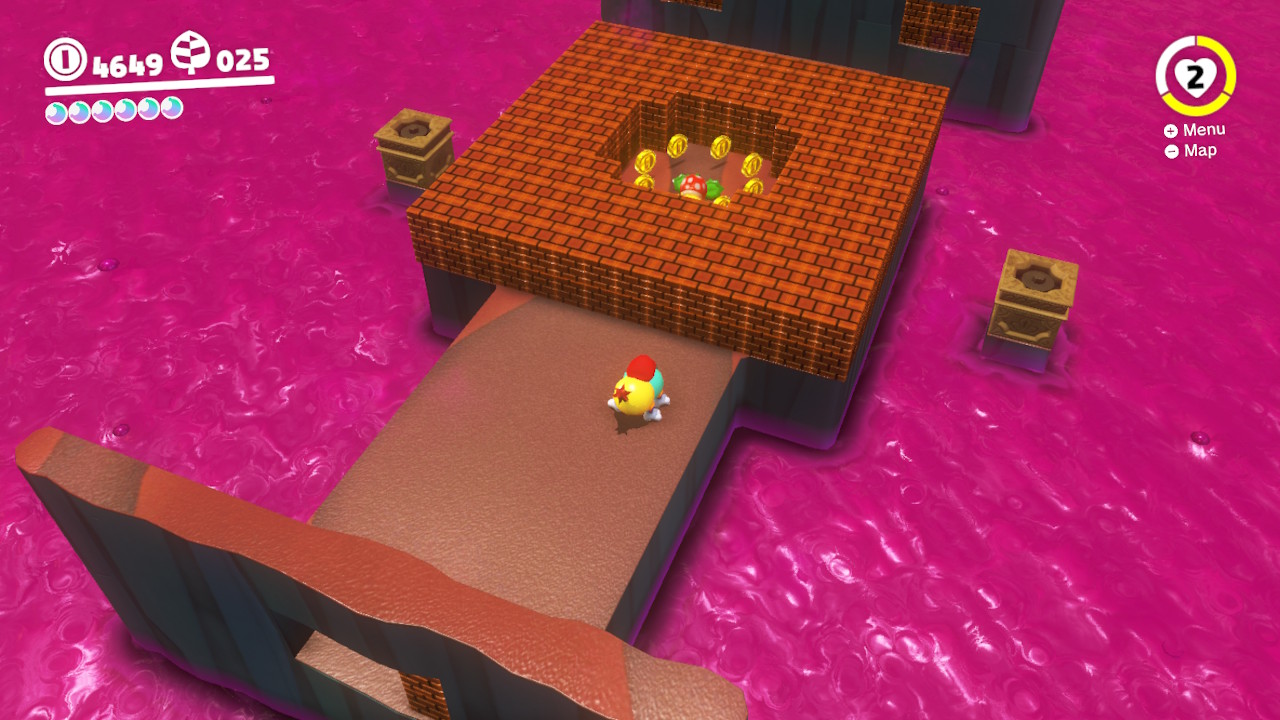
Location-

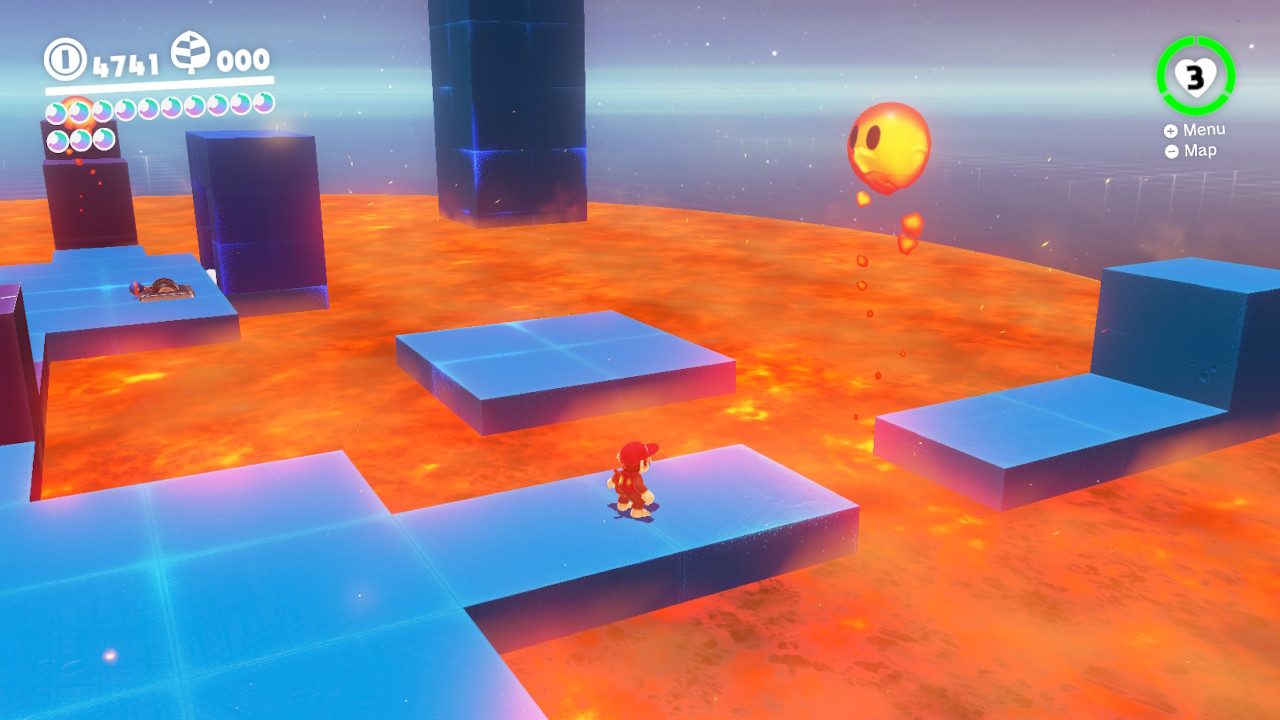
1- There is another Moon Rock Warp Pipe that overlooks the Jungle and Odessey…
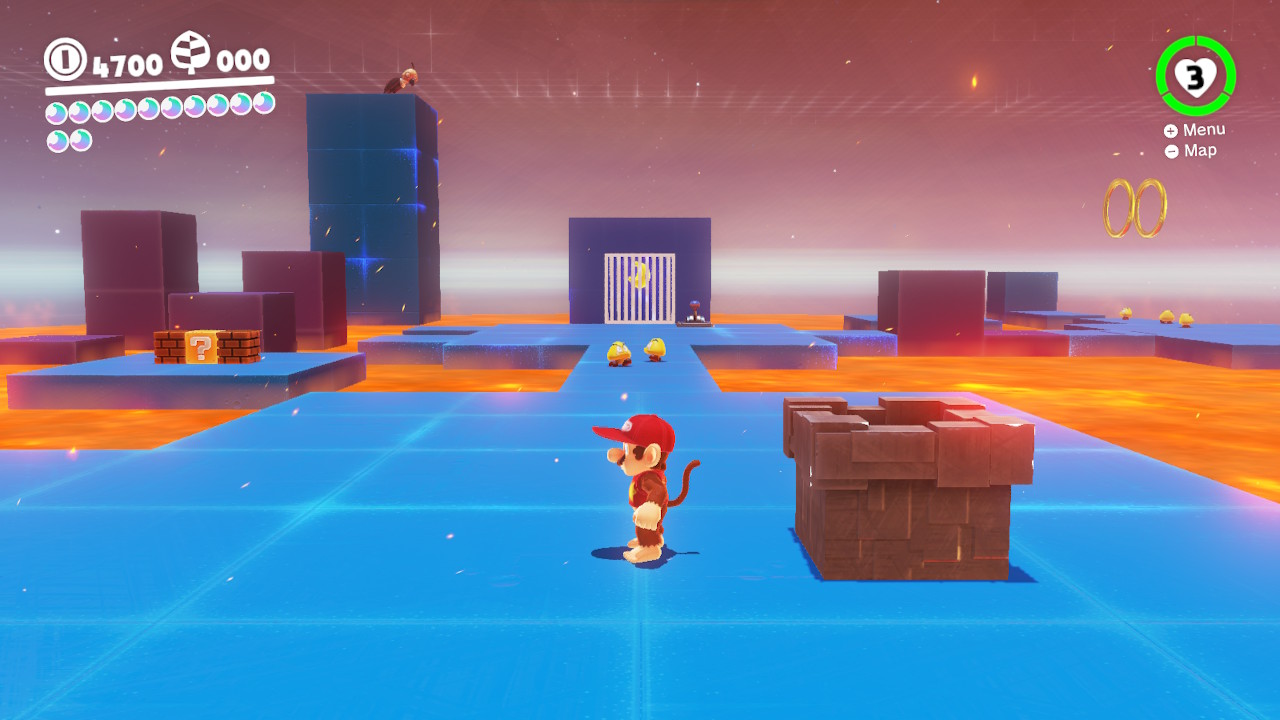
2- Inside is a lava-filled arena where…
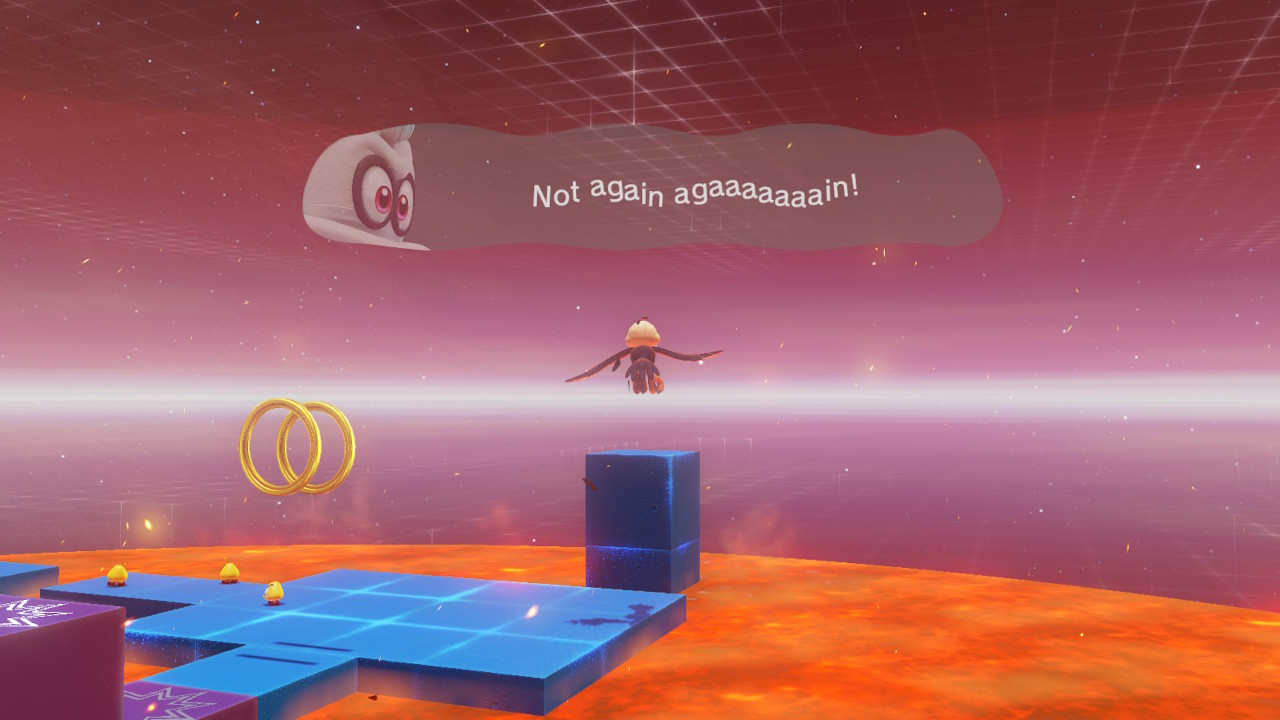
3- Klepto the bird will take Cappy AGAIN…
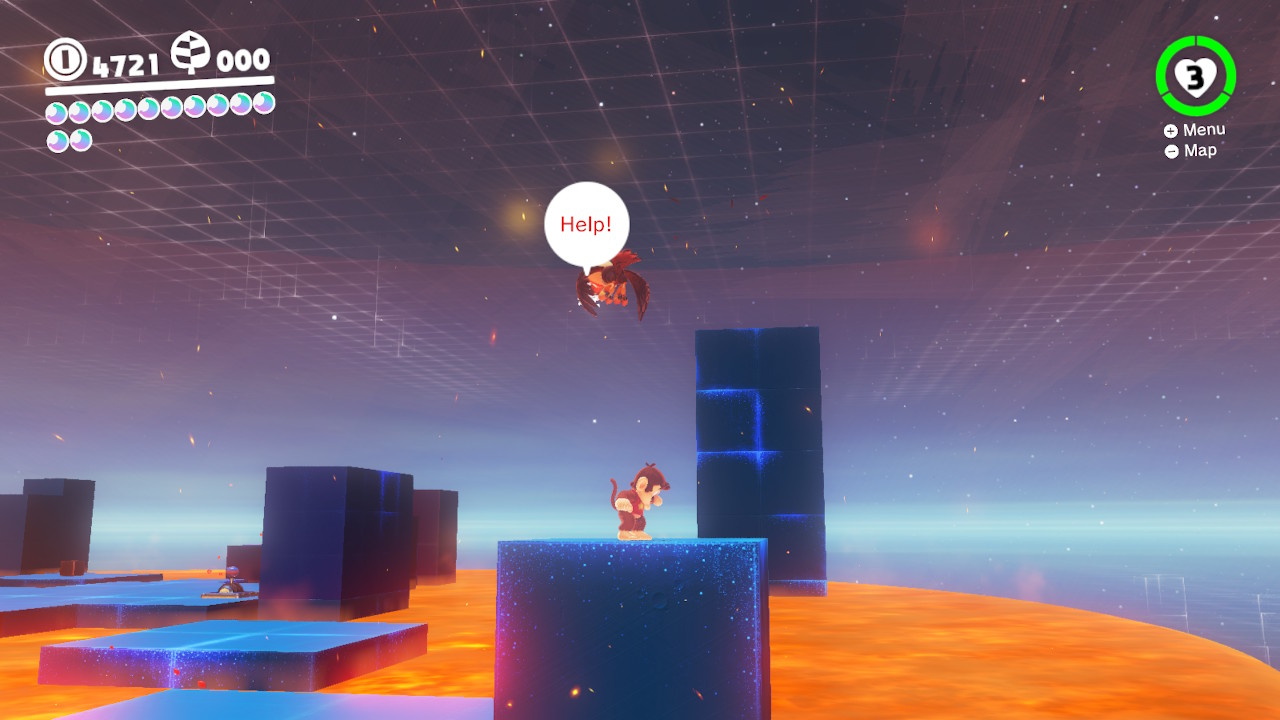
4- Chase the Klepto down, it will leave as soon as you get to close…
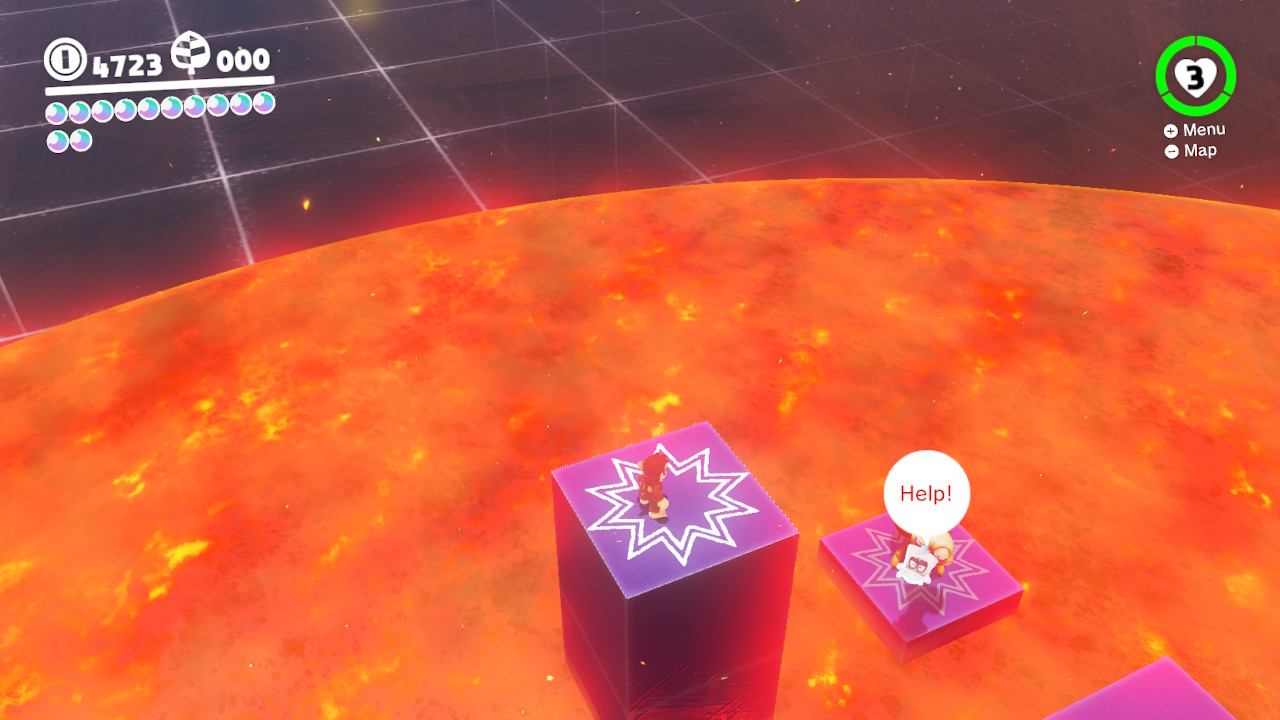
5- Hit this block once so that it is set up that the bird will land on the LOWER side, now when the bird lands here you can GROUND POUND the spot and the bird will go flying…
6- Now that you’ve got Cappy back, hit the switch and grab the Power Moon!

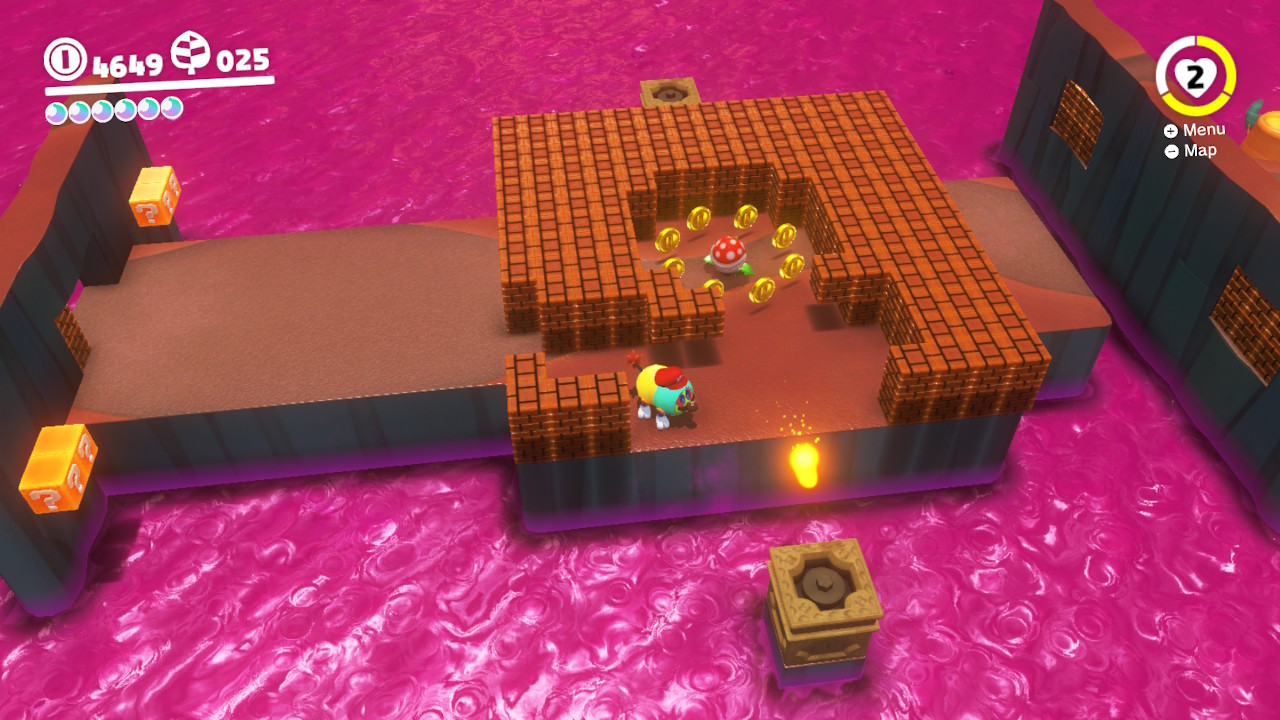
Location- Same as “Chasing Klepto”
1- There is another Moon Rock Warp Pipe that overlooks the Jungle and Odessey…
2- Inside is a lava-filled arena where Klepto will take Cappy again…
3- Once you get Cappy back, normally you’d hit the switch and grap the Power Moon. However there is an additional secret Moon hiding in here…
4- Find the closest Lava Bubble and capture it…
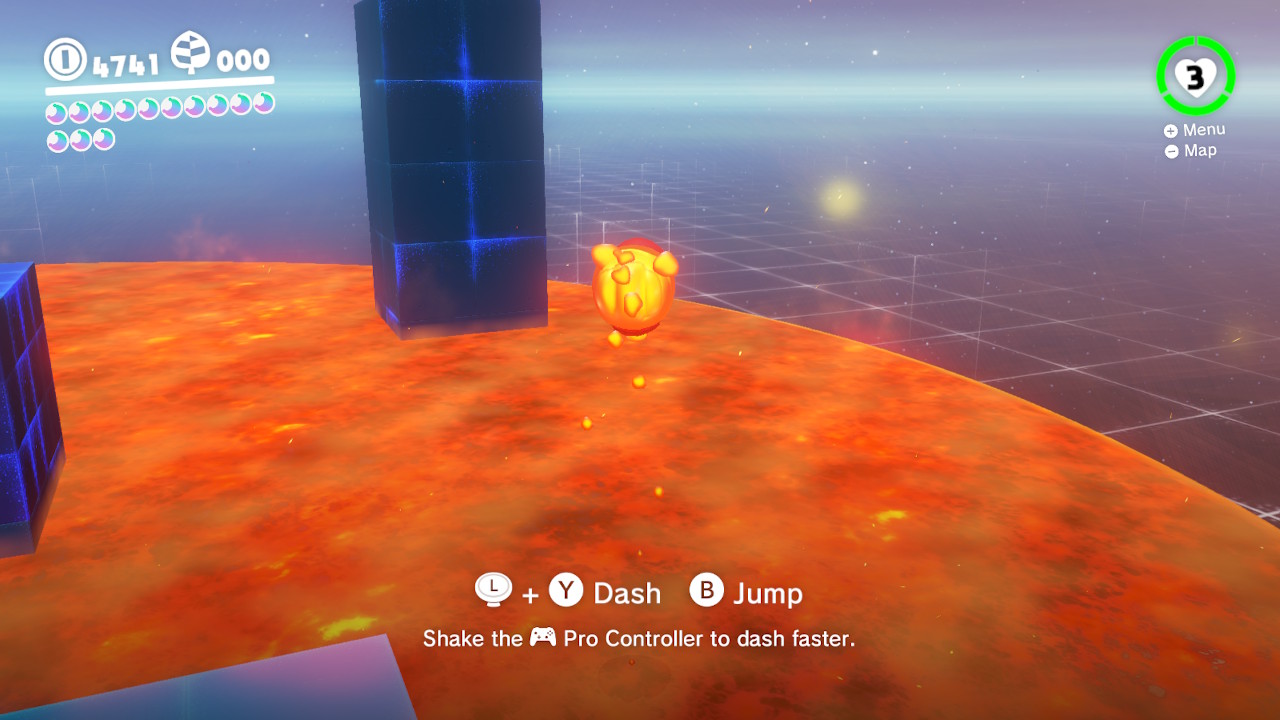
5- Start swimming to the giant tower that Klepto was sitting on earlier…
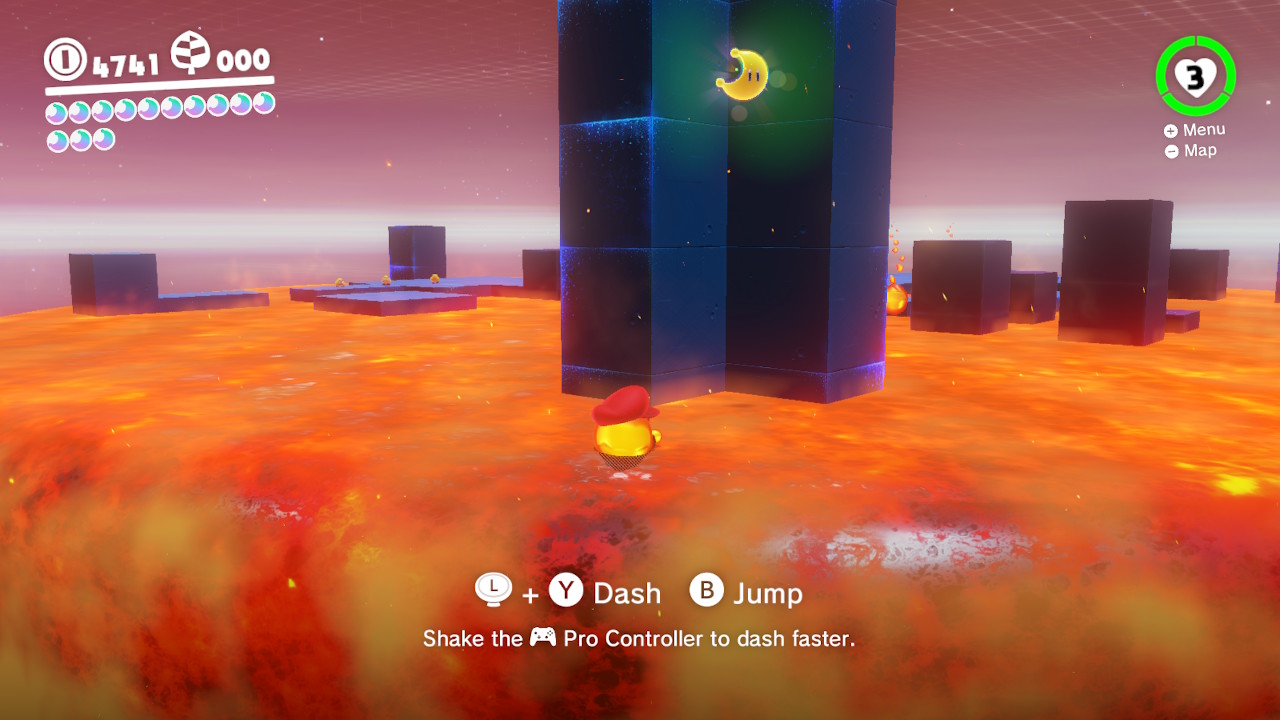
6- On the opposite side of the tower you will find the hidden Power Moon!
I’ve been a hardcore gamer ever since my little 3 year old eyes glared at level 1-1 on Super Mario Bros for the NES. I love talking about games, writing about games, making fun of games and taking games seriously too. I love making videos, articles, and more about helpful guides, reviews, and more. I’m a Nintendo fanboy at heart. But I got an Xbox 360 in 2006 and I’ve become a Xbox psycho as well.
If I could spend forever doing what I do with this site I’d be very happy. Check out my “Bam rants” editorials with my thoughts on tough topics as well as my guides and reviews and crazy shenanigans. Thanks!
