Snow Kingdom

01 – The Icicle Barrier

Location- Shiveria Town/Icicle Cavern

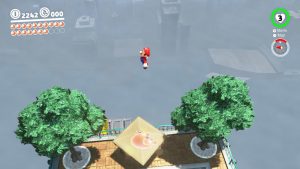
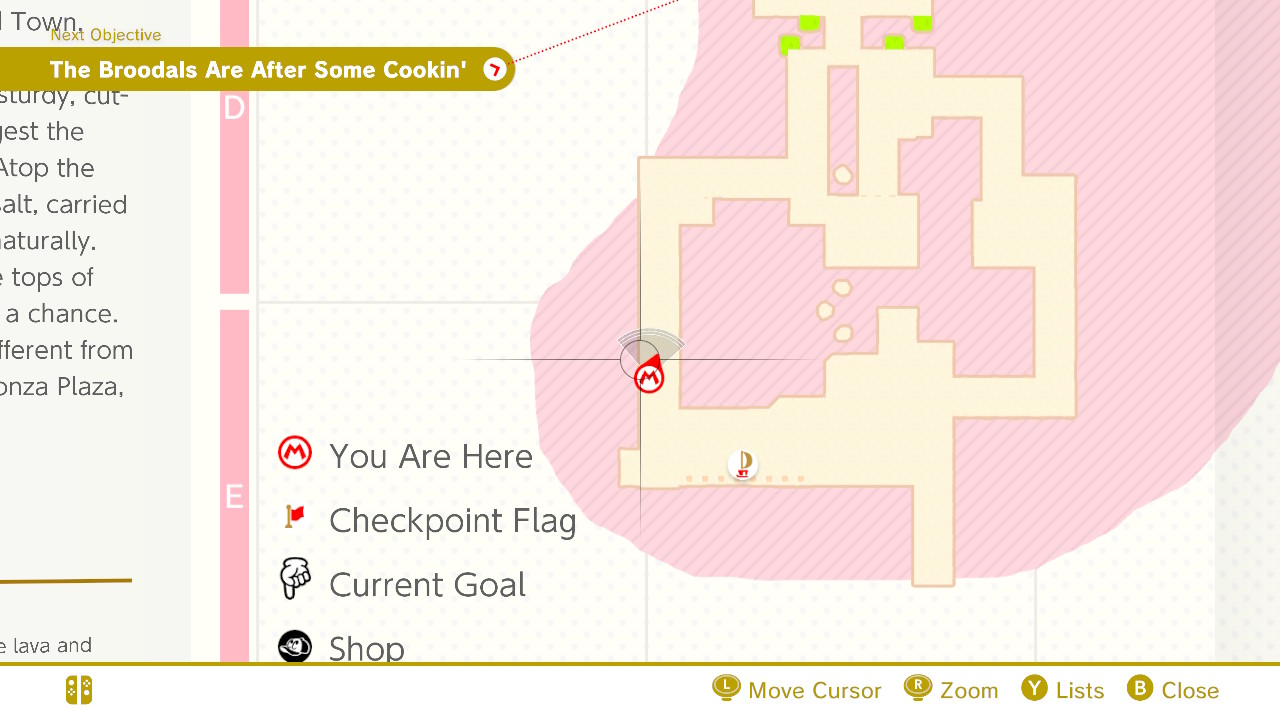
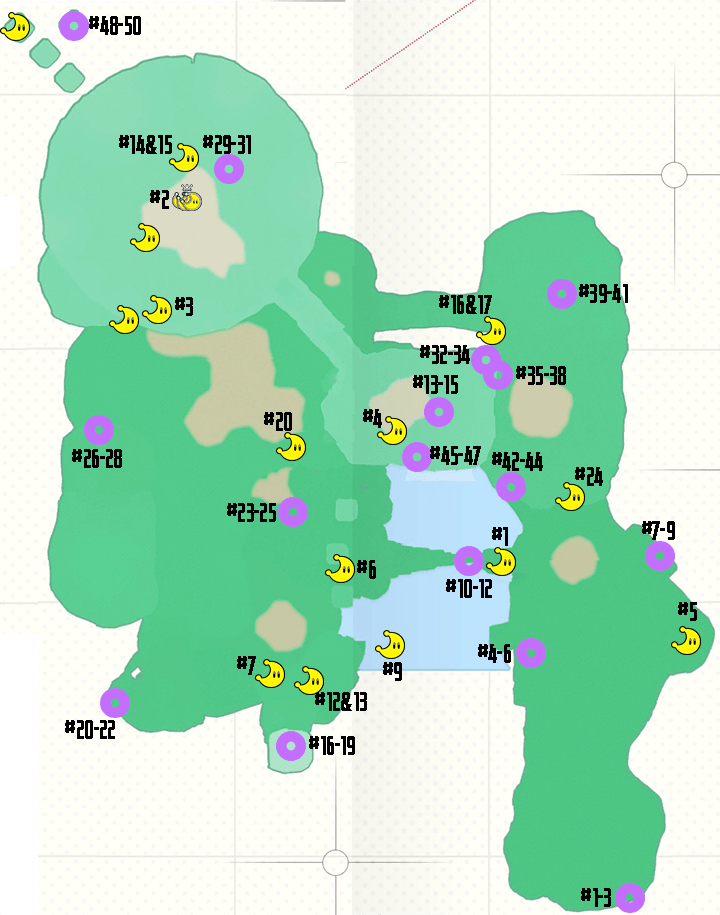
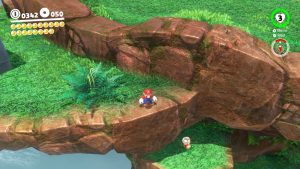
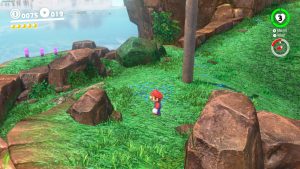
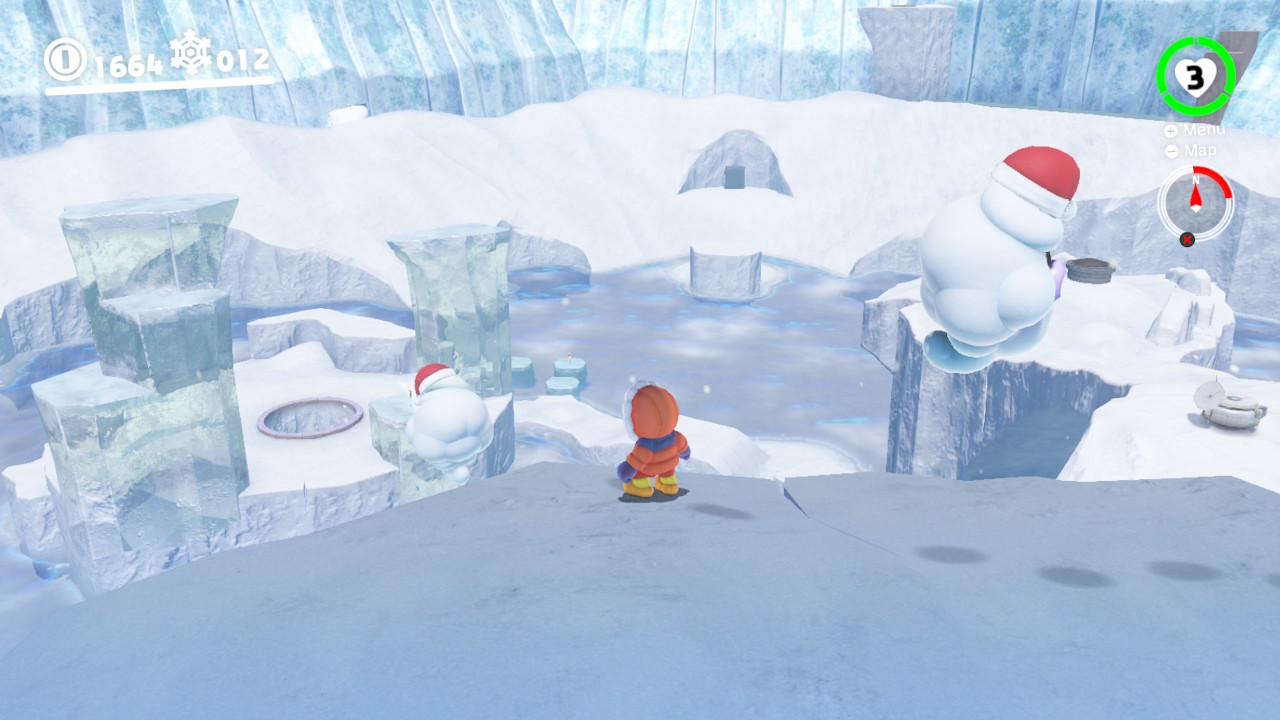
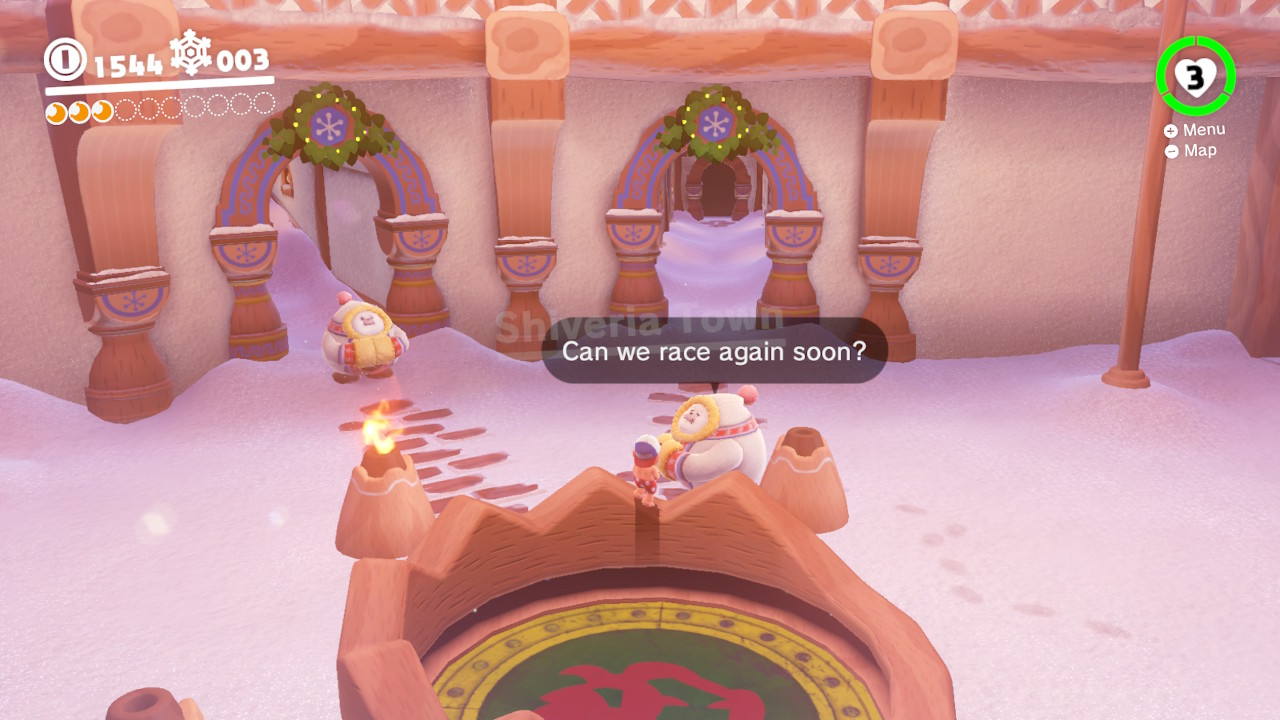
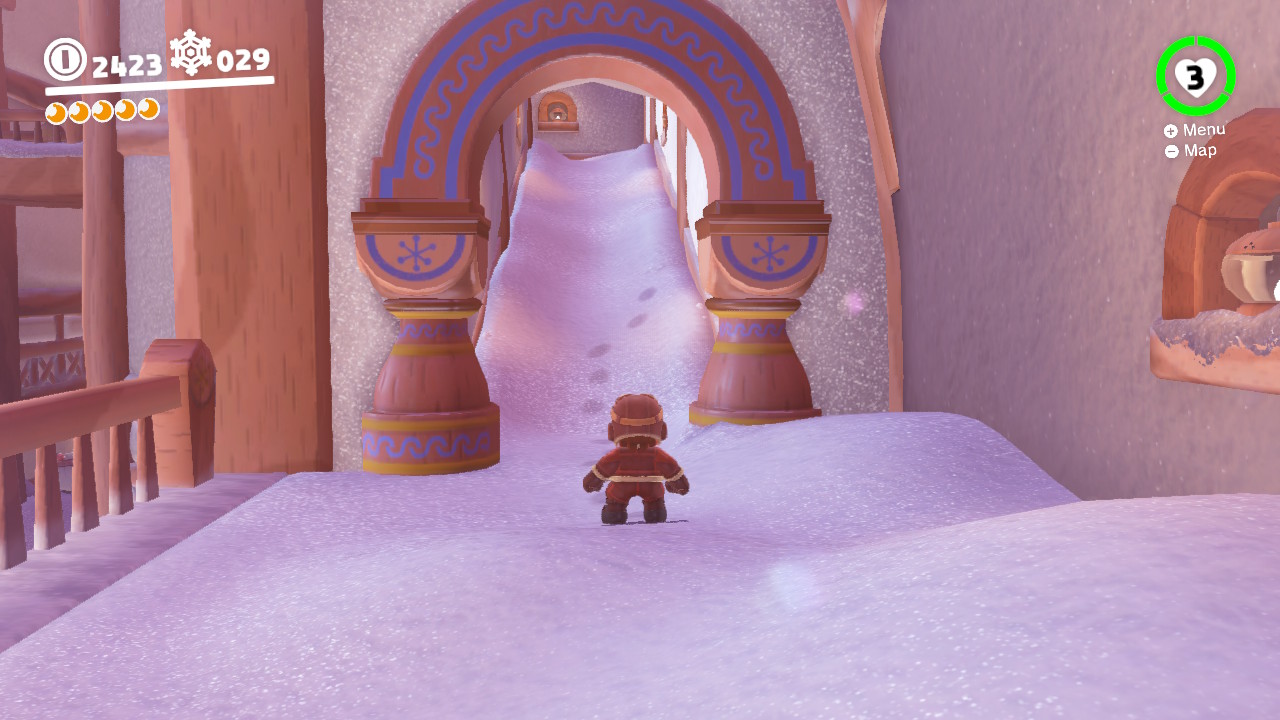
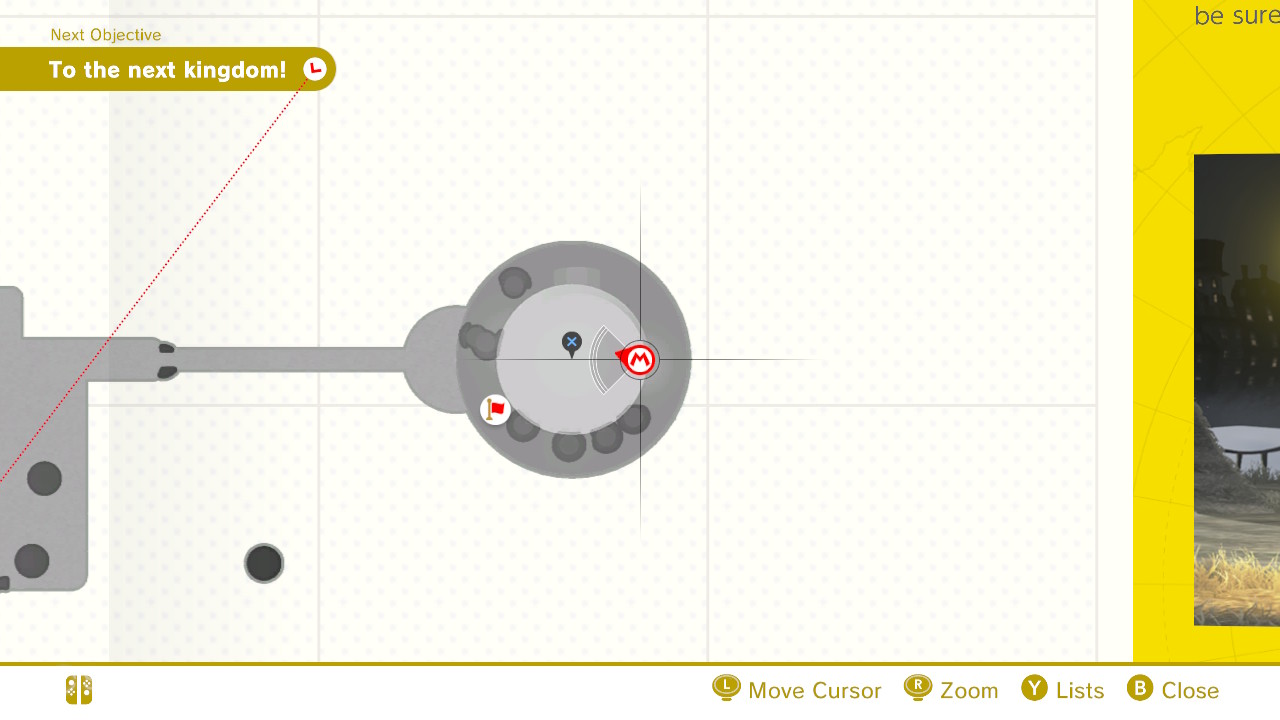
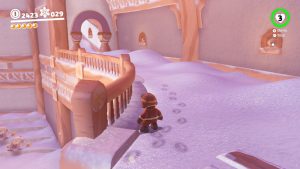
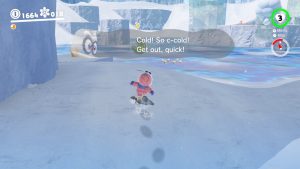
1- From the middle of Shiveria Town, go down the pathway shown in the image above…
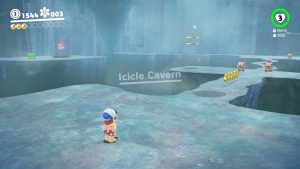
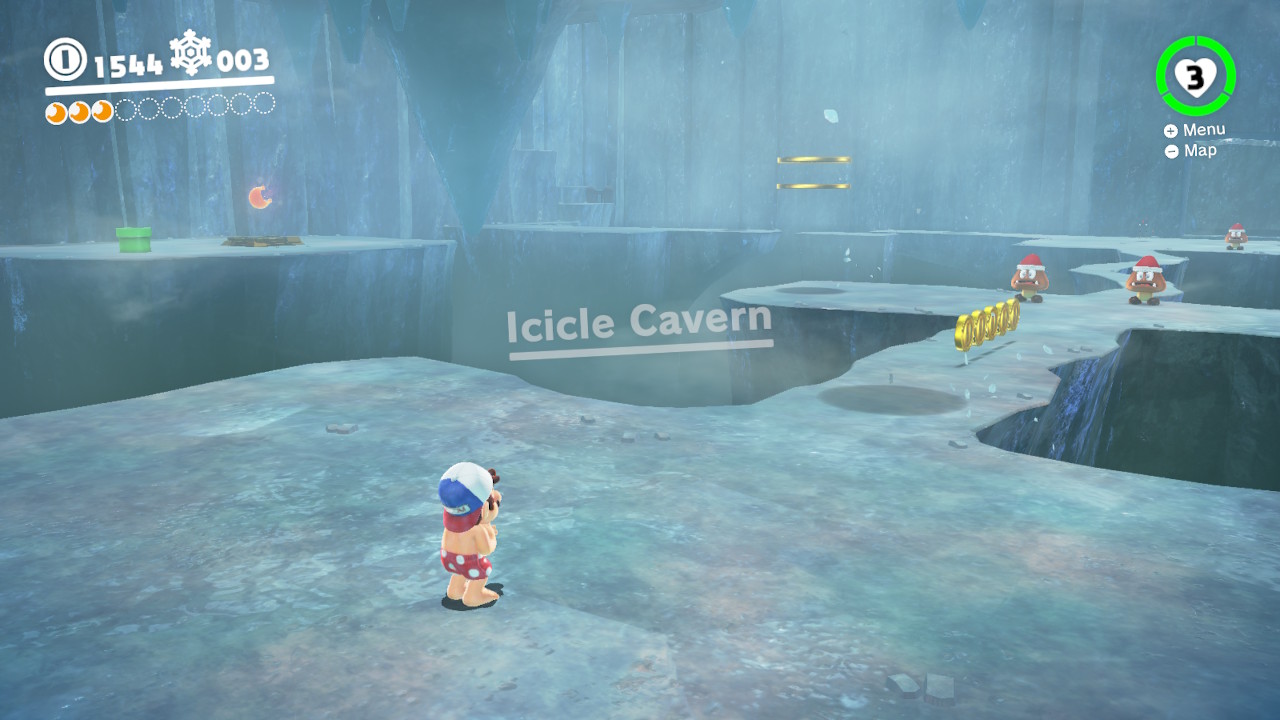
2- This will take you to the Icicle Cavern…
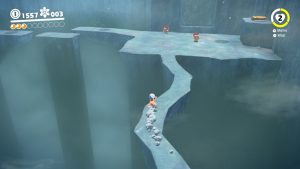
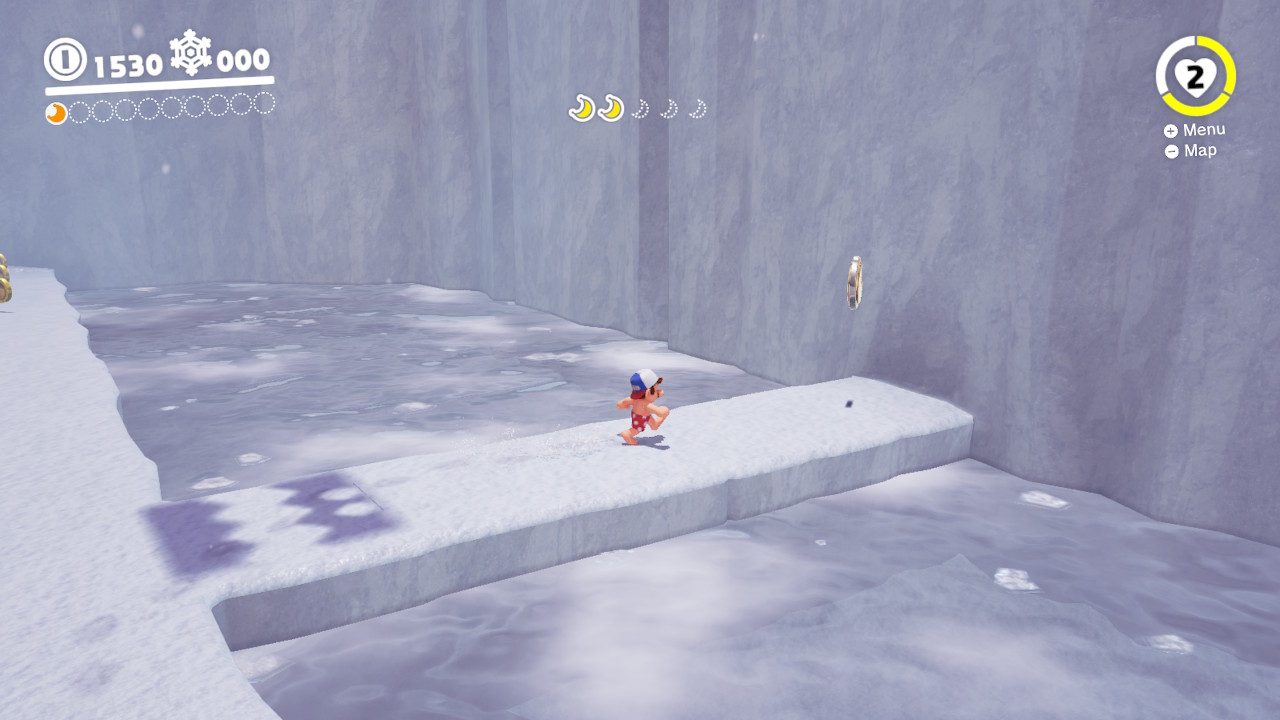
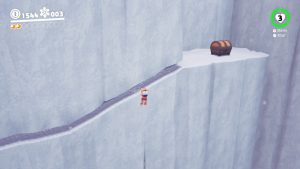
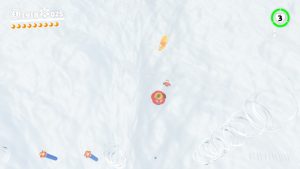
3- Navigate the slippery path…

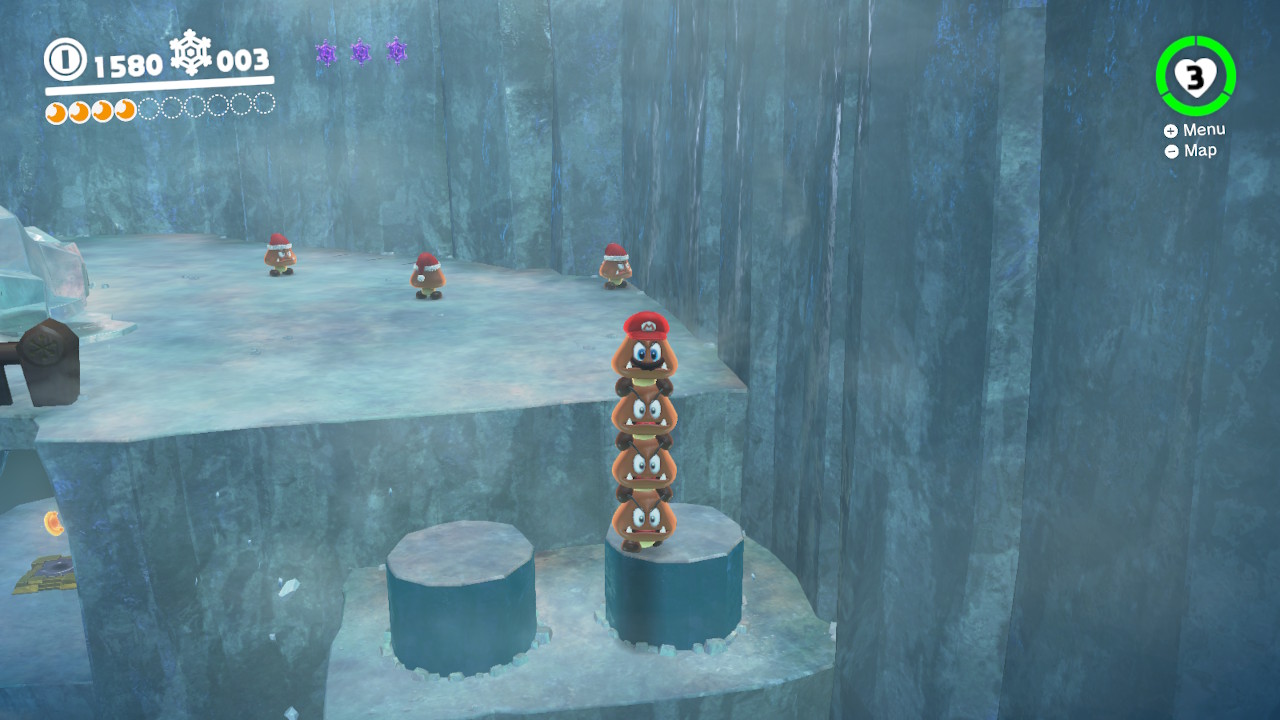
4- Possibly Capture some Goombas for better footing, they don’t slip… (Plus you’ll need the Goombas for the secret Power Moon in this area, more on that later…)
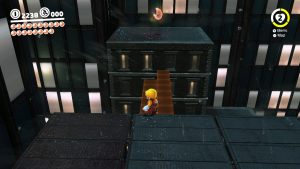
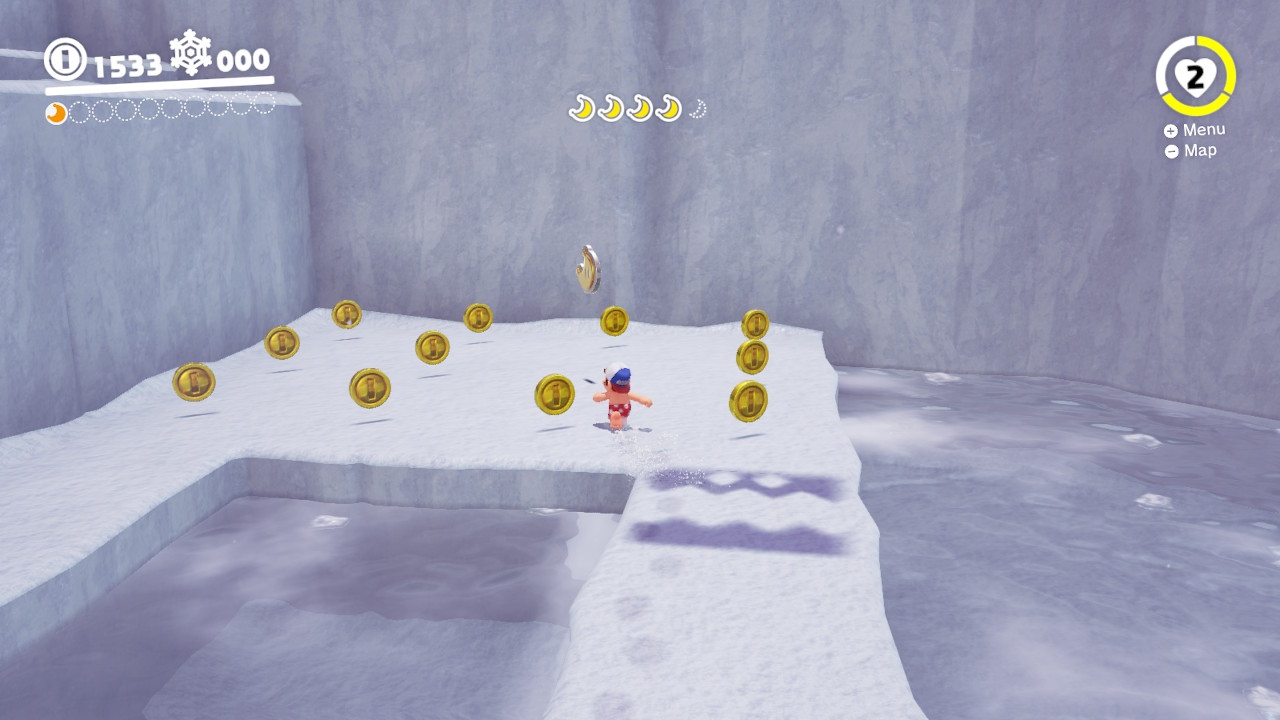
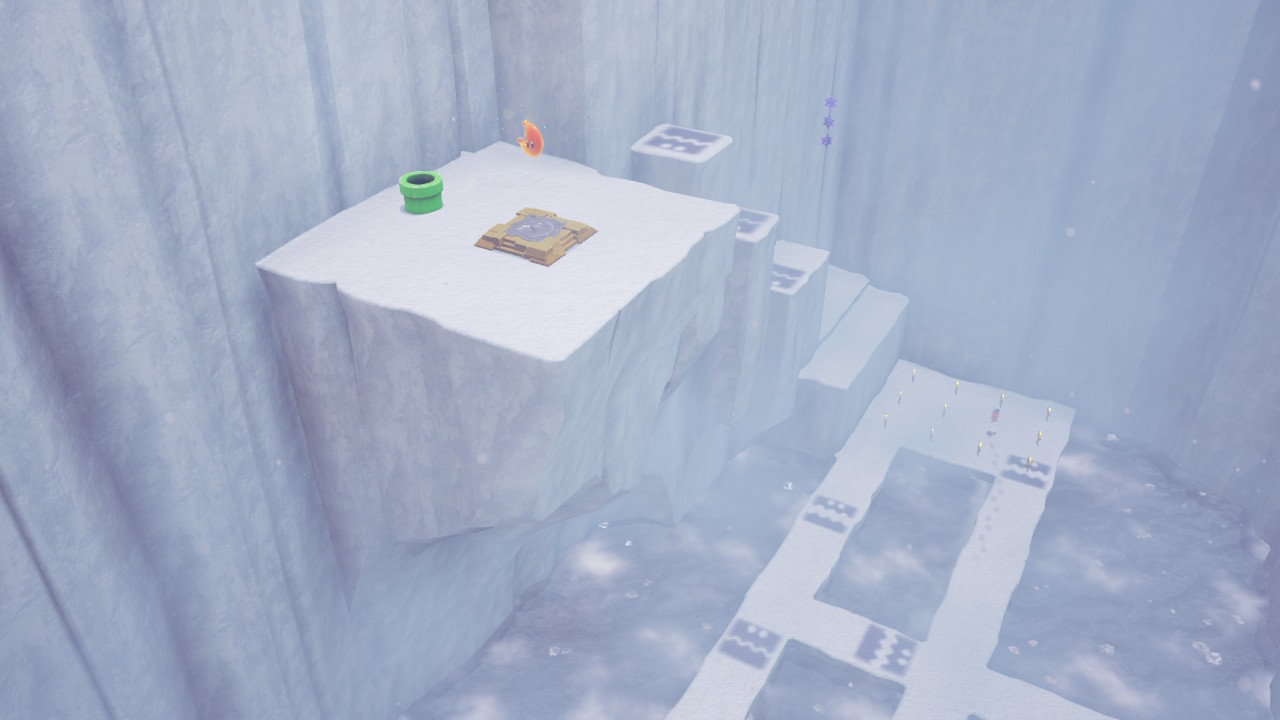
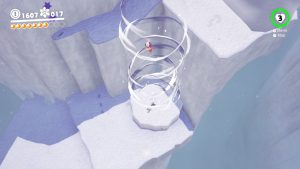
5- Towards the end you will see a stairway, above it there are three switches that can be hit with falling icicles…

6- Allow all the switches to be hit and the platform will fall…
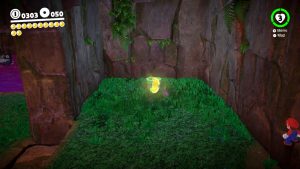
7- Now you can snag the Power Moon!
02 – The Ice Wall Barrier

Location- Shiveria Town/Hollow Crevasse

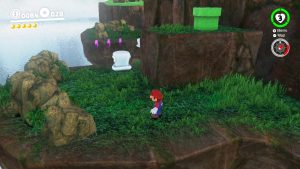
1- From the middle of Shiveria Town, go down the pathway shown in the image above…

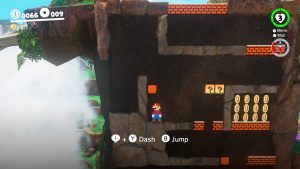
2- This will take you to Hollow Crevasse… (1/5 Moon shard shown)

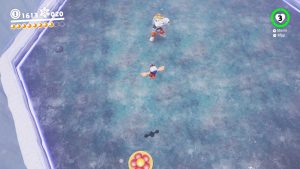
3- You will need to collect all 5 of the moon shards… (2/5 Moon shard shown)

4- All while dodging creatures from below… (3/5 Moon shard shown)
5- Just dodge and collect… (4/5 Moon shard shown)

6- Until you get the final shard… (5/5 Moon shard shown)
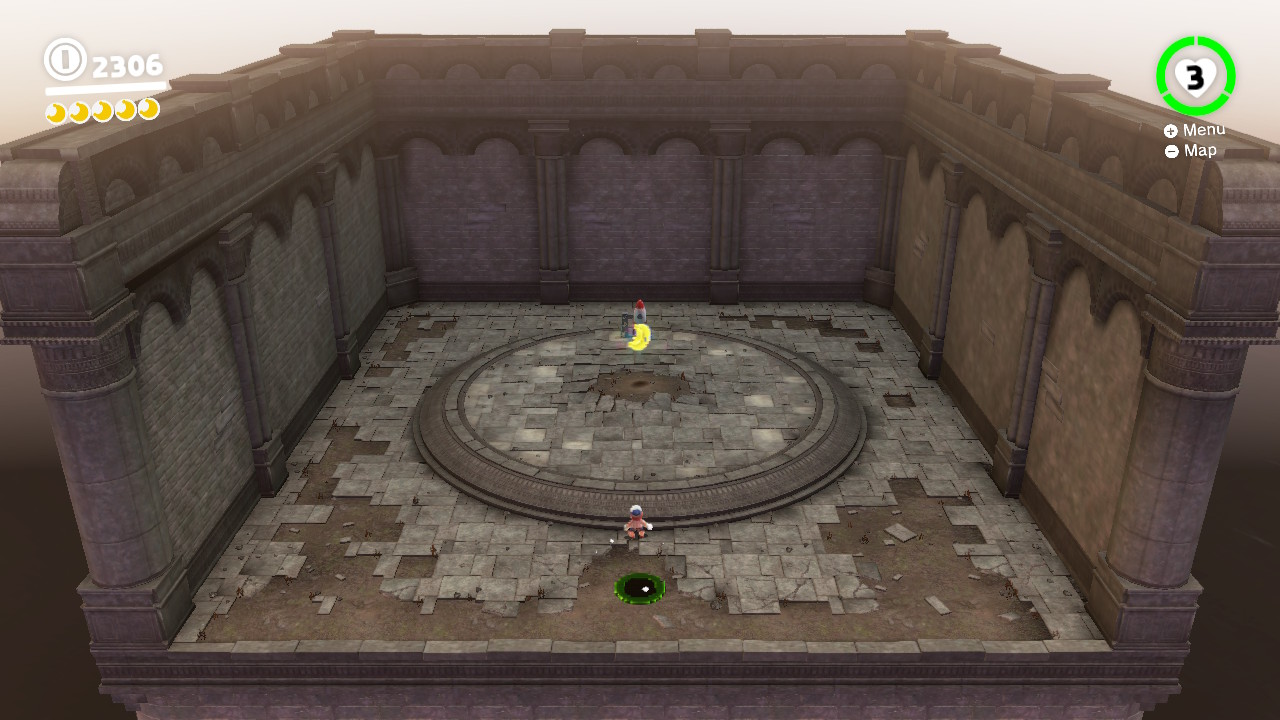
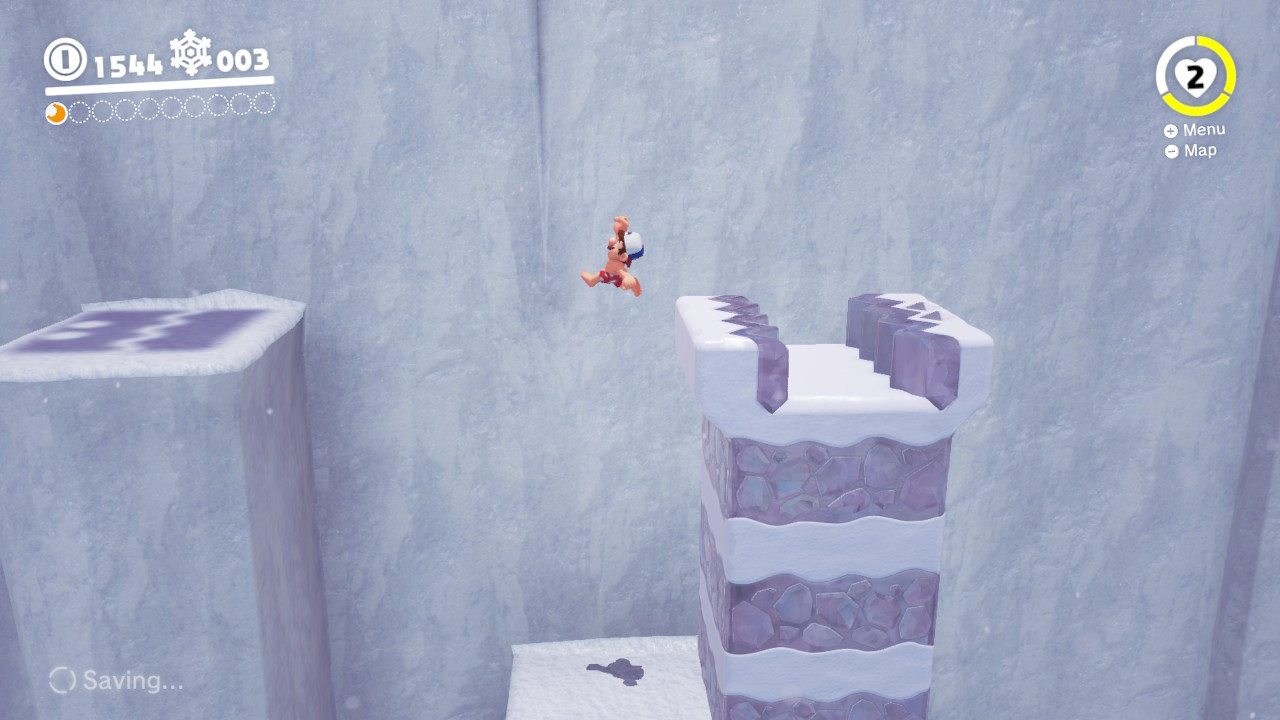
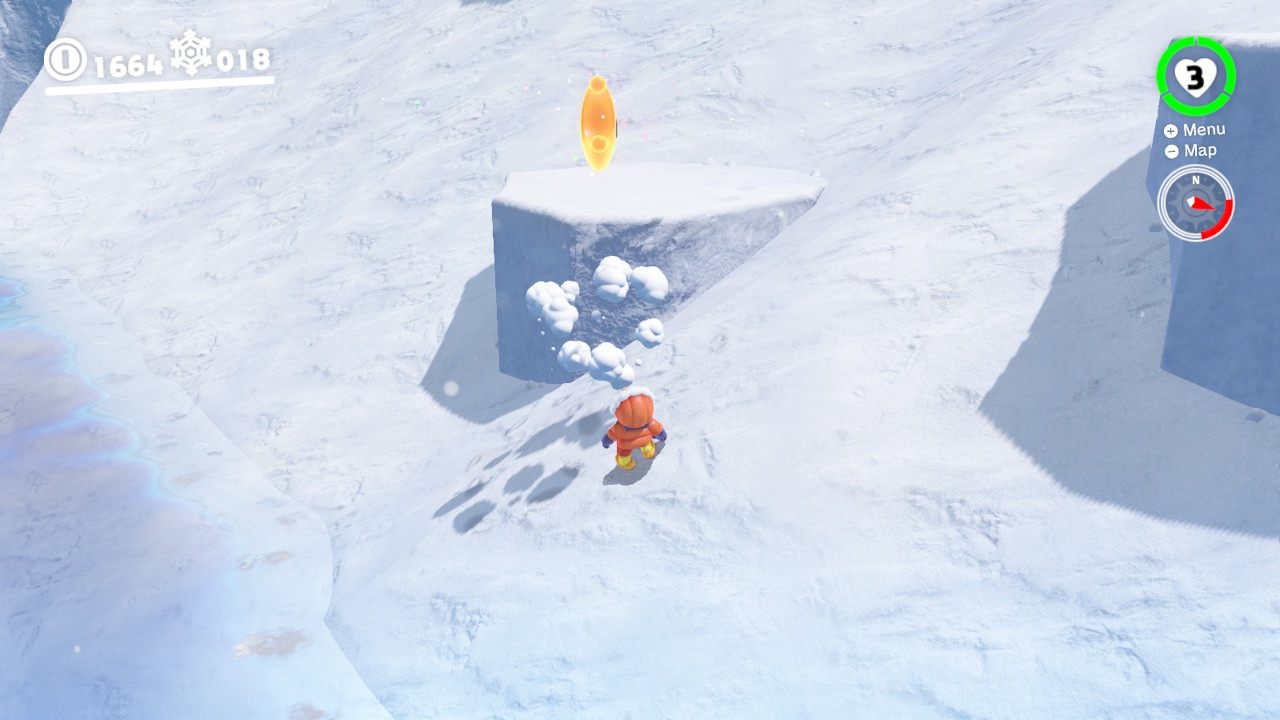
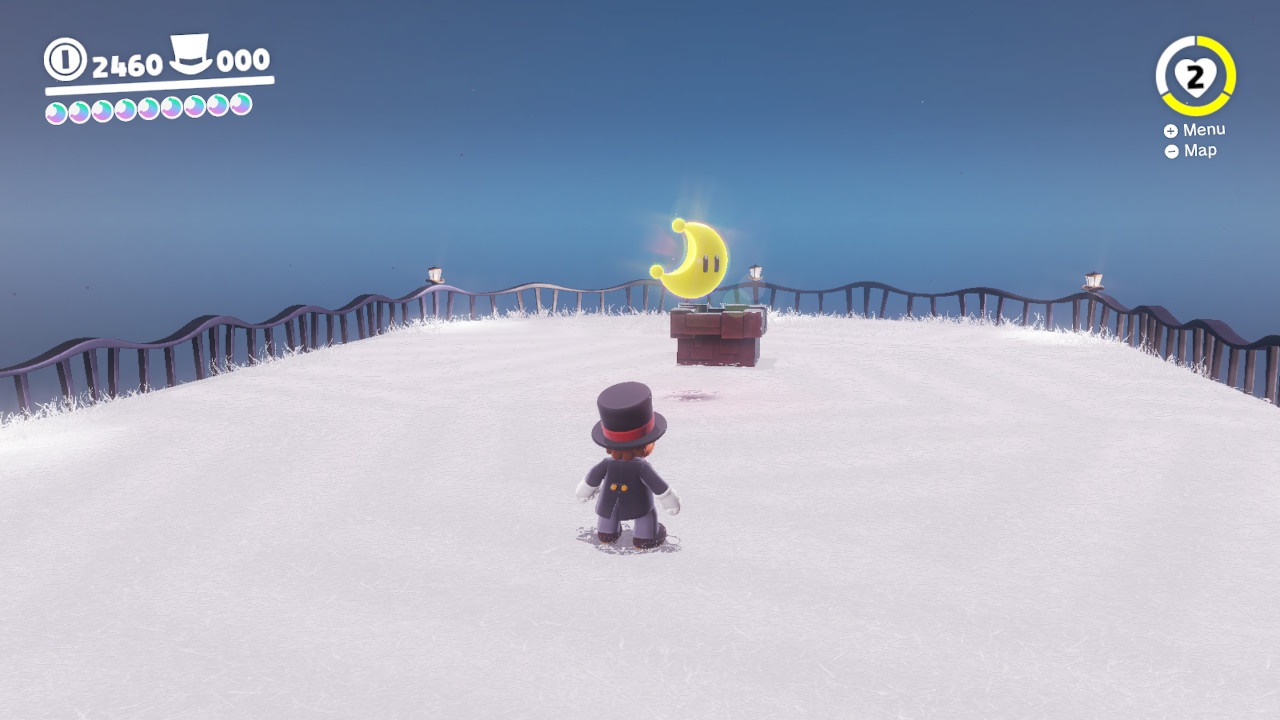
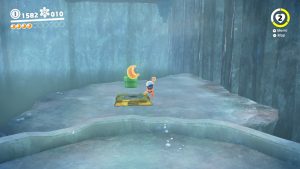
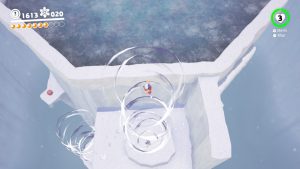
7- The Moon will appear on top of a pillar…

8- Climb to the top…
9- And it’s yours! Power Mooooon!
03 – The Gusty Barier

Location- Shiveria Town/Wind Chill Cavern

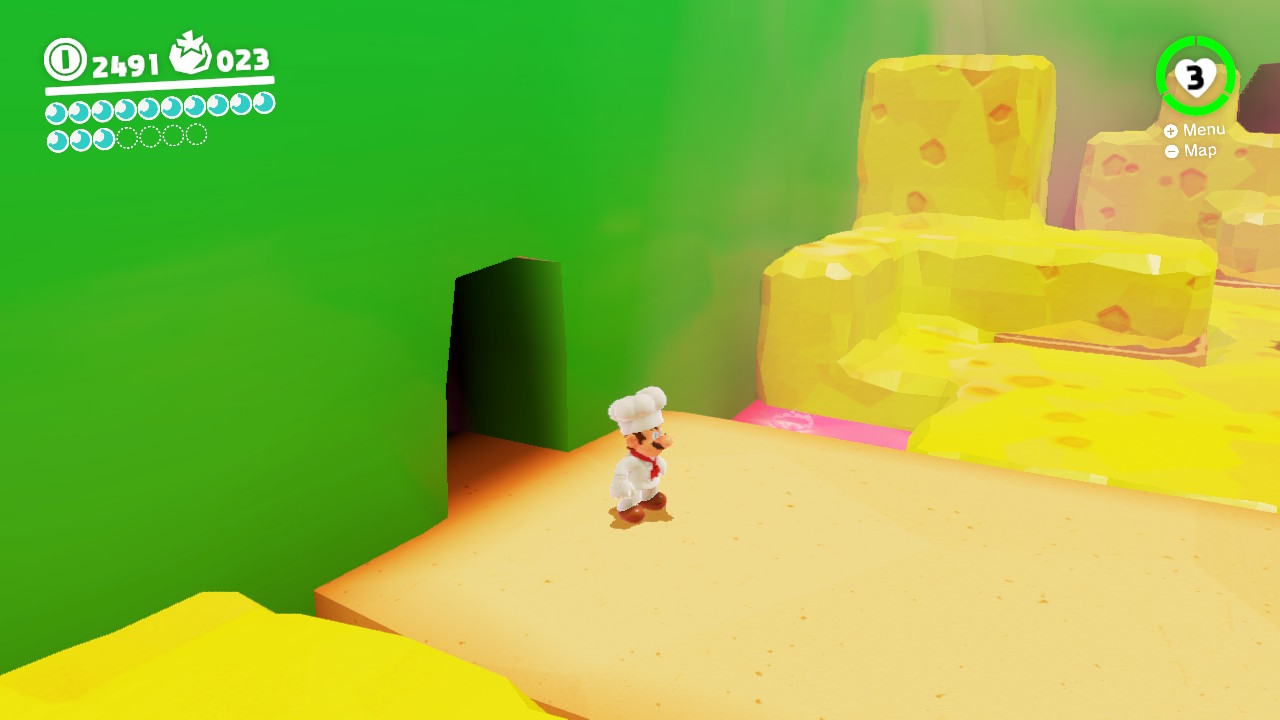
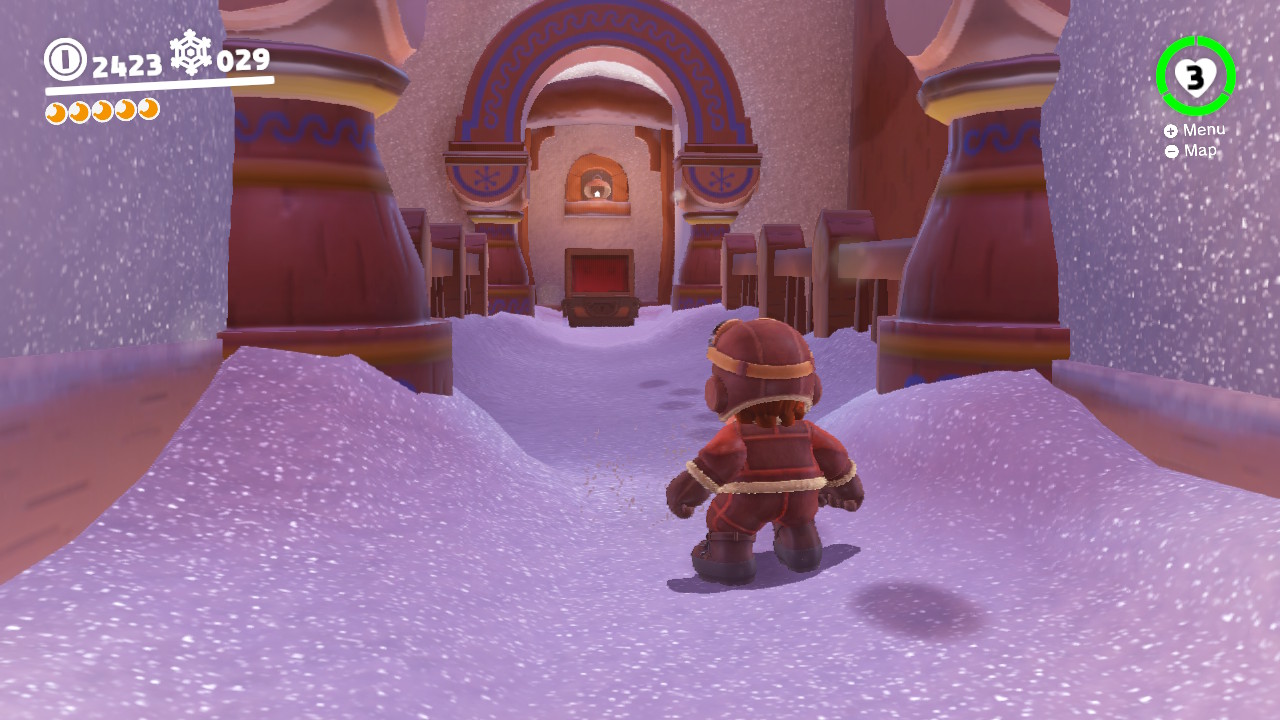
1- From the middle of Shiveria Town, go down the pathway shown in the image above…

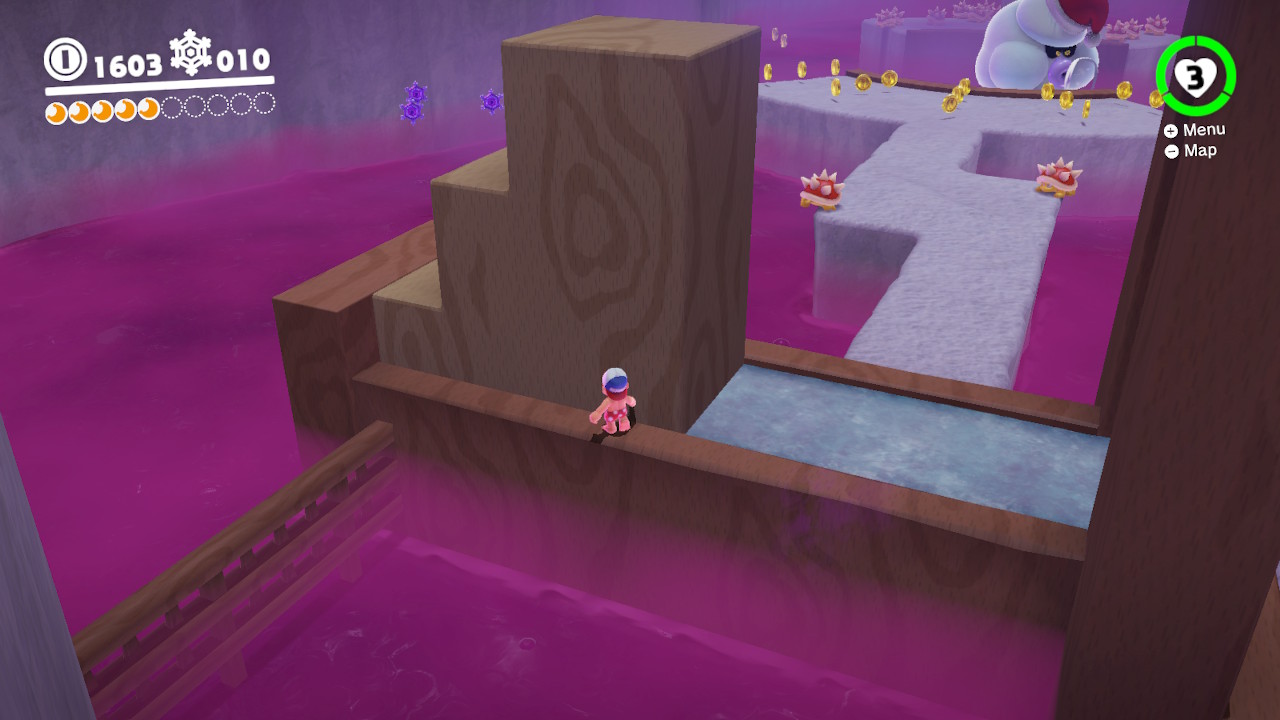
2- This will take you to Wind-Chill Cavern…
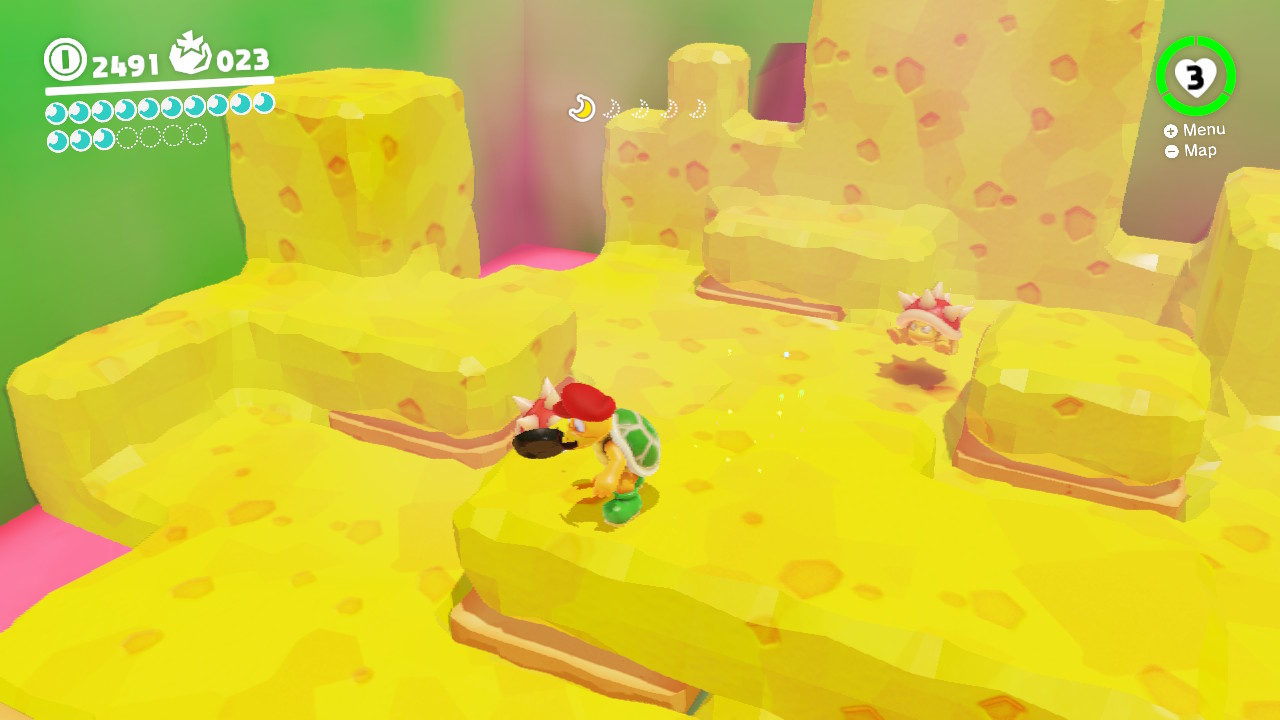
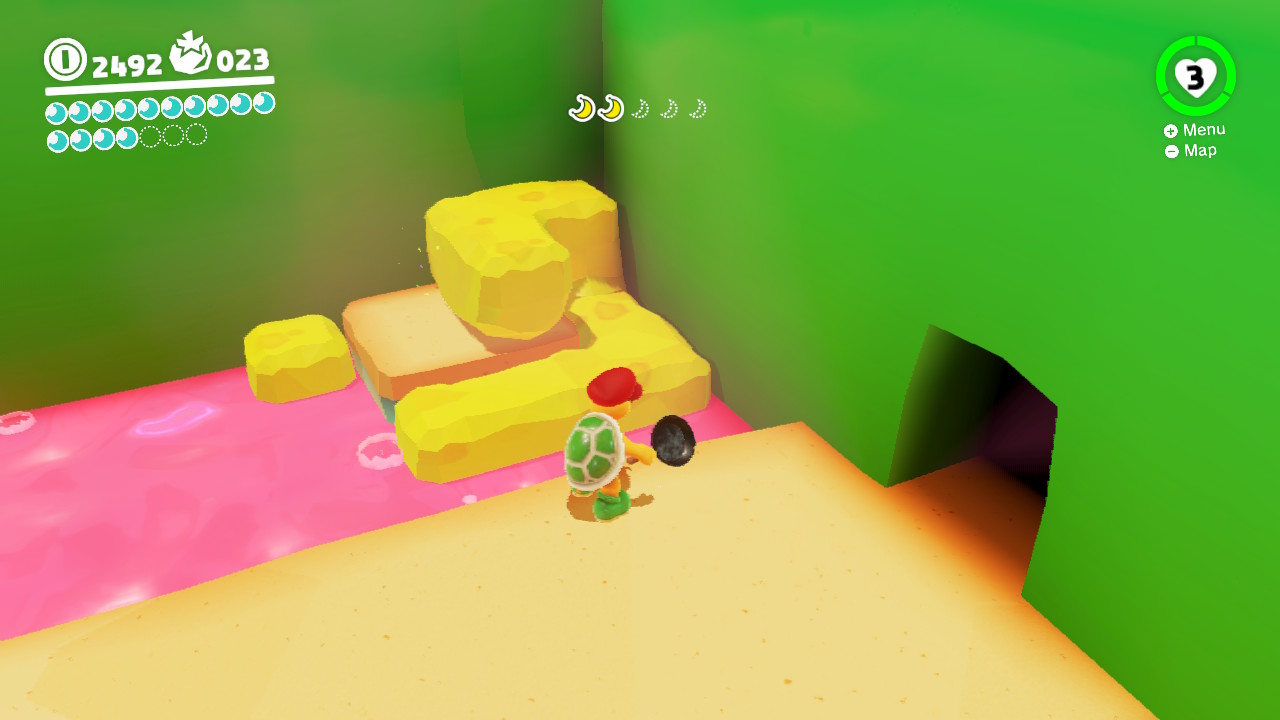
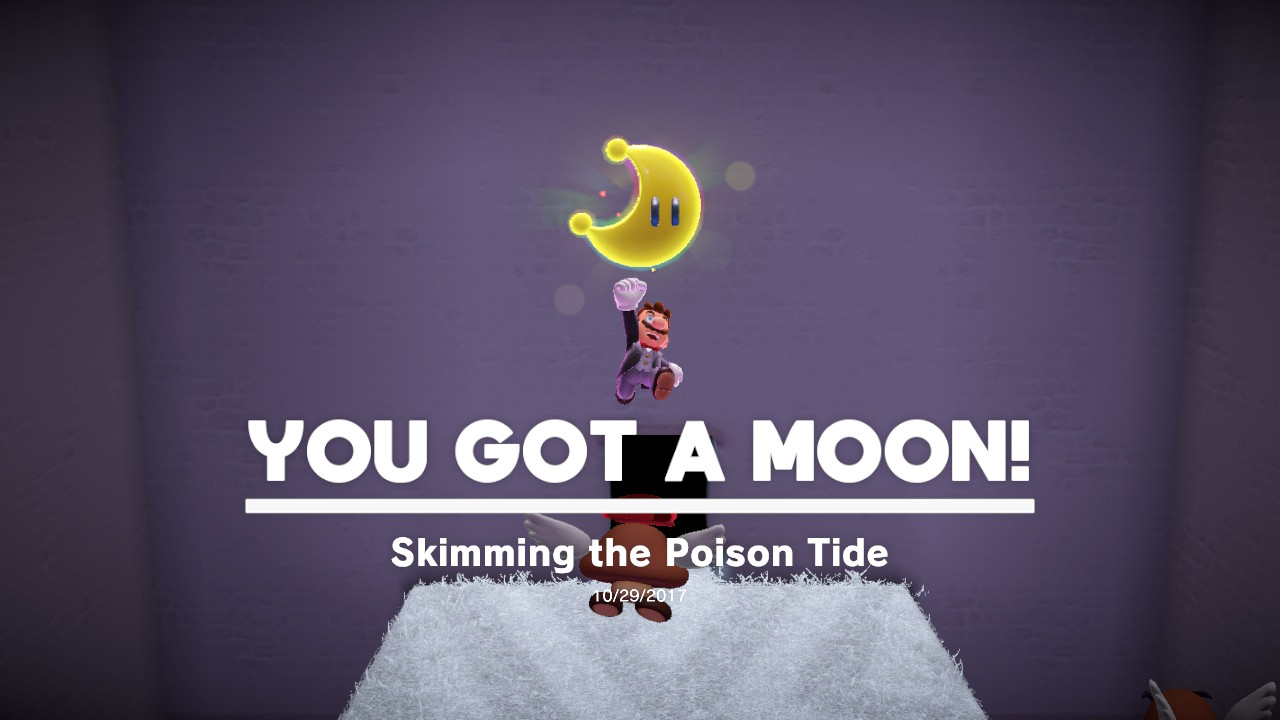
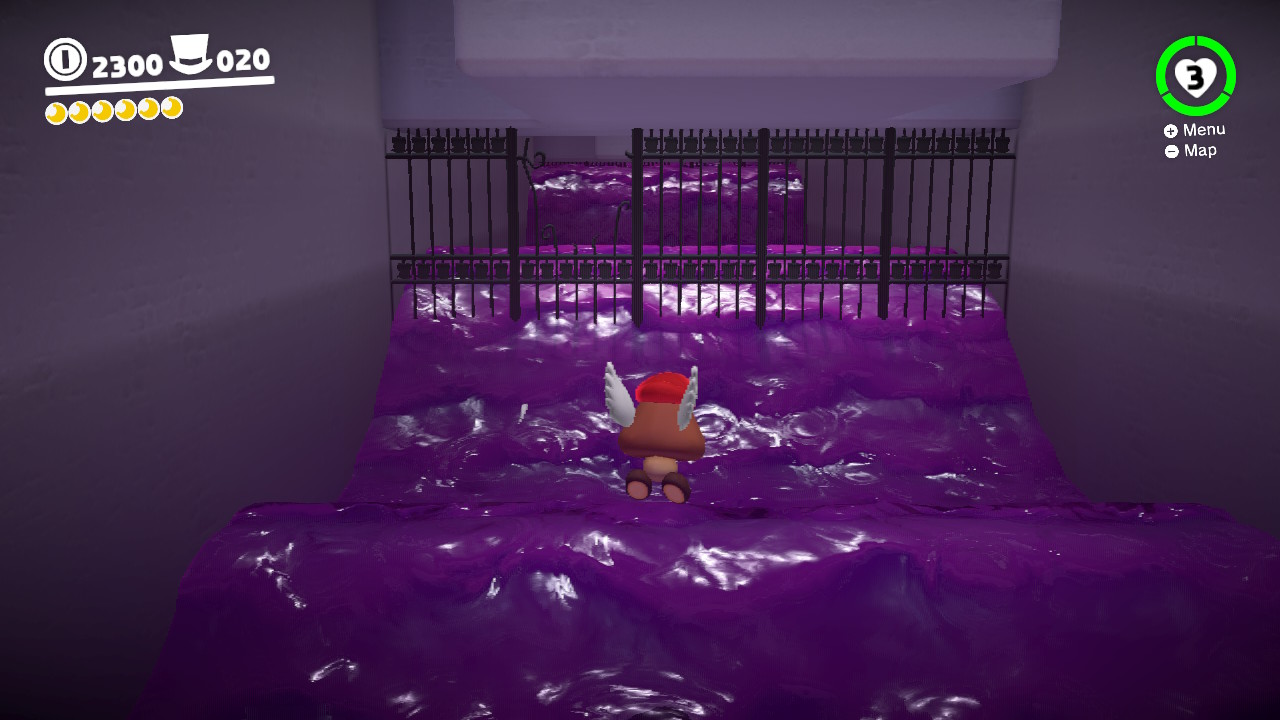
3- Travel along the path, don’t fall in the poison, and avoid the powerful gusts…

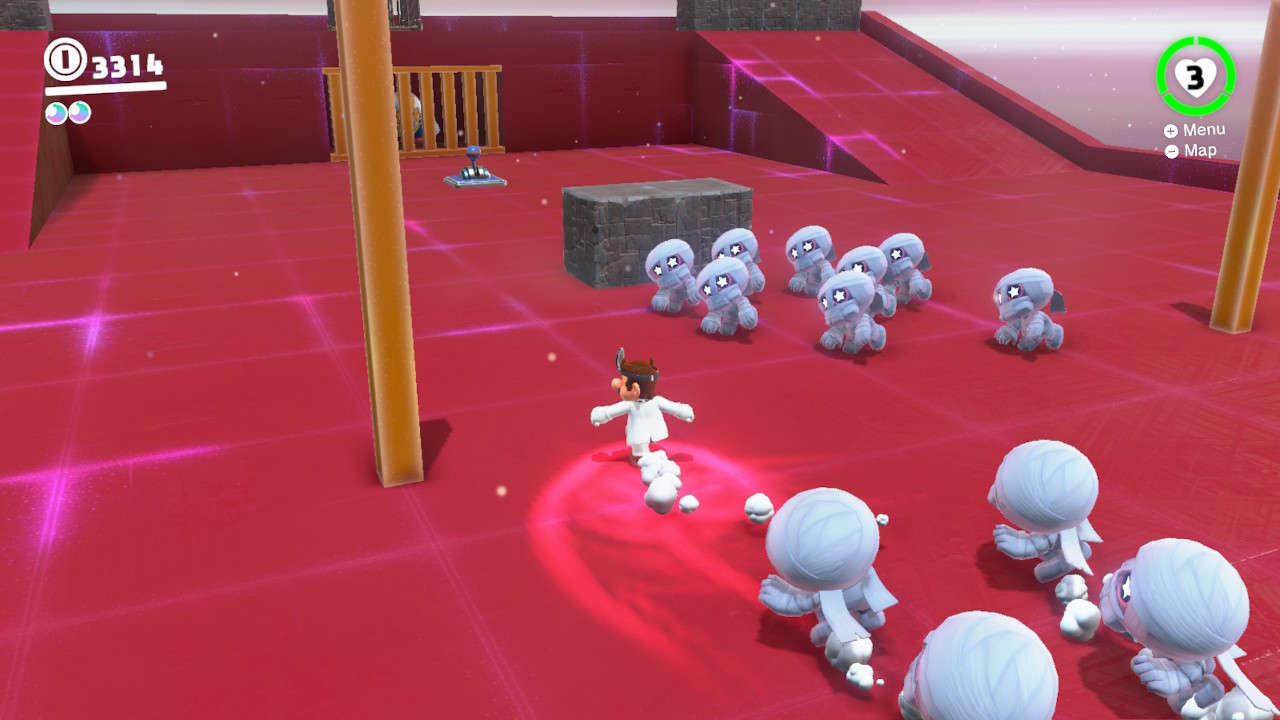
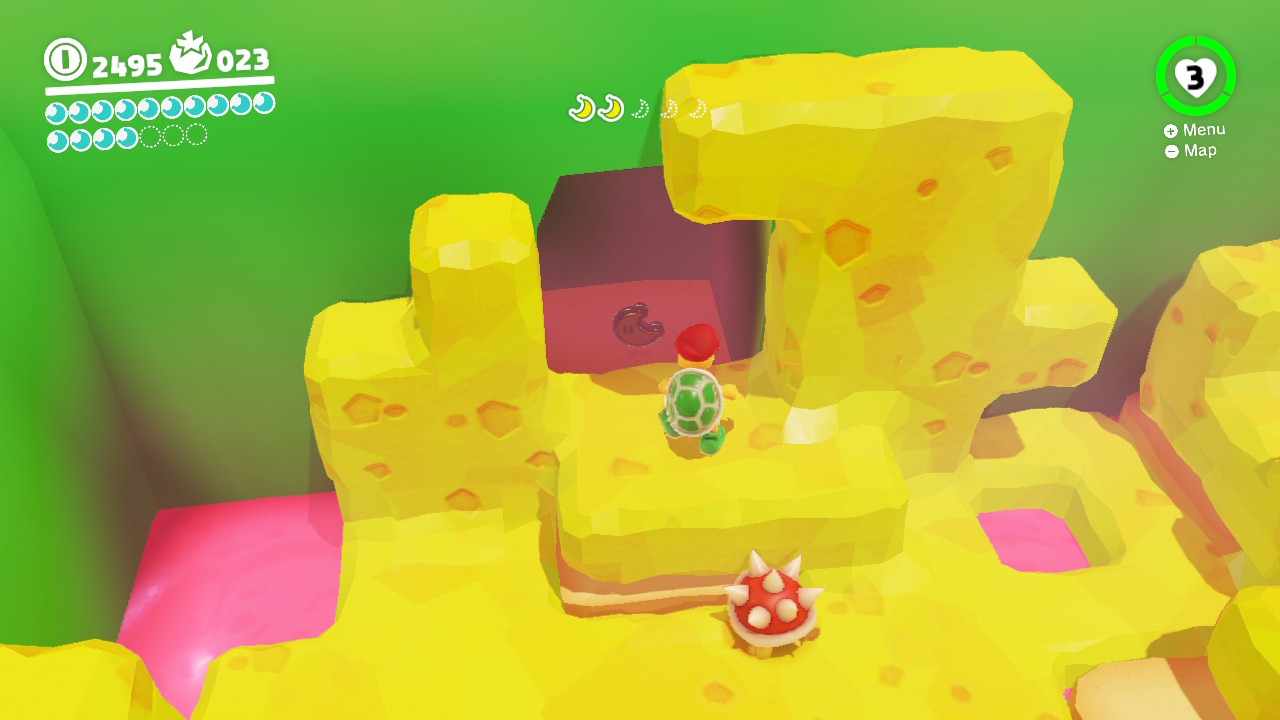
4- Capture the windy gust guys (don’t know the names off the top of my head) and blow off all the Spinies at the end…
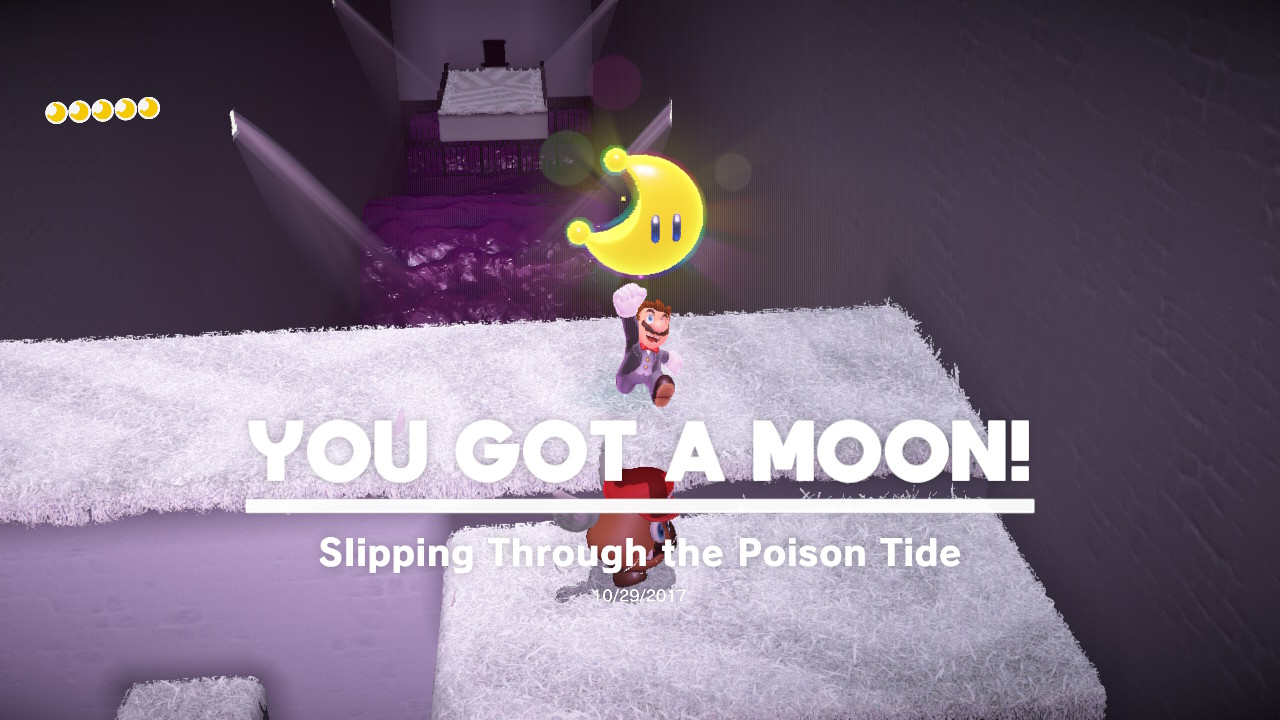
5- The Power Moon will appear!
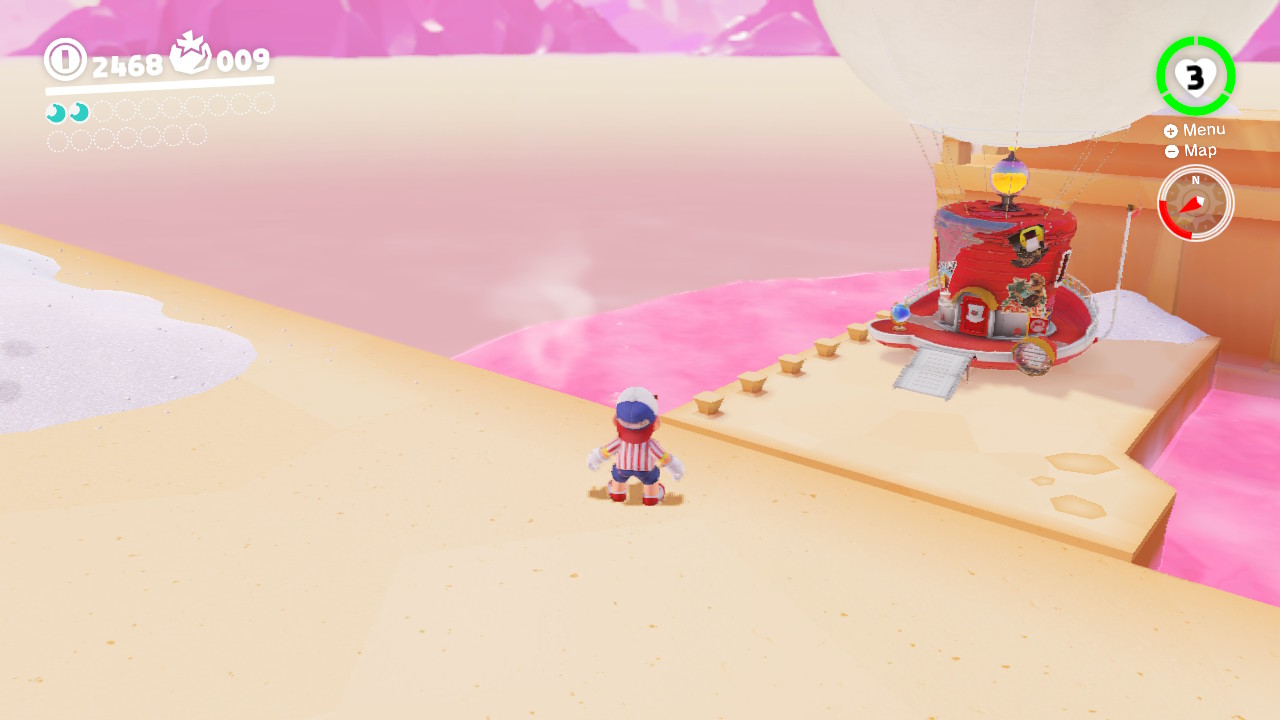
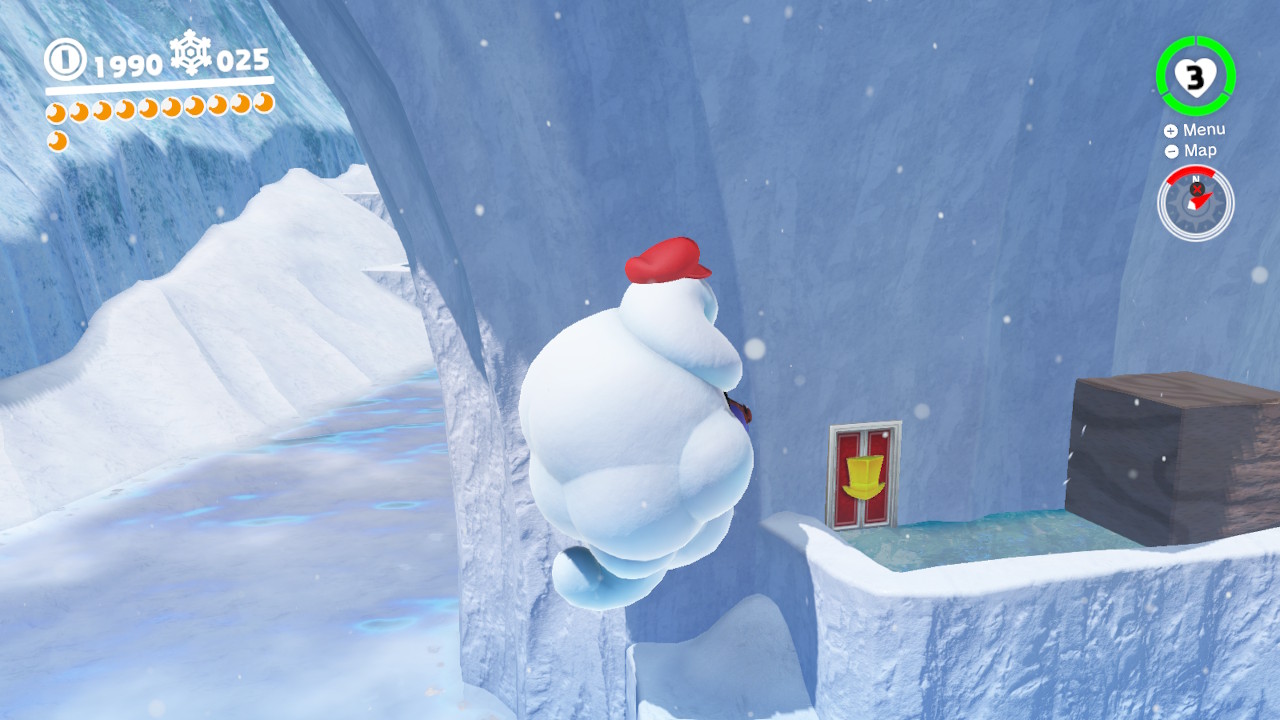
04 – The Snowy Mountain Barrier

Location- Shiveria Town/Snowy Mountain

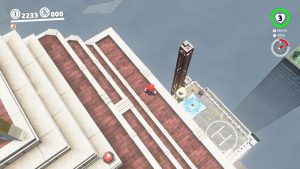
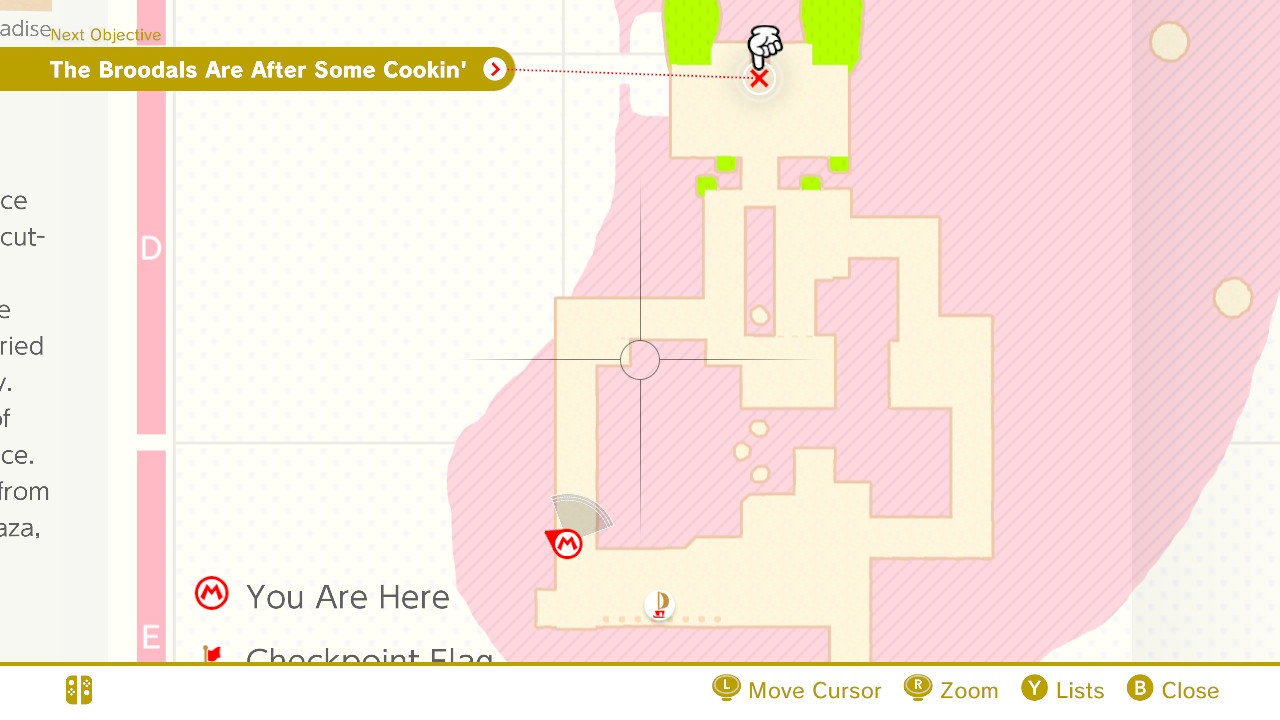
1- From the middle of Shiveria Town, go down the pathway shown in the image above…
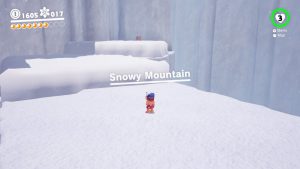
2- This will take you to Snowy Mountain…
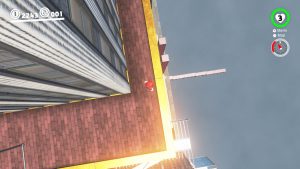
3- Climb the Snow Mountain by catching the gusts of wind… (that you make appear by using Cappy on the wooded posts…)
4- Go all thw ay to the top where you will find…
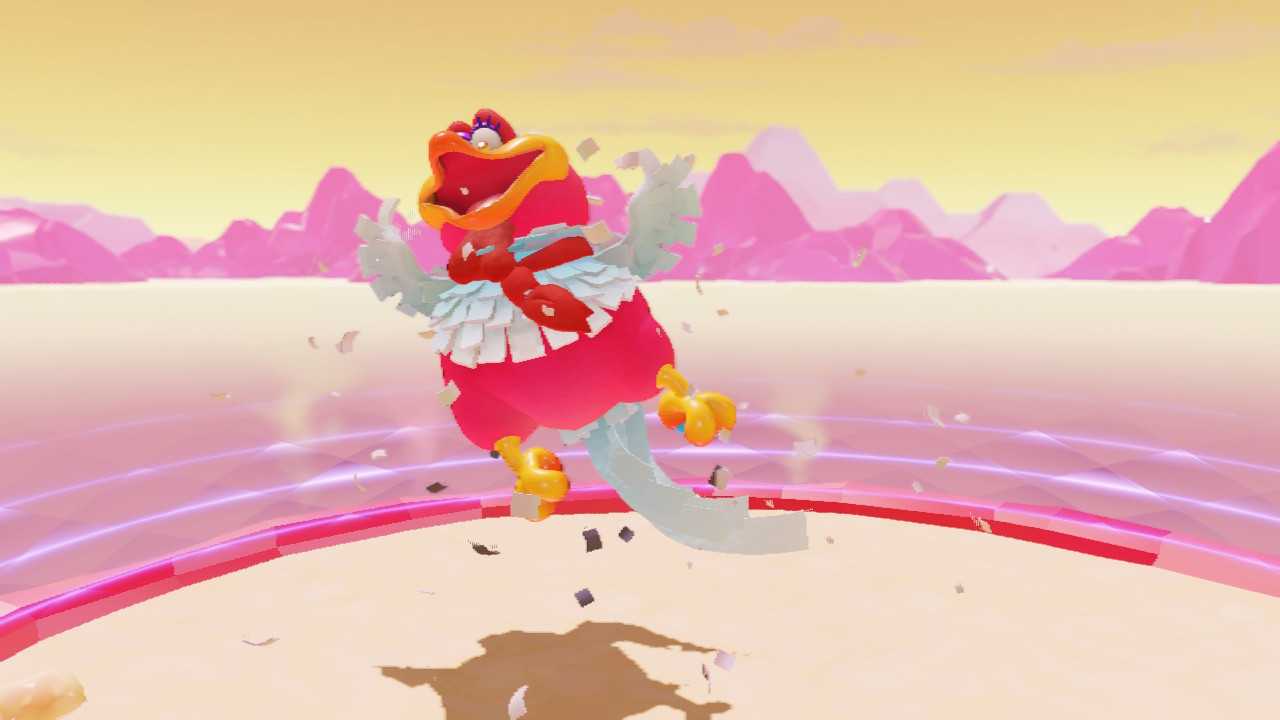
5- The Broodals ready for a right…
6- Beat them up…
7- And get your Power Moon!
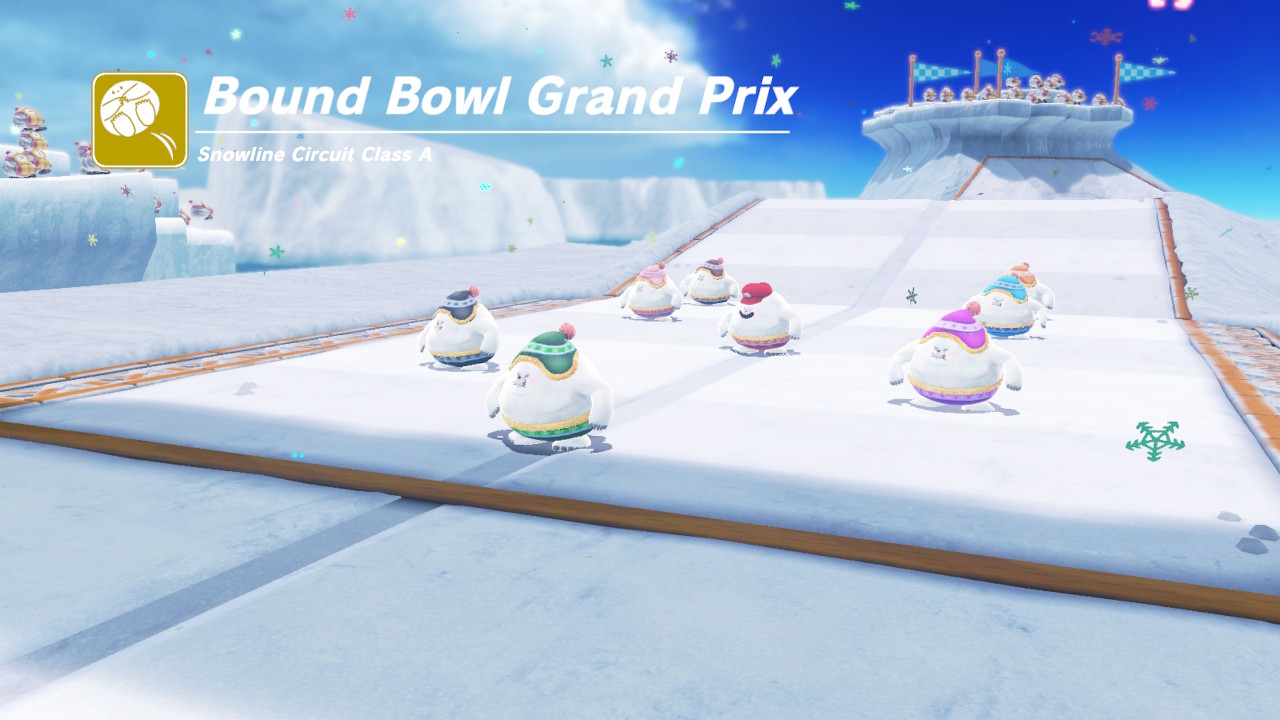
05 – The Bound Bowl Grand Prix

Location- Shiveria Town/Snowline Curcuit

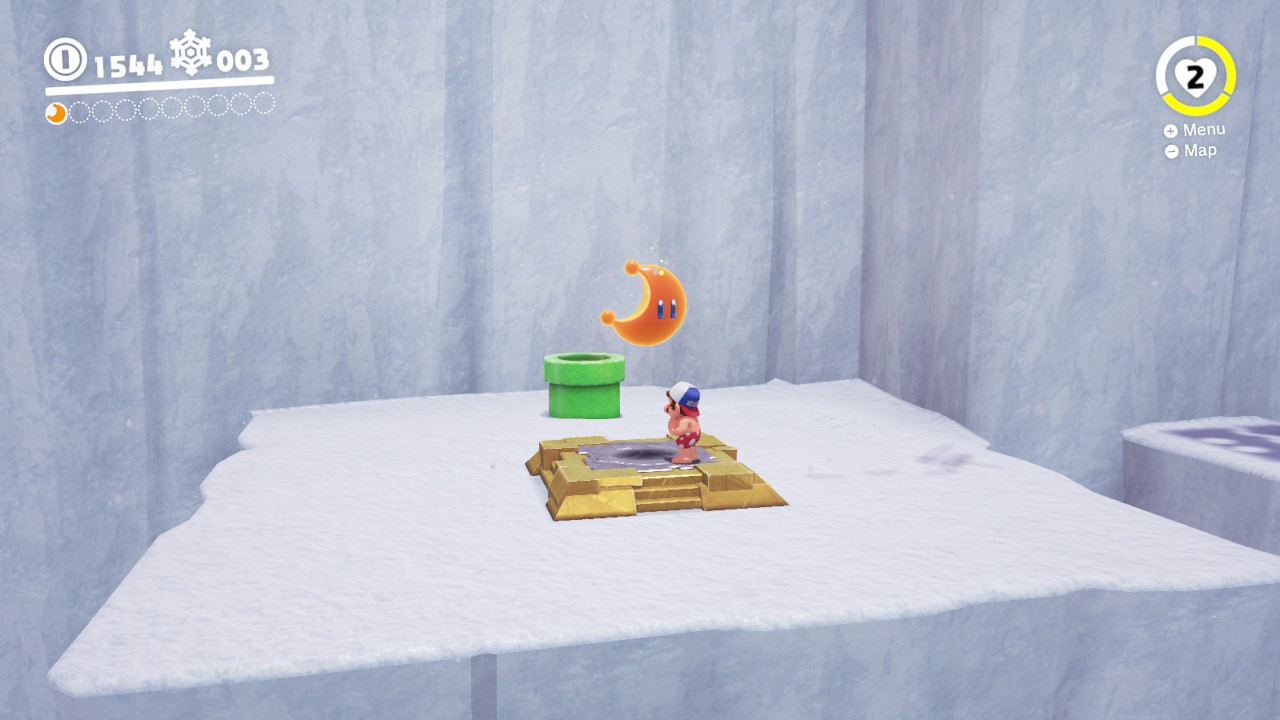
1- After you’ve completed the four Barrier Power Moon, the hole will be open…

2- This will take you to Snowline Curcuit

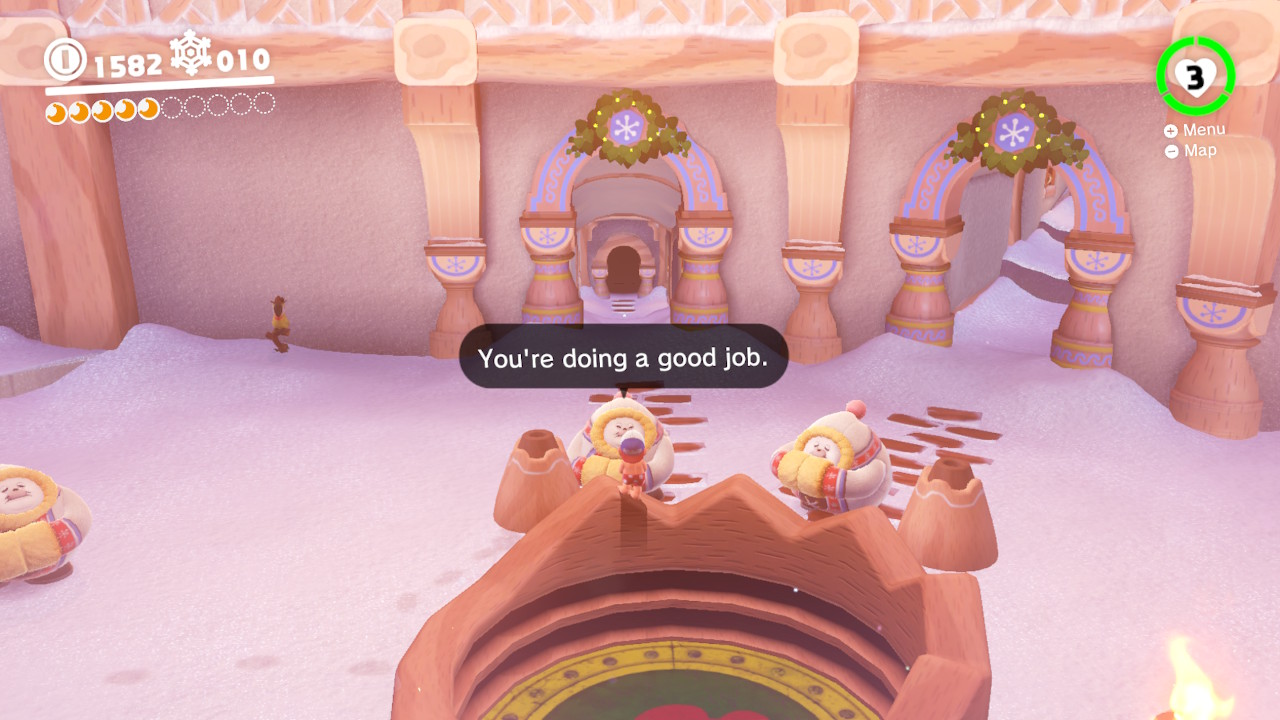
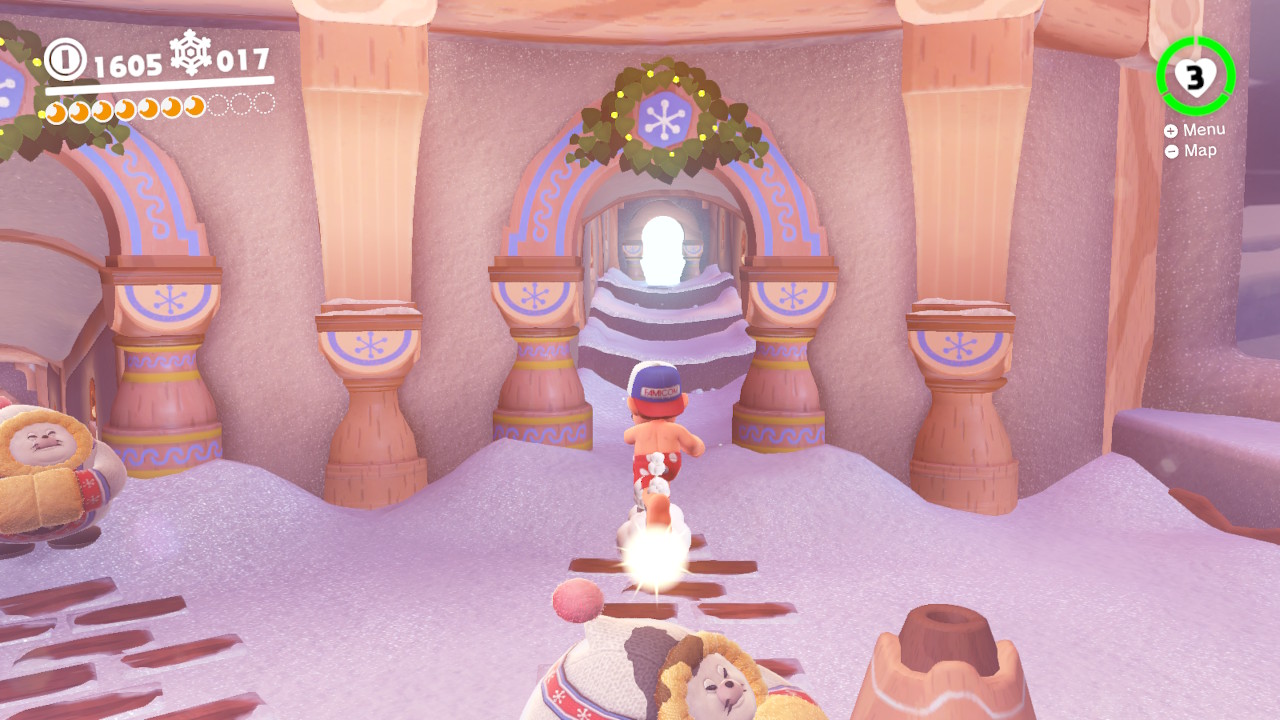
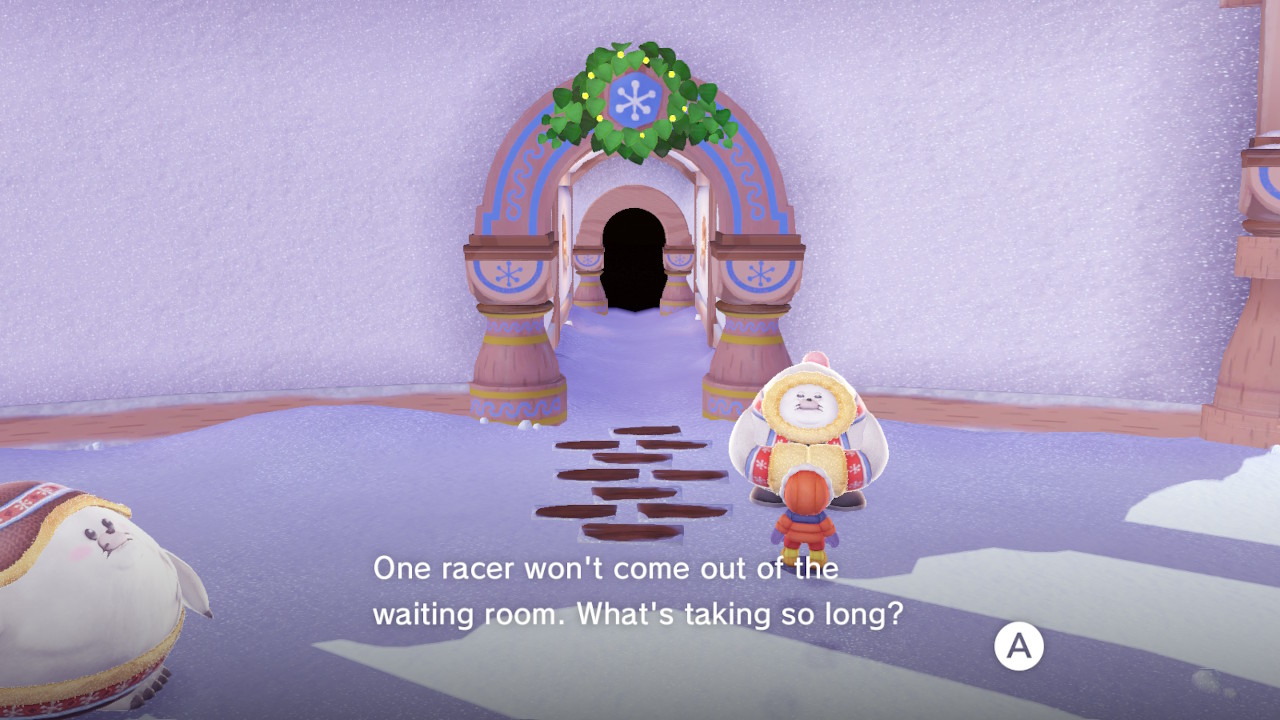
3- Go through the doorway on the left…

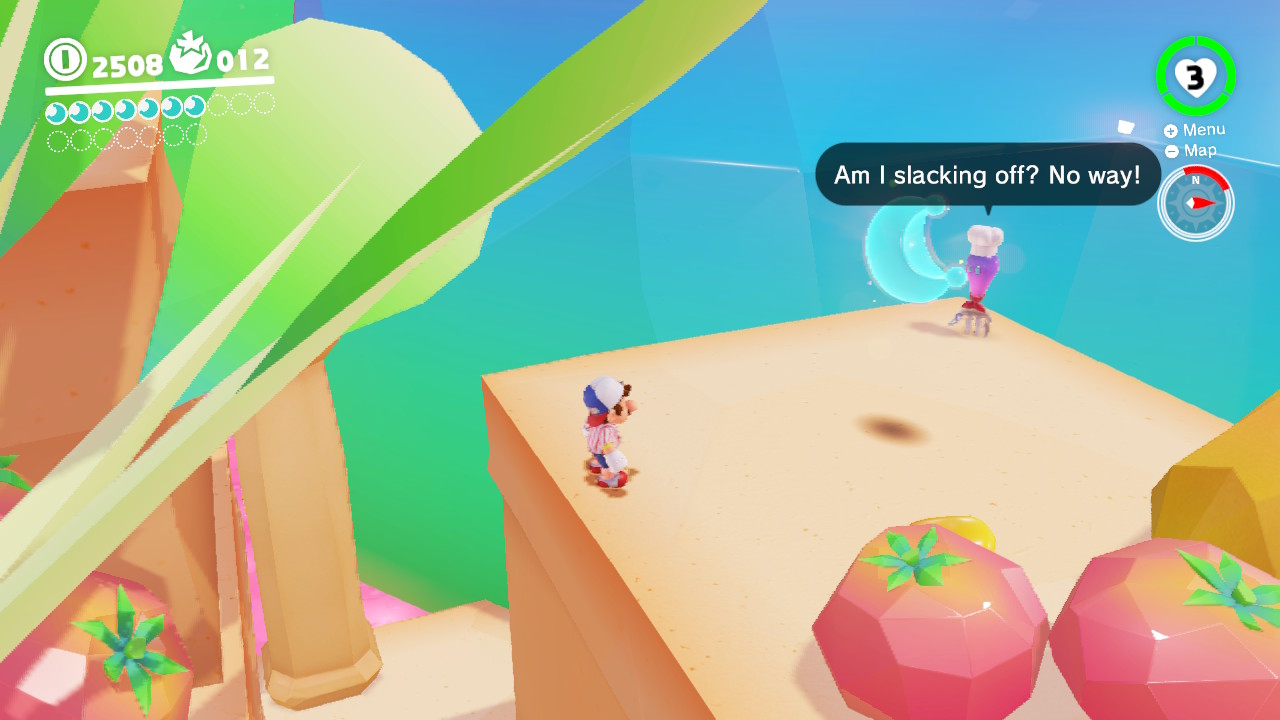
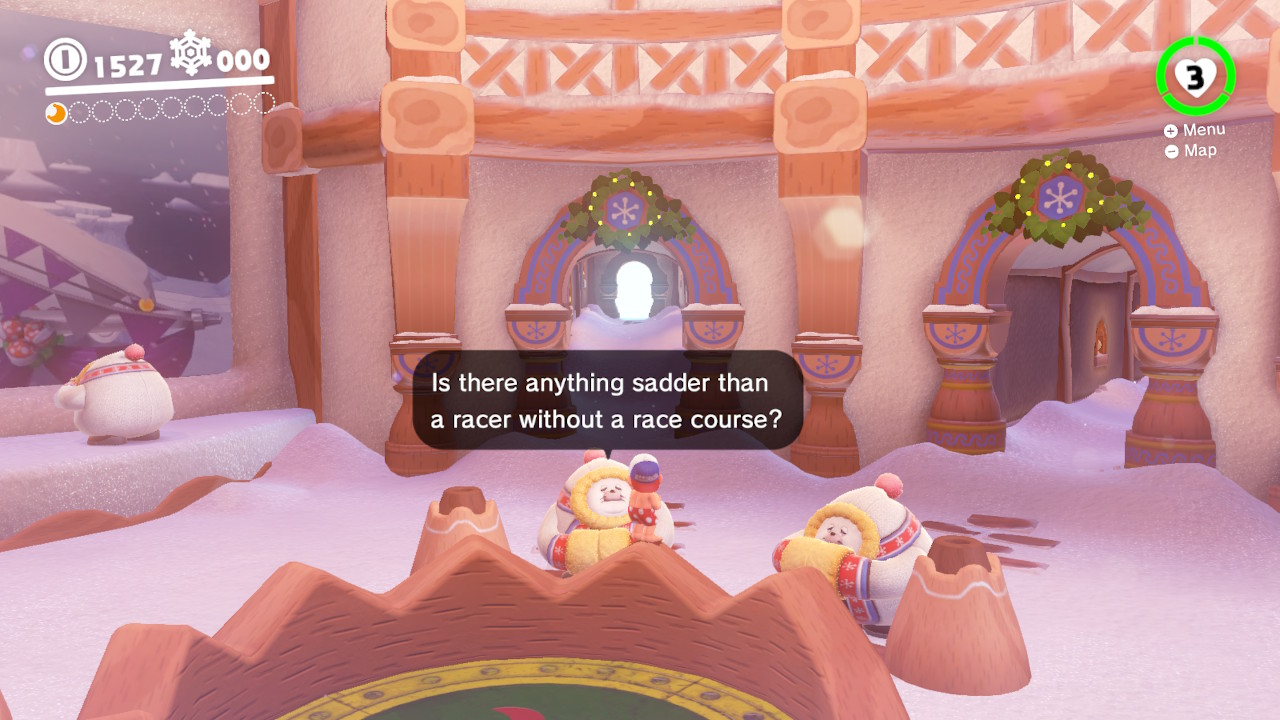
4- Loop around and you will find a sulking Shiverian racer who doesn’t want to compete…

5- Use Cappy to capture him!…

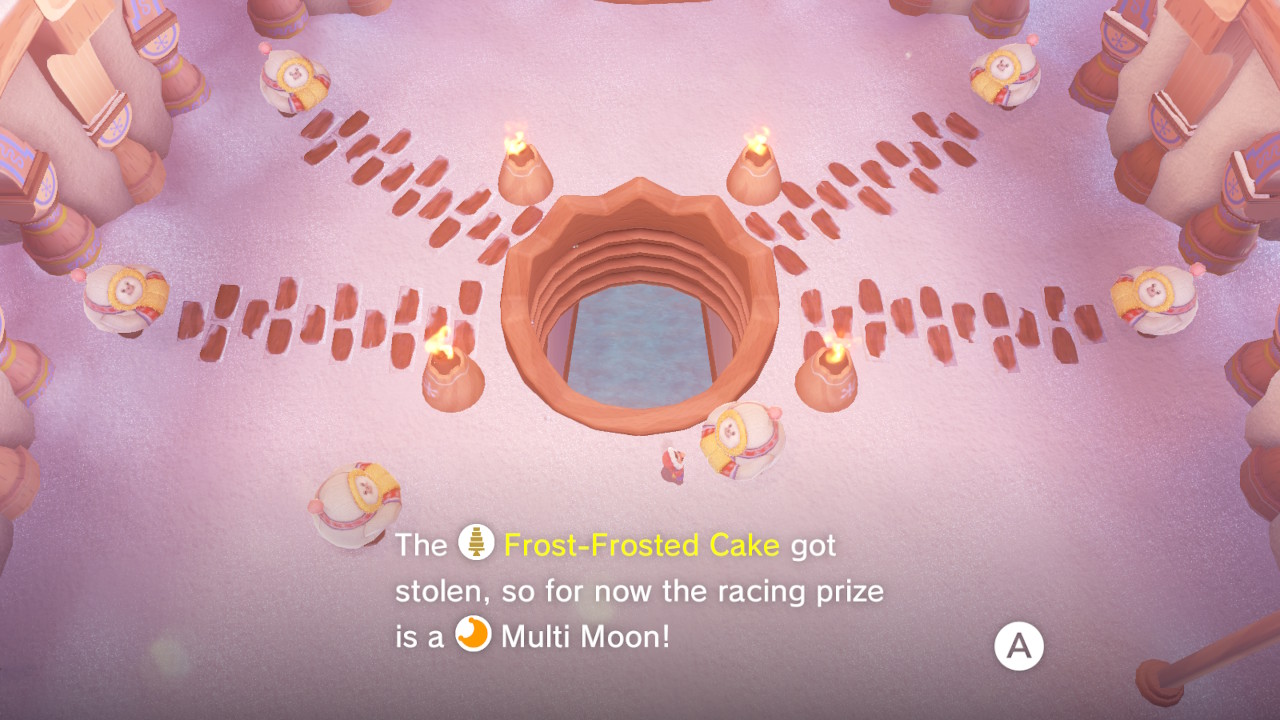
6- Follow through the path and talk to the Shiverian Elder, he will set you up for the race, including a tutorial section…

7- One race, three laps, make sure you stay on the course but BOUNCE often to pick up speed…

8- Win the race and you will be rewarded with a Multi-Moon!!!
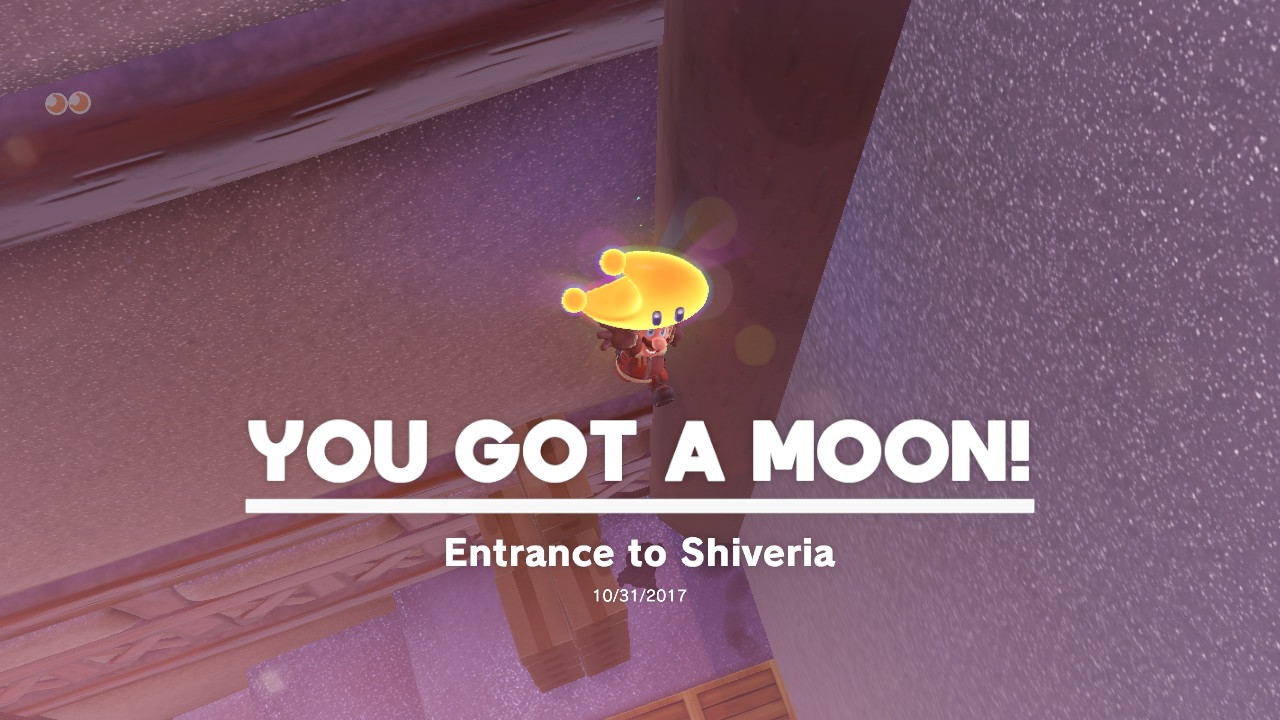
06 – Entrance to Shiveria

Location- Shiveria Town

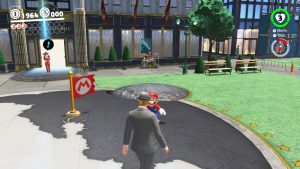
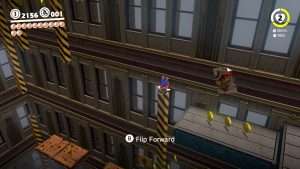
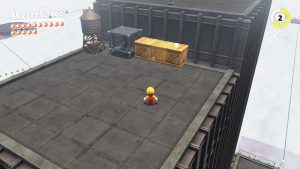
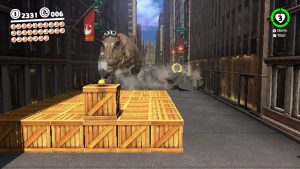
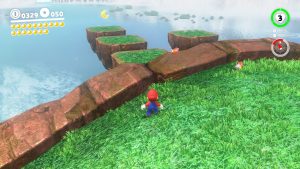
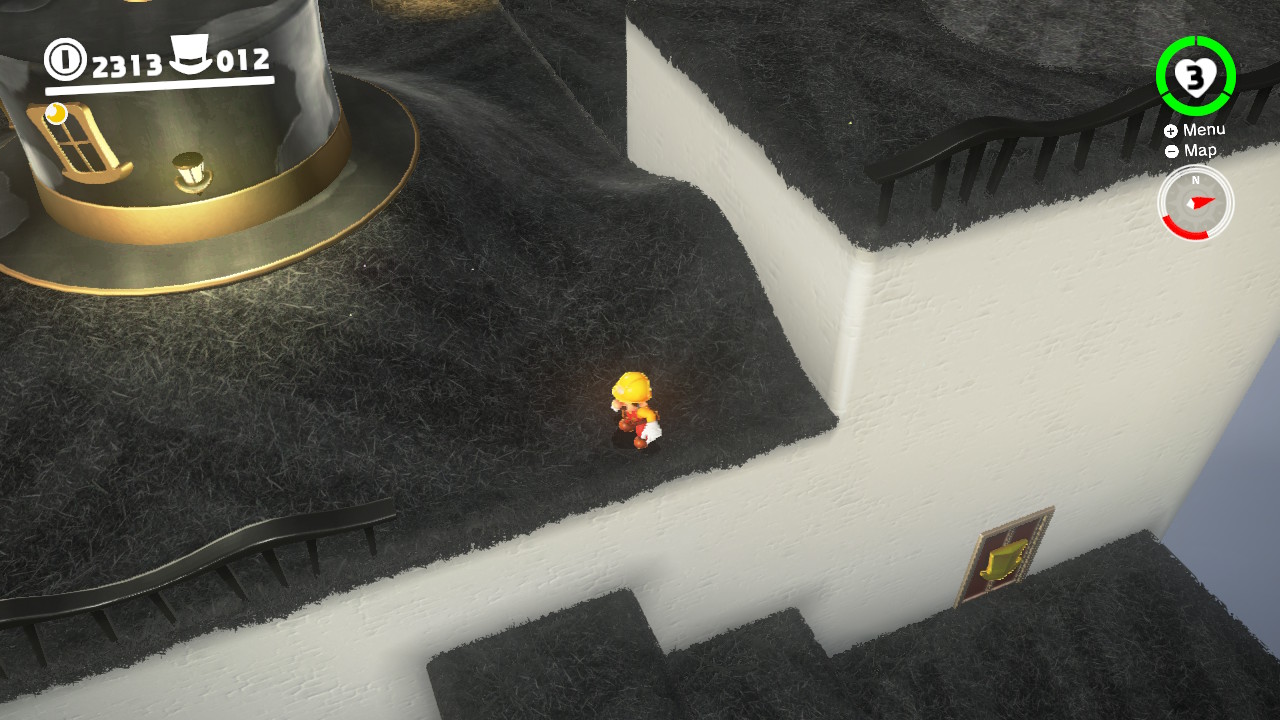
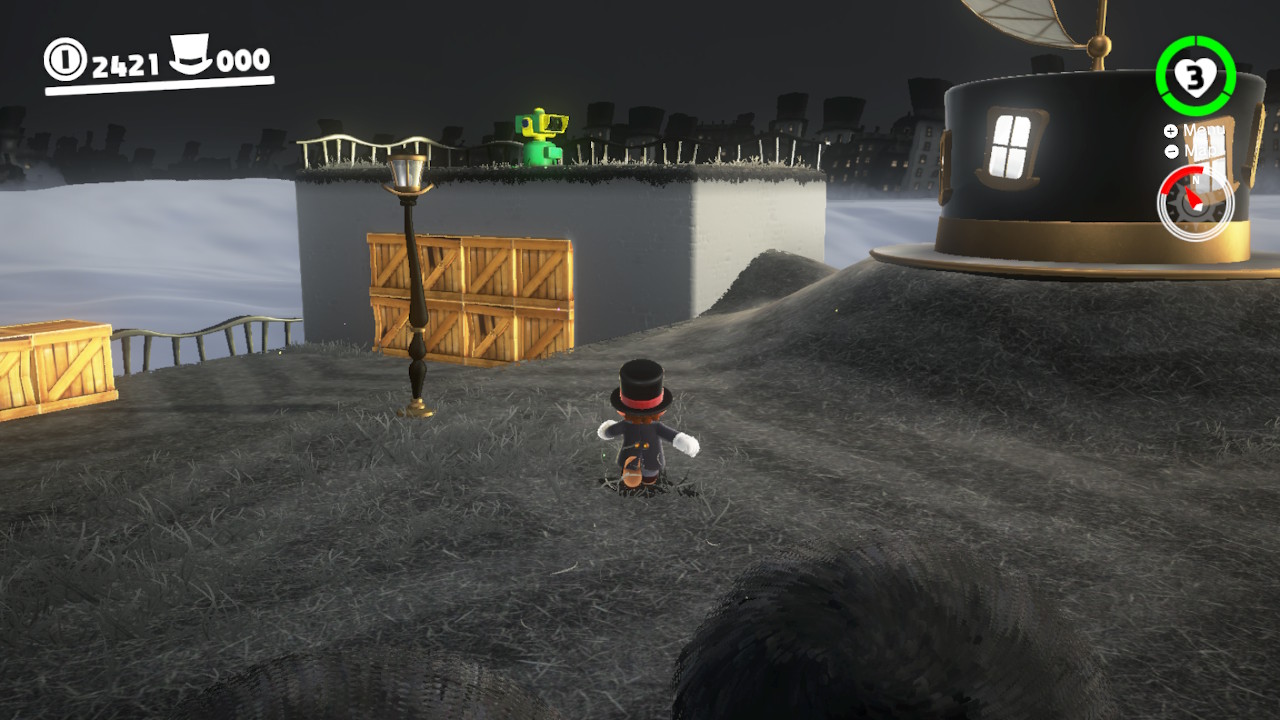
1- Right as you drop into Shiveria Town, turn around…
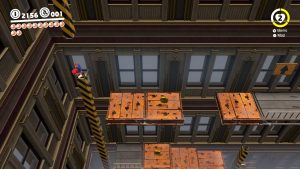
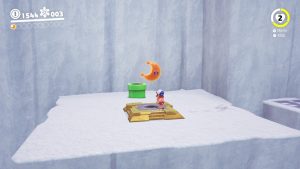
2- You will notice a Power Moon up above some boxes in the corner…
3- Climb up the boxes with jumps and wall jumps to get the Power Moon!
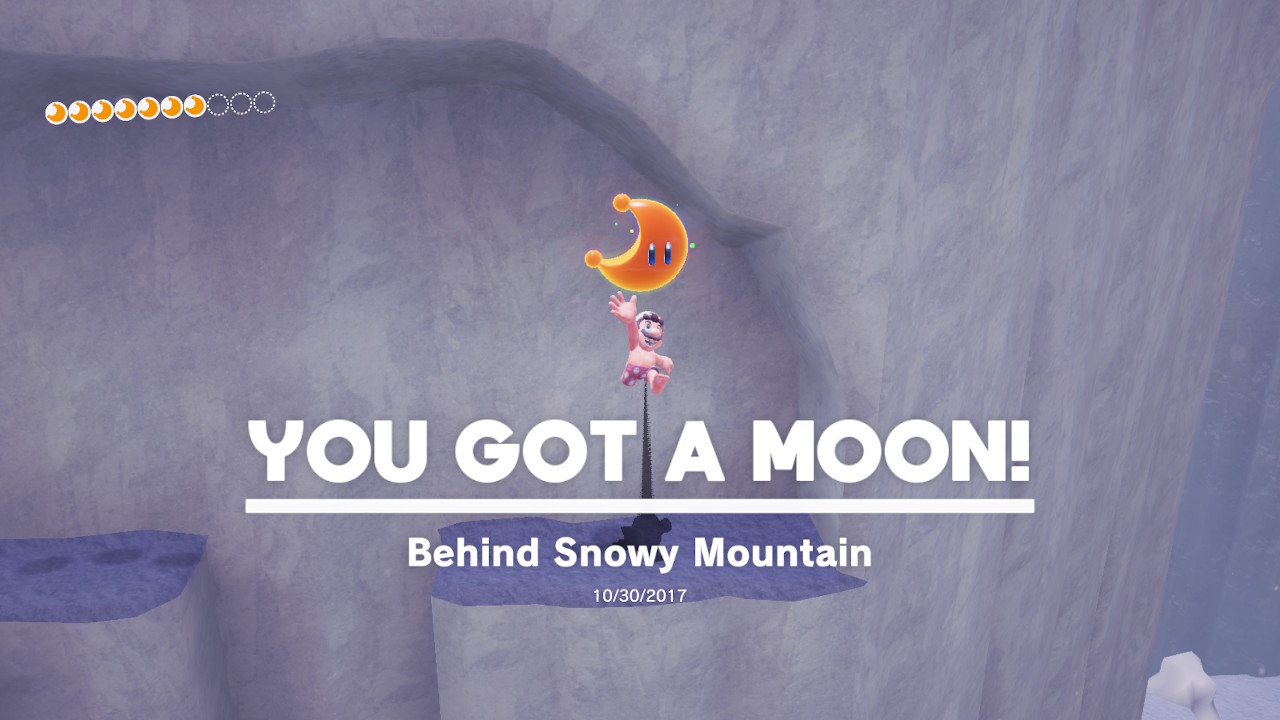
07 – Behind Snowy Mountain

Location- Shiveria Town/Snowy Mountain
1- From the middle of Shiveria Town, go down the pathway shown in the image above…
2- This will take you to Snowy Mountain…
3- Climb the Snow Mountain by catching the gusts of wind… (that you make appear by using Cappy on the wooded posts…)
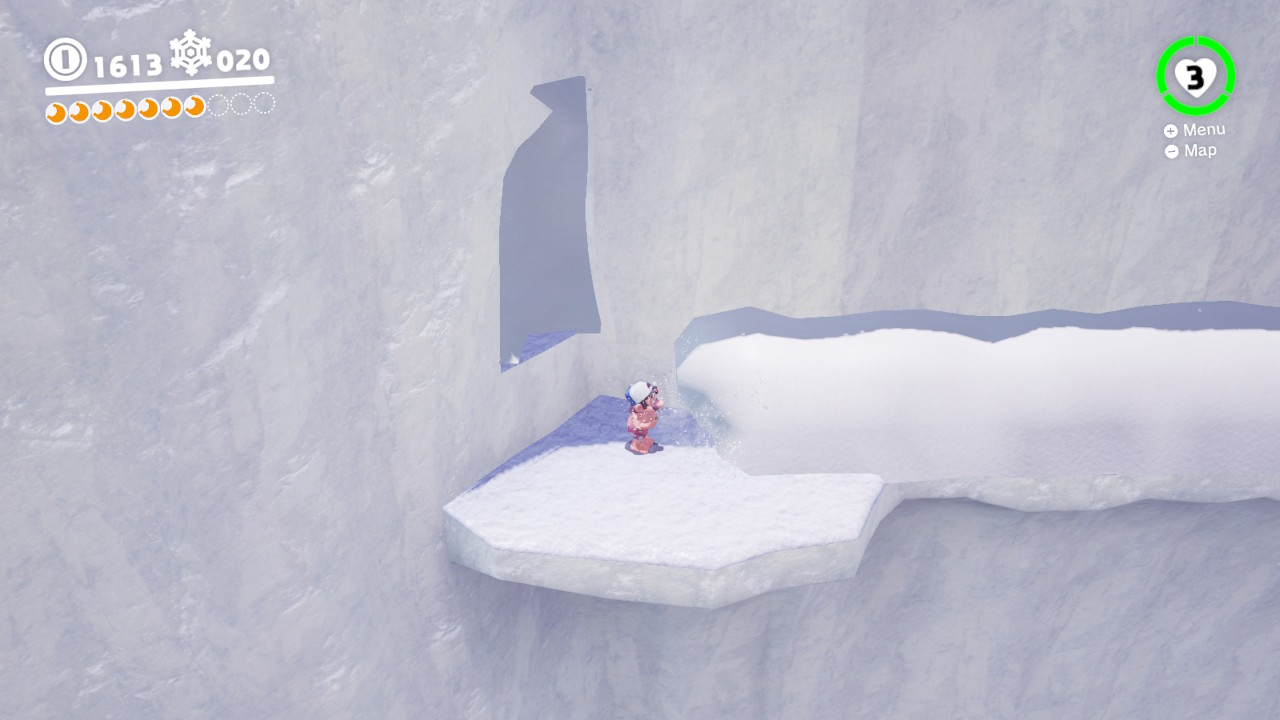
4- Instead of going all the way to the top, you can either use the gust of wind to go over the ledge….

5- Or break up the snow directly under it to open up a small gap to walk through…

6- Either way you will now have access to the Power Moon hiding around the corner!
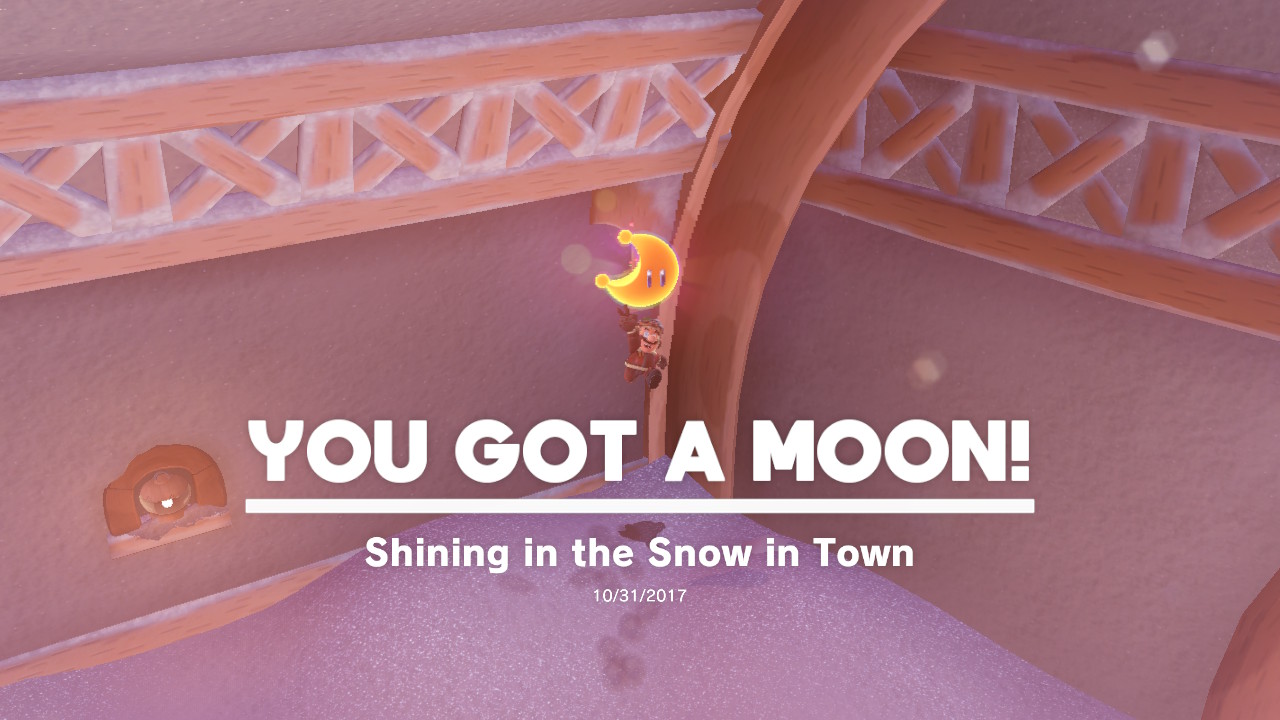
08 – Shining in the Snow in Town
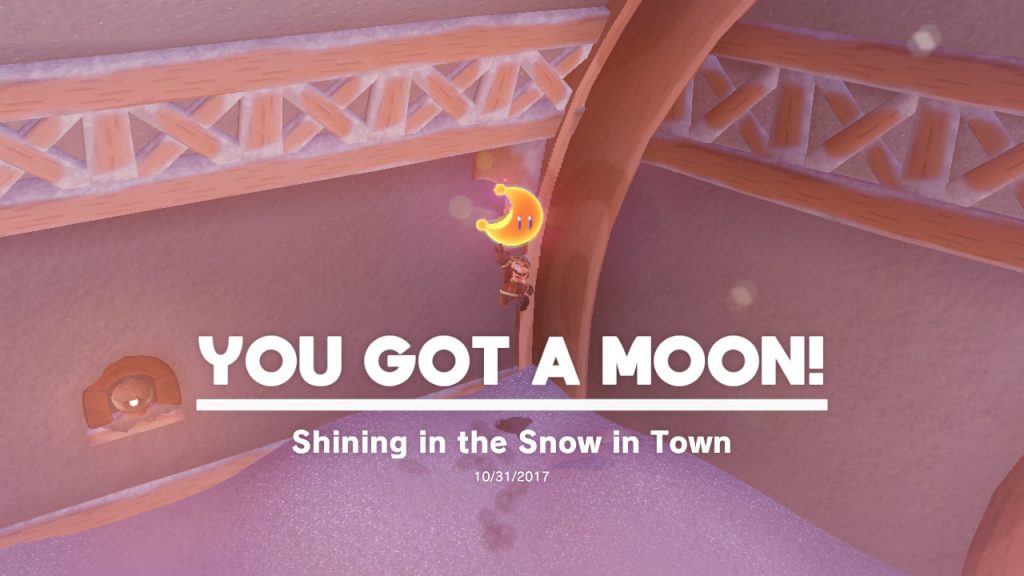
Location- Shiveria Town
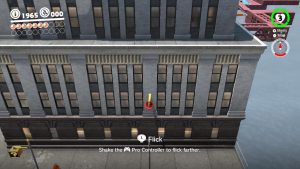
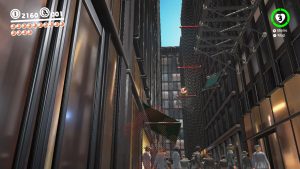
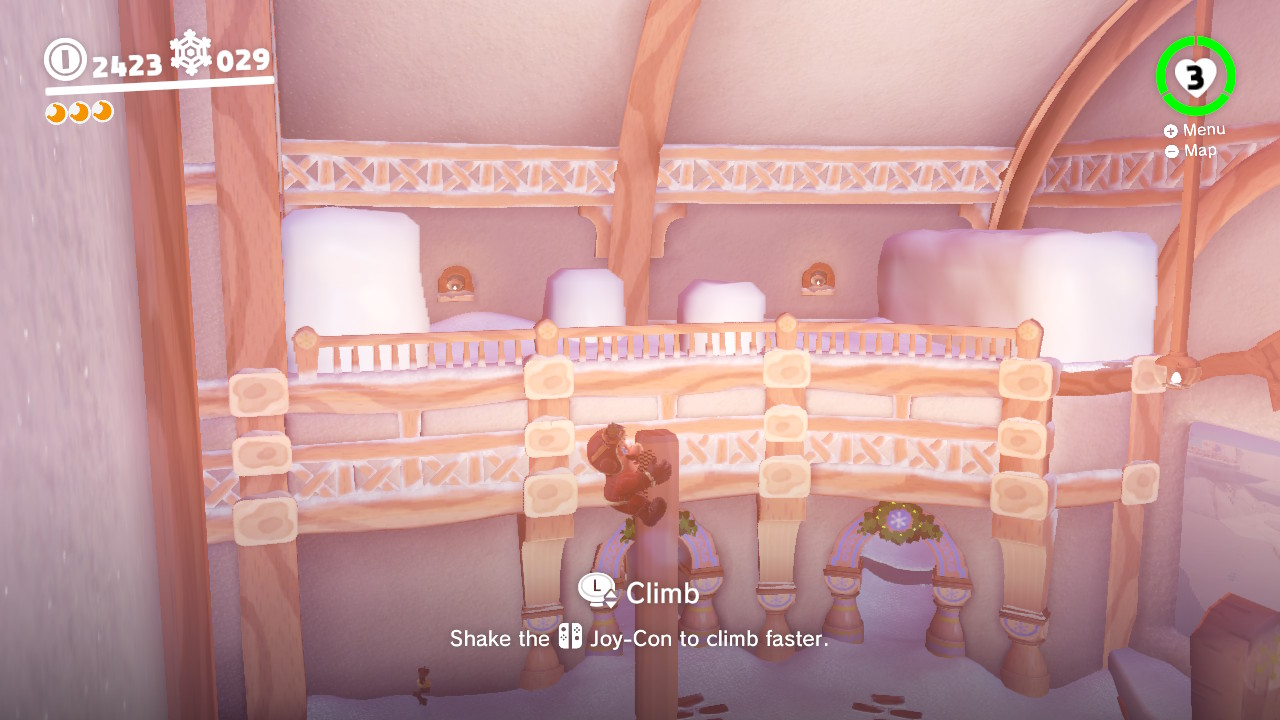
1- Once you drop into Shiveria Town, run forward…

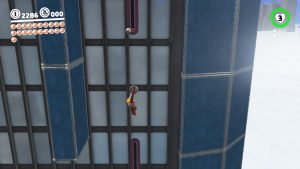
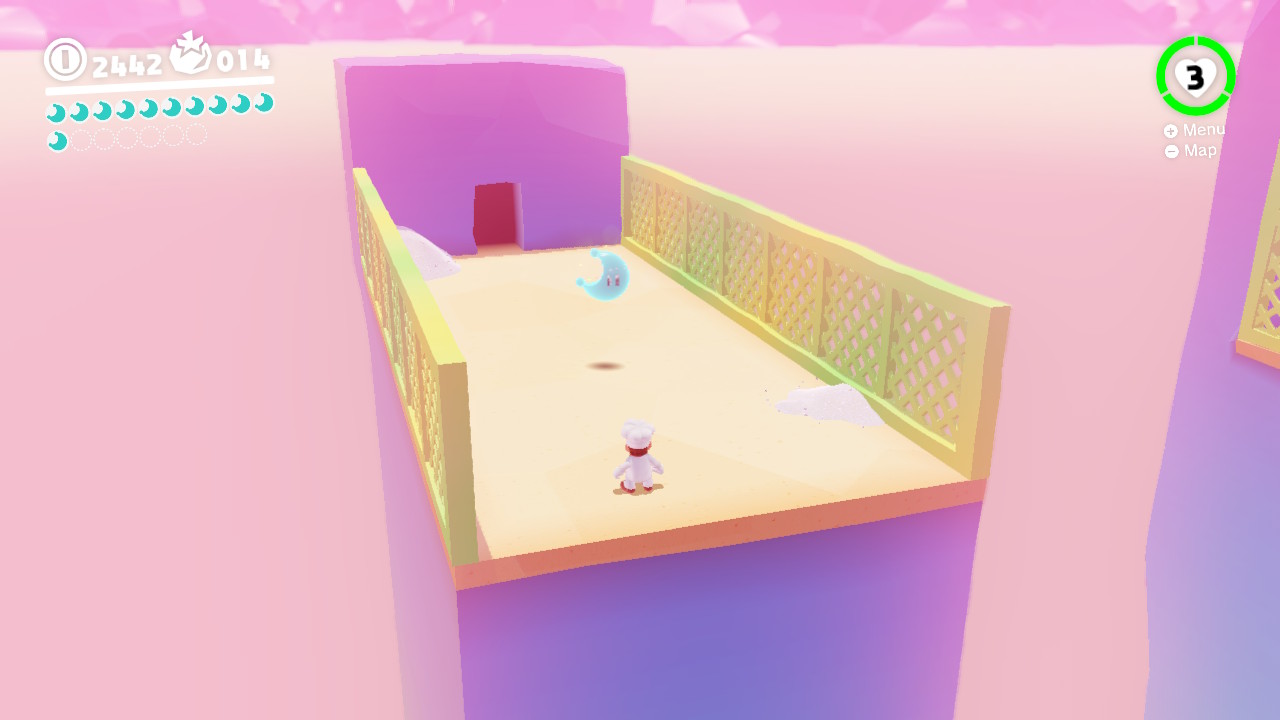
2- There will be a pole on the righthand side…

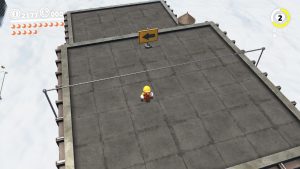
3- At the top you will notice a balcony area, and on the opposite side the balacony is filled with snow…

4- Jump over there and knock away all the snow in the corner, you will see a shiny spot on the ground. Ground pound it and the Power Moon is yours!
09 – Atop a Blustery Arch

Location- Shiveria Town/Wind Chill Cavern
1- From the middle of Shiveria Town, go down the pathway shown in the image above…
2- This will take you to Wind-Chill Cavern…

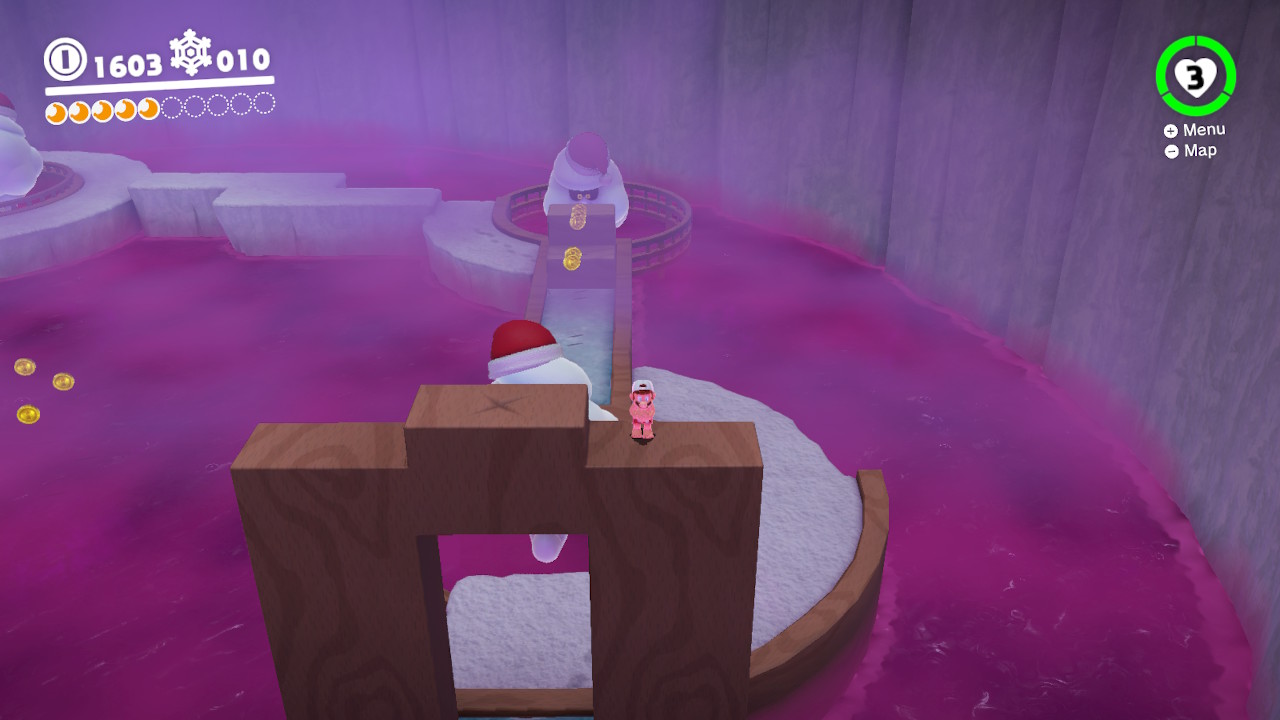
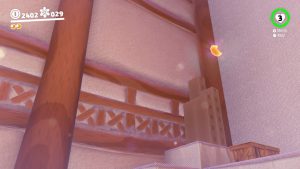
3- Halfway through the Cavern you will see a “stair-like” structure…

4- Climb to the top…

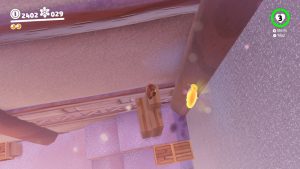
5- Jump across to the arch…
6- Ground pound the “x” on the archway and a Power Moon will appear! Whadyaknow!
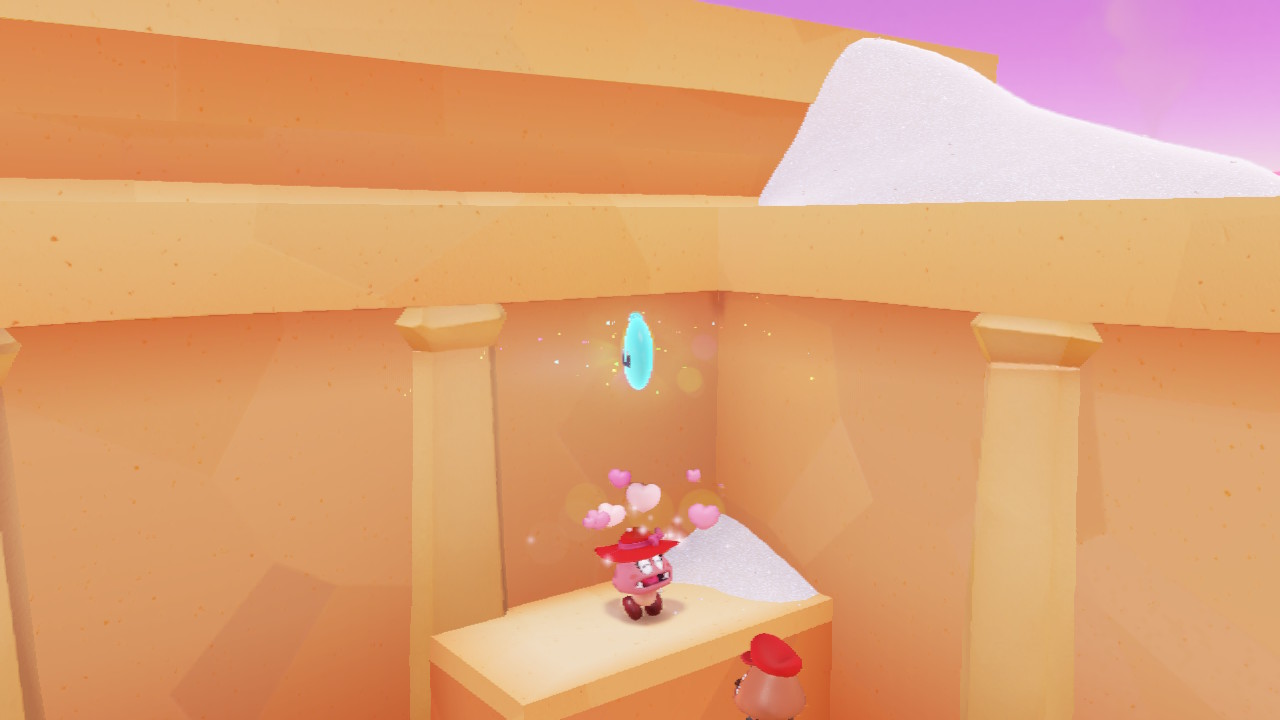
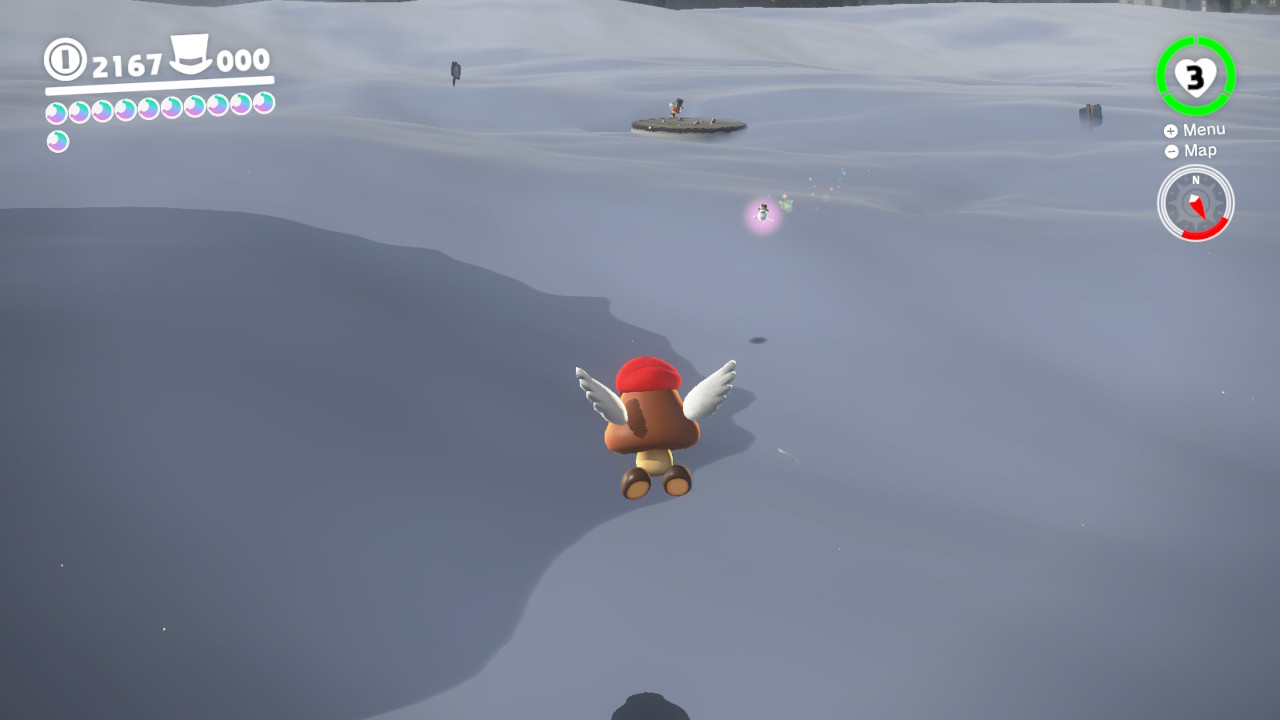
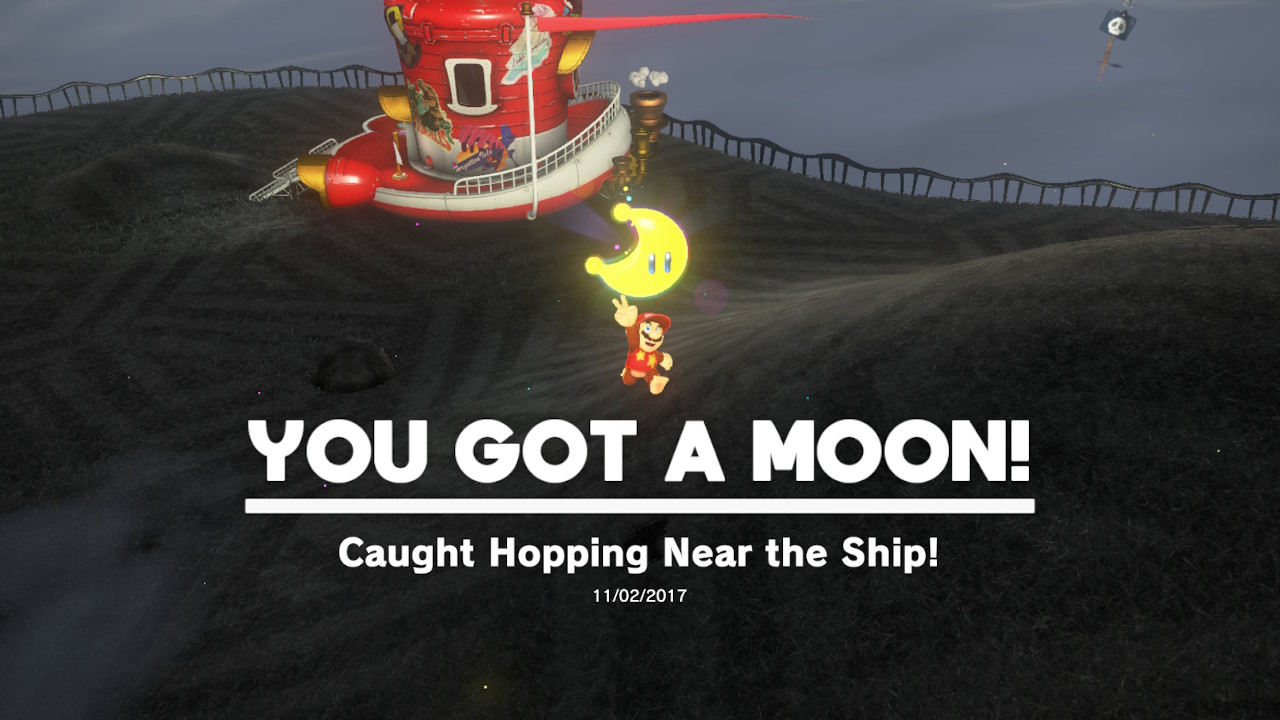
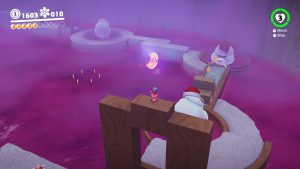
10 – Caught Hopping in the Snow!
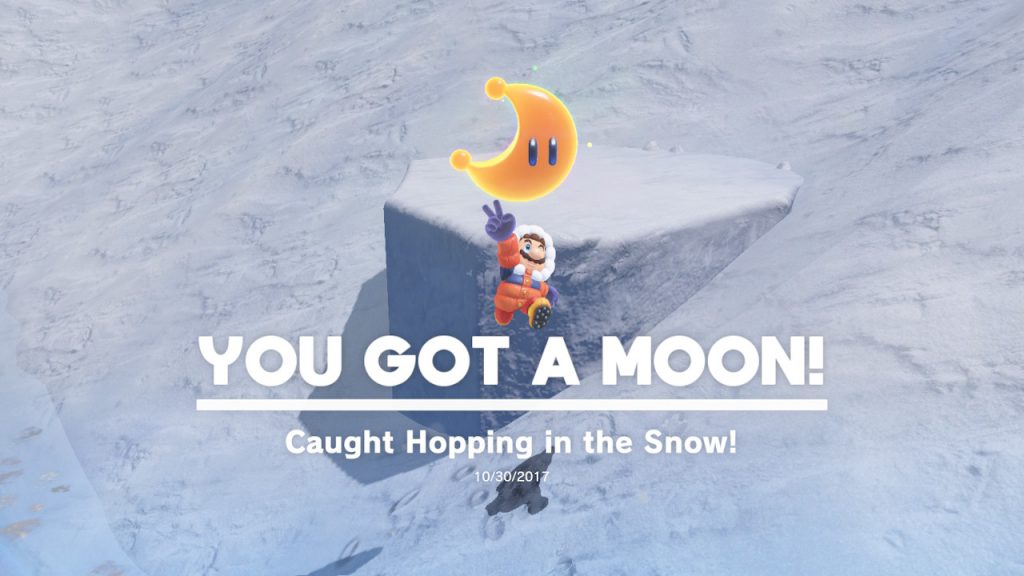
Location-

1- Near the area of one of the moon shards you will see the bunny running around in the snow…

2- Hit it with Cappy and he’ll give you his Power Moon!
11 –
Location- Shiveria Town
1- Once you drop into Shiveria Town, run forward…
2- There will be a pole on the righthand side…
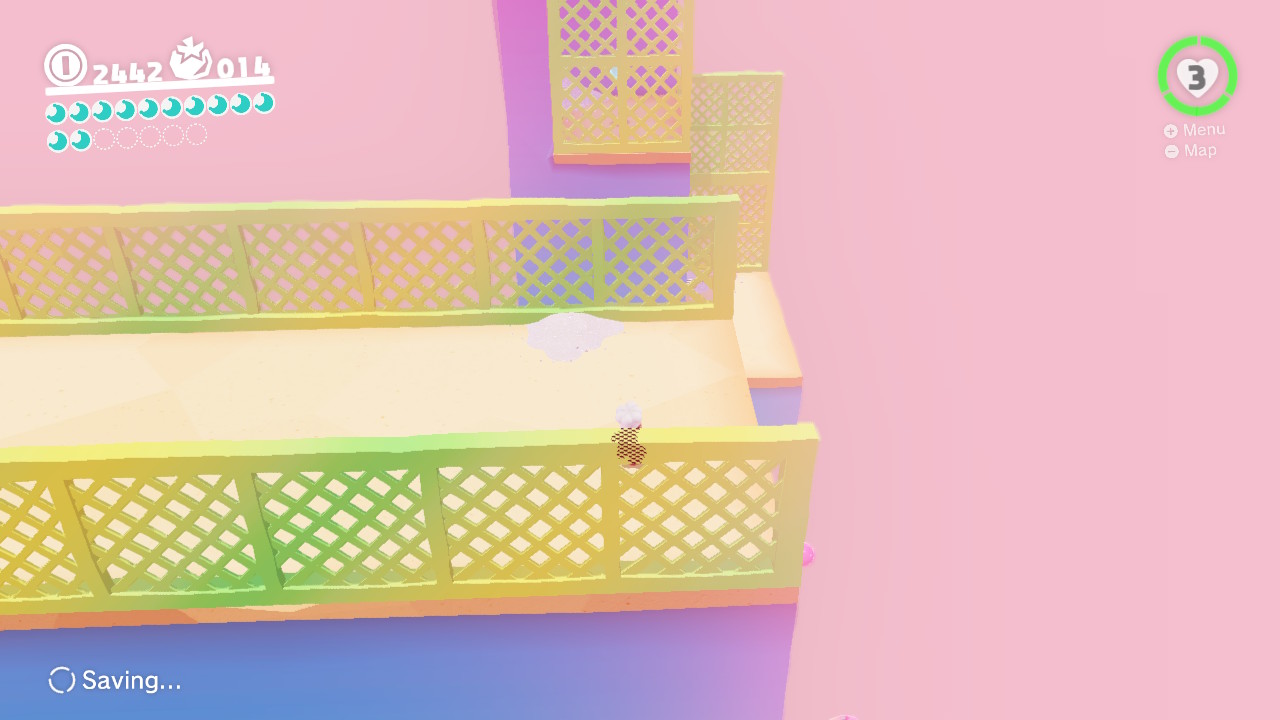
3- At the top you will notice a balcony area, and on the opposite side the balacony is filled with snow…
4- Jump across and knock away all the snow, you will notice an doorway/opening…

5- Run through the doorway…

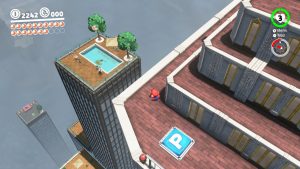
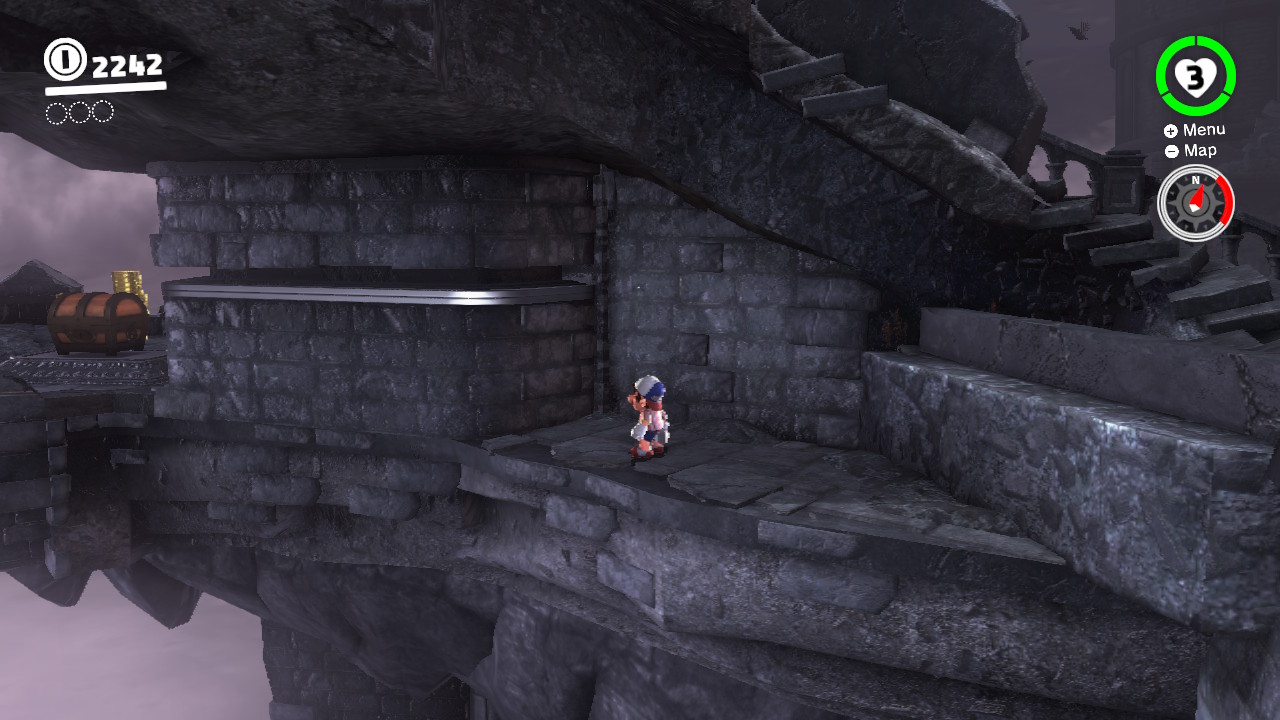
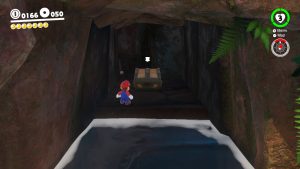
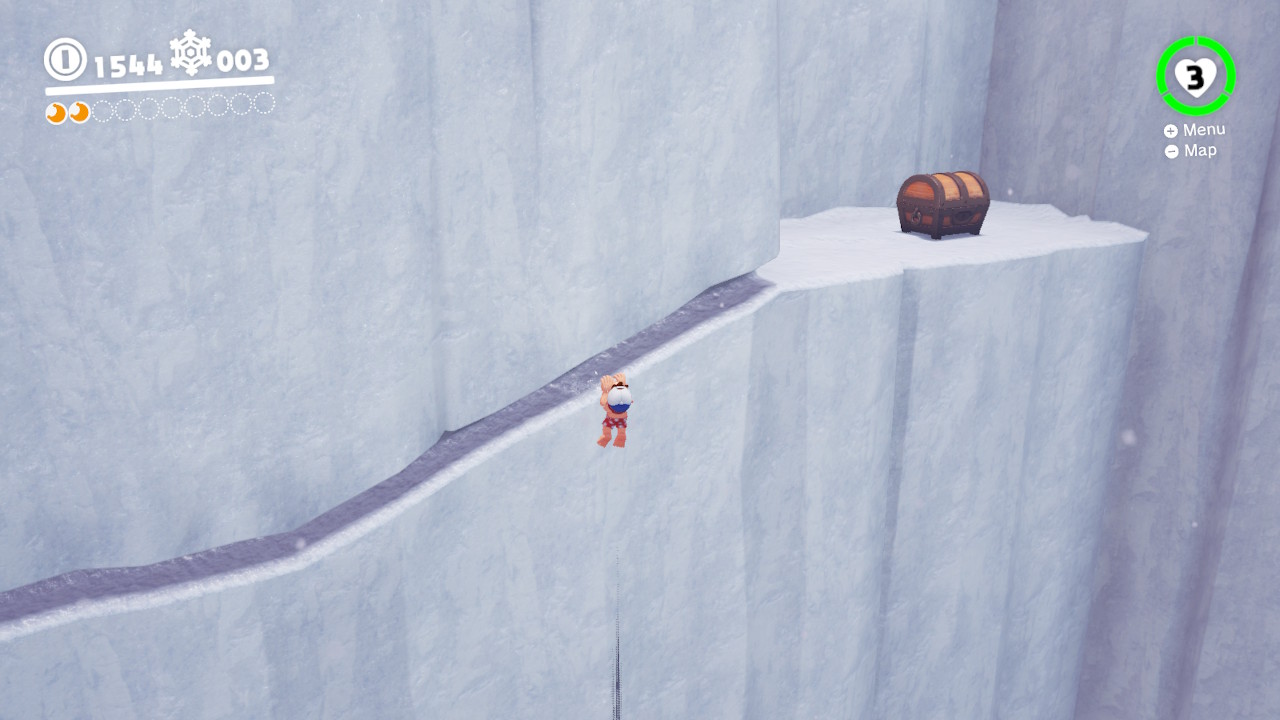
6- And around the corner you will see a treasure chest on the other side of a bridge/catwalk!
12 – Treasure in the Ice Wall

Location- Shiveria Town/Hollow Crevasse
1- From the middle of Shiveria Town, go down the pathway shown in the image above…
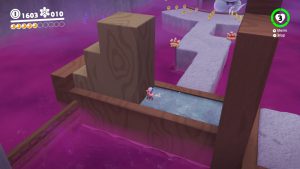
2- This will take you to Hollow Crevasse…
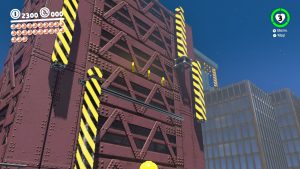
3- You can see from this angle, this is where the Moon appears once you collect all the shards, however a hidden Moon is up here as well…

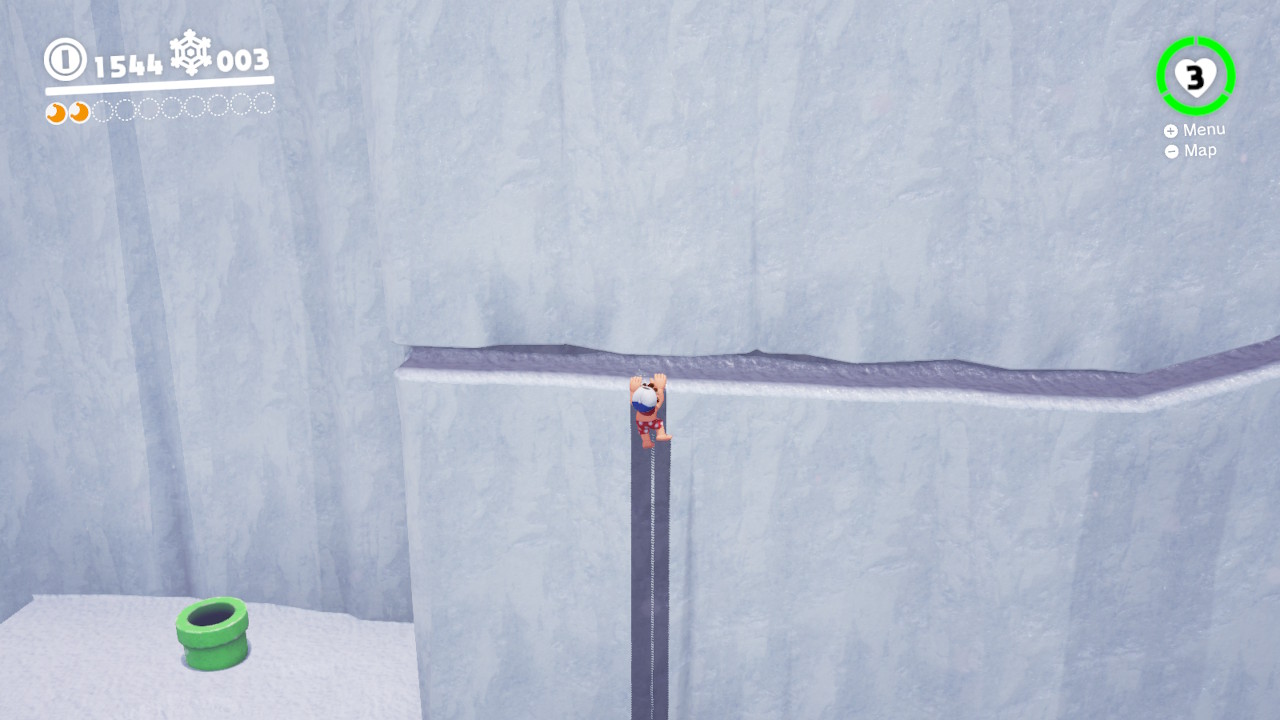
4- There is a ledge that can be reached that leads to the treasure…

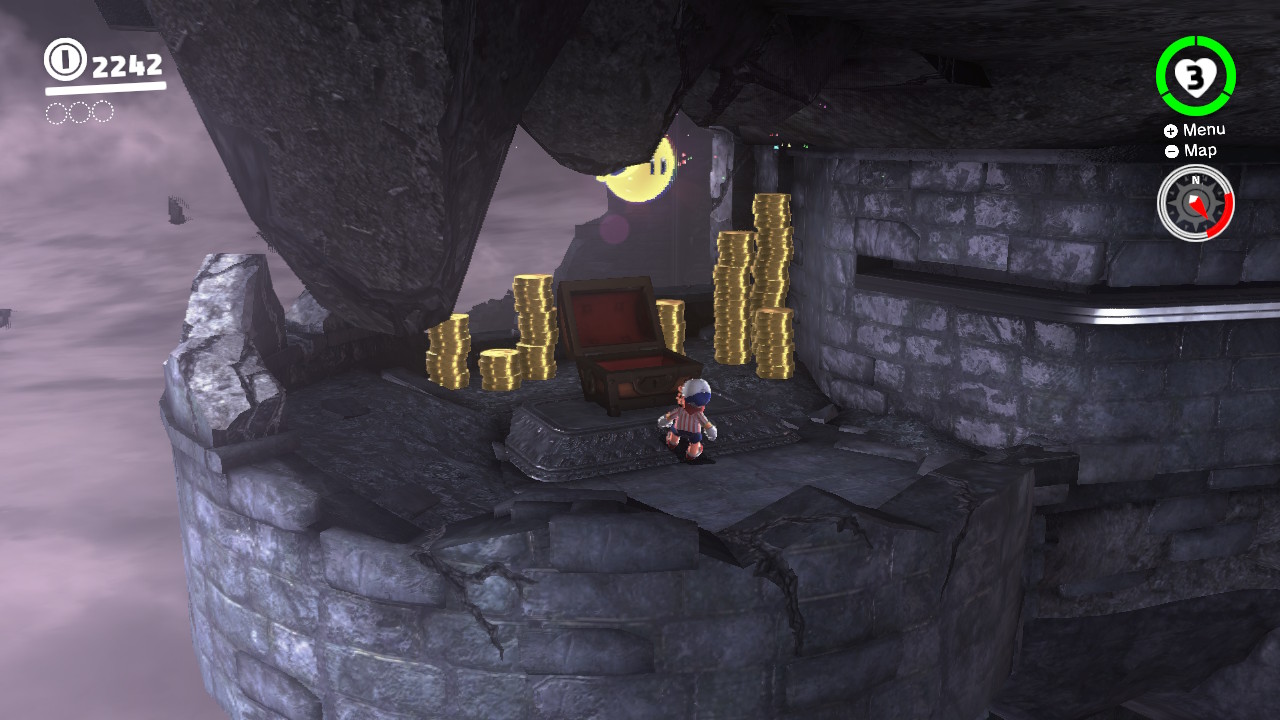
5- Jump up…
6- Shimmy across and the Moon is inside the treasure chest!
13 –
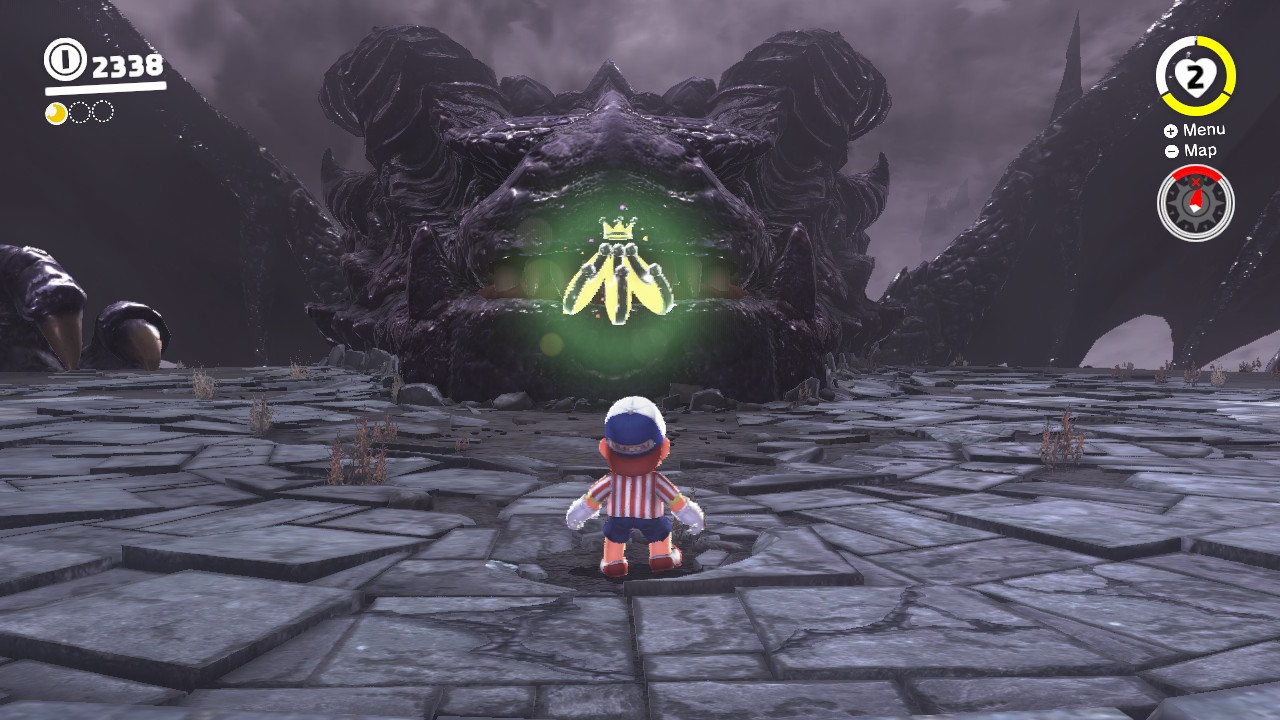
14 – Snow Kingdom Timer Challenge 2

Location-

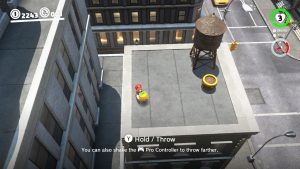
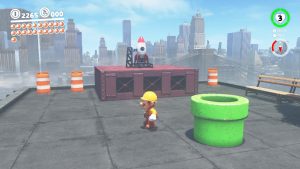
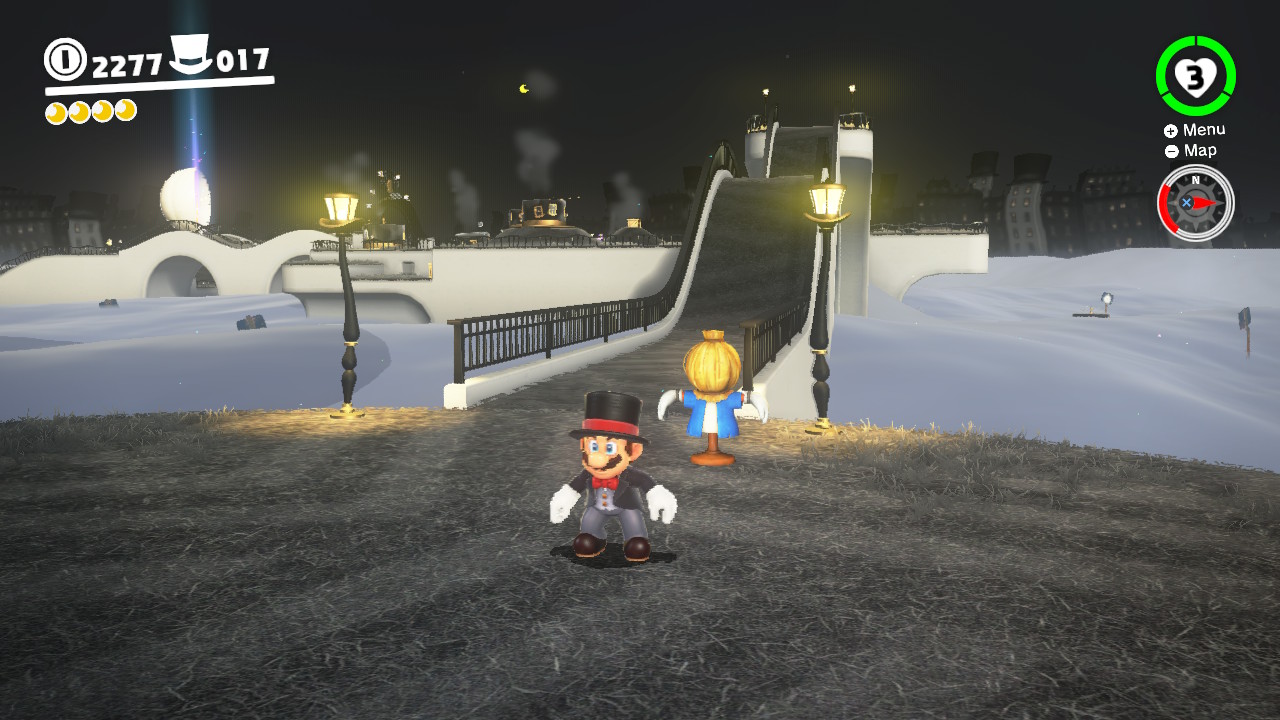
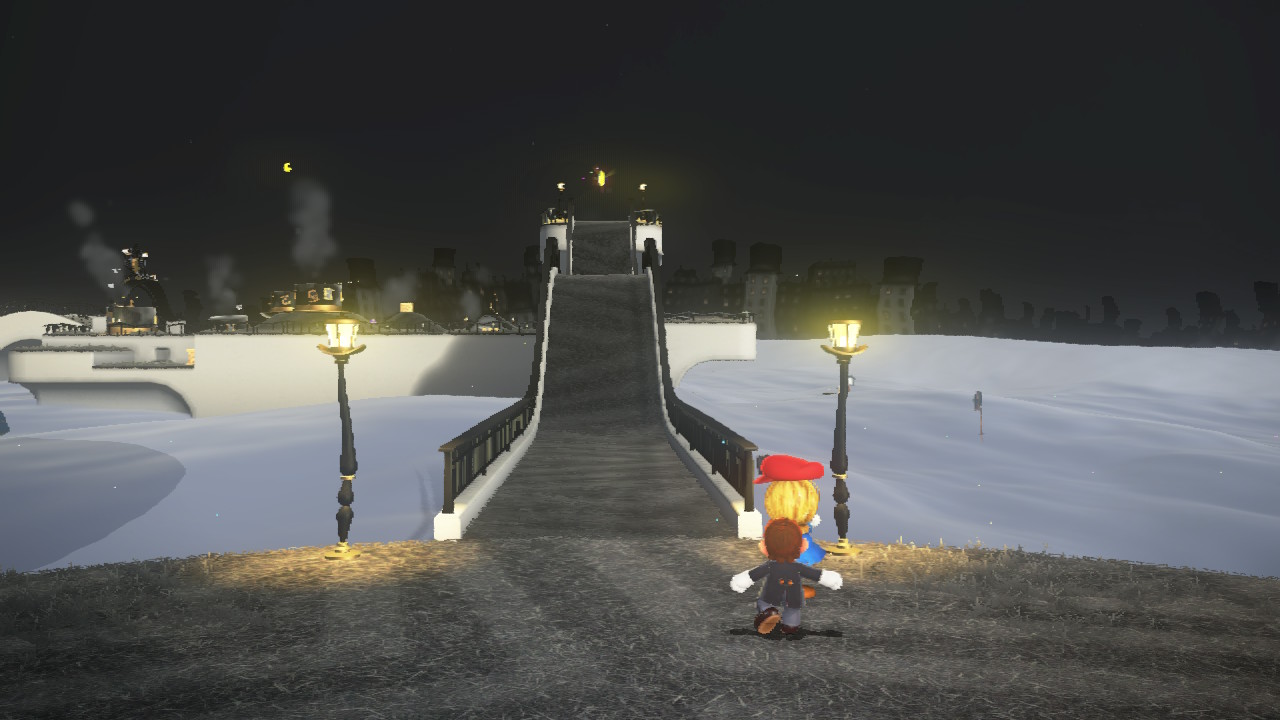
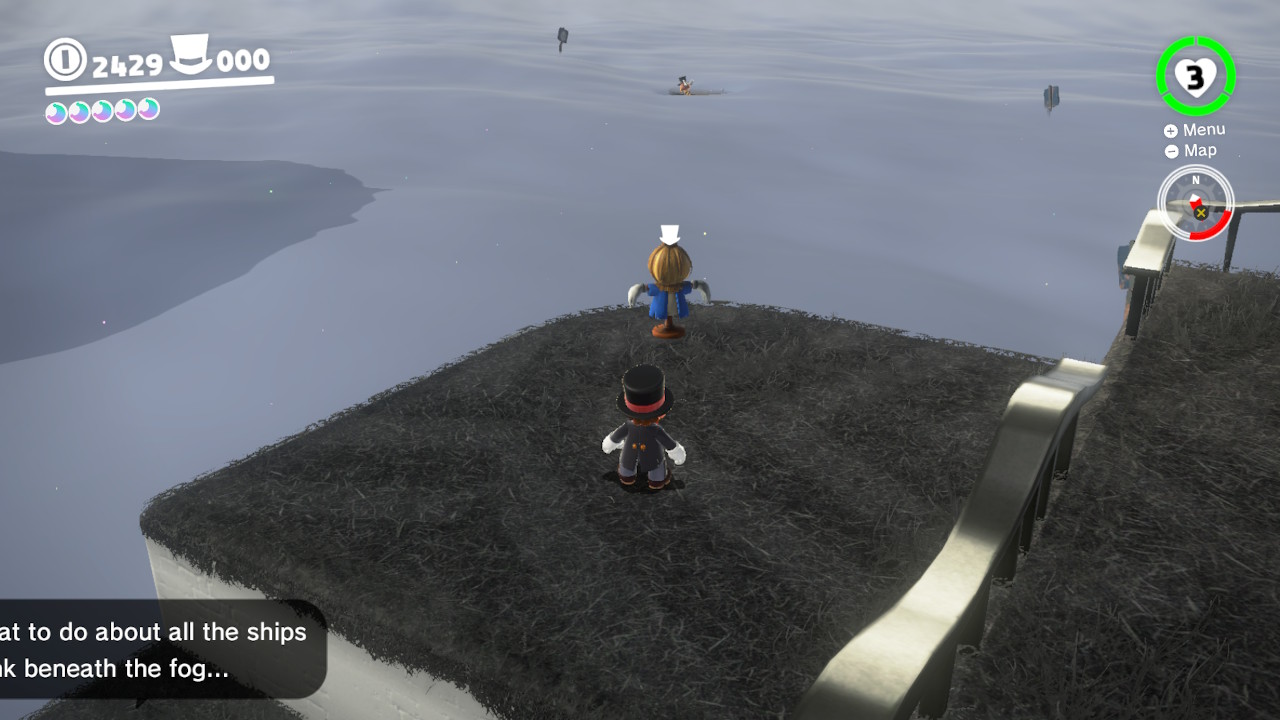
1- Underneath the archway there is a scarecrow…

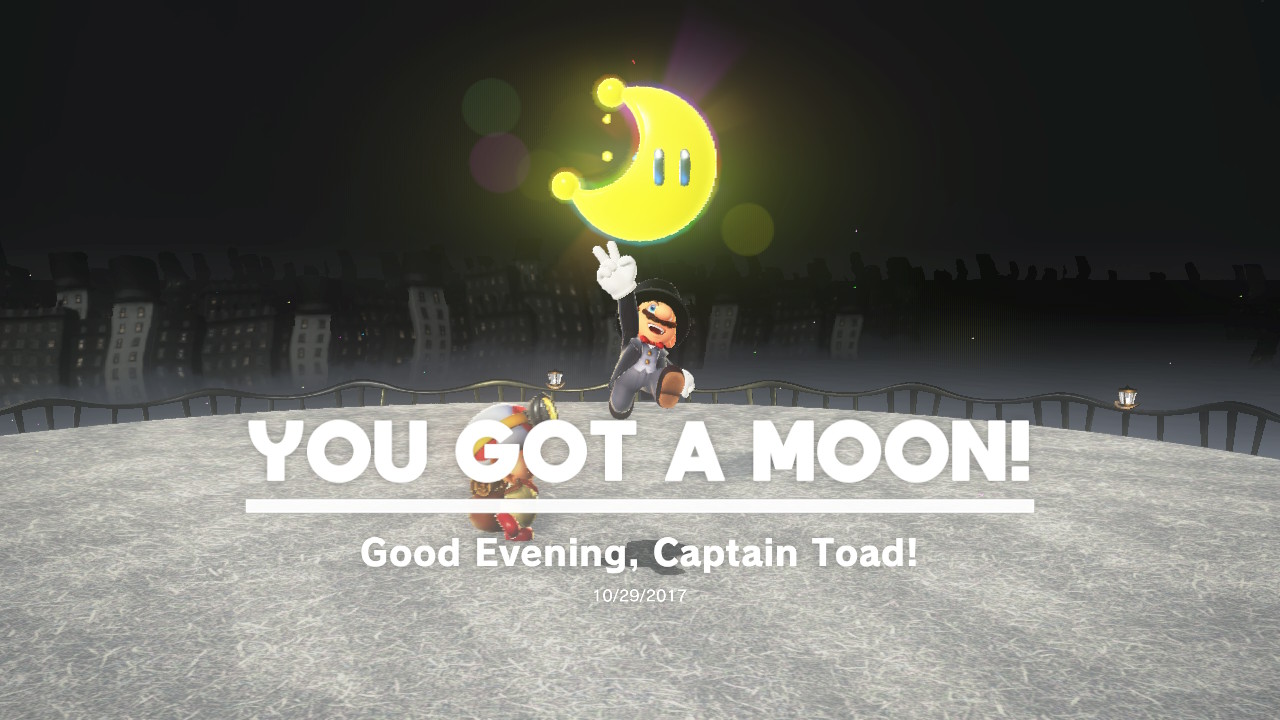
2- Throw Cappy at it and the obsticle course will appear, reach the Moon in time!!
15 – Moon Shards in the Snow

Location –

1- Collect all five moon shards for the Power Moon to appear, here’s the first one…
2- And the second one…

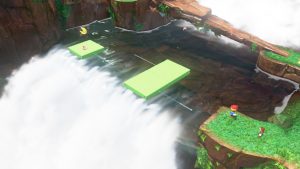
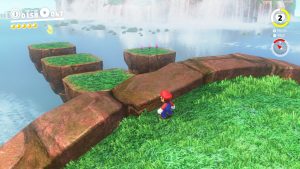
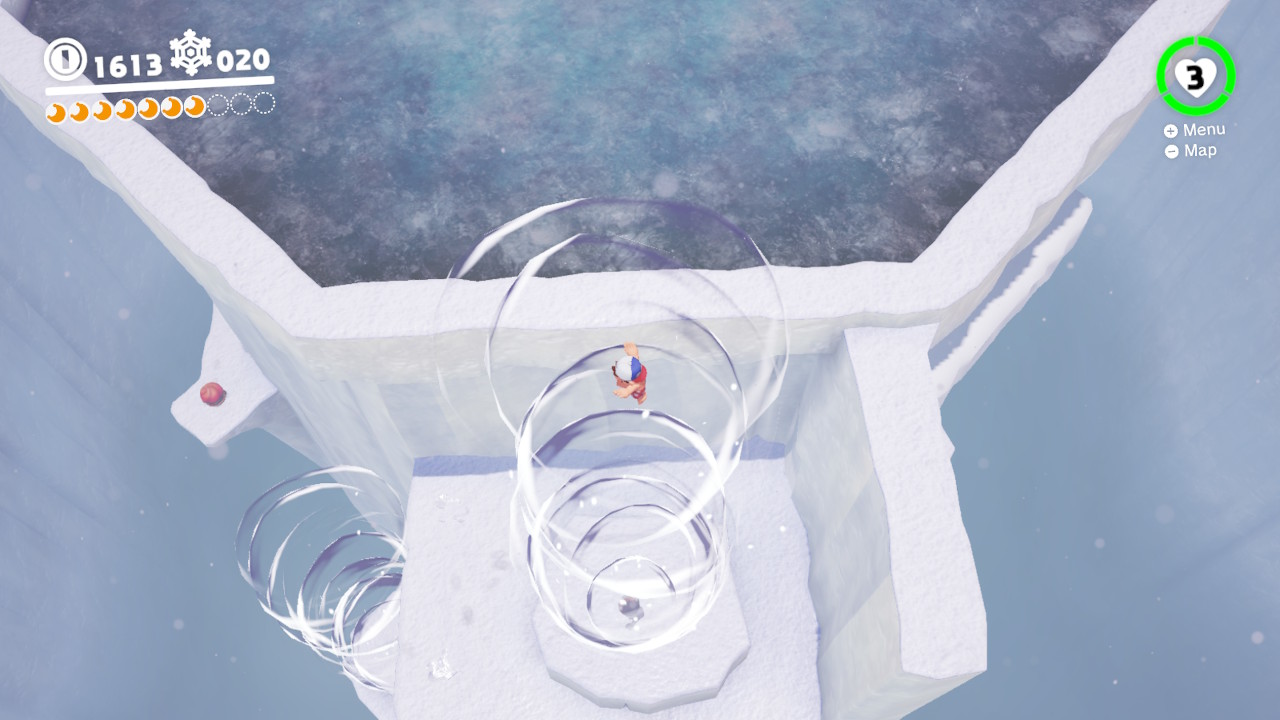
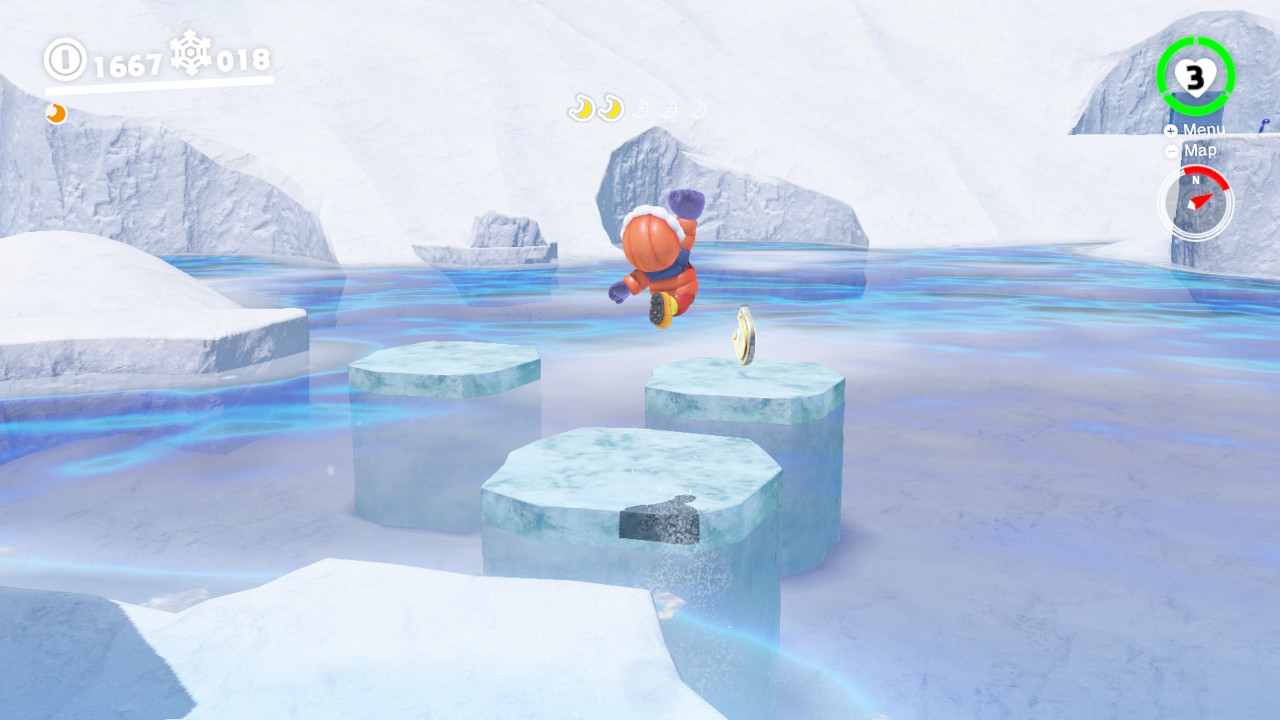
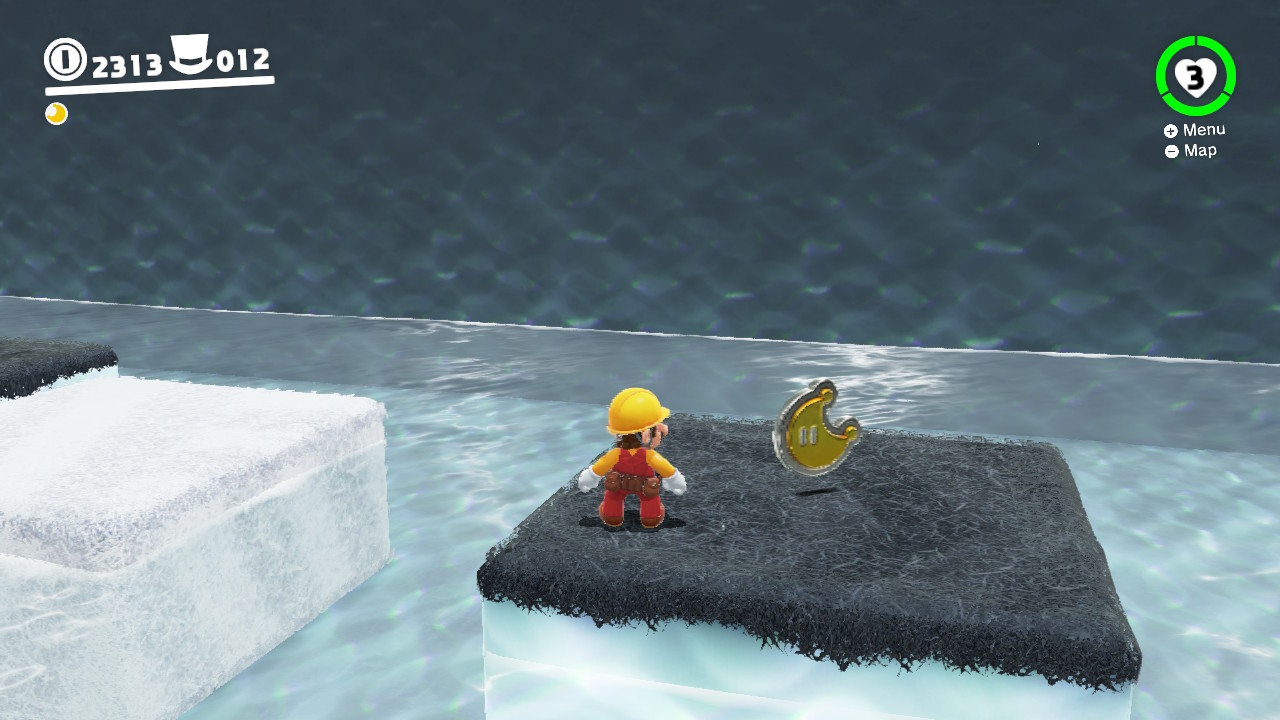
3- The third one is on these floating ice chunks…
4- Don’t get blown away as you snag the fourth one…

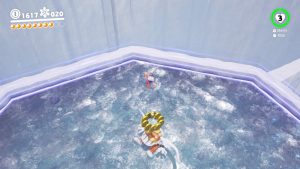
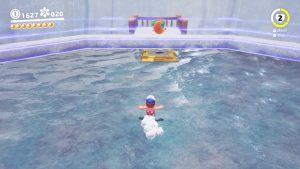
5- Aaaaaand the last one is hiding under the water….

6- And now you have your POWER MOON!!
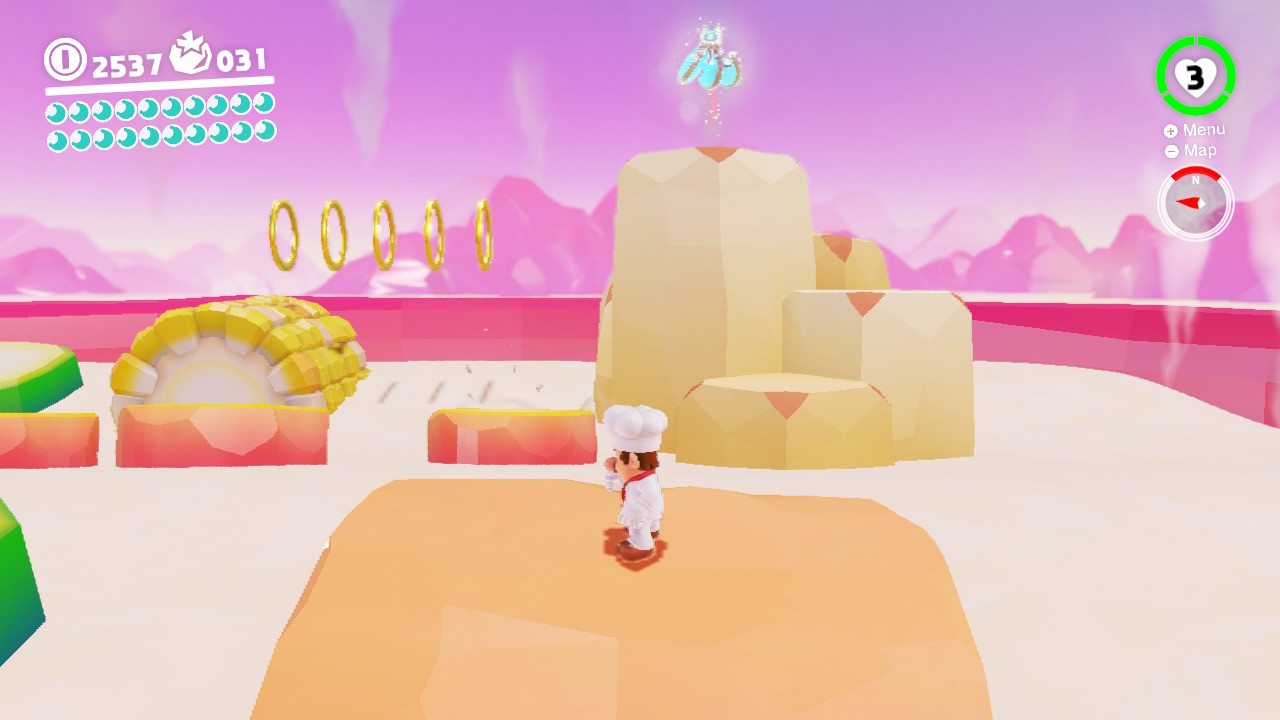
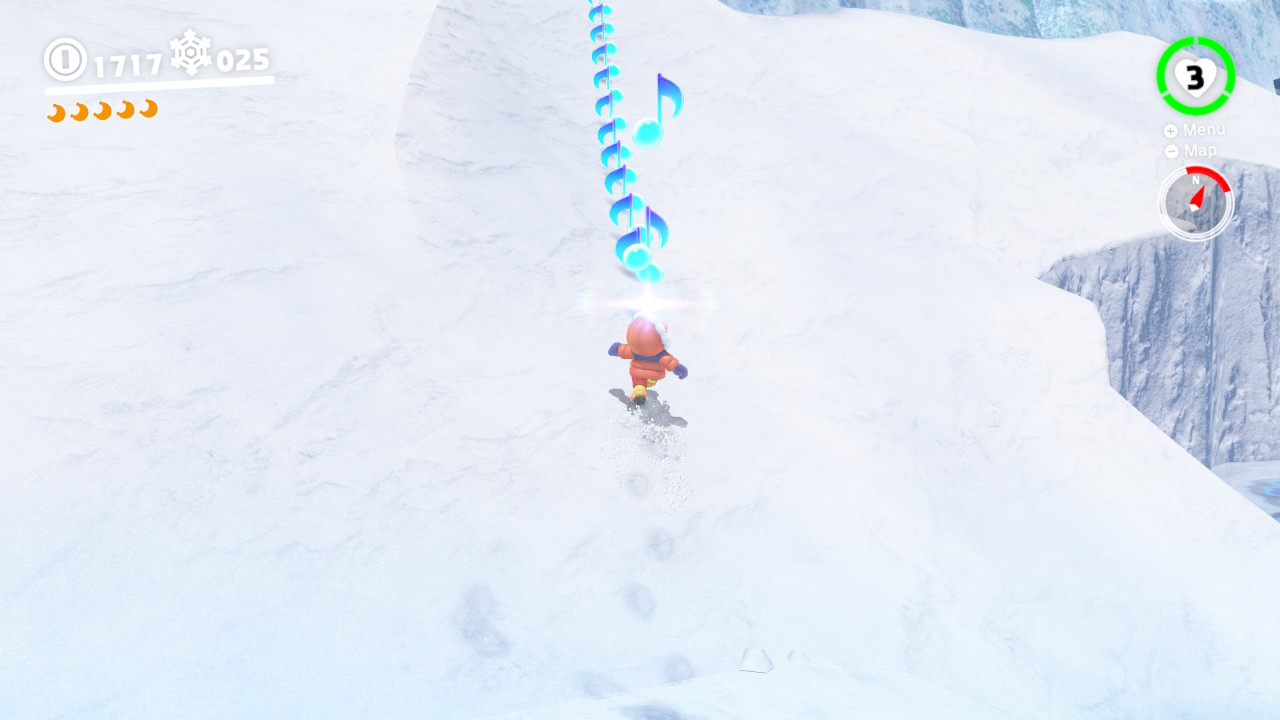
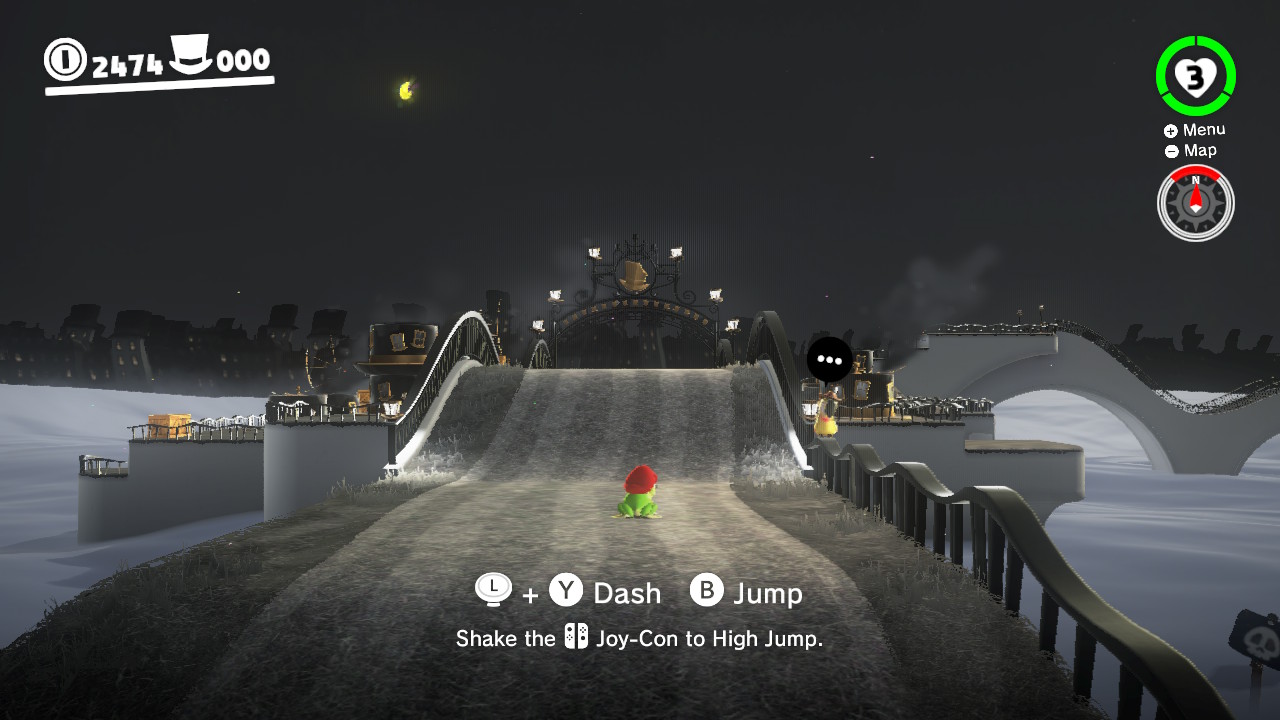
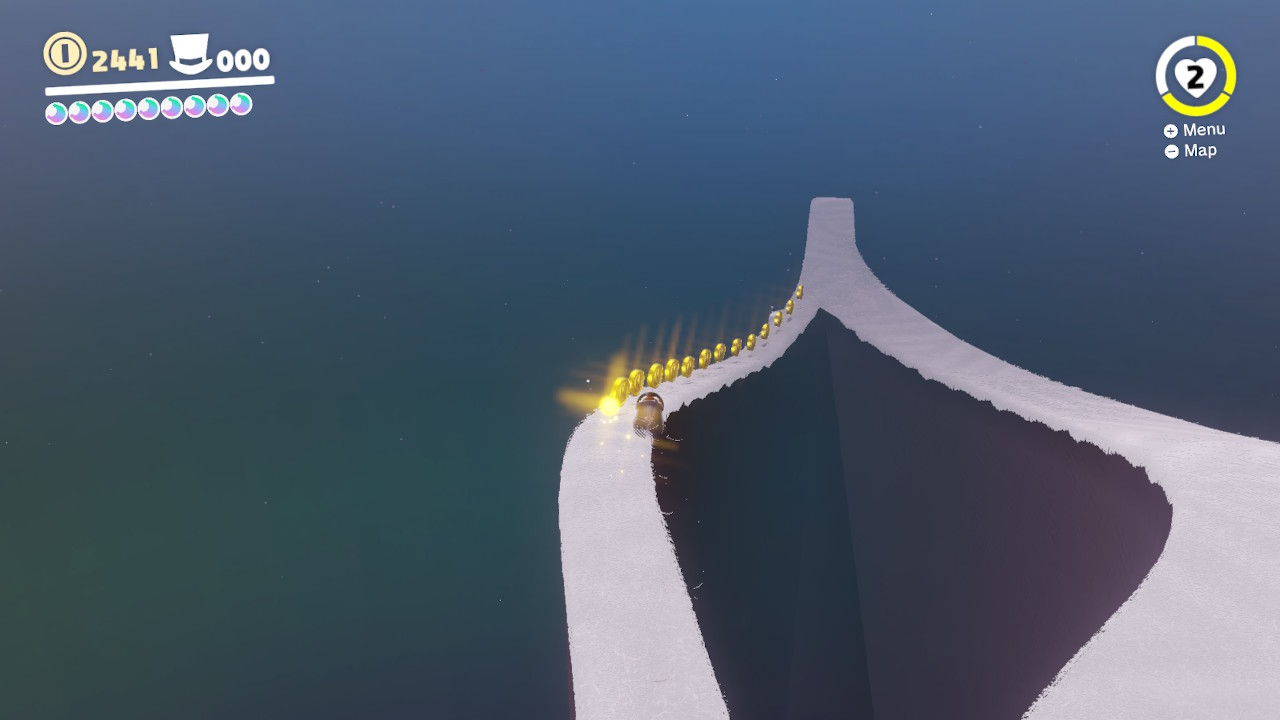
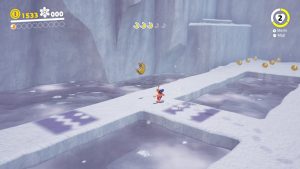
16 – Taking Notes: Snow Path Dash


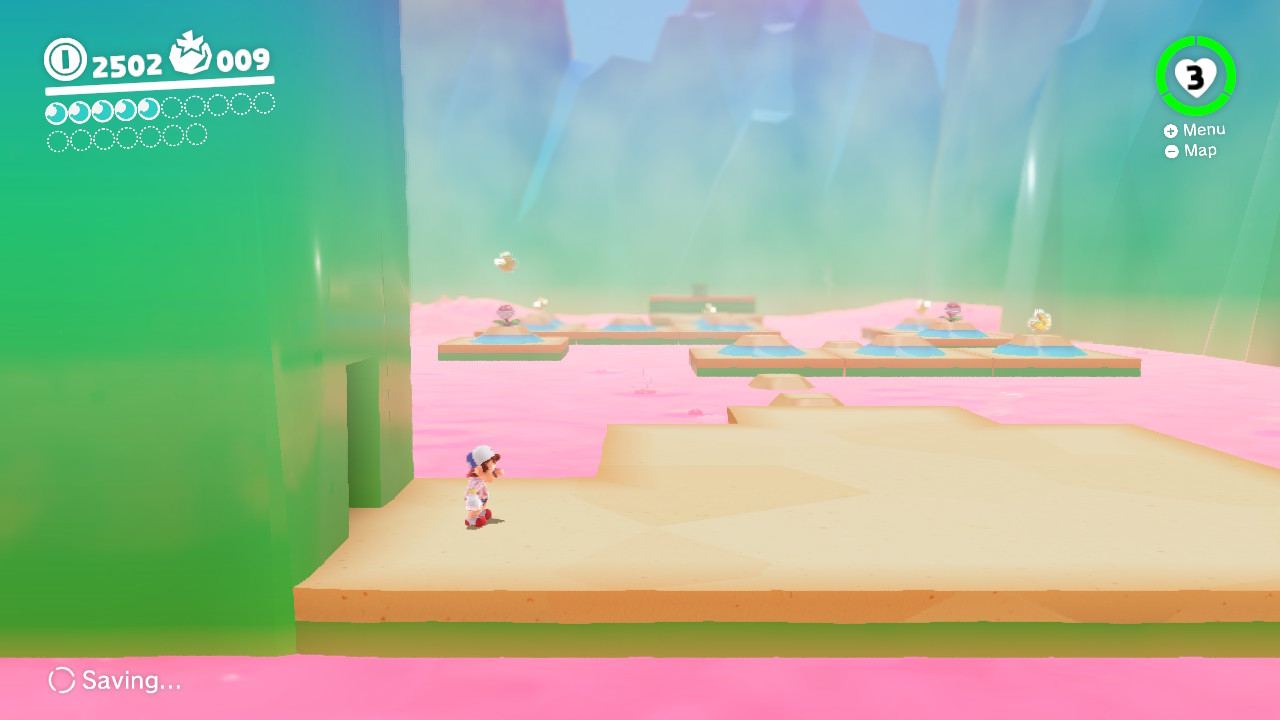
Location-

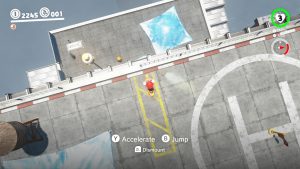
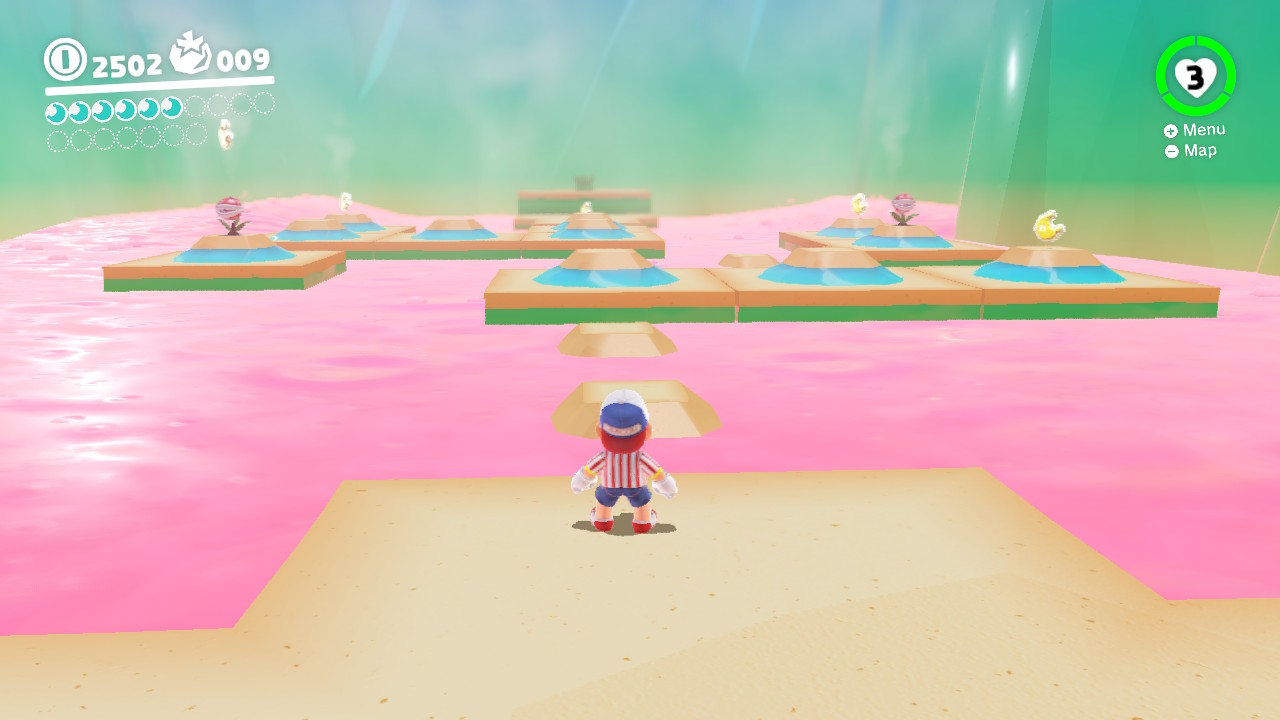
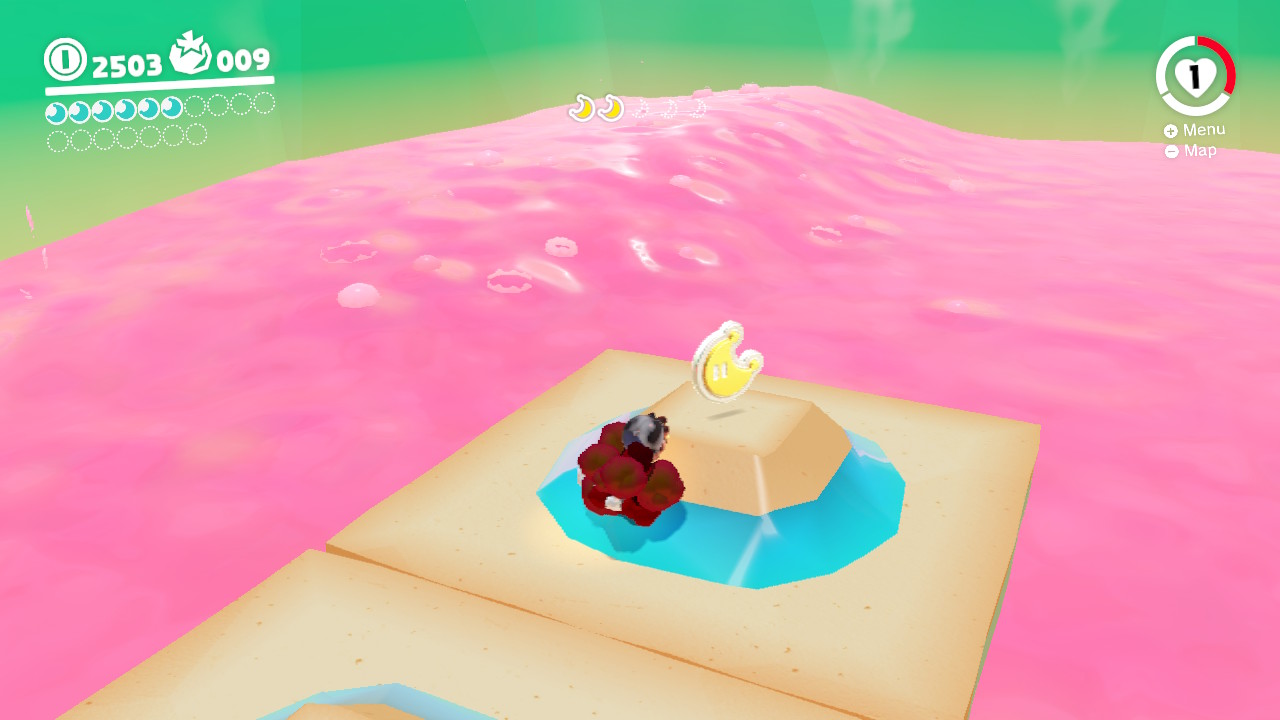
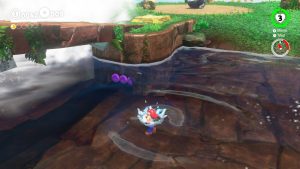
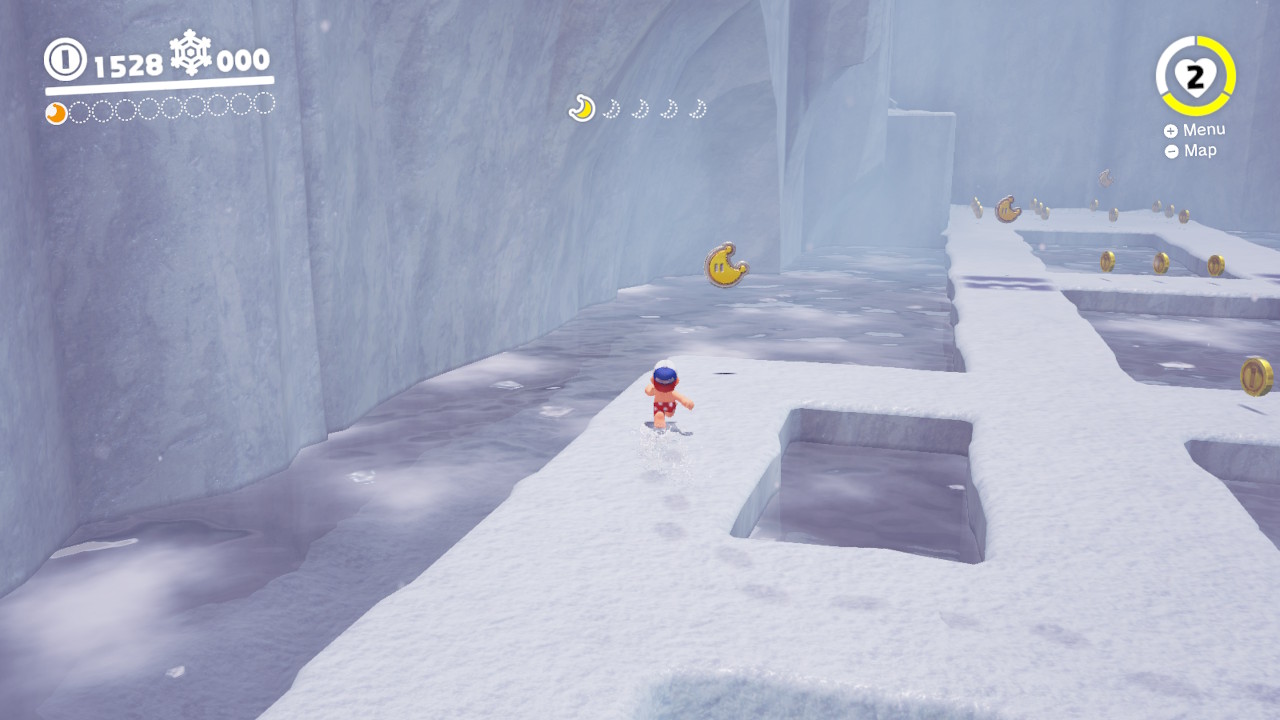
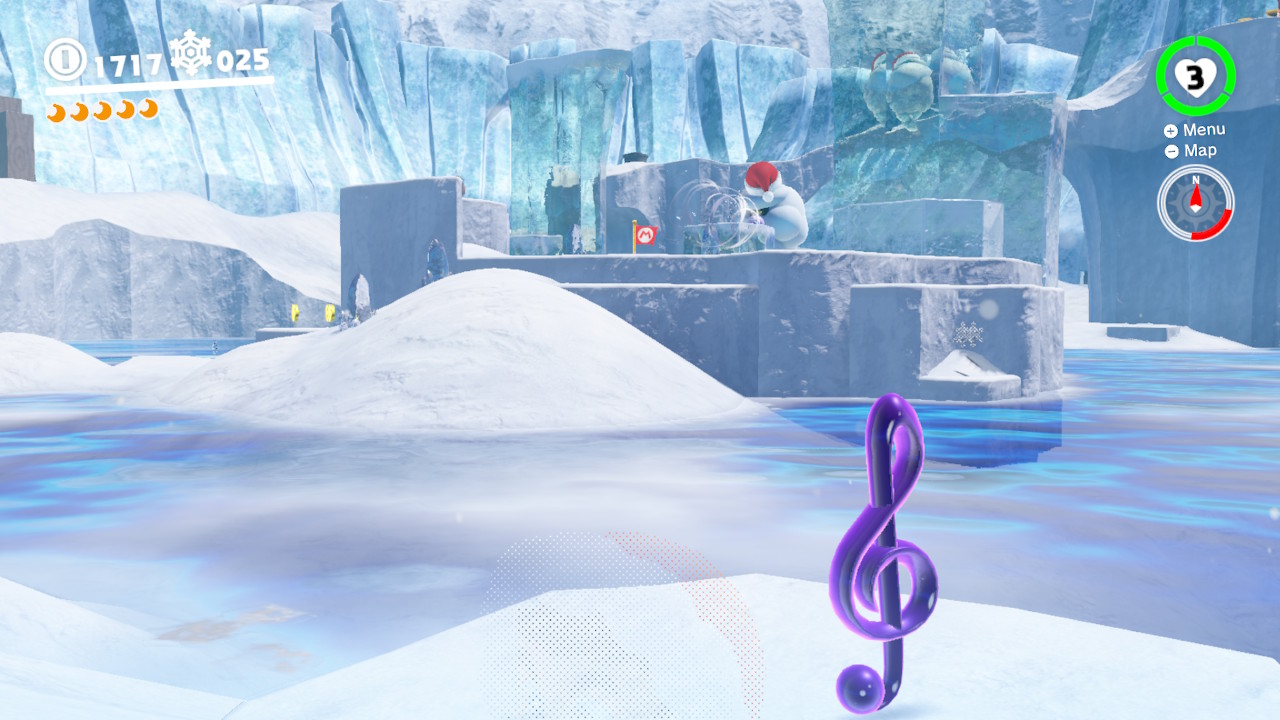
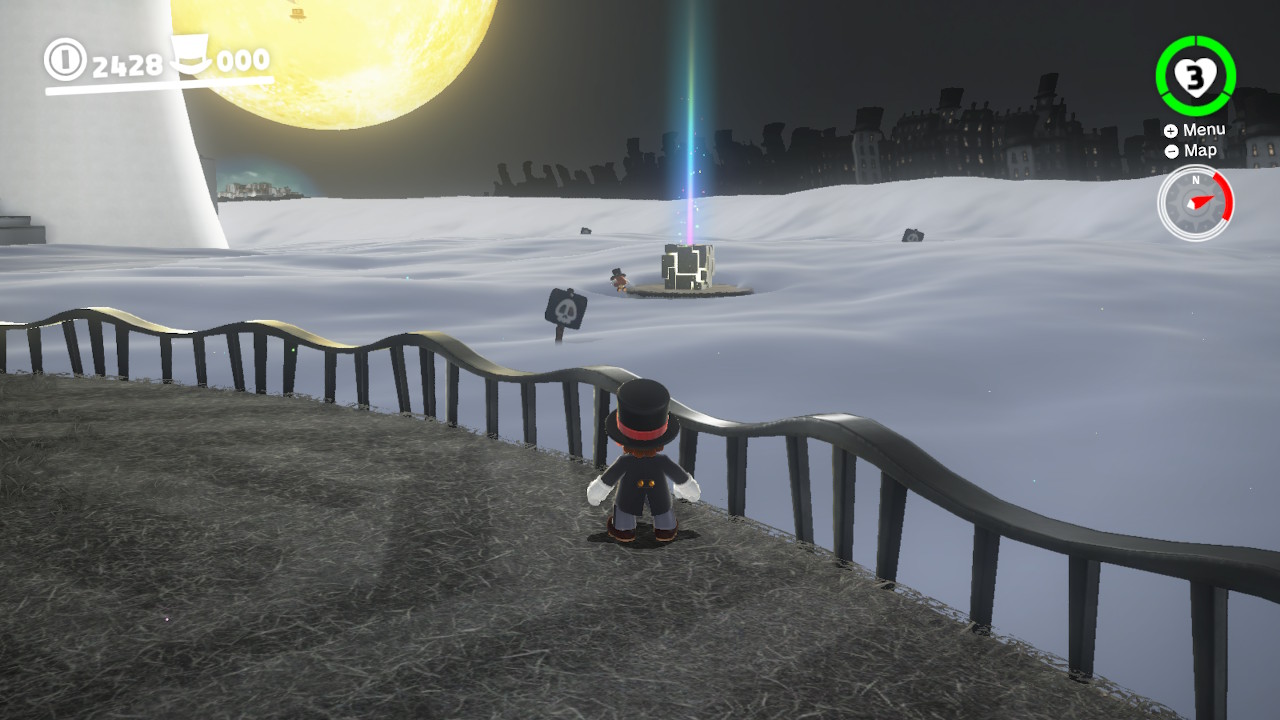
1- On the far side of the waters you will see a music note…

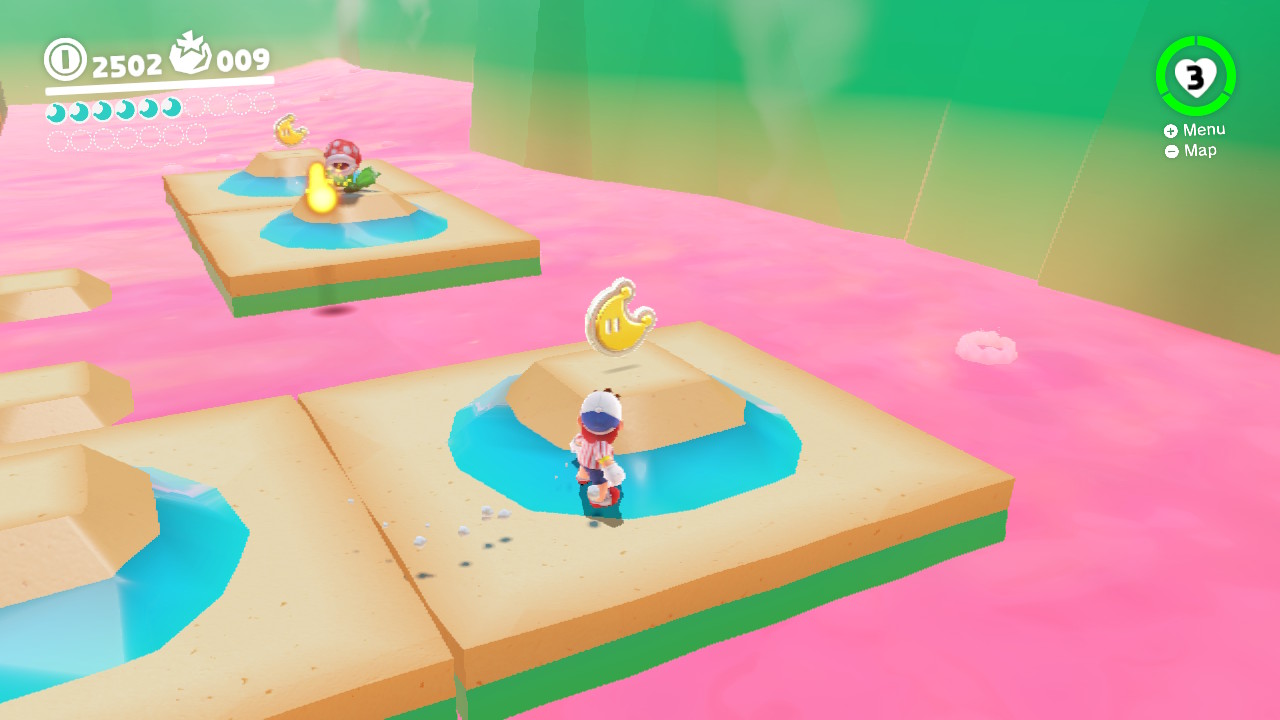
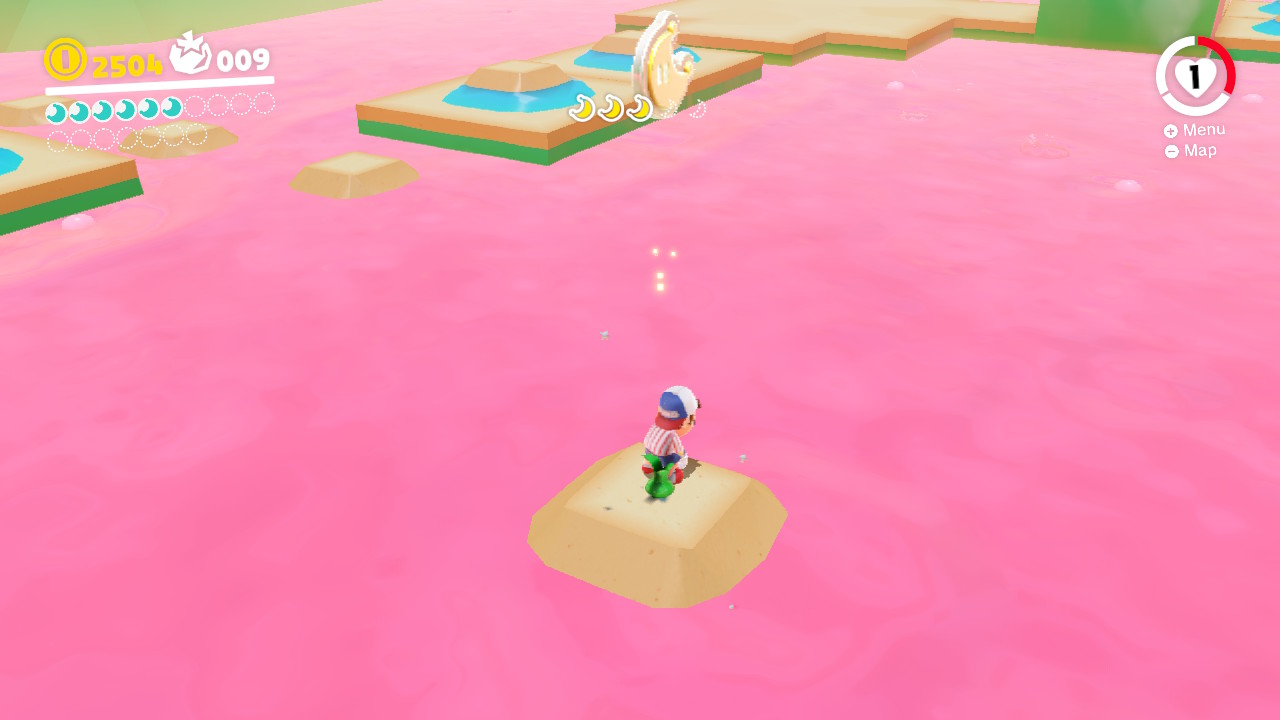
2- Once you touch the music note, a bazillion more will appear…
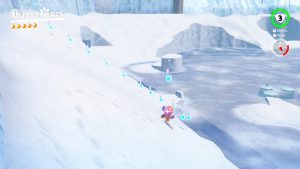
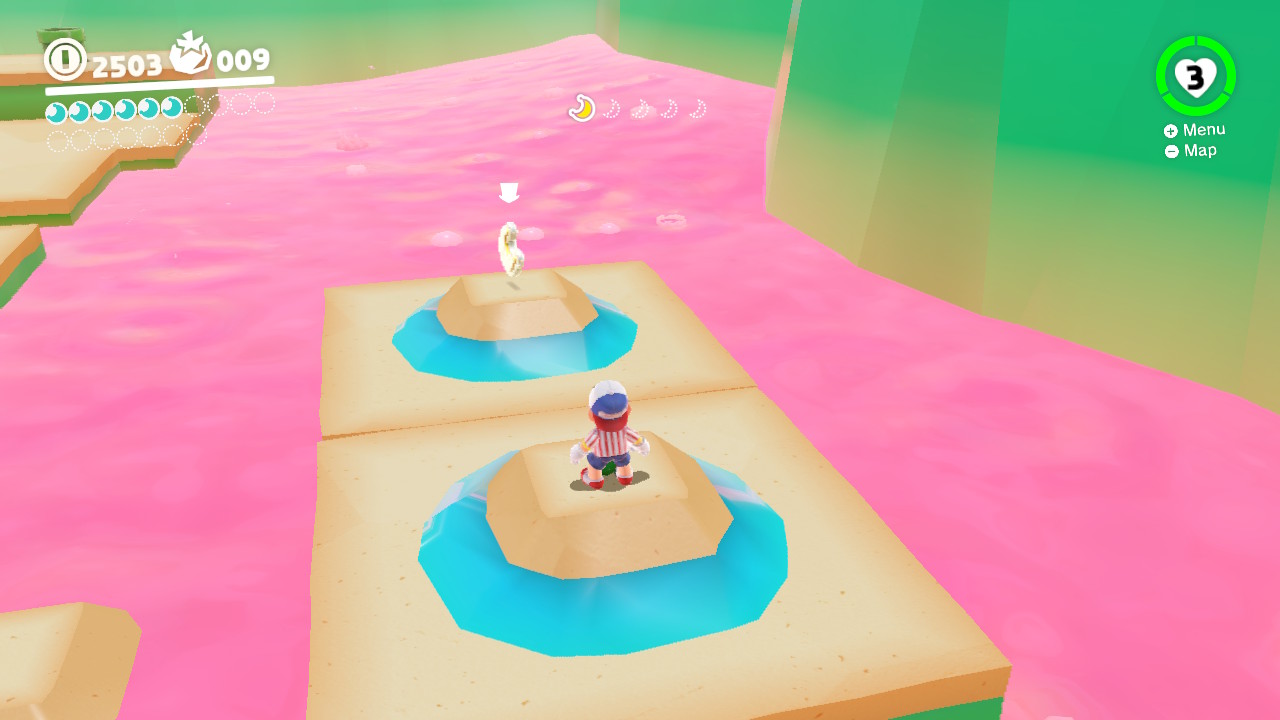
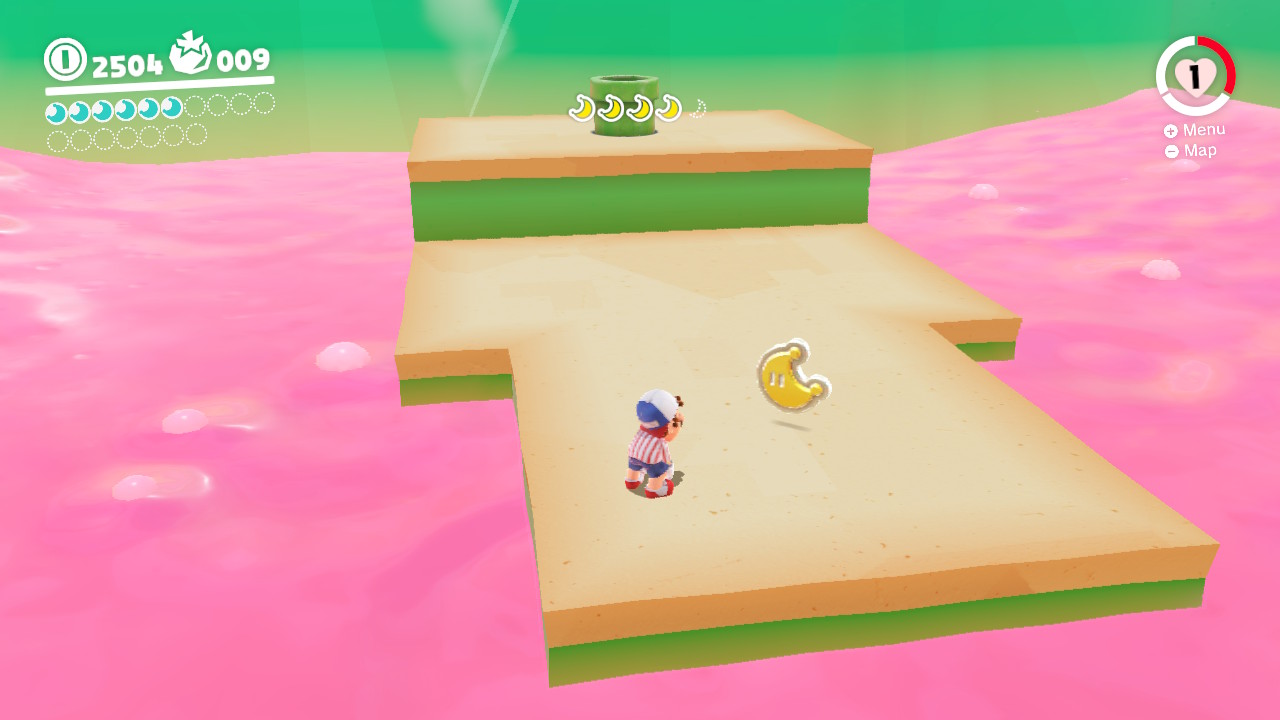
3- A total of three “sets” of music notes will appear, every time you finish one, another set of a dozen or so appear…

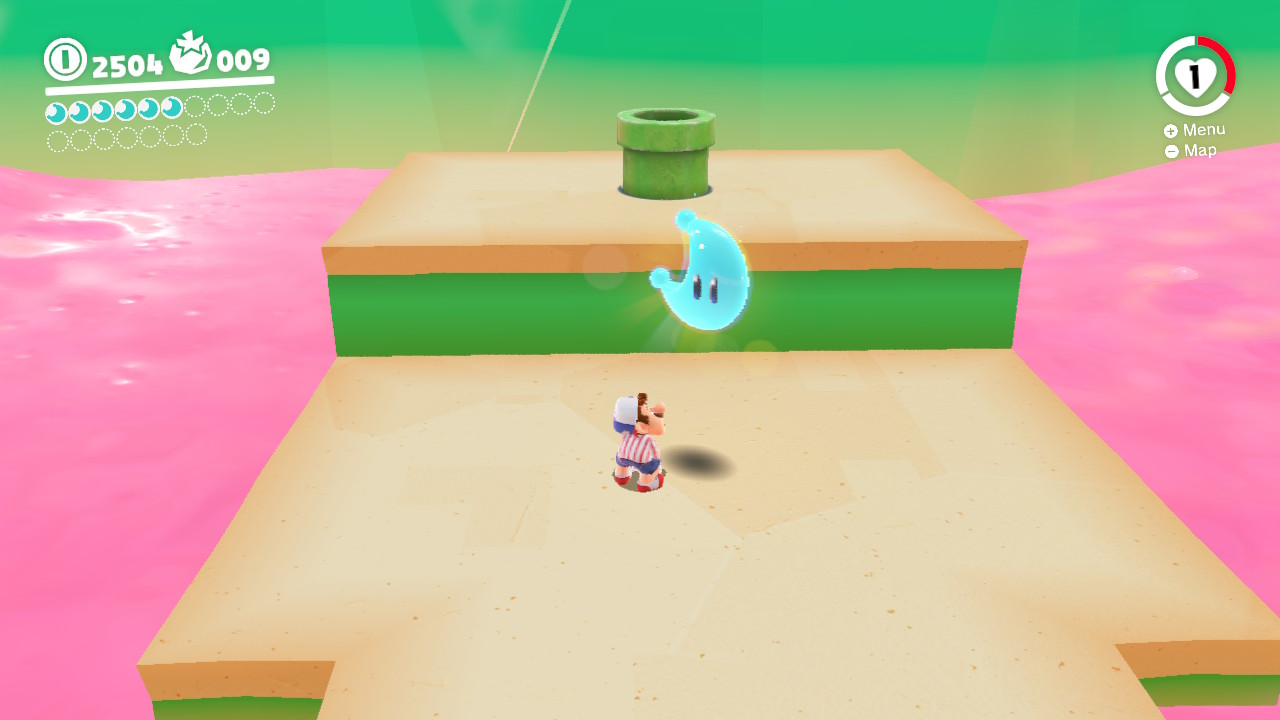
4- Get them all in time and the Power Moon is yours! Music to my ears!
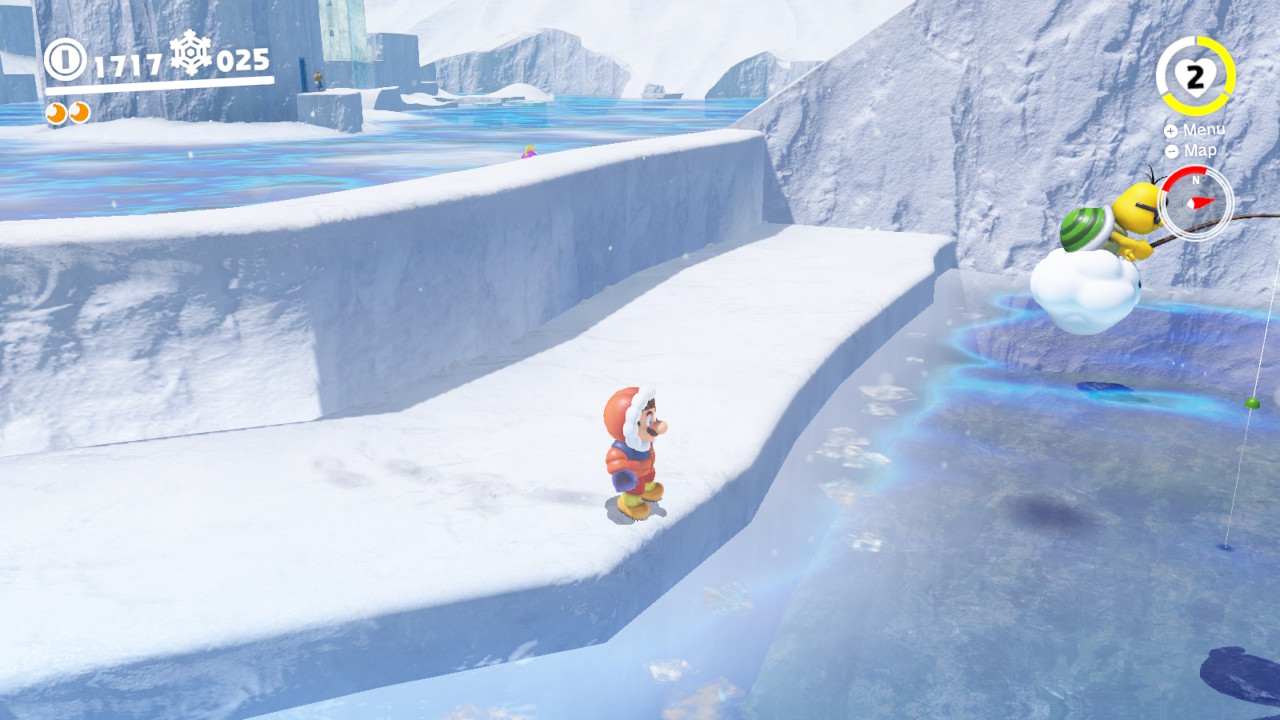
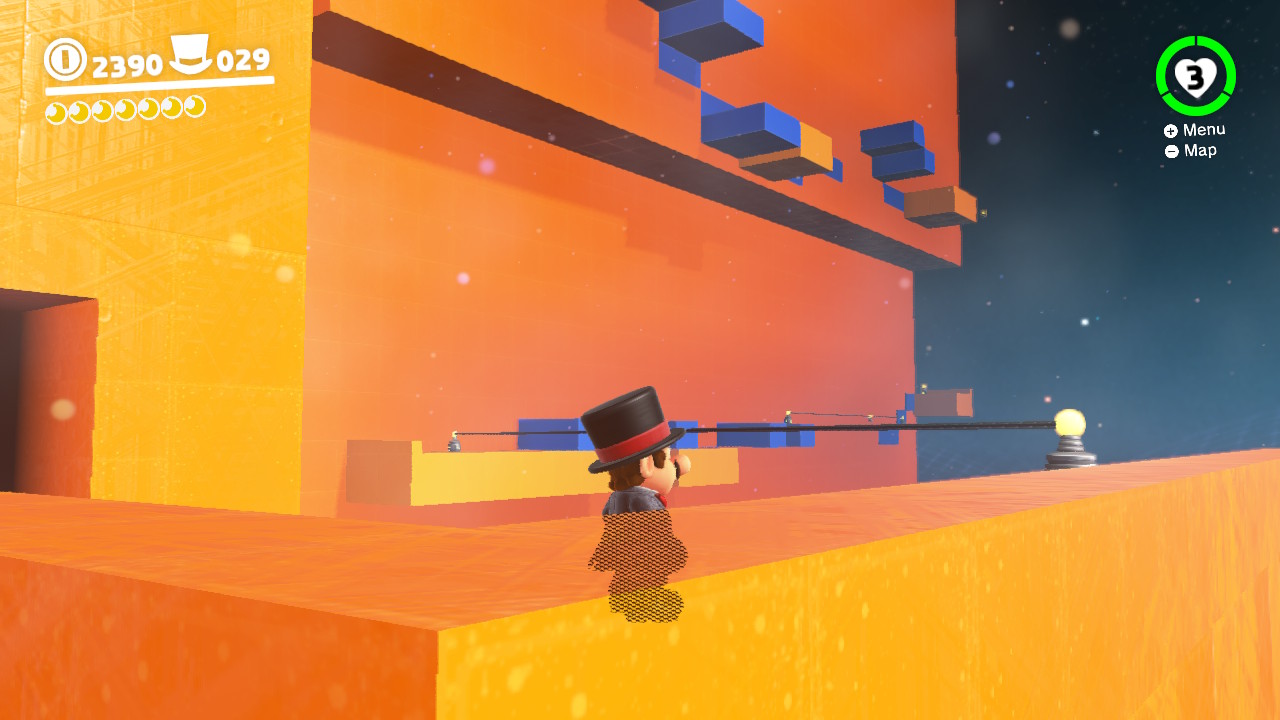
17 – Fishing in the Glacier!


Location-

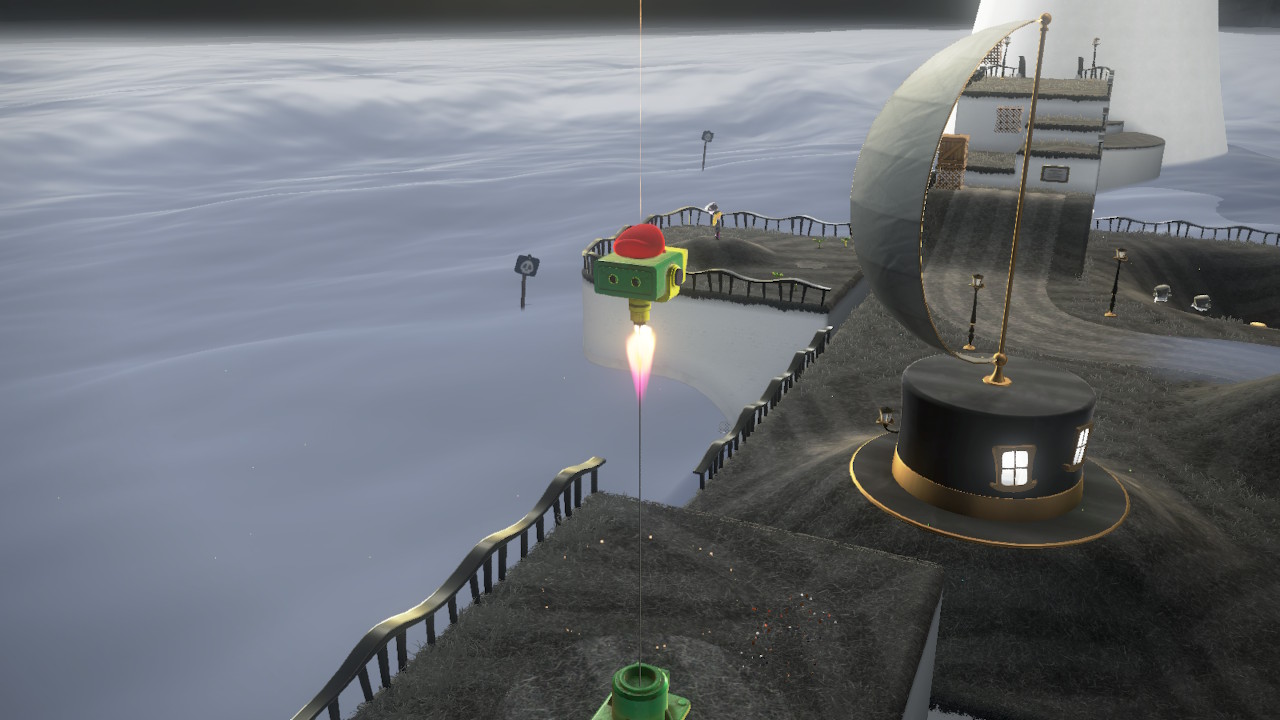
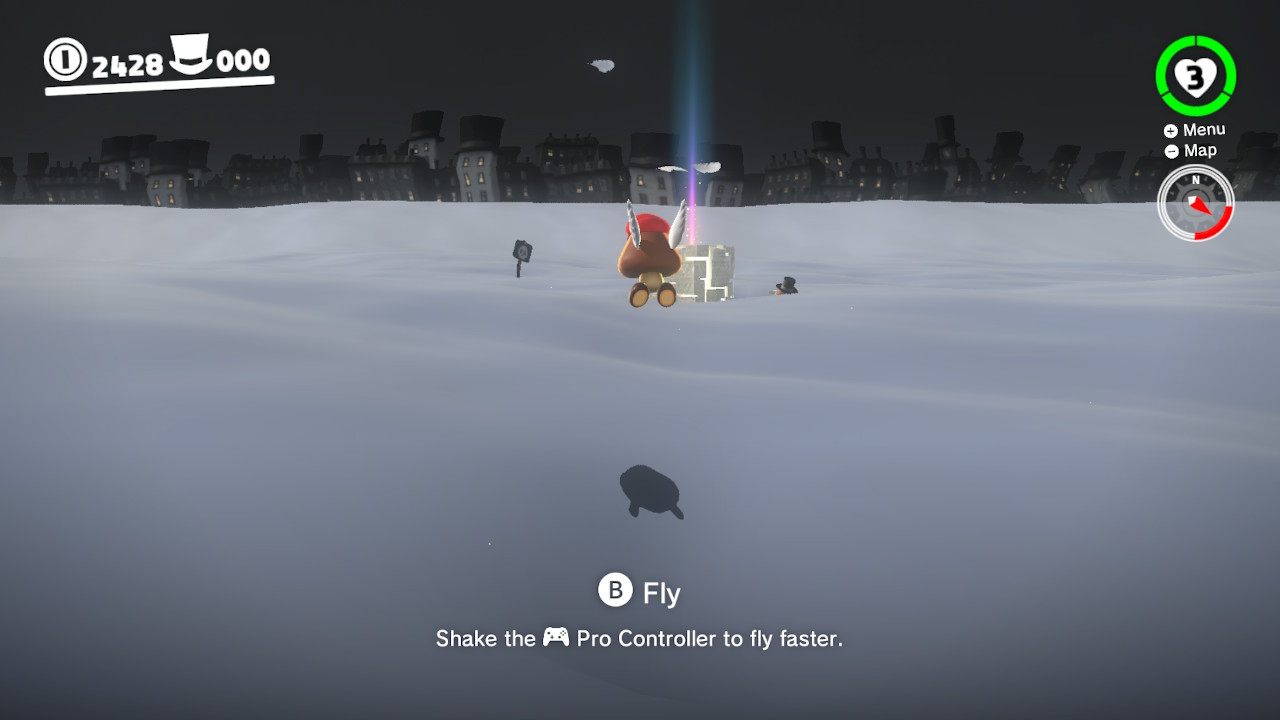
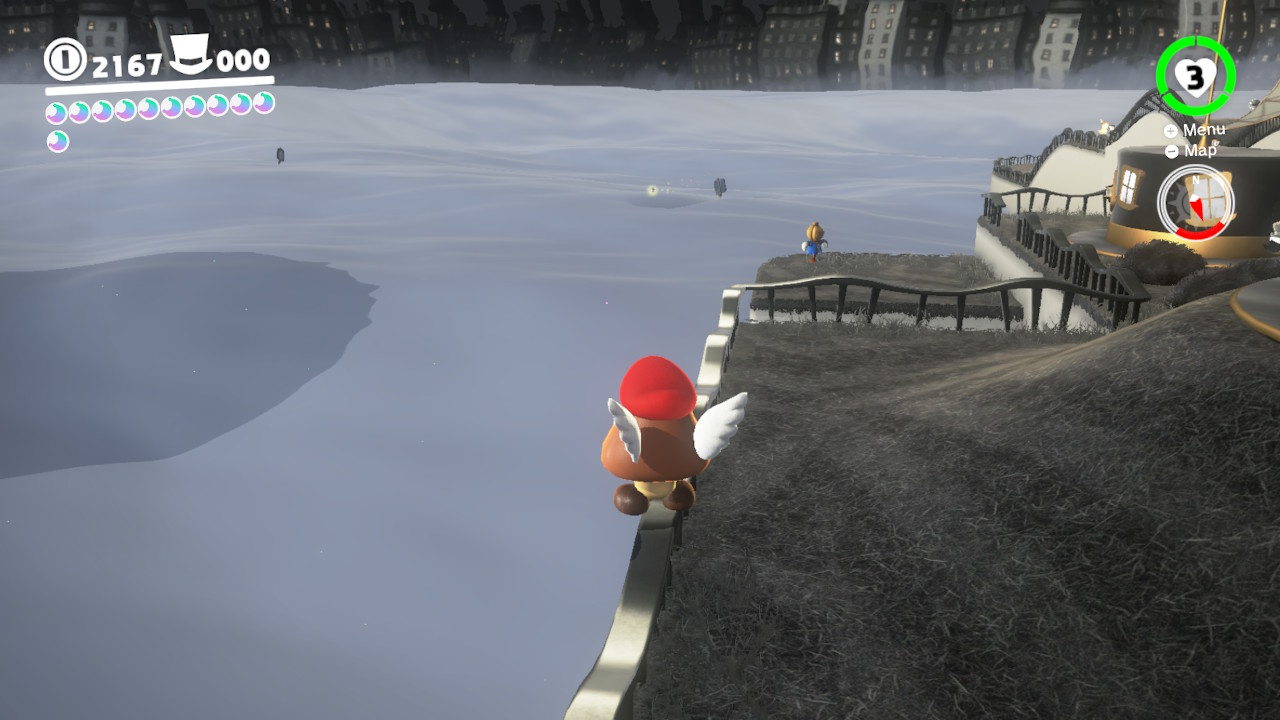
1- On the near right side of the waters you will see a Lakitu fishing in a small pond of water…
2- Take control of the Lakitu and catch the BIGGEST fish silhouette…
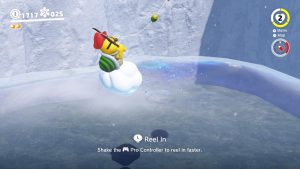
3- Reel him in with you feel the rumbles…
4- You got a Power Moon! What a crazy fish tale!
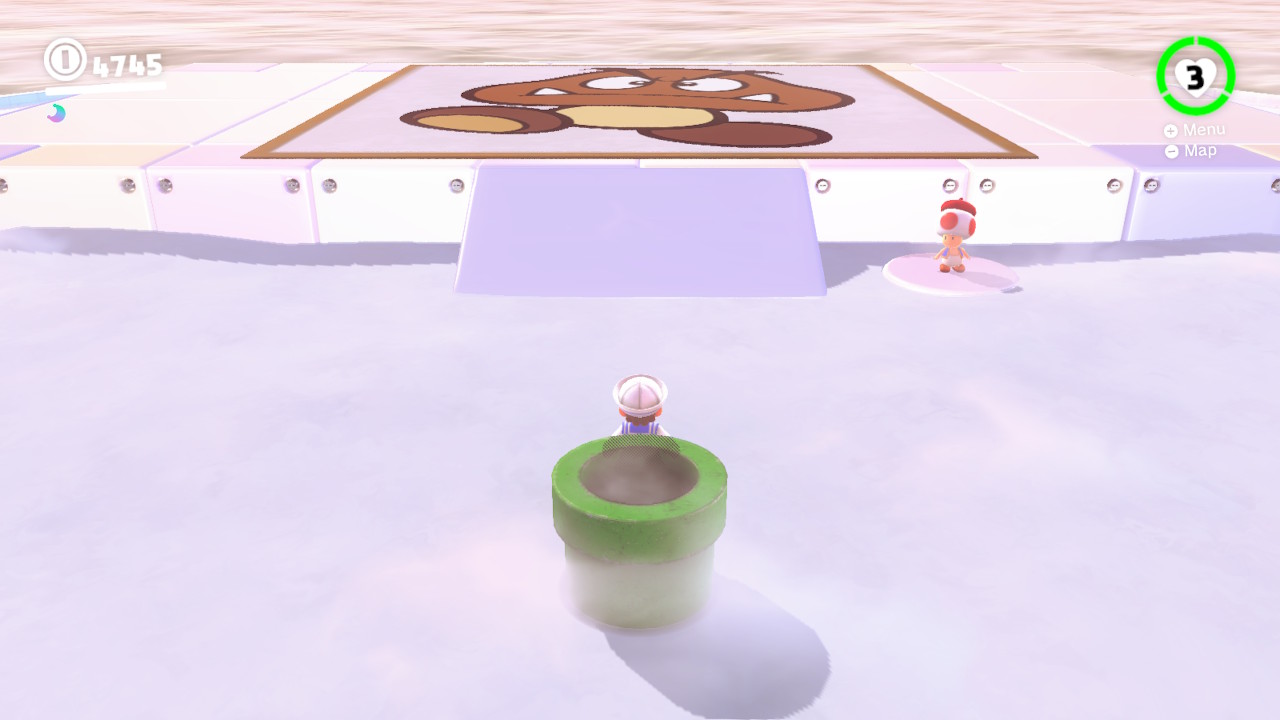
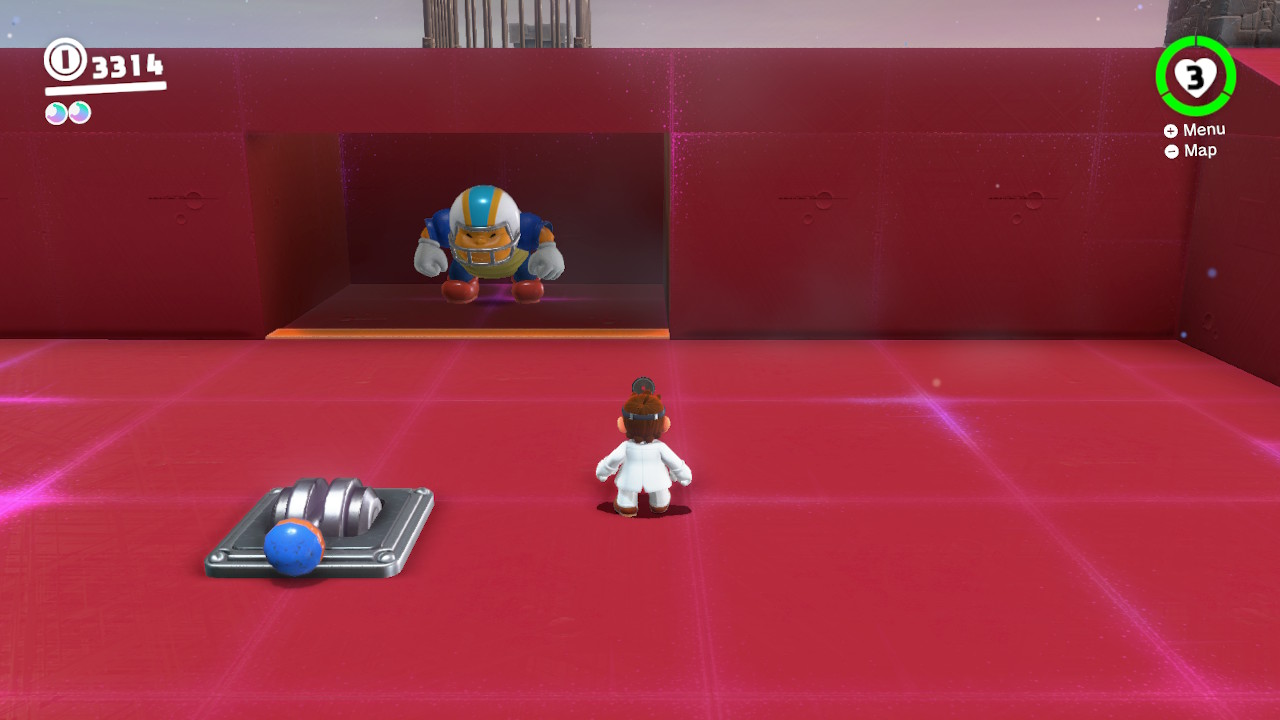
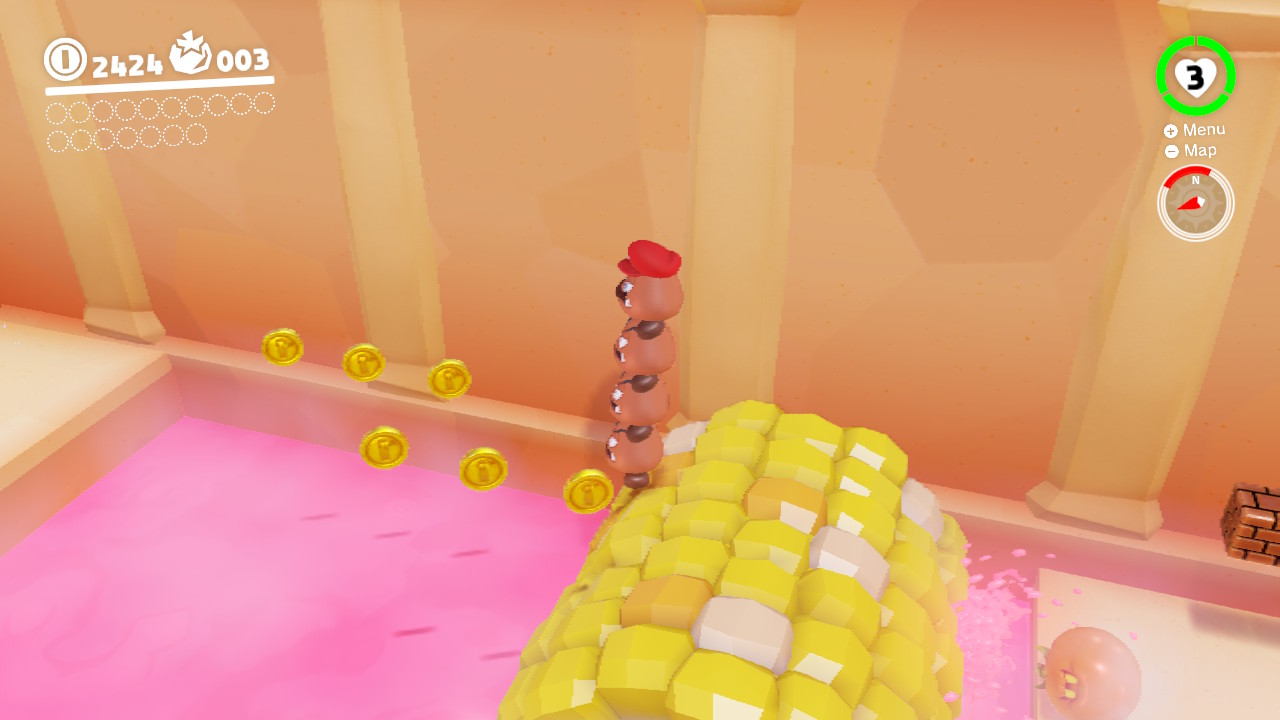
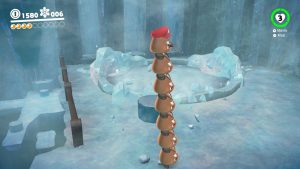
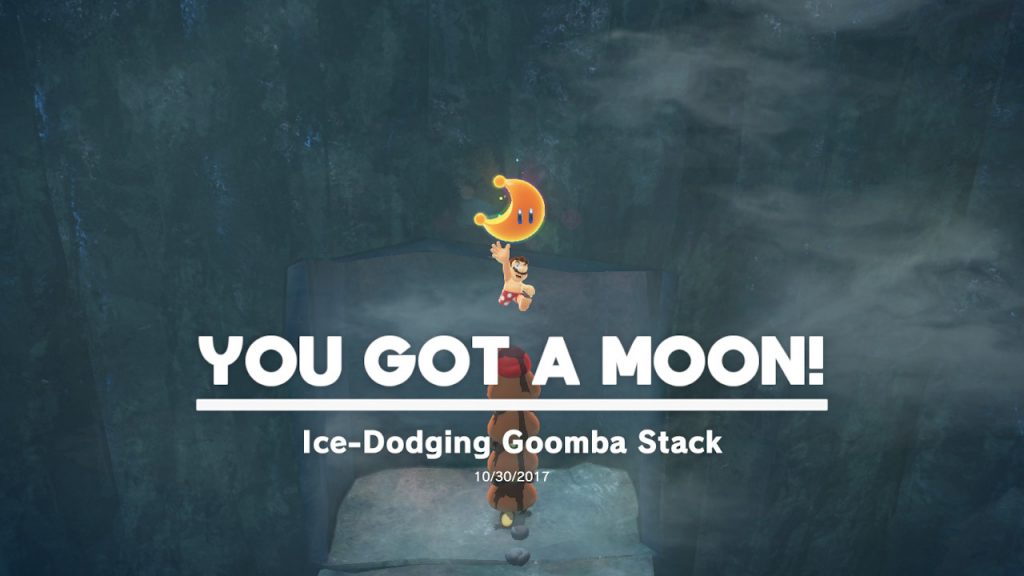
18 – Ice-Dodging Goomba Stack
Location- Shiveria Town/Icicle Cavern
1- From the middle of Shiveria Town, go down the pathway shown in the image above…
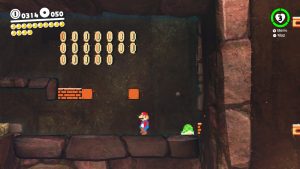
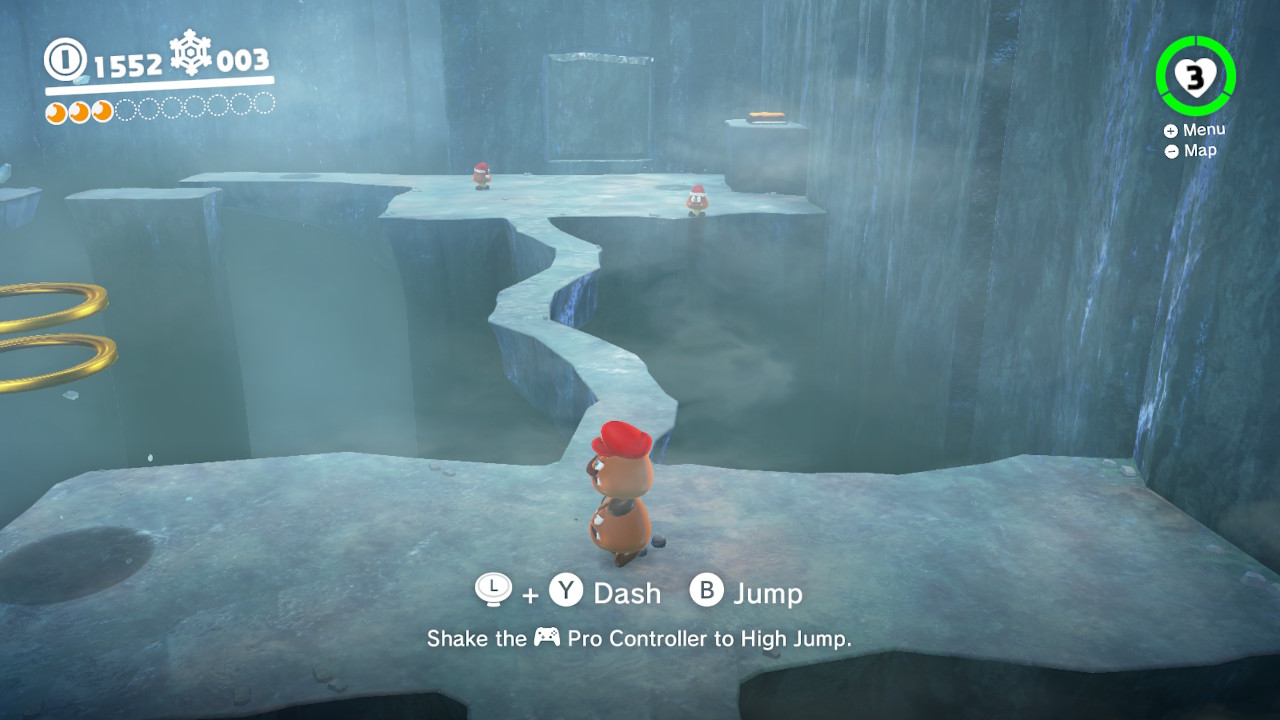
2- This will take you to the Icicle Cavern…
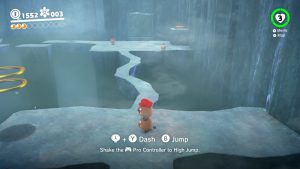
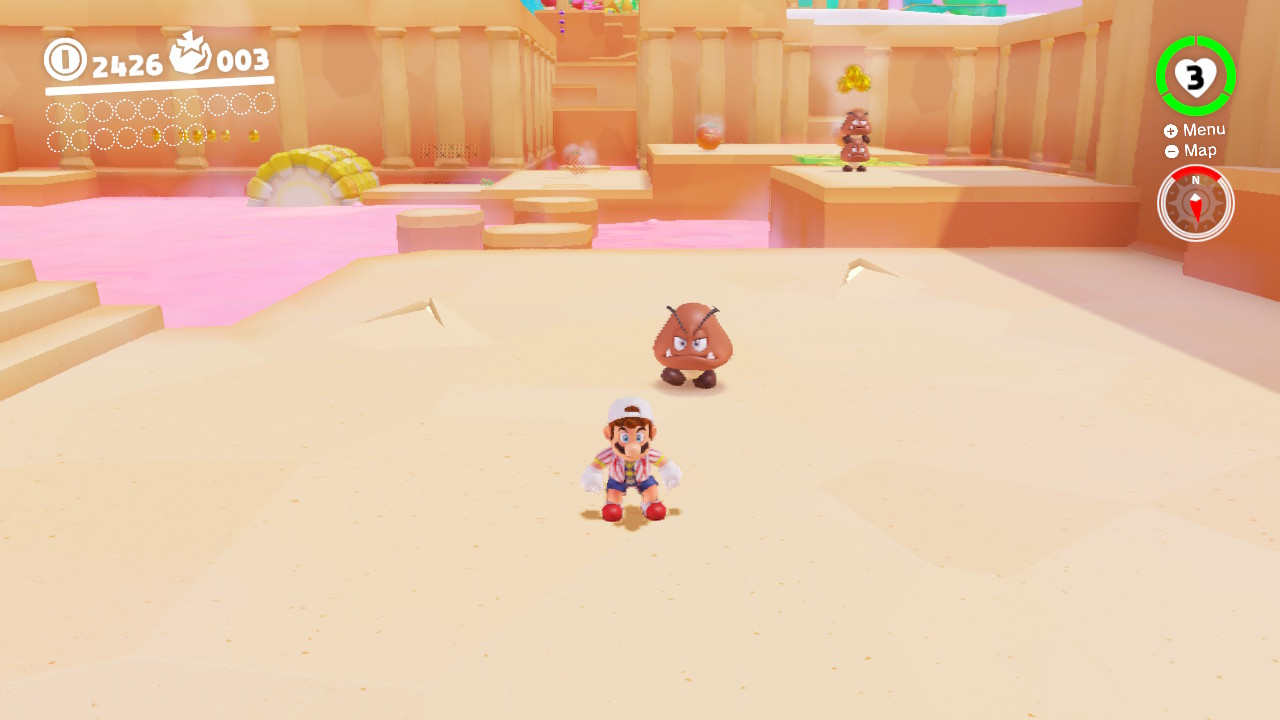
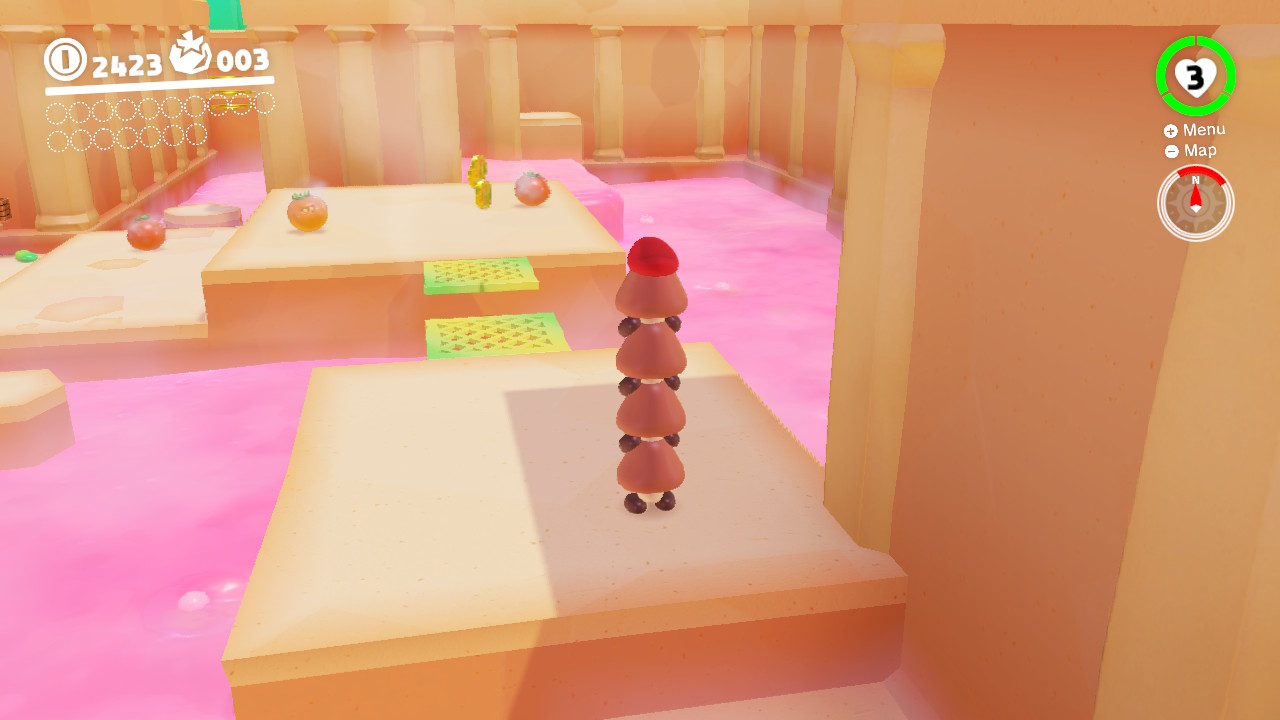
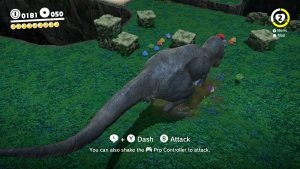
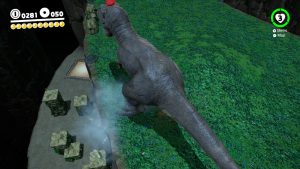
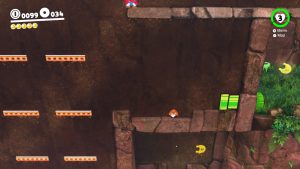
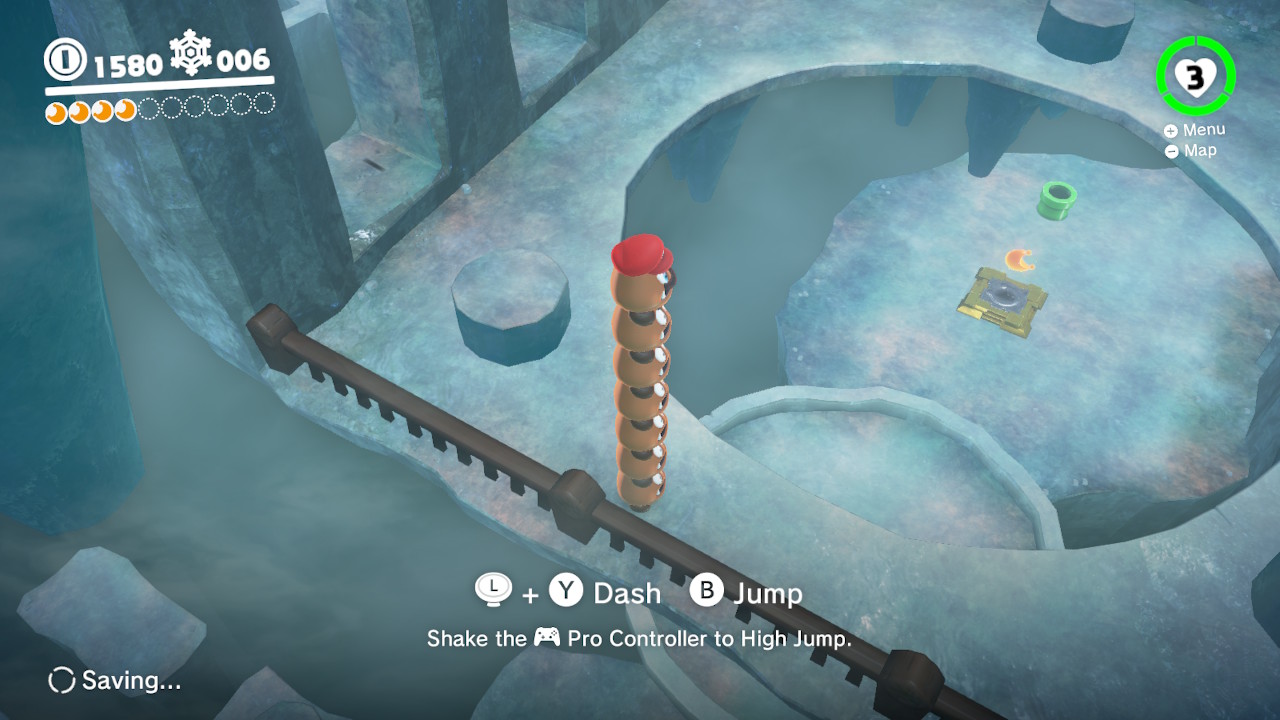
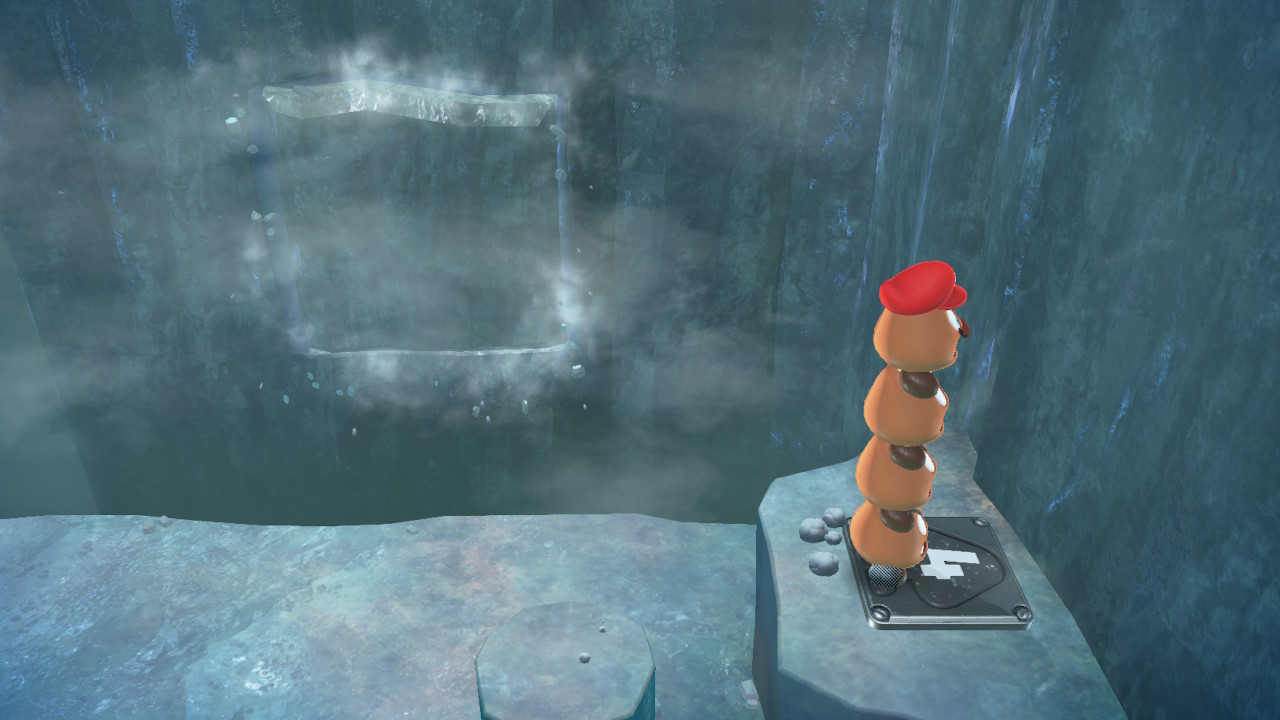
3- Once inside, capture a Goomba and start stacking…

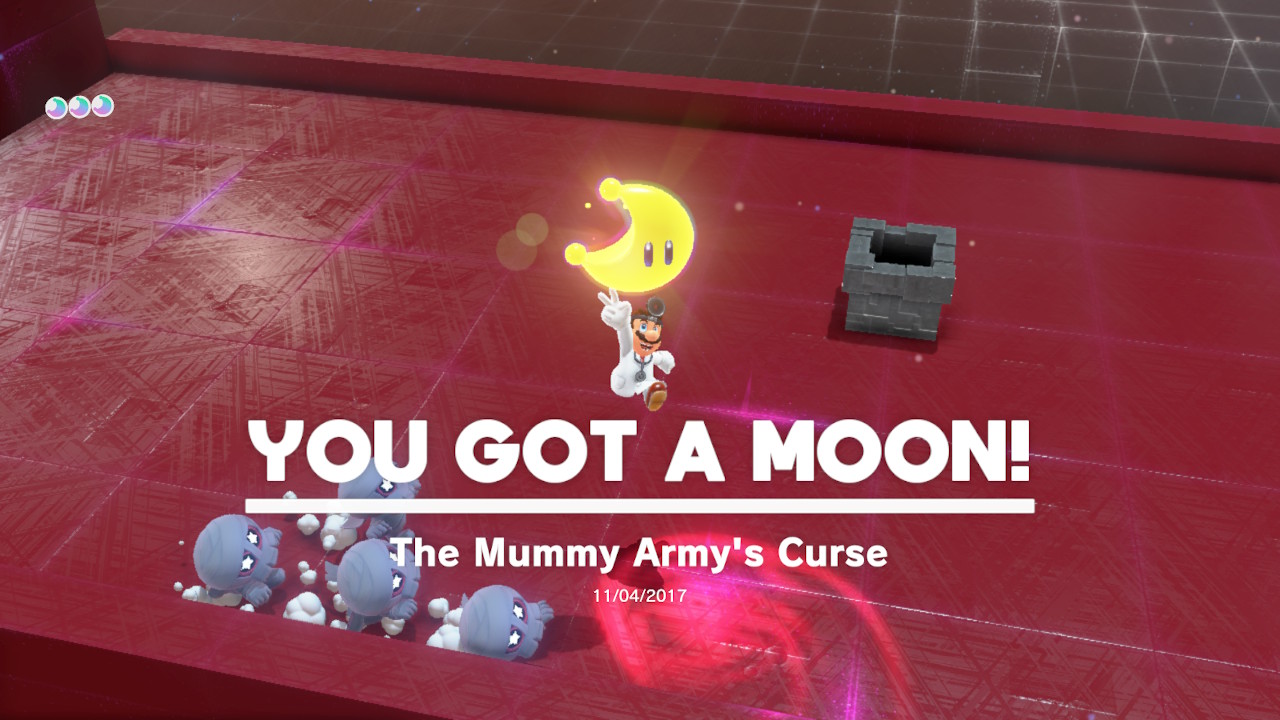
4- Jump on the other Goombas to make a tower of Goombas…
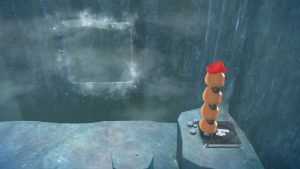
5- Jump on the switch with all four Goombas and the Power Moon will appear!
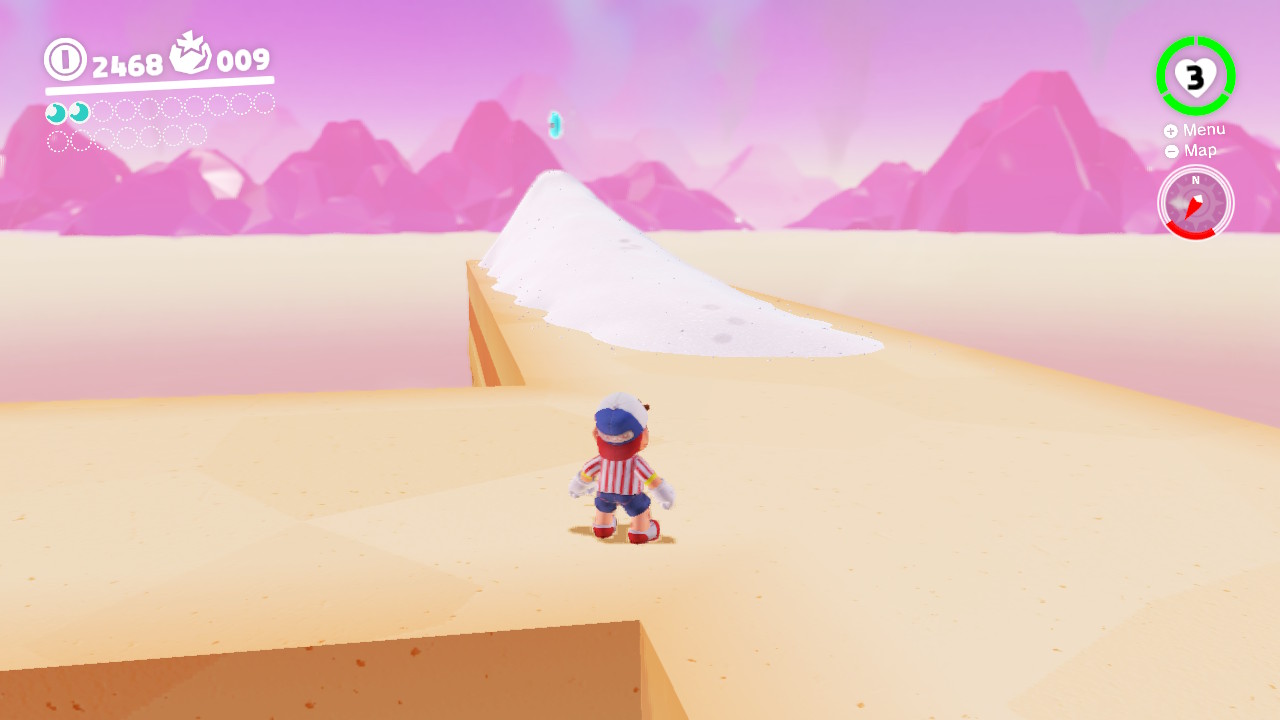
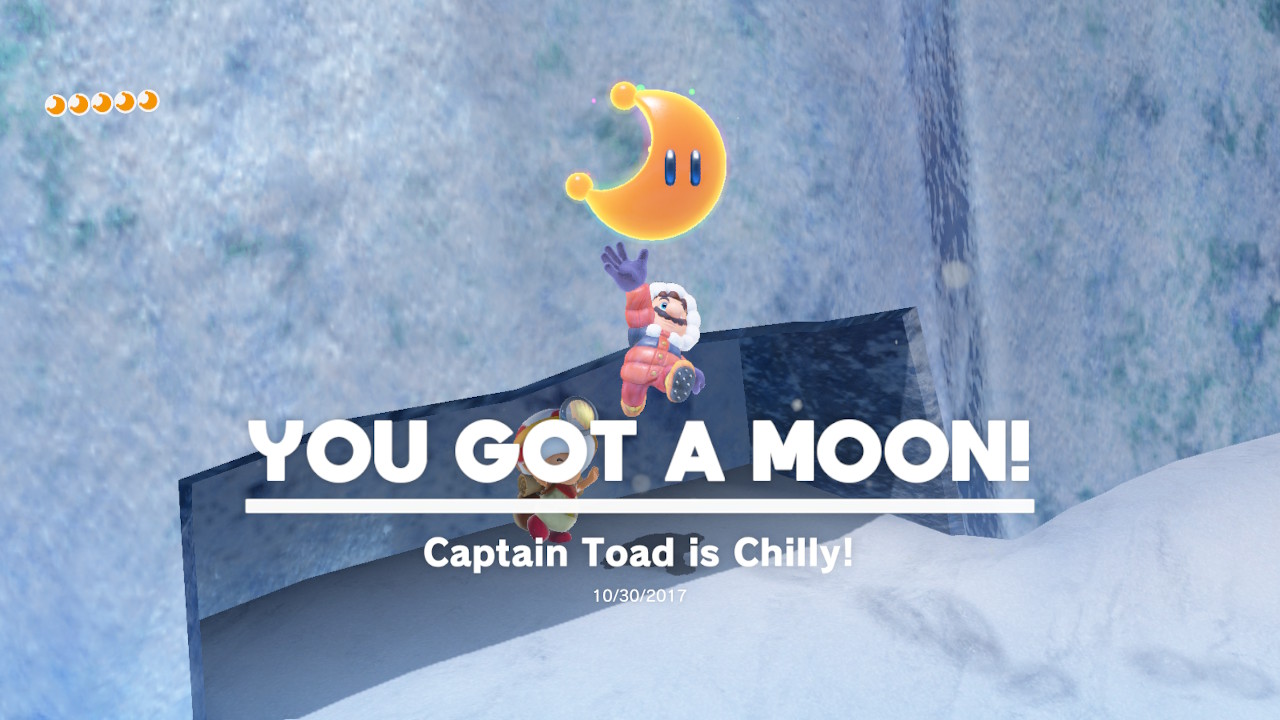
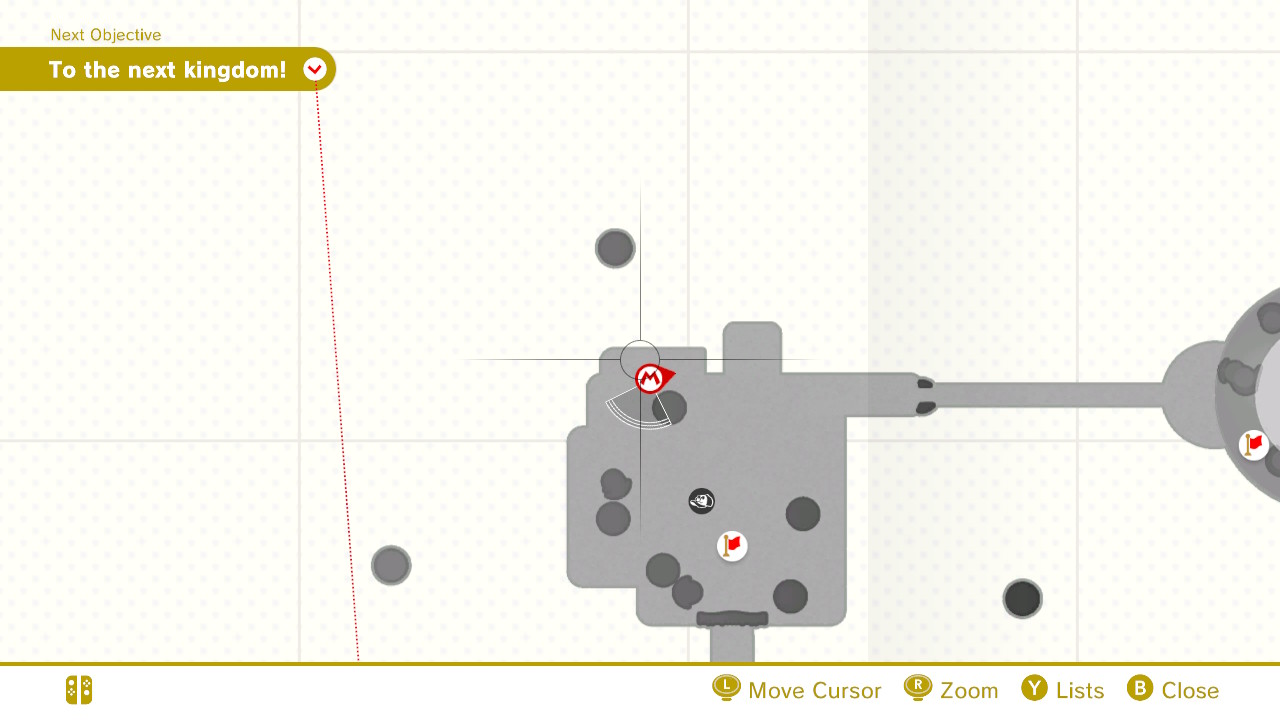
19 – Captain Toad is Chilly!

Location-
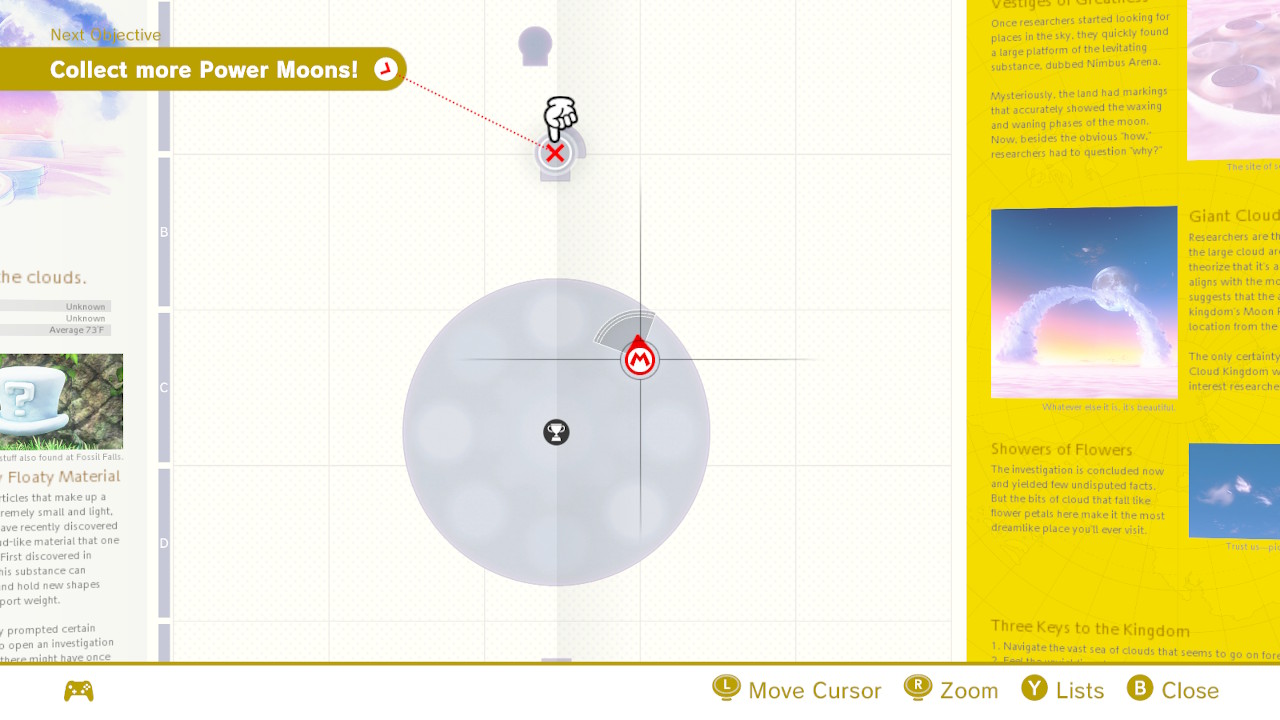
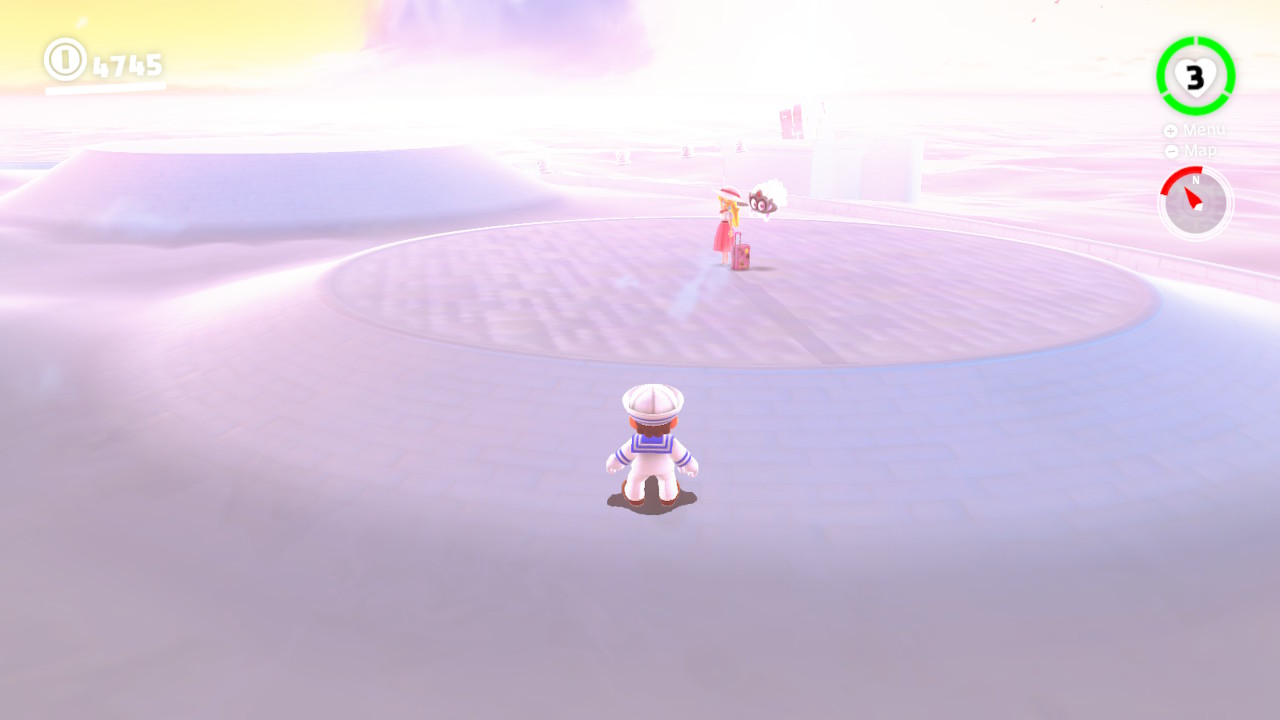
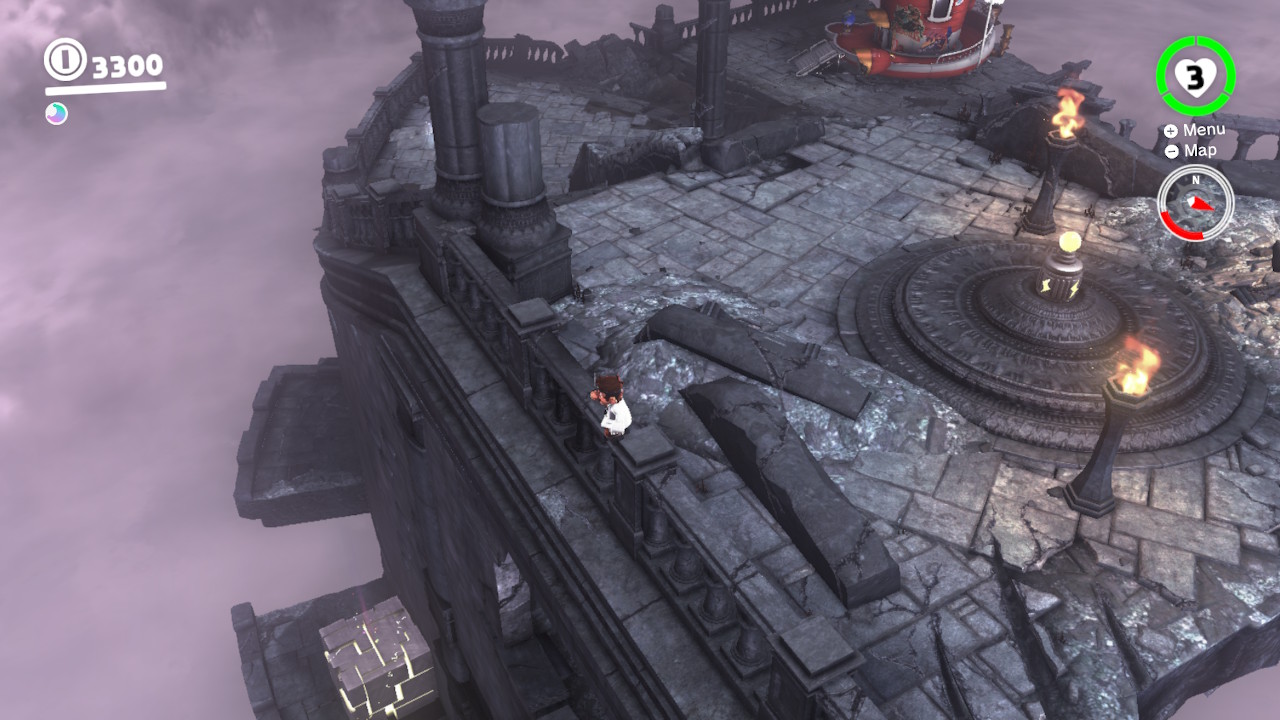
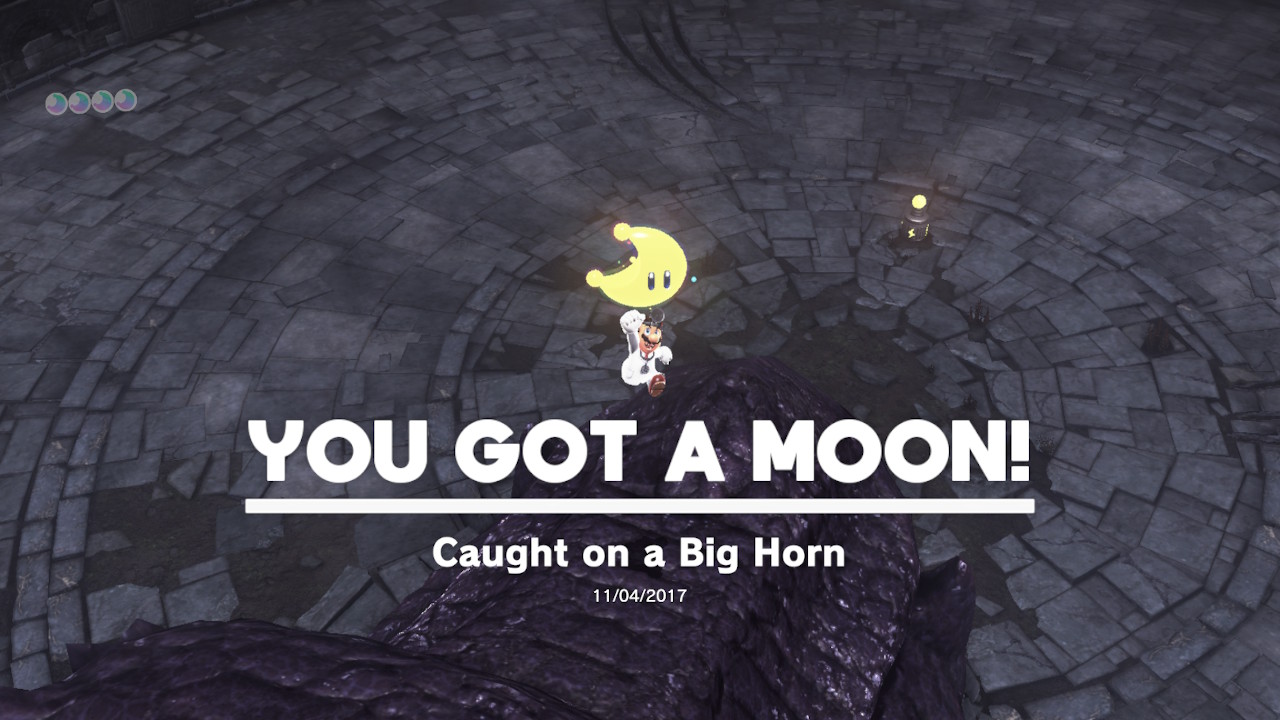
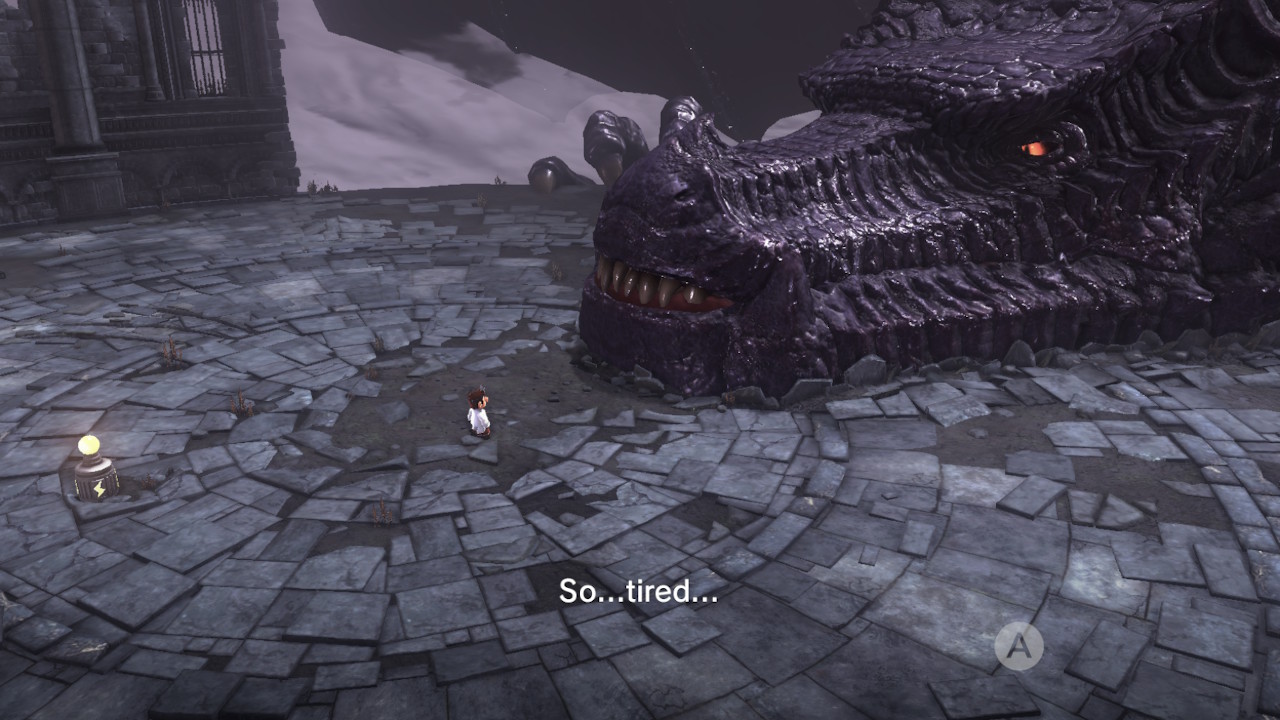
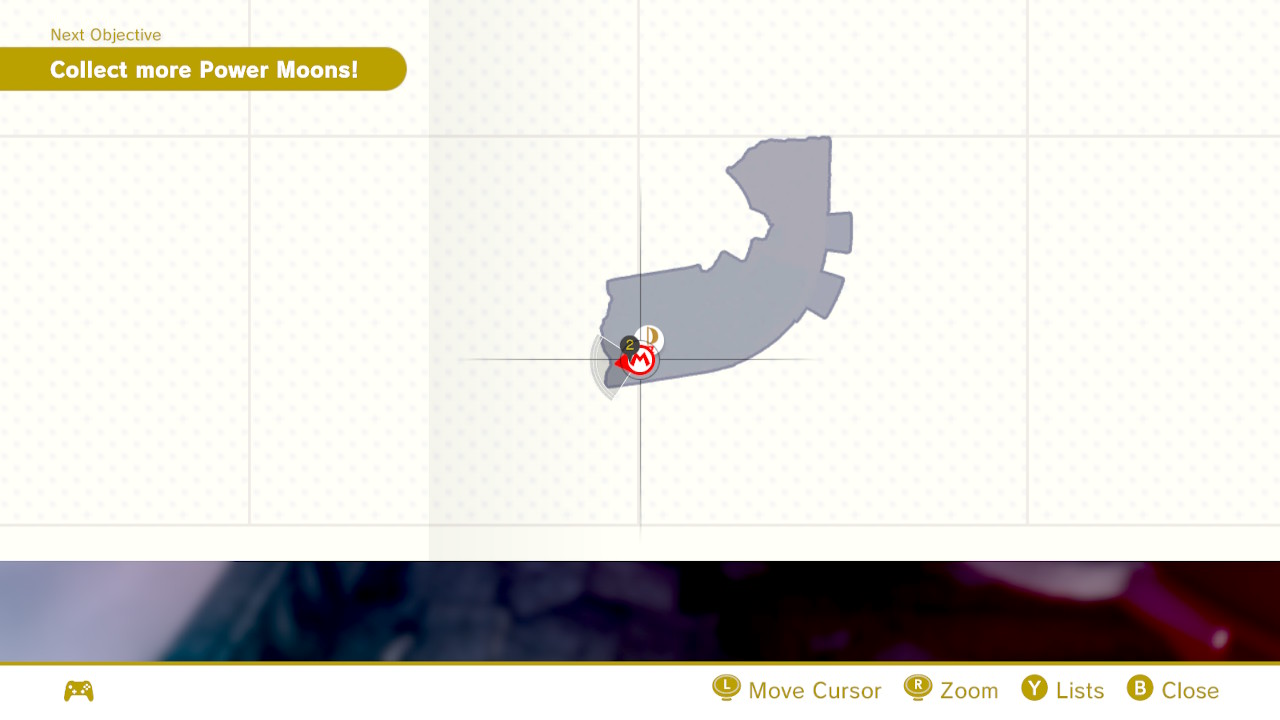
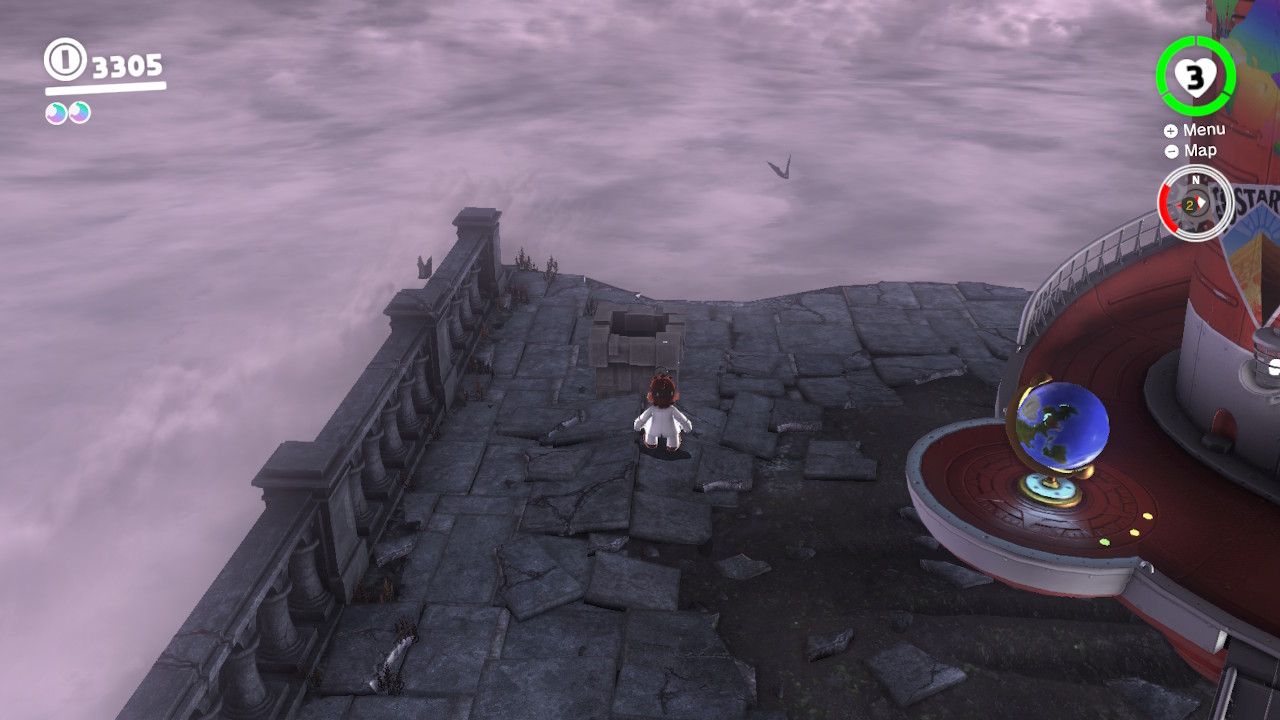
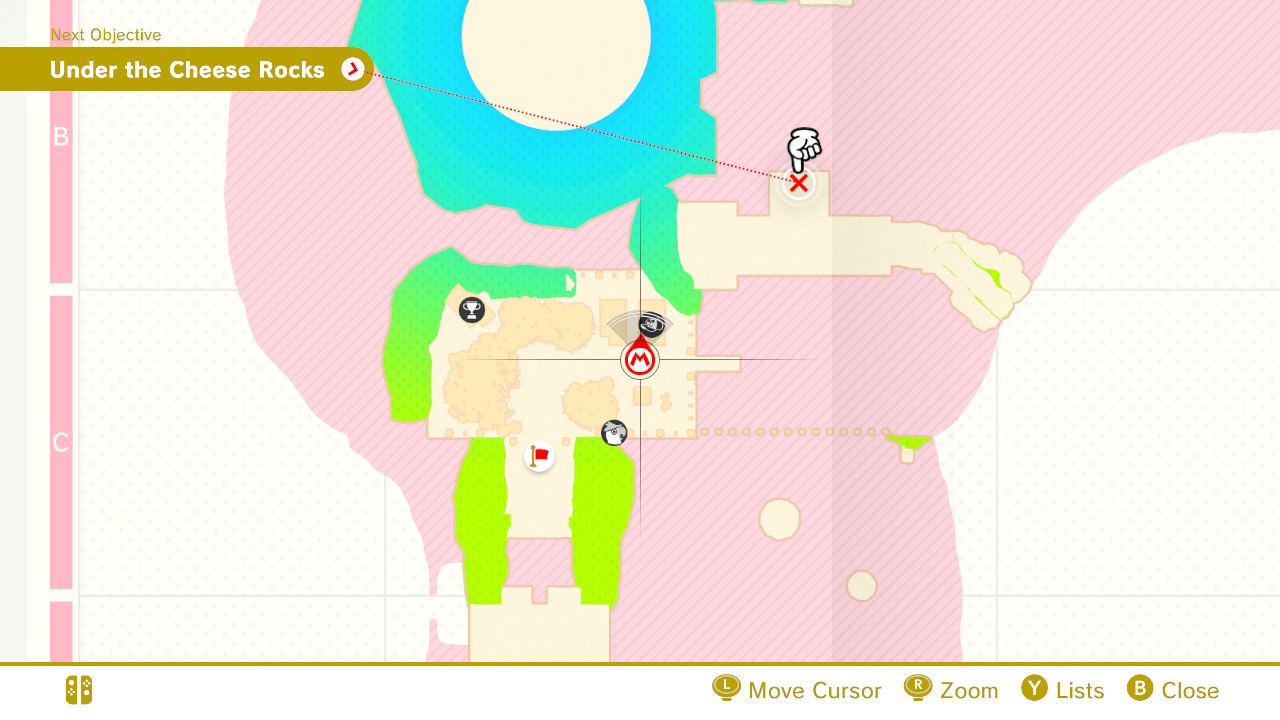
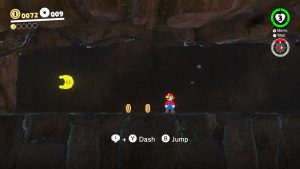
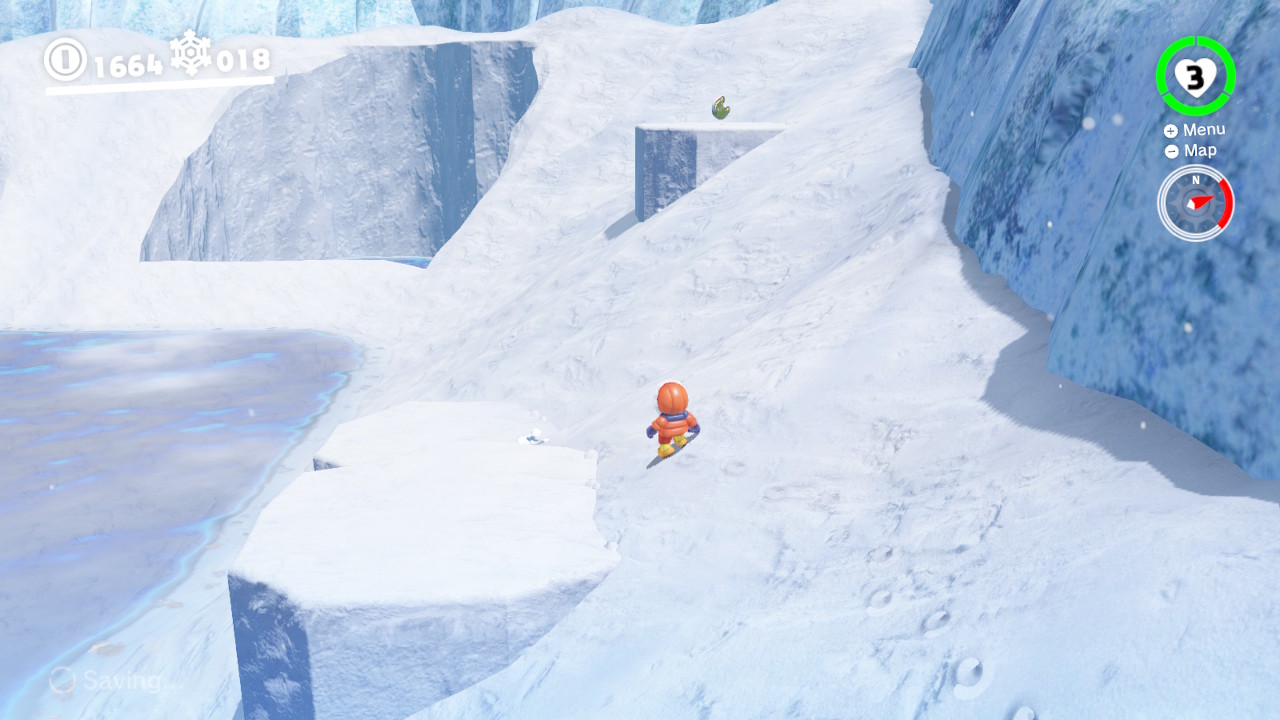
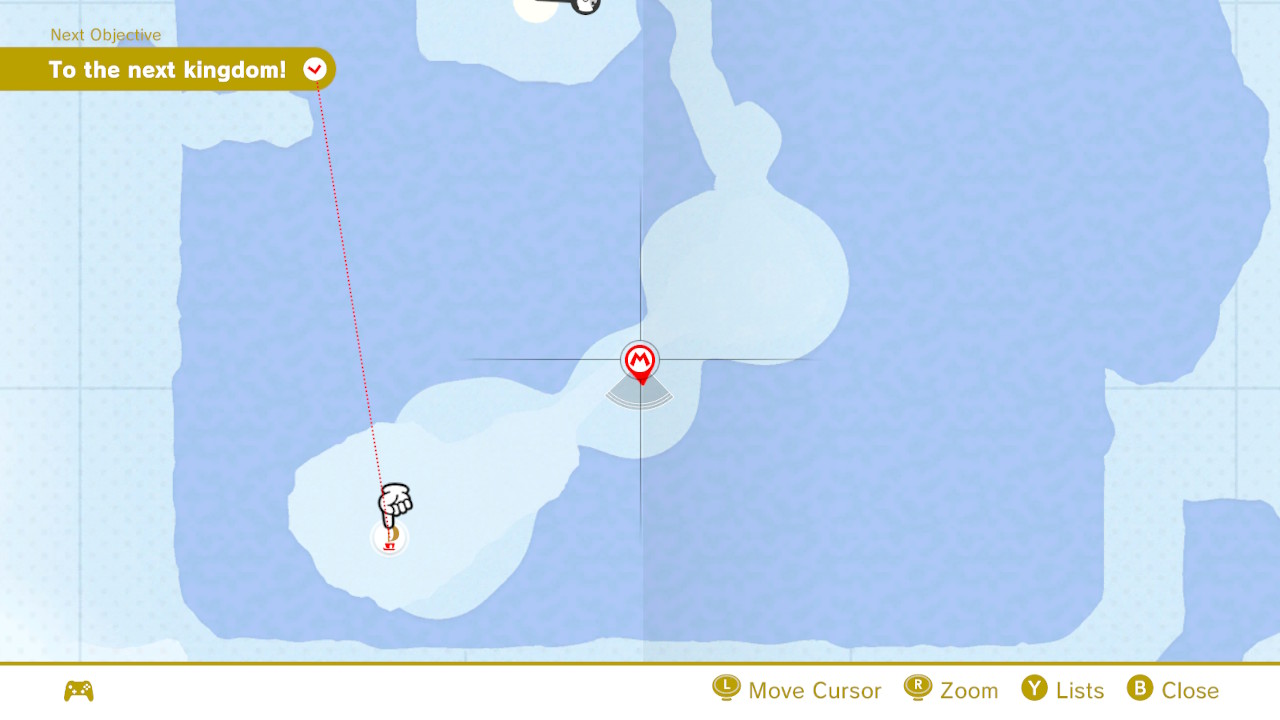
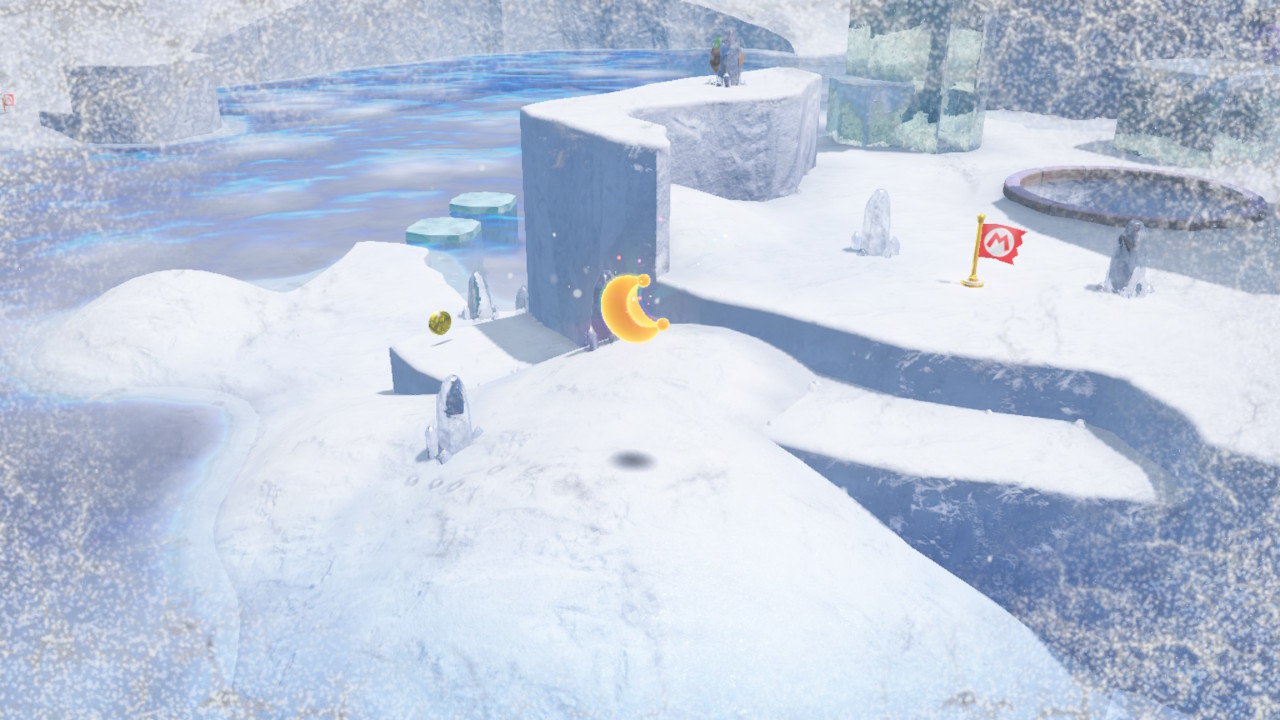
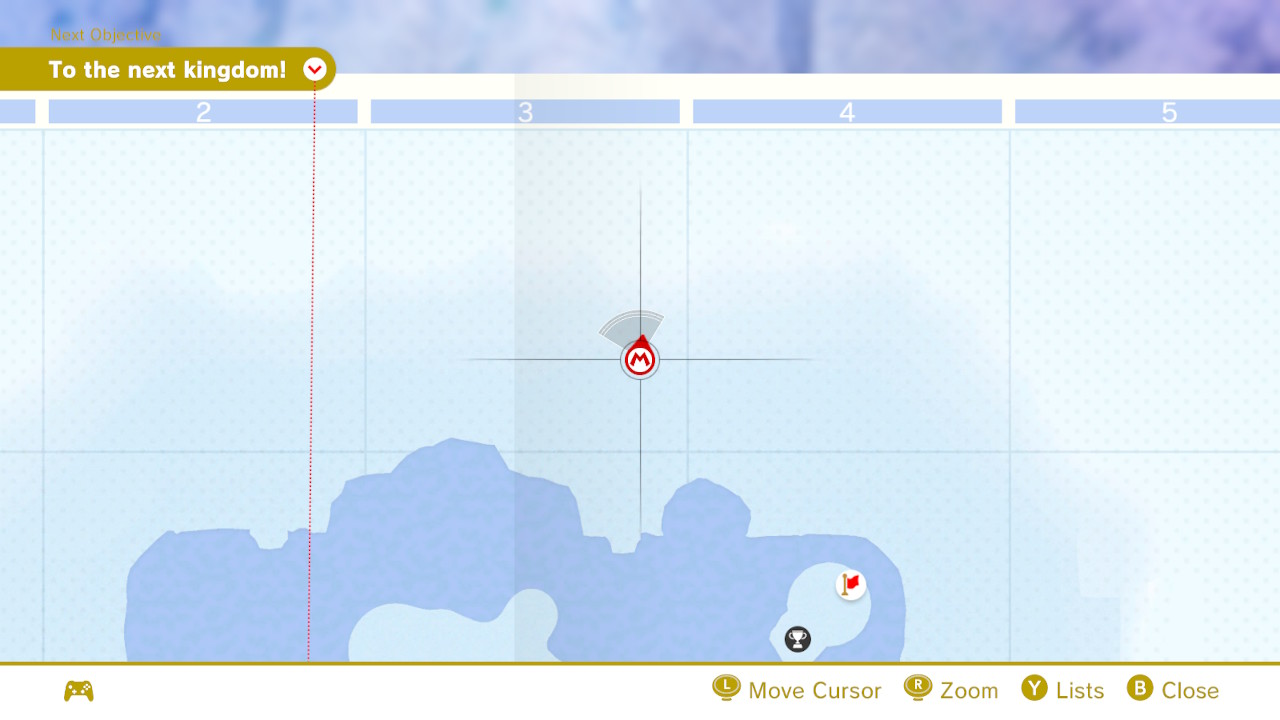
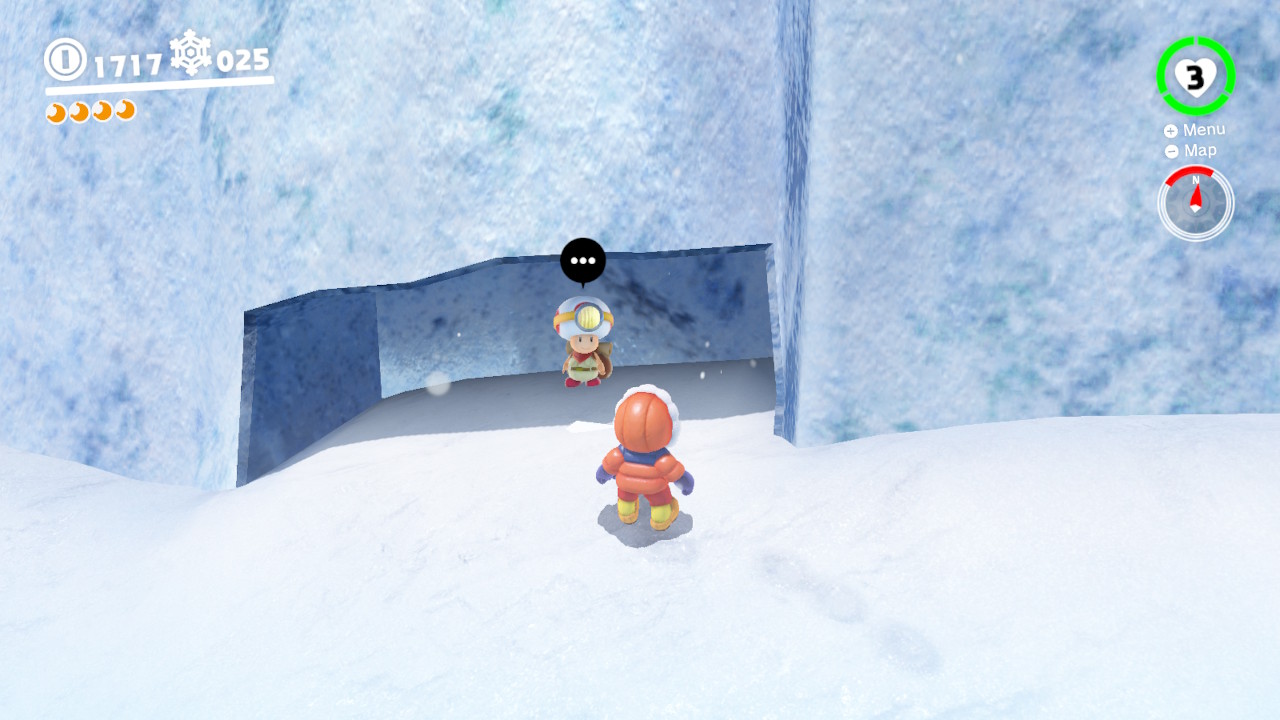
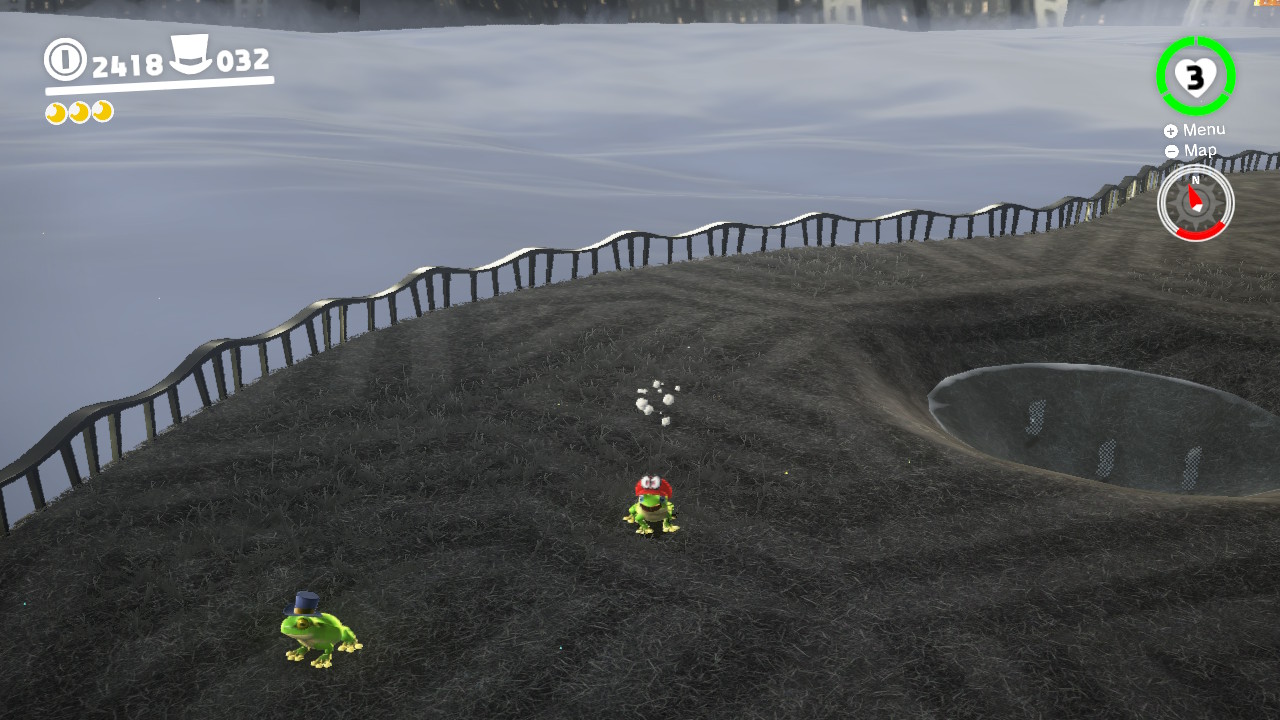
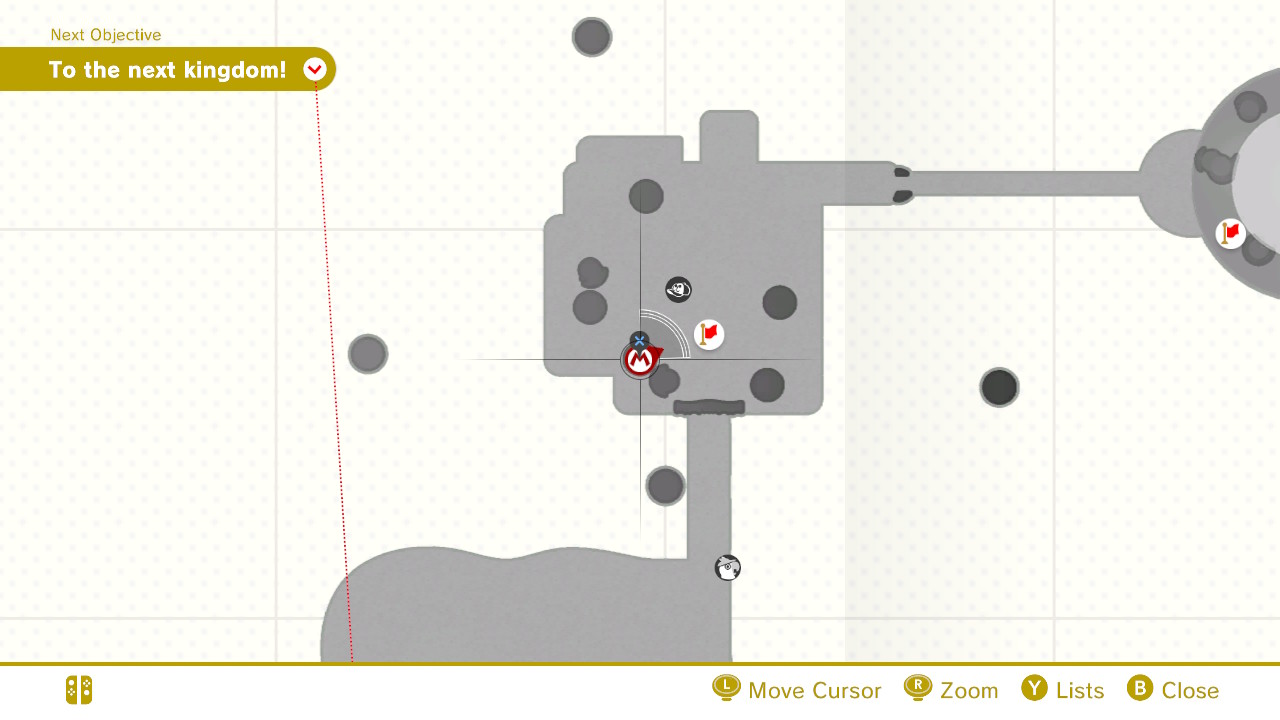
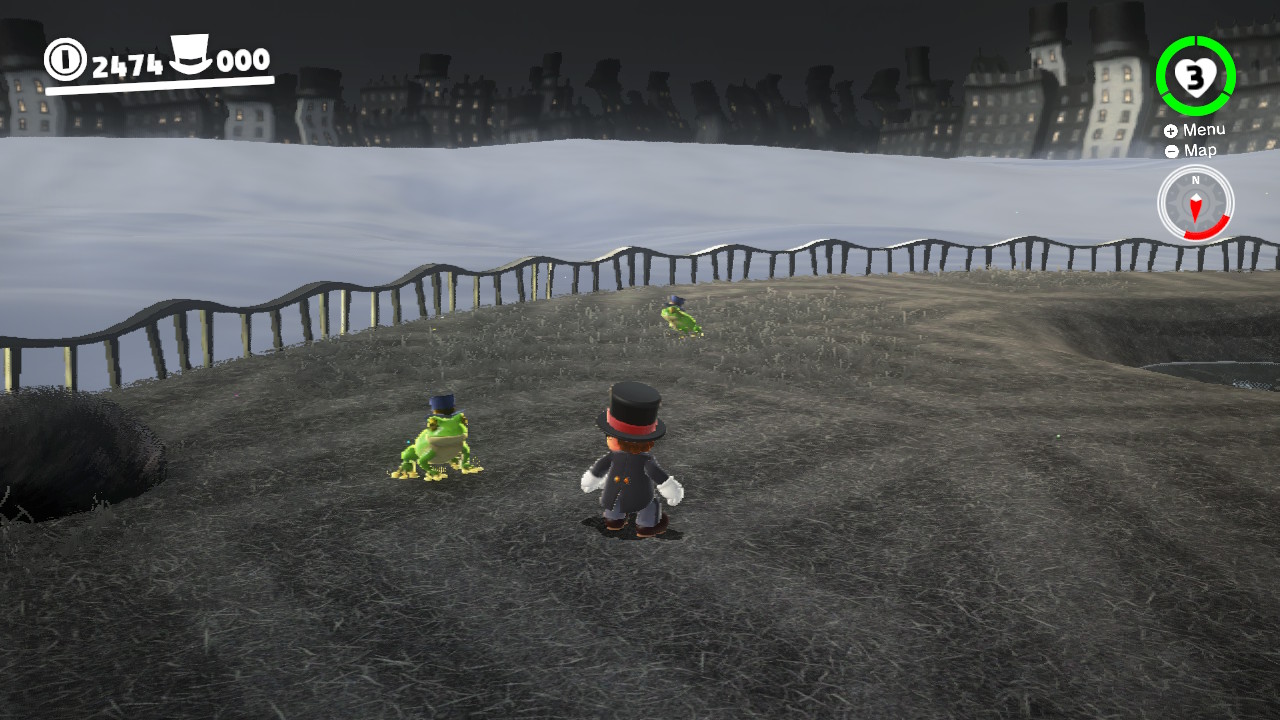
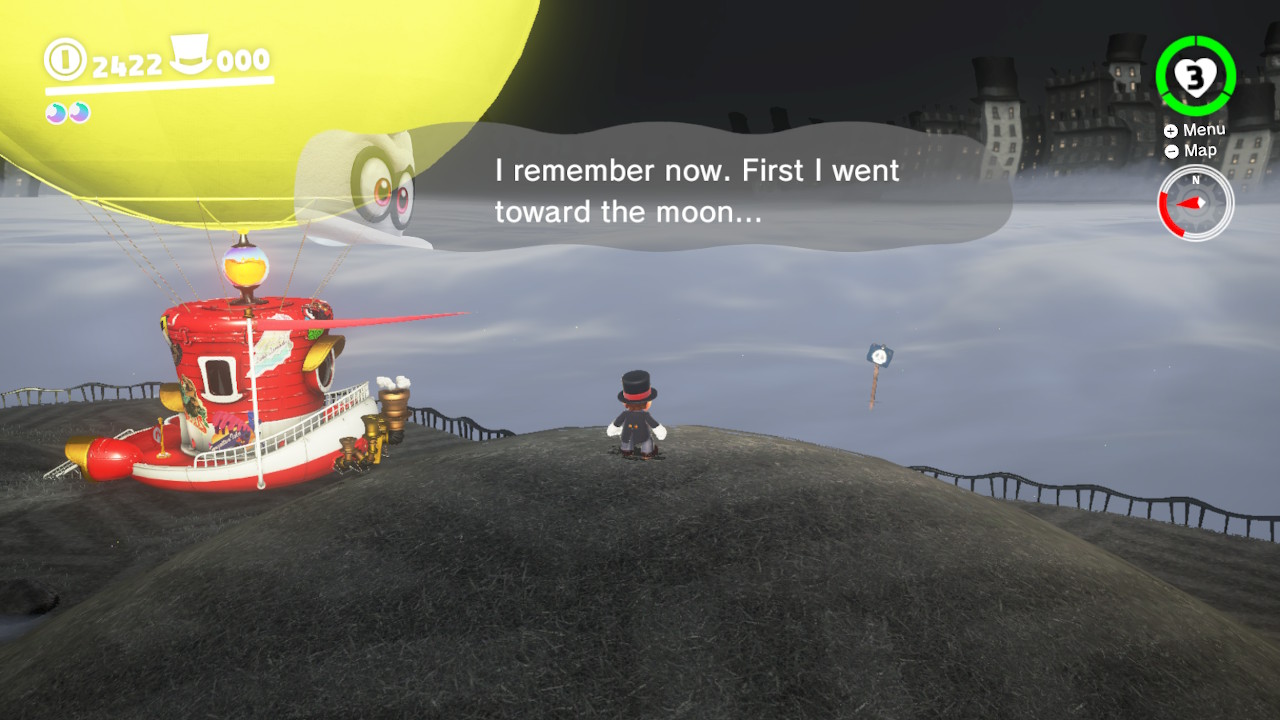
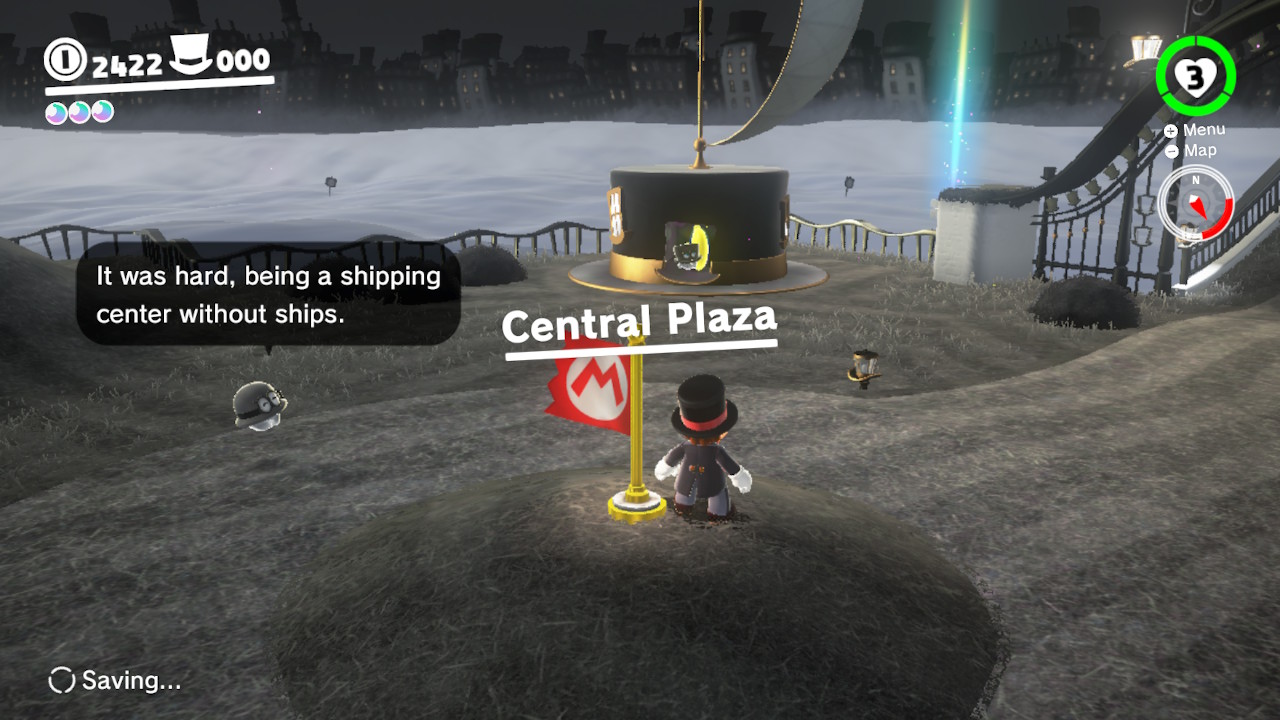
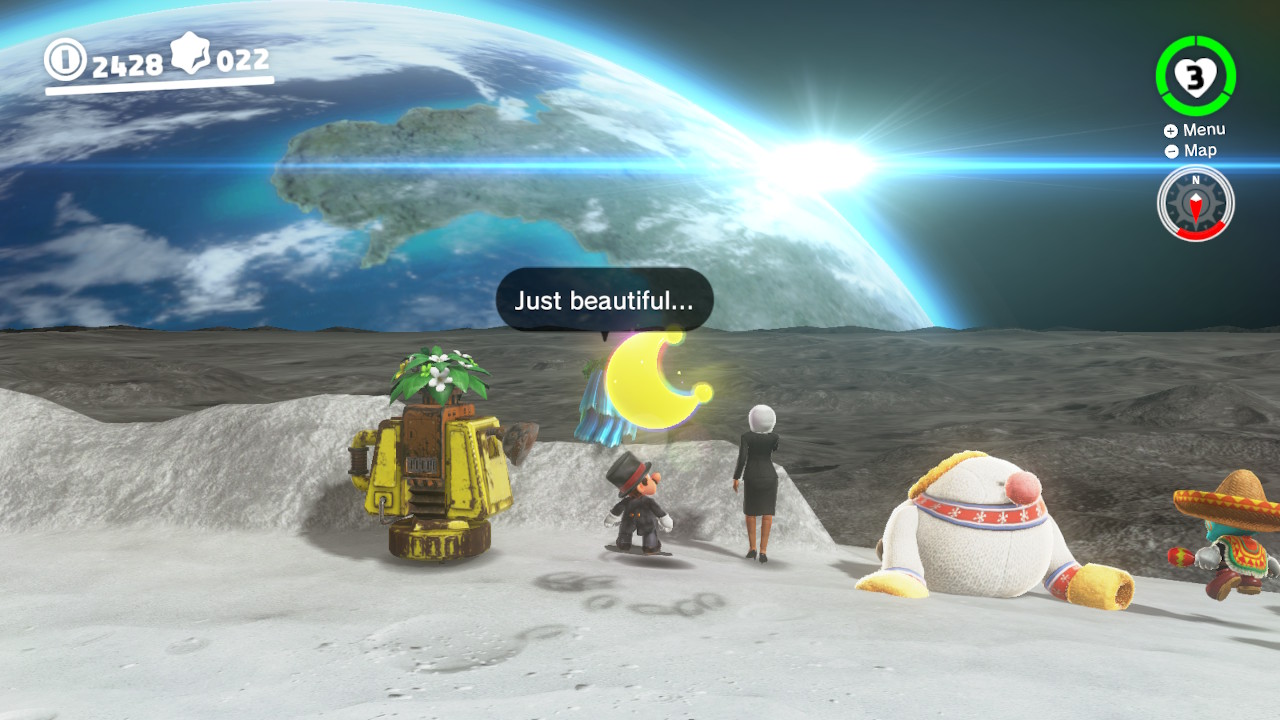
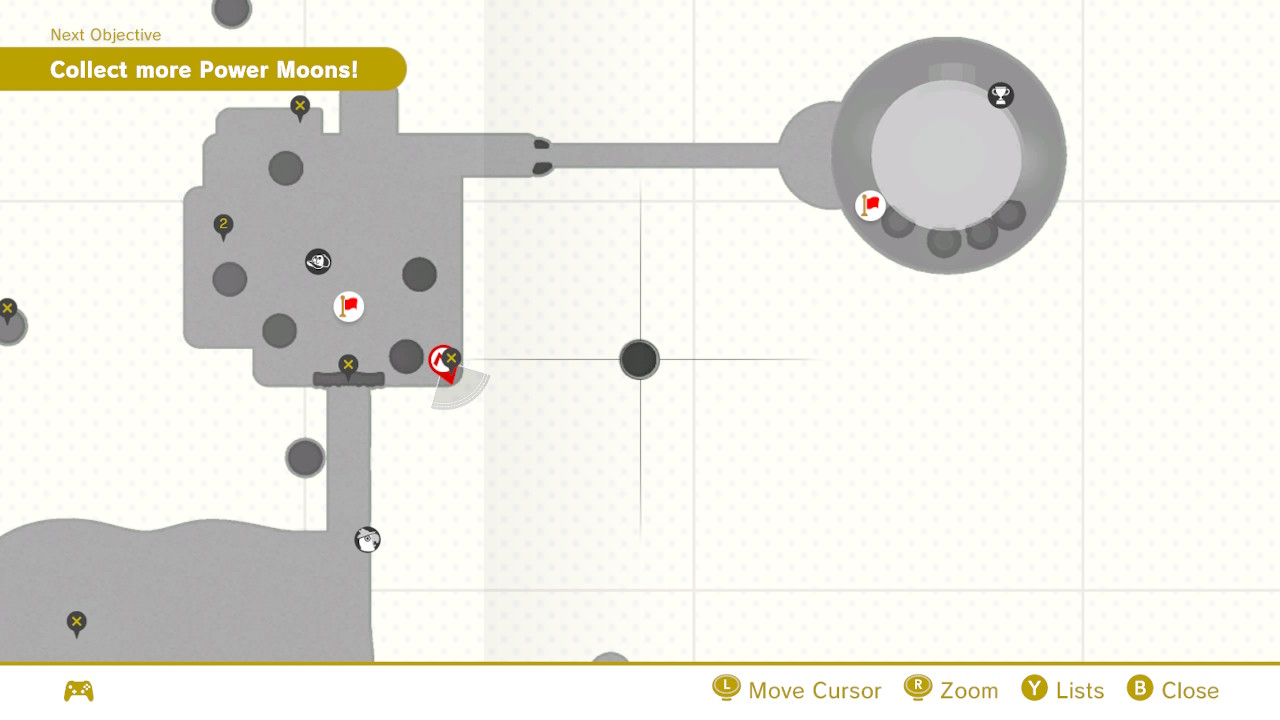
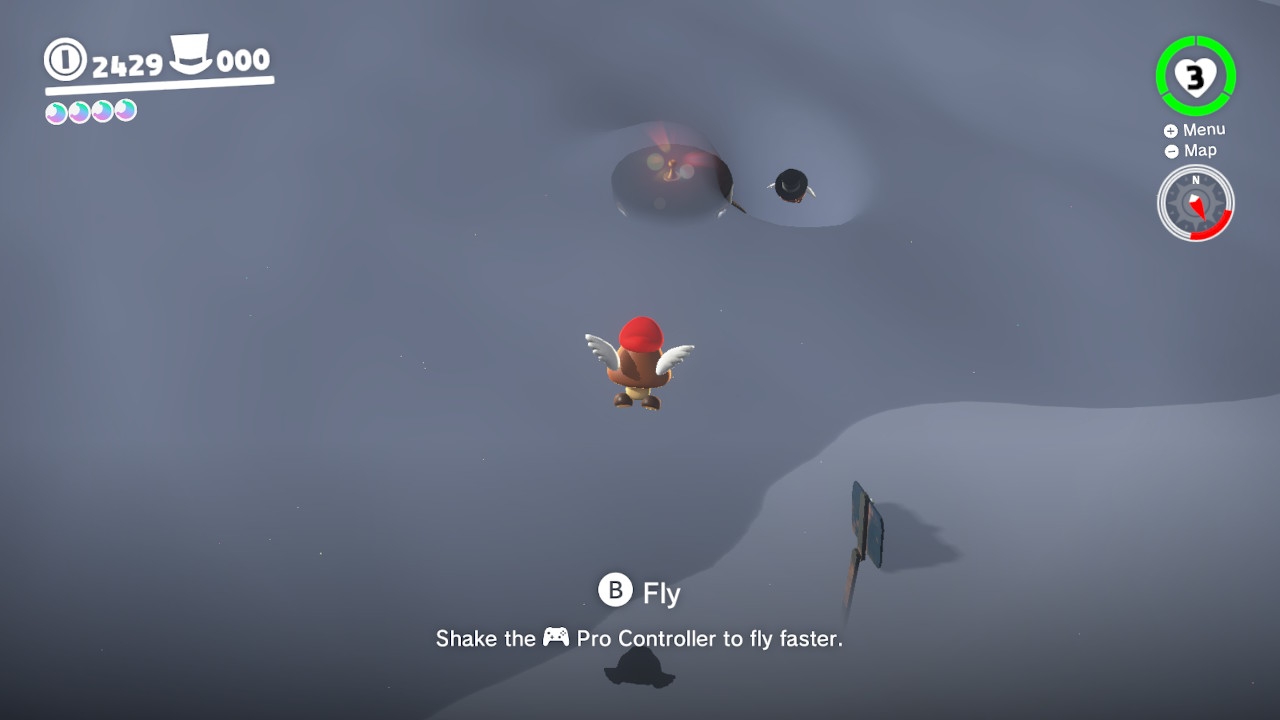
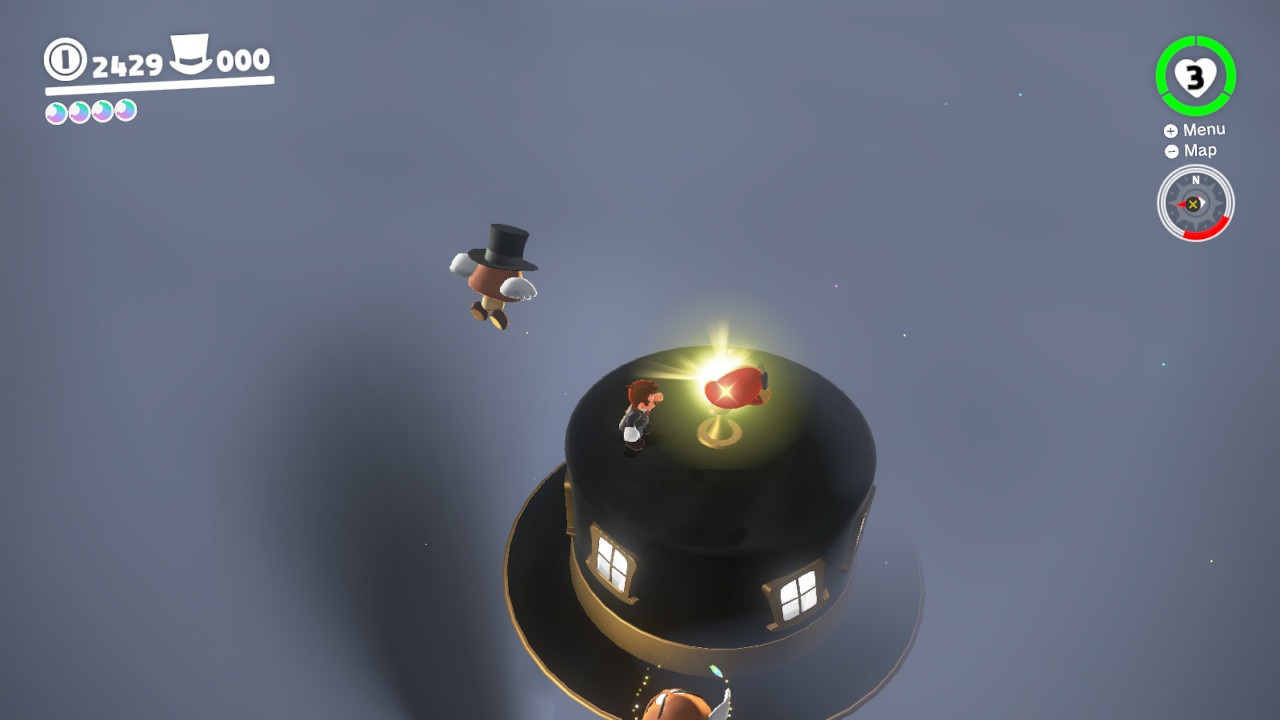
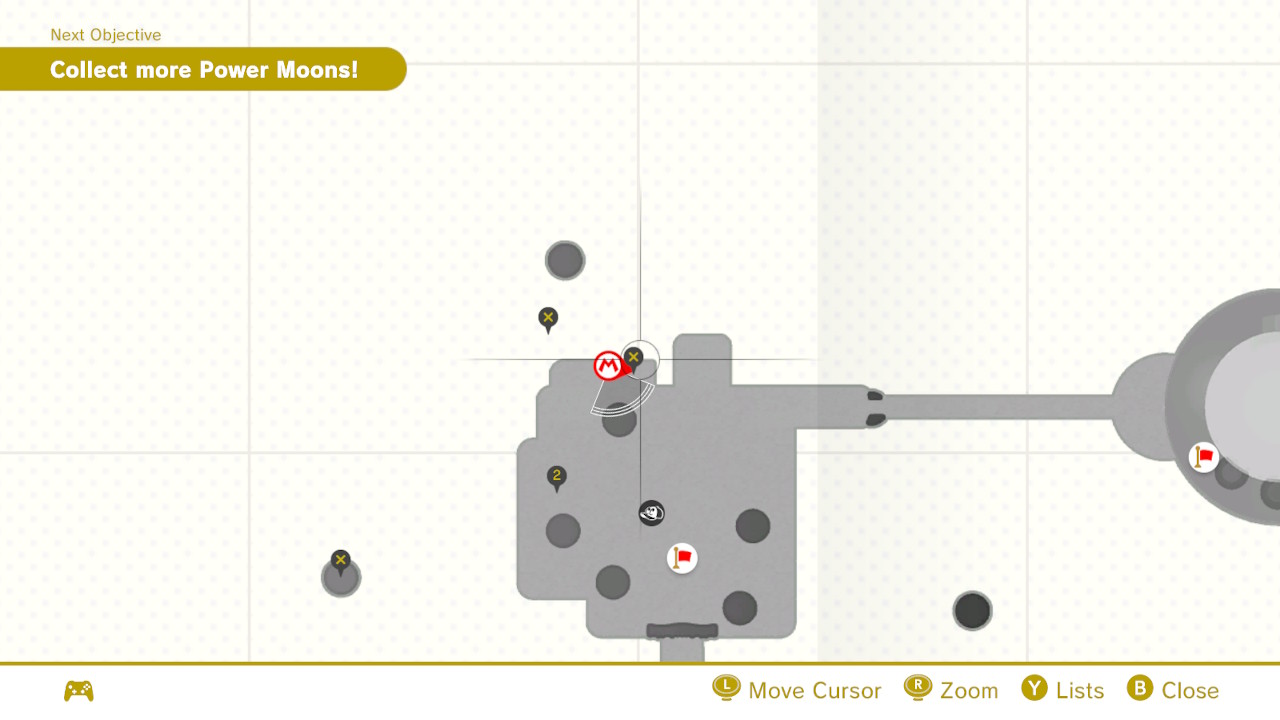
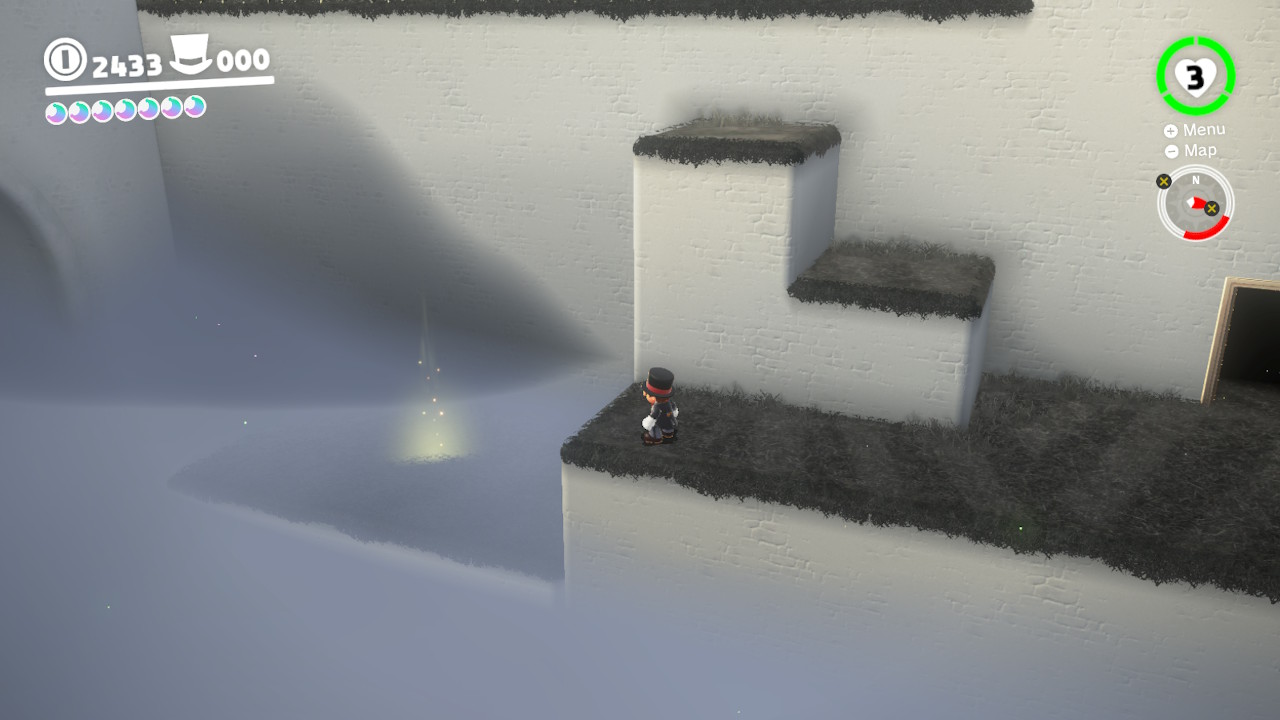
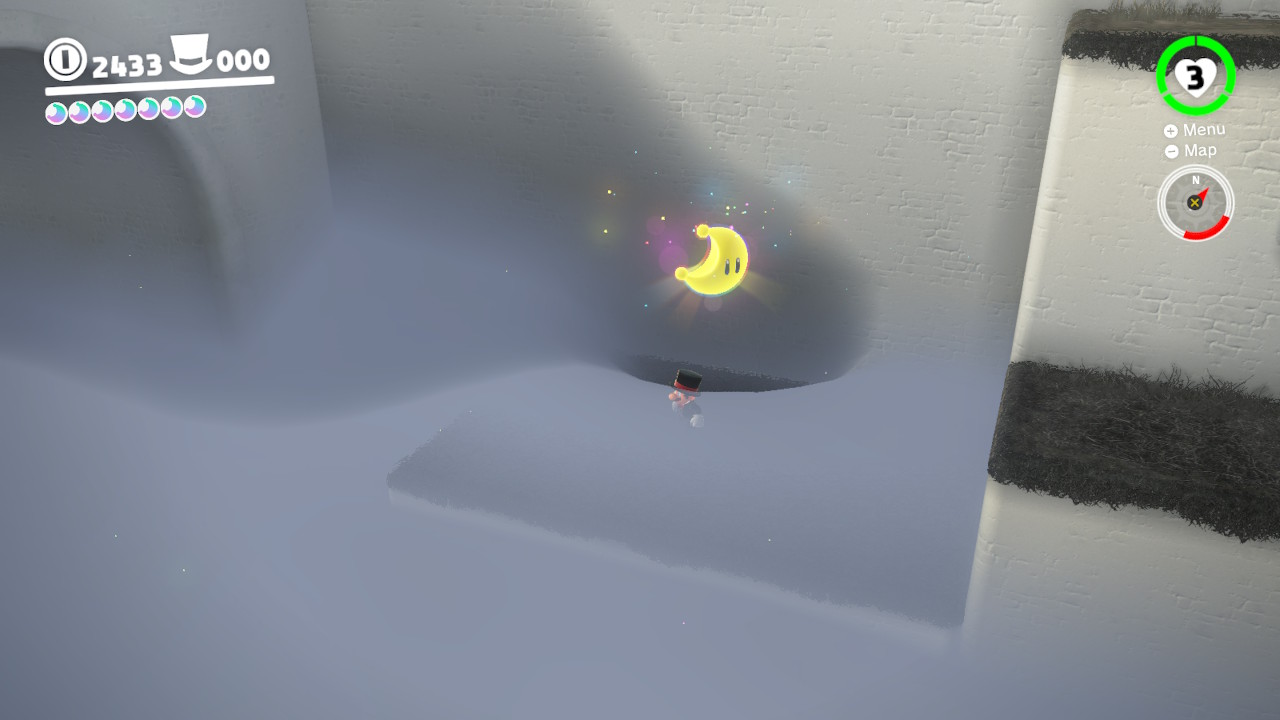
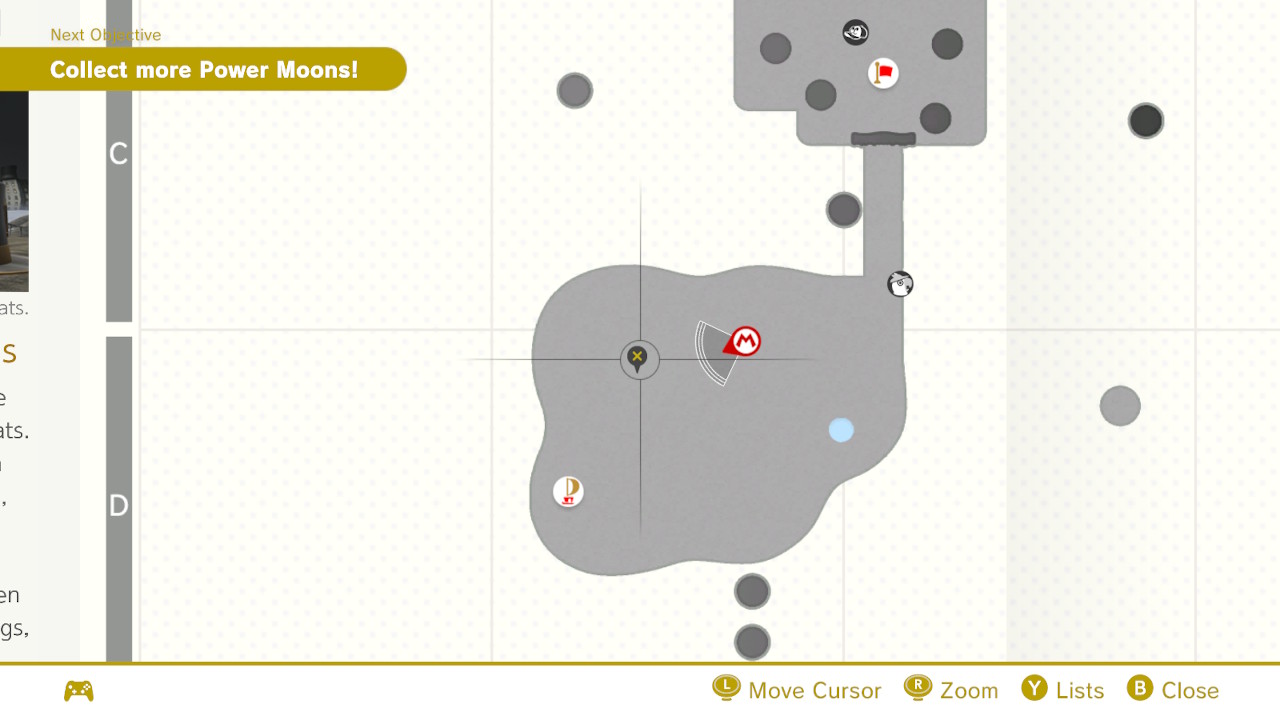
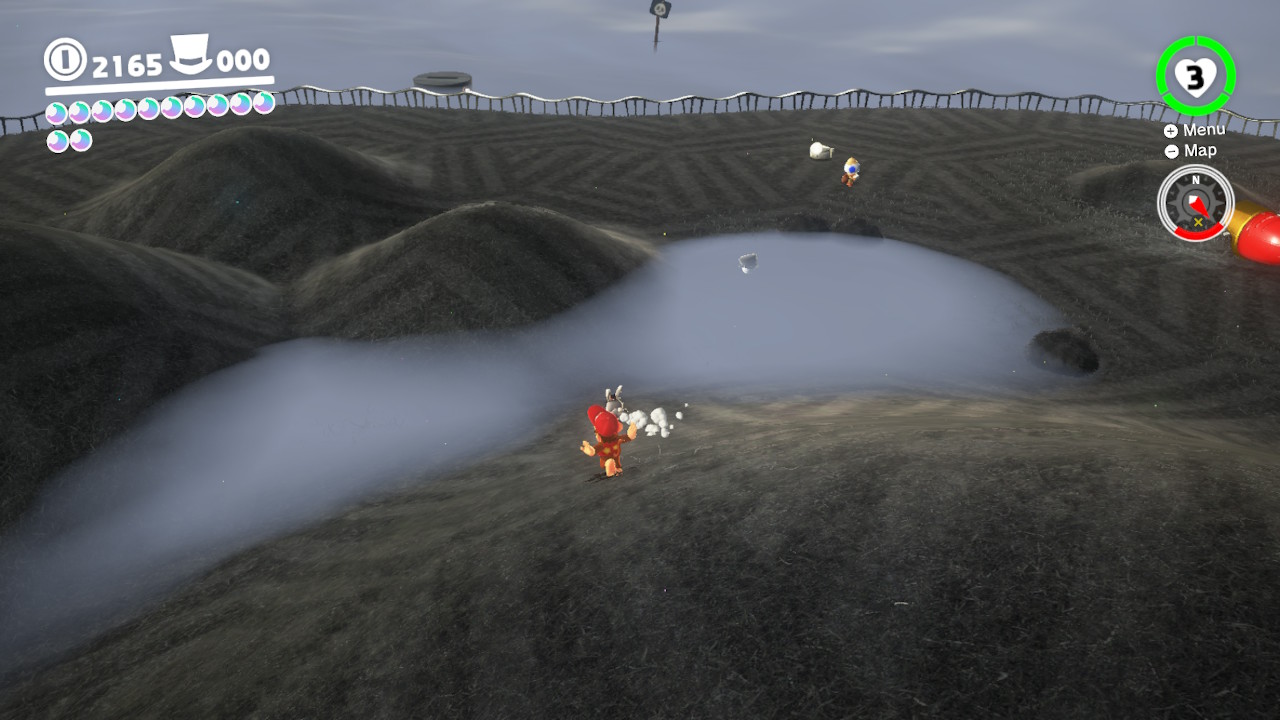
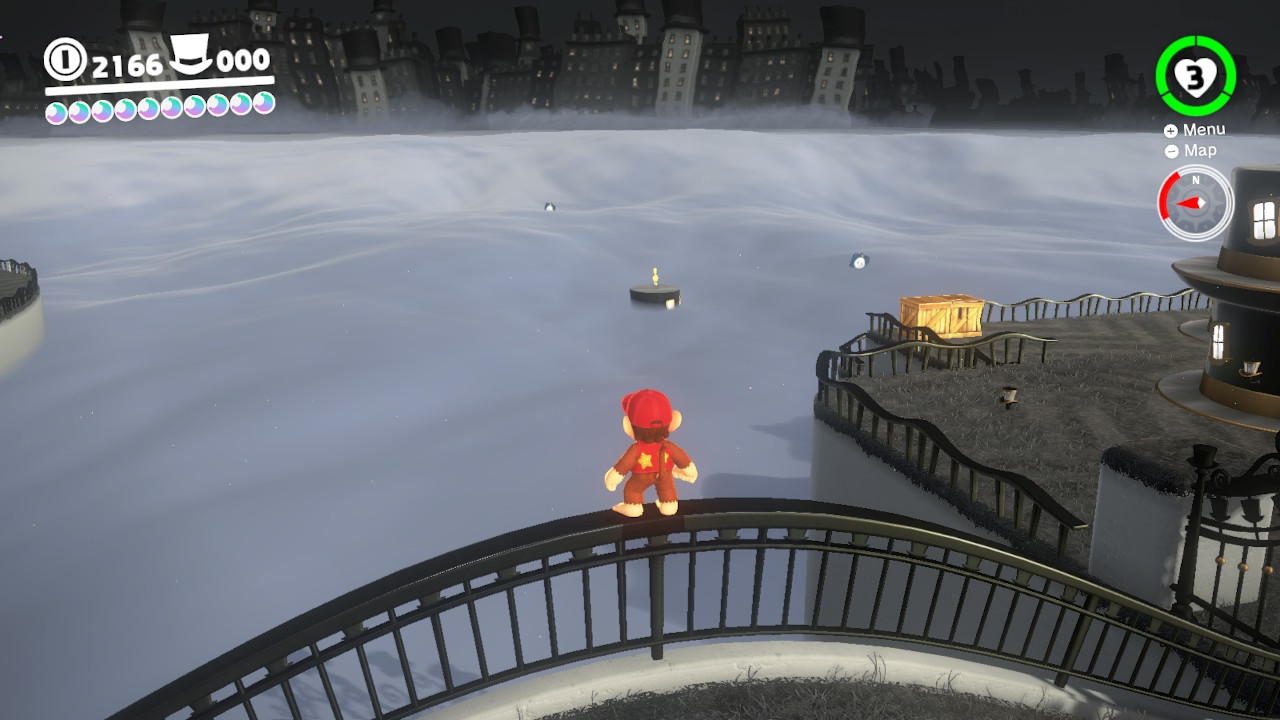
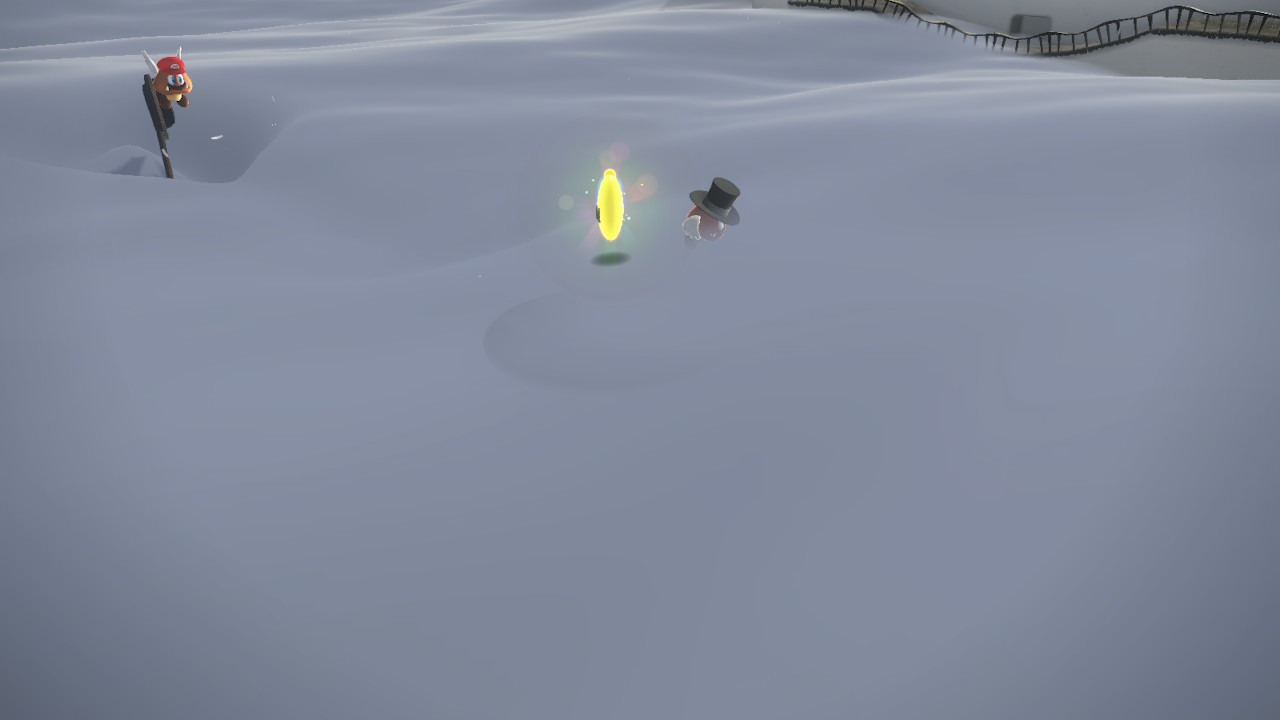
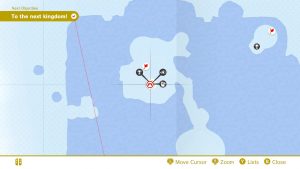
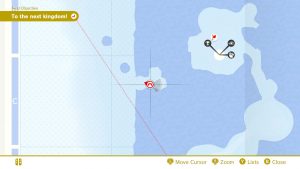
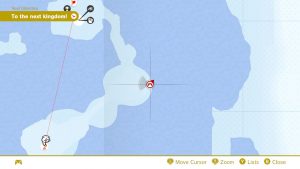
1- On the far hillside (You can sorta see it directly straight from the Odyssey), you will see a strange lump of snow…

2- Captain Toad is chillin back there and has a Power Moon!
20 –
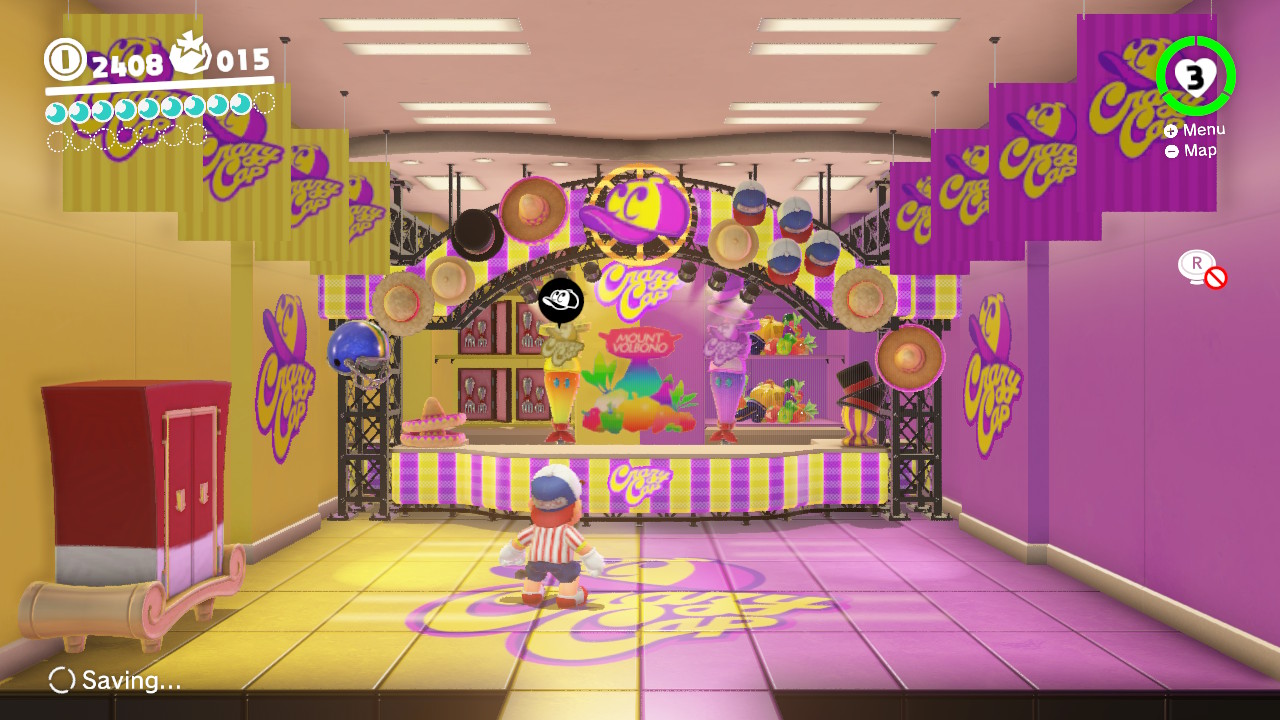
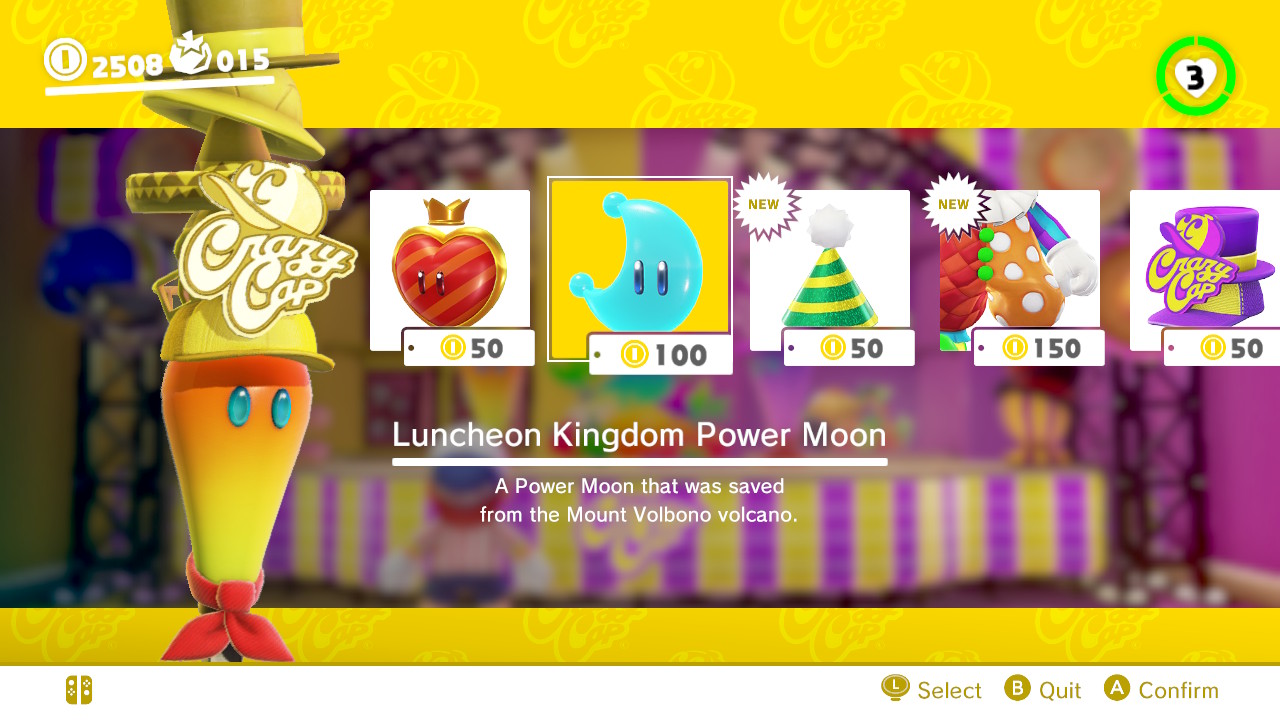
21 – Shopping in Shiveria


Location- Shiveria

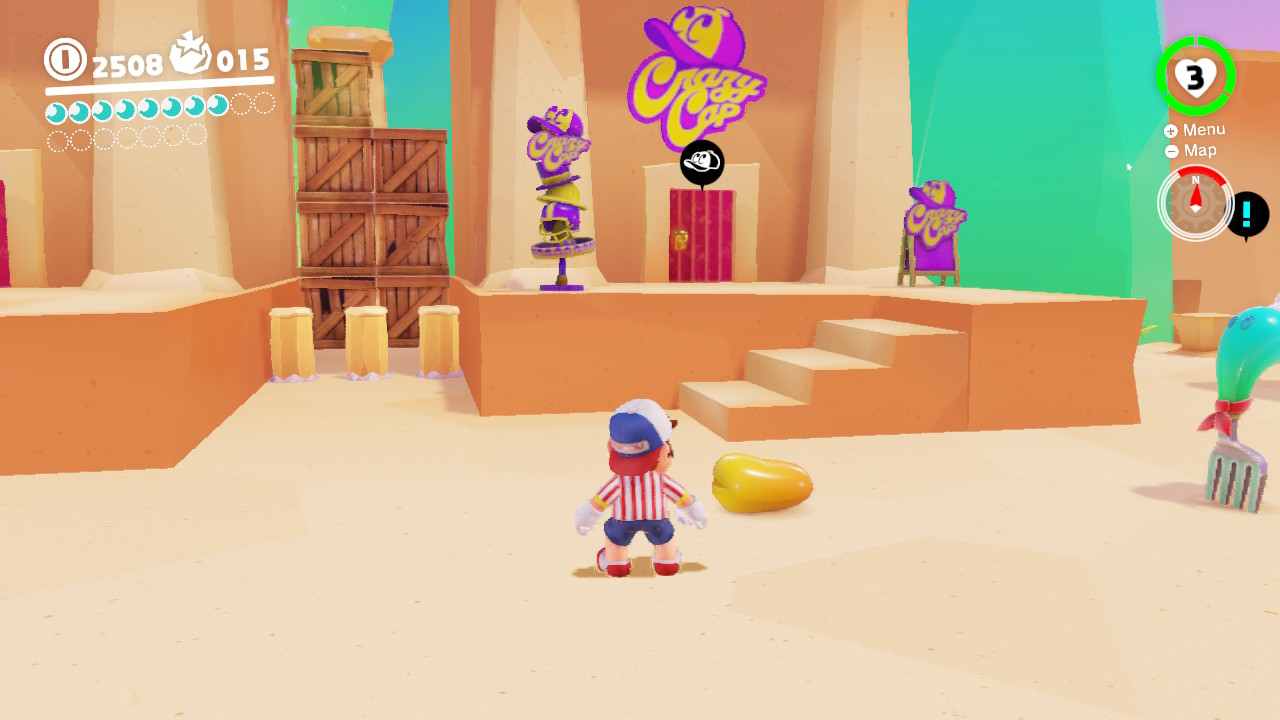
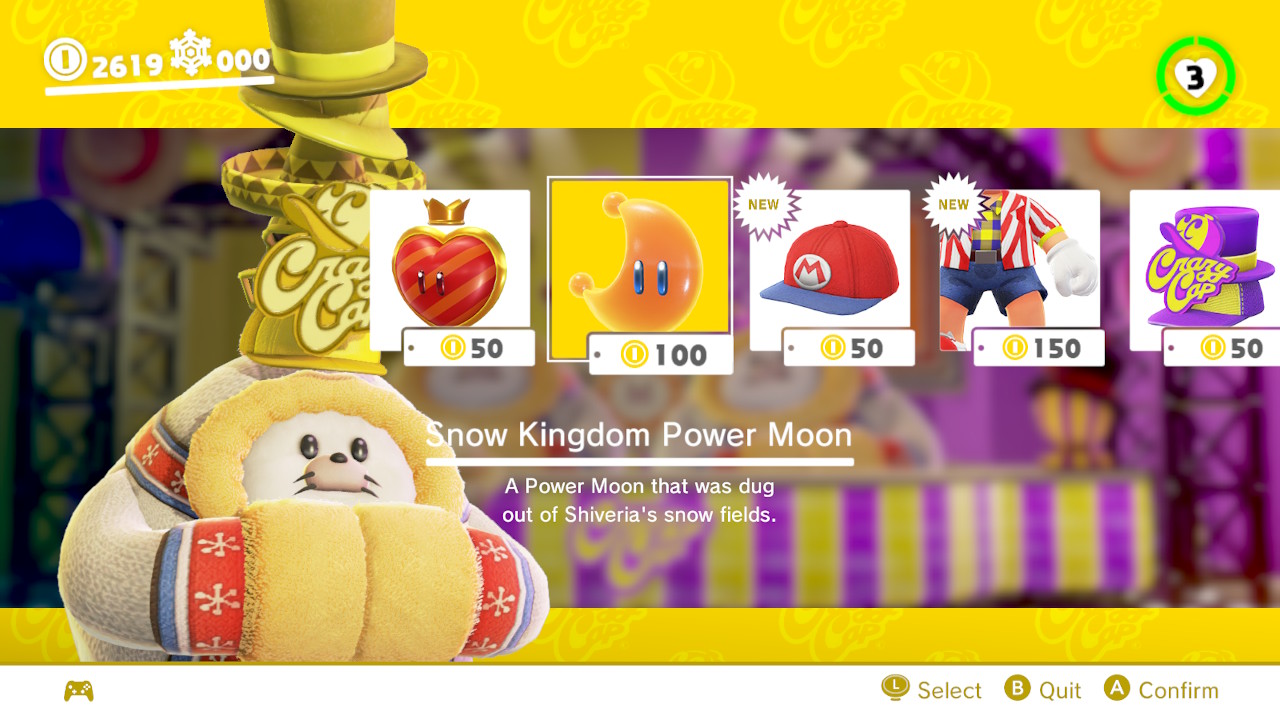
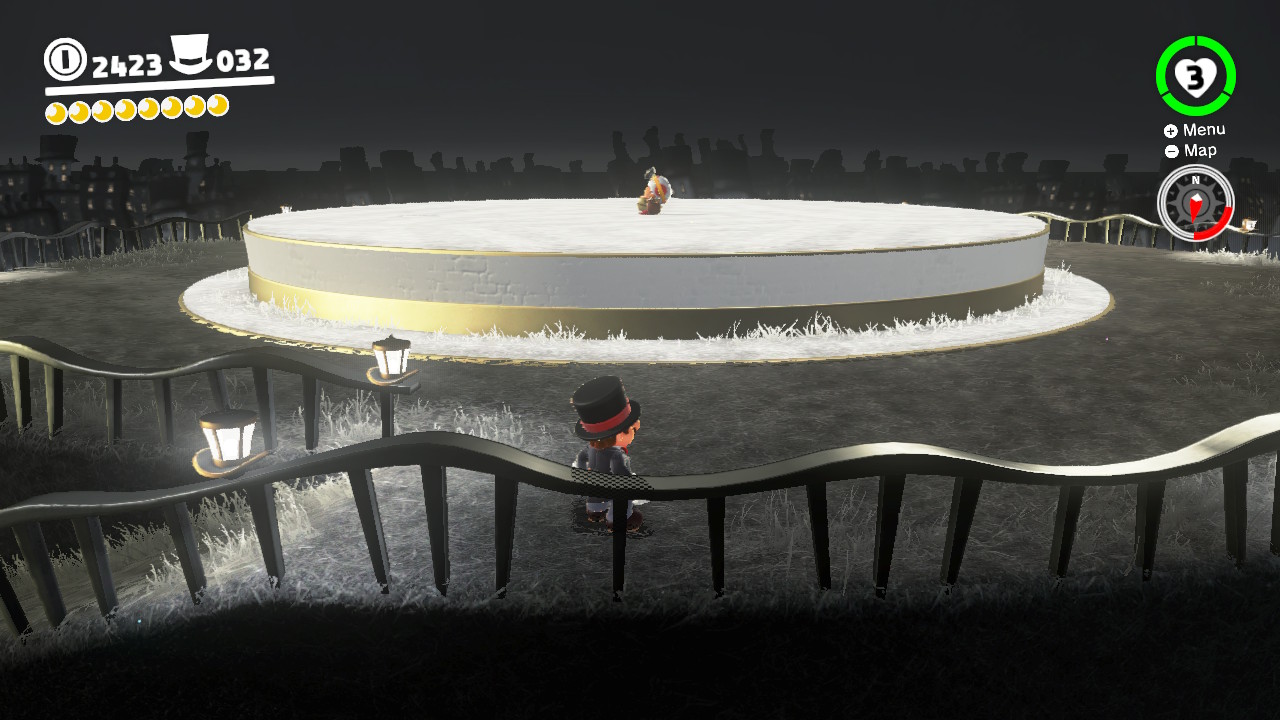
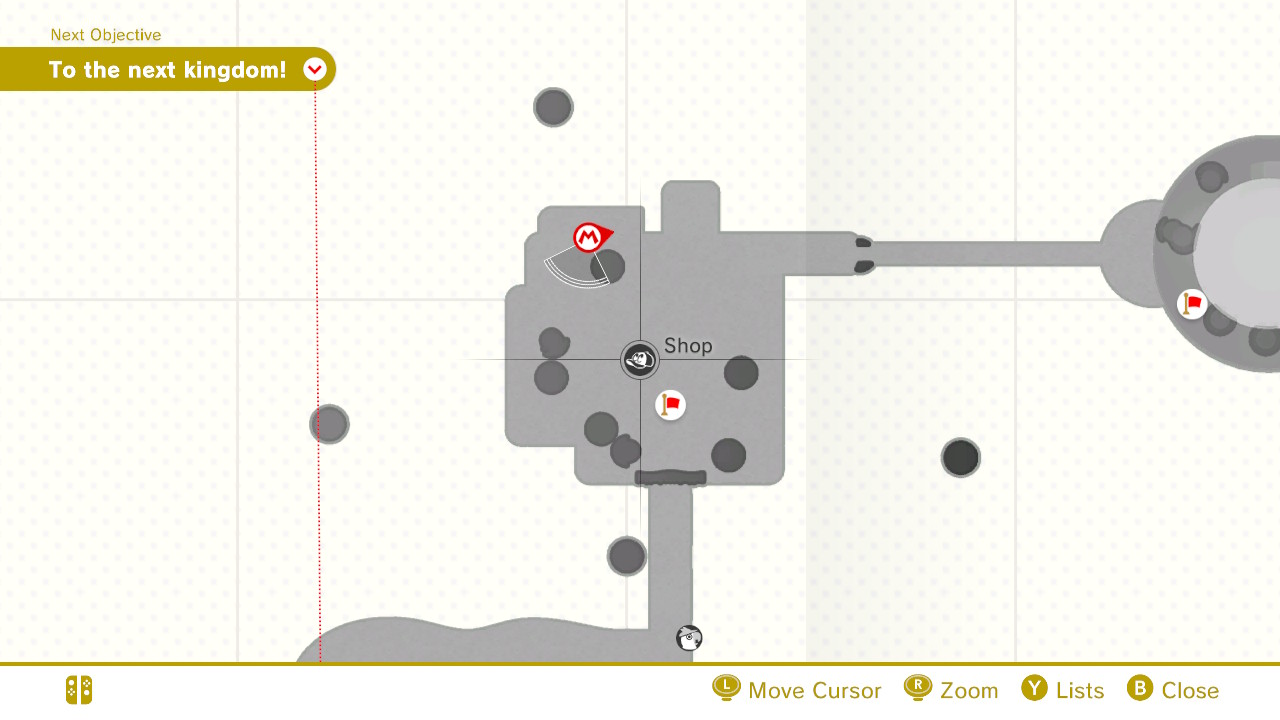
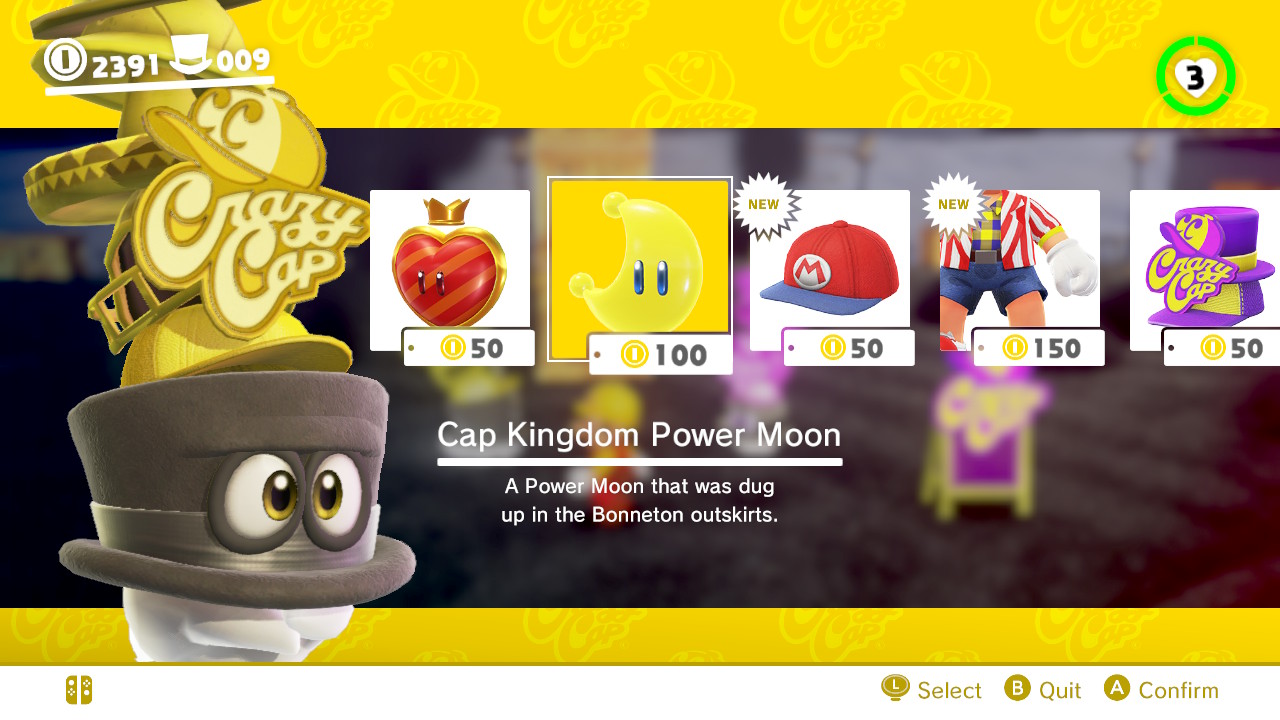
1- From inside Shiveria you will see Crazy Caps…

2- You can buy a Power Moon for a cool 100 coins inside!
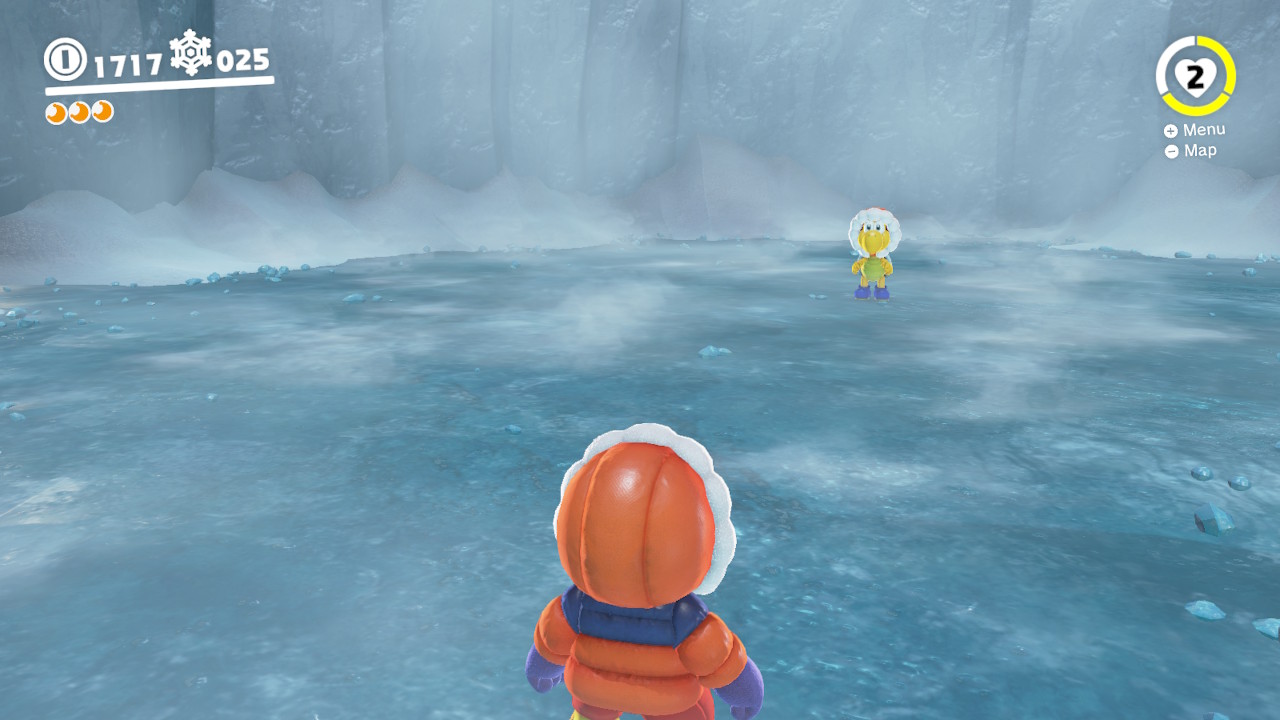
22 – Walking on Ice!
Location-

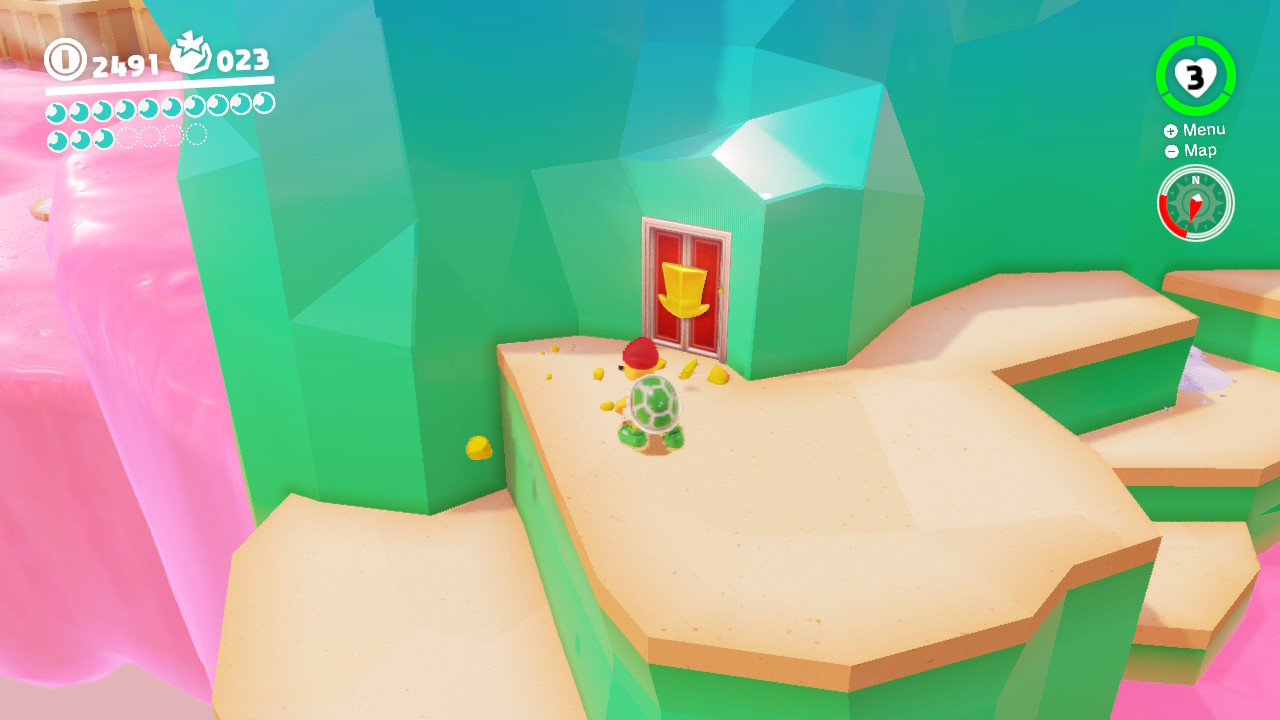
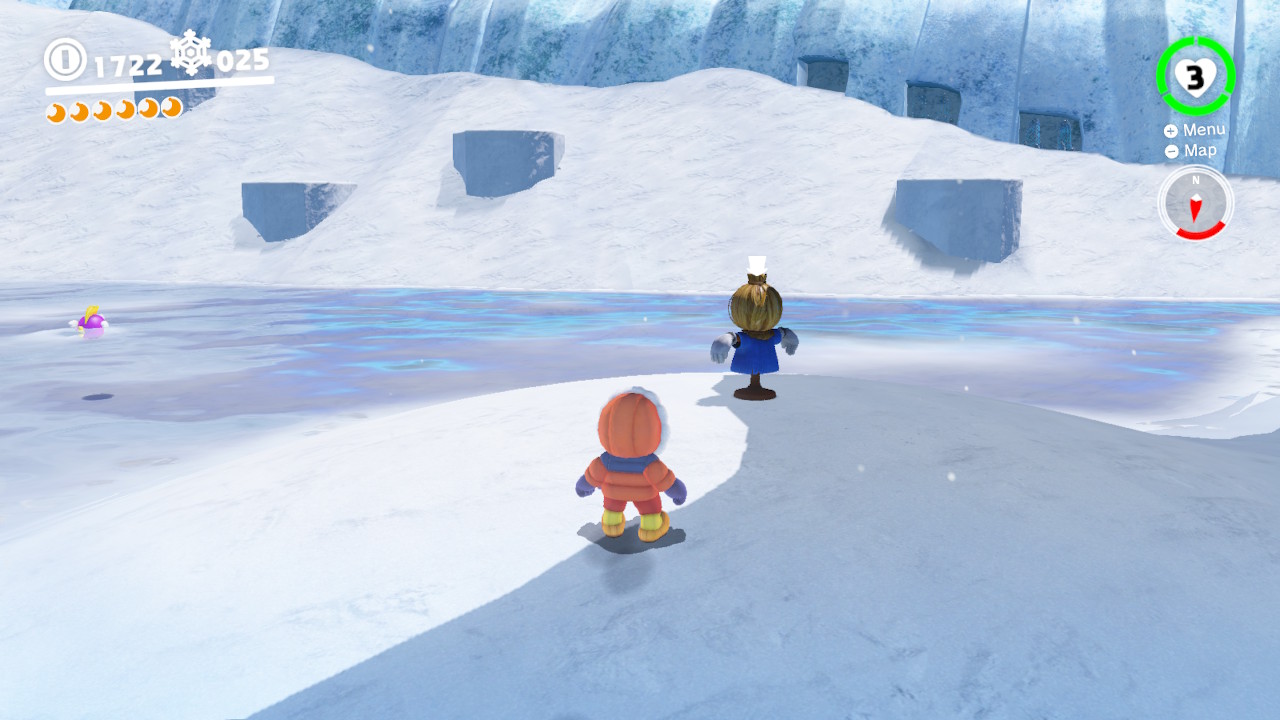
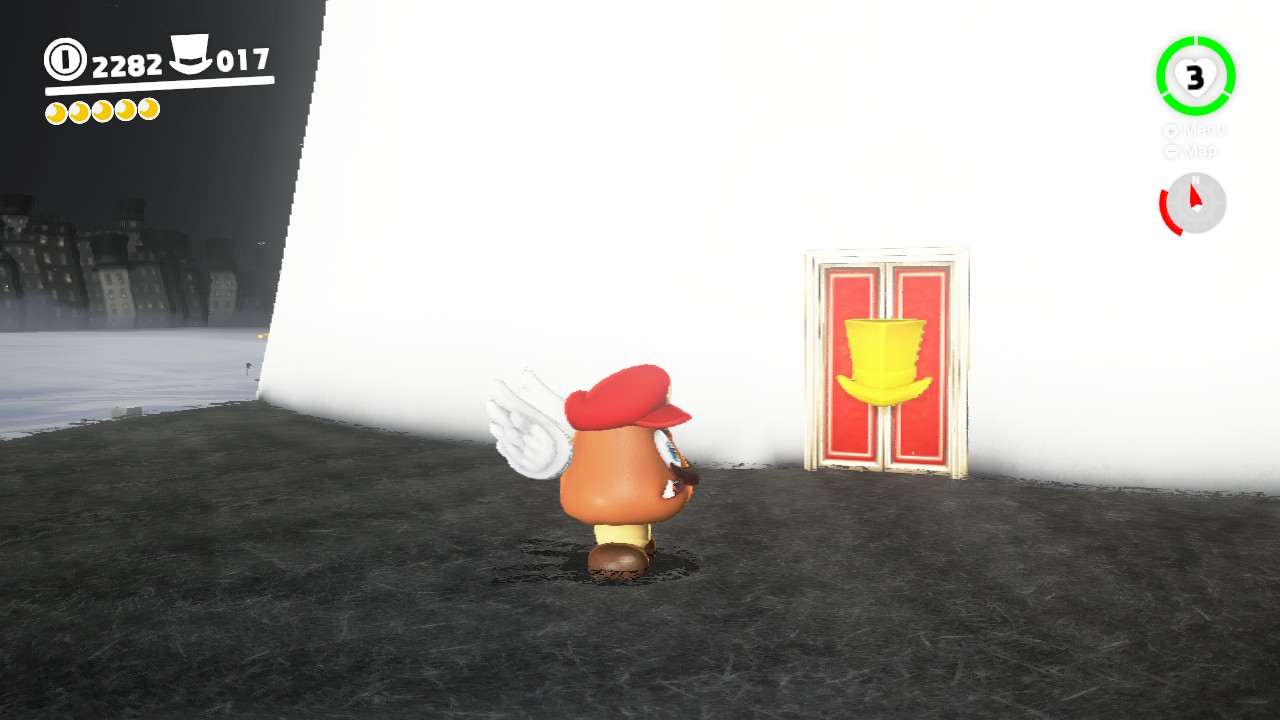
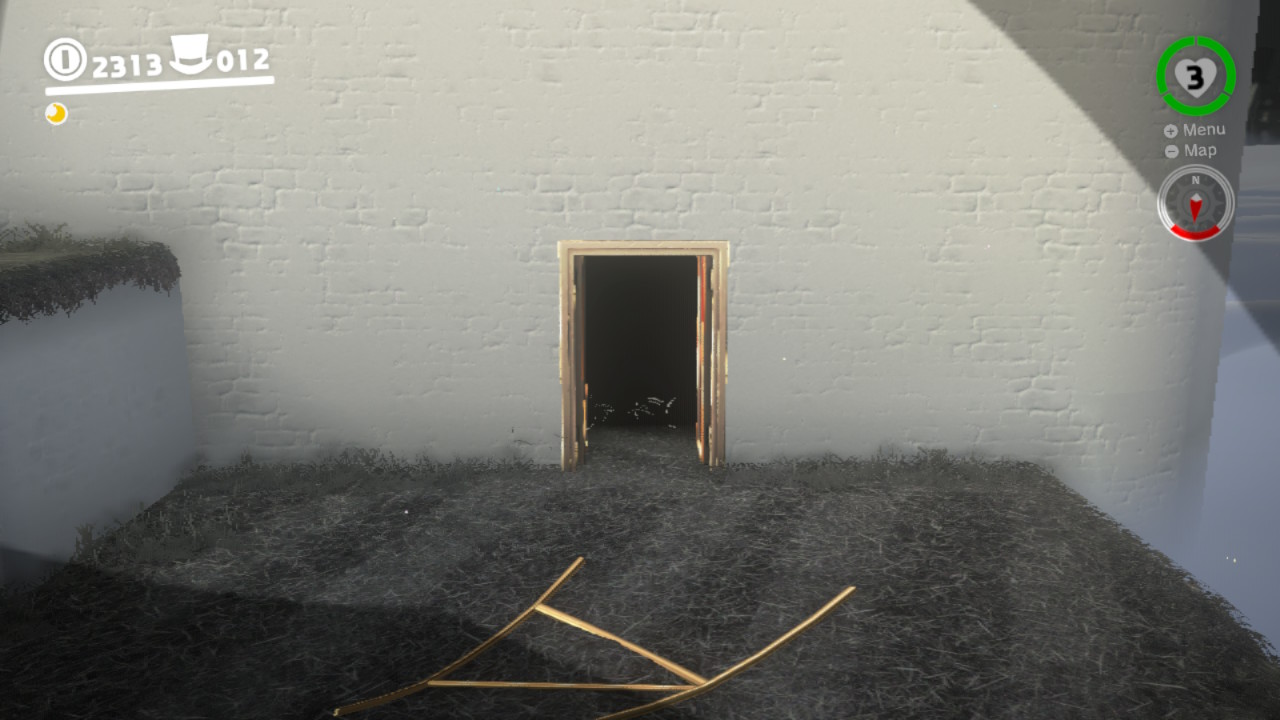
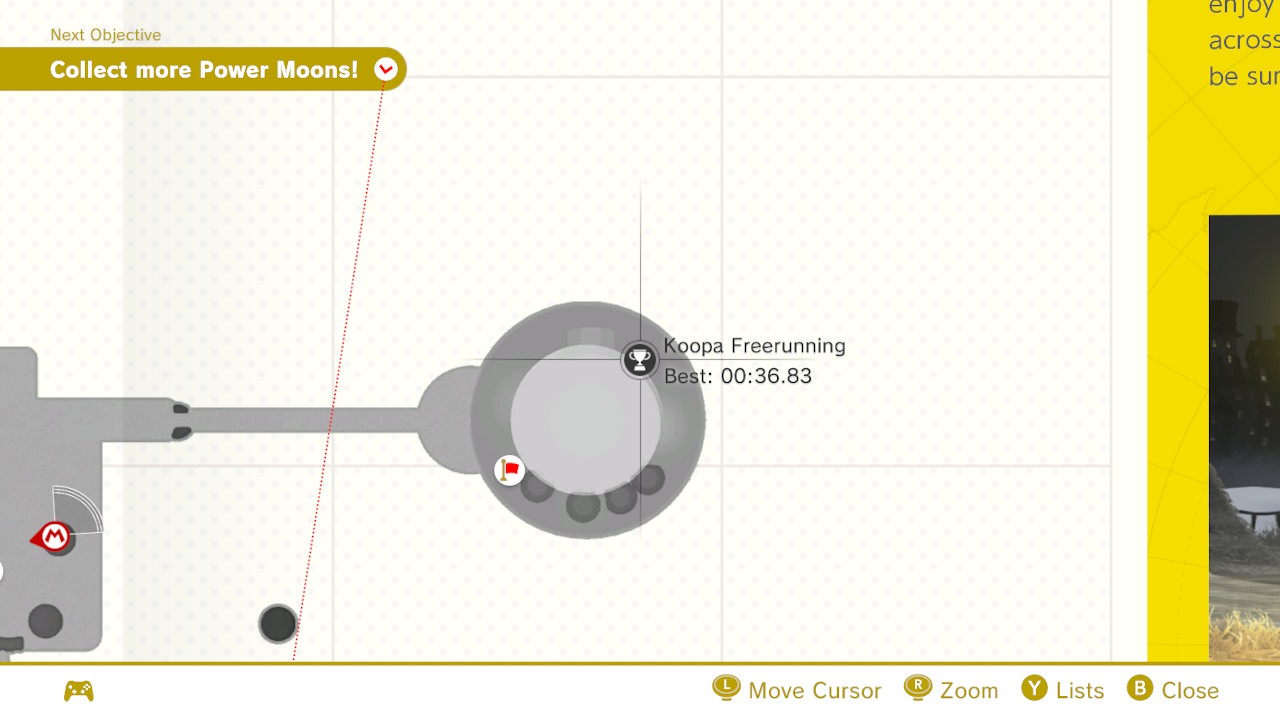
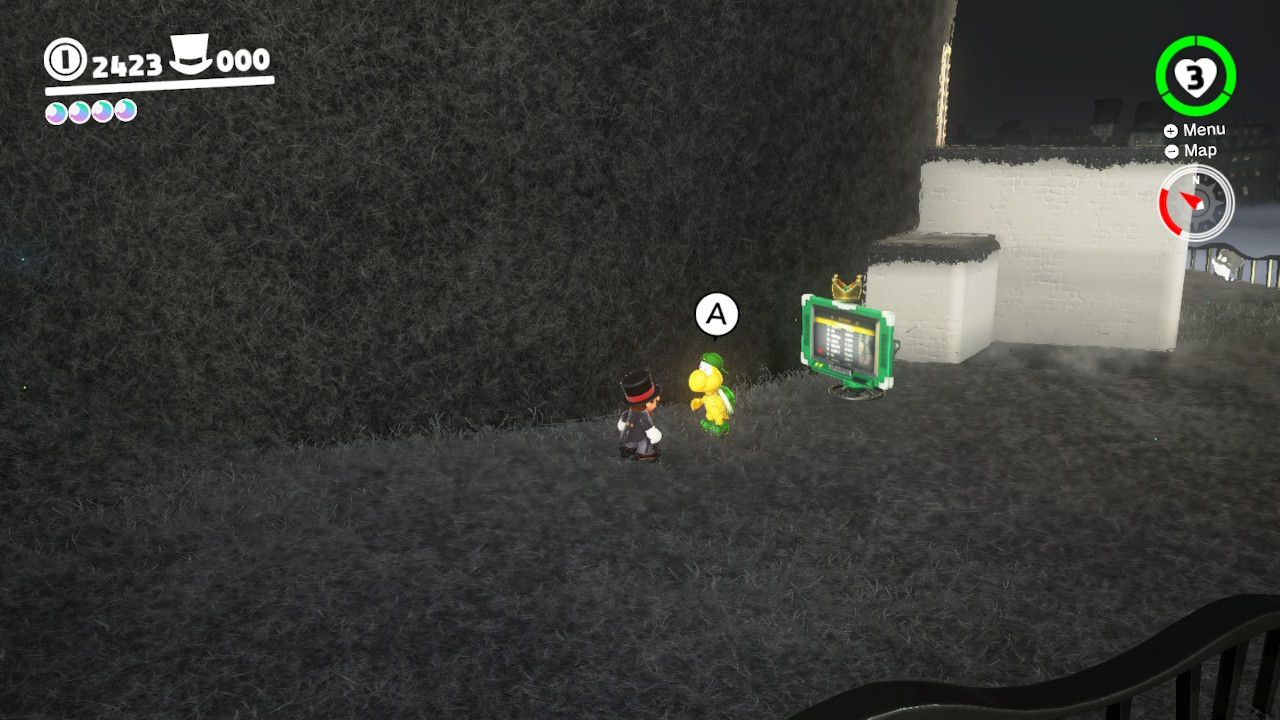
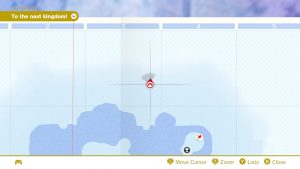
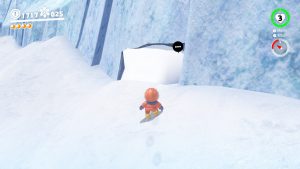
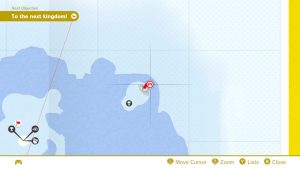
1- Hiding around the corner and right next to the checkpoint is a door…
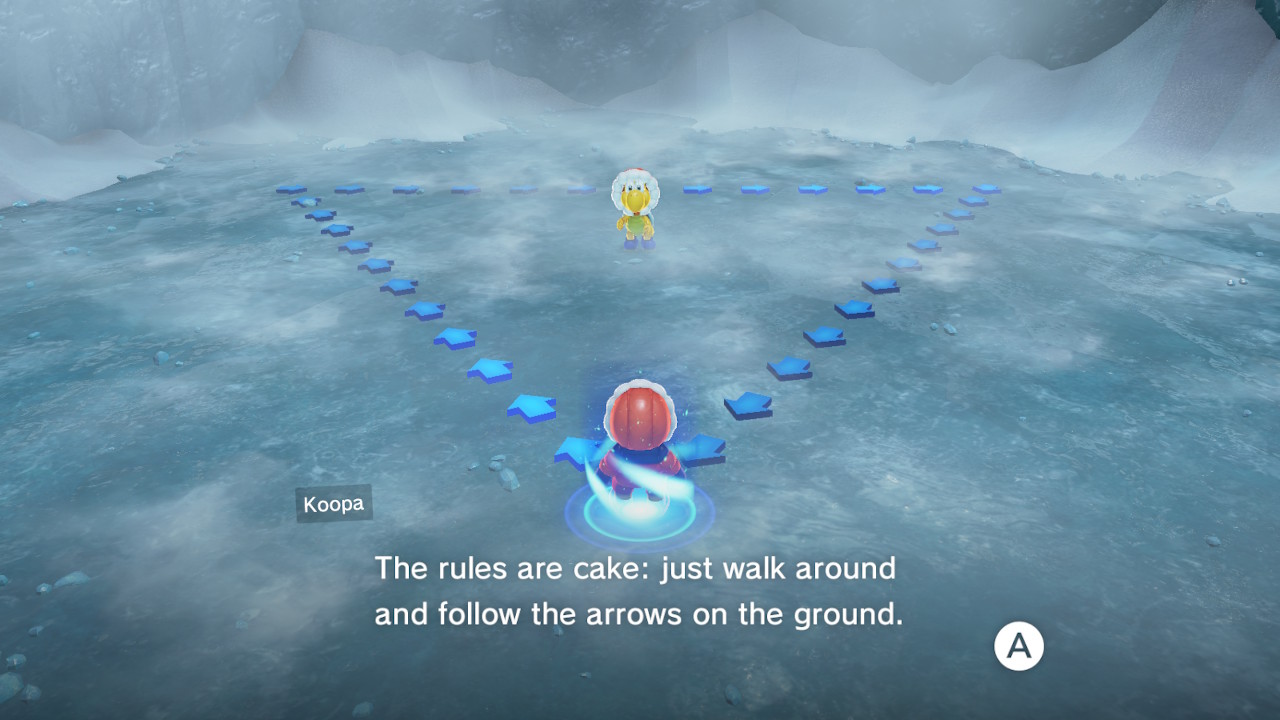
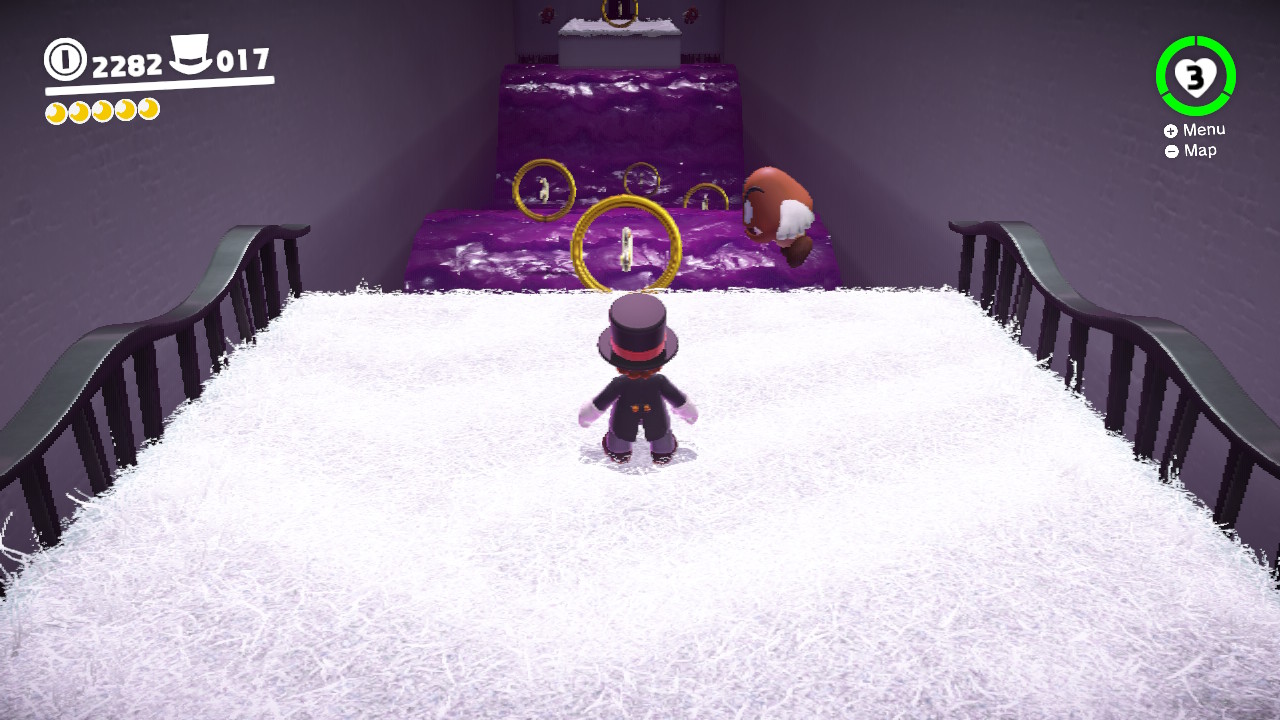
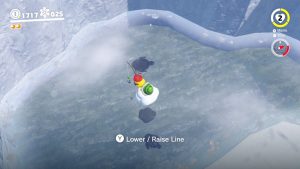
2- Inside, you will find a Koopa who is ready to play another walking game…

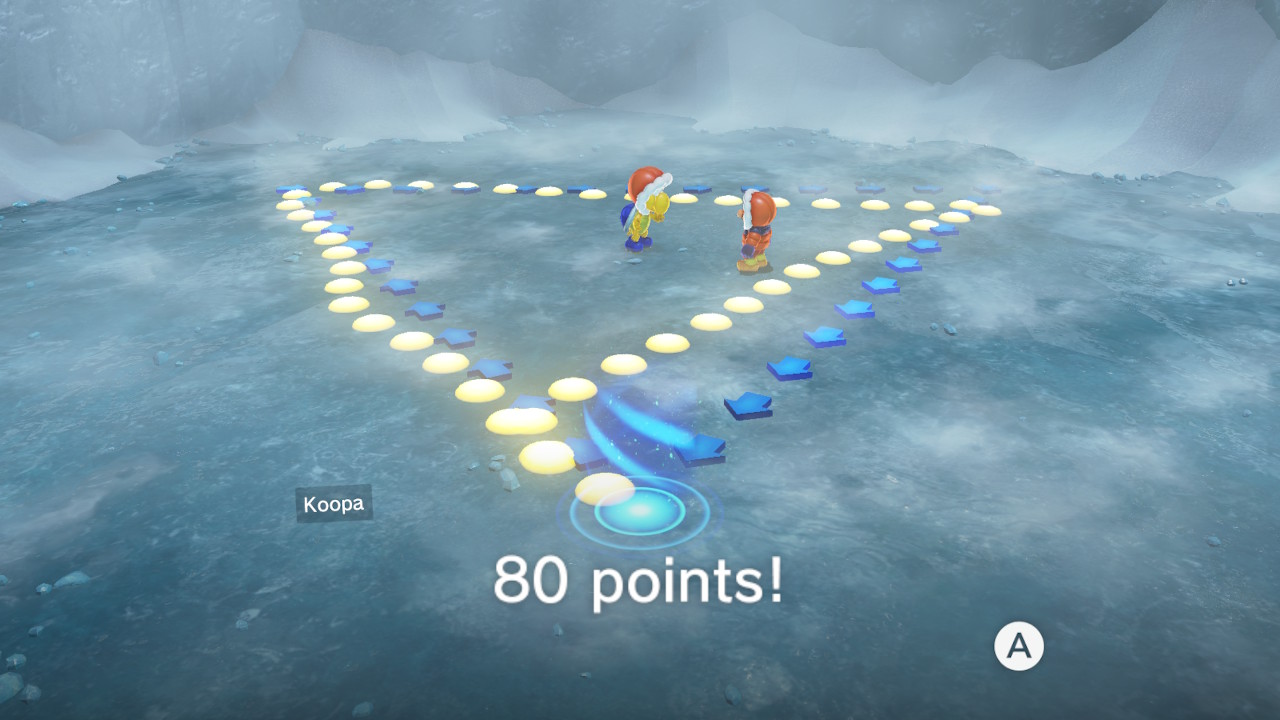
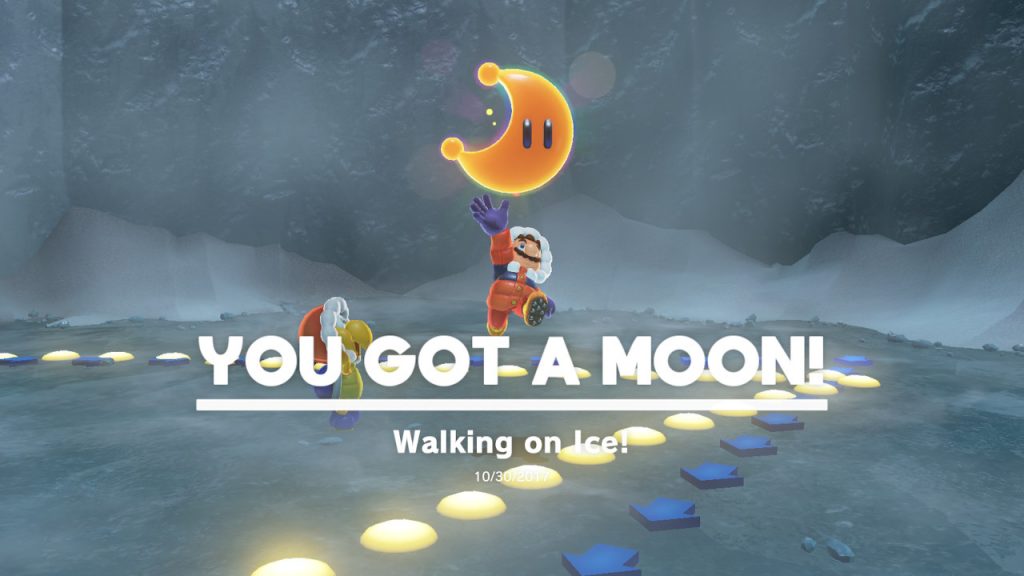
3- Walk on the dotted line, and remember it will dissapear, and try to get 80 or more points…

4- It is slippery so it’s tough to stay in line, but if you manage, you get your Power Moon!
23 –
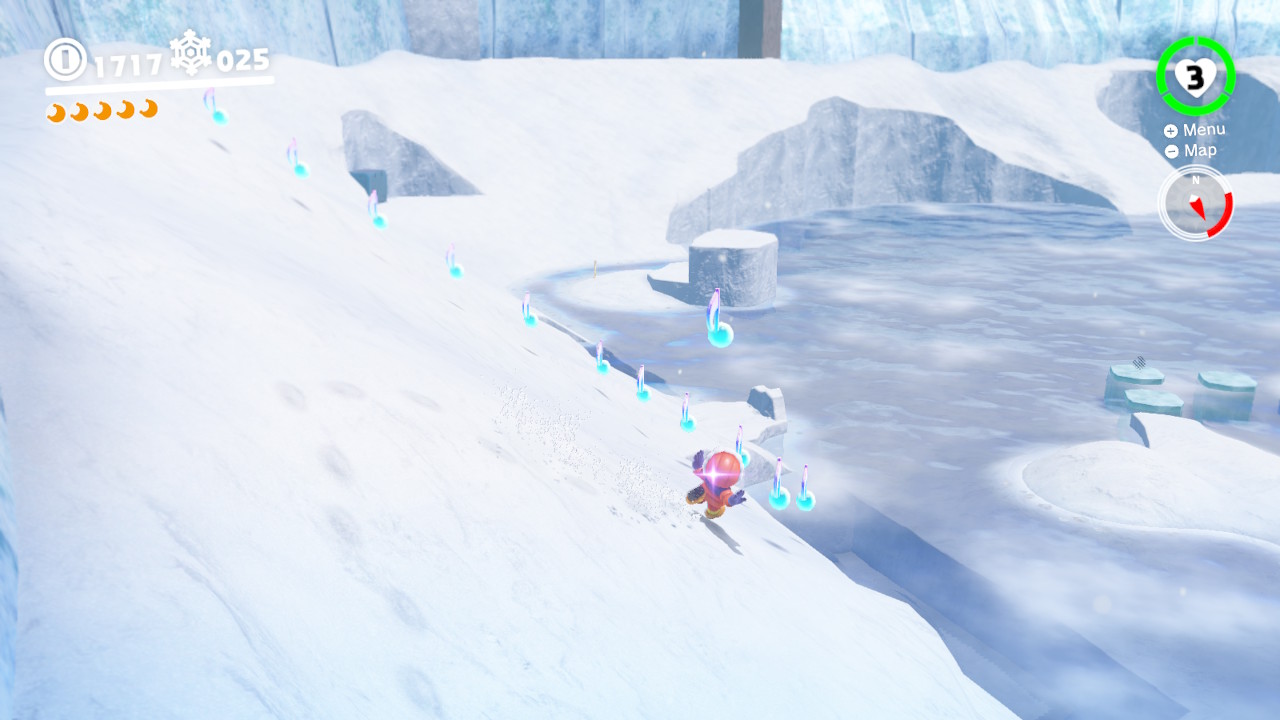
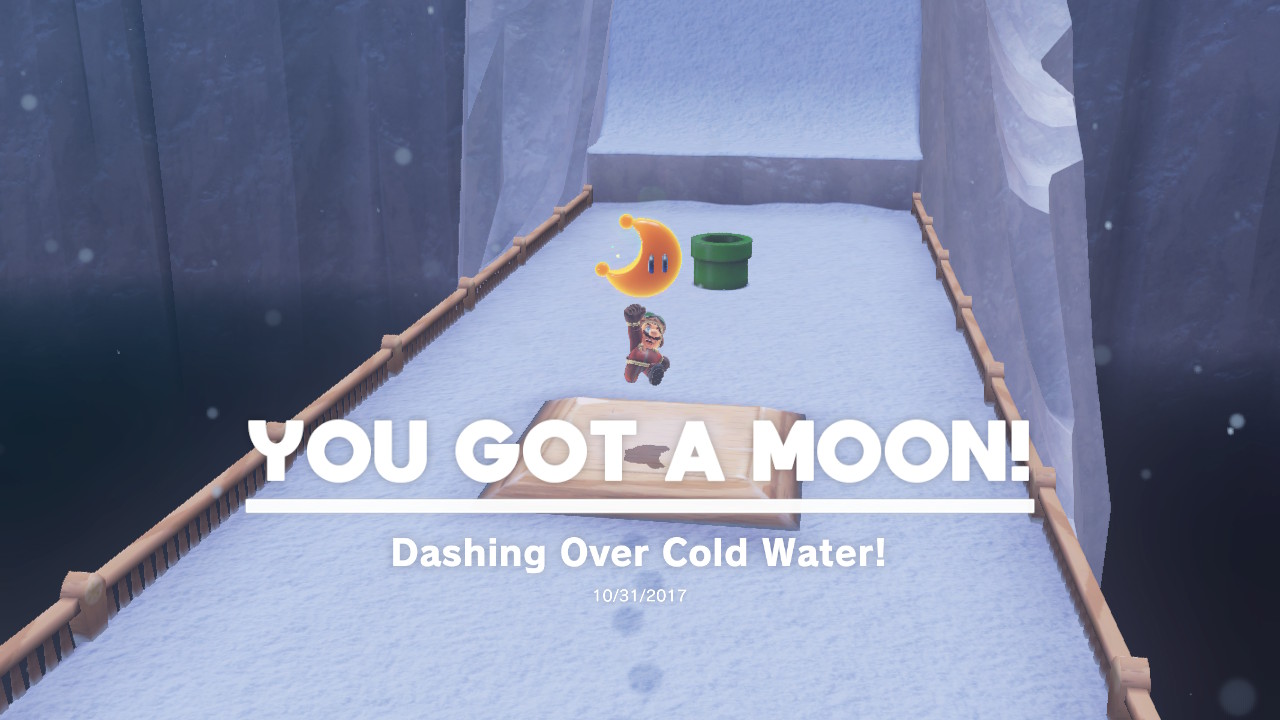
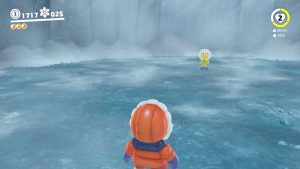
24 – Dashing Over Cold Water!

Location-

1- Hiding behind a block of ice and behind some snow is a Cappy door…

2- Inside is a REALLY fun water running challenge…
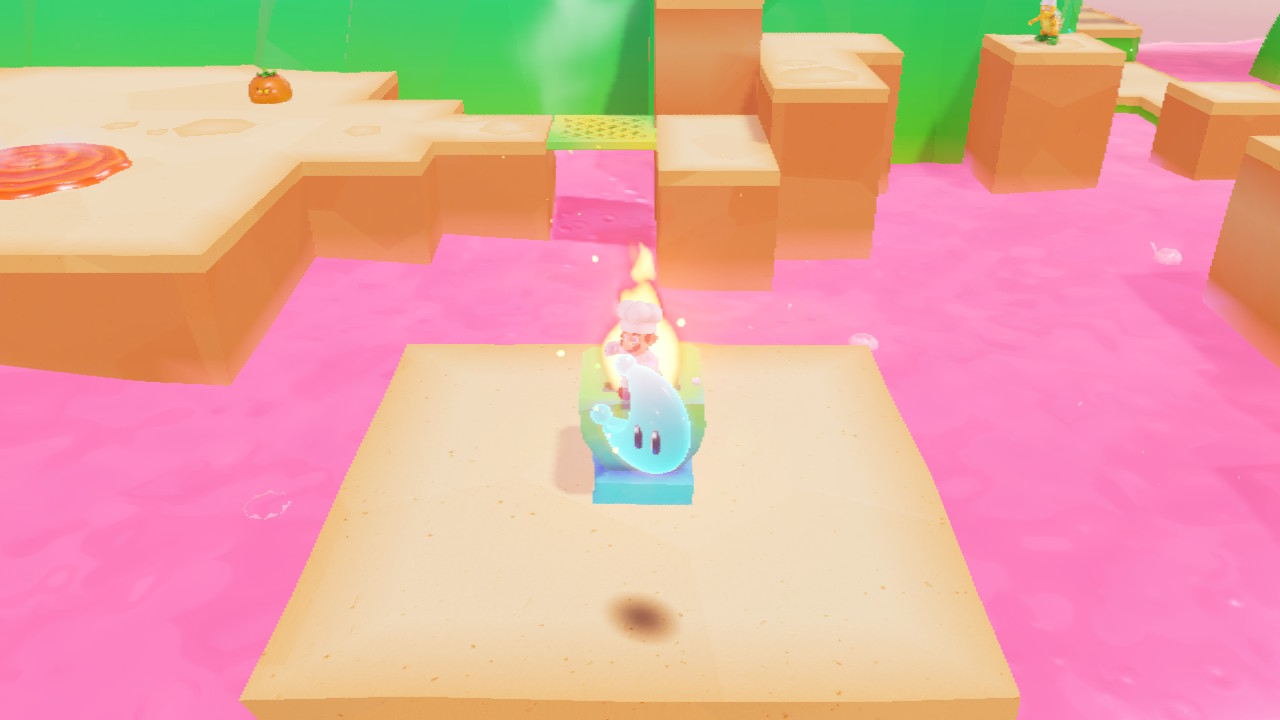
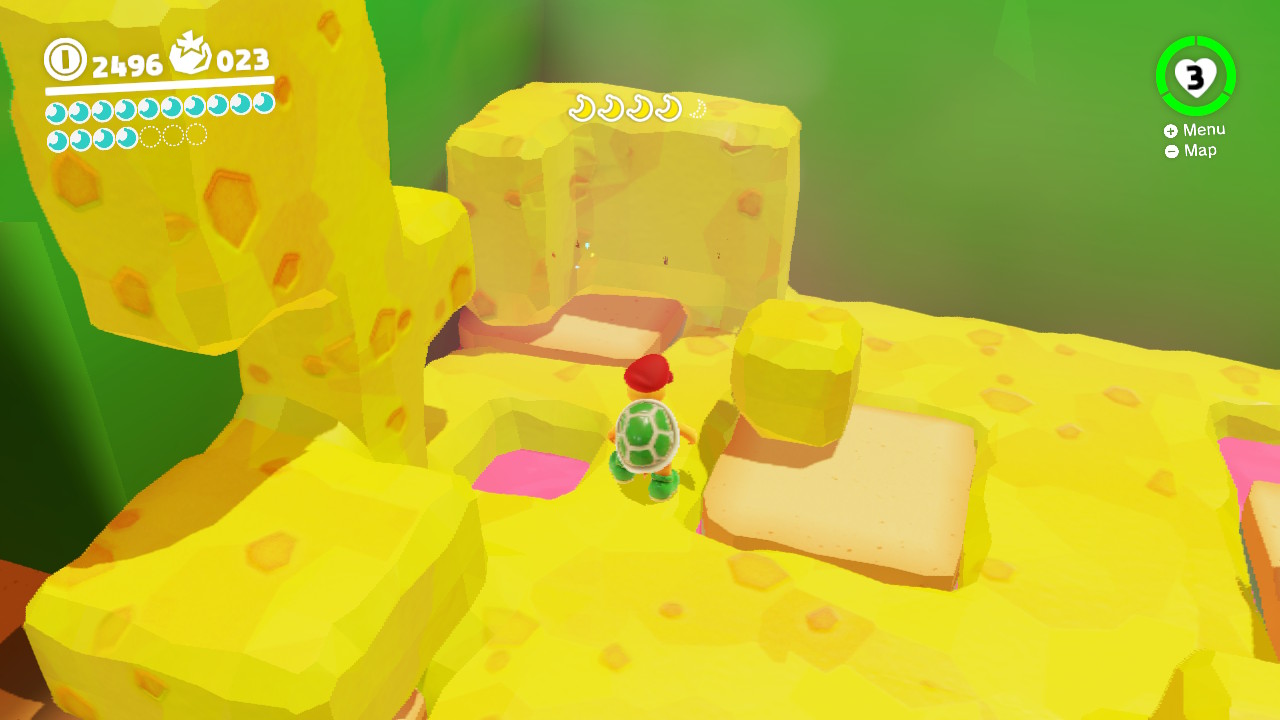
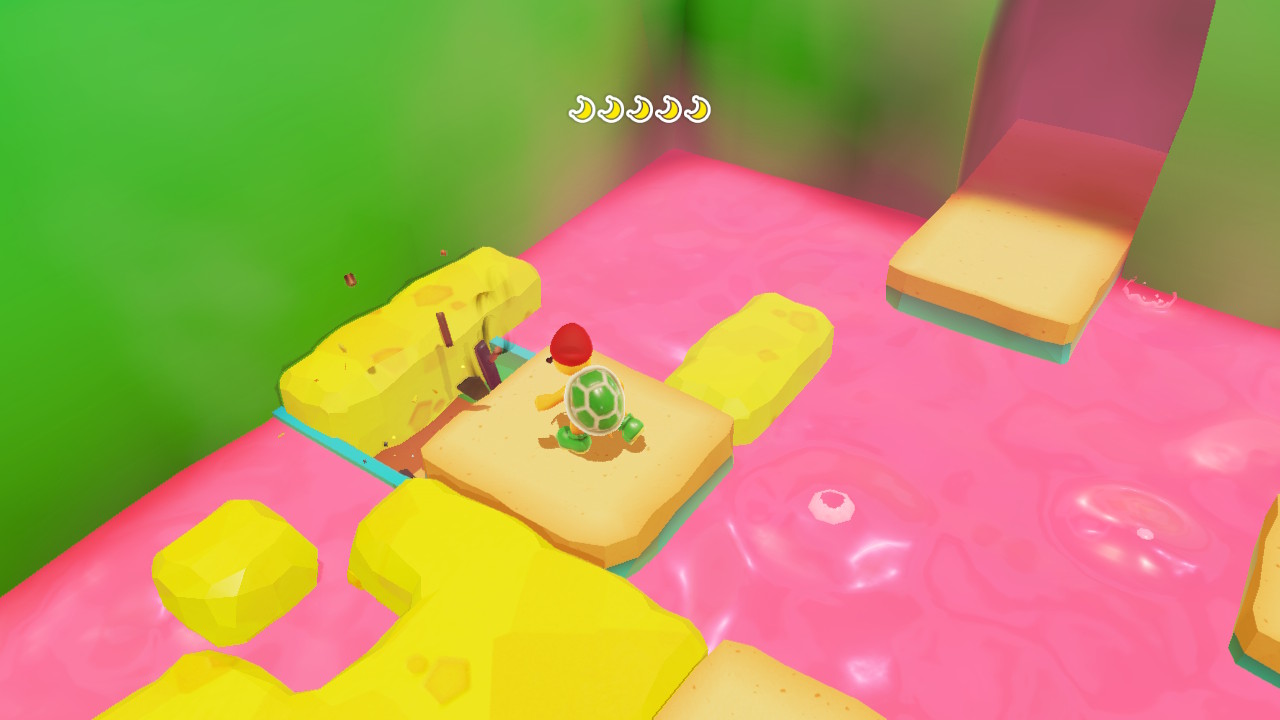
3- Throw Cappy at the flowers to run lightning fast across the water…

4- And up the hill to the Power Moon!
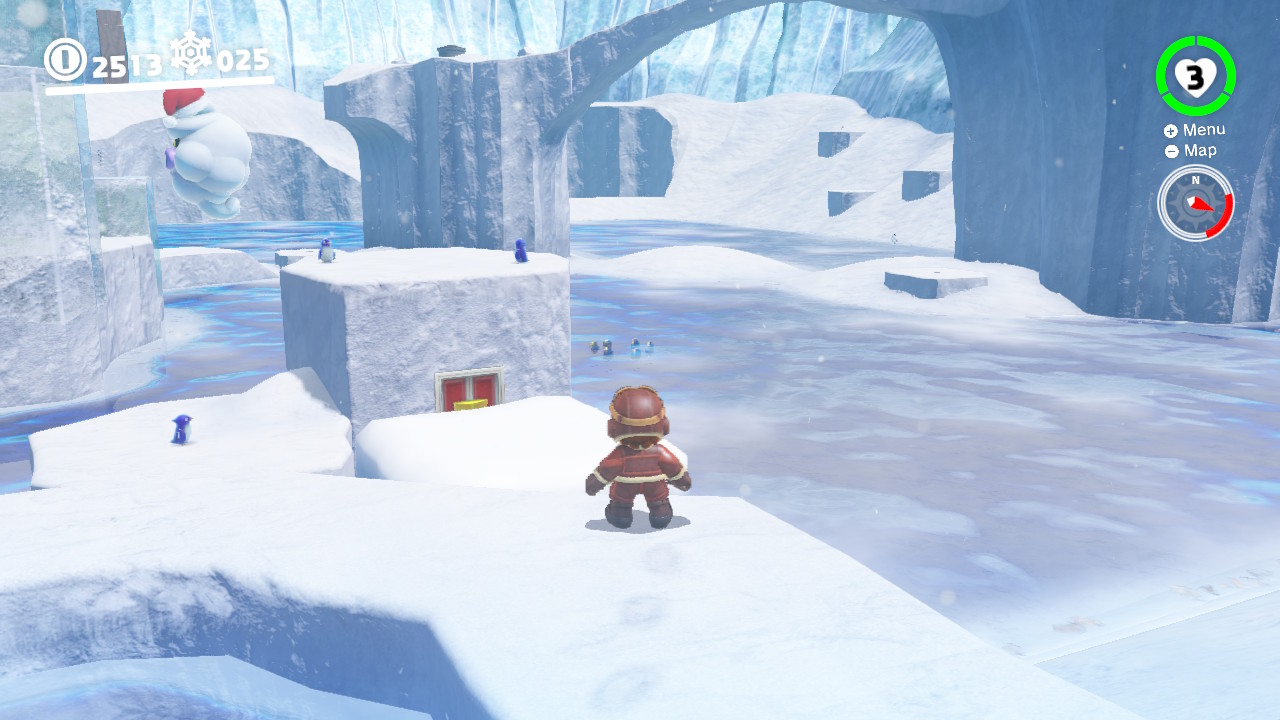
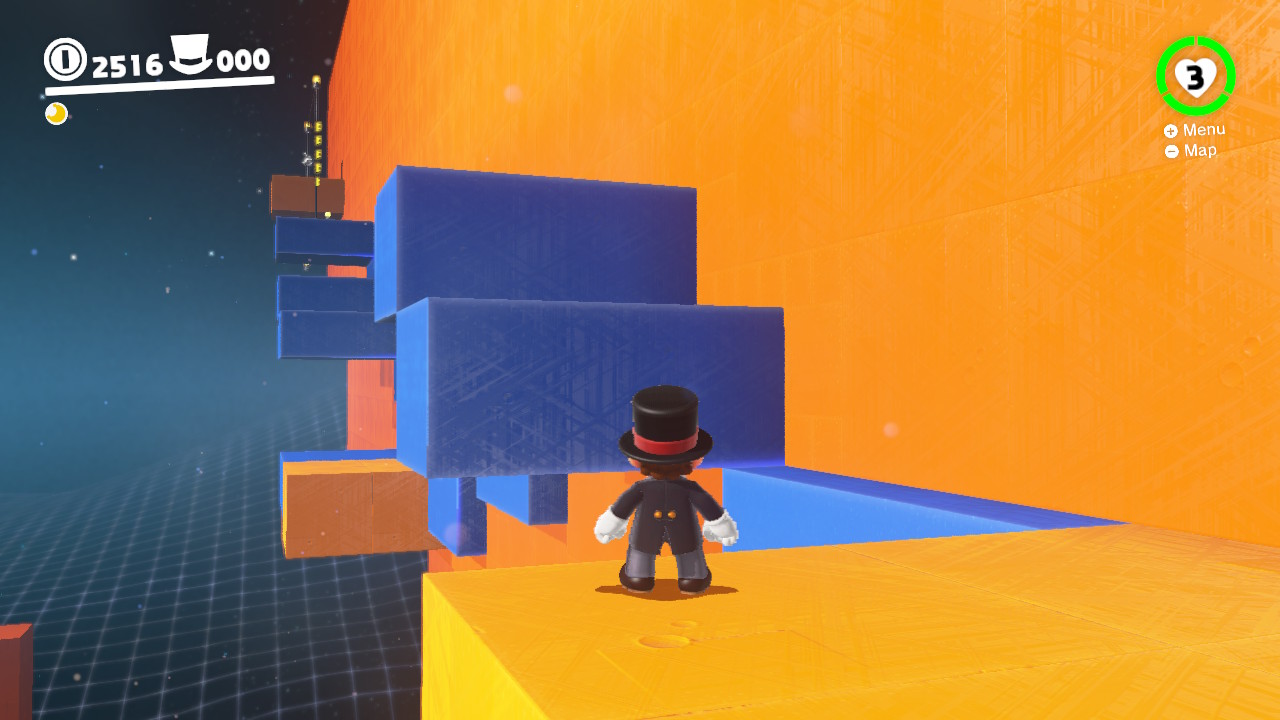
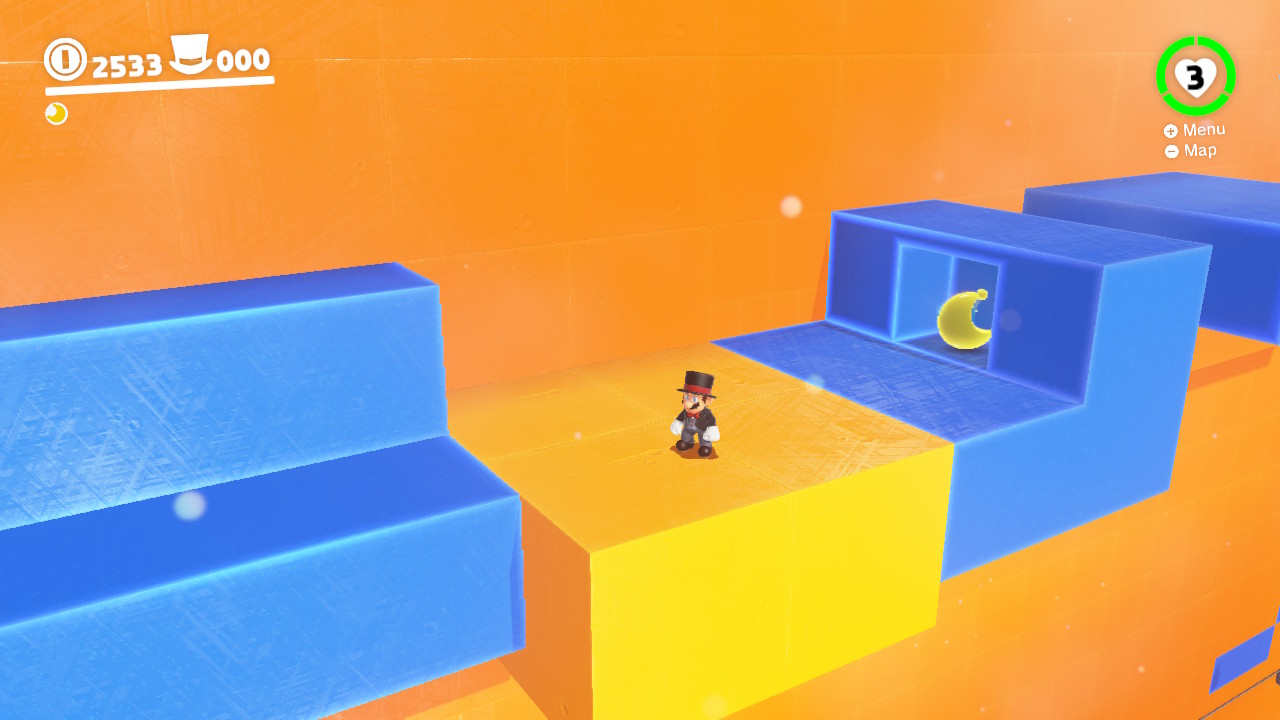
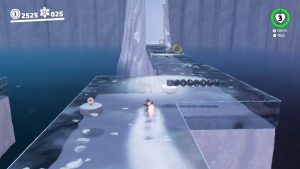
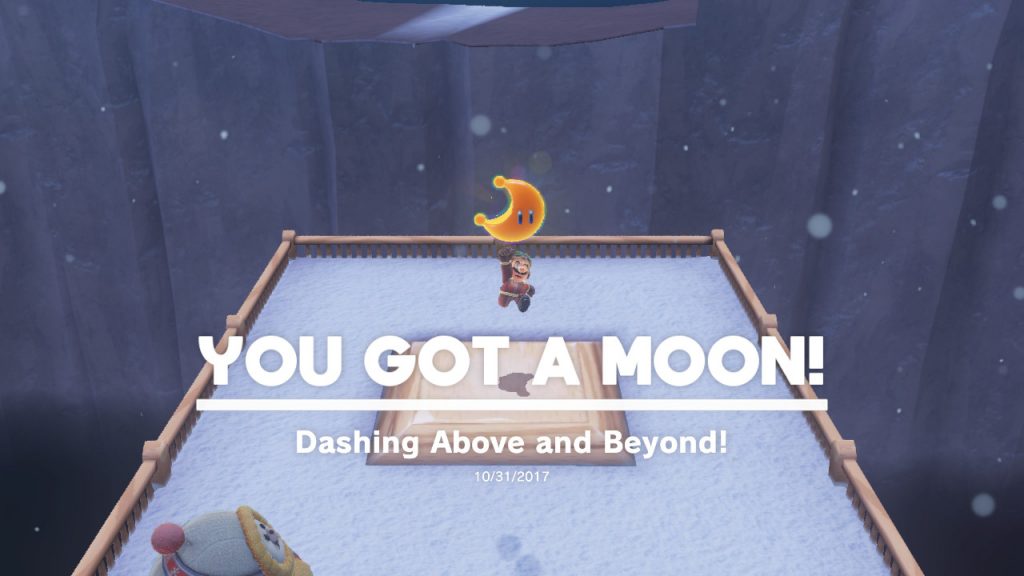
25 – Dashing Above and Beyond!
Location-
1- Hiding behind a block of ice and behind some snow is a Cappy door…
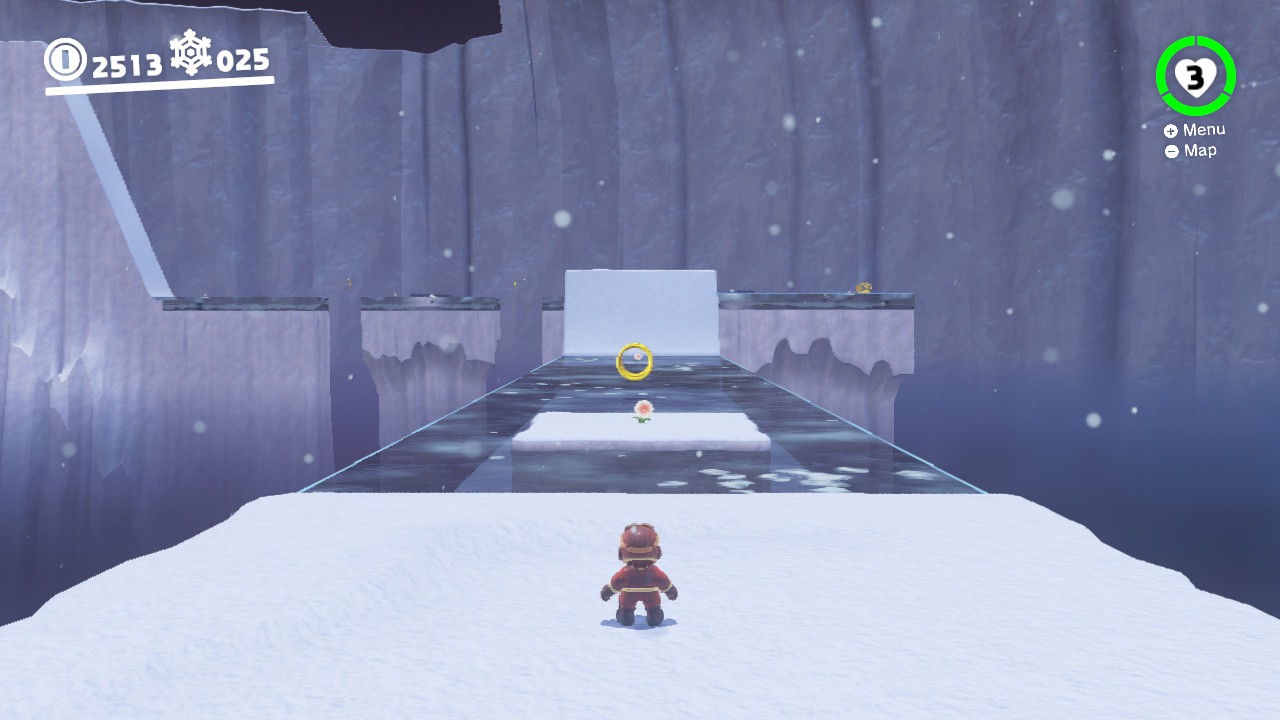
2- Inside is a REALLY fun water running challenge…
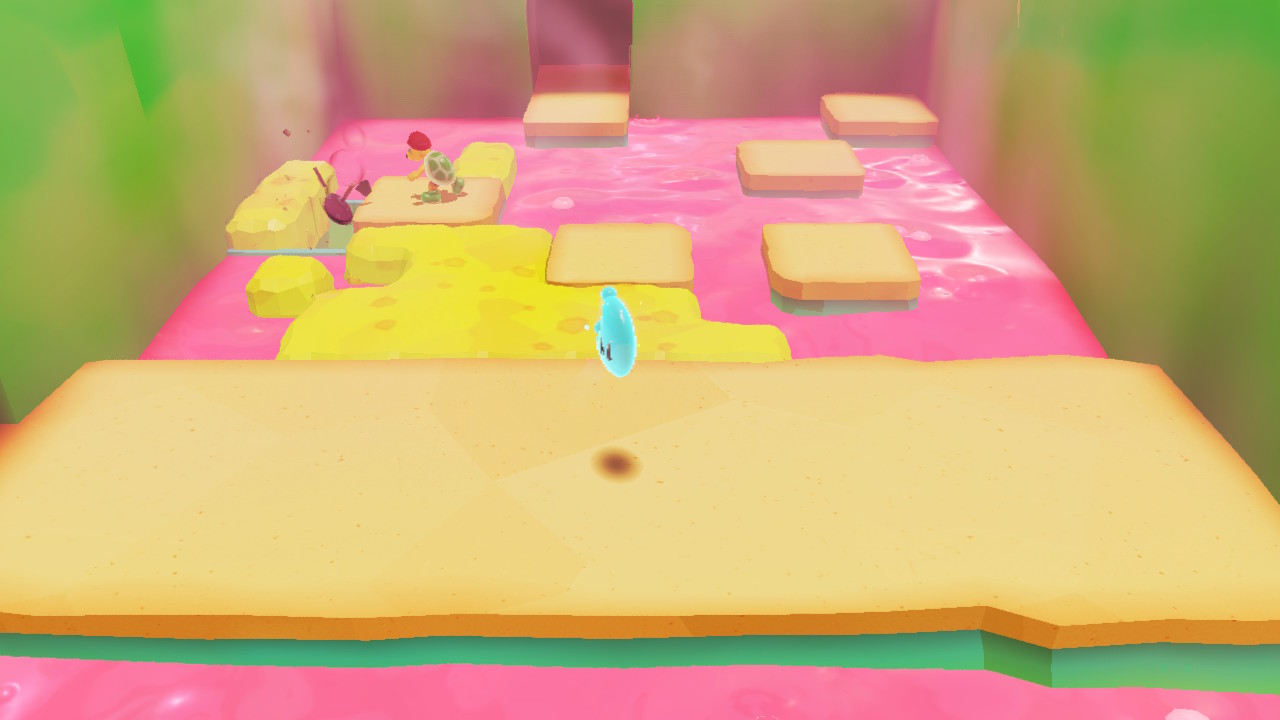
3- Throw Cappy at the flowers to run lightning fast…
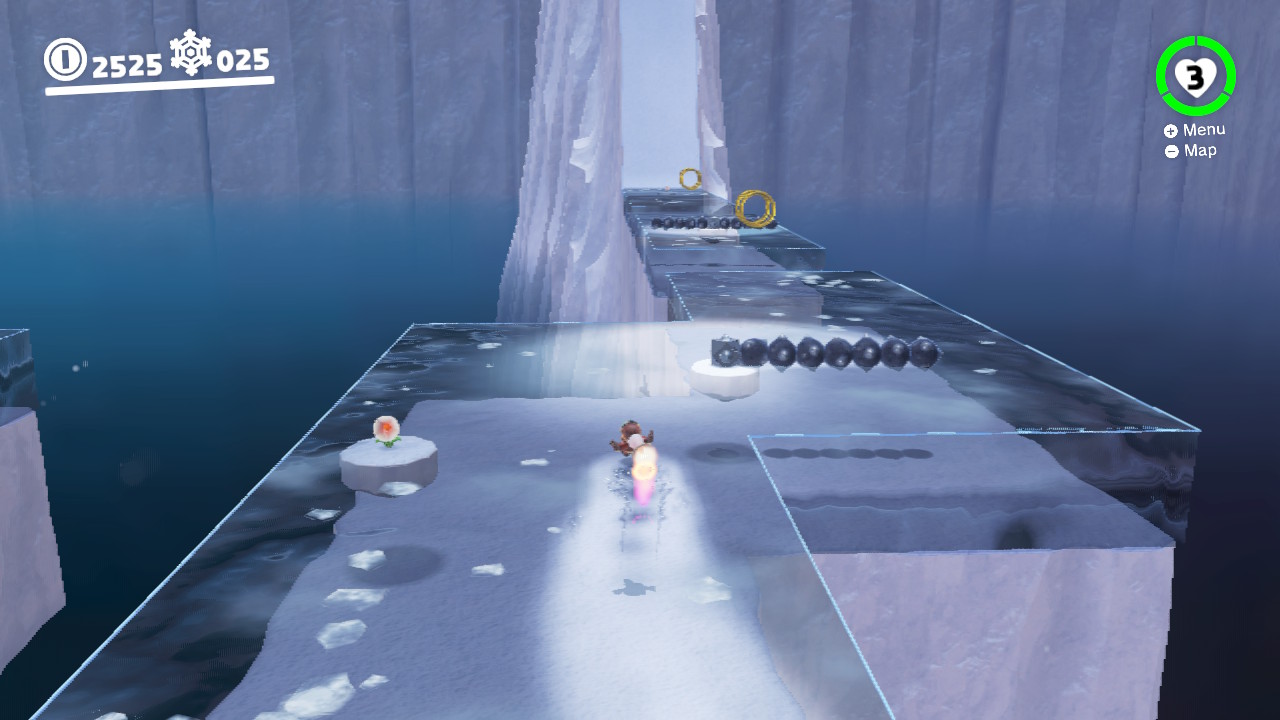
4- Instead of grabbing the Power Moon however, keep running past it and up the next hill…
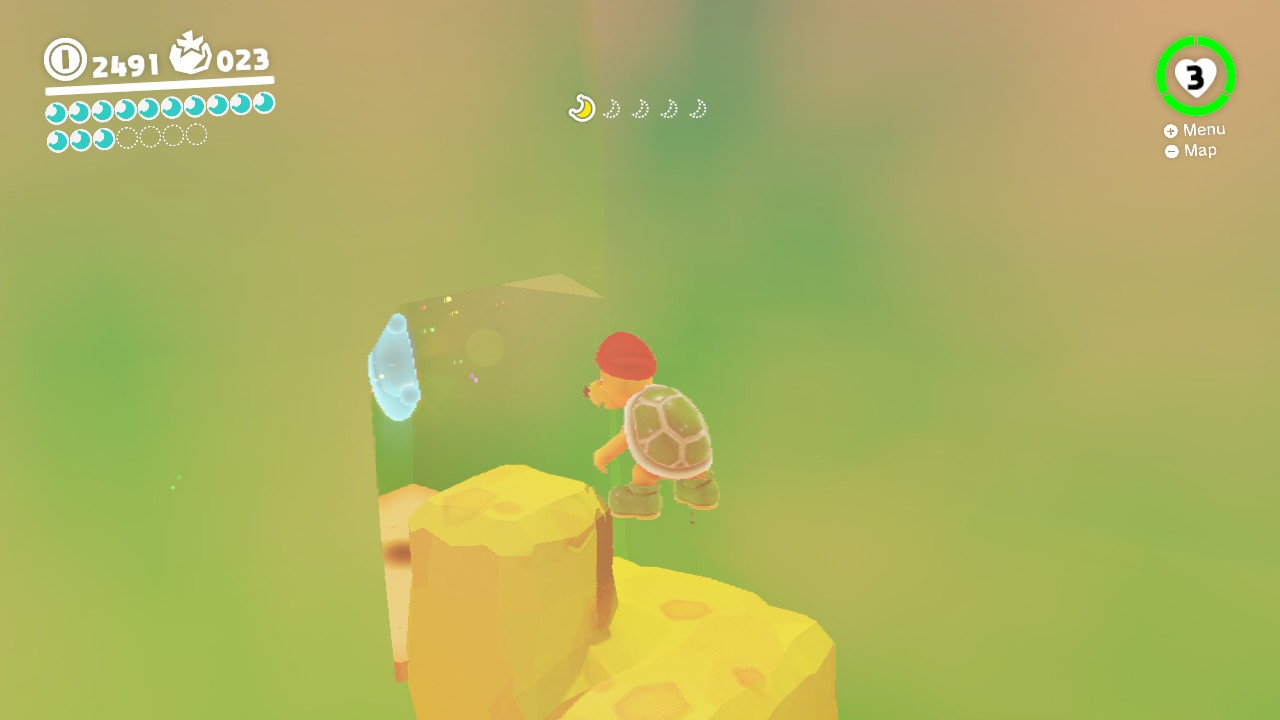
5- You’ll need to grab a lot of the flowers along the way. Thankfully you don’t need all of them. You can miss one and still have enough momentum to reach the top…

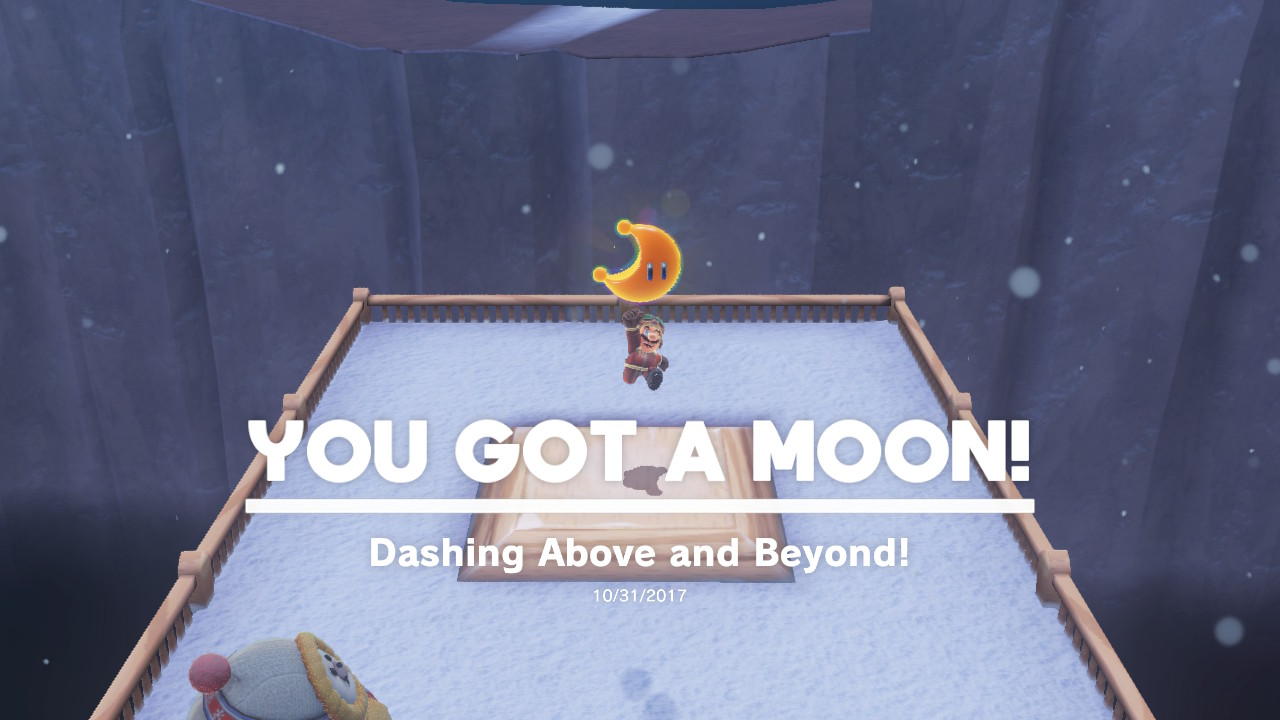
6- Once you climb the mountain, you can snag the Power Moon! Also this guy is impressed!
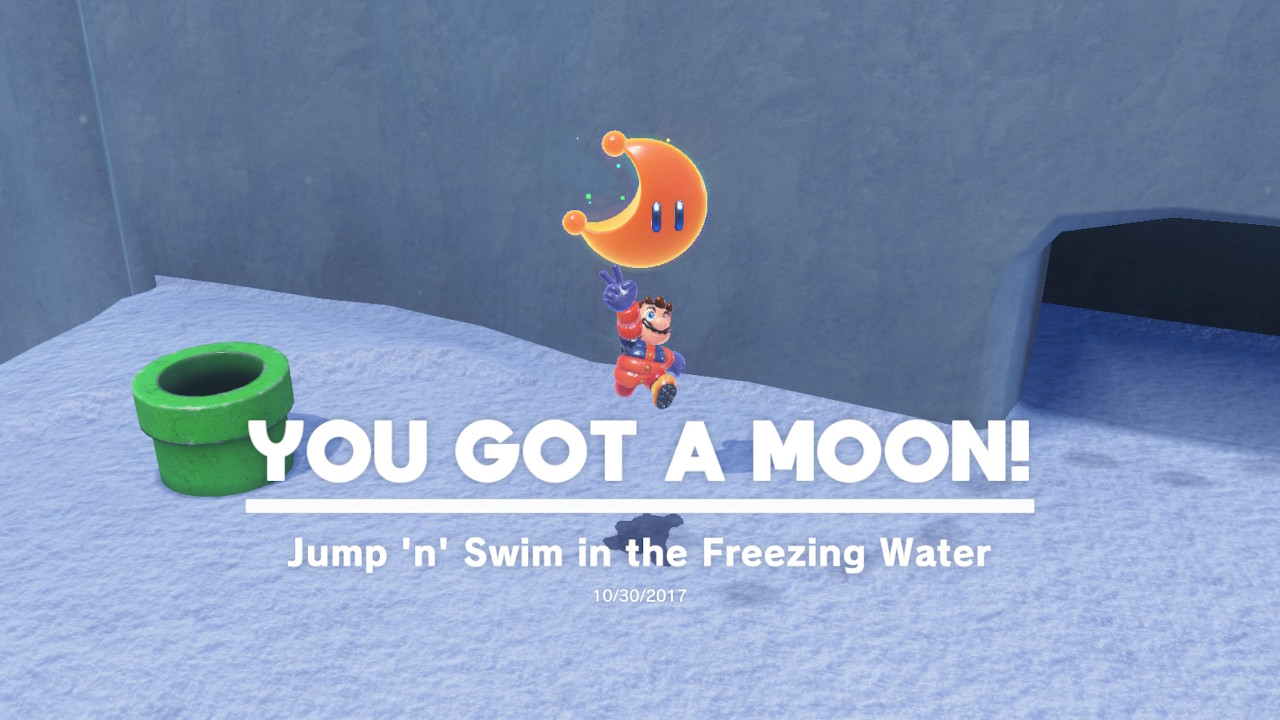
26 – Jump ‘n’ Swim in the Freezing Water
Location-

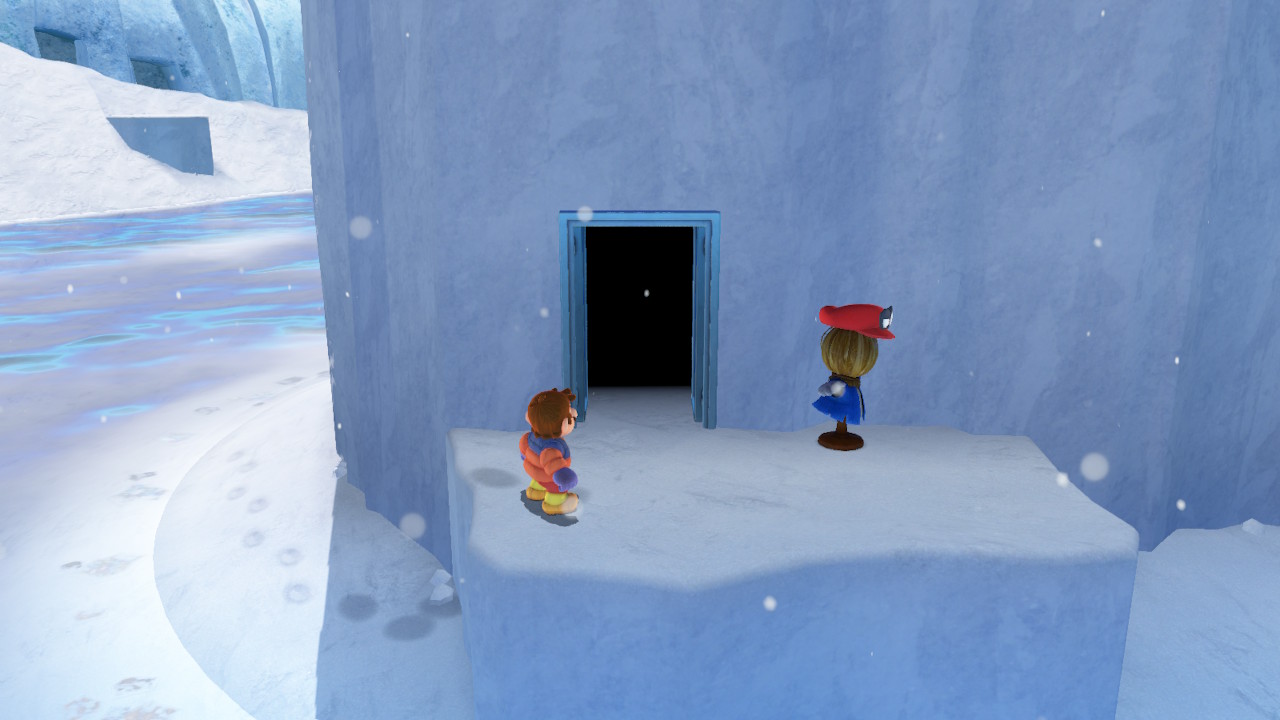
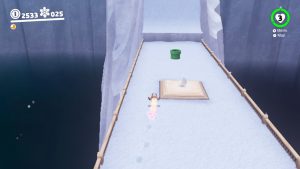
1- Down below the cliffside and on the egde of the water, a scarecrow is waiting, throw Cappy at him to open the door…

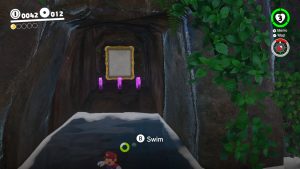
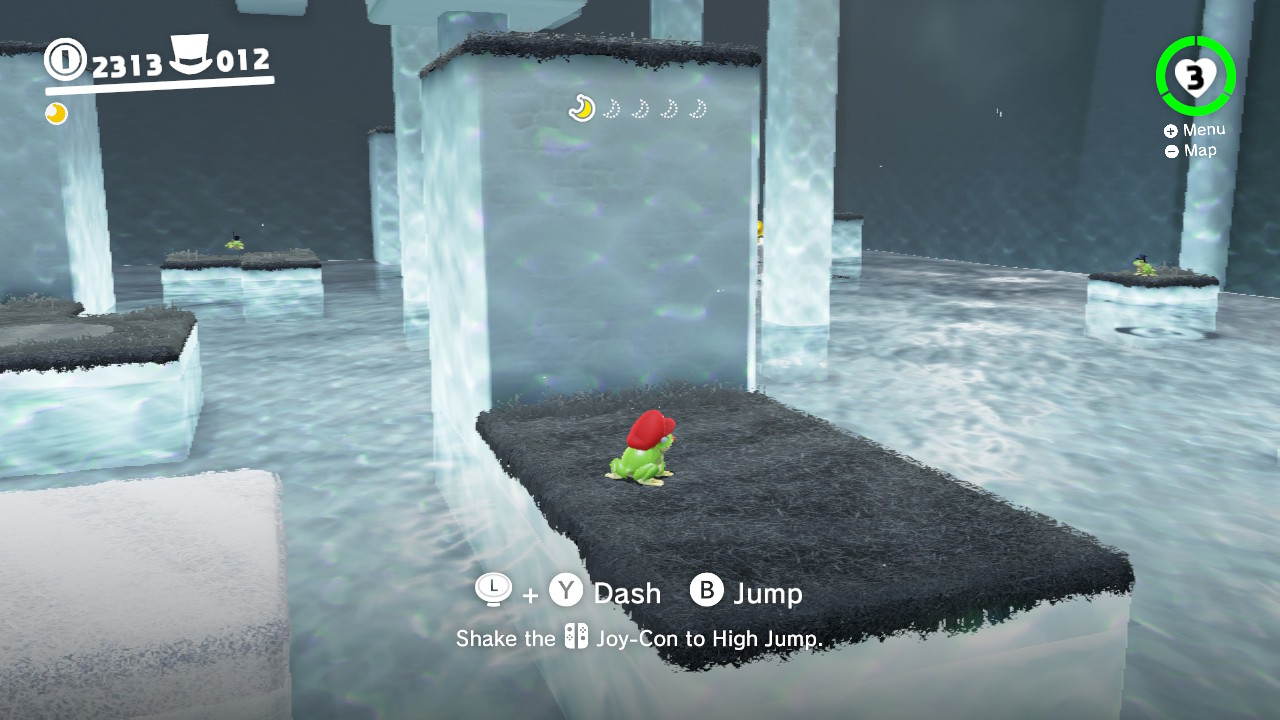
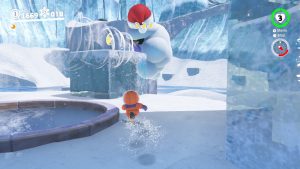
2- Now you are inside a big icy cavern but WITHOUT the help of Cappy…
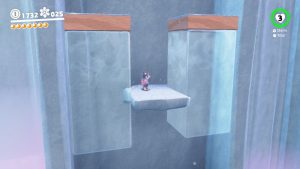
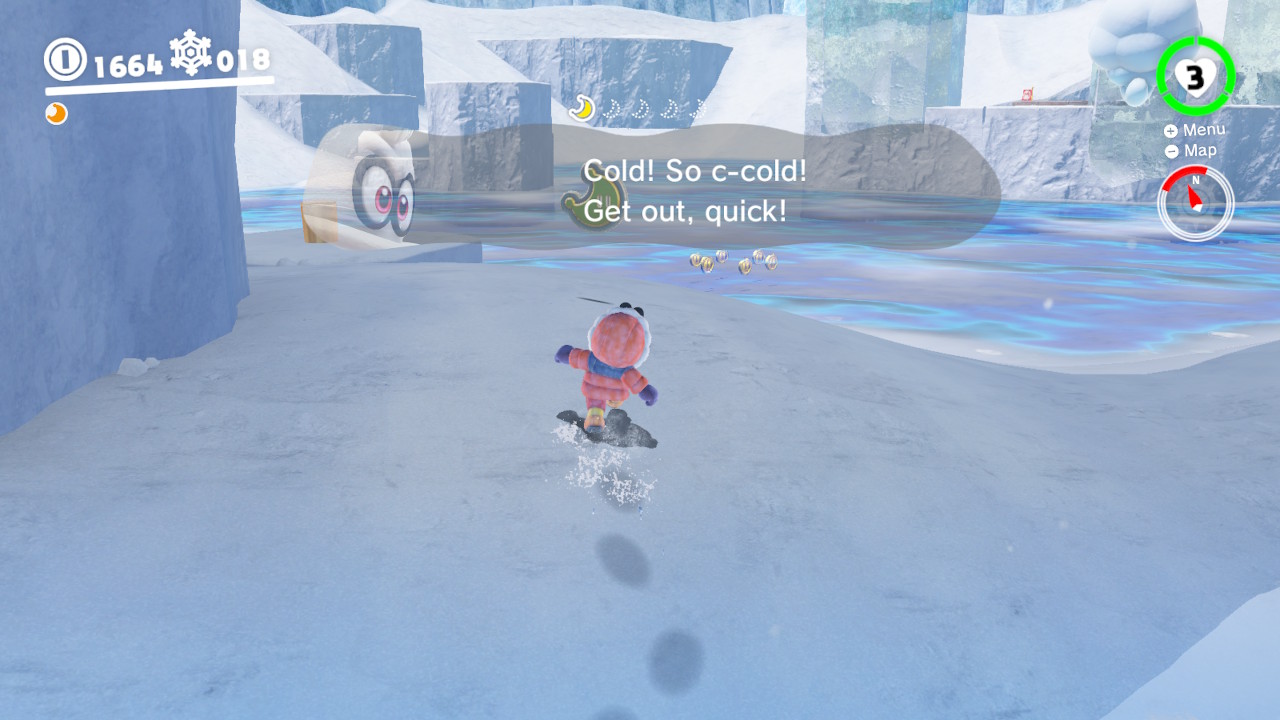
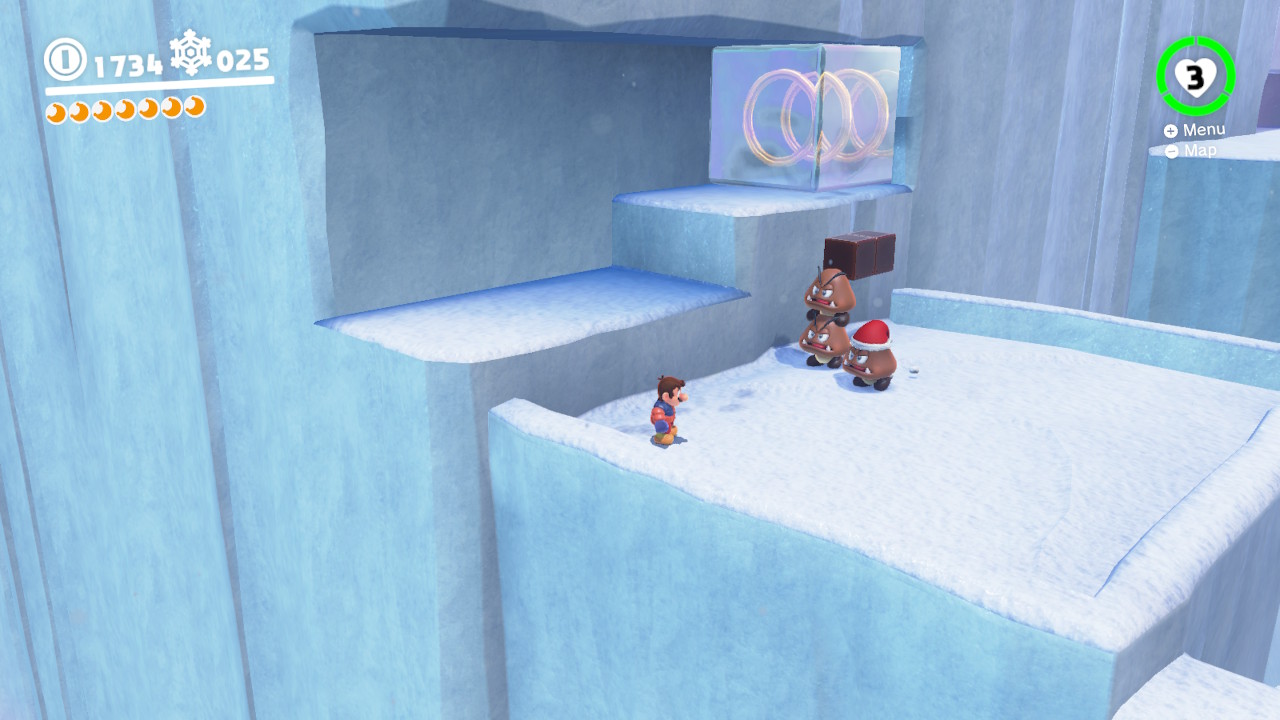
3- Swim up the freezing waters…
4- Avoid the Goombas…
5- Don’t stay in the waters too long…

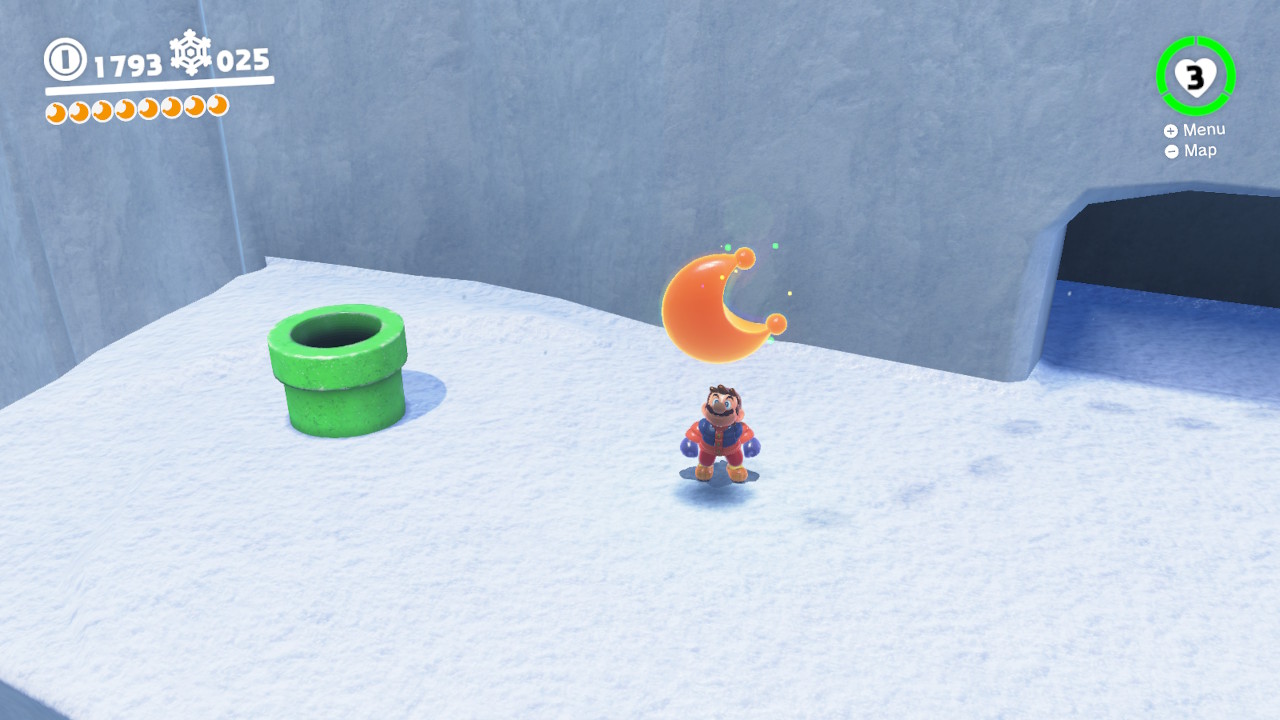
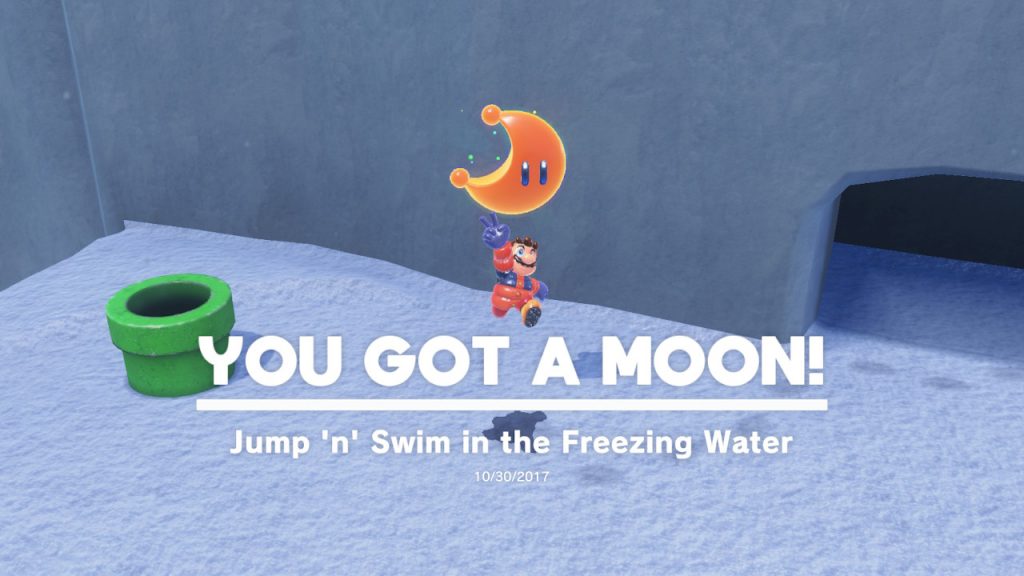
5- At the end of the freezing obstacle course you will find your Power Moon!
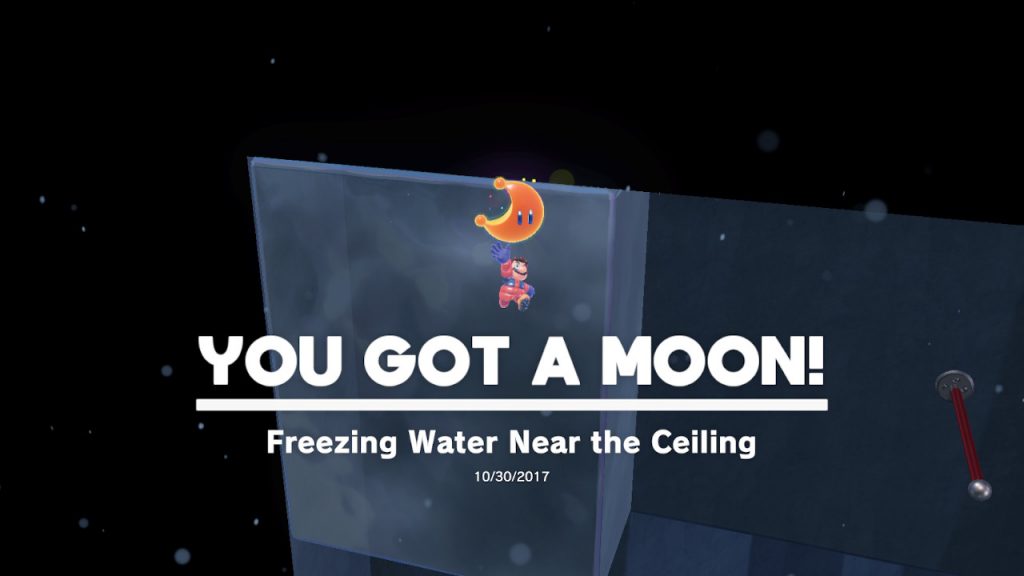
27 – Freezing Water Near the Ceiling
Location-
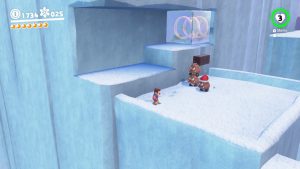
1- Down below the cliffside and on the egde of the water, a scarecrow is waiting, throw Cappy at him to open the door…
2- Now you are inside a big icy cavern but WITHOUT the help of Cappy…
3- Swim up the freezing waters…
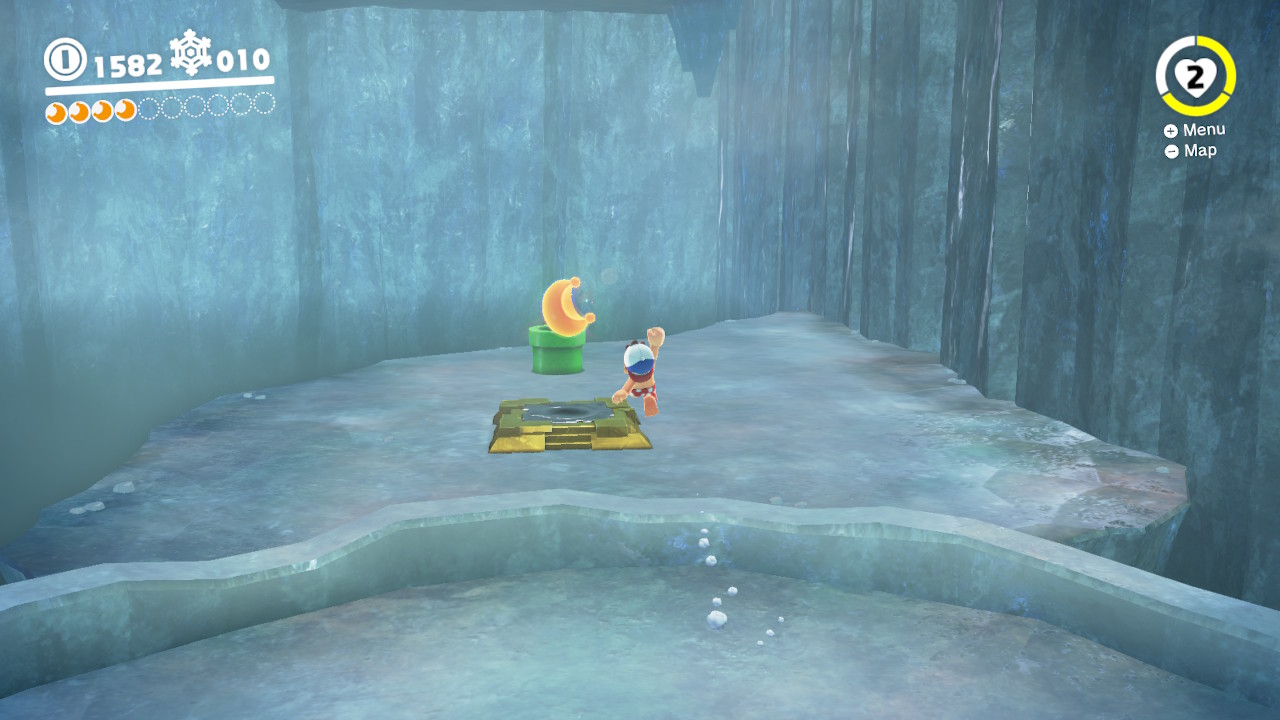
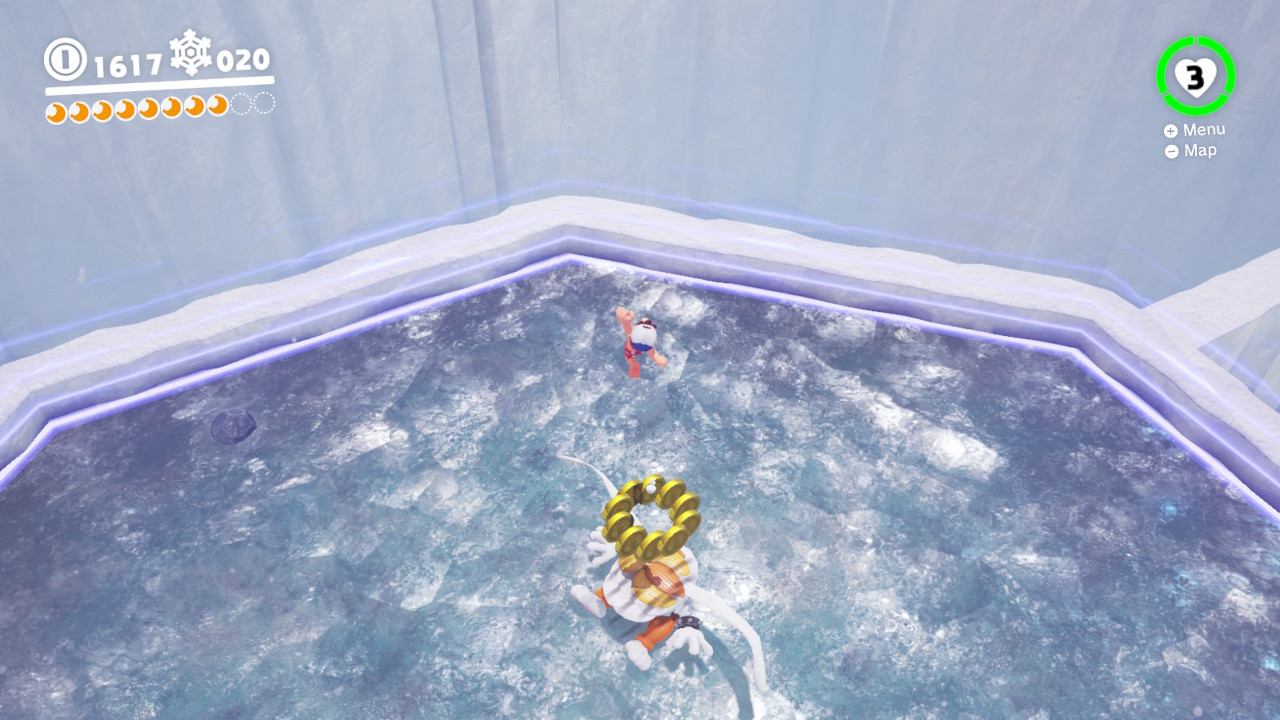
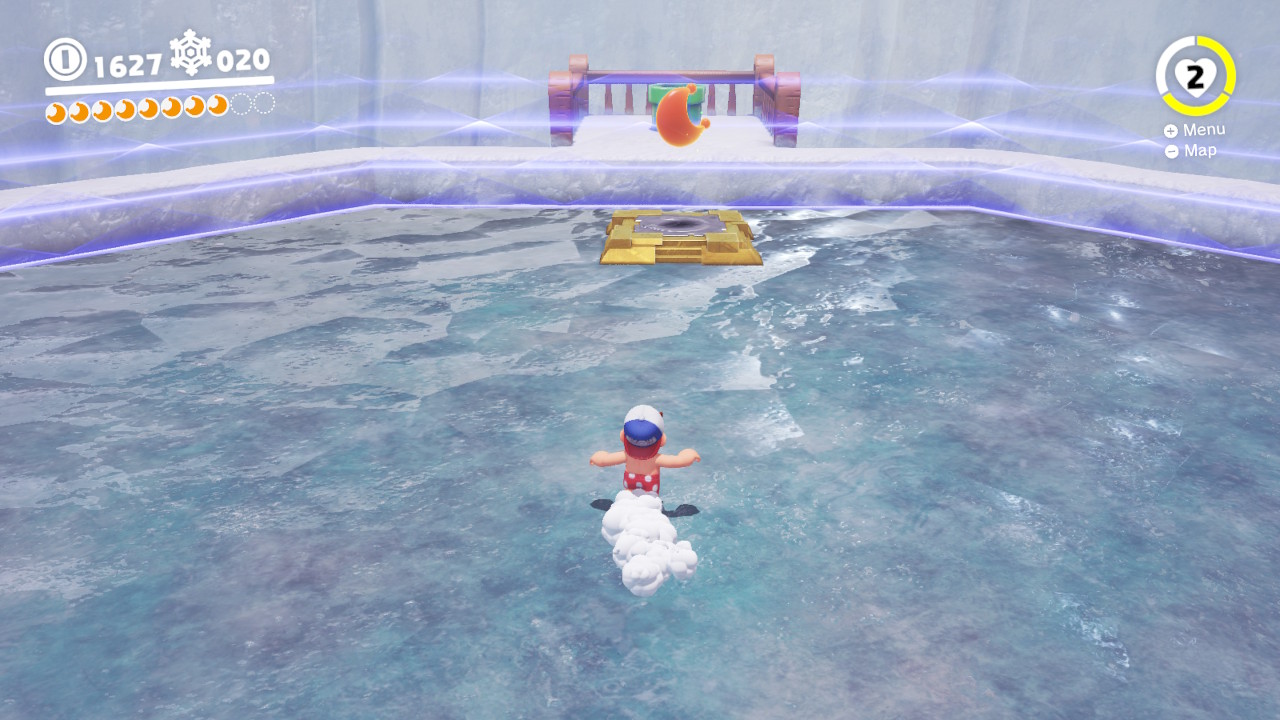
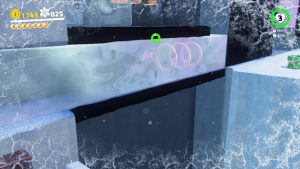
4- Towards the end, you will see a moving platform with freezing water and rings inside. Normally you will swim down here to get the Power Moon. However, there is a secret above! Jump on TOP of the platform instead…

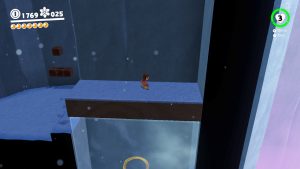
5- Next you will need to jump from the swinging poles…
6- At the top left corner inside the freezing cold water is the Power Moon!
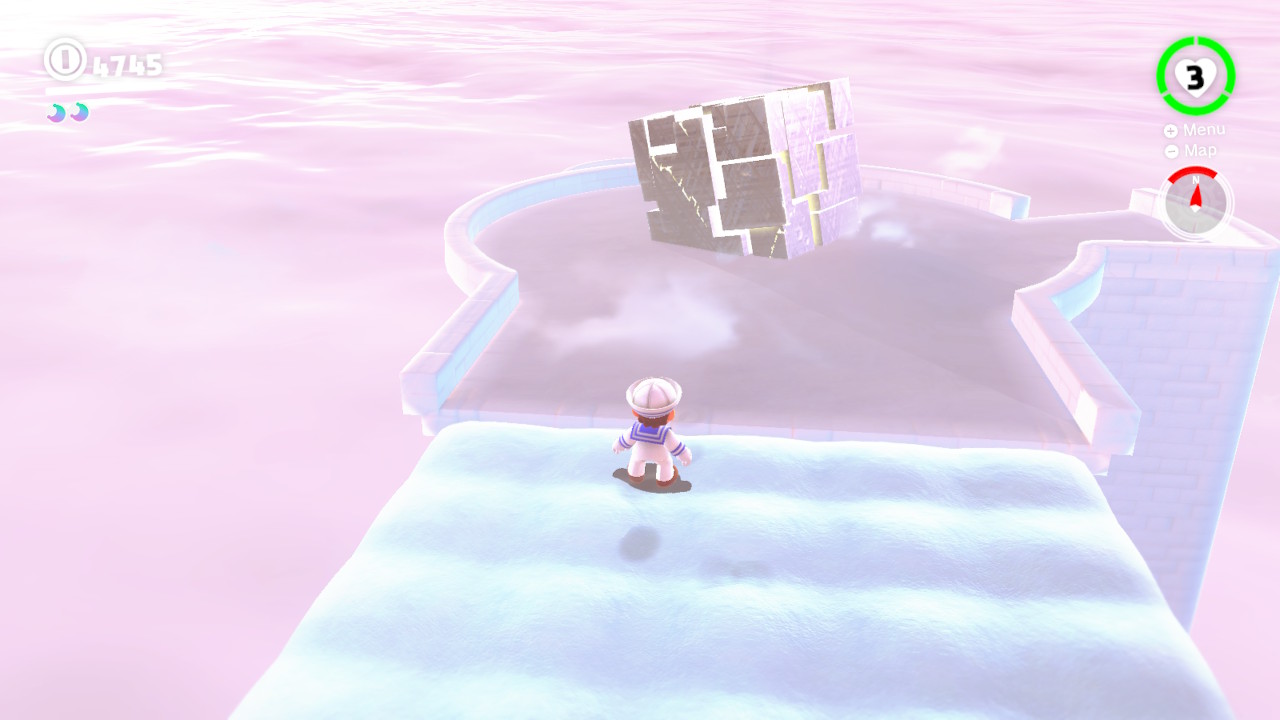
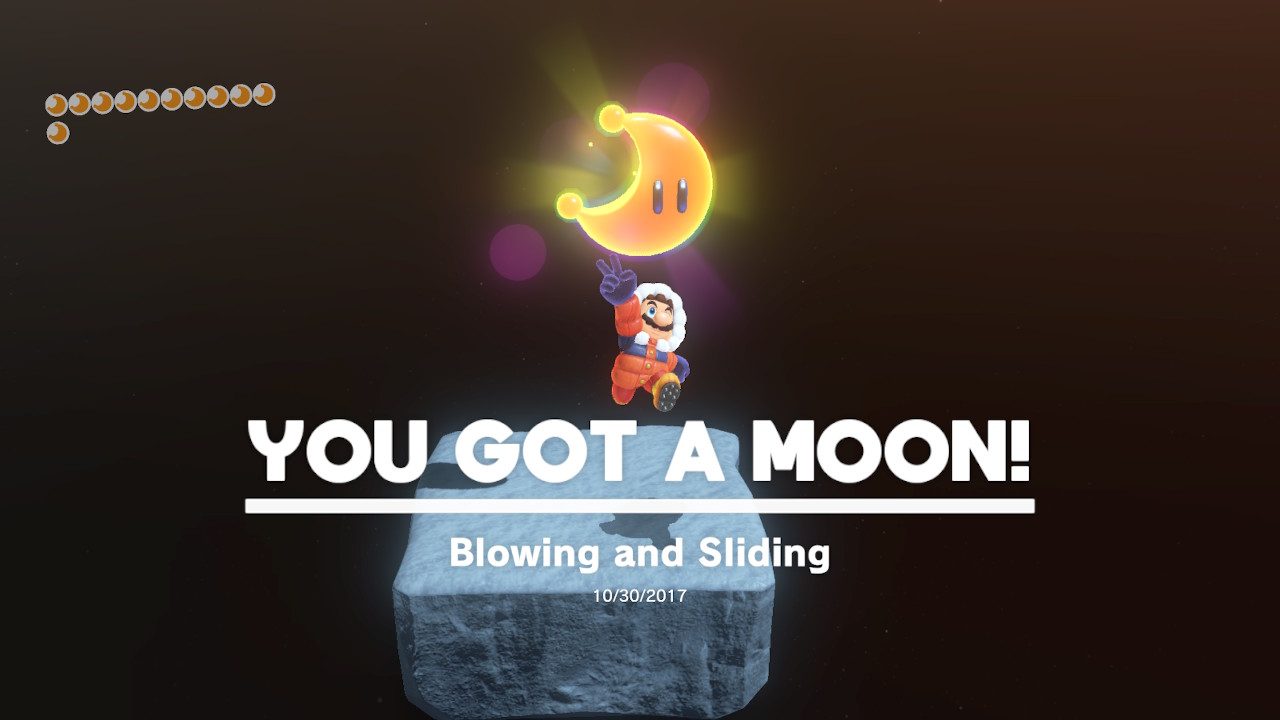
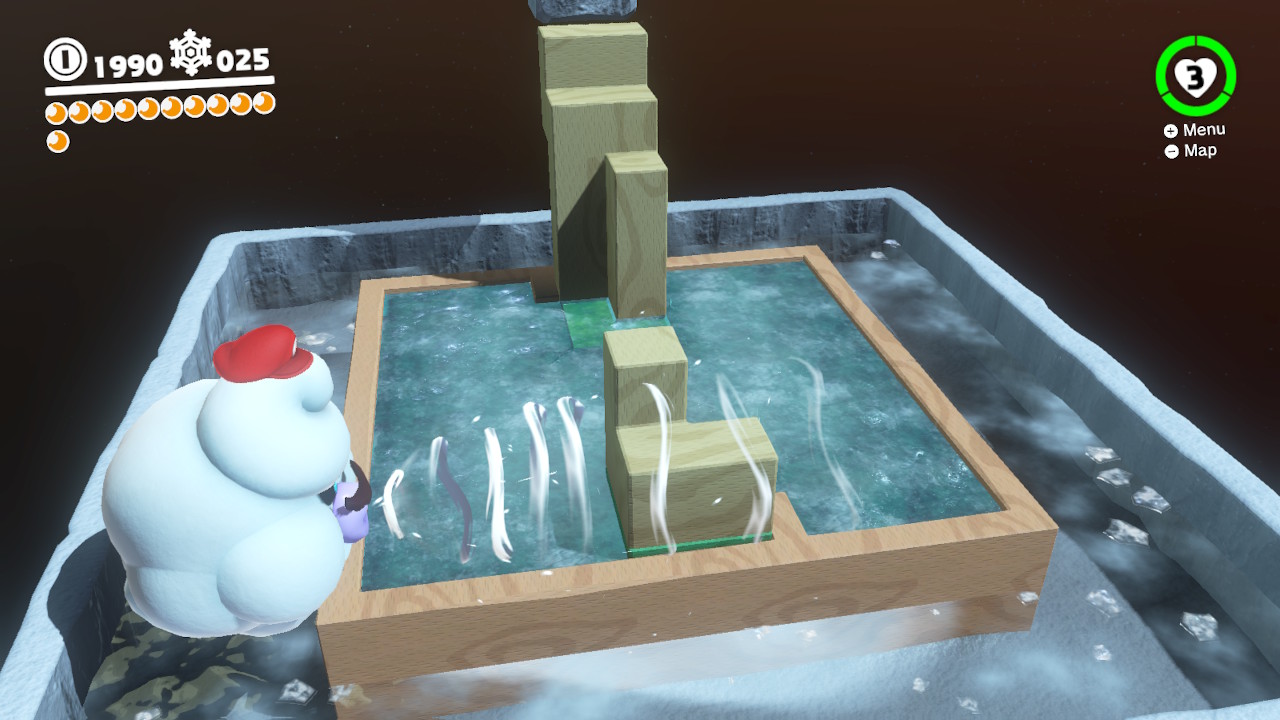
28 – Blowing and Sliding
Location-

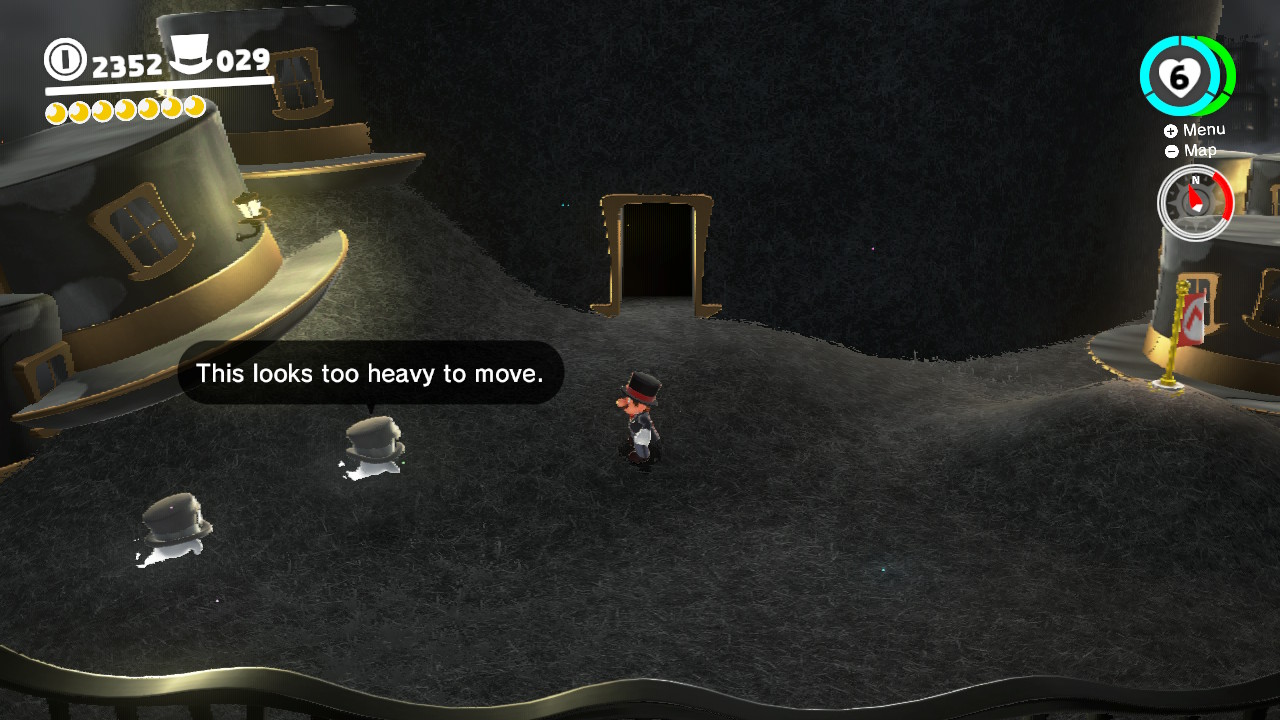
1- This one takes quite a few steps, first find the one of the big blowing guys…

2- Capture him…
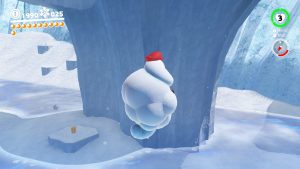
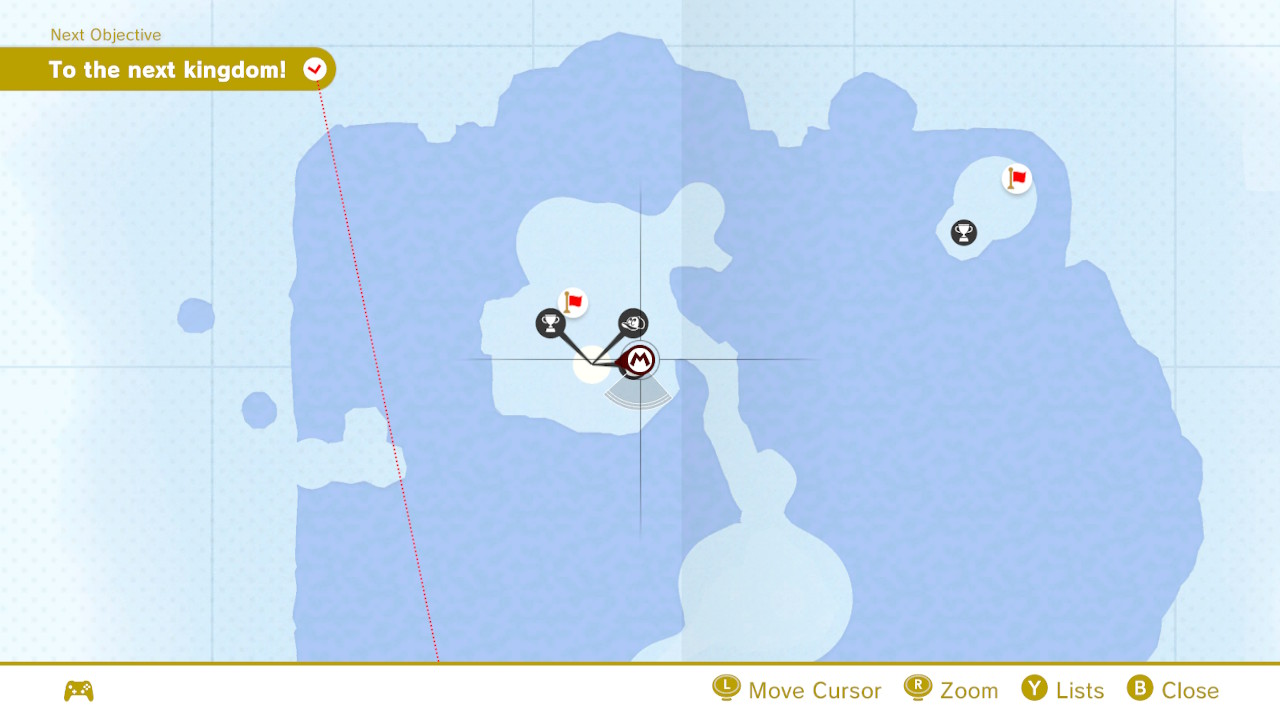
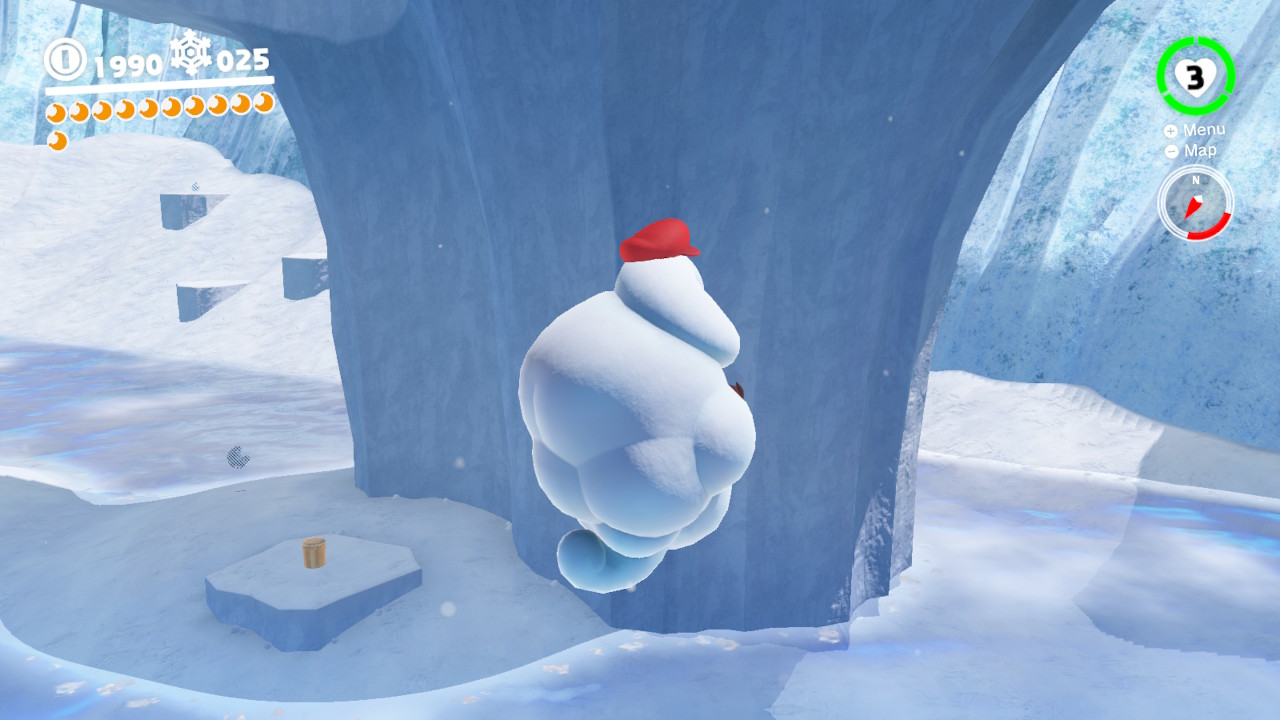
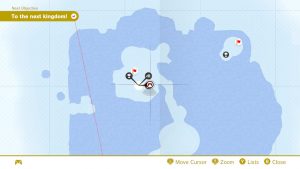
3- Now head around the ice pillar that the Odyssey is on top of…

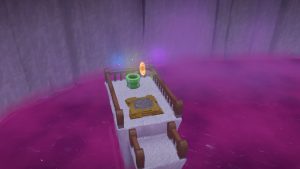
4- Blow the block out of the way and a door will appear…

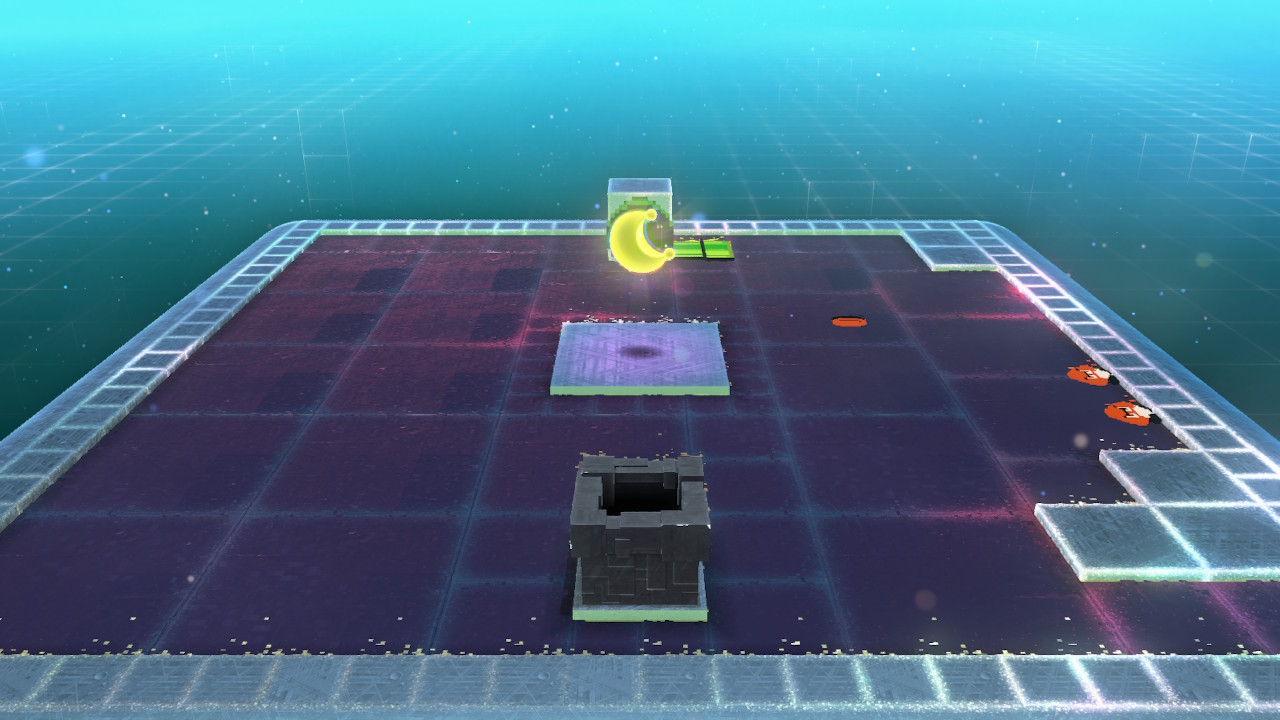
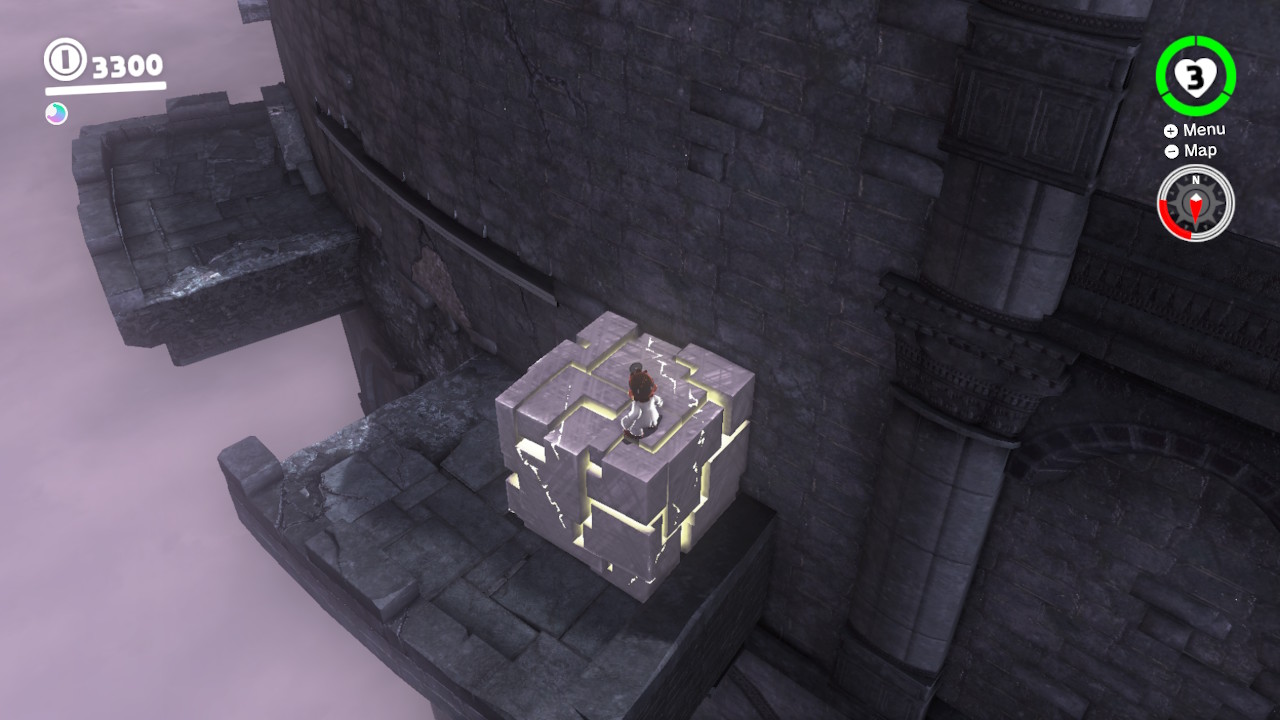
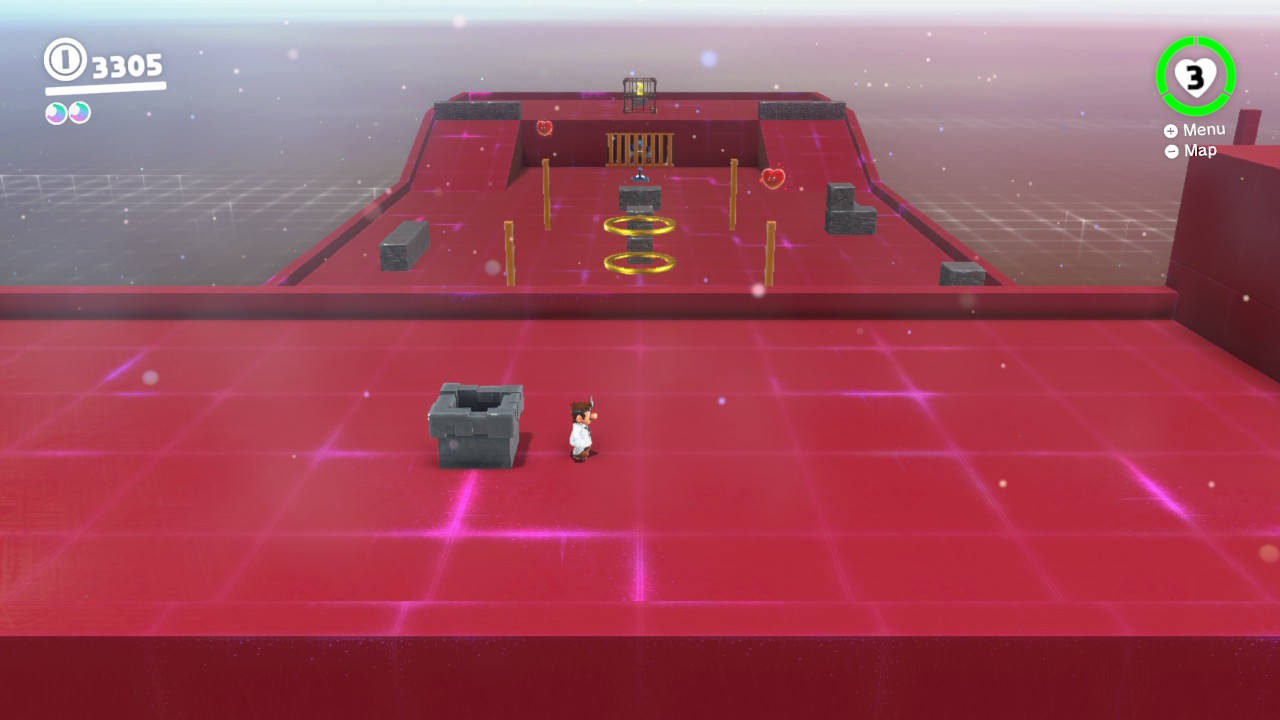
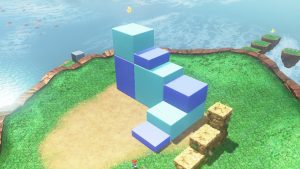
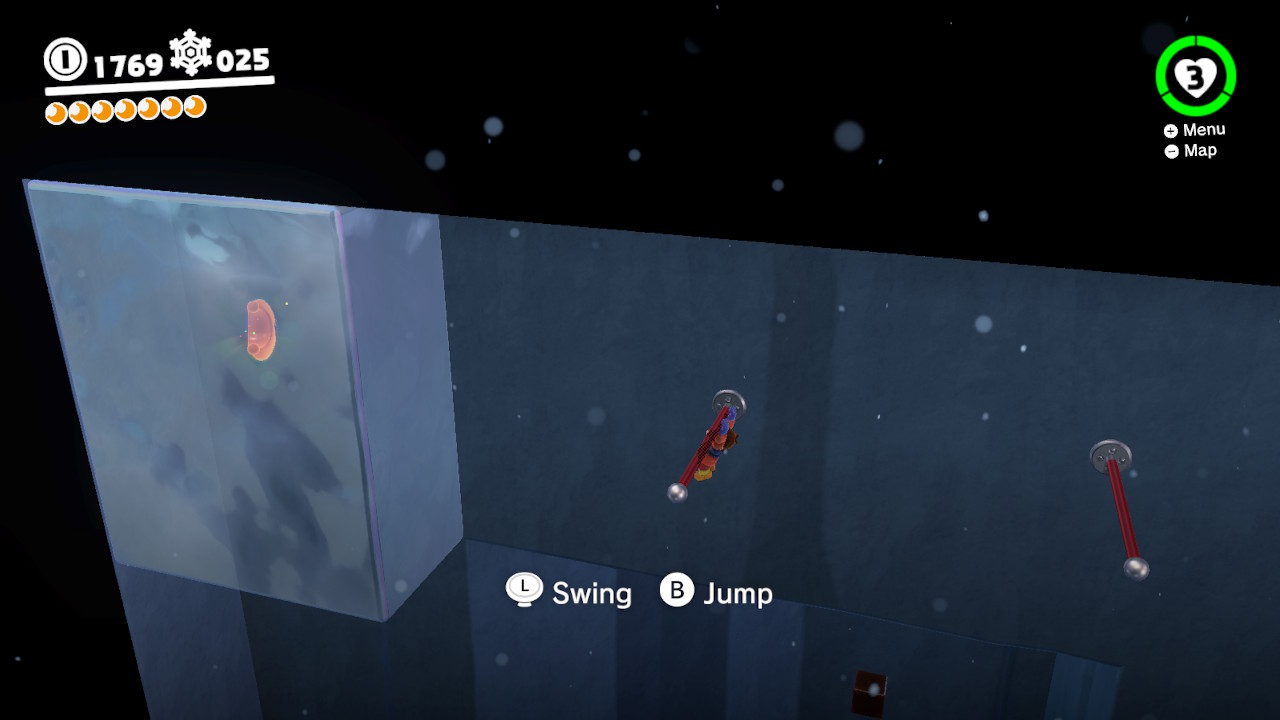
5- Inside you will be treated to a puzzle…
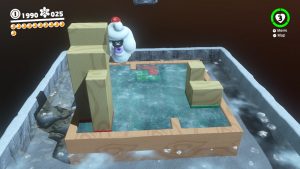
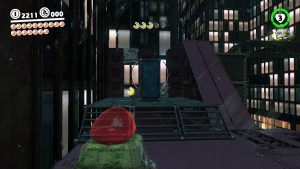
6- Capture the cloud blowing dude and push the RED block against the left-front wall.
7- Now push towards the middle and against the ledge…
8- And then into place at the back under the Power Moon…
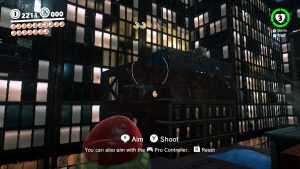
9- Now blow the GREEN block to the far left wall, followed by a push to the left-front wall just like we did with the red one…

10- And again just like we did with the red one, push it toward the middle, and then back up against the other one under Power Moon…
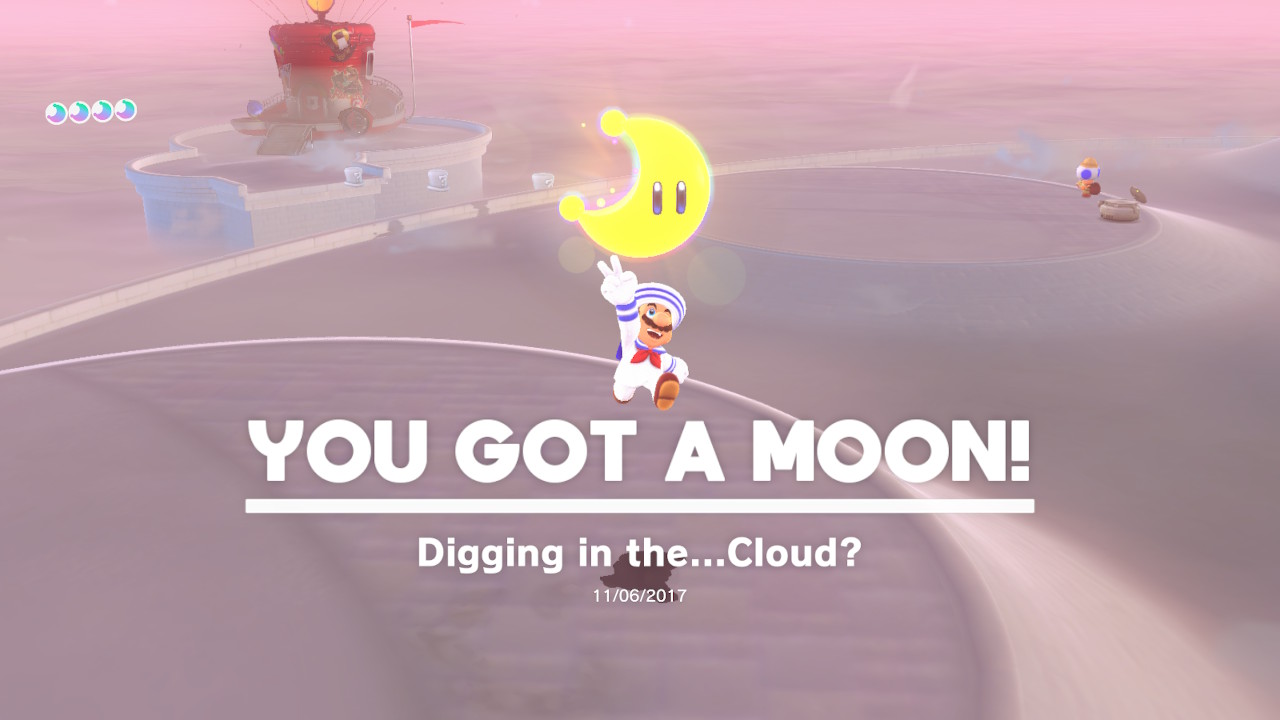
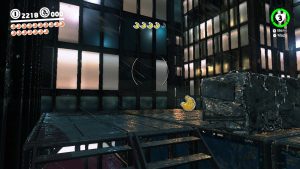
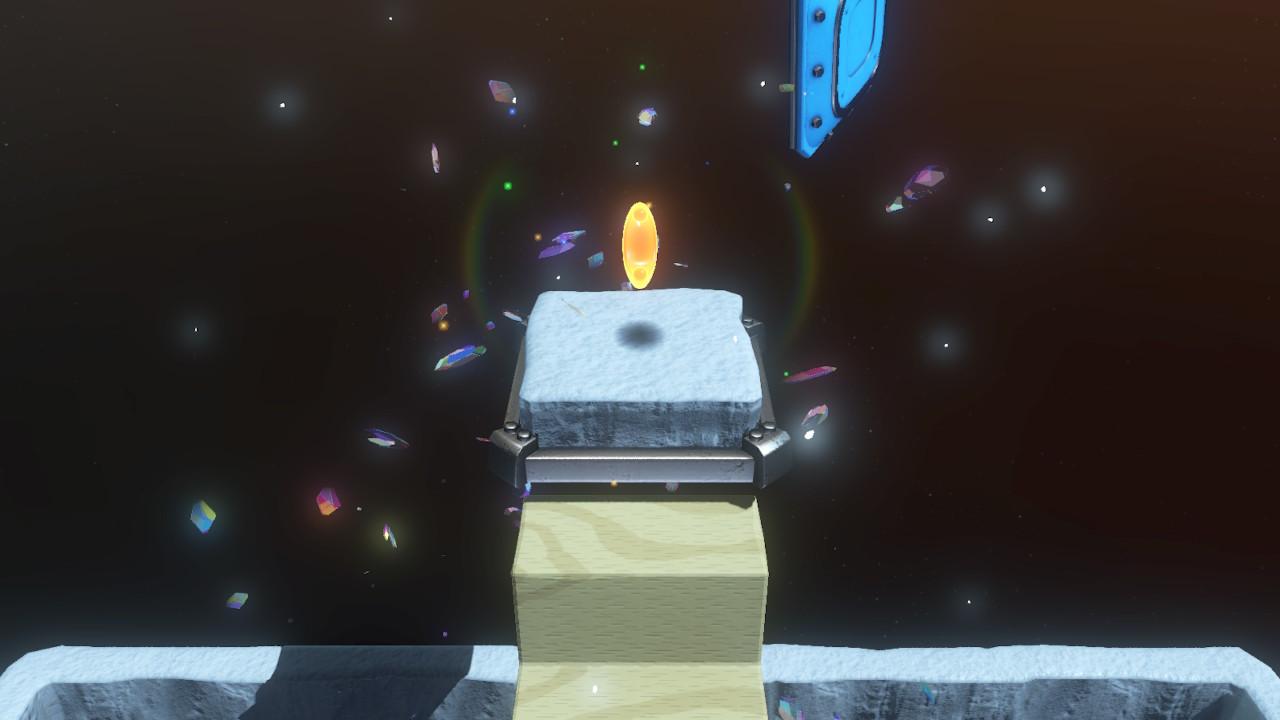
11- FINALLY THE POWER MOON IS ALL OURS!!!!!
29 –
30 –
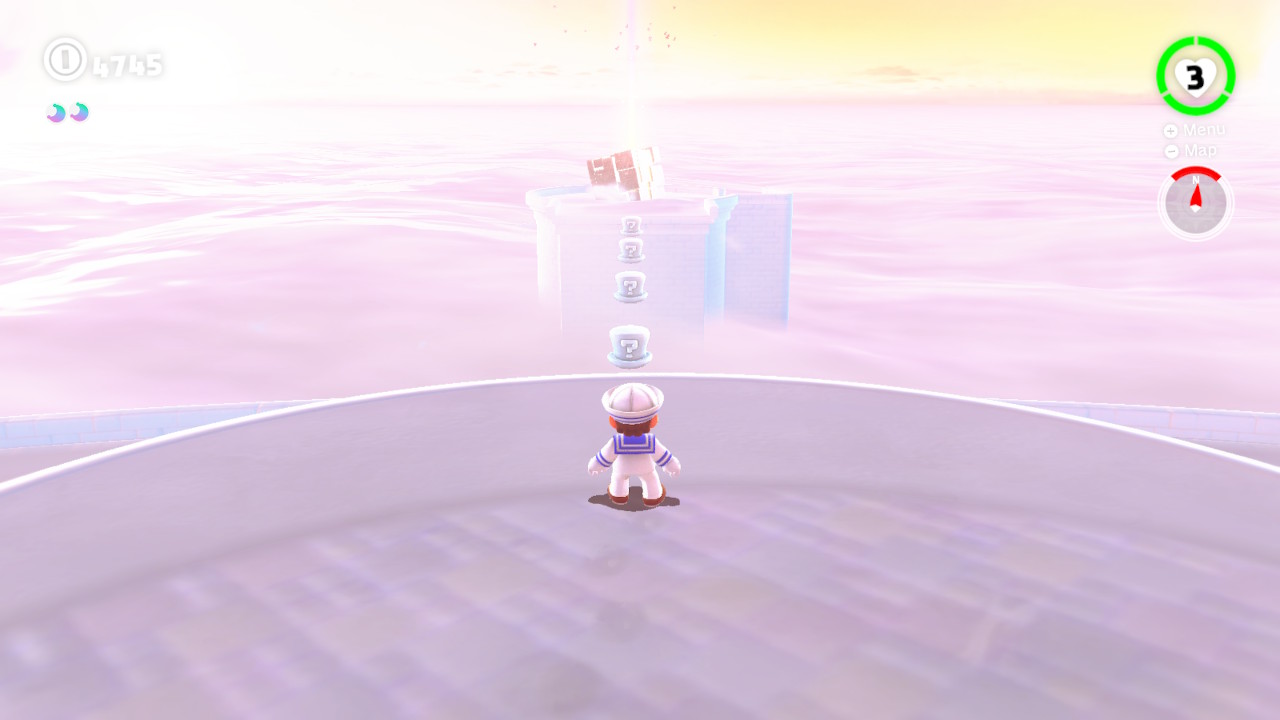
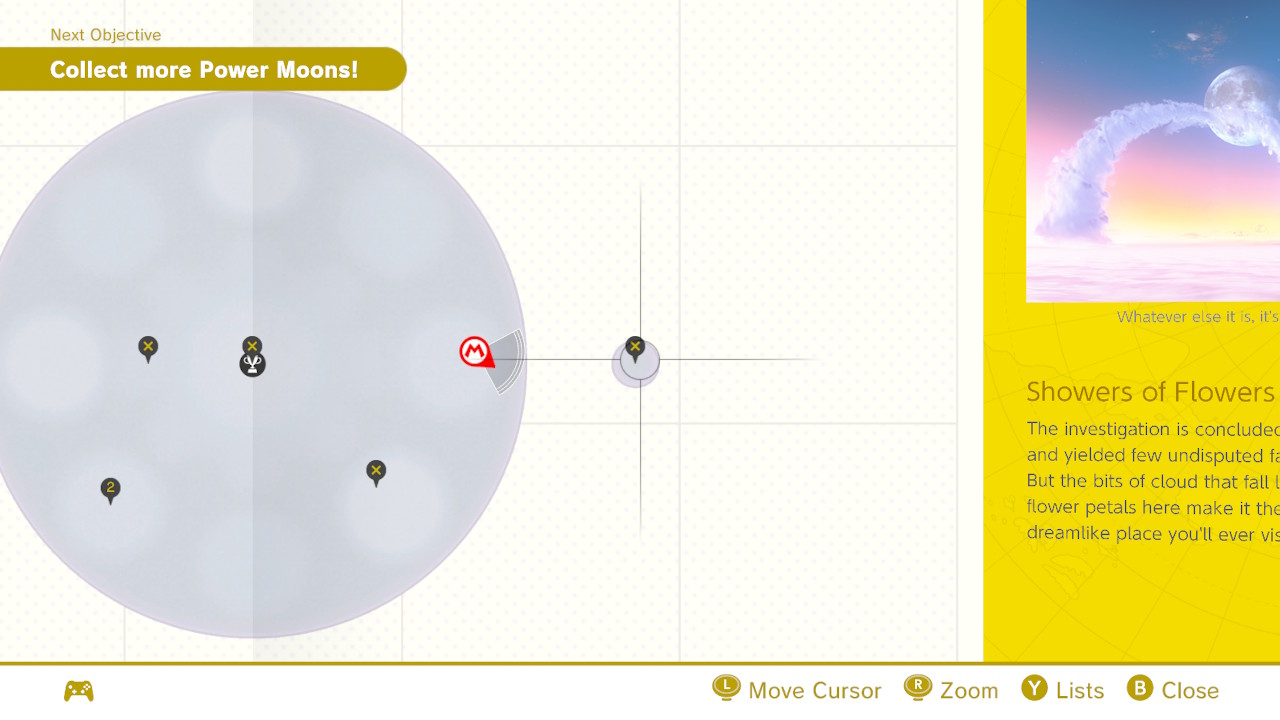
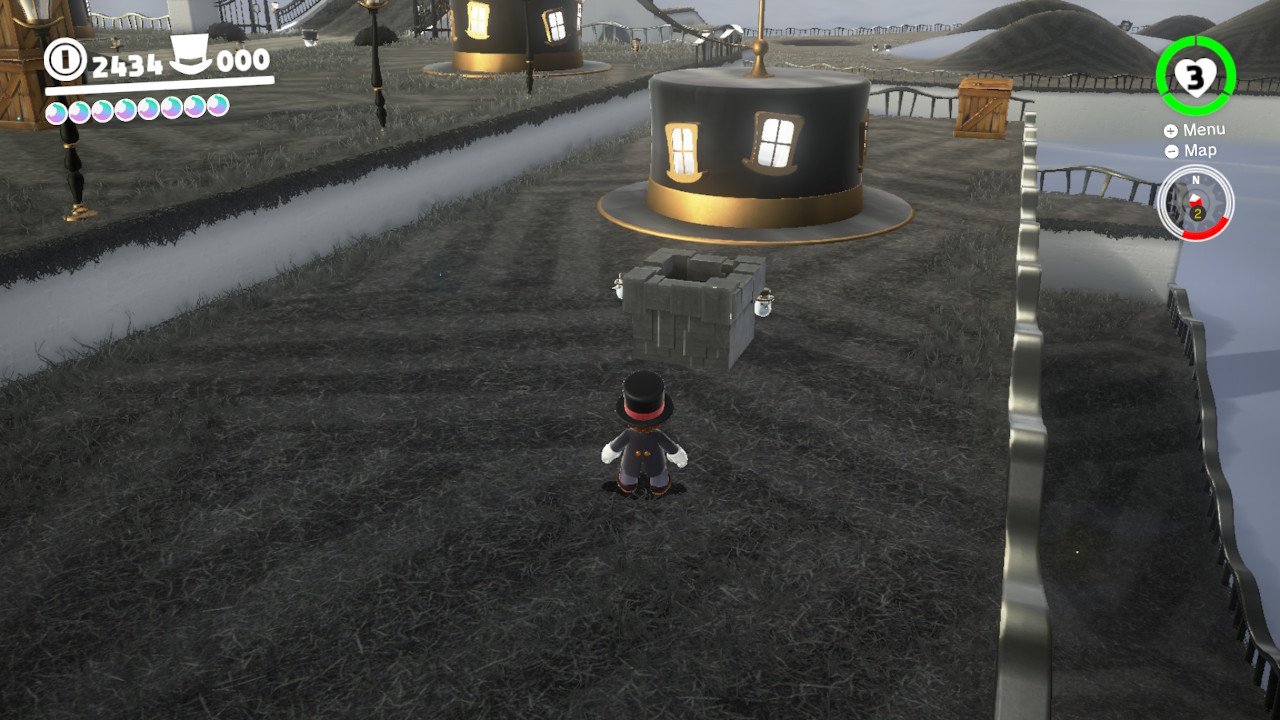
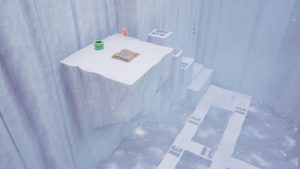
31 – Spinning Above the Clouds

Location-

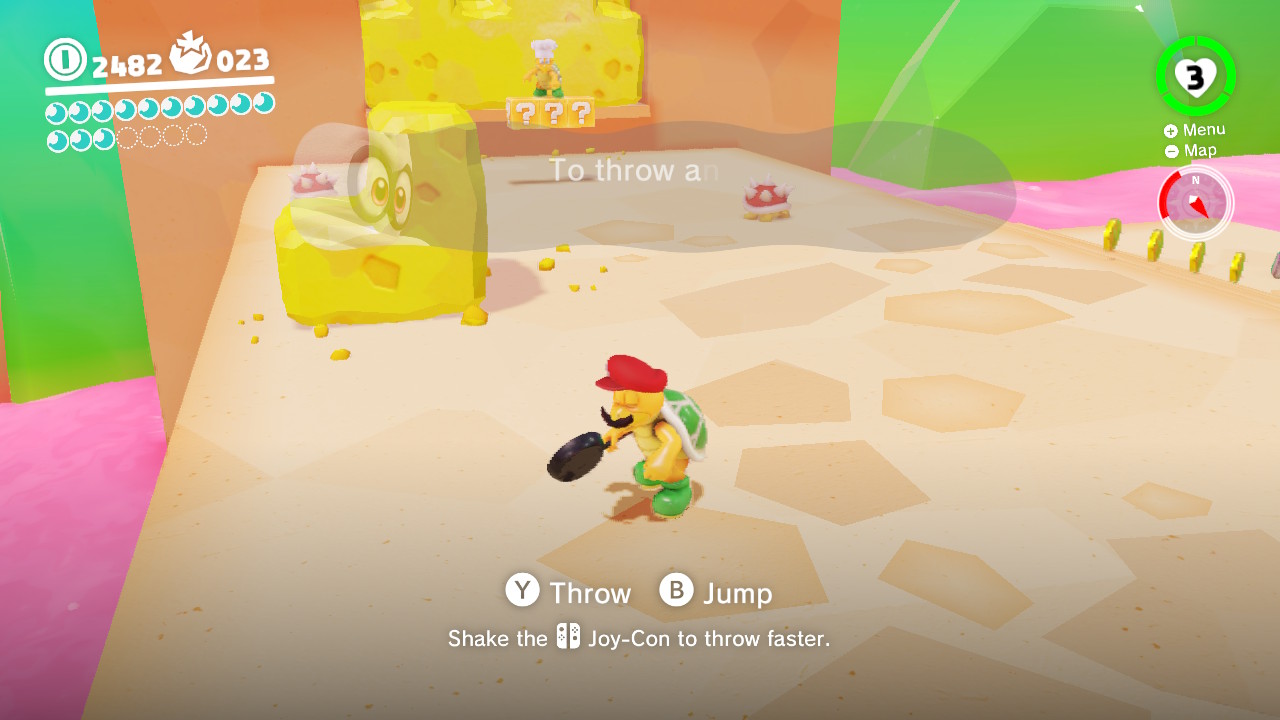
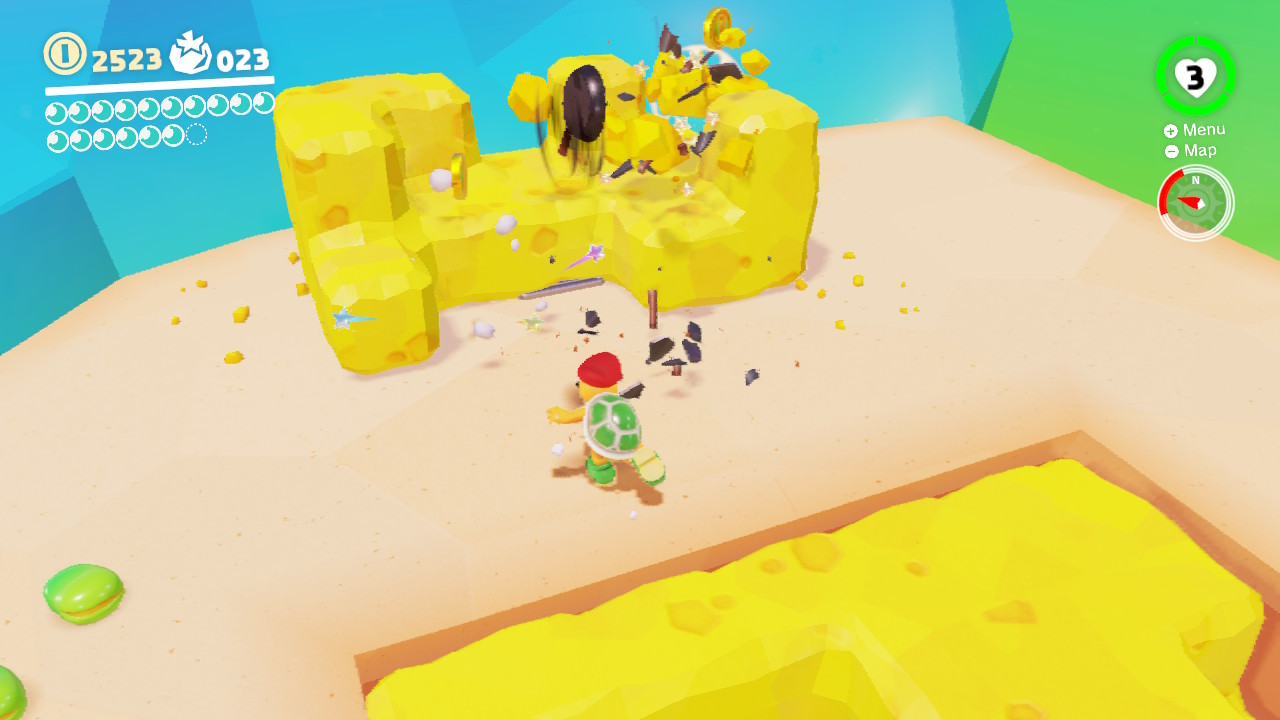
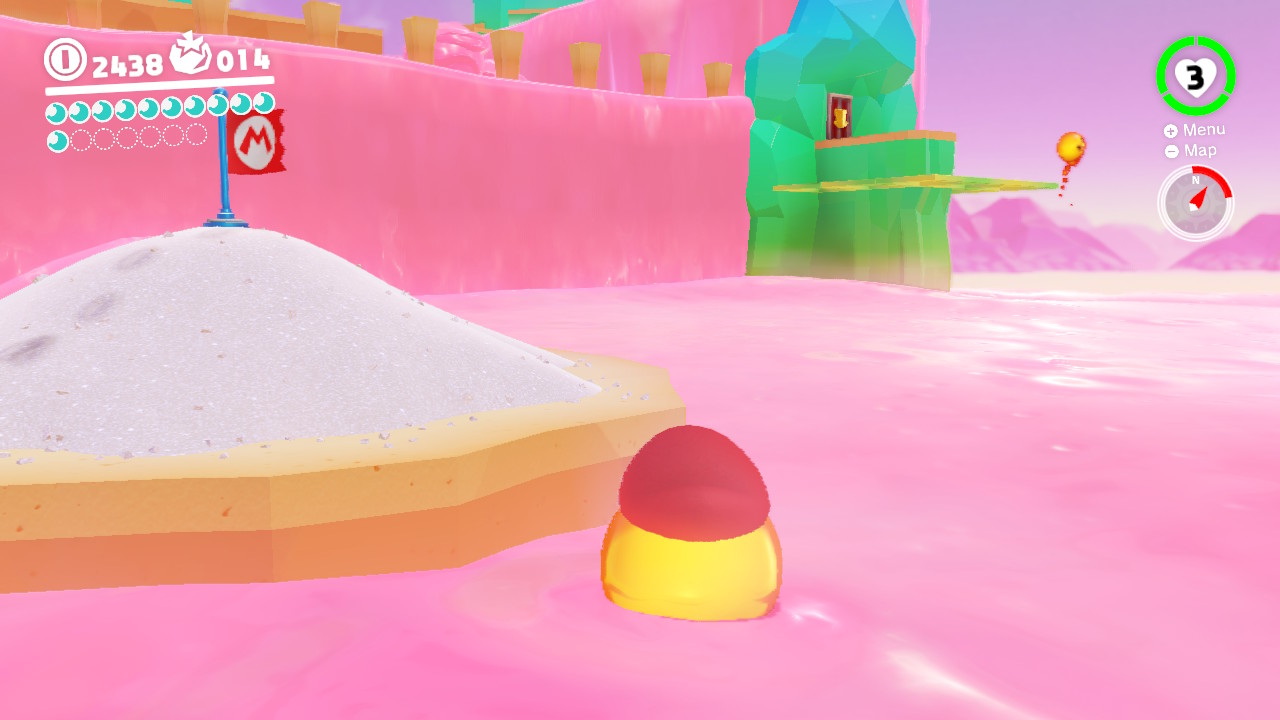
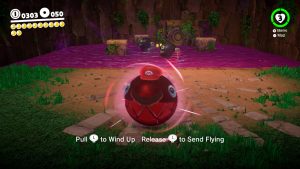
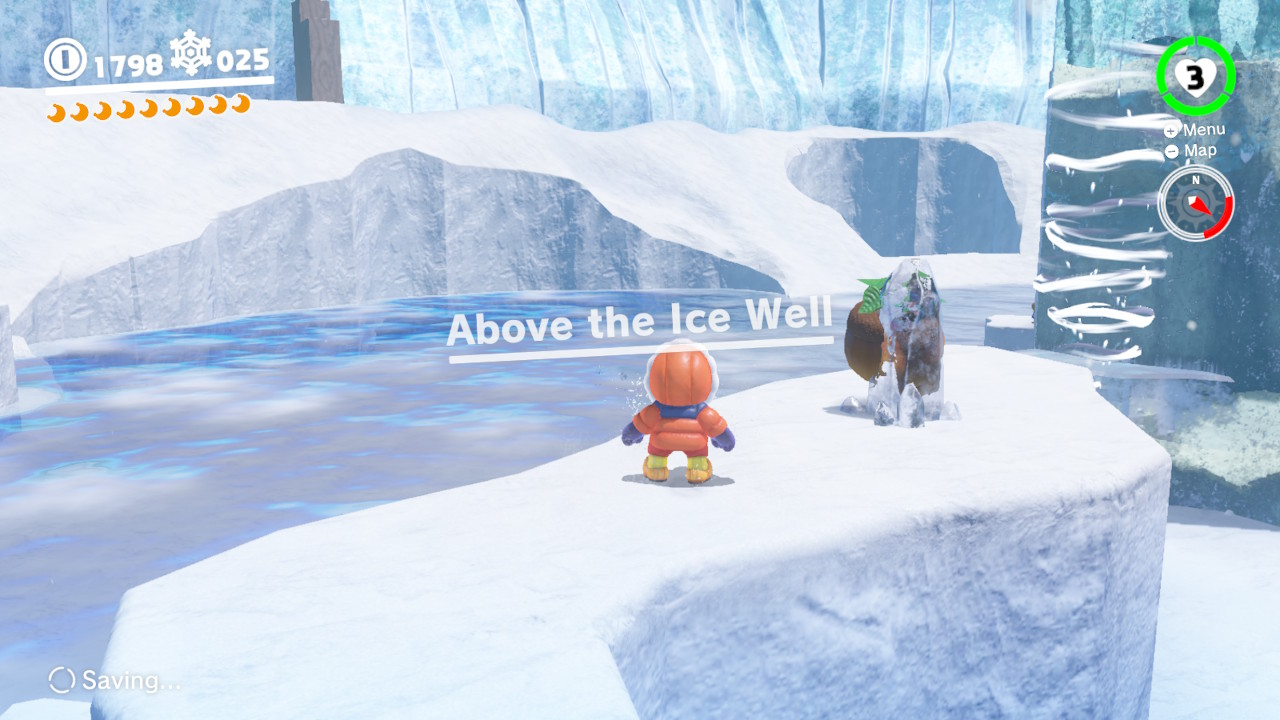
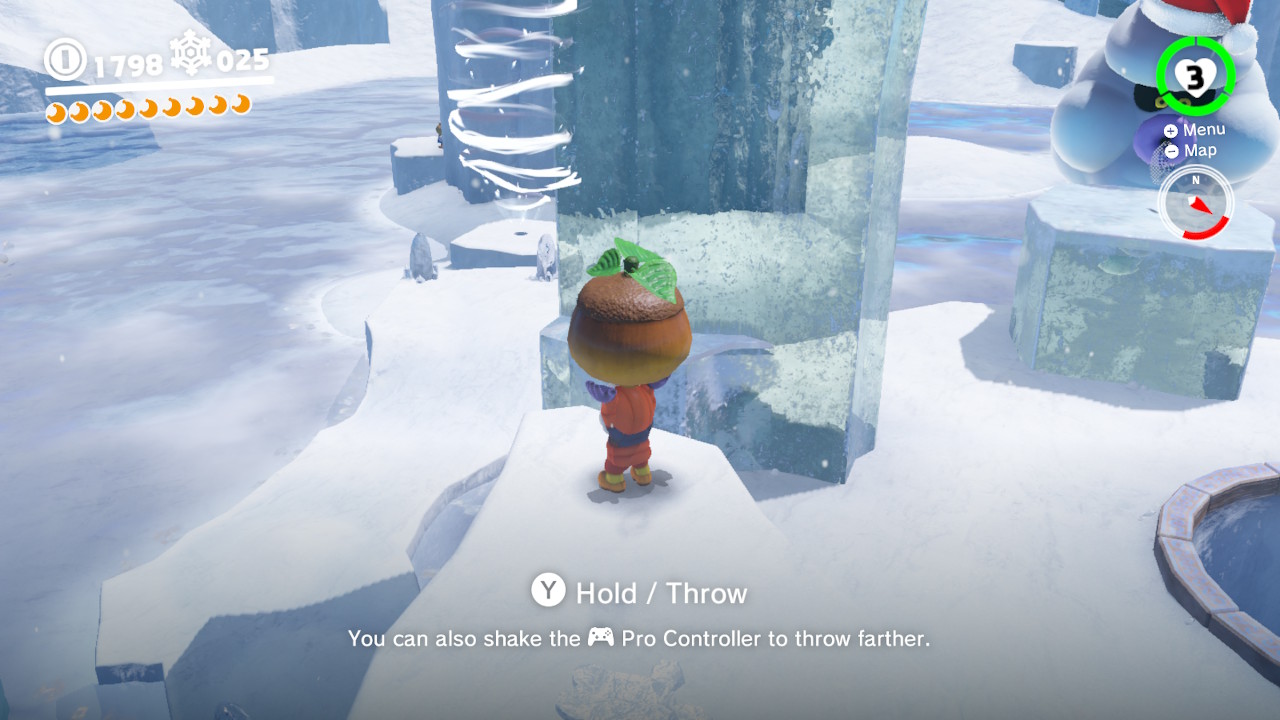
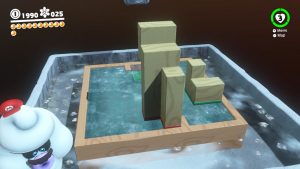
1- For this Power Moon we will need to make a GIANT beanstalkgrow from the ground. To do this we will need this NUT stuck in some ice near the “Above the Ice Well” checkpoint…

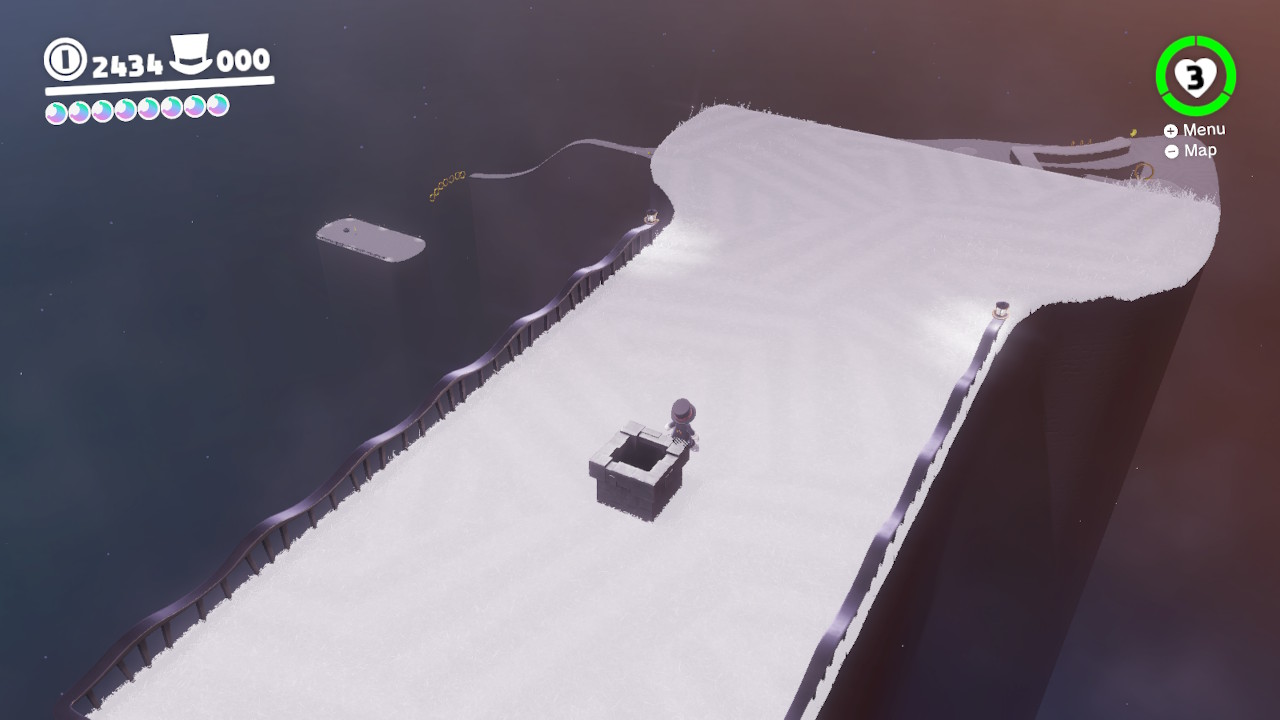
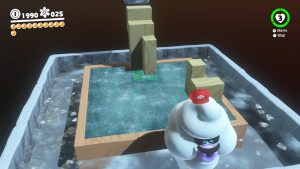
2- Take the nut into the blowhole…

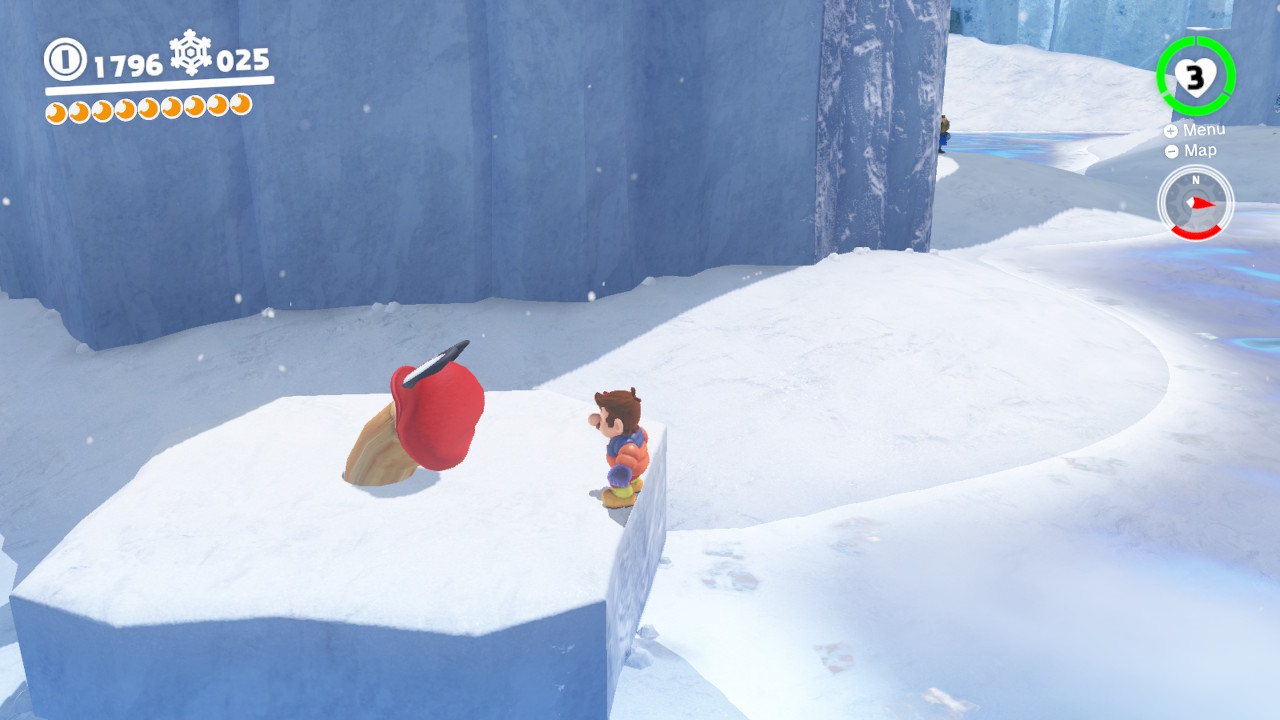
3- To open the hole you will need to use Cappy on the wooden post…

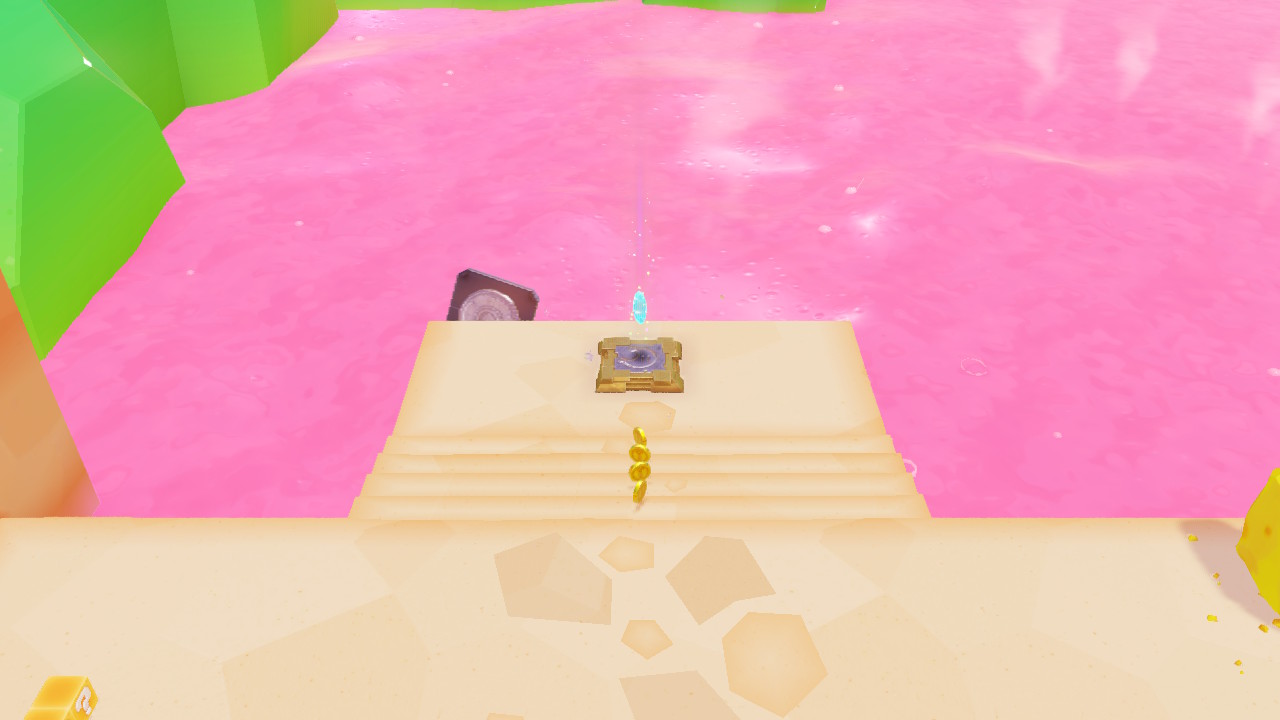
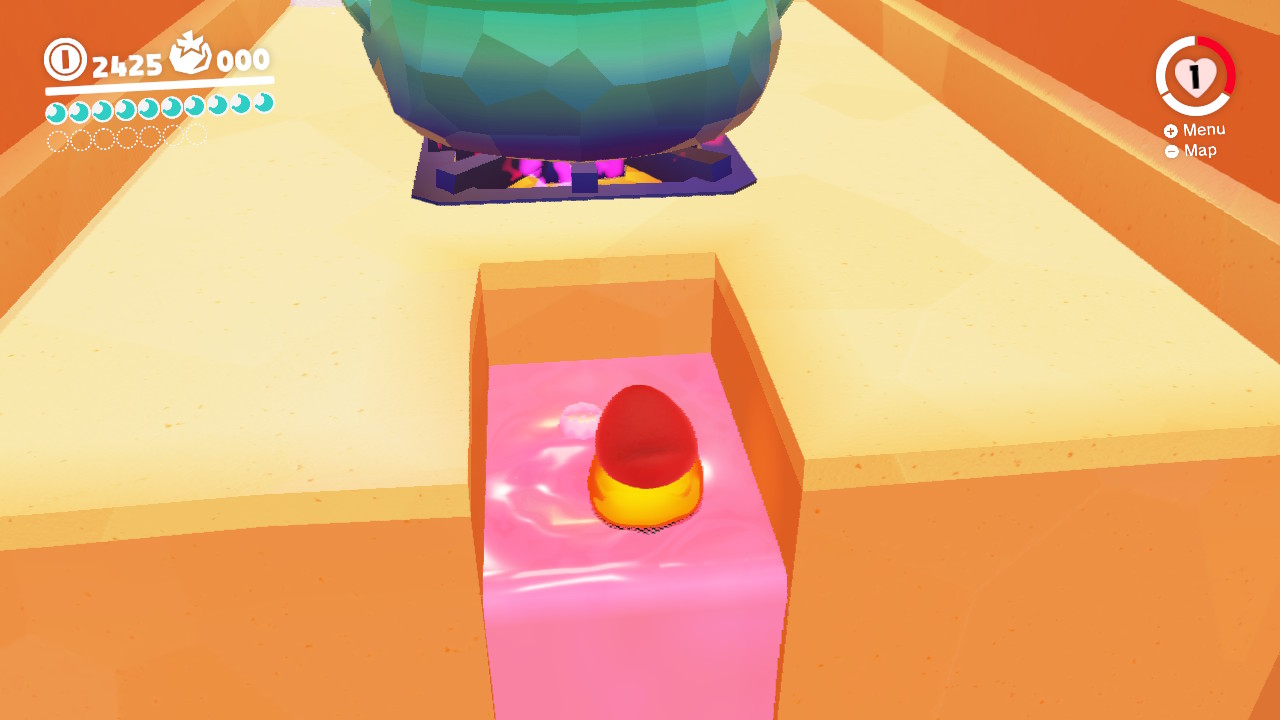
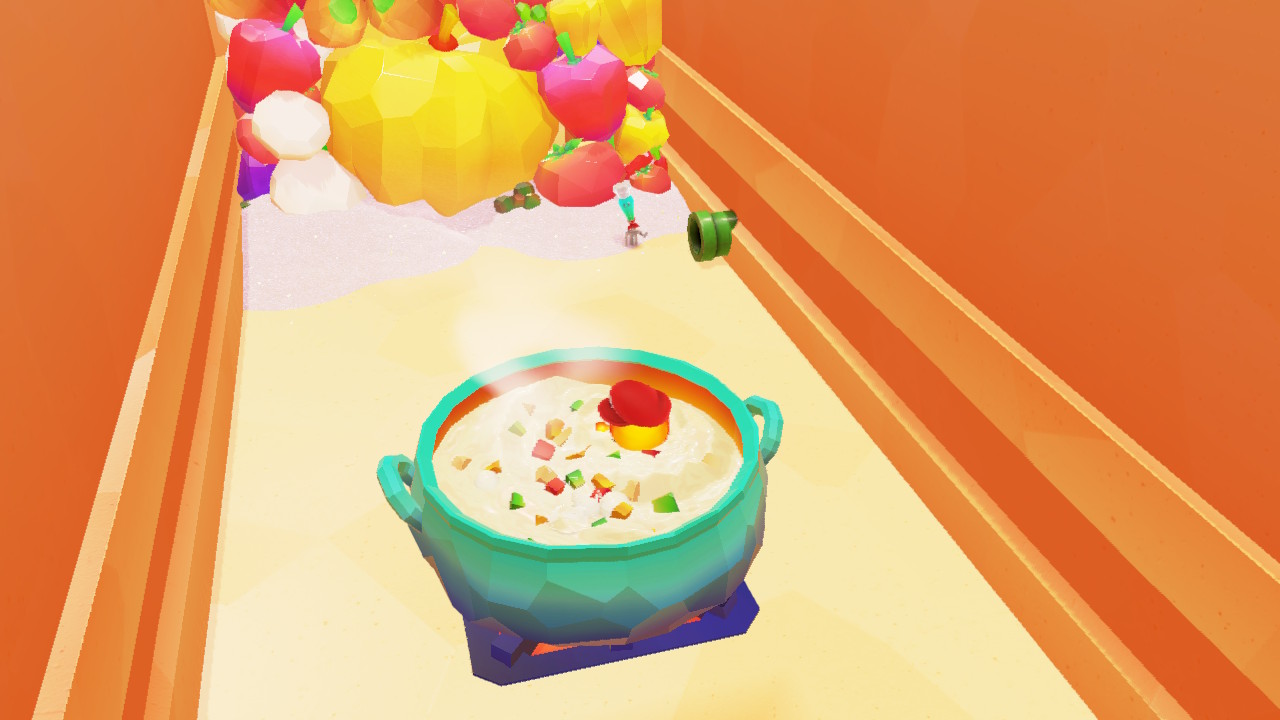
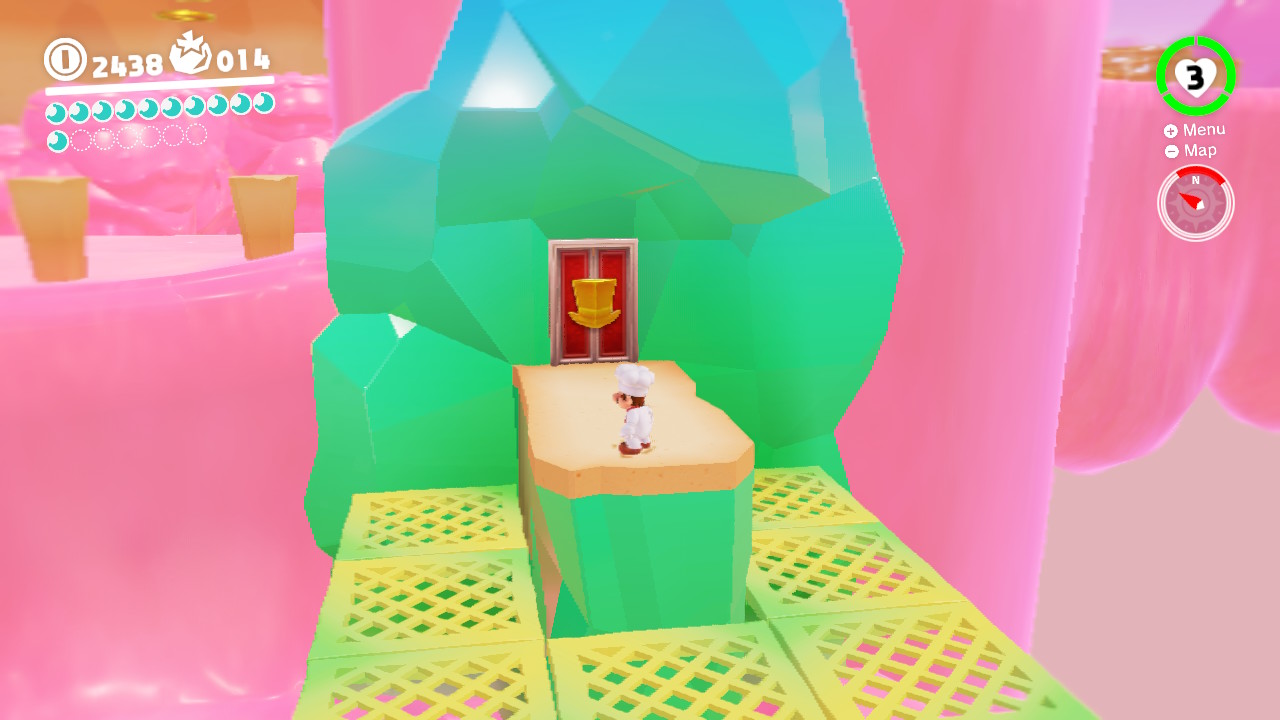
4- Jump into the wind and land above, where you will find a pot to plant the nut in…

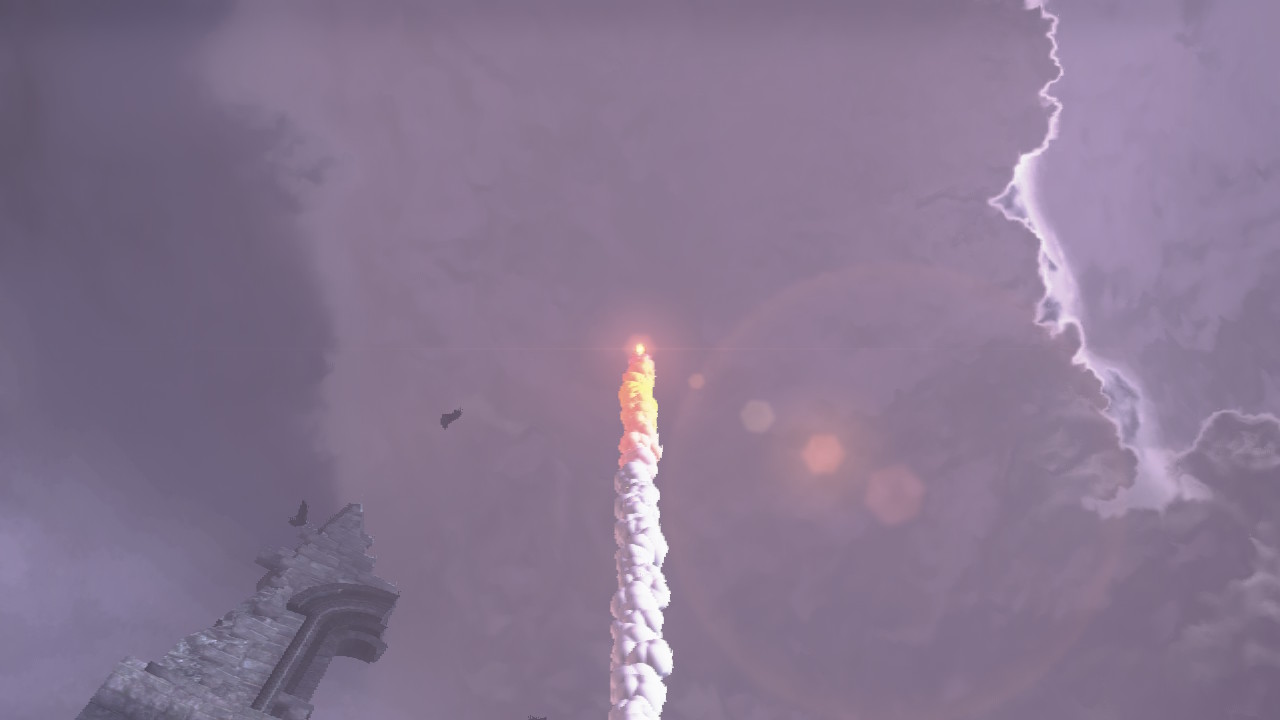
5- A gigantic beanstalk will appear…
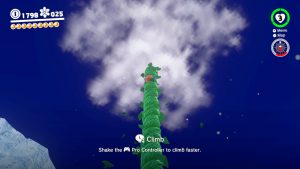
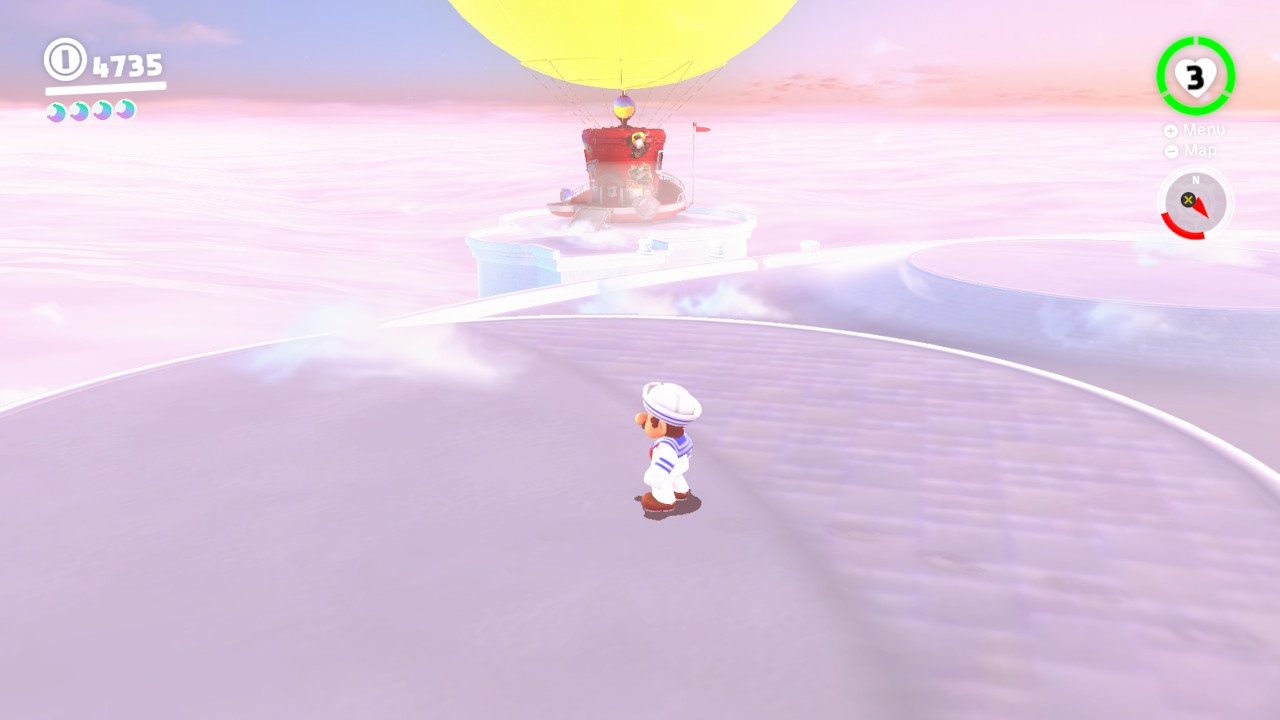
6- Climb to the top…
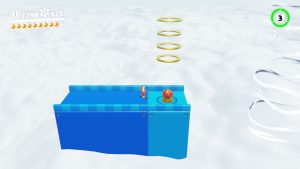
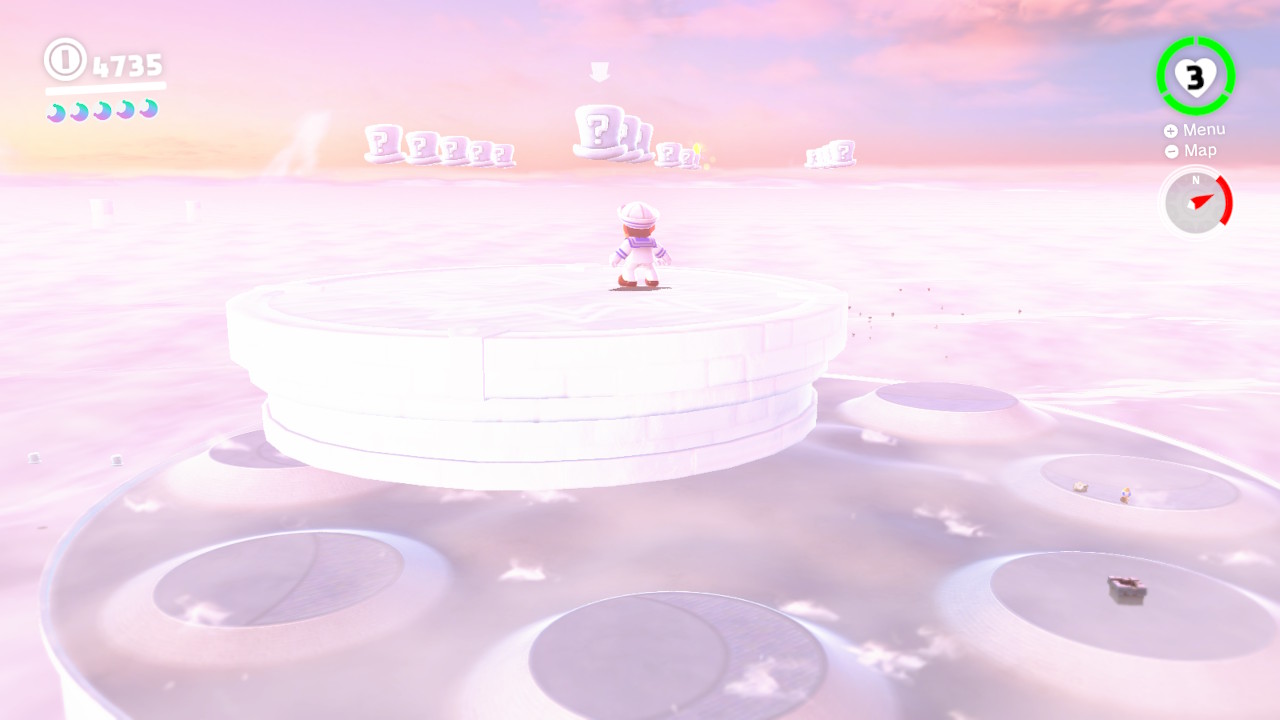
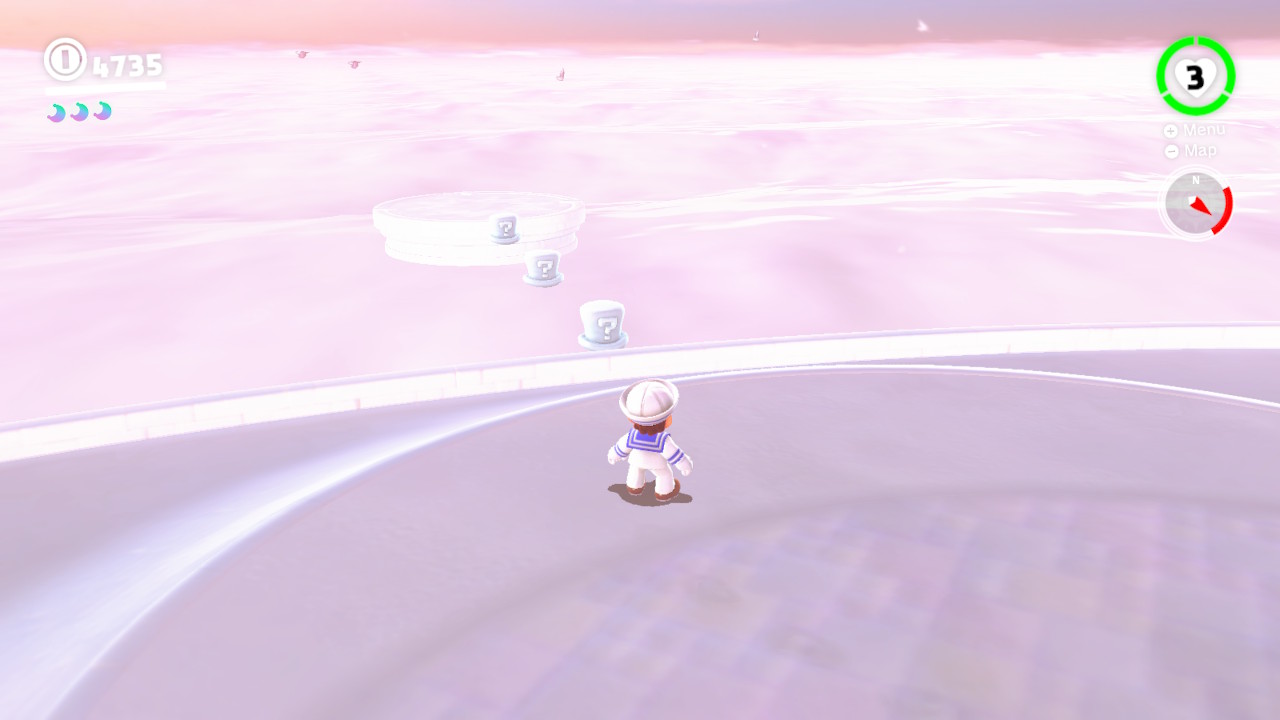
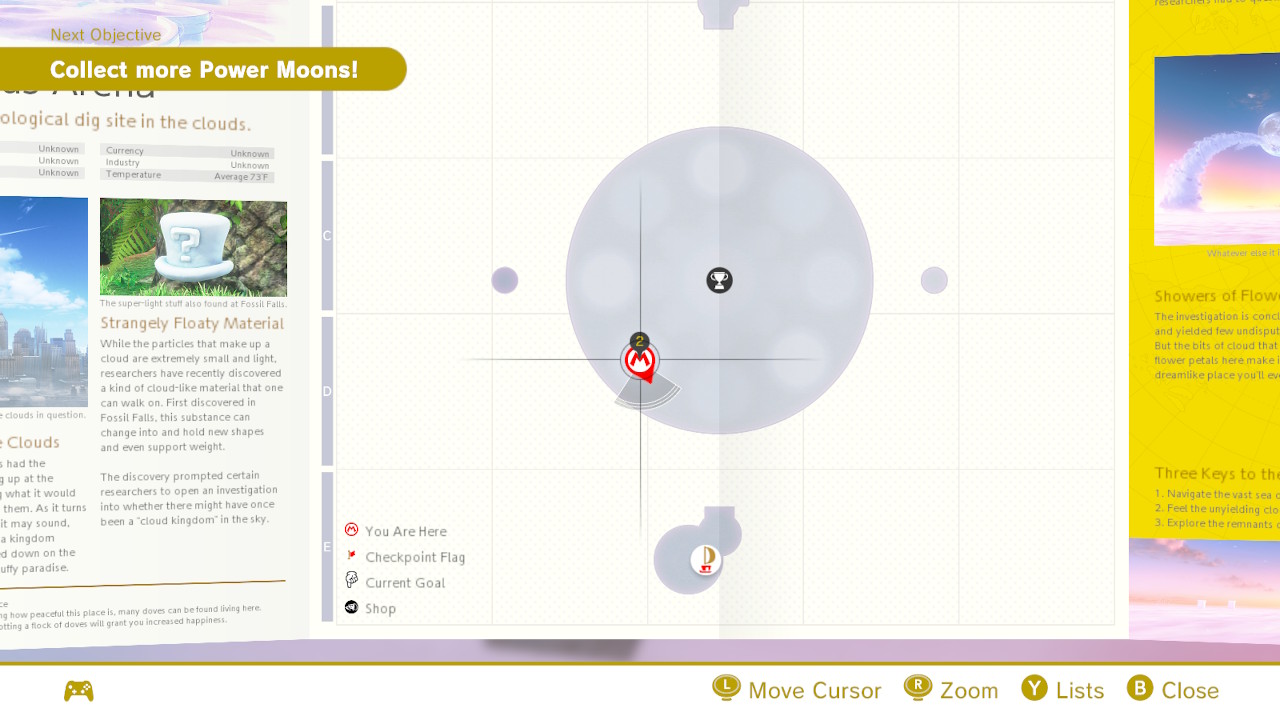
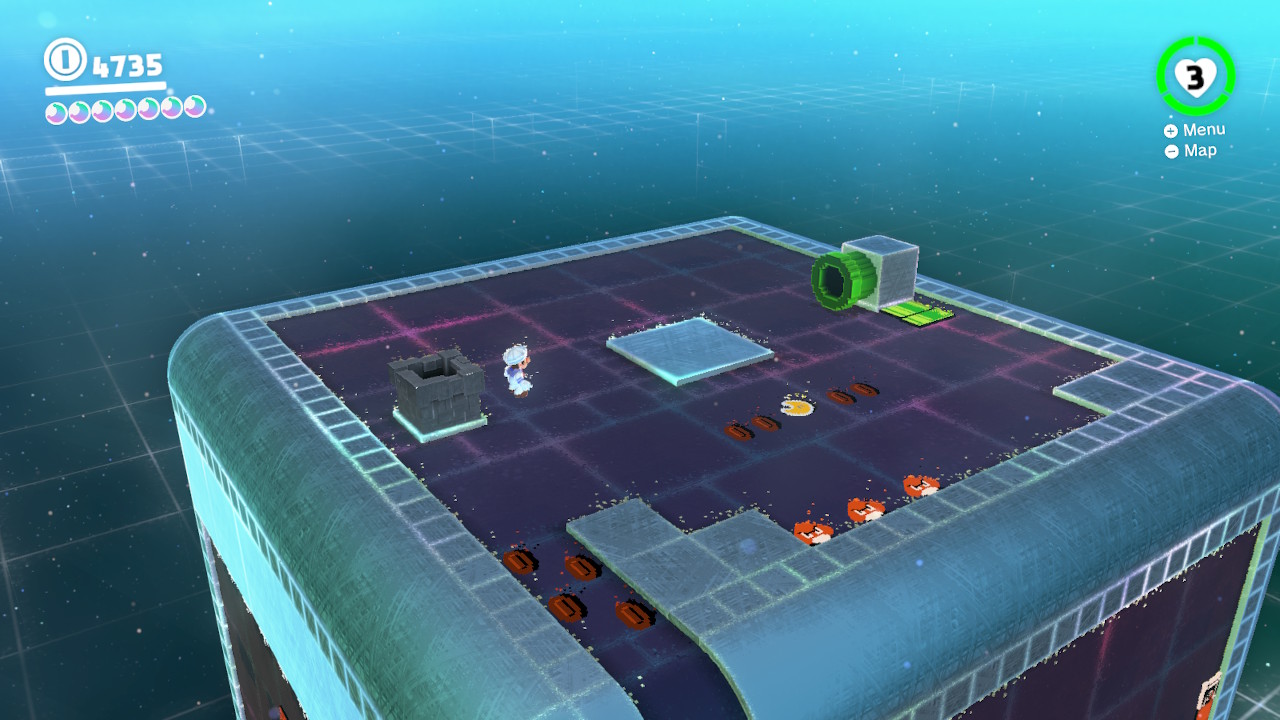
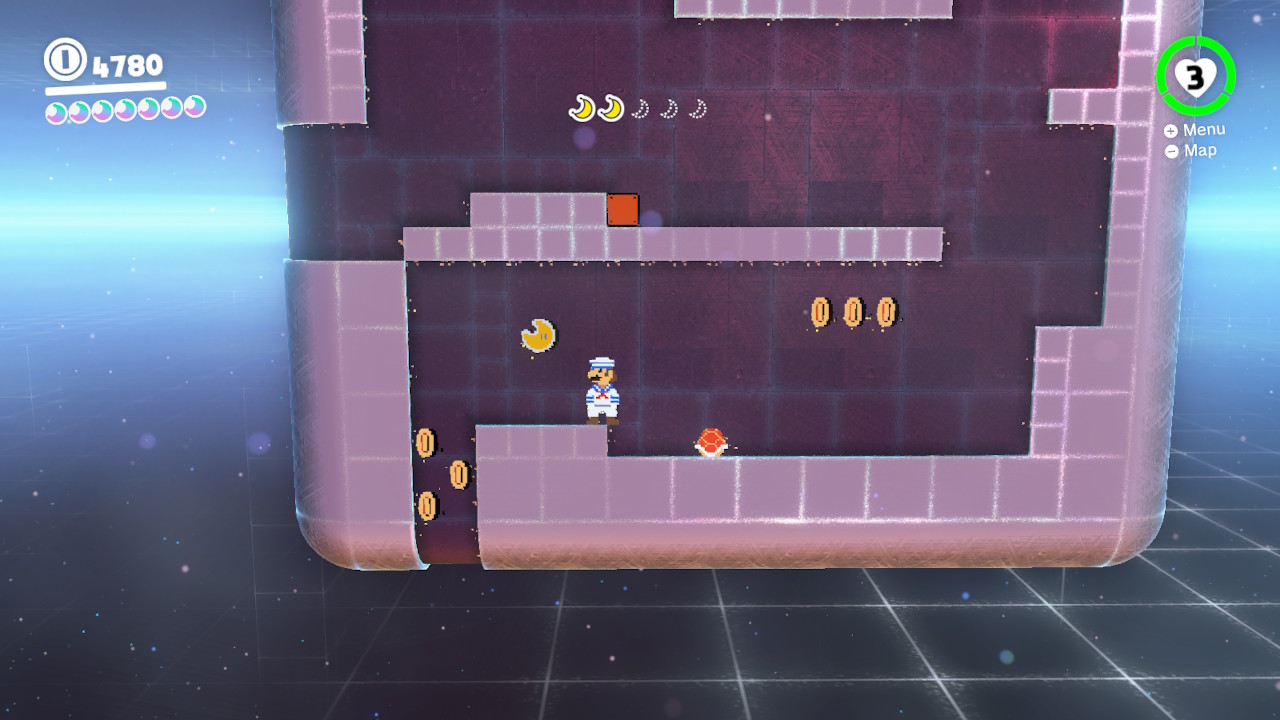
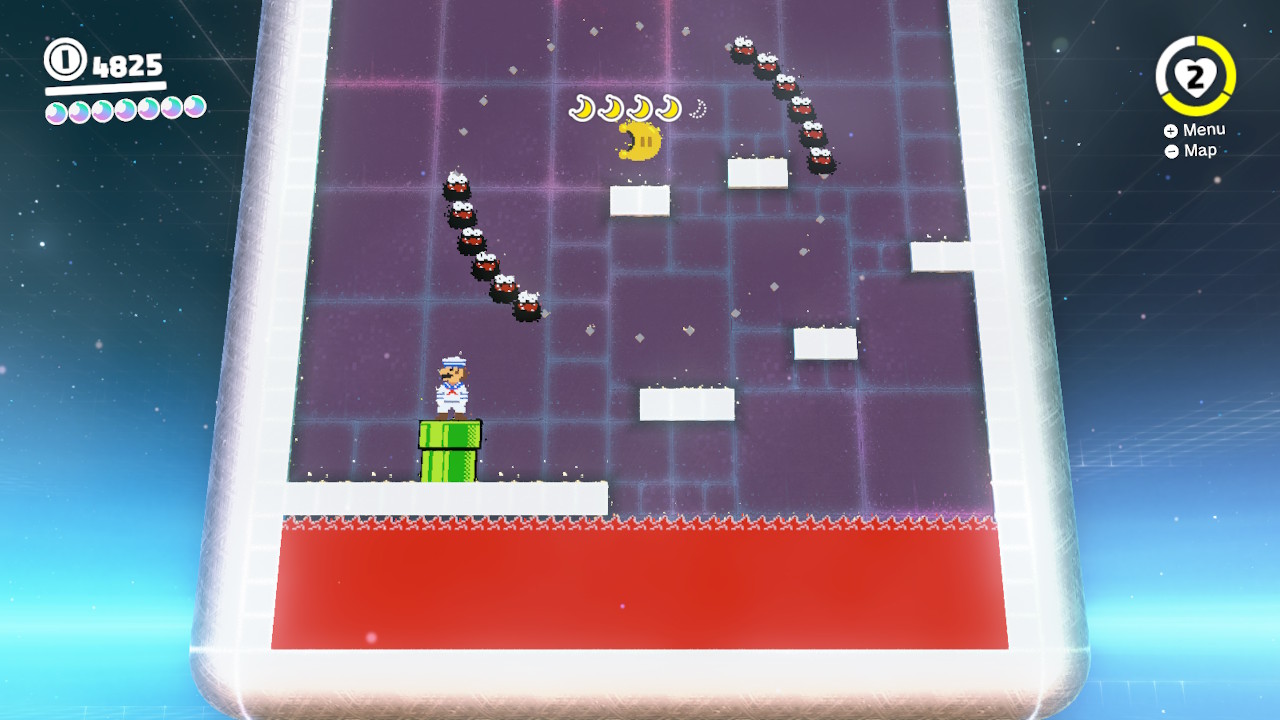
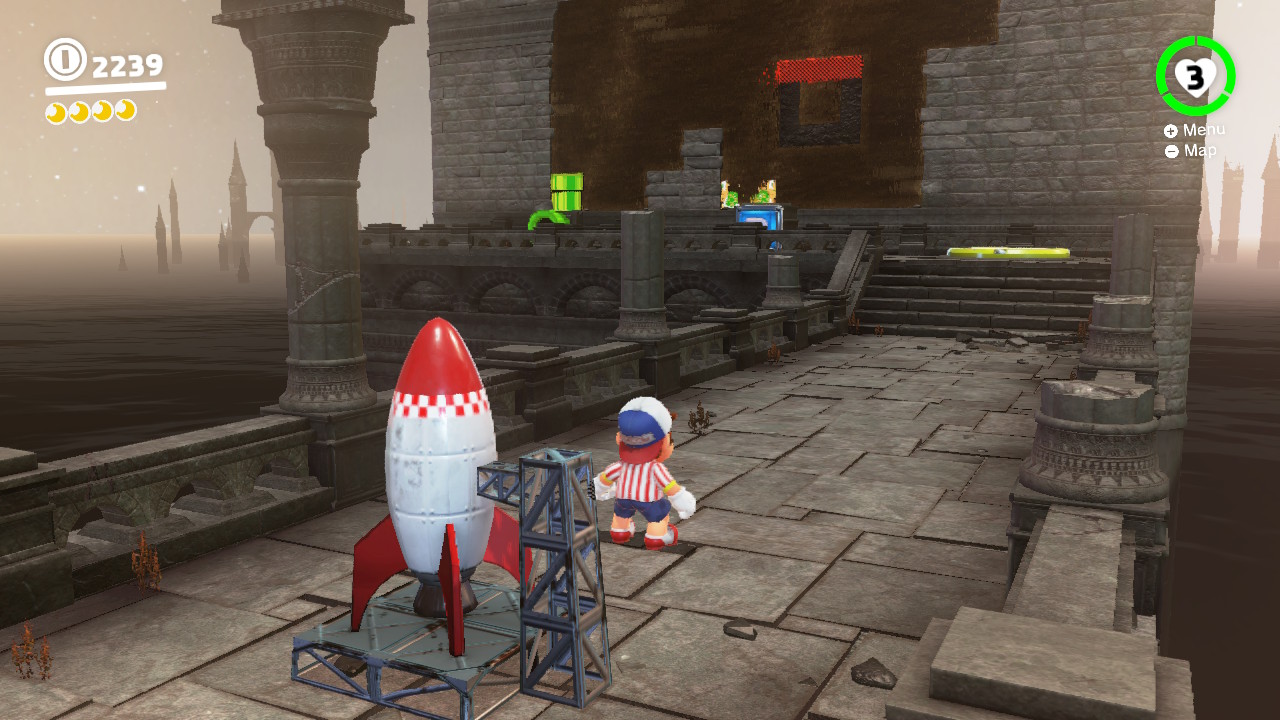
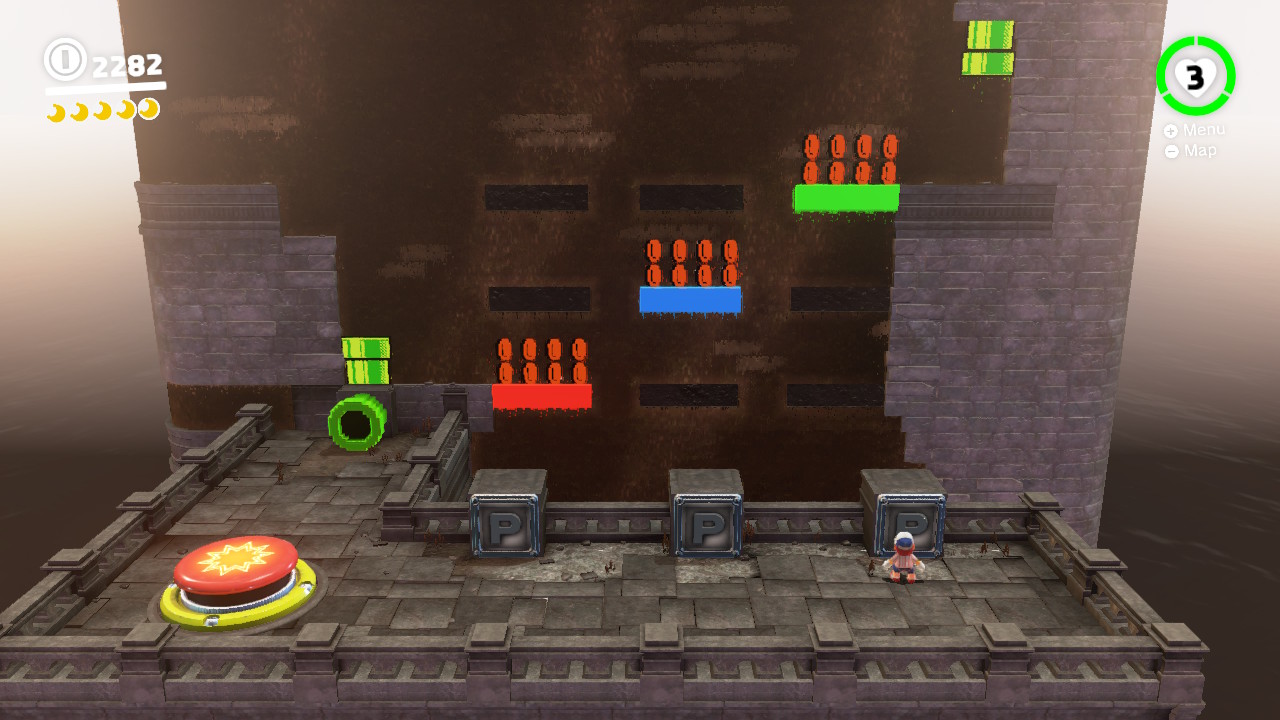
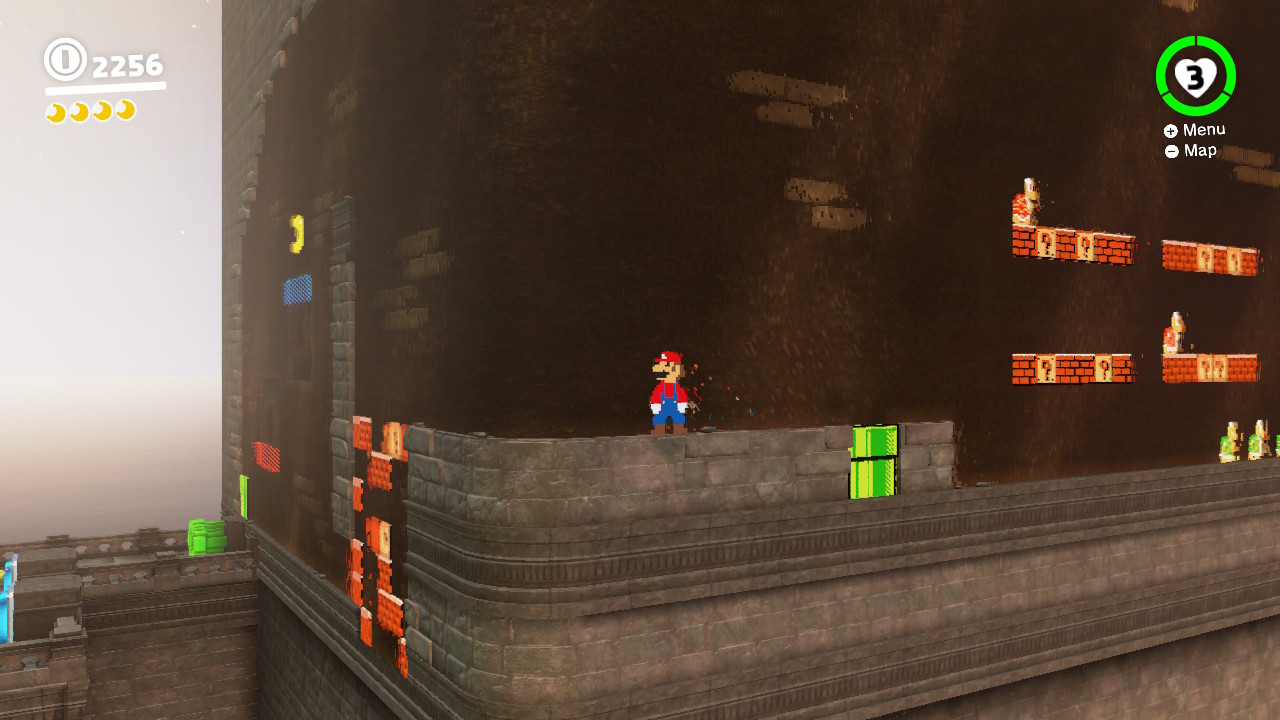
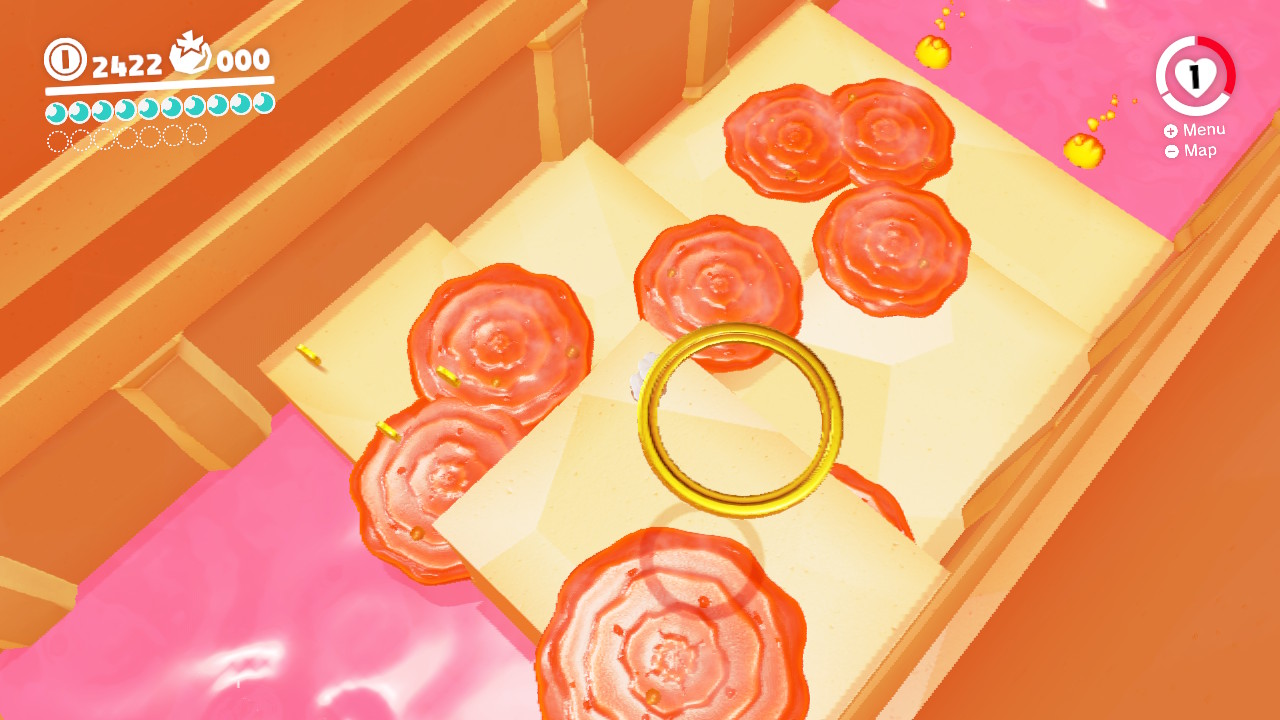
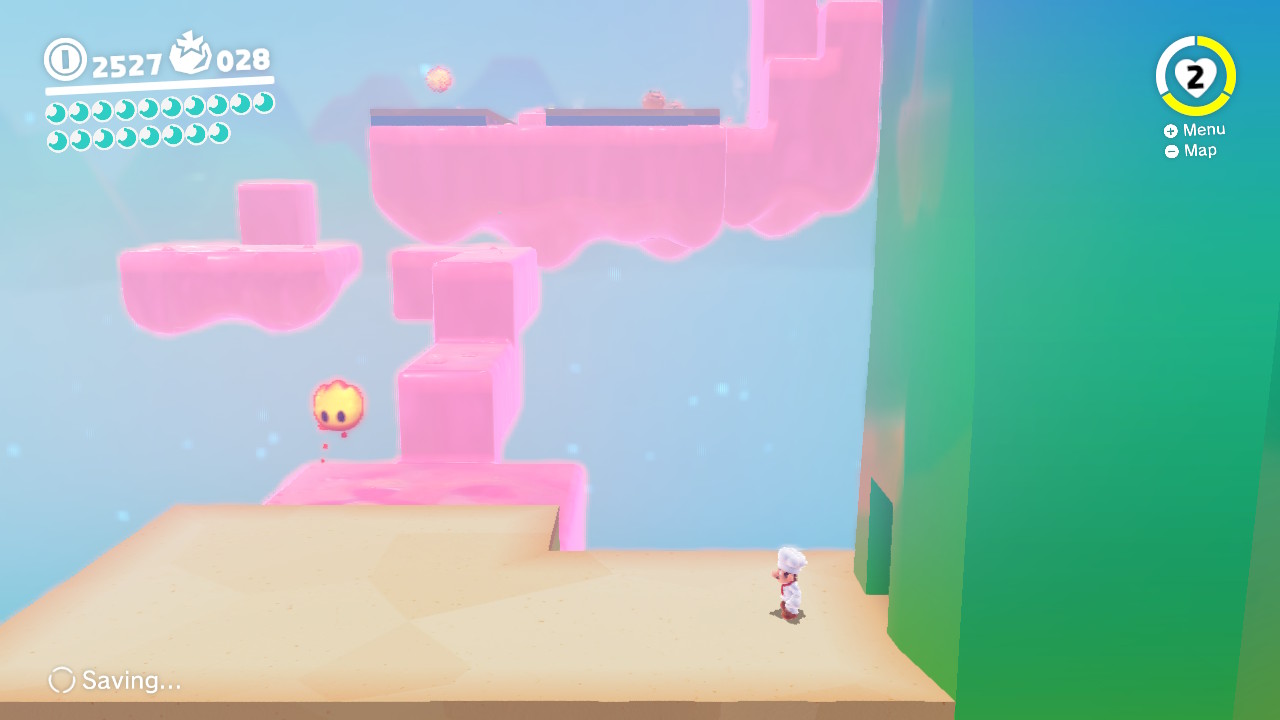
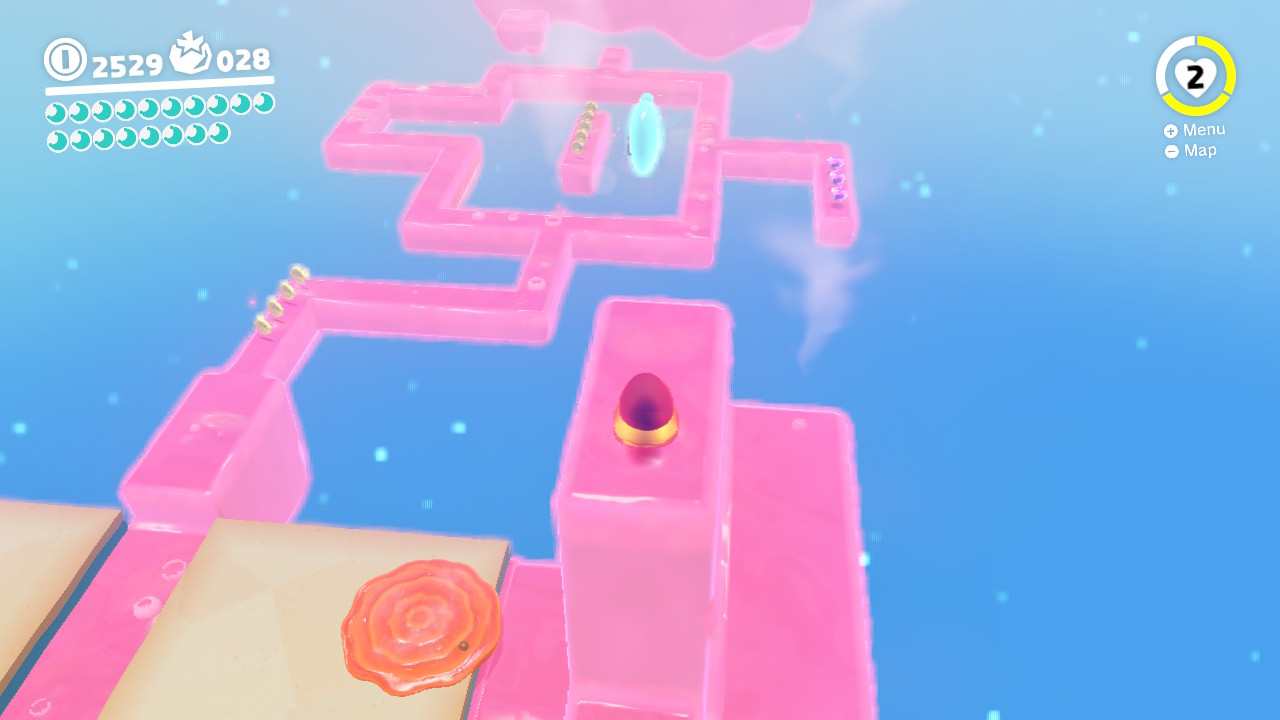
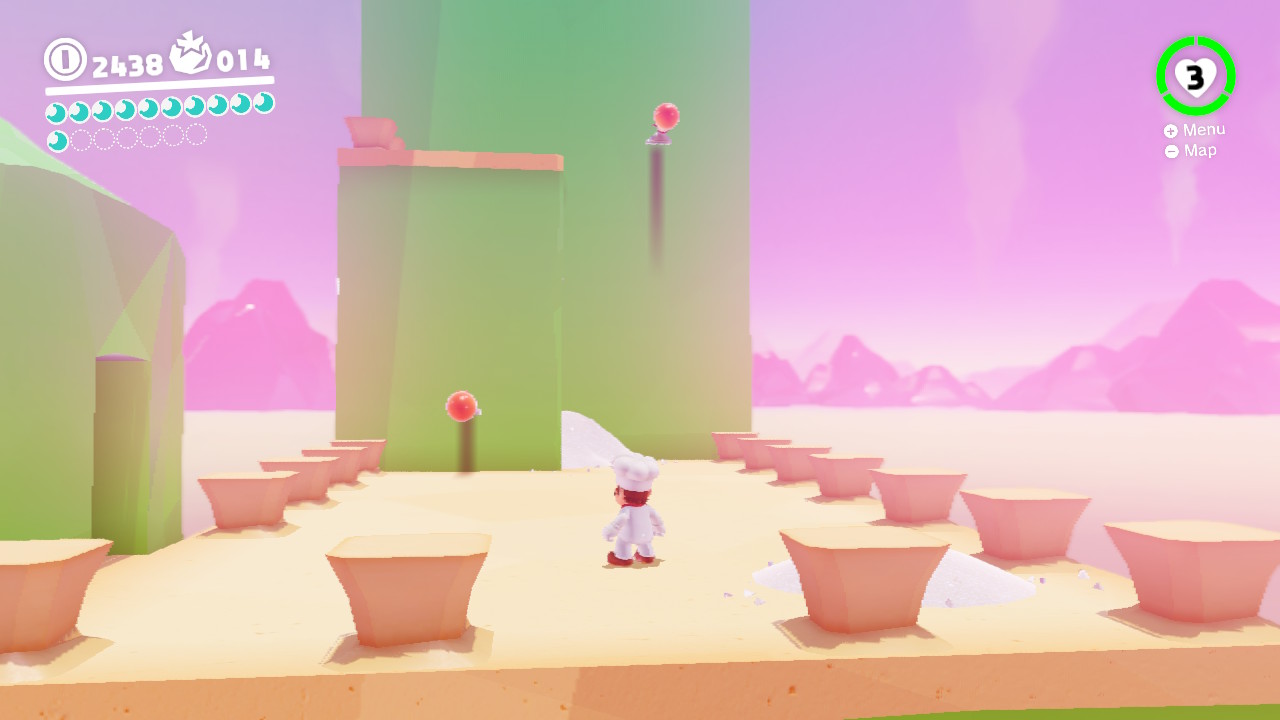
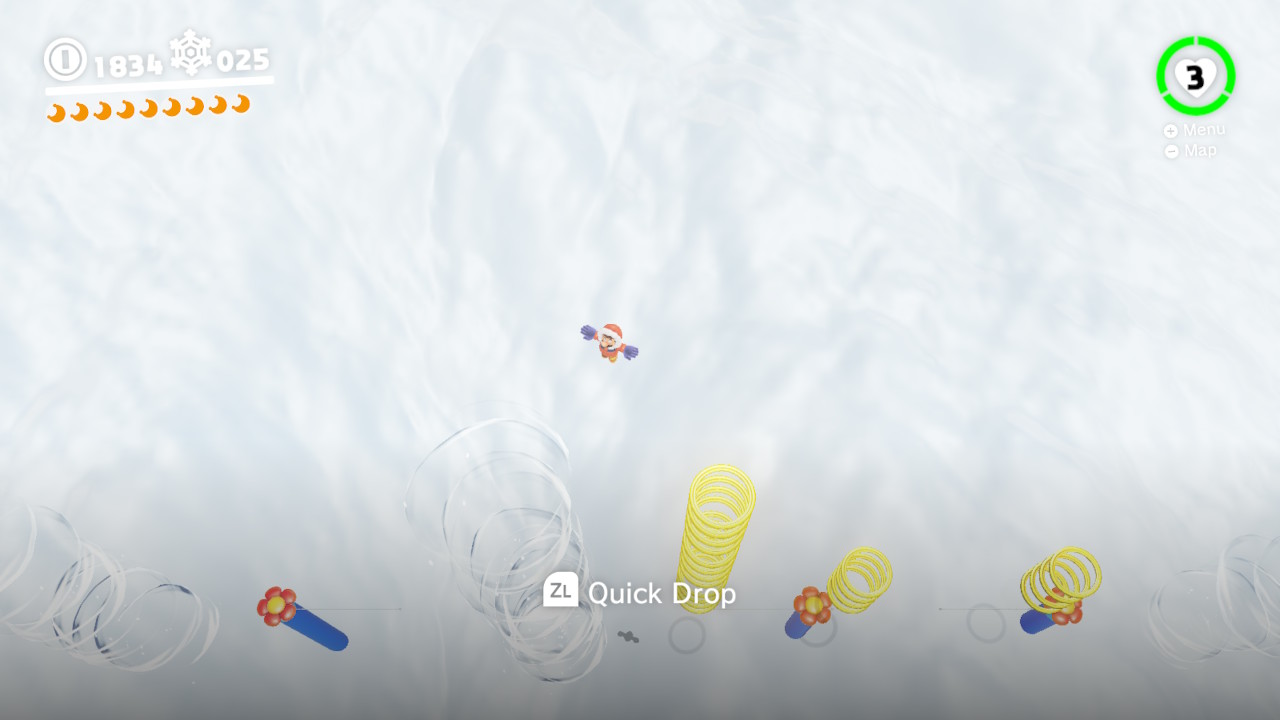
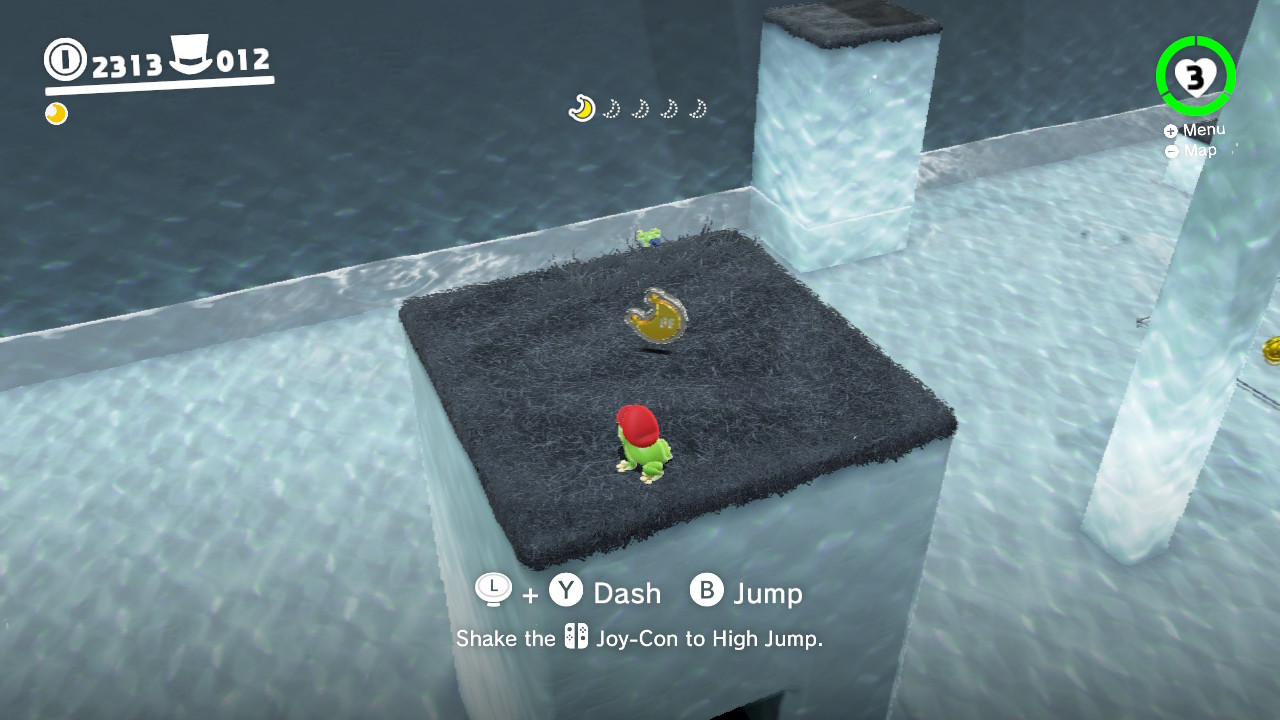
7- Up here you will be treated to a high-flying obstacle course… (And more importantly, some AMAZING Super Mario World music!!!!!!)
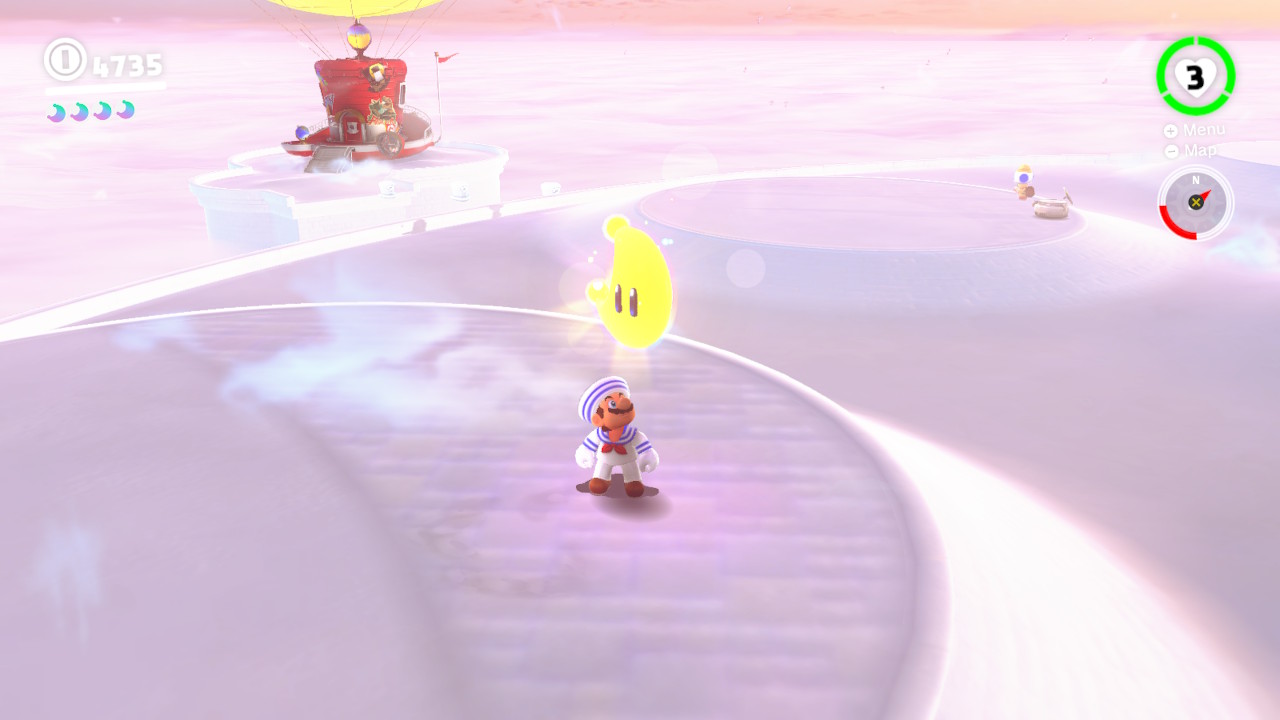
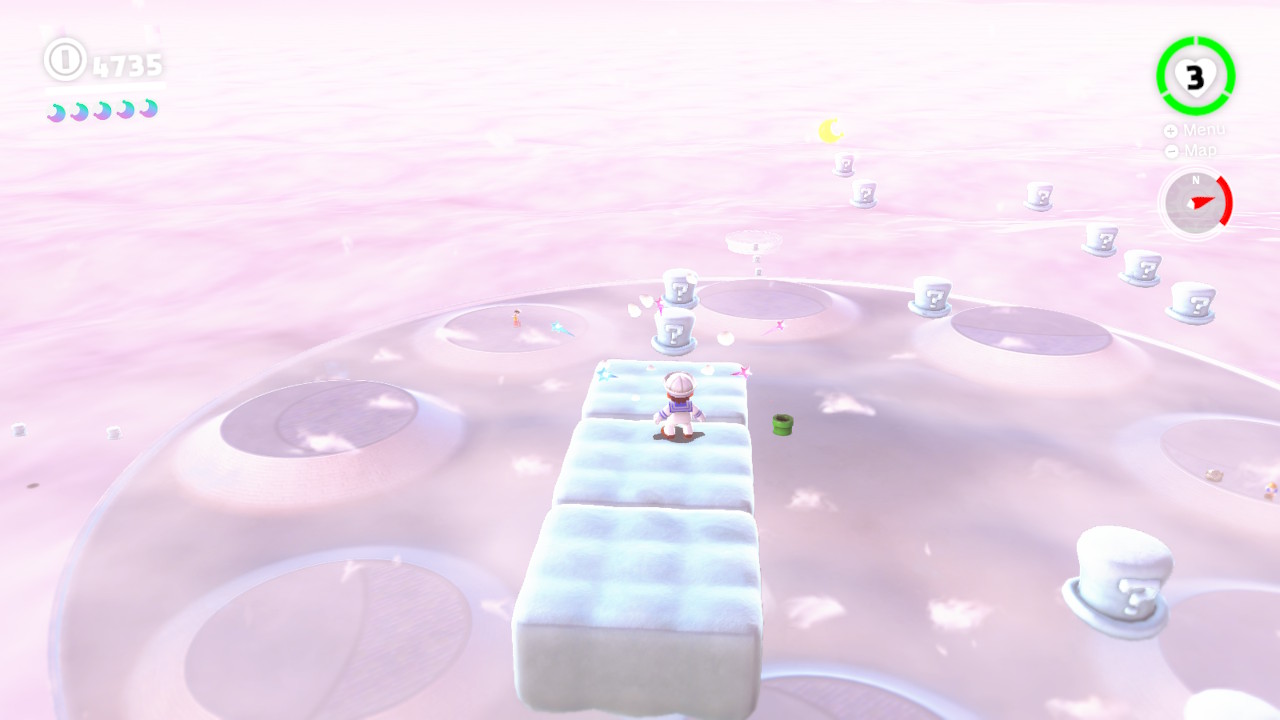
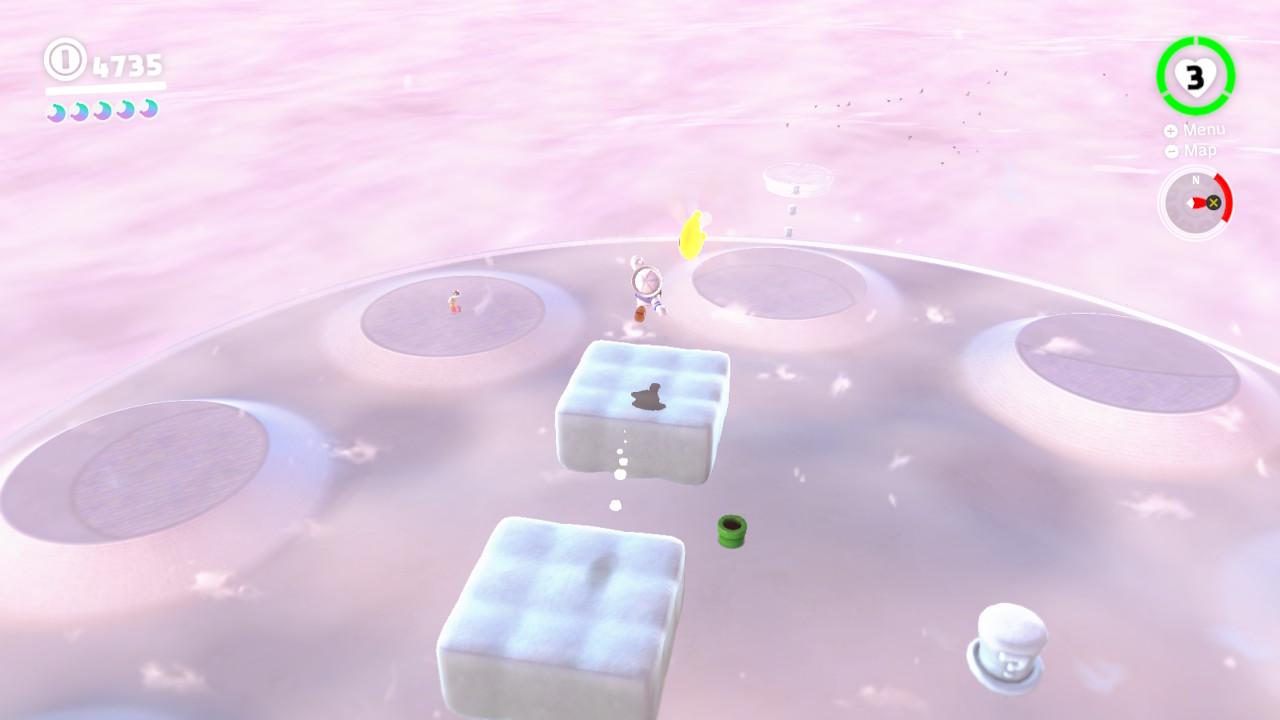
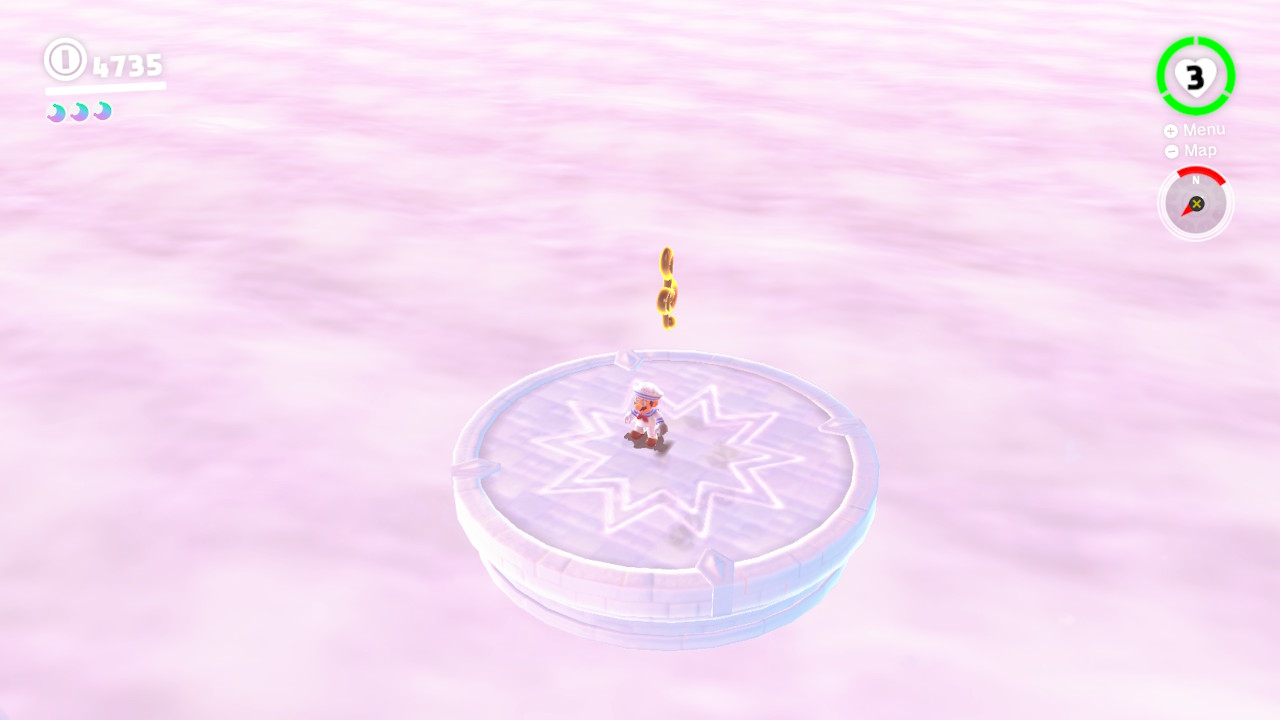
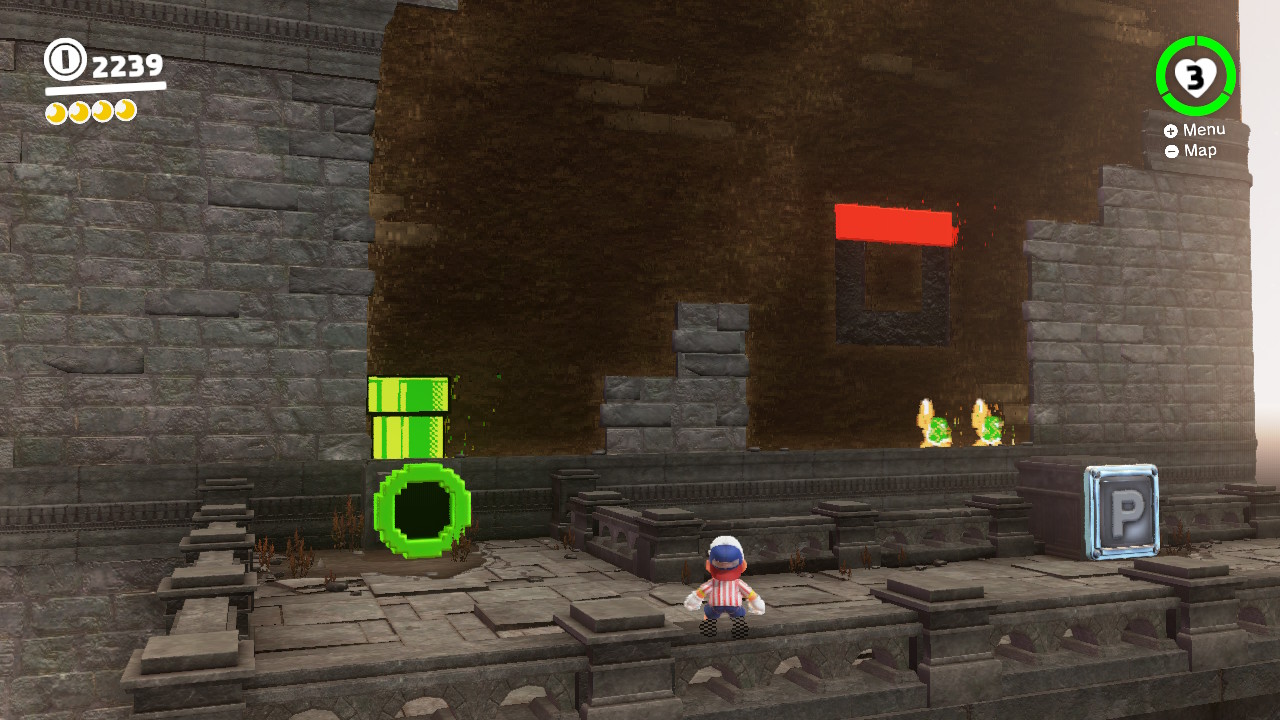
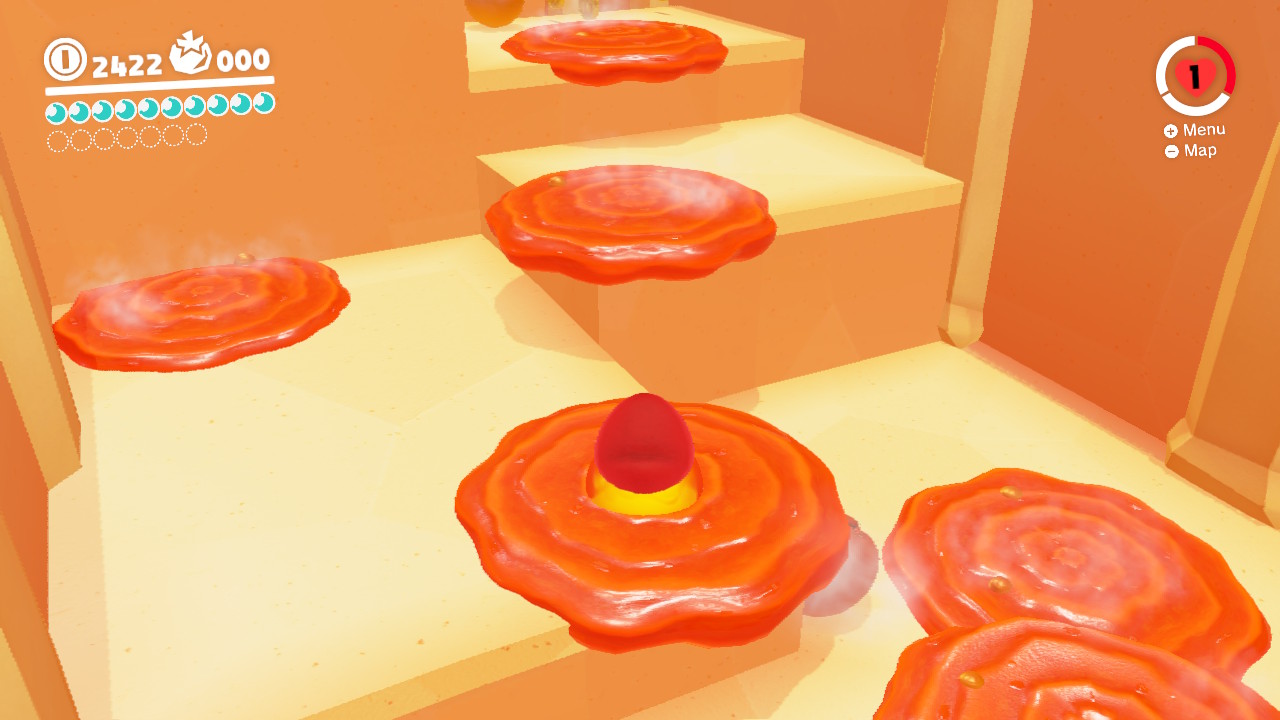
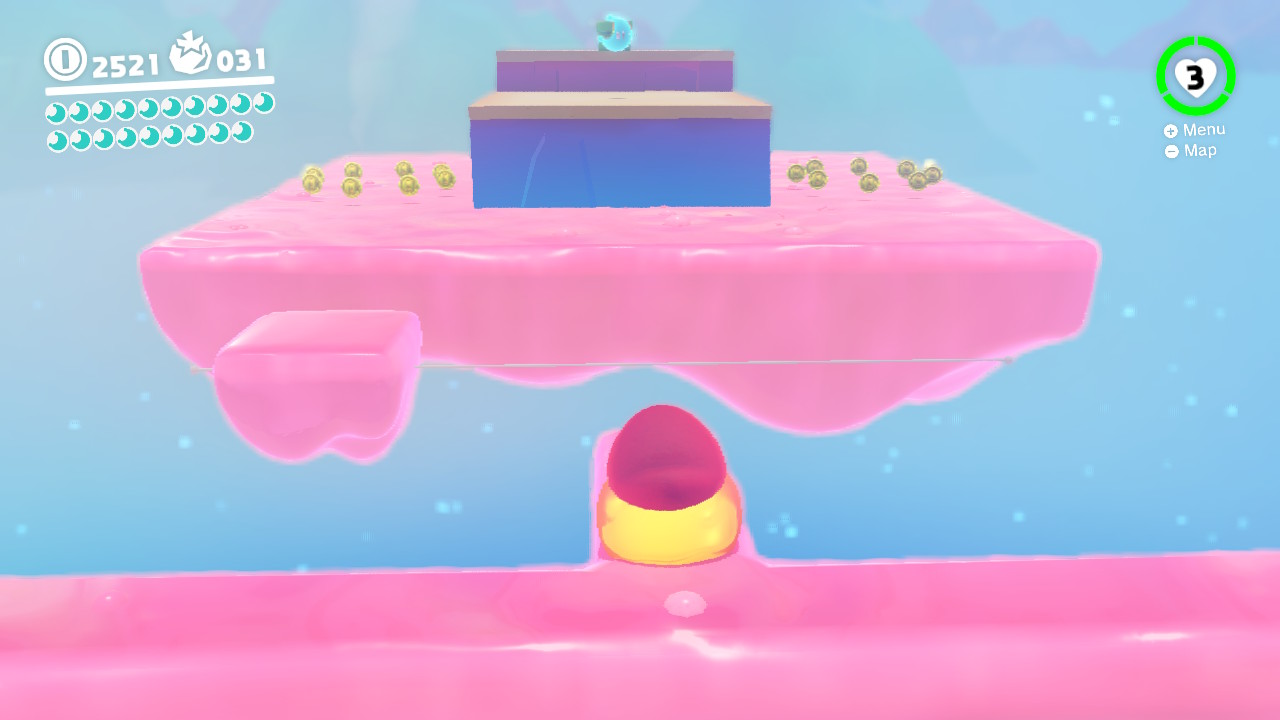
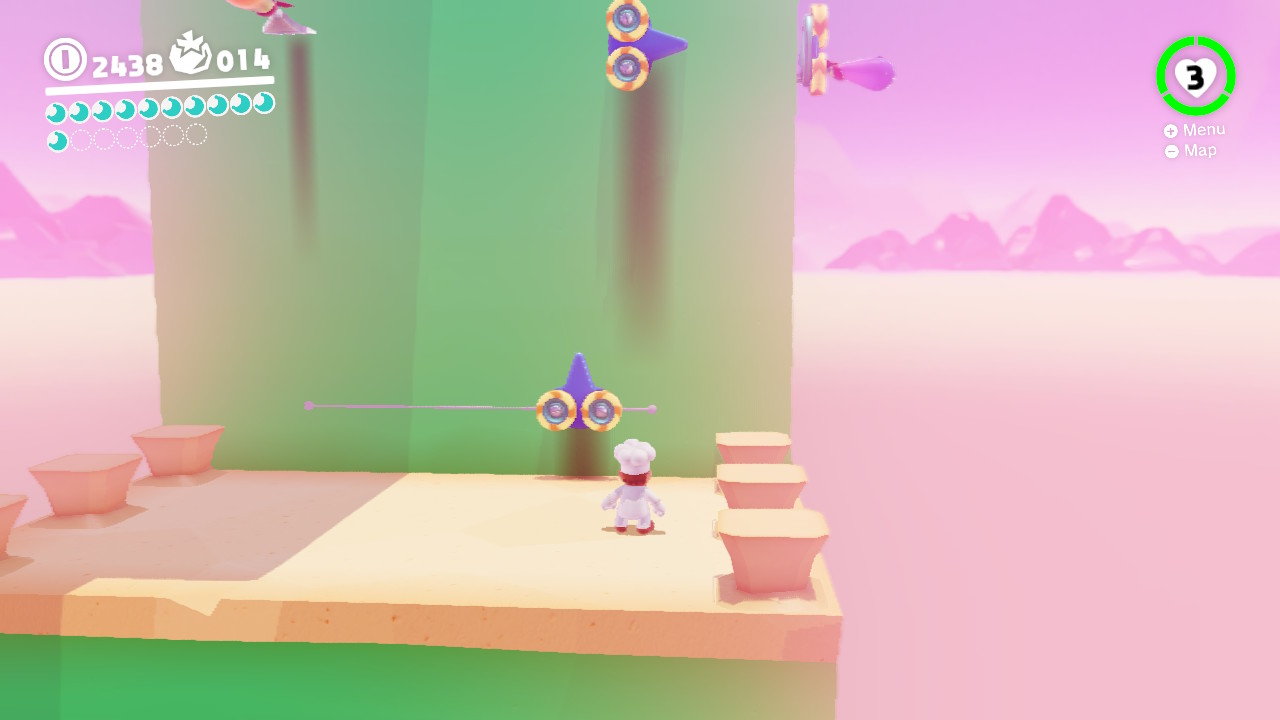
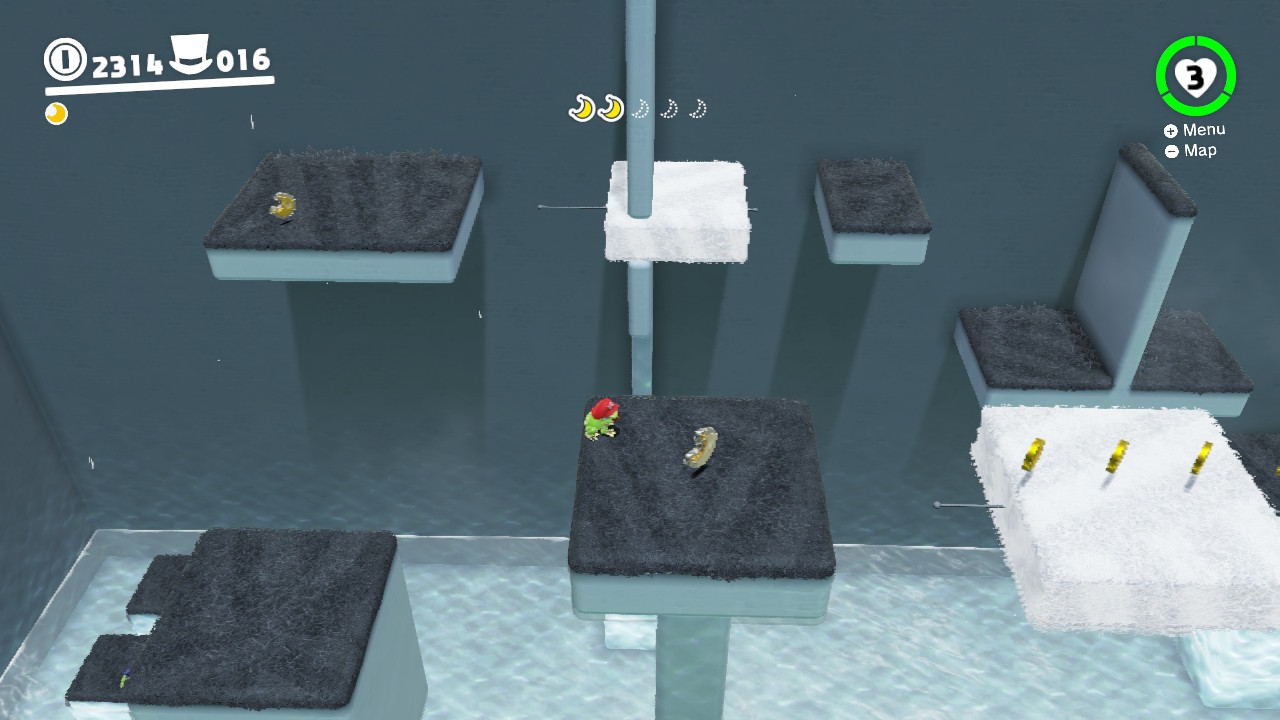
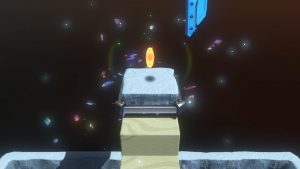
8- Hop on some flowers, catch some wind…
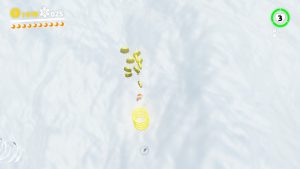
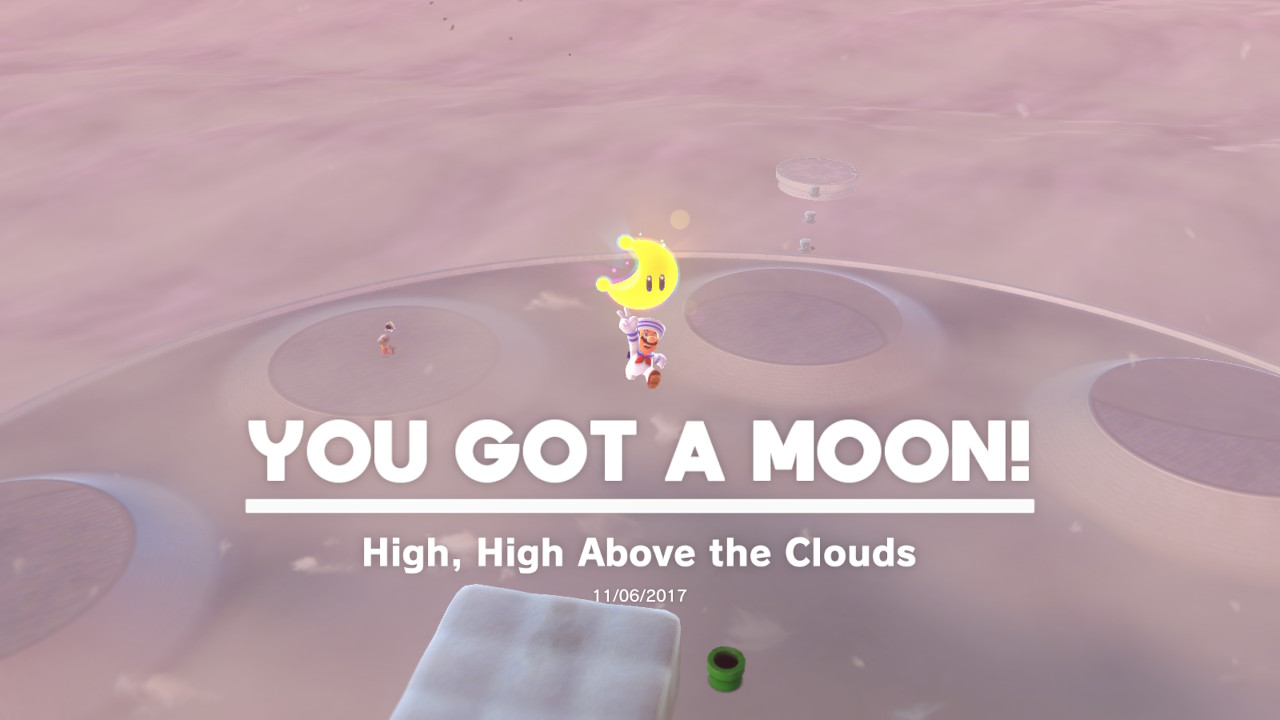
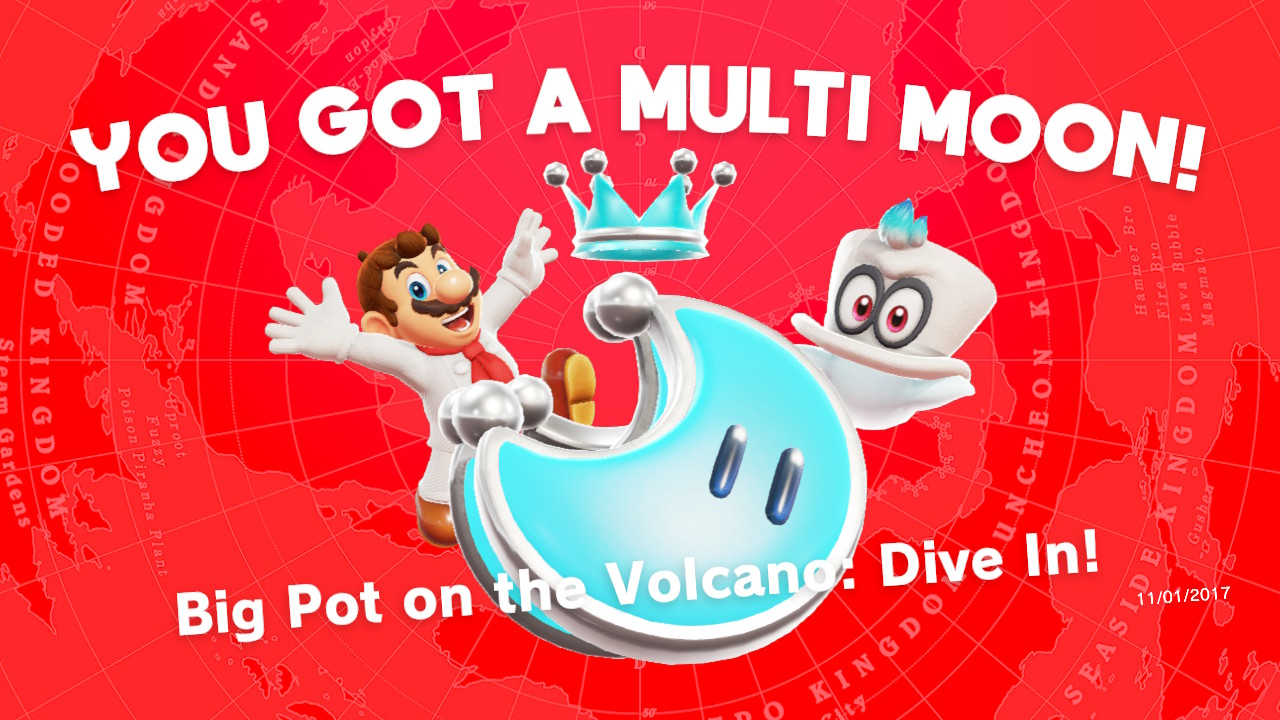
9- And reach the Power Moon at the end! (There’s also an additional secret Power Moon here, look below for those details)
32 – High-Altitude Spinning

Location-
1- For this Power Moon we will need to make a GIANT beanstalkgrow from the ground. To do this we will need this NUT stuck in some ice near the “Above the Ice Well” checkpoint…
2- Take the nut into the blowhole…
3- To open the hole you will need to use Cappy on the wooden post…
4- Jump into the wind and land above, where you will find a pot to plant the nut in…
5- A gigantic beanstalk will appear…
6- Climb to the top…
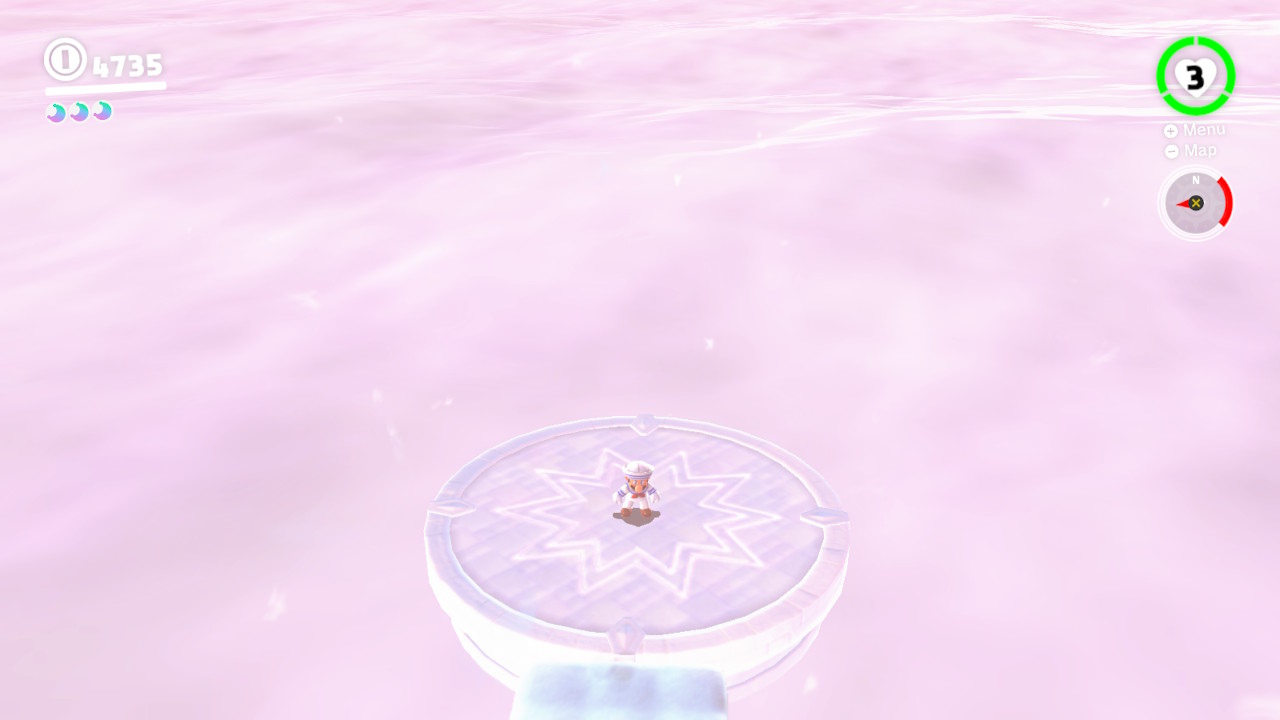
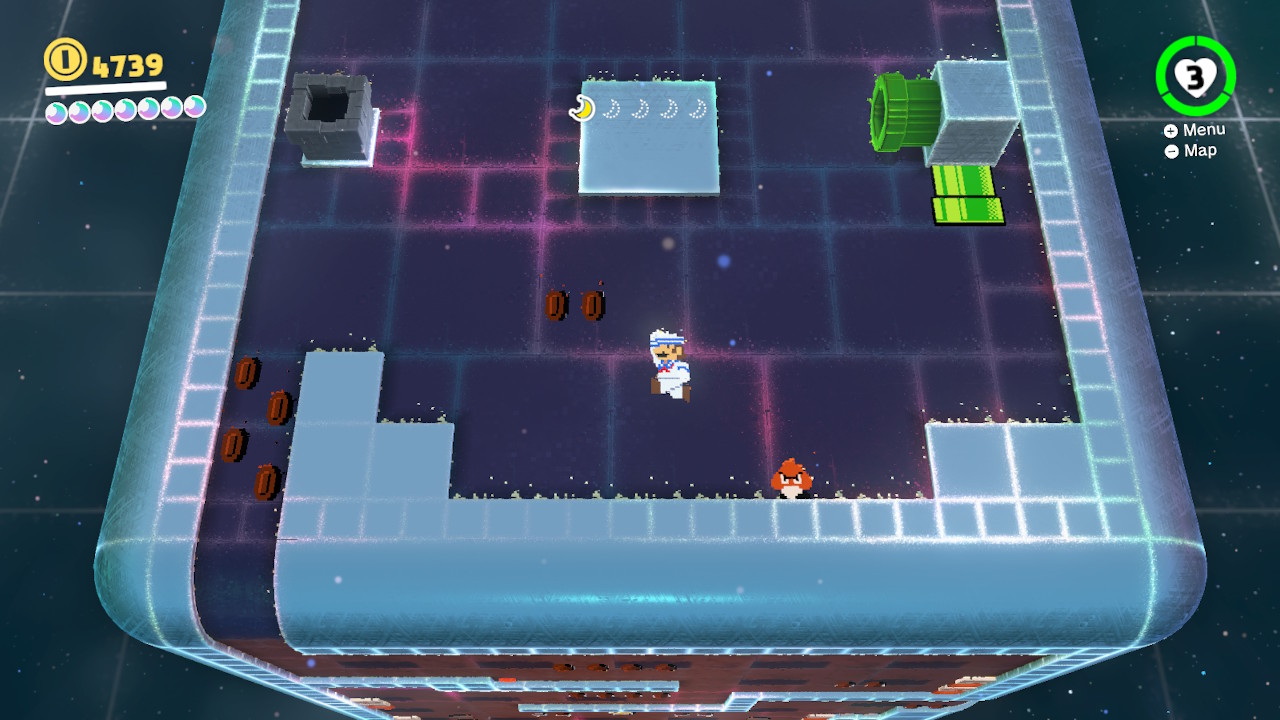
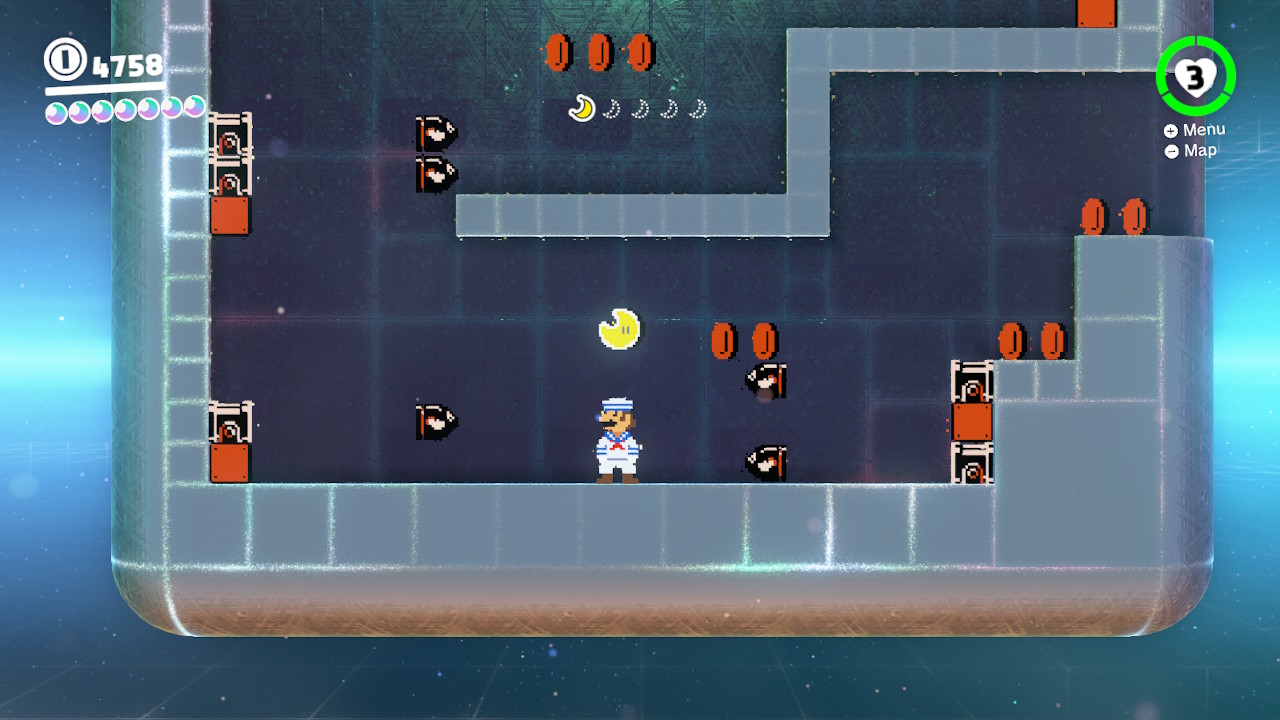
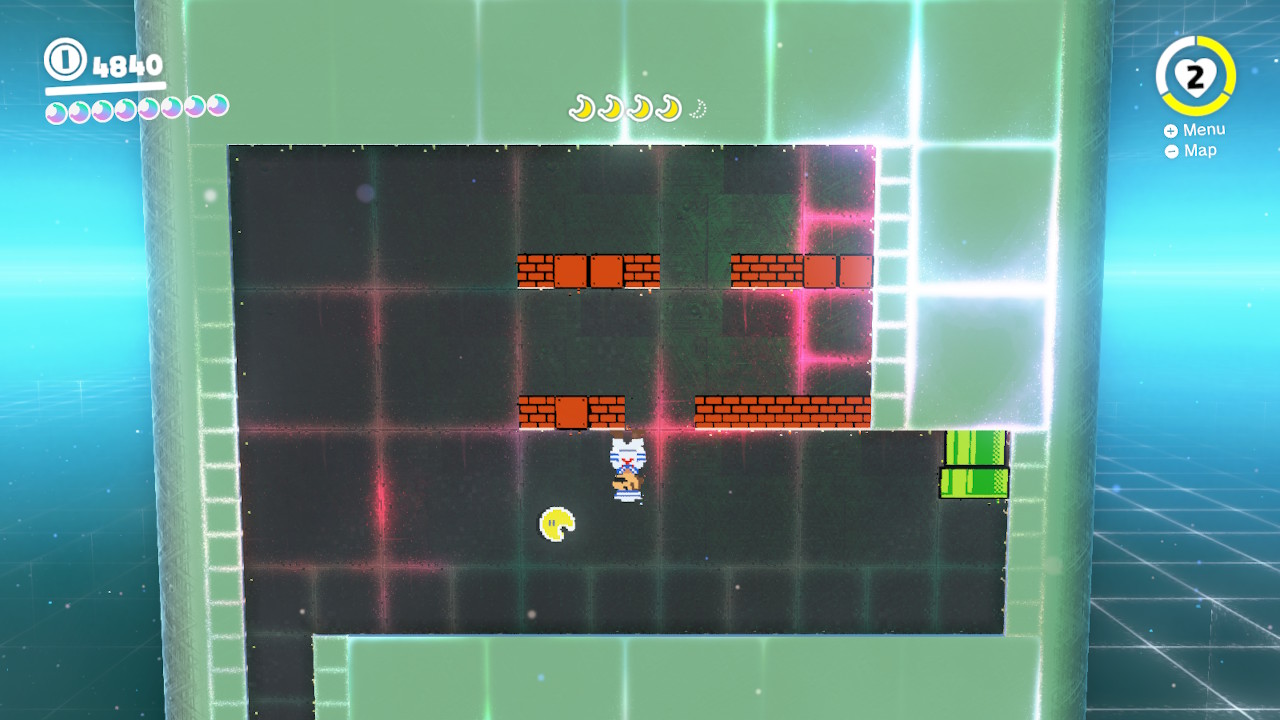
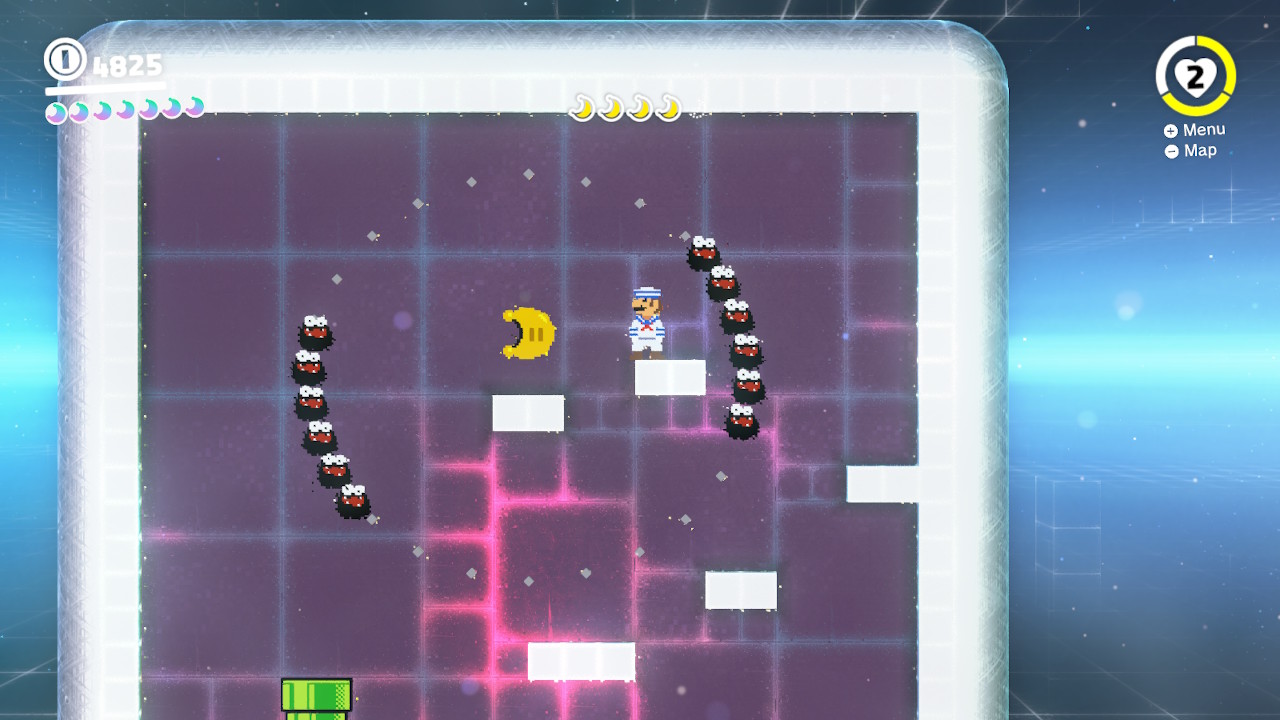
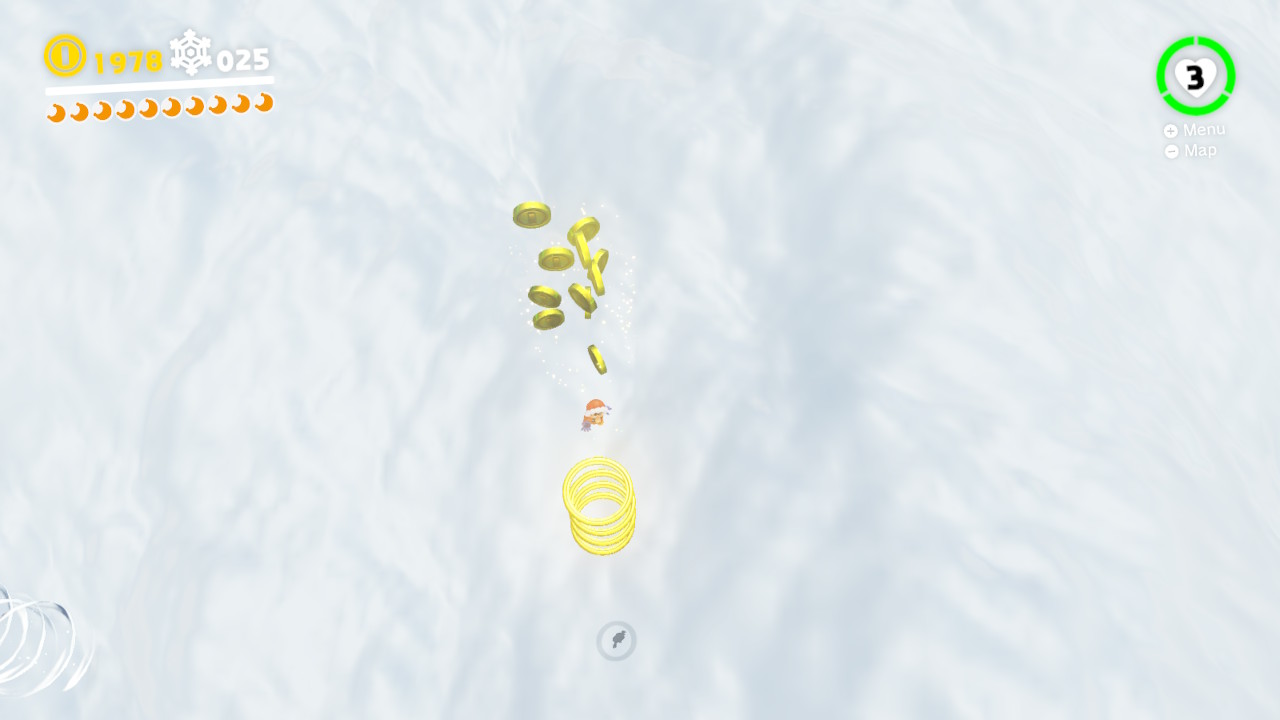
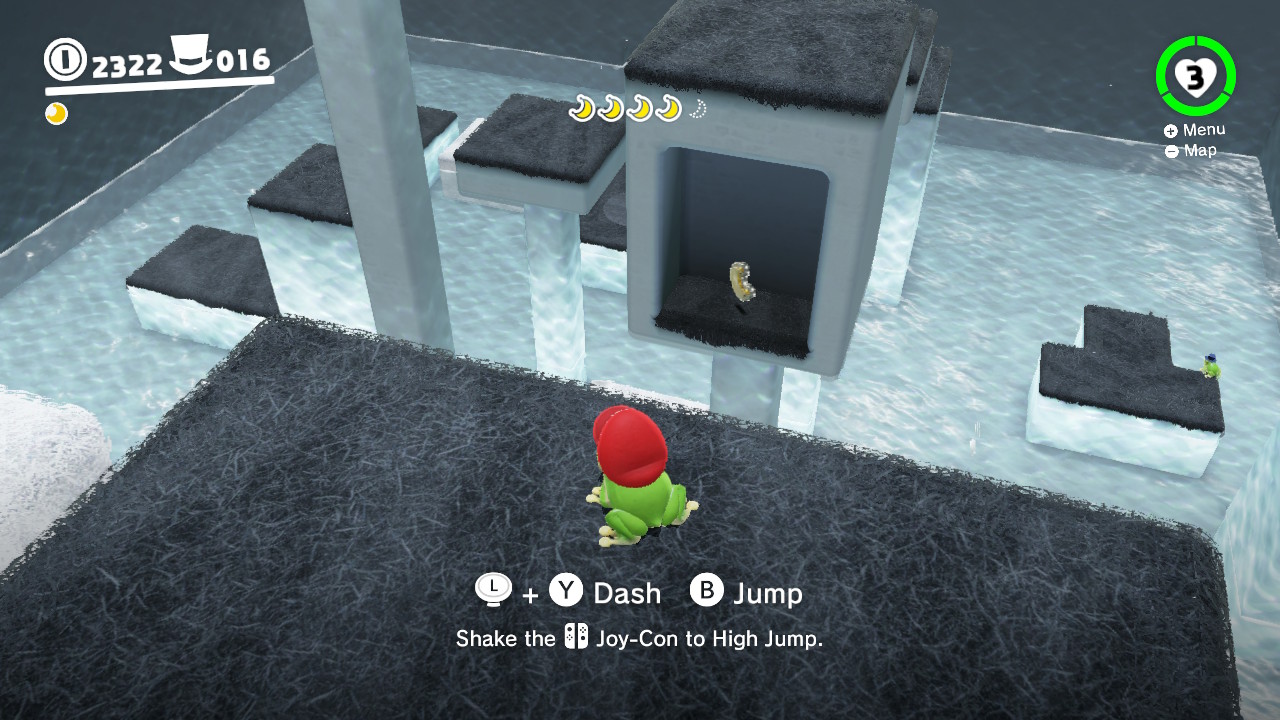
7- Up here you will be treated to a high-flying obstacle course… (And more importantly, some AMAZING Super Mario World music!!!!!!)
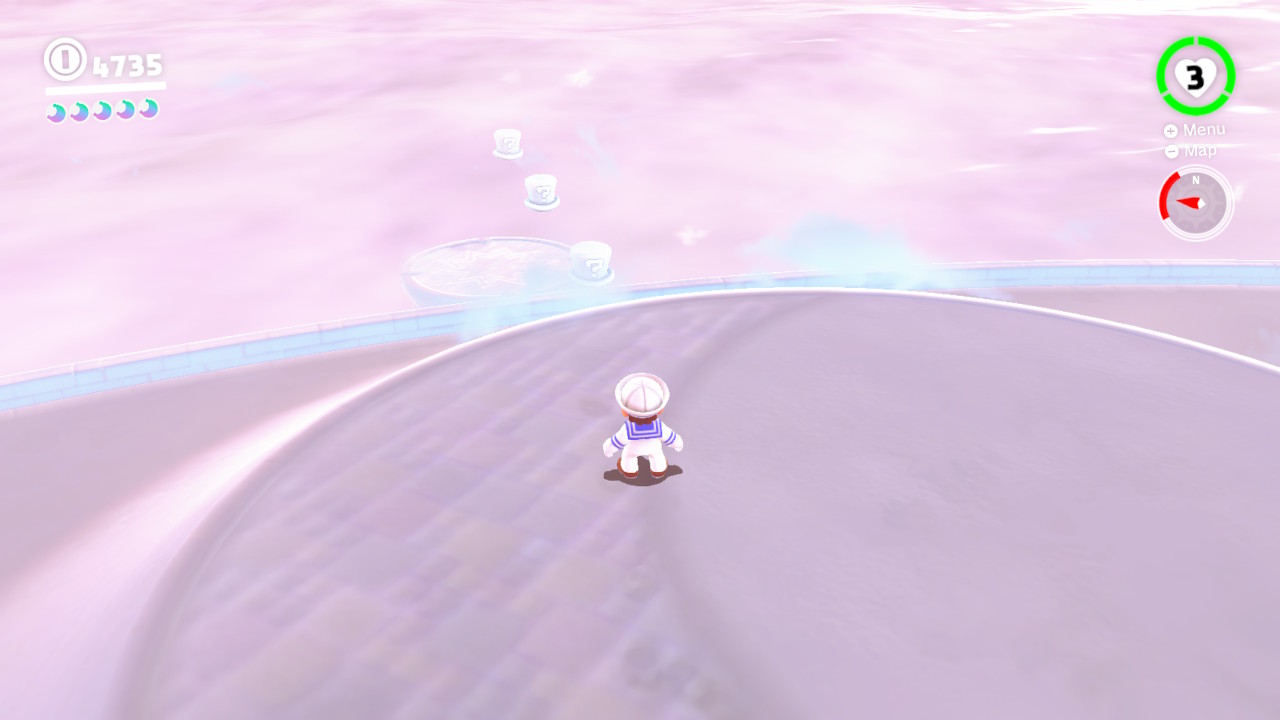
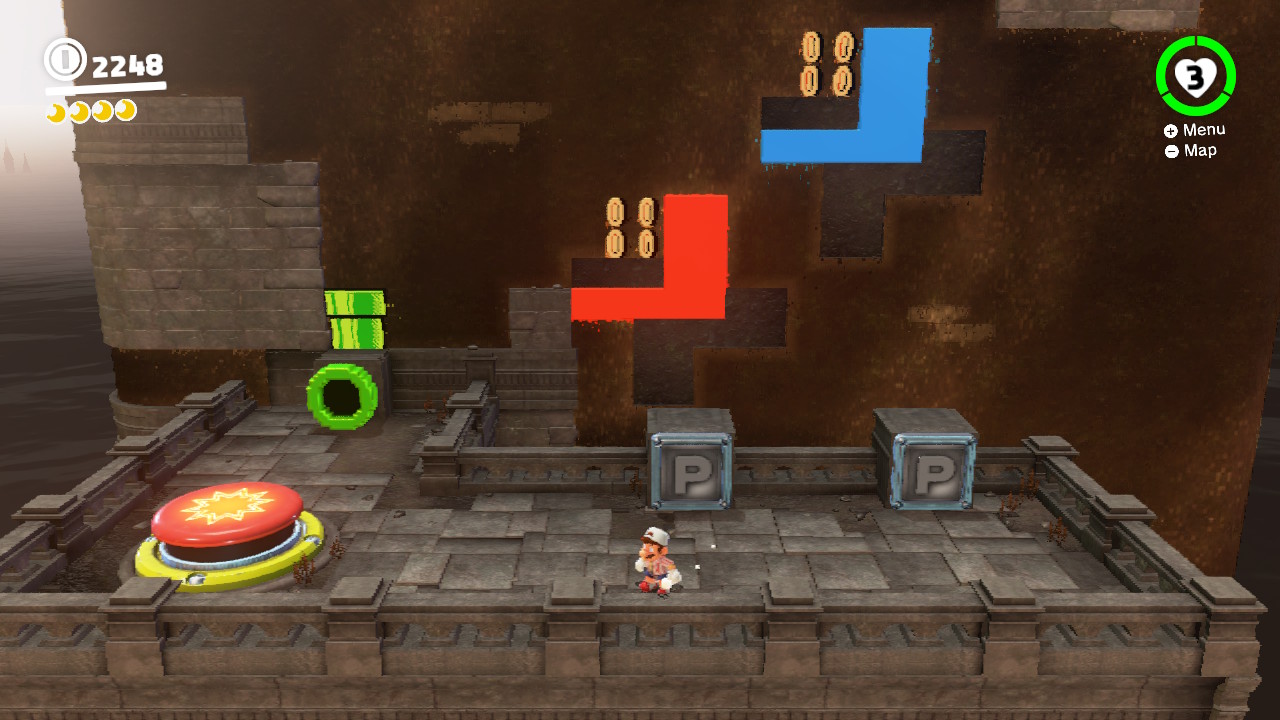
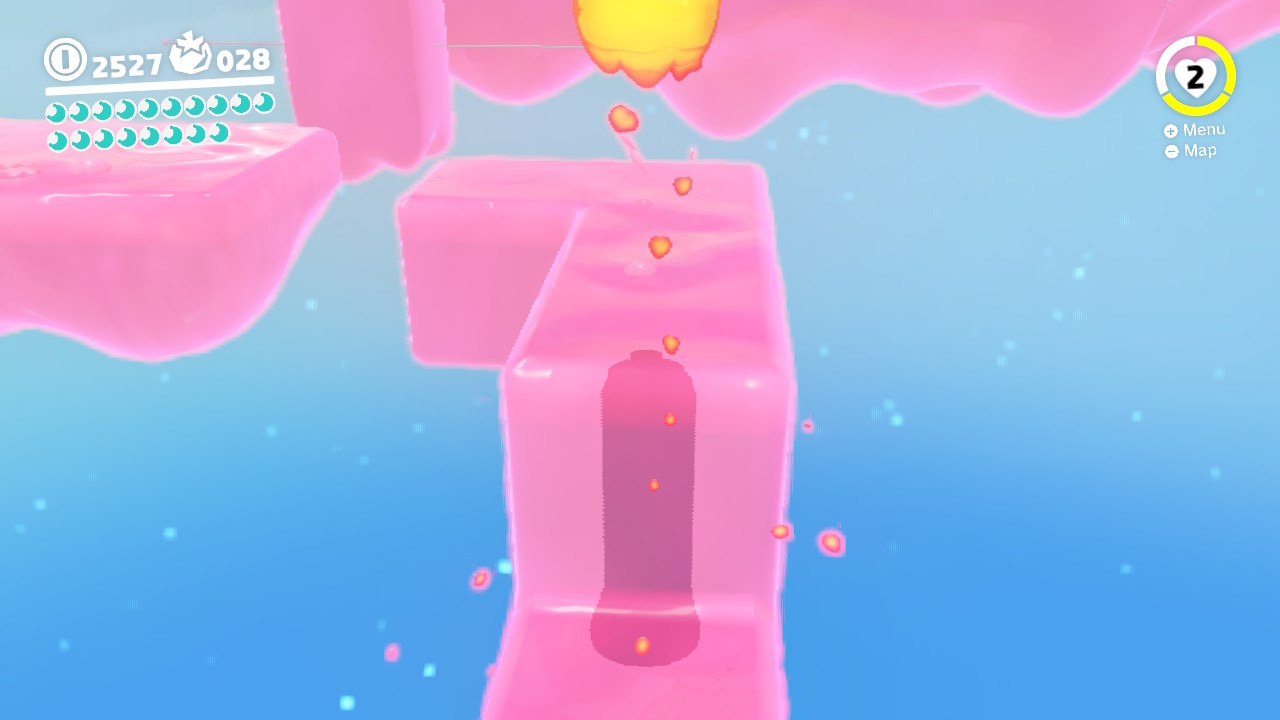
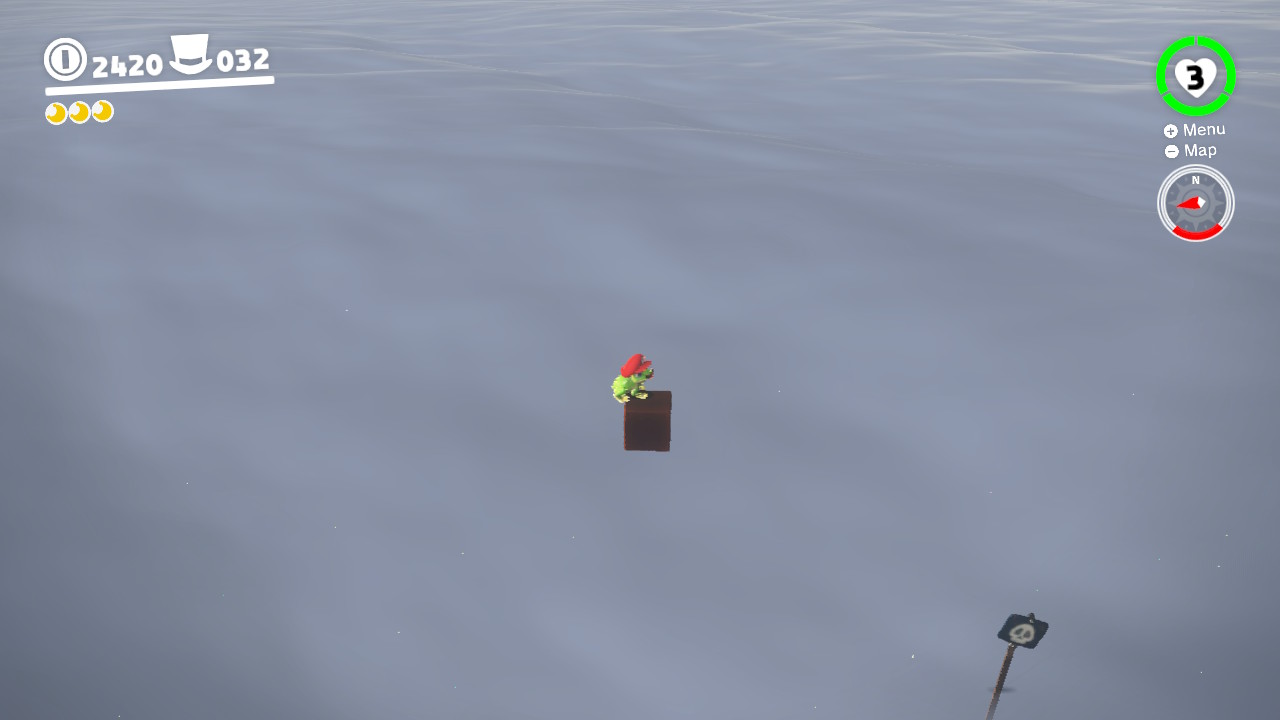
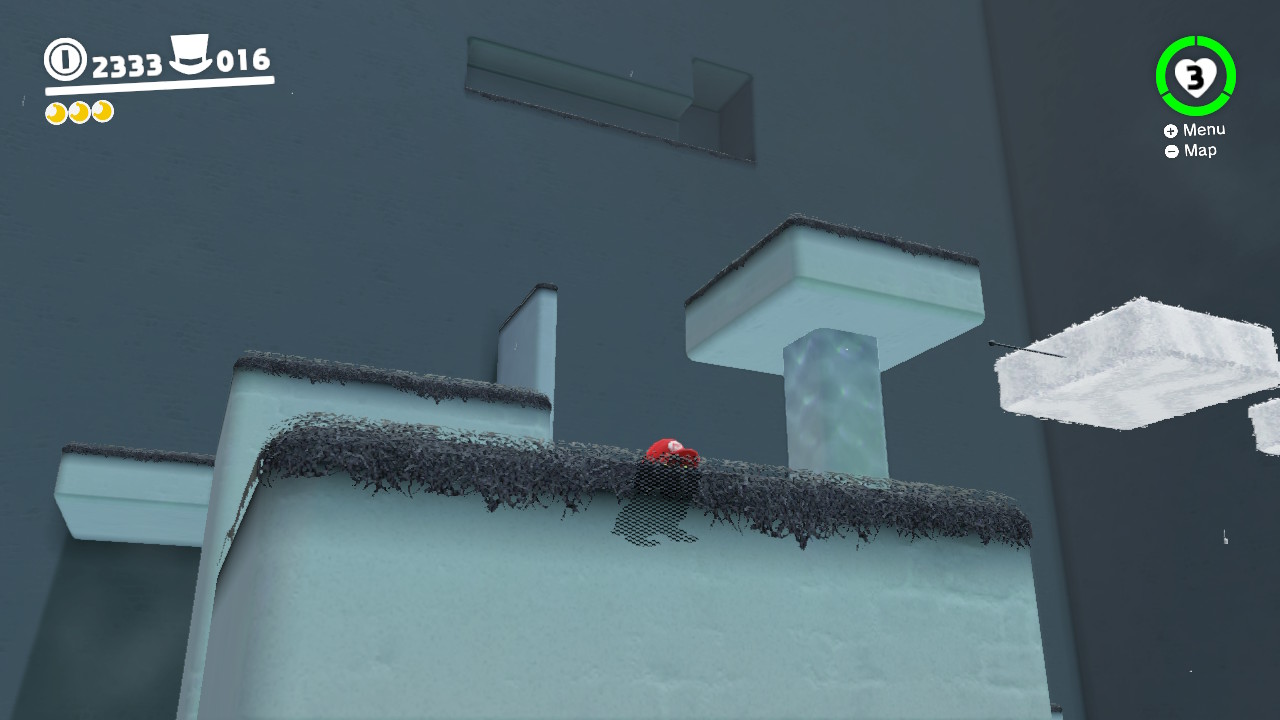
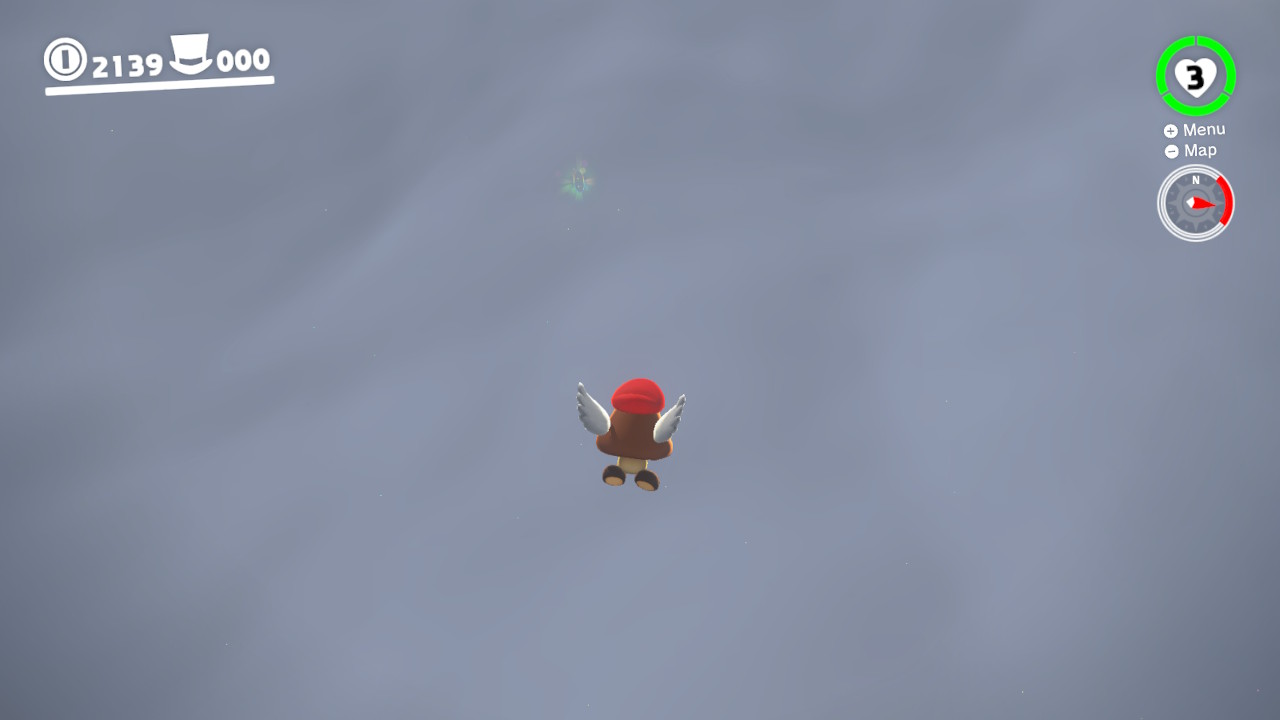
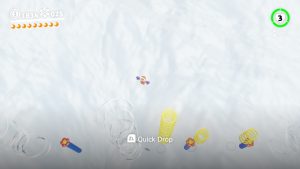
8- Towards the “finish line” you will see a BIG gust of wind that blows you upward.The level is designed to go to the right, BUT, in true Mario fasion, there are always more secrets…
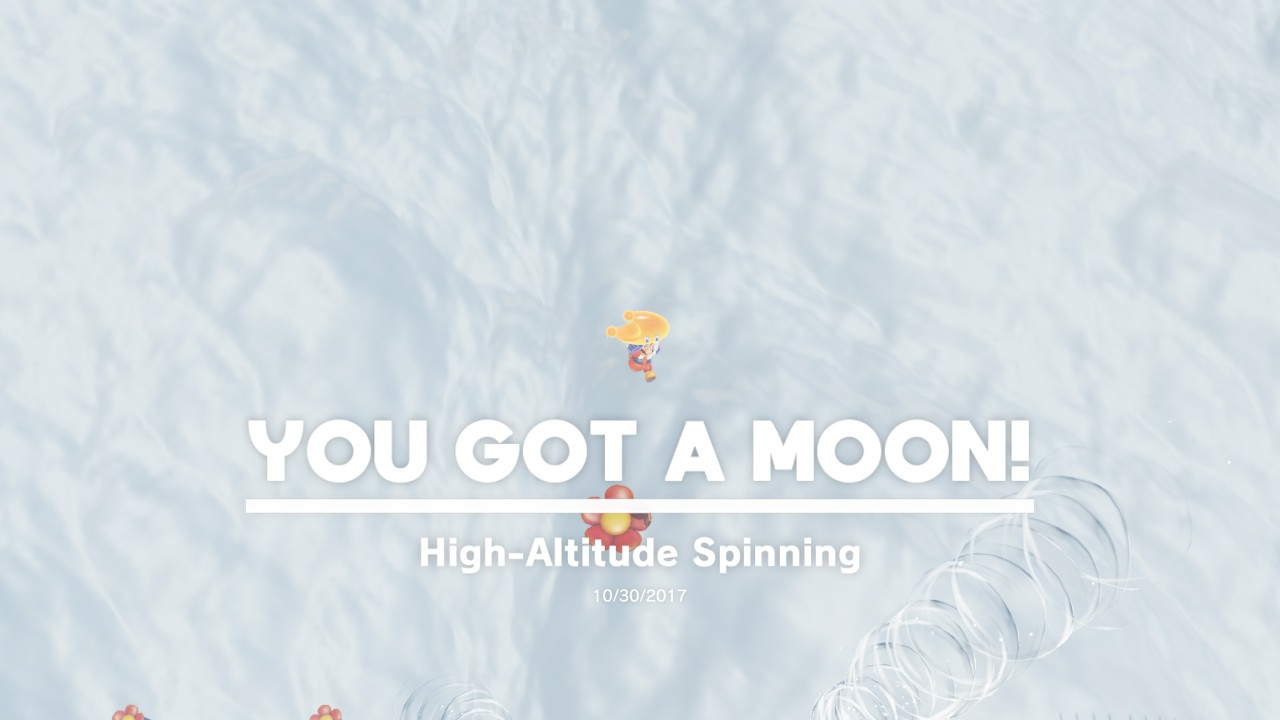
9- Go to the LEFT side after cathing the huge gust of wind and you will find the High-Altitude Spinning Power Moon!
33 –
34 –
35 –
36 –
37 –