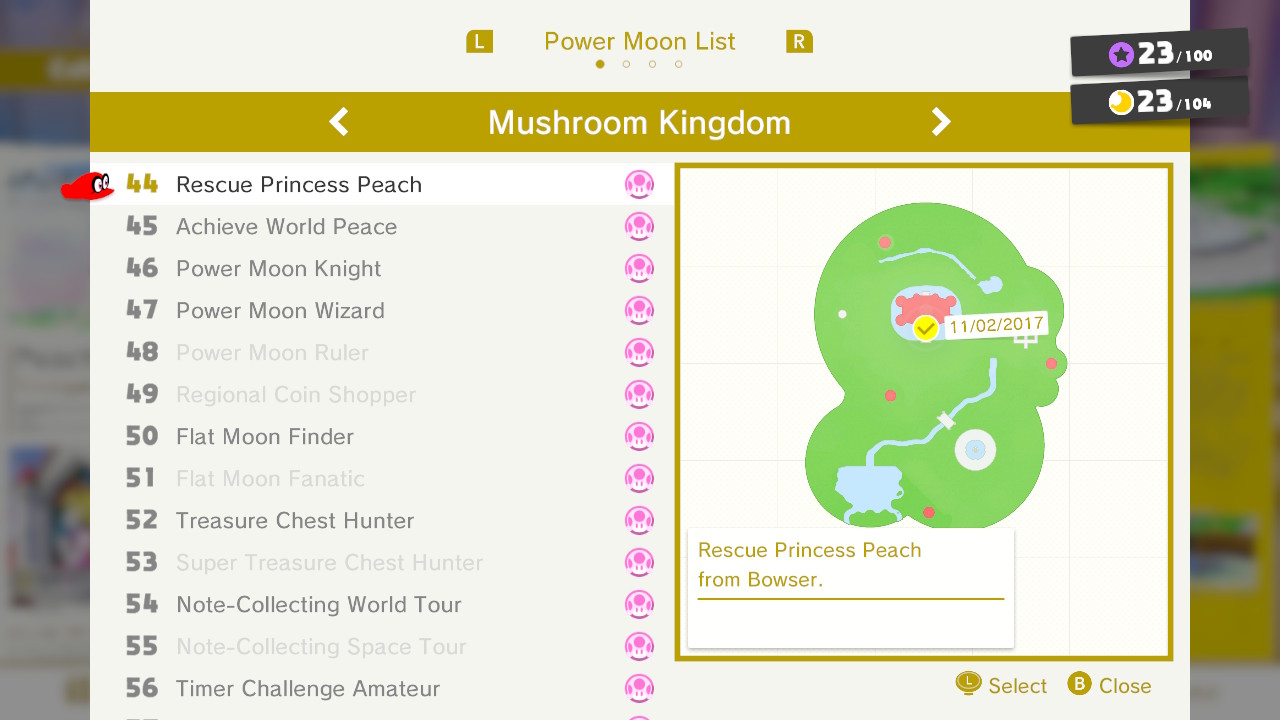
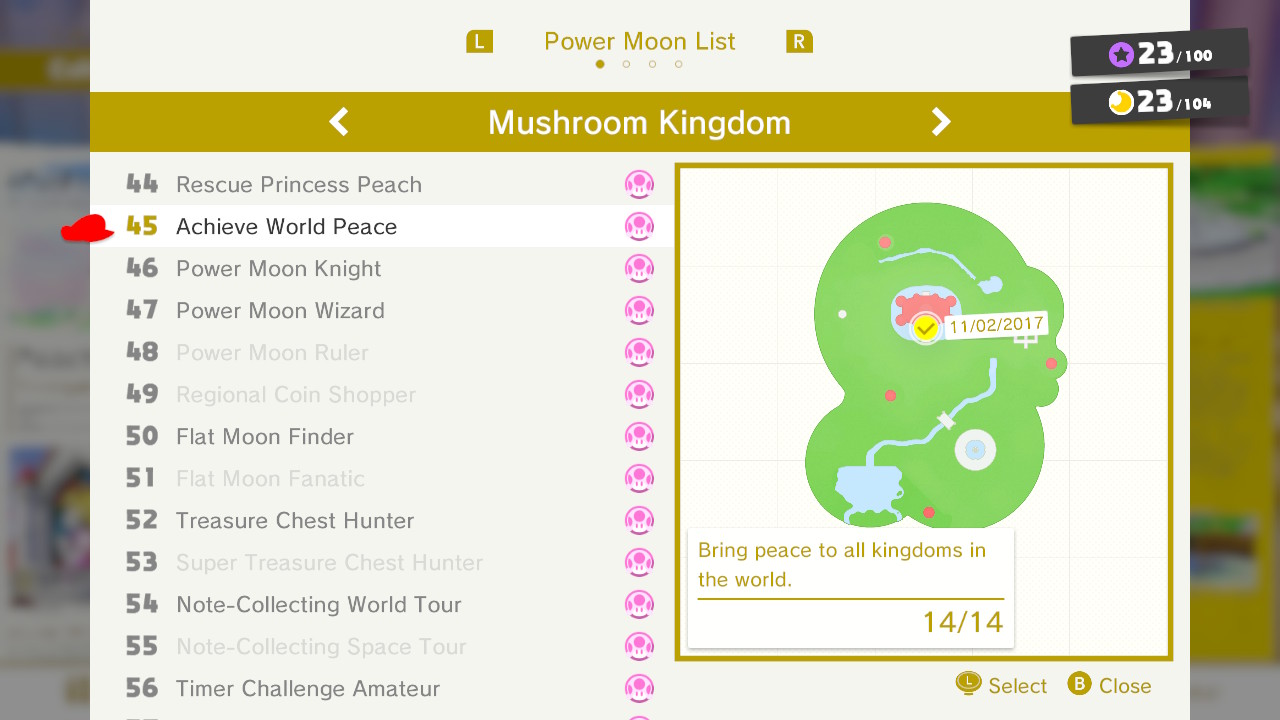
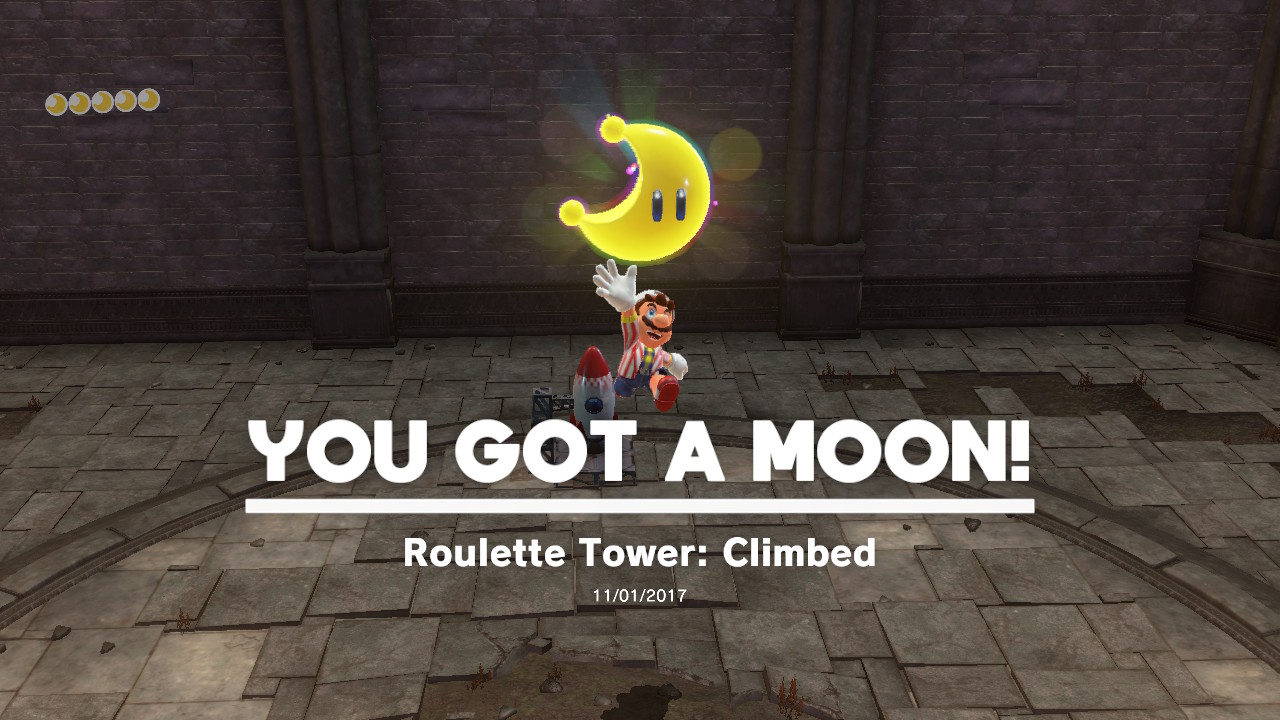
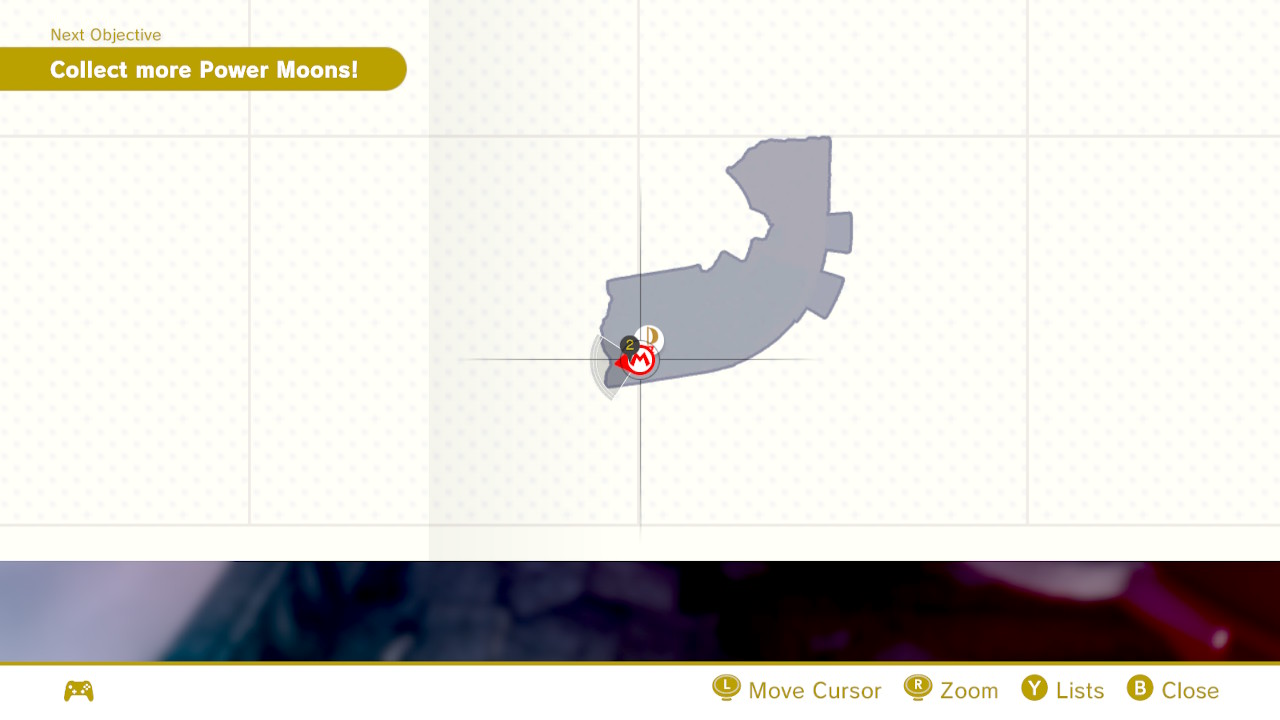
Luncheon Kingdom
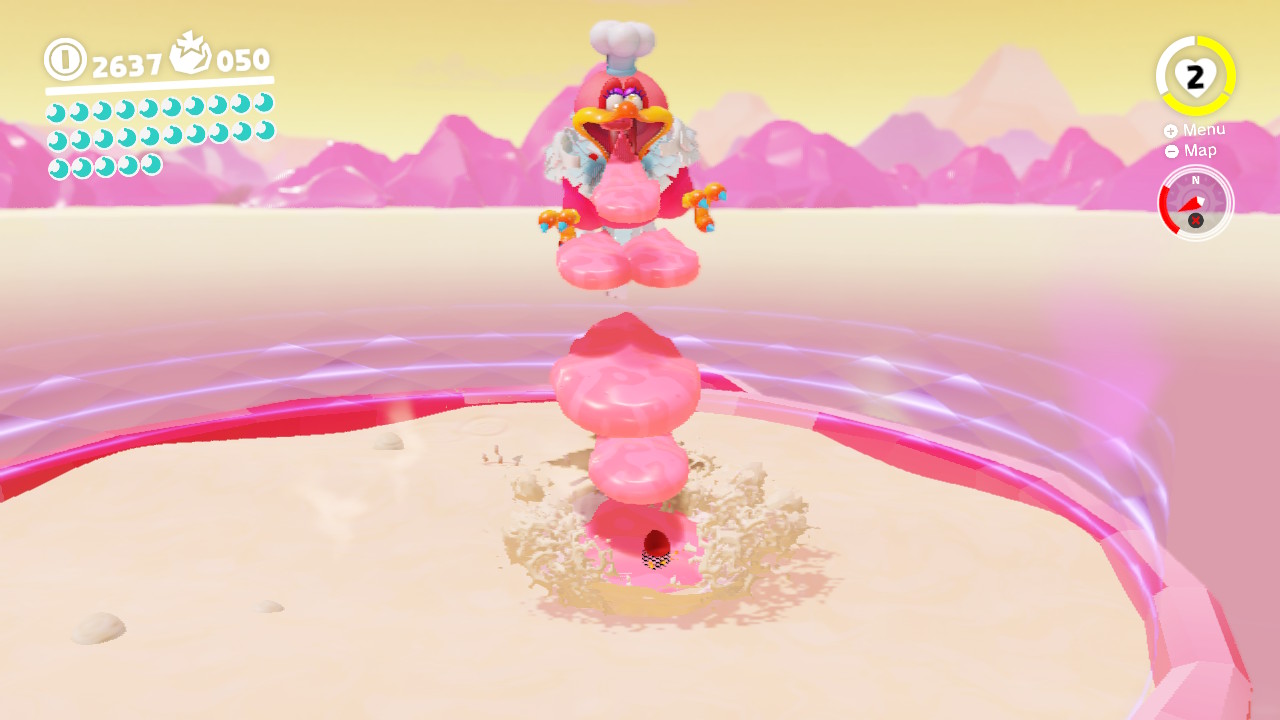
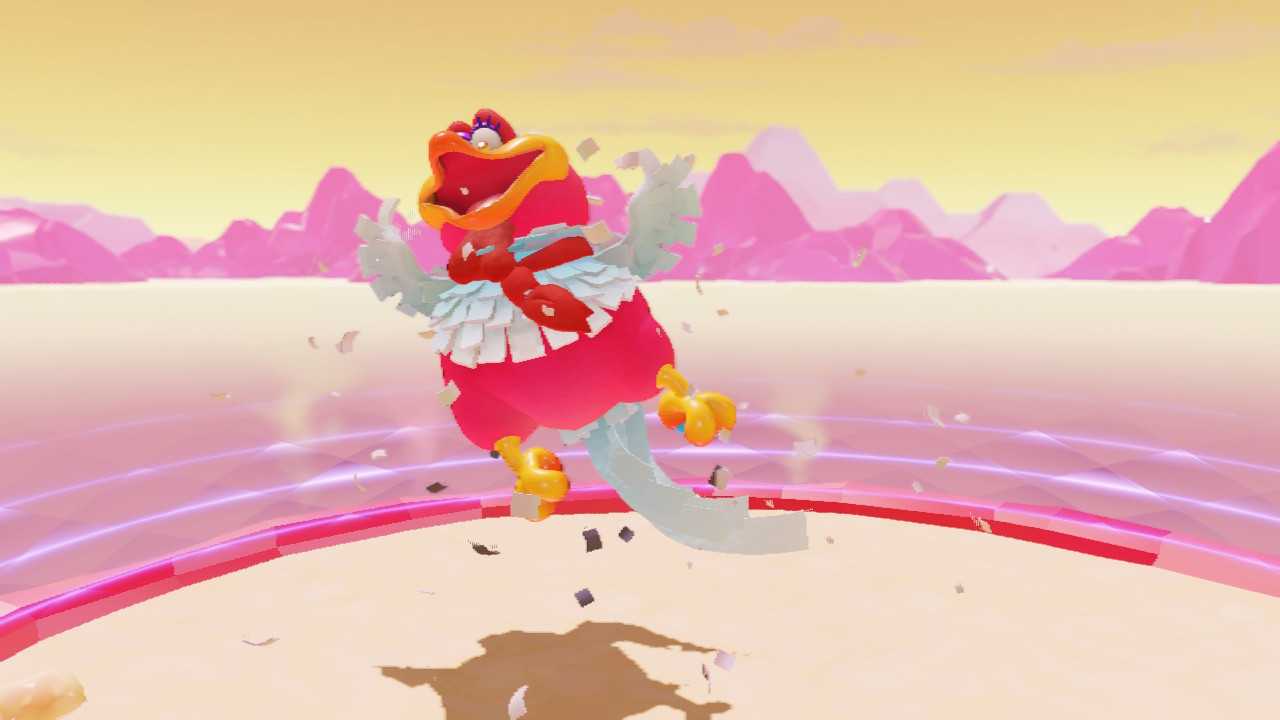
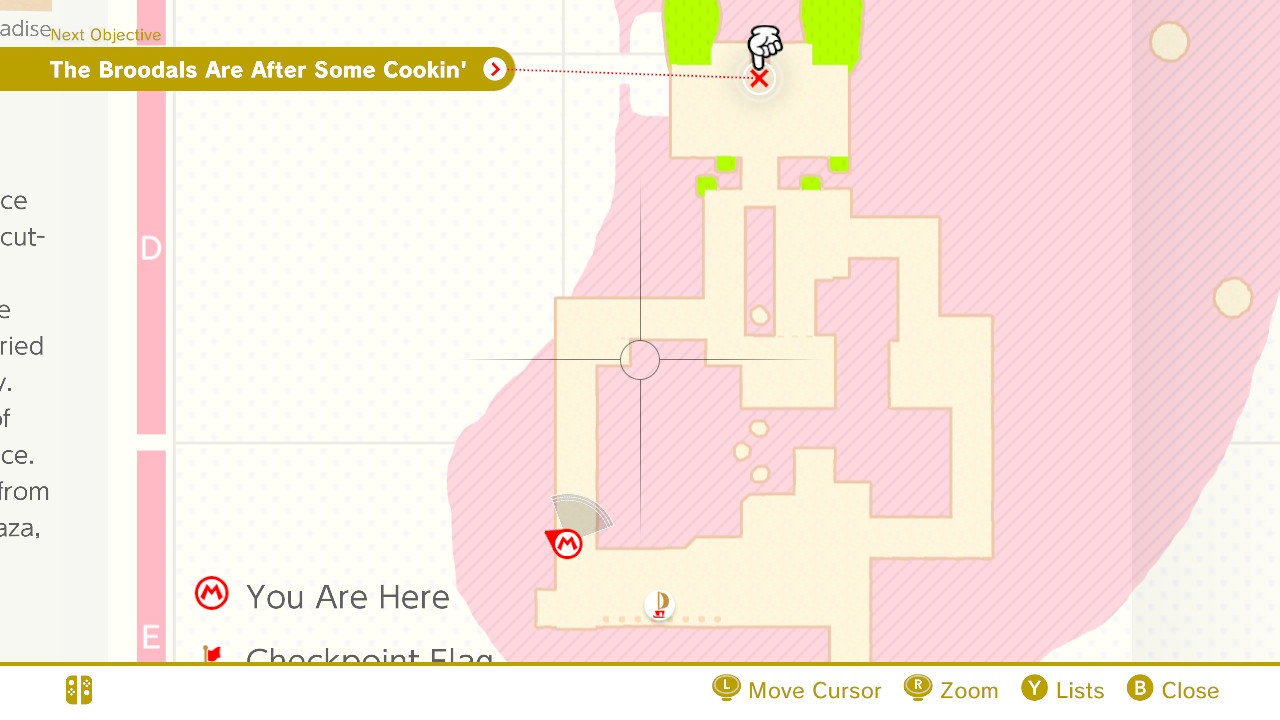
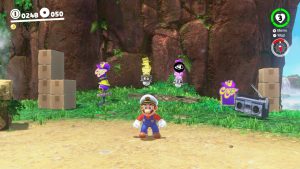
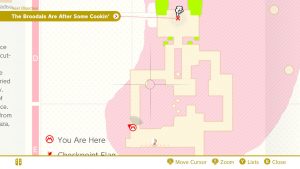
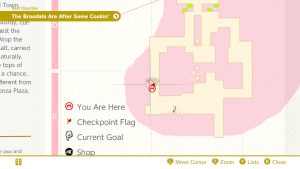
01 – The Broodals Are After Some Cookin’


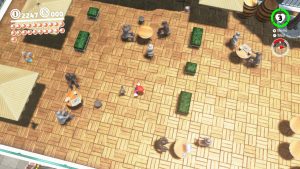
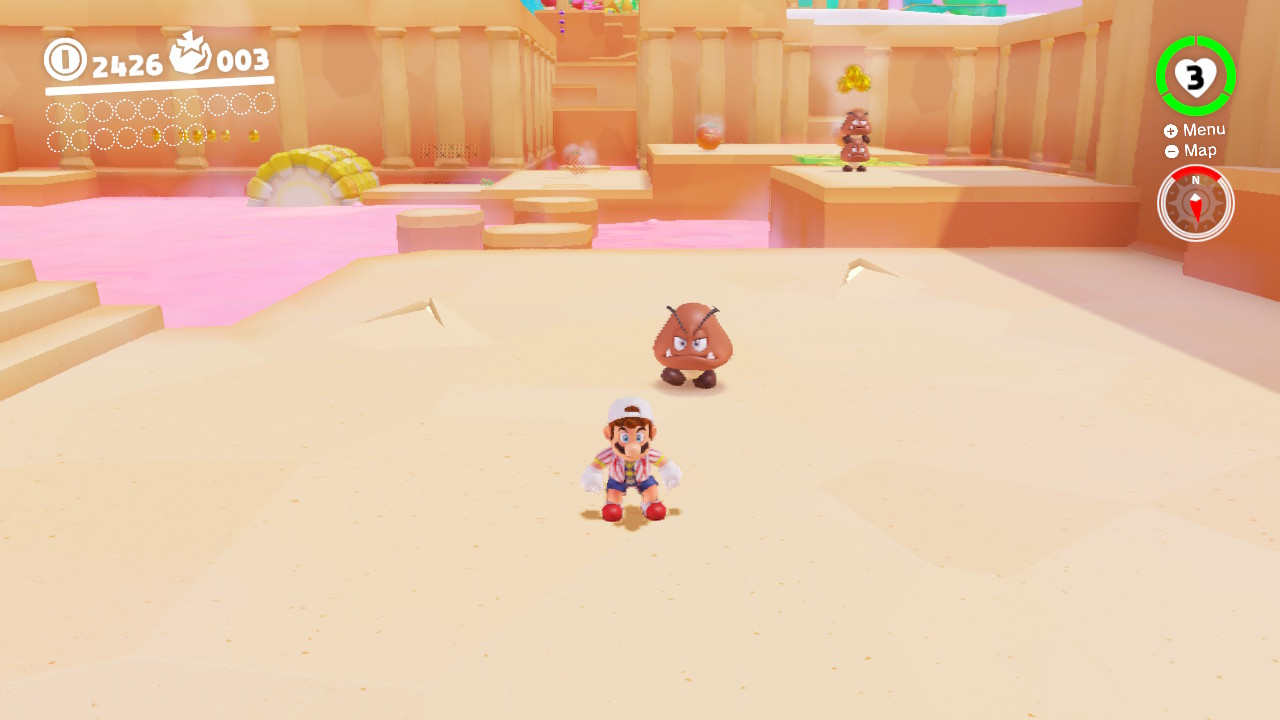
1- This is the first story-based Power Moon in the Luncheon Kingdom…

2- The path to get there is straight forward…

3- Beat of the Broodal and the Power Moon is yours!
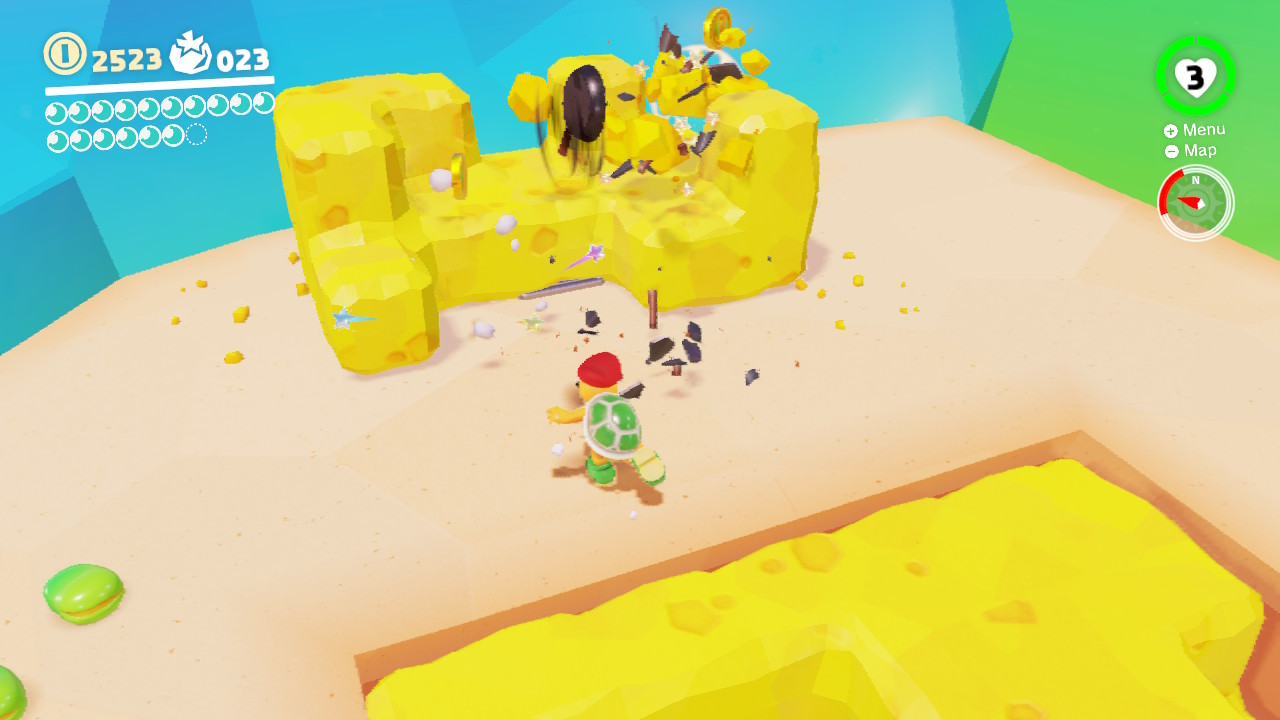
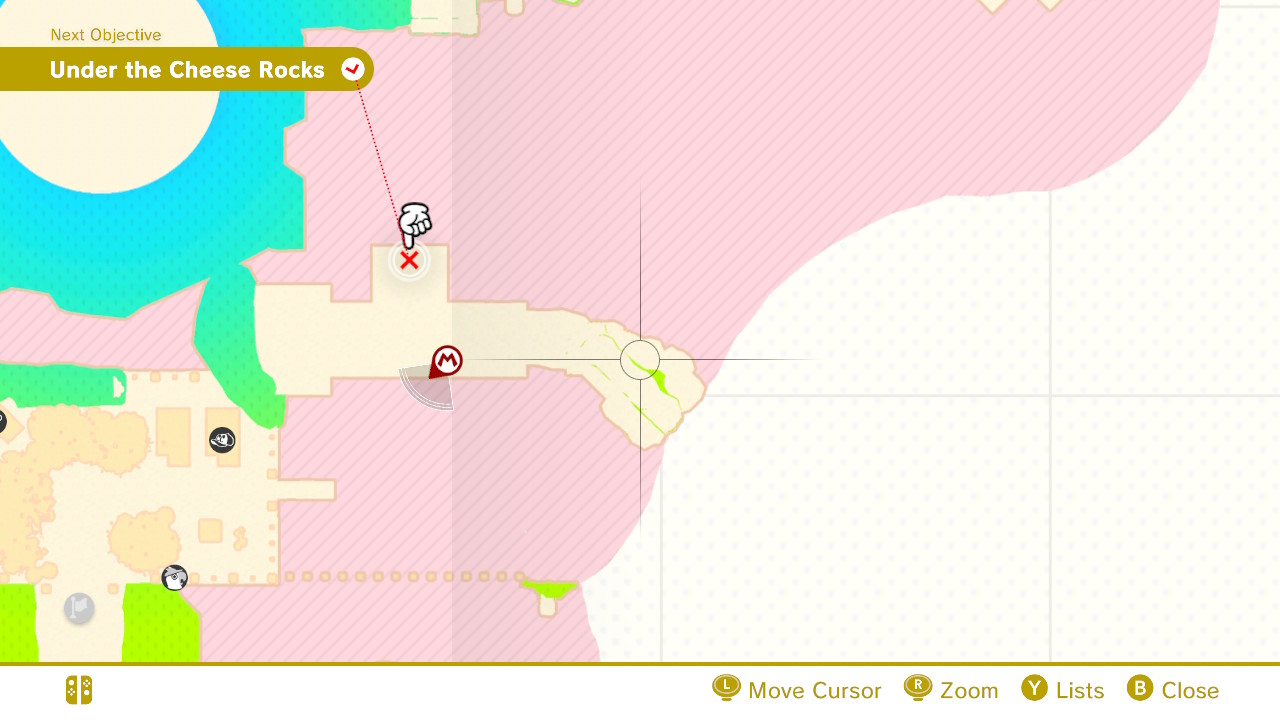
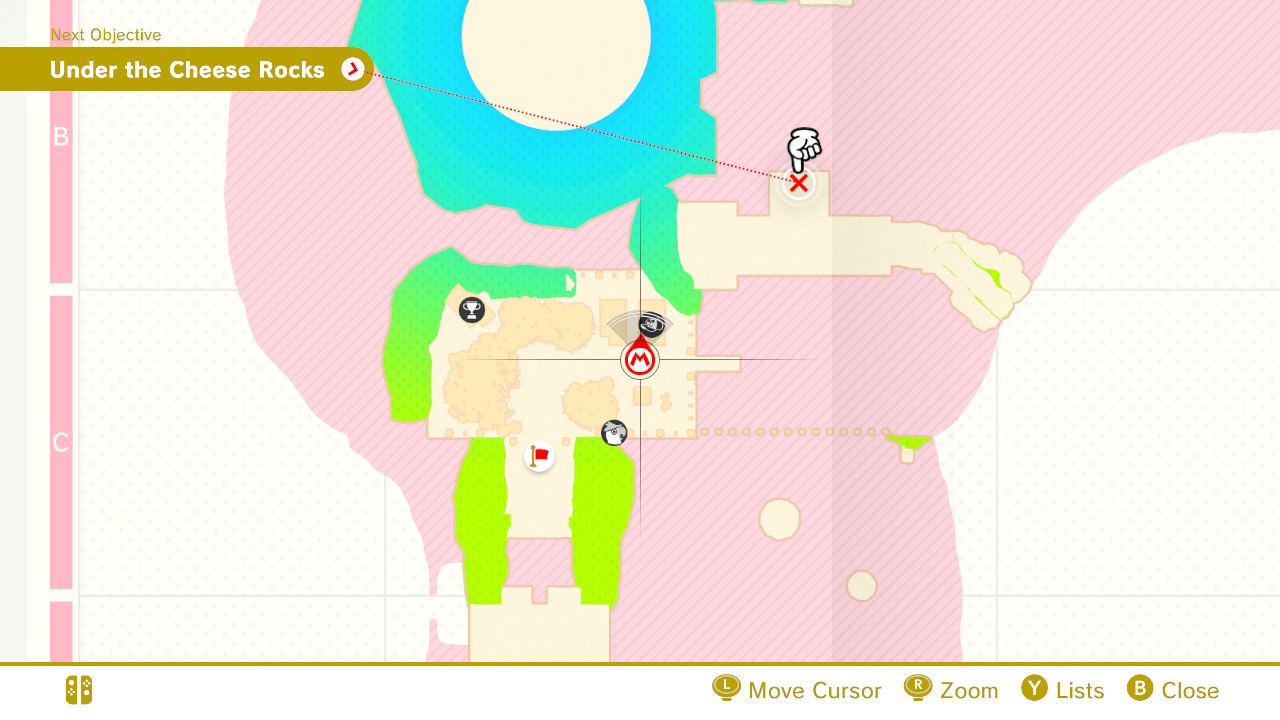
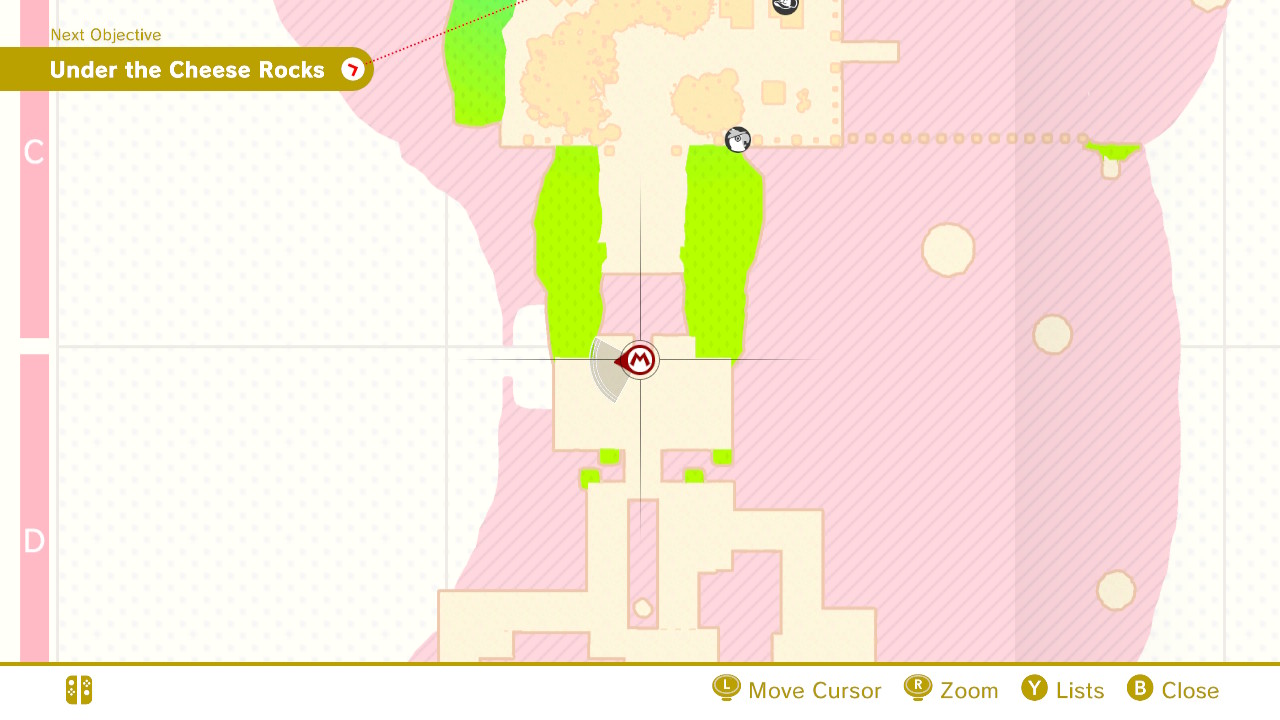
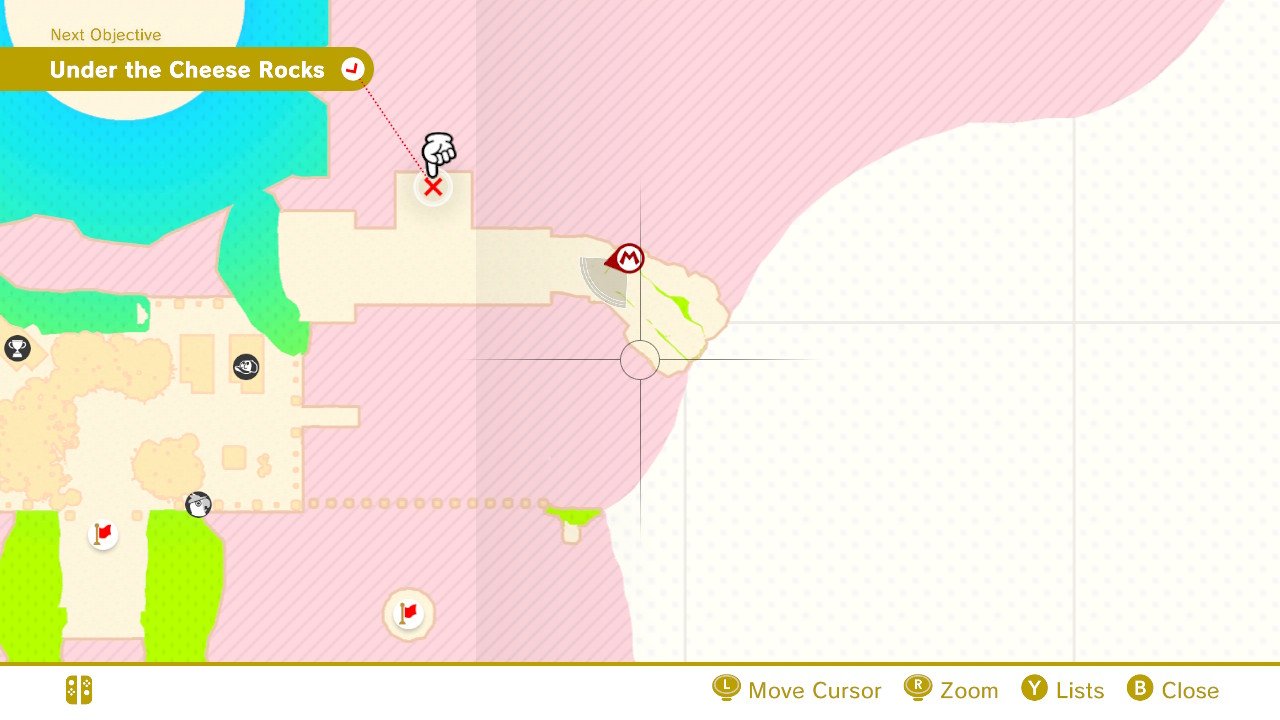
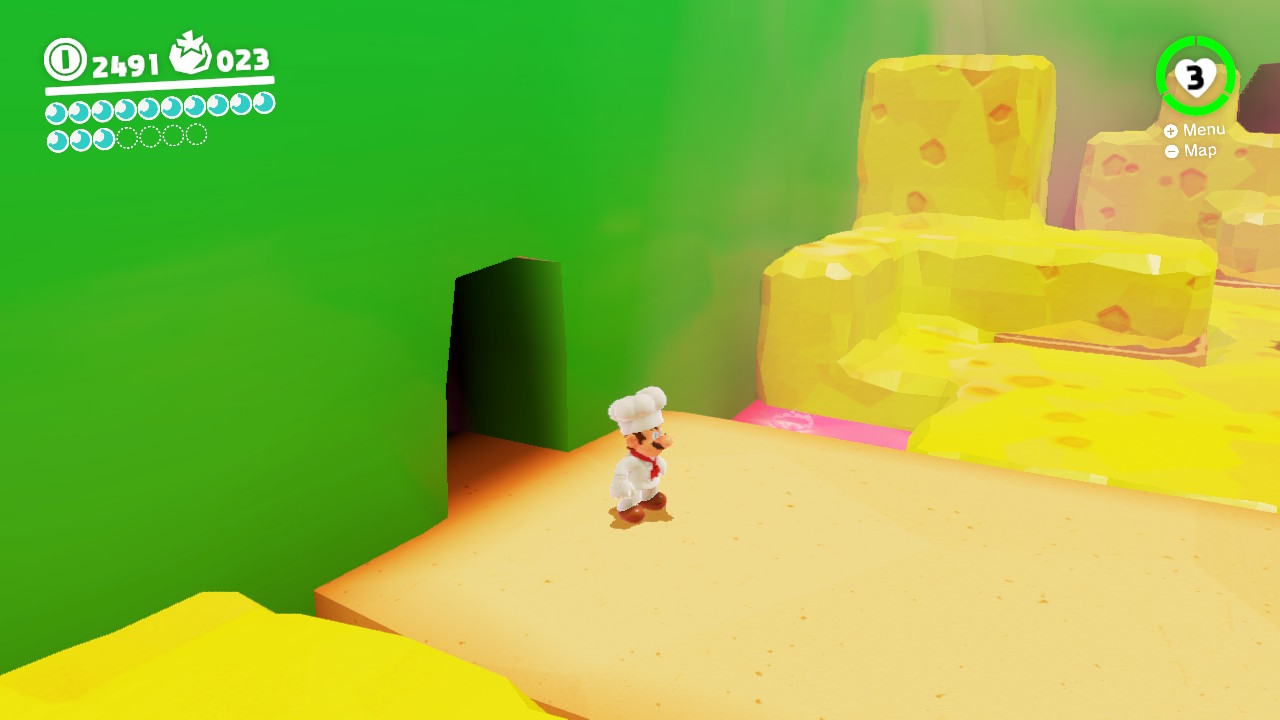
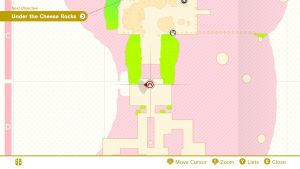
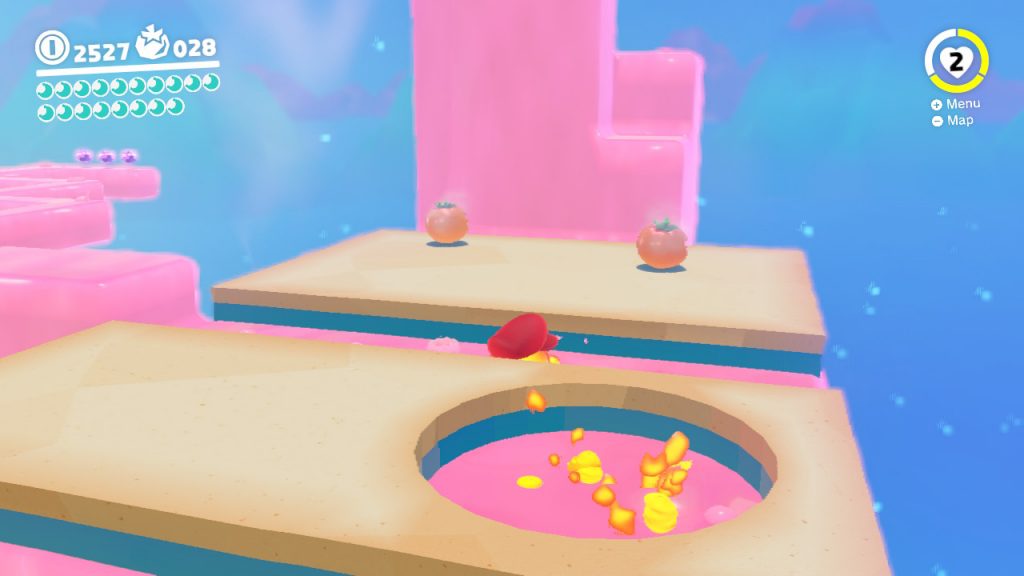
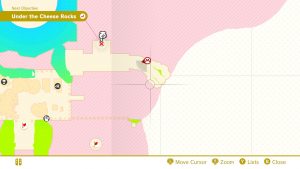
02 – Under the Cheese Rocks

1- This is the second story-based Power Moon in the Luncheon Kingdom…

2- You’ll need to capture a Hammer-Bro (Frying-Pan Bro?) and destory the big chunks of cheese…
3- Doing so will open up the case that the Power Moon is inside of!
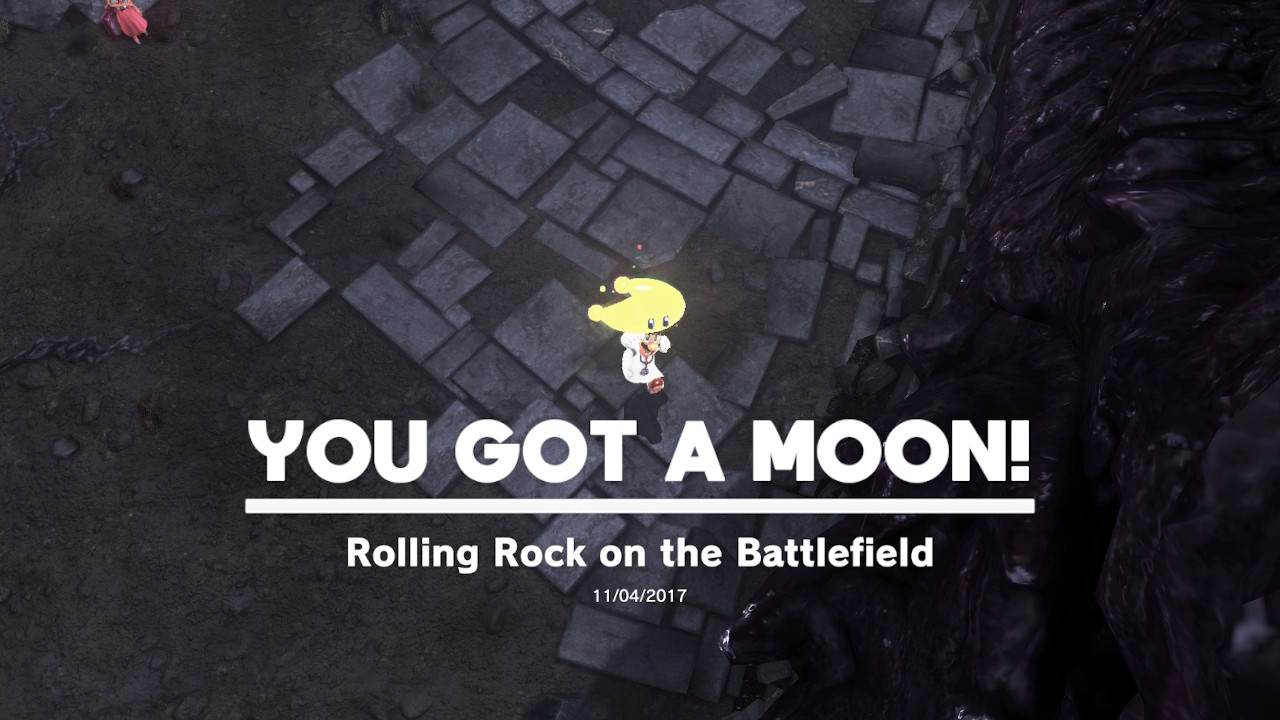
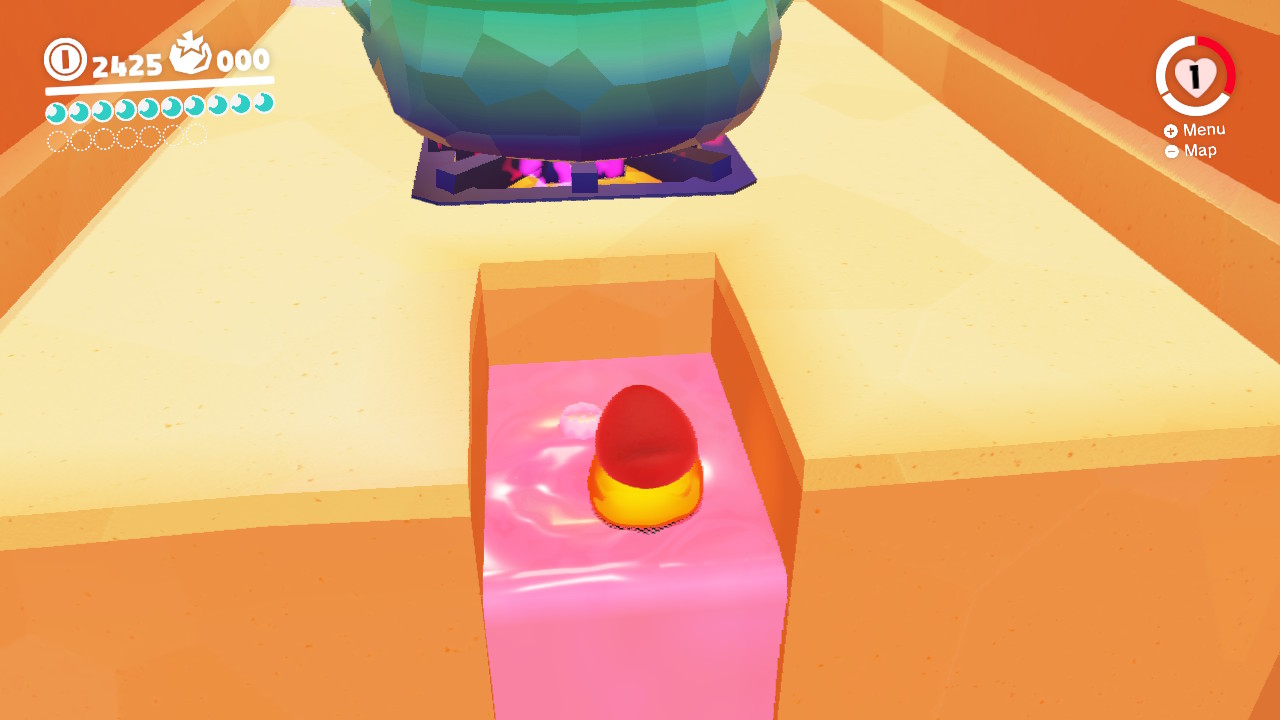
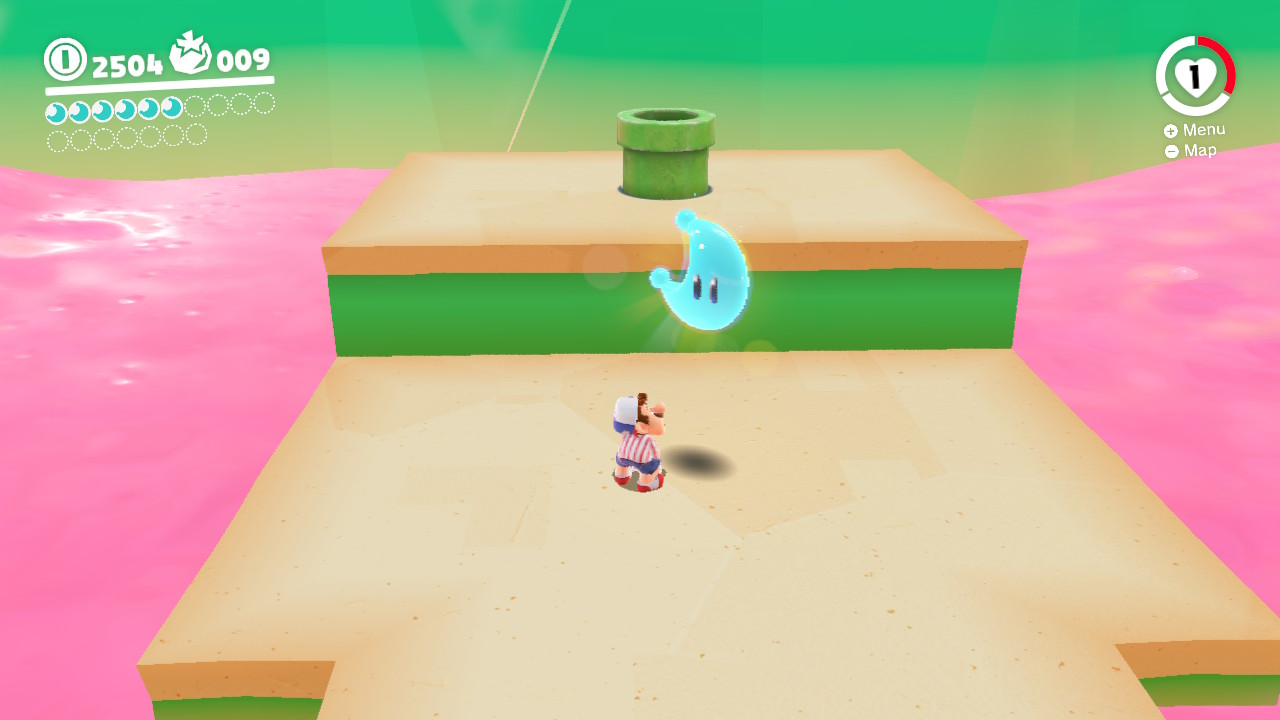
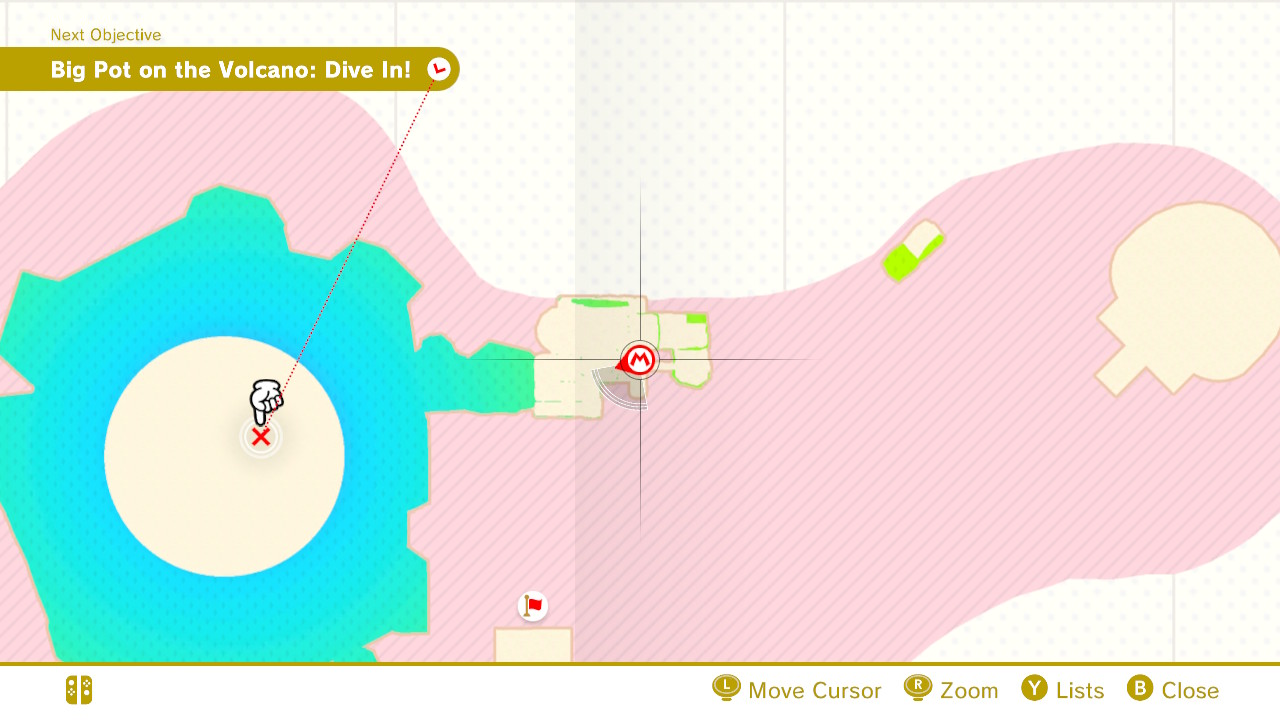
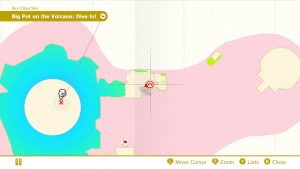
03 – Big Pot on the Volcano: Dive In!


1- This is the third story-based Power Moon in the Luncheon Kingdom…

2- Traverse across the lava and up the platforms. Next you must (comicially) capture the giant peice of meat…

3- You will be dropped into the big bowl of soup where you can climb up and grab the Power Moon! (Multi-Moon at that!)
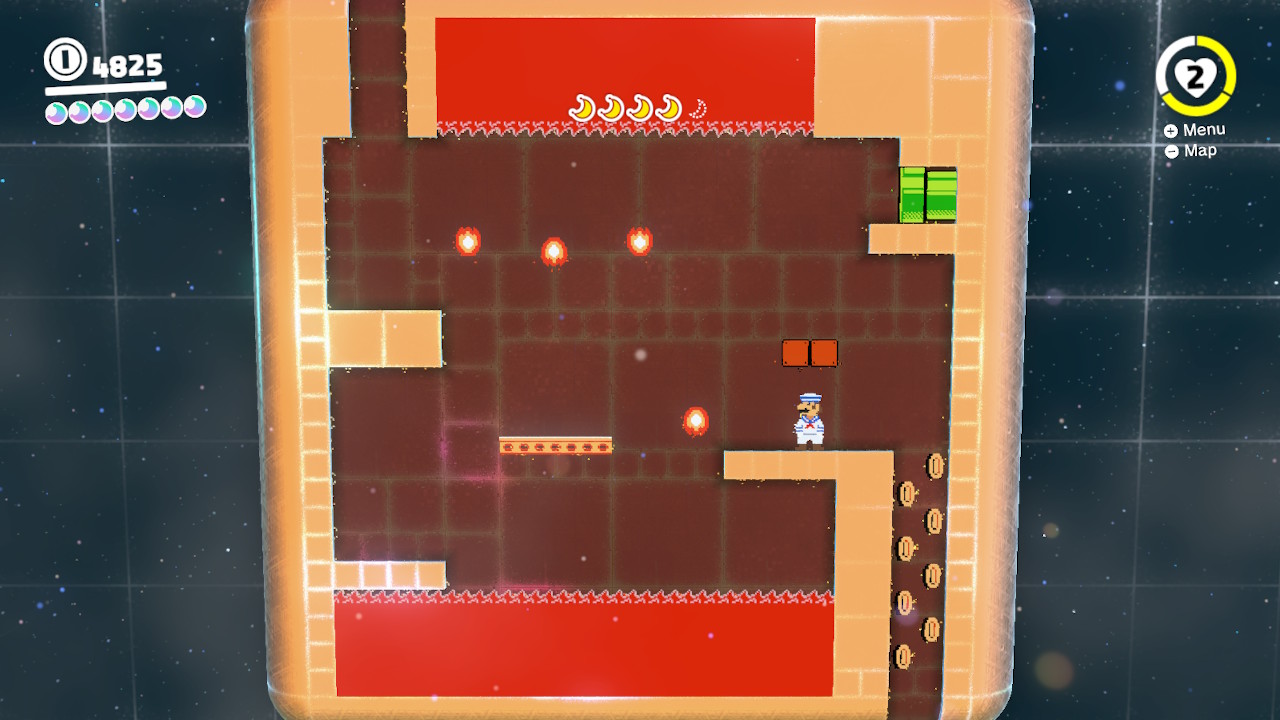
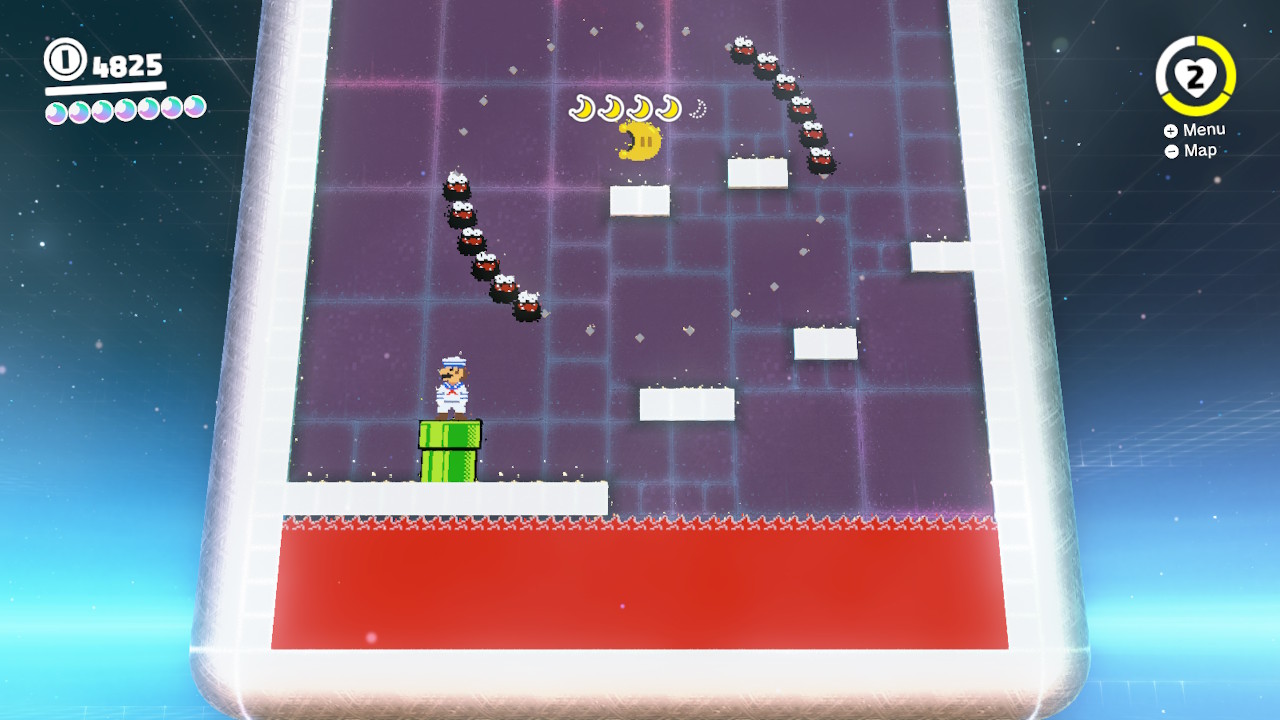
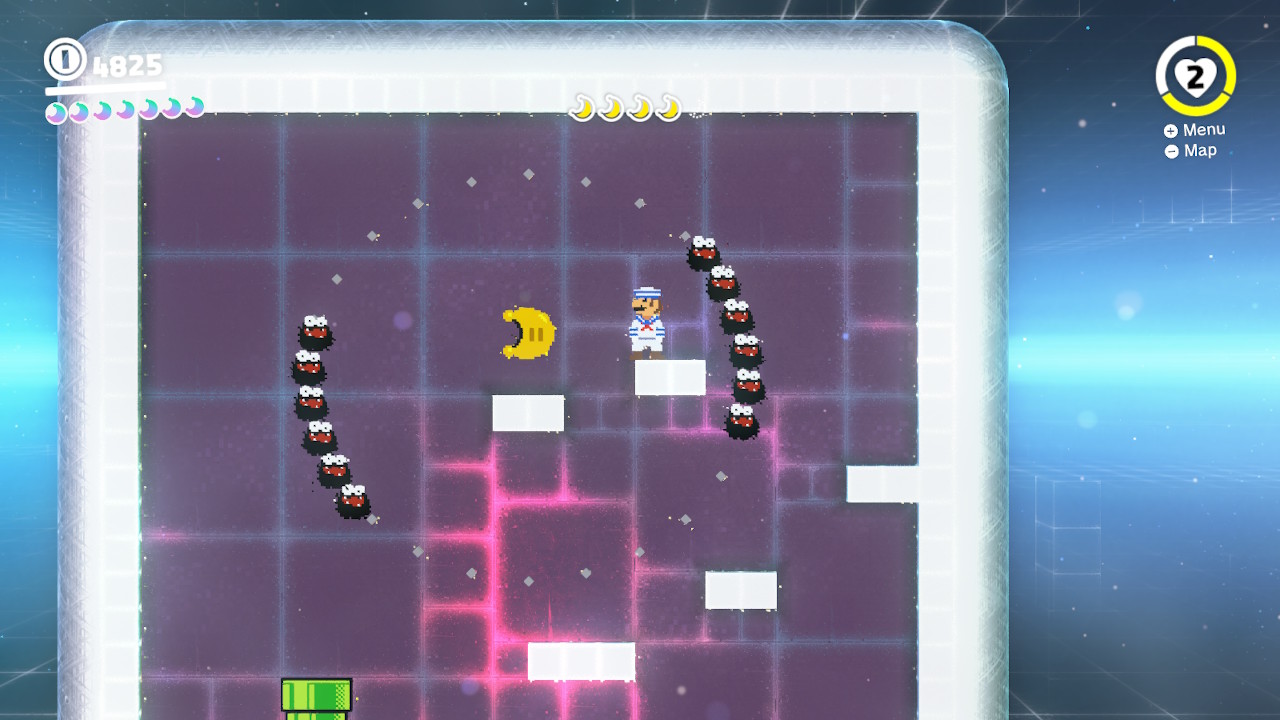
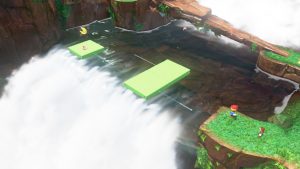
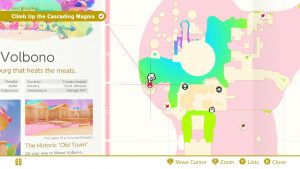
04 – Climb Up the Cascading Magma


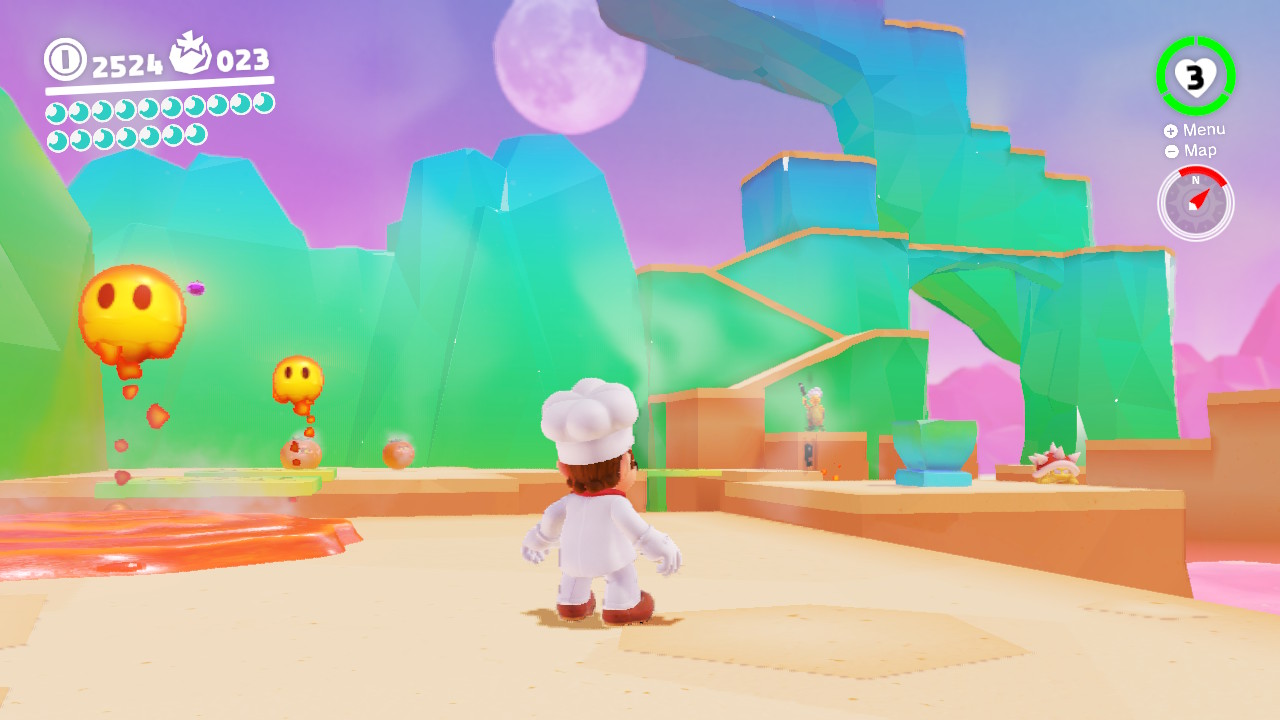
1- This is the fourth story-based Power Moon in the Luncheon Kingdom. You will start back at the Odyssey, capture a Lava Bubble and head down the lava path to the left…

2- Swim through the lava, fly in the air with cannons, and on once you get past the lava section, a Power Moon will be waiting for you!
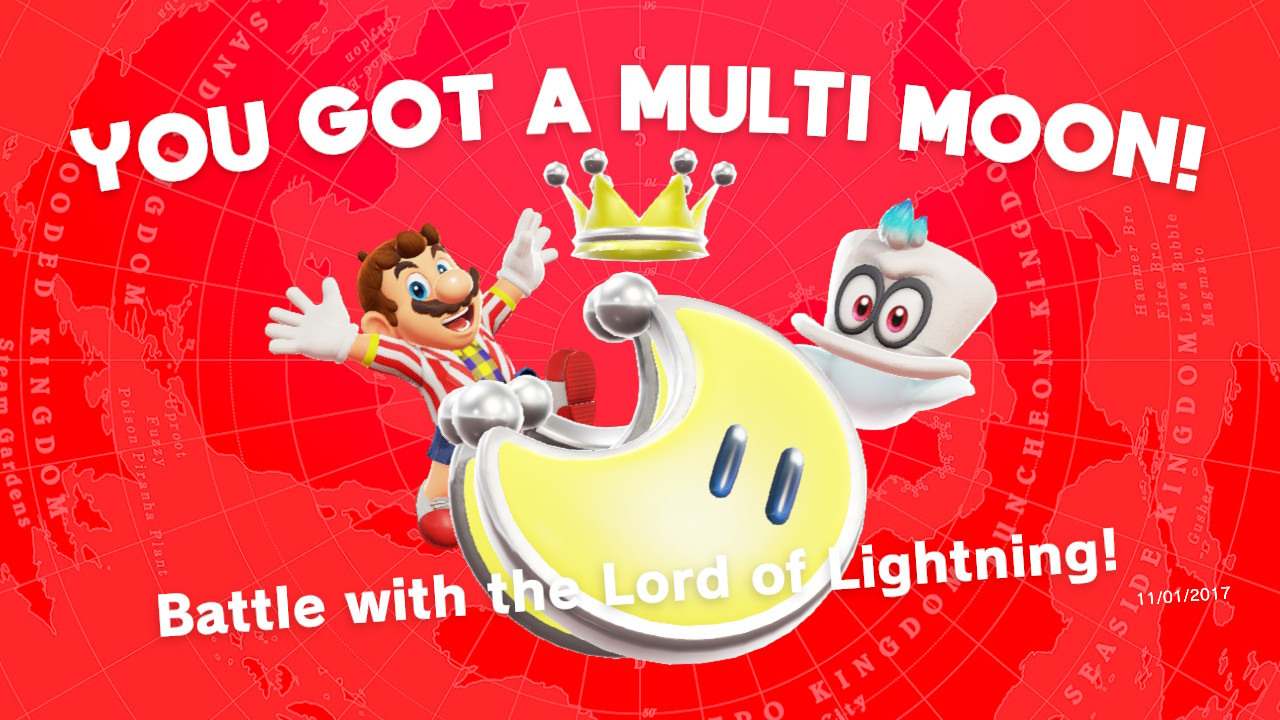
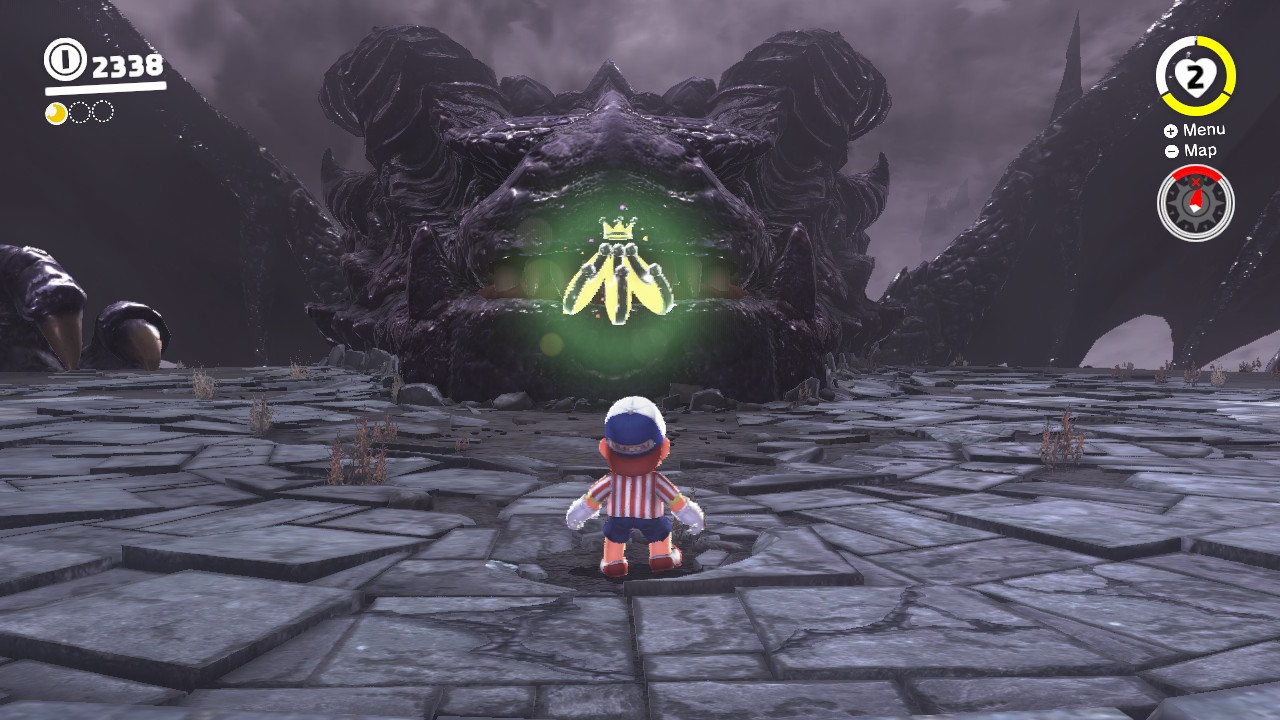
05 – Cookatiel Showdown!


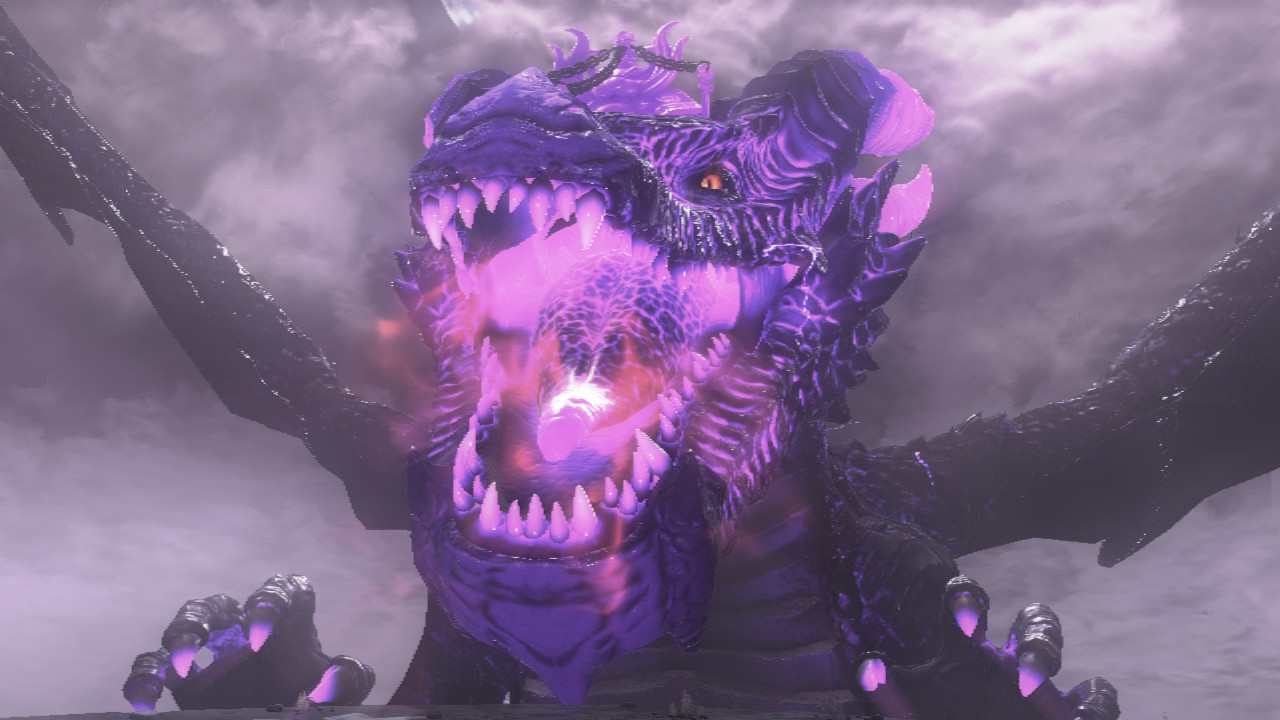
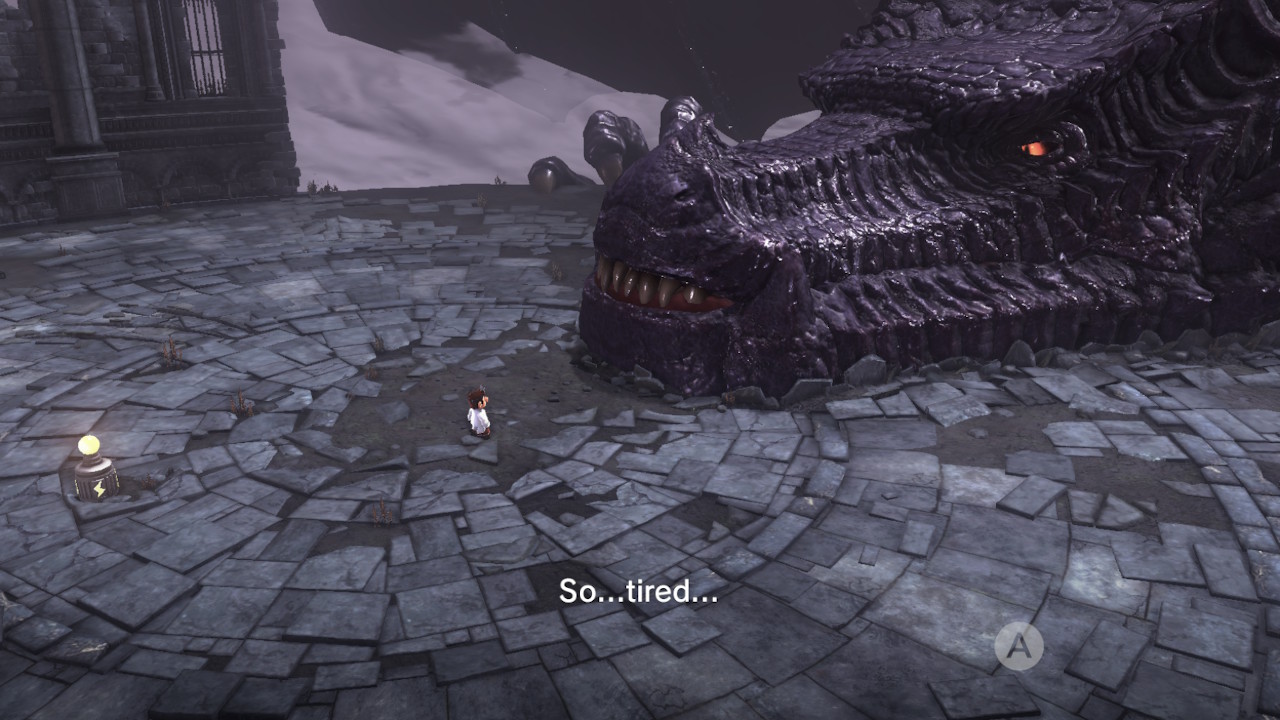
1- This is the fifth and final story-based Power Moon in the Luncheon Kingdom, continue on the path and climb up the mountain side…

2- You will be launched into the giant soup kettle…

3- This is where you fight the epic battle with Cookatiel…

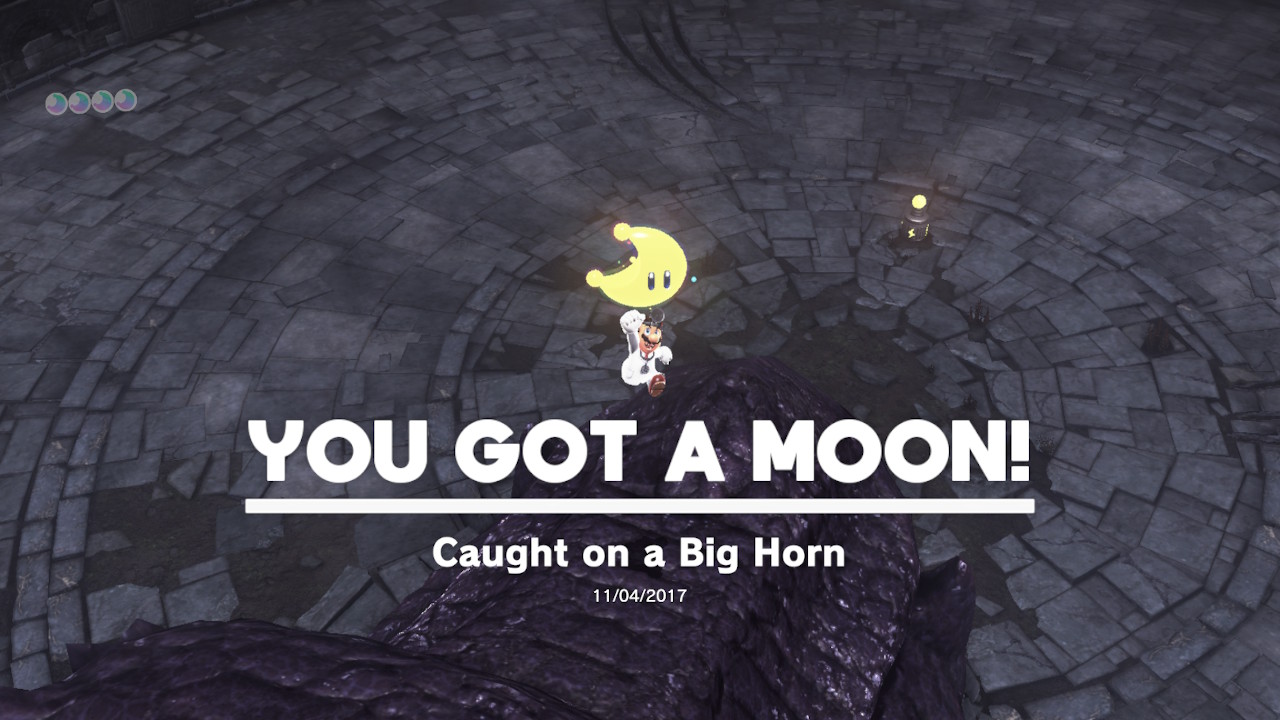
4- Climb up the lava that Cookatiel spews from its mouth to land killer blows! Three hits and the Power Multi-Moon is yours! YAAAAY!
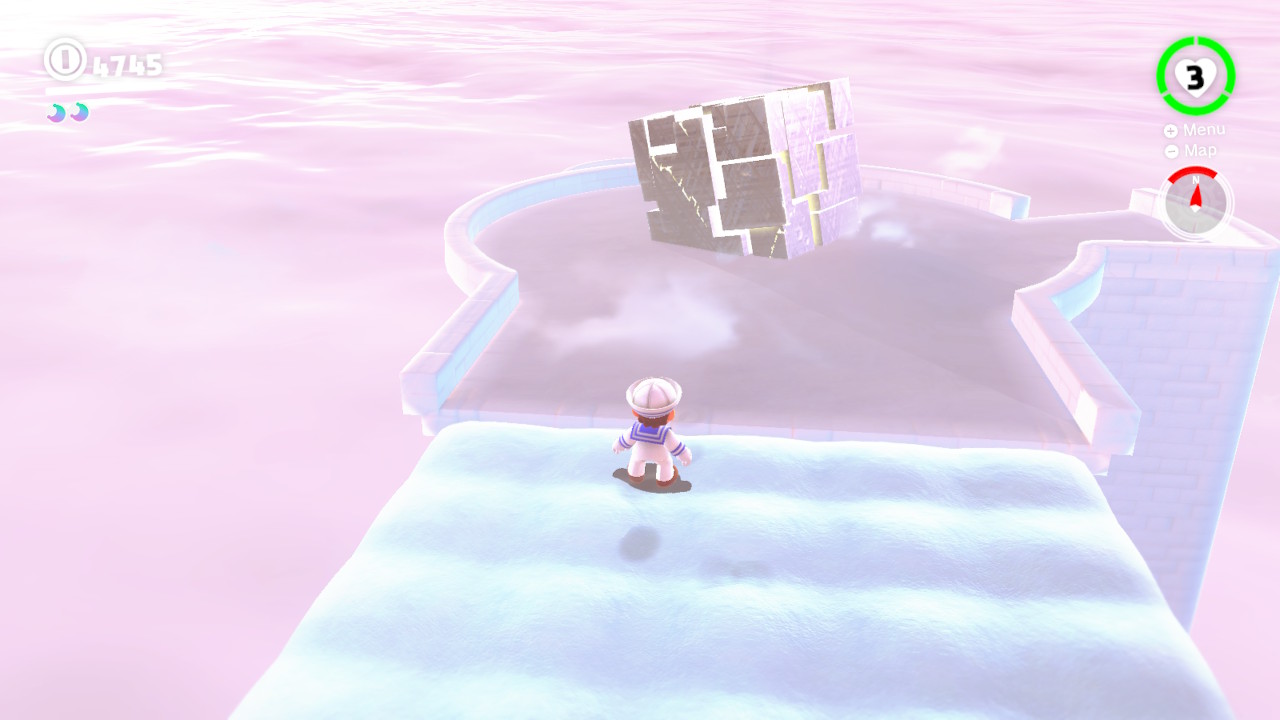
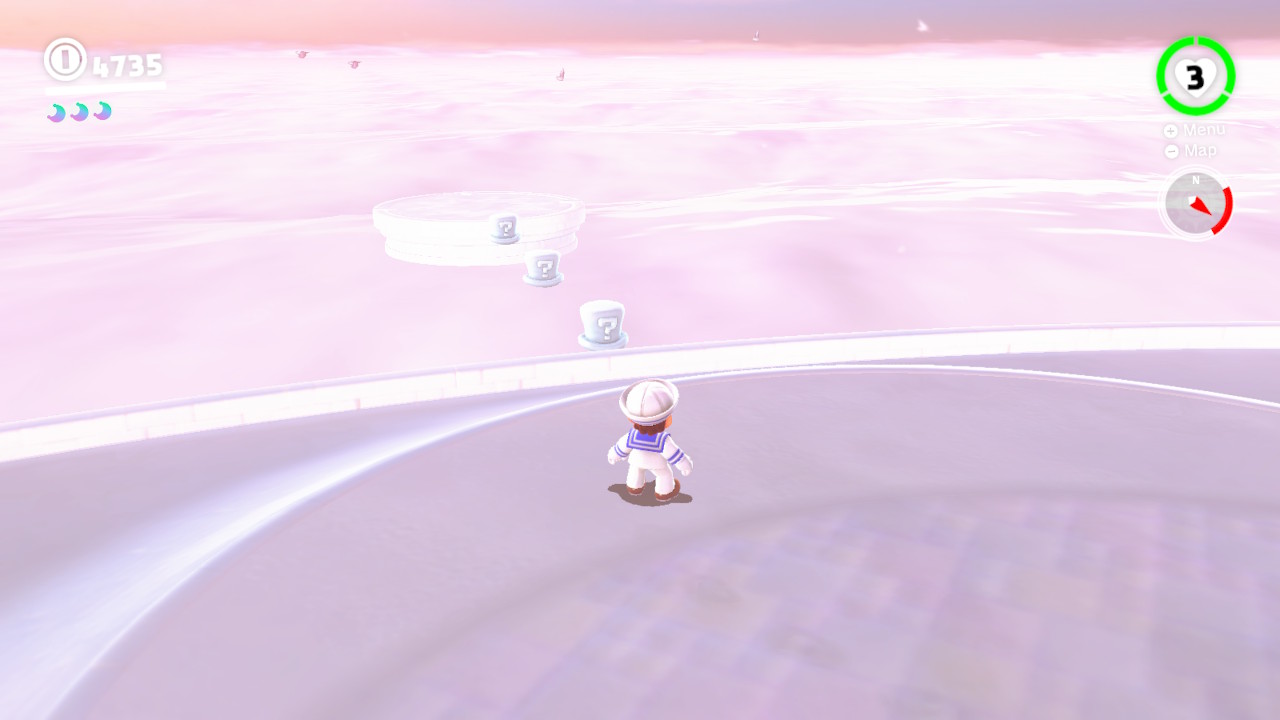
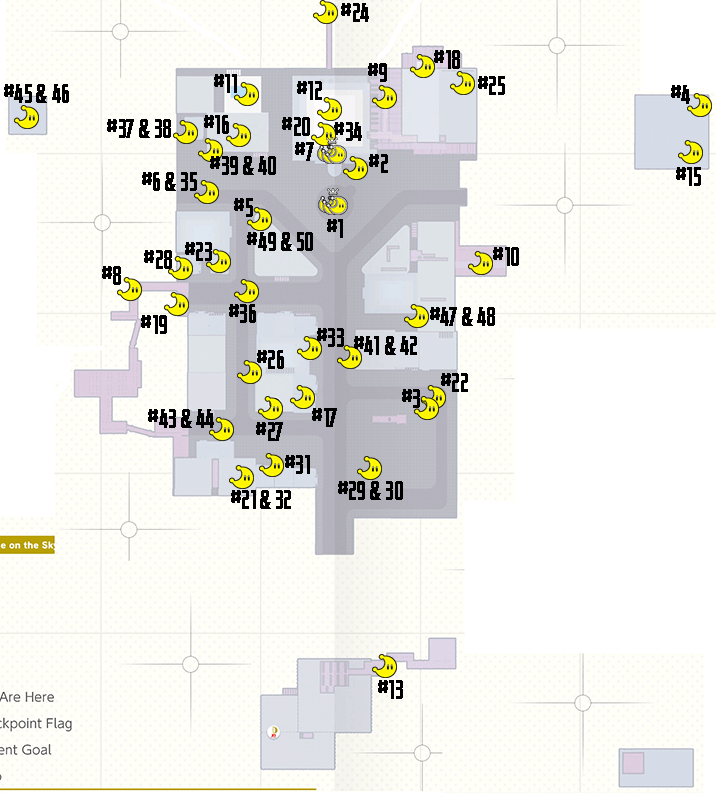
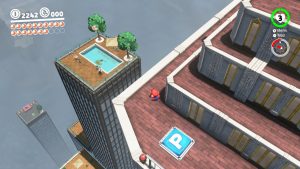
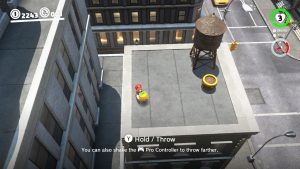
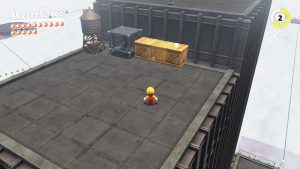
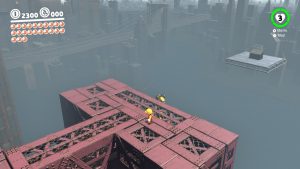
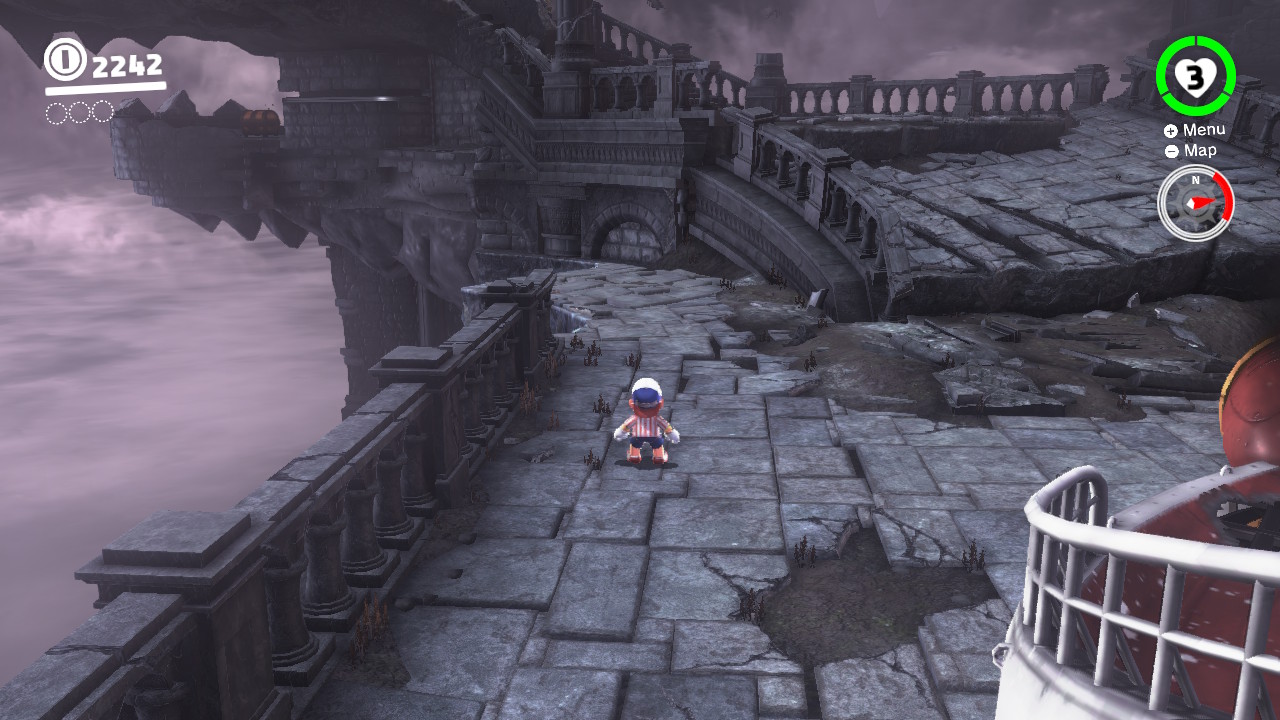
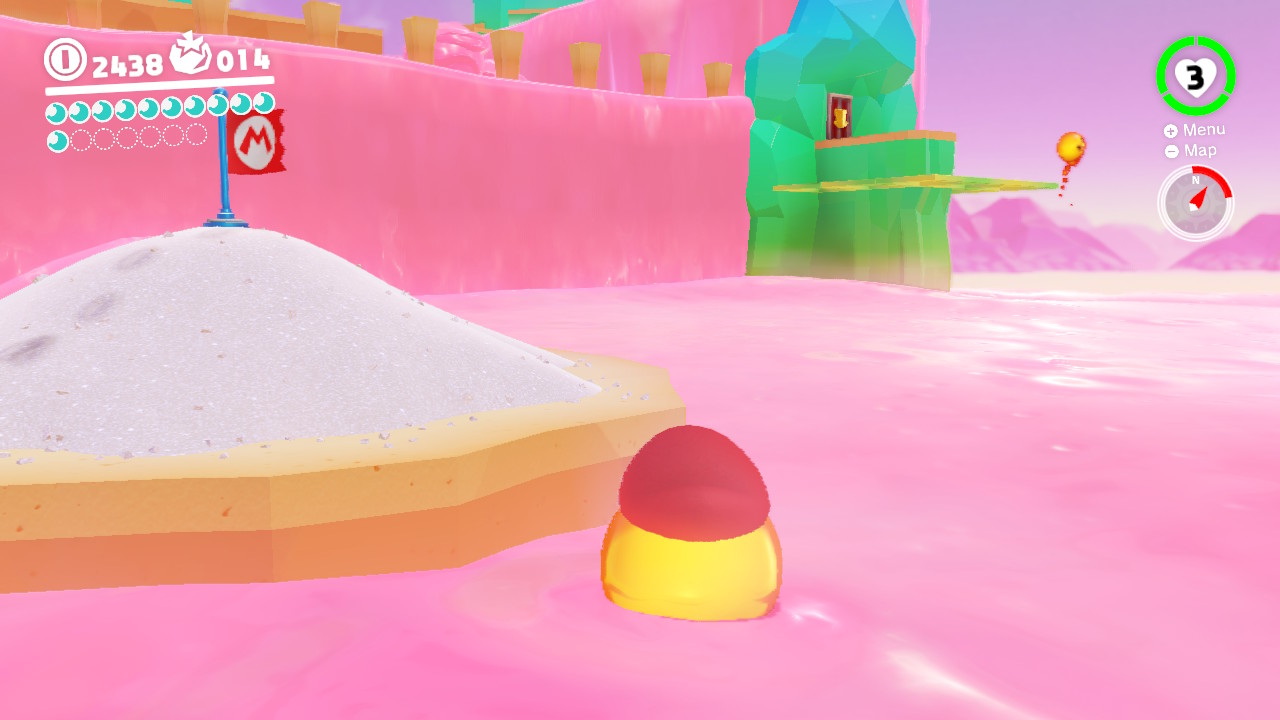
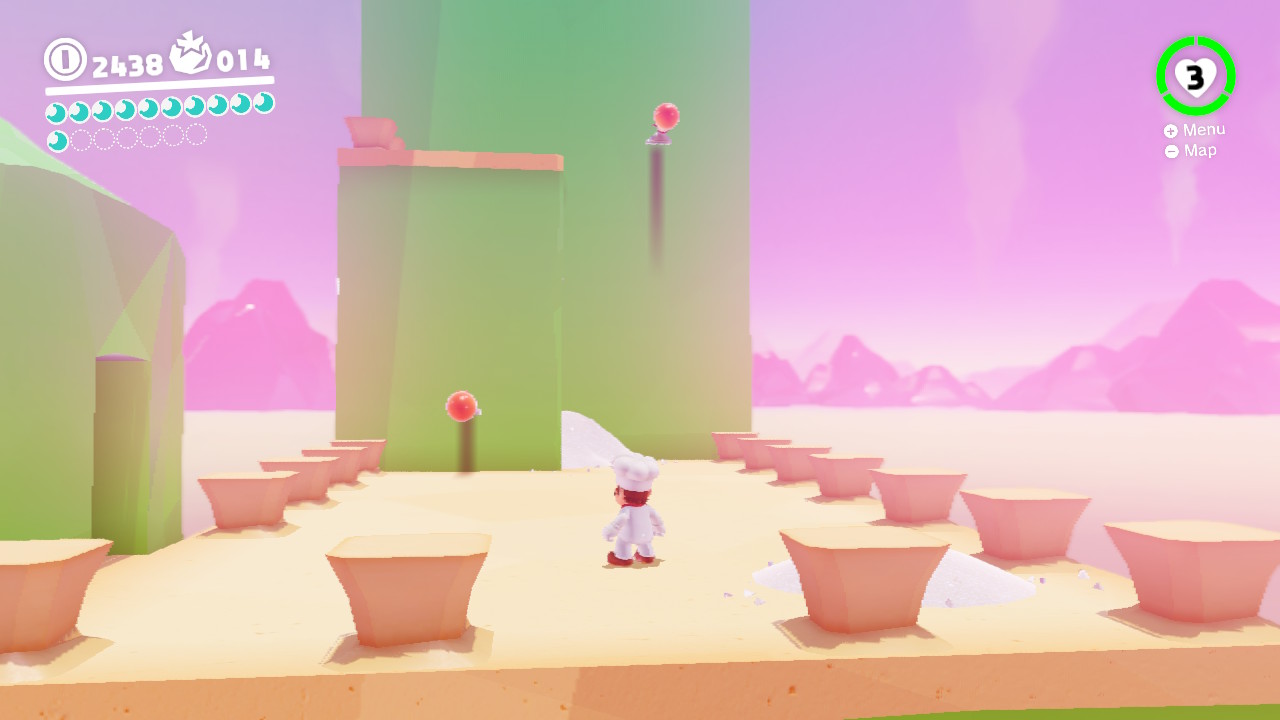
06 – Piled on the Salt

Location-

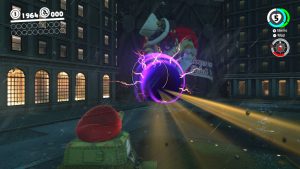
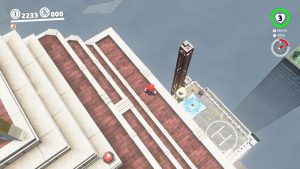
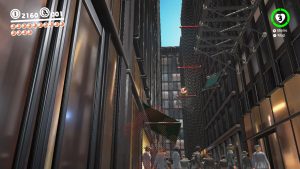
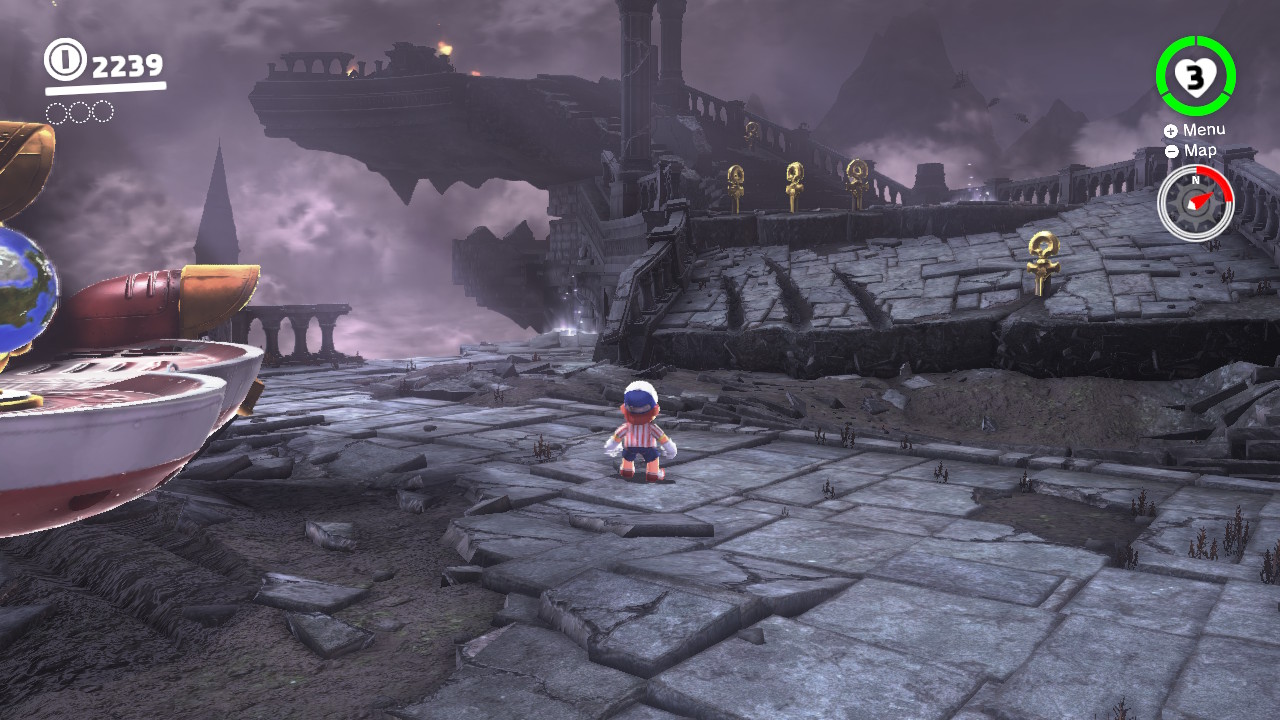
1- From right behind the Odyssey you can “flick” yourself onto the rooftops…
2- Dash all the way around the roof tops to the opposite side…

3- From here you will find…

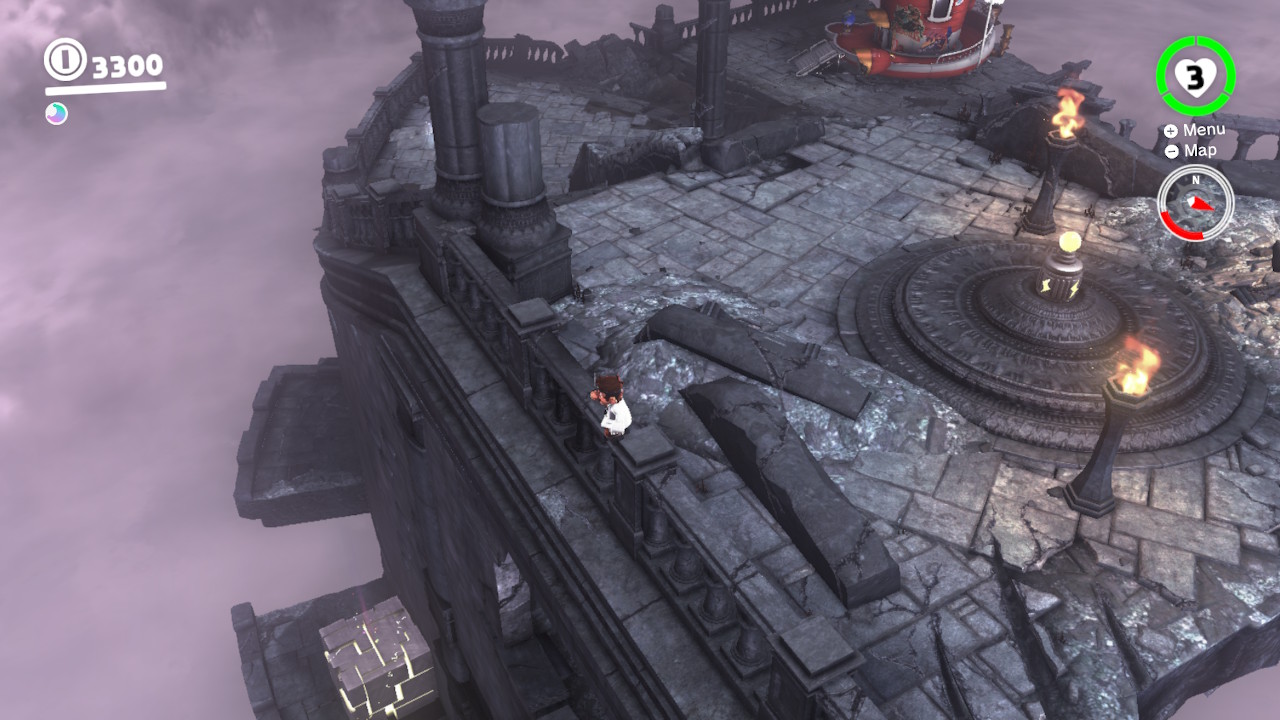
4- A Power Moon on top of a pile of salt!
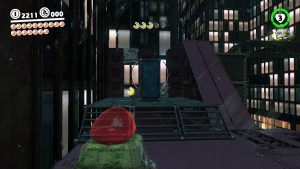
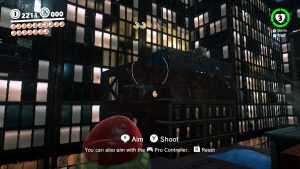
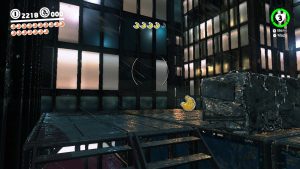
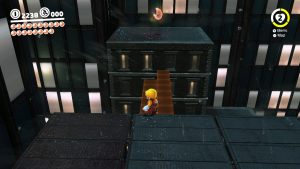
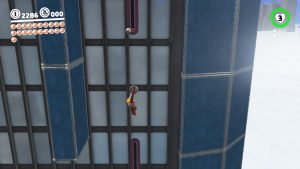
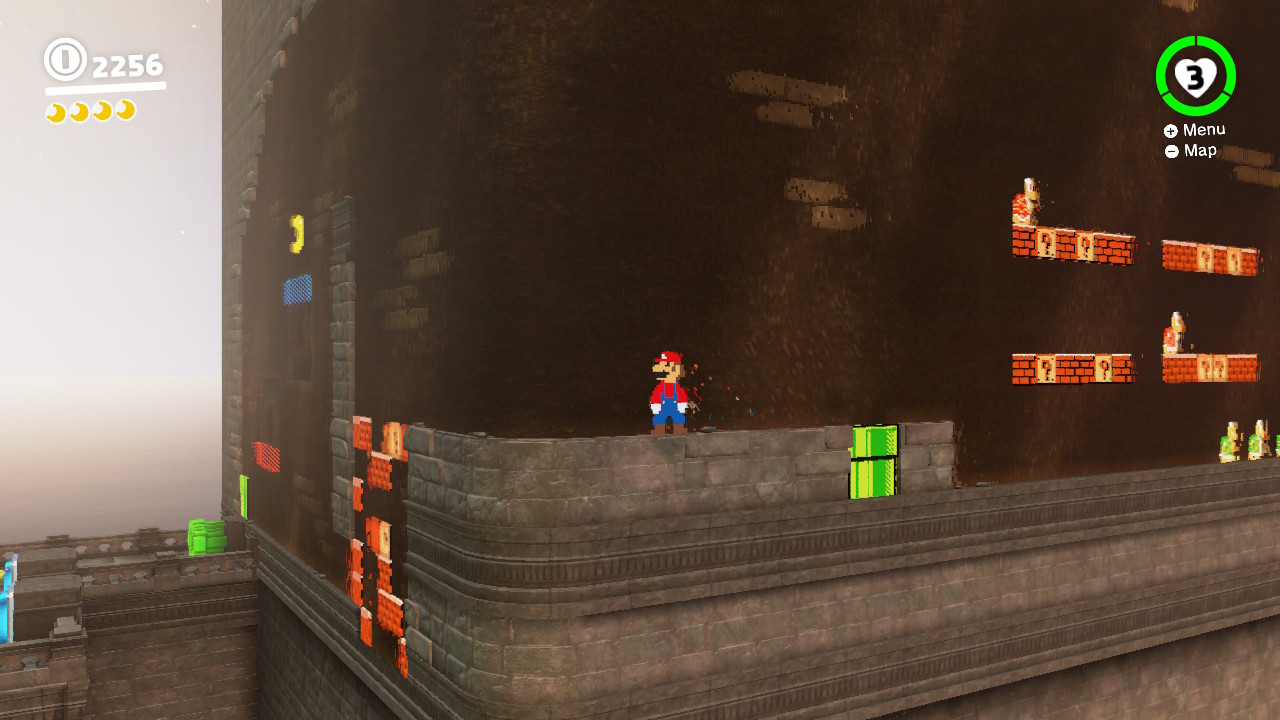
07 – Lurking in the Pillar’s Shadow


Location-

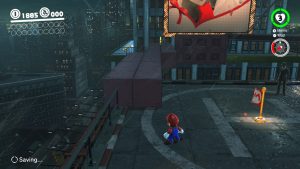
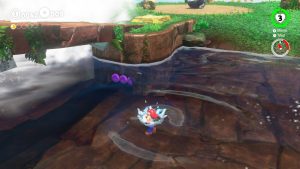
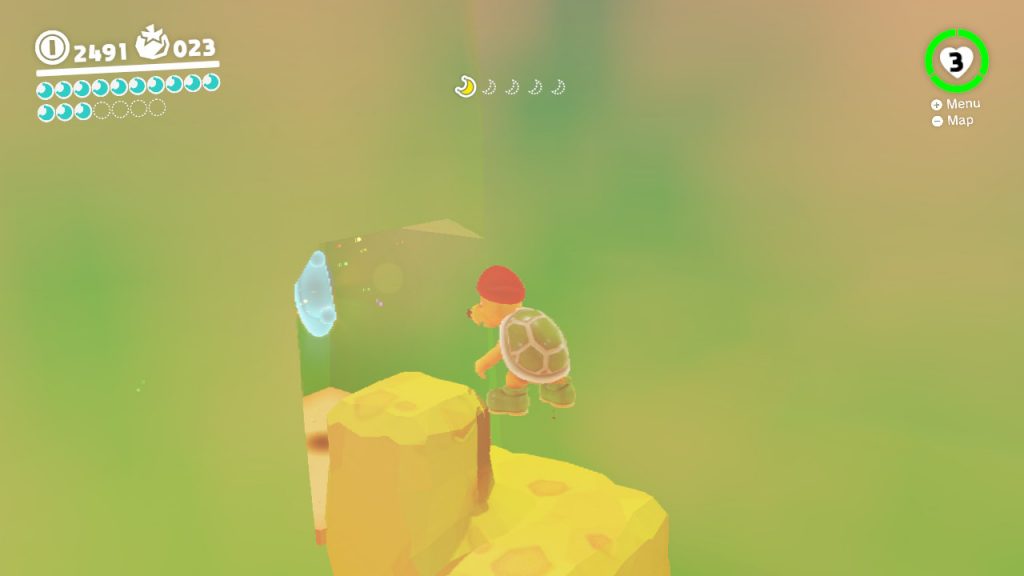
1- First you need to capture a Lava Bubble…

2- Swim through the lava along the wall…

3- Jump onto the next layer of lava and then onto the platform, a Power Moon is hiding in the shadows!
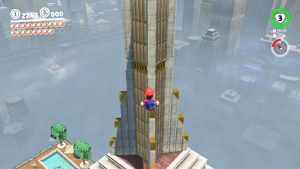
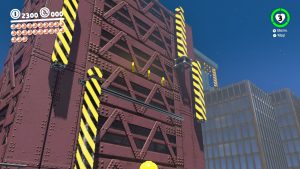
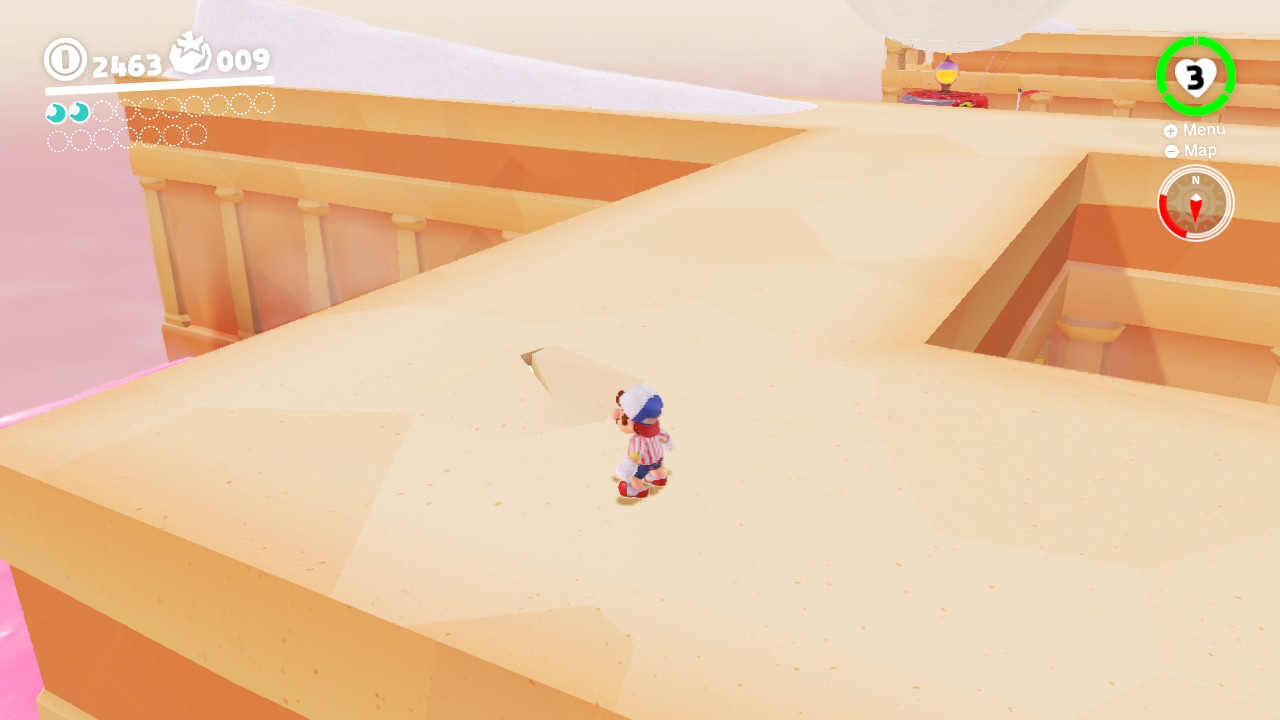
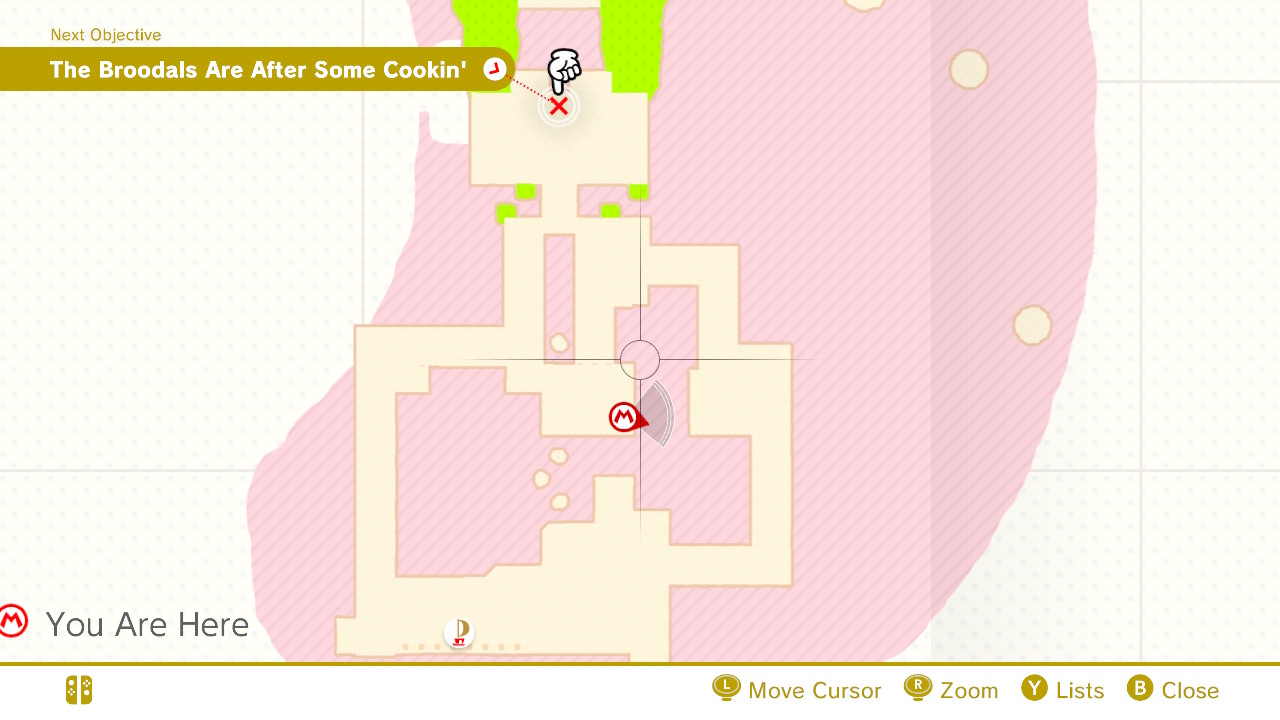
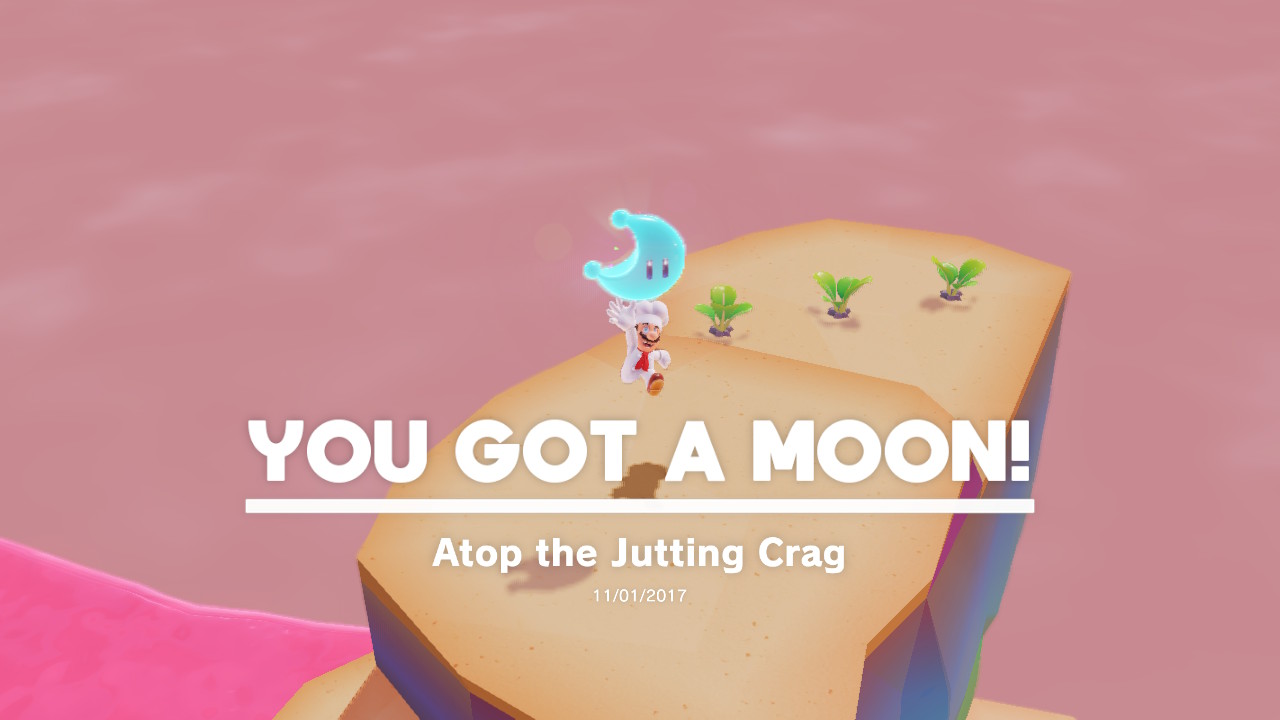
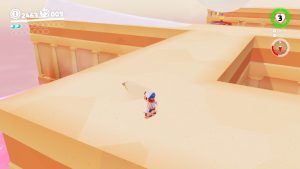
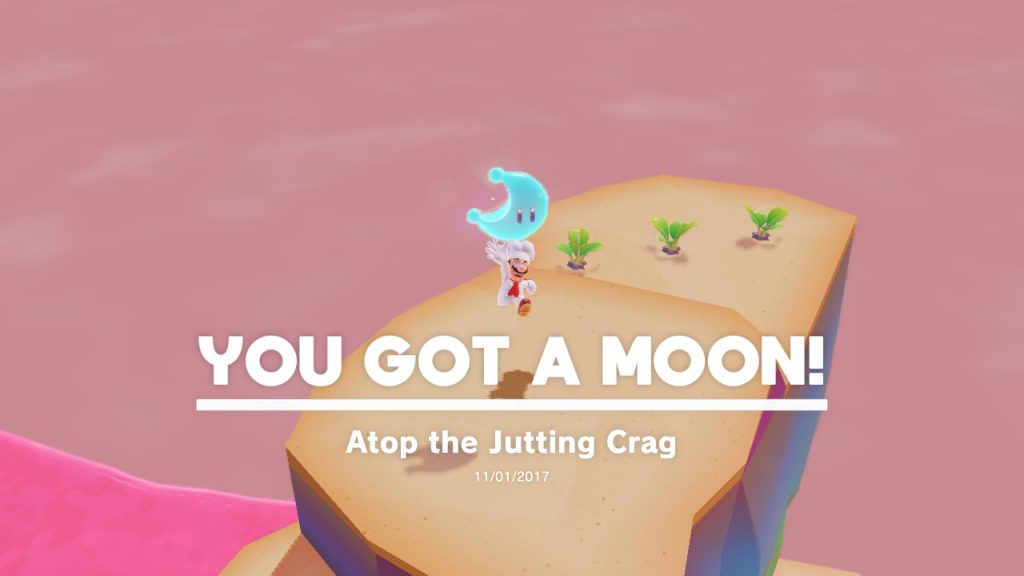
08 – Atop the Jutting Crag

Location-

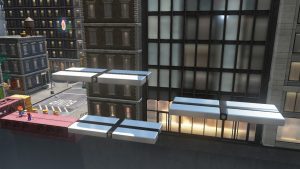
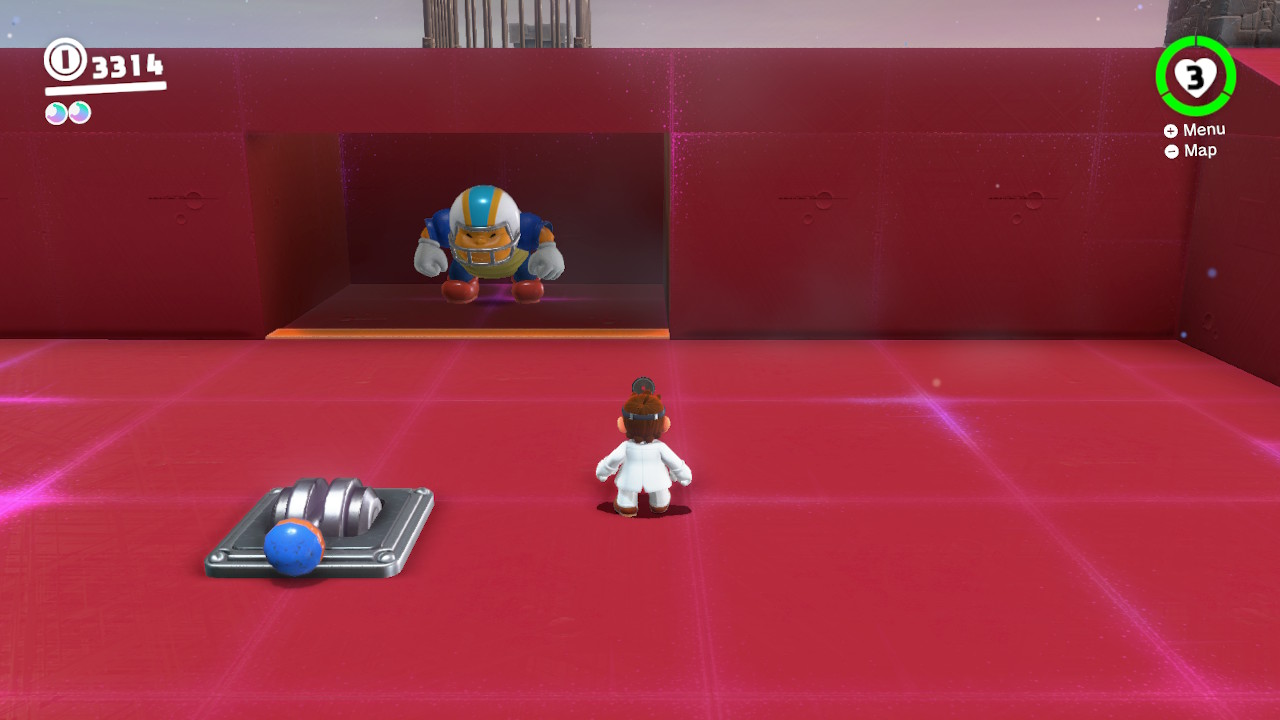
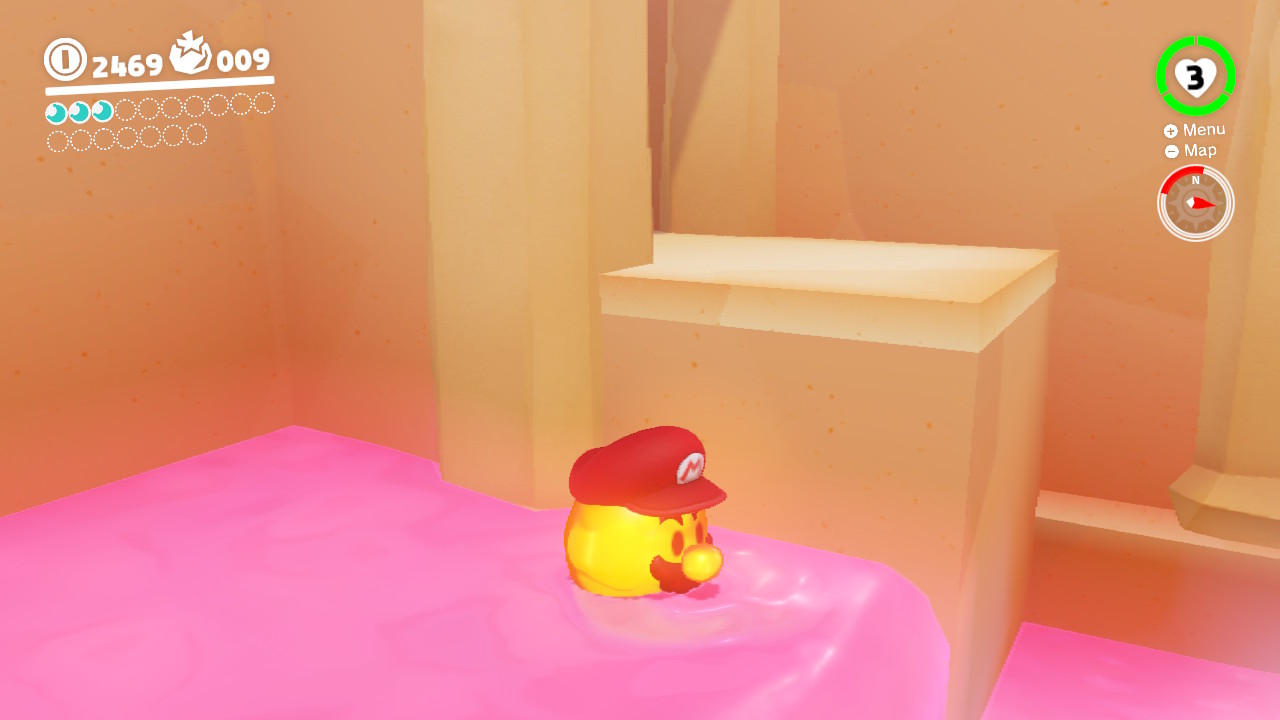
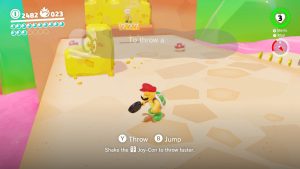
1- There’s a Power Moon on top of this structure (apparently it’s a Jutting Crag? Huh?). To reach it you will need to capture a Hammer bro/Frying-pan bro…

2- Jump HIGH with the hammer bro and then “uncapture” it to jump off with Mario! Then do a wall jump to reach the rooftop…
3- This video will show you what to do…
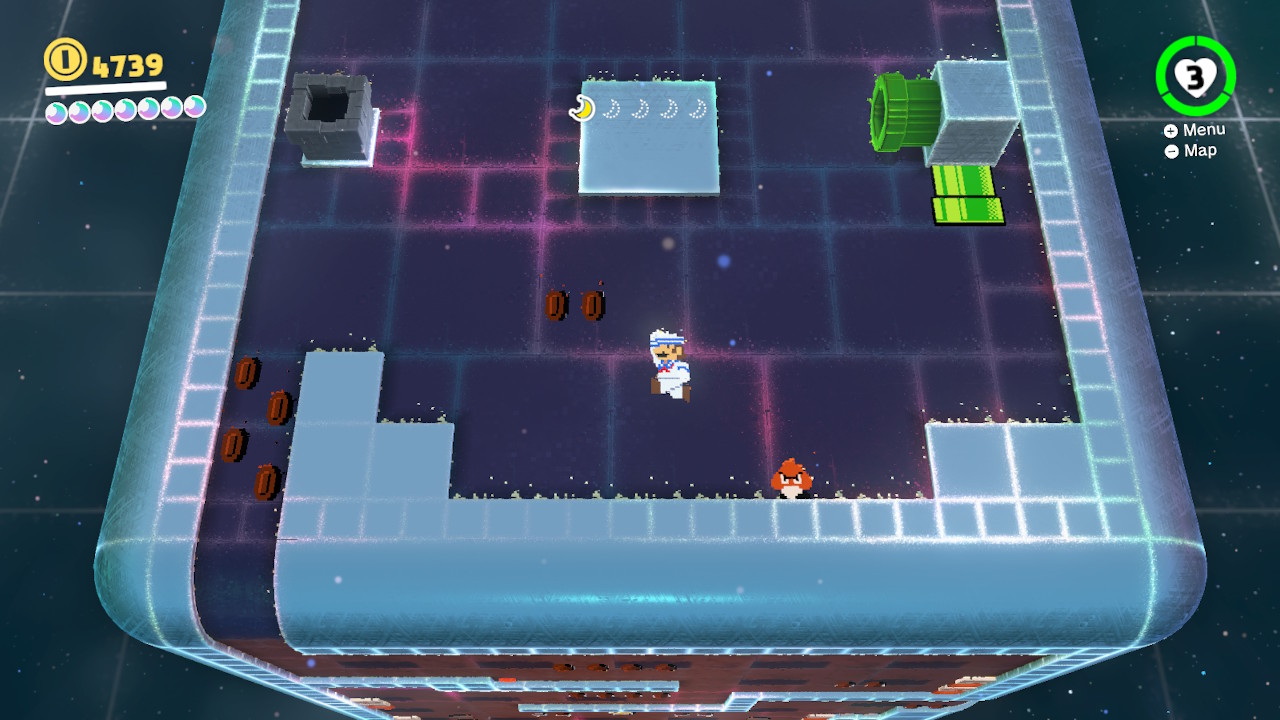
4- It’s a tough jump! But it’s worth it!
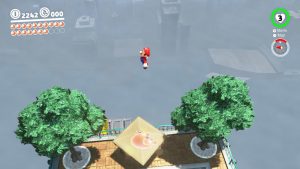
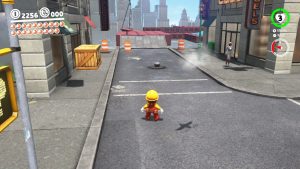
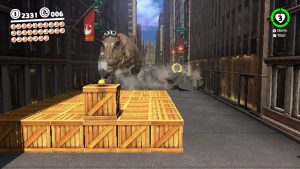
09 – Is This an Ingredient Too?!


Location-

1- Right inbetween the two buildings where Crazy Caps resides, you will find a bunch of boxes…
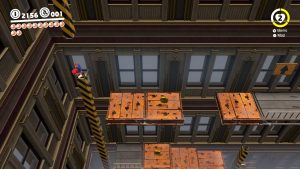
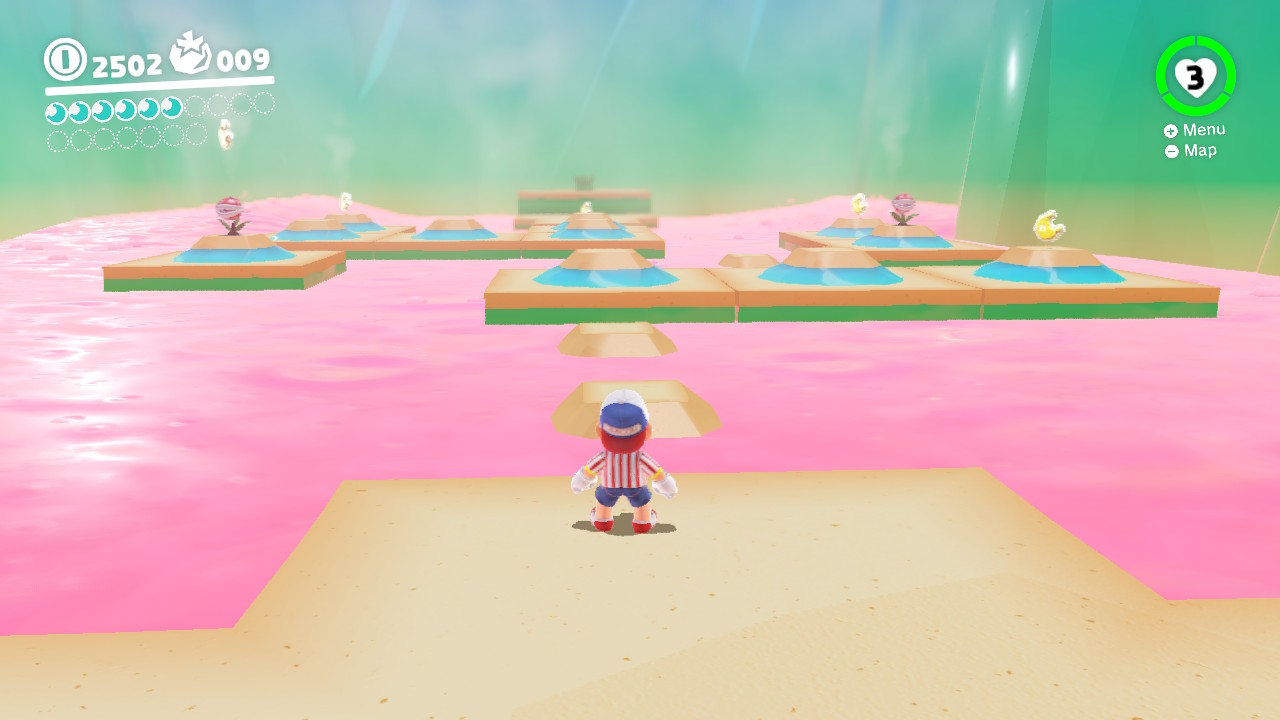
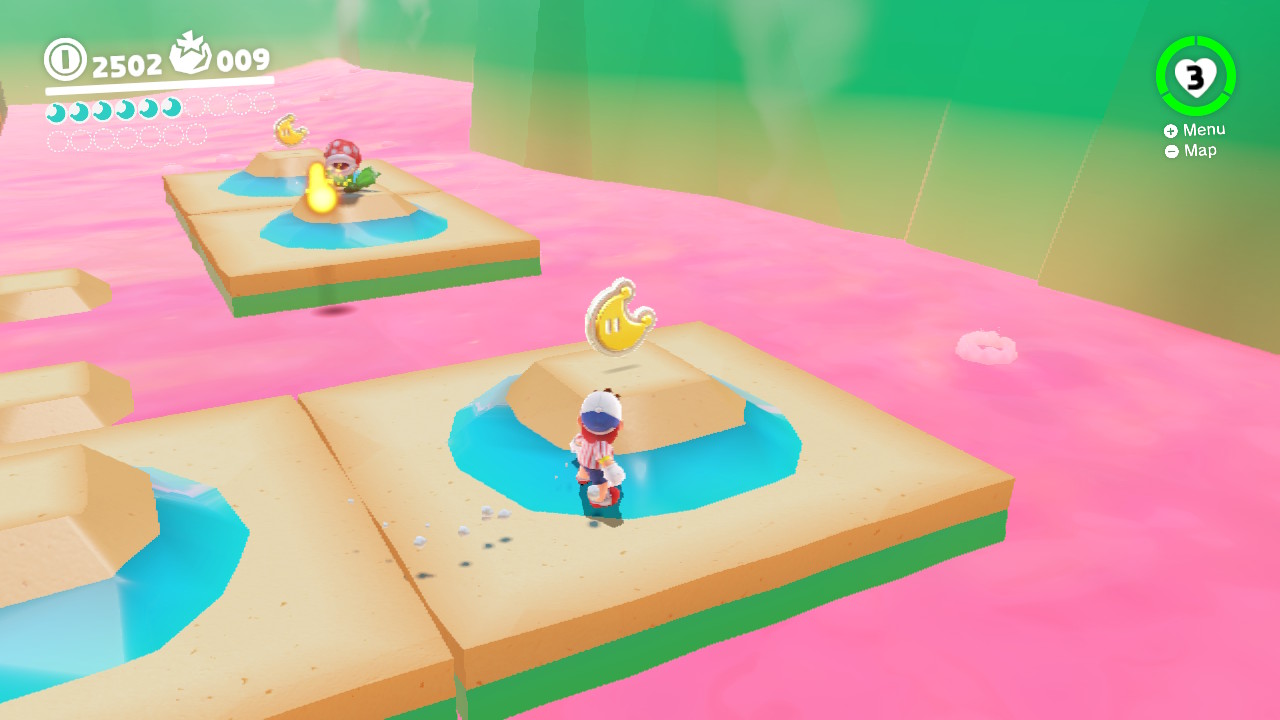
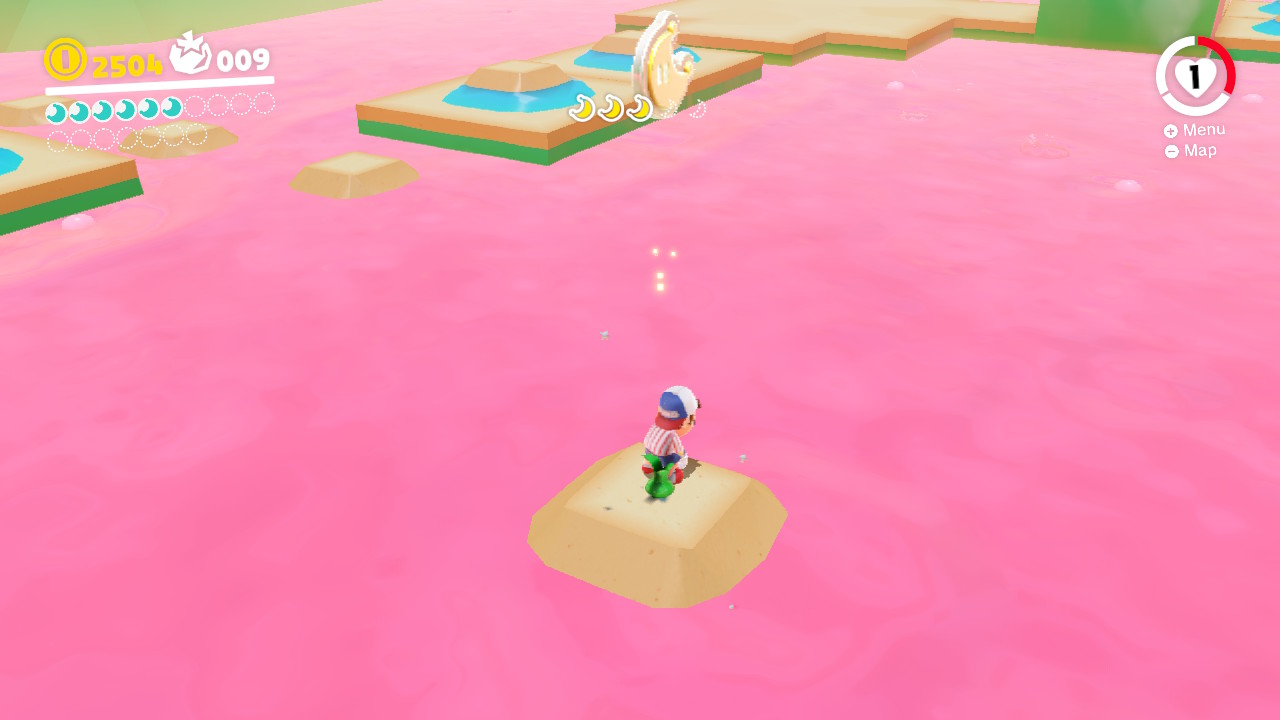
2- Destroy the boxes to reaveal a Power Moon…

3- The Power Moon will jump up onto the roof! Wall-jump after it and snatch that Moon!
10 –
11 –
12 –
13 –
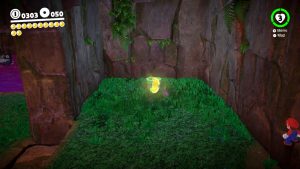
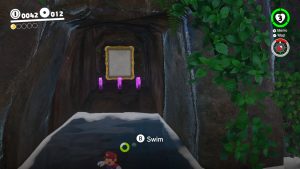
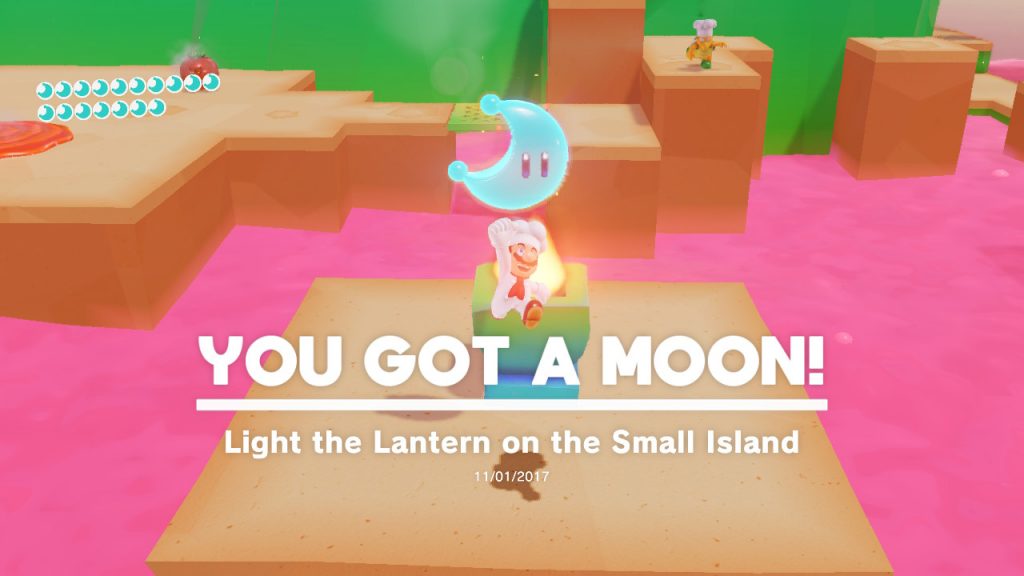
14 – Light the Lantern on the Small Island

Location-
1- From this area you should notice an unlit torch/lantern in the middle with a Power Moon locked away beside it…

2- You will need to capture a Lava Bubble and JUMP onto the Lantern…
3- This video shows what to do!
15 –
16 –
17 –
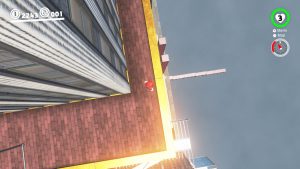
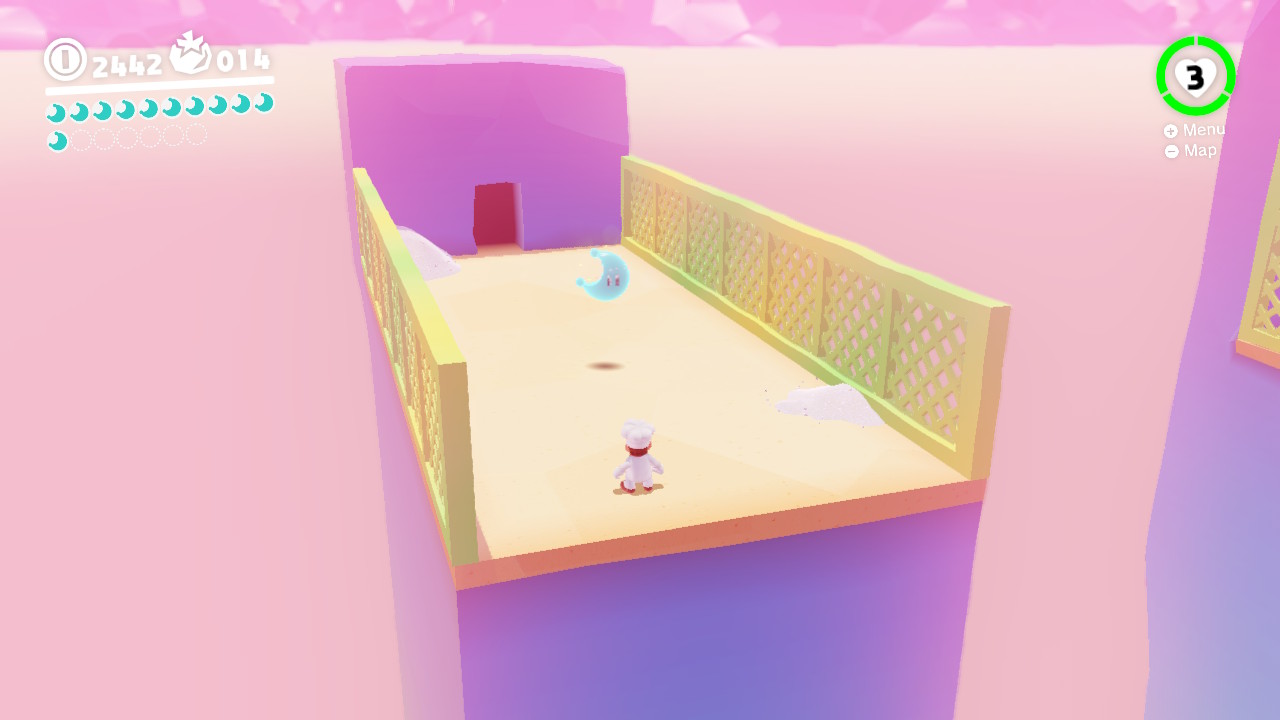
18 – Luncheon Kingdom Timer Challenge 1

Location-
1- From right behind the Odyssey you will see some forks you can use to “flick” yourself onto the rooftops…
2- Once on top, you will see a scarecrow! Throw Cappy at it and then do some good ol’ fashion wall-jumping for a Power Moon!
19 –
20 –
21 –
22 –
23 –
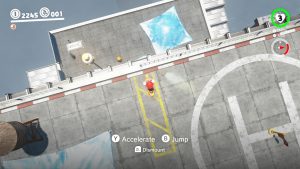
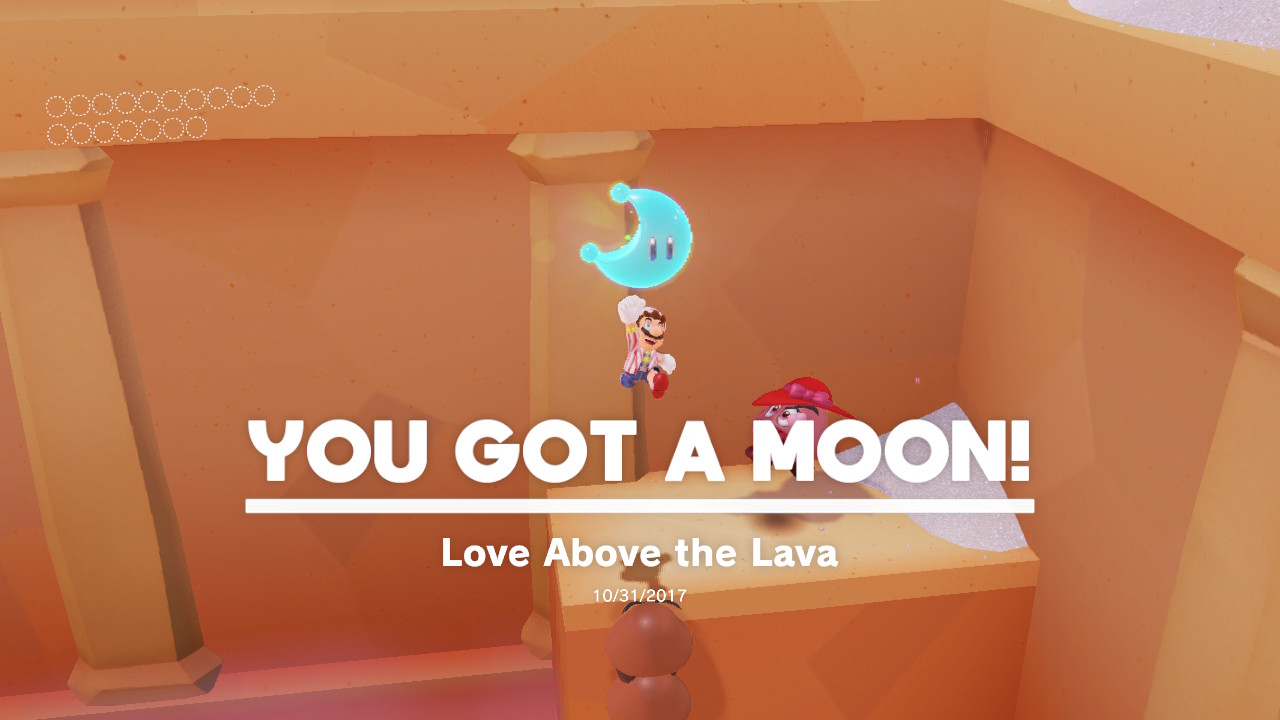
24 – Love Above the Lava
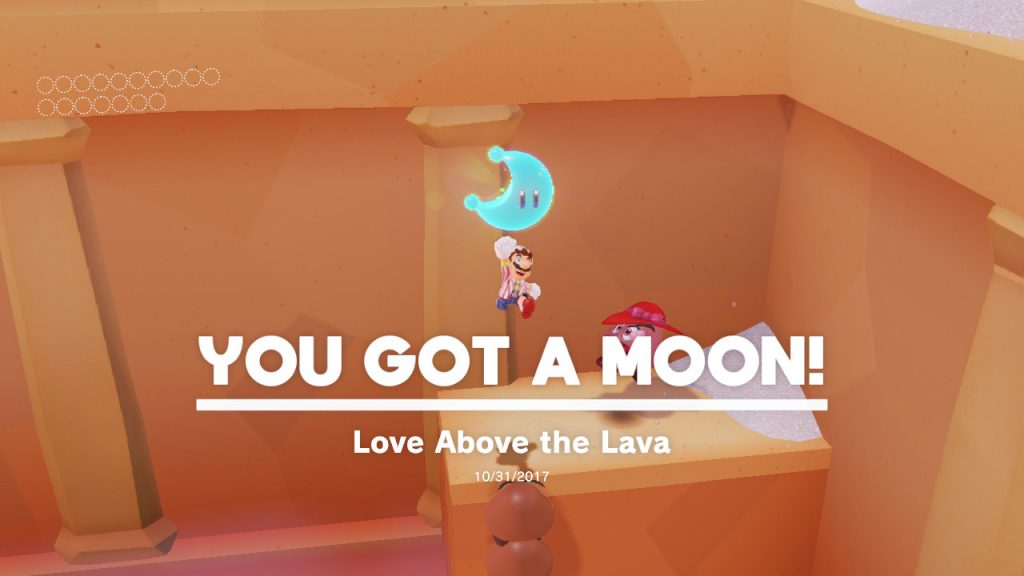
Location-

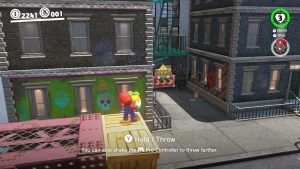
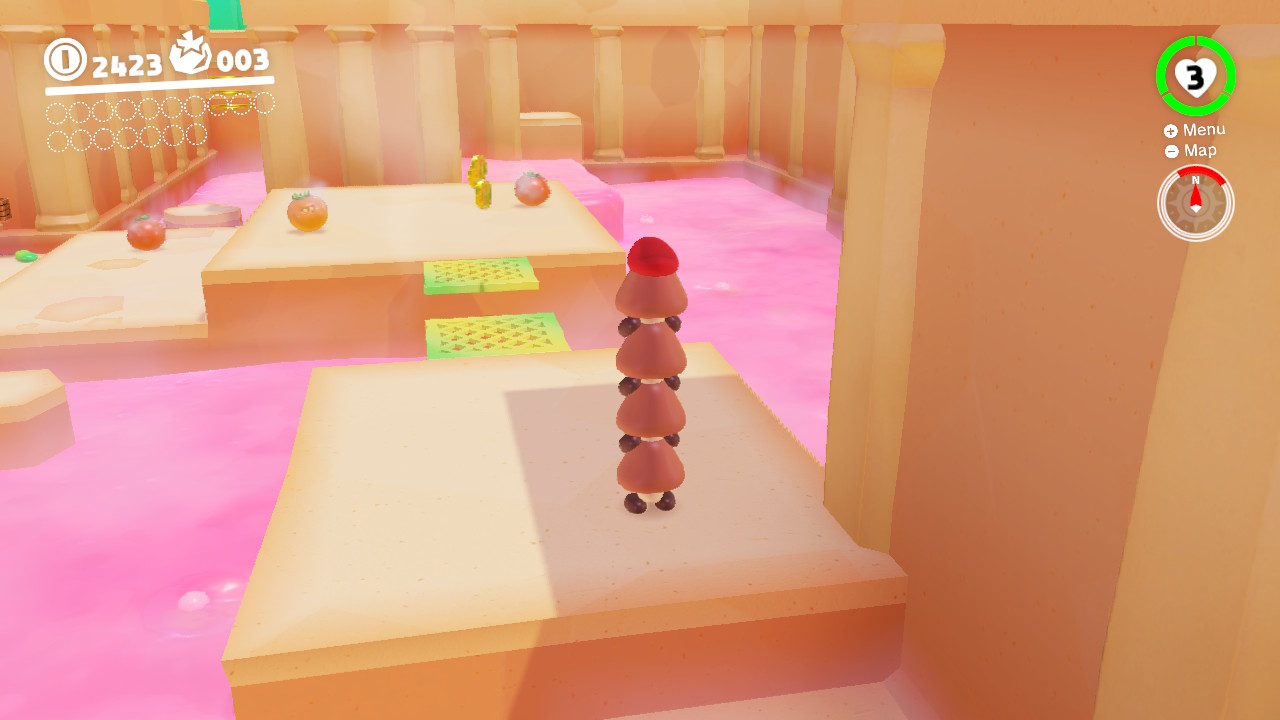
1- A Lady Goomba is looking for love in the open area in front of the Odyssey…

2- Capture and stack four Goombas. Make sure to SUPER JUMP by shaking the controller to make the big jumps over the lava…

3- Balance the Goomba tower across the rolling corn…

4- Stare directly into that BEAUTIFUL lady Goomba’s eyes and she will give you an equally beautiful prize!
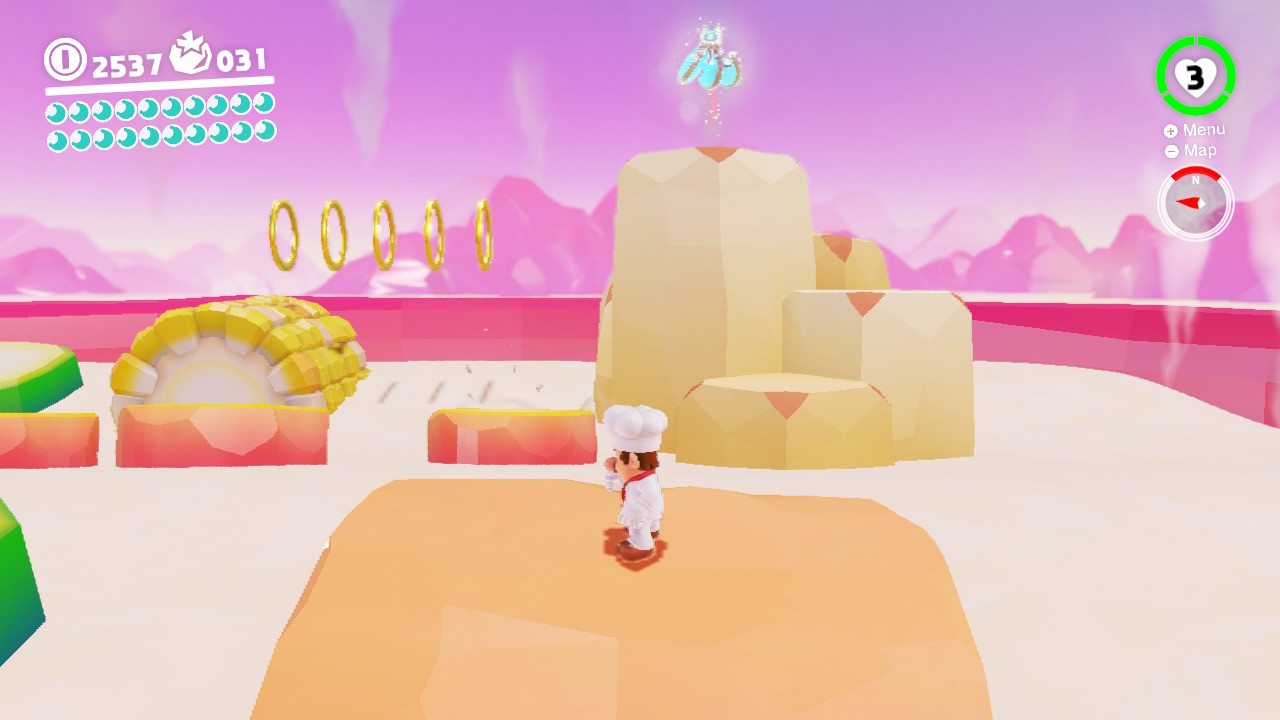
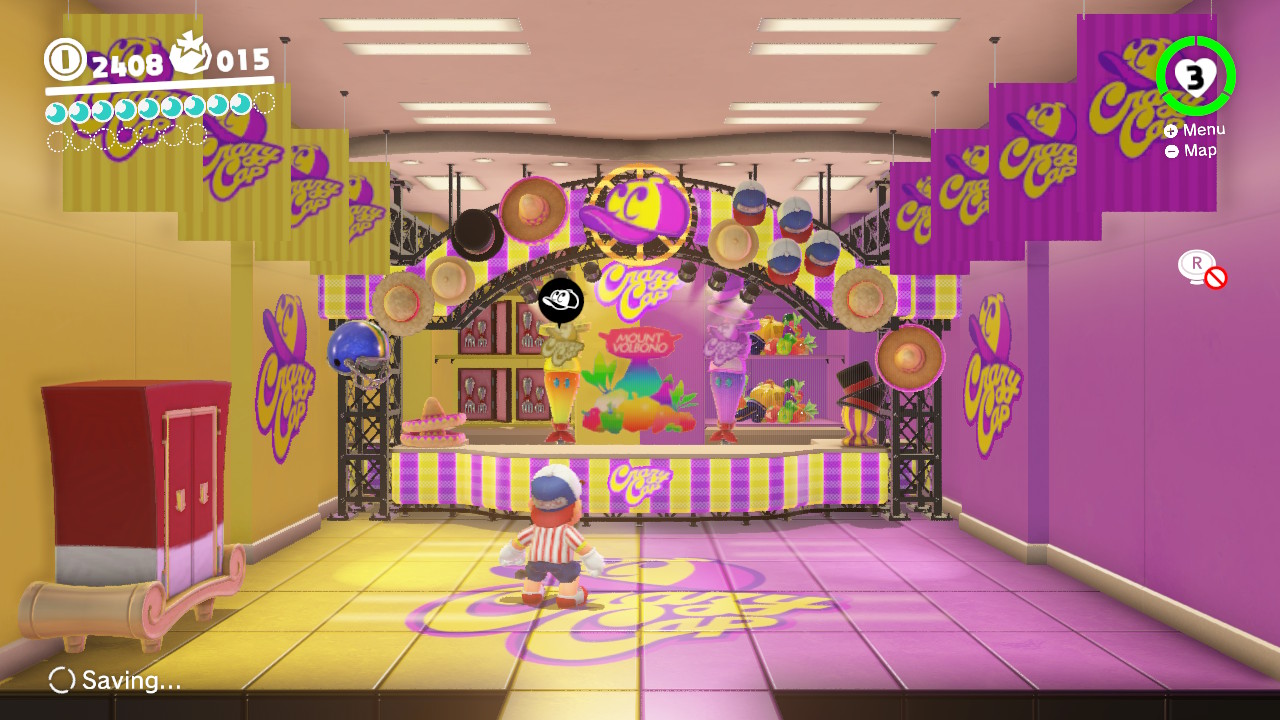
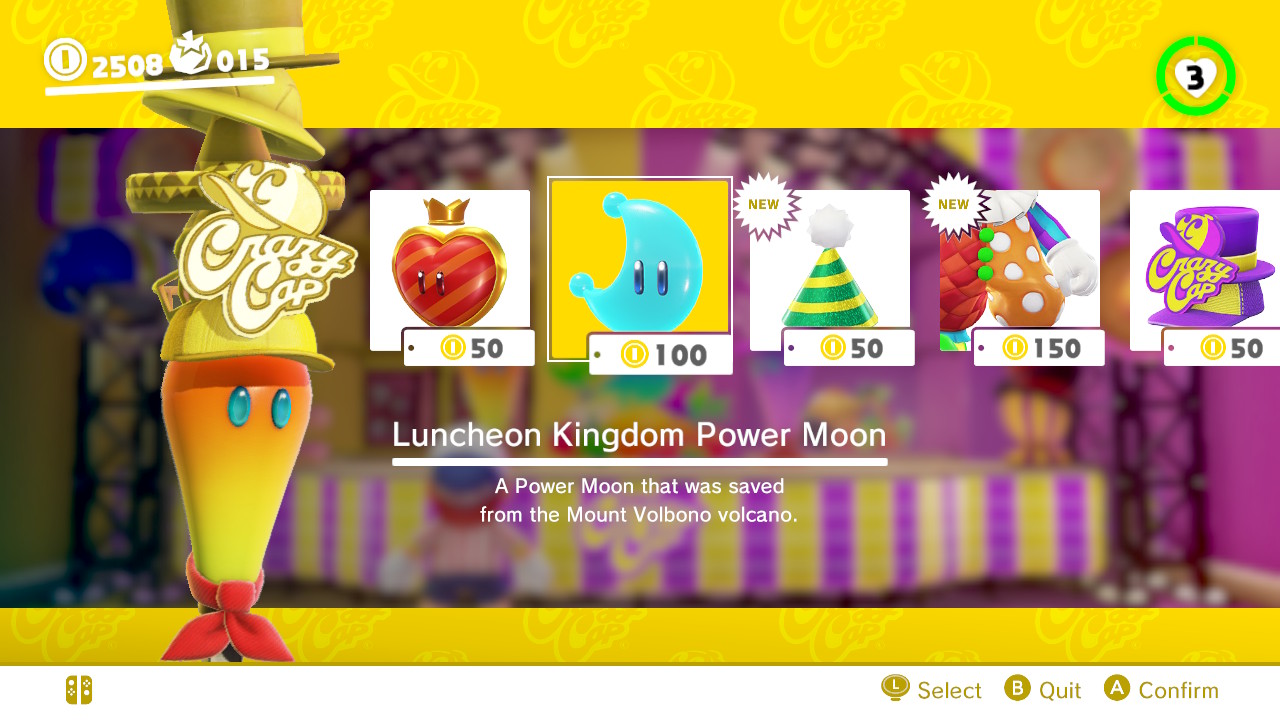
25 – Shopping in Mount Volbono

Location-
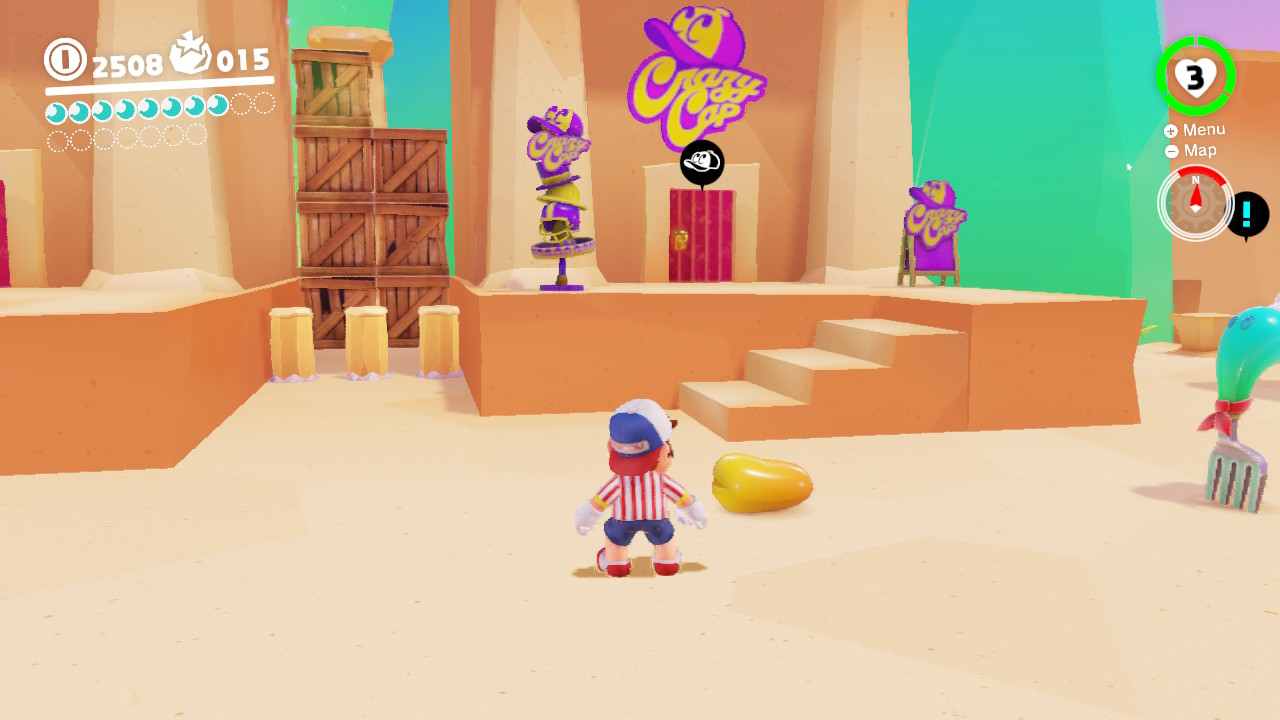
1- Crazy Caps is open for business in the Luncheon Kingdom!

2- What could possibly be for sale inside?…

3- Oh what do you know?! A Power Moon for 100 coins!
26 –
27 – A Strong Simmer

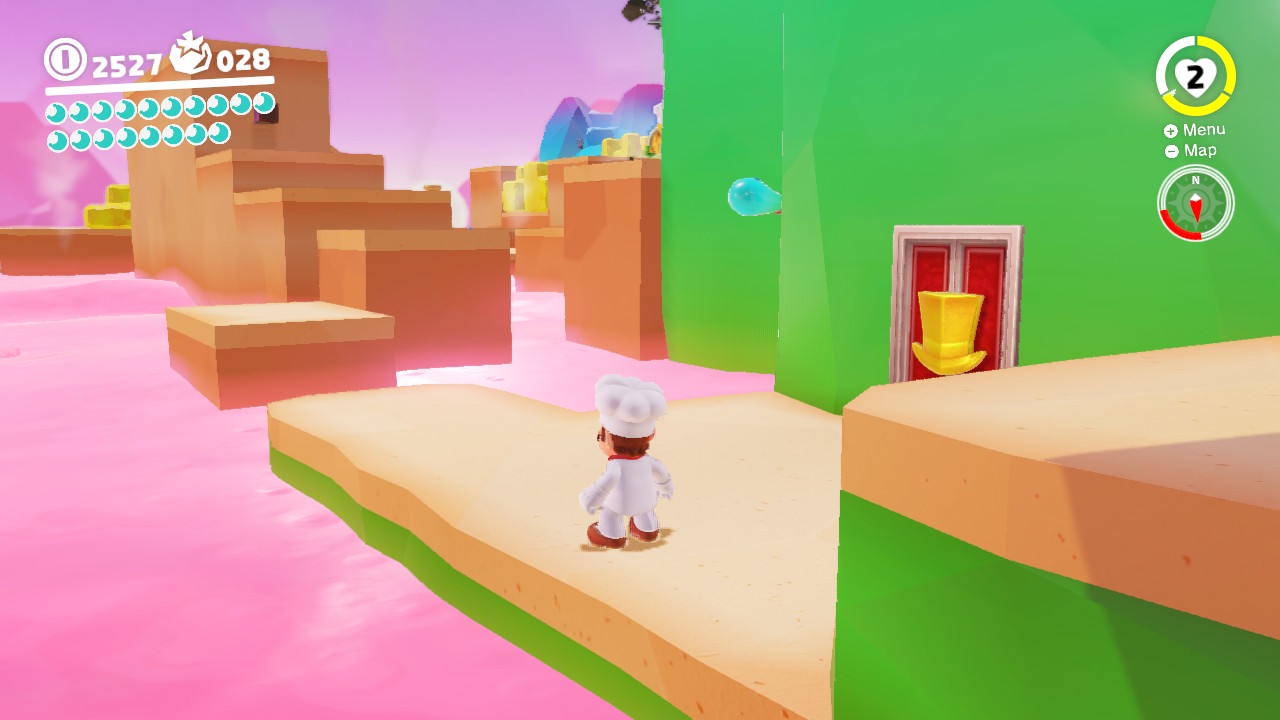
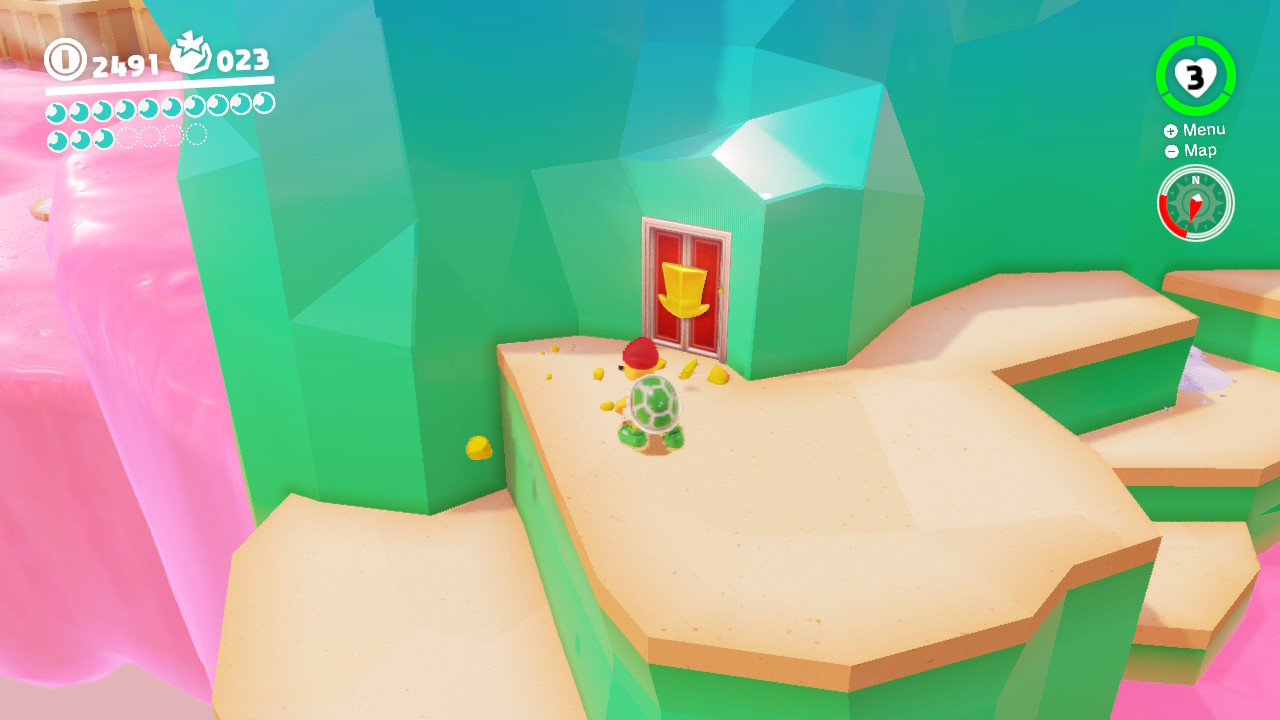
Location-
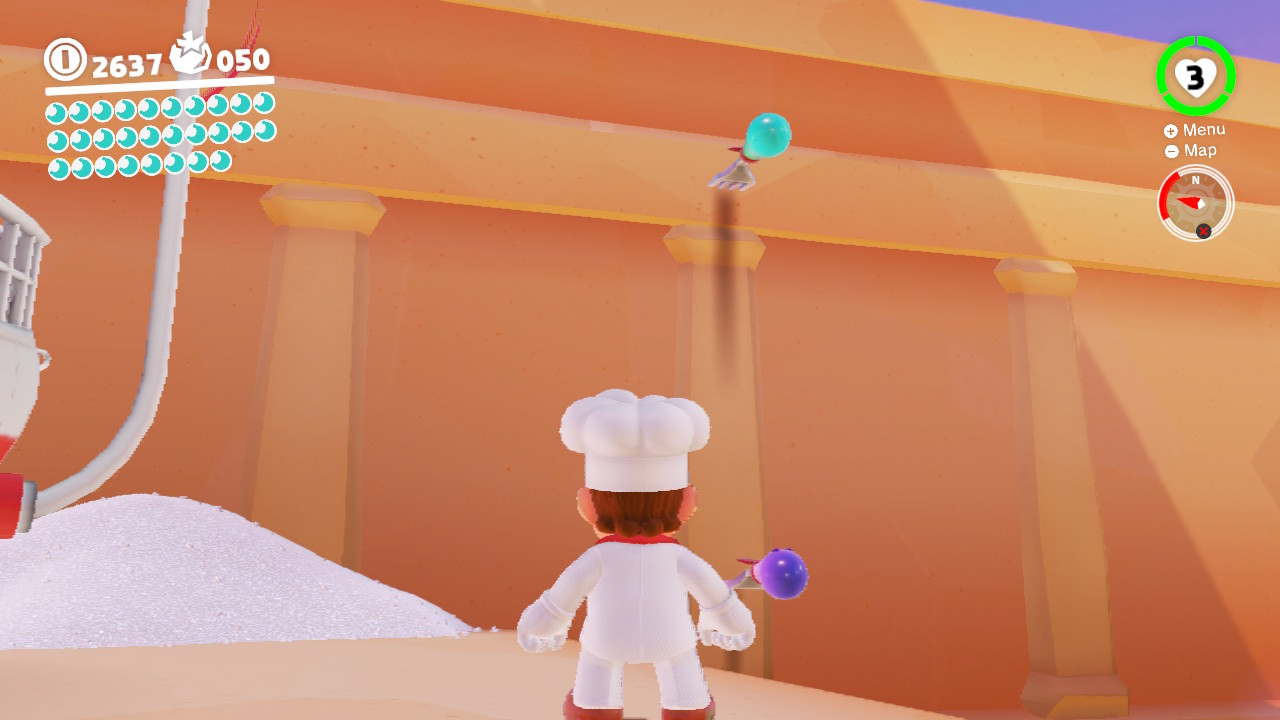
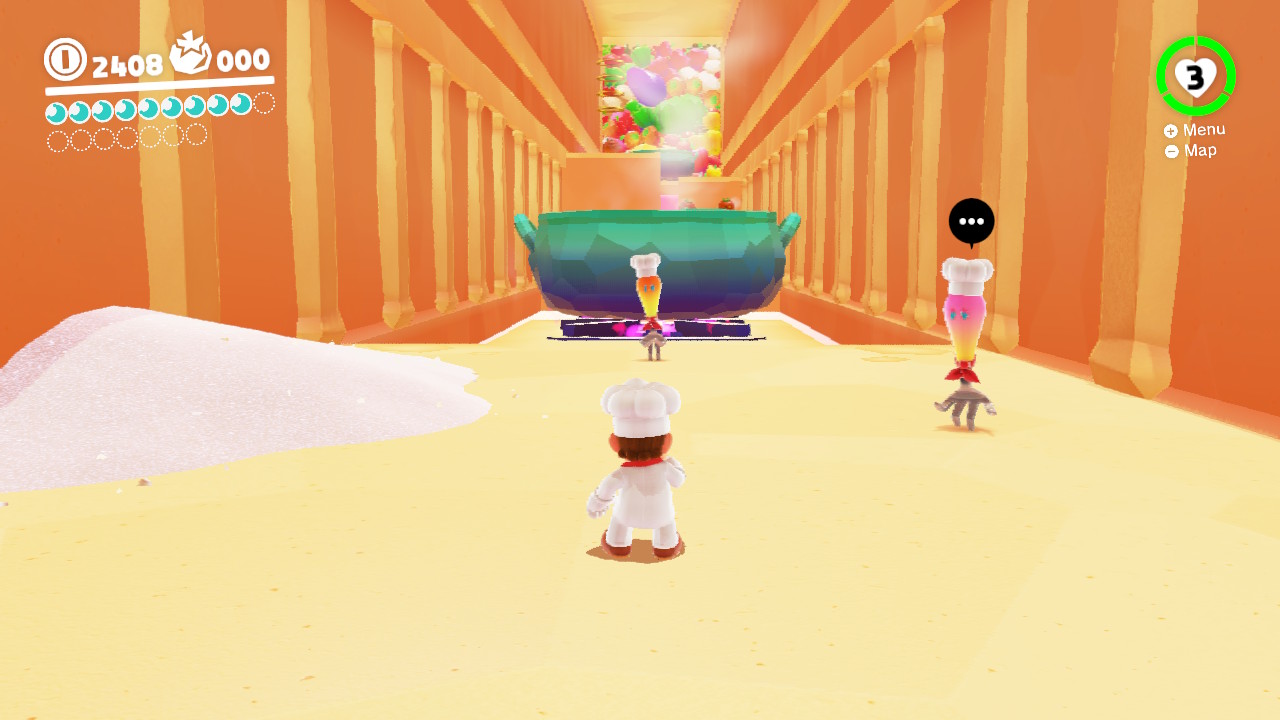
1- There’s a secret society for all cooks! Mario can’t get inside without his cook outfit, let’s head over to Crazy Caps (luckily it is RIGHT next door)…

2- Buy the Chef Hat and Chef Suit for a total of 15 Kingdom Coins…

3- Chef Mario…

4- Now Mario can enter…

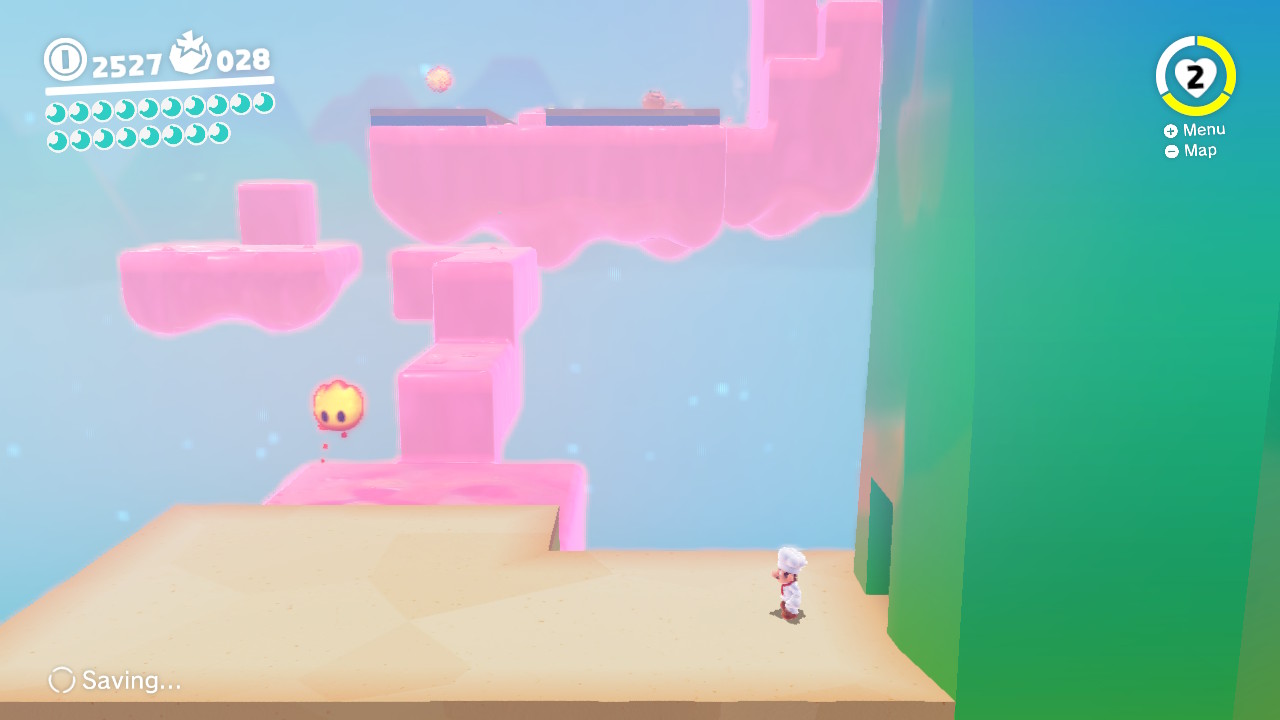
5- Inside you will see a bowl of soup that apparently needs to be HOTTER…

6- Capture a Lava Bubble…

7- Now jump into the soup bowl for a delicious snack! (And a tasty Power Moon)
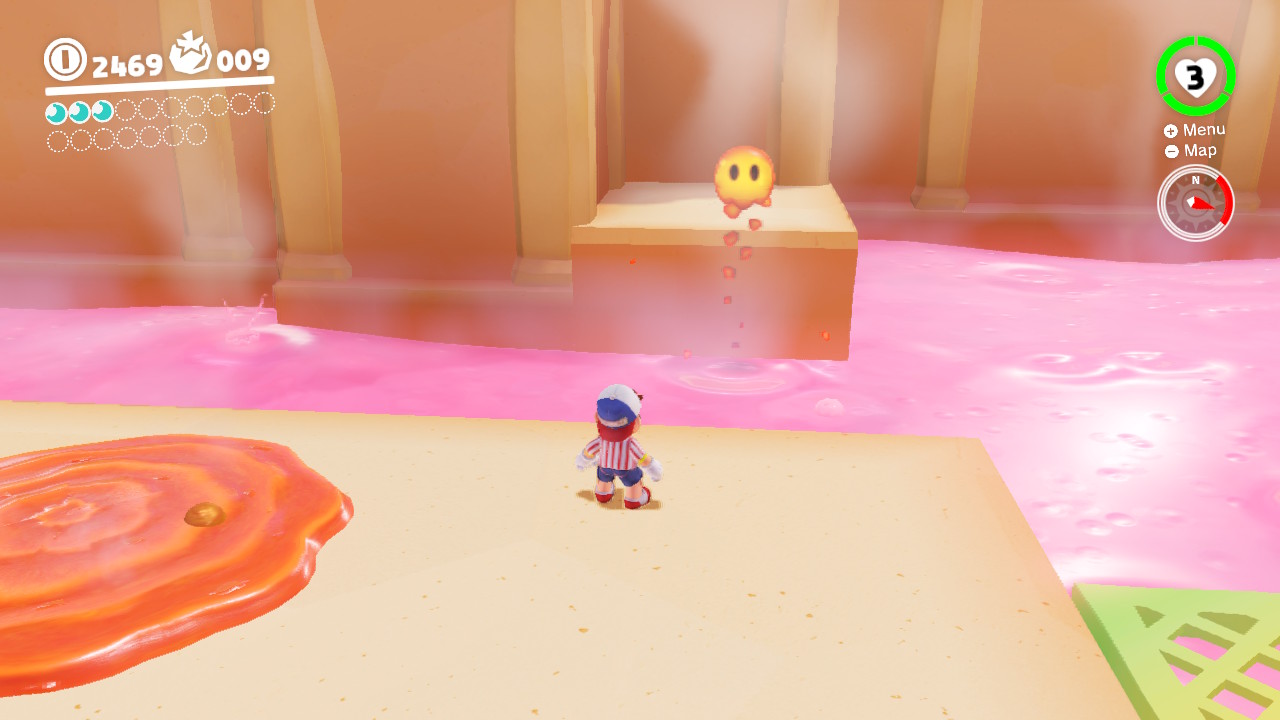
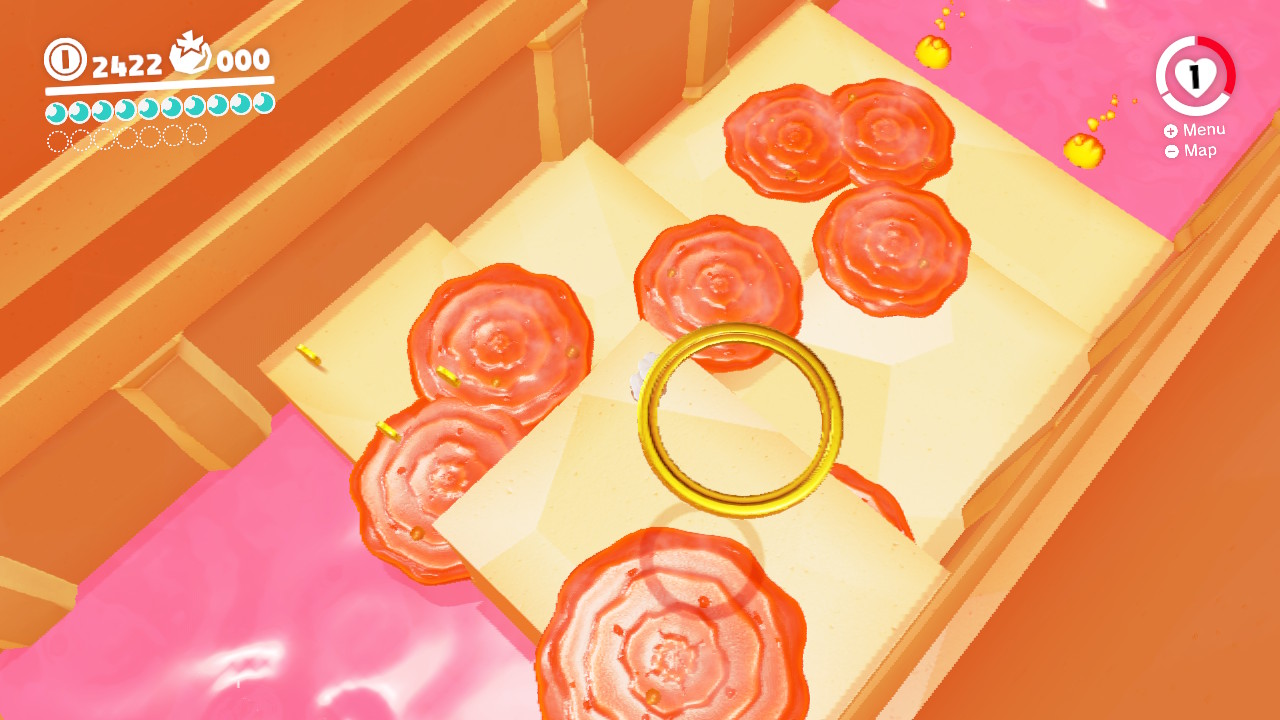
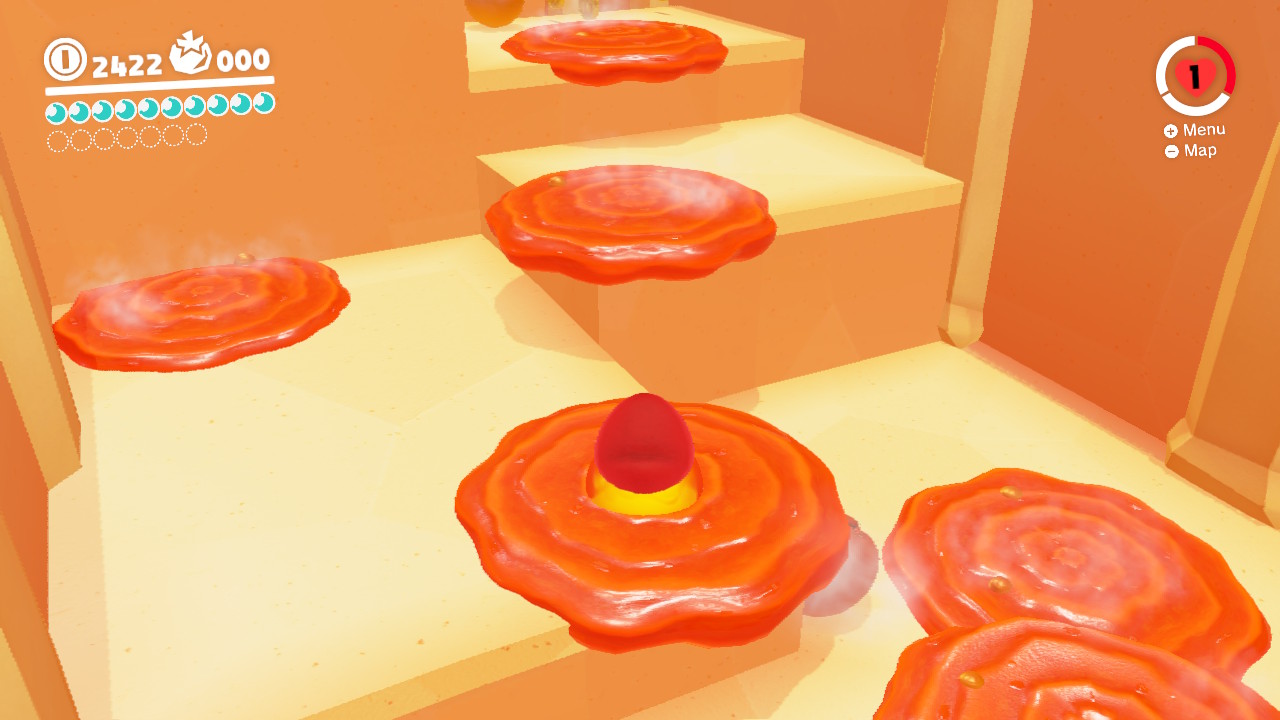
28 – An Extreme Simmer

Location-
1- There’s a secret society for all cooks! Mario can’t get inside without his cook outfit, let’s head over to Crazy Caps (luckily it is RIGHT next door)…
2- Buy the Chef Hat and Chef Suit for a total of 15 Kingdom Coins and put them on…
3- Now Mario can now enter the exclusive club…
5- Inside you will see a bowl of soup. But BEYOND this bowl is where ANOTHER secret Power Moon is brewing…
6- Capture a Lava Bubble and head towards the back of the room…

7- There are a bunch of hot tomatoes bouncing around, hit them with Cappy or by jumping on them to create a hot pool for your Lava Bubble to jump on…

8- Hop across the tomatoe pools…

9- On the other side is ANOTHER soup bowl…

10- Jump inside the soup bowl for a Power Moon!!
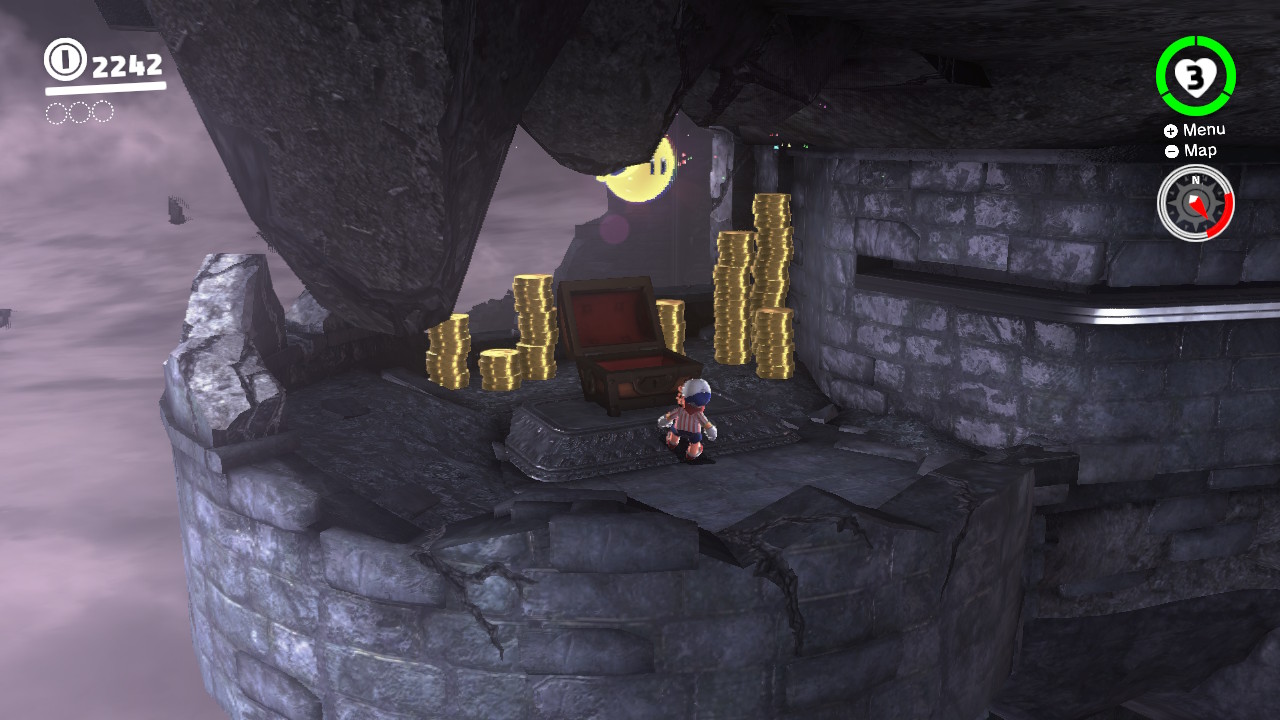
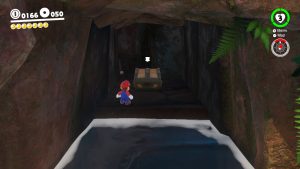
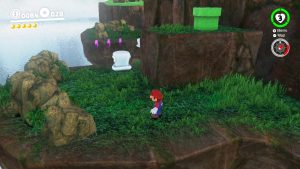
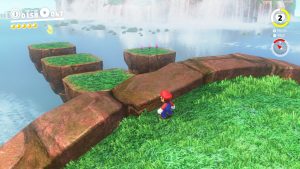
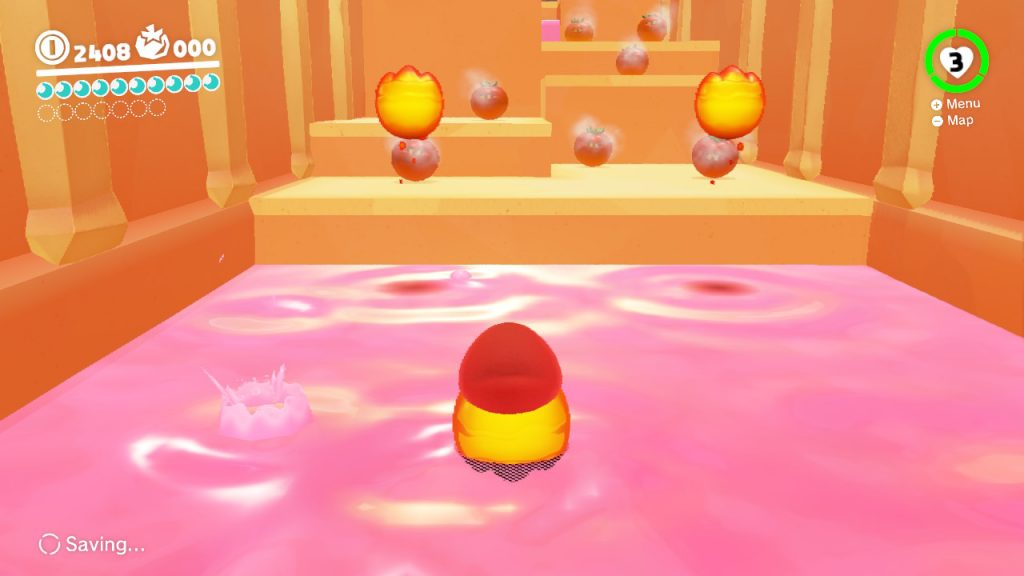
29 – Alcove Behind the Pillars of Magma
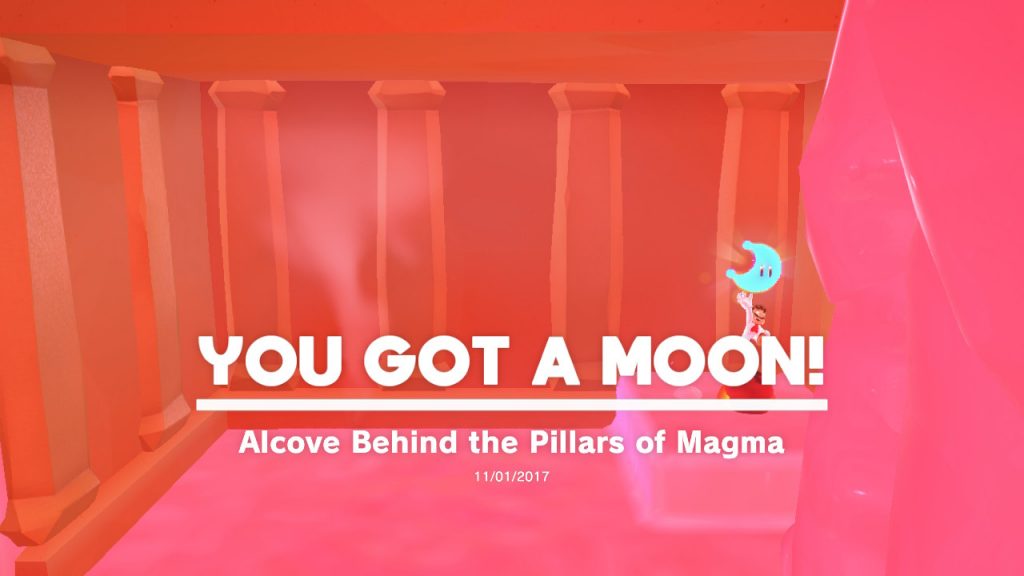
Location-
1- On the path towards the “Climb Up the Cascading Magma” Power Moon there is another secret Moon hiding behind the magma…

2- While on the magma pillars, turn around and you see notice the Power Moon!
30 –
31 –
32 –
33 –
34 –
35 –
36 –
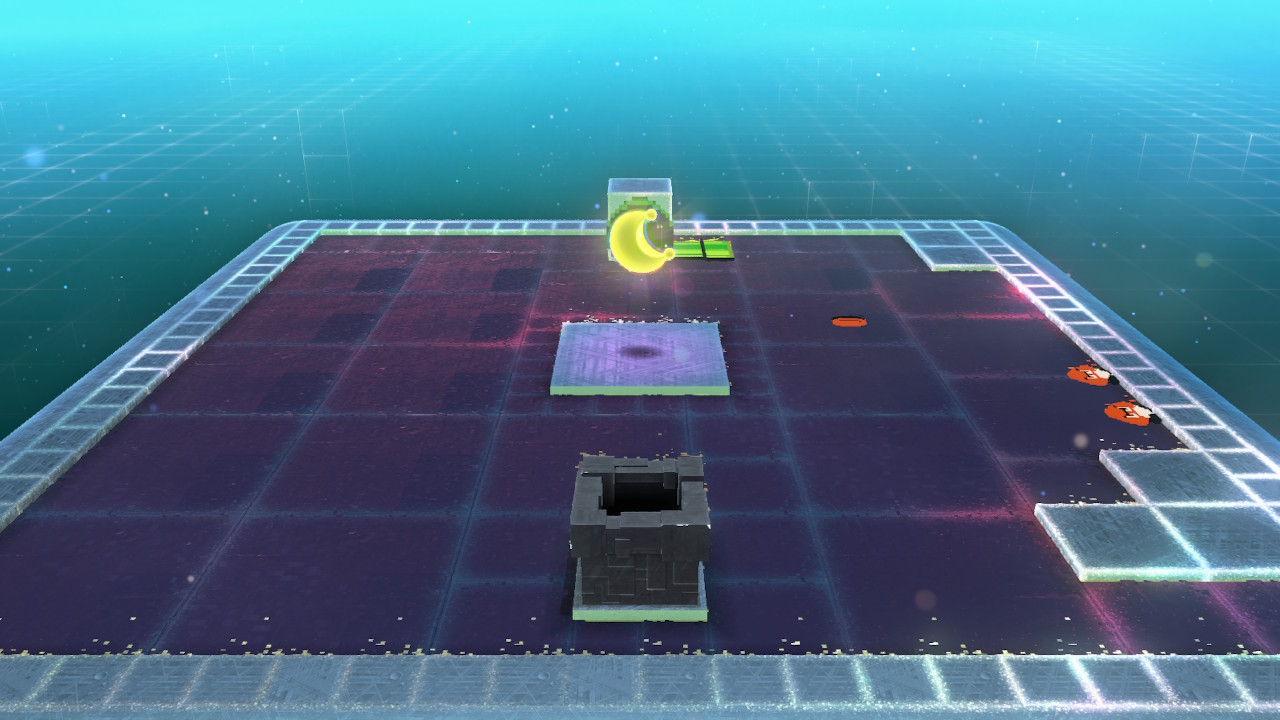
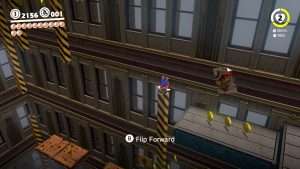
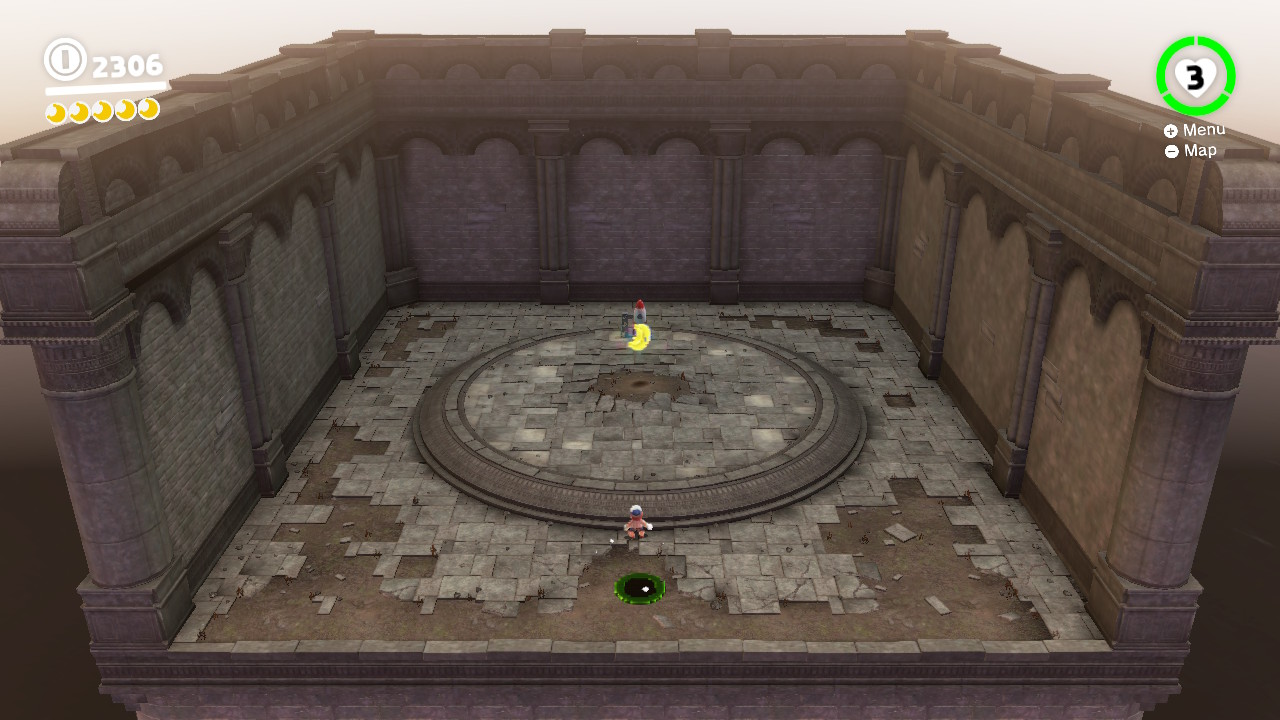
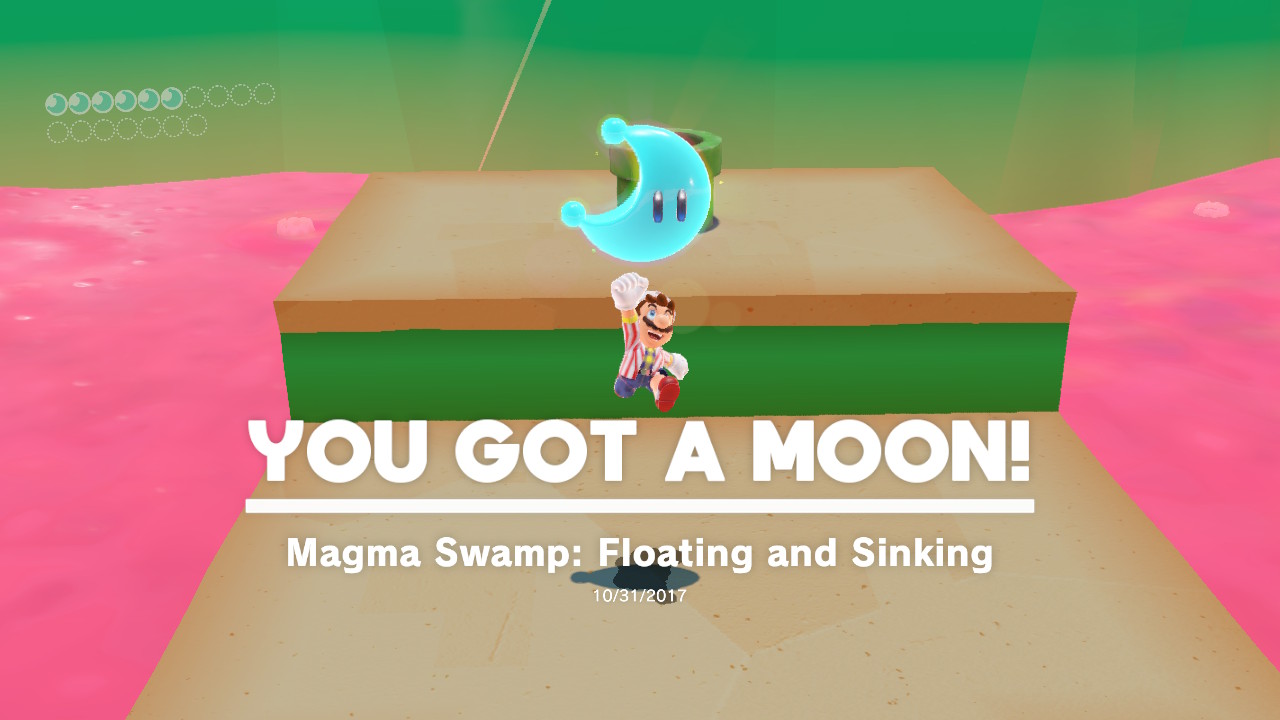
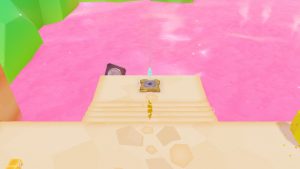
37 – Magma Swamp: Floating and Sinking
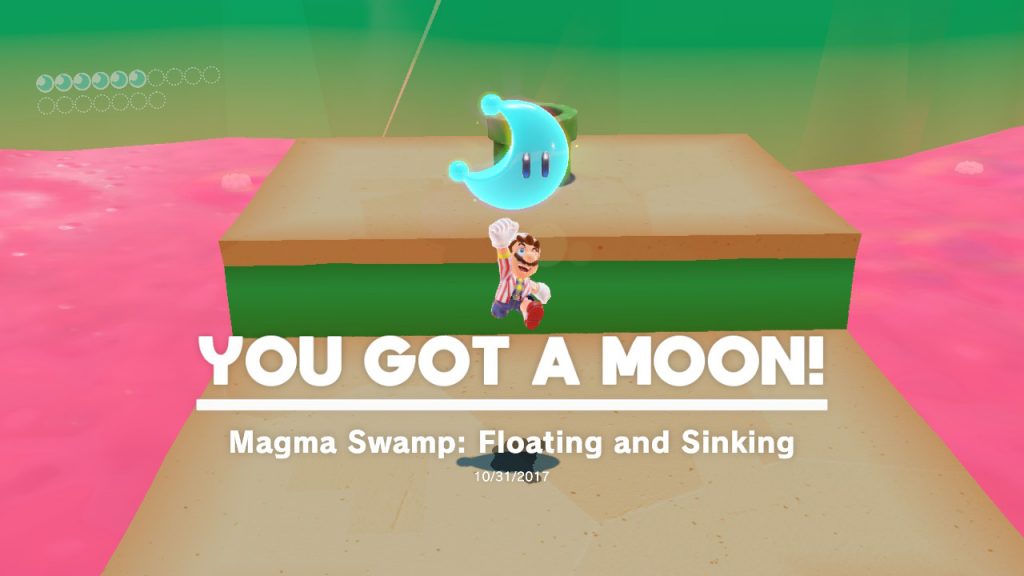
Location-

1- Hidden down beneath the walkway that heads towards the Peronza Plaza is a Cappy doorway…
2- Inside is a lava-filled obstacle course…
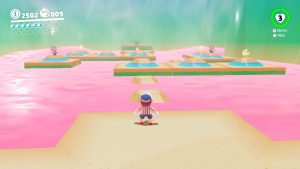
3- Five moon shards need to be collected…

4- The floating platforms move up and down, so be careful… (shard 1/5 shown)

5- There are Piranha Plants as well so watch out… (shard 2/5 shown)

6- Don’t touch the lava… (shard 3/5 shown)
7- Be carefullllll… (shard 4/5 shown)

8- The last shard… (shard 5/5 shown)

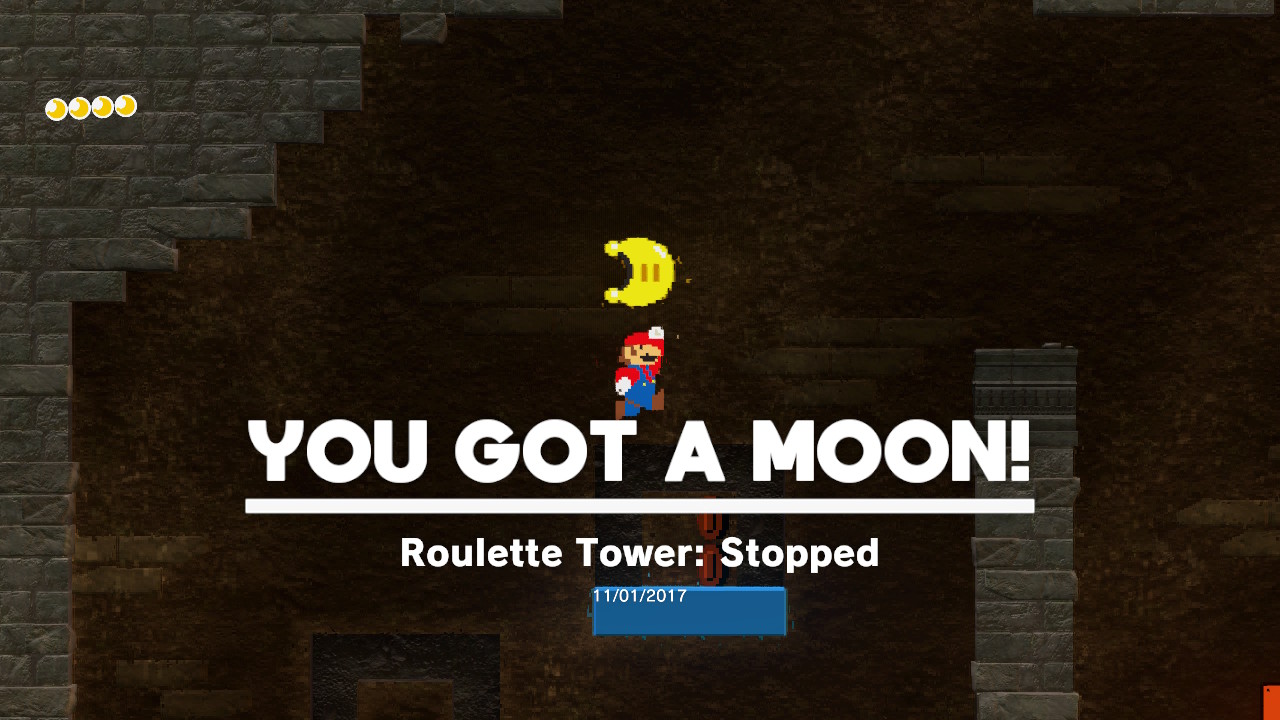
9- The Power Moooooon!
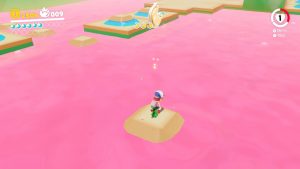
38 – Corner of the Magma Swamp
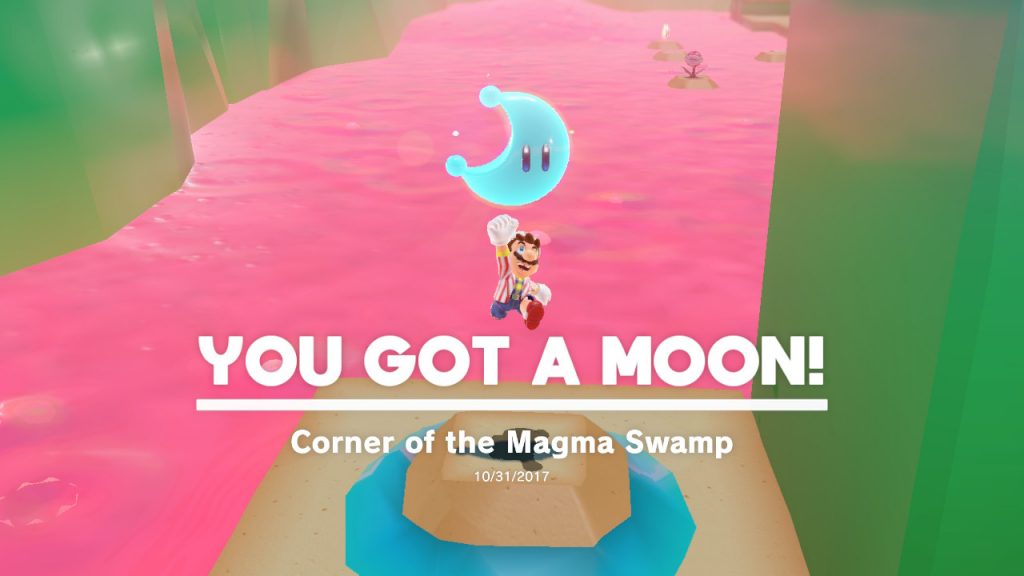
Location-
1- Hidden down beneath the walkway that heads towards the Peronza Plaza is a Cappy doorway…
2- Inside is a lava-filled obstacle course…
3- Instead of collecting all the shards, turn around to see some hidden floating platforms…

4- Around the corner is the Power Moon! (Don’t touch the Lava!)
39 – Magma Narrow Path

Location-

1- Around this corner is a hidden Cappy door…

2- Inside is a Lava Bubble course of death…

3- Capture the Lava Bubble and swim through the lava…

4- Be VERY careful on the skinny lava-ways and reach the Power Moon at the finish!
40 – Crossing to the Magma

Location-
1- Around this corner is a hidden Cappy door…
2- Inside is a Lava Bubble course of death…
3- Halfway through there are a couple hot tomatoes and a lava stairway…

4- Destory the hot tomatoes, capture the Lava Bubble, and climb up the lava stairway…

5- On top of the lava stairway is the “Crossing to the Magma” Power Moon!
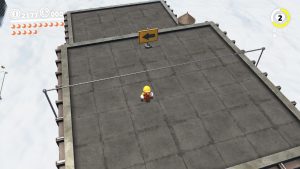
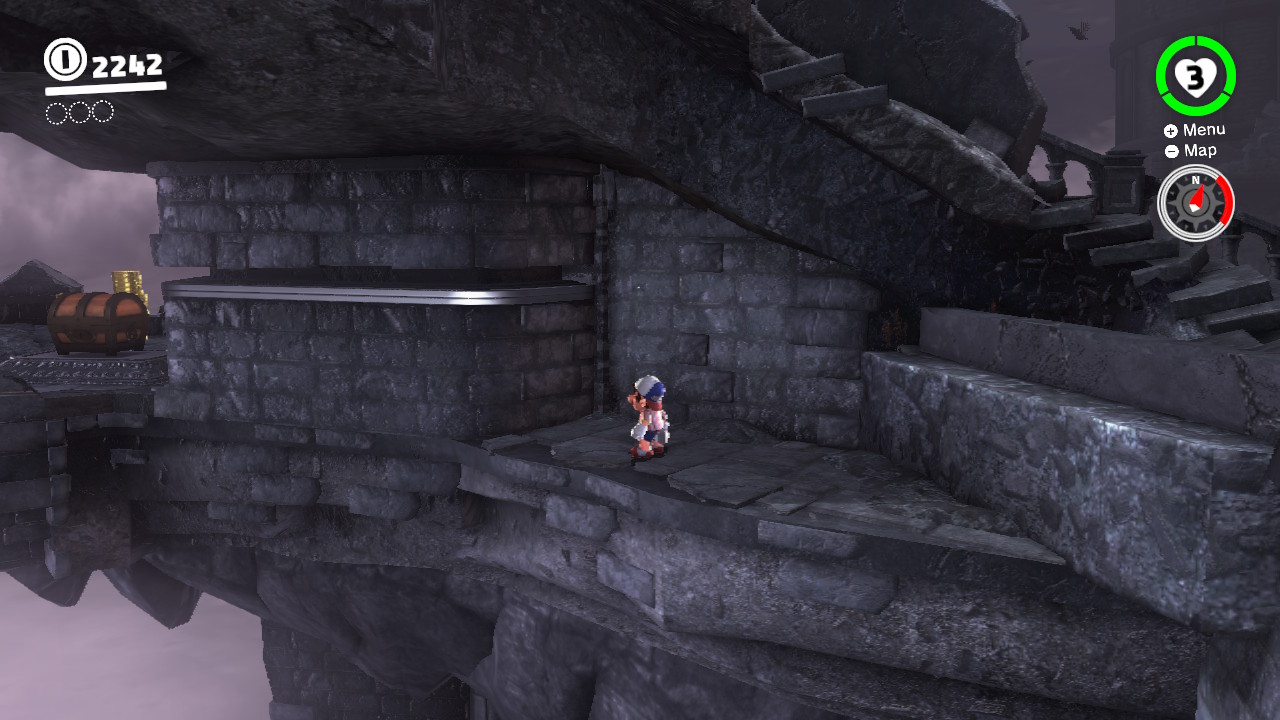
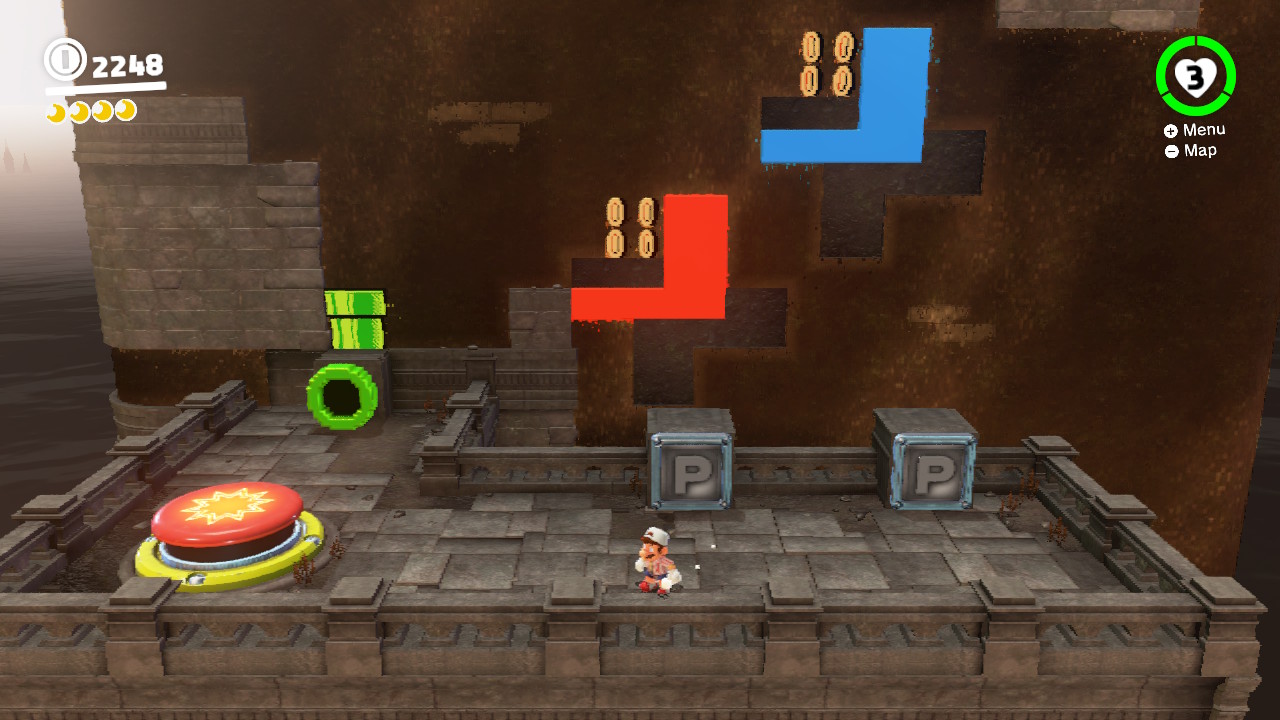
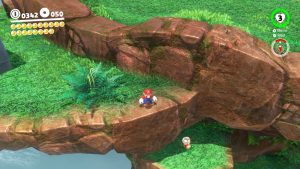
41 – Fork Flickin’ to the Summit

Location-

1- There is a Cappy door that can be seen from the “Salt-pile Isle” checkpoint…

2- Capture a Lava Bubble and jump in the lava…

3- Swim over and jump up onto the platforms…

4- Inside is a flicktastic obstacle course…

5- Throw Cappy onto the Fork Flicks and arrows to launch upward…

6- Keep flickin’…

7- At the top is a Power Moon!
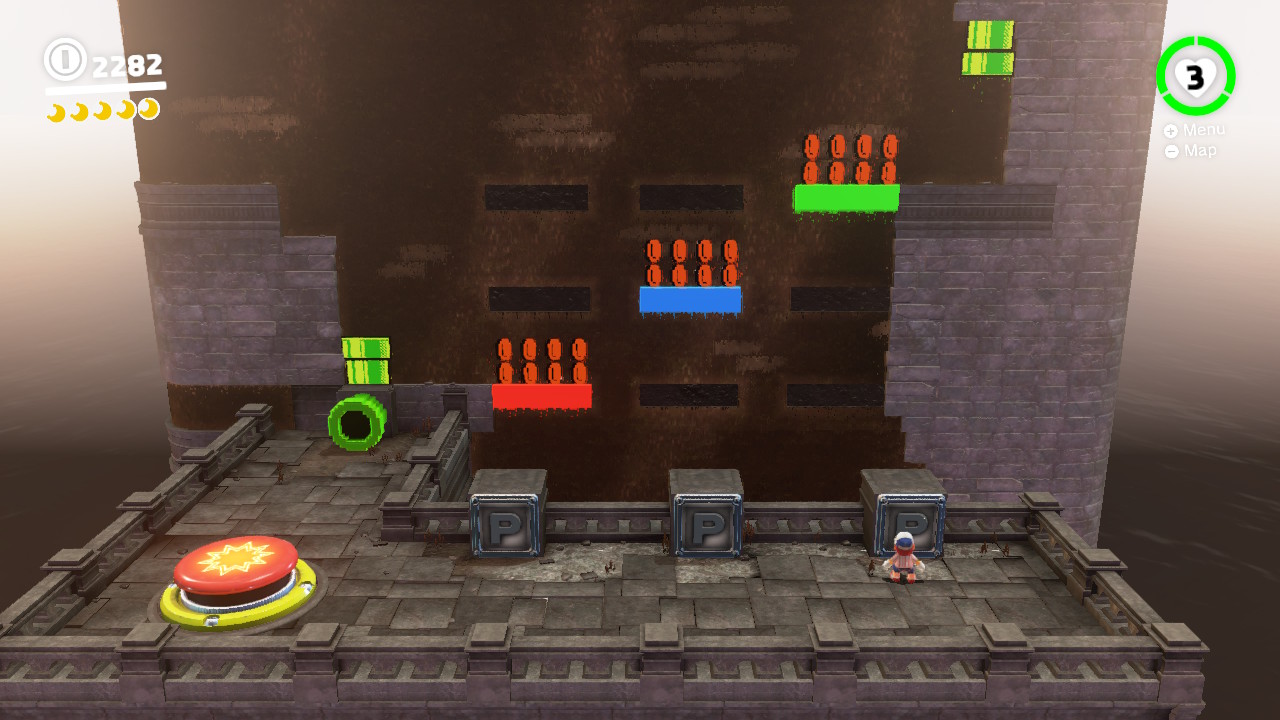
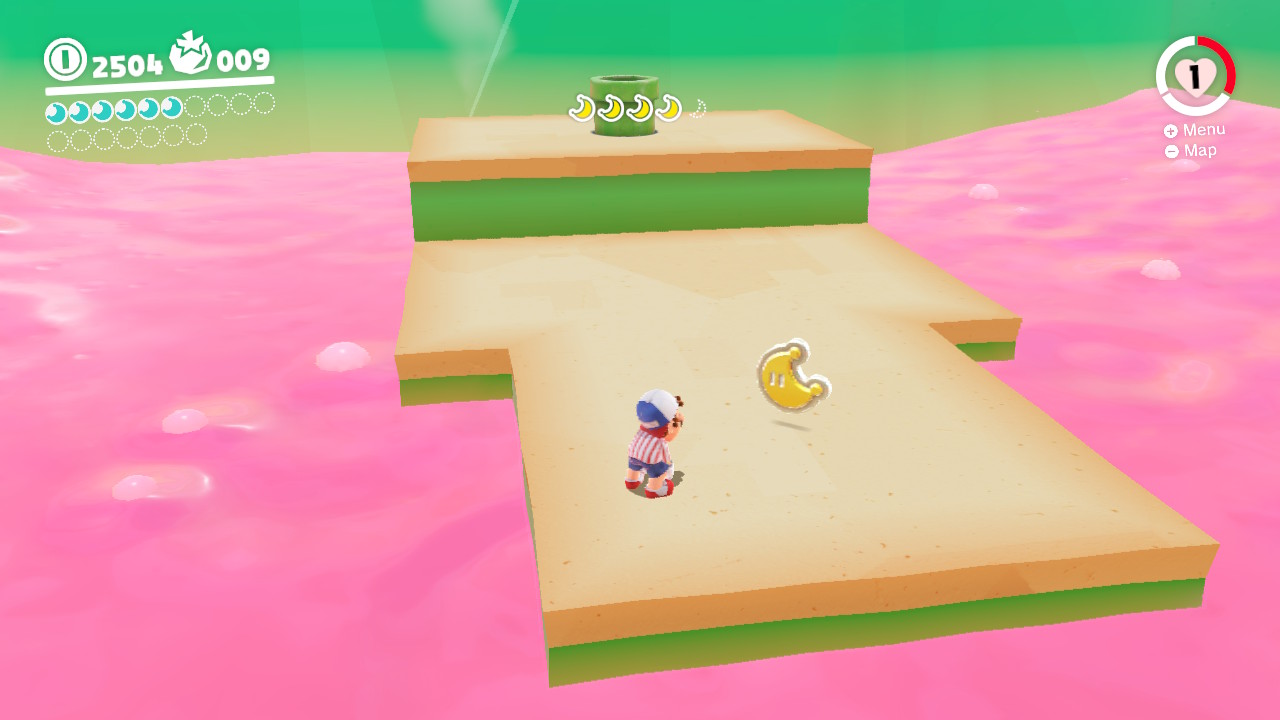
42 – Fork Flickin’ Detour

Location-
1- There is a Cappy door that can be seen from the “Salt-pile Isle” checkpoint…
2- Capture a Lava Bubble and jump in the lava…
3- Swim over and jump up onto the platforms…
4- Inside is a flicktastic obstacle course, flick all the way to the top…

5- Once at the top, notice another structure to the right. You will need to long jump across…
6- The Power Moon is a long jump away! Check out the video!
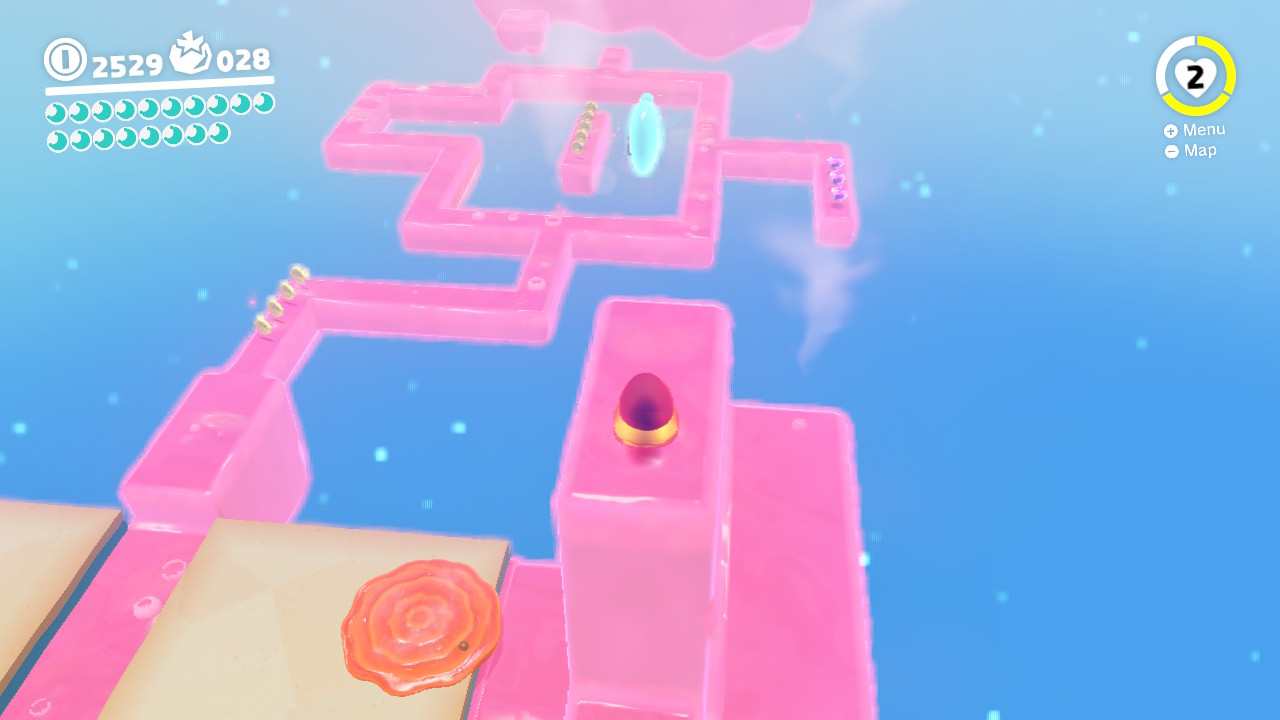
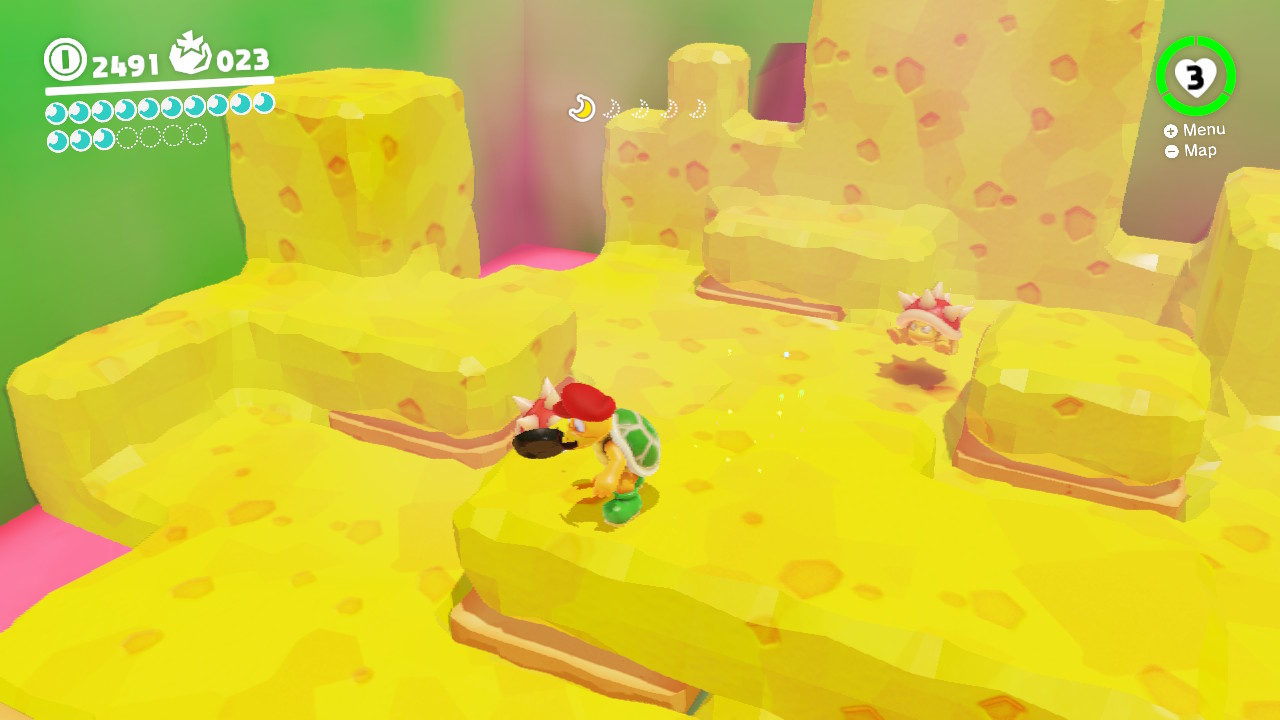
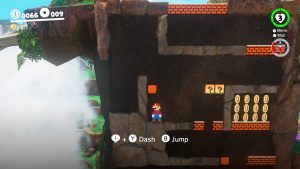
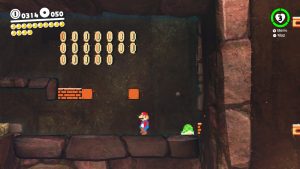
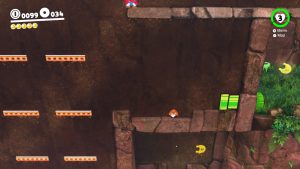
43 – Excavate ‘n’ Search the Cheese Rocks

Location-
1- There is a Cappy door hiding behind a cheese wall, you’ll need to capture a Hammer Bro…

2- Take the Hammer Bro behind the structure…

3- Destroy the cheese chunk and you will have access to the door…

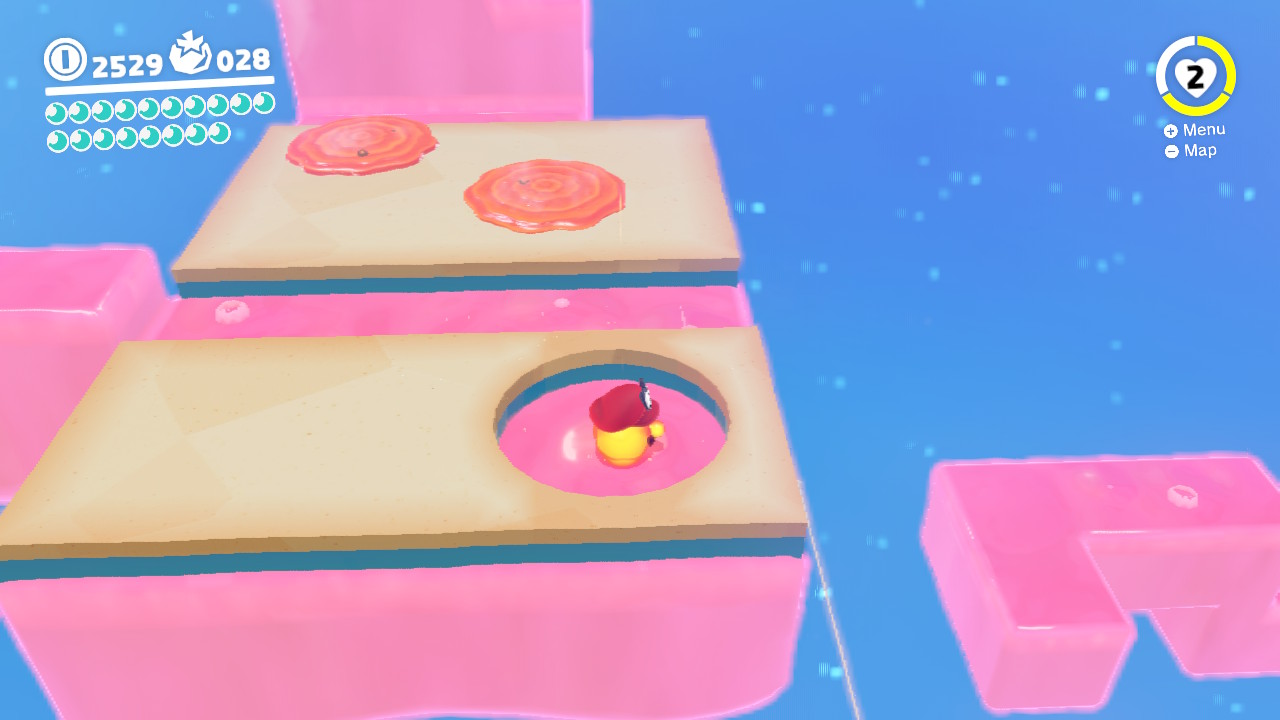
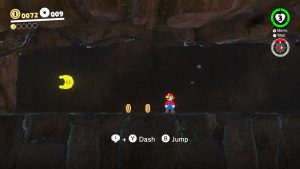
4- Inside is an insane room of cheese rocks, you need to find the 5 shards…
5- You will need to break away the cheese rock to reveal the shards… (Shard 1/5 shown)

6- Here is another shard… (Shard 2/5 shown)

7- Against the far wall is a hole where another shard is found… (Shard 3/5 shown)

8- Keep breaking apart the cheese rocks… (Shard 4/5 shown)
9- This last one took me a LONG time to find, it’s hidden UNDER the cheese rocks on the left wall… (Shard 5/5 shown)
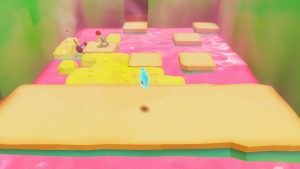
10- The Power Moon!!!
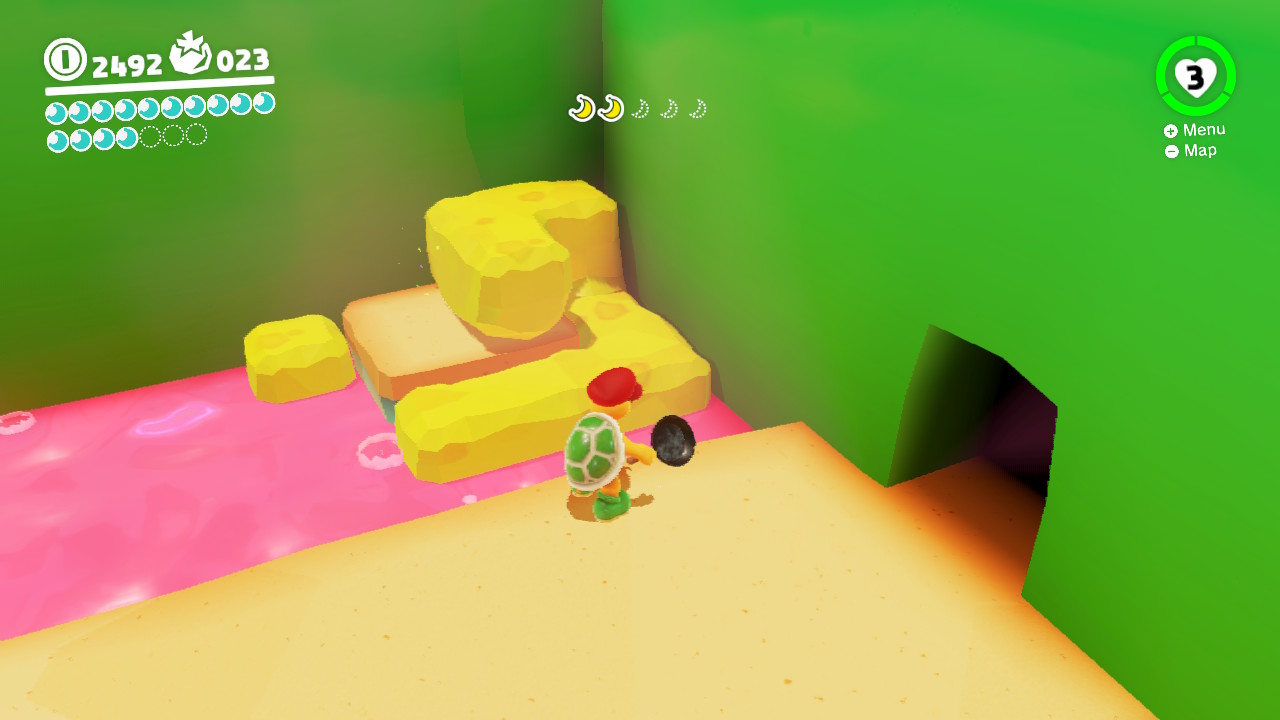
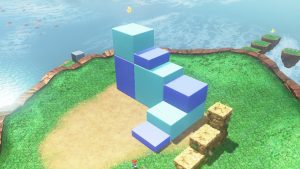
44 – Climb the Cheese Rocks

Location-
1- There is a Cappy door hiding behind a cheese wall, you’ll need to capture a Hammer Bro…
2- Take the Hammer Bro behind the structure…
3- Destroy the cheese chunk and you will have access to the door…
4- Inside is a cheese room, look to the right side and you will notice a stairway wall of cheese rock…
5- Break up and climb the wall of cheese to find a hole in the wall…
6- On top in the hole is the Power Moon!
45 –
46 –
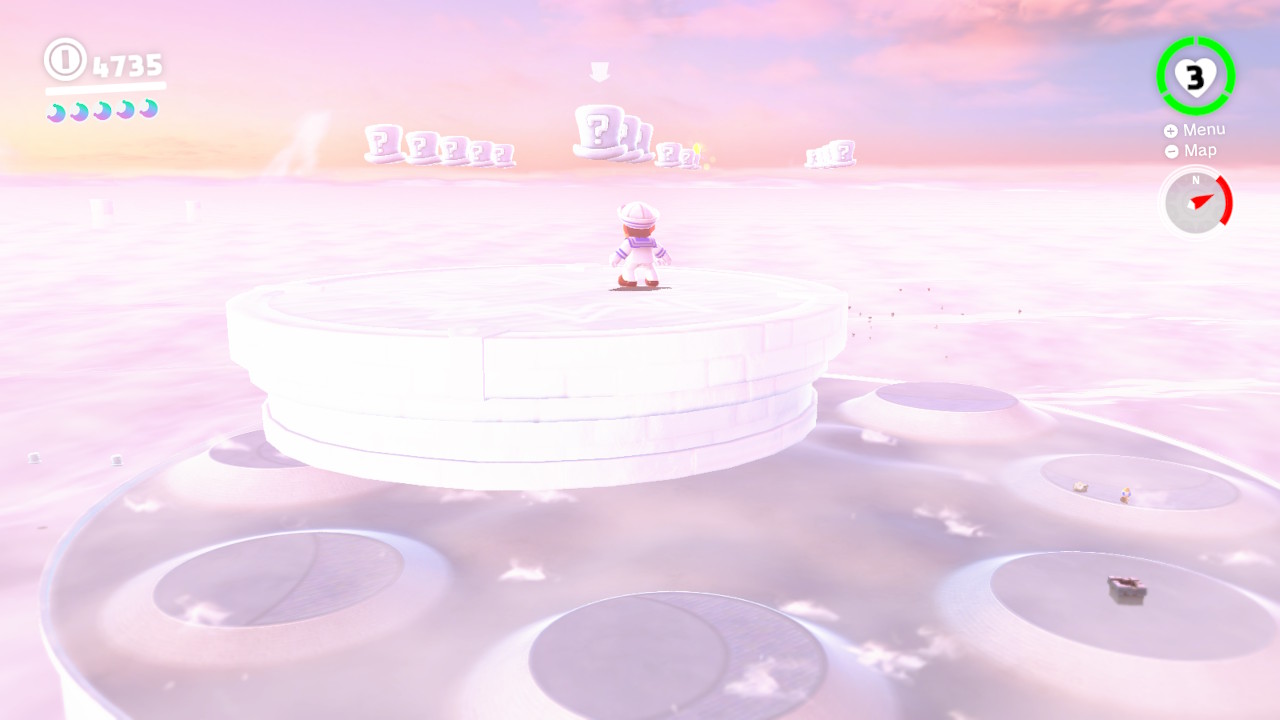
47 – Secret Path to Mount Volbono!
48 –
49 –
50 –
51 –
52 –
53 –
54 –
55 –
56 –