- Super Mario Odyssey – Cloud Kingdom – Moon Locations
- Super Mario Odyssey – Metro Kingdom – Power Moon Locations
- Super Mario Odyssey – Mushroom Kingdom – Moon Locations
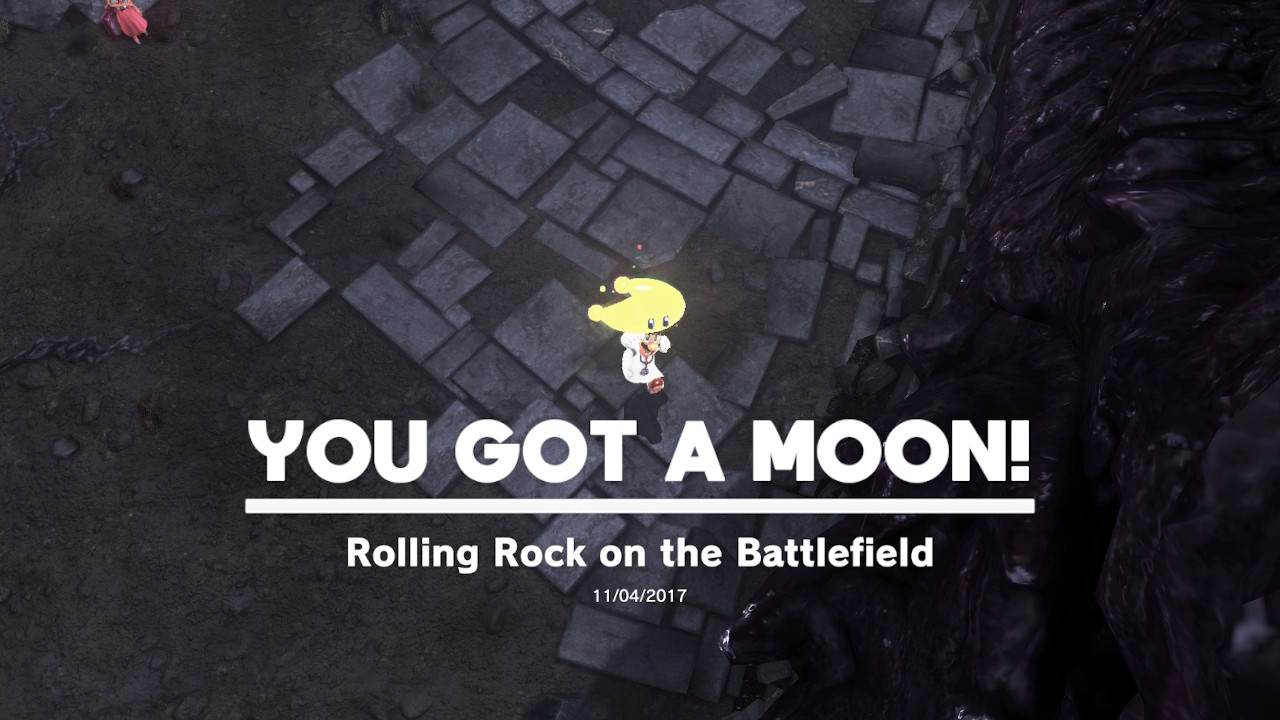
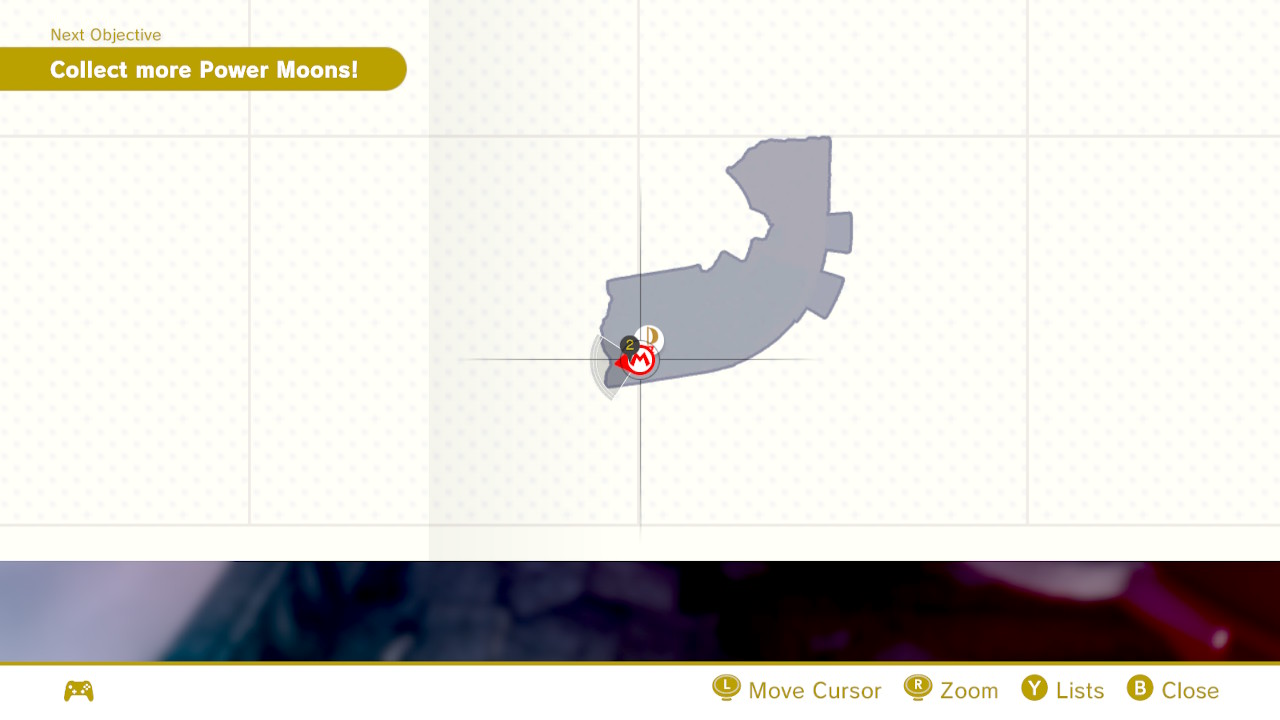
- Super Mario Odyssey – Ruined Kingdom – Moon Locations
- Super Mario Odyssey – Luncheon Kingdom – Moon Locations
- Super Mario Odyssey – Cascade Kingdom – 100% Power Moons and Coins
- Super Mario Odyssey – Speedrun Routes
- Super Mario Odyssey – Snow Kingdom – Moon Locations
- Super Mario Odyssey – Purple Coin Runs
- Super Mario Odyssey – Cap Kingdom – Moon Locations
- Super Mario Odyssey – Wooded Kingdom – Moon Locations
- Super Mario Odyssey – Lost Kingdom – Moon Locations
- Super Mario Odyssey – Lake Kingdom – Moon Locations
- Super Mario Odyssey – Sand Kingdom – Moon Locations
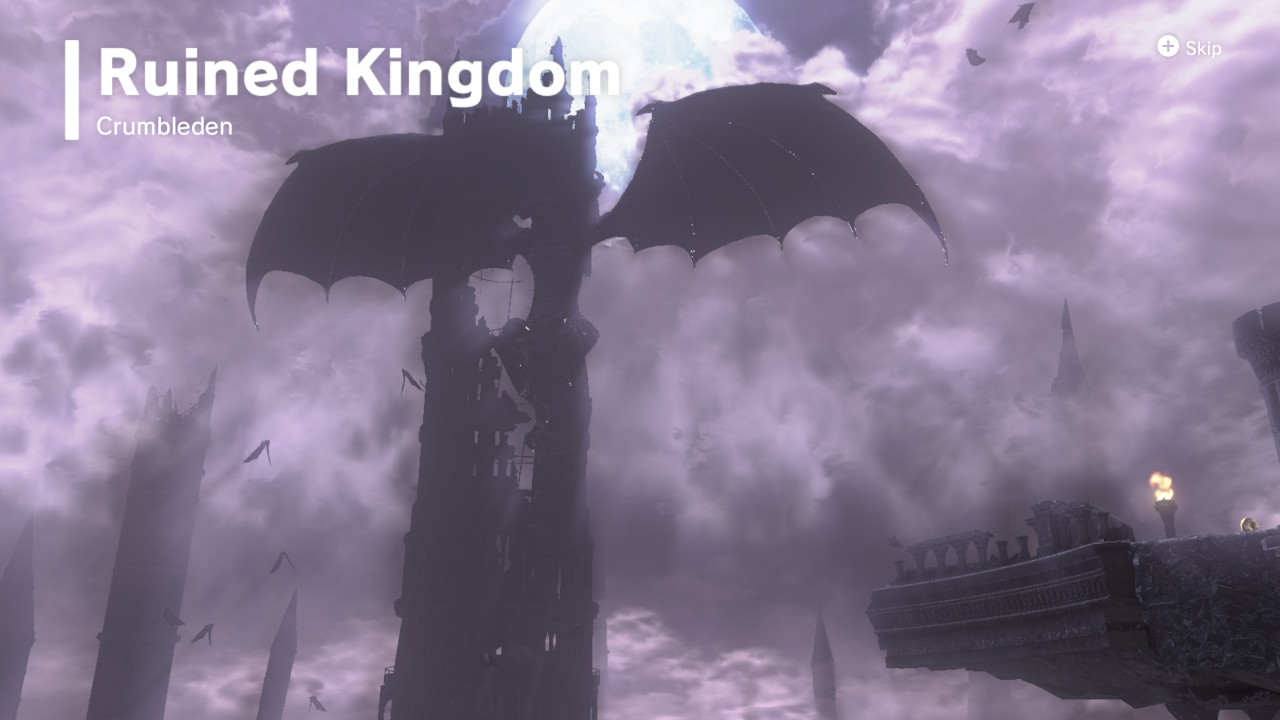
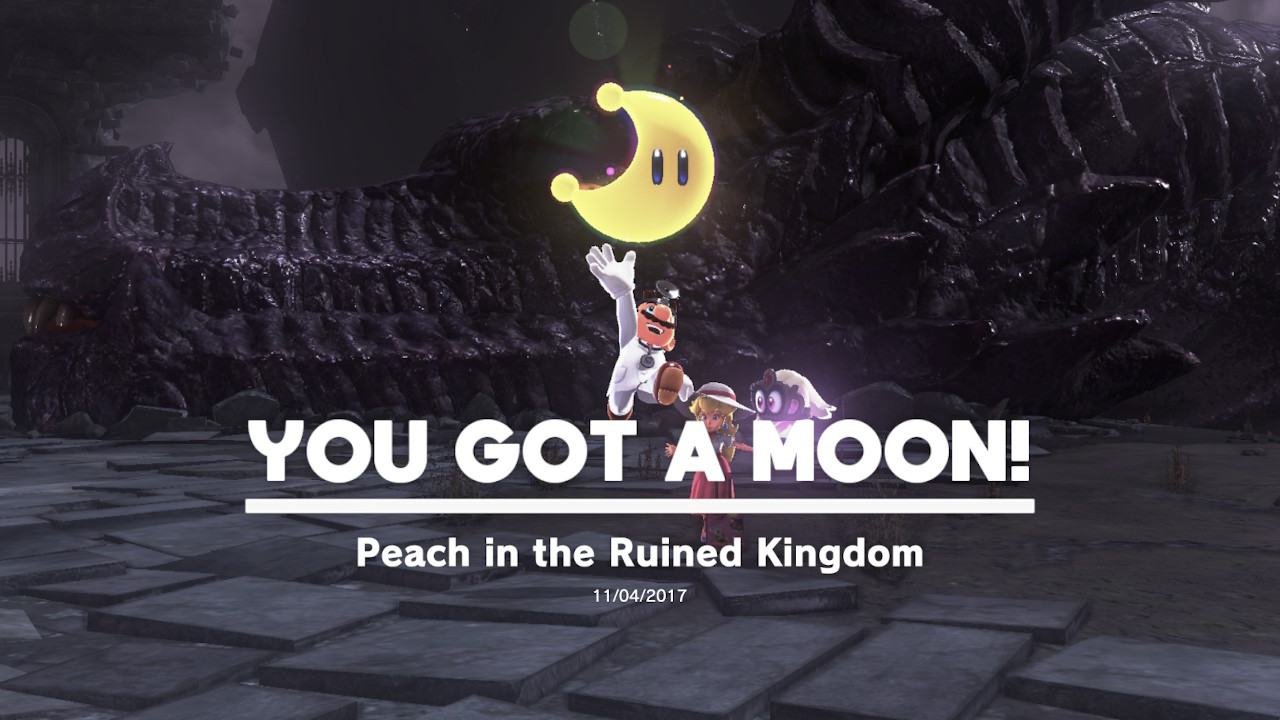
1- After duking it out a bit with Bowser, the Odyssey will crash land in the ominous Ruined Kingdom…
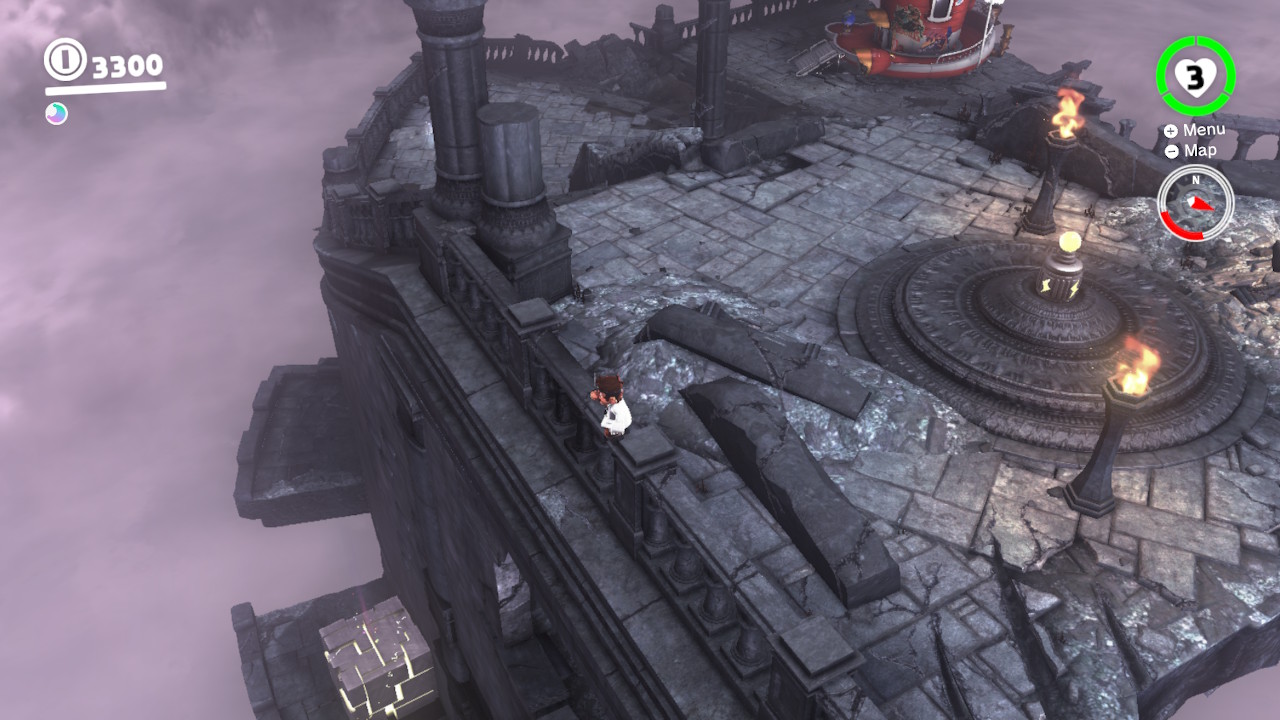
2- Follow the stairway and launch up onto the castle’s peak…
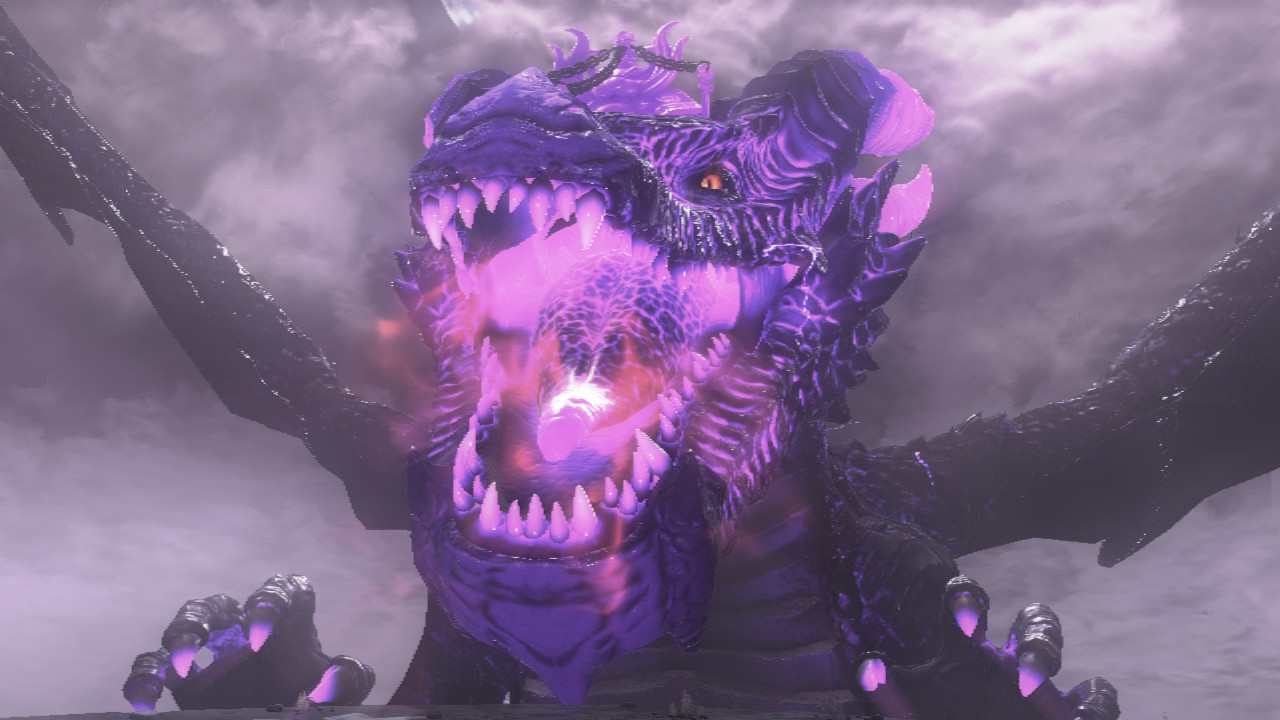
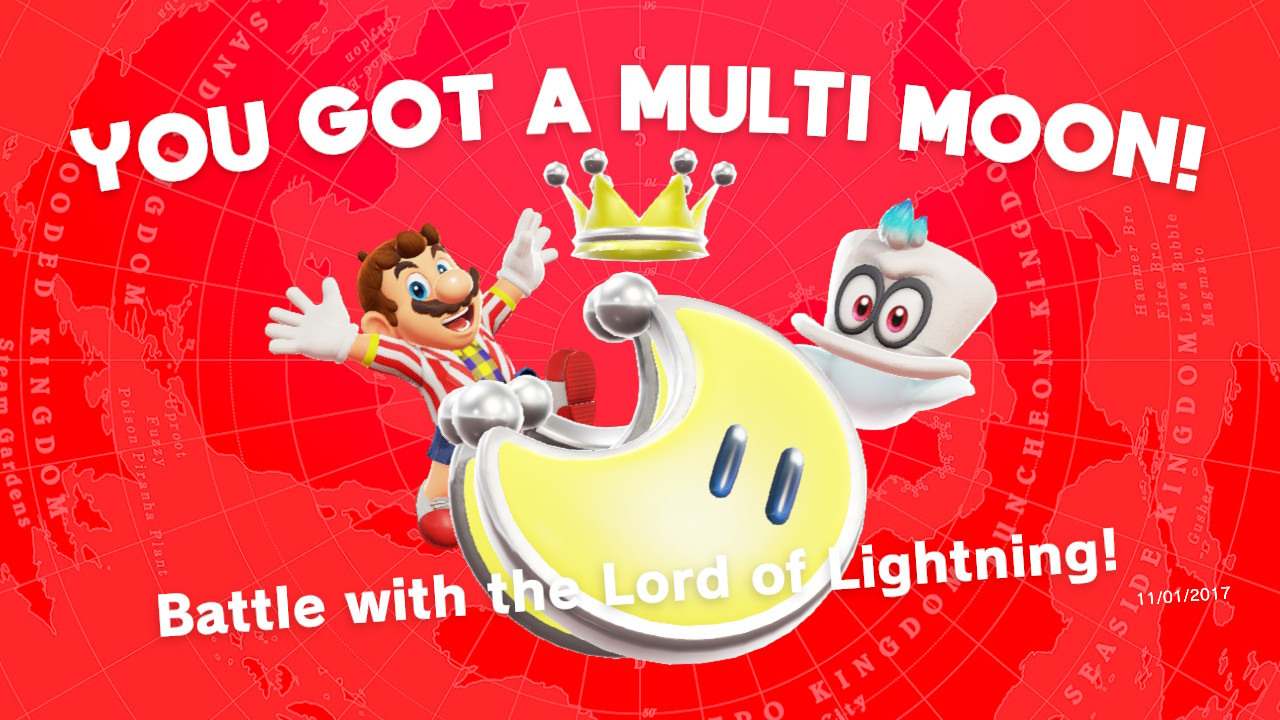
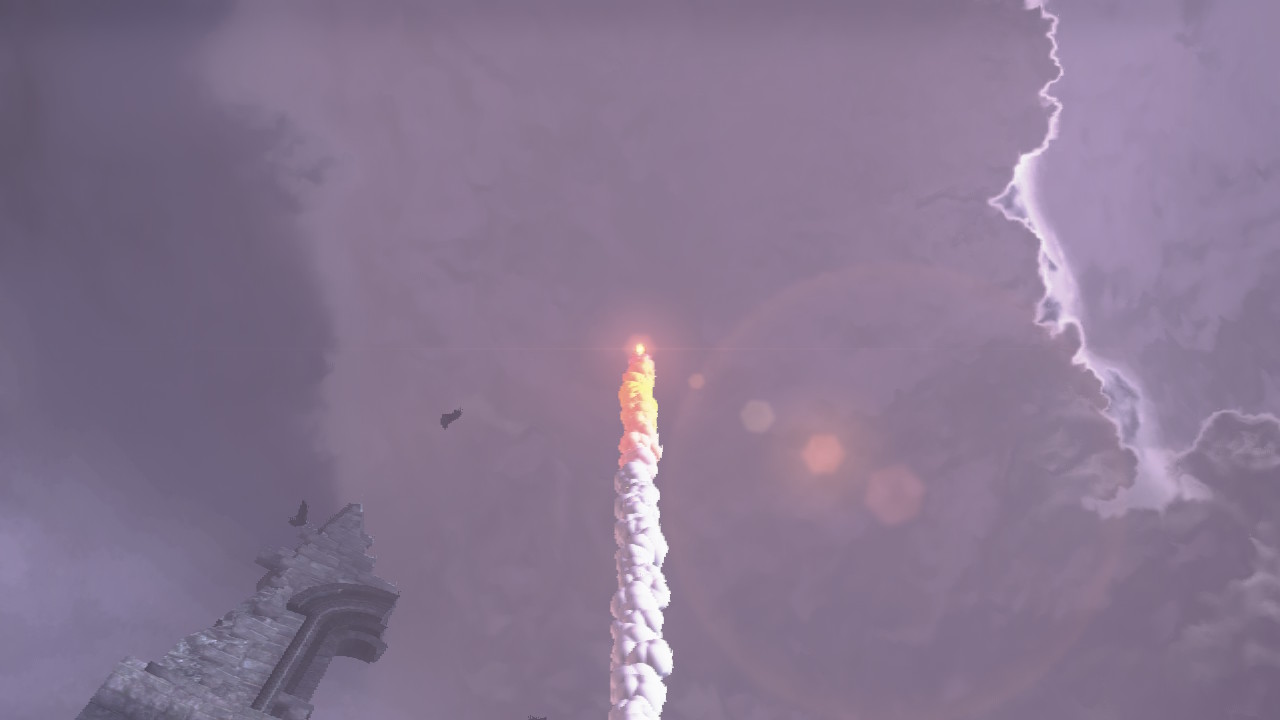
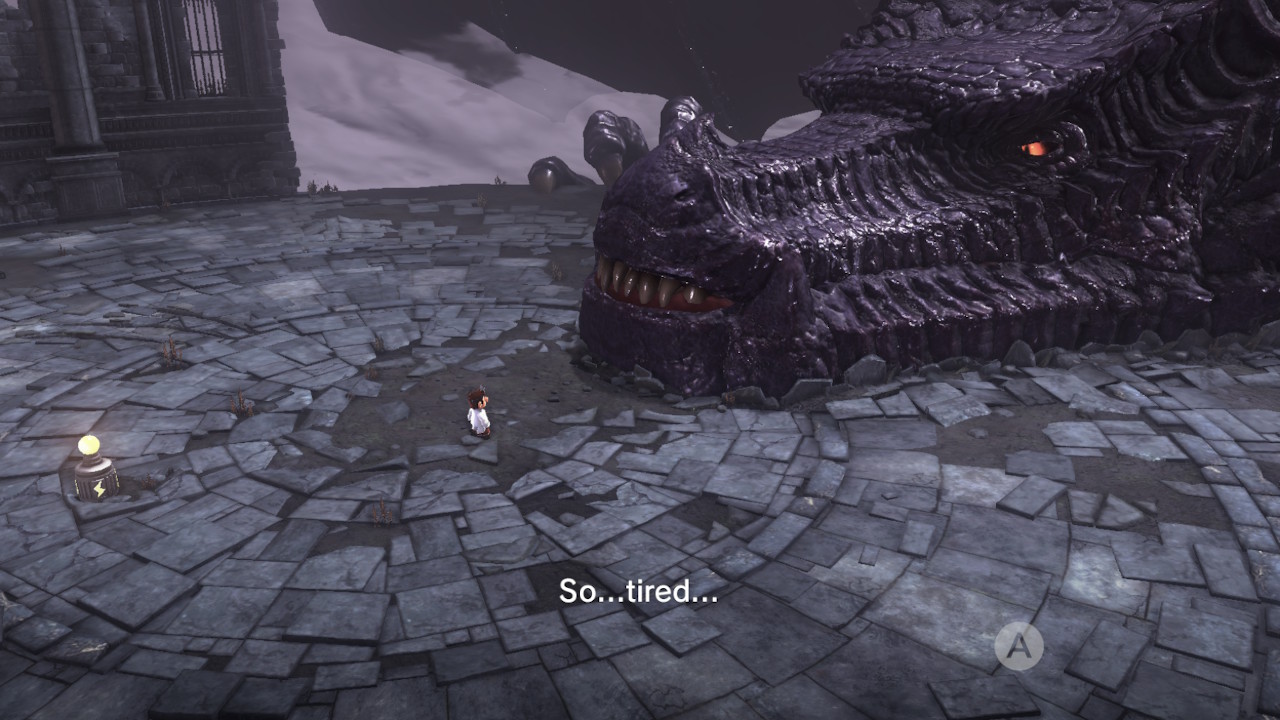
3- The Lord of Lightning is waiting for you…
4- Dodge the lightning bolts, jump on his head, rip out the stakes…
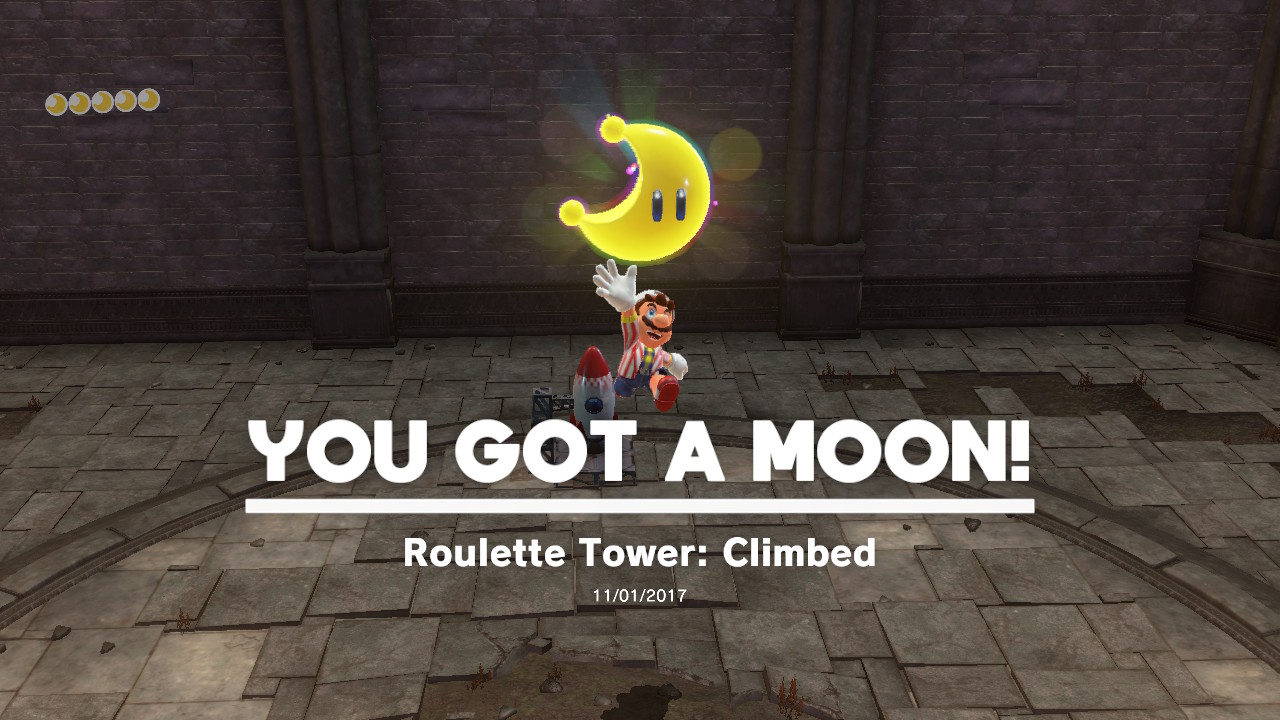
5- And ground pound his head three times for your Multi-Moon!


Location-
1- Directly in front of the Odyssey you should notice a ledge to the left of the stairway…
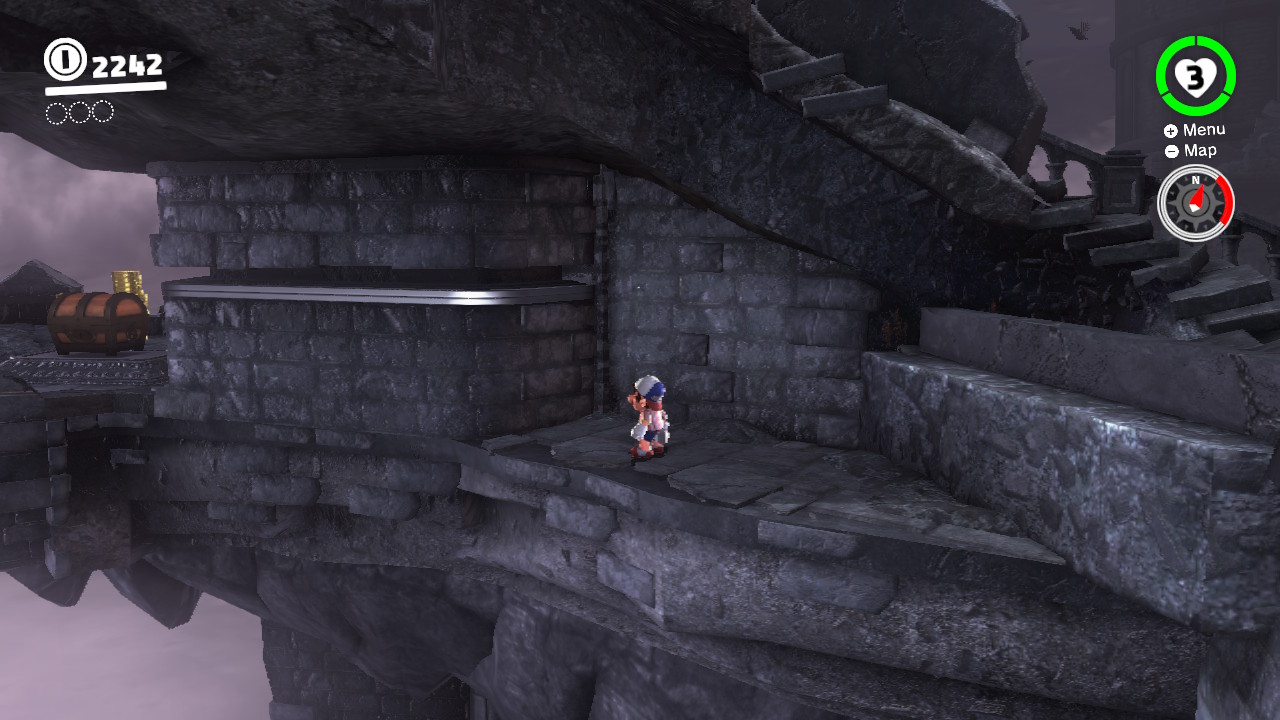
2- Drop down on the ledge and shimmy across…
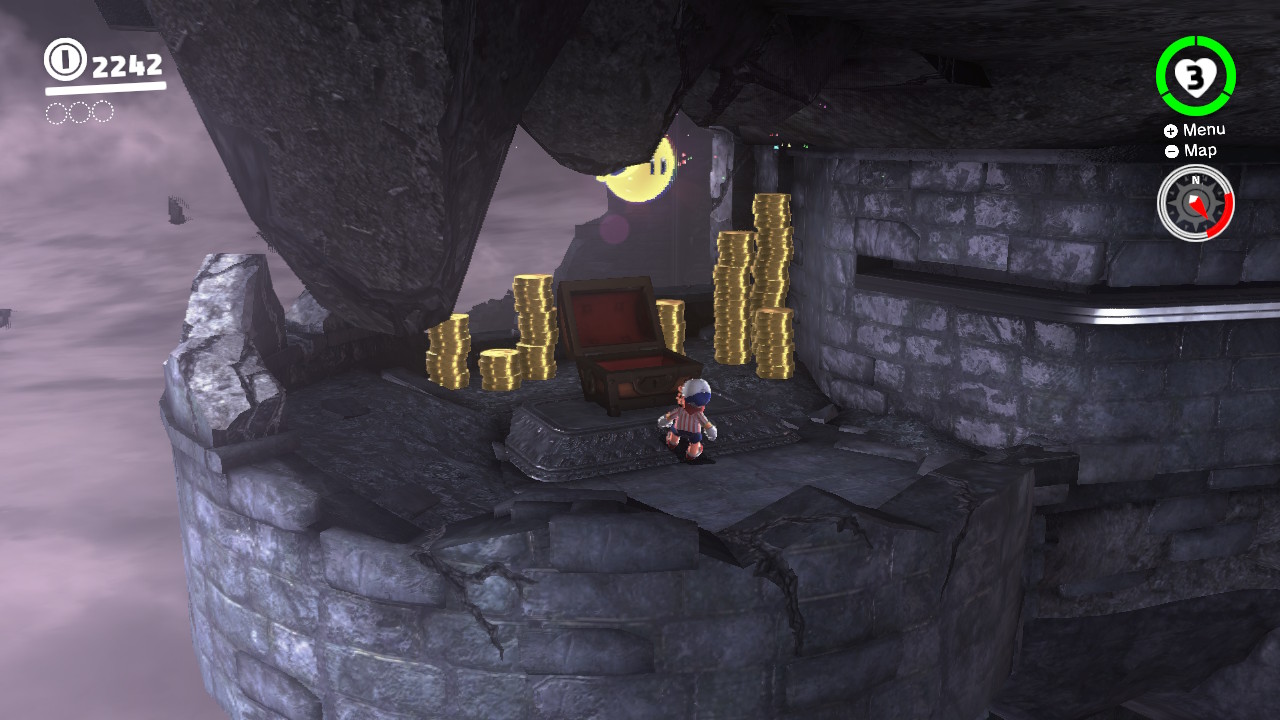
3- On the other side is a bunch of coins and a treasure chest! Guess what is inside?!

Location-
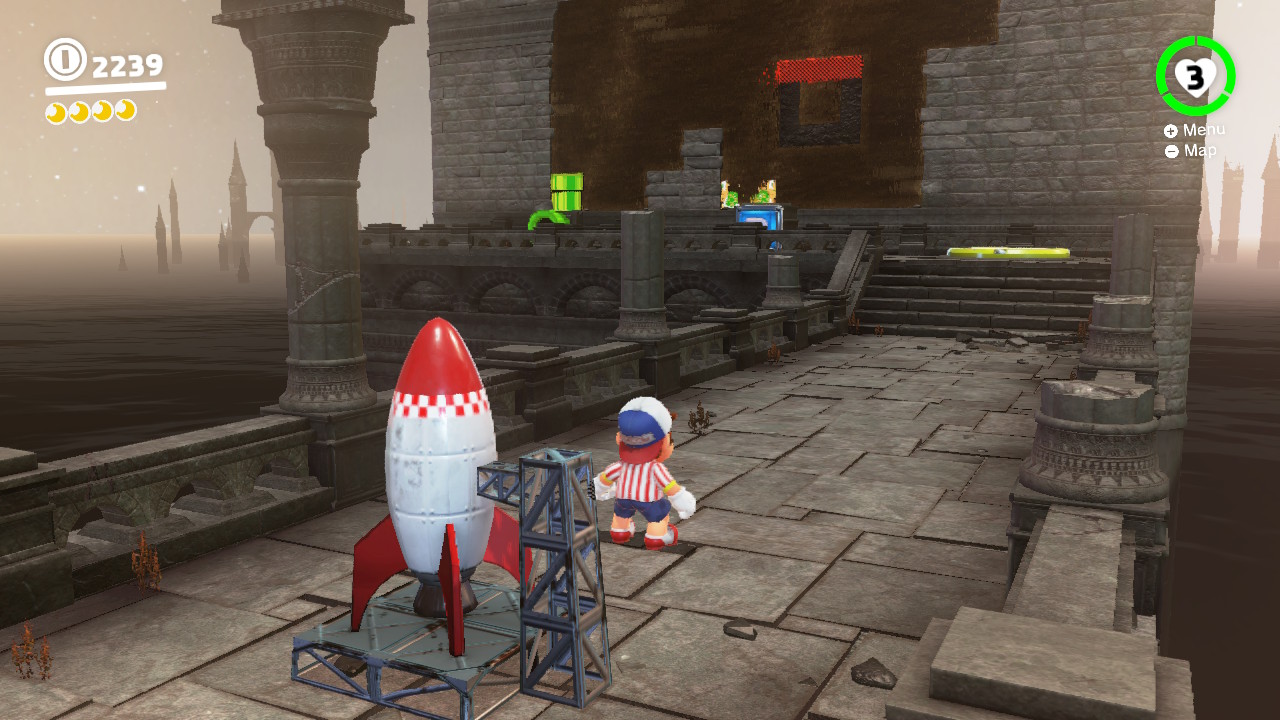
1- On the tip of the tower were you faught the Lord of Lightning…
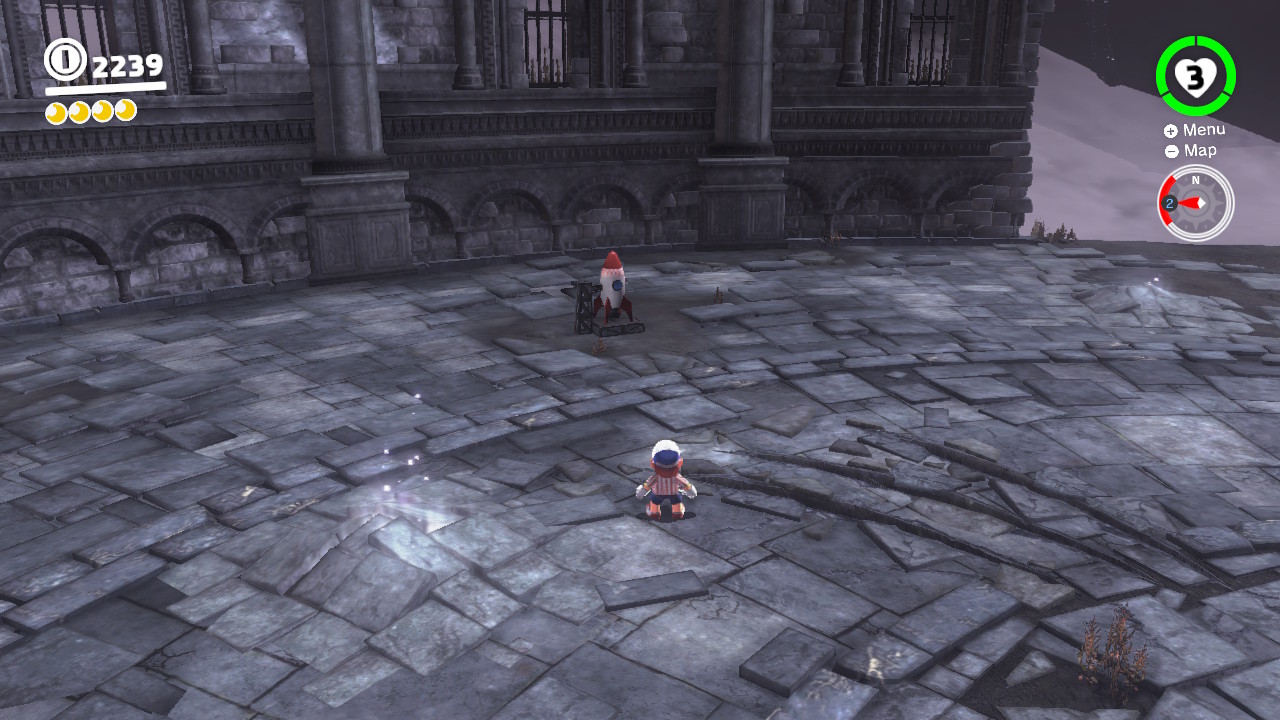
2- You should find a rocket ship…
3- Capture it and blast away…
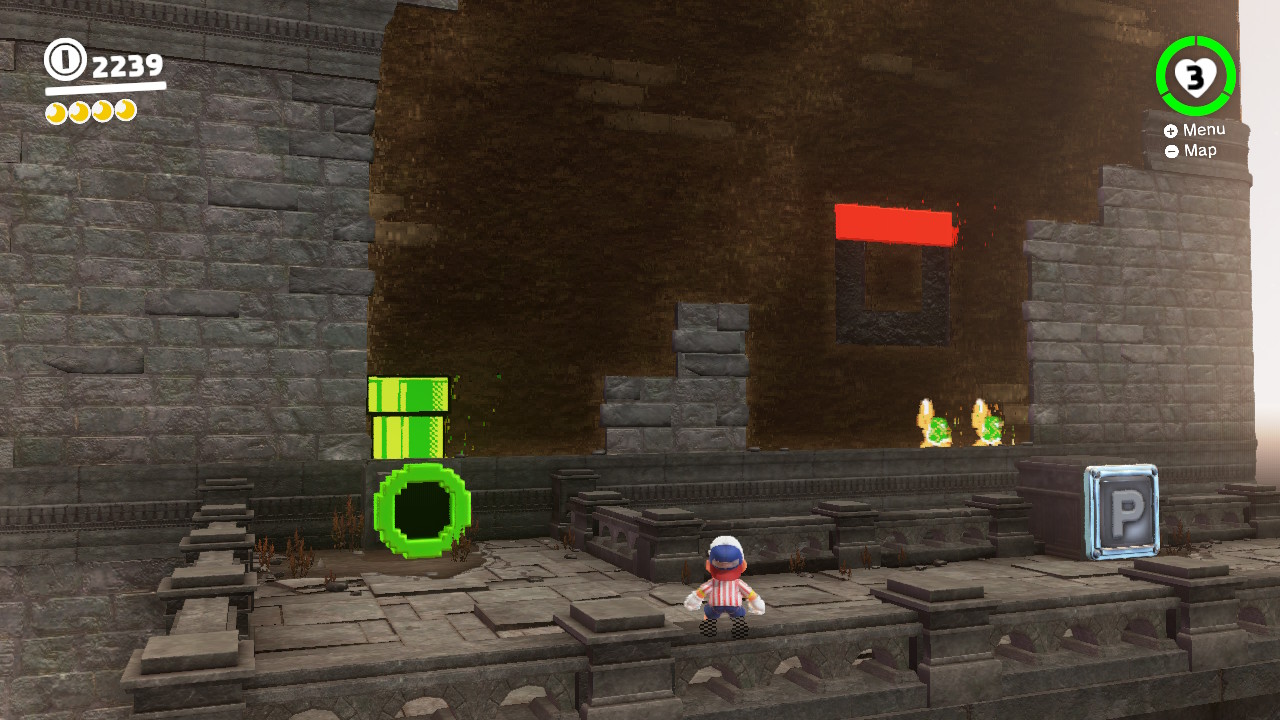
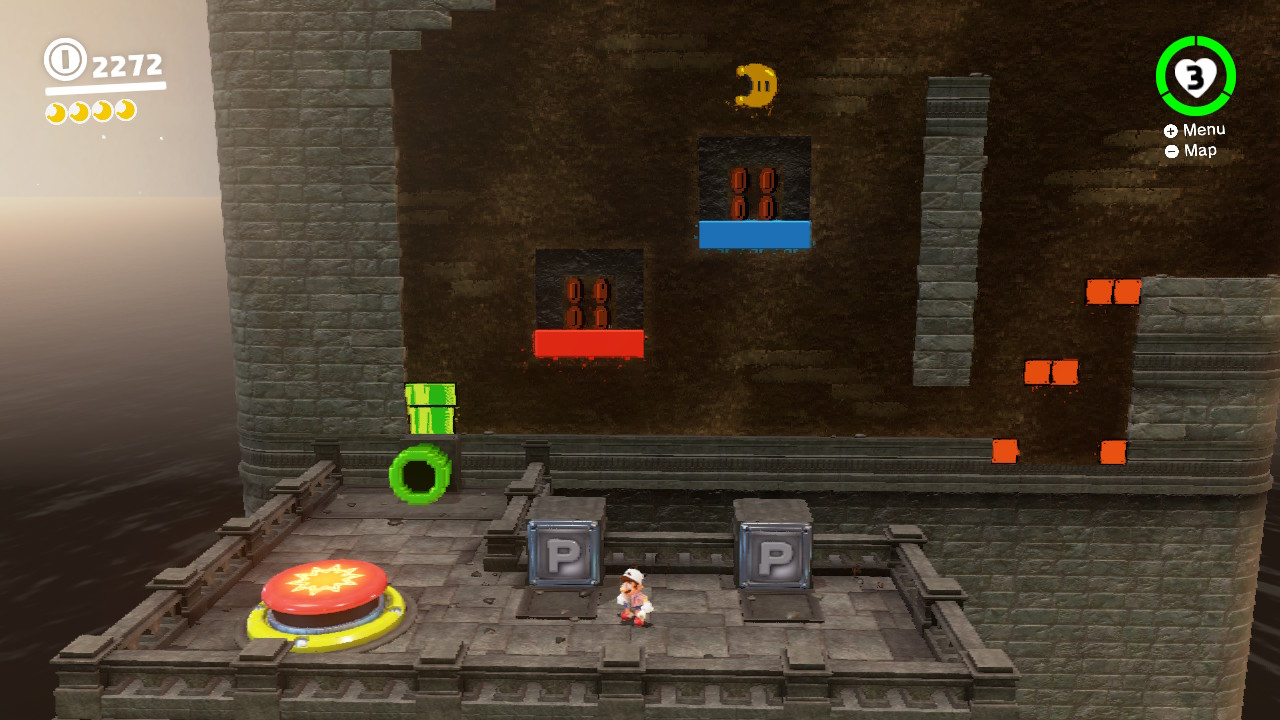
4- Time for some 8-bit puzzles…
5- The platforms are moving, hit the switches so that the platform lines up like this, now go 8-bit and jump across…
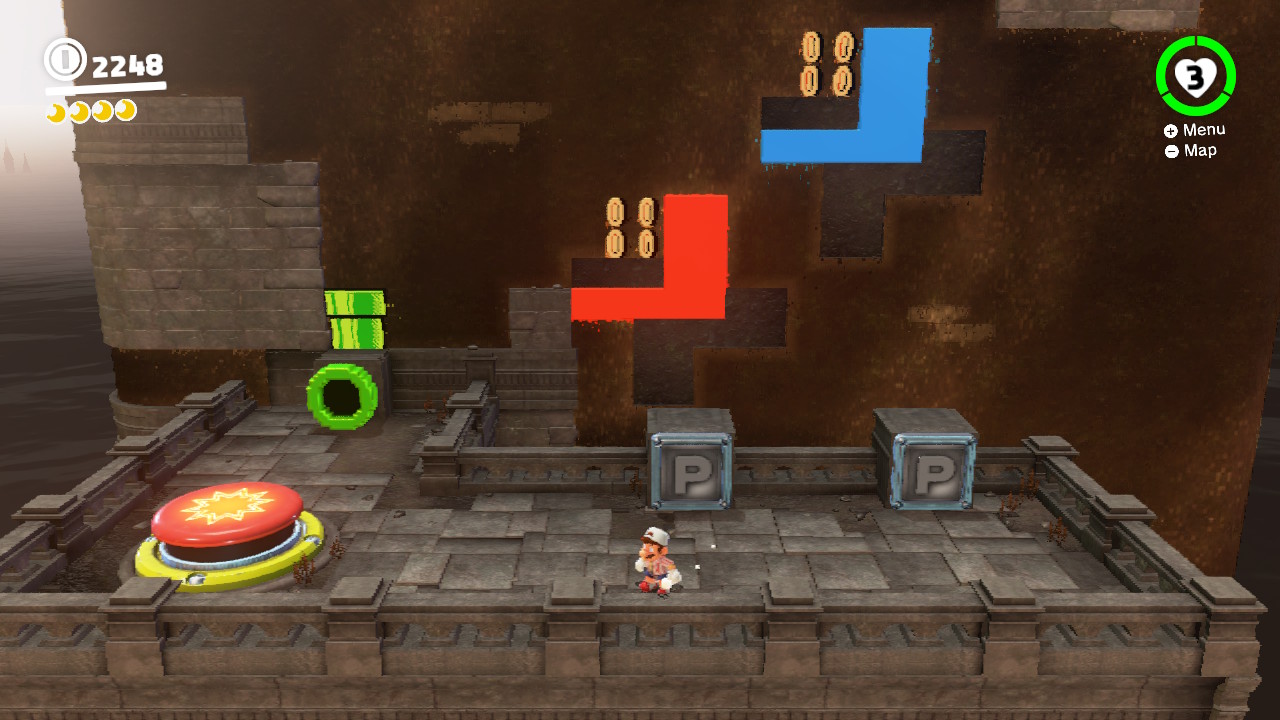
6- In the next area you’ll need to time the switches so the platforms look like this…
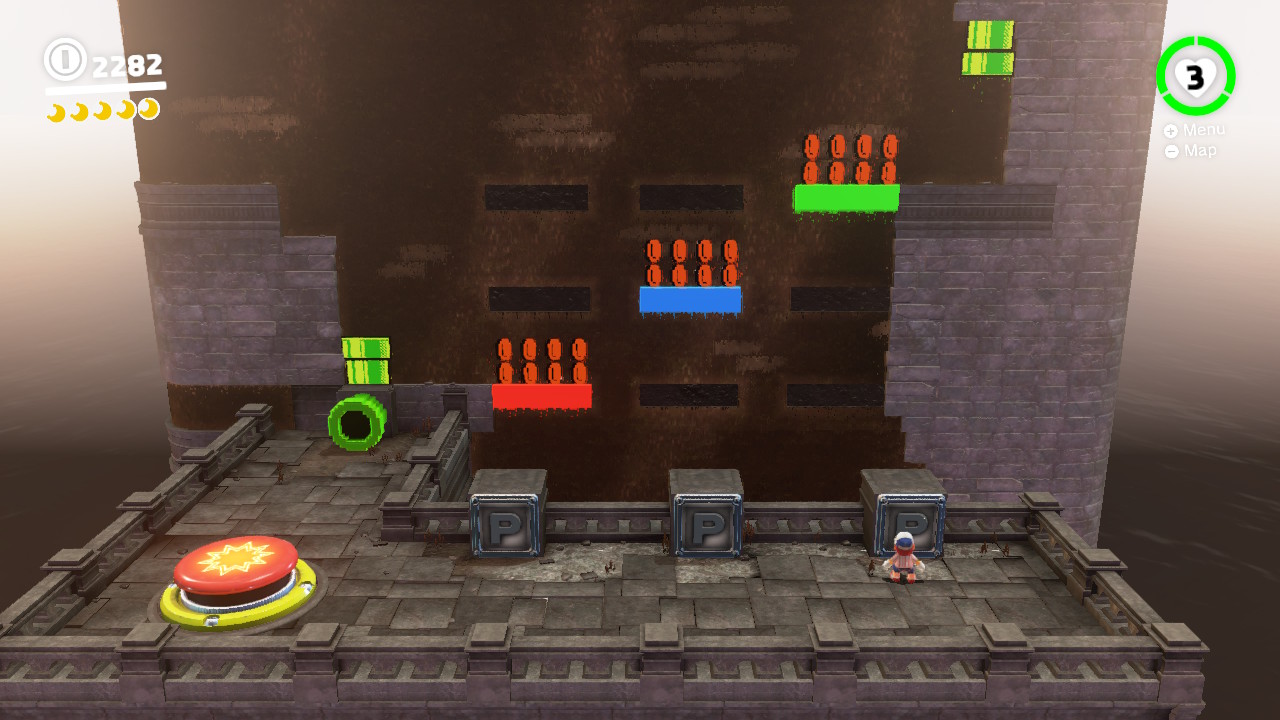
7- And last but not least, hit the switches in perfect timing to make the platforms look like this…
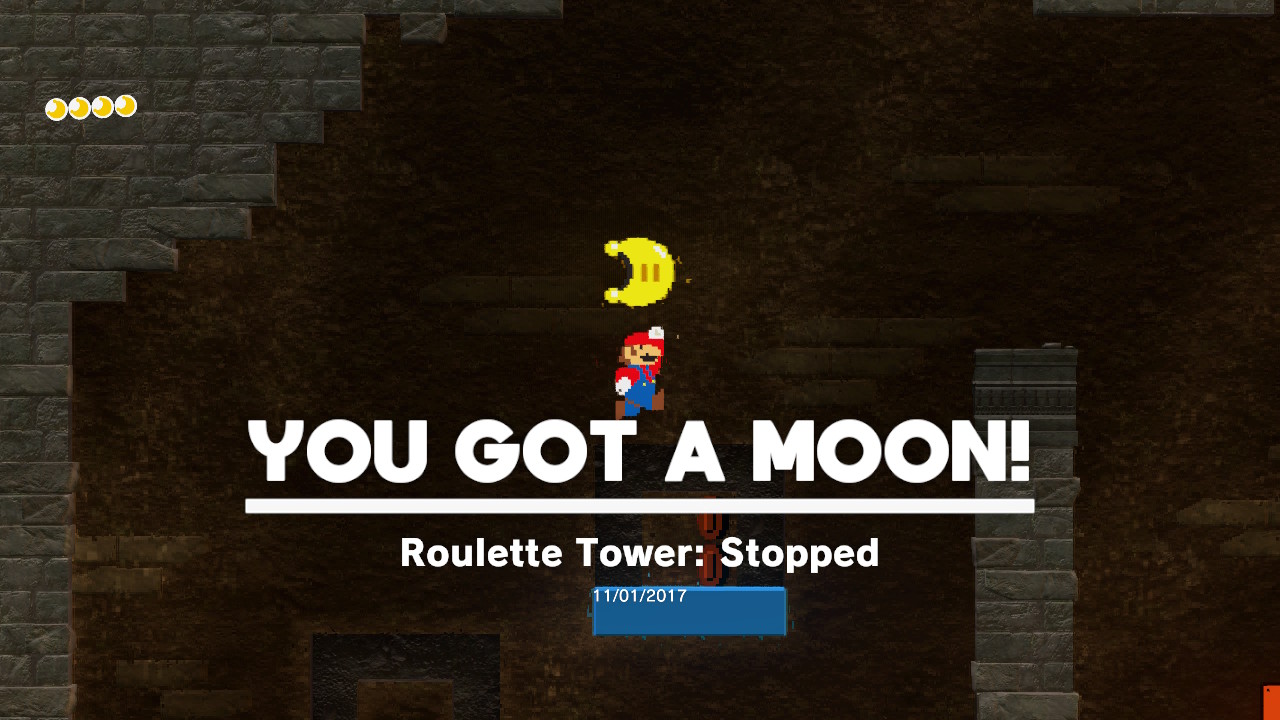
8- Climb on up and a Power Moon is waiting for you!
Location-
1- On the tip of the tower were you faught the Lord of Lightning…
2- You should find a rocket ship…
3- Capture it and blast away…
4- Time for some 8-bit puzzles…
5- Time the switches to allow the platforms to be lined up so you can jump on them! But After beating the second puzzle don’t progress to the right…
6- Instead if you move to the left, you will notice a secret 2D Power Moon, but how do we reach it?…
7- Jump and hit a koopa to launch the shell towards the left. It will ricochet back and forth, destroying the blocks, and opening up the path…
8- Now finish the puzzle like this and snag that Power Moon!
Location-

1- Once you’ve beaten the game, Peach travels the world for some good ol’ fashion sight-seeing…
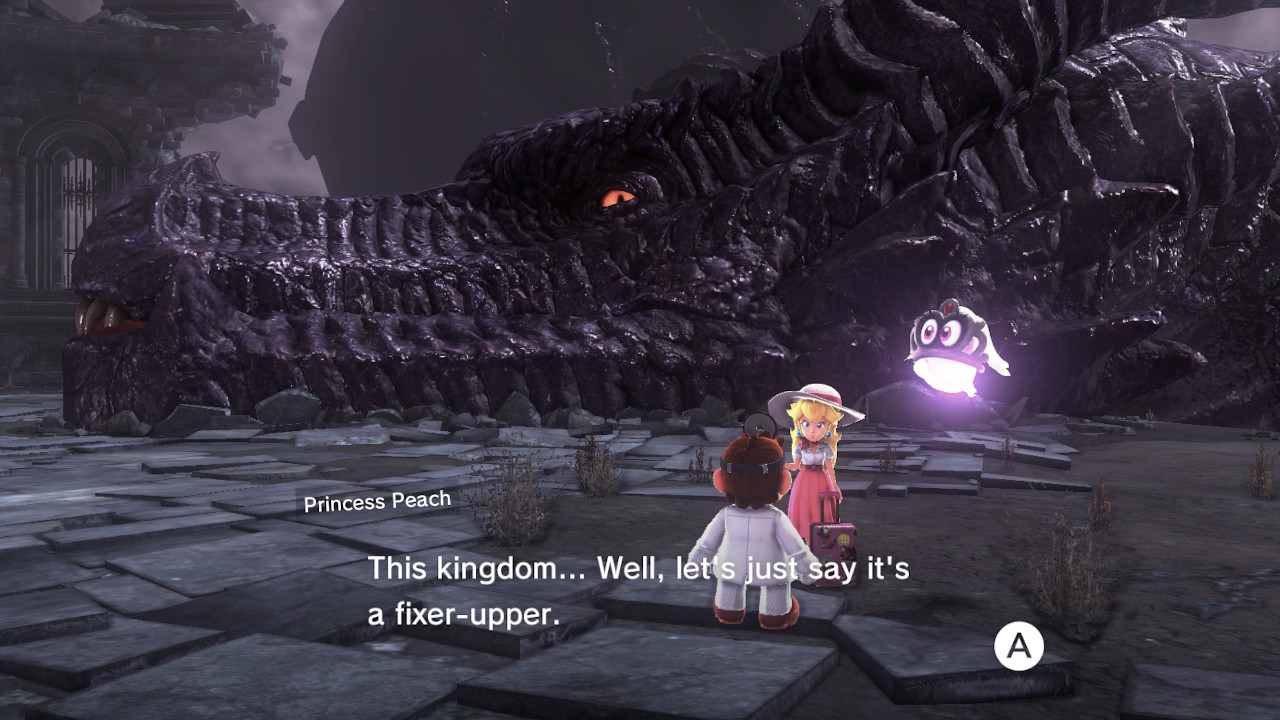
2- In this case, she’s up on the tower where you defeated “The Lord of Lightning”, talk with her and she will give you a Power Moon!
The remaining Power Moons can only be found in the “End Game” portion of Mario Odyssey!
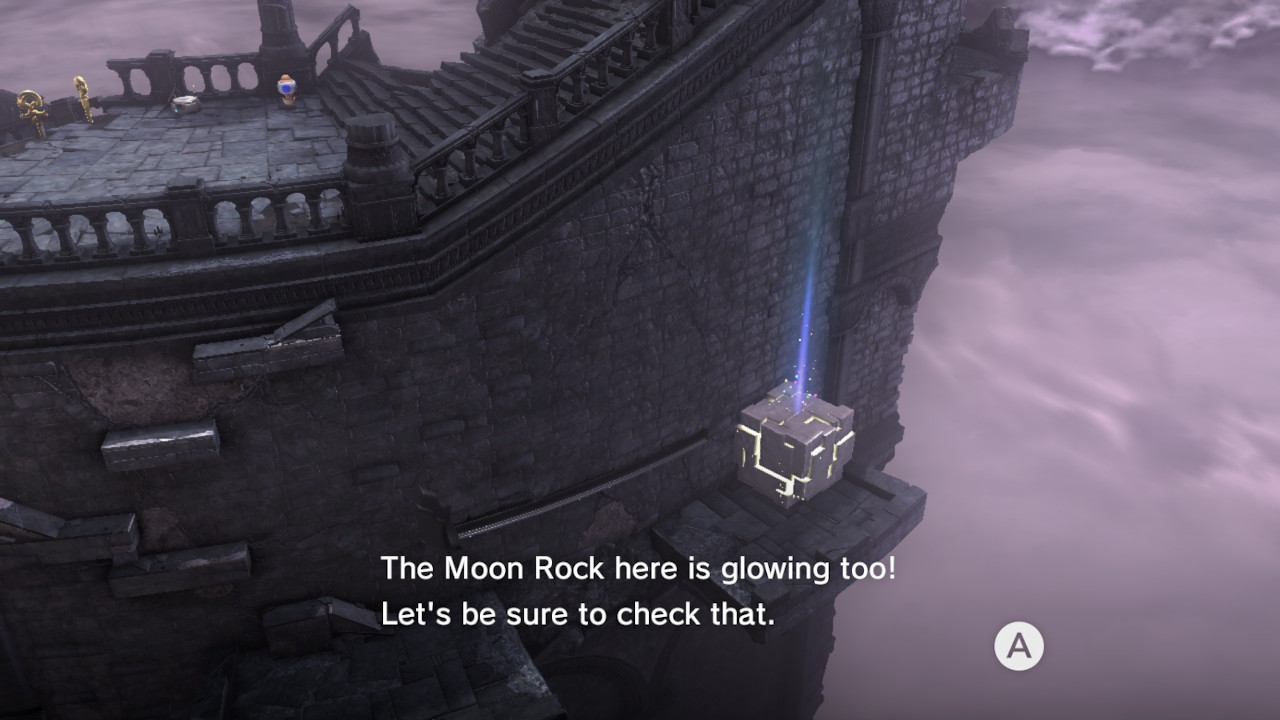
– Now that you’ve beaten the game, these mysterious Moon Rocks can be BUSTED open! In doing so, MORE Power Moons will spread throughout the Kingdom!
– The Moon Rock is on a ledge off top the right of the stairway…
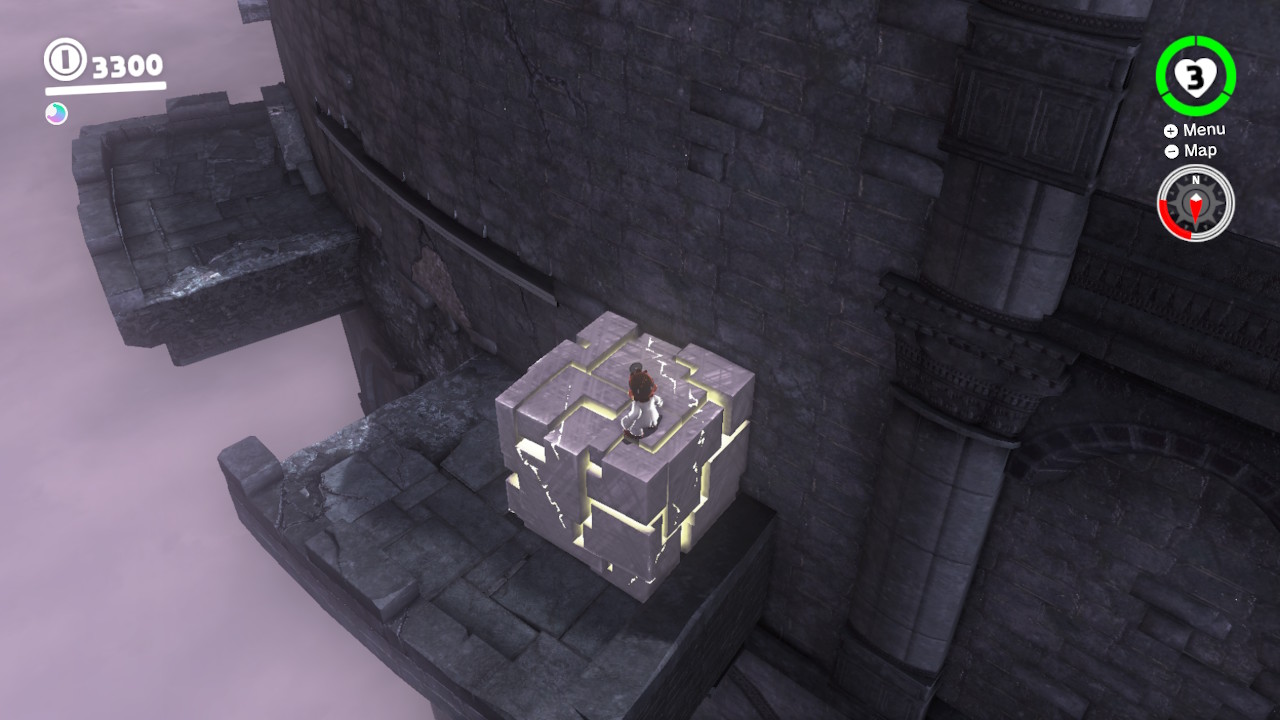
– Go down there and break it open! 5 more Power Moons will spread througout The Ruined Kingdom!

Location-
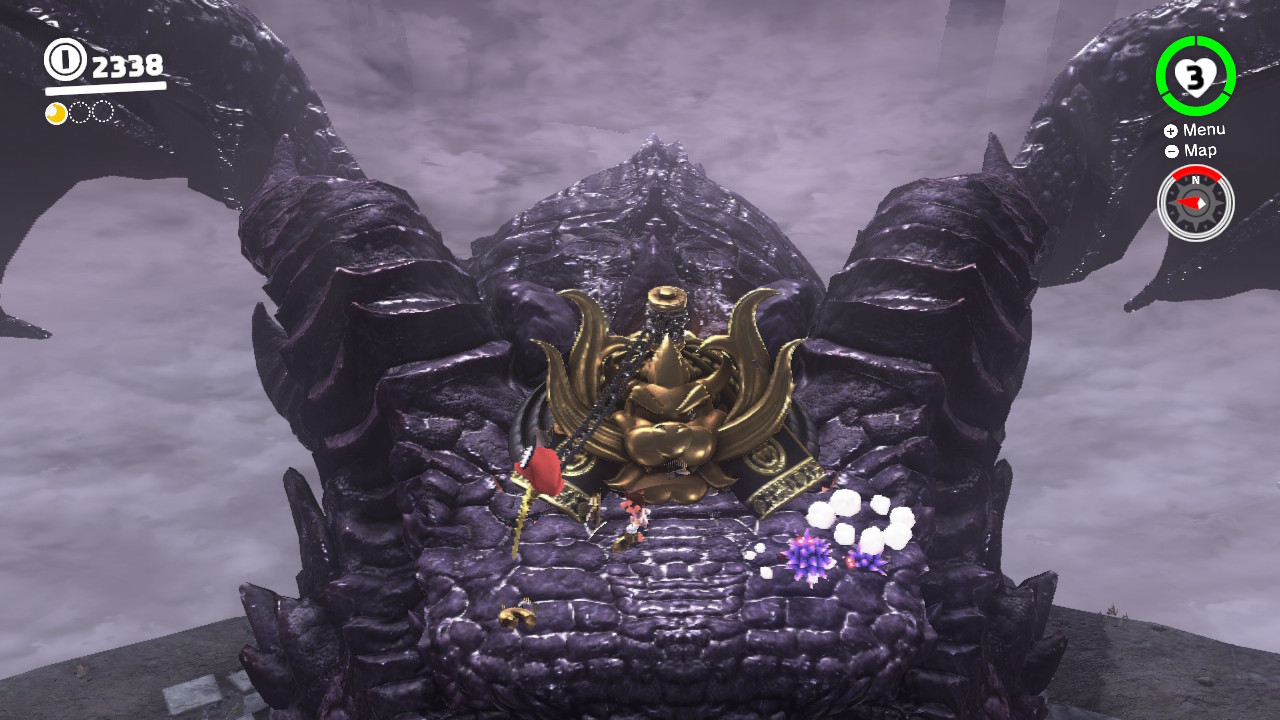
1- Now that you’ve defeated “The Lord of Lightning”, he is exhaustingly hanging out on top of the tower…
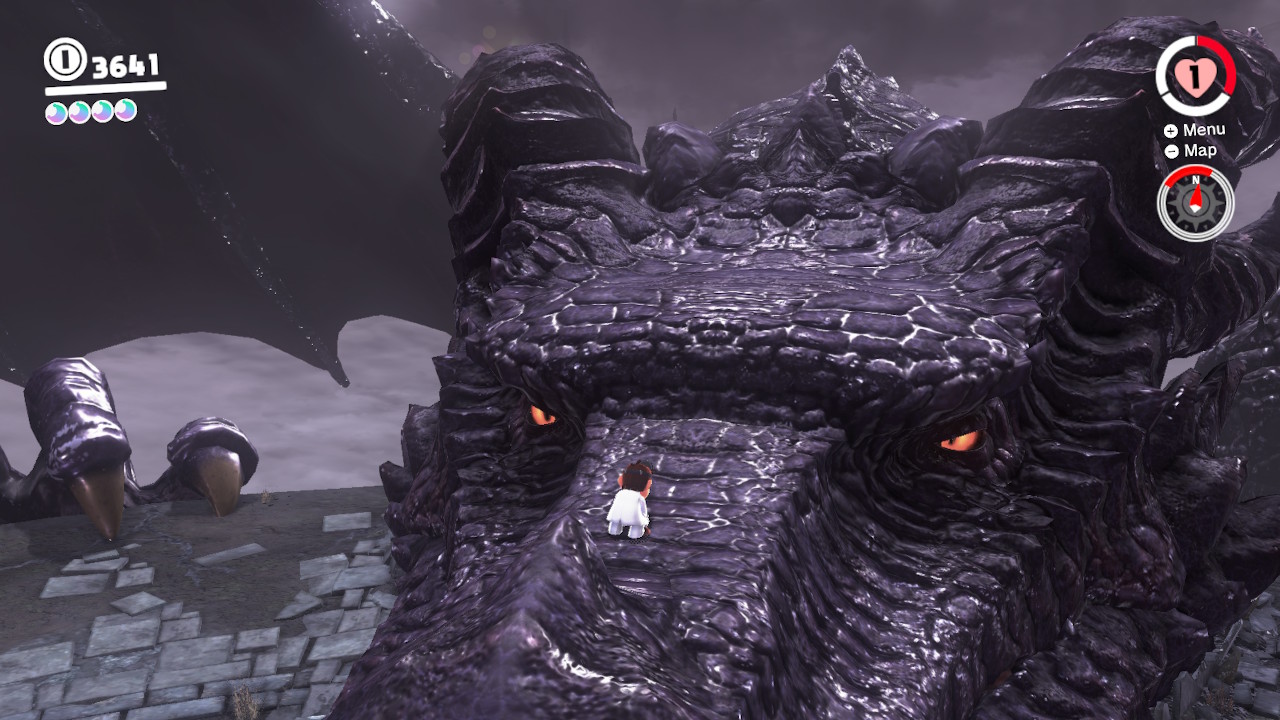
2- Climb up on his head…
3- His left horn is sparkly for some reason…
4- Throw Cappy at his horn, make sure to HOLD the button down so Cappy spins for a few moments. In doing so, a Power Moon will emerge!


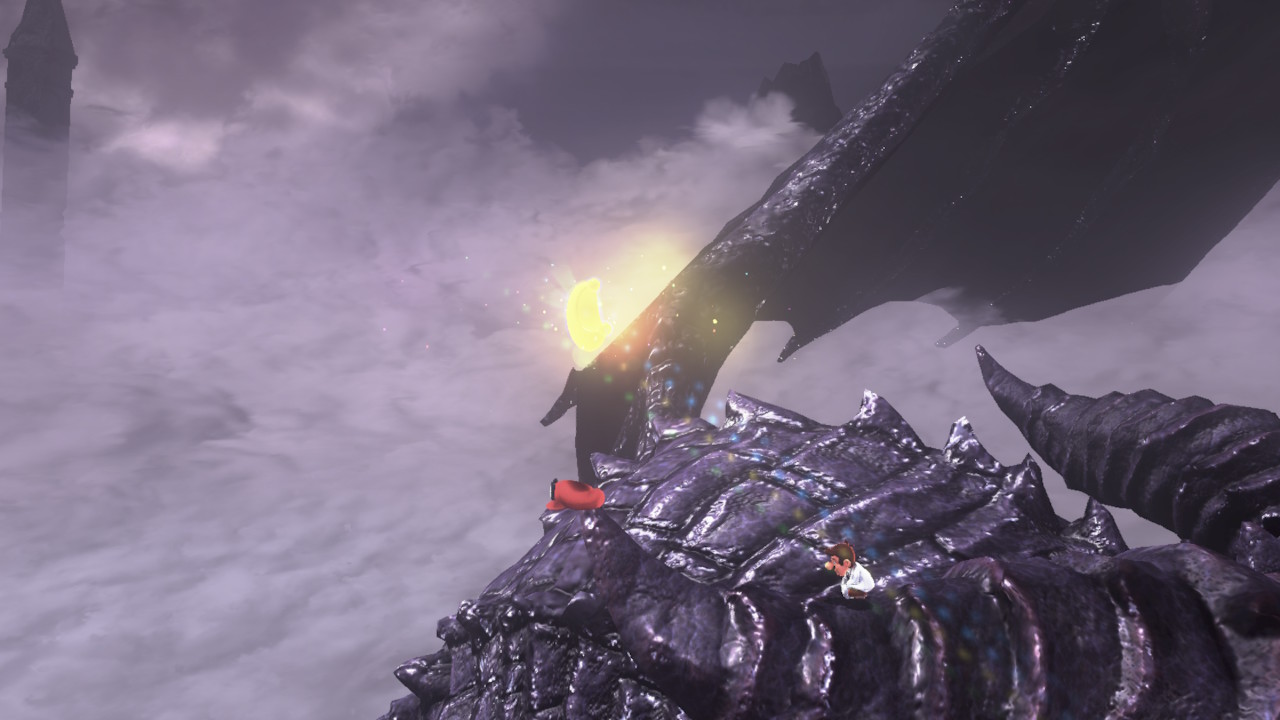
1- Above the stairway is a broken archway…
2- Climb on top of it and go to the very tip, ground pound the sparkly spot and you will get a Power Moon!!
Location-

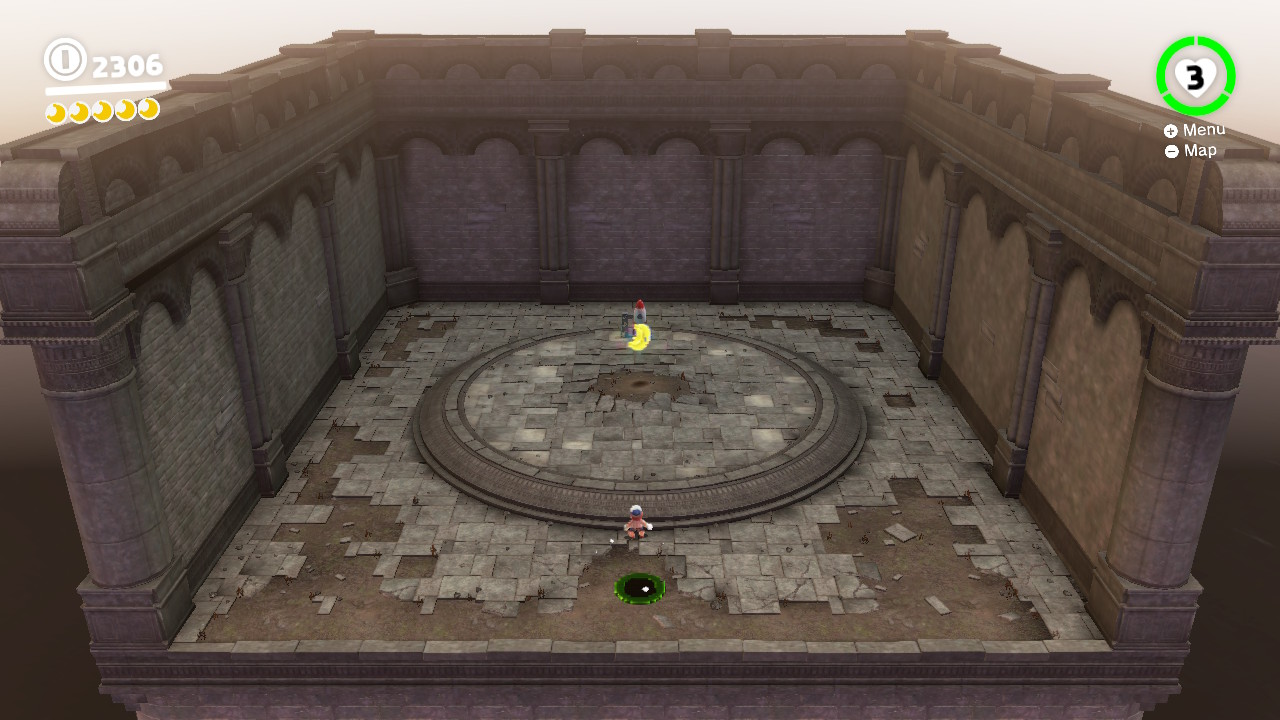
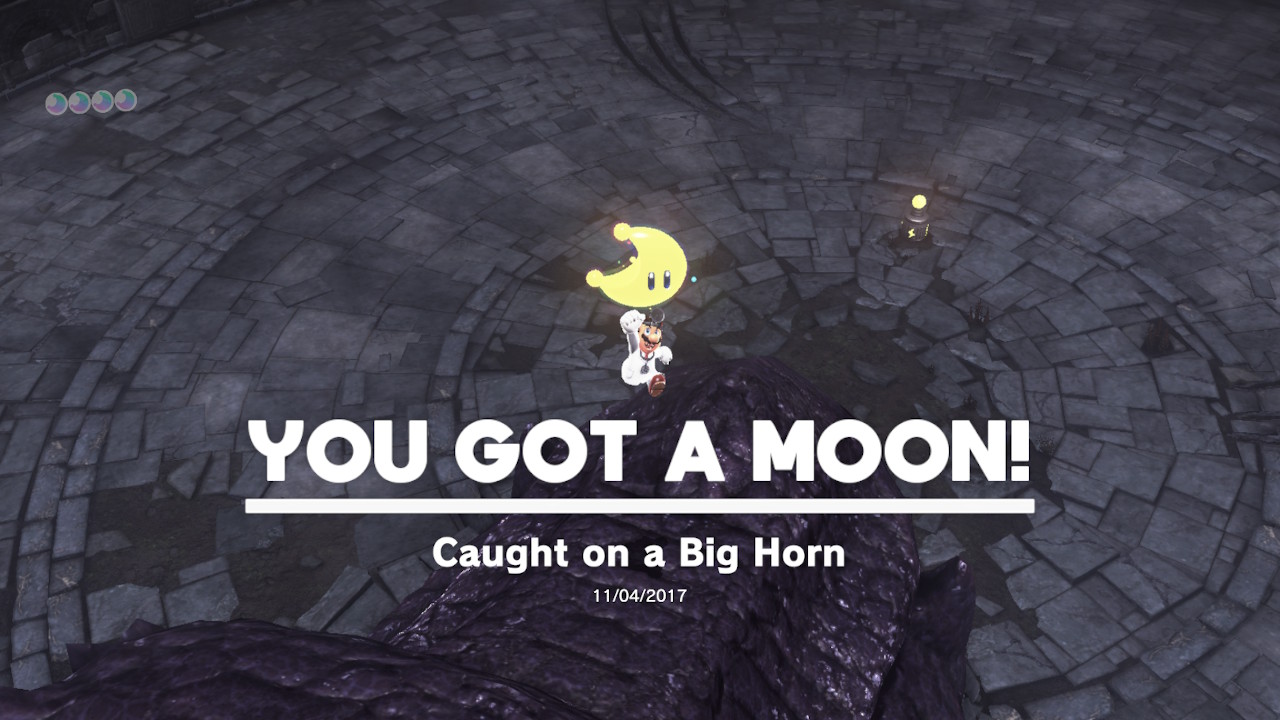
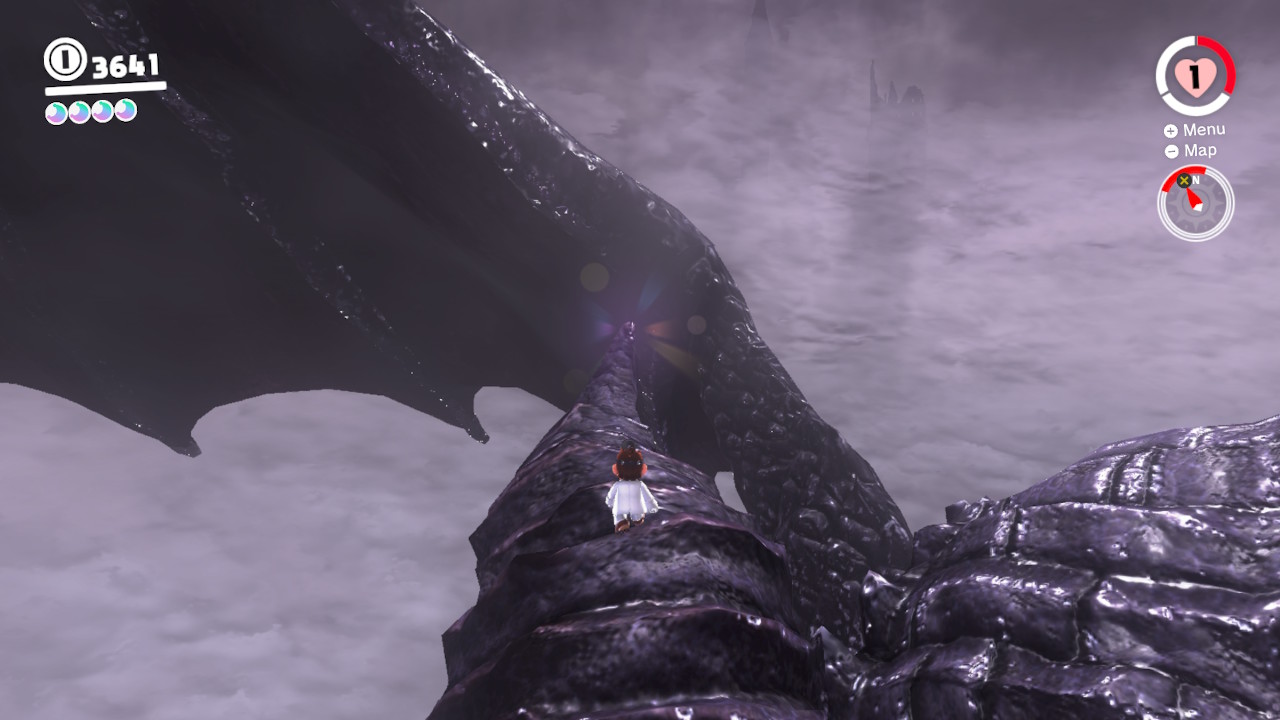
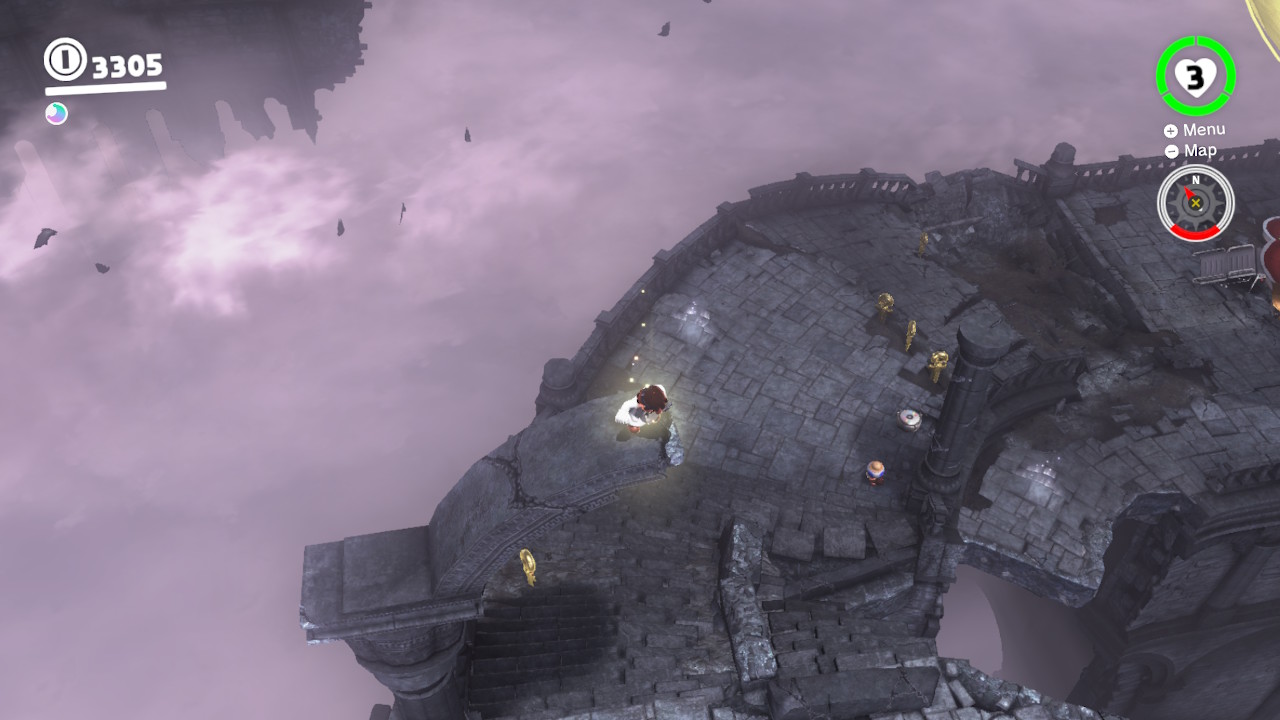
1- On top of the tower were you faught “The Lord of Lightnng” is a rock embedded into the ground…

2- Hit it with Cappy and it’ll pop out of the gruond and begin to sparkle…
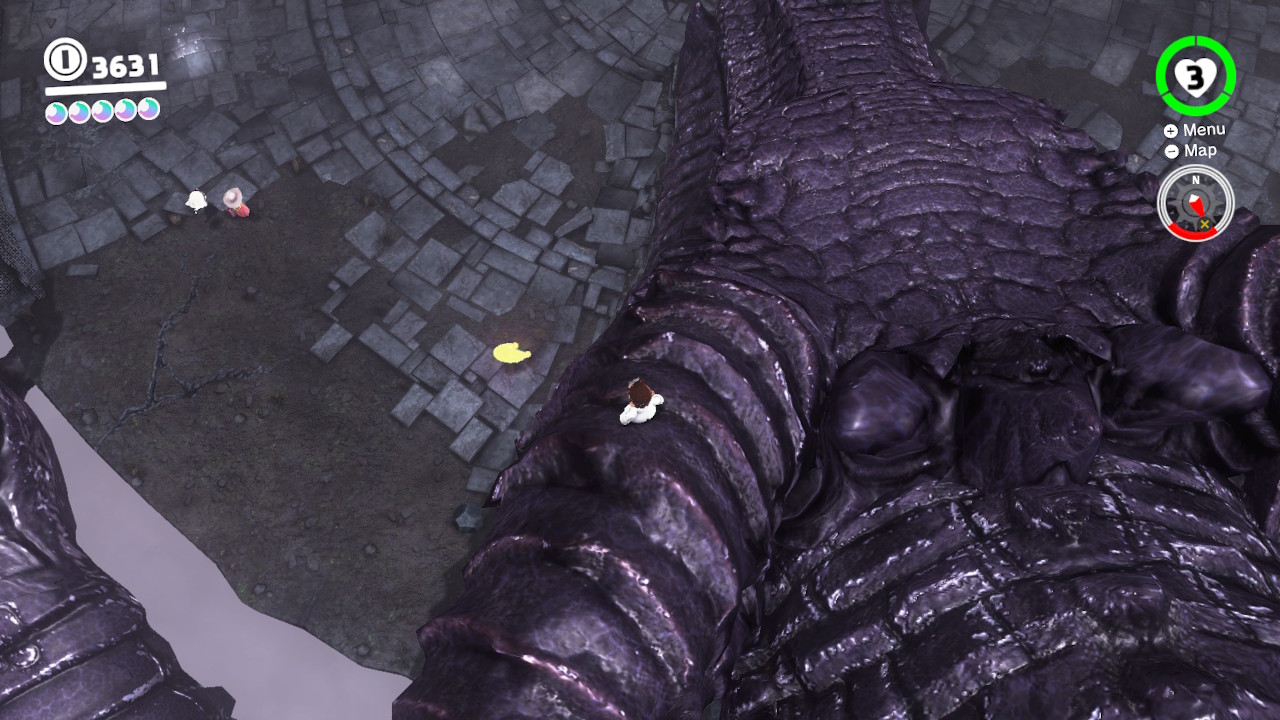
3- You can hit it a million times and it doesn’t seem to break, so instead pick it up and climb on top of the dragon, through it off…
4- The drop will break open the rock and you’ll find a Power Moon inside! (Check the video for a little “how-to”)
Location-
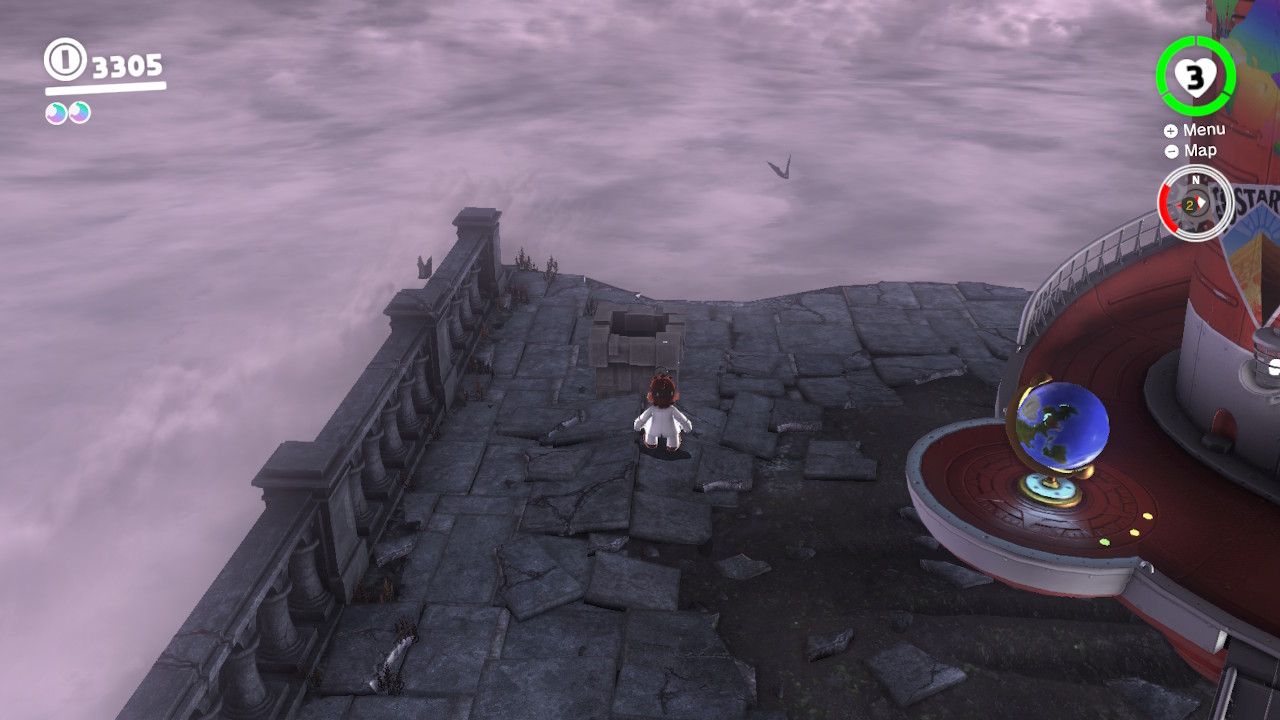
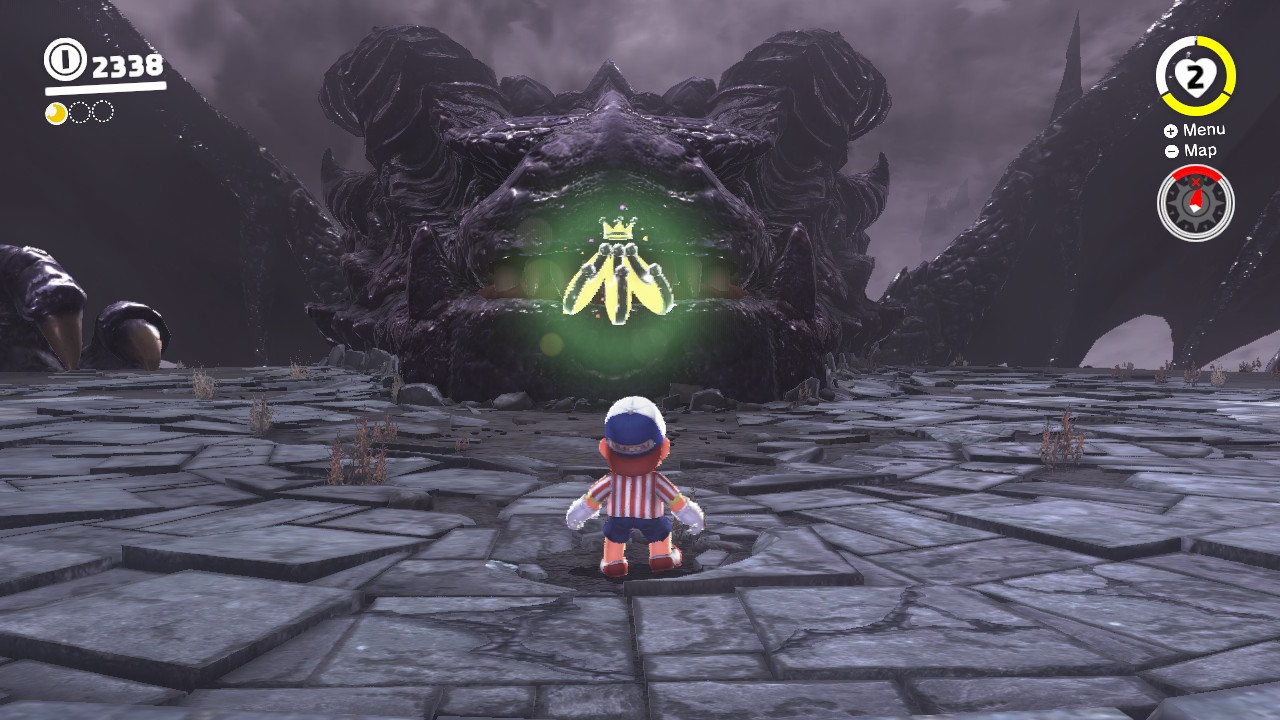
1- Right beside the Odyssey is a brand new Moon Rock Warp Pipe…
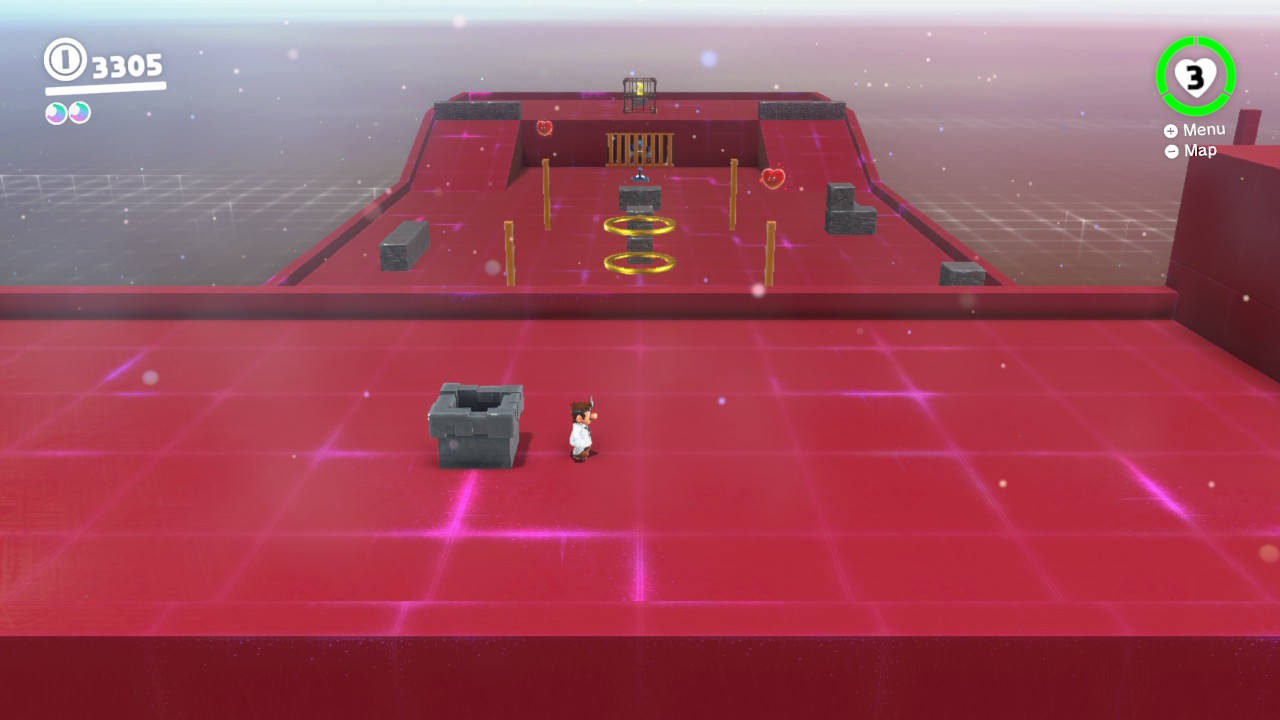
2- Once inside you will see a big room with a football guy and a bunch of mummies…
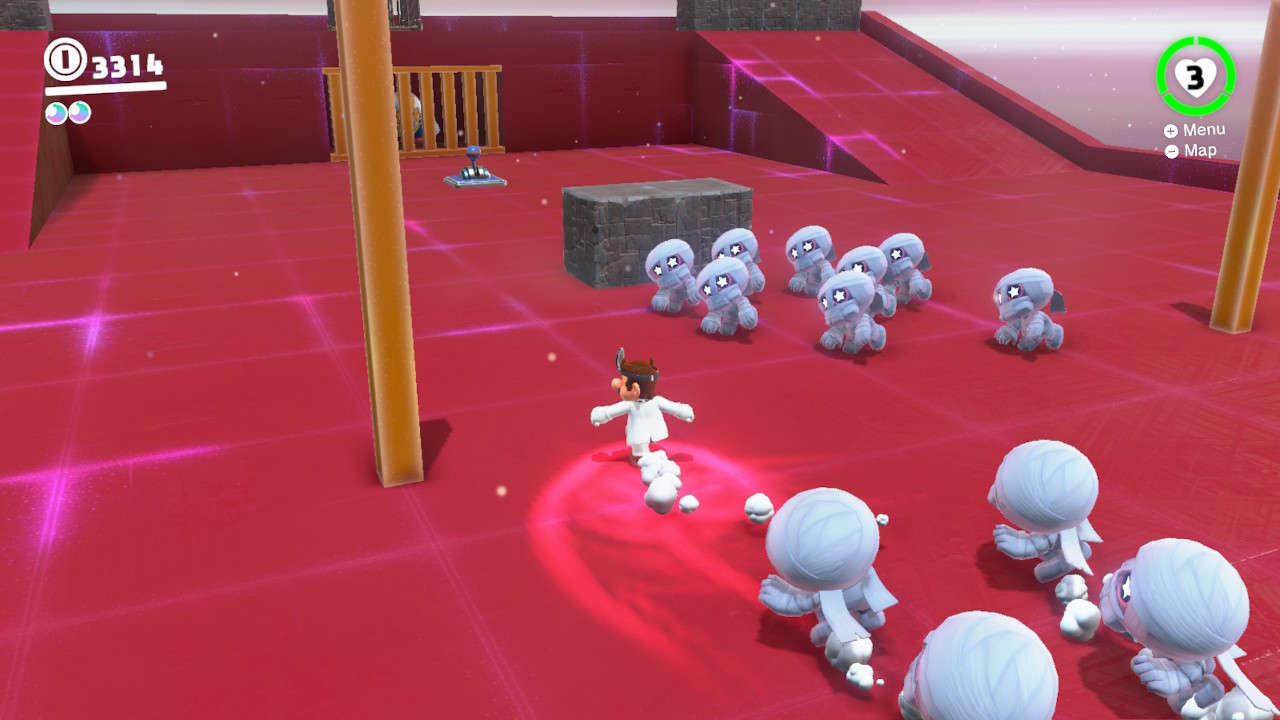
3- Dodge all the mummies…
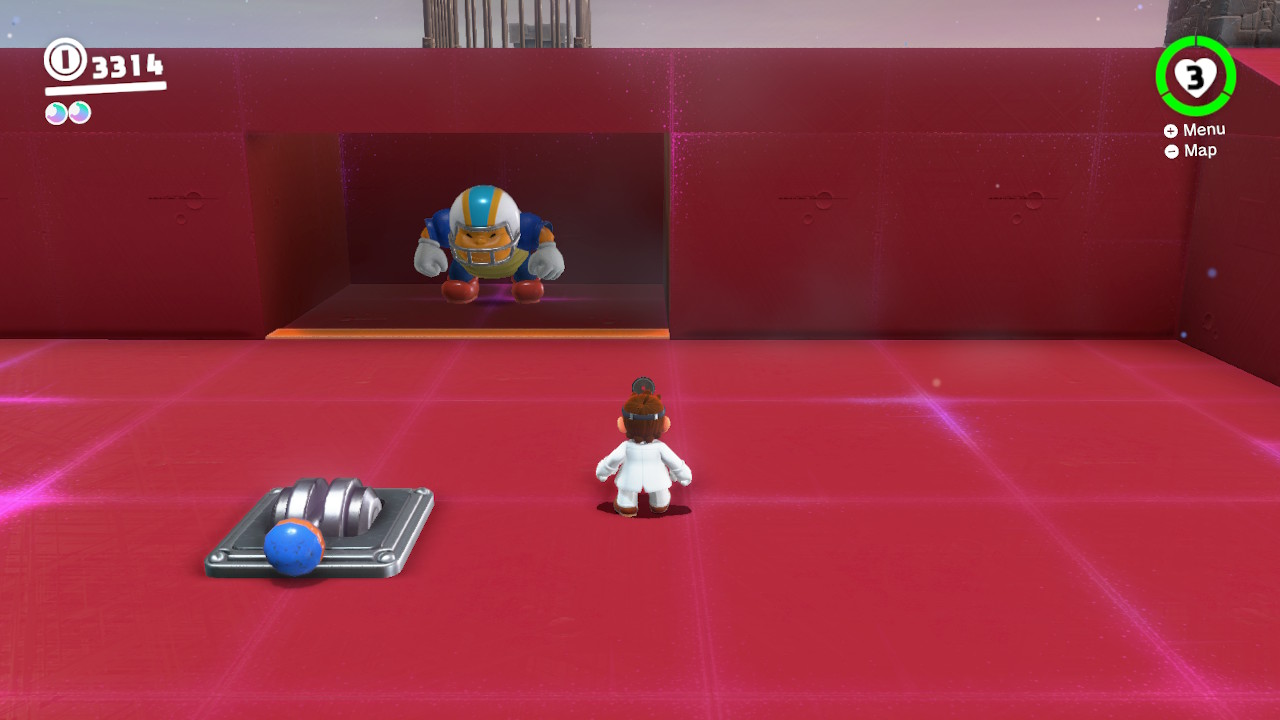
4- Capture the football guy by hitting the switch to open his gate…
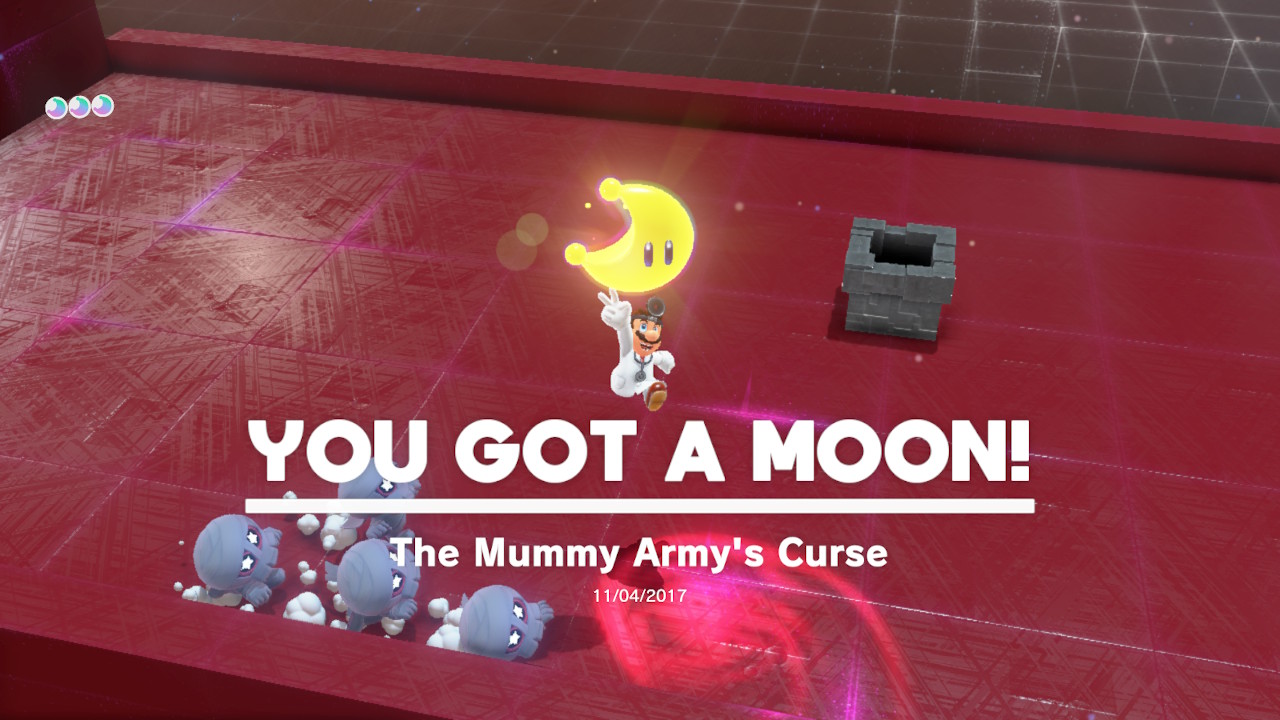
5- And finally, bust open the cage to reveal a Power Moon! (Check out the video)
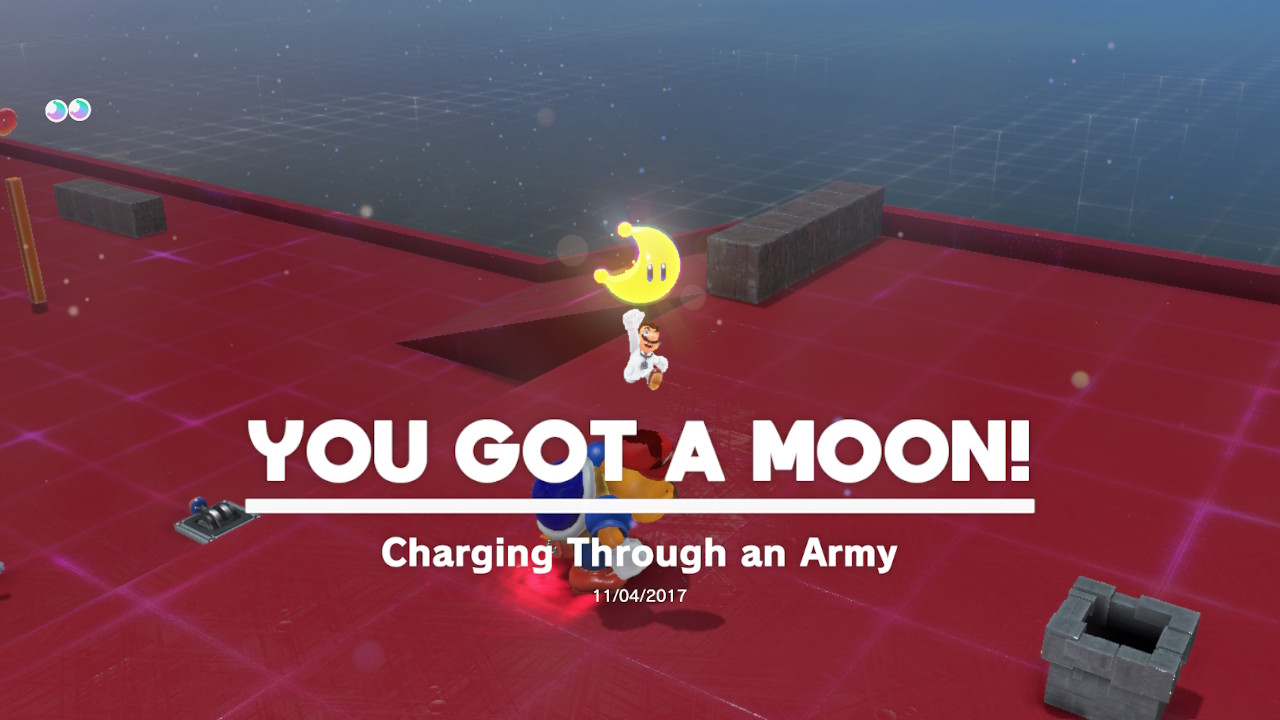
Location- Same as “Charging Through an Army”
1- Right beside the Odyssey is a brand new Moon Rock Warp Pipe…
2- Once inside you will see a big room with a football guy and a bunch of mummies…
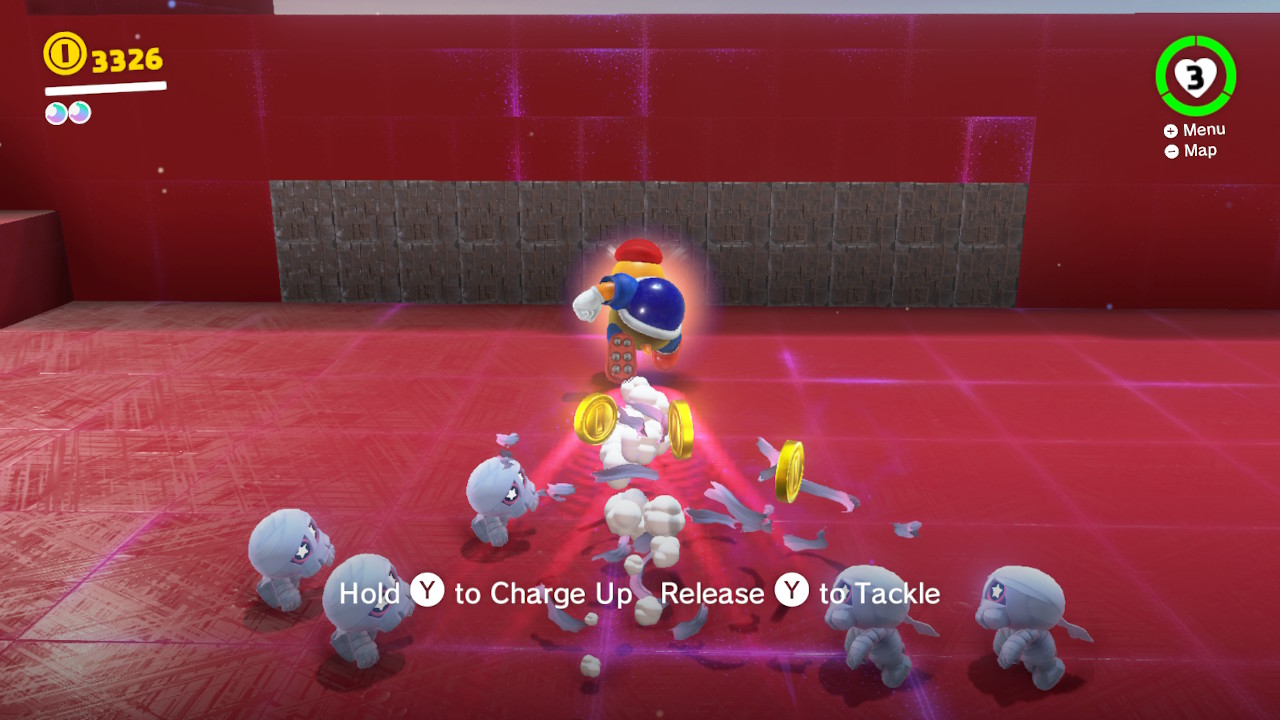
3- This Power Moon was honestly one of the more confusing for me to get. But I’ll do my best to explain. Once you drop down into the area with the giant mummy army, a “special” mummy will appear back up on the platform you just came from. However, by the time you jump back up, he usually ducks back under the ground. So what I did was jump down below like normal, capture the football guy like normal, and then charge back to where I came from. By then, the special mummy who holds the Power Moon is running around back on top of the platform I orignally came from. So now it’s a rush to jump back up and GROUND POUND him to kill him! Check out the video to see what I did, it was sloppy, but it got the job done.
4- Hopefully this video helps! Basically, drop down to where the army of mummies is, then jump right back up and try to kill the sparkly mummy! Good luck!
I’ve been a hardcore gamer ever since my little 3 year old eyes glared at level 1-1 on Super Mario Bros for the NES. I love talking about games, writing about games, making fun of games and taking games seriously too. I love making videos, articles, and more about helpful guides, reviews, and more. I’m a Nintendo fanboy at heart. But I got an Xbox 360 in 2006 and I’ve become a Xbox psycho as well.
If I could spend forever doing what I do with this site I’d be very happy. Check out my “Bam rants” editorials with my thoughts on tough topics as well as my guides and reviews and crazy shenanigans. Thanks!
