Snake Pass – Gatekeeper Coins – Bol-Dor’s Realm

Bol-Dor’s Realm

1. Paradise Path

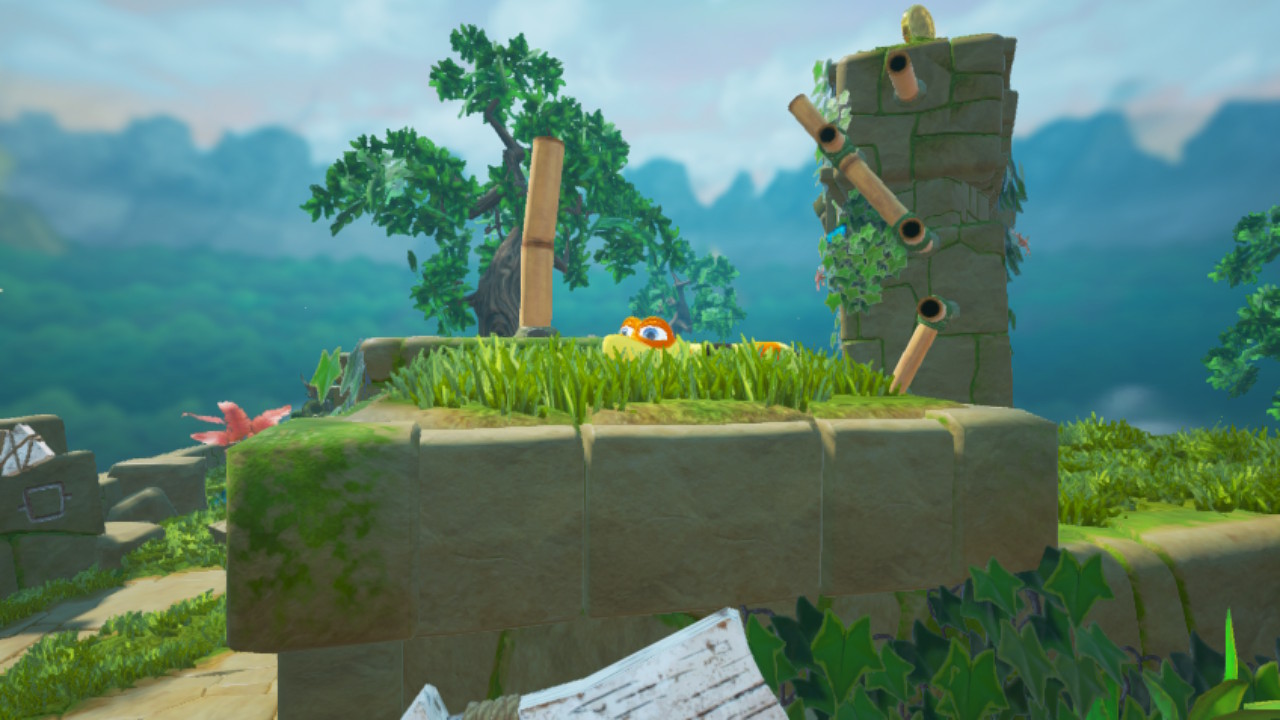
1 – Right at the starting area there is a tree on the right. Behind it is a series of bamboo sticks and a Gatekeeper Coin.


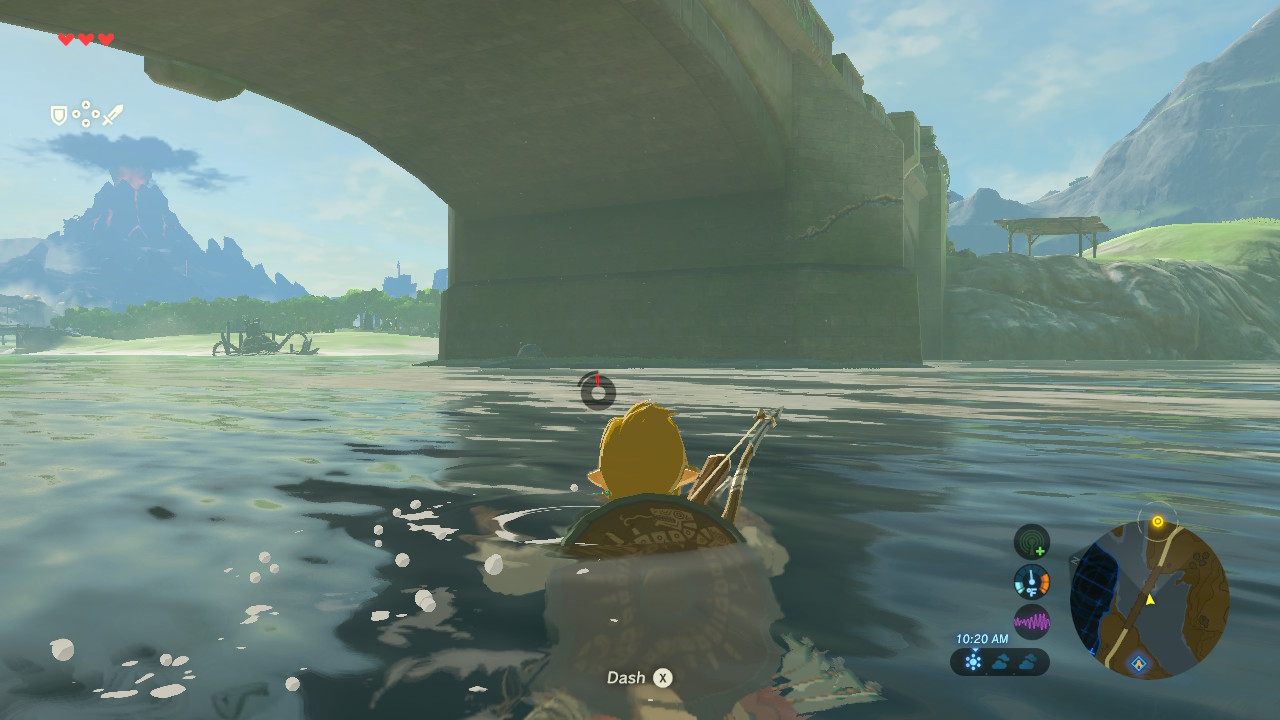
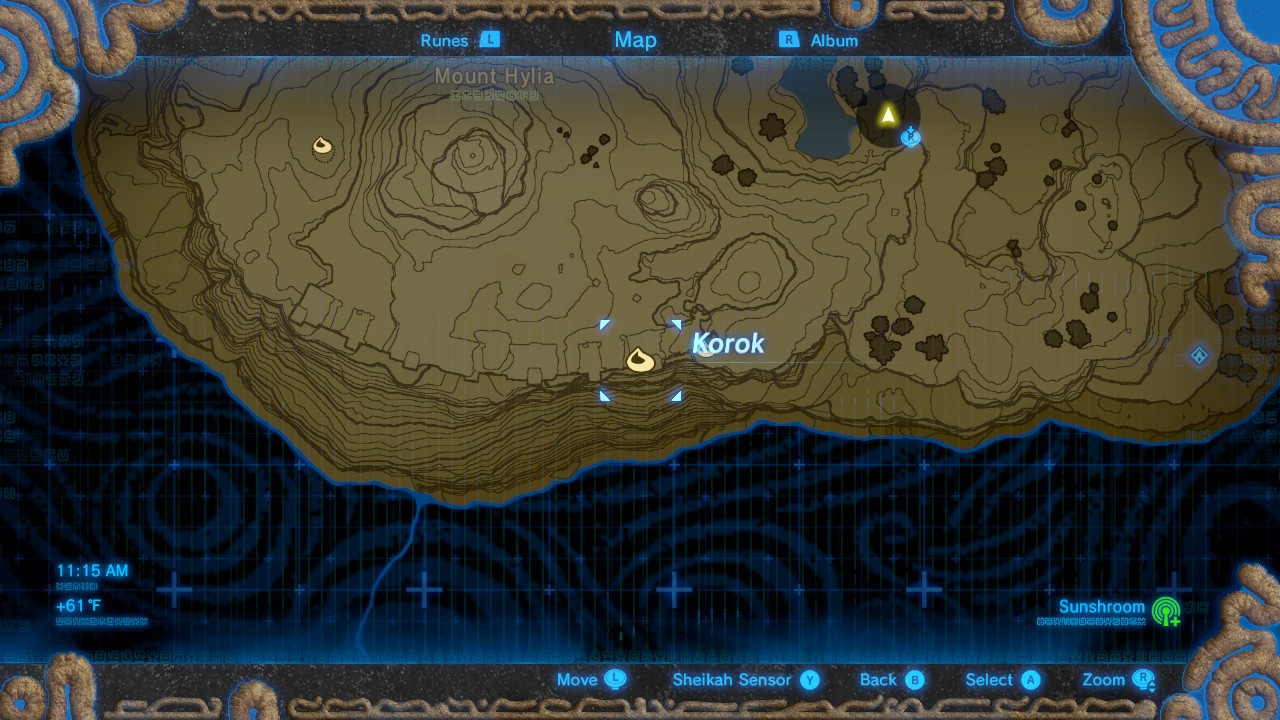
2 – Underneath the first bridge. Go over the edge on the far left to a series of bamboo sticks.


3 – After crossing the first bridge its directly on your right.


4 – After 3 you drop down and it will be behind you.


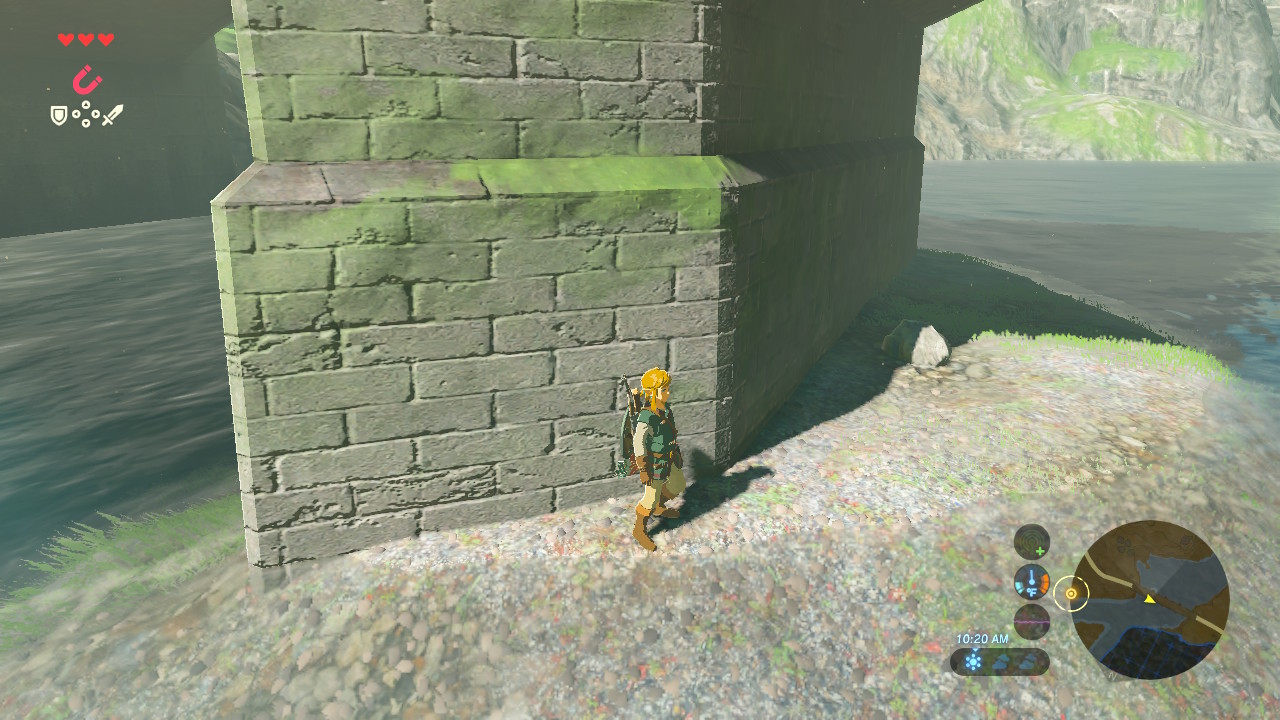
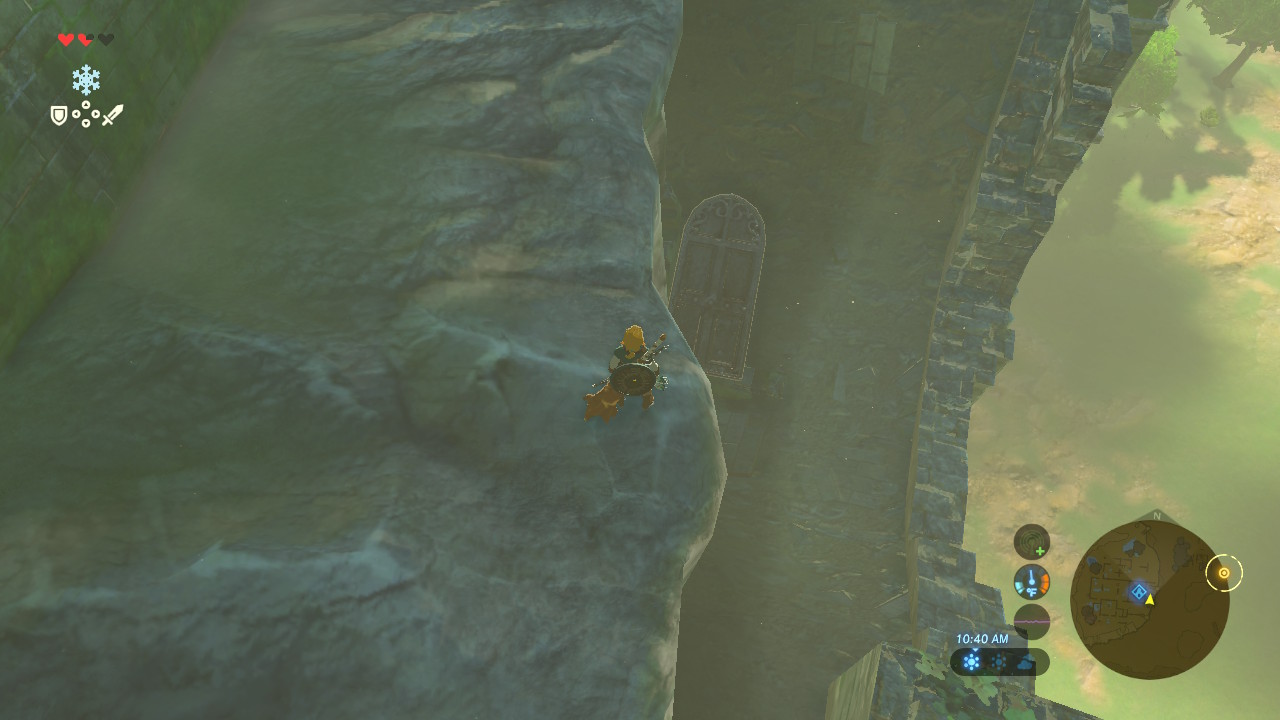
5 – To the side of the gate under a bamboo structure. You don’t need to use the bamboo, just use ZL to lock yourself in place and grab the coin with your head.

2. Courtyard Clamber

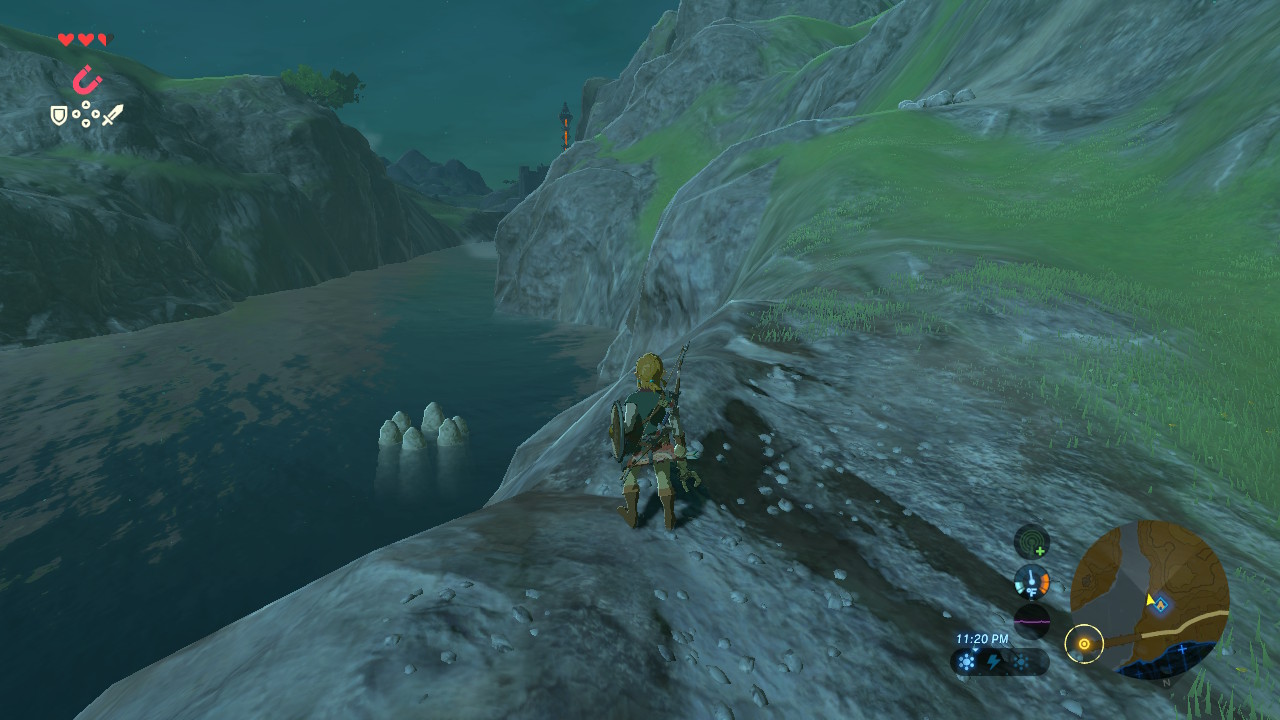
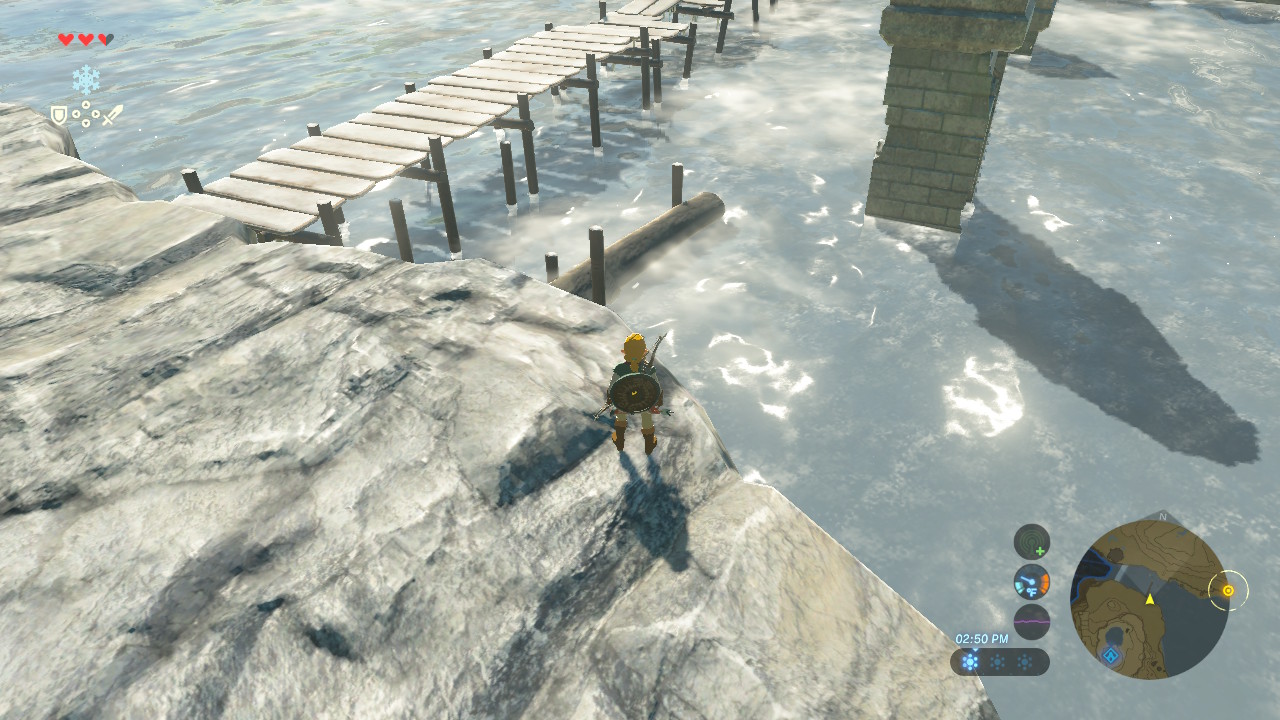
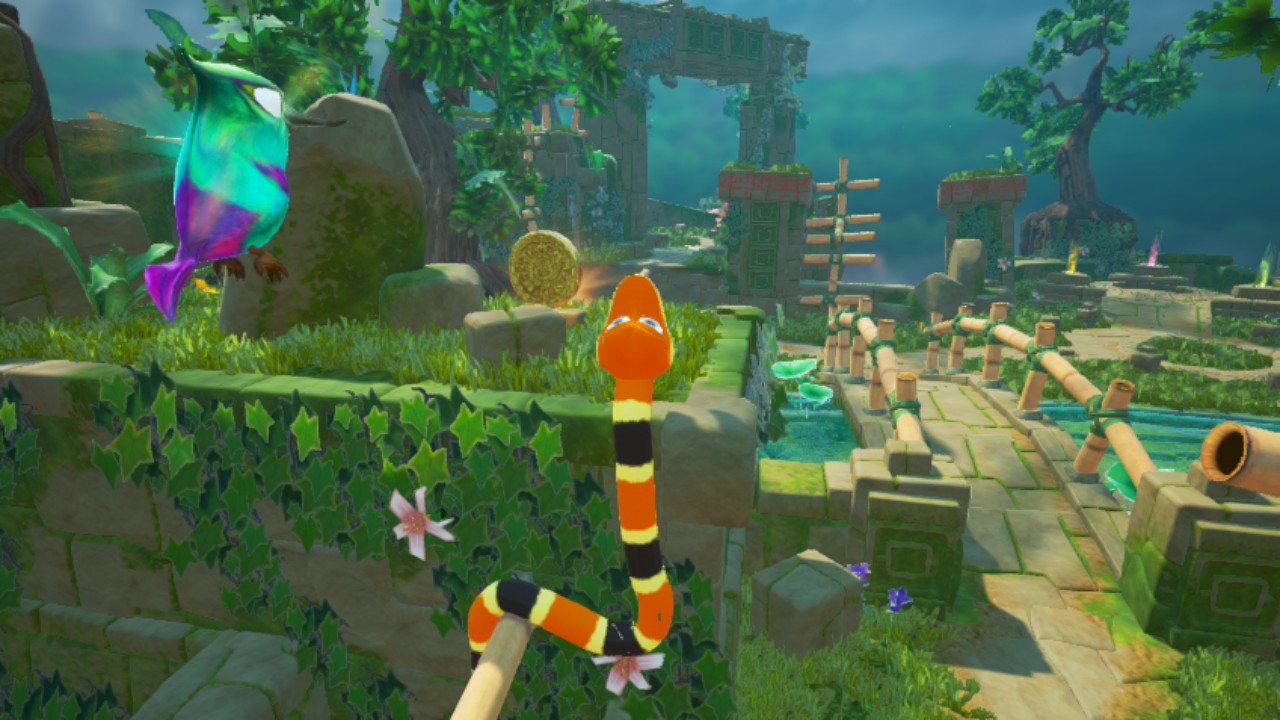
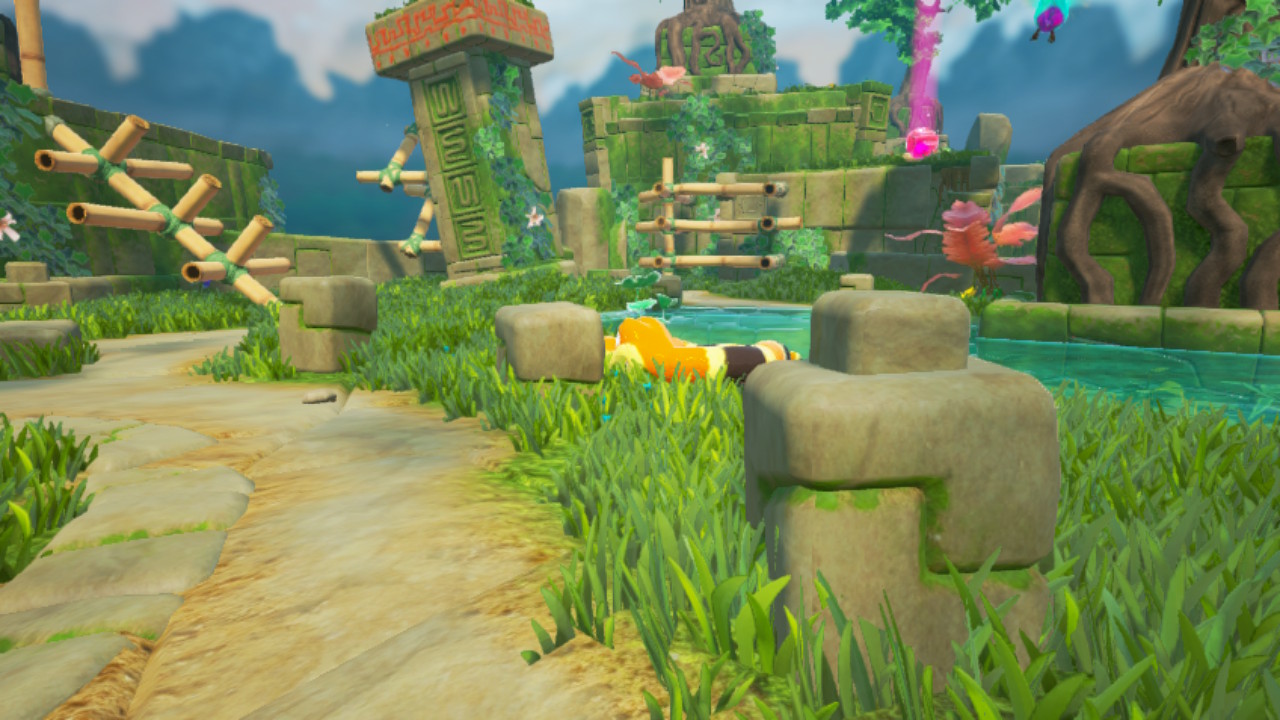
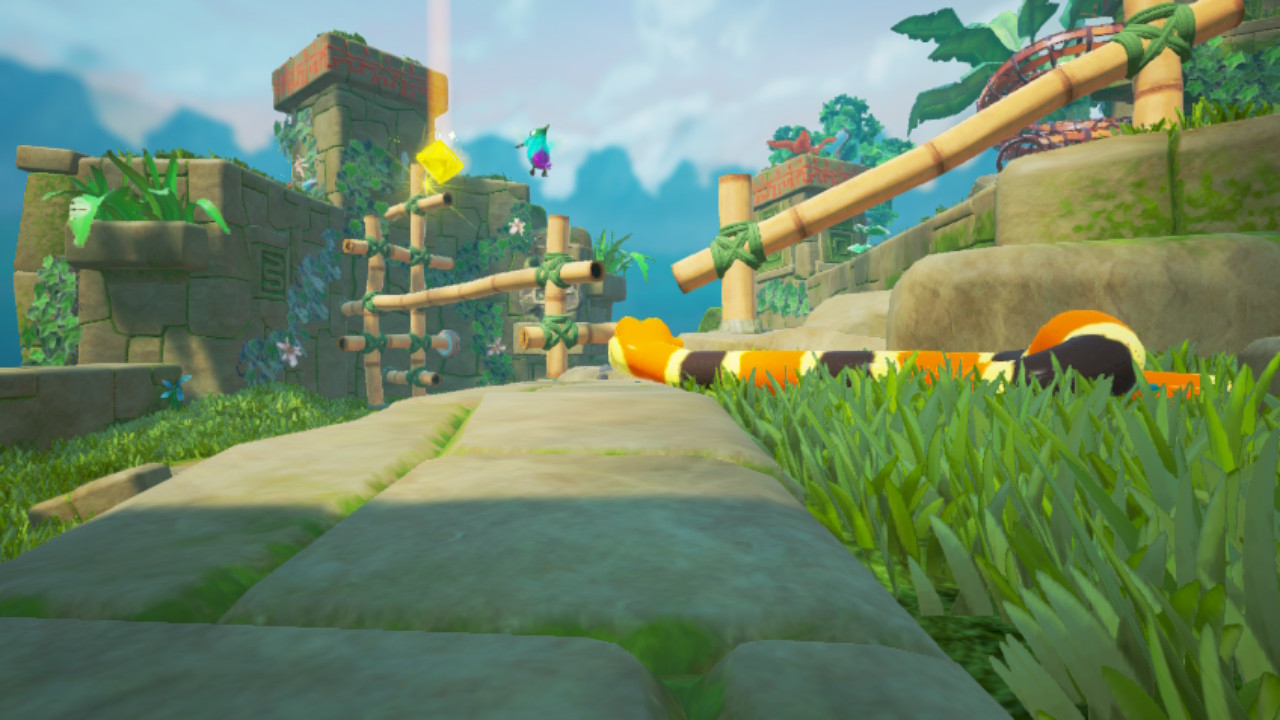
1 – At the first save point if you drop down by the water and climb the series of bamboo to your right to the top there is a Gatekeeper Coin.


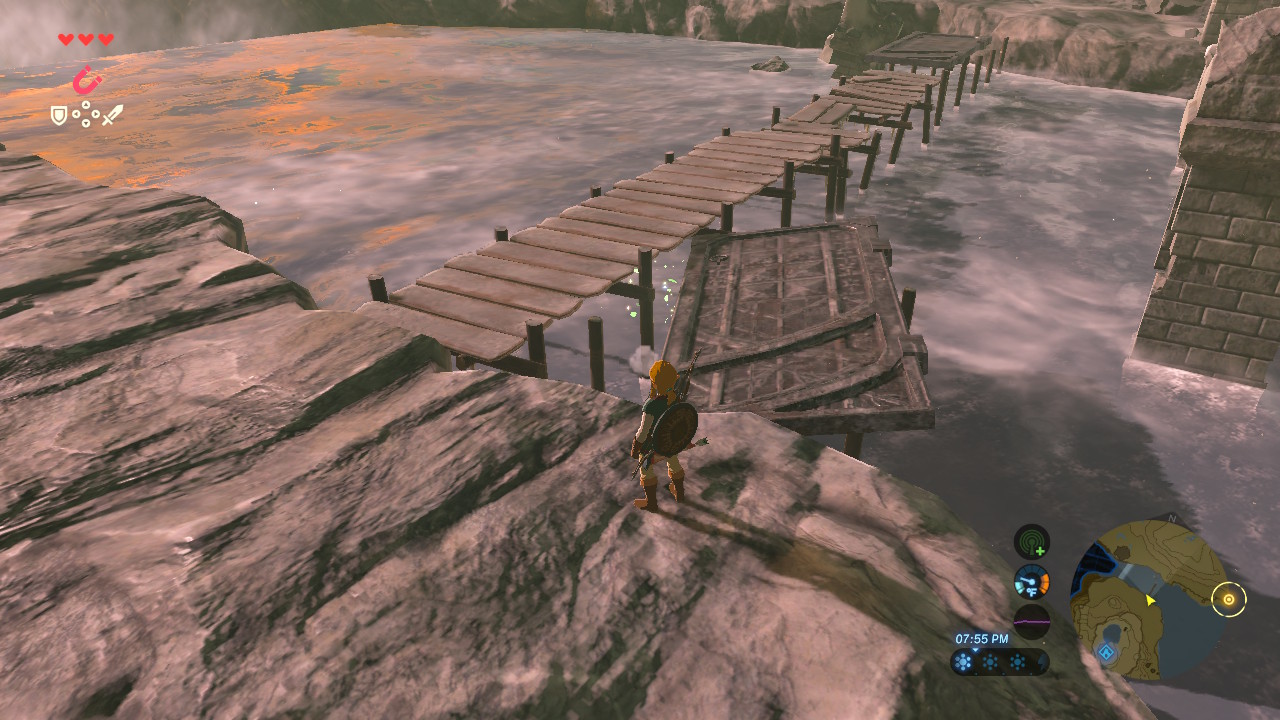
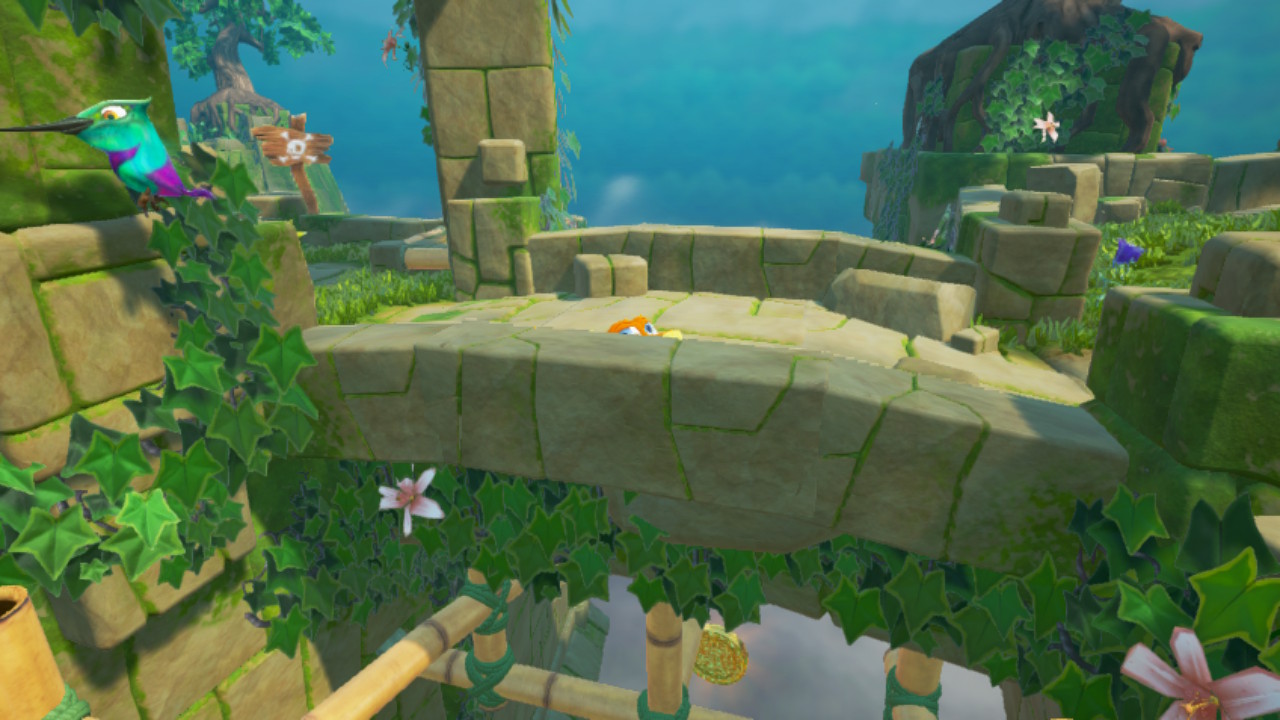
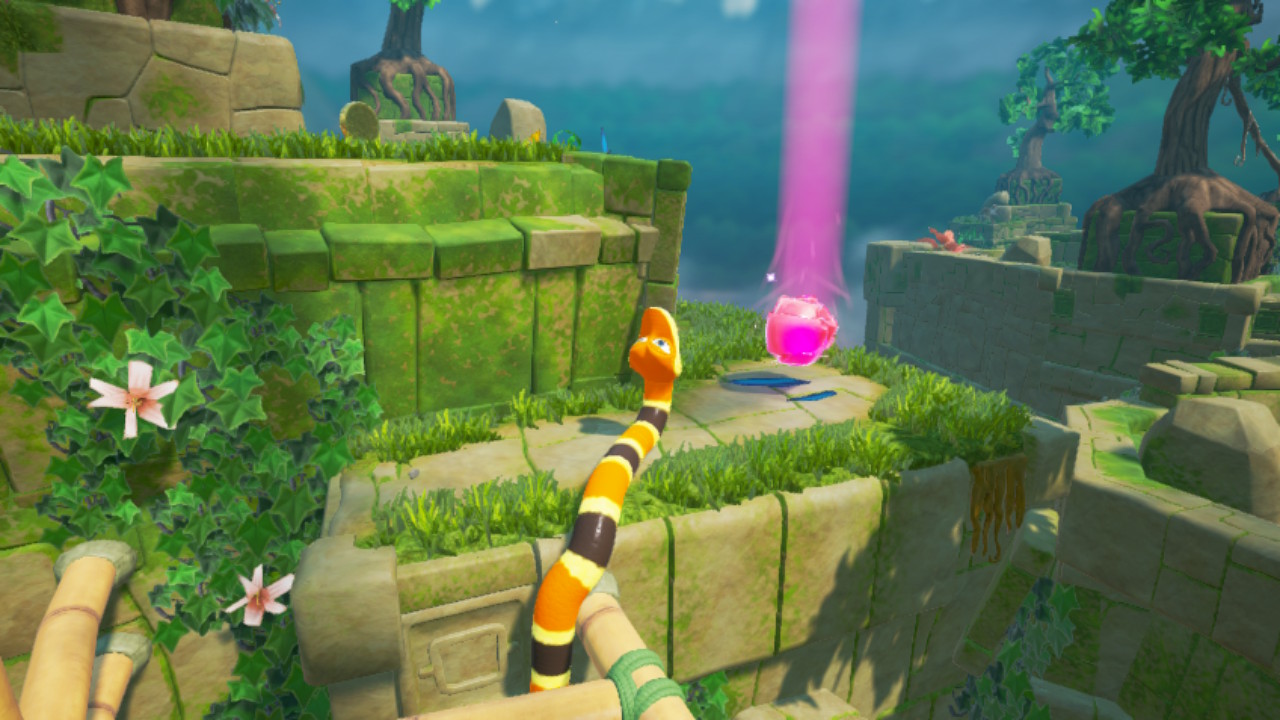
2 – Past the bridge and behind the Green Keystone is another small bamboo series of sticks to climb to a rock platform.


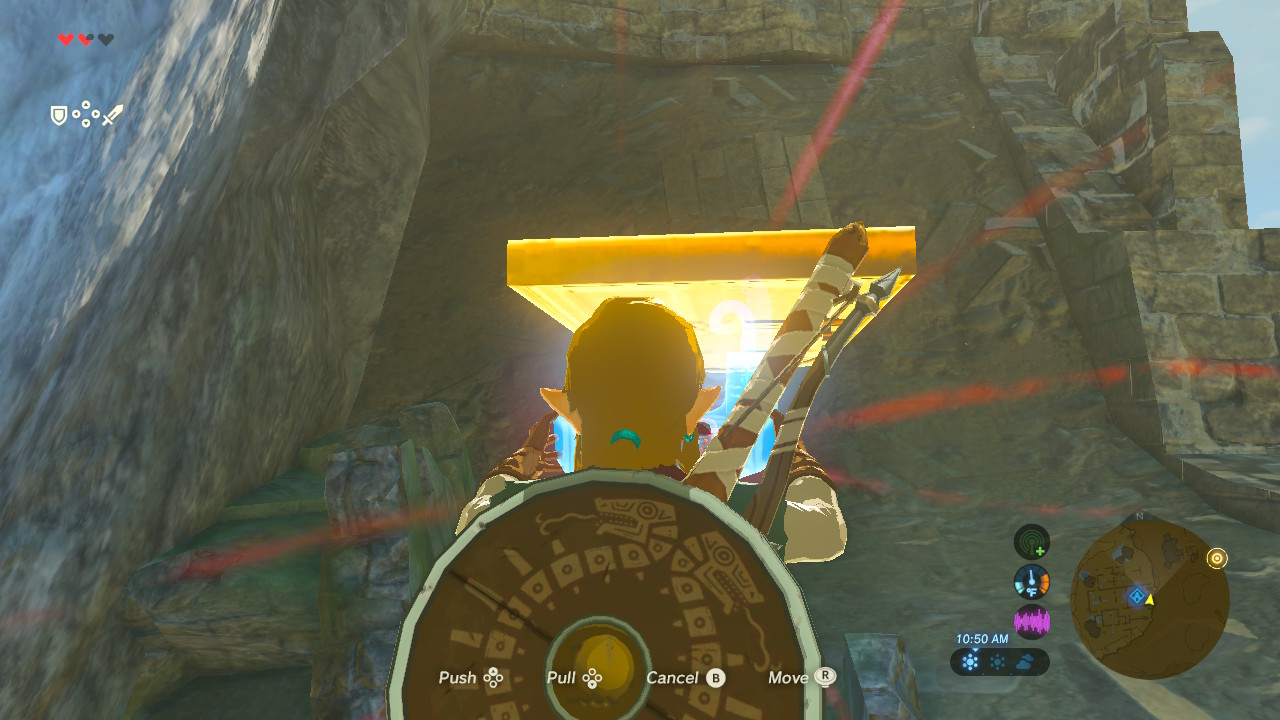
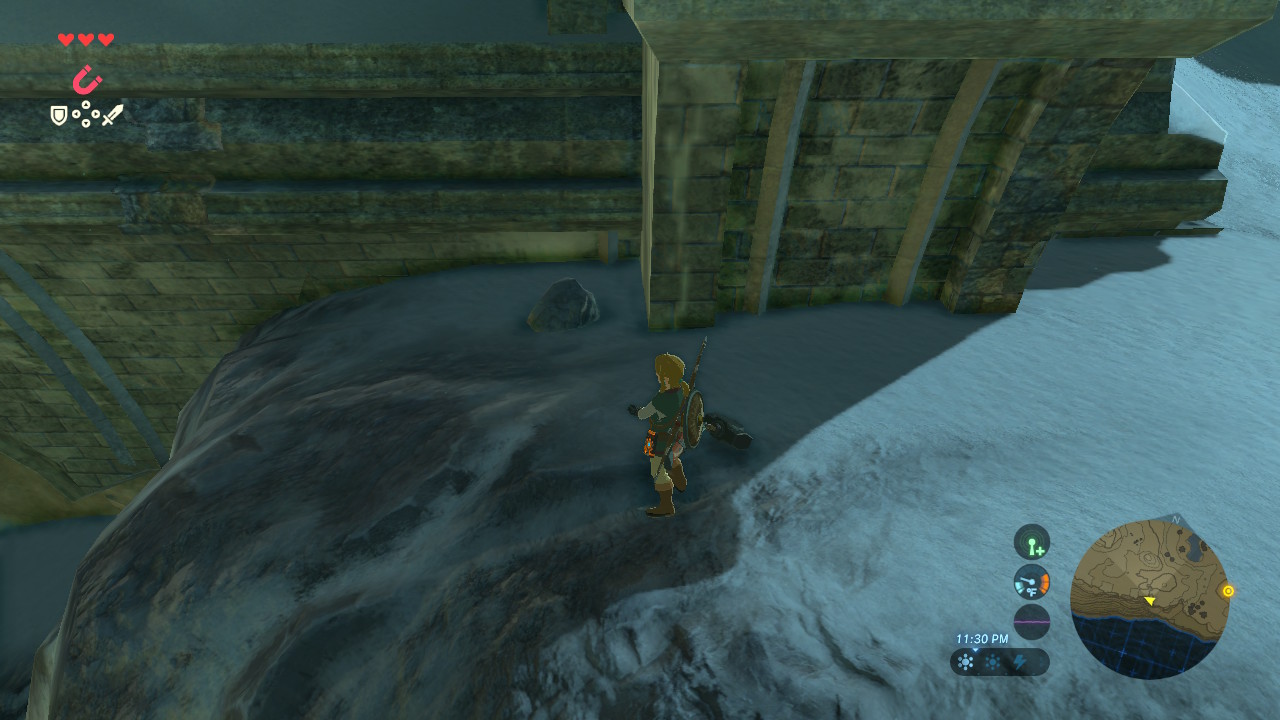
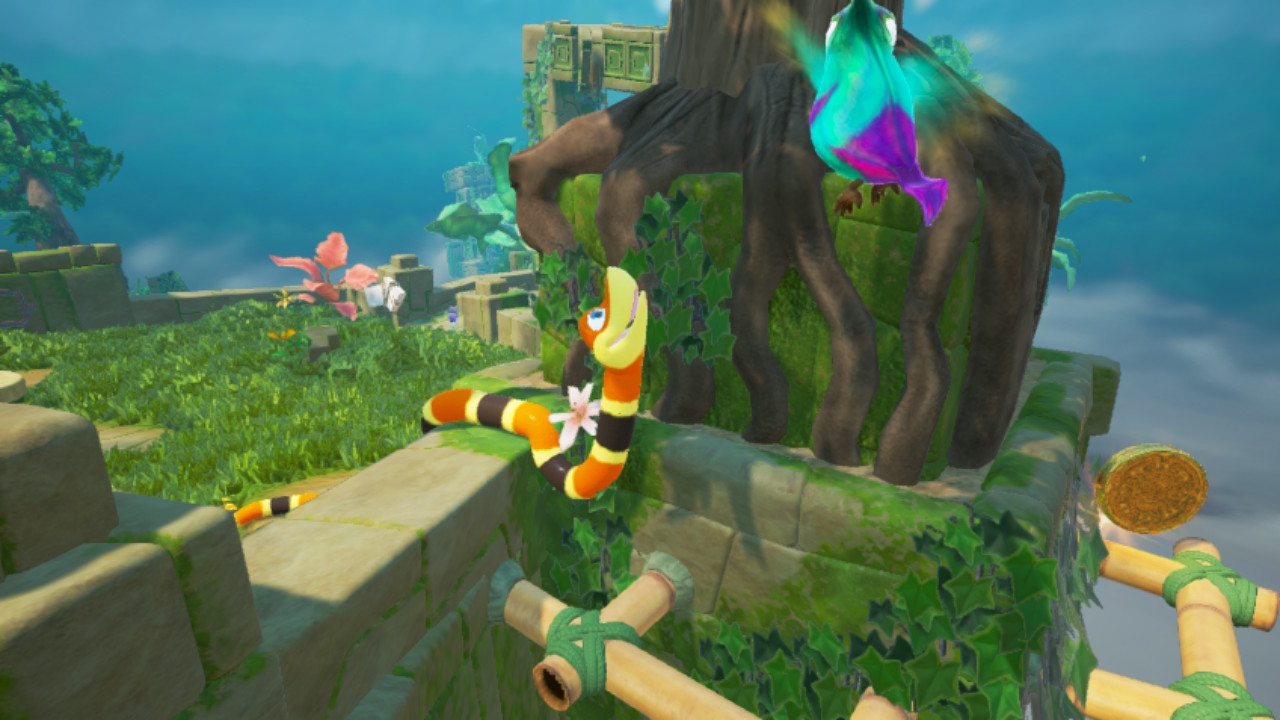
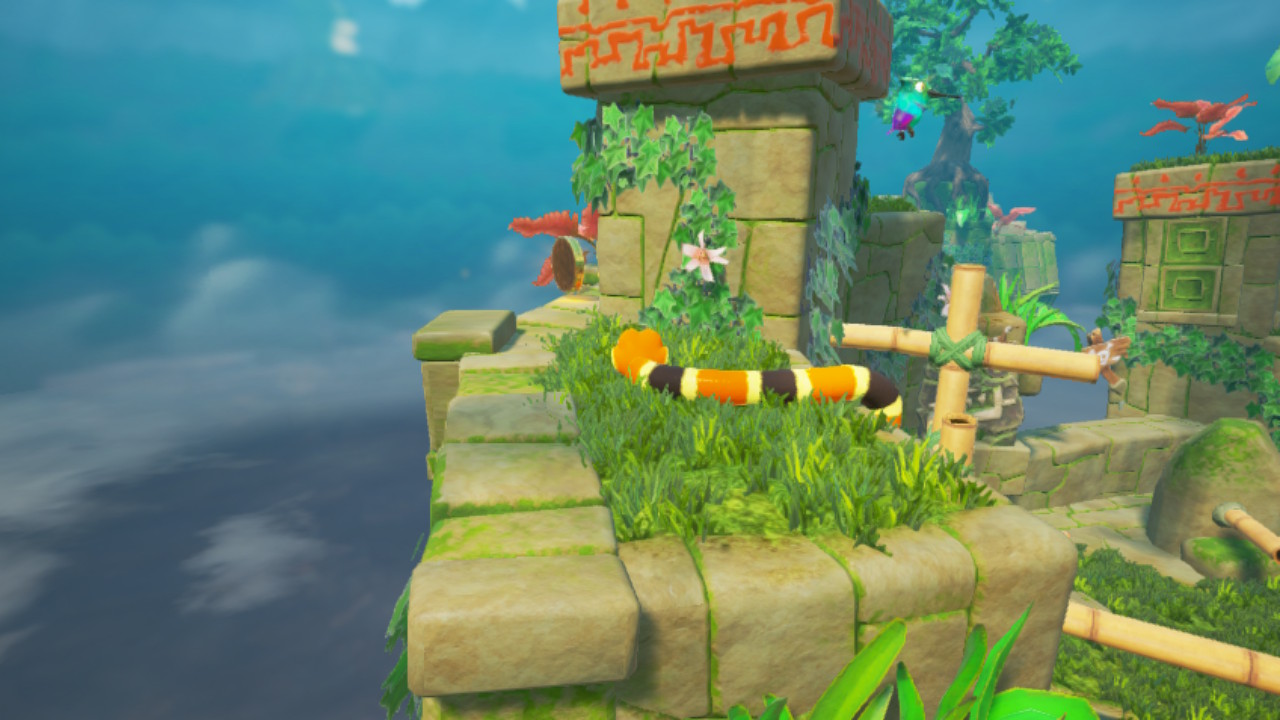
3 – Over the side down below this area is a bamboo stick with a Coin underneath. Use the ZL to lock Doodle in place and use your head to grab the Gatekeeper Coin. Then pull yourself back up.


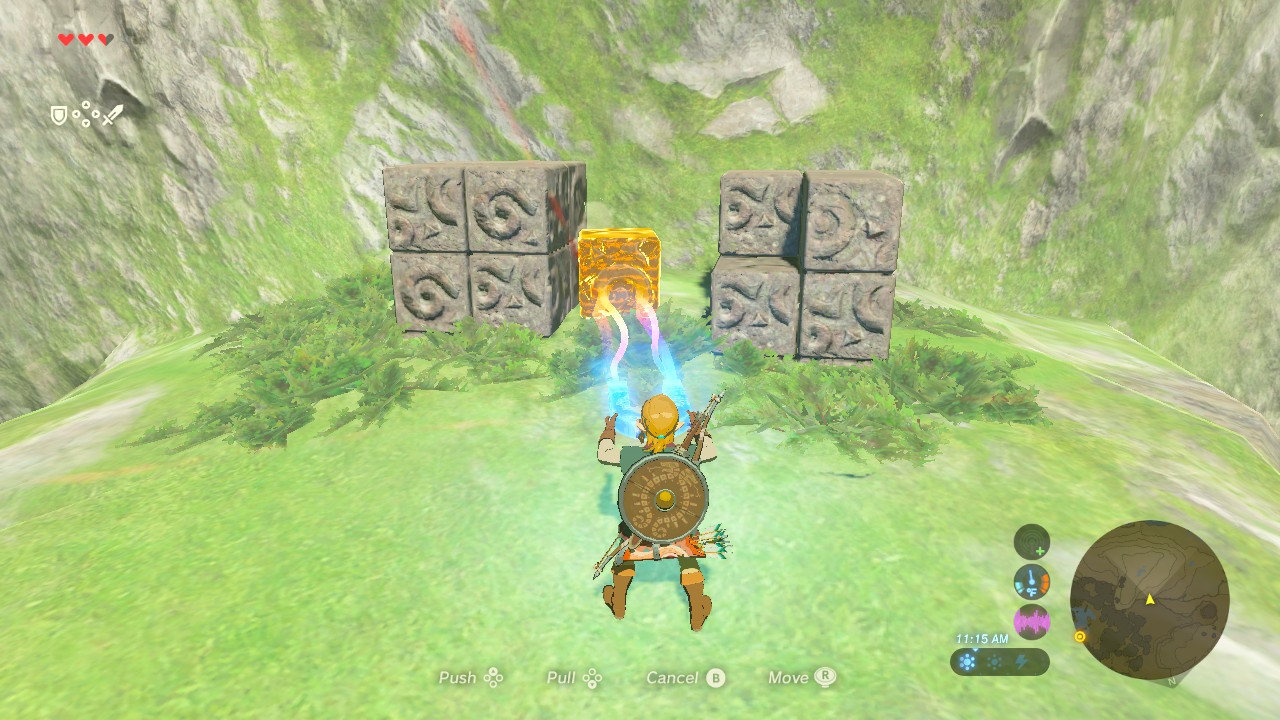
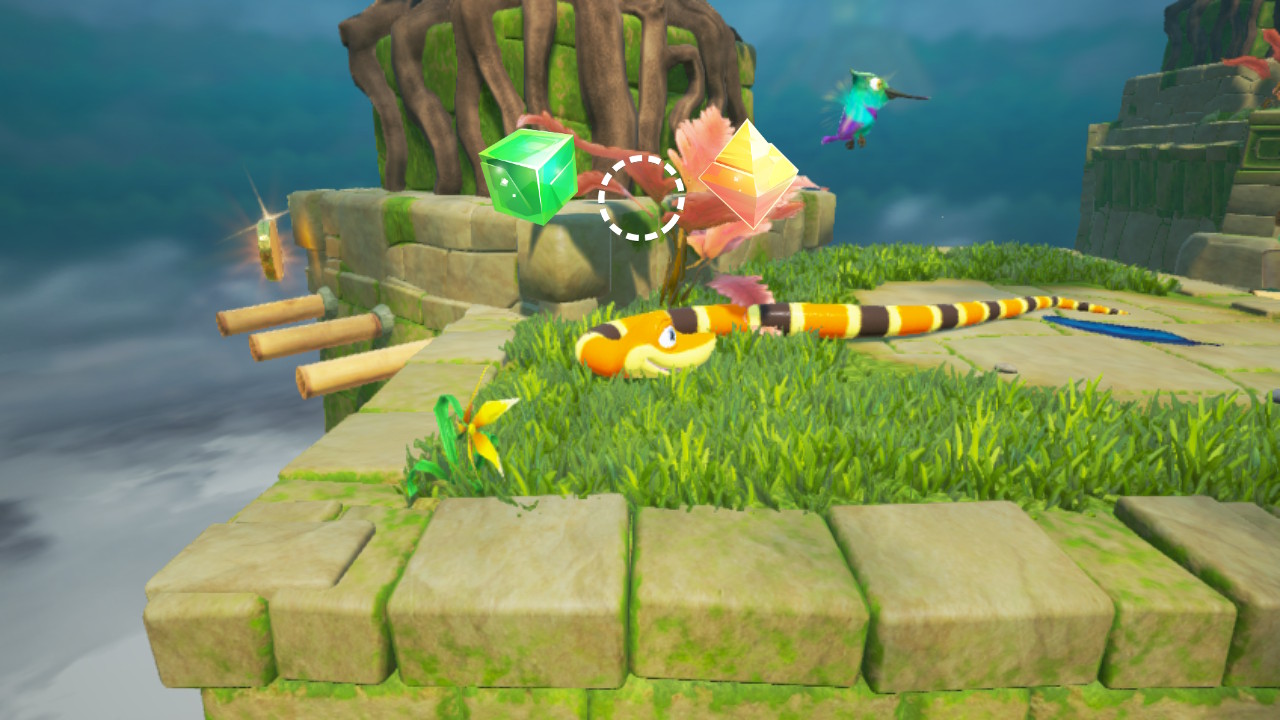
4 – Behind the Orange Hexahedron Keystone is a series of sticks out over the void with a Gold Coin.


5 – After grabbing the last Keystone continue around the corner for a small series of bamboo to get you to the top of the platform and the final Gatekeeper Coin.

3. Gatekeeper Gardens

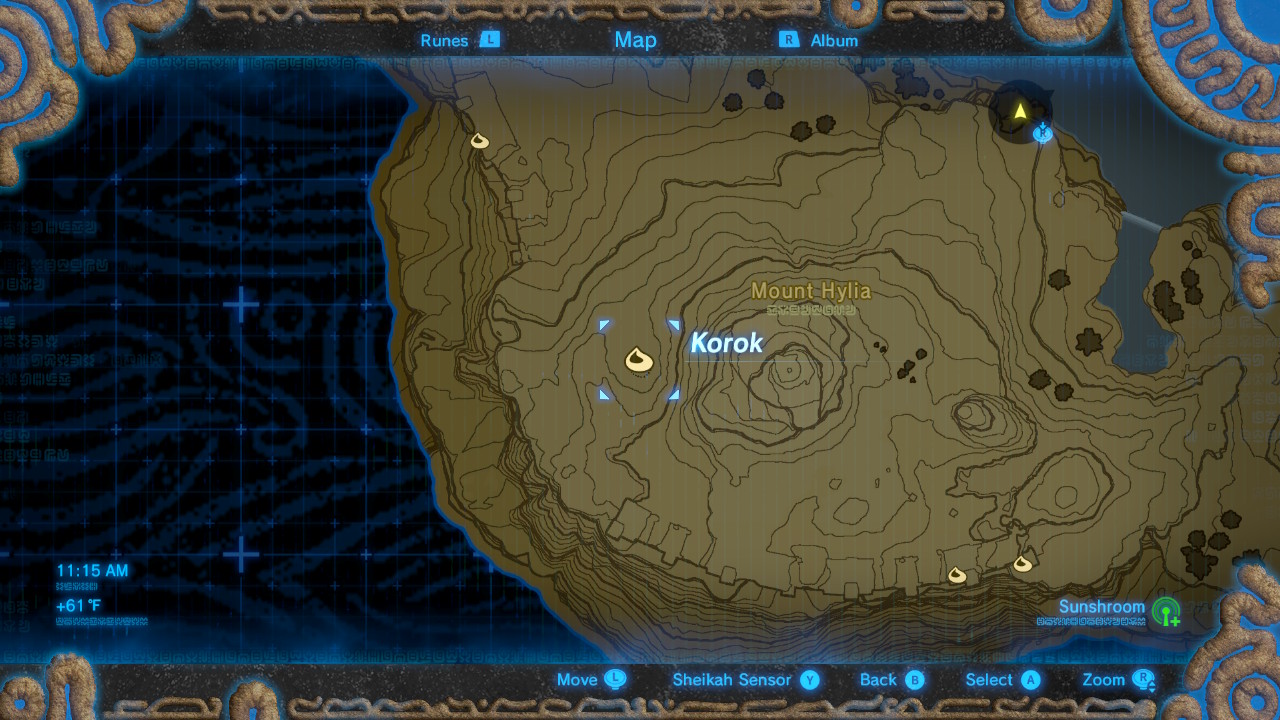
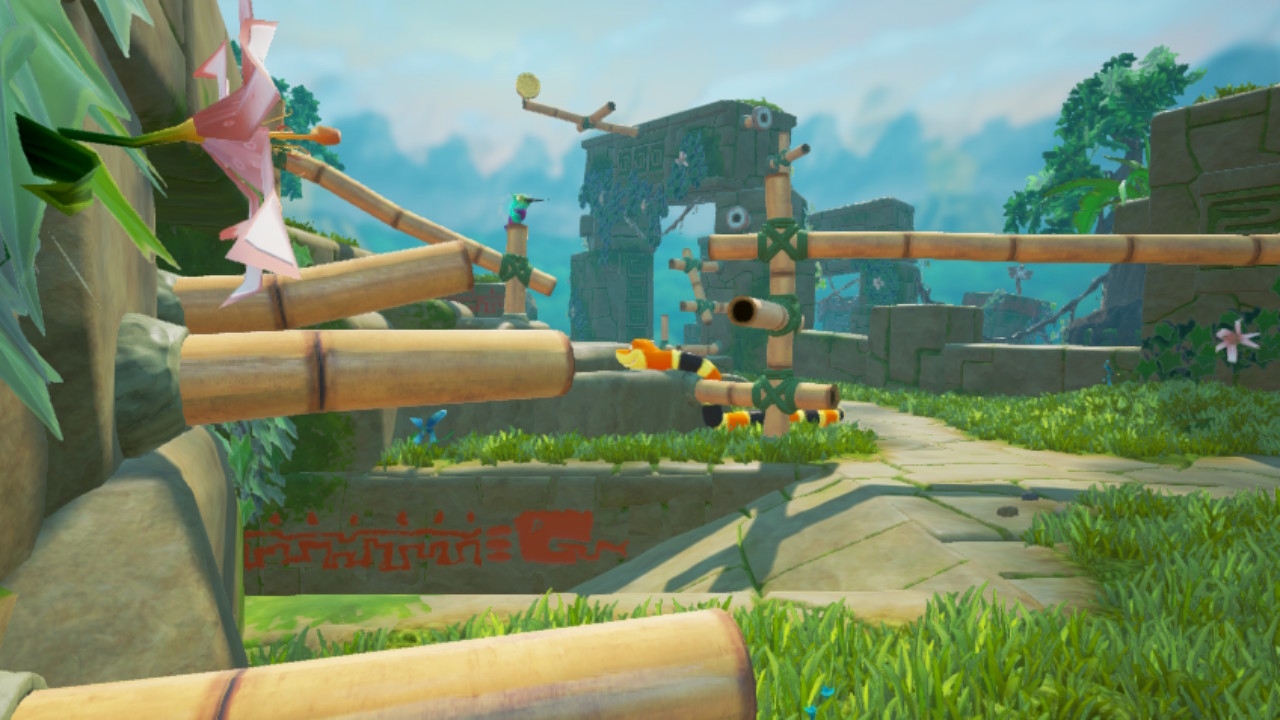
1 – As you climb the first wood ladder it will be at the top of the stone arch above you. There is ground underneath you so just coil up and make a mad dash for the coin.


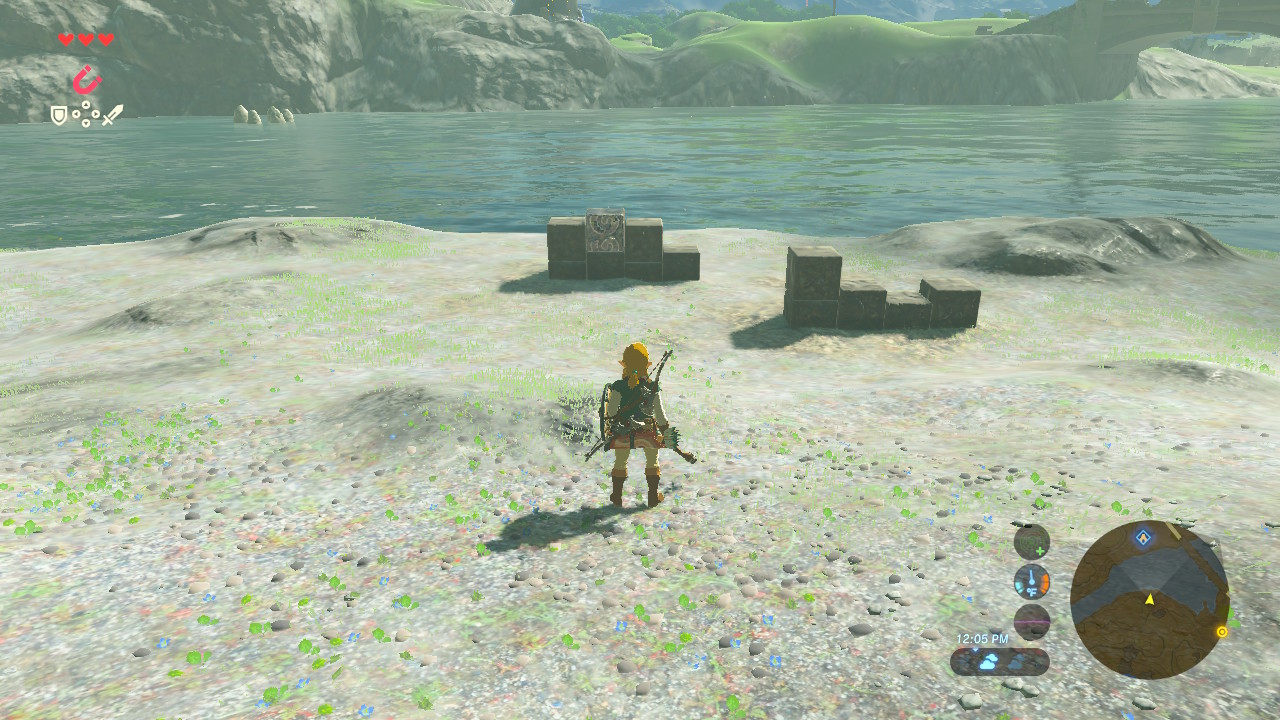
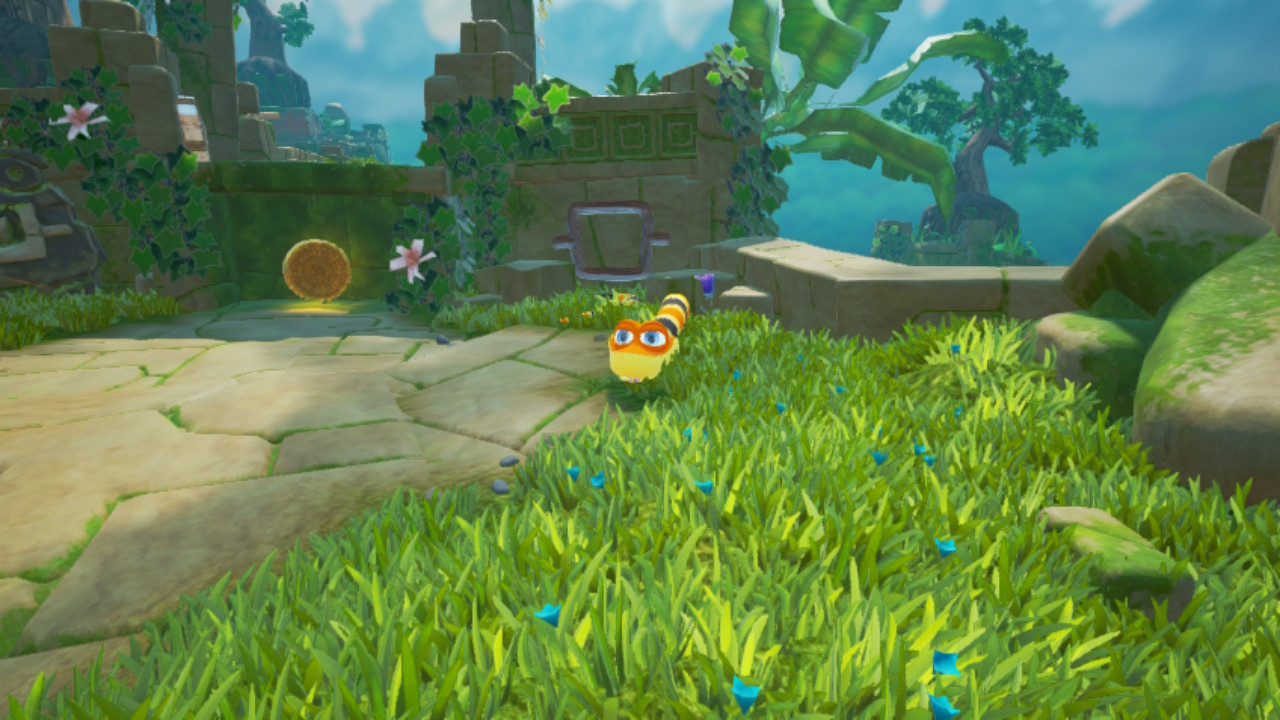
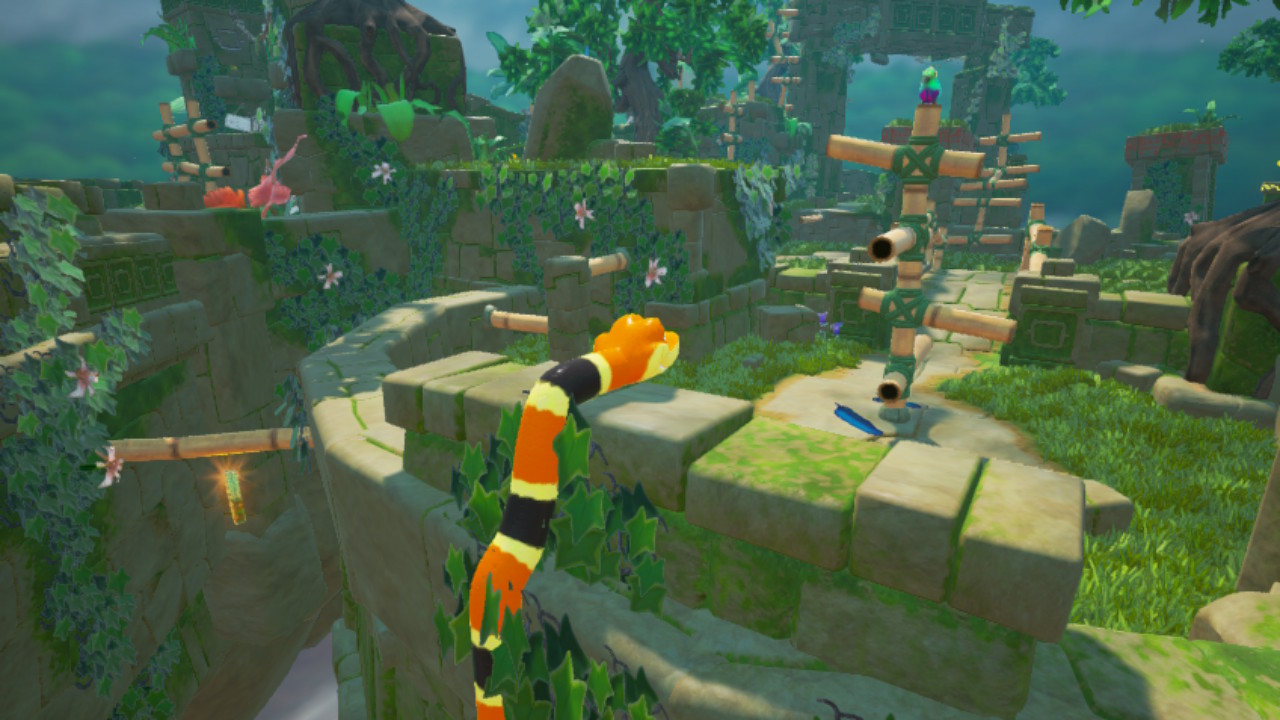
2 – Right out in the open on a small stone platform next to the Yellow Square Keystone.


3 – Just around back on the ledge at top of the top area.


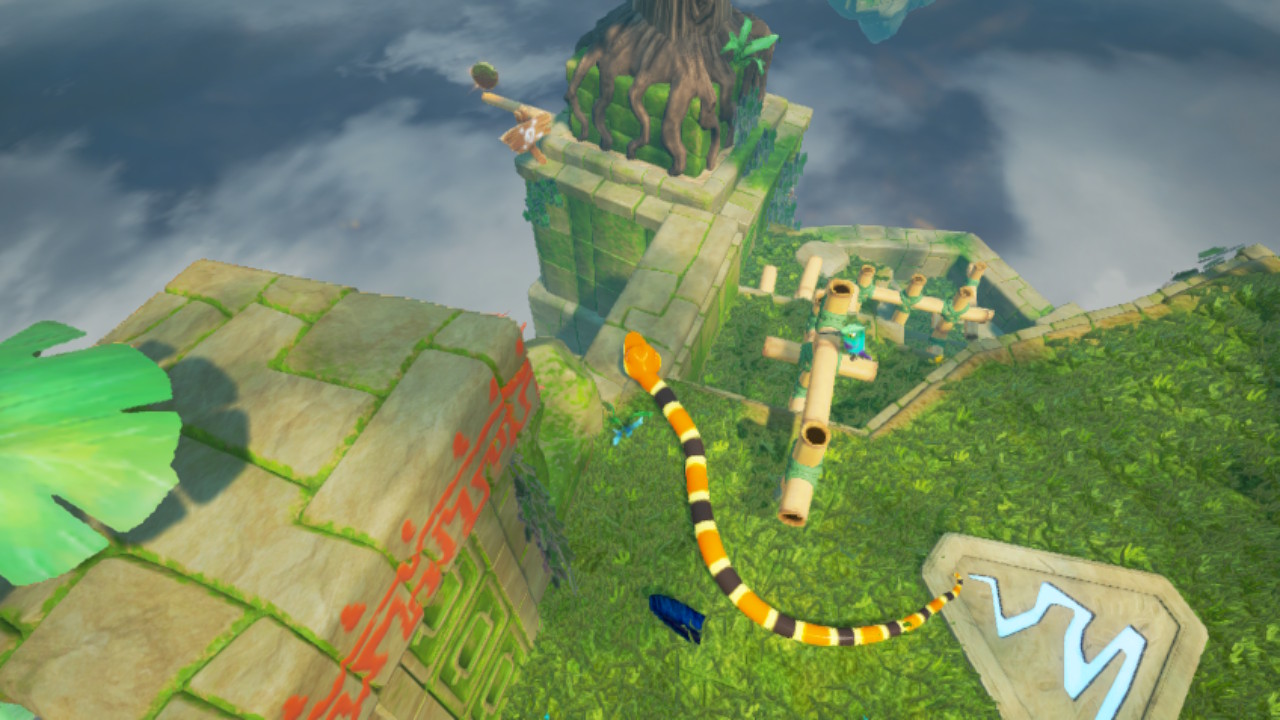
4 – From the save point on the top ledge dash off the platform to the rock platform below to get the Gatekeeper Key.


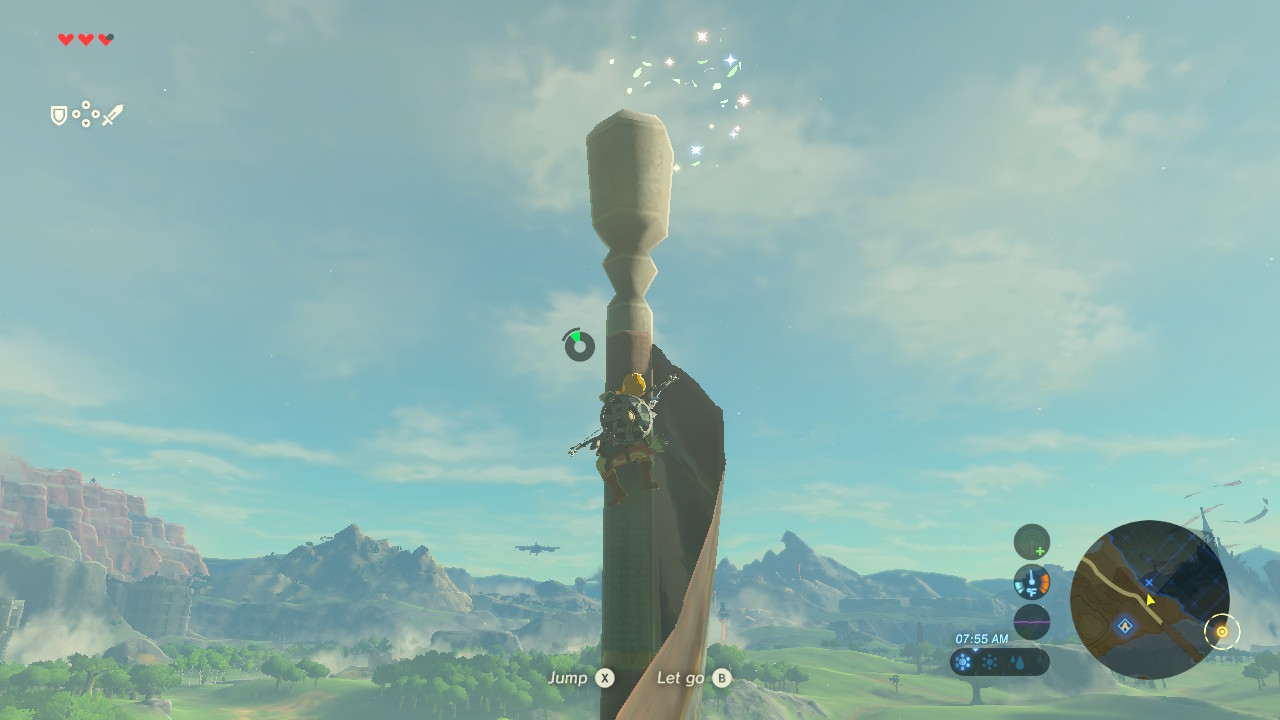
5 – Around back of the tree stone platform just off the top save point. There is no ground under you so coil around the pole to reach the coin and then climb back to the tree.

4. Creeping Causeway

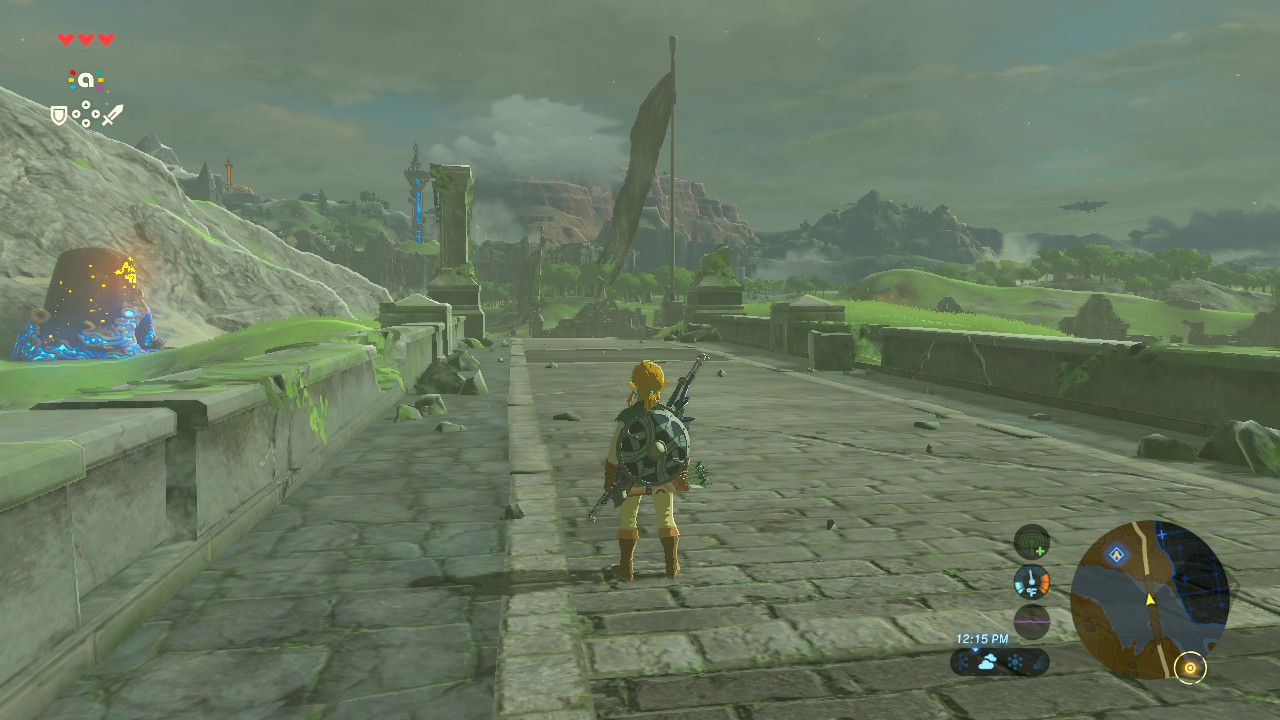
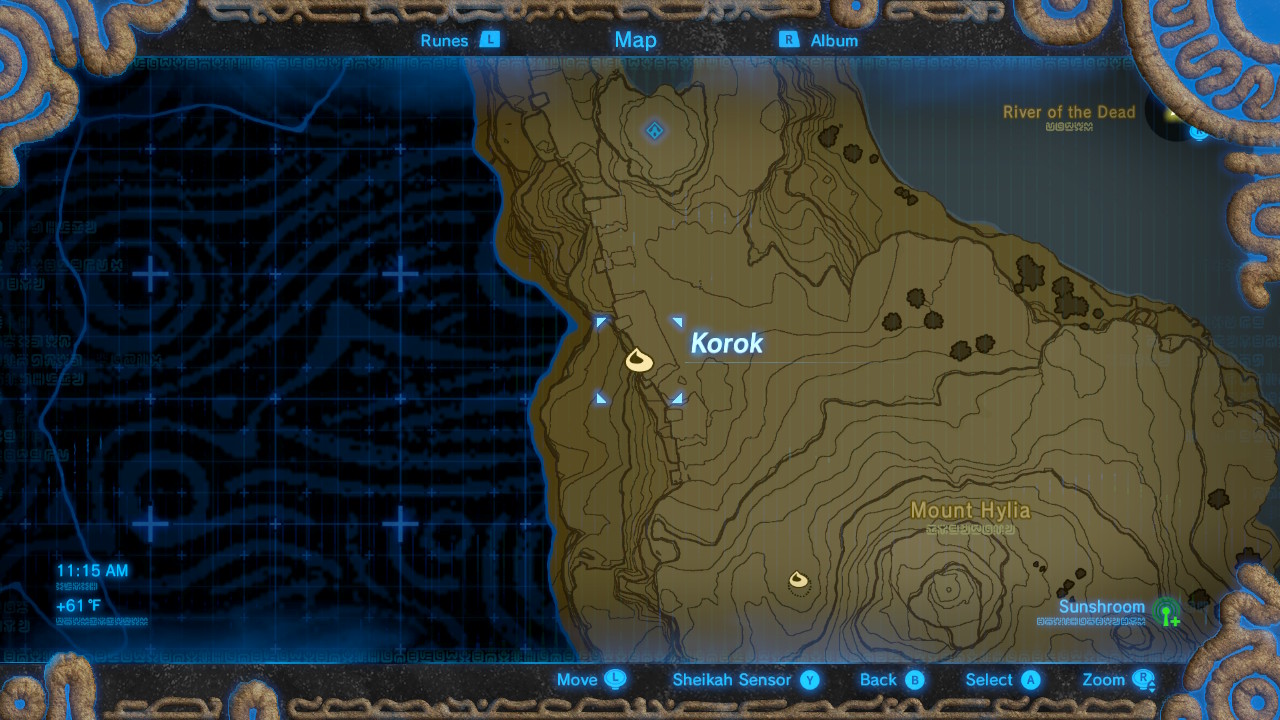
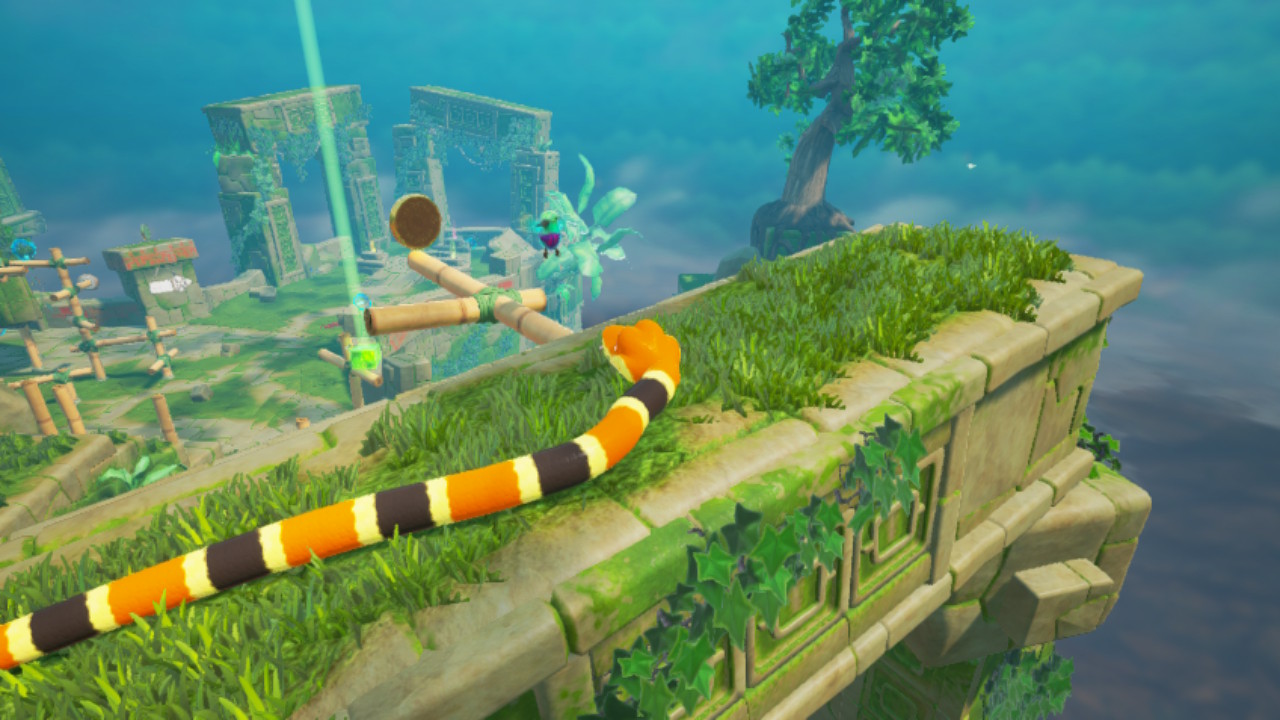
1 – Just before the water area there is a stick pointing out over the abyss. Might want to go across the water first to activate the save point.


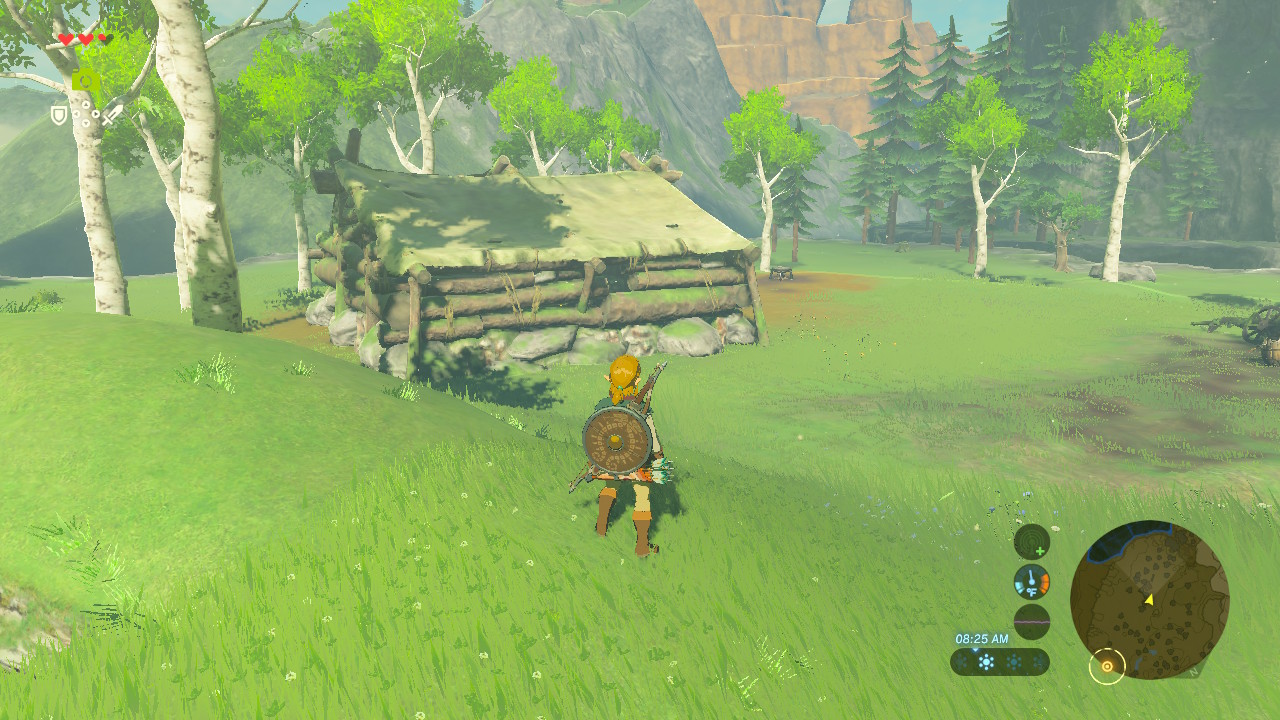
2 – Past the save point you need to climb to the next rock platform. This is on the ground level to the back right hidden behind a plant.


3 – Just past this last Gatekeeper Coin is another save point. And then over the edge is large pole structure with a Coin near the top. This area can be difficult because not only do you need to get the Coin without failing into the void but you also need to do another wood structure to get back to the top safe area.


4 – After getting the Purple Keystone come back over the ledge and jump off to the pillar below. Be careful as there is a lot of void to the sides of the pillar.


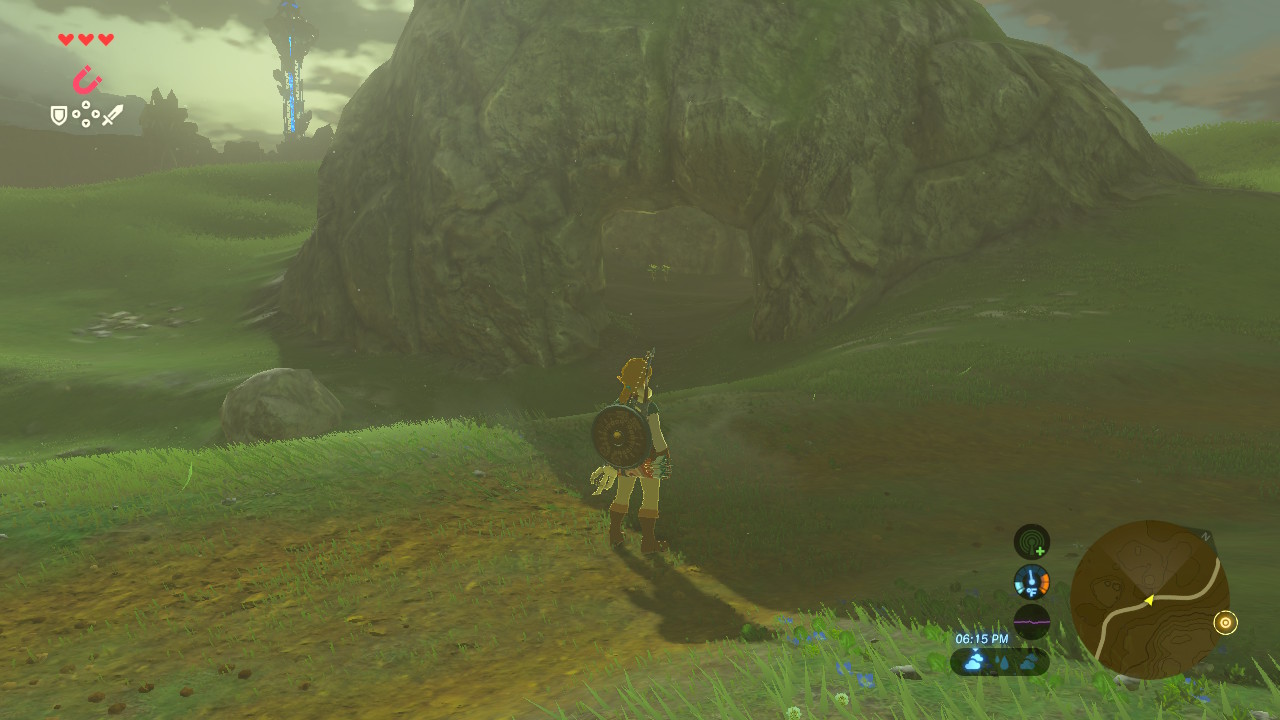
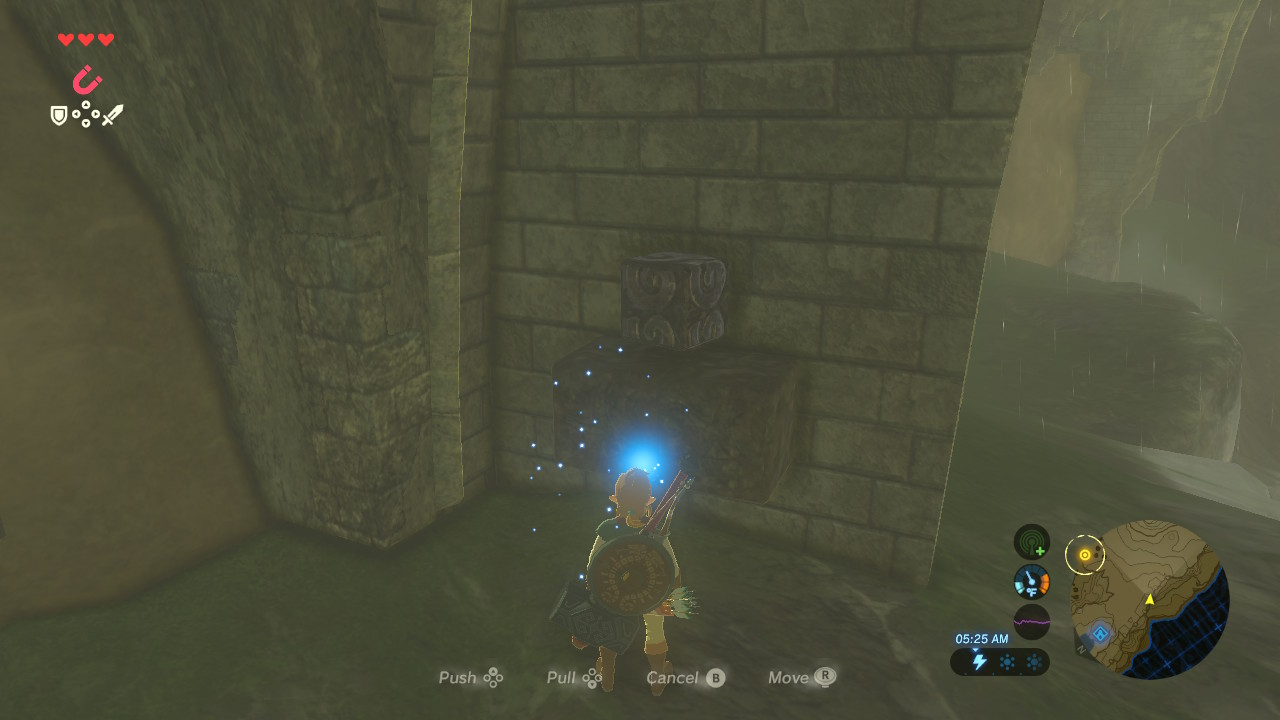
5 – Underneath the gate area at the back is a small moss covered opening. The Gatekeeper Coin is inside.

Human Resource Machine – Years 20 to 41

Multiplication Workshop [Year 20]

For each two things in the INBOX, multiply them, and OUTBOX the result. Don’t worry about negative numbers for now.

Size (15)

Speed (109)

Zero Terminated Sum [Year 21]

Add together all the numbers in each string. When you reach the end of a string (marked by a ZERO), put your sum in the OUTBOX. Reset and repeat for each string.

Size (10) and Speed (72)

Fibonacci Visitor [Year 22]

For each thing in the INBOX, send to the OUTBOX the full Fibonacci Sequence up to, but not exceeding that value. For example, if INBOX is 10, OUTBOX would be 1 1 2 3 5 8.
1 1 2 3 5 8 13 21 34 55 89 …

Size (19) and Speed (156)

The Littlest Number [Year 23]

For each zero terminated string in the INBOX, send to the OUTBOX only the SMALLEST number you’ve seen in that string. You will never be given an empty string. Reset and repeat for each string.

Size (13) and Speed (25)

Mod Module [Year 24]

For each two things in the INBOX, OUTBOX the remainder that would result if you had divided the first by the second. Don’t worry, you don’t actually have to divide. And don’t worry about negative numbers for now.

Size (12) and Speed (57)

Cumulative Countdown [Year 25]

For each thing in the INBOX, OUTBOX the sum of itself plus all numbers down to zero. For example, if INBOX is 3, OUTBOX should be 6, because 3+2+1=6.

Size (12) and Speed (82)

Small Divide [Year 26]

For each two things in the INBOX, how many times does the second fully fit into the first? Don’t worry about negative numbers, divide by 0, or remainders.

Size (15) and Speed (76)

Three Sort [Year 28]

For each THREE THINGS in the INBOX, send them to the OUTBOX in order from smallest to largest.

Size (34)

Speed (78)
Storage Floor [Year 29]

Imagine each thing in the INBOX is an address. And each address refers to a tile 0-9 on the floor. Your task: For each address in the INBOX, pick up the letter at that address and OUTBOX it.

Size (5) and Speed (25)
String Storage Floor [Year 30]
Size (x) and Speed (x)
String Reverse [Year 31]
Size (x) and Speed (x)
Inventory Report [Year 32]
Size (x) and Speed (x)
Vowel Incinerator [Year 34]
Size (x) and Speed (x)
Duplicate Removal [Year 35]
Size (x) and Speed (x)
Alphabetizer [Year 36]
Size (x) and Speed (x)
Scavenger Chain [Year 37]
Size (x) and Speed (x)
Digit Exploder [Year 38]
Size (x) and Speed (x)
Re-Coordinator [Year 39]
Size (x) and Speed (x)
Prime Factory [Year 40]
Size (x) and Speed (x)
Sorting Floor [Year 41]
Size (x) and Speed (x)

Human Resource Machine – Years 1 to 19

Although your progress towards the Size and Speed goals are not shown until you pass Zero Exterminator [Year 7], all progress you made will be shown at that time. Note that one solution may not work for both Size and Speed. There are 3 tabs within each Year so that you may work on multiple solution options at the same time.

Mail Room [Year 1]

Your program should tell your worker to grab each thing from the INBOX, and drop it into the OUTBOX.

Size (6) and Speed (6)

Busy Mail Room [Year 2]

Grab each thing from the INBOX, and drop each one into the OUTBOX.

Size (3)

Speed (25)

Copy Floor [Year 3]

Ignore the INBOX for now, and just send the following 3 letters to the OUTBOX: B U G

Size (6) and Speed (6)

Scrambler Handler [Year 4]

Grab the first TWO things from the INBOX and drop them into the OUTBOX in reverse order. Repeat until the INBOX is empty.

Size (7) and Speed (21)

Rainy Summer [Year 6]

For each two things in the INBOX, add them together, and put the result in the OUTBOX.

Size (6) and Speed (24)

Zero Exterminator [Year 7]

Send all things that ARE NOT ZERO to the OUTBOX.

Size (4) and Speed (23)

Tripler Room [Year 8]

For each thing in the INBOX, TRIPLE it. And OUTBOX the result.

Size (6) and Speed (24)

Zero Preservation Initiative [Year 9]

Send only the ZEROs to the OUTBOX.

Size (5) and Speed (25)

Octoplier Suite [Year 10]

For each thing in the INBOX, multiply by 8, and put the result in the OUTBOX.

Size (9) and Speed (36)

Sub Hallway [Year 11]

For each two things in the INBOX, first subtract the 1st from the 2nd and put the result in the OUTBOX. AND THEN, subtract the 2nd from the 1st and put the result in the OUTBOX. Repeat.

Size (10) and Speed (40)

Tetracontiplier [Year 12]

For each thing in the INBOX, multiply it by 40, and put the result in the OUTBOX.

Size (14) and Speed (56)

Equalization Room [Year 13]

Get tw0 things from the INBOX. If they are EQUAL, put ONE of them in the OUTBOX. Discard non-equal pairs. Repeat!

Size (9) and Speed (27)

Maximization Room [Year 14]

Grab TWO things from the INBOX, and put only the BIGGER of the two in the OUTBOX. If they are equal, just pick either one. Repeat!

Size (10) and Speed (34)

Absolute Positivity [Year 16]

Send each thing from the INBOX to the OUTBOX. BUT, if a number is negative, first remove its negative sign.

Size (8) and Speed (36)

Exclusive Lounge [Year 17]

For each TWO things in the INBOX:
Send a 0 to the OUTBOX if they have the same sign. (Both positive or both negative.)
Send a 1 to the OUTBOX if their signs are different. Repeat until the INBOX is empty.

Size (12) and Speed (26)

Countdown [Year 19]

For each number in the INBOX, send that number to the OUTBOX, followed by all numbers down to (or up to) zero. It’s a countdown!

Size (10)

Speed (82)

ACA NEOGEO

ACA NEOGEO
Release Date
3/9/2017
Cost
$7.99 each
Format
Digital
Size
75 MB – 180 MB
Play Modes
TV
Tabletop
Handheld
Players
1 – 2
Pro Controller?
YES
Developer
Hamster
Publisher
Hamster
Available On
Nintendo Switch
GAMES AVAILABLE

ACA NEOGEO Nam-1975
ACA NEOGEO The King of Fighters ’98
ACA NEOGEO Waku Waku 7
ACA NEOGEO Shock Troopers
ACA NEOGEO World Heroes Perfect
ACA NEOGEO Metal Slug 3
ACA NEOGEO The King of Fighters ’94 (Added 3/16/2017)
ACA NEOGEO Metal Slug (Added 3/30/2017)

Voez

Voez
Release Date
3/9/2017
Cost
$25.00
Format
Digital
Size
620 MB
Play Modes
Handheld
Players
1
Pro Controller?
NO
Developer
Ray Ark
Publisher
Flyhigh Works
Available On
Nintendo Switch
GAME TRAILER

Legend of Zelda: Breath of the Wild – Korok Seeds – Dueling Peaks

KOROK SEEDS – DUELING PEAKS

Korok Seeds are collectibles found through the entire. So far it is rumored there are 900 total to be found. These are traded to Hestu, who is right outside Kakariko Village, after completing his short side quest “The Priceless Maracas”. You trade him the Korok Seeds for increased inventory slots. You can increase your Weapon, Bow or Shield inventory. The first slot in each is 1 Seed, then 2, and so on.

#1 [MAGNESIS]

Right below the Eastern Abbey (but technically in the Dueling Peaks) is another metal plate that needs to be lifted with Magnesis and then a rock to be picked up.

#2 [ROCK]

There are ruins at the top of Scout’s Hill. Simply pick up the rock up the stairs on the top of the ruins.

#3 [FLOWERS]

On the road between Outpost Ruins and Scout’s Hill there will be a cave to the west as you head south. Inside the cave are 5 groups of Yellow flowers. You need to touch the groups in number order. Touch the single flower first, then the bunch of two flowers and so on.

#4 [ROCK]

Pick up the rock on the tiny (and we mean really tiny) island in the middle of South Nabi Lake.

#5 [TARGETS]

There is a lone pinwheel on a large rock. Climb up and stand by it. 3 targets will appear and you need to shoot these with arrows or another projectile. Get all 3 and you’ll get the Korok Seed.

#6 [ROCK]

There is a rock to pick up under the far right section of Proxim Bridge on a small sandy area. Make sure to come from the east side to help with the strong current.

#7

On the bank of the Hylia River use Magnesis to move the block from the stack over to the other stack so that the two stacks match each other.

#8 [TARGETS]

There is another pinwheel and three targets at up on a hill at the Hills of Baumer.

#9 [THROW ROCK]

There is a set of rocks on the middle of the Hylia River just south of the Bosh Kala Shrine. Grab a rock from the edge and throw it in the middle of the rocks in the river.

#10 [SPARKLES]

East Post Ruins – Top of the flagpole just north of Bosh Kala Shrine are some sparkles. Takes either a Stanima food item or at least 2 Stanima boosts.

#11 [BOULDER]

North of Scout’s Hill there is a boulder that you can push down into a small depression. When it reaches the bottom you’ll get the Korok Seed.

#12 [SPARKLES]

Across the river from Scout’s Hill on the top of the hill there is a large tree with a small stone structure. Just crouch inside the stone structure and Examine the sparkles.

#13 [ROCK]

On the shore of the river across from the Bosh Kala Shrine is a lone rock on the beach. Pick it up to get the seed.

#14 [FLOWERS]

There is a giant felled hollow tree in the Hill of Baumer. Follow the spawning yellow flower to the end at the trunk. Watch out for the rolling boulder.

#15 [MATCH]

Three apple trees on the top of the Hills of Baumer. You need to make the 3 trees match. So pick or shoot off apples from the left tree to match the other two.

#16 [BOULDER]

South of South Nabi Lake by the road you need to push a boulder into the nearby depression.

#17 [ROCK]

Blow open the rocks blocking the cave with Remote Bomb and then pick up the rock inside.

#18 [FLOWERS]

Starts on the south side of the river. Hit the Flower and then follow it on the small rock islands to the north side of the river.

#19 [ROCK]

High up on the first major ledge for the south Dueling Peaks is a rock to pick up.

#20 [APPLE]

Climb to the very top of Dueling Peaks and to the Shee Vaneer Shrine. Then above that there are 2 altars. Place a apple in the empty basket to get the seed.

#21 [ROCK]

On the top of the north side of Dueling Peaks about the Shee Venath Shrine is a rock to pick up.

#22 [BOULDER]

Top of north side of Dueling Peaks to the east of Shee Venath Shrine are three boulders and a series of shrubs ending in 2 trees. You need to push a boulder down the hill so that it goes between the 2 trees.

#23 [APPLE]

In some trees on Dueling Peaks north side there is a alter with 2 baskets. Put a Apple in the empty basket.

.

Legend of Zelda: Breath of the Wild – Korok Seeds – Great Plateau

KOROK SEEDS – GREAT PLATEAU

Korok Seeds are collectibles found through the entire. So far it is rumored there are 900 total to be found. These are traded to Hestu, who is right outside Kakariko Village, after completing his short side quest “The Priceless Maracas”. You trade him the Korok Seeds for increased inventory slots. You can increase your Weapon, Bow or Shield inventory. The first slot in each is 1 Seed, then 2, and so on.

#1 [JUMP]

Dive off the ledge below the Old Man’s campfire near the Temple of Time into the ring of lilies in the lake.

#2 [MAGNESIS]

Path on the NW corner of behind Hopper Pond. Then use Magnesis to move the single block to fix the broken set.

#3 [FLOWERS[\]

There is a Yellow Flower at the entrance to a large hollowed out log in the Forest of Spirits. Touch it and it will warp farther into the log. Do this about 5 times to get the Koko Seed.

#4 [ROCK]

Pick up the rock on top of the rock pillar in the Forest of Spirits.

#5 [ROCK]

5) Under a large tree’s root system is a pile of leaves. Swing at the leaves and then Pick Up the rock.

#6 [ROCK]

Just pick up the small rock under the two leaning rocks.

#7 [MAGNESIS]

Use Magnesis to pull the round small boulder from the water and place it in the tree trunk.

#8 [SPARKLES]

Climb to the top of the Temple of Time and Examine the sparkles. There is a ladder on the side of the Temple to get you most of the way.

#9 [MAGNESIS]

Directly east of Ja Baij Shrine go over the ledge and there is a large metal plate to Magnesis. Then pick up the small rock to get the Seed.

#10 [SPARKLES]

On the roof of the Old Man’s Hut southeast of Ja Baij Shrine in the wooded area.

#11 [STASIS]

At the southeastern edge of Mount Hylia over the edge from the ruins there is a large rock you can Stasis hit away. Then under that is a small rock to pick up and get the Seed.

#12 [ROCK]

Head west from Owa Daim Shrine towards Mount Hylia and there is a rock you need to pick up on the side of some ruins near the southern most tip of the Plateau.

#13 [MOVE ROCK]

At the base of Mount Hylia is a circle of stones with one stone missing. Pick up the missing stone that is nearby and drop it to complete the circle.

#14 [MAGNESIS]

South of Keh Namut Shrine there is a metal block over the edge of the ruins. You need to Magnesis this block and round the corner with it. Then place it on top of the 2 blocks.

#15 [FIRE]

There is a large ice rock to the north of Keh Namut Shrine on the edge of the cliff. Destroy it with 4x Fire Arrows or a lit Torch. Then Examine the sparkles.

#16 [MAGNESIS]

Down at the bridge over the River of the Damned you need to first Remote Bomb the log on the southern side. Then use Magnesis to pull one of the metal sheets from the North side to cover the now exposed pillars. Then Examine the sparkles under the bridge.

.

Legend of Zelda: Breath of the Wild – Warm Doublet Quest

WARM DOUBLET QUEST

Armor 1 – Cold Resistance

The Warm Doublet is a shirt you can acquire from the Old Man during the opening area of Zelda: Breath of the Wind at the Old Man’s Hut in the forest below the Temple of Time of The Isolated Plateau.

Step 1: Read the recipe at the Old Man’s Hut

Old Man’s Hut

Read through the book in the Old Man’s Hut to learn the recipe. You need Spicy Pepper, Raw Meat and Hyrule Bass. There are several Spicy Peppers sitting right there on the table for you to grab. The Bass can be found at the lake near the start of the game. The Raw Meat comes from Wild Boar. Occasionally there will be 1 roaming around the same area as the Hut but they are more easily found in the Forest of Spirits.

Step 2: Get the Ingredients

To get the Hyrule Bass head to the lake by the Temple of Time. Swim to the middle small island and watch for fish swimming in the water. When you see one launch a Remote Bomb into the water and detonate it. If you got the fish it will float to the surface. Just swim over to it and get it.

The Wild Boars are in the Forest of Spirits. Enemies will also attack the boars so watch out for that. They are pretty fast and pretty easily spooked so you might have to give chase. Arrows are probably the best bet to take one done but you can also get lucky and one will charge you for a easy kill.

Step 3: Make the Dish

Head back to the Old Man’s Hut and go into your Materials tab of the Inventory. Select Spicy Pepper and hit the X key to hold it. Then A to add it. Now hit A to add for the other two items (Raw Meat and Hyrule Bass). Standing in front of the Cooking Fire outside the Hut with all three items in your hands hit A to cook. You will make a Spicy Meat and Seafood Fry. Restore 5 hearts and 3:30 of Cold Resistance.

Step 4: Give the Dish to the Old Man

During the night, before bed, the Old Man will be sitting by the Cooking Fire. Talk to him then and select “I Cooked Something” and he’ll give you the Warm Doublet. If he is not by the Cooking Fire you can sit at the Fire and select wait until Night. When you come back he will be sitting by the fire.

Super Bomberman R

Super Bomberman R
Release Date
3/3/2017
Cost
$49.99
Format
Digital
Size
2.1 GB
Play Modes
TV
Tabletop
Handheld
Players
1 – 8
Pro Controller?
YES
Developer
Konami
Publisher
Konami
Available On
Nintendo Switch