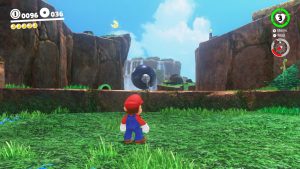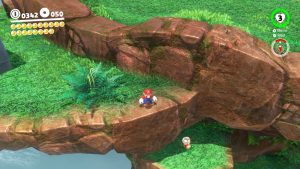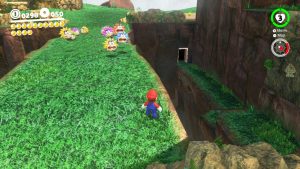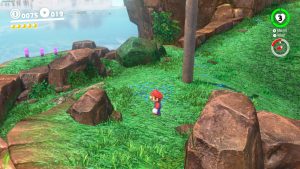
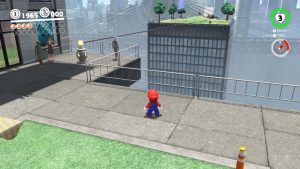
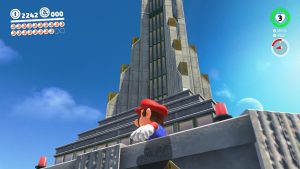
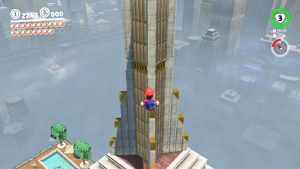
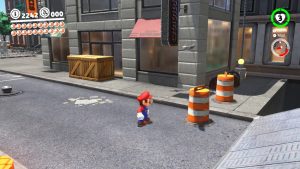
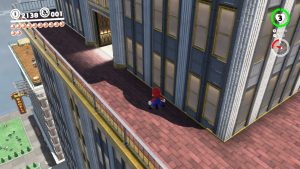
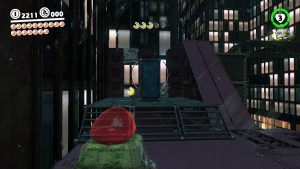
Start off by head over the girders to get to the Spark Pylon. Use that to reach City Outskirts. Head down the street to the left to and onto another set of girders to reach Construction Site. From there continue to the main building and use the stairs on the right and another Spark Pylon to reach the entrance to the building. Enter the building and work your way to the top and exit back to the Heliport. One more Spark Pylon and we’re at the Scourge on the Skyscraper.

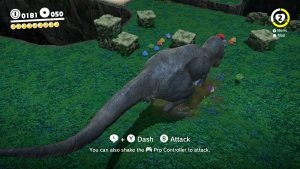
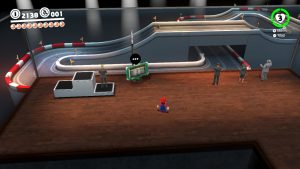
First stage of the battle is capturing the Tank and hitting all the sections of the enemy. Then it will warp into the wall and project a beam. This beam is it’s path so simply get out of the way. It will also start to send out glowing orbs to attack you. These come straight at you and can be dodged or destroyed with tank fire. There are only 2 stages to this battle.
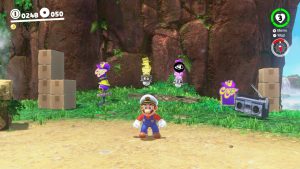
Mayor Pauline is standing right in front of New Donk City Hall and wants you to find 4 musicians.
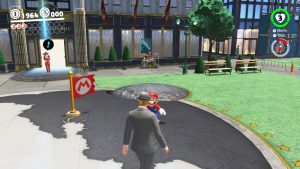
Location: New Donk City Hall Plaza
The Drummer is directly to the right
Location: Main Street Entrance
On the northeast side of the park on a small circle stage with shrubs behind him.
Location: Mayor Pauline Commemorative Park
Take the Spark Pylon from East side of New Donk City Plaza over to Mayor Pauline Commemorative Park and he is in the corner.
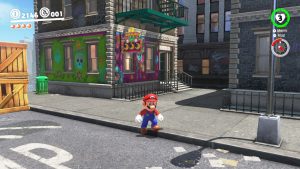
Location: New Donk City Hall Plaza
Last guy is on top of the West most triangular building on the South street. The building that is just West of that one has a series of Poles you can capture and fling yourself up to the top and then over to the next building.
Location: New Donk City Hall Plaza
After finishing getting the band together Mayor Pauline will let you know she has a power plant problem. Let’s take care of that for her. Over to the far East side of the Plaza is a giant manhole cover. Capture it to move it out of the way. This will put you in the Underground Power Plant. Use Cappy to move the green platforms. When you get to the large green platform ride it to the top and jump back the way you came to a ledge to find Sewer Treasure. Then continue on and work your way to a final area with 2 large Piranha Plants. Defeat them both to get the Powering Up the Station Power Moon. Afterward get on top of the power station and ground pound to activate it.


Location: Odyssey
After completing the Power Station, Pauline will ask if you want to participate in a Festival. Say yes and you’ll be warped to the Odyssey. Enter the newly erected Pipe and continue through the 2D puzzles. When you reach the section that is completely upside down with the jumping fireballs jump onto the 4 ? blocks and then jump some more to reveal hidden blocks. Use those to enter the pipe and get the Celebrating in the Streets! Power Moon. Continue on to the Donkey Kong section and hit all the ? Blocks to defeat him, then head into the pipe. You’ll come out by Pauline. Talk to her to get a Multi Moon.
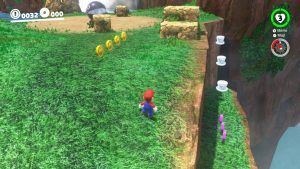
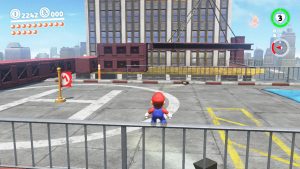
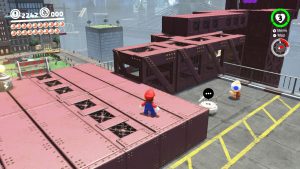
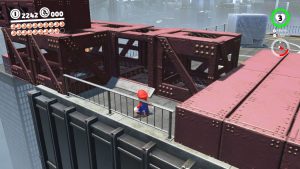
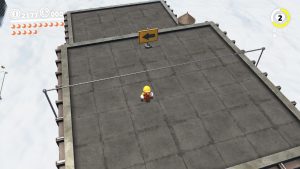
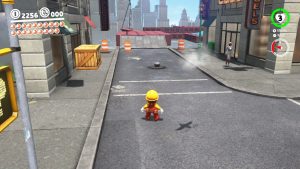
Location: Construction Site
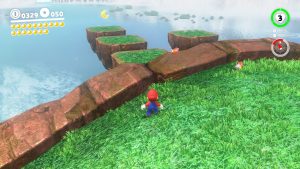
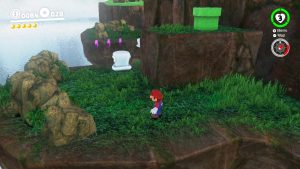
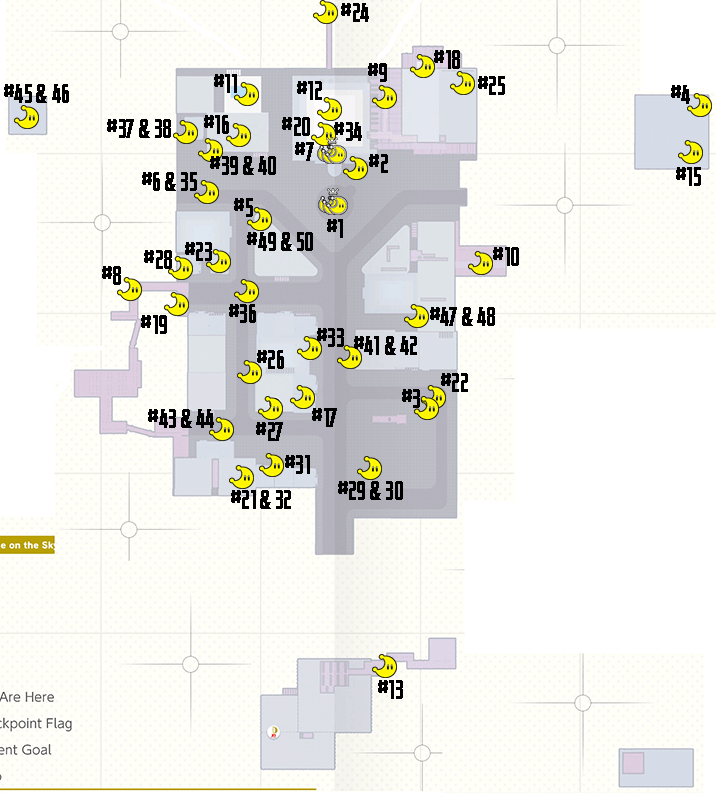
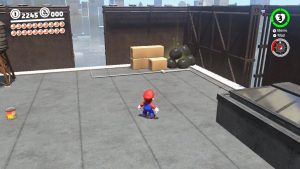
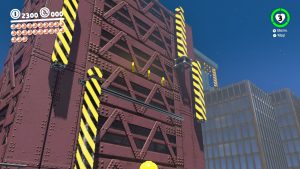
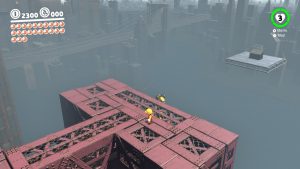
There are 4 crates stacked up at the North end of the length of girder for Construction Site. Smash them to be able to enter the girder. Simply follow it to the end to get the Power Moon.
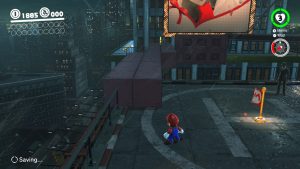
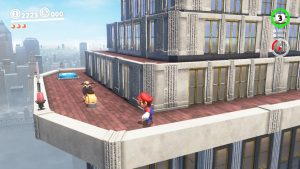
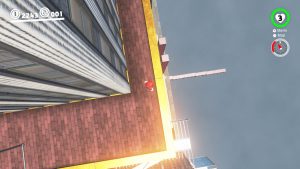
Location: Heliport
Right off the heliport is a swaying girder. The Power Moon is at the end of it. Just be careful and jump to get it.
Locations: Location: New Donk City Hall Plaza
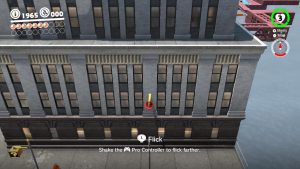
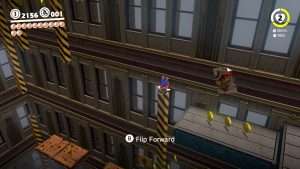
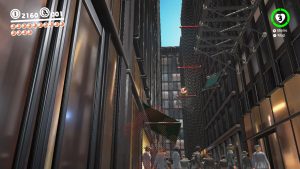
Head to the East side where it drops off. Look to the right and you’ll see a small path to some tall wide girders. Simply wall jump your way to the top to get the Power Moon.
Location: Helipad
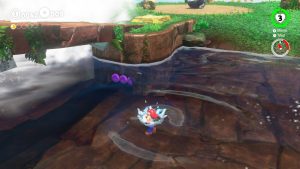
Take the Spark Pylon to the top of New Donk City Hall and then long jump off the West side to the pool below.
Location: Helipad
Take the Spark Pylon to the top of New Donk City Hall and then just climb up to the very very very top.
Location: Odyssey
The first girders you go over to the right have a hidden Power Moon. Simply jump over the girder and there is a entrance on the North side.
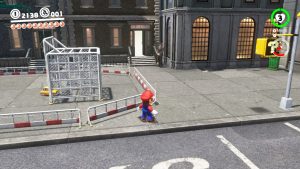
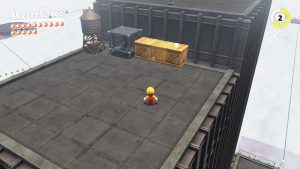
Location: Construction Site
At the ramp to the Construction Site girders is hidden Spark Pylon on the side of the building. Take the up and then use the pole to fling yourself the last bit. Destroy the garbage bags and ground pound where they were for a Power Moon.
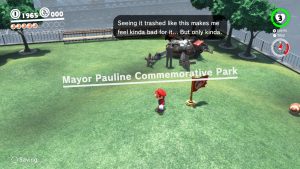
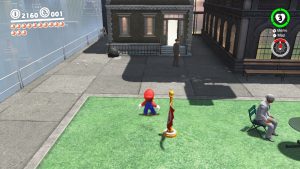
Location: Mayor Pauline Commemorative Park
Take the Spark Pylon from East side of New Donk City Plaza over to Mayor Pauline Commemorative Park and do a ground pound on the remains of the boss there.
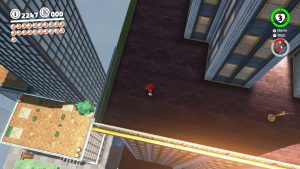
Location: New Donk City Hall Rooftop
Long jump off the West side to the café below. It’s the floor below the pool. Then Ground Pound the middle of the open area to reveal the Power Moon. Your controller will rumble when you are close.
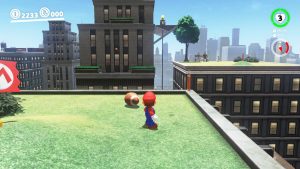
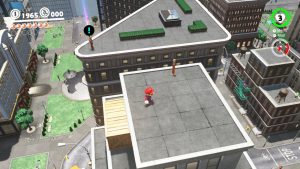
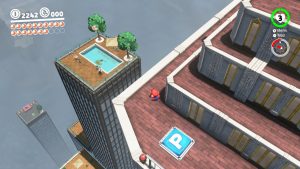
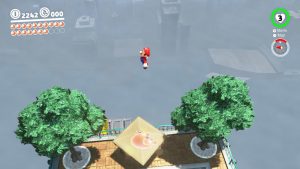
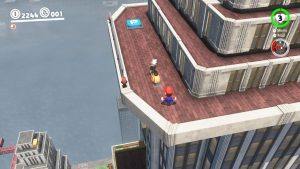
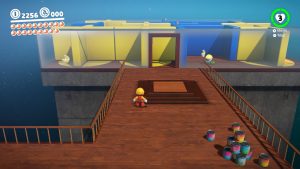
Location: Rooftop Garden
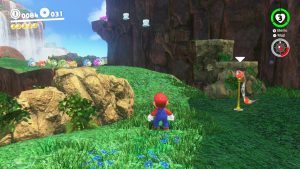
If you haven’t gotten up to the Rooftop Garden you can start with a series of poles on the building to the North and then Spark Pylon over to the Rooftop Garden. Use the pole to fling yourself over to the grass on the top of the adjacent building. Hit the bunny with your hat and once more with a kick for good luck to get the Power Moon. If you miss it can get quite hard to catch the bunny as be jumps from building to building. If this happens it’s usually best to just look away so the bunny resets and try again. Homing Throw is your friend here.
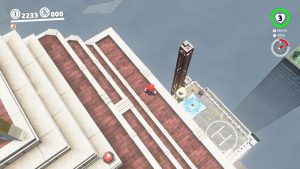
Location: Helipad
Take the Spike all the way to the top of City Hall. The pillar you are looking for is off the Northeast. Long Jump over there and hit the garbage to get the Power Moon.
Location: Rooftop Garden
Down on the street just North of this flag is the first Timer Challenge. You need to use your weight to raise and lower the sides of the 3 platforms to get to the Moon in time.
Location: Helipad
Once again right the Spark all the way to the top of City Hall. This Timer Challenge involves using a Moped to ride a track to the Power Moon. Jump on the Moped and ride it over the P Switch to start the challenge. You need to ride over the key and the Power Moon will appear.
Location: Main Street Entrance
All 3 seeds are in the Southeastern corner of the park.
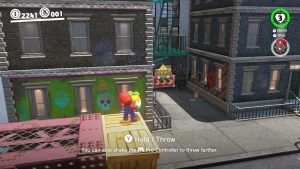
The Build Planter is across the street Westwise. Use the parked Taxi to launch onto the fire escape and head up to the roof for the Planter.
The Plaza Planter is just a few feet away in the corner of all the small trees.
The Rooftop Planter is above the Slots. Your best bet is to use the nearby wooden crates to throw the seed onto the fire escape. Then use the small alleyway to wall jump your way to the roof.
Once planted all 3 of these will take a few minutes to grow.
Location: New Donk City Hall Rooftop
Head to the back (North) side of the building and drop all the way to the one girder is extending out off the map. Captain Toad is waiting down there for you.
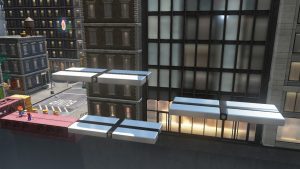
Location: Helipad
Ride the Spark to the roof of City Hall. Then jump on the Moped. You want to ride it off the East side to the roof of the second building over. There a man is standing next to a parking spot. Park the moped and get a Power Moon.


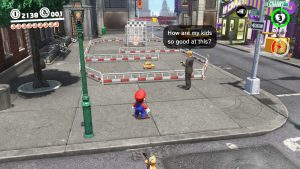
Location: Main Street Entrance
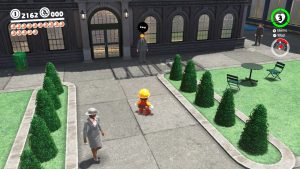
Take a left and go down the street by the store. There will be a man sitting on a bench. Put Mario on the bench with him and with some maneuvering you’ll sit down. Talk to man and hear his story. Afterwards he’ll reward you with a Power Moon.
Location: Main Street Entrance
Just head into the standard coin store and buy a Power Moon for 100.
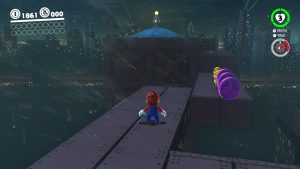
Location: Main Street Entrance
Head into the Metro City Slots. For 10 you can play. You want to get 4 Power Moons. The Power Moon is after the Standard Heart shows up.
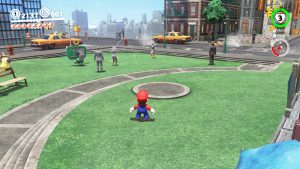

Location: Main Street Entrance
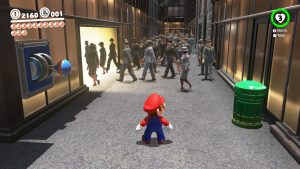
There are two ladies swinging a jump rope in the park. Just jump in the middle. You need 30 for Hero and a whopping 100 for Genius. The speed picks up after every section maxing out speed when the count reaches 50. Try to jump when the lady says, “Hey”.
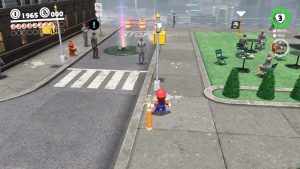
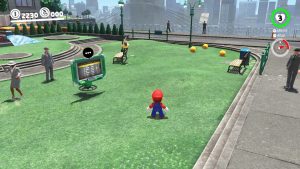
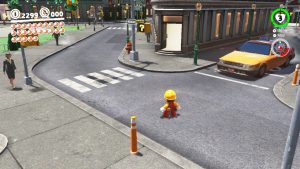
Location: Main Street Entrance
Just to the left of the plaza is a man without a hat. Capture to take control of the RC Car and use it to drive into the Power Moon in the cage.
Location: Main Street Entrance
Just past the outdoor RC track is a door to go inside the building. Inside is a larger RC track. You need to get less than 30 seconds on 3 laps to get the Power Moon.

Location: Main Street Entrance
As you head down the main street there is a open door on the left in the first set of buildings. Enter and you will do a Taking Notes 2D / 3D Combo puzzle of having to change back and forth to get all the Notes.
Location: Helipad
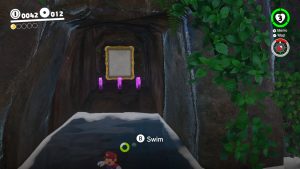
Enter the City Hall building from the Helipad and work your way to the pole climbing section. At the pole that is to the far back corner you need to wall jump off of that one to one that is higher. From there go pole to pole until you get to the Treasure Chest.

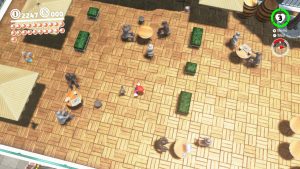
Location: Outdoor Café
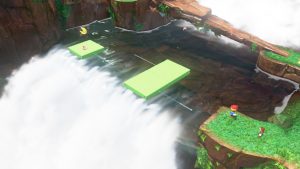
Head into the door to the North and capture the switch to start the challenge. Run over the tops of the crowd using dive jumps to get to the Power Moon before time runs out. Before you leave jump to the awning to the side and use that to propel you to platform on the other side. Then one more awning and a series of poles and you’ll be at the High Over the Crowed Power Moon.

Location: Outdoor Café
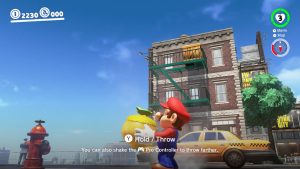
First you need to buy the fuller builder outfit from the store for 15 Metro Coins. Then talk to the man in front of the locked door near the Café. Take the right path to the large building and jump out of the spark at the top. Off the Beaten Wire in just over the side on the roof of the next building. Then continue on and get all the shards so that Rewiring the Neighborhood appears at the exit.
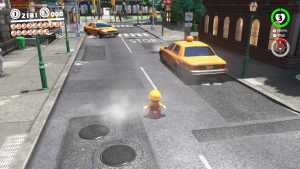
Location: Main Street Entrance
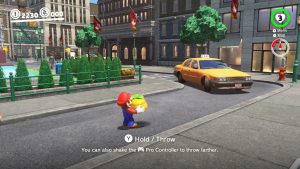
Down Cranky Street, the main street, there is a taxi with a orange light on the top parked to the left just waiting to be captured. Do this and drive off to be teleported to a secret area. You need to possess a Sherm and get 5 shards. You can use the Sherm to shoot the shards instead of having to run them over.
One is right up the first ramp and to the right.

Second is behind a car on the next ground level to the back right.
Third is slightly to the left and you have to shoot out some rocks to make a ramp.
Four is behind you at that same point. Look to the opposite side of the area and slightly up and shoot it.
And the final one is at the very top section.

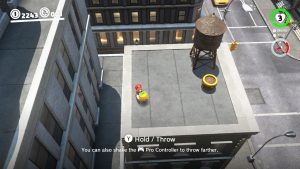
Before you leave. Look to the upper areas of the buildings and you’ll find a rock section way up there. Shoot it out to reveal a Power Moon. Get out of the Sherm and use cappy to reveal a hidden pathway. Grab Sharpshooting Under Siege and then drop down to get your reward from getting all 5 shards, Moon Shards Under Siege.
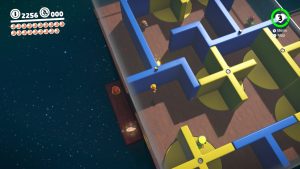
Location: Main Street Entrance
Go to the end of Dixie Street and capture the small manhole cover and jump in. Before entering the maze Backflip onto the roof and grab the Outside the Rotating Maze Power Moon off the back. Then enter the maze. Use Cappy to hit the yellow rotating sections to move. Work your way through the easy maze finding all 5 shards and then exit to claim Inside the Rotating Maze.
Location: Outdoor Café
The easiest way to reach this area is to go through the open door at the café. The pipe at the end of the hall with all the people leads right here. Take the rocket to the actual area.
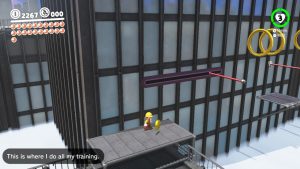
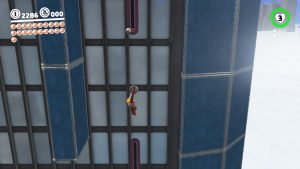
Work your way through the jumps until you reach the next ground area and there is a guy saying, “What an athlete.” Instead of moving on jump up and back and wall jump to another pole. Continue working your way up here to get to Vaulting Up a High-Rise. After getting this continue on and complete the course for Hanging from a High-Rise.

Location: Main Street Entrance
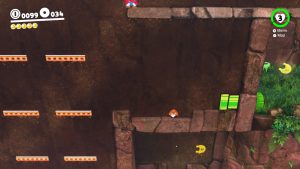
Head down the main street and take a right at the first alley and into the door. Climb the poles to the first platform. Then capture a Bullet Bill and fly over to the lone platform for One Man’s Trash… Complete the level and get Bullet Billding.
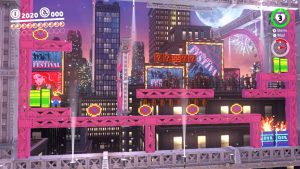
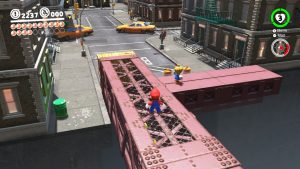
Location: Outdoor Café
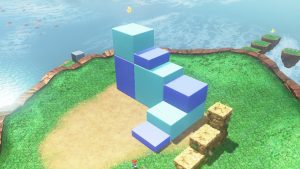
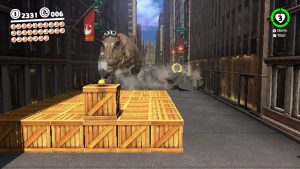
This door is in the Southeast corner of the area. Jump on the Moped and go go go. The first Power Moon will appear on the left side of the screen. There will be a large series of crates on the right, followed by a large series on the left. The left ones you need to jump on and then jump again to get the Power Moon. Now just complete the rest of the course for the other Power Moon.