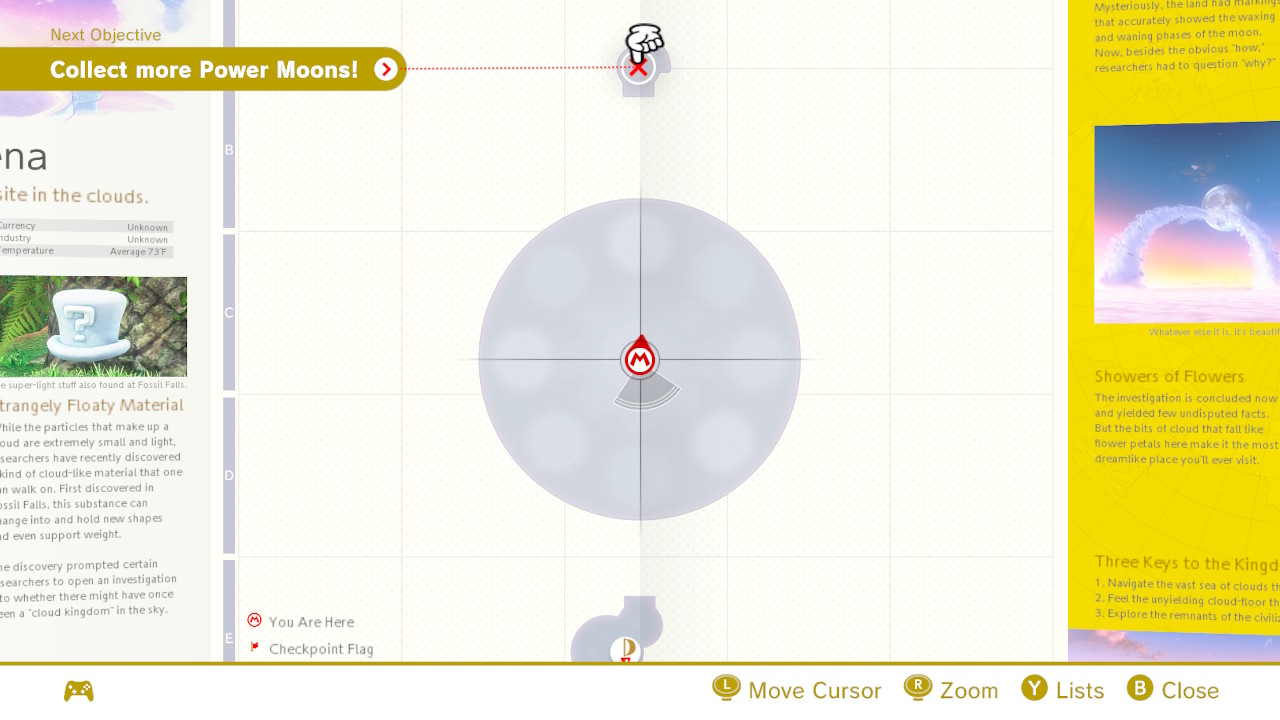
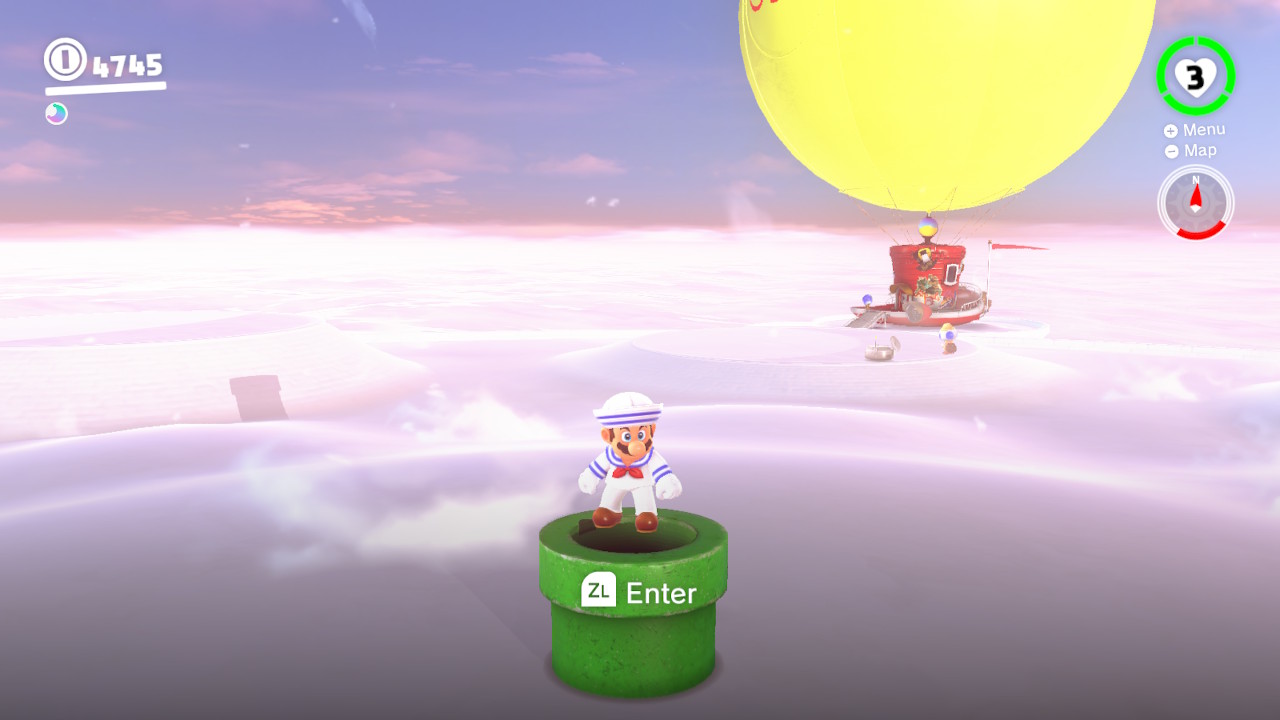
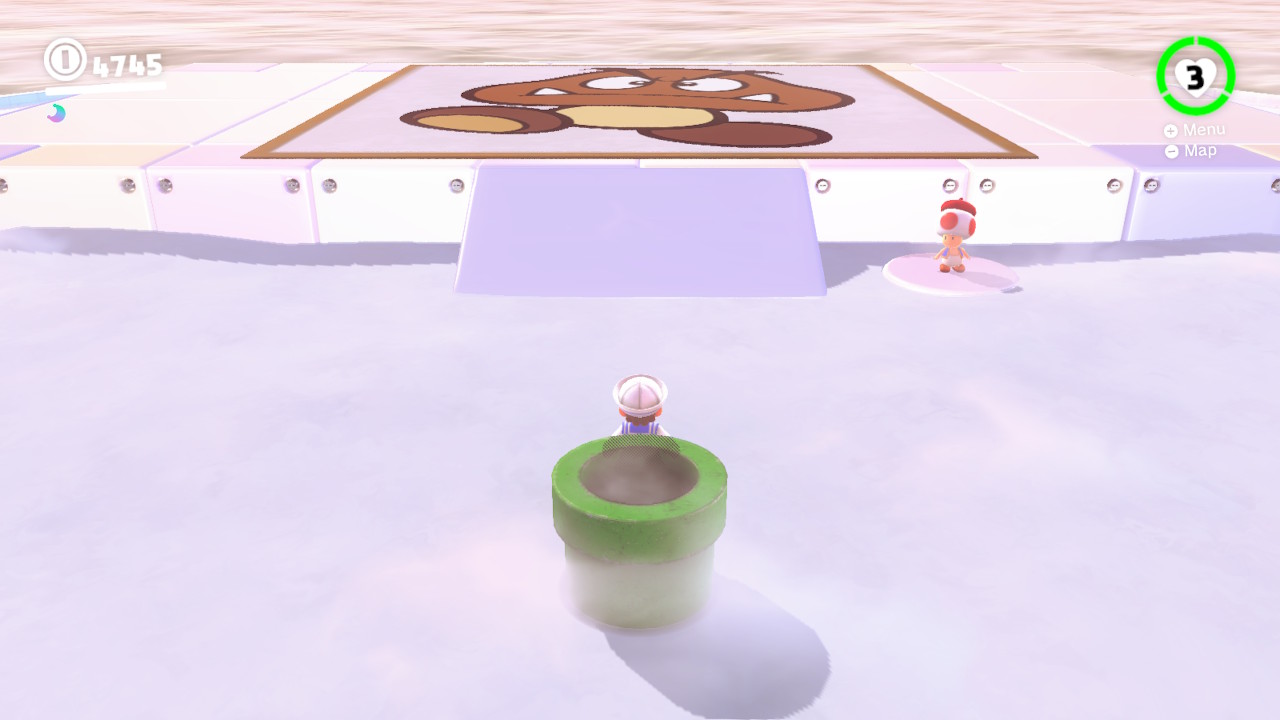
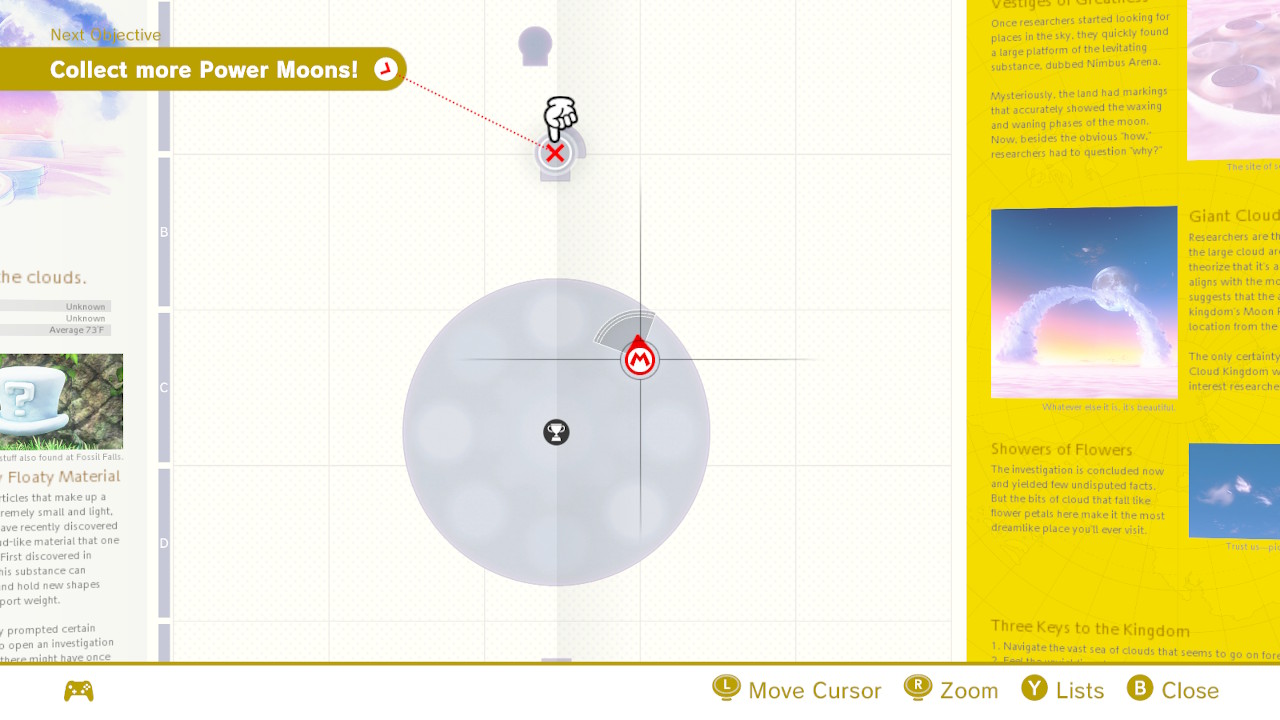
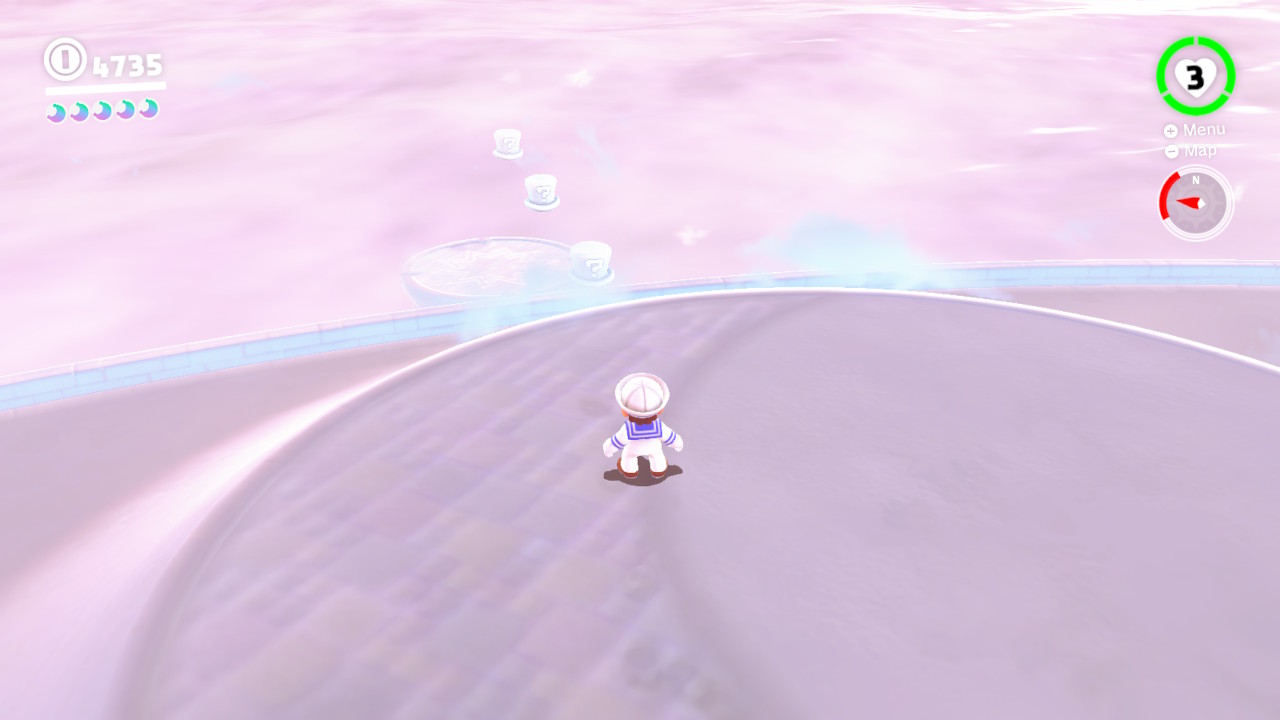
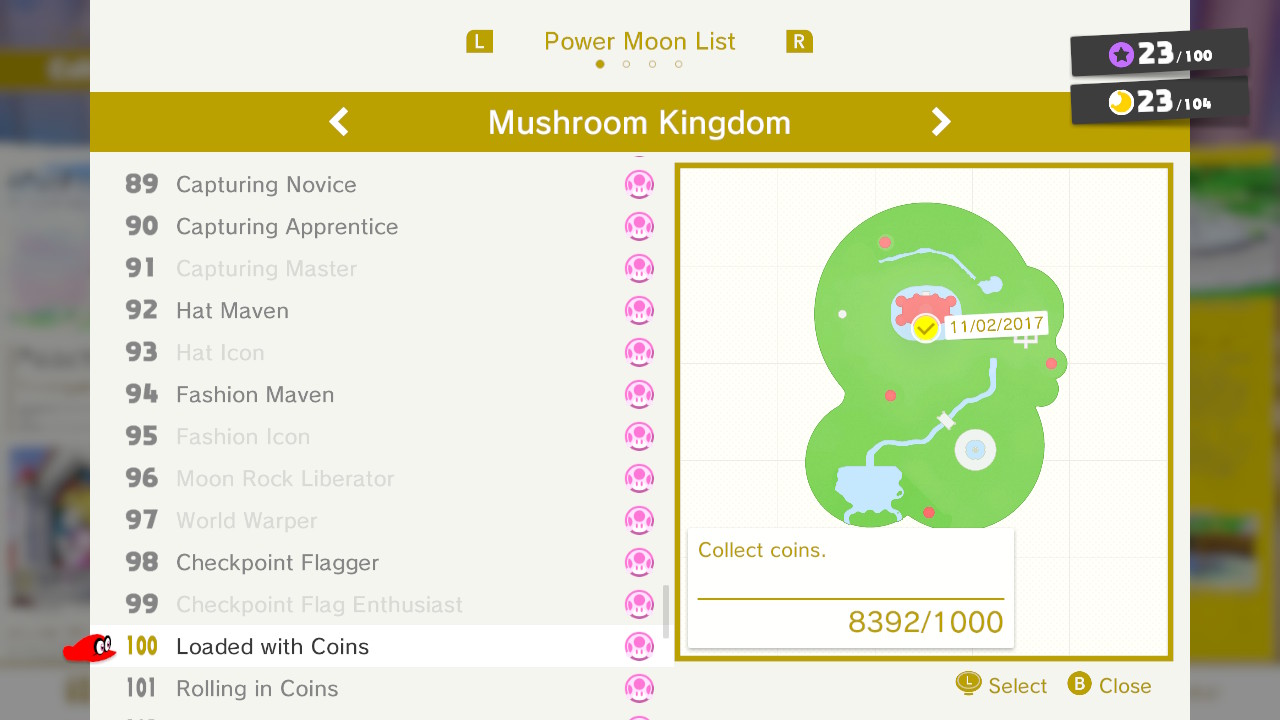
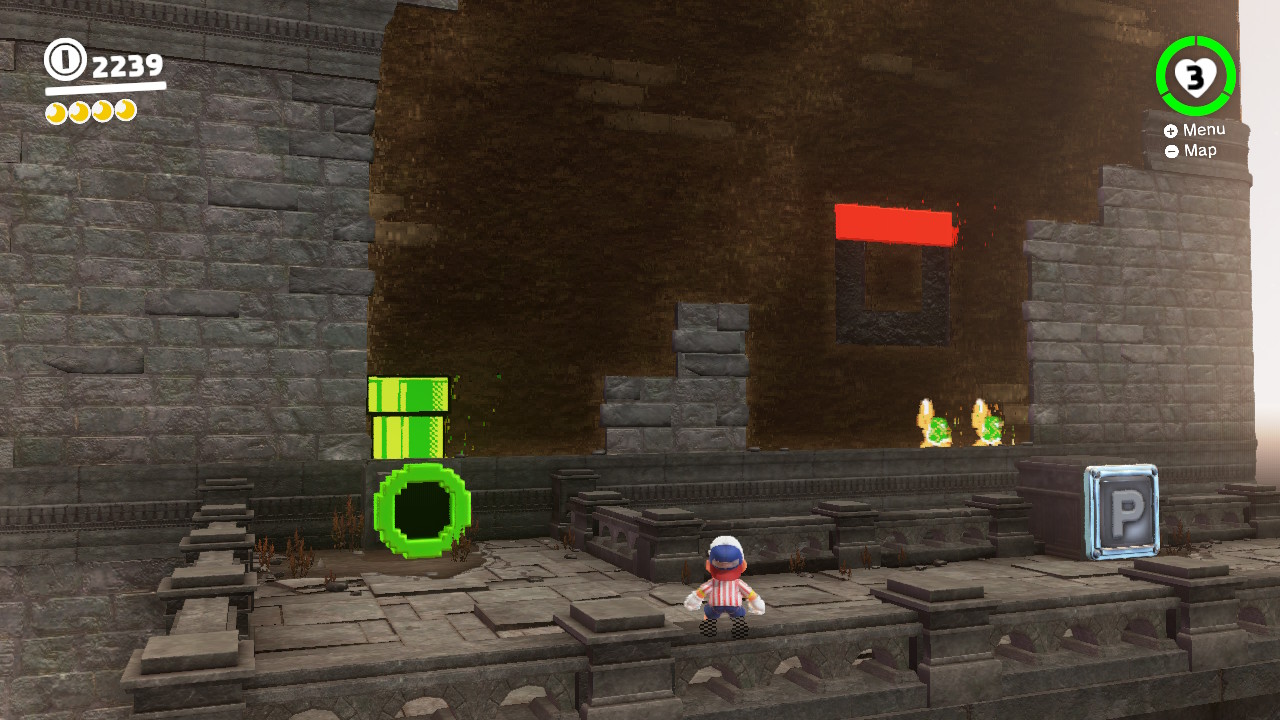
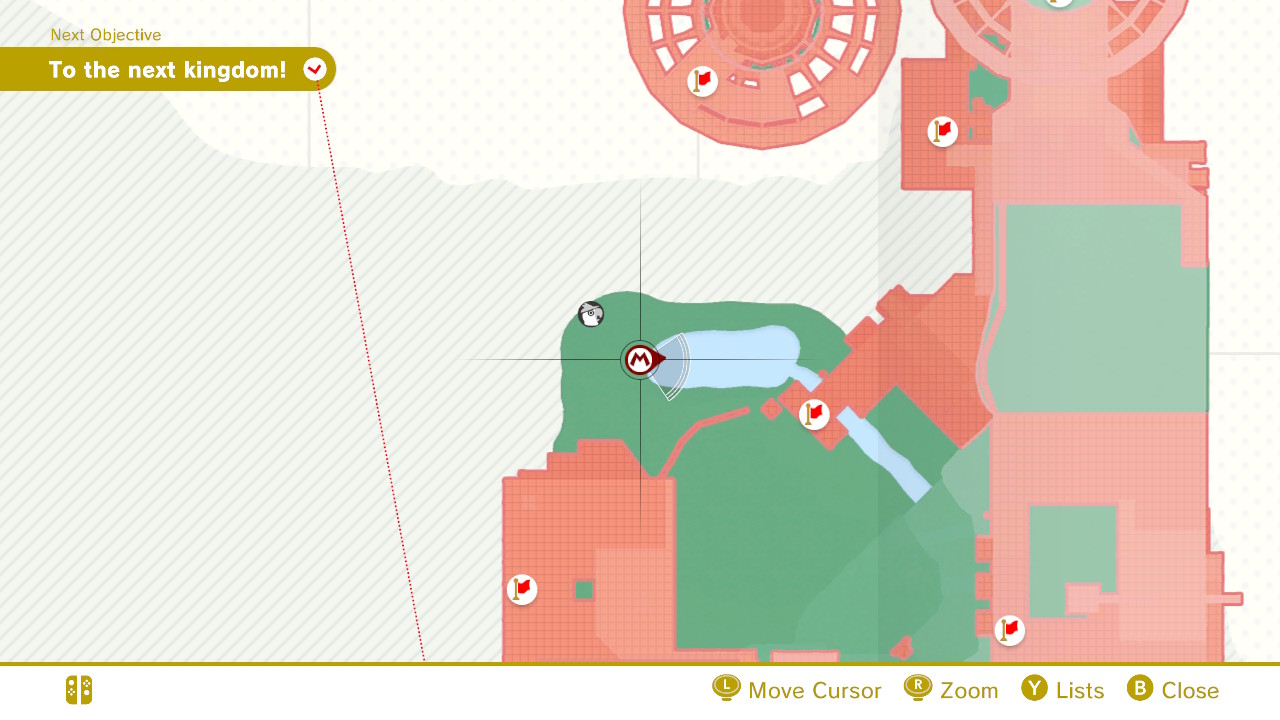
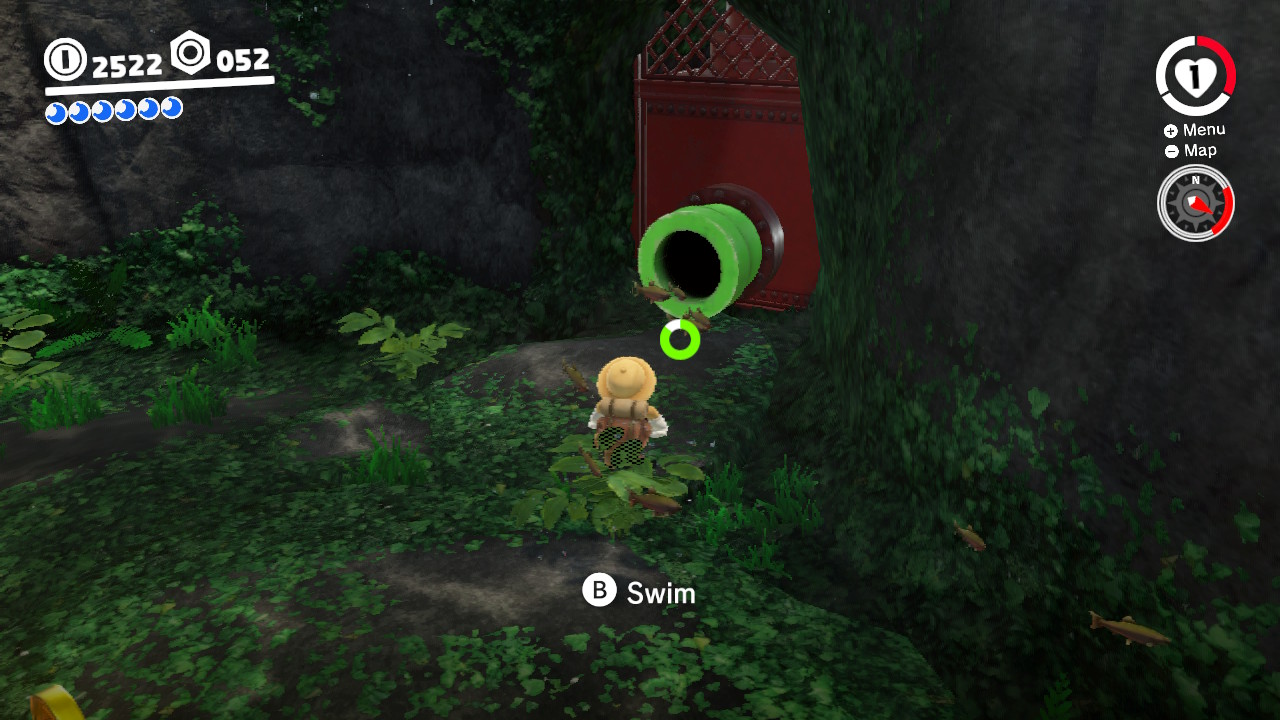
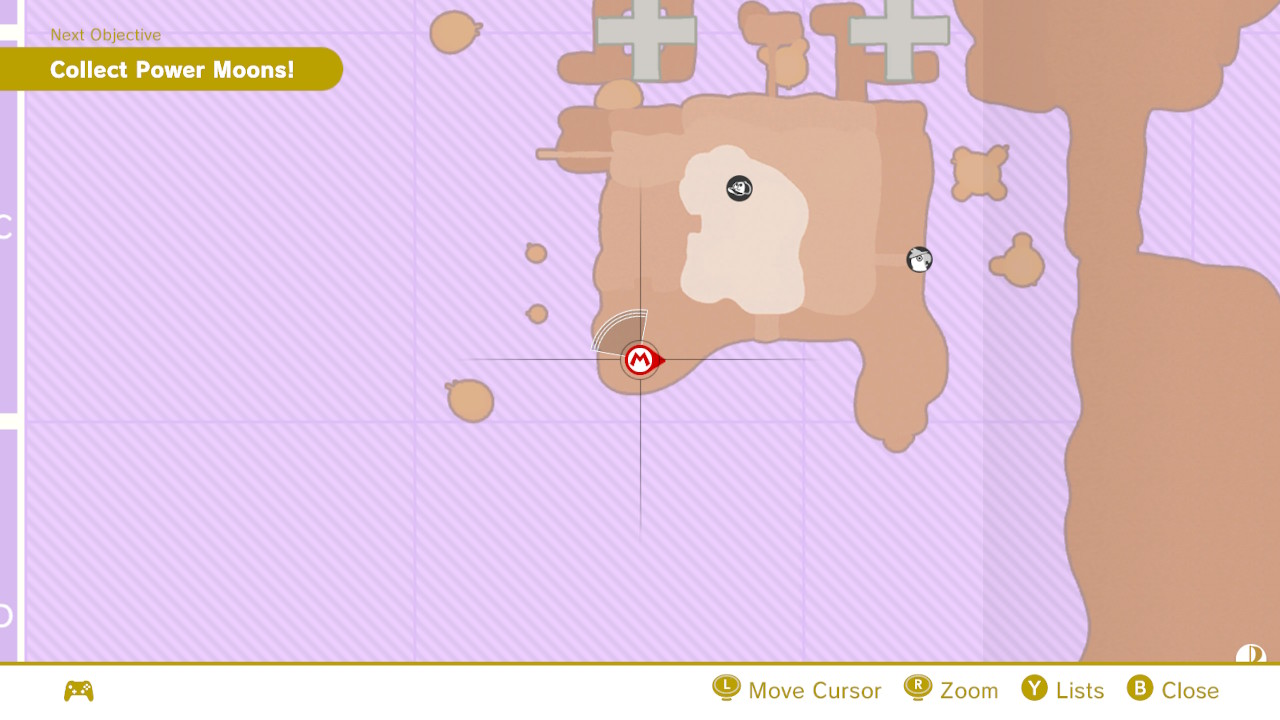
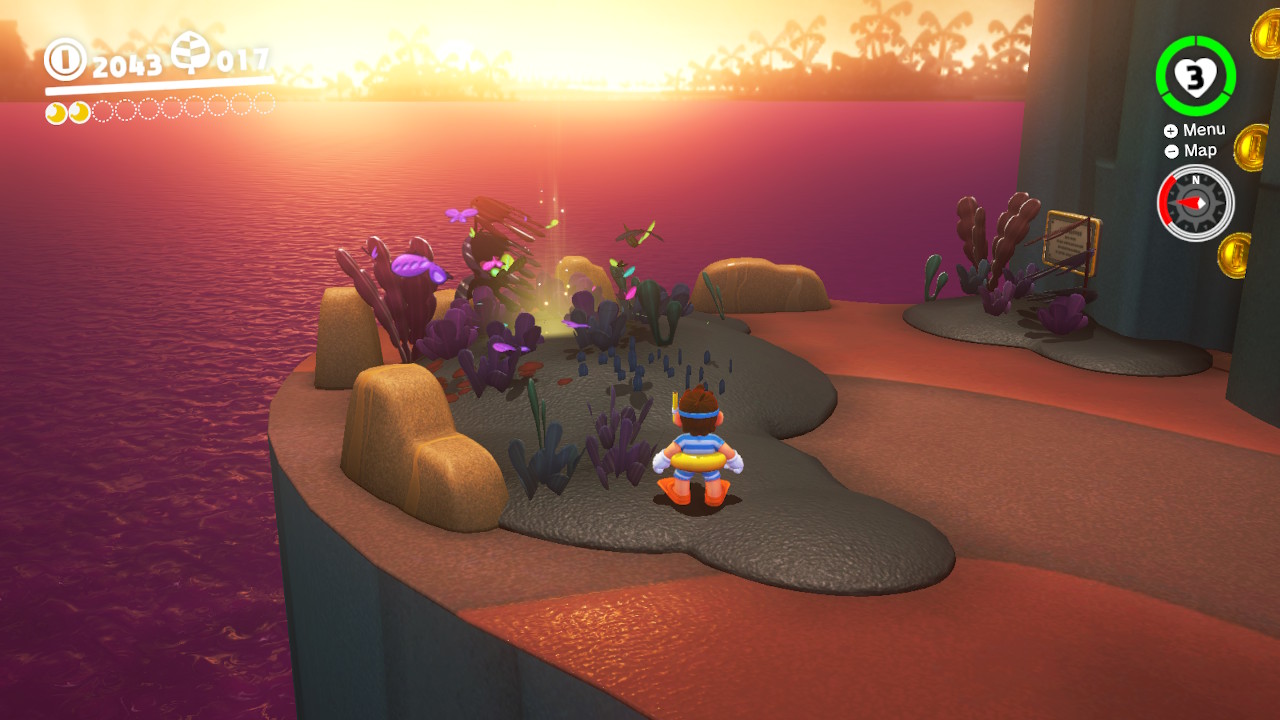
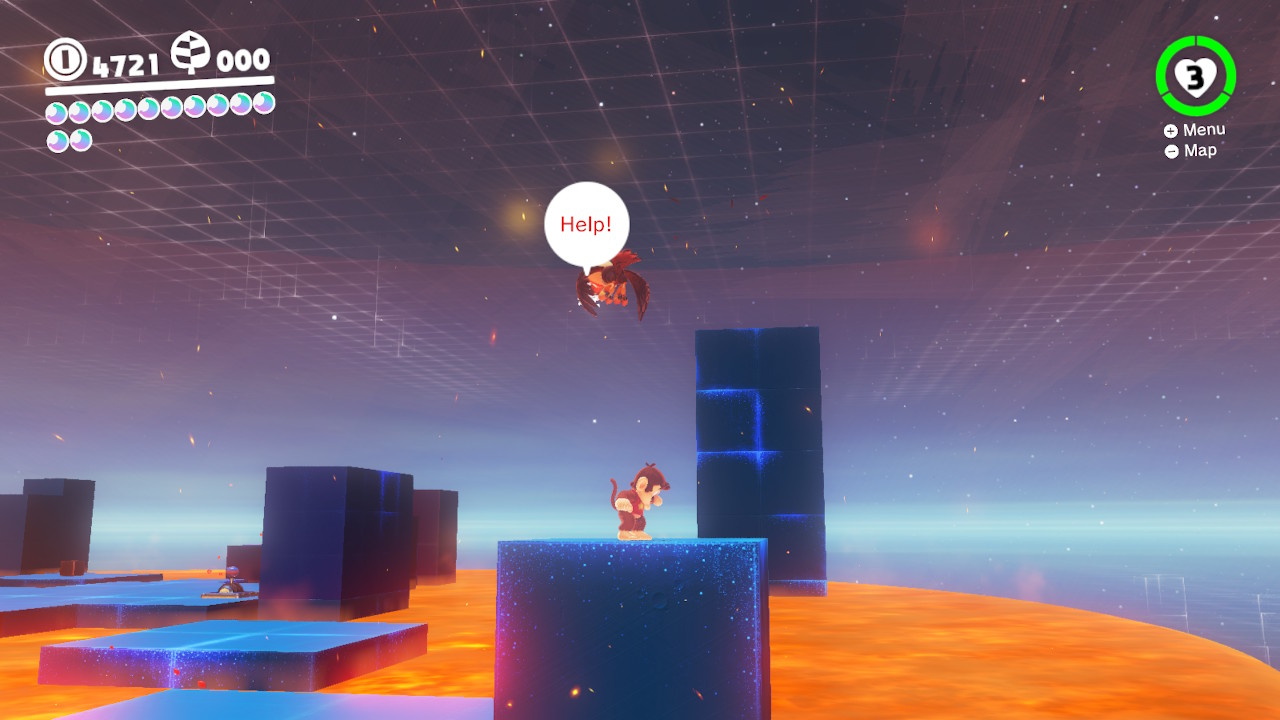
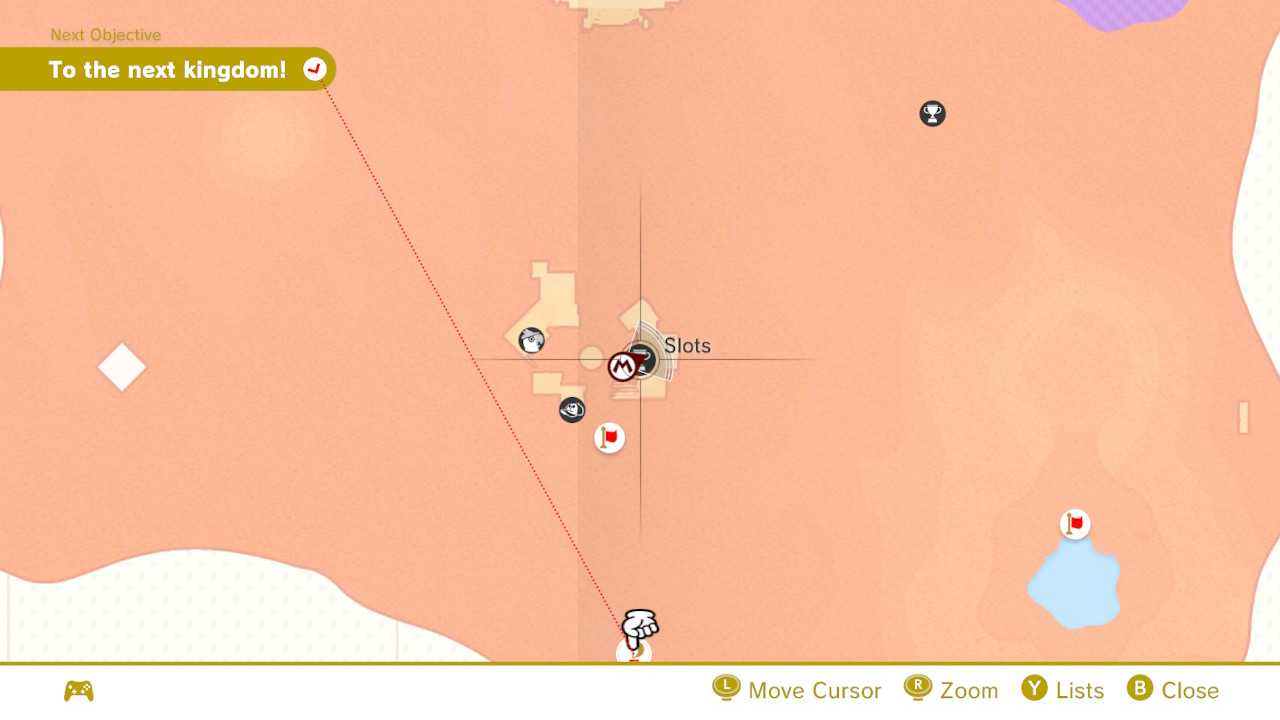
1- Pretty much directly in the middle of the Cloud Kingdom island is a green Warp Pipe…
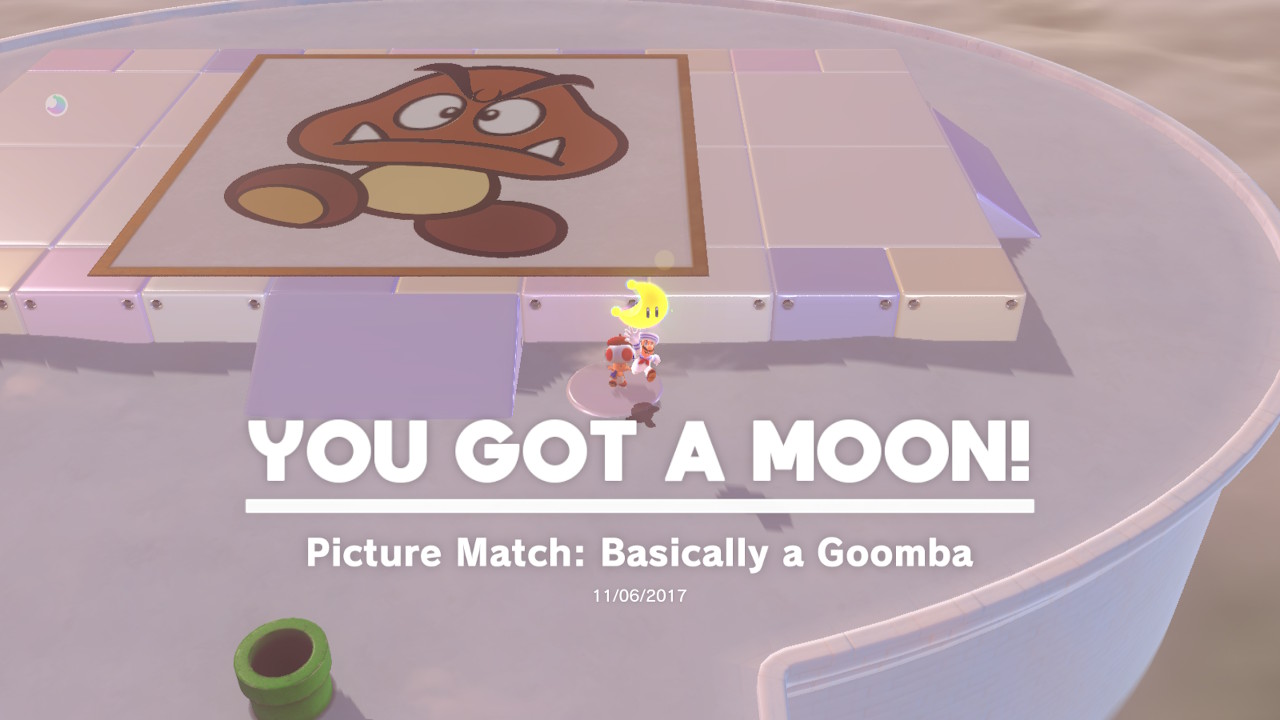
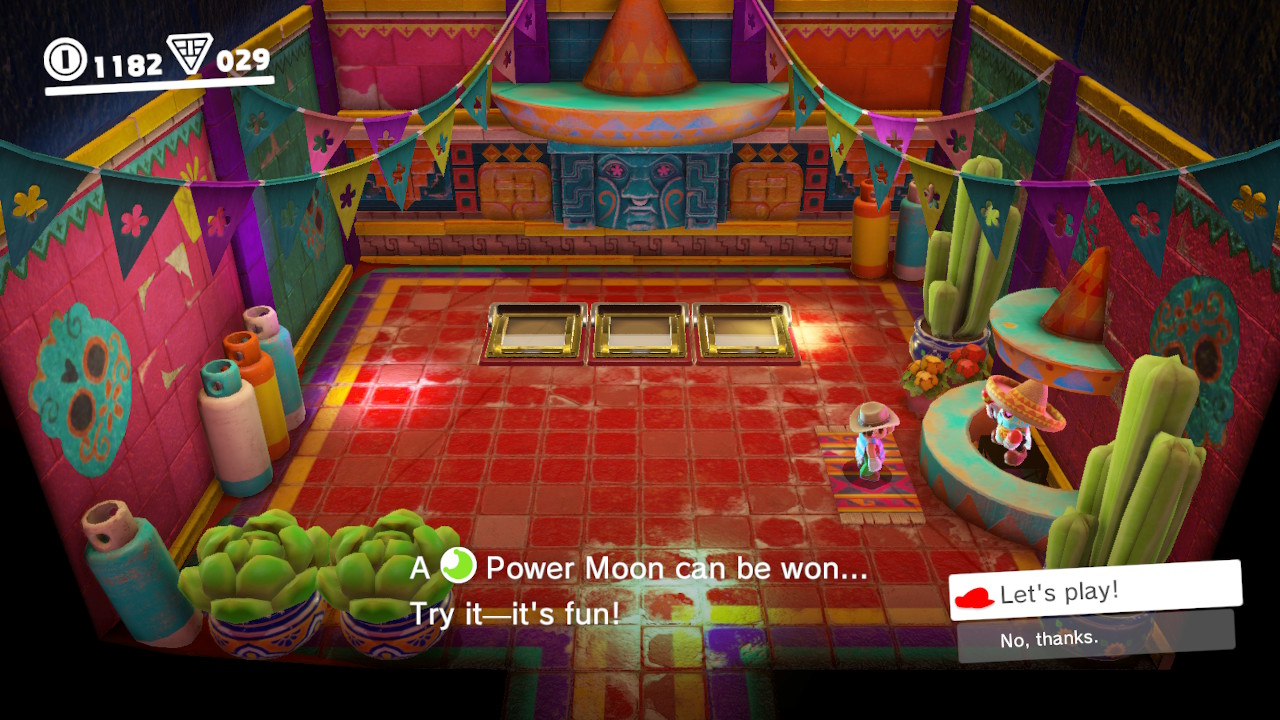
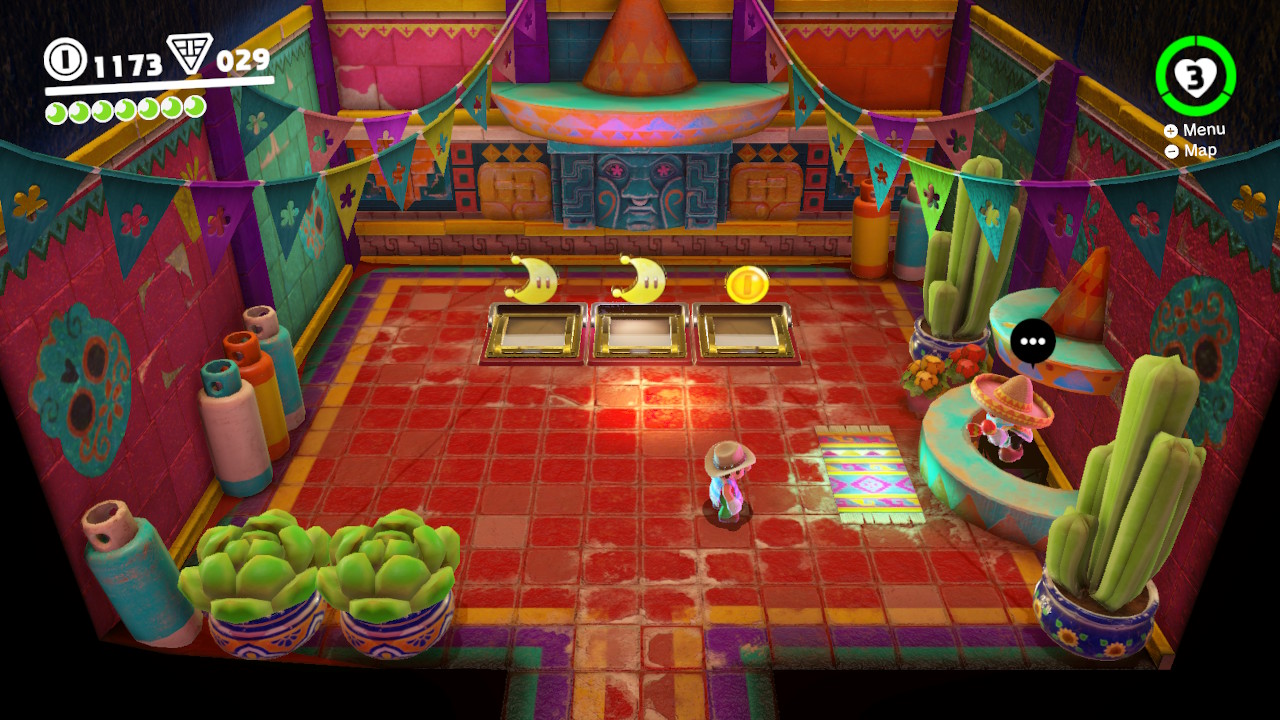
2- Inside is a fun but challenging puzzle game…
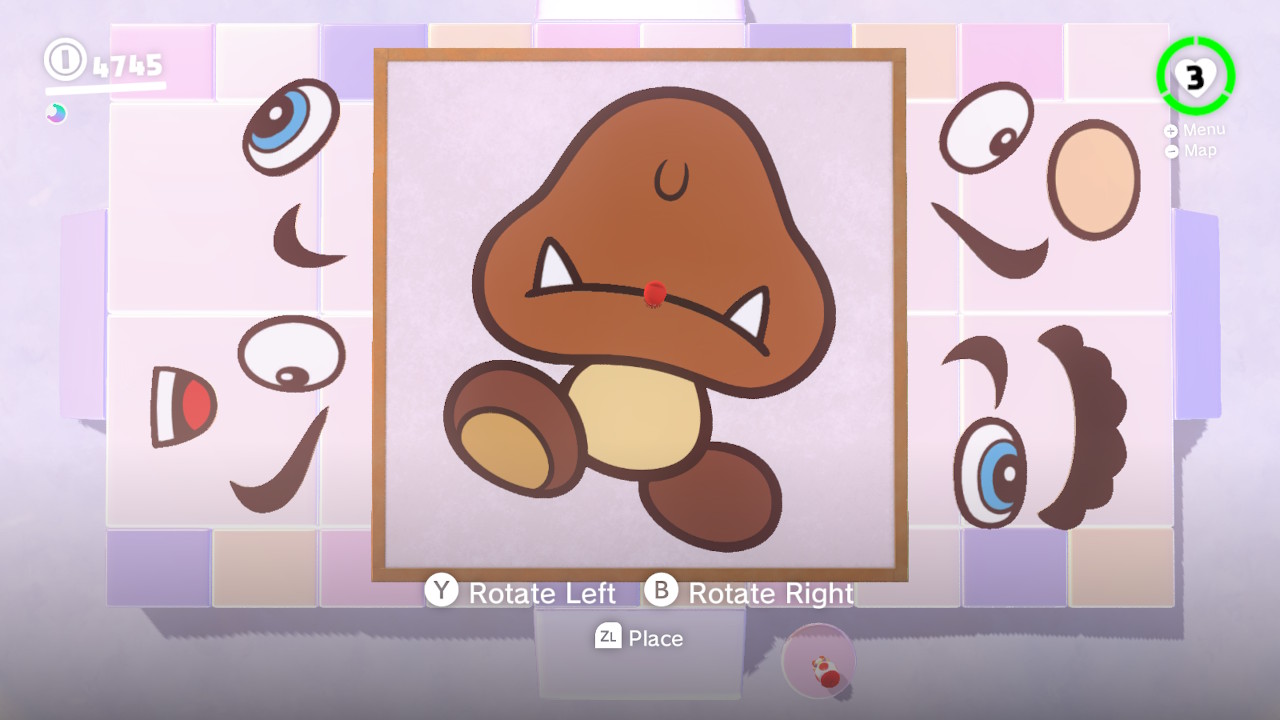
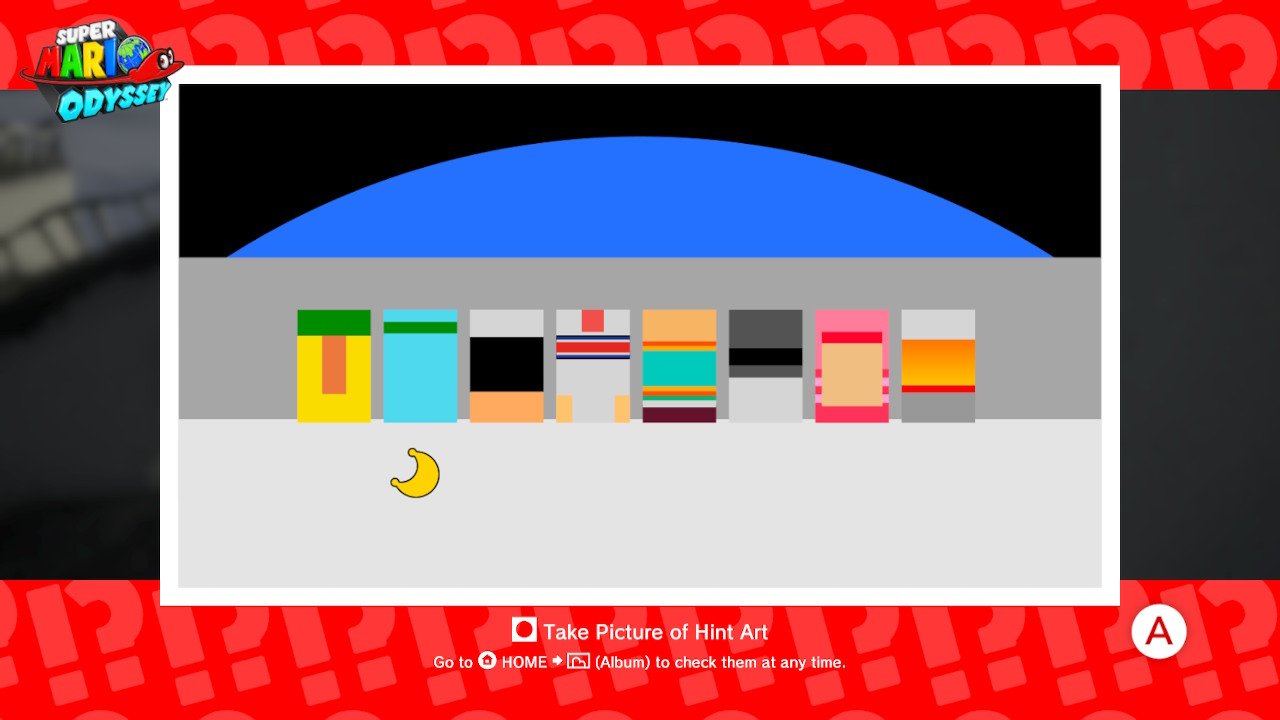
3- Pay attention to this image! The picture of the Goomba is going to dissapear once you start, you are going to have to recreate the Goombas face by “capturing” the eyes, eyebrows, etc…
4- The tricky thing is that once you place down something, it will dissapear too. So you can only ever see the outline of the Goomba and whatever body part you are holding…
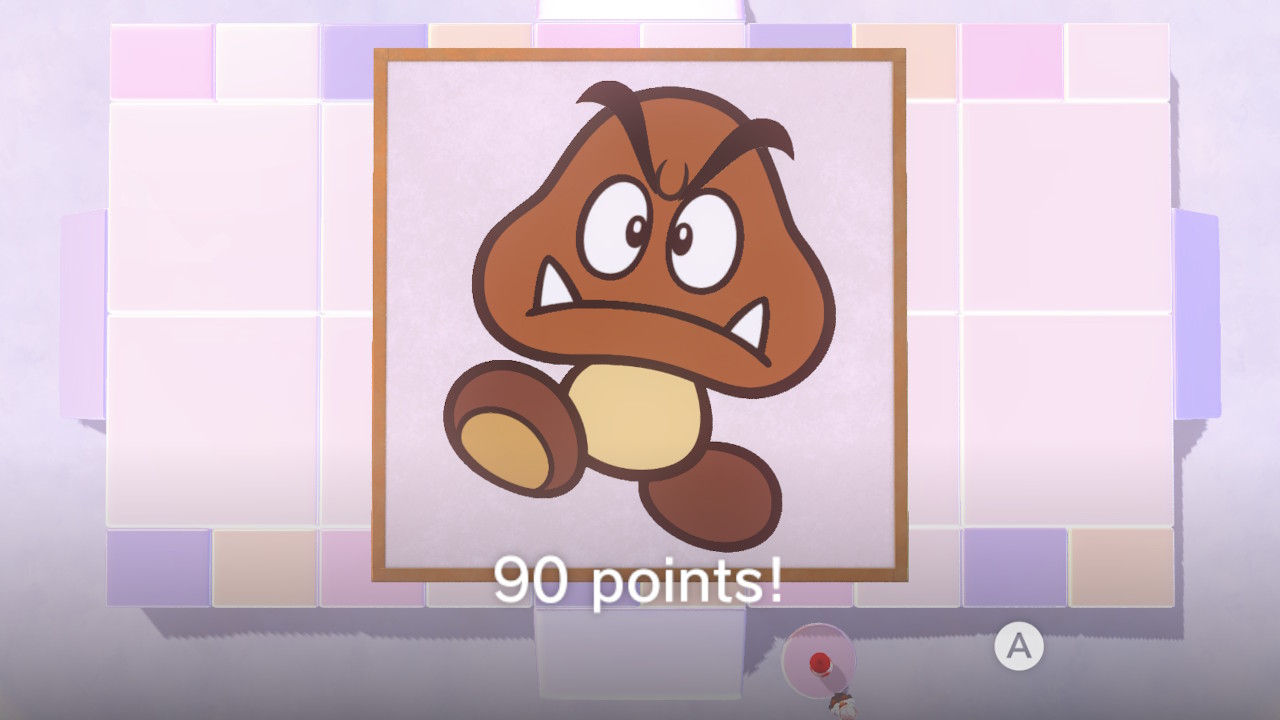
5- Recreate Goomba’s face as best as you can! You need 60 points to win the Power Moon! Good Luck!
02 – Peach in the Cloud Kingdom
Location-
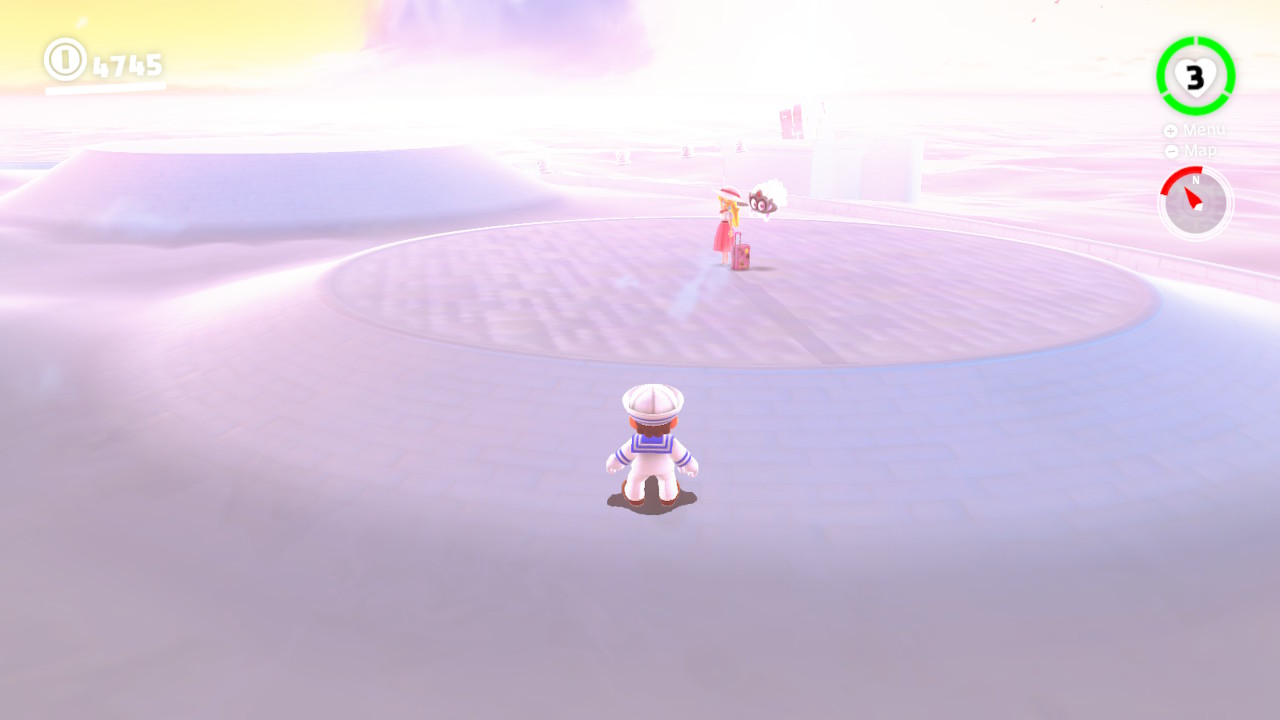
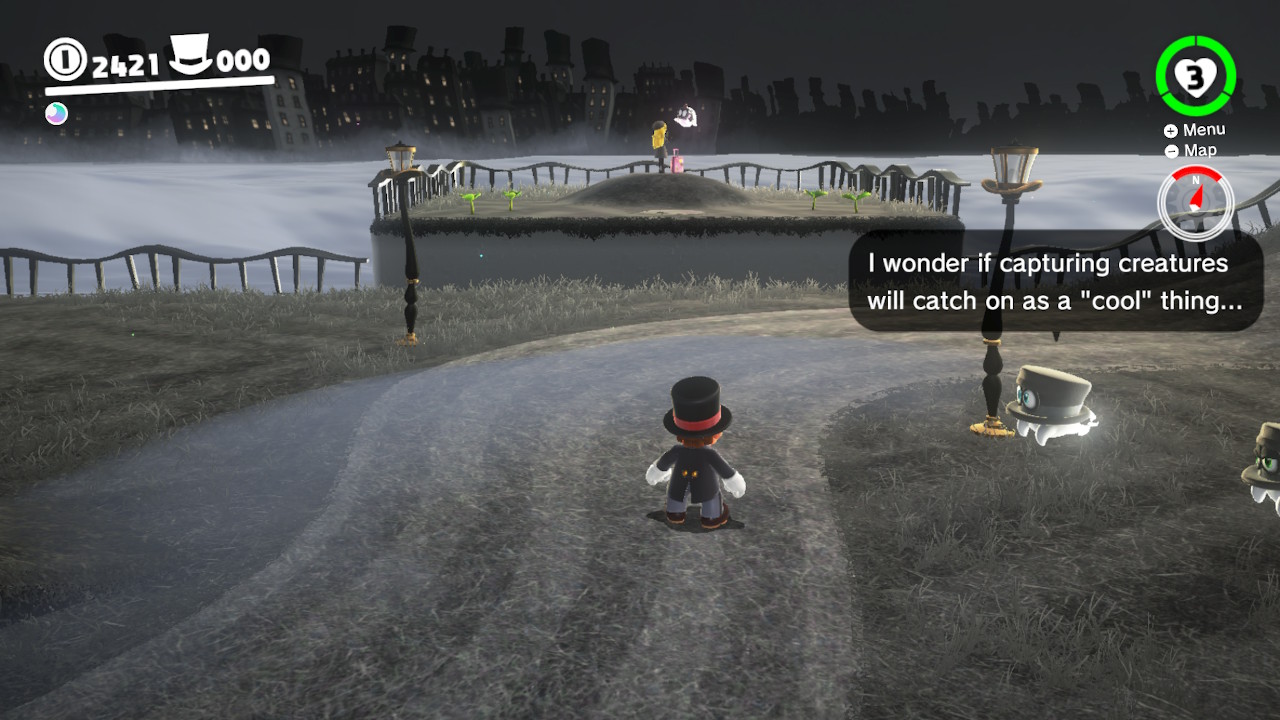
1- Peach is hanging around in the Cloud Kingdom…
2- Talk to her and she’ll give you a Power Moon!
SPOILER ALERT!
The remaining Power Moons can only be found in the “End Game” portion of Mario Odyssey!
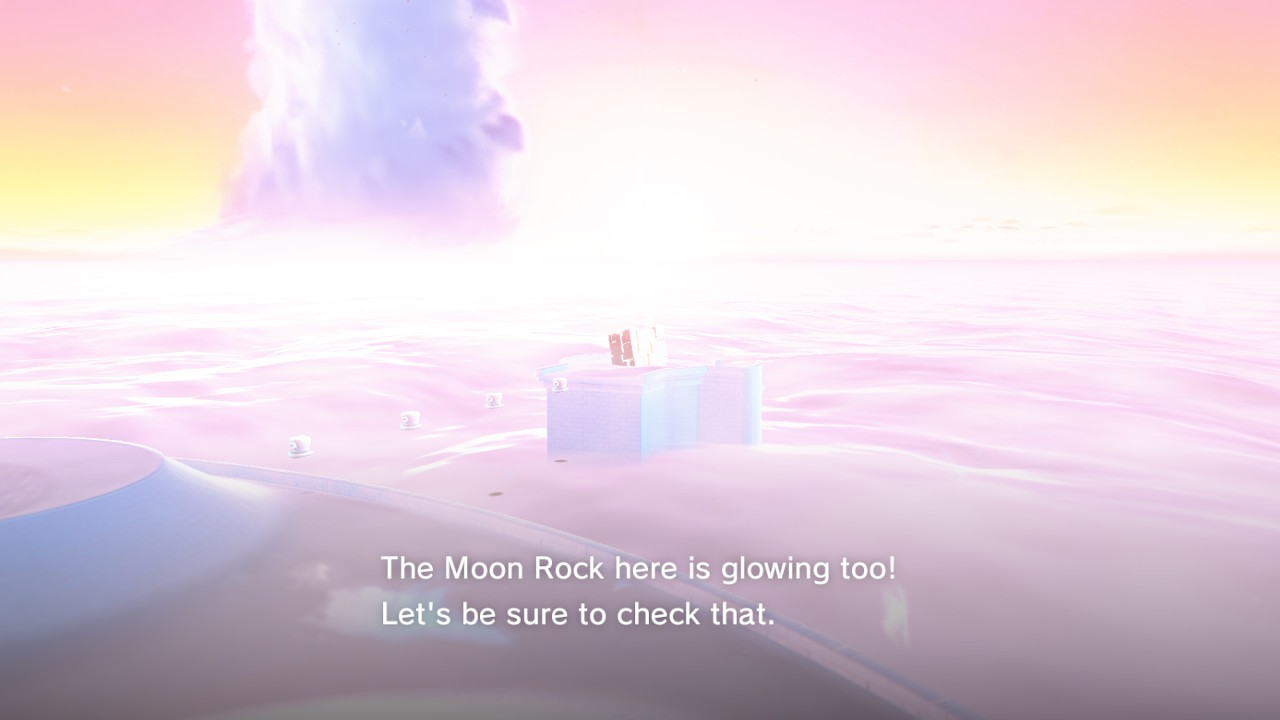
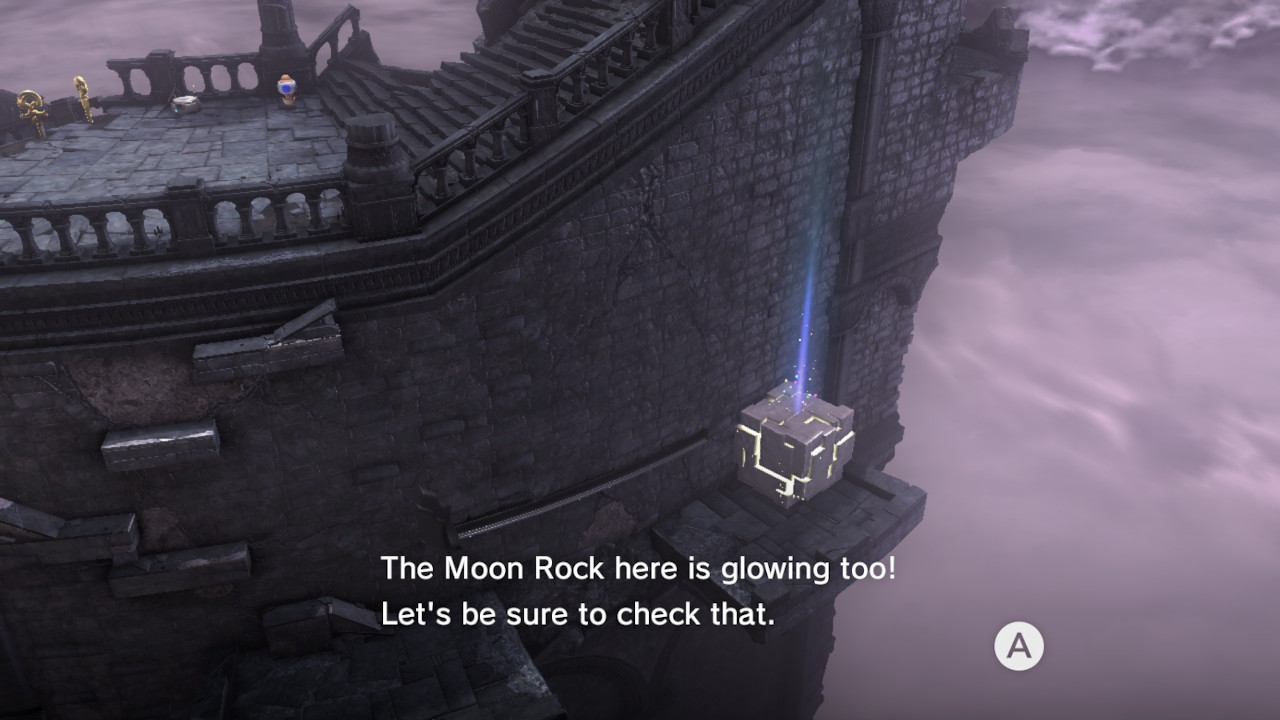
– Now that you’ve beaten the game, these mysterious Moon Rocks can be BUSTED open! In doing so, MORE Power Moons will spread throughout the Kingdom!
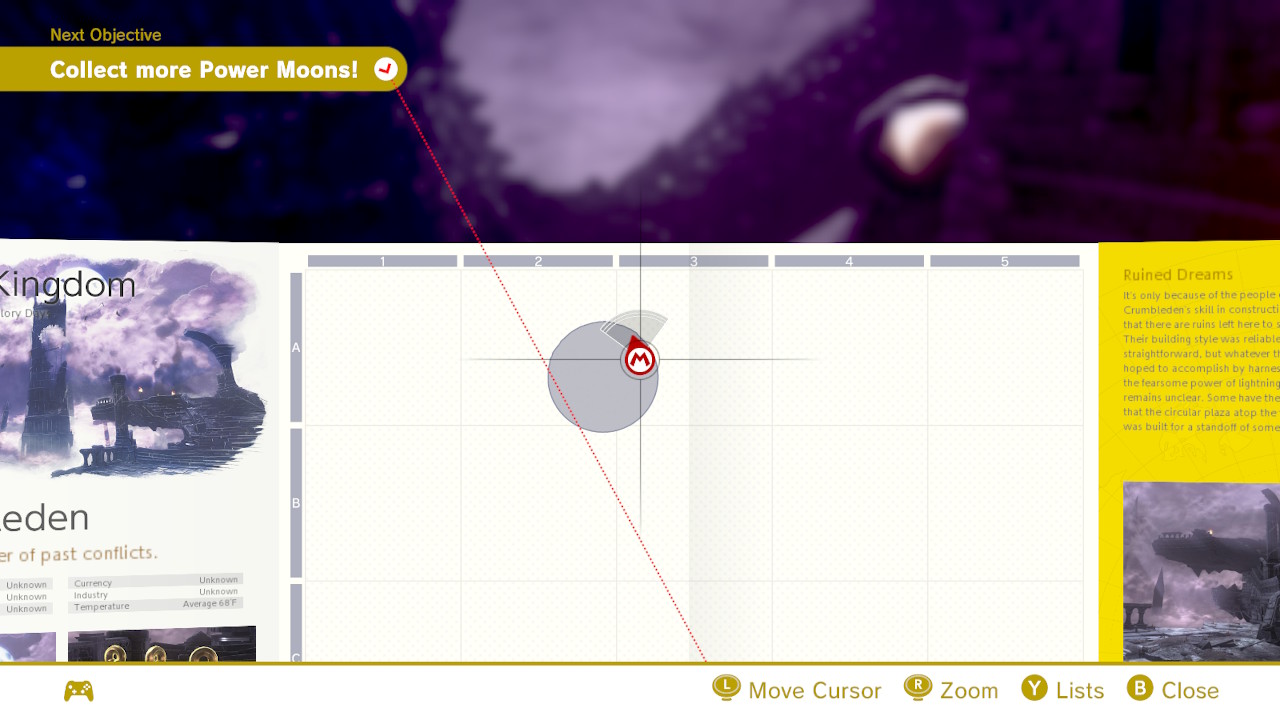
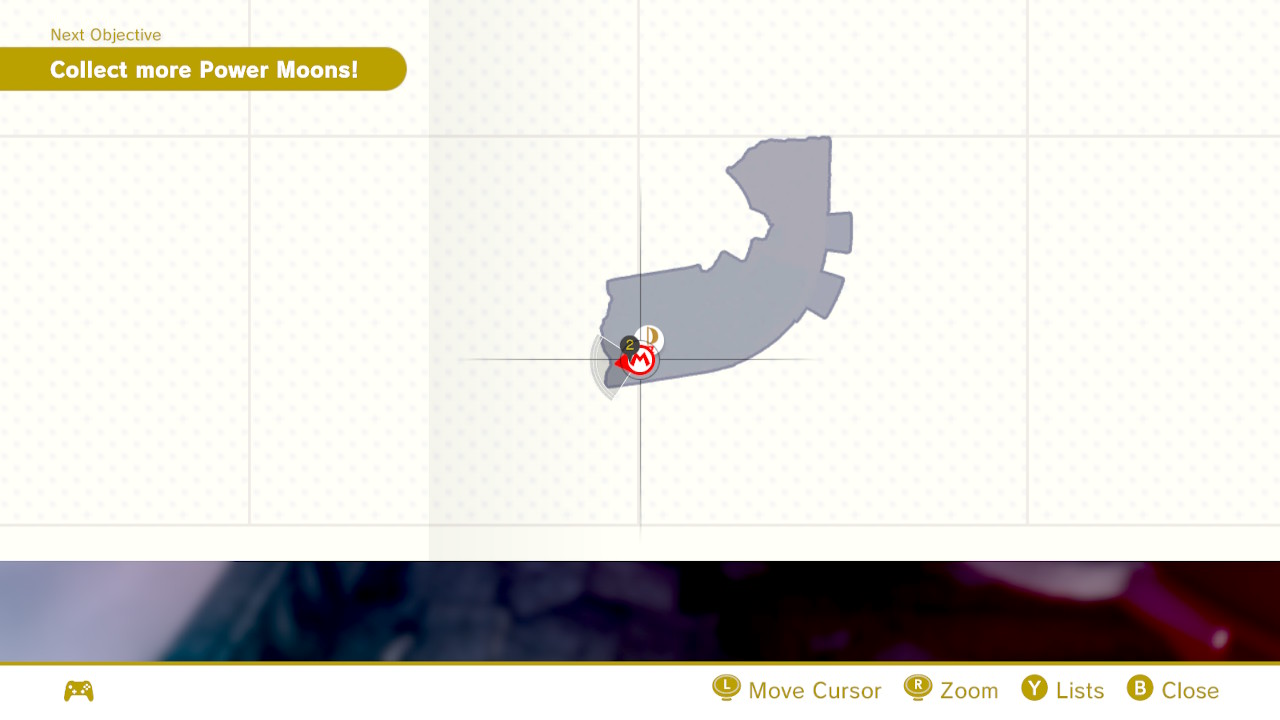
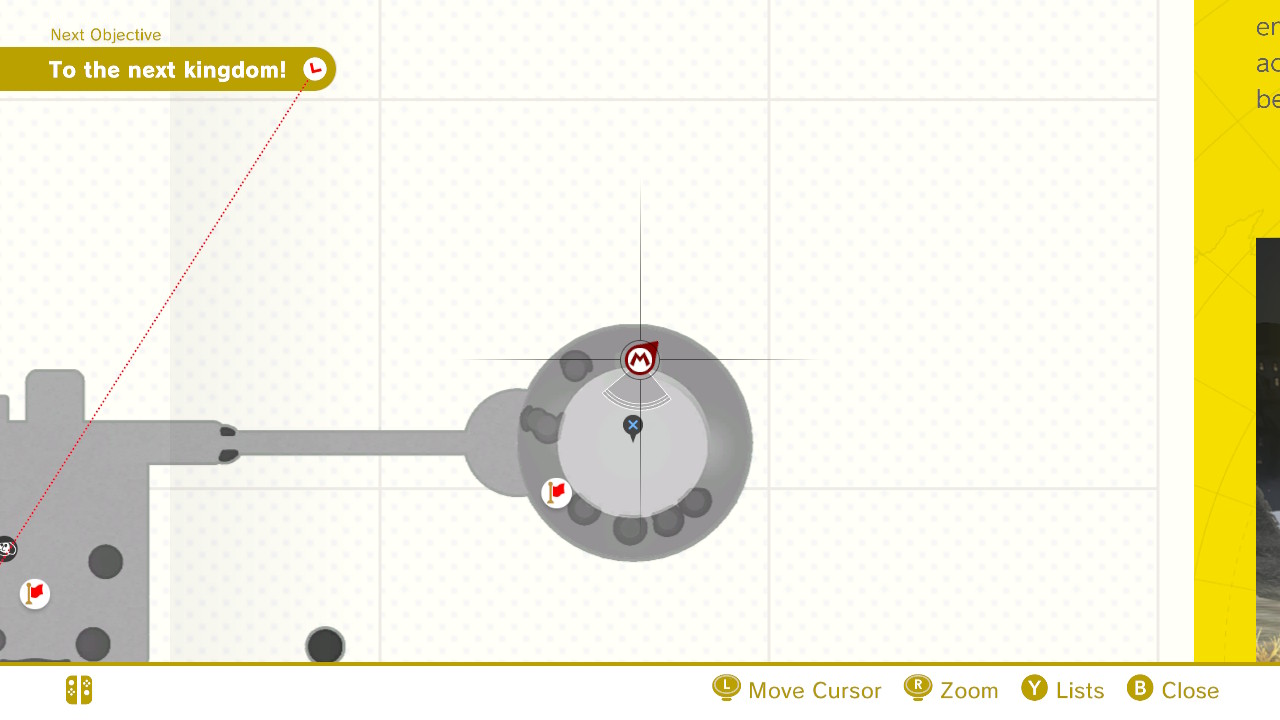
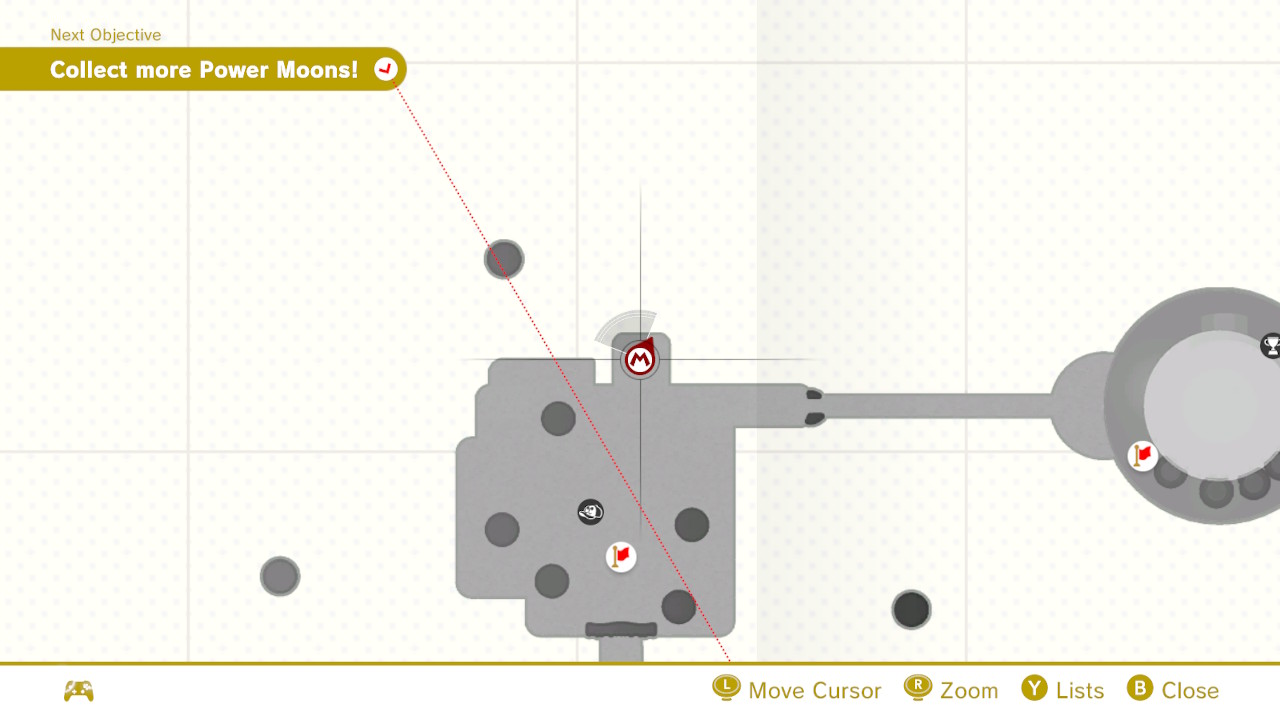
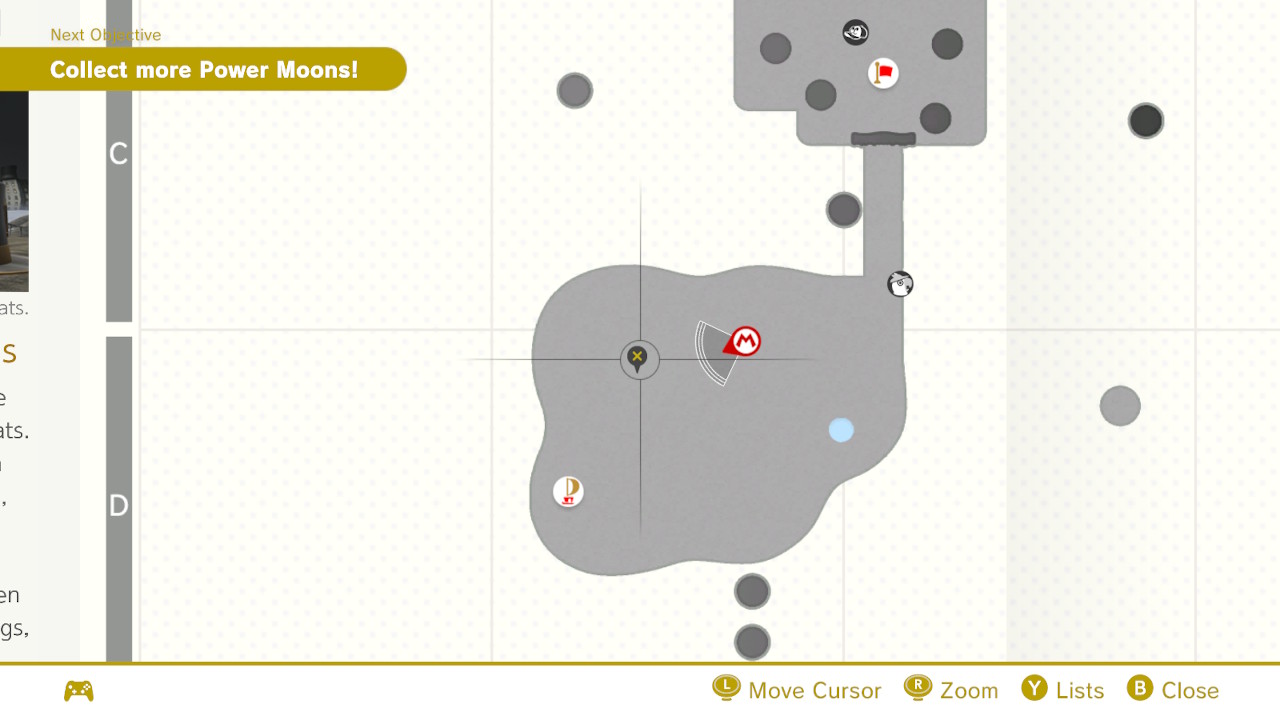
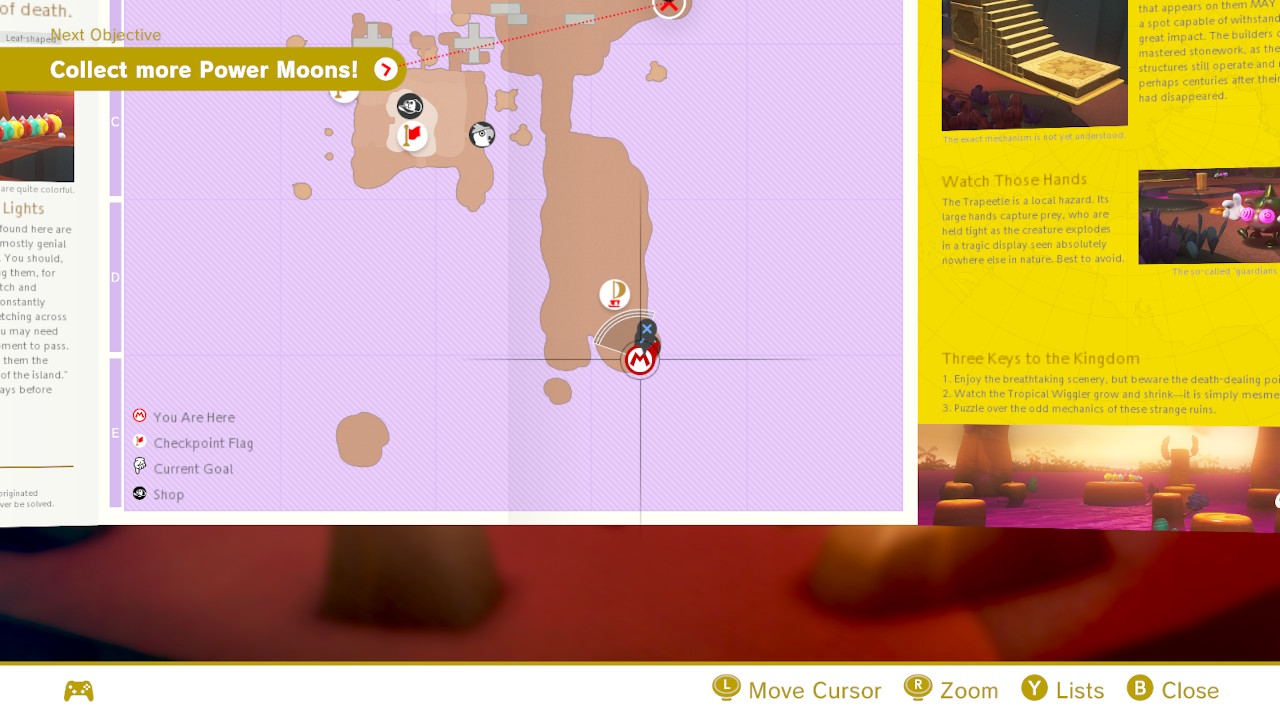
– On the northmost side of the Cloud Kingdom is where you can find the Moon Rock!
– Burst open the Moon Rock and 7 shiny brand new Power Moons will be launched into the clouds!
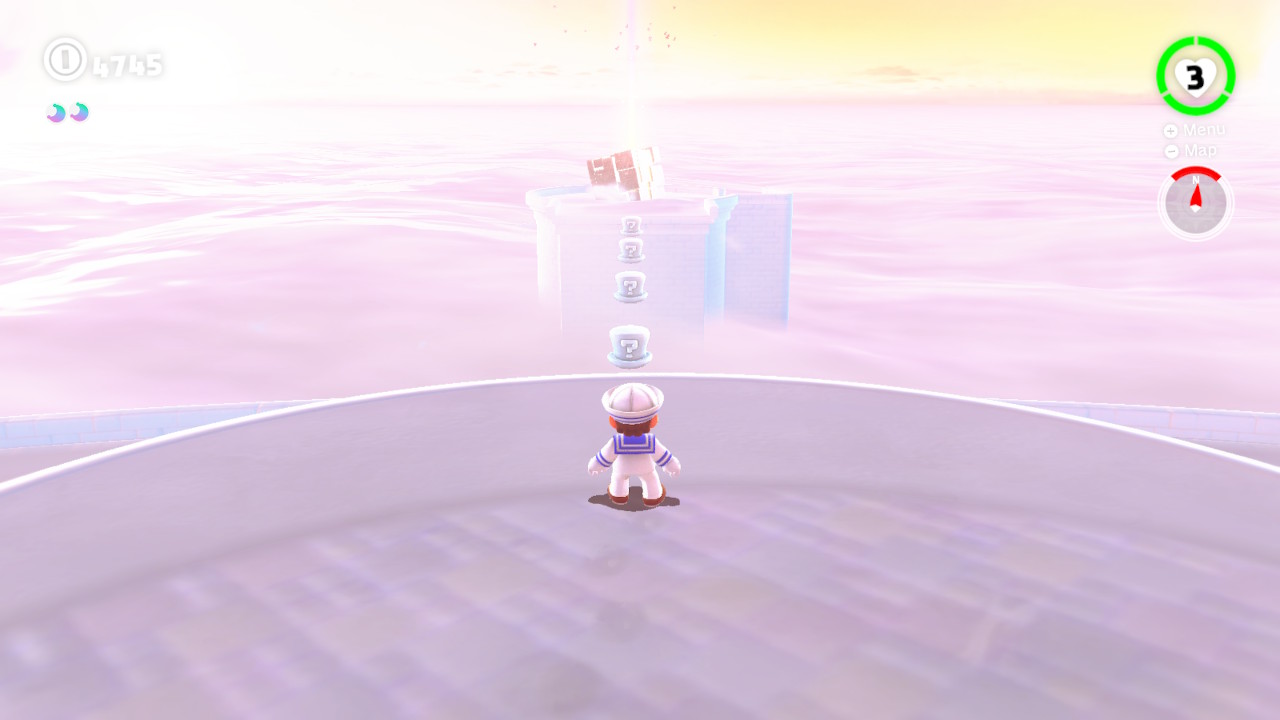
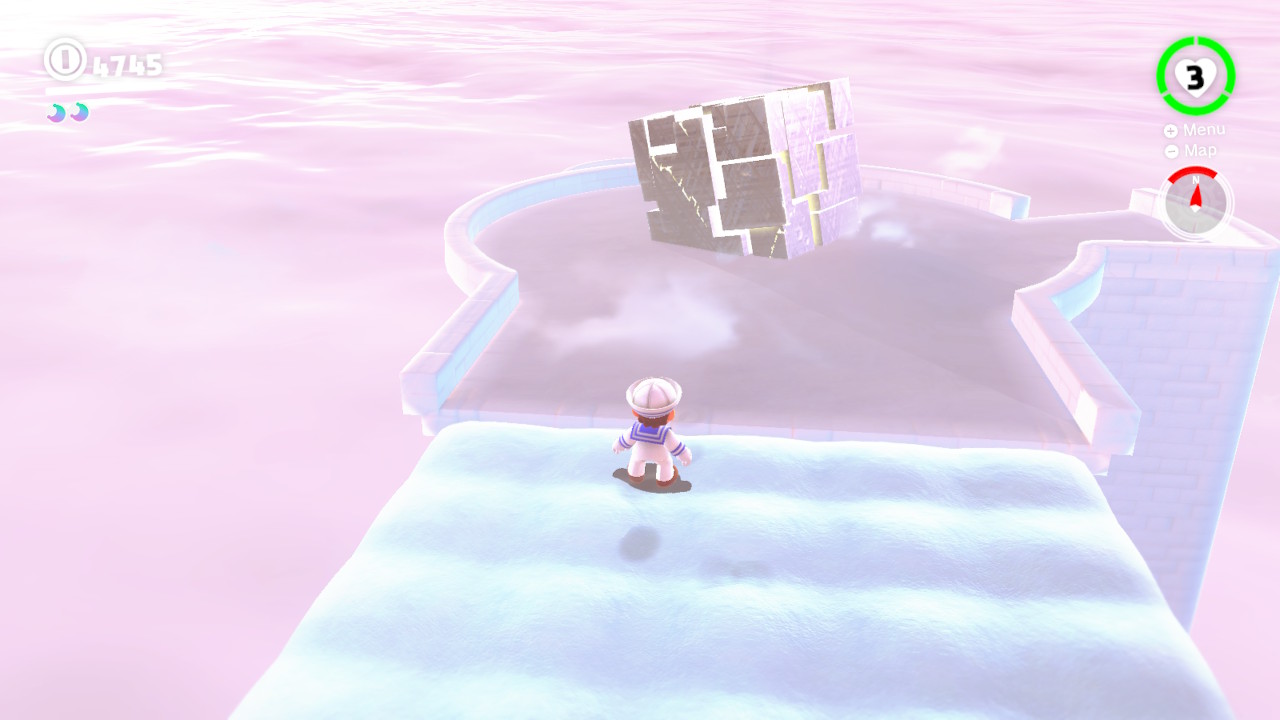
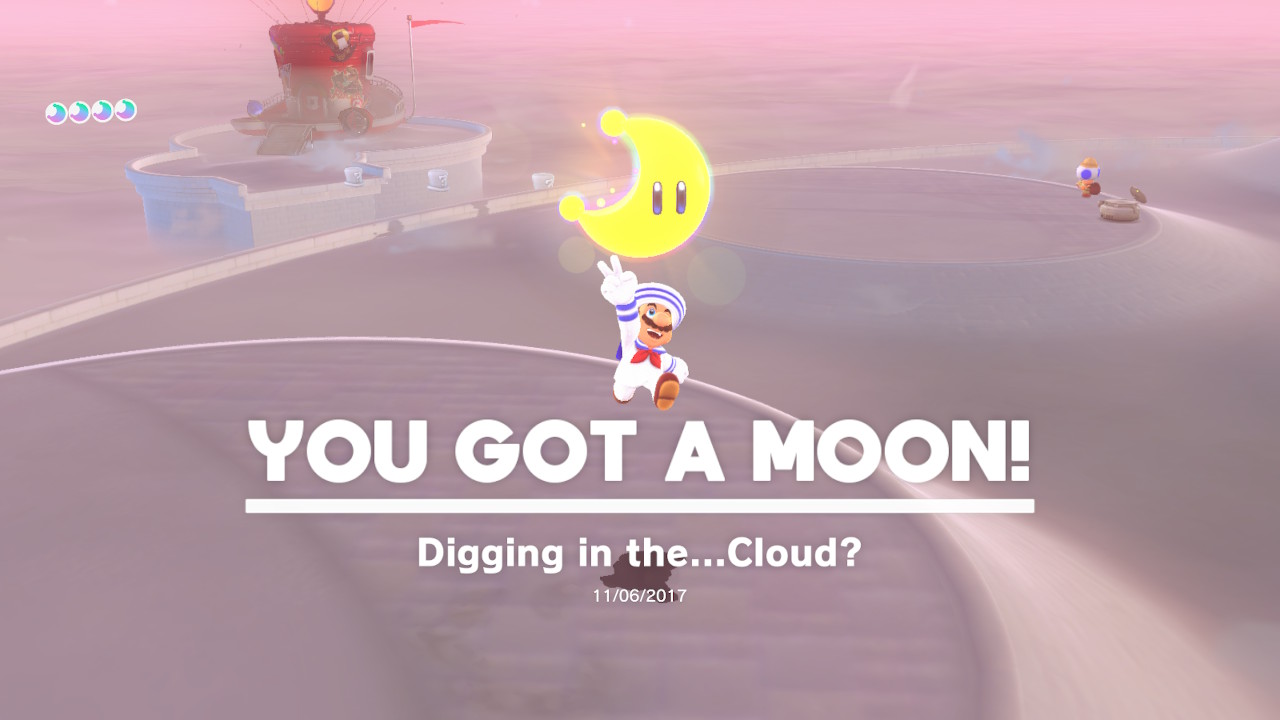
03 – Digging in the…Cloud?
Location-
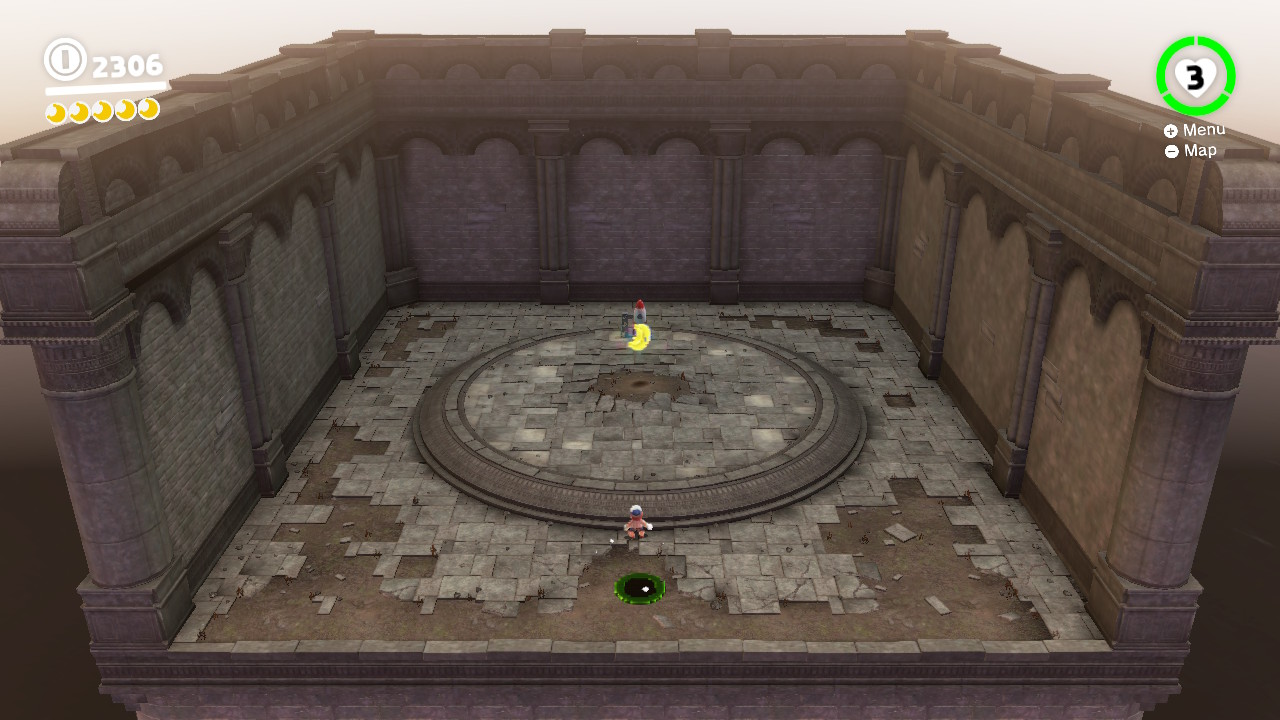
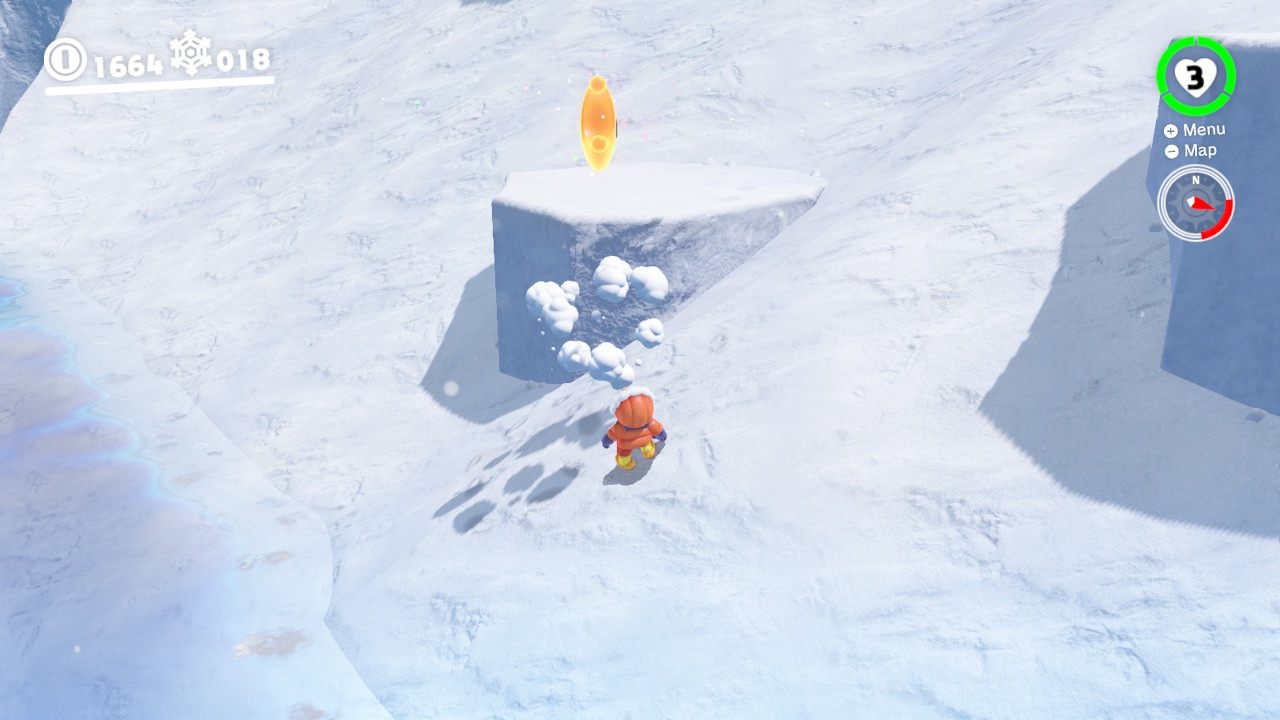
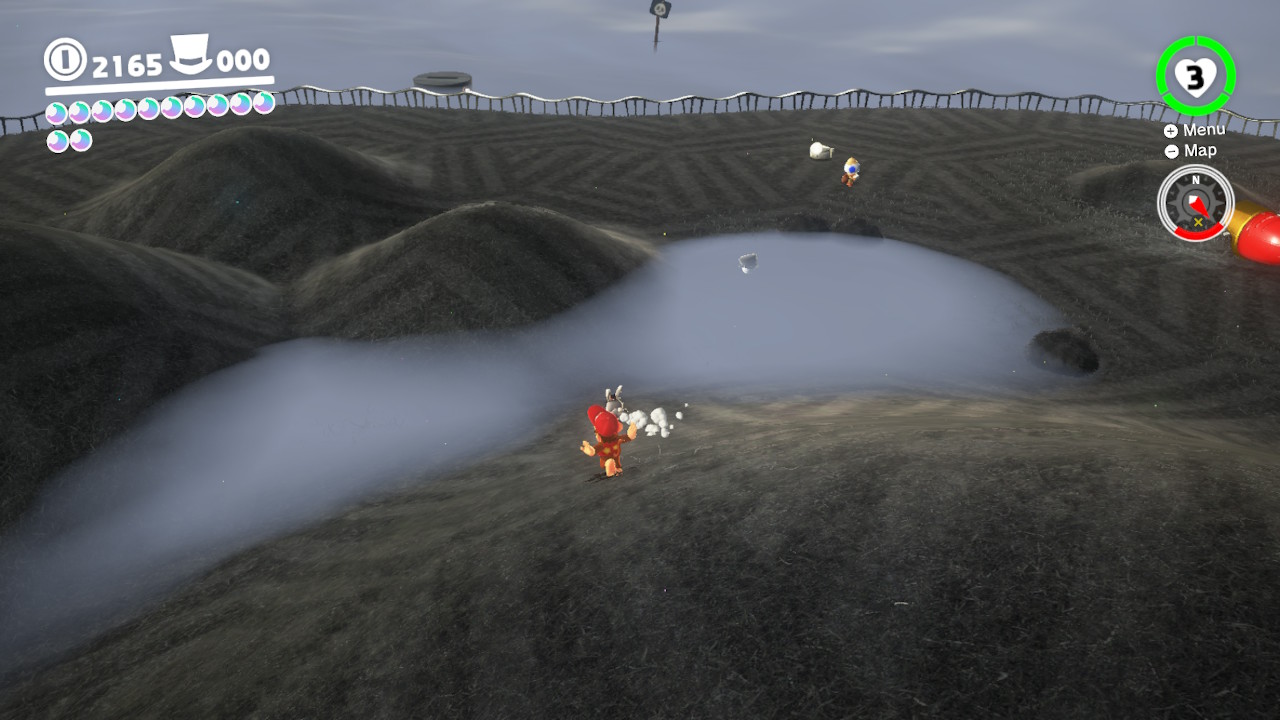
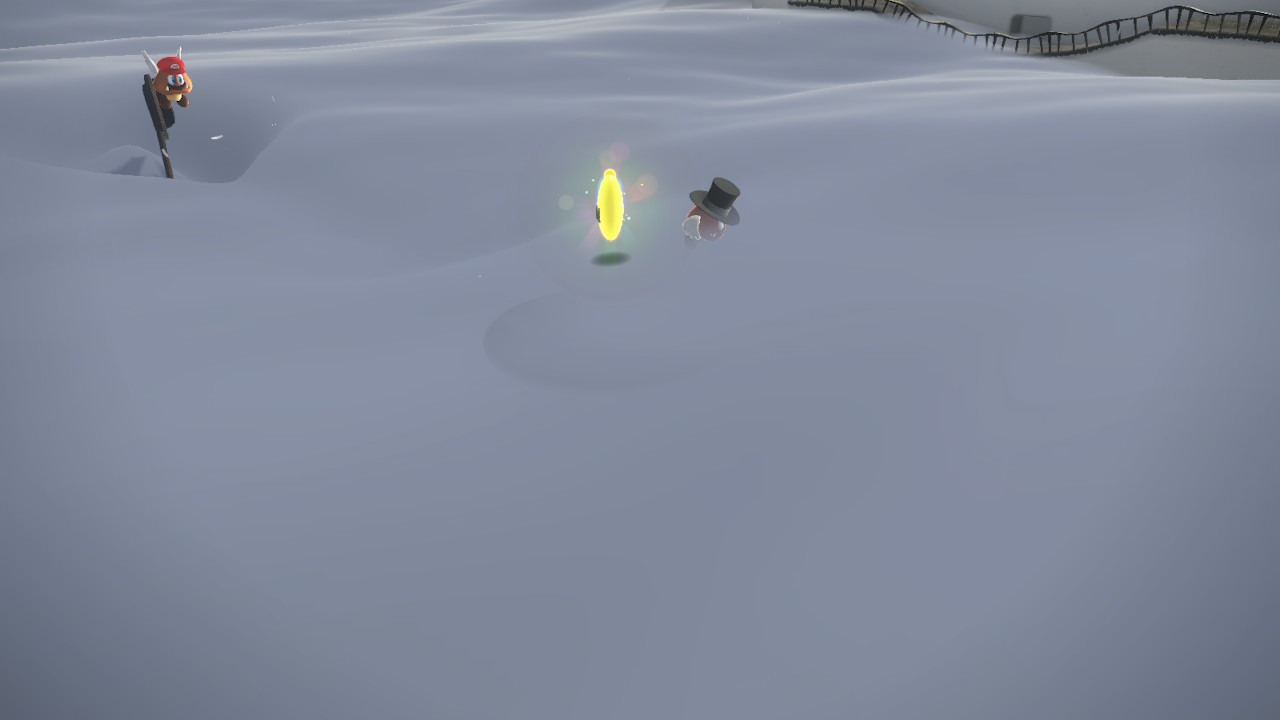
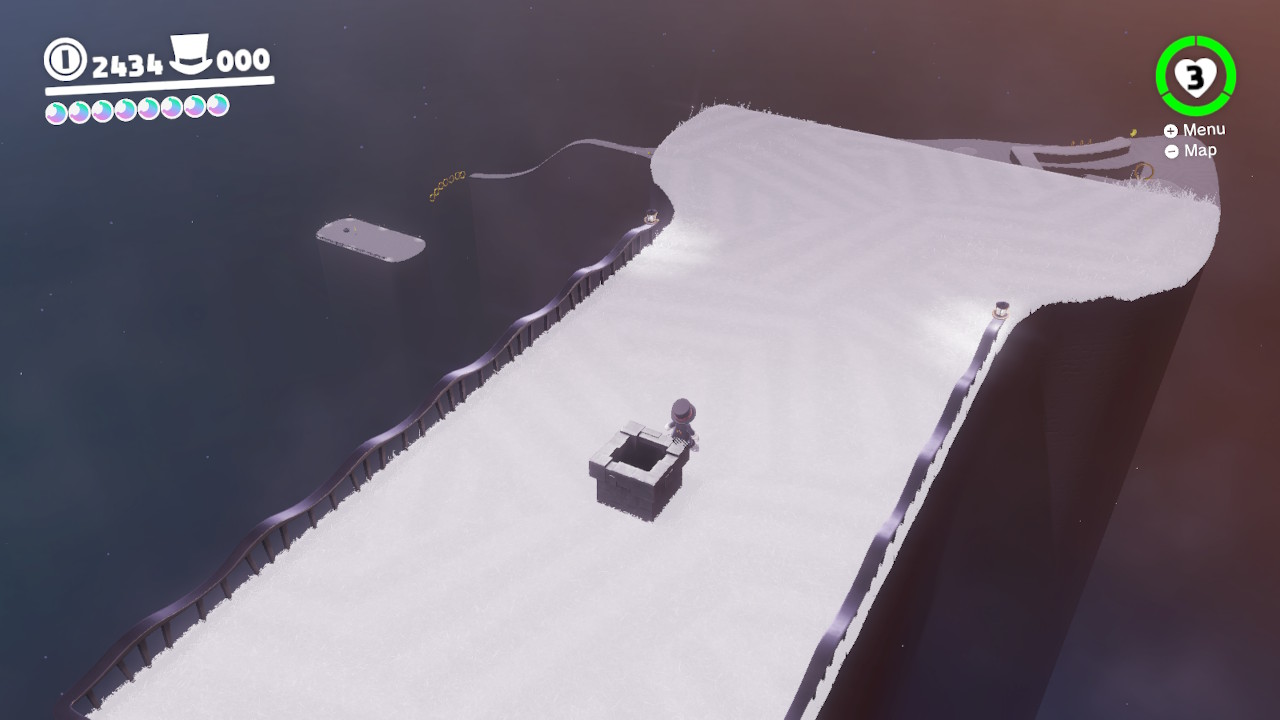
1- As you stand on this hump in the clouds, you should notice your controller/joycons starting to rumble…
2- Ground pound THIS SPOT for the Power Moon!
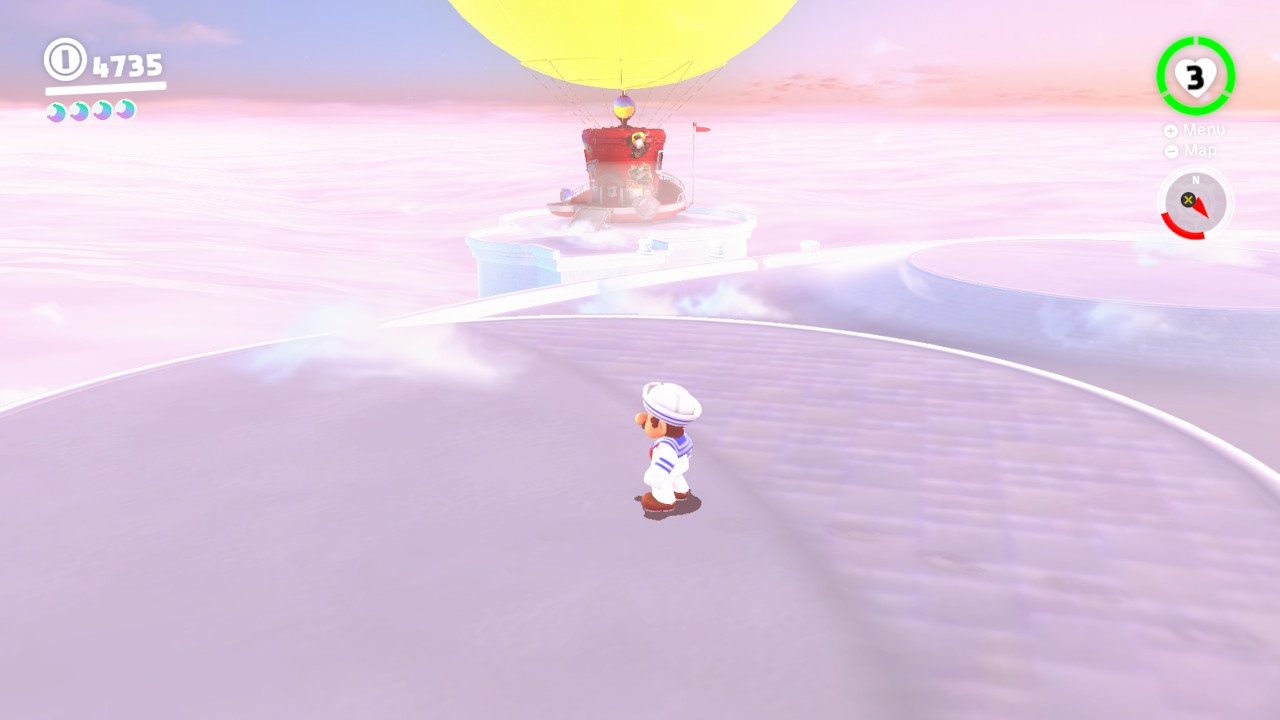
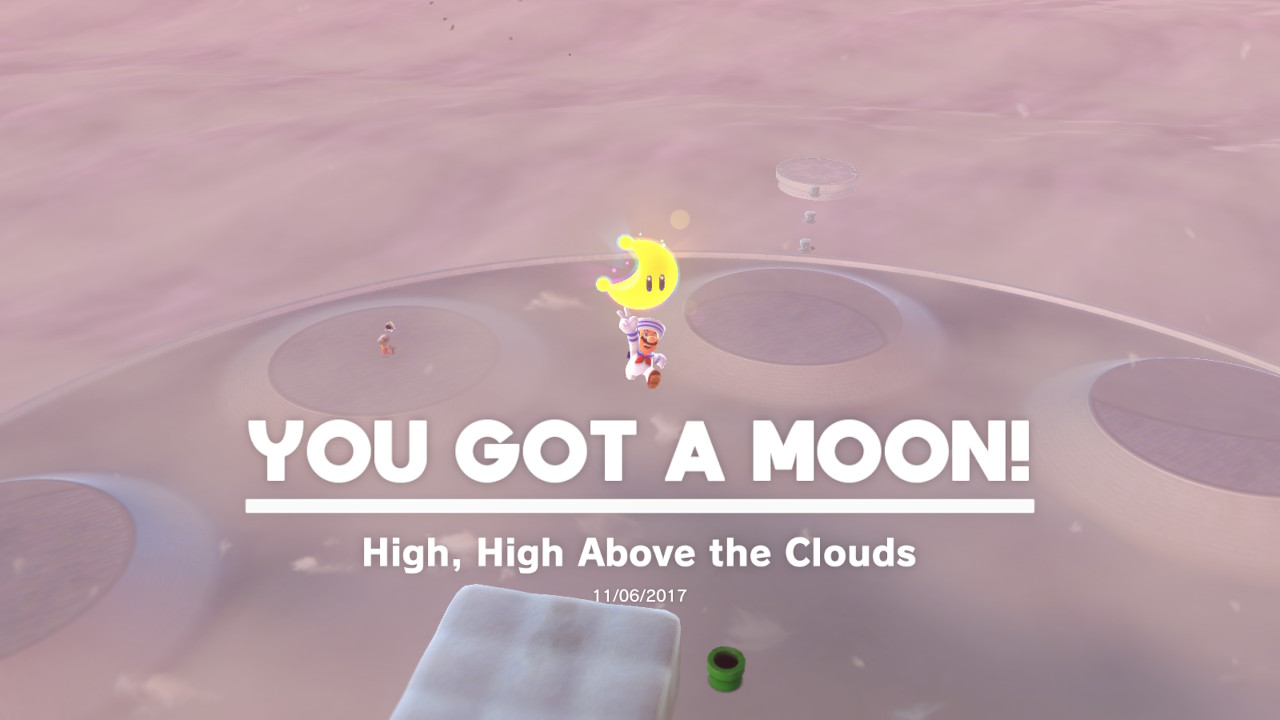
04 – High, High Above the Clouds
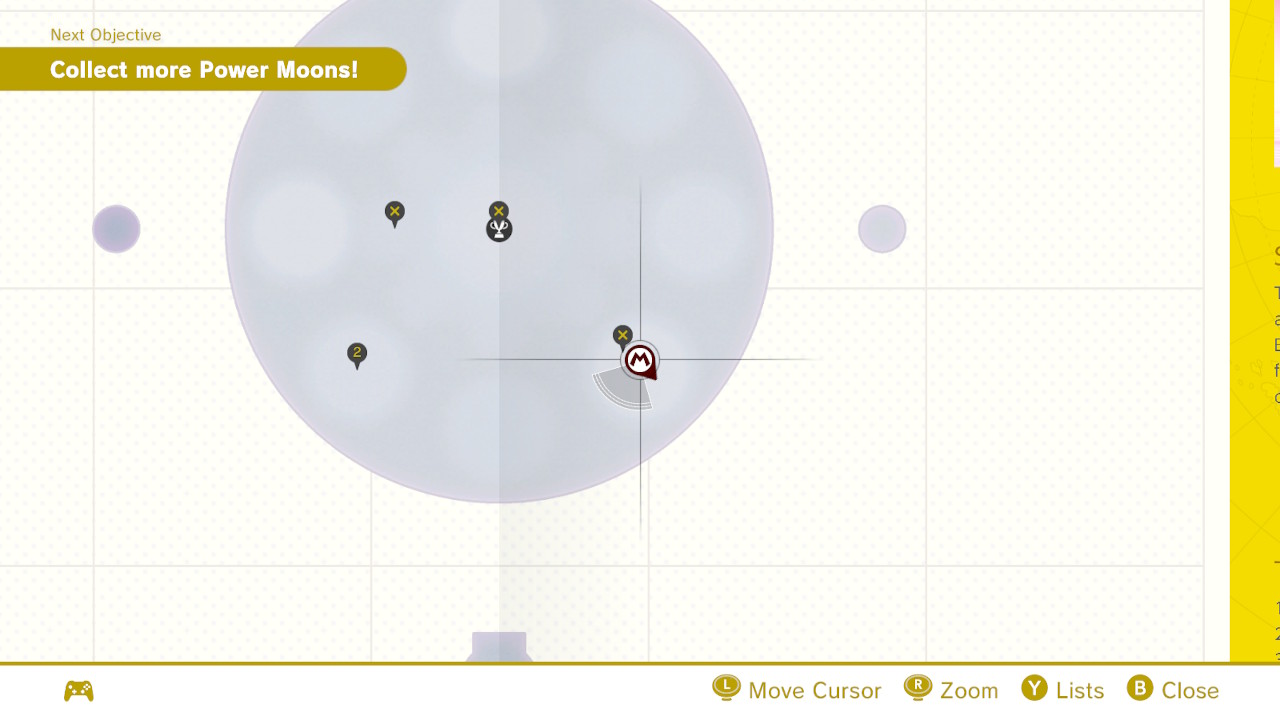
Location- West Corner
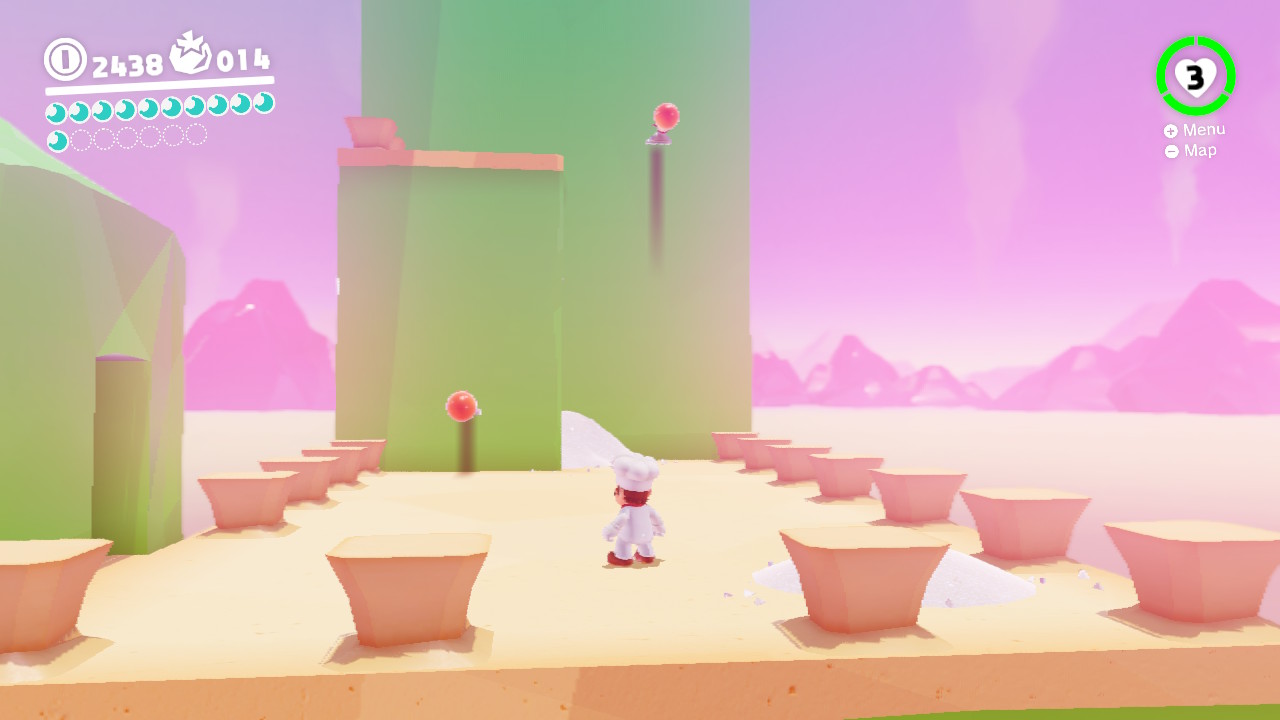
1- On the west corner of the island in the sky is a moving platform, hit the cloud question marks to make platforms appear and jump onto the moving platform, it’ll take you high in the air…
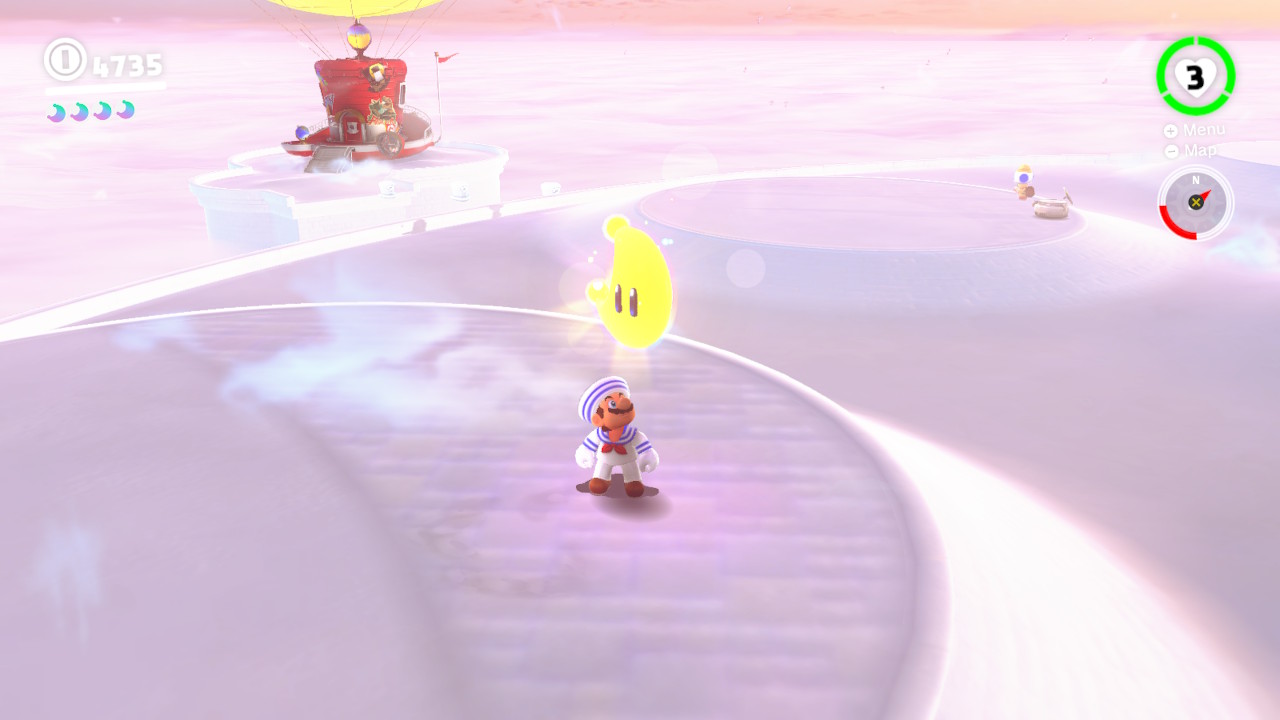
2- Once you are high above the clouds, you’ll see more cloud question marks and a Power Moon…
3- Hit the cloud question marks, jump across, and go get that Power Moon!
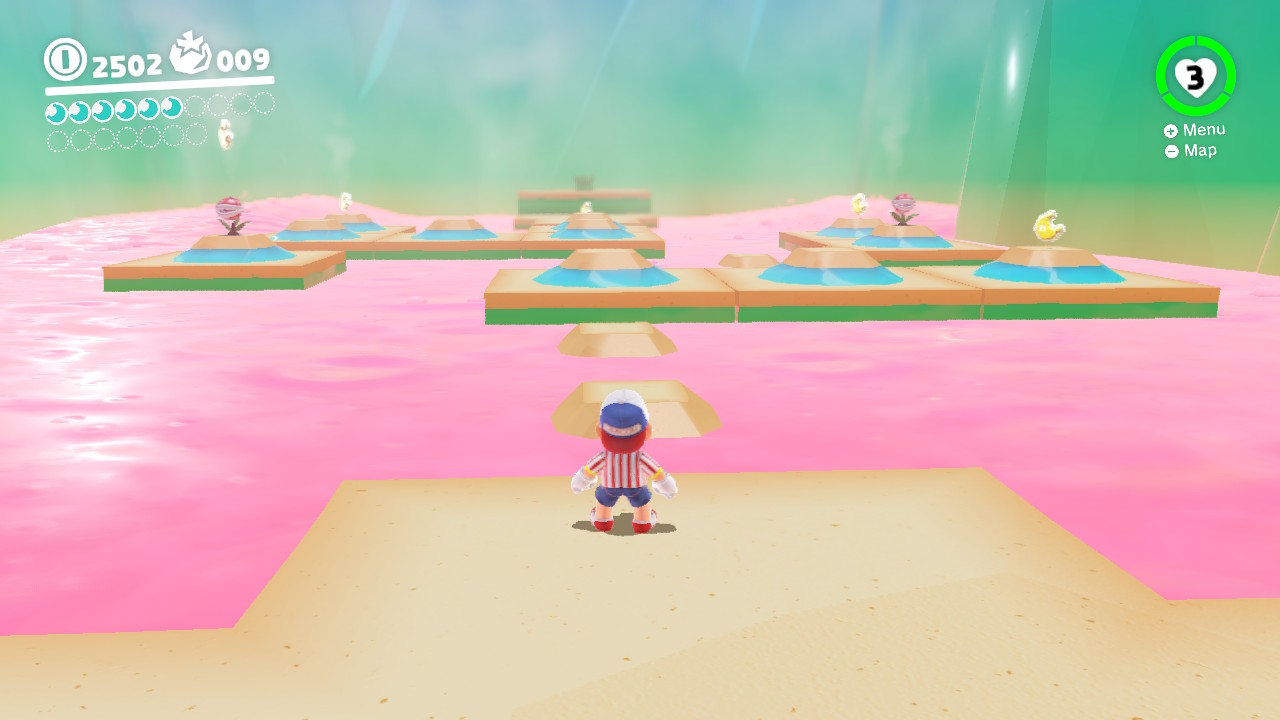
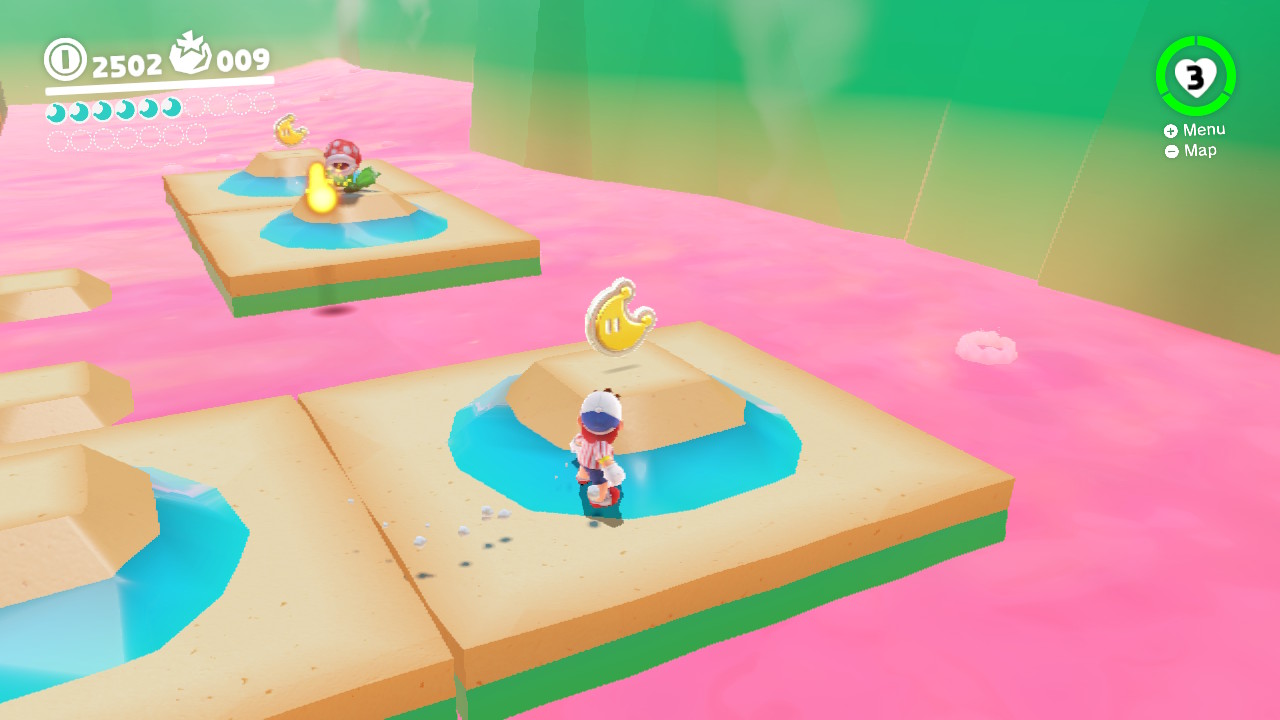
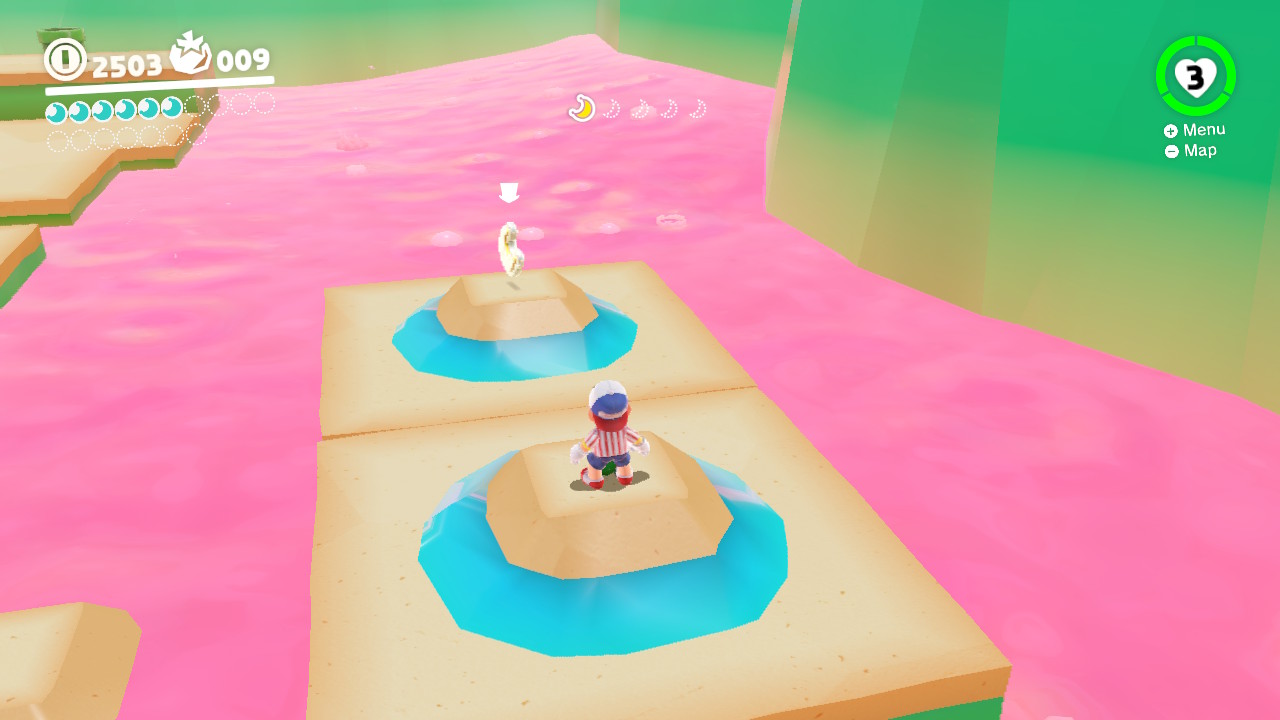
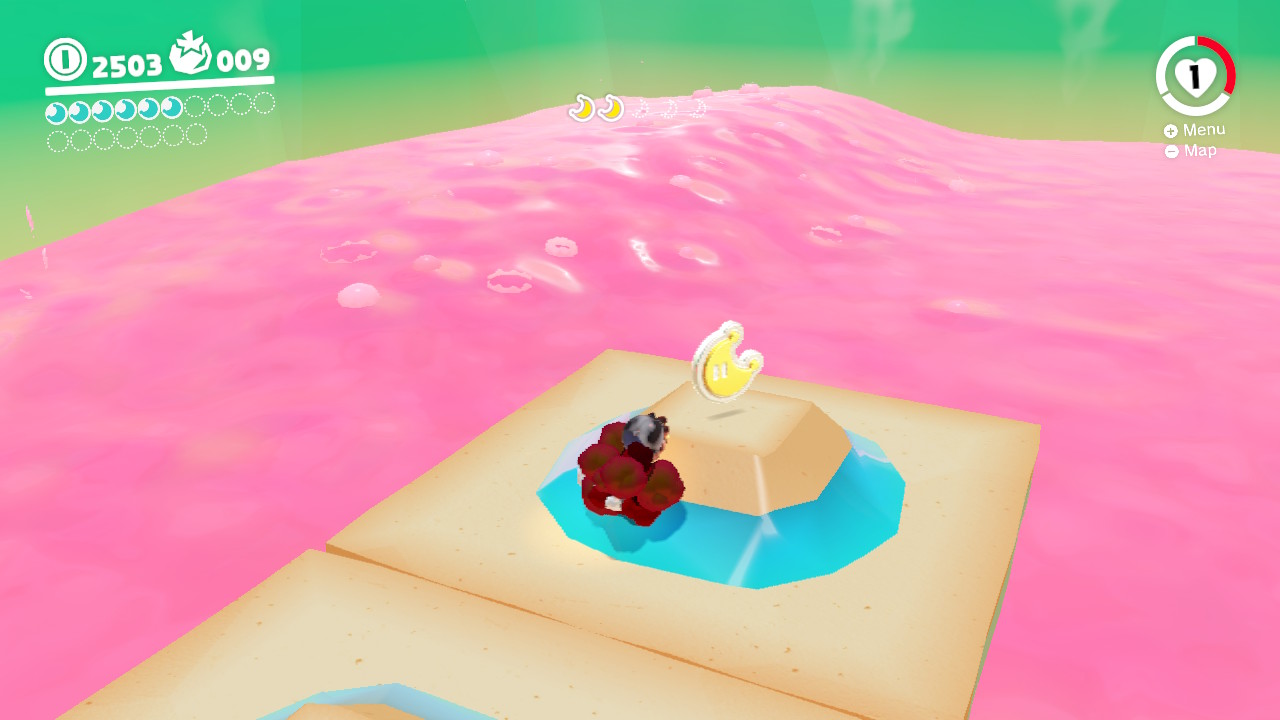
05 – Crossing the Cloud Sea
Location-
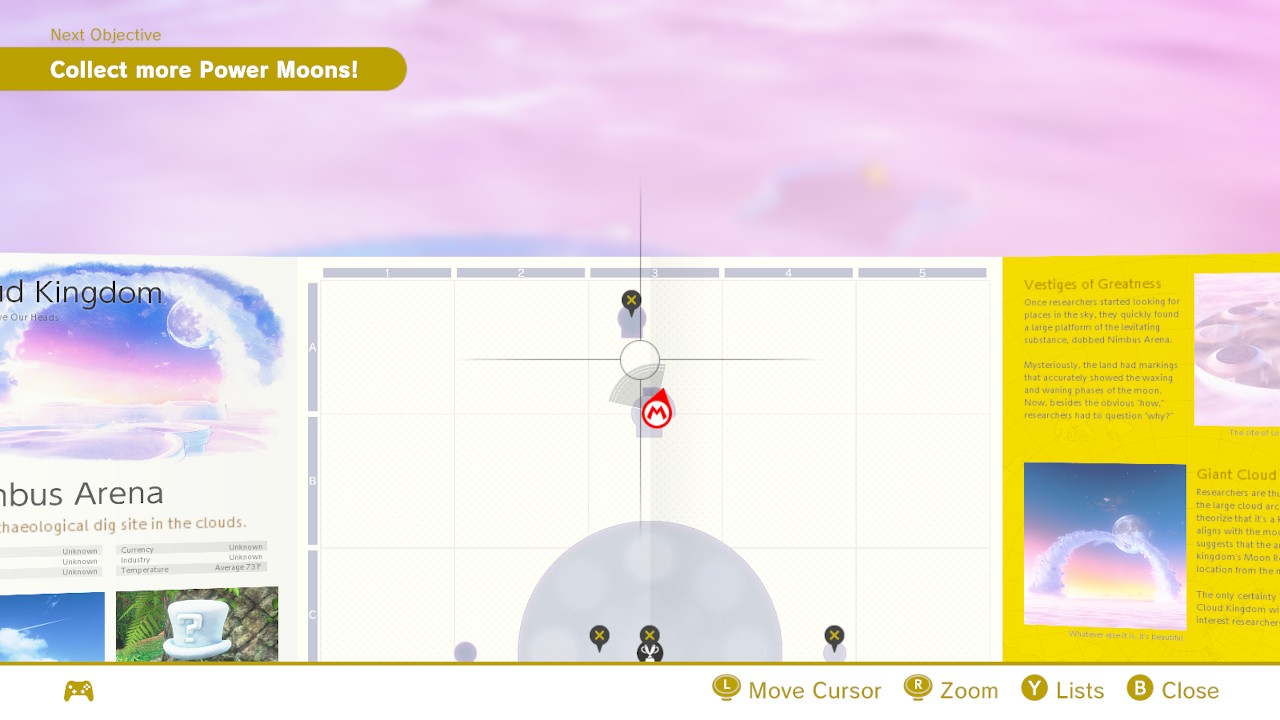
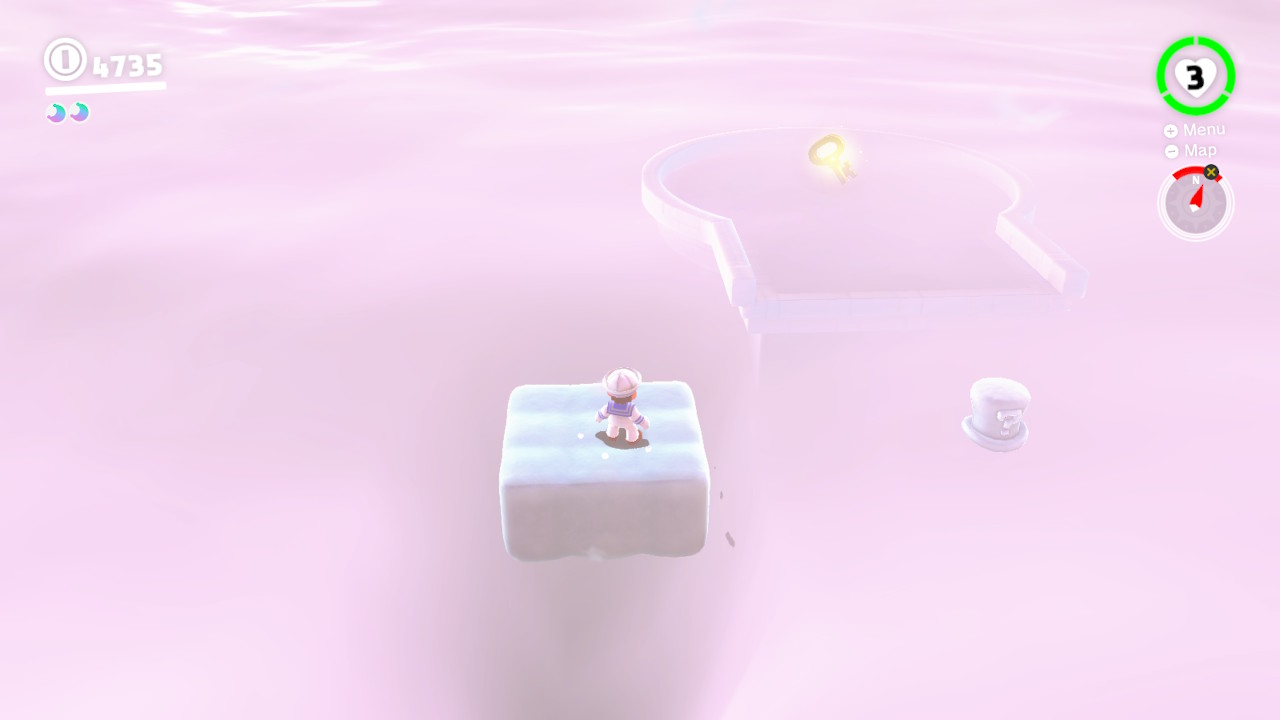
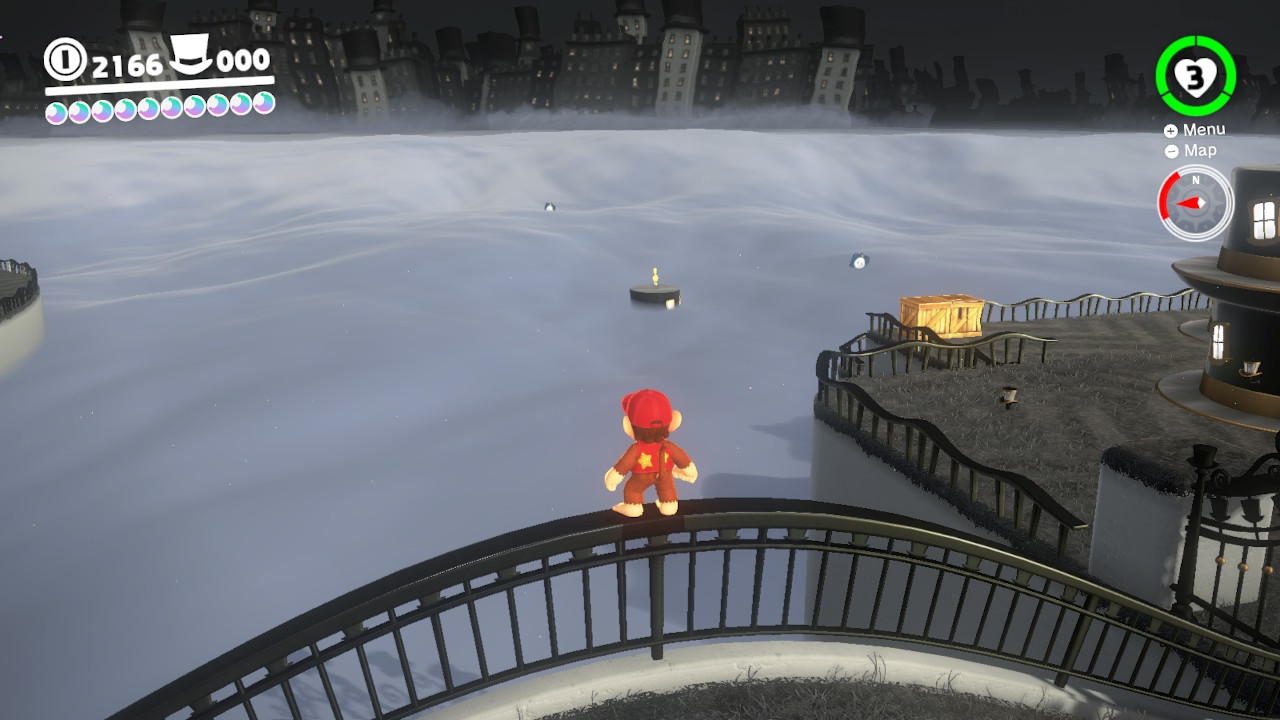
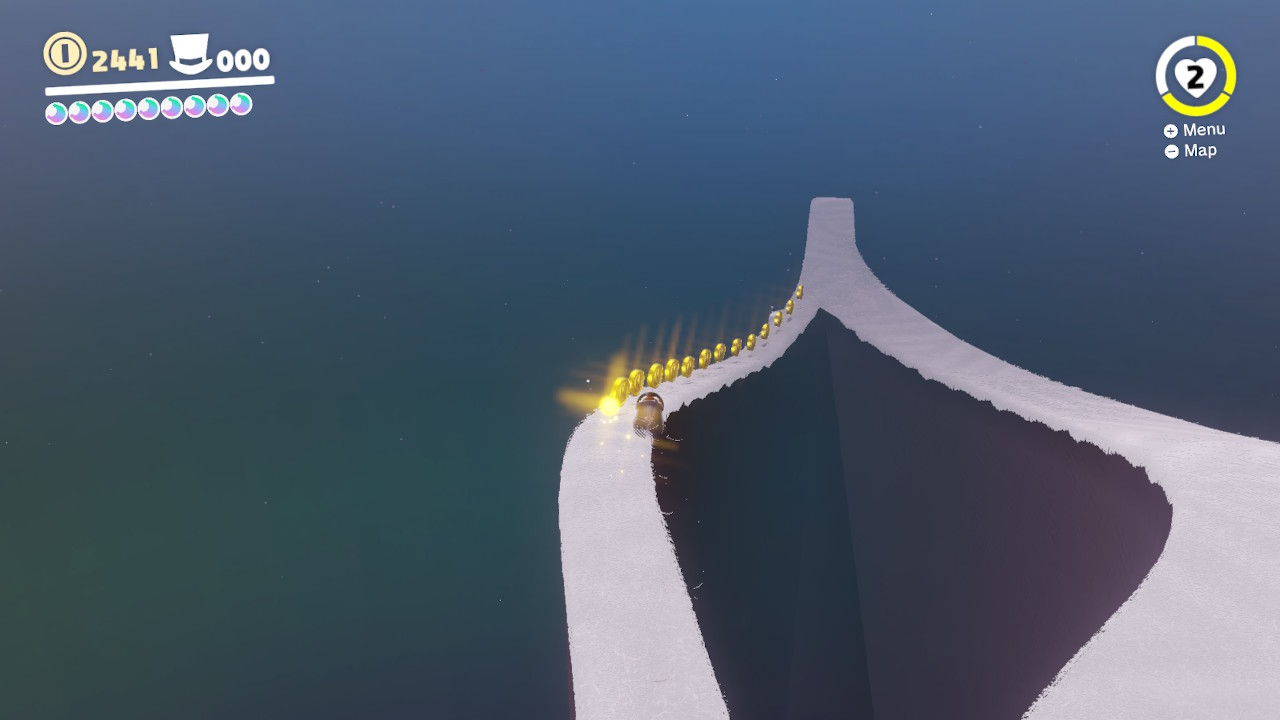
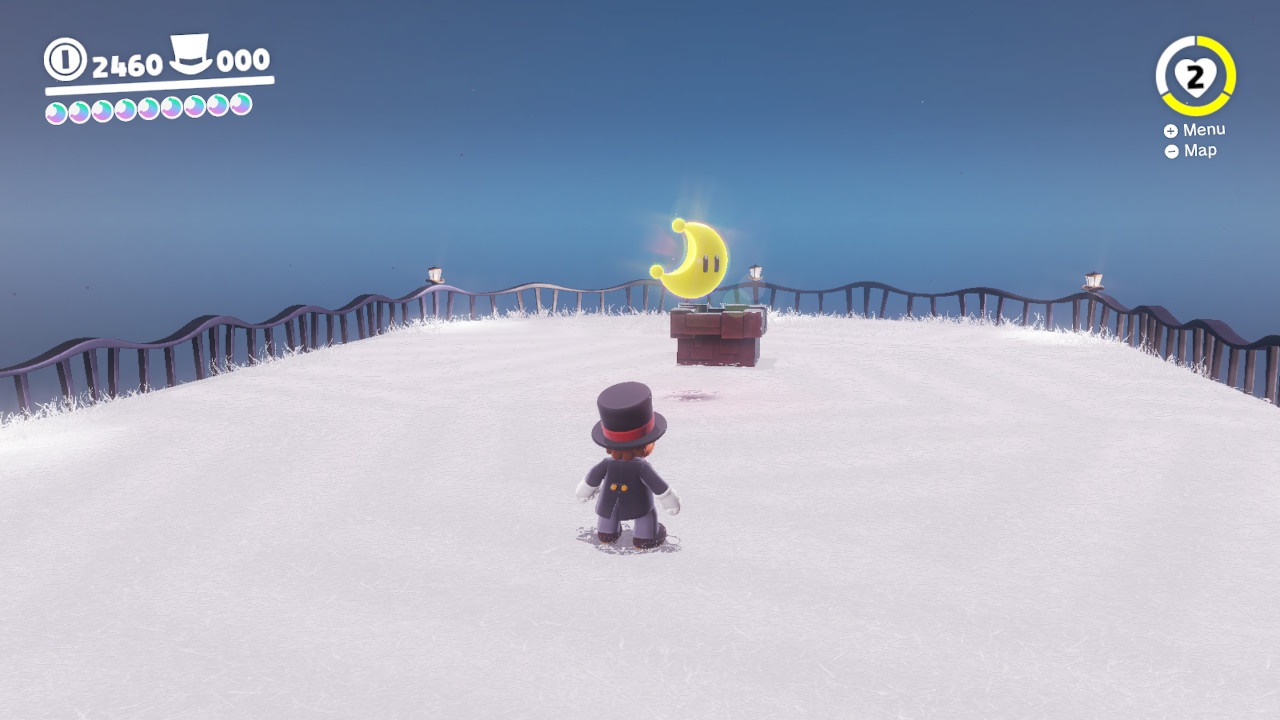
1- At the northmost area of the Cloud Kingdom (the same spot you destroyed the Moon Rock), you can see a key off in the distance.
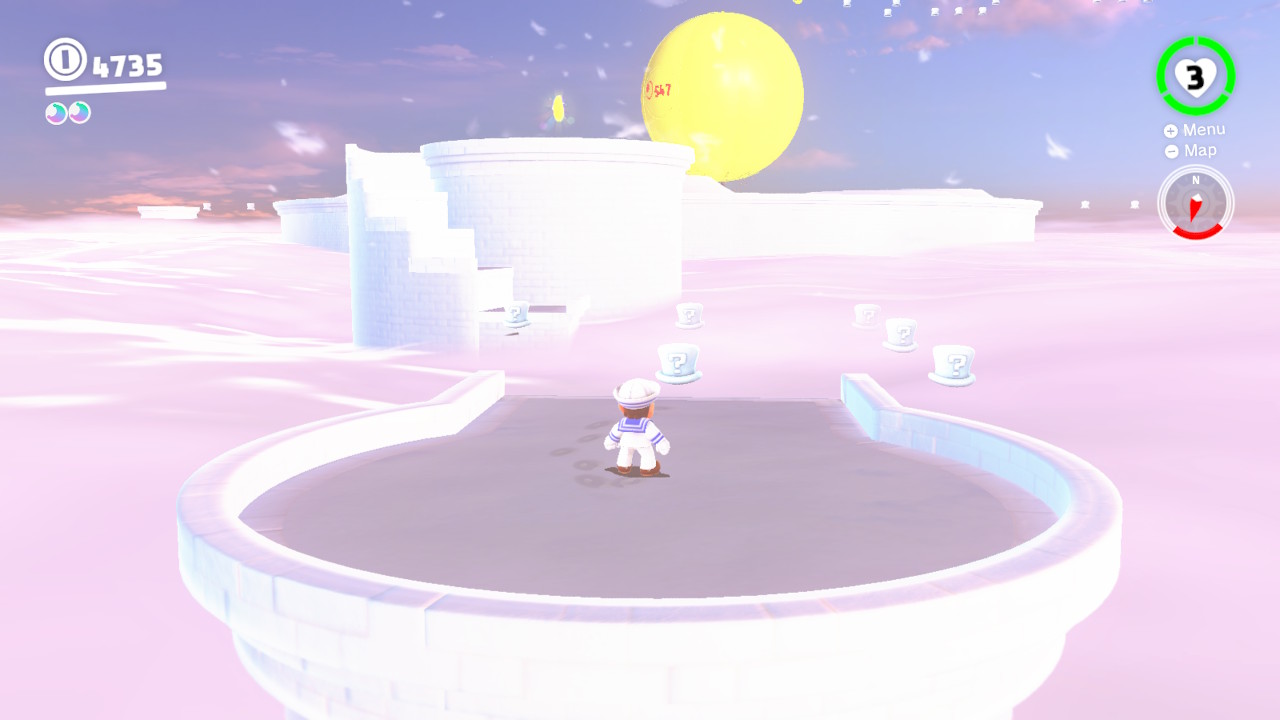
2- Hit the cloud question marks and jump across them…
3- Once you reach the other side and grab the key, the Power Moon will pop up back where the Moon Rock used to be. Go back and get it!
06 – Taking Notes: Up and Down
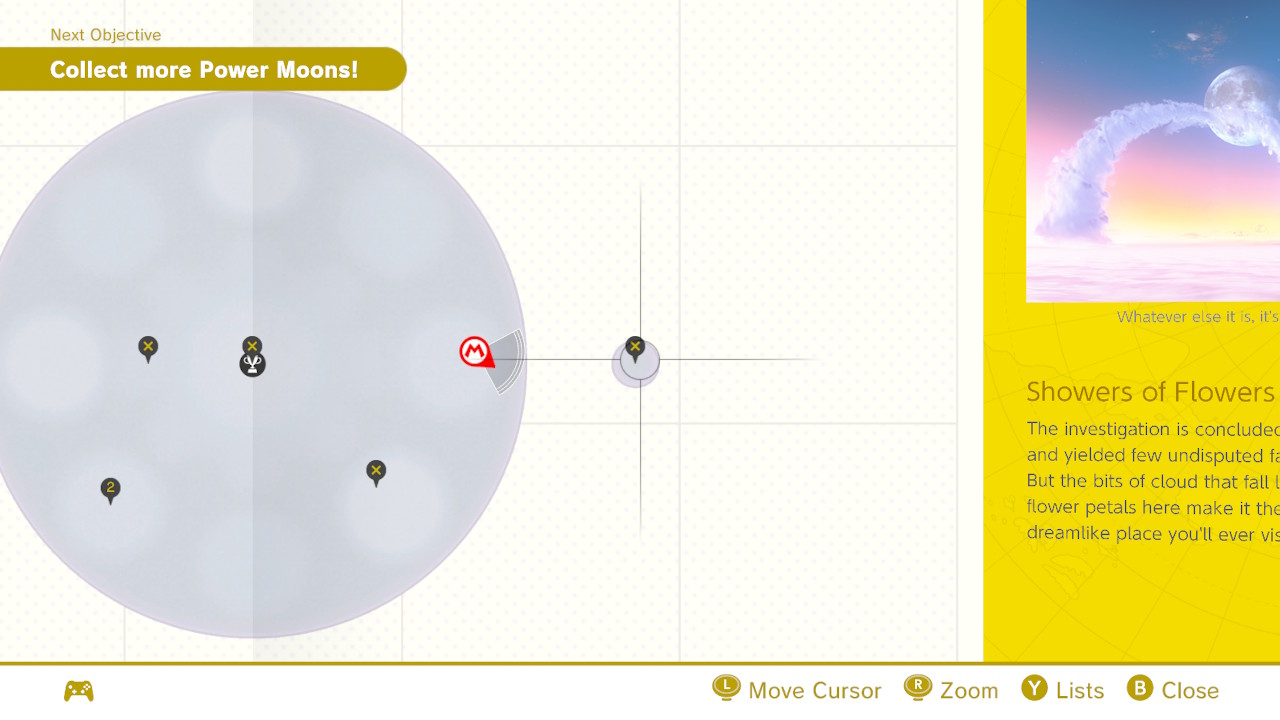
Location-
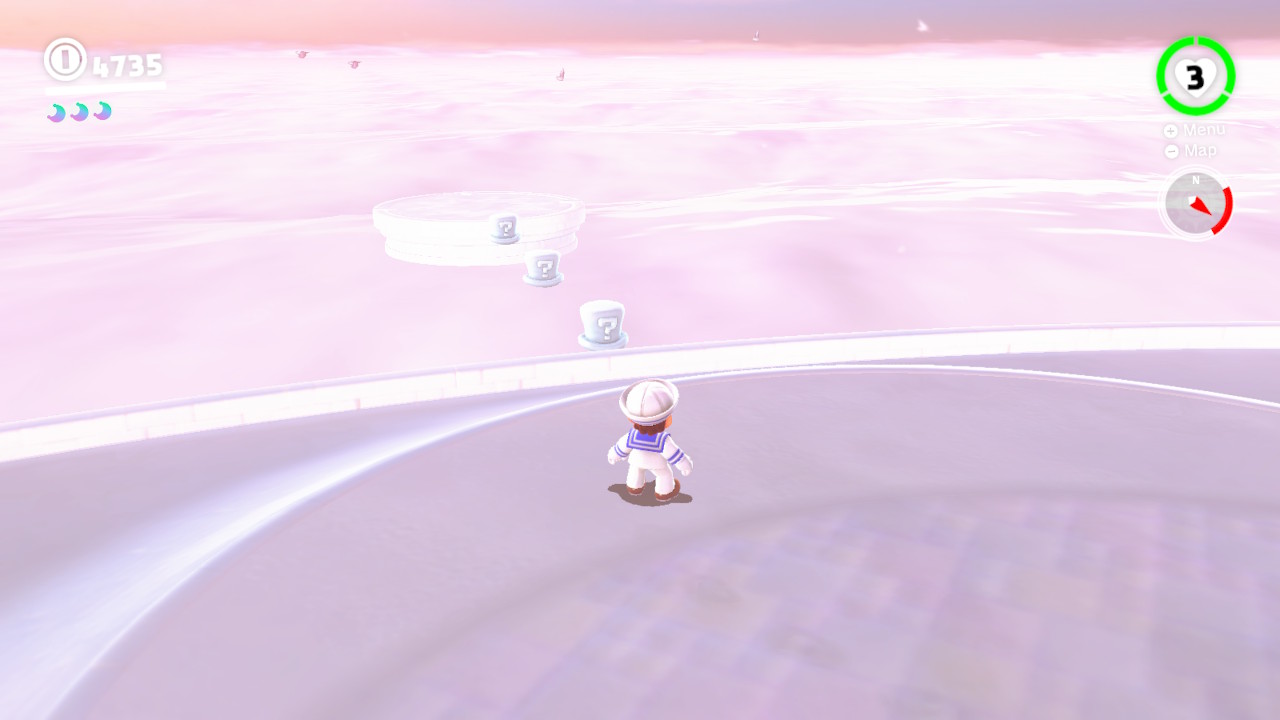
1- On the side of the Cloud Kingdom you should see a platform in the near distance…
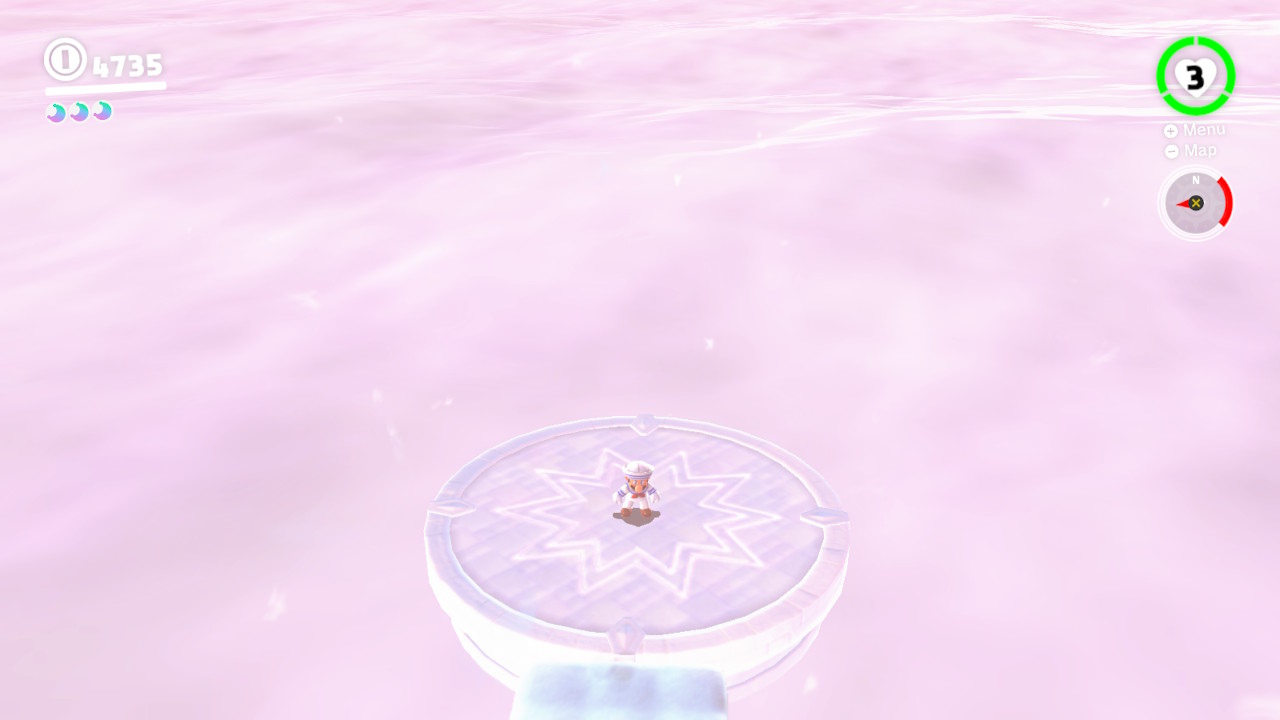
2- Jump out to it and ground pound it…
3- It will launch you upwards where you will see a music note, hit the music note!…
4- It’s nearly impossible to snag all the notes in one movement, so you’ll have to go up and down a couple times. Watch the video to get a good idea of how it’s done!
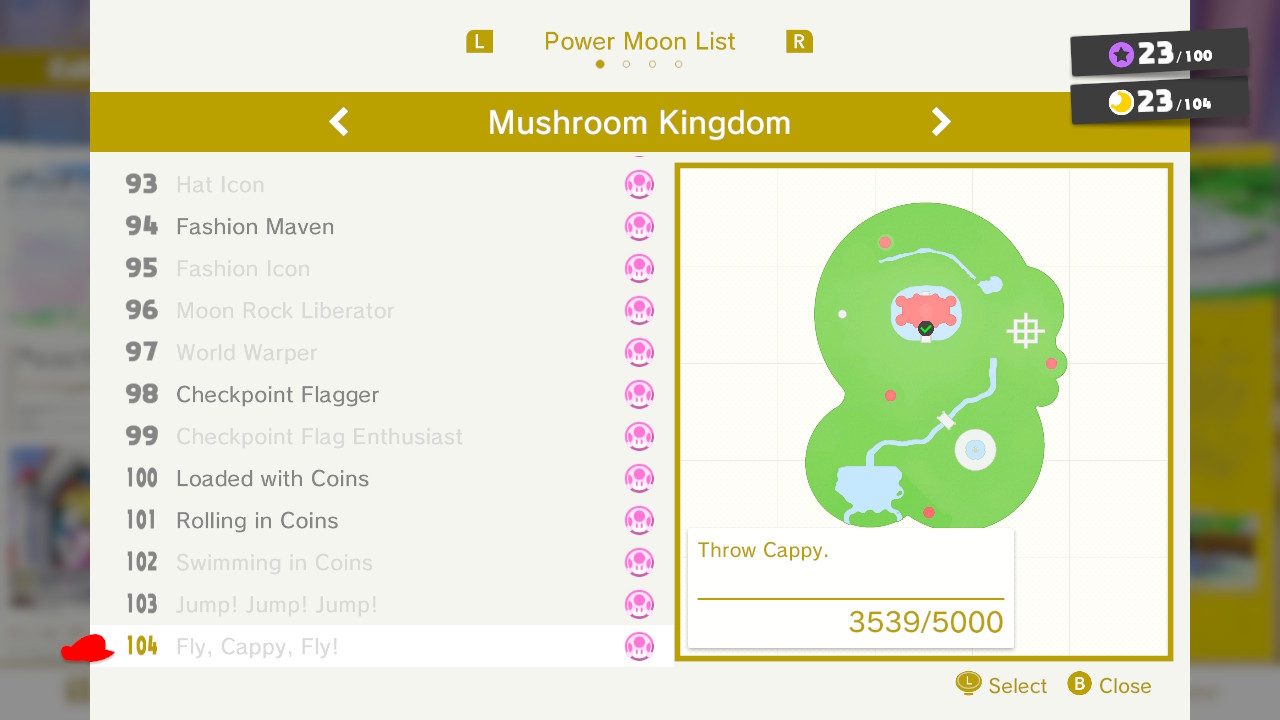
07 – Picture Match: A Stellar Goomba!
Location- Same as “Picture Match: Basically a Goomba”
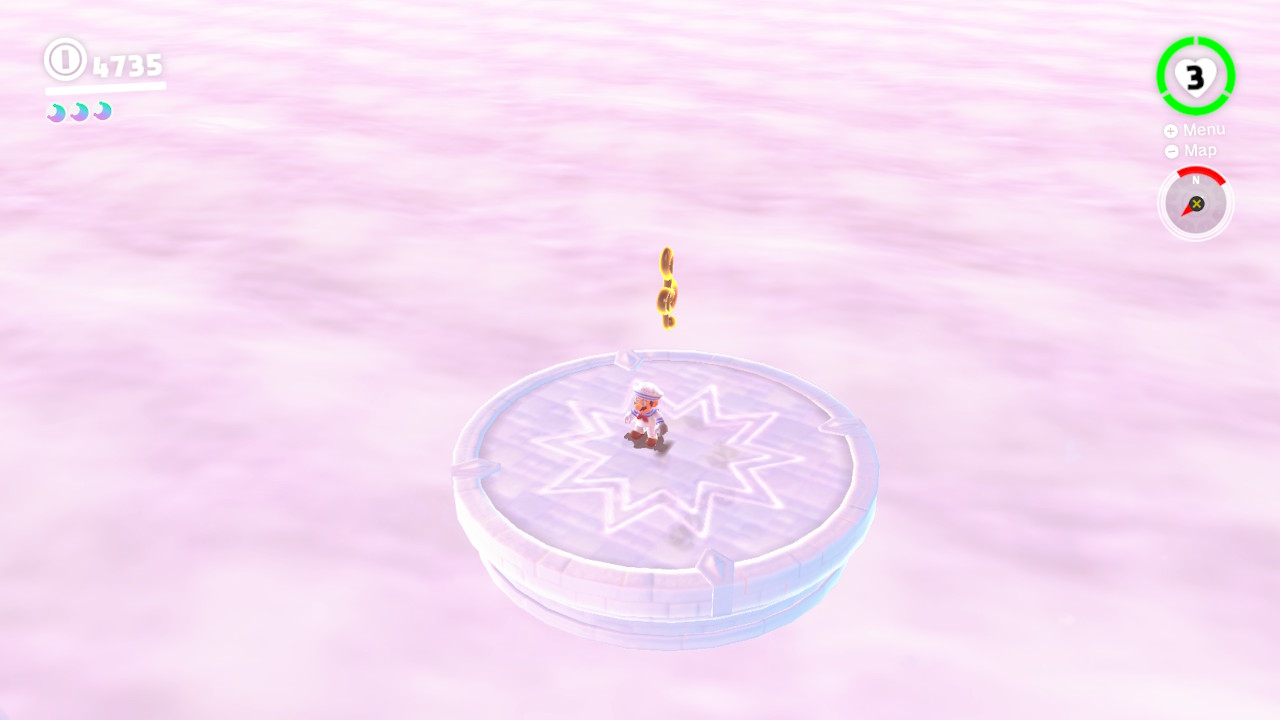
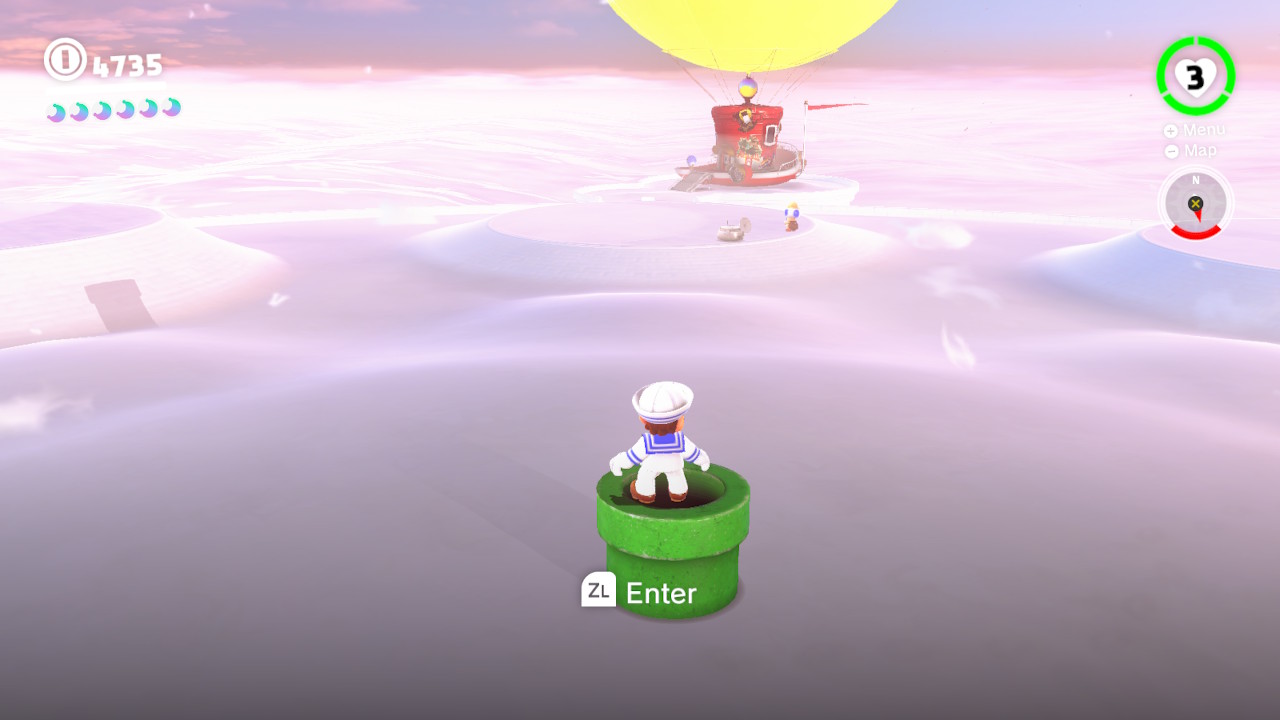
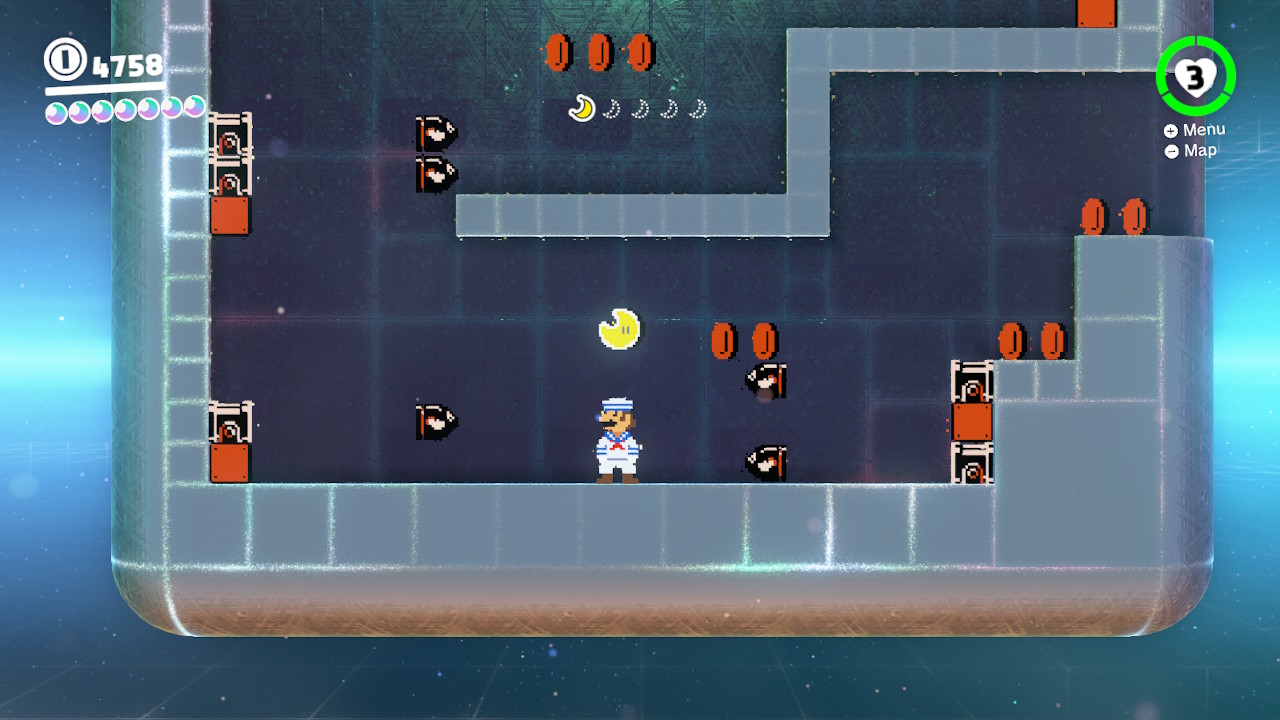
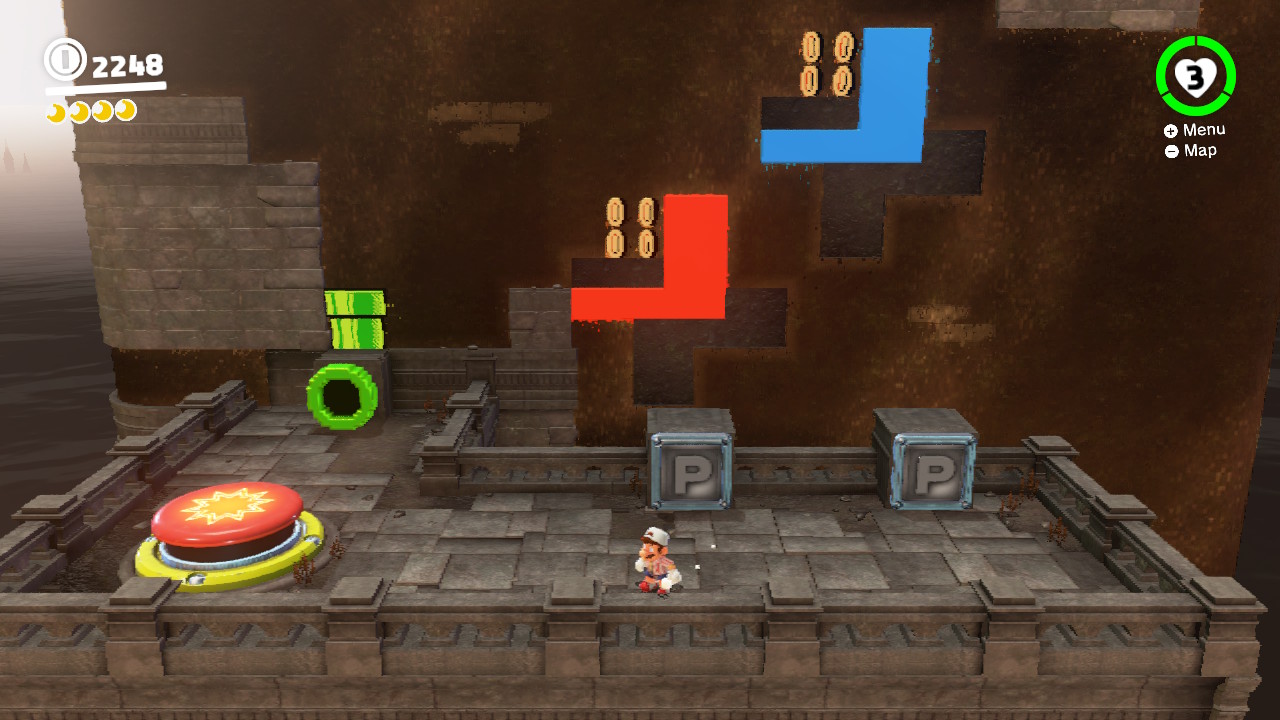
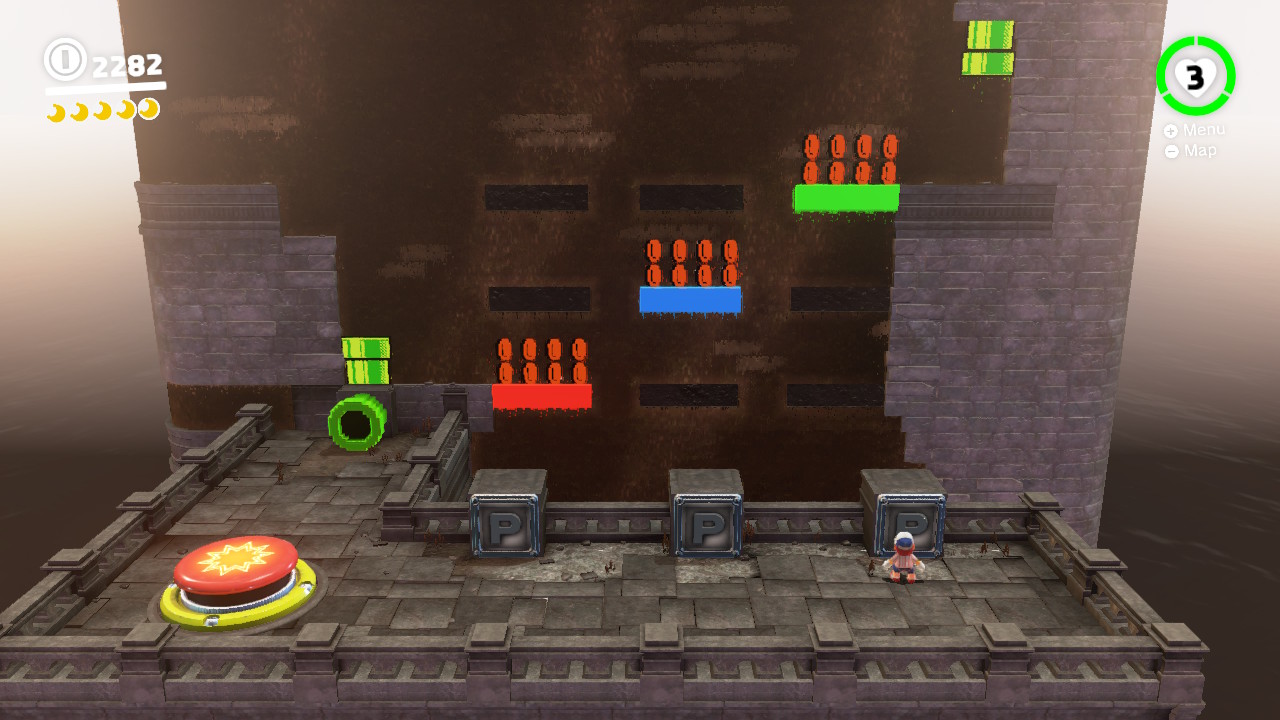
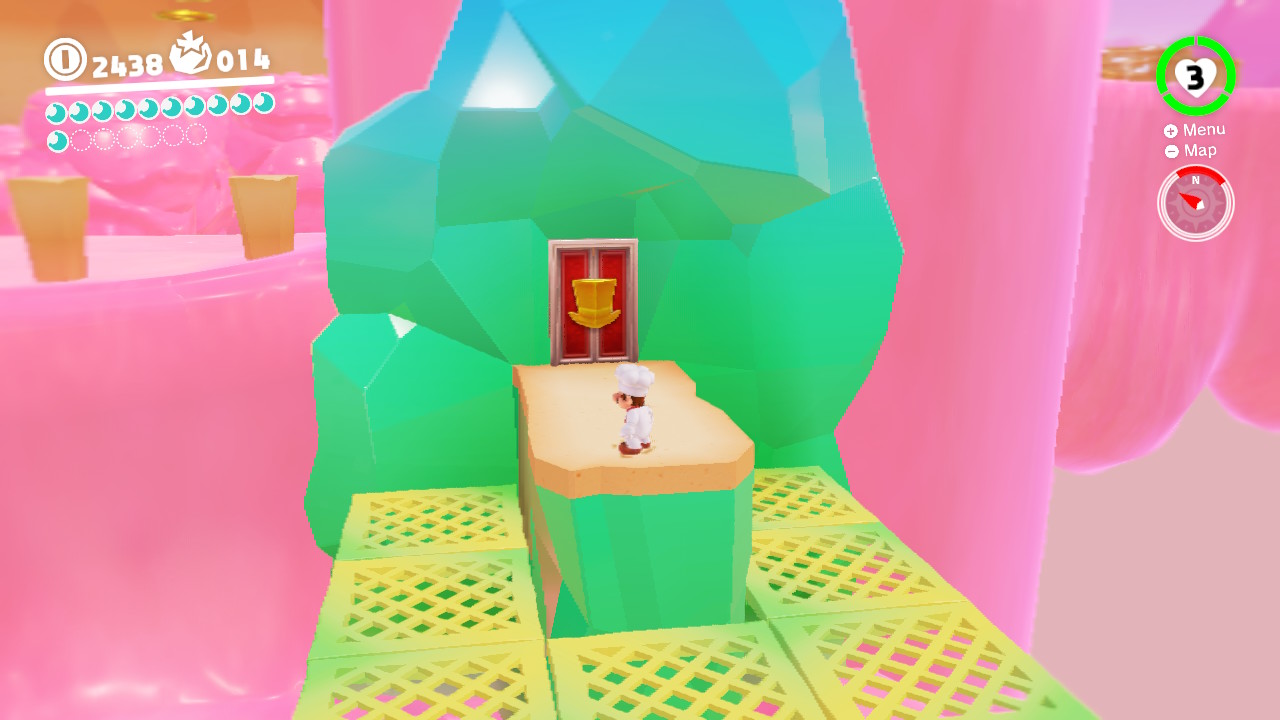
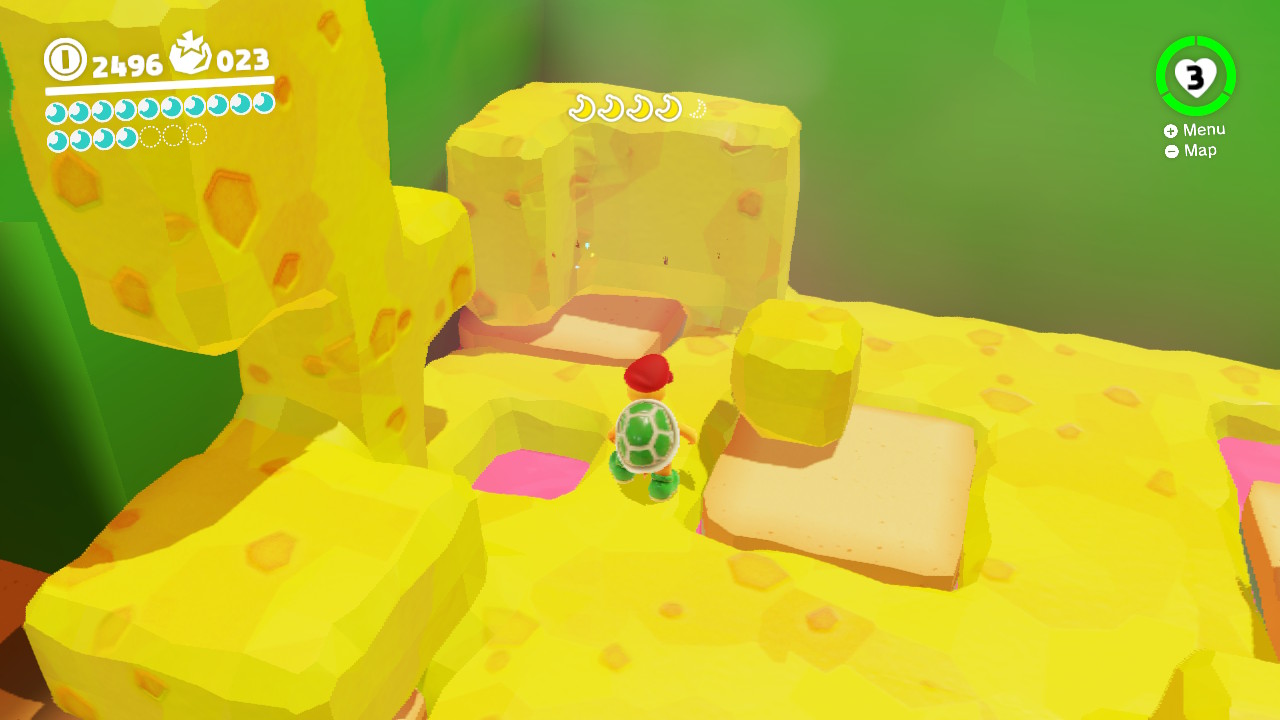
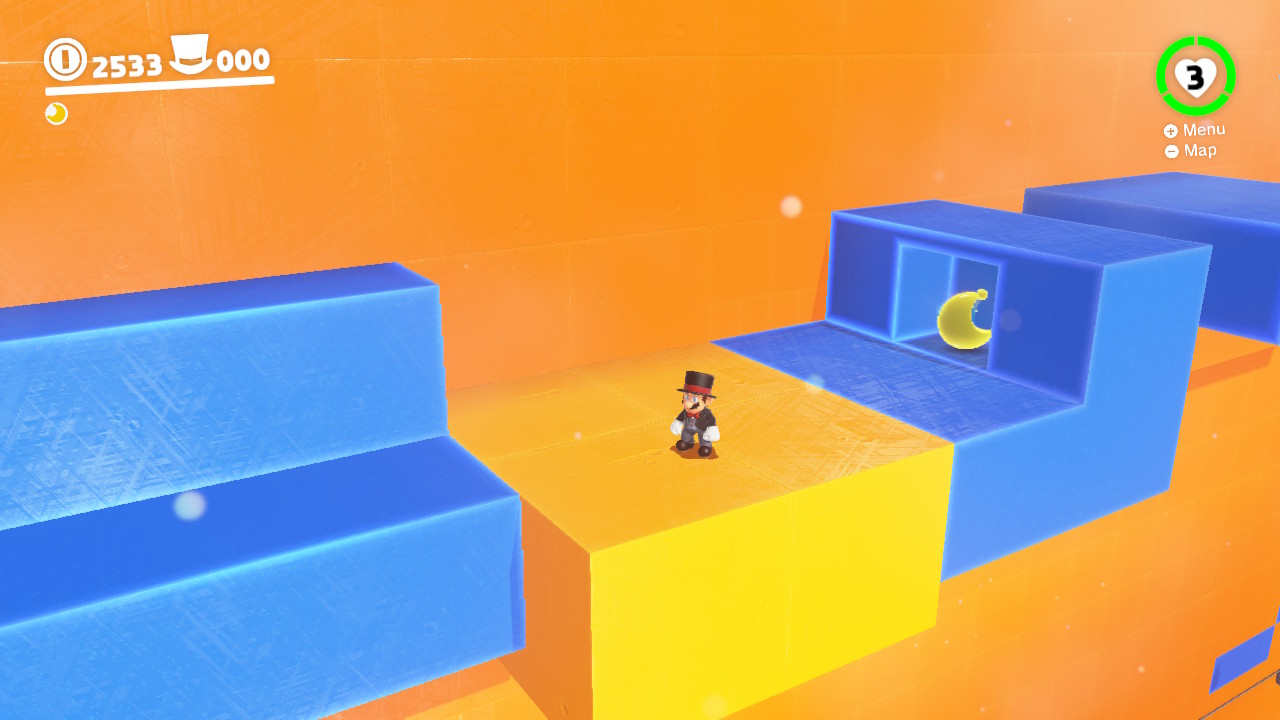
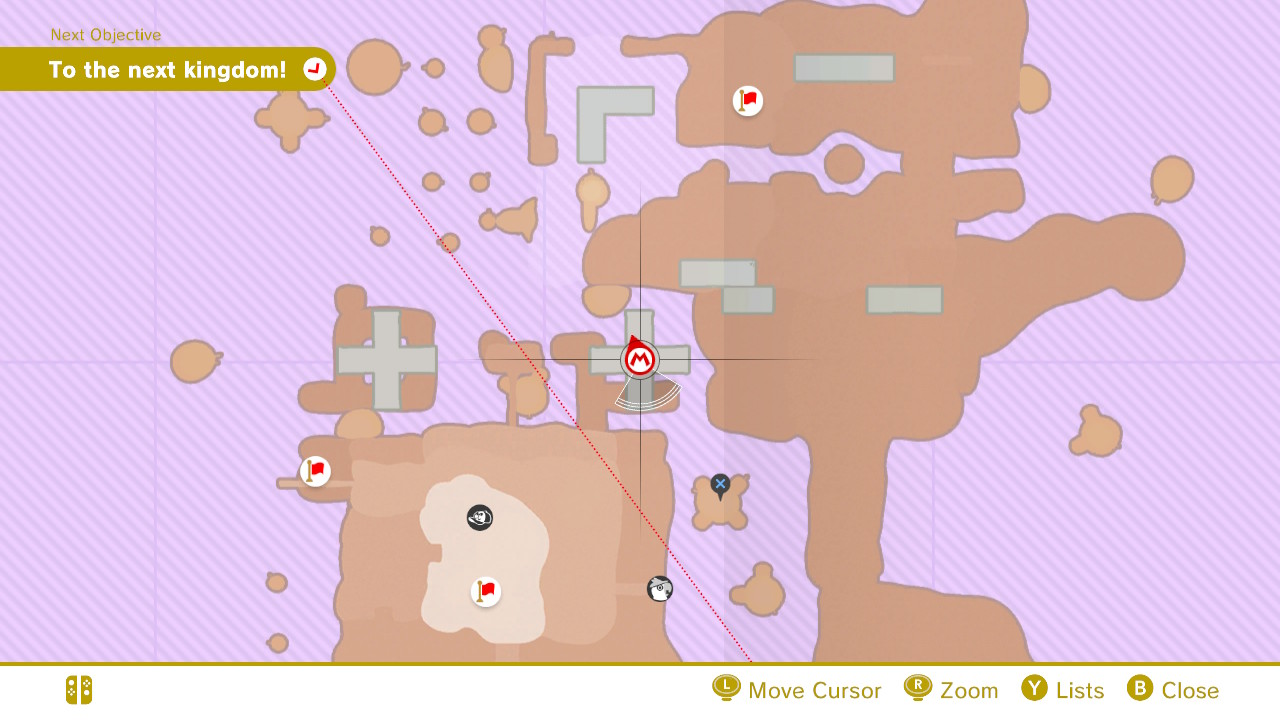
1- Just as you did the first time you played the Goomba picture puzzle game, drop dow the warp pipe that is in the middle of the cloud island…
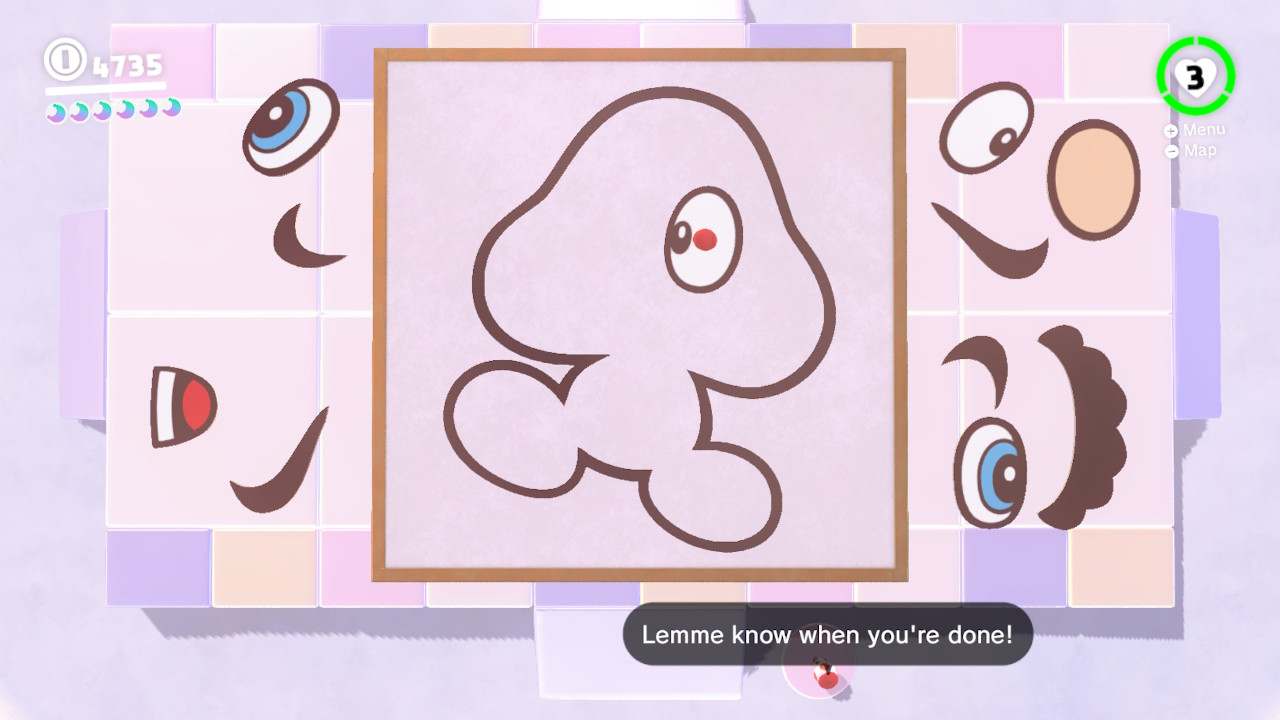
2- This time you’ll need to score 80 points or better… (PS! Use this image here while you’re playing the game to help you out!)
3- There is an additioanl twist this time around though. Now ALL you will see is a black and white outline of the Goomba. So there are less visual references to help you pinpoint the exact spot you want to place down a facial feature…
4- Do you’re best to line them all up good luck!!
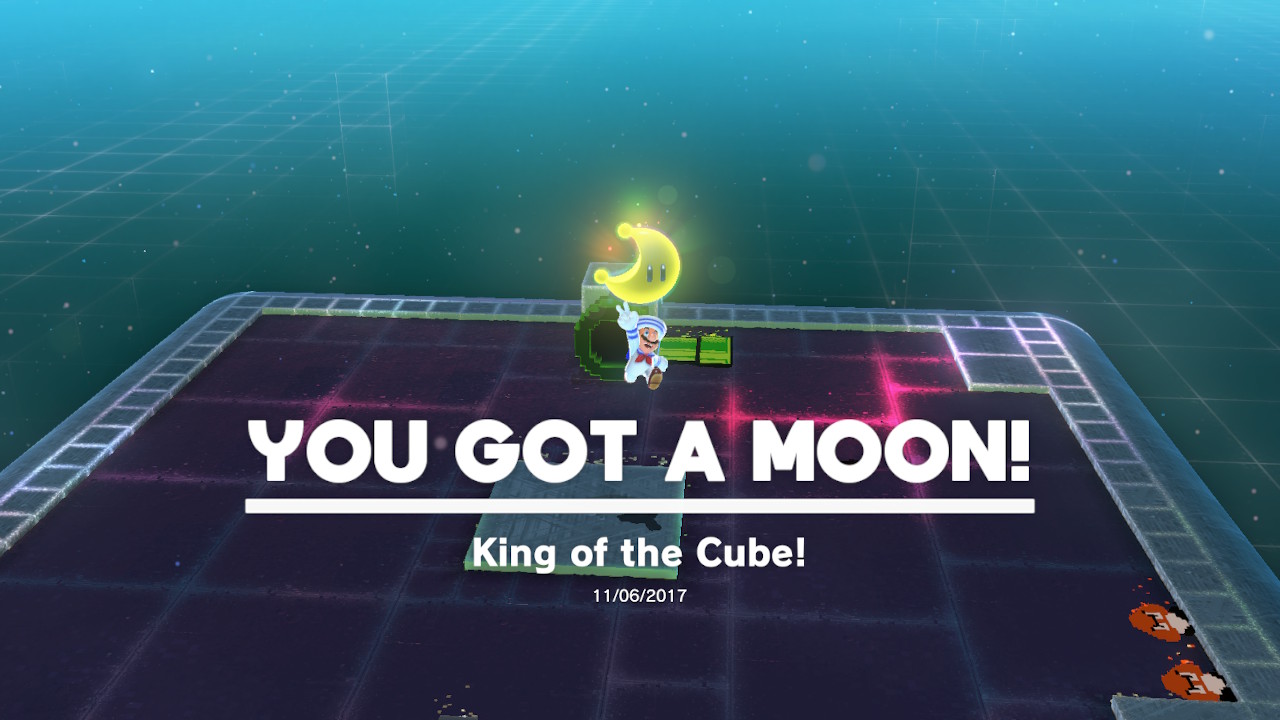
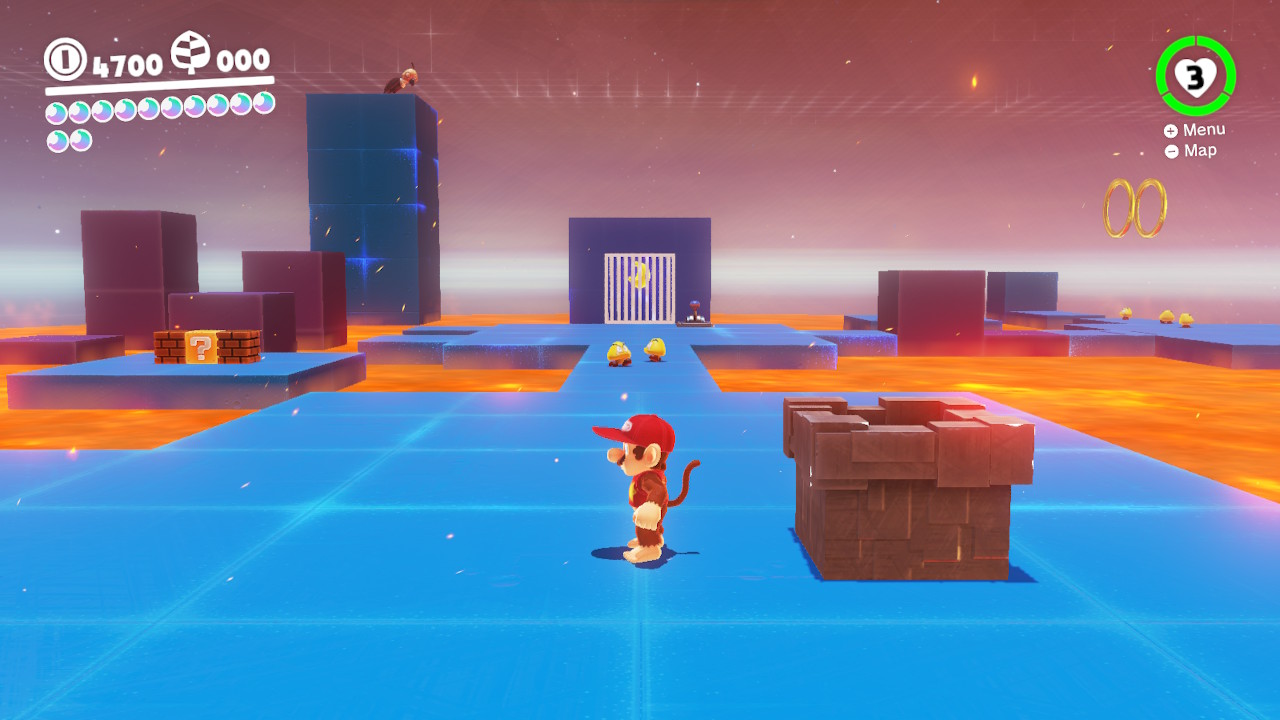
08 – King of the Cube!
Location-
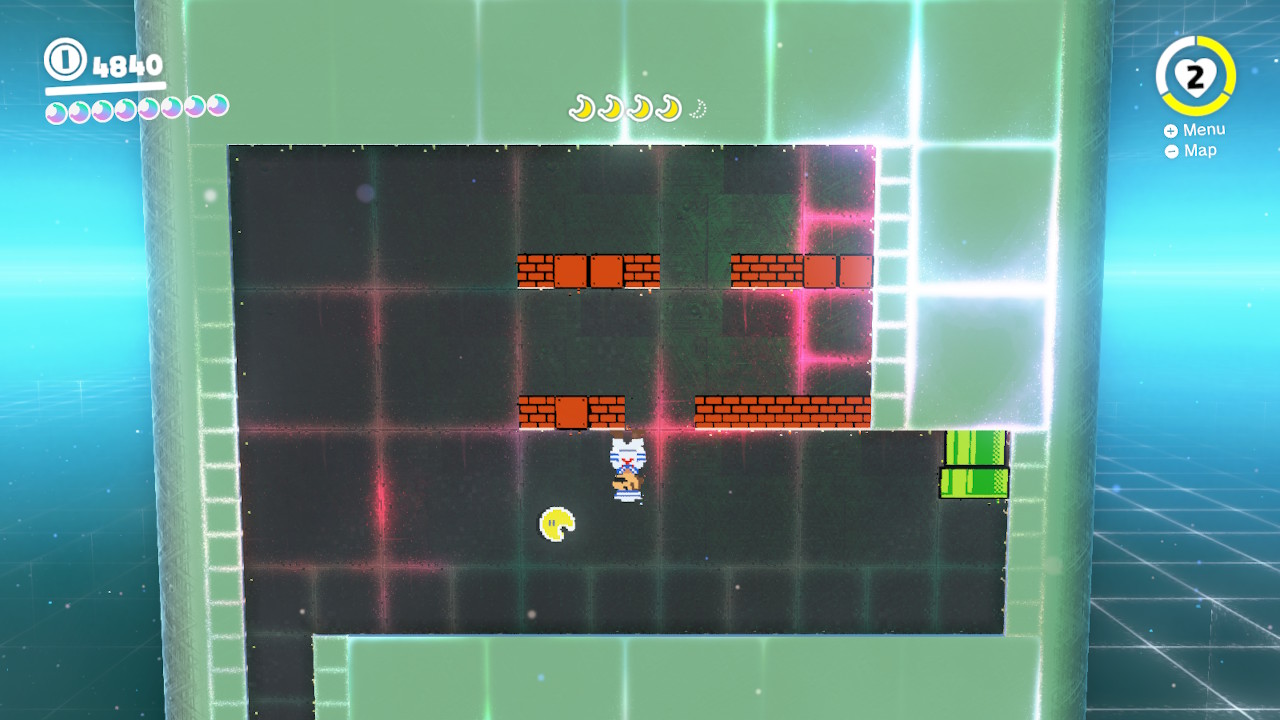
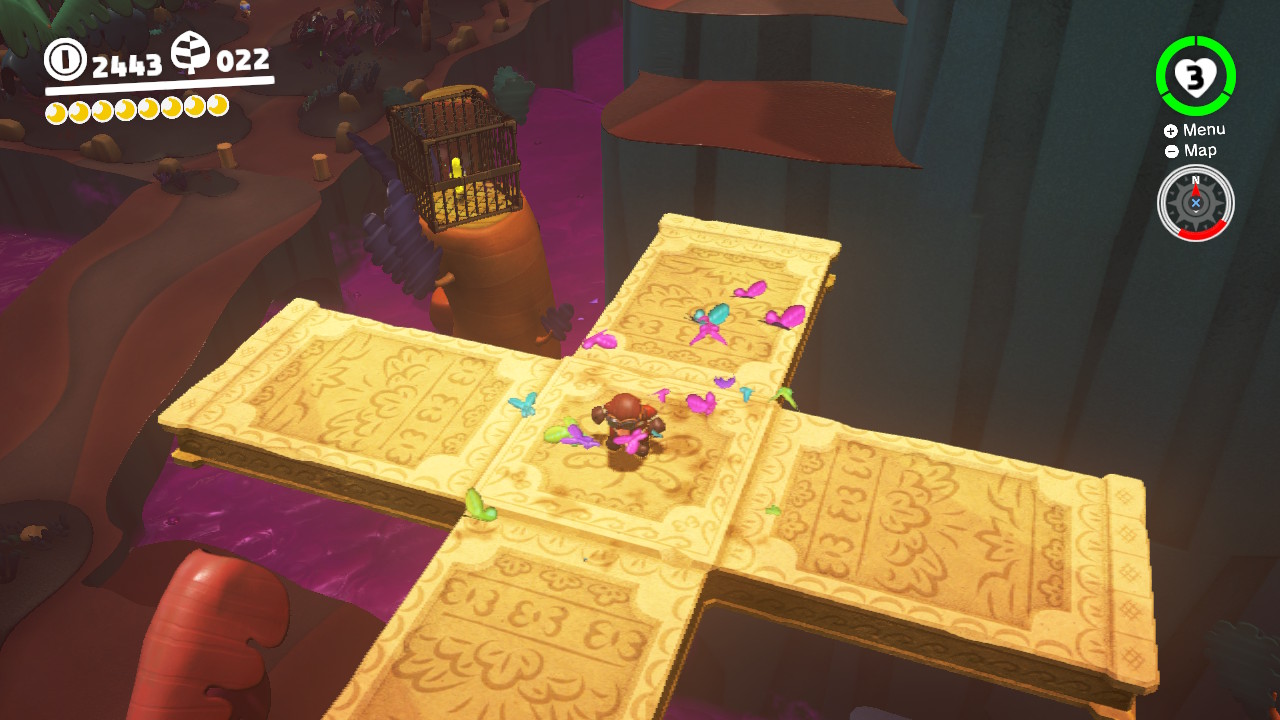
1- Now that you busted open the Moon Rock, this Moon Rock Warp Pipe will appear…
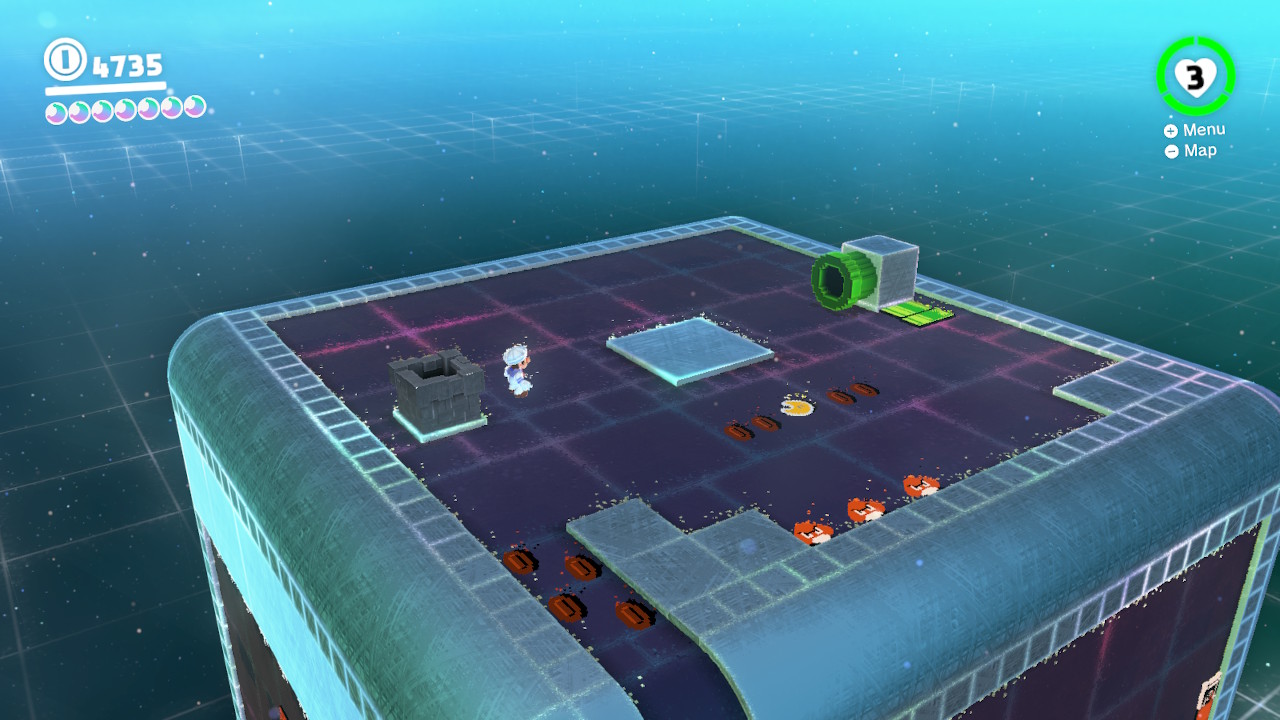
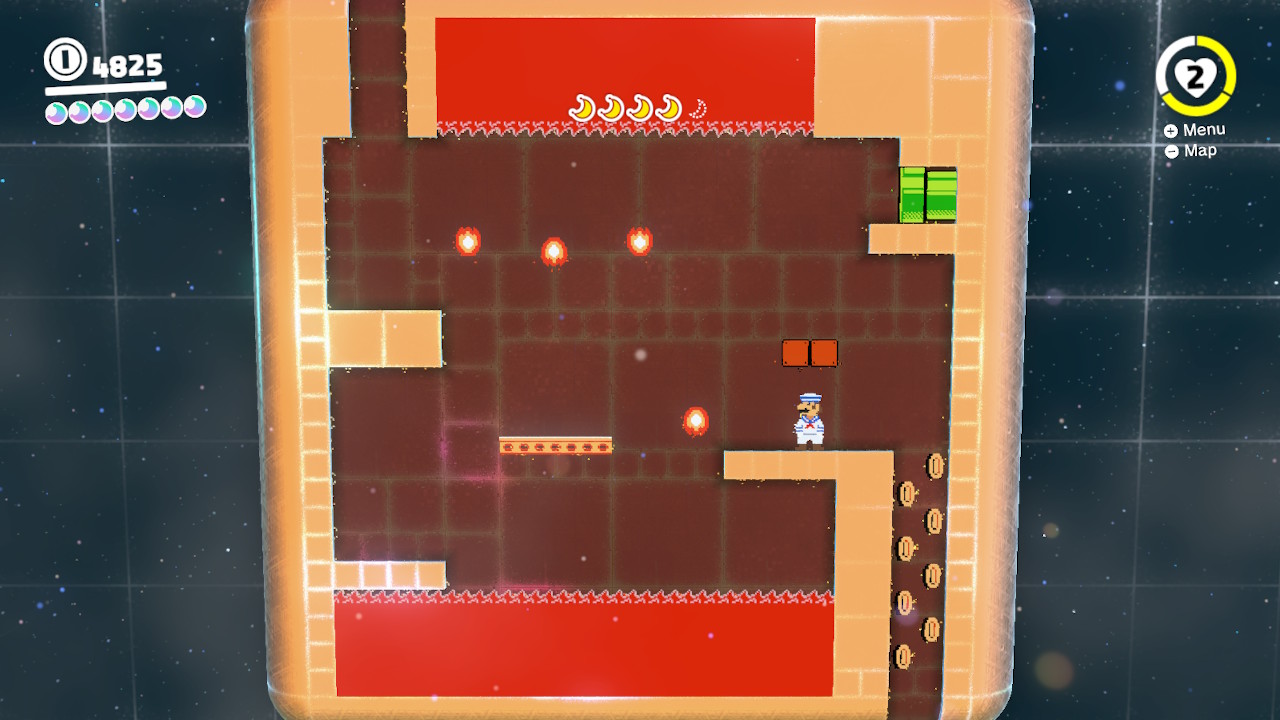
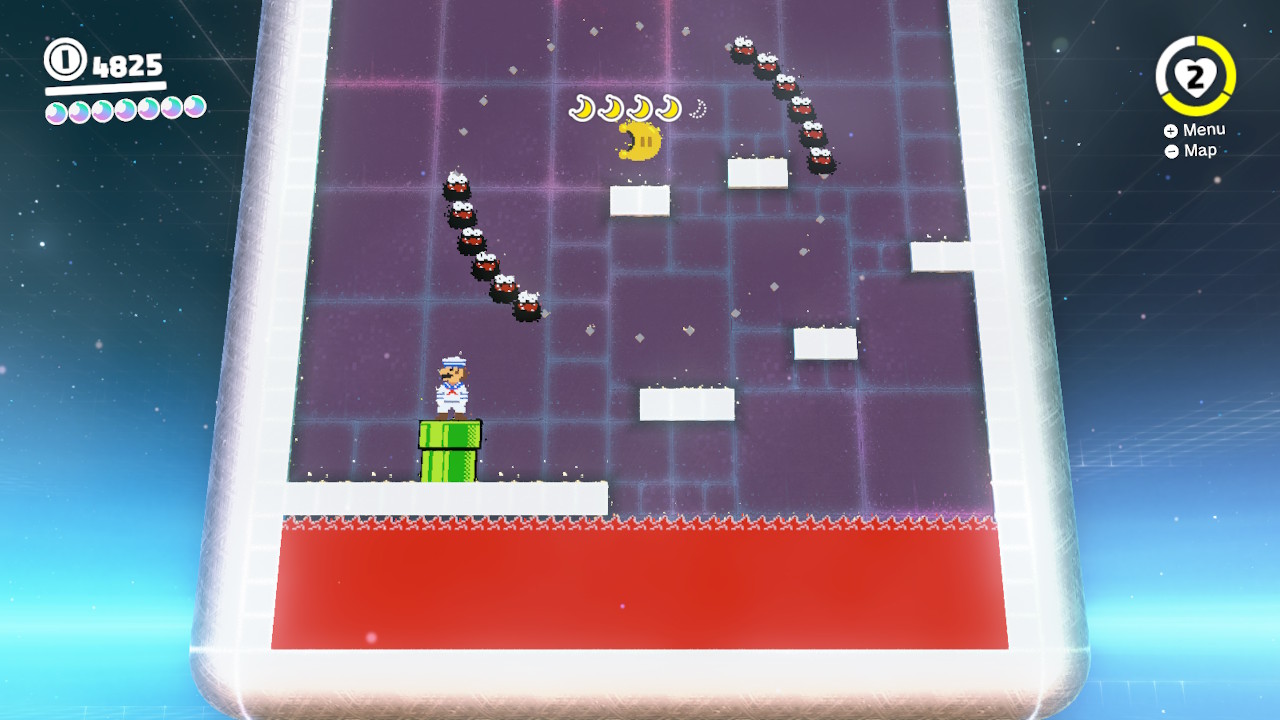
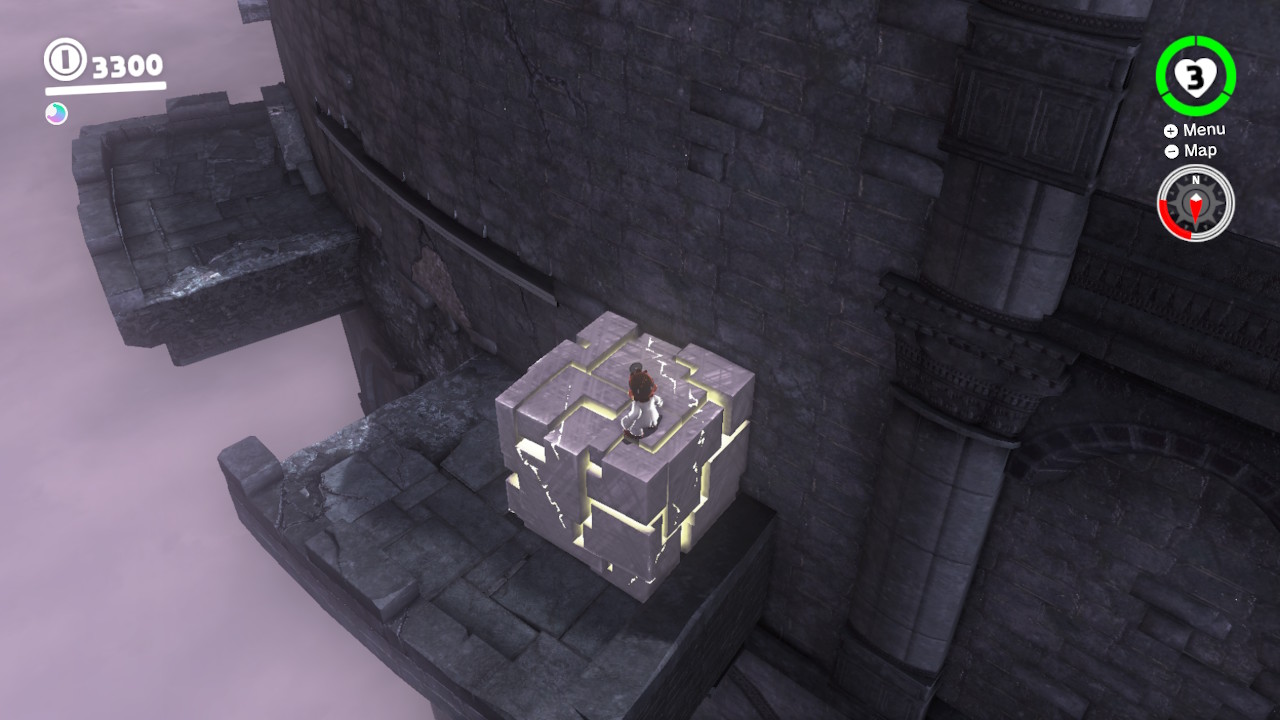
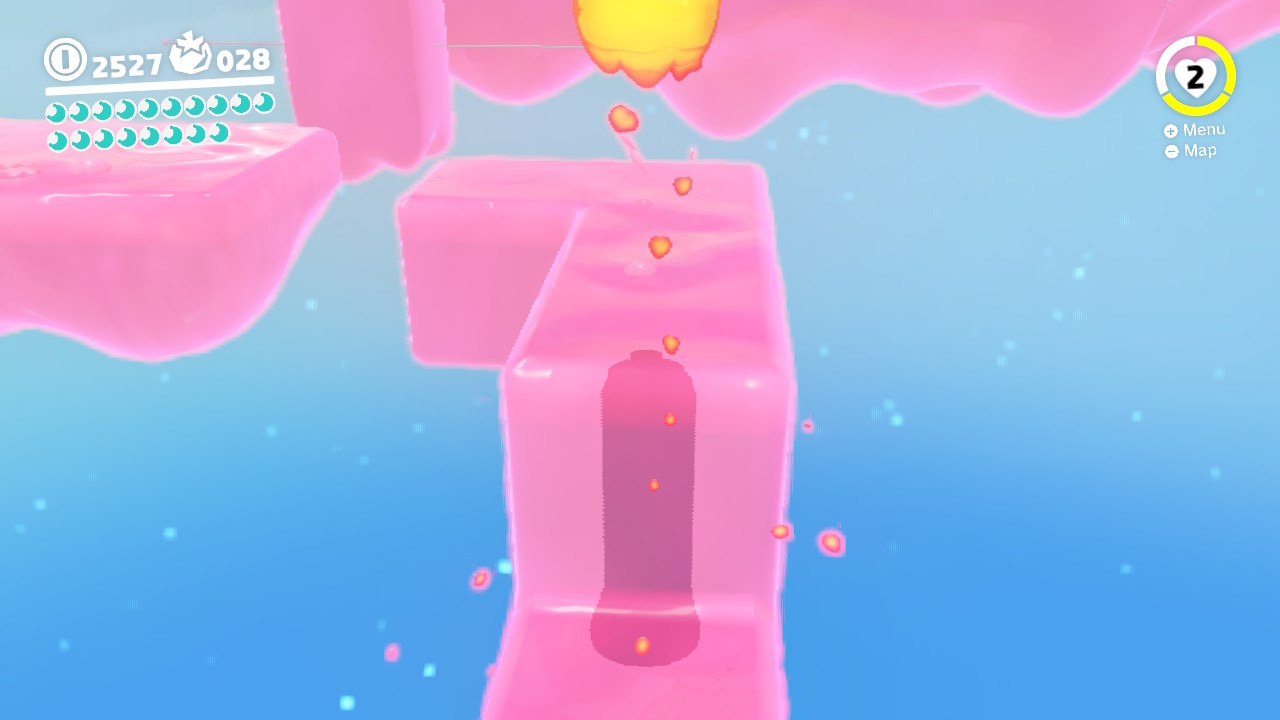
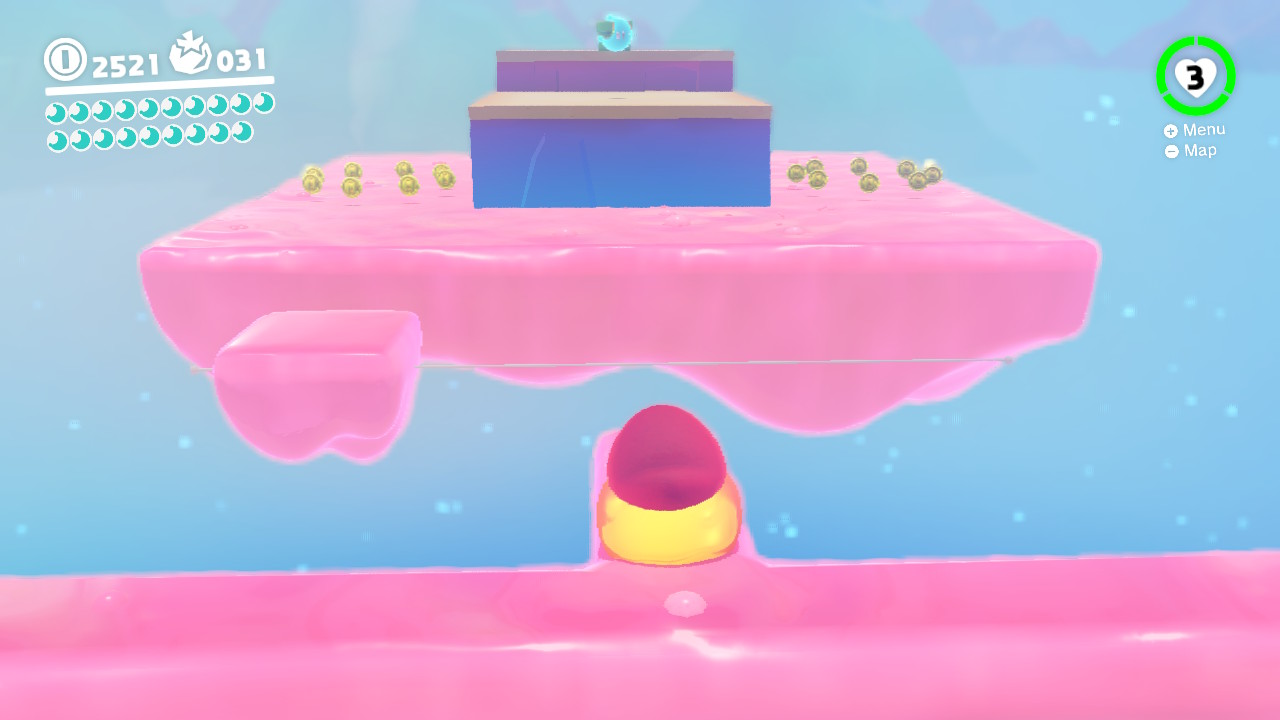
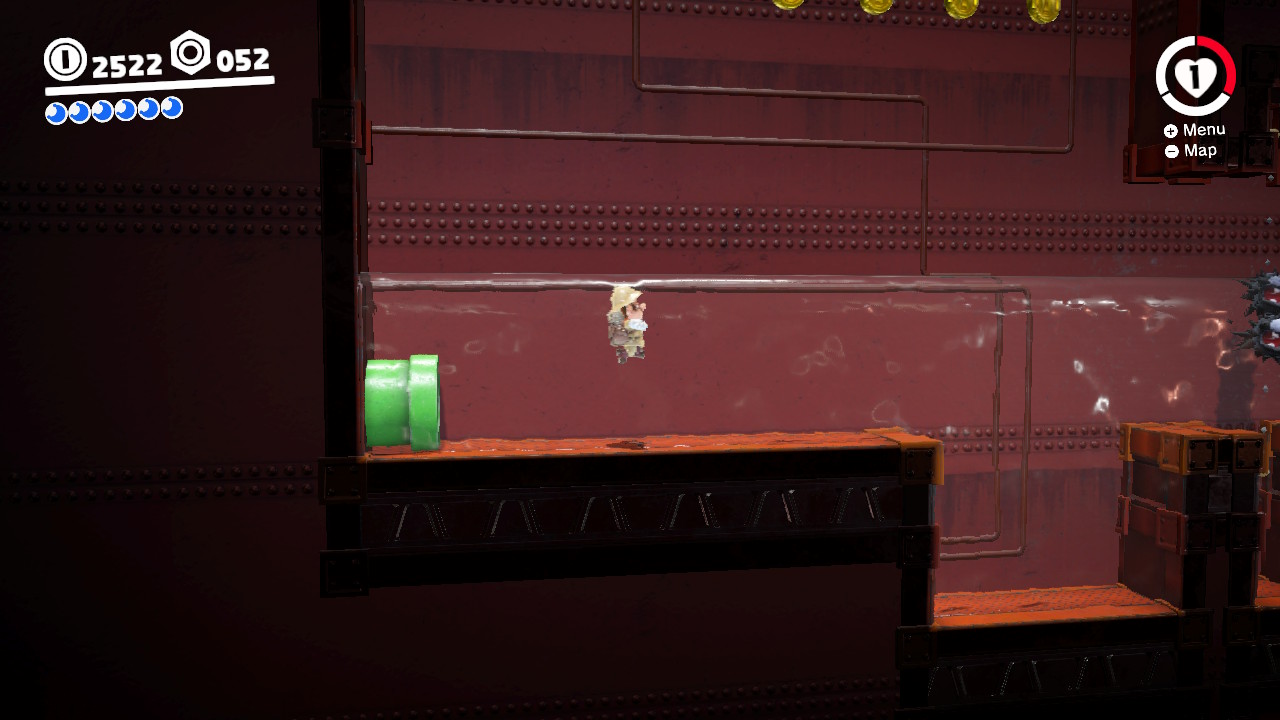
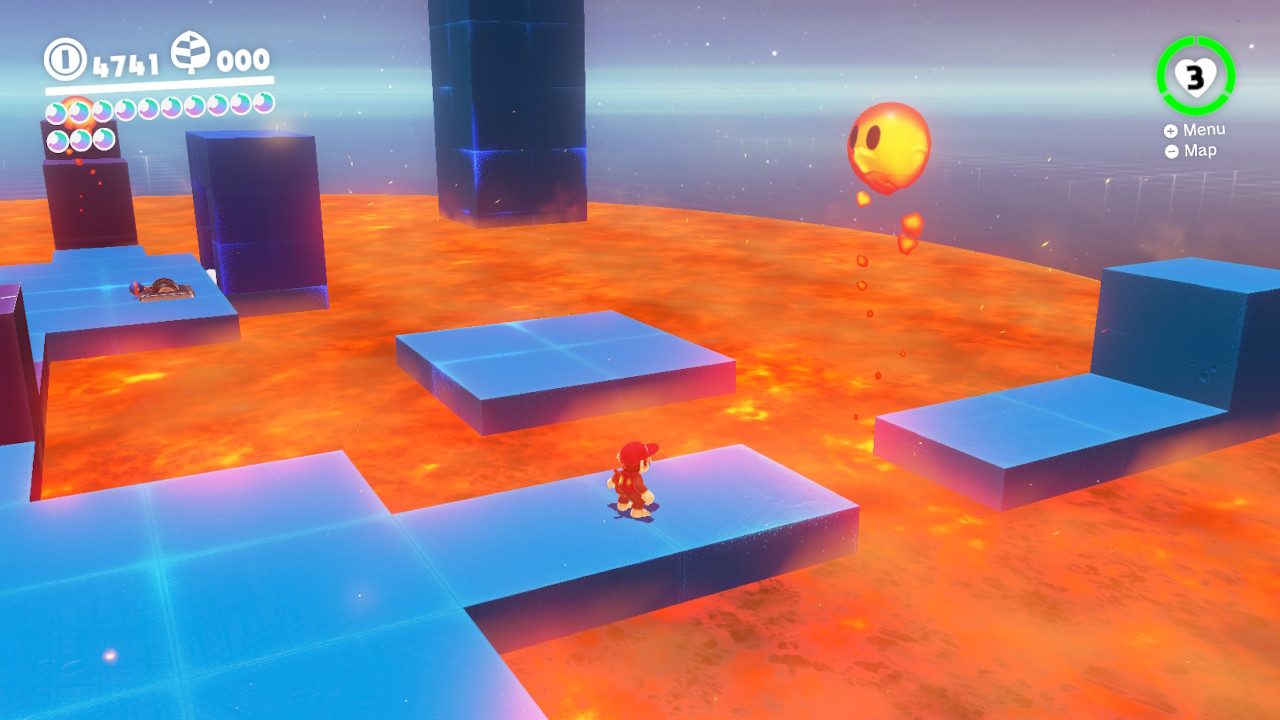
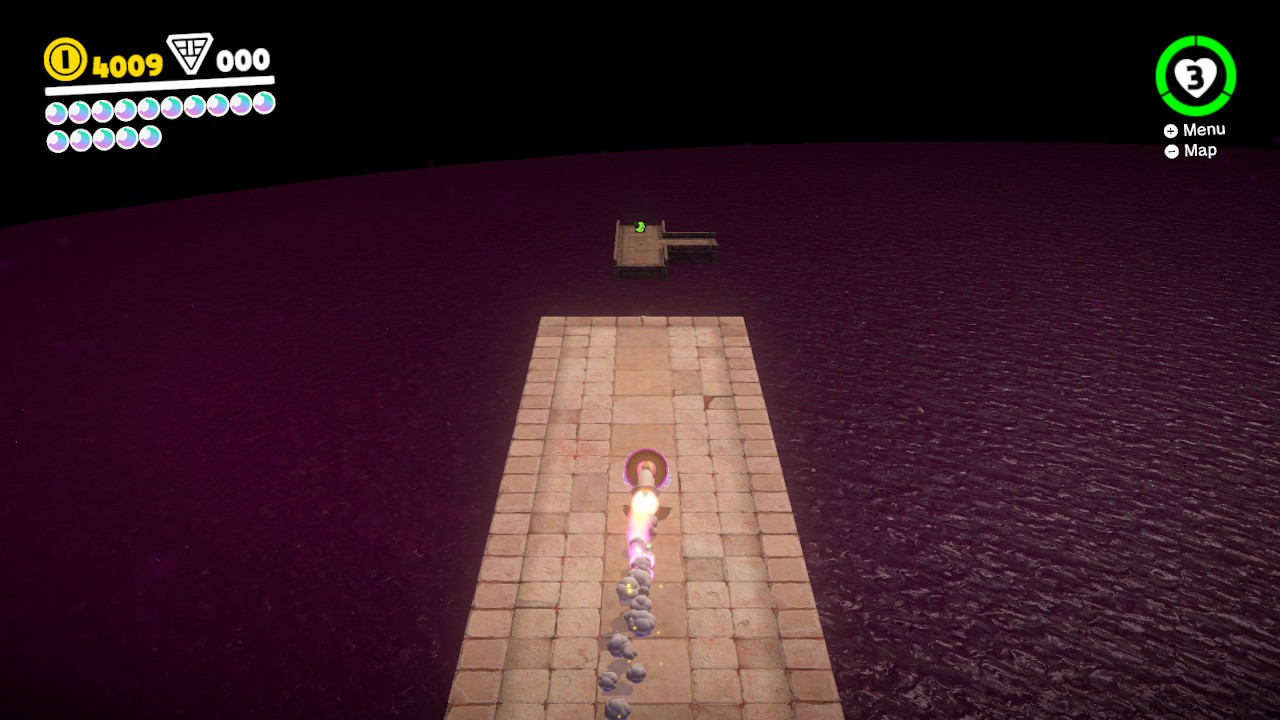
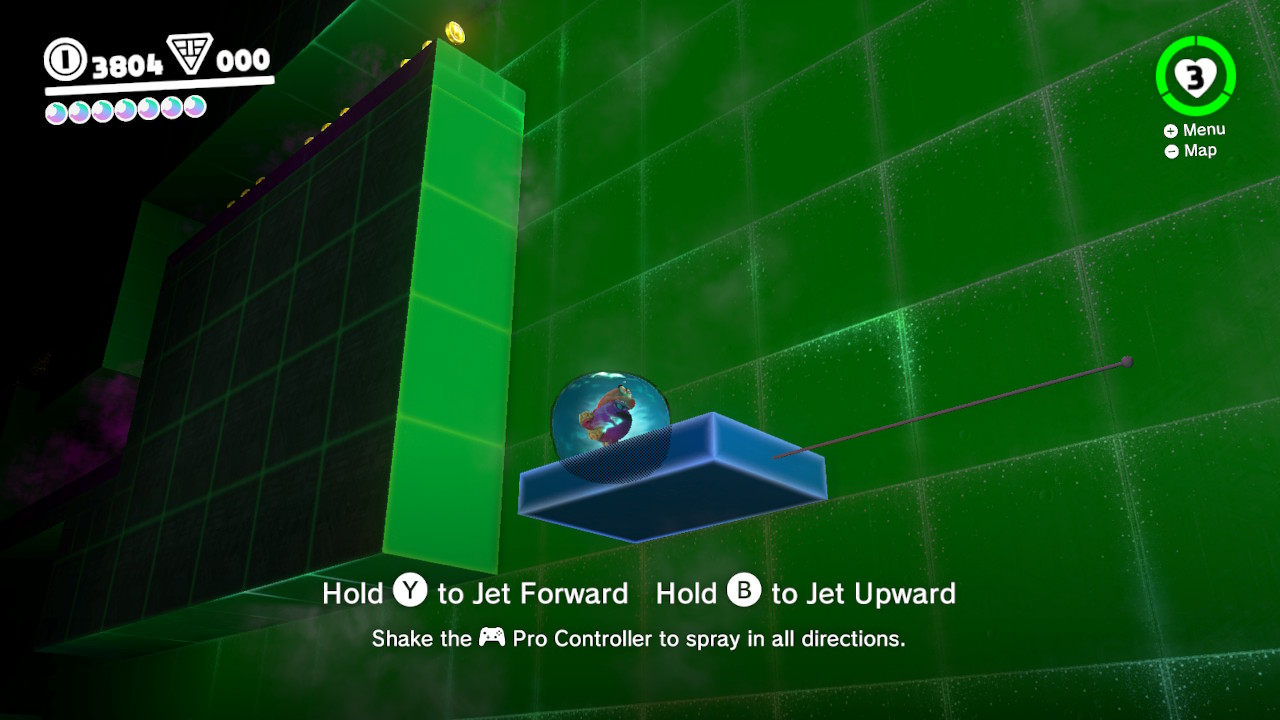
2- Inside is an awesome 8-bit cube you’ll have to navigate…
3- Collect all 5 moon shards… (shard 1/5 shown)
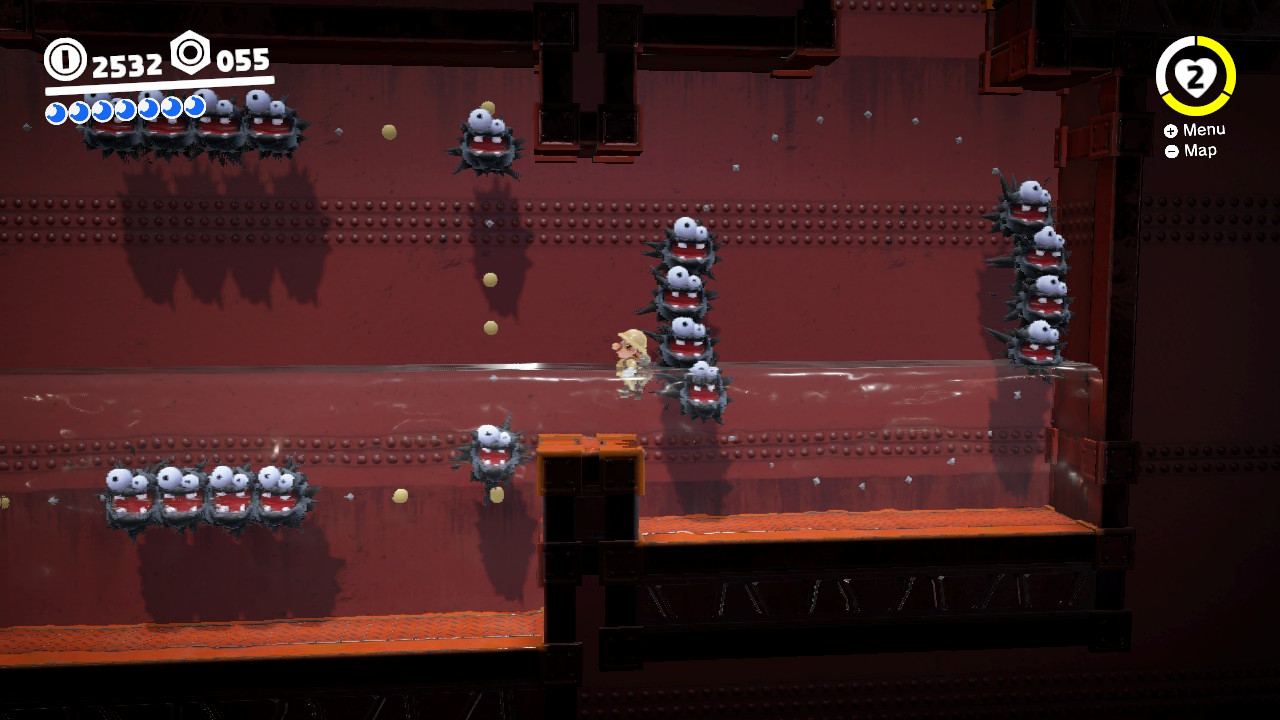
4- Dodge the Bullet Bills… (shard 2/5 shown)
5- And the Goombas and Koopas… (shard 3/5 shown)
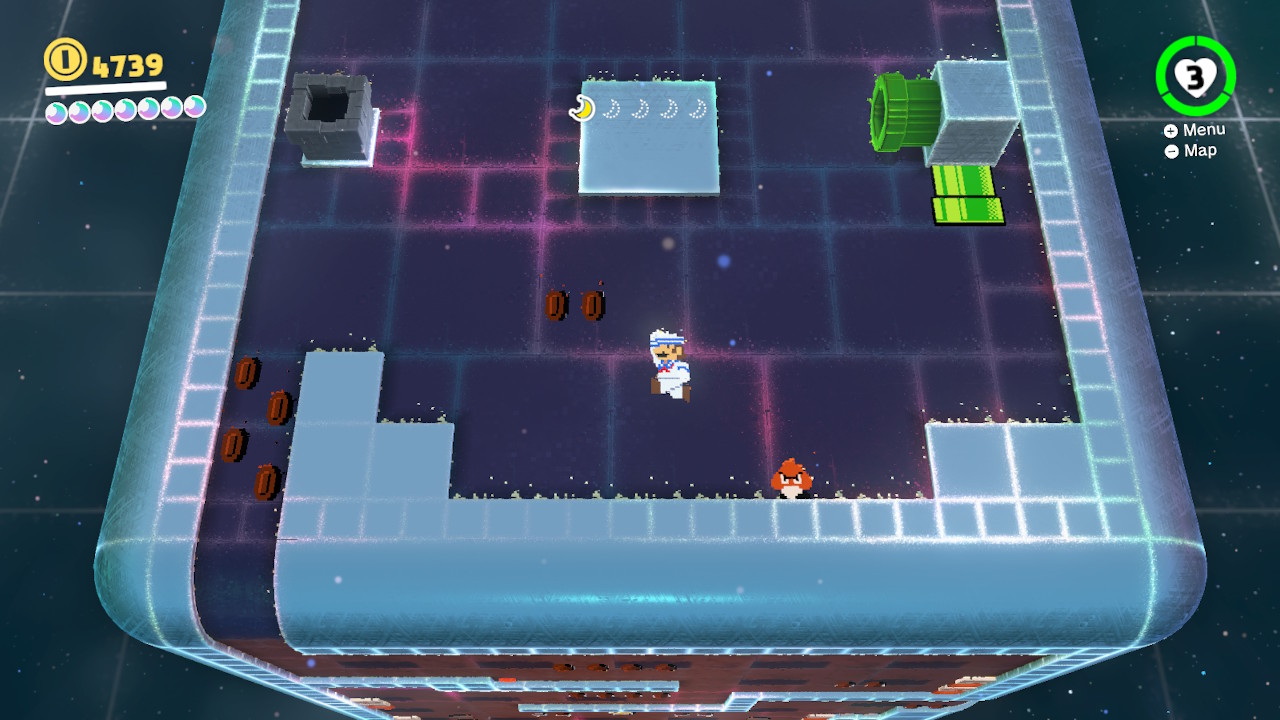
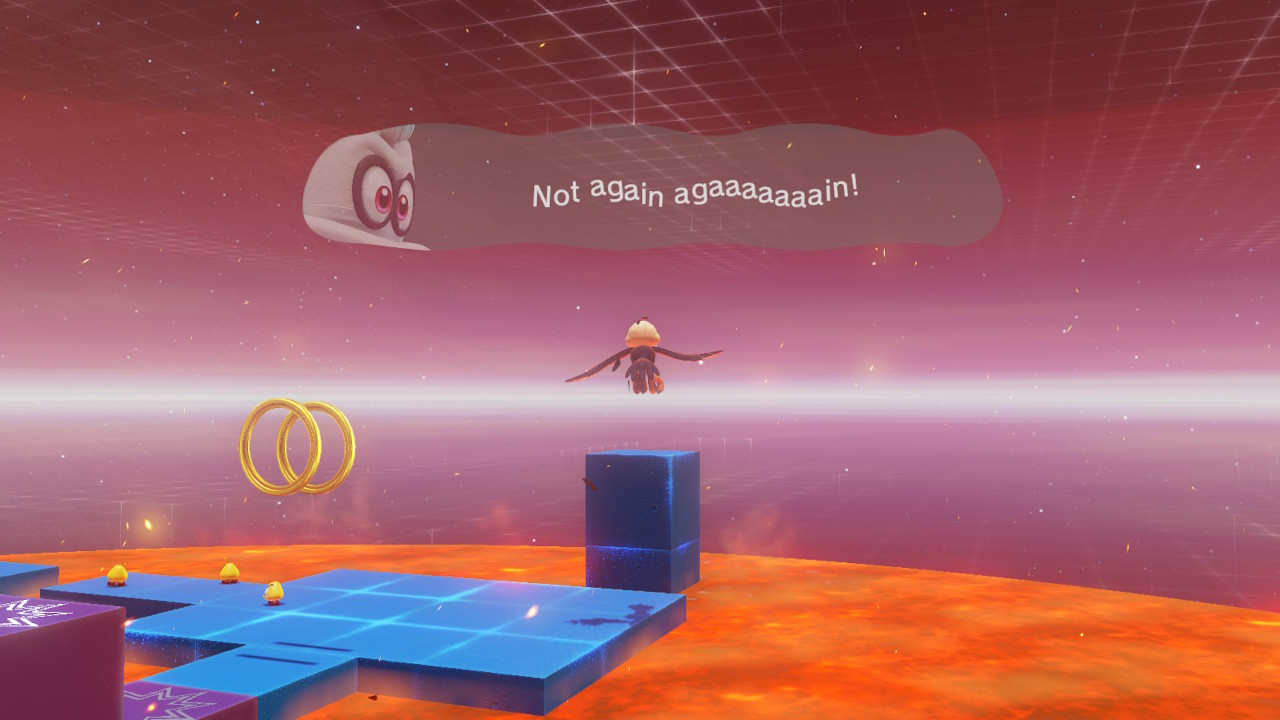
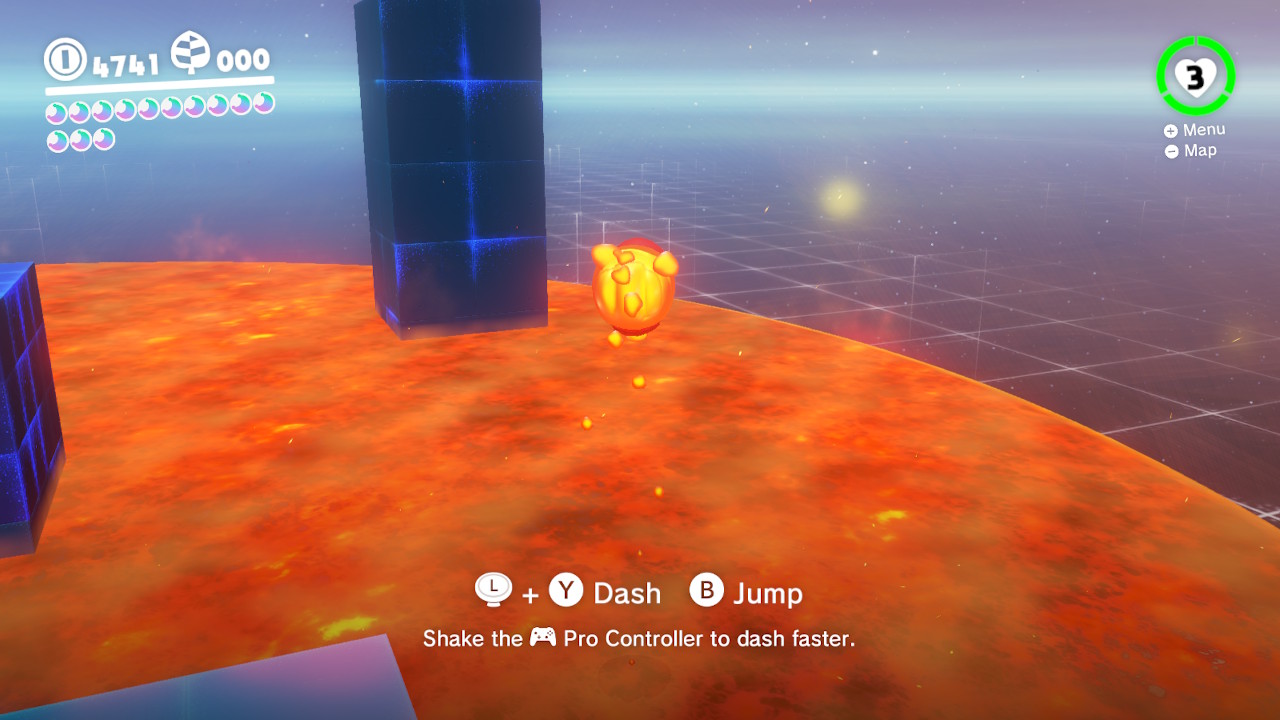
6- This laza area isslightly tricky, don’t fall… (shard 4/5 shown)
7- The last room has a Hammer Bro and you play it upside down! Tripy!… (shard 5/5 shown)
8- Once you get all 5 shards, the Power Moon is yours! Yaaaaay!
09 – The Sixth Face
Location- Same as “King of the Cube”
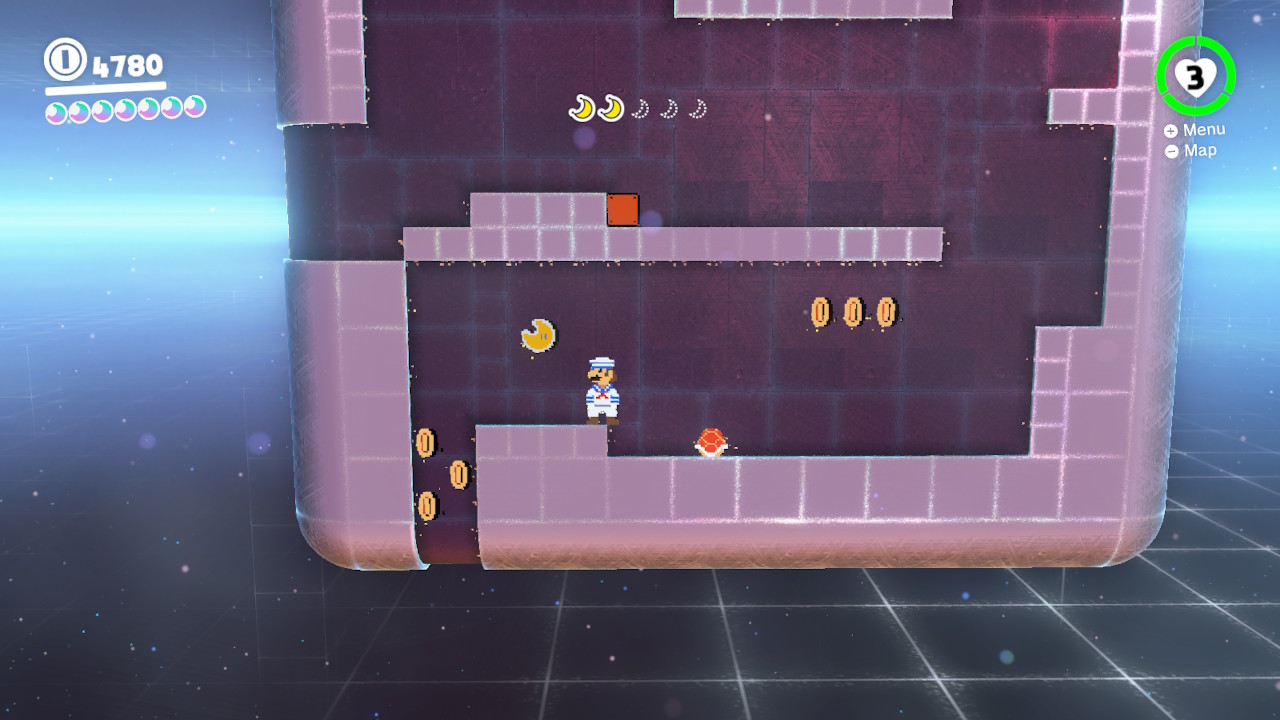
1- Now that you busted open the Moon Rock, this Moon Rock Warp Pipe will appear…
2- Inside is an awesome 8-bit cube you’ll have to navigate. Normally you’ll need to collect 5 moon shards, but for this Power Moon, there’s a secret area…
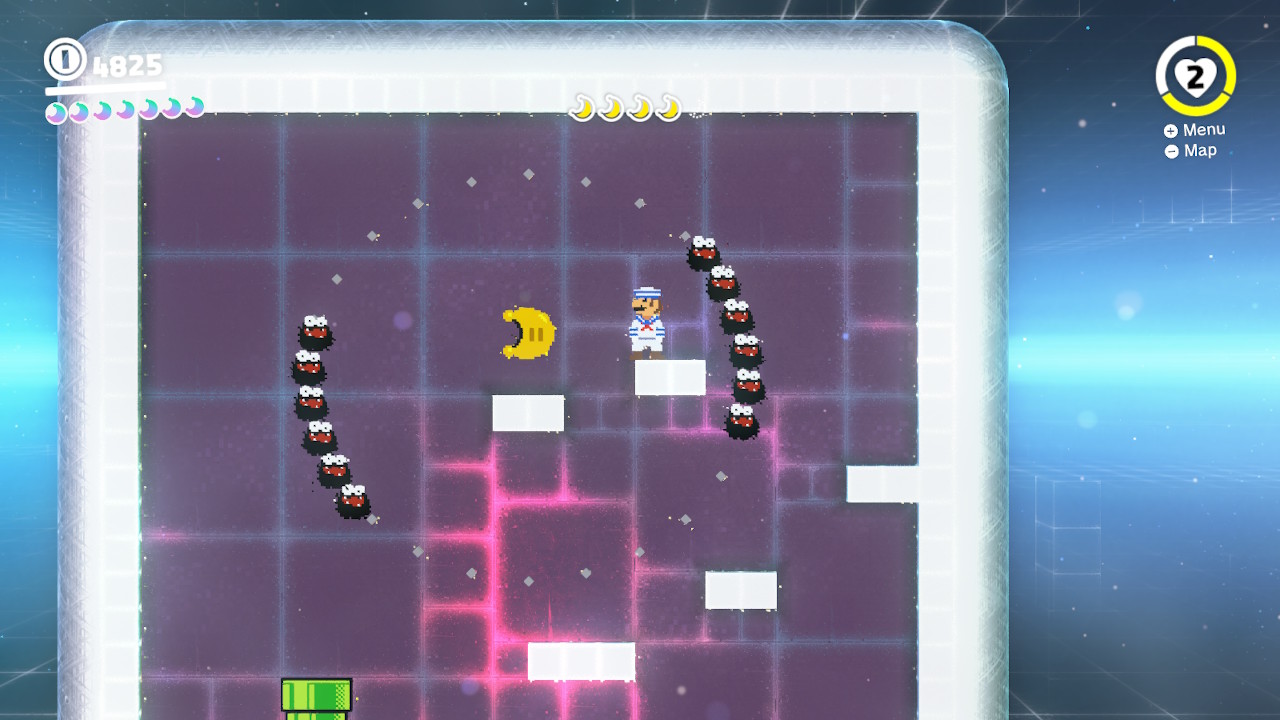
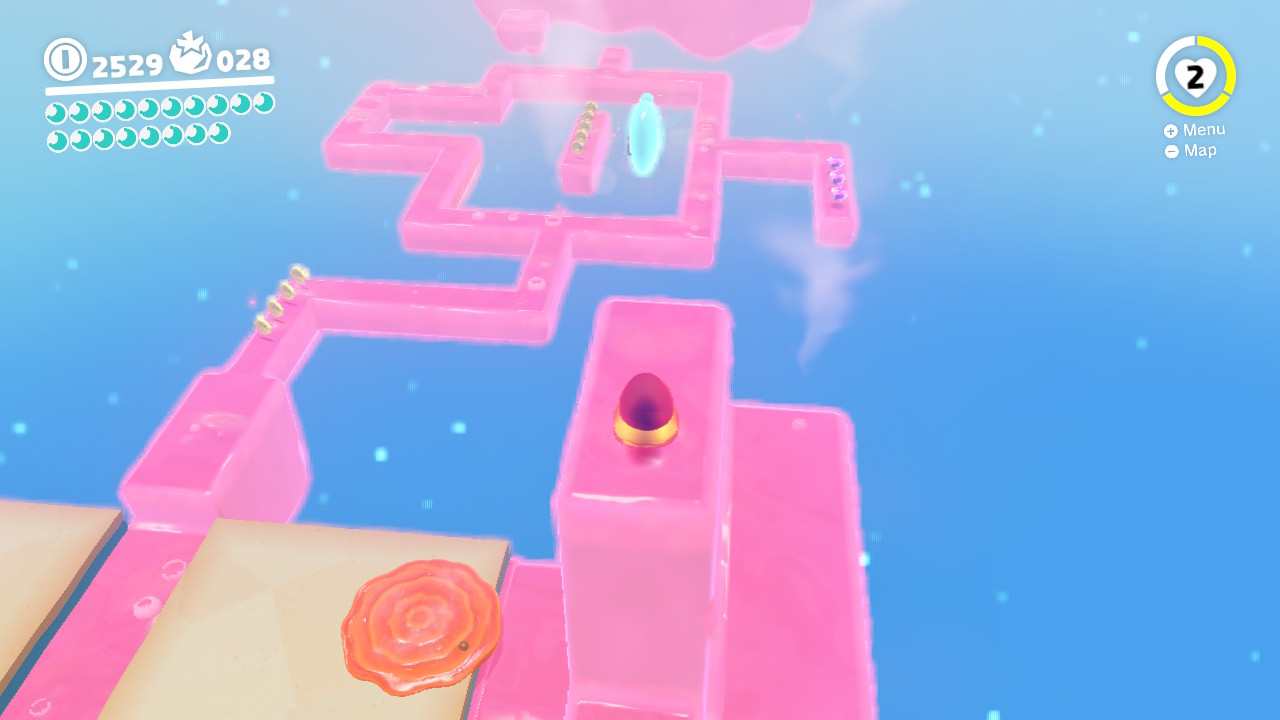
3- In the second to last room,, which is filled with lava, there is a pipe in the top right corner…
4- Jump up underneath the pipe to hit some invisible blocks, now you can jump up and go through the pipe…
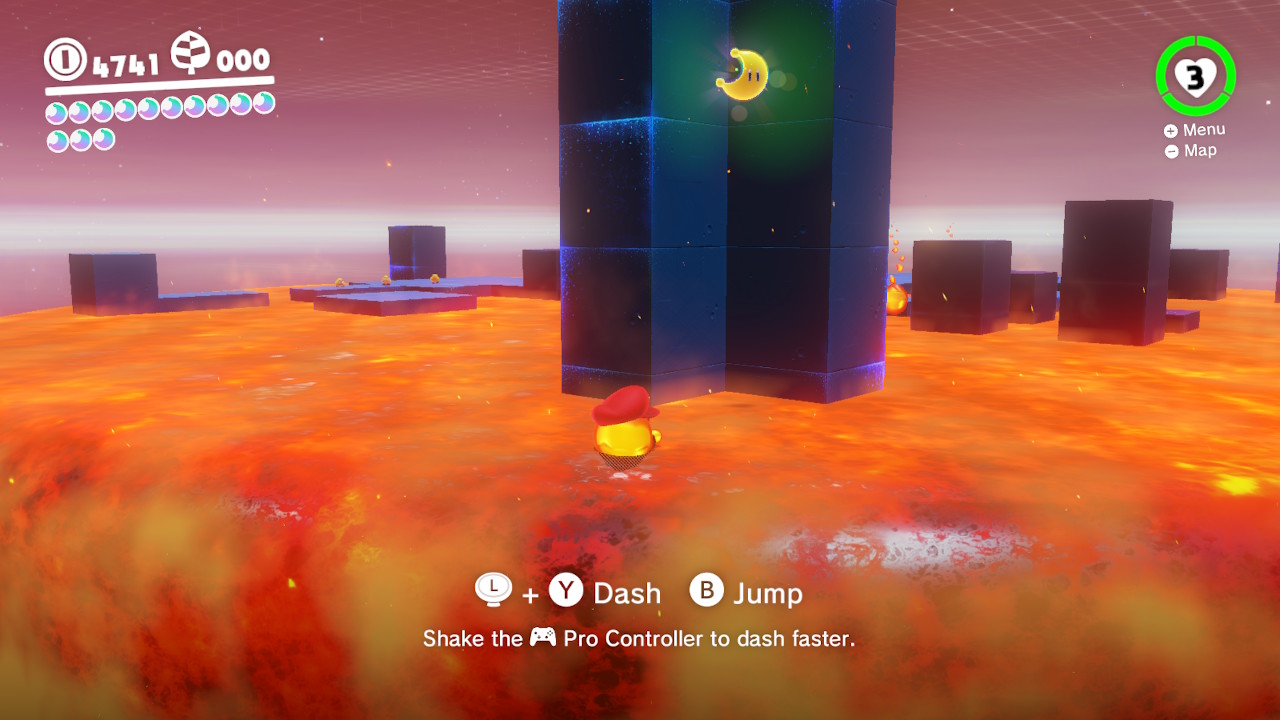
5- The pipe will take you to a new room where you will find a beautiful 8-bit Power Moon…
6- Don’t fall in the lava, dodge the bad guys, and snatch that Power Moon!!!!!!!!!
The remaining Power Moons are Toadette Achievements
Location- Inside Peaches Castle…
From inside Peaches Castle you will find Toadette standing by the throne. Talk to her for a MASSIVE list of achievements! Whenever you complete one, go back to Toadette and she will reward you with a Power Moon!
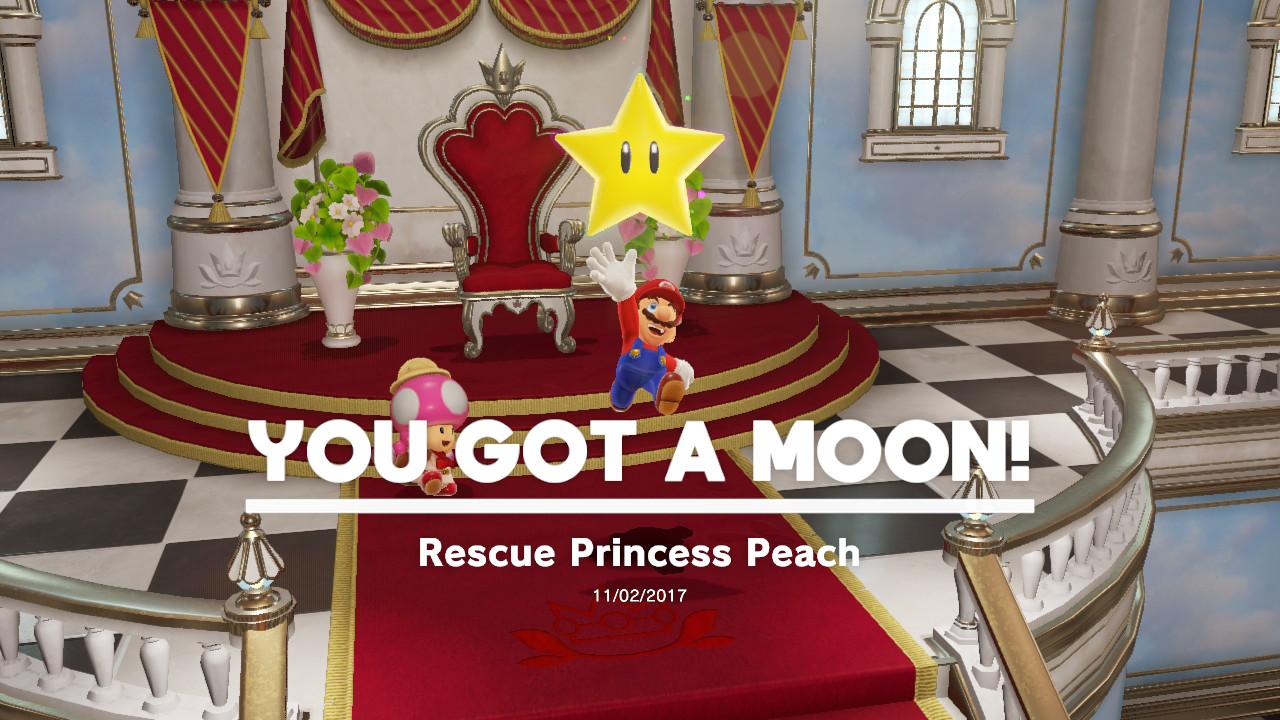
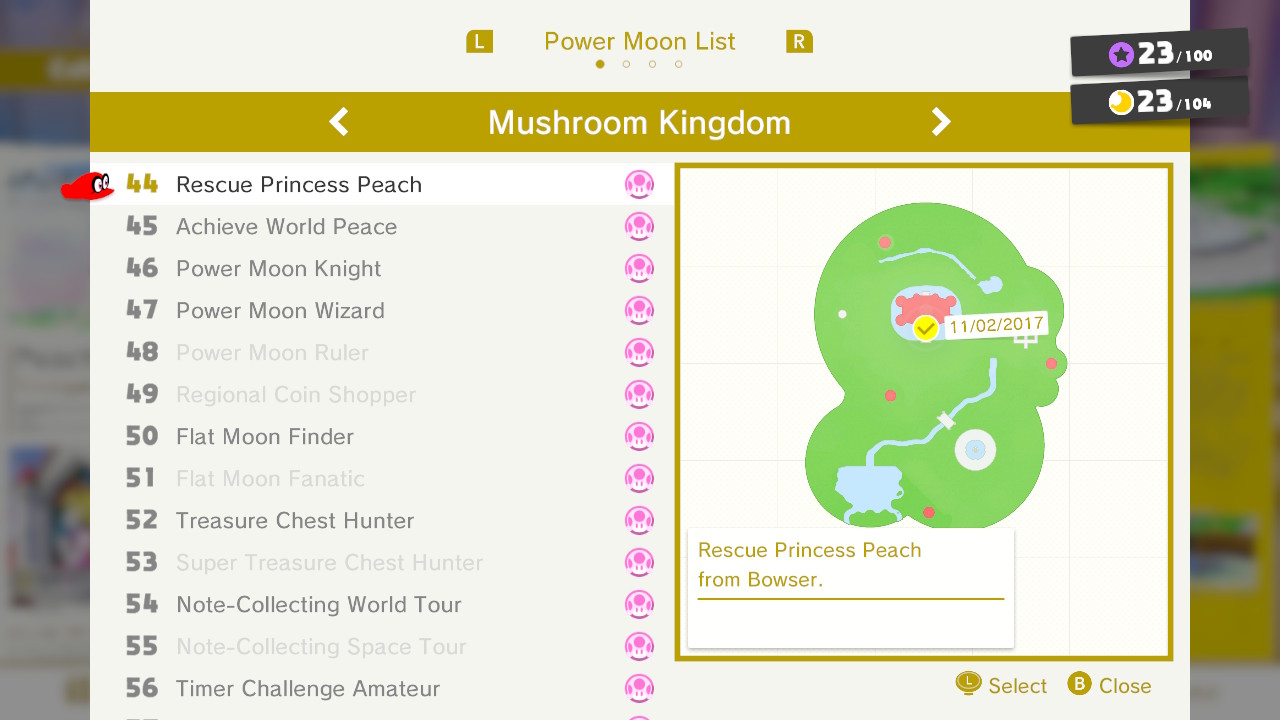
44 – Rescue Princess Peach
– Rescue Princess Peach from Bowser
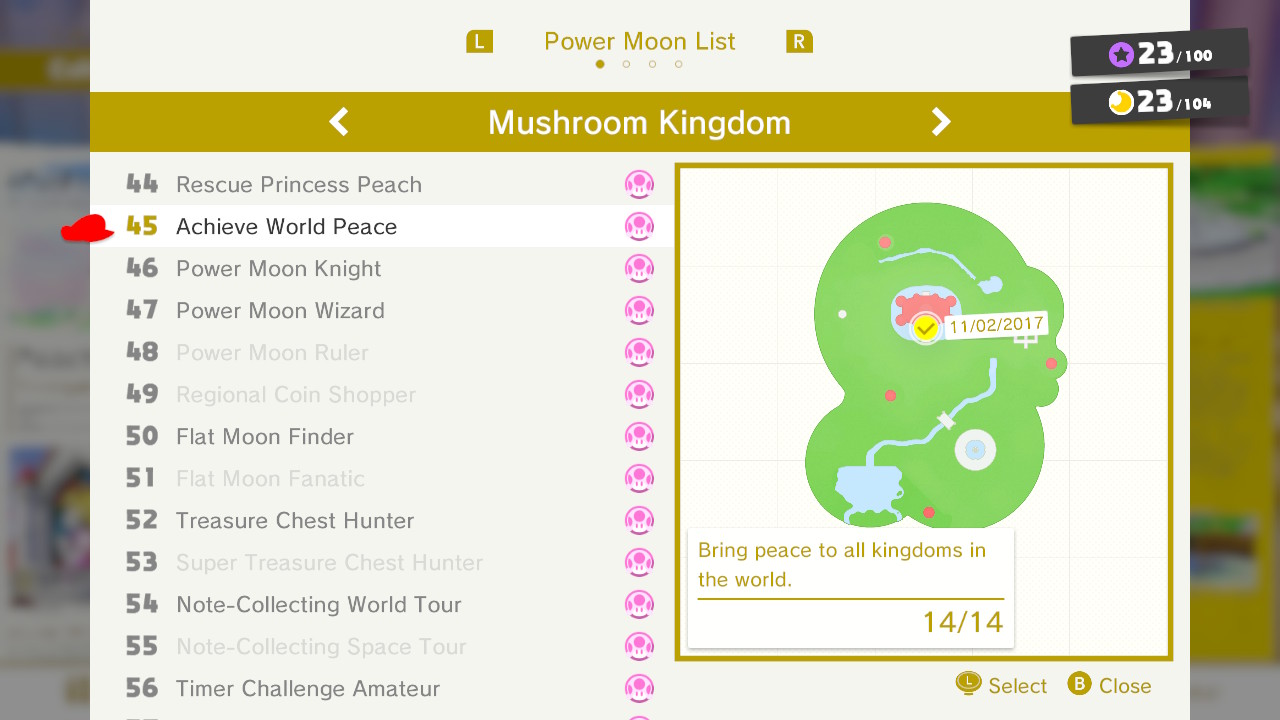
45 – Achieve World Peace
– Bring peace to all kingdoms in the world. 14/14 (Must beat all main story missions in each kingdom)
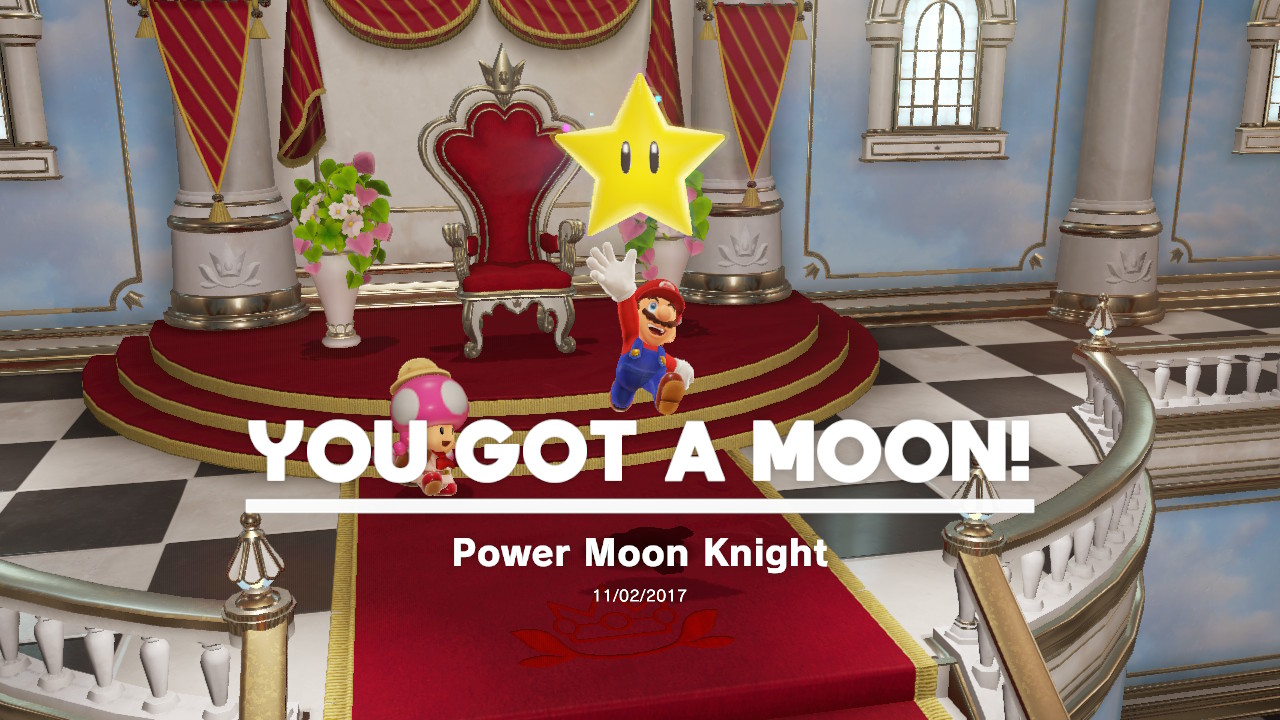
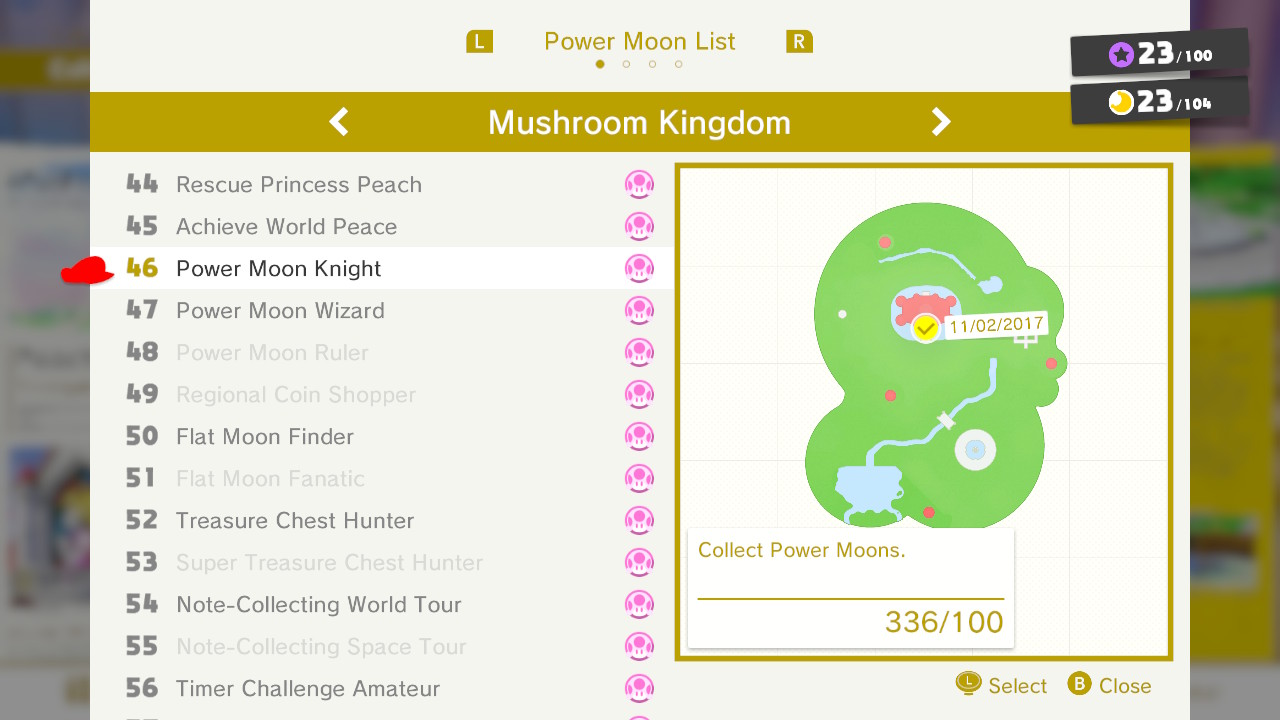
46 – Power Moon Knight
– Collect 100 Power Moons.
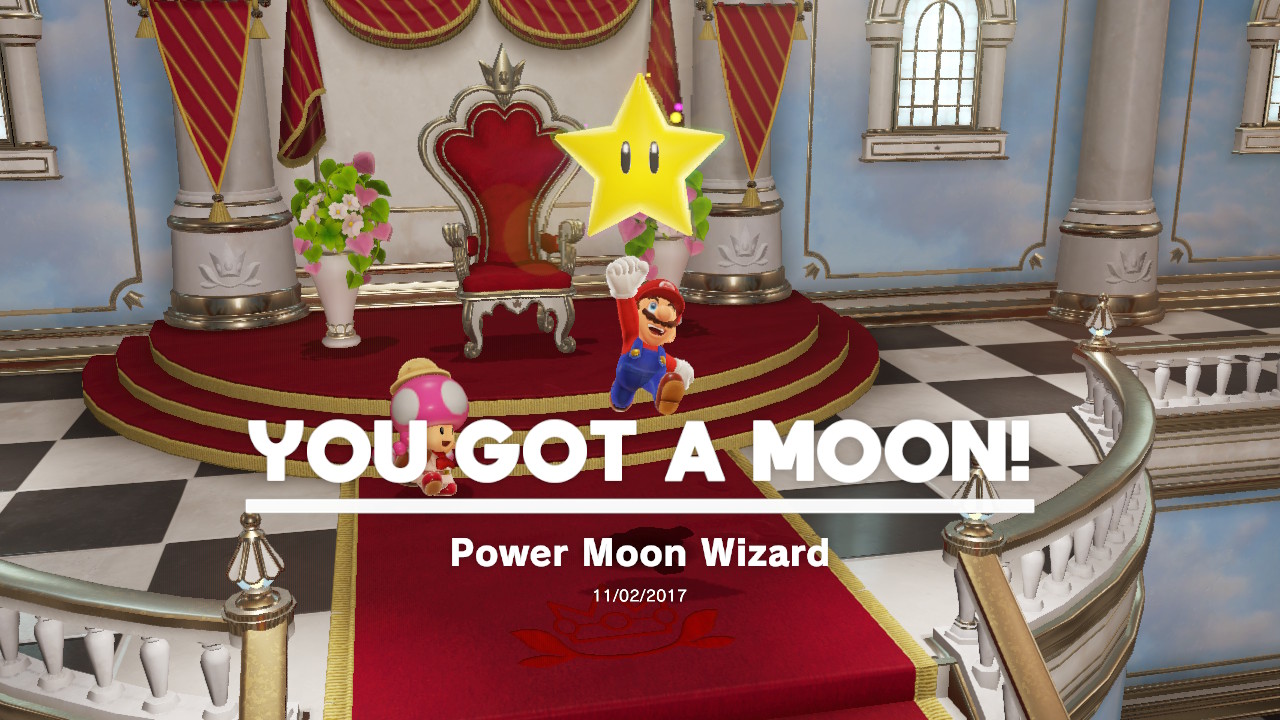
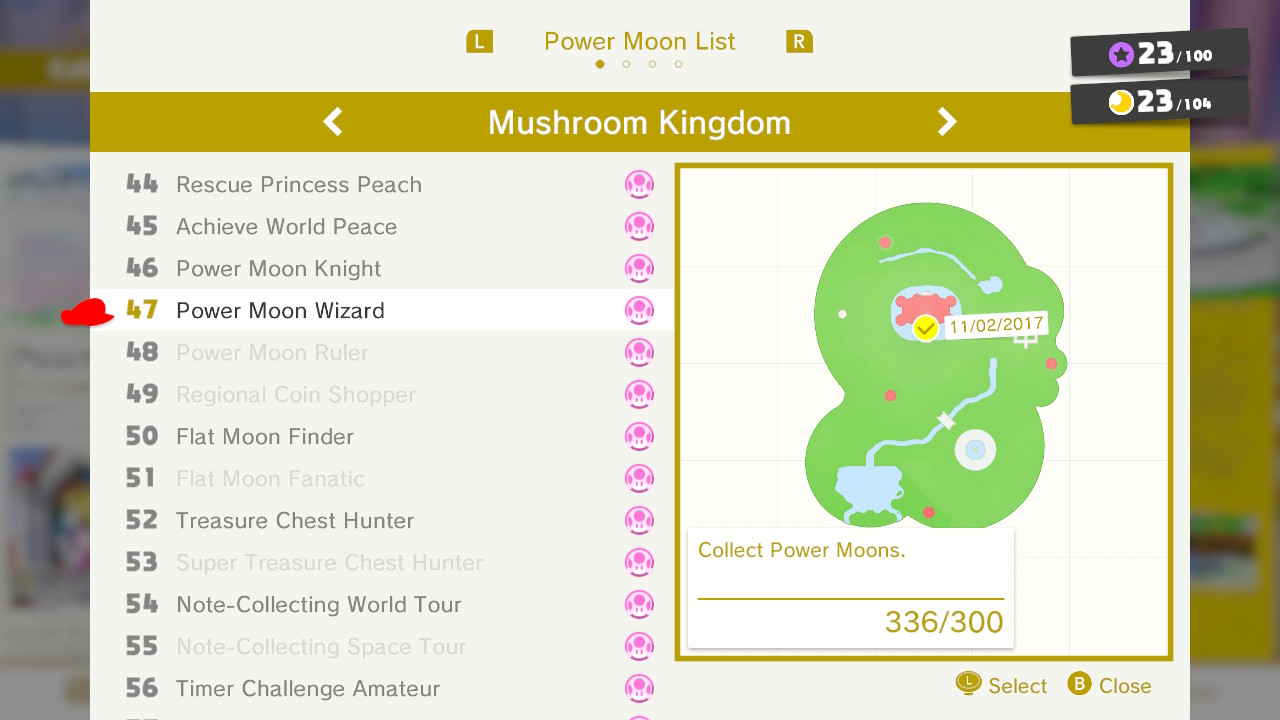
47 – Power Moon Wizard
– Collect 300 Power Moons.
48 – Power Moon Ruler
– Collect 600 Power Moons.
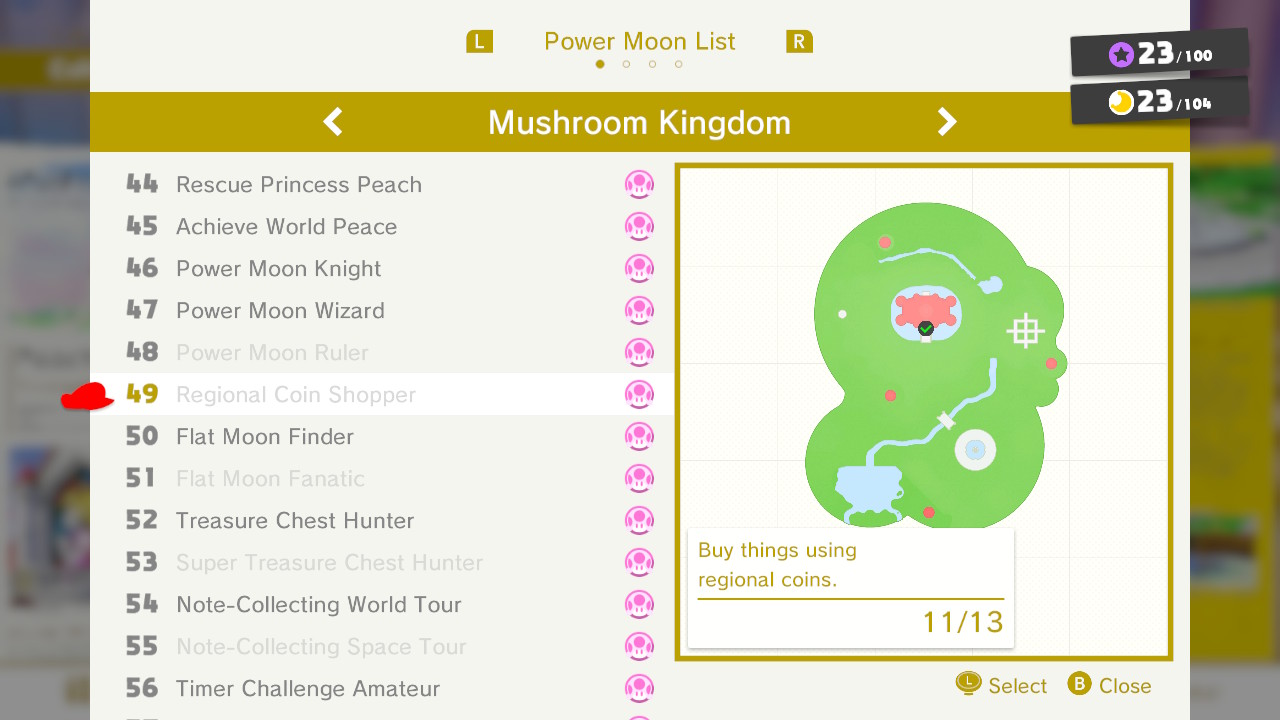
49 – Regional Coin Shopper
– Buy 13 things (not hats or clothing) using regional coins.
50 – Flat Moon Finder
– Collect 10 8-Bit Power Moons.
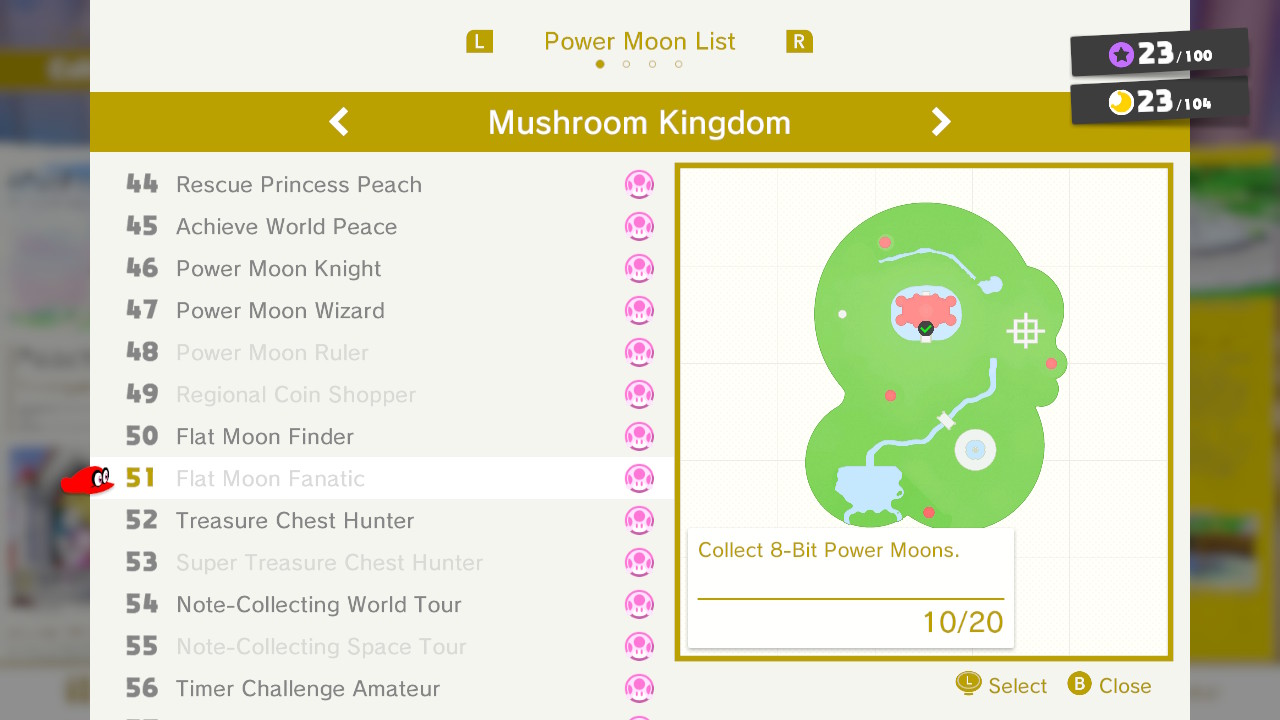
51 – Flat Moon Fanatic
– Collect 20 8-Bit Power Moons
52 – Treasure Chest Hunter
– Collect 15 Power Moons from treasure chests.
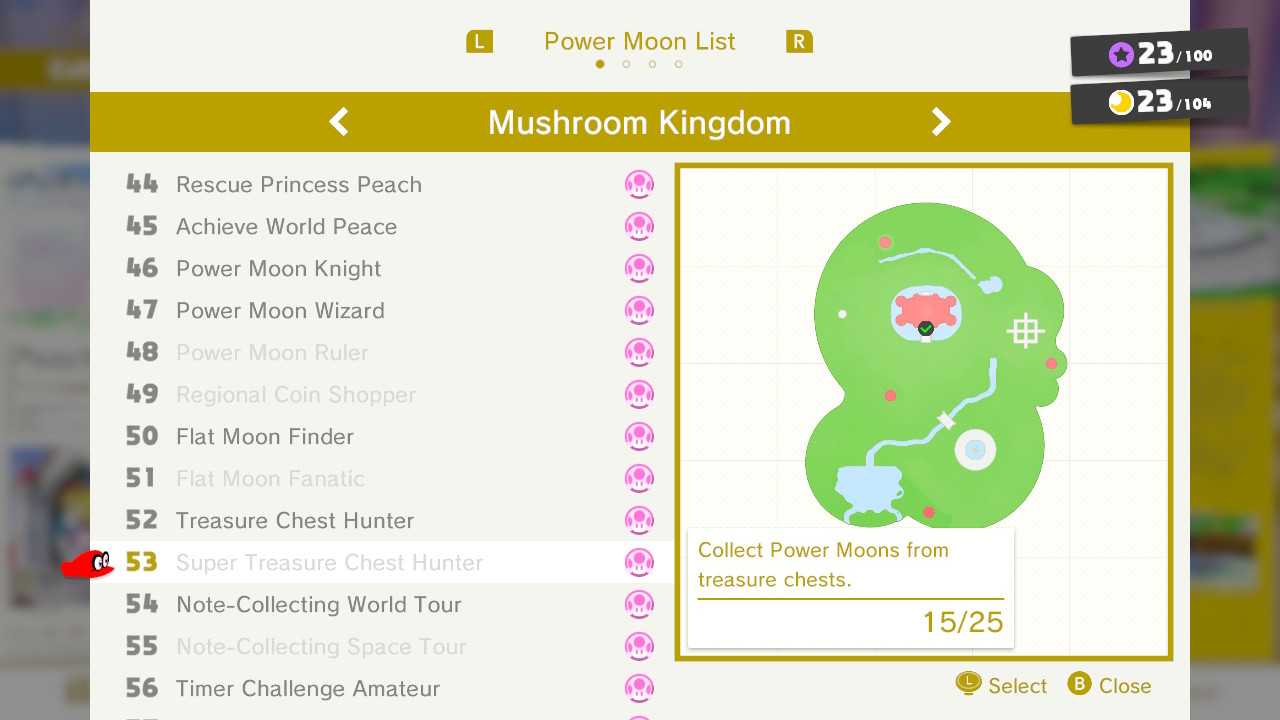
53 – Super Treasure Chest Hunter
– Collect 25 Power Moons from treasure chests.
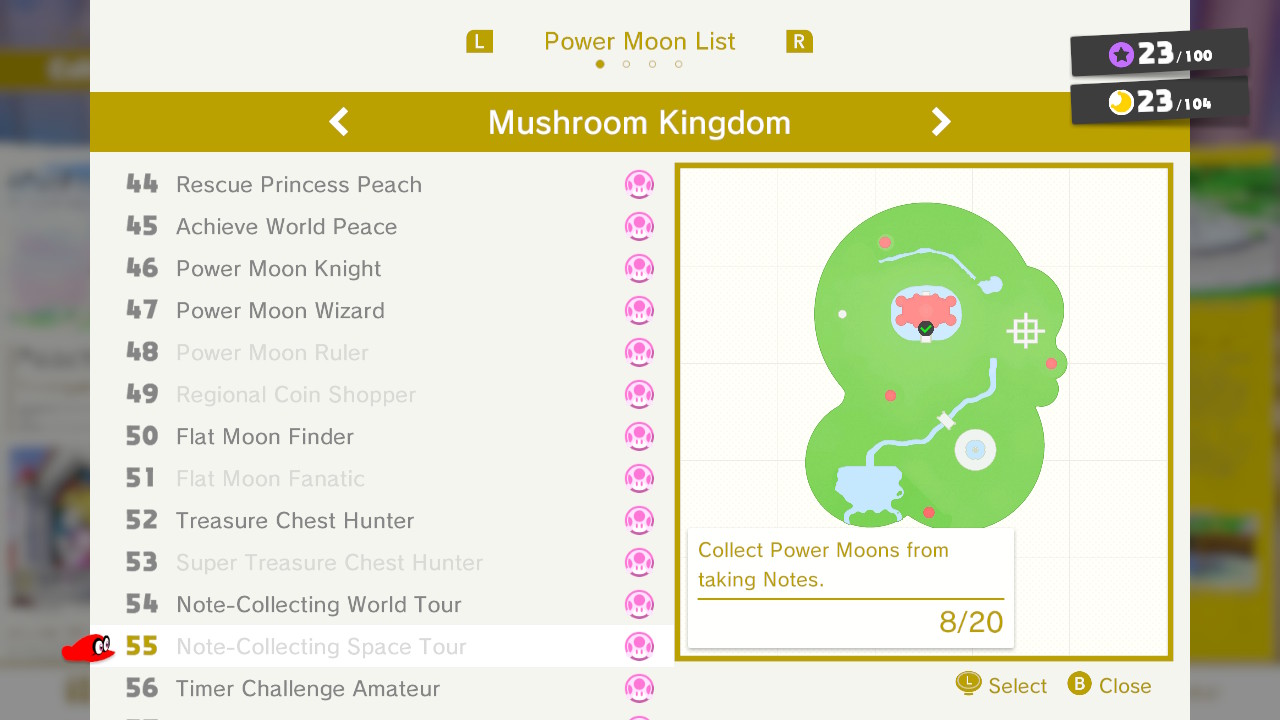
54 – Note-Collecting World Tour
– Collect 5 Power Moons from taking Notes.
55 – Note-Collecting Space Tour
– Collect 20 Power Moons from taking Notes.
56 – Timer Challenge Amateur
– Collect 10 Power Moons from Timer Challenges.
57 – Timer Challenge Professional
– Collect 25 Power Moons from Timer Challenges.
58 – Captain Toad Meeter
– Meet up with Captain Toad 5 times.
59 – Captain Toad Greeter
– Meet up with Captain Toad 10 times.
60 – Touring with Princess Peach
– Meet up with Princess Peach as she travels the world 5 times.
61 – Globe Trotting with Princess Peach
– Meet up with Princess Peach as she travels the world 10 times.
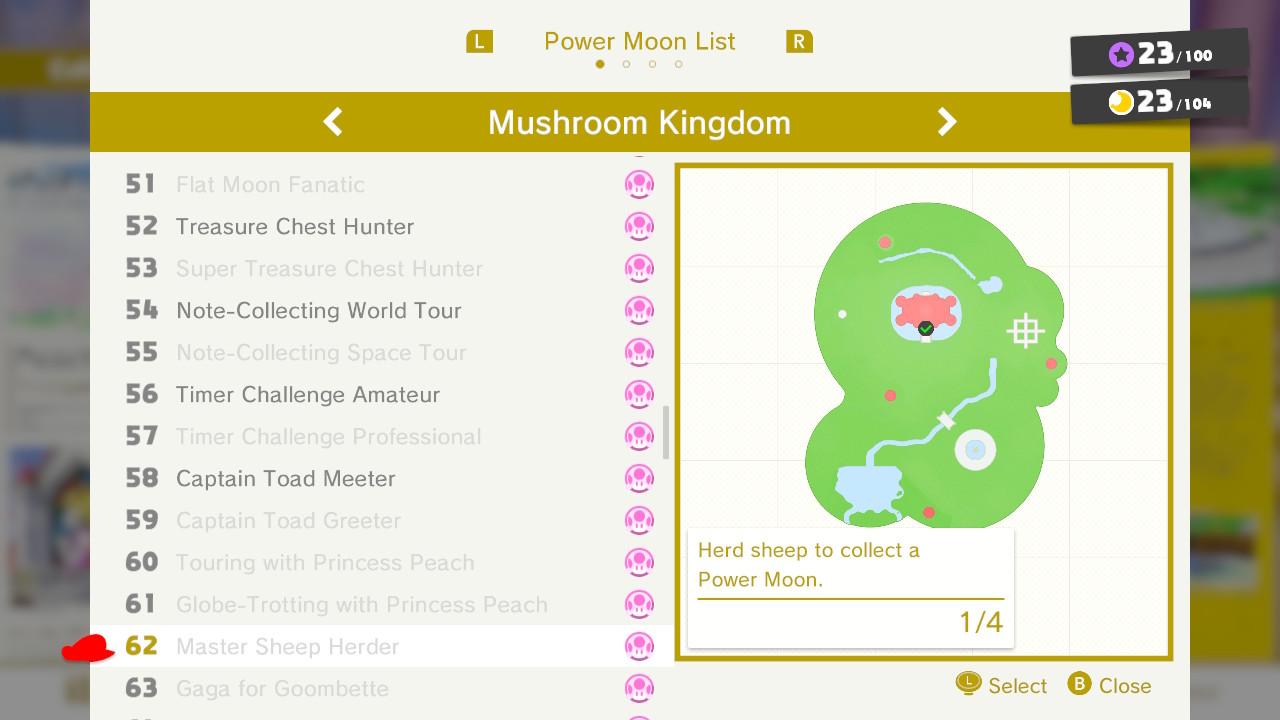
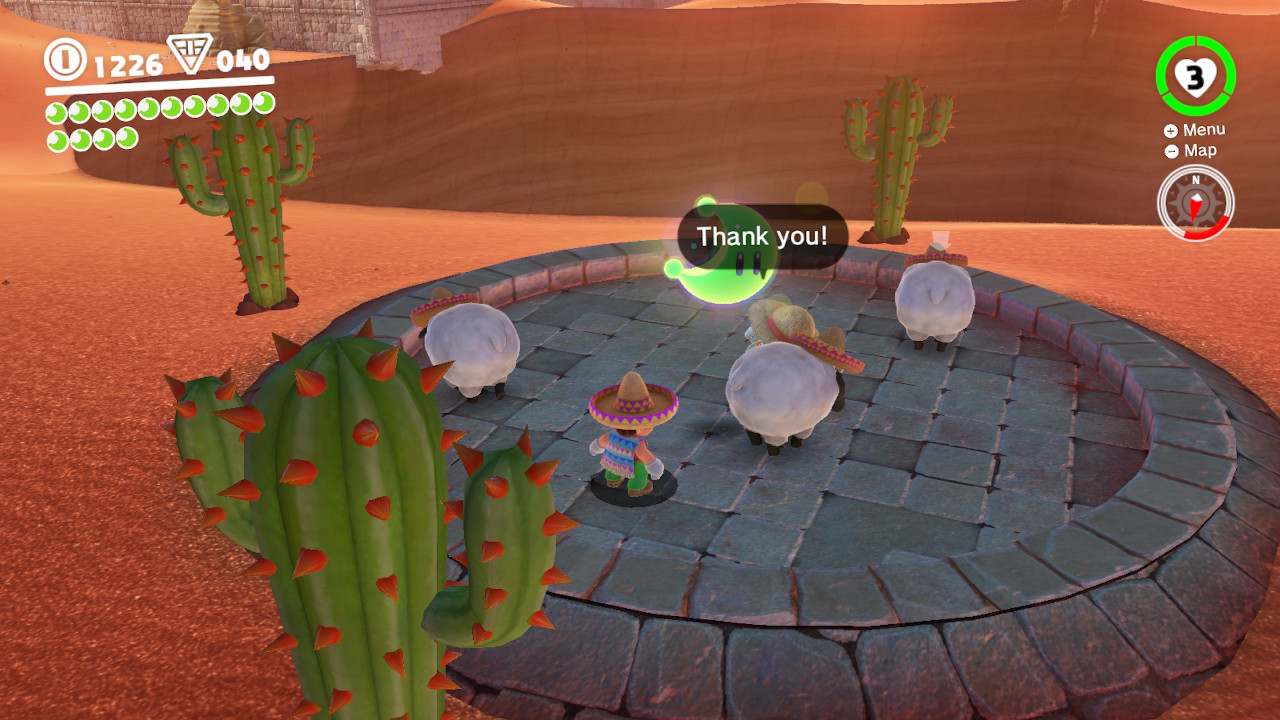
62 – Master Sheep Herder
– Herd sheep to collect 4 Power Moons.
63 – Gaga for Goombette
– Collect Power Moons from Goombette 5 times.
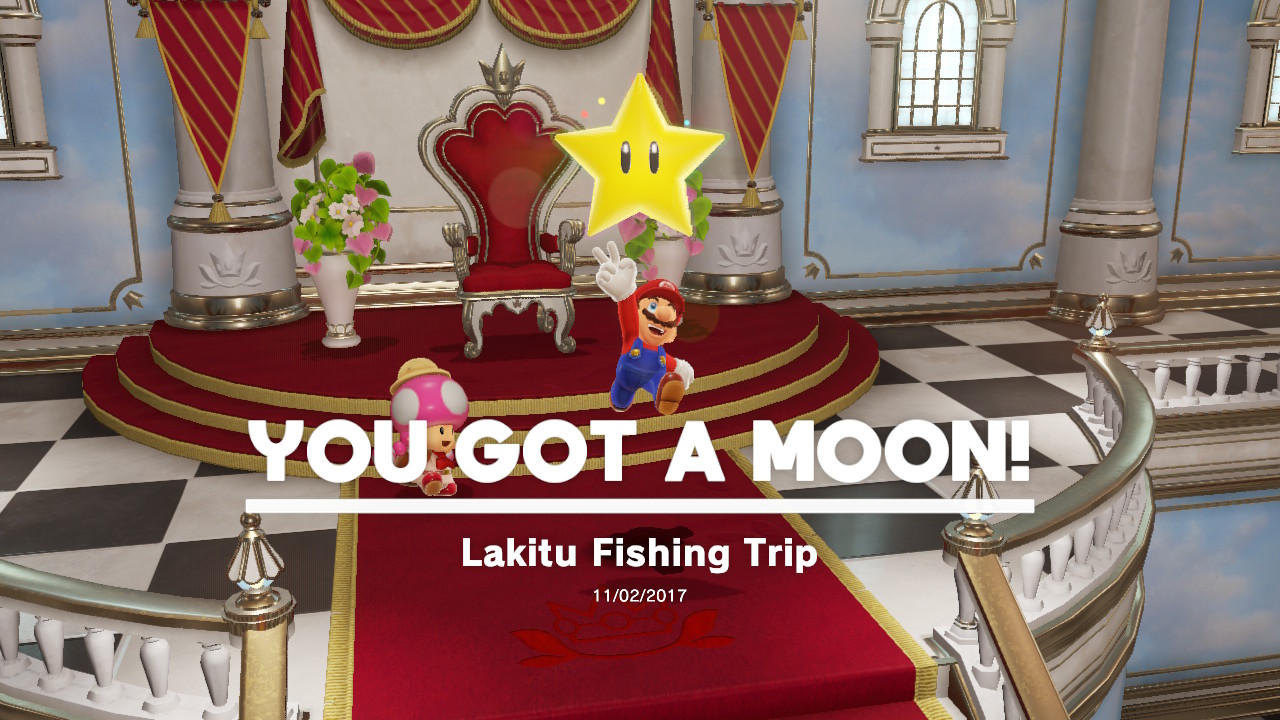
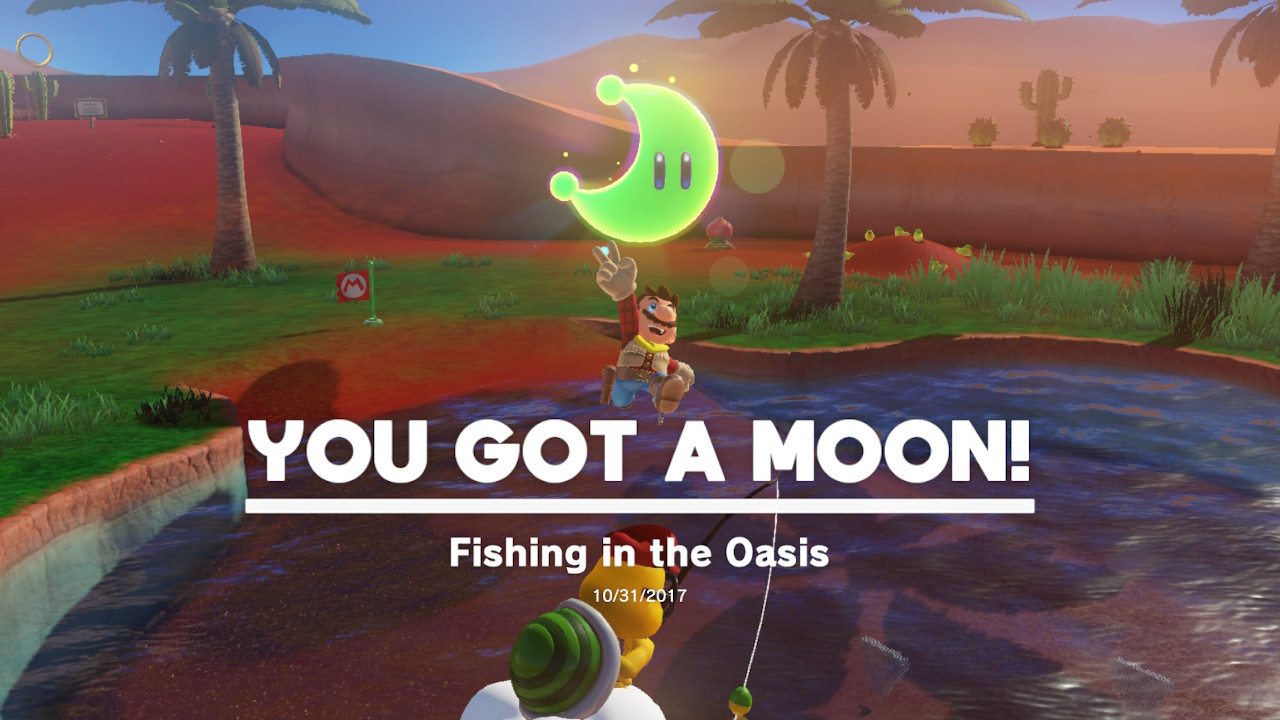
64 – Lakitu Fishing Trip
– Fish for Power Moons as Lakitu 3 times.
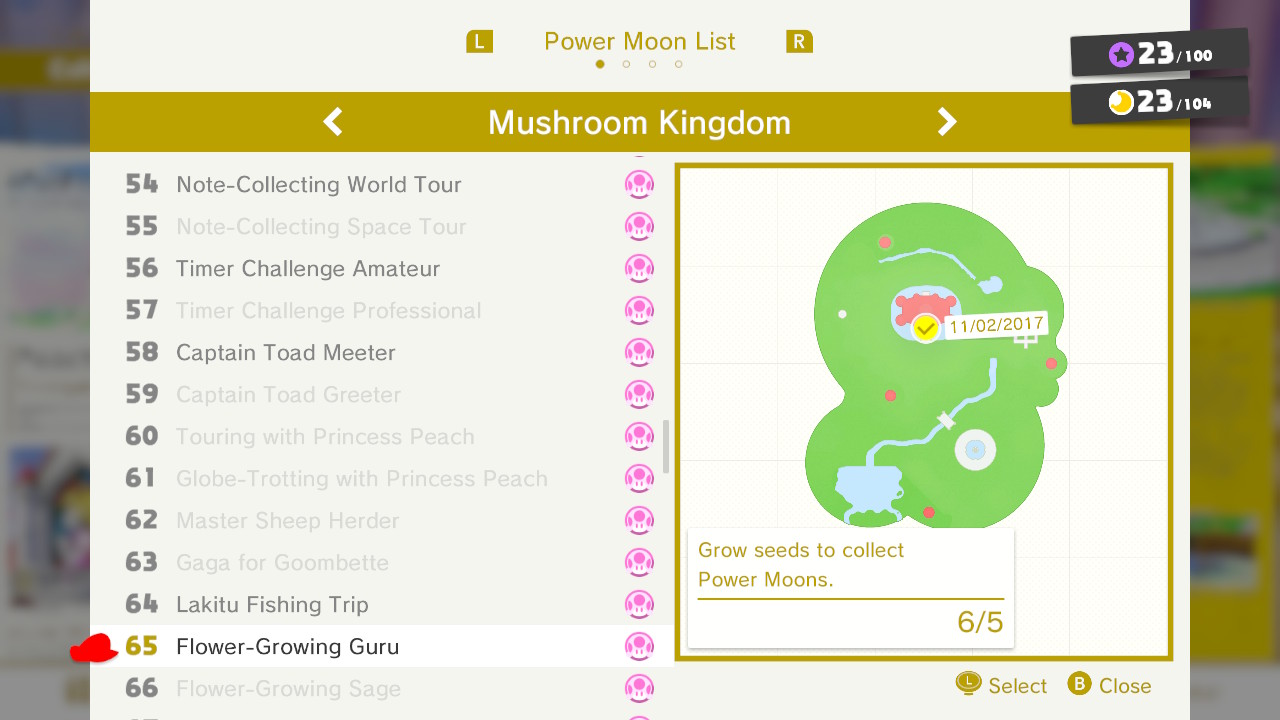
65 – Flower-Growing Guru
– Grow seeds to collect Power Moons 5 times.
66 – Flower-Growing Sage
– Grow seeds to collect Power Moons 10 times.
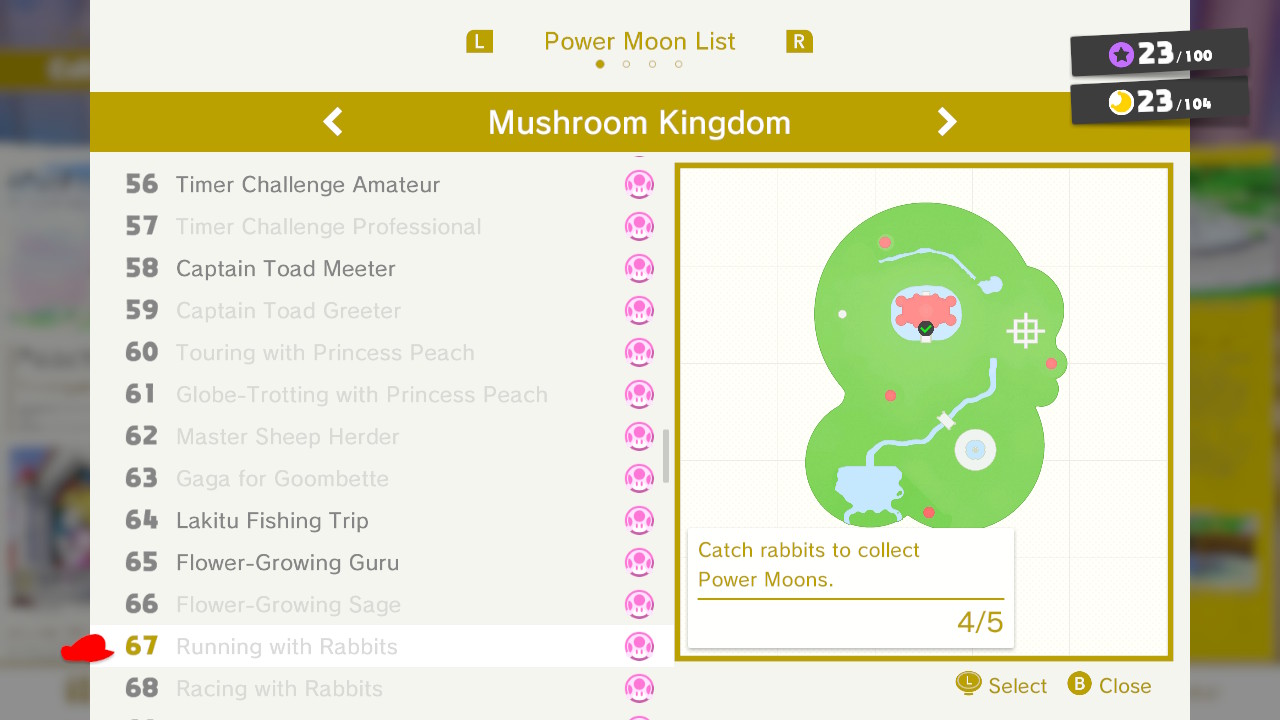
67 – Running with Rabbits
– Catch 5 rabbits to collect Power Moons.
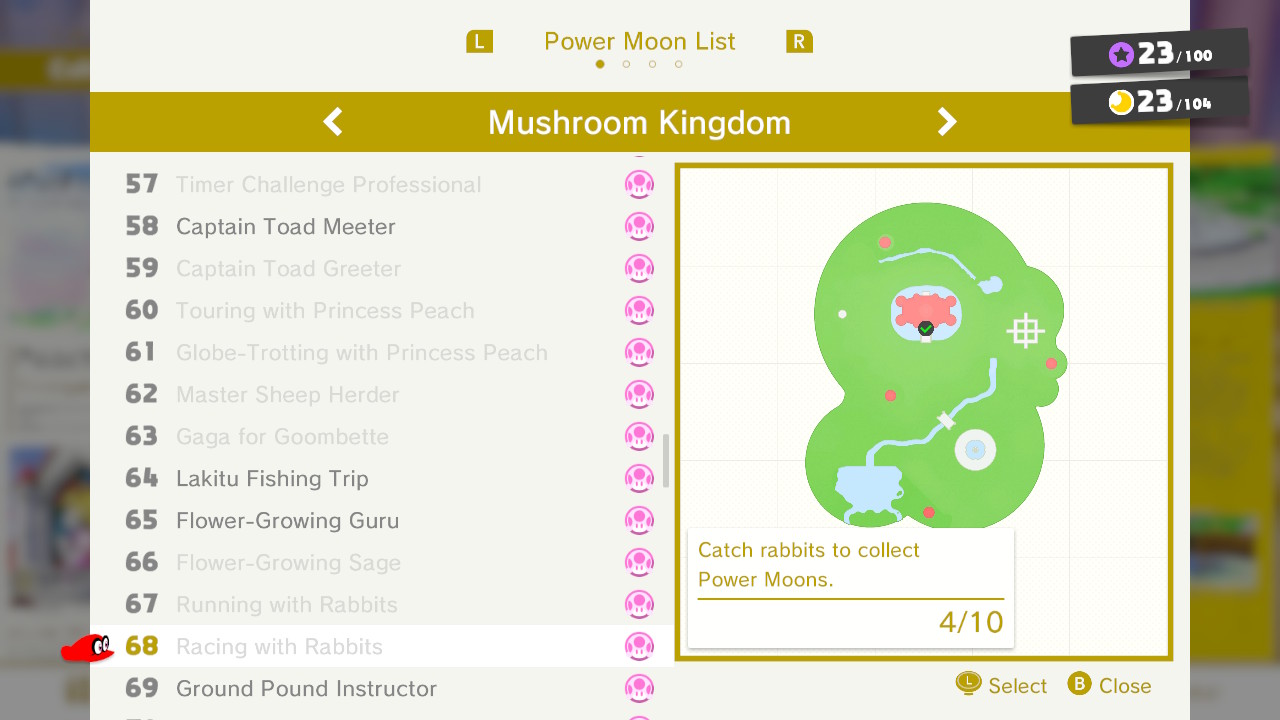
68 – Racing with Rabbits
– Catch 10 rabbits to collect Power Moons.
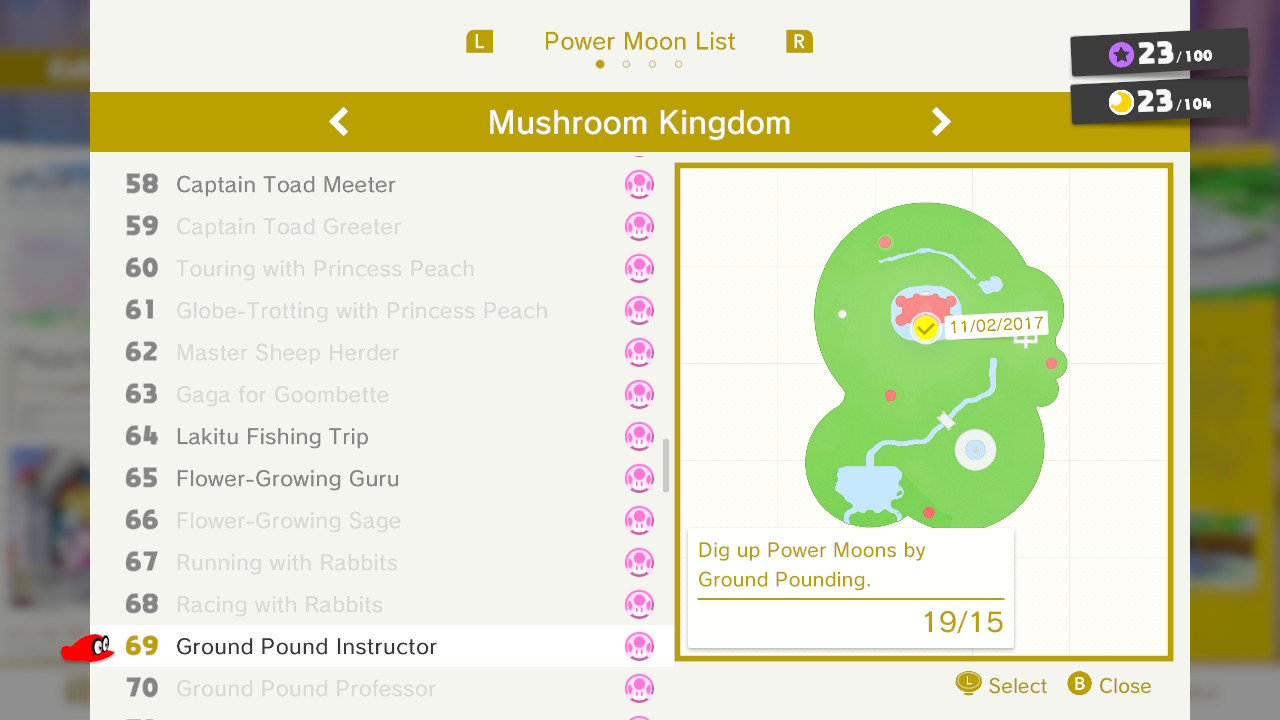
69 – Ground Pound Instructor
– Dig up 15 Power Moons by Ground Pounding.
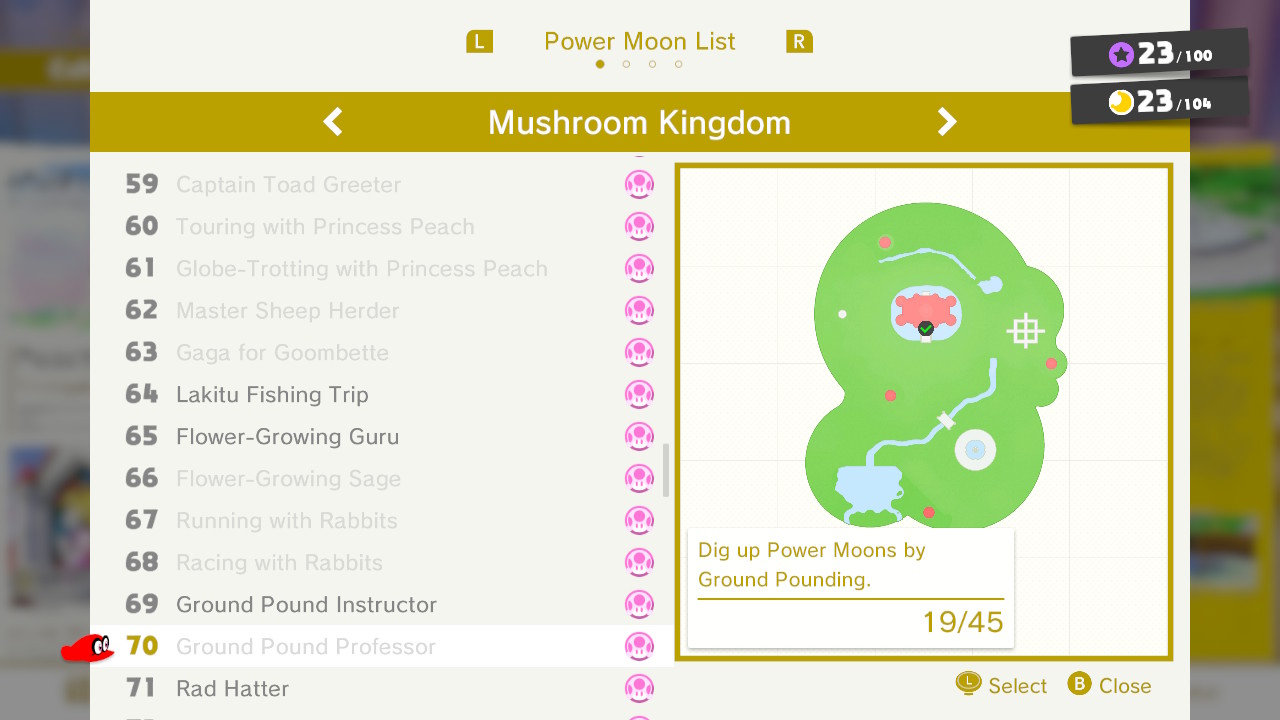
70 – Ground Pound Professor
– Dig up 45 Power Moons by Ground Pounding.
71 – Rad Hatter
– Collect 3 Power Moons by throwing your hat on things.
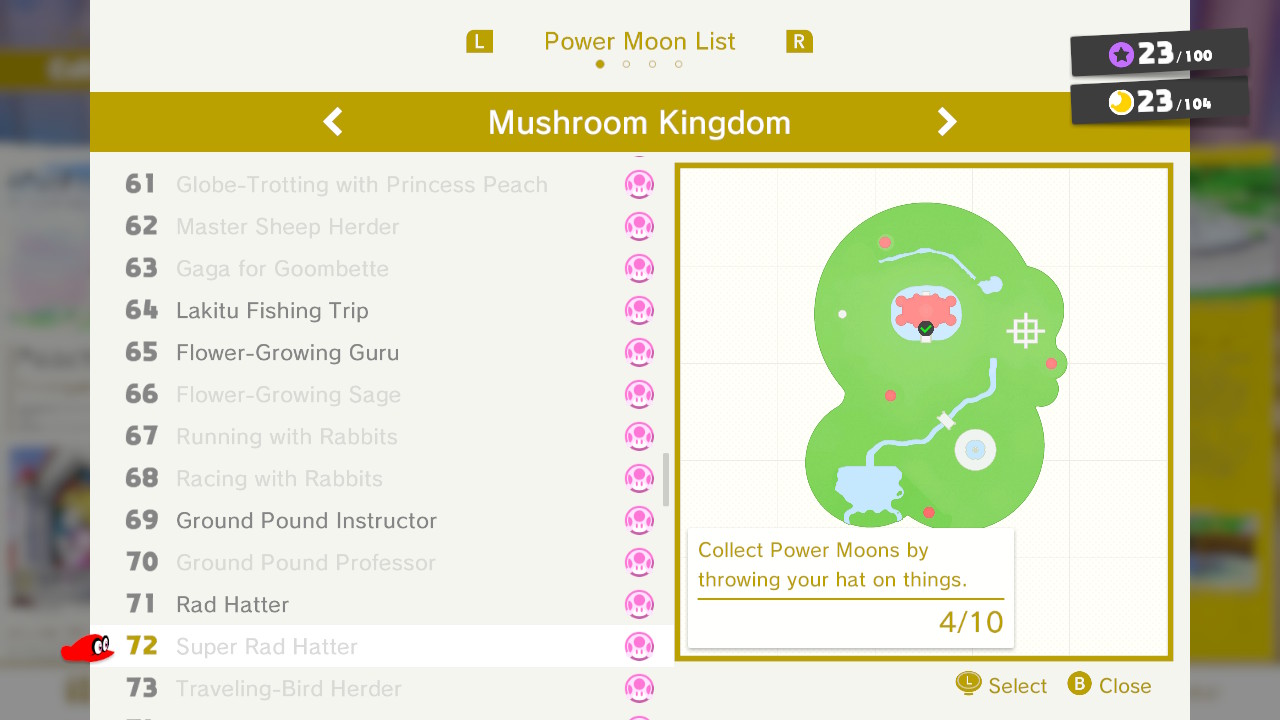
72 – Super Rad Hatter
– Collect 10 Power Moons by throwing your hate on things.
73 – Traveling-Bird Herder
– Collect 5 Power Moons from migrating birds.
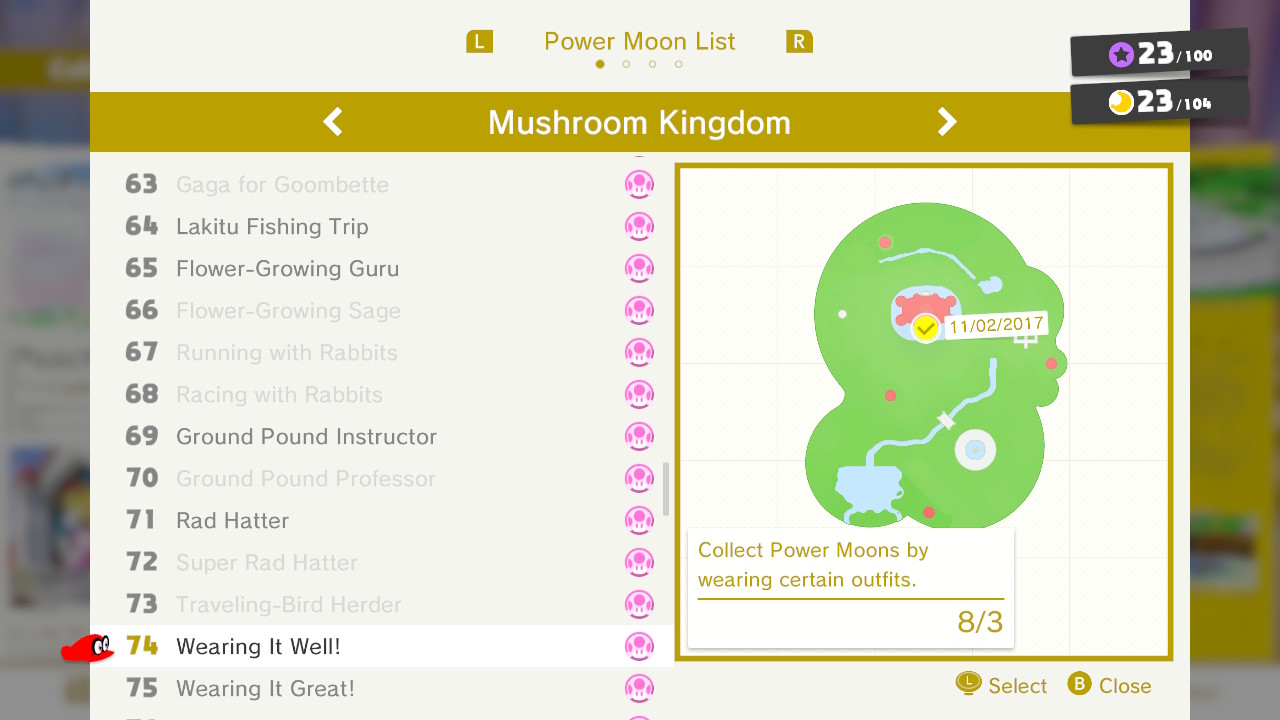
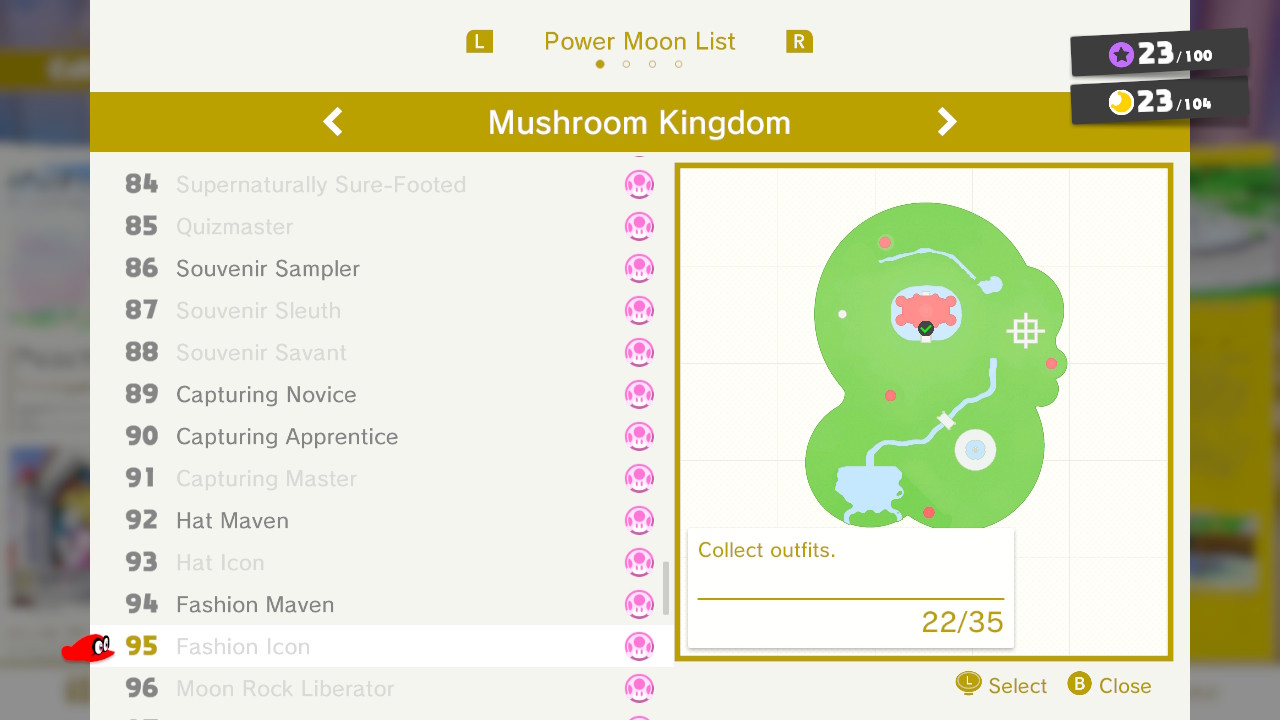
74 – Wearing It Well!
– Collect 3 Power Moons by weaing certain outfits.
75 – Wearing It Great!
– Collect 8 Power Moons by wearing certain outfits.
76 – Wearing It Perfect!
– Collect 15 Power Moons by wearing certain outfits.
77 – Hat-Seeking Missile
– Find 5 Bonneters hidden on people’s heads.
78 – Music Maestro
– Play music that Toad wants to hear 5 times.
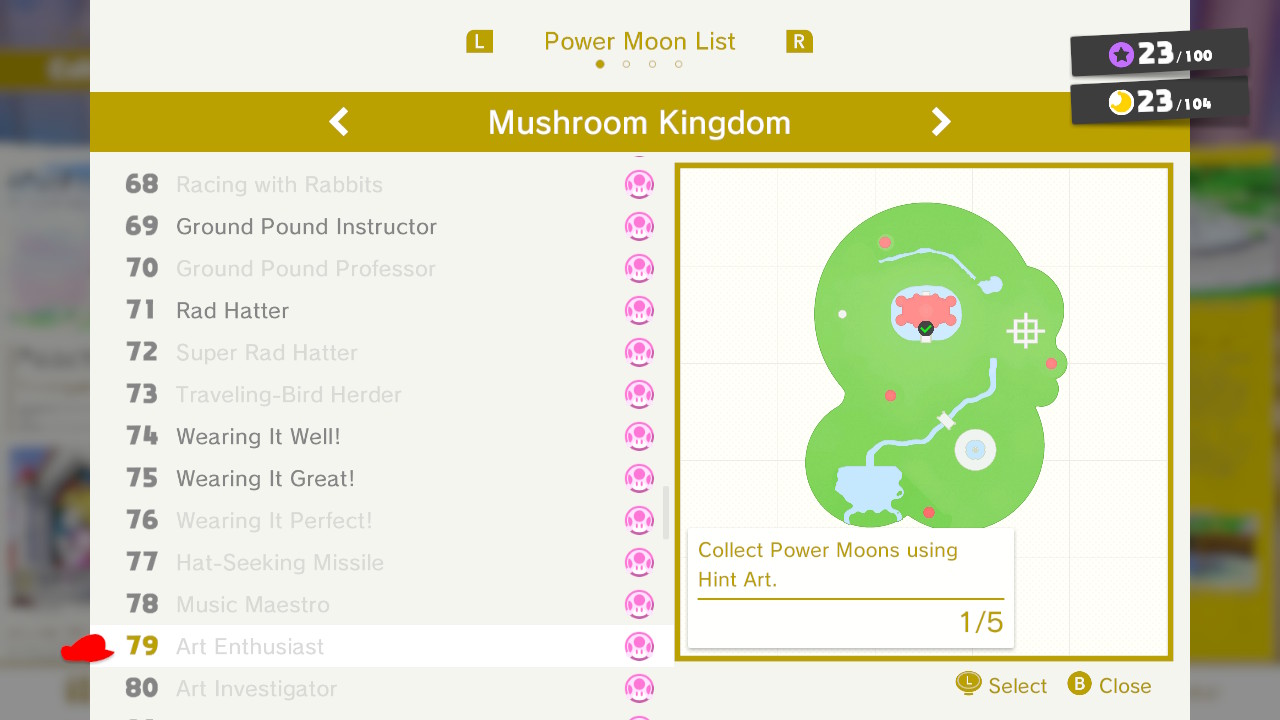
79 – Art Enthusiast
– Collect 5 Power Moons using Hint Art.
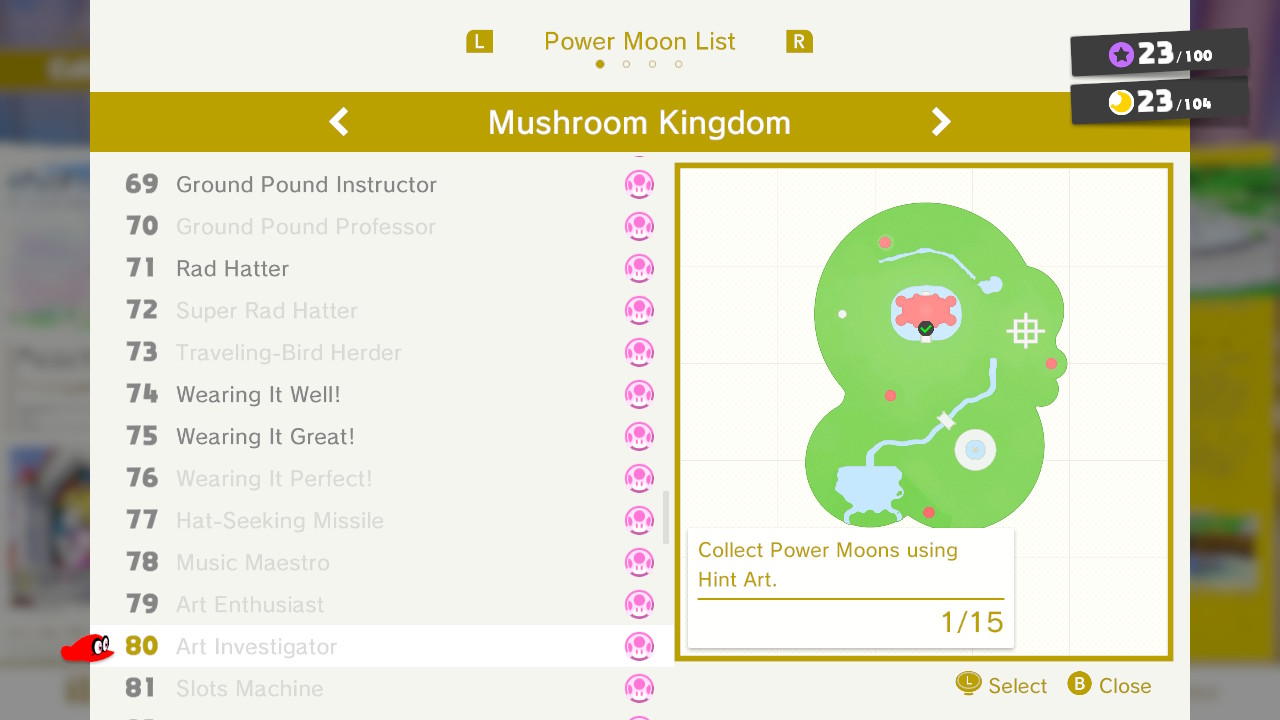
80 – Art Investigator
– Collect 15 Power Moons using Hint Art.
81 – Slots Machine
– Collect Power Moons playing Slots 3 times.
82 – Koopa Freerunning MVP
– Win 10 Koopa Freerunning races.
83 – Koopa Freerunning Hall of Famer
– Win 22 Koopa Freenrunning races
84 – Supernaturally Sure-Footed
– Receive passing scores in Koopa Trace-Walking 5 times.
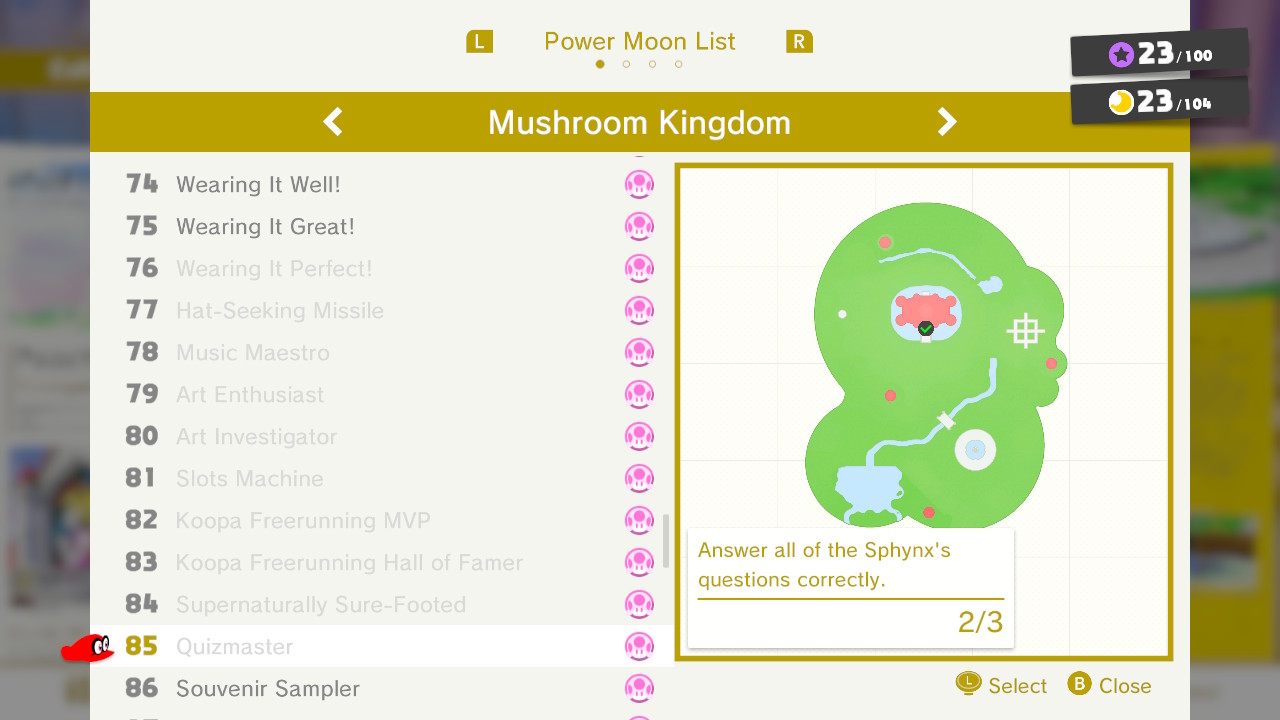
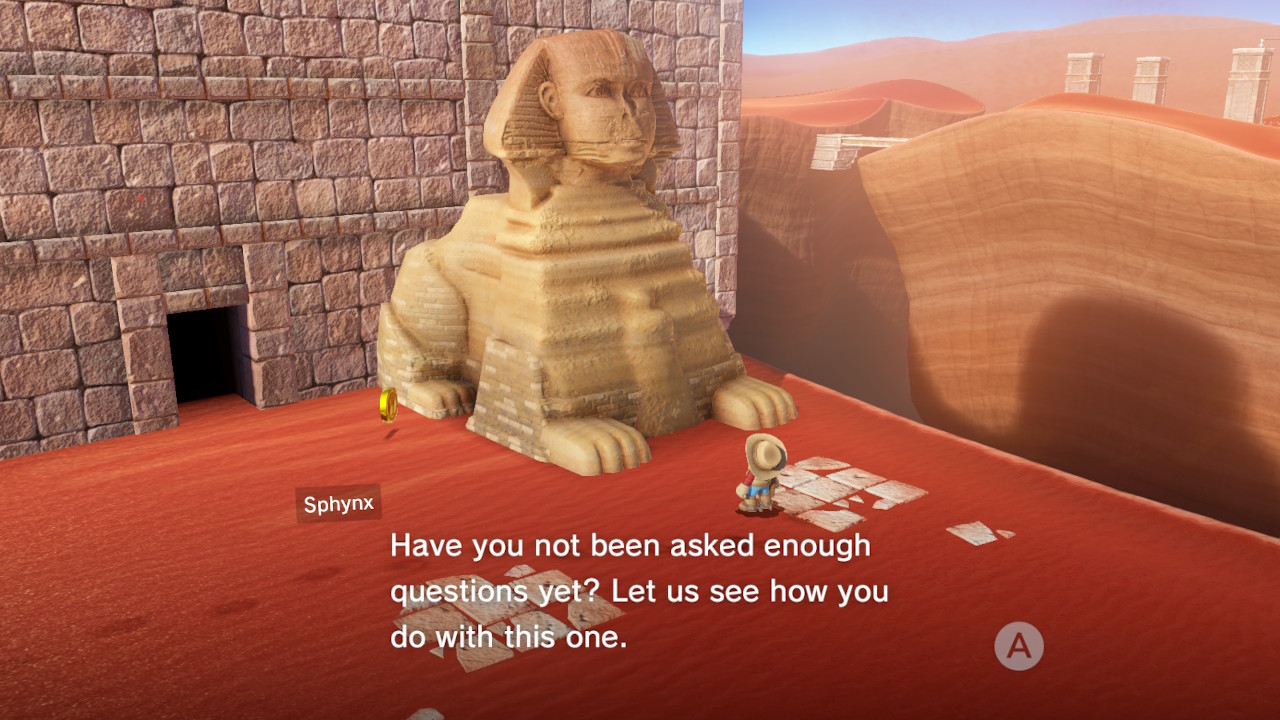
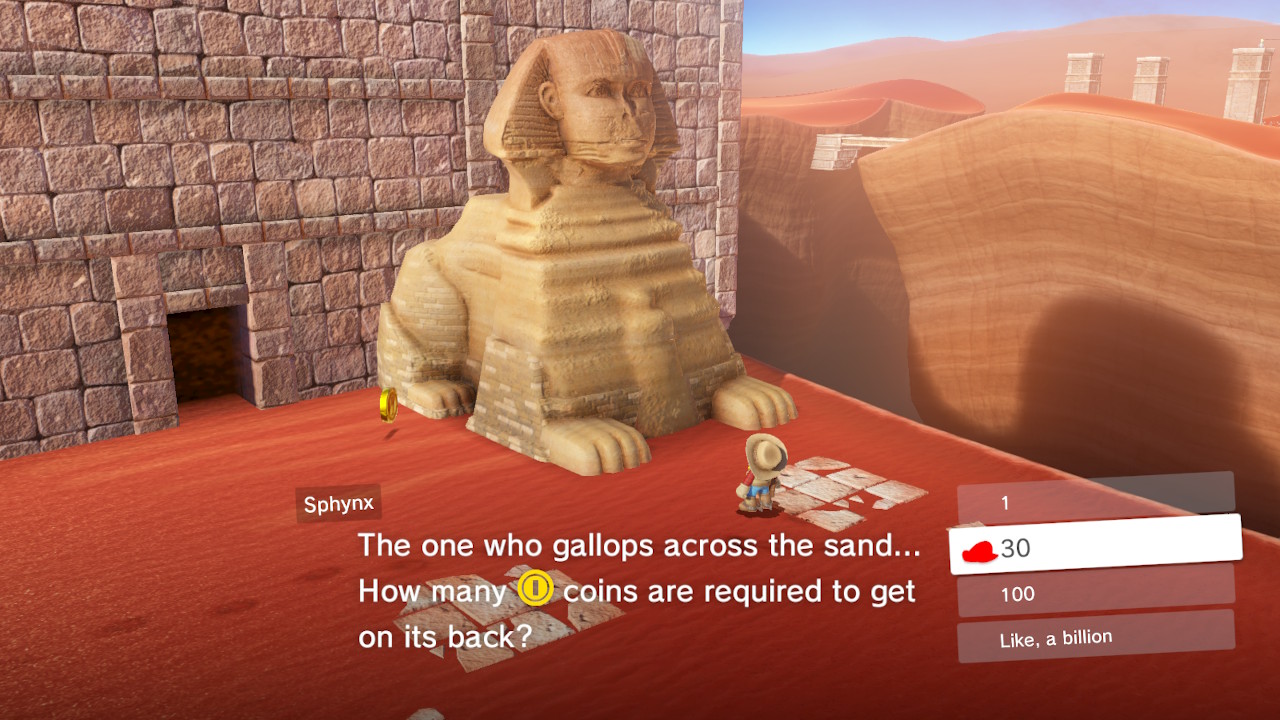
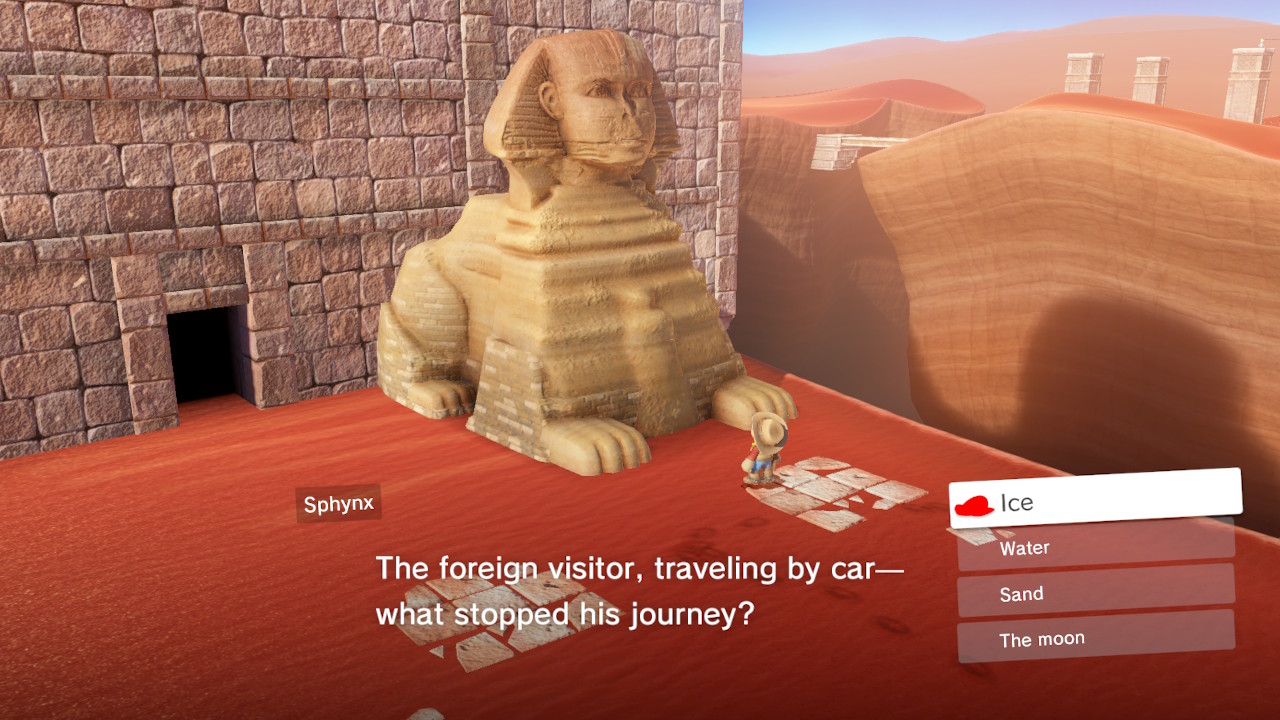
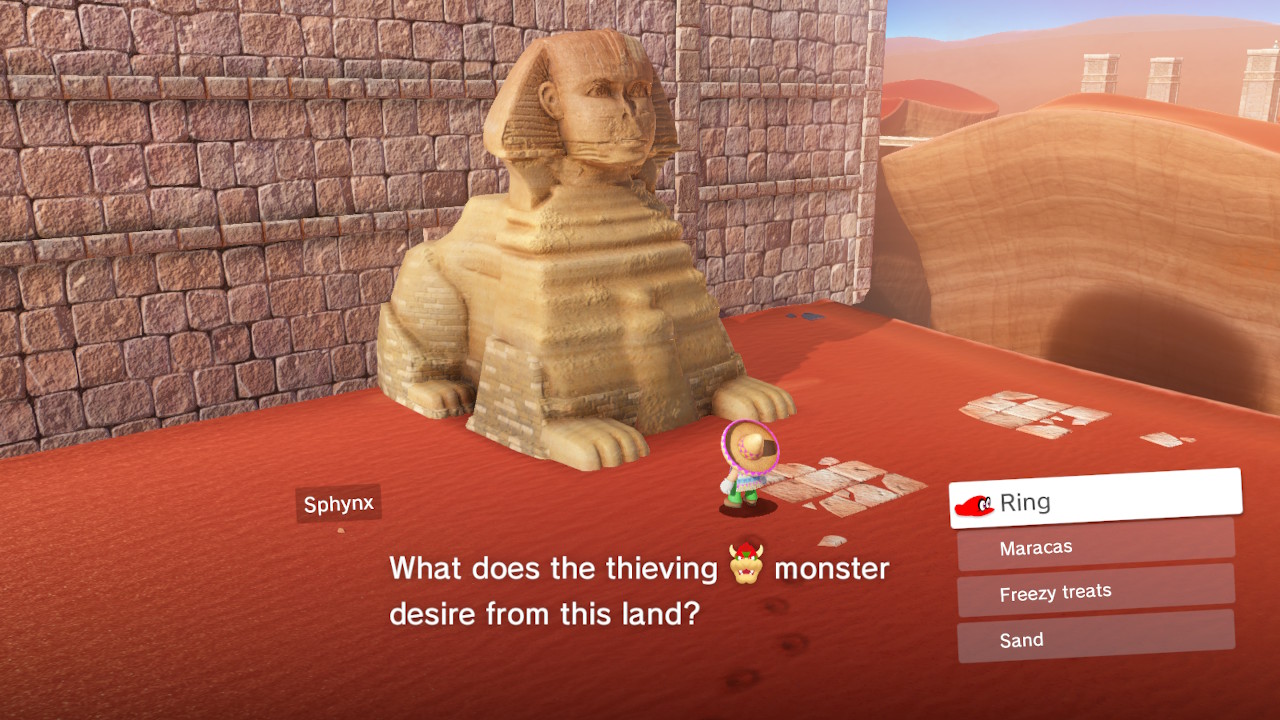
85 – Quizmaster
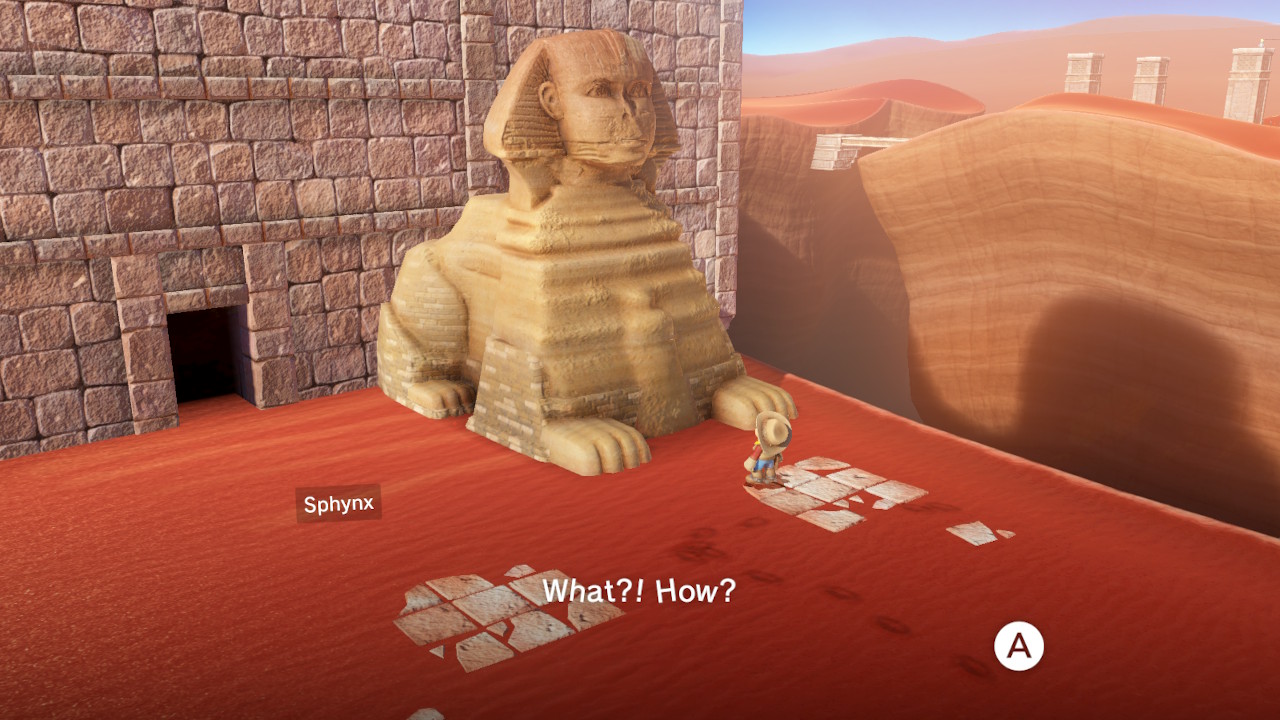
– Answer all of the Sphynx’s questions correctly 3 times.
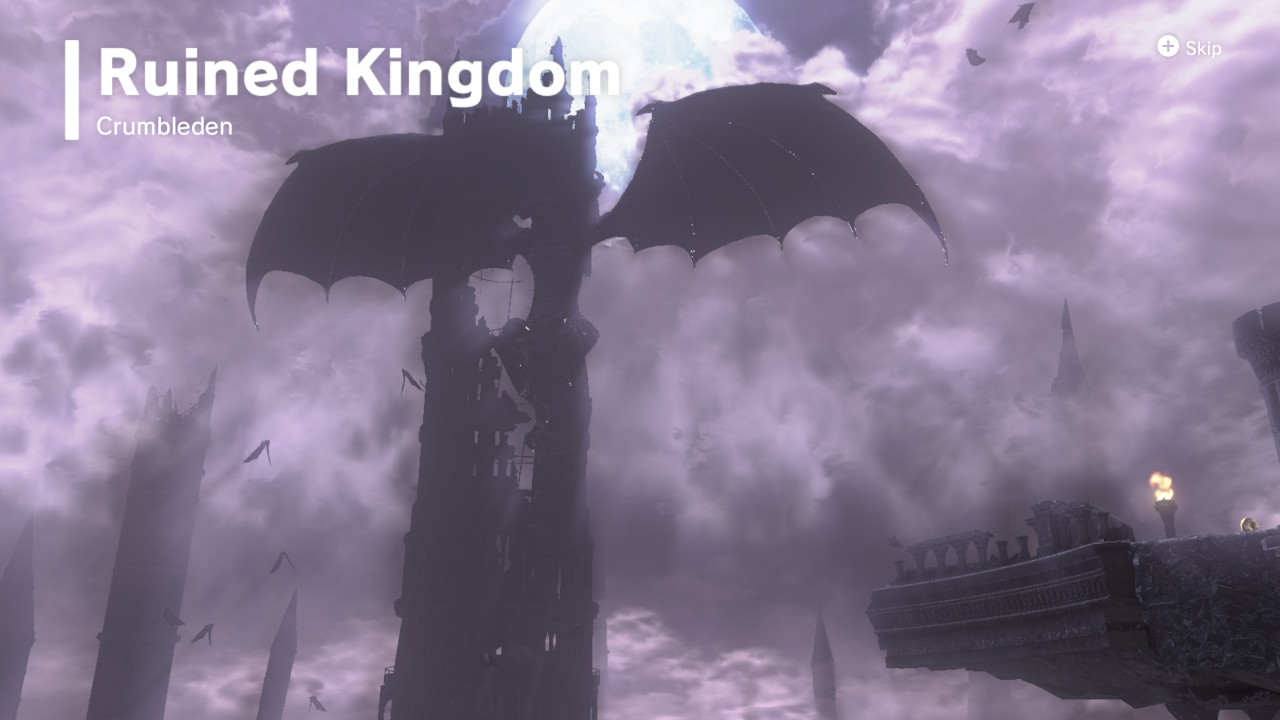
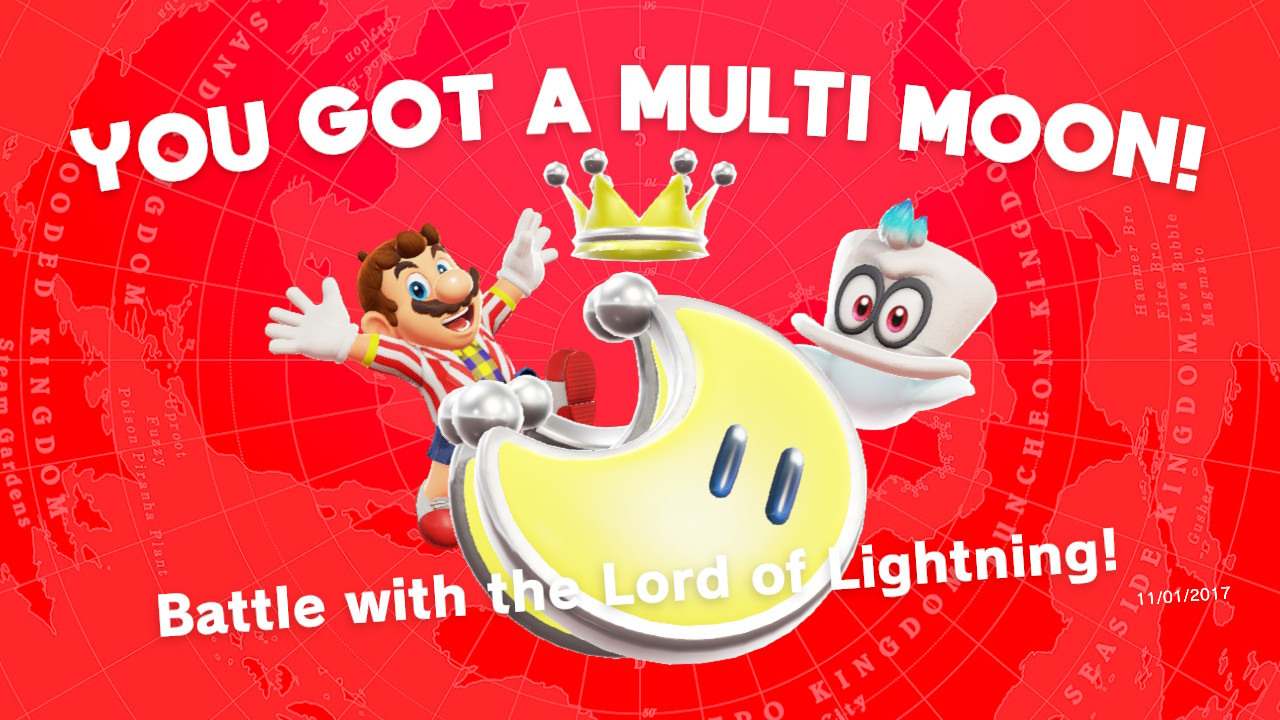
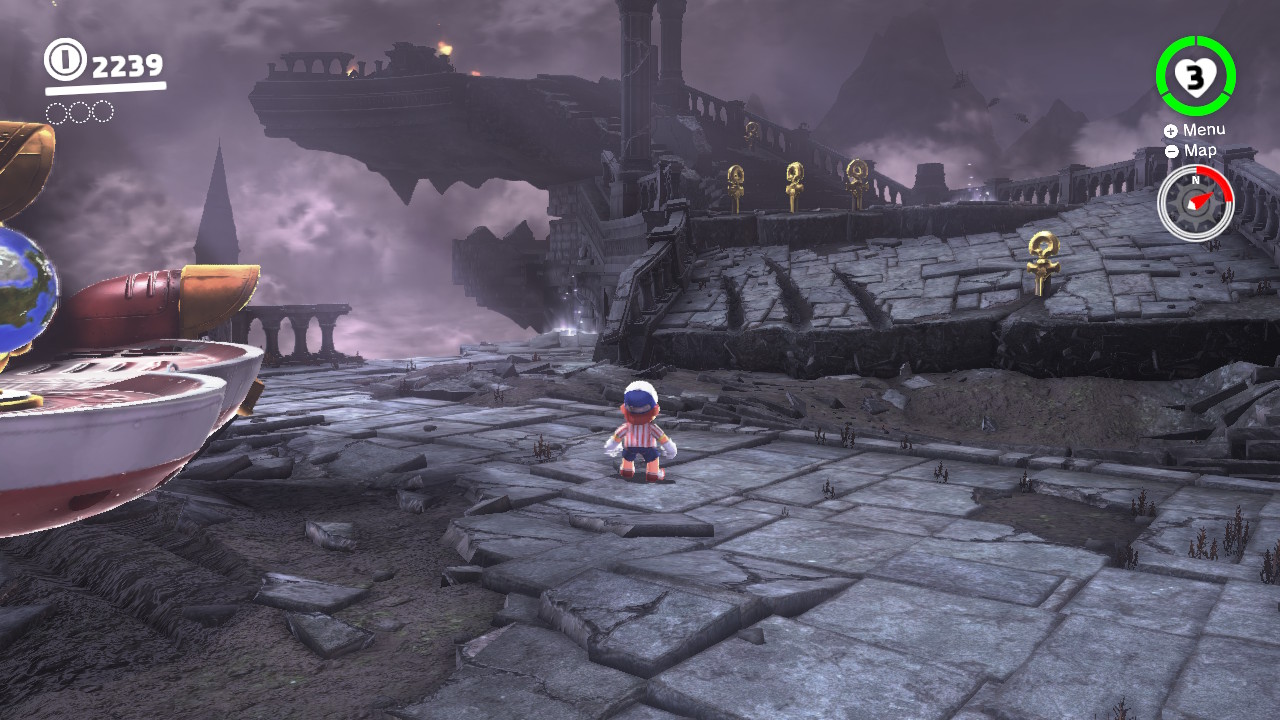
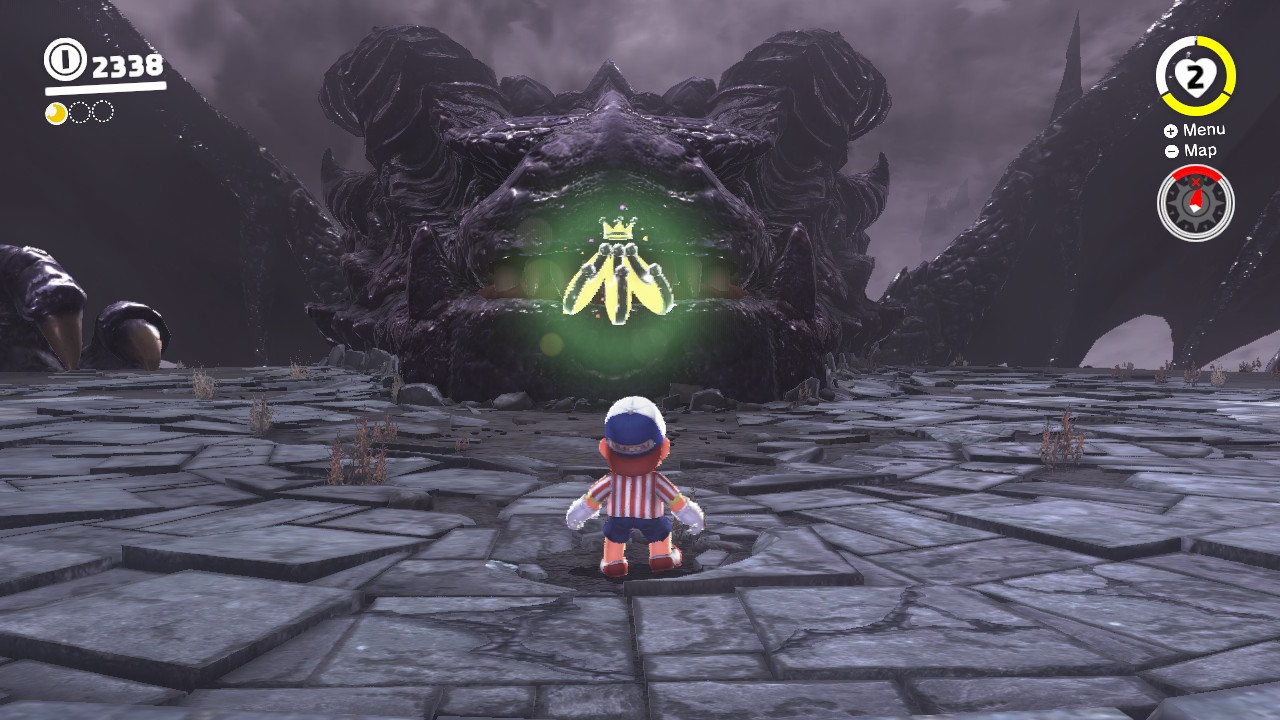
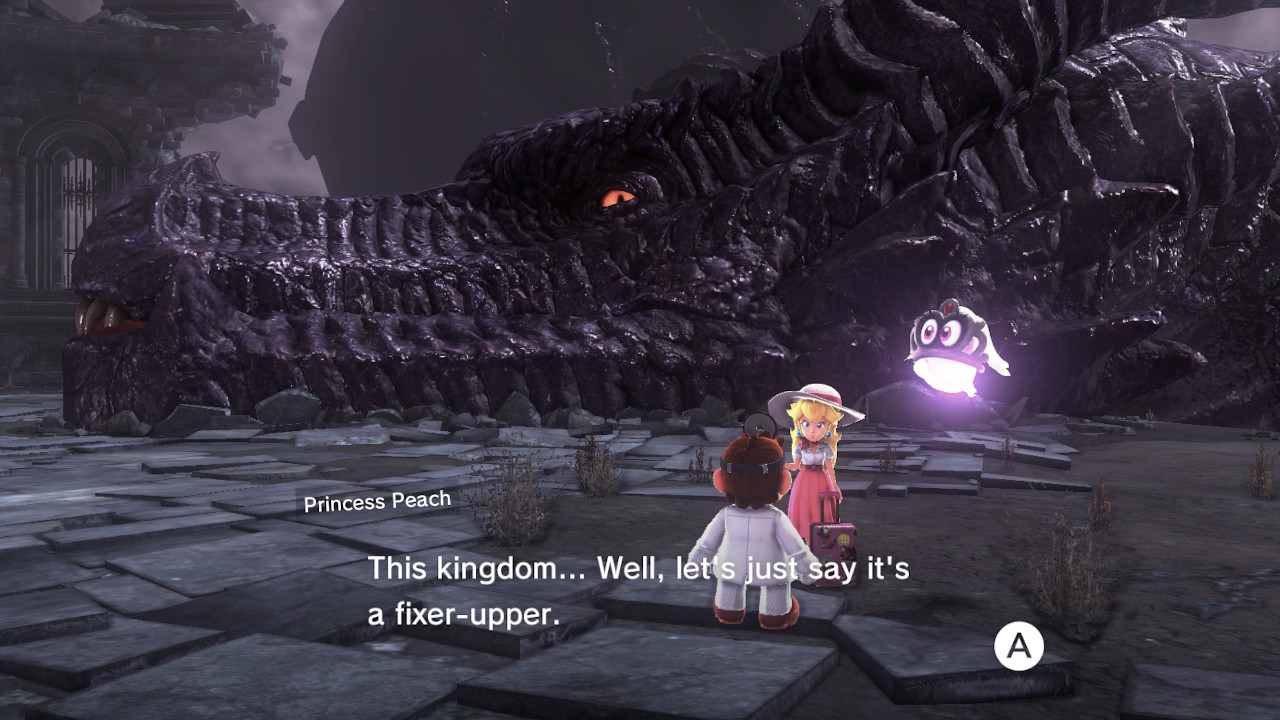
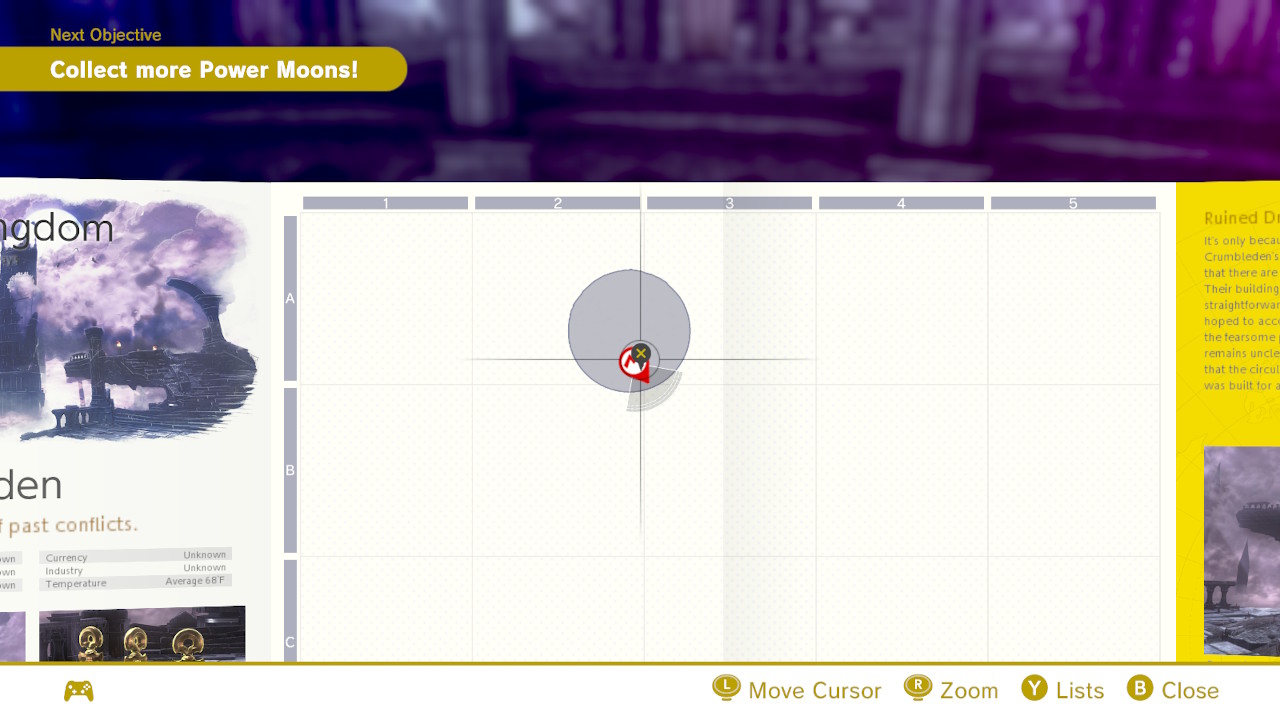
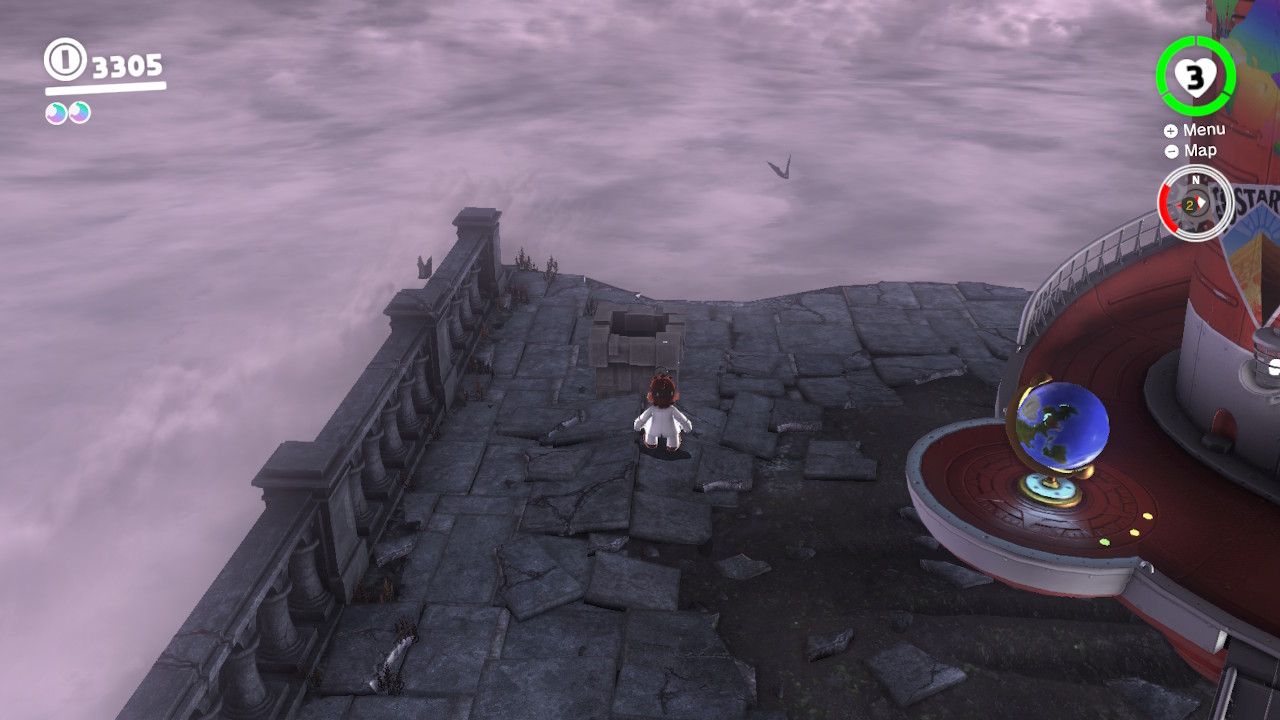
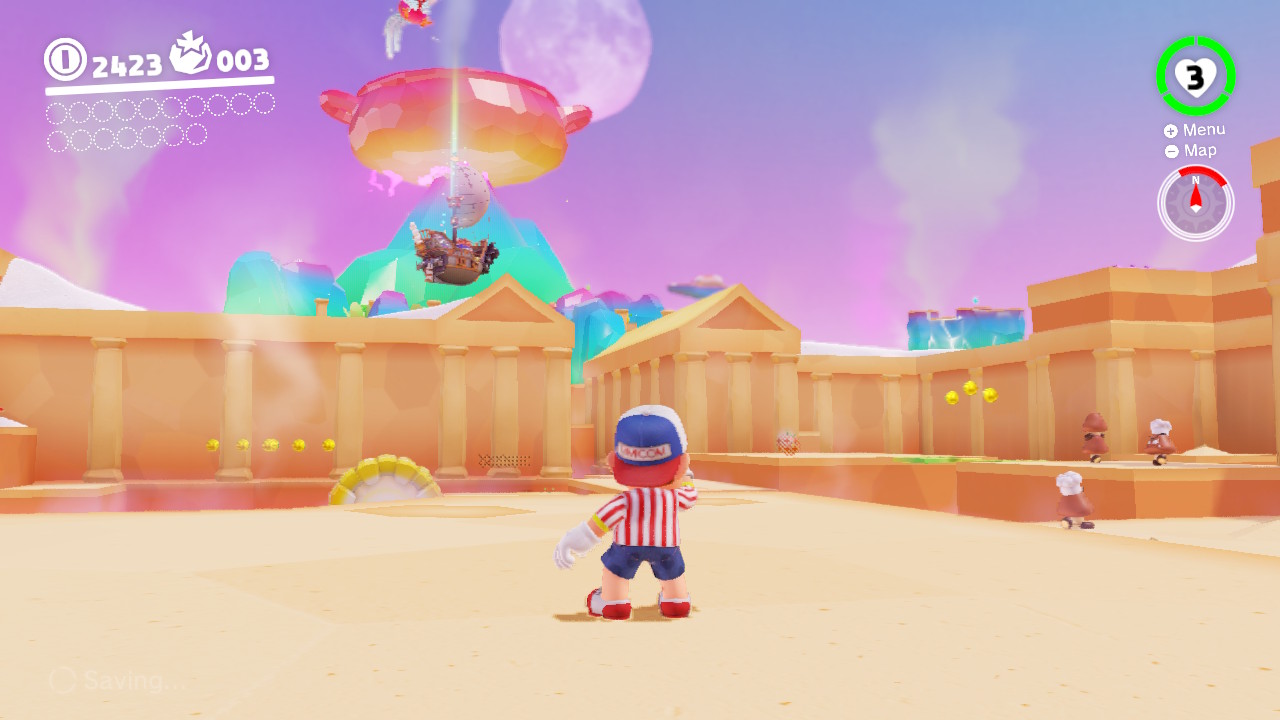
1- After duking it out a bit with Bowser, the Odyssey will crash land in the ominous Ruined Kingdom…
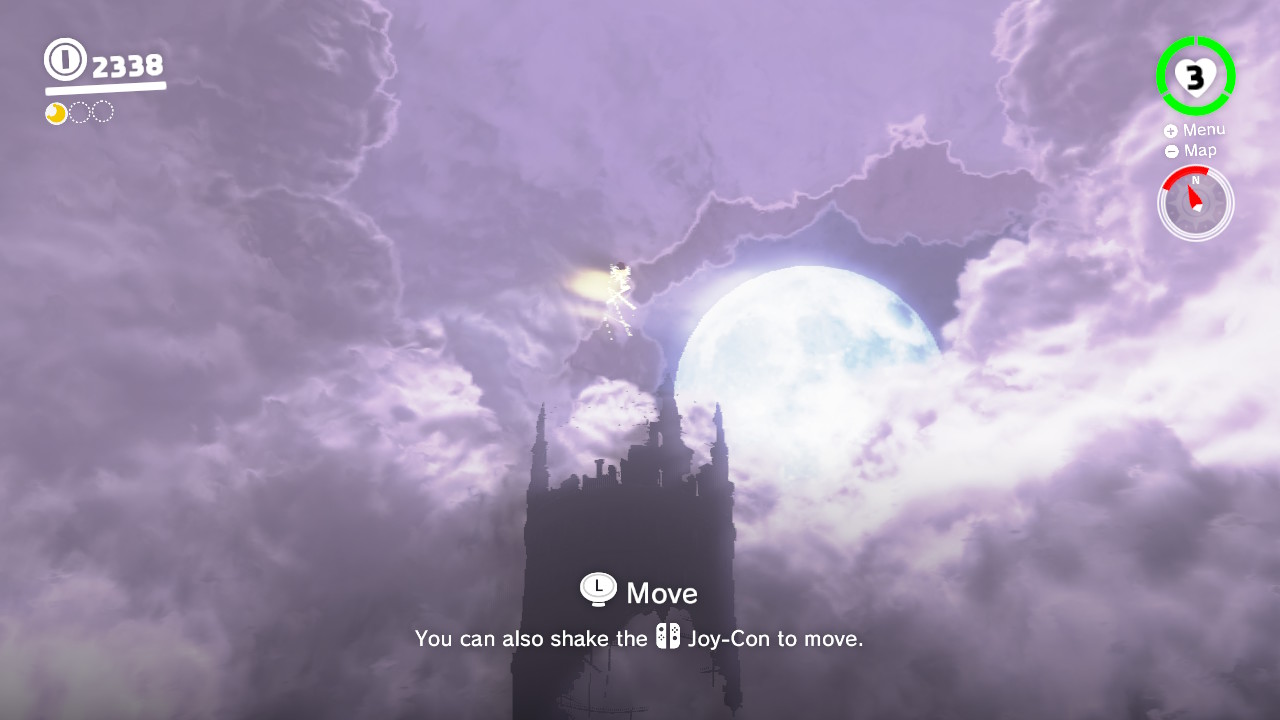
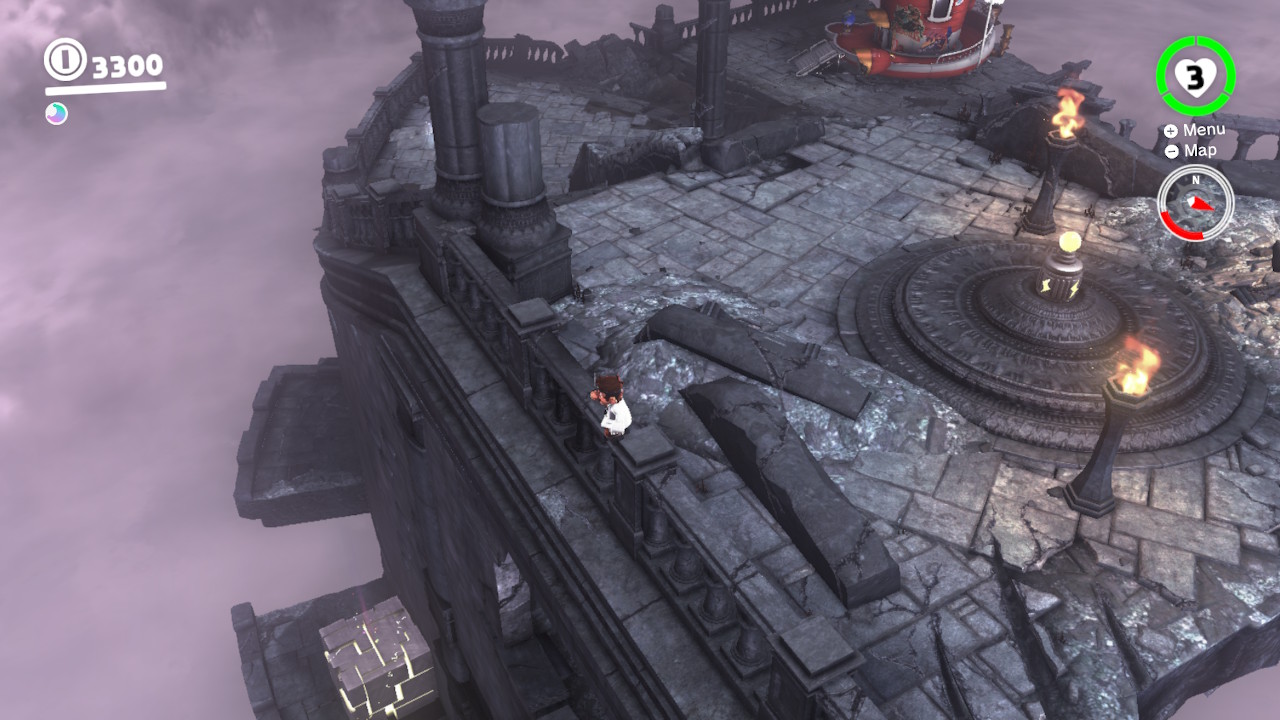
2- Follow the stairway and launch up onto the castle’s peak…
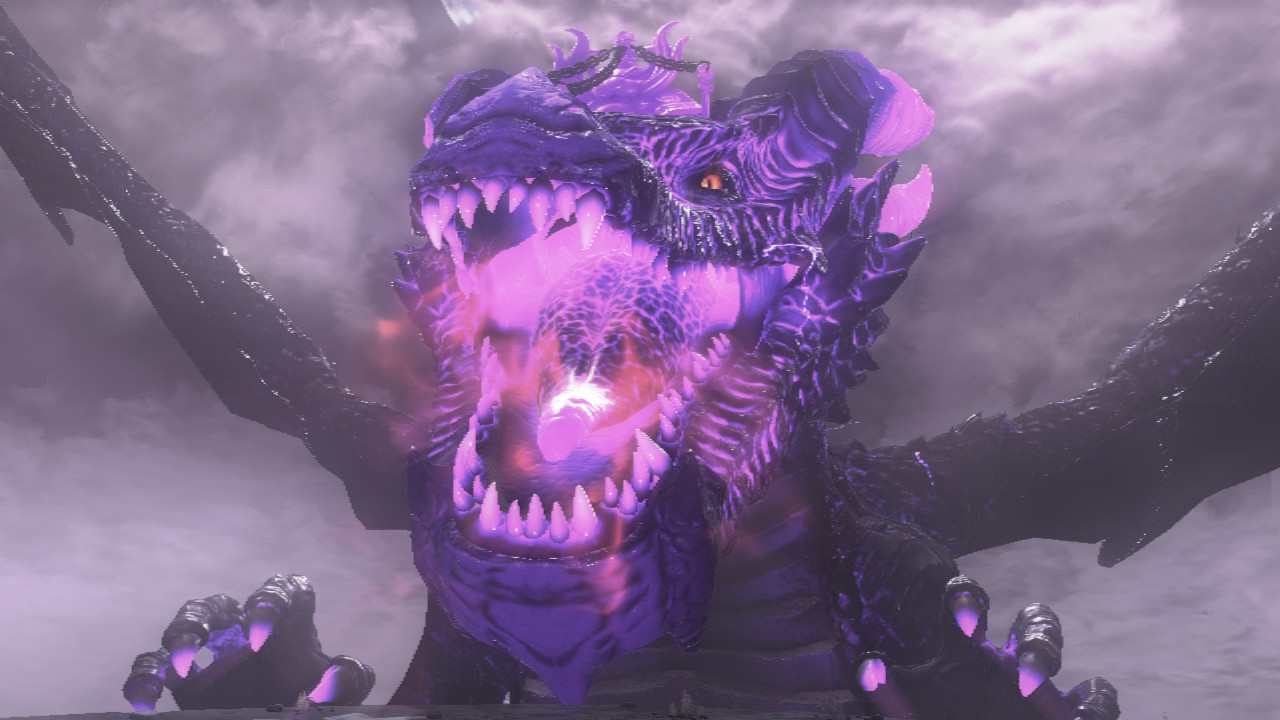
3- The Lord of Lightning is waiting for you…
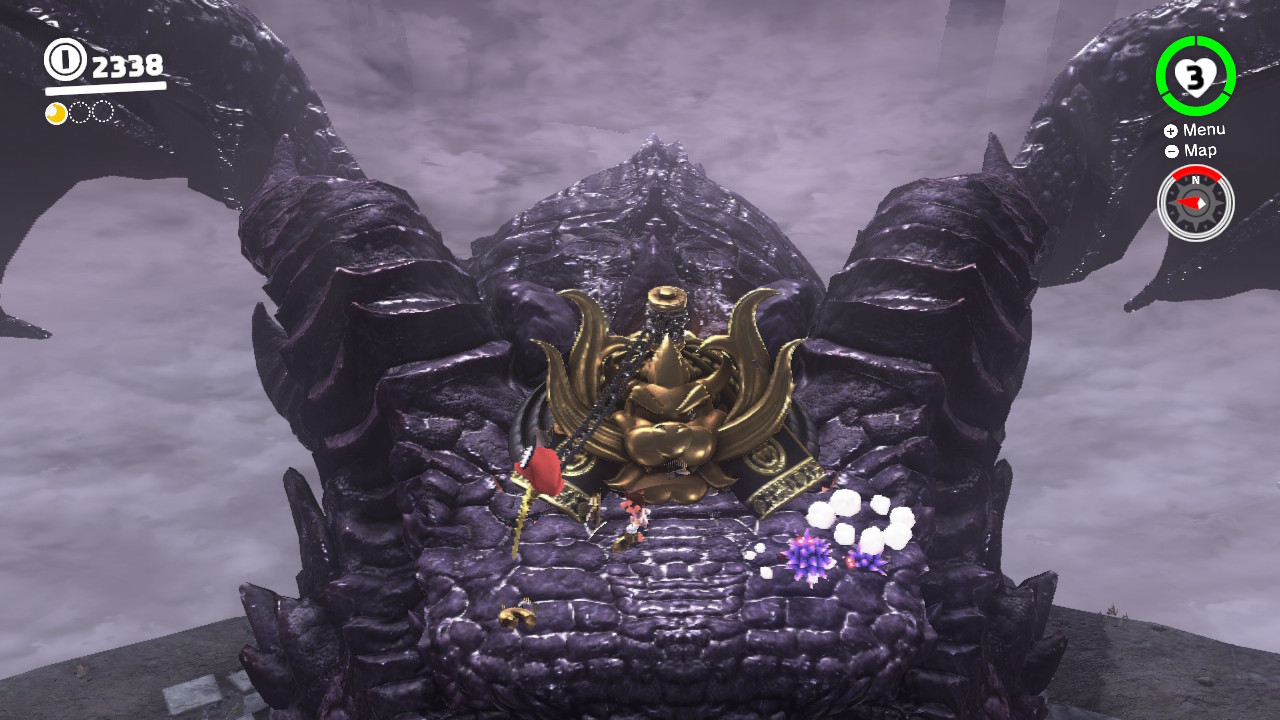
4- Dodge the lightning bolts, jump on his head, rip out the stakes…
5- And ground pound his head three times for your Multi-Moon!
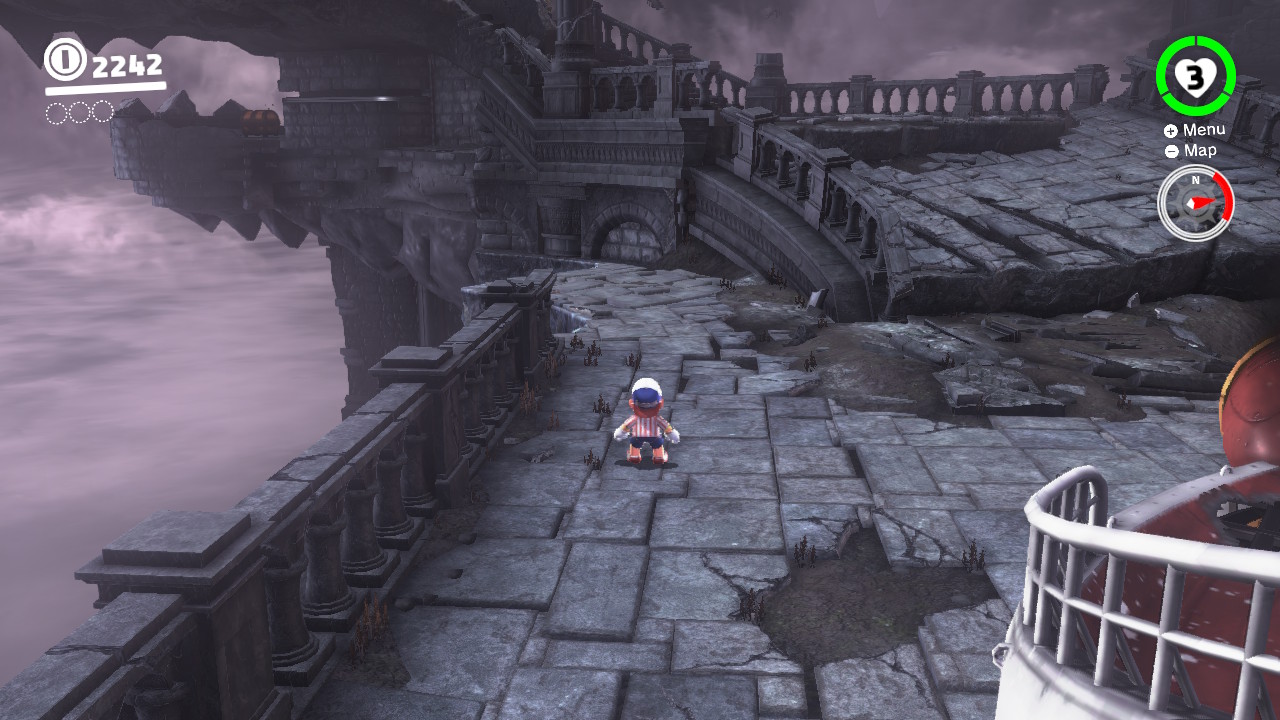
02 – In the Ancient Treasure Chest
Location-
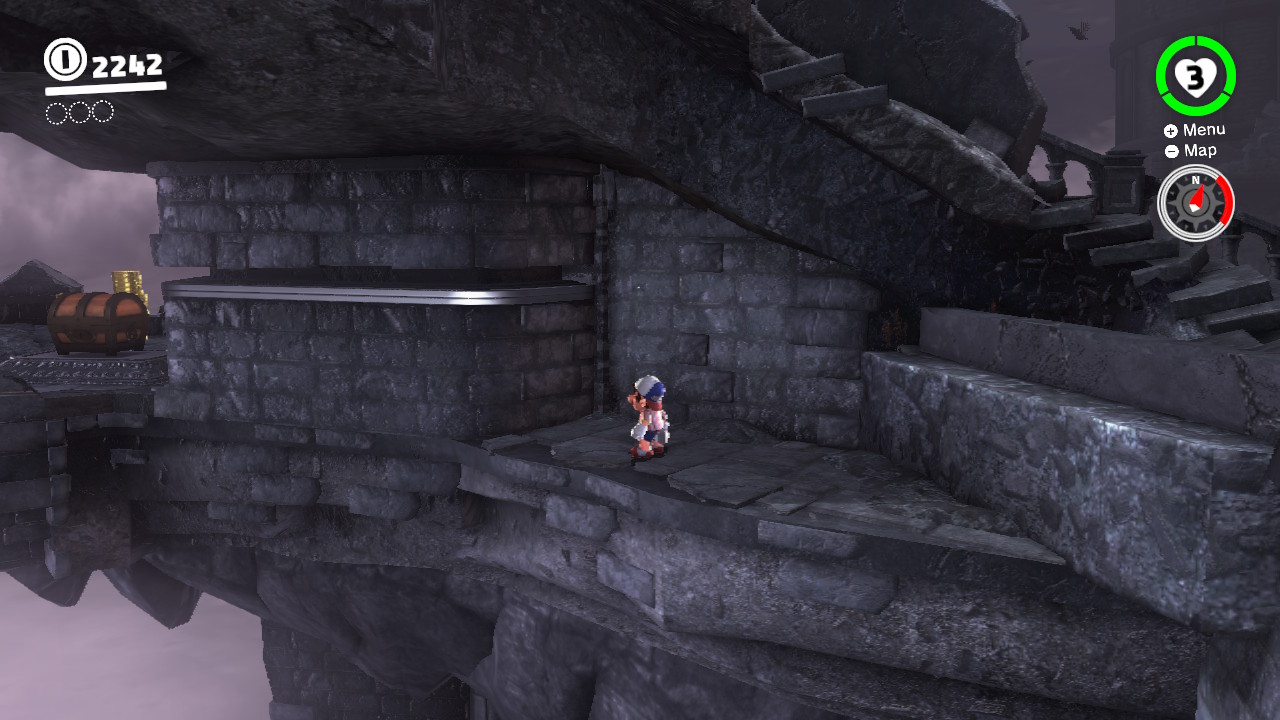
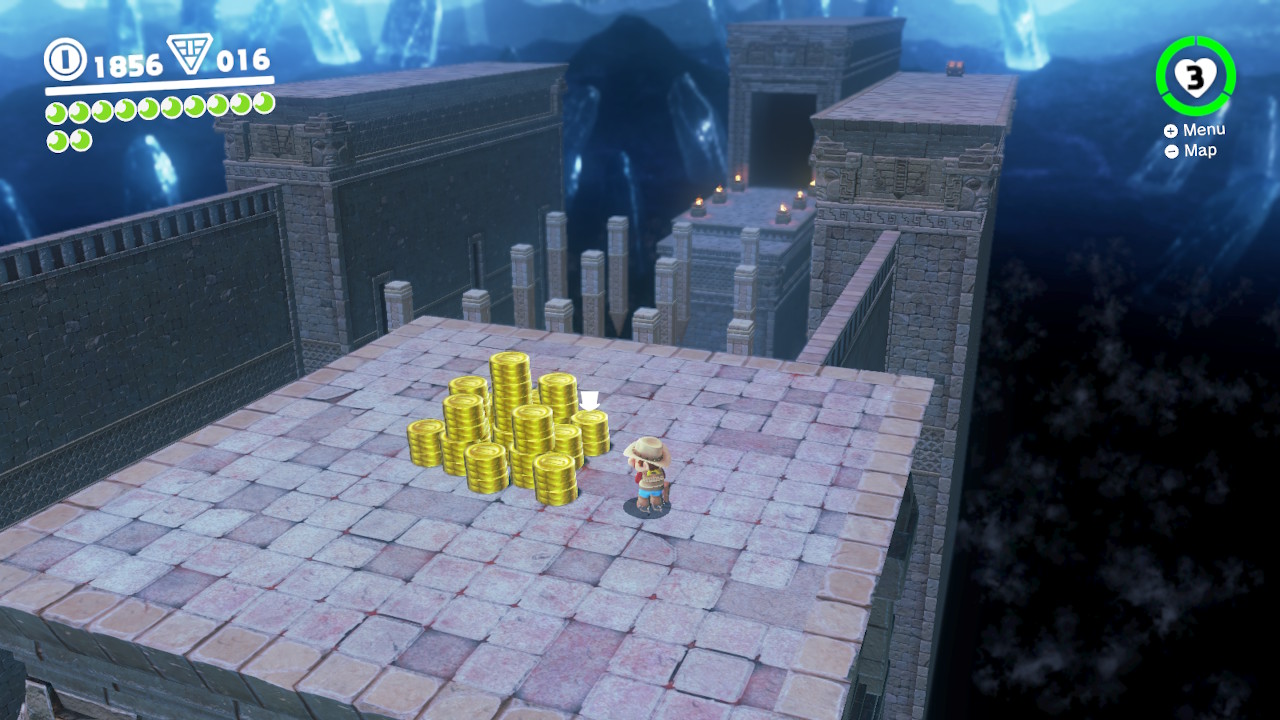
1- Directly in front of the Odyssey you should notice a ledge to the left of the stairway…
2- Drop down on the ledge and shimmy across…
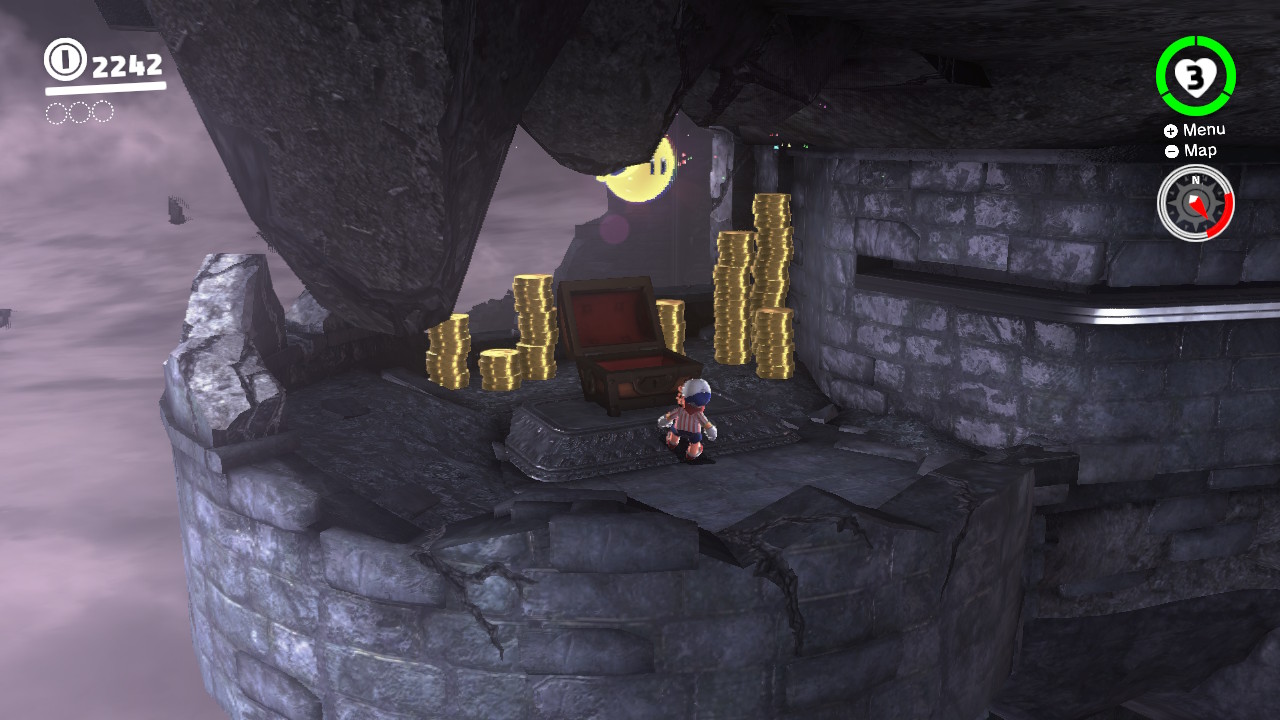
3- On the other side is a bunch of coins and a treasure chest! Guess what is inside?!
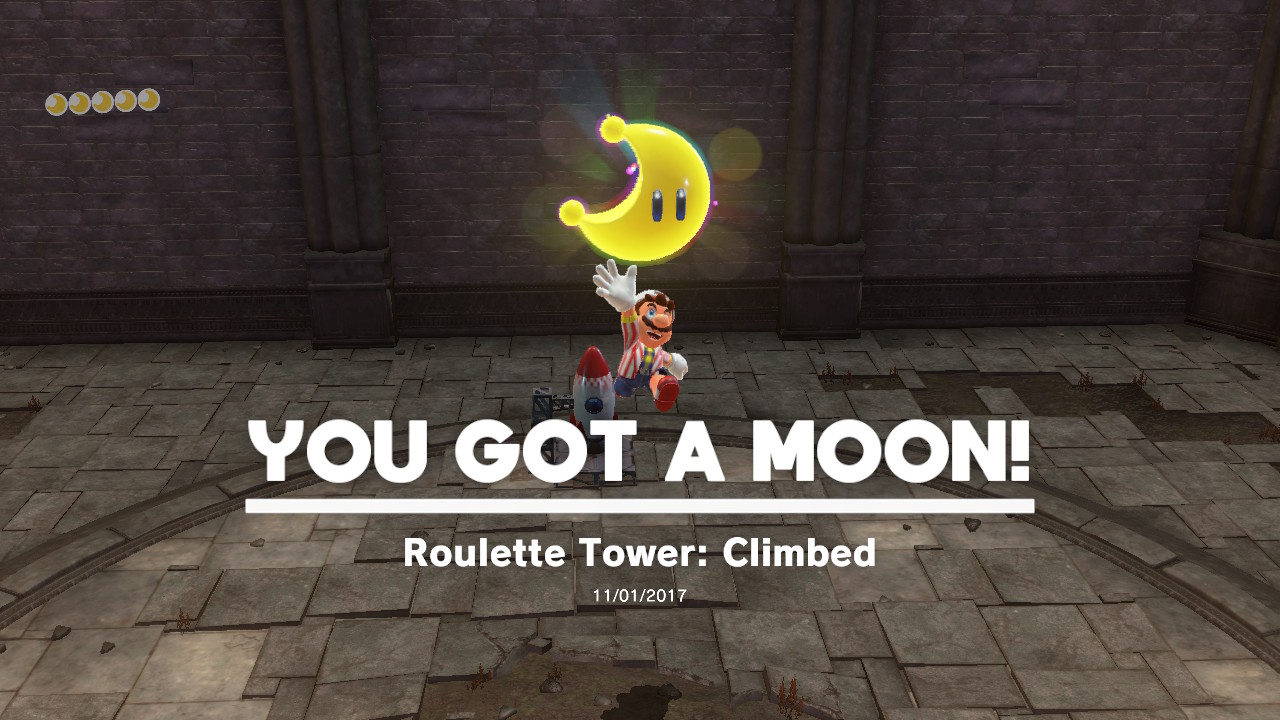
03 – Roulette Tower: Climbed
Location-
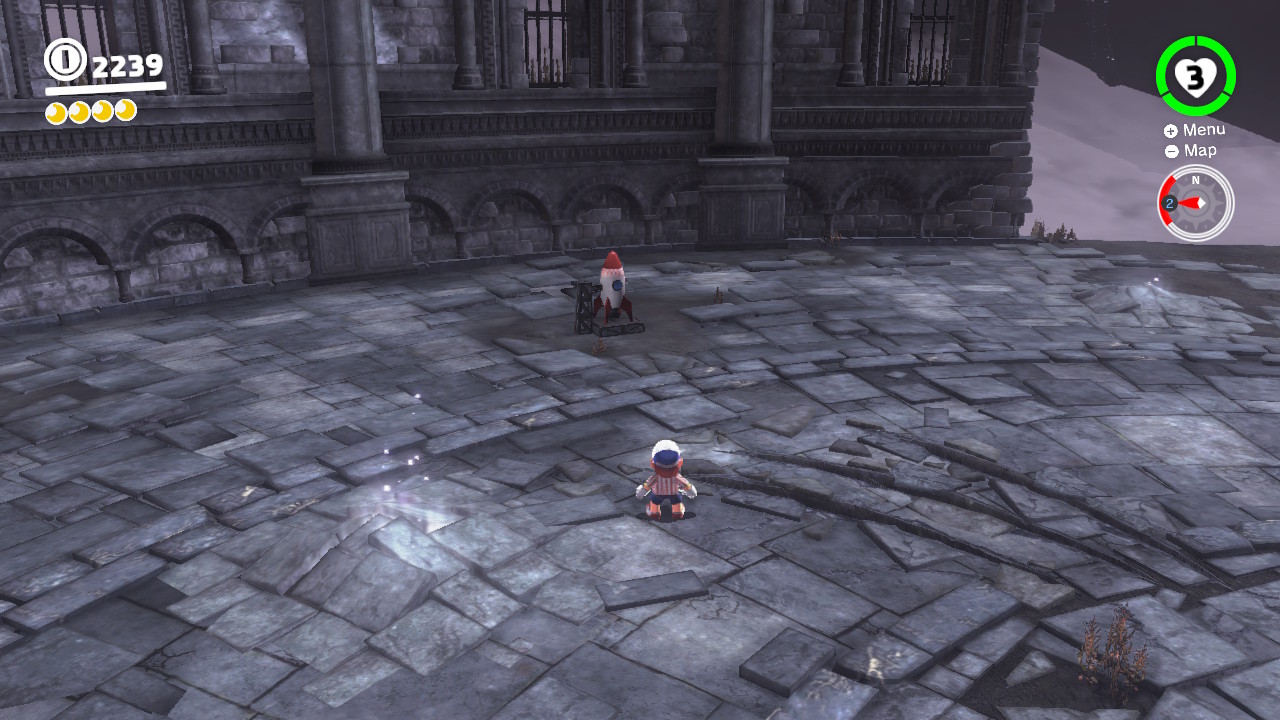
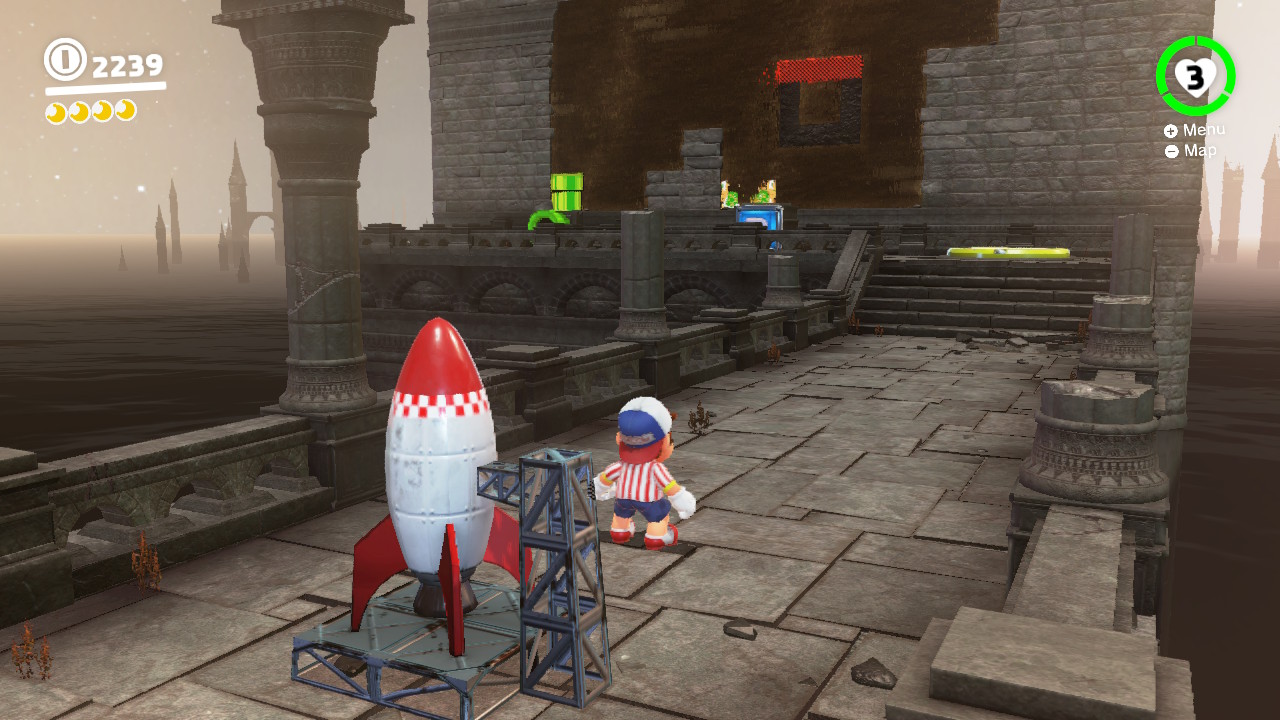
1- On the tip of the tower were you faught the Lord of Lightning…
2- You should find a rocket ship…
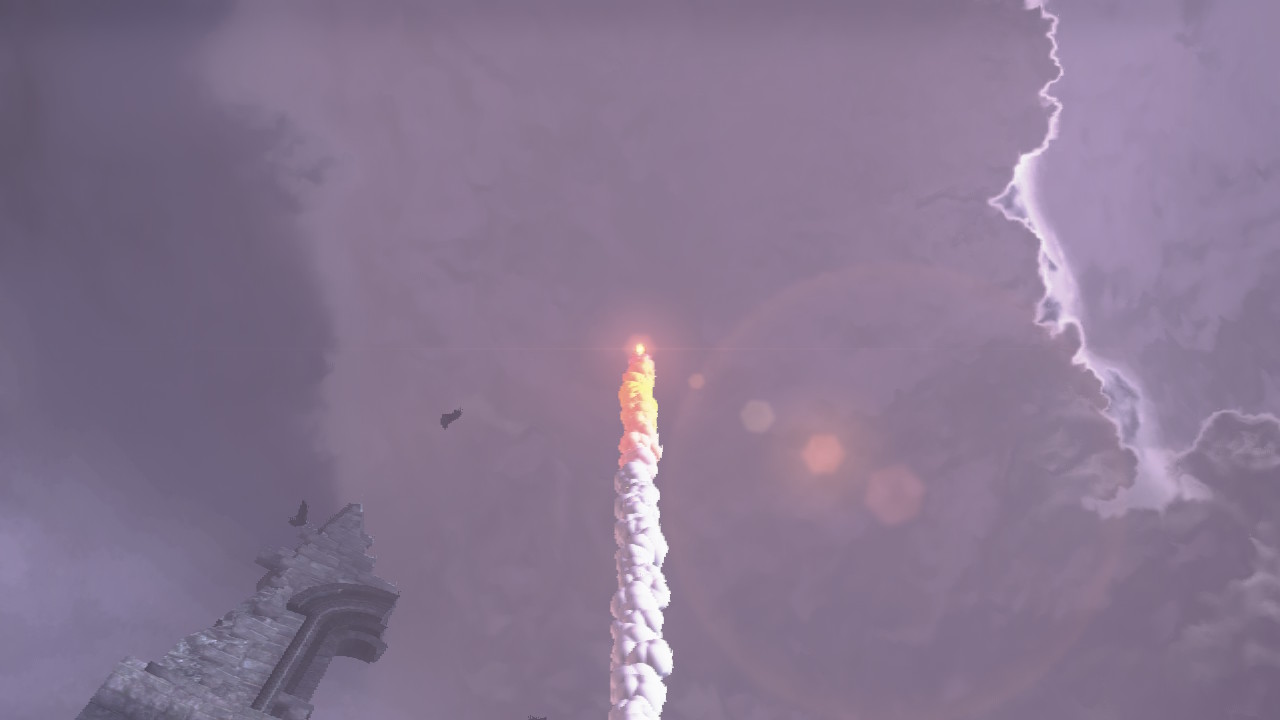
3- Capture it and blast away…
4- Time for some 8-bit puzzles…
5- The platforms are moving, hit the switches so that the platform lines up like this, now go 8-bit and jump across…
6- In the next area you’ll need to time the switches so the platforms look like this…
7- And last but not least, hit the switches in perfect timing to make the platforms look like this…
8- Climb on up and a Power Moon is waiting for you!
04 – Roulette Tower: Stopped
Location-
1- On the tip of the tower were you faught the Lord of Lightning…
2- You should find a rocket ship…
3- Capture it and blast away…
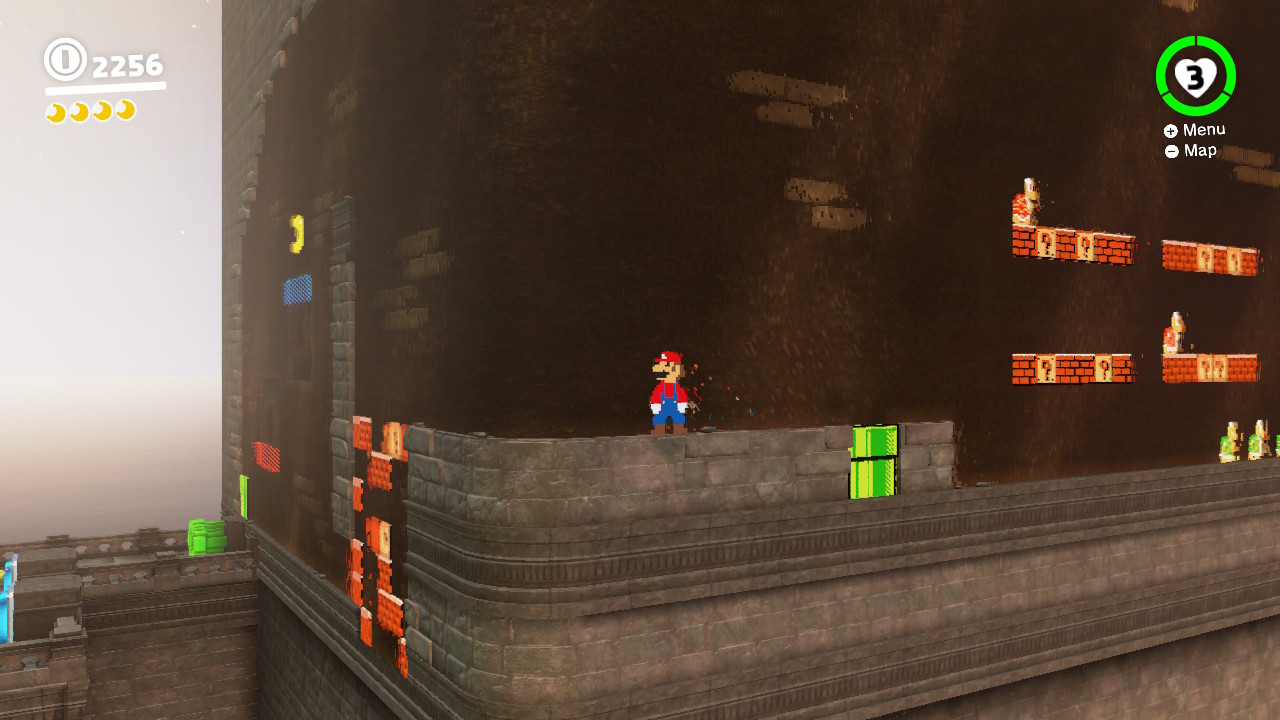
4- Time for some 8-bit puzzles…
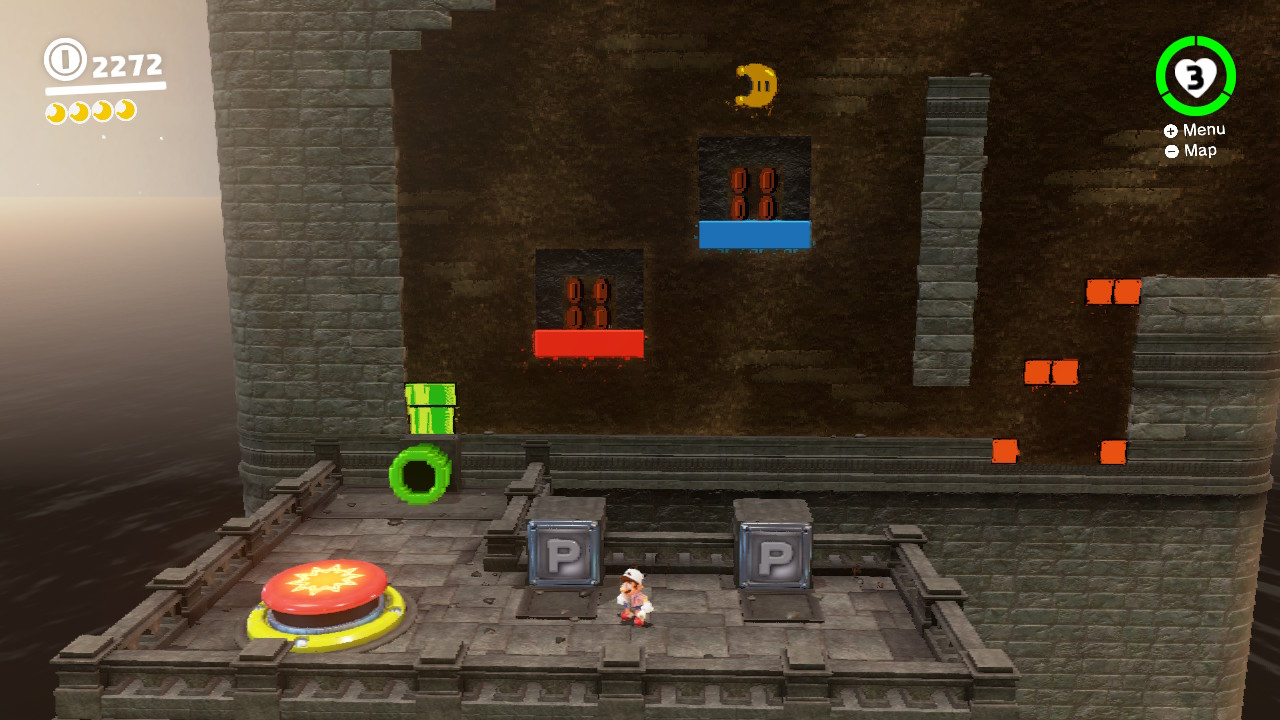
5- Time the switches to allow the platforms to be lined up so you can jump on them! But After beating the second puzzle don’t progress to the right…
6- Instead if you move to the left, you will notice a secret 2D Power Moon, but how do we reach it?…
7- Jump and hit a koopa to launch the shell towards the left. It will ricochet back and forth, destroying the blocks, and opening up the path…
8- Now finish the puzzle like this and snag that Power Moon!
05 – Peach in the Ruined Kingdom
Location-
1- Once you’ve beaten the game, Peach travels the world for some good ol’ fashion sight-seeing…
2- In this case, she’s up on the tower where you defeated “The Lord of Lightning”, talk with her and she will give you a Power Moon!
SPOILER ALERT!
The remaining Power Moons can only be found in the “End Game” portion of Mario Odyssey!
– Now that you’ve beaten the game, these mysterious Moon Rocks can be BUSTED open! In doing so, MORE Power Moons will spread throughout the Kingdom!
– The Moon Rock is on a ledge off top the right of the stairway…
– Go down there and break it open! 5 more Power Moons will spread througout The Ruined Kingdom!
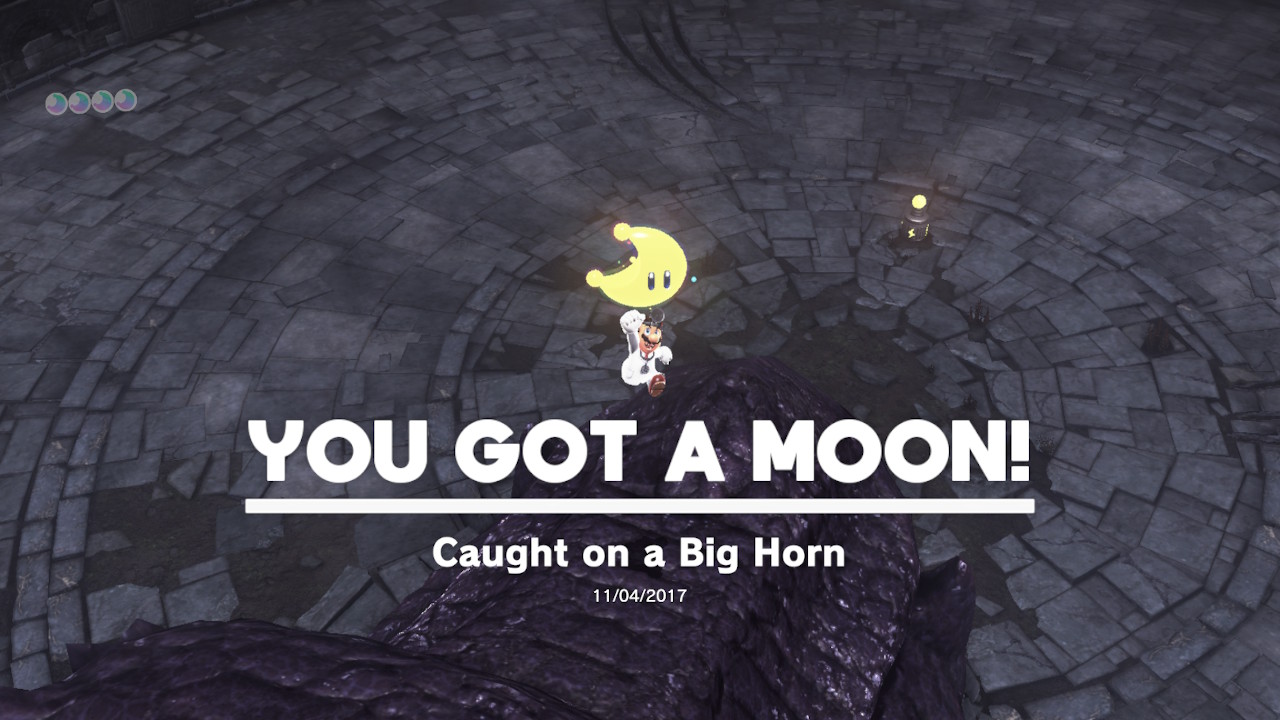
06 – Caught on a Big Horn
Location-
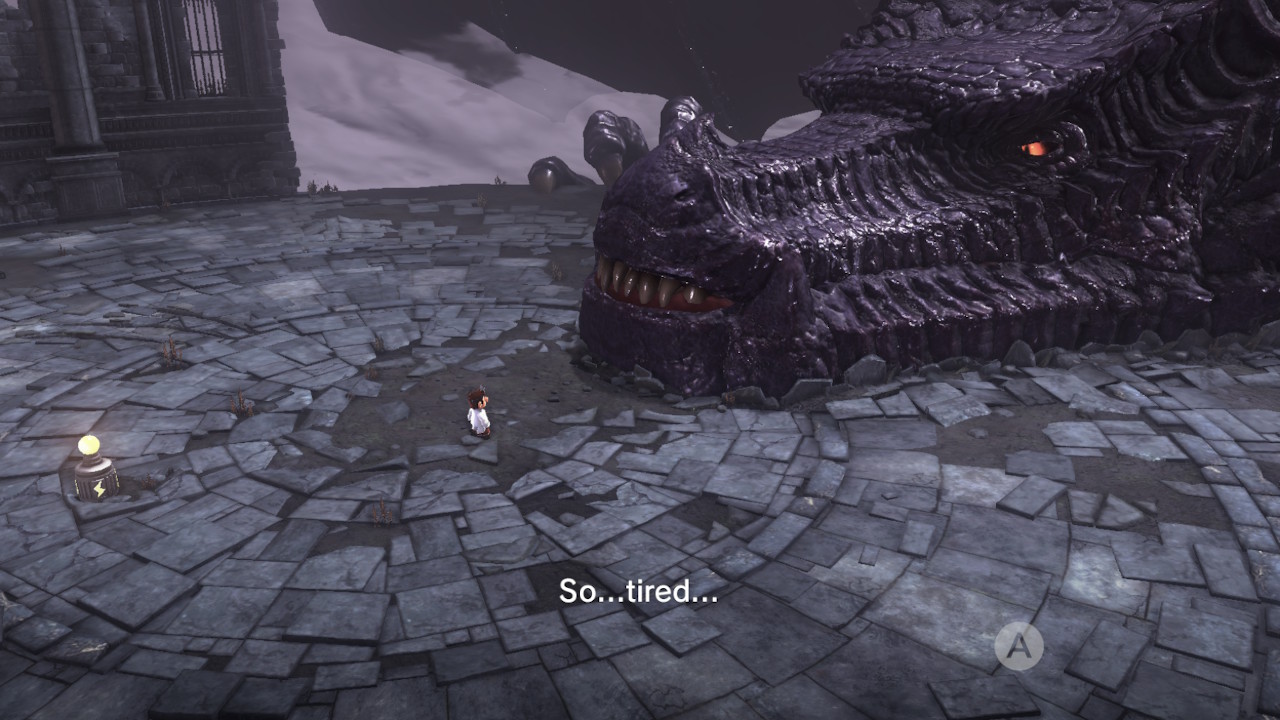
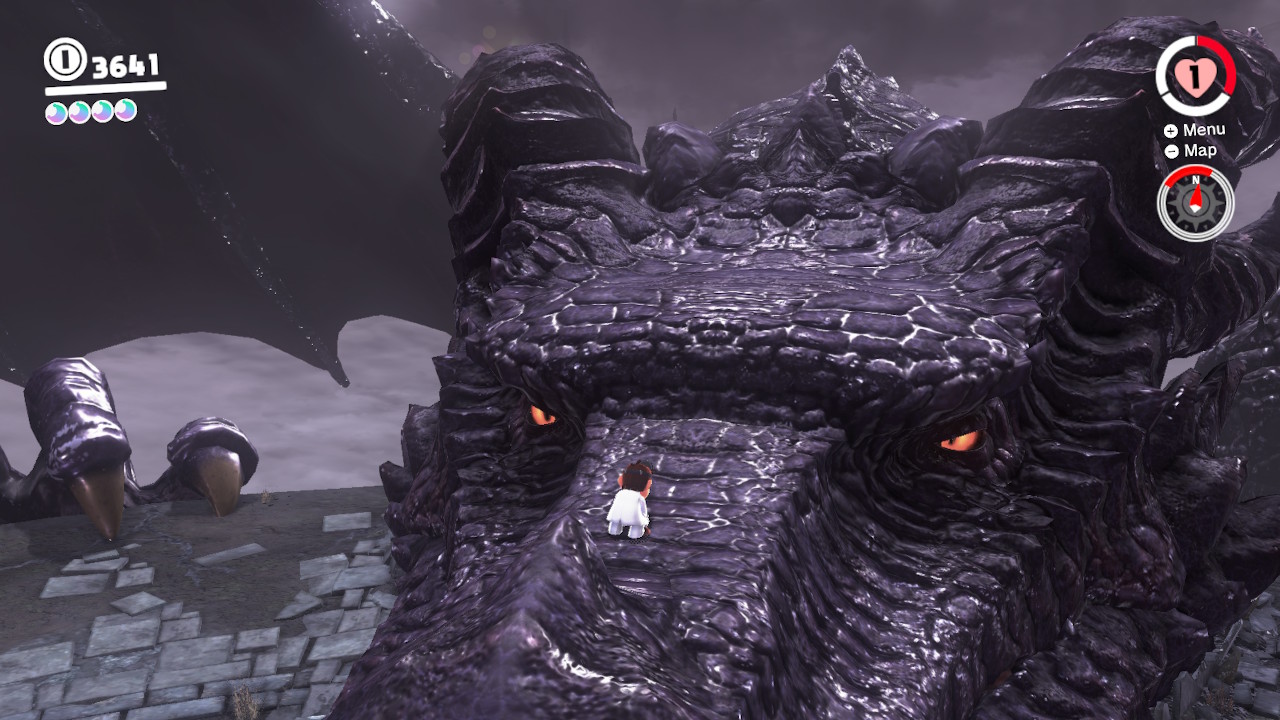
1- Now that you’ve defeated “The Lord of Lightning”, he is exhaustingly hanging out on top of the tower…
2- Climb up on his head…
3- His left horn is sparkly for some reason…
4- Throw Cappy at his horn, make sure to HOLD the button down so Cappy spins for a few moments. In doing so, a Power Moon will emerge!
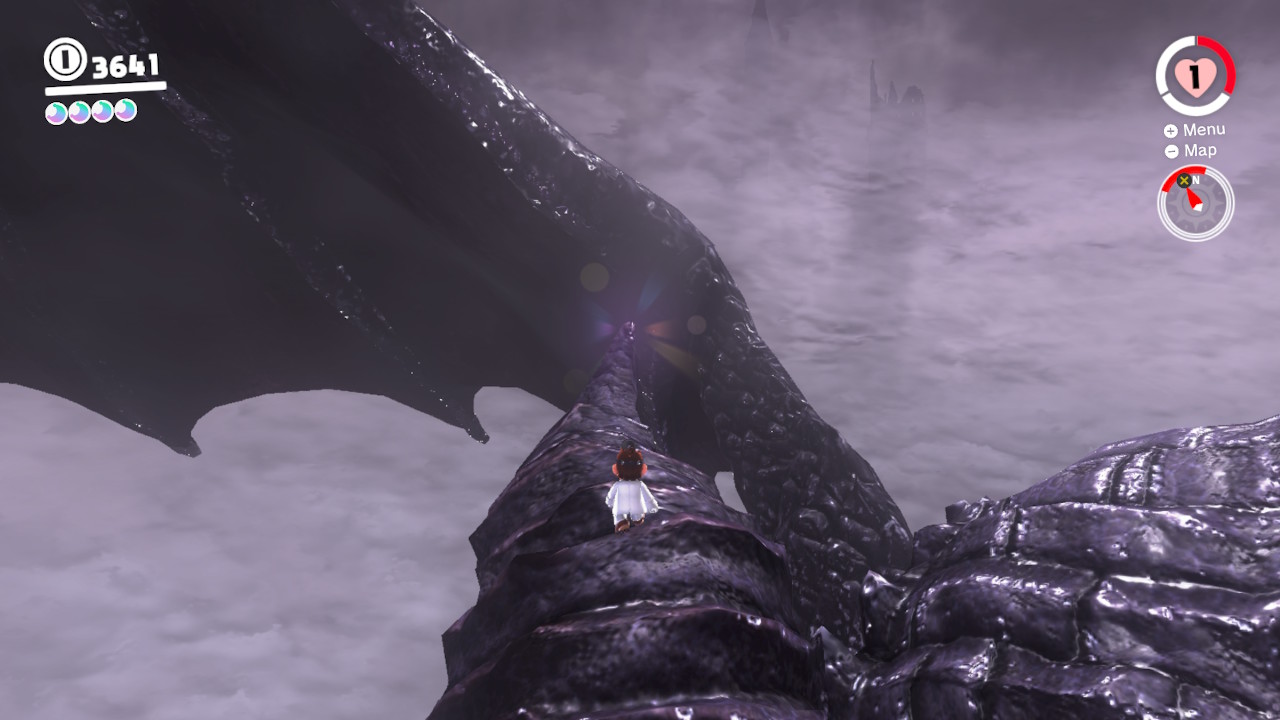
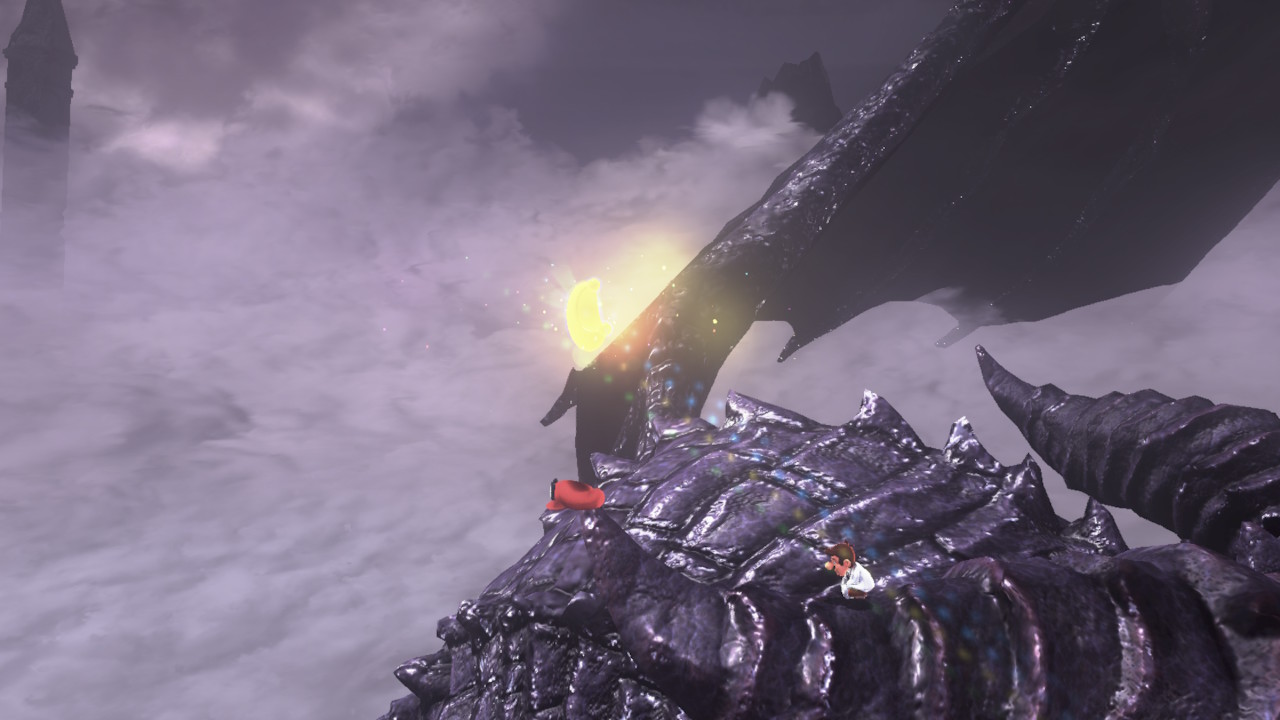
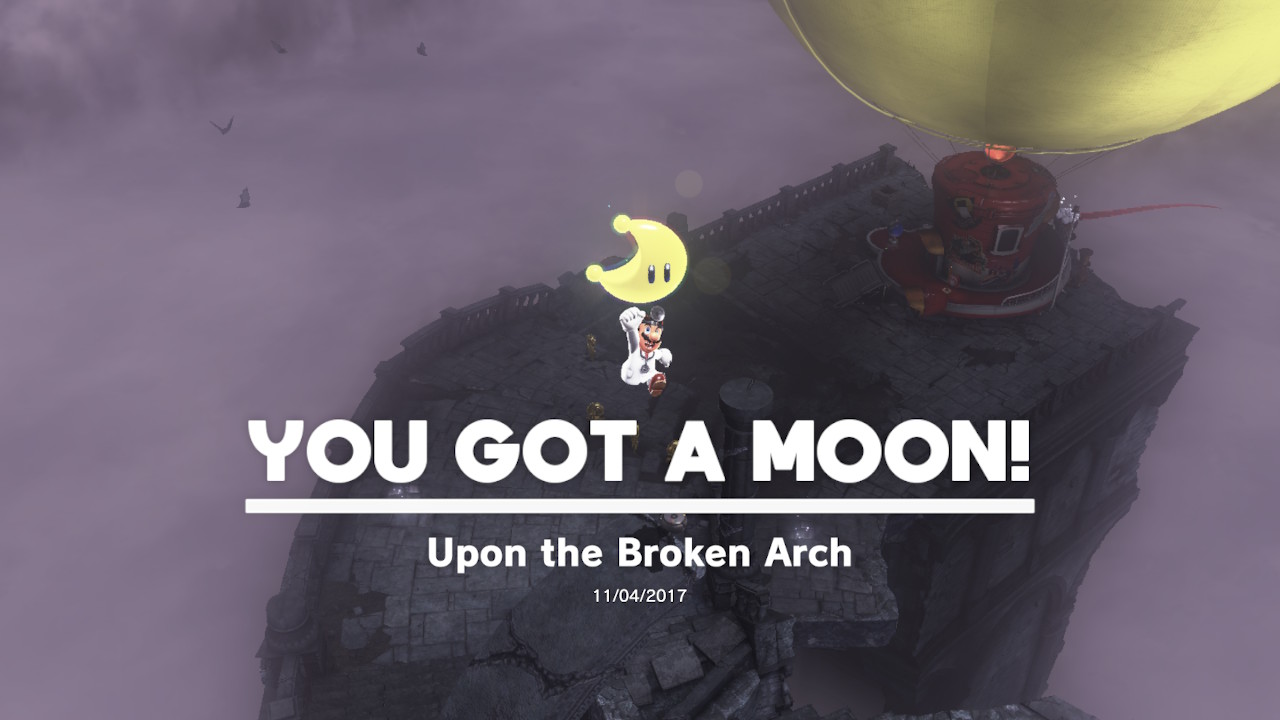
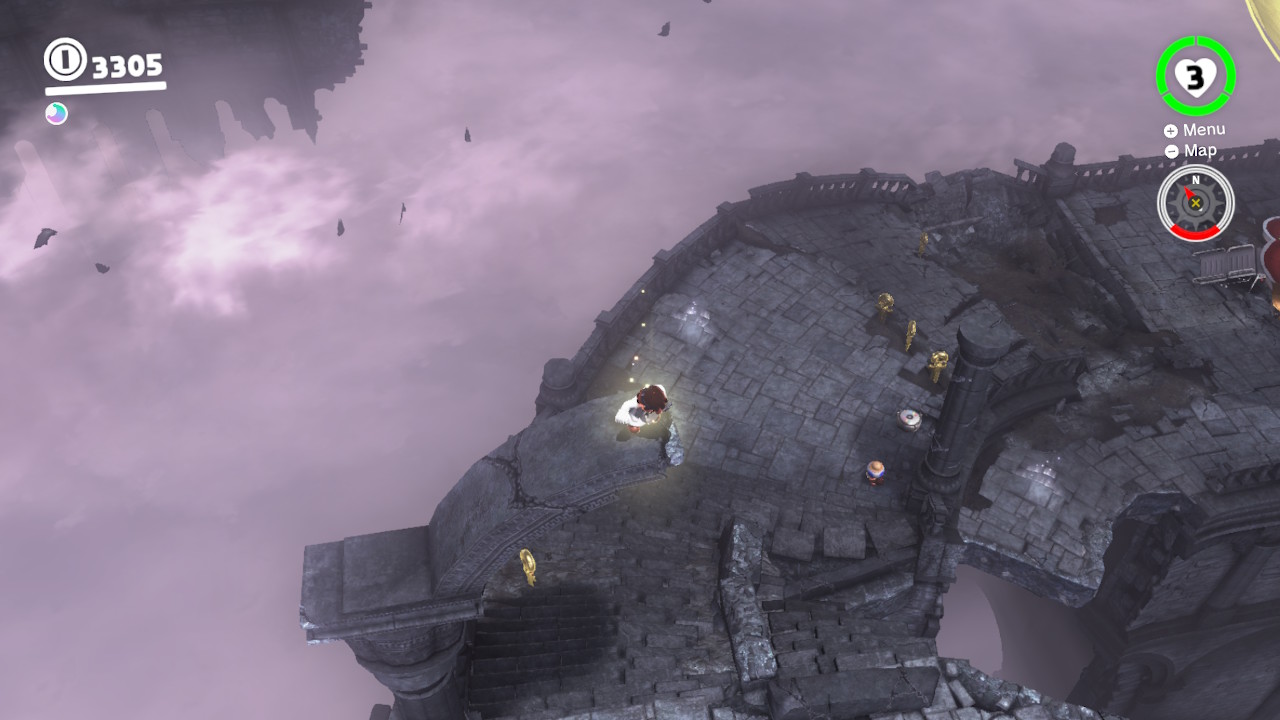
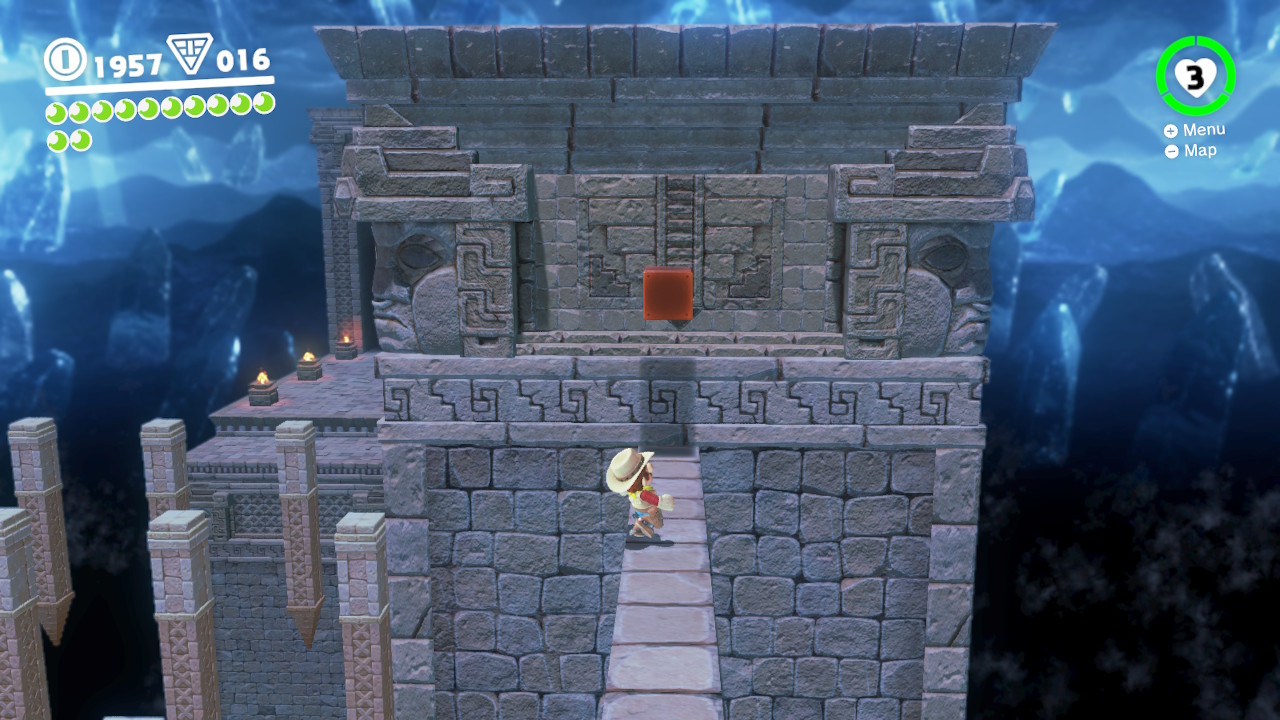
07 – Upon the Broken Arch
1- Above the stairway is a broken archway…
2- Climb on top of it and go to the very tip, ground pound the sparkly spot and you will get a Power Moon!!
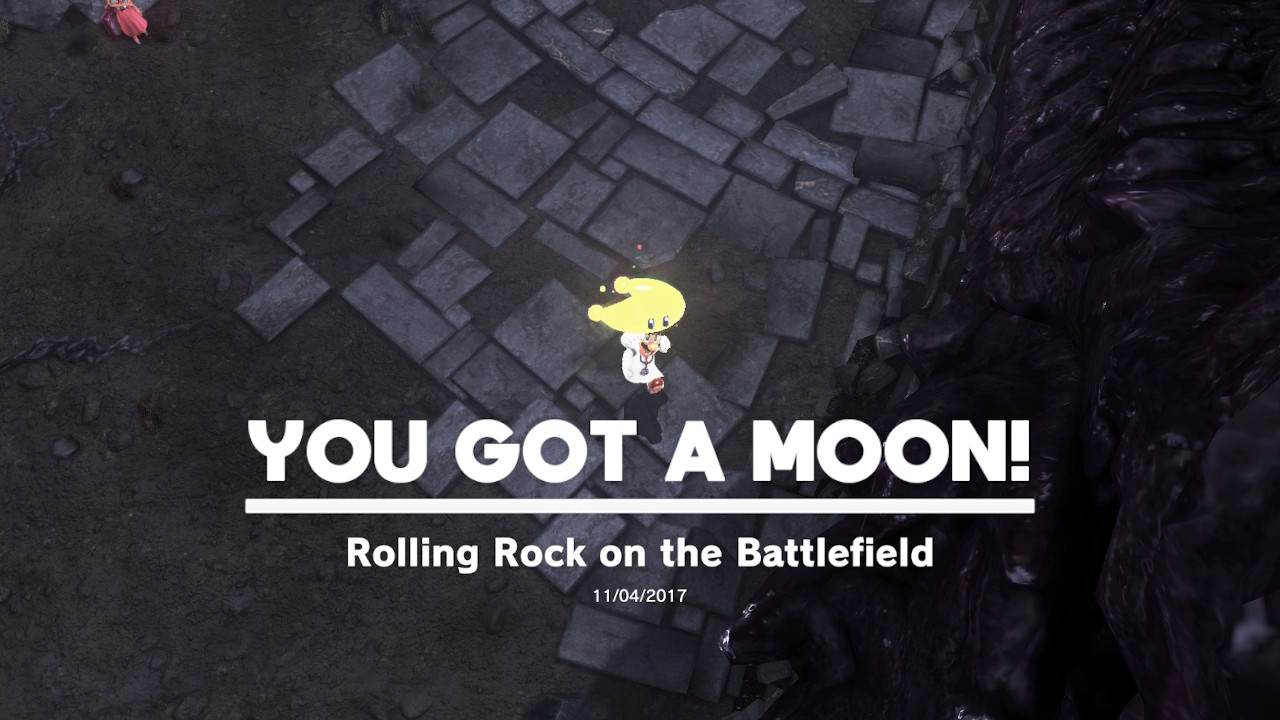
08 – Rolling Rock on the Battlefield
Location-
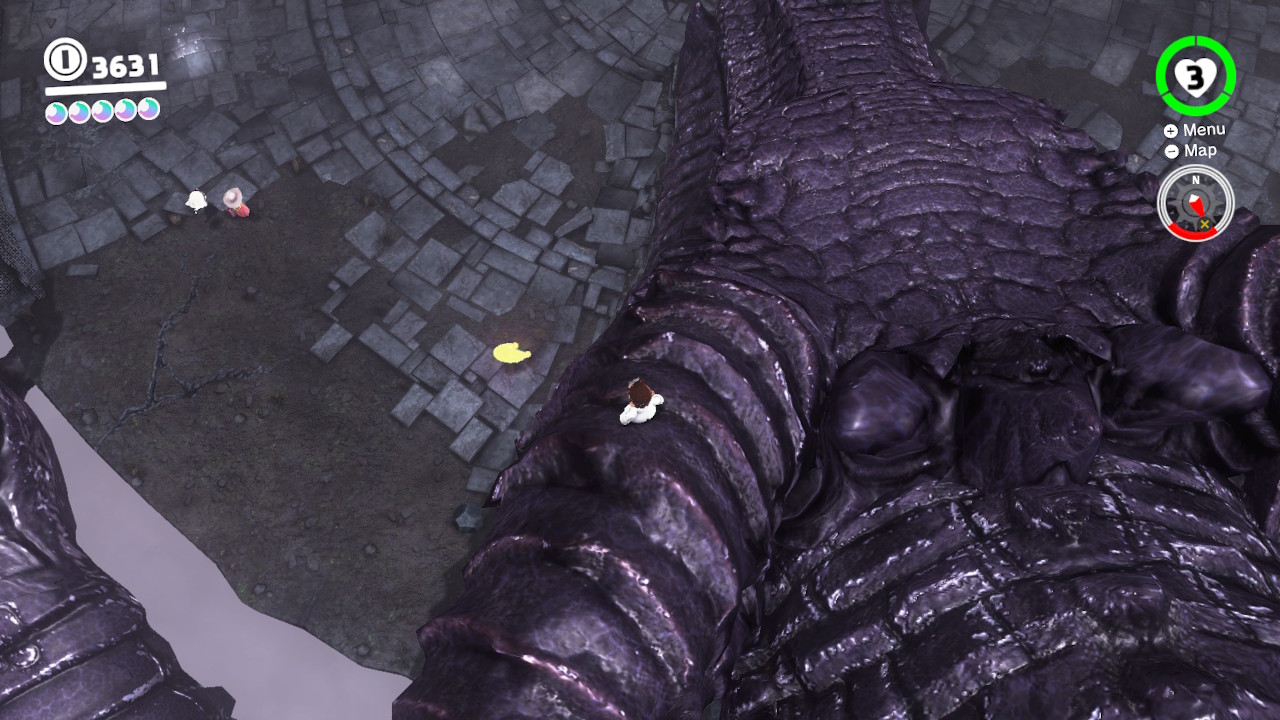
1- On top of the tower were you faught “The Lord of Lightnng” is a rock embedded into the ground…
2- Hit it with Cappy and it’ll pop out of the gruond and begin to sparkle…
3- You can hit it a million times and it doesn’t seem to break, so instead pick it up and climb on top of the dragon, through it off…
4- The drop will break open the rock and you’ll find a Power Moon inside! (Check the video for a little “how-to”)
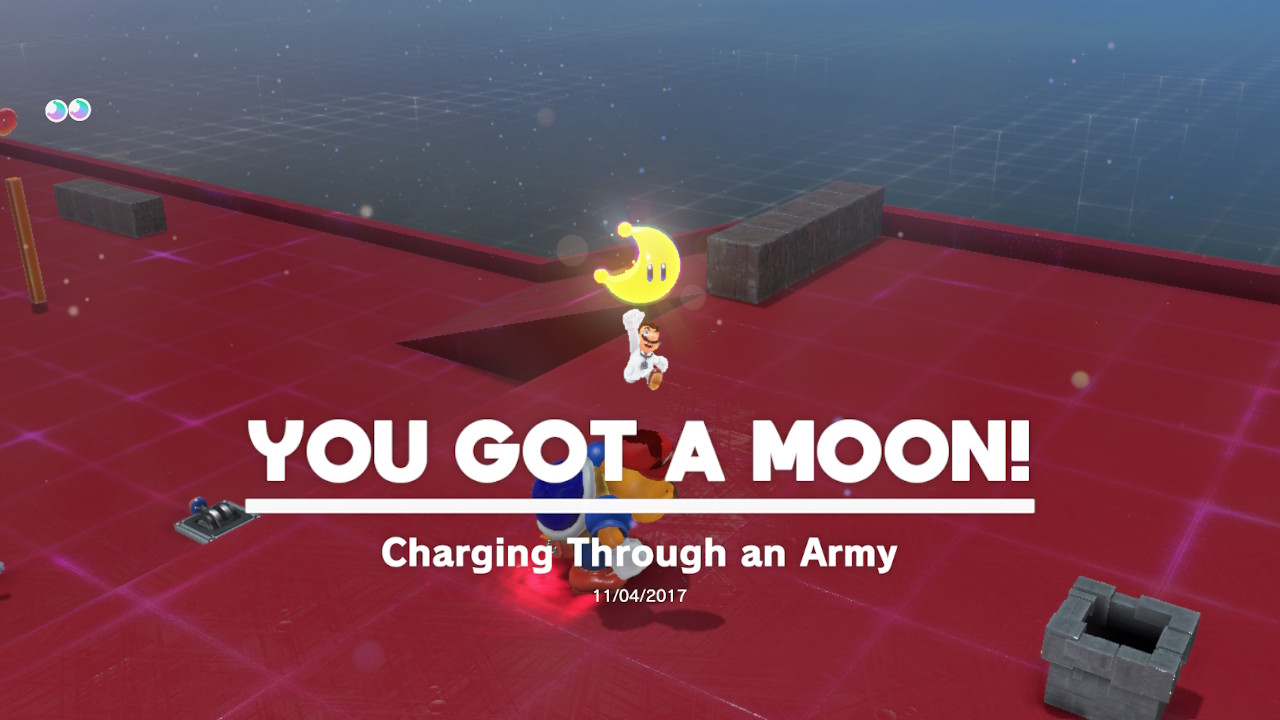
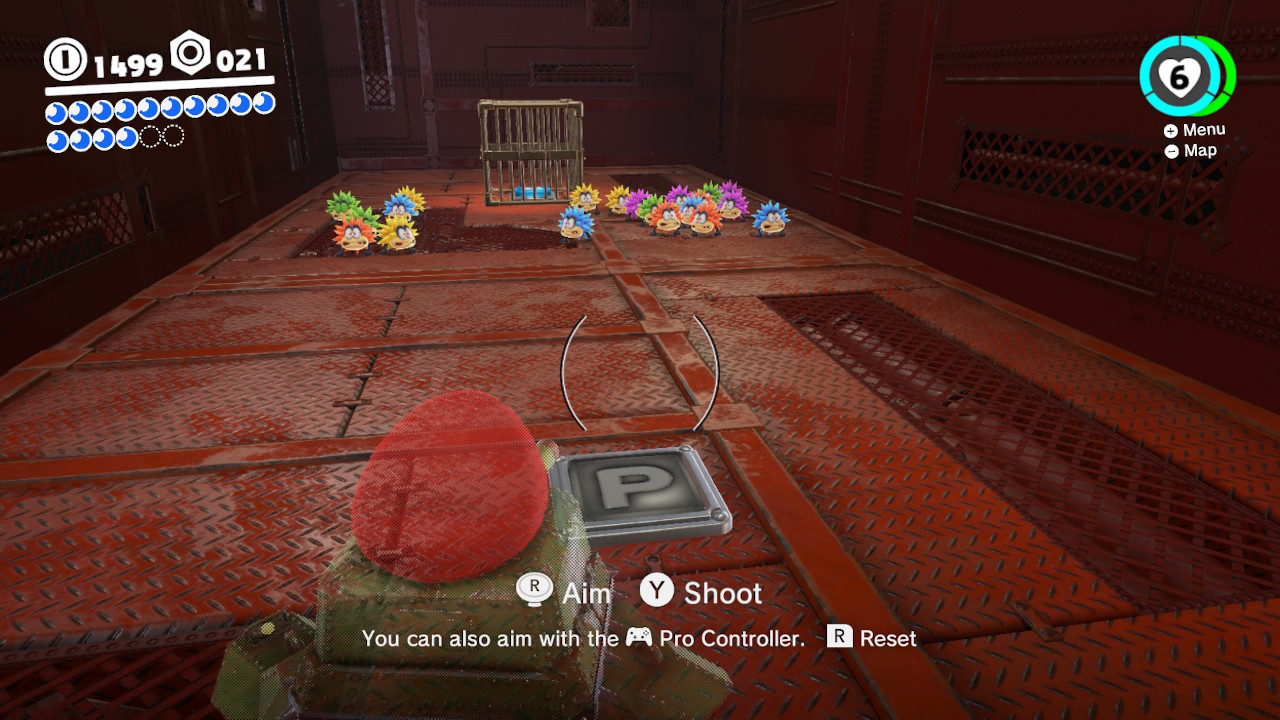
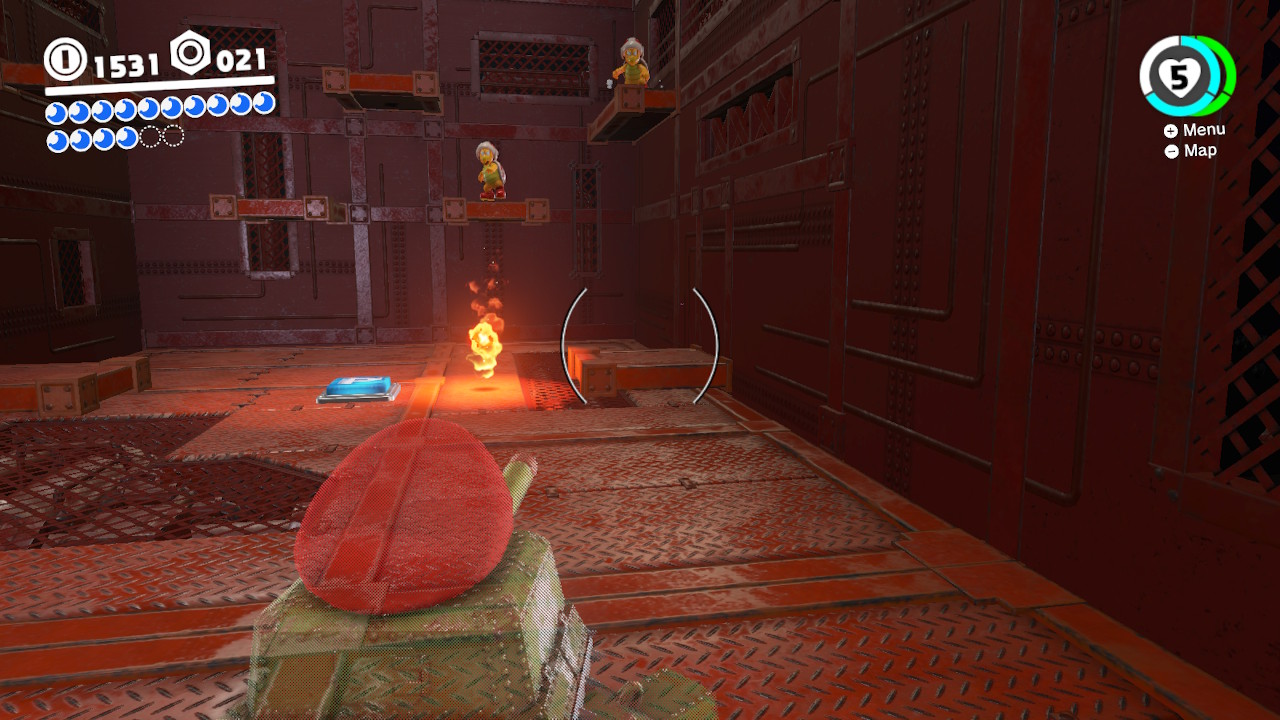
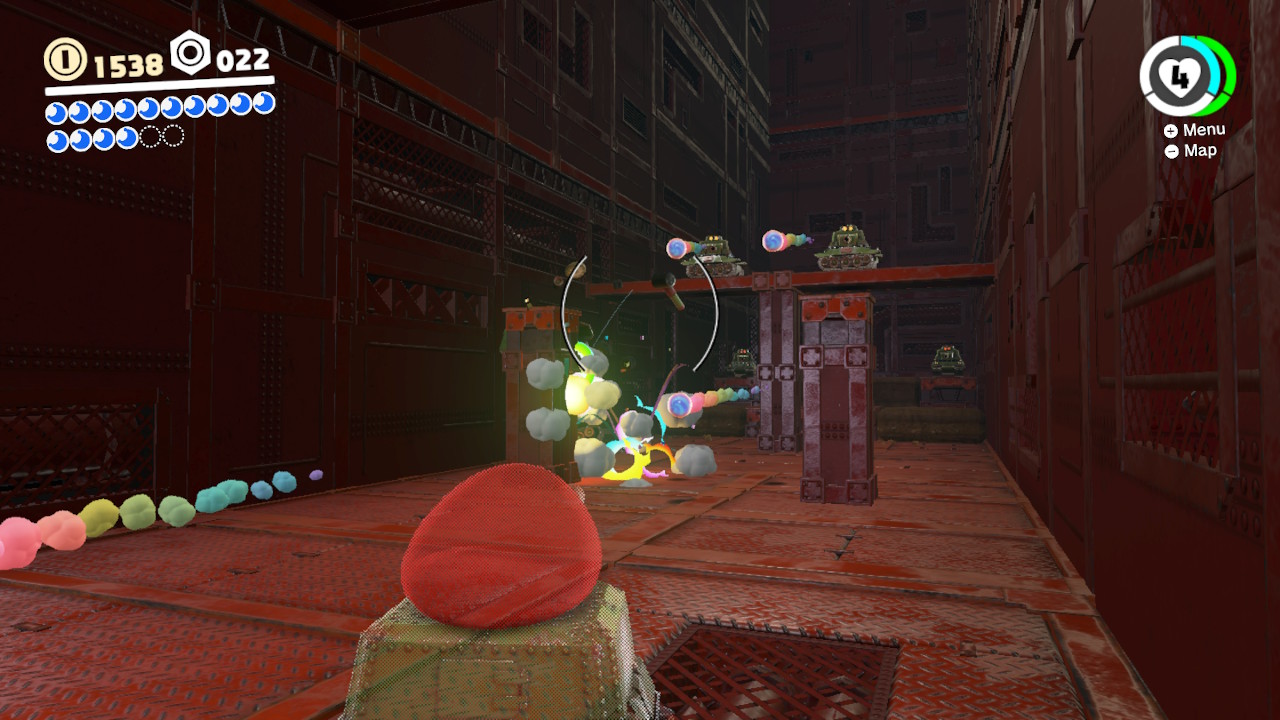
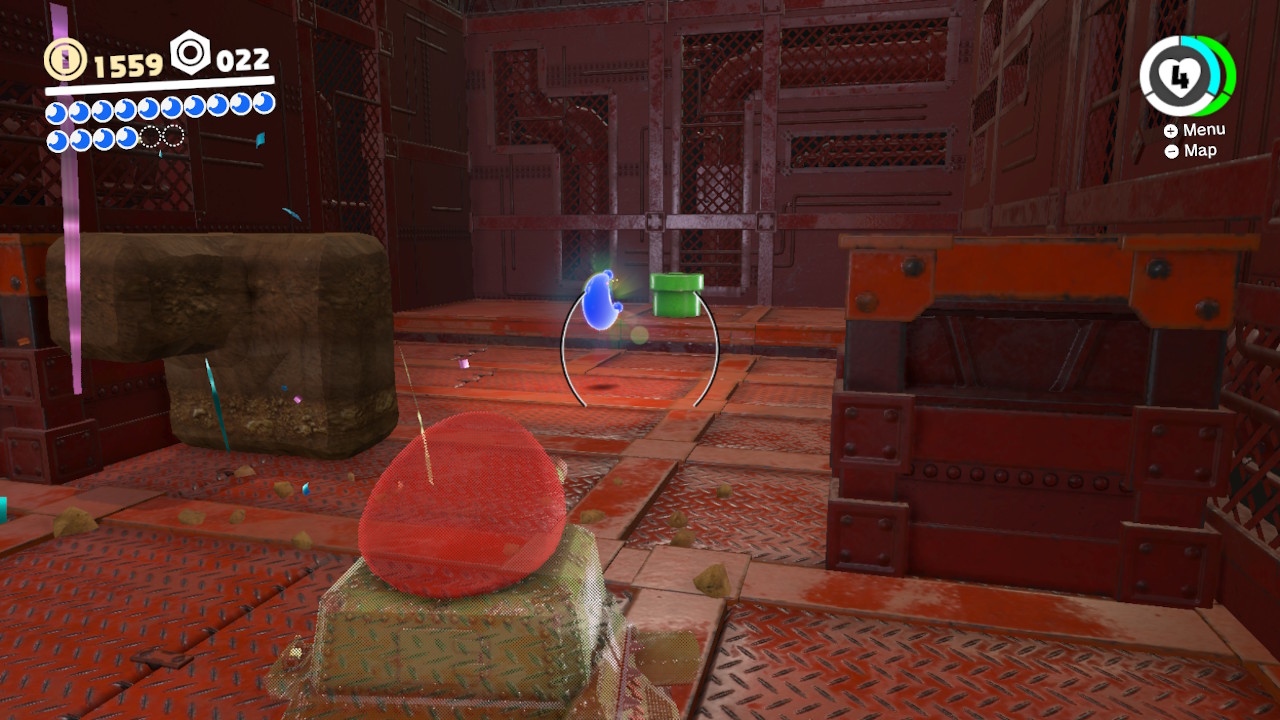
09 – Charging Through an Army
Location-
1- Right beside the Odyssey is a brand new Moon Rock Warp Pipe…
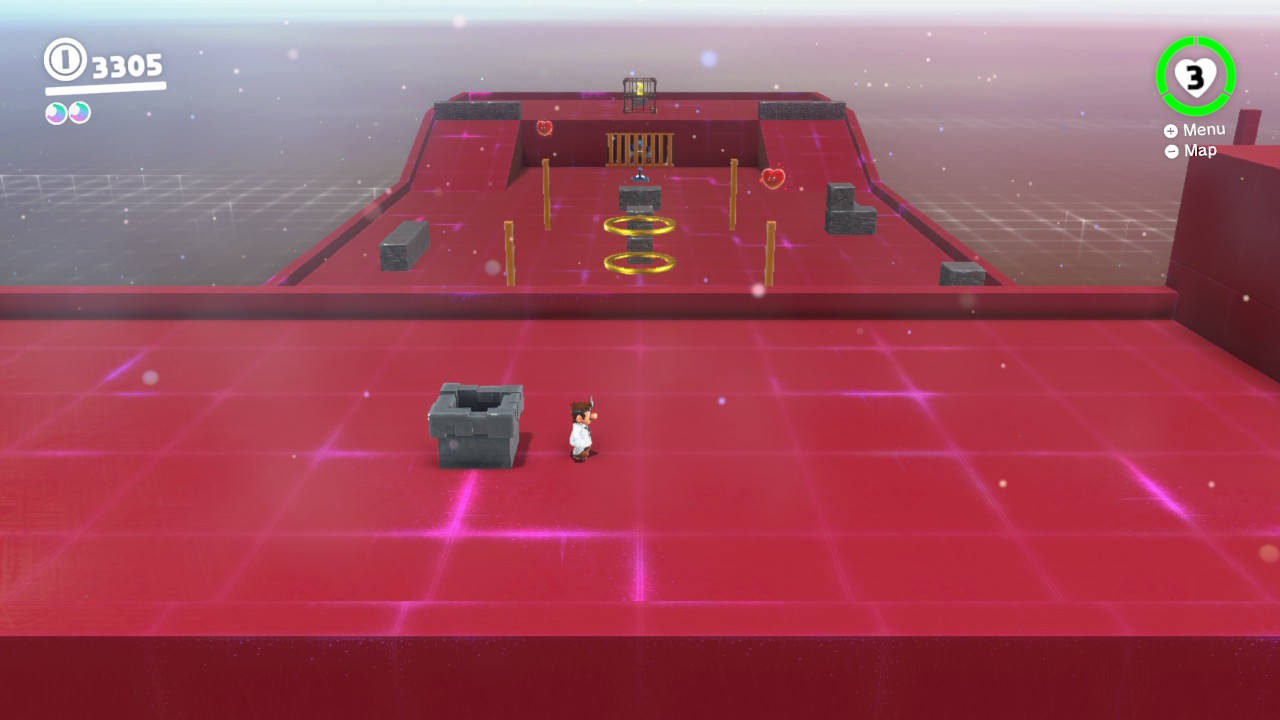
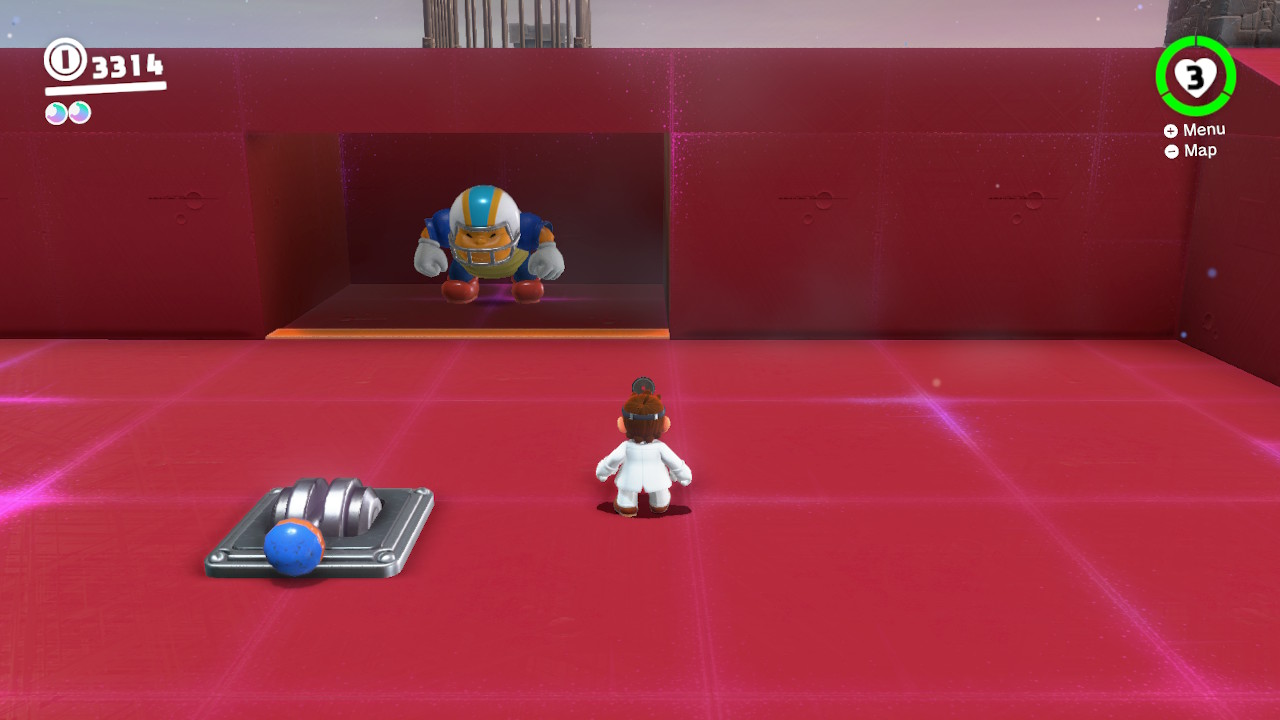
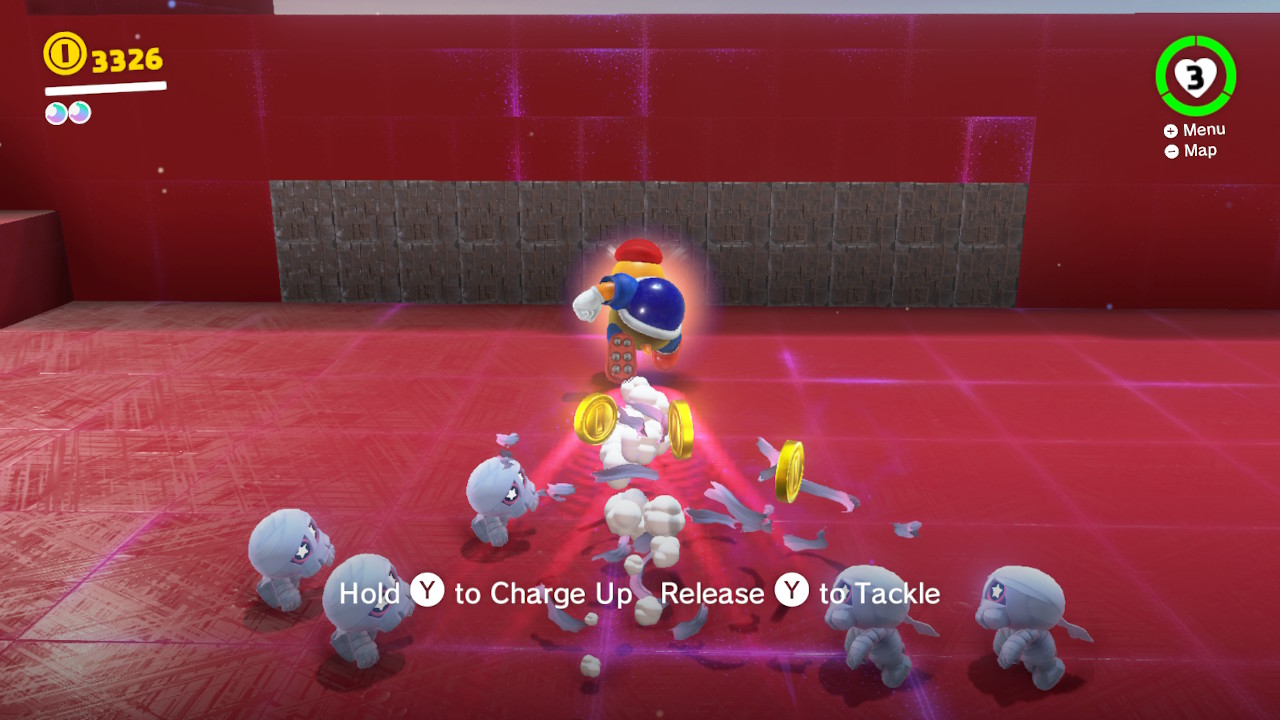
2- Once inside you will see a big room with a football guy and a bunch of mummies…
3- Dodge all the mummies…
4- Capture the football guy by hitting the switch to open his gate…
5- And finally, bust open the cage to reveal a Power Moon! (Check out the video)
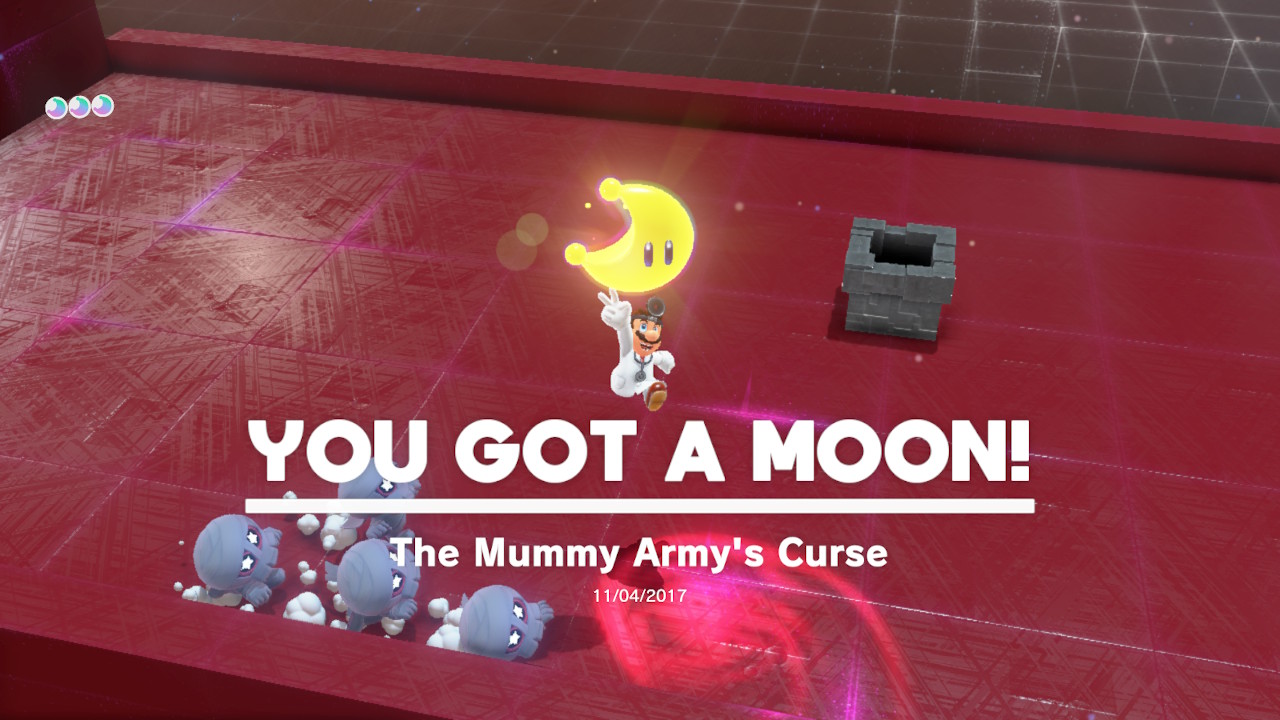
10 – The Mummy Army’s Curse
Location- Same as “Charging Through an Army”
1- Right beside the Odyssey is a brand new Moon Rock Warp Pipe…
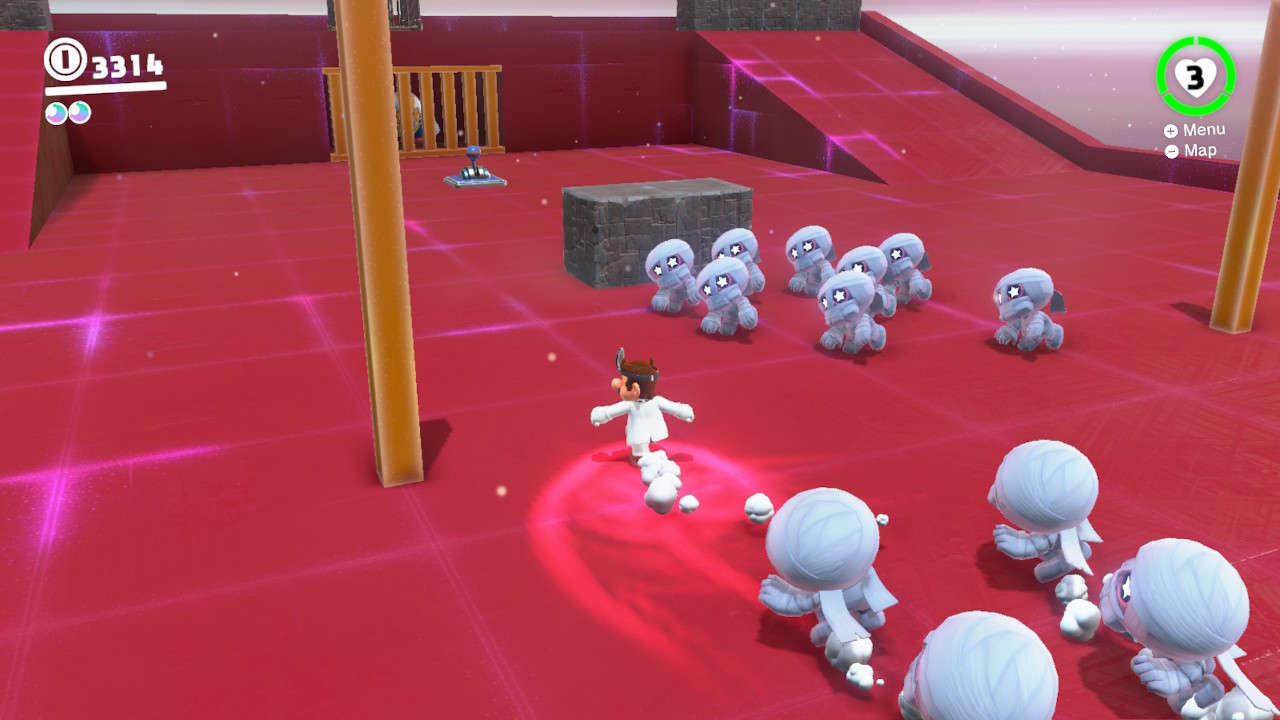
2- Once inside you will see a big room with a football guy and a bunch of mummies…
3- This Power Moon was honestly one of the more confusing for me to get. But I’ll do my best to explain. Once you drop down into the area with the giant mummy army, a “special” mummy will appear back up on the platform you just came from. However, by the time you jump back up, he usually ducks back under the ground. So what I did was jump down below like normal, capture the football guy like normal, and then charge back to where I came from. By then, the special mummy who holds the Power Moon is running around back on top of the platform I orignally came from. So now it’s a rush to jump back up and GROUND POUND him to kill him! Check out the video to see what I did, it was sloppy, but it got the job done.
4- Hopefully this video helps! Basically, drop down to where the army of mummies is, then jump right back up and try to kill the sparkly mummy! Good luck!
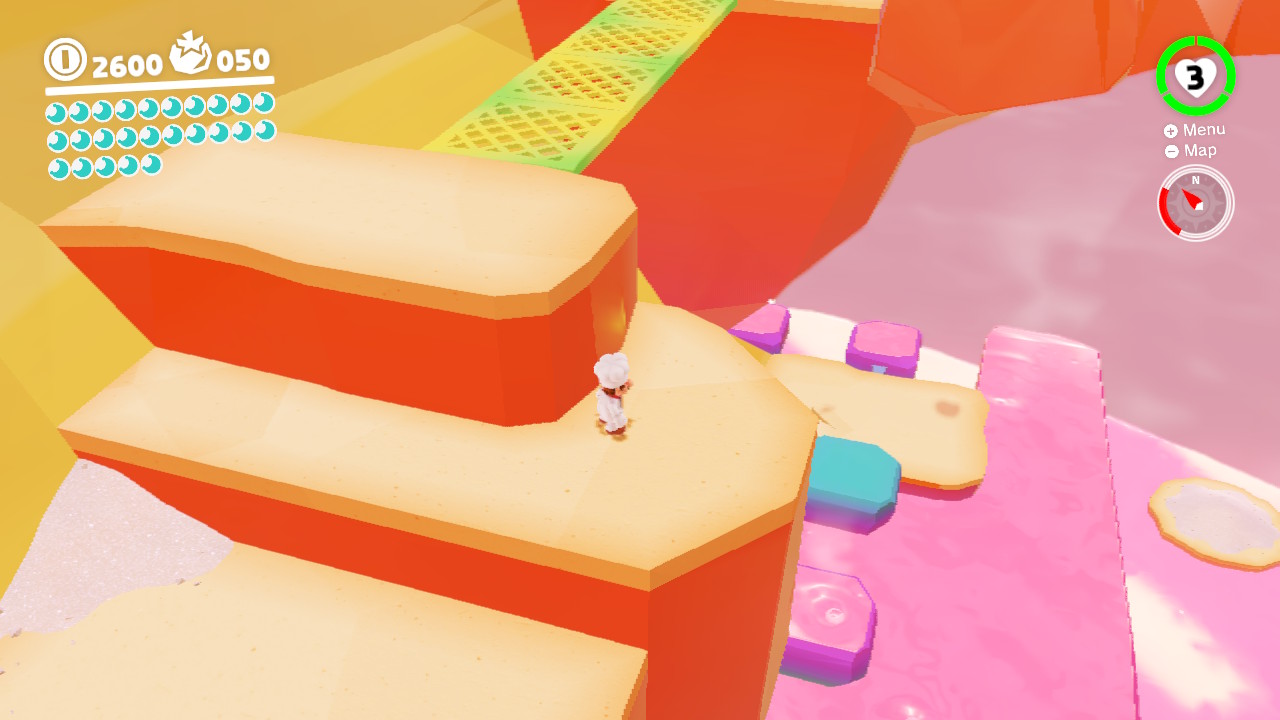
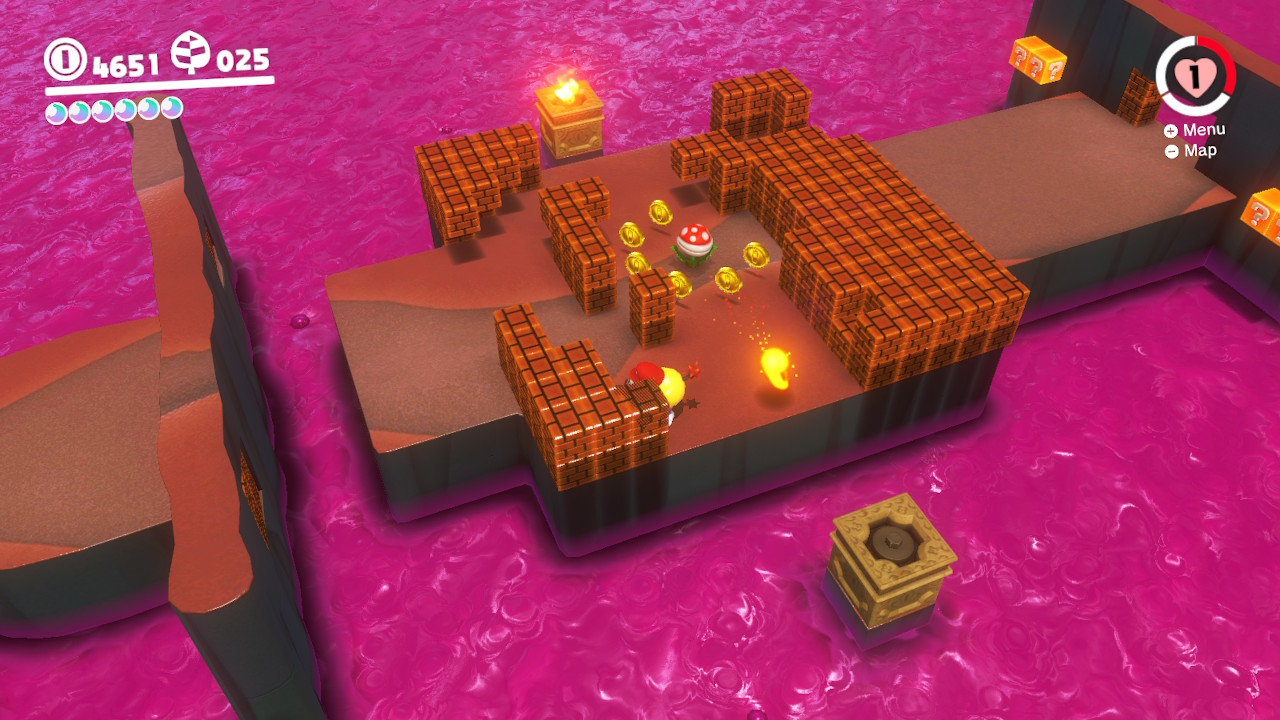
1- This is the first story-based Power Moon in the Luncheon Kingdom…
2- The path to get there is straight forward…
3- Beat of the Broodal and the Power Moon is yours!
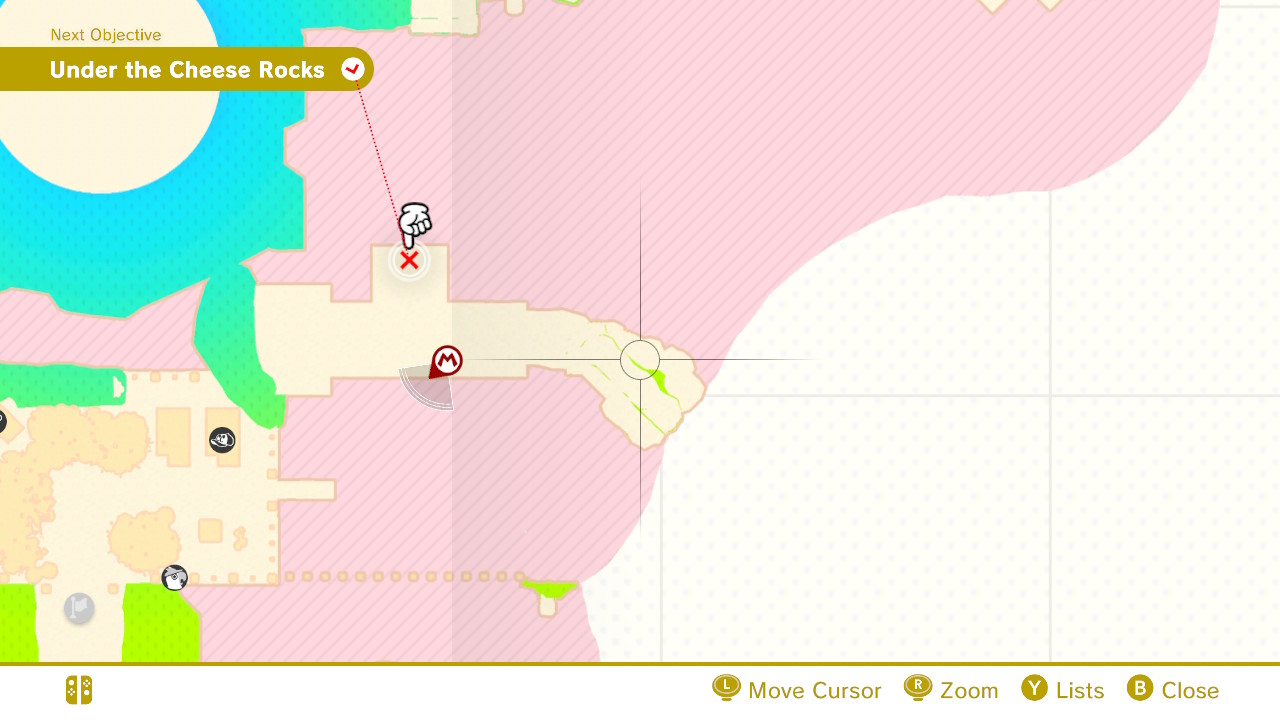
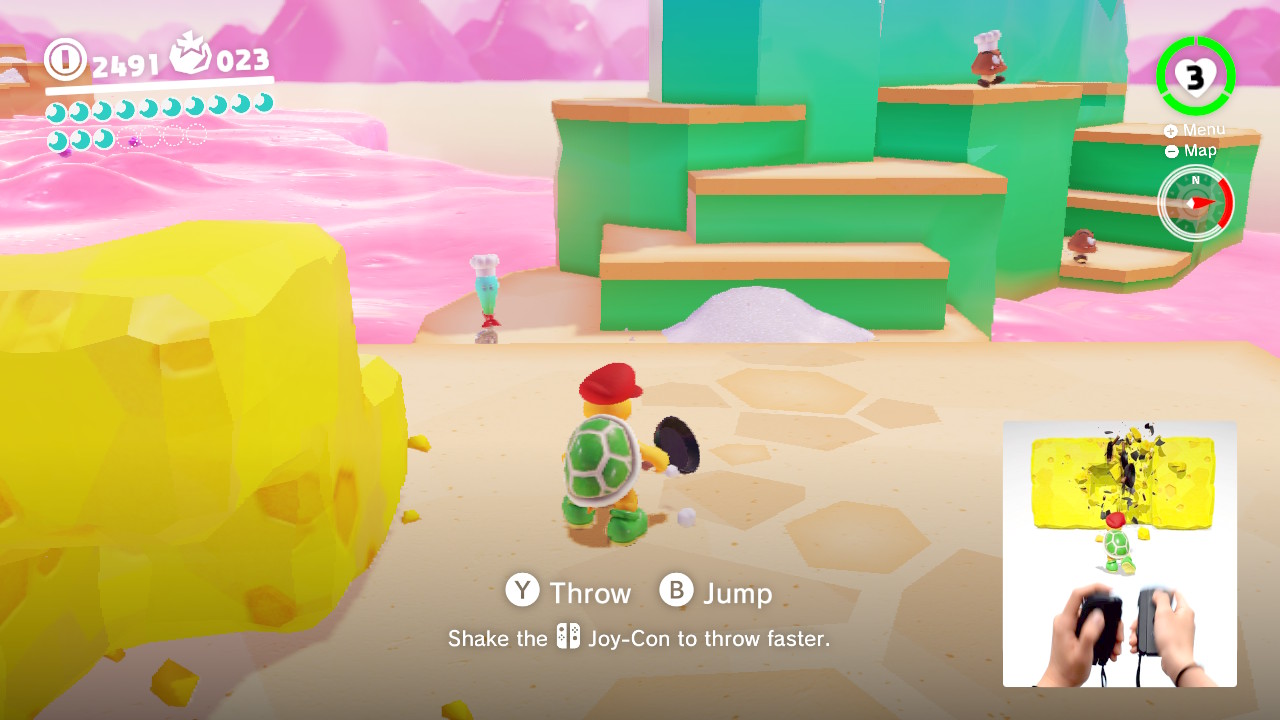
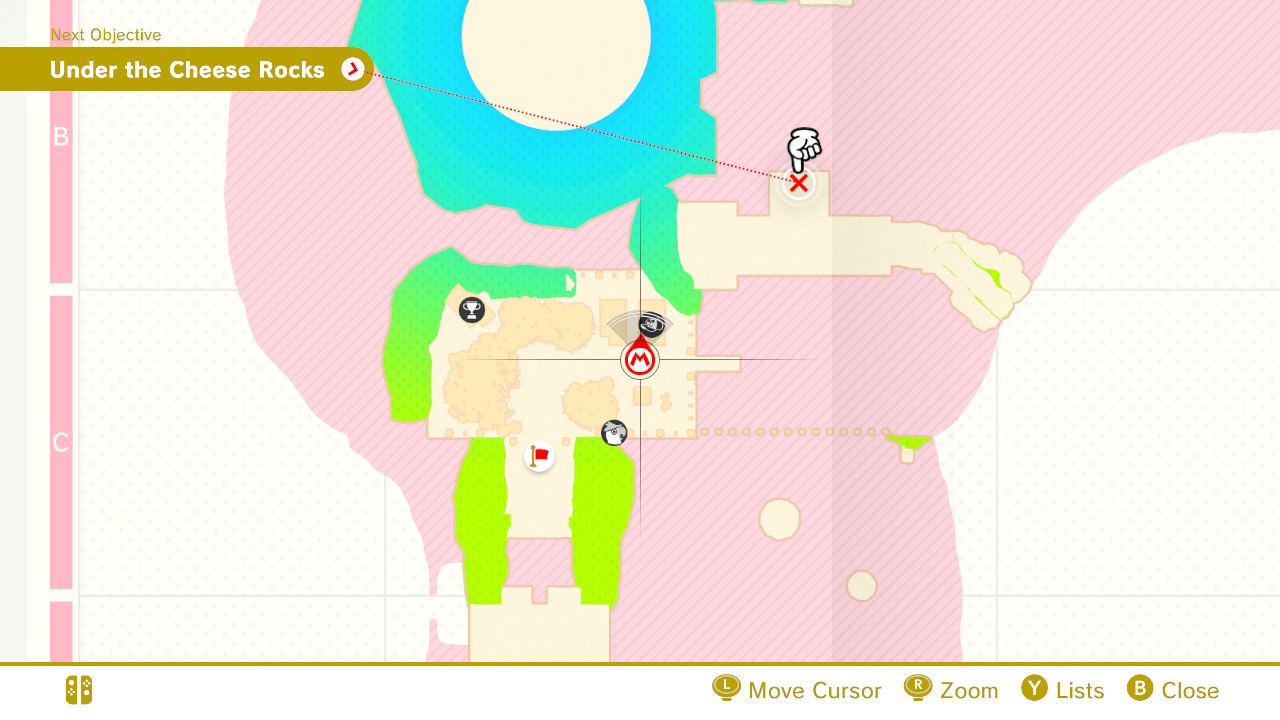
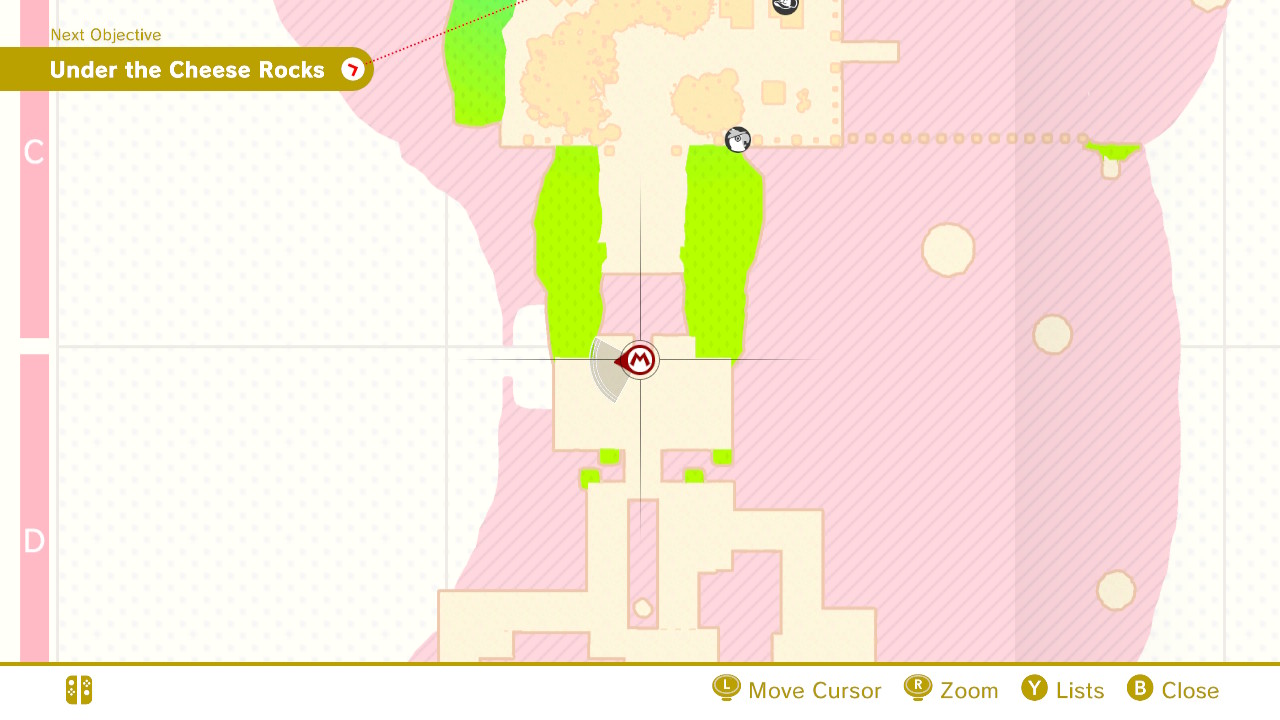
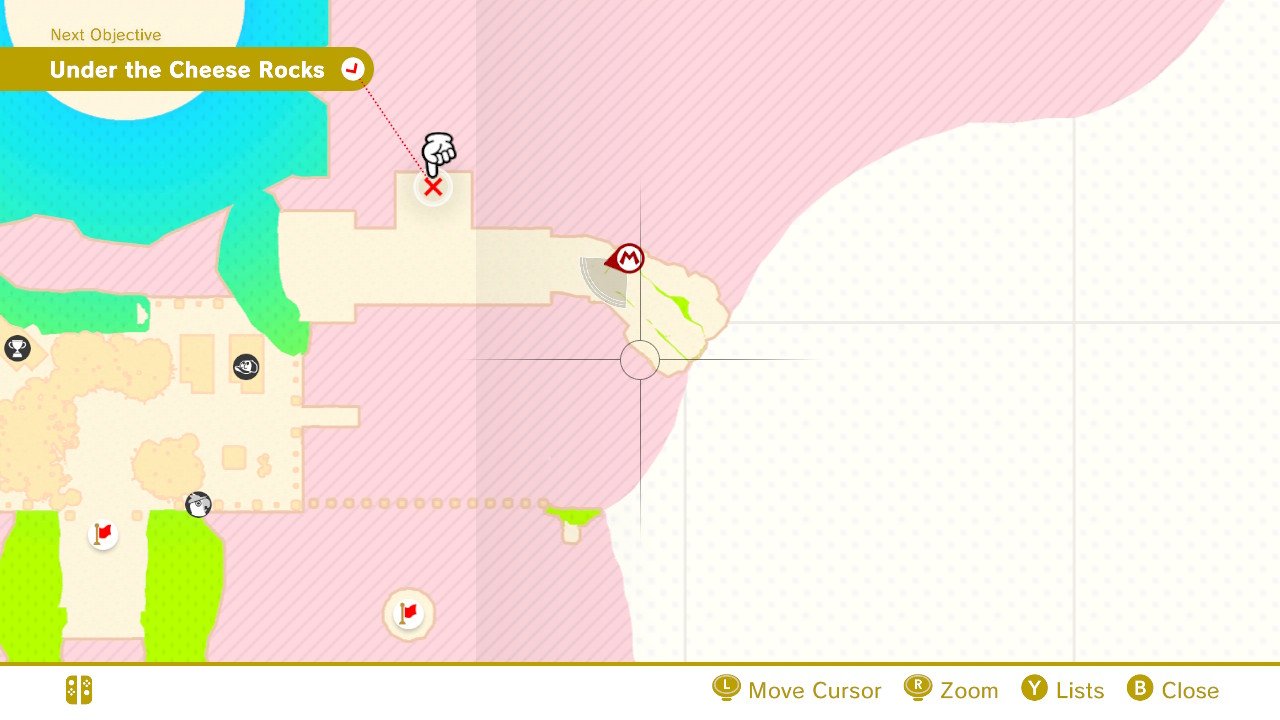
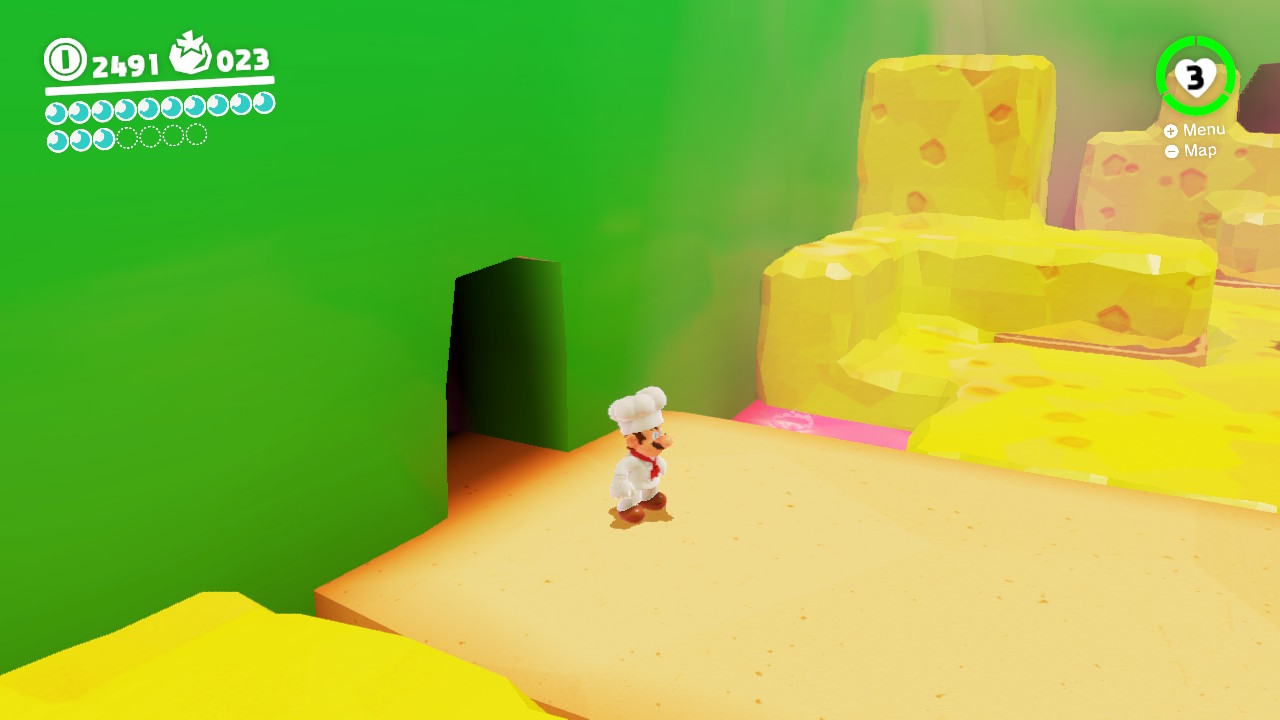
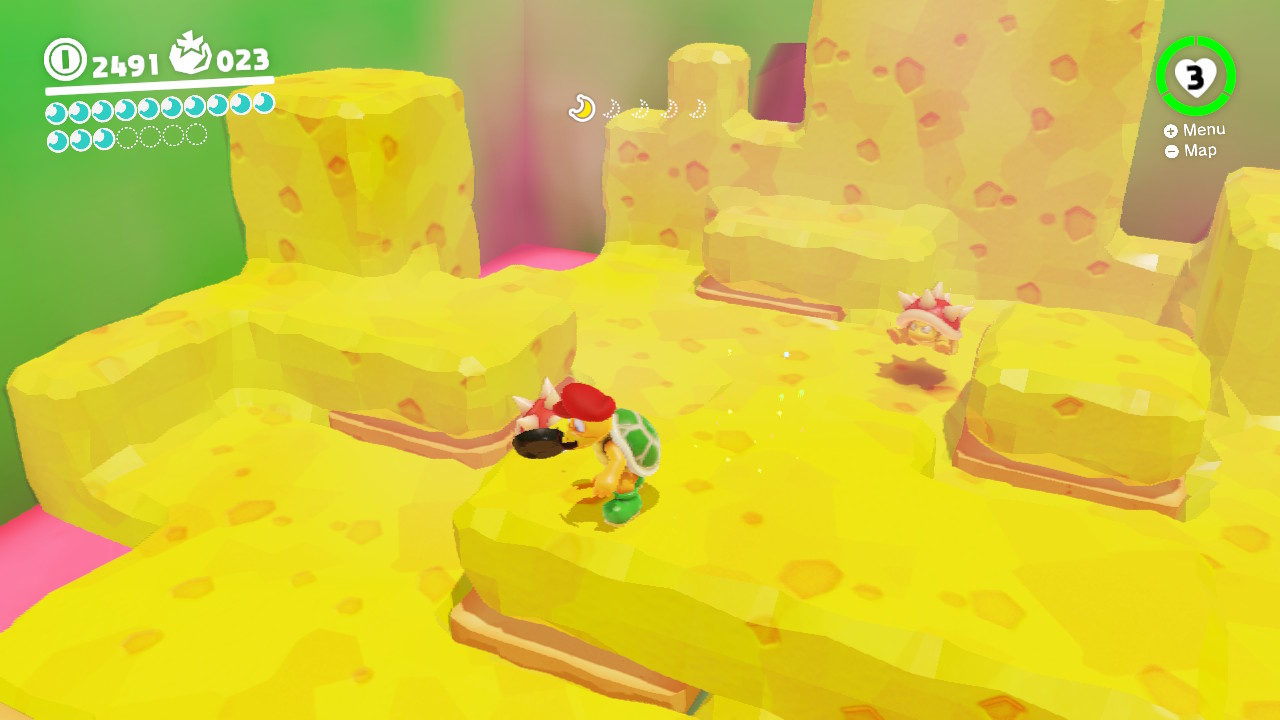
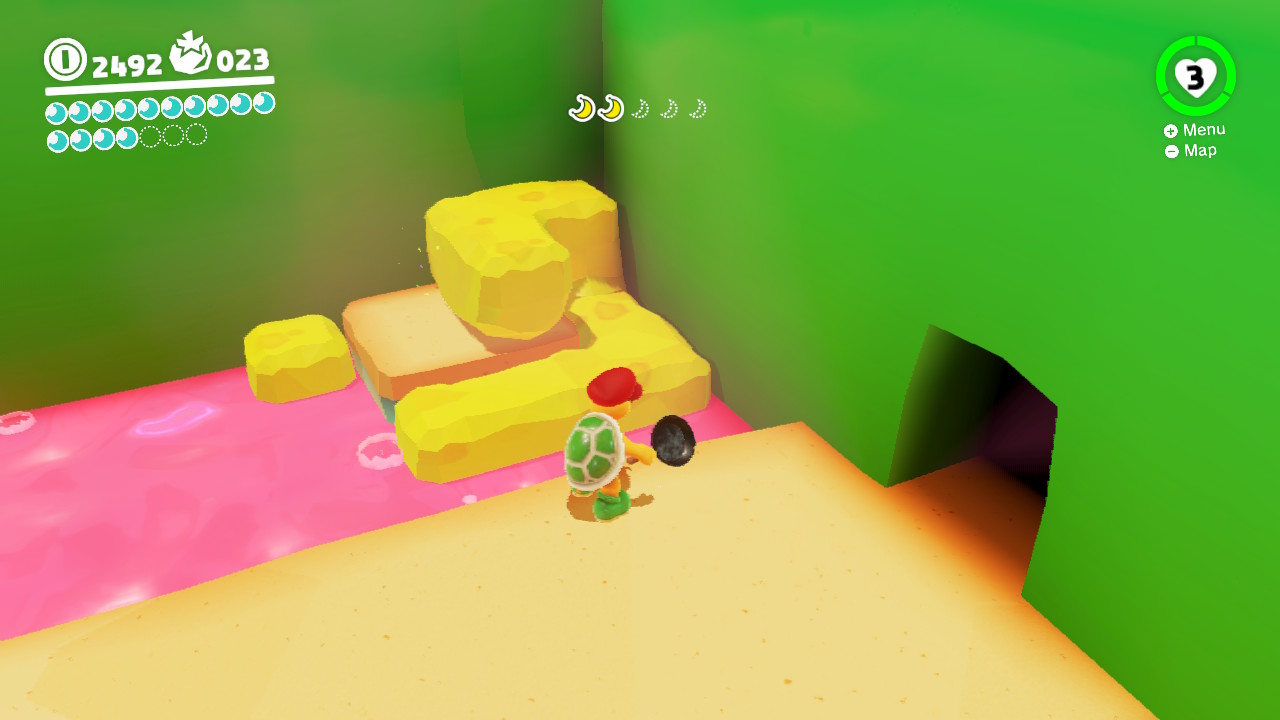
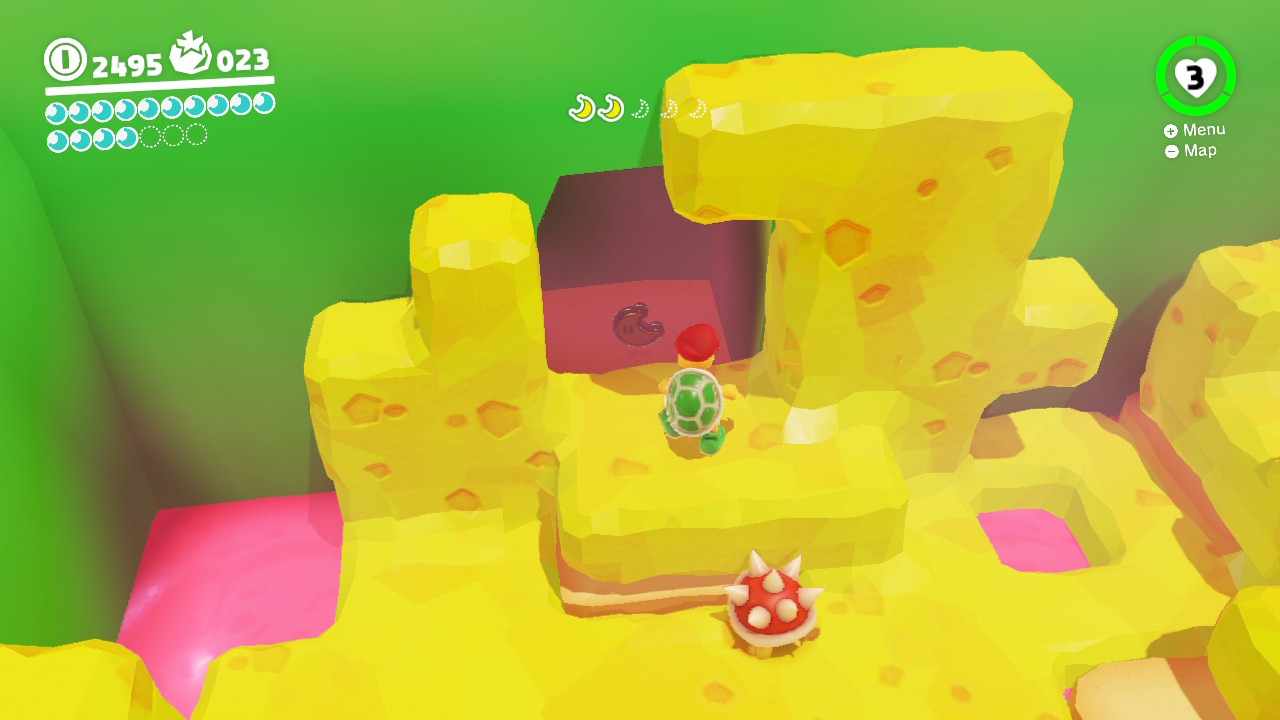
02 – Under the Cheese Rocks
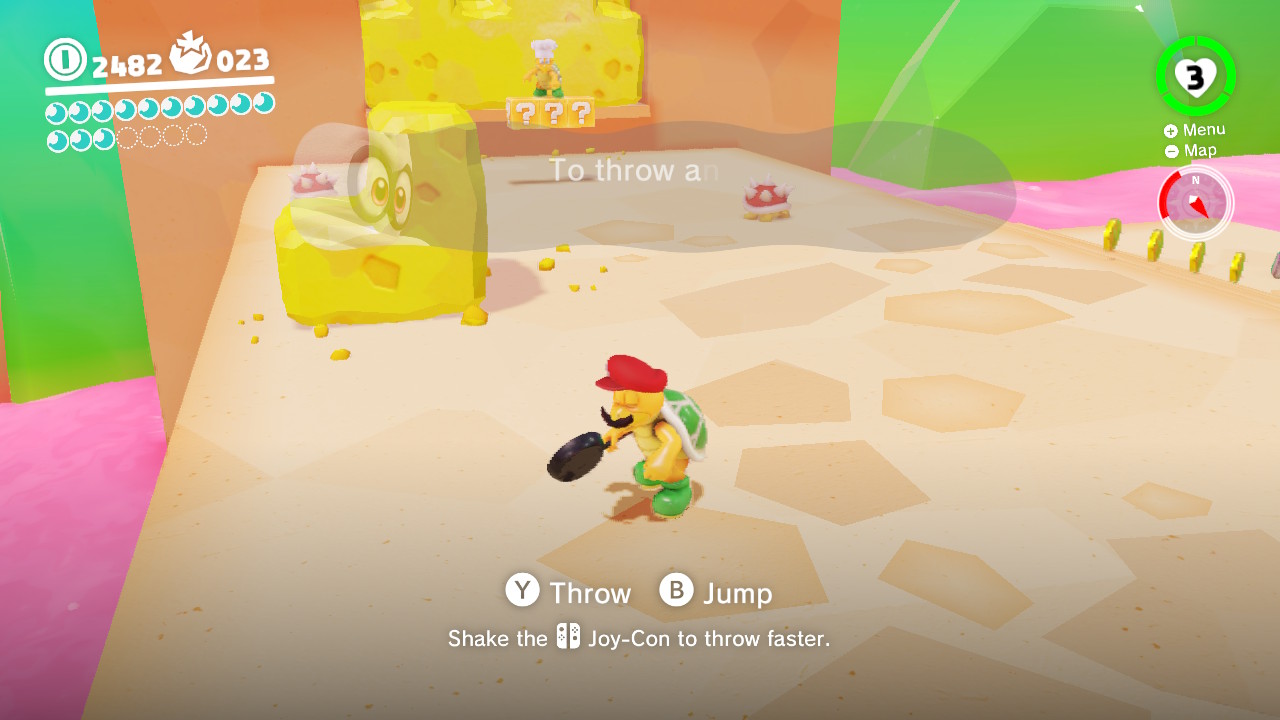
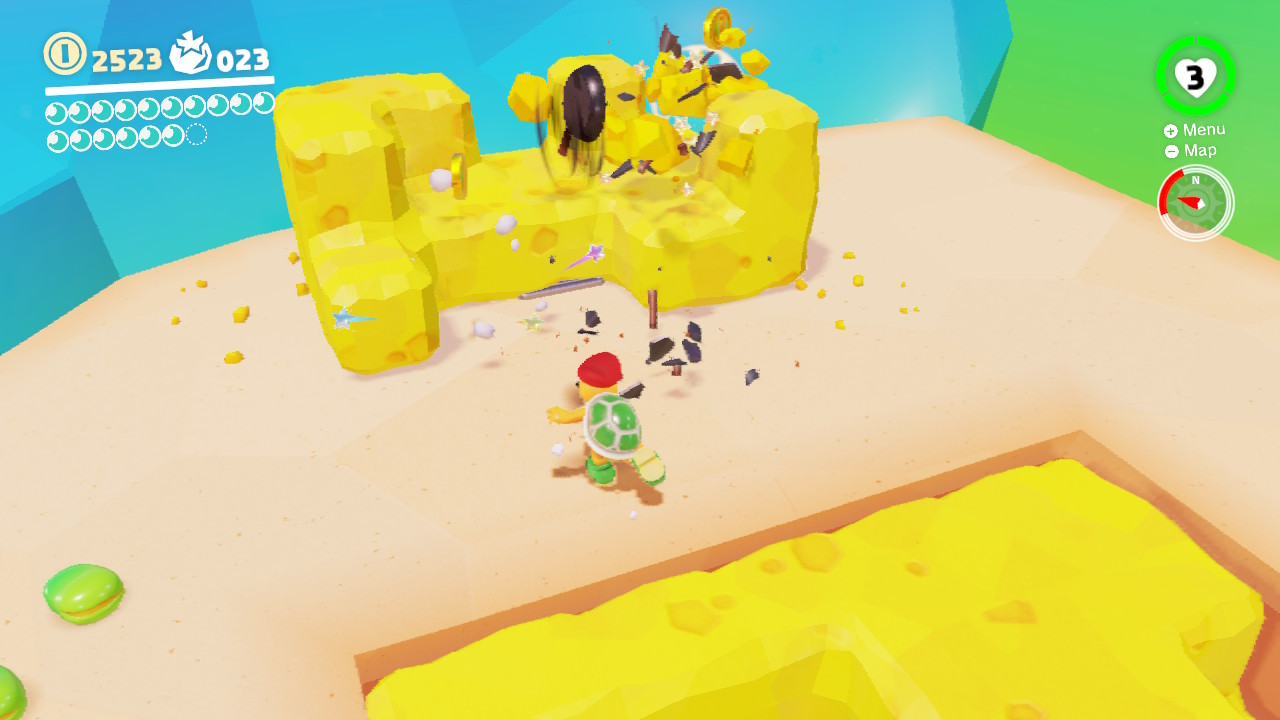
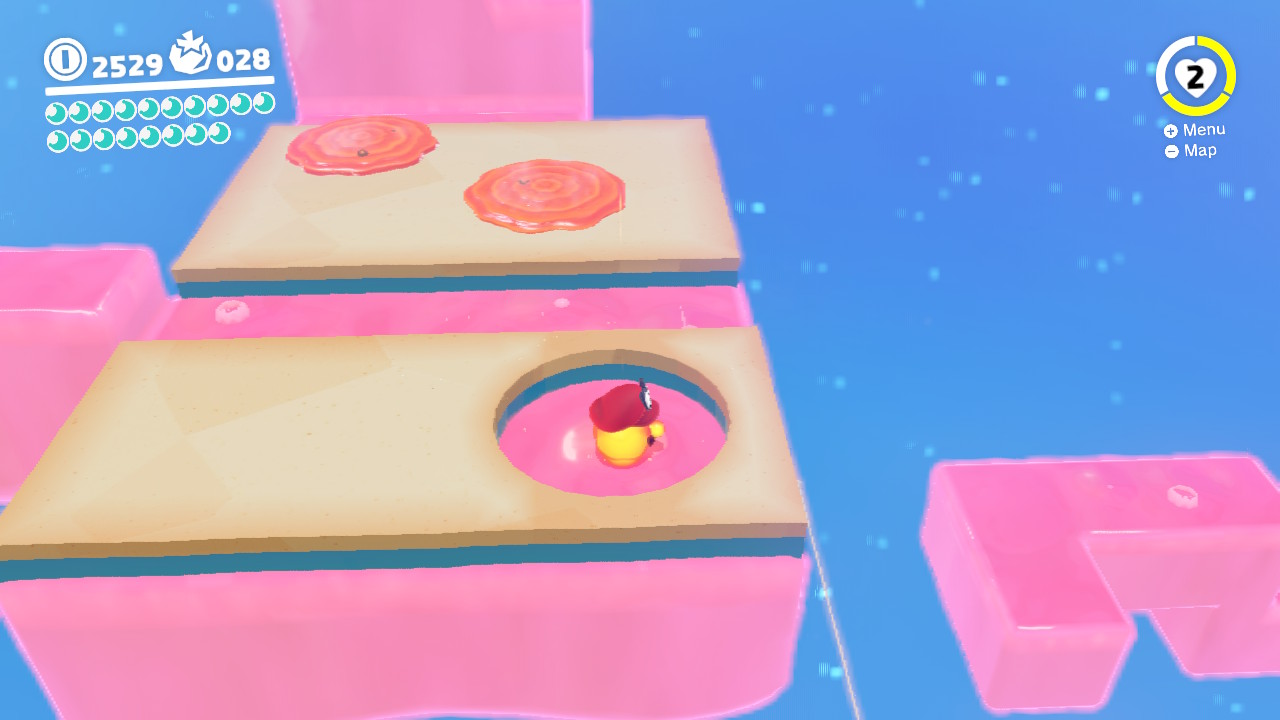
1- This is the second story-based Power Moon in the Luncheon Kingdom…
2- You’ll need to capture a Hammer-Bro (Frying-Pan Bro?) and destory the big chunks of cheese…
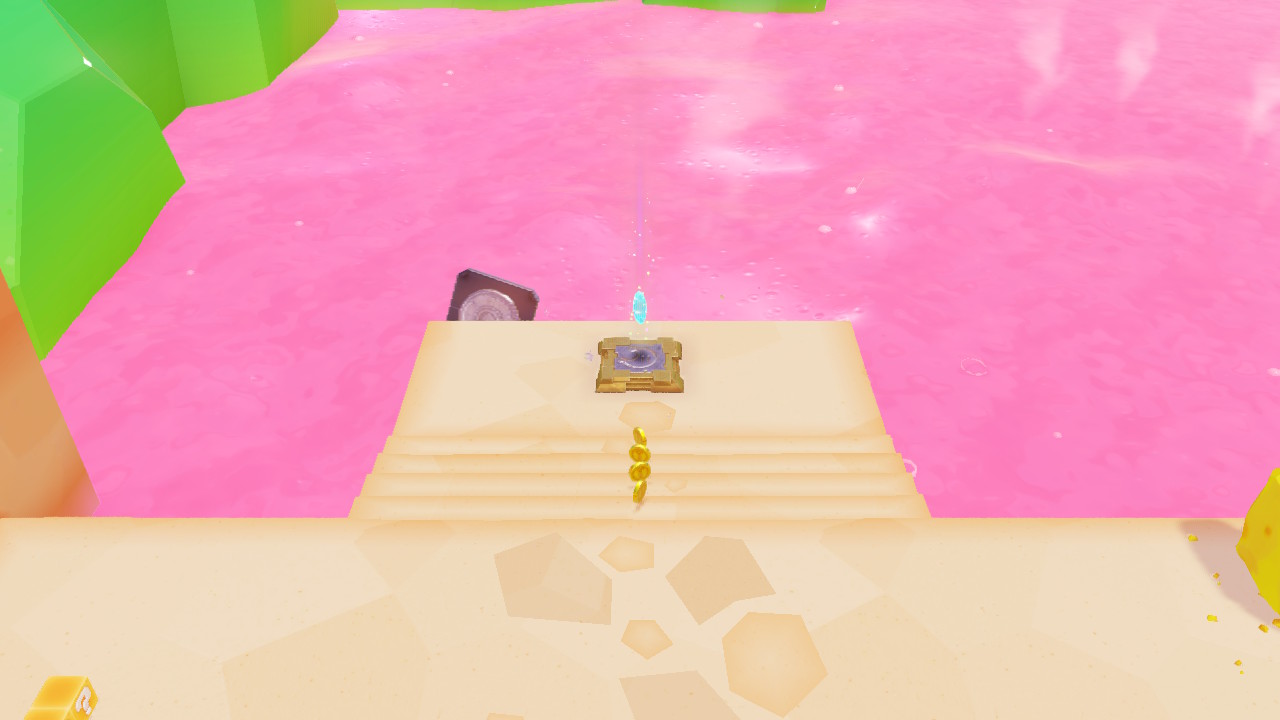
3- Doing so will open up the case that the Power Moon is inside of!
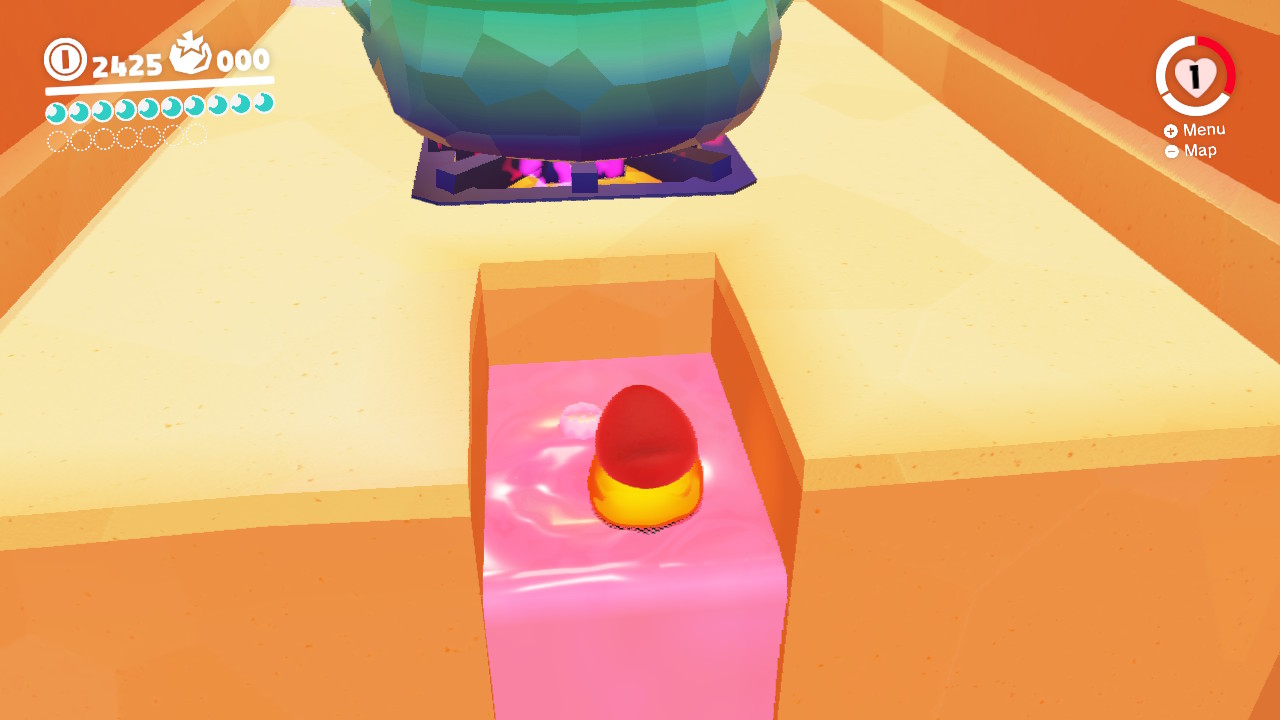
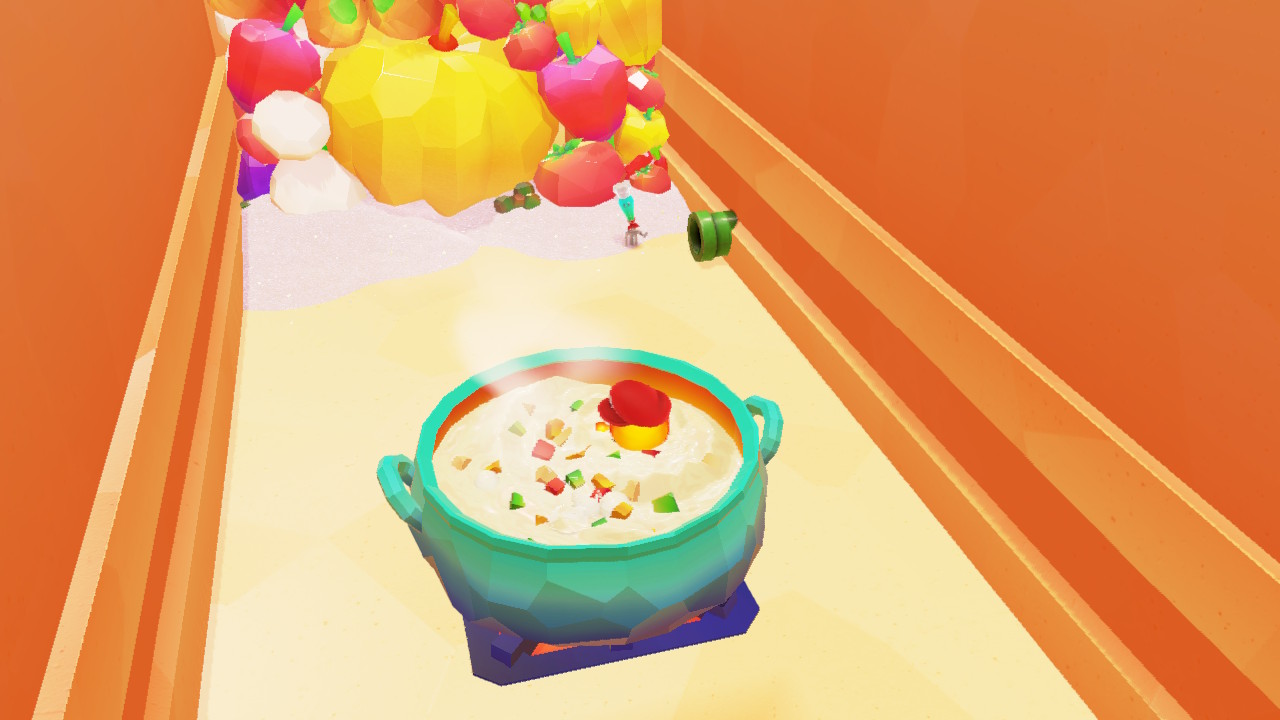
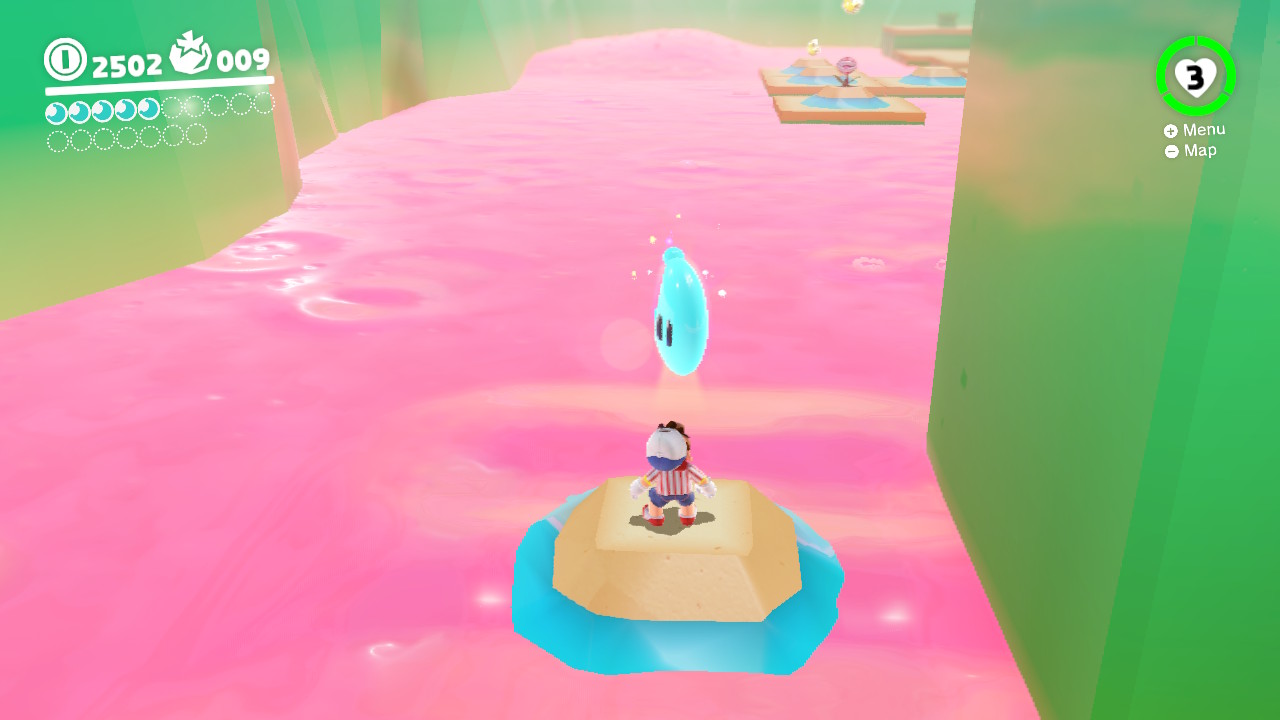
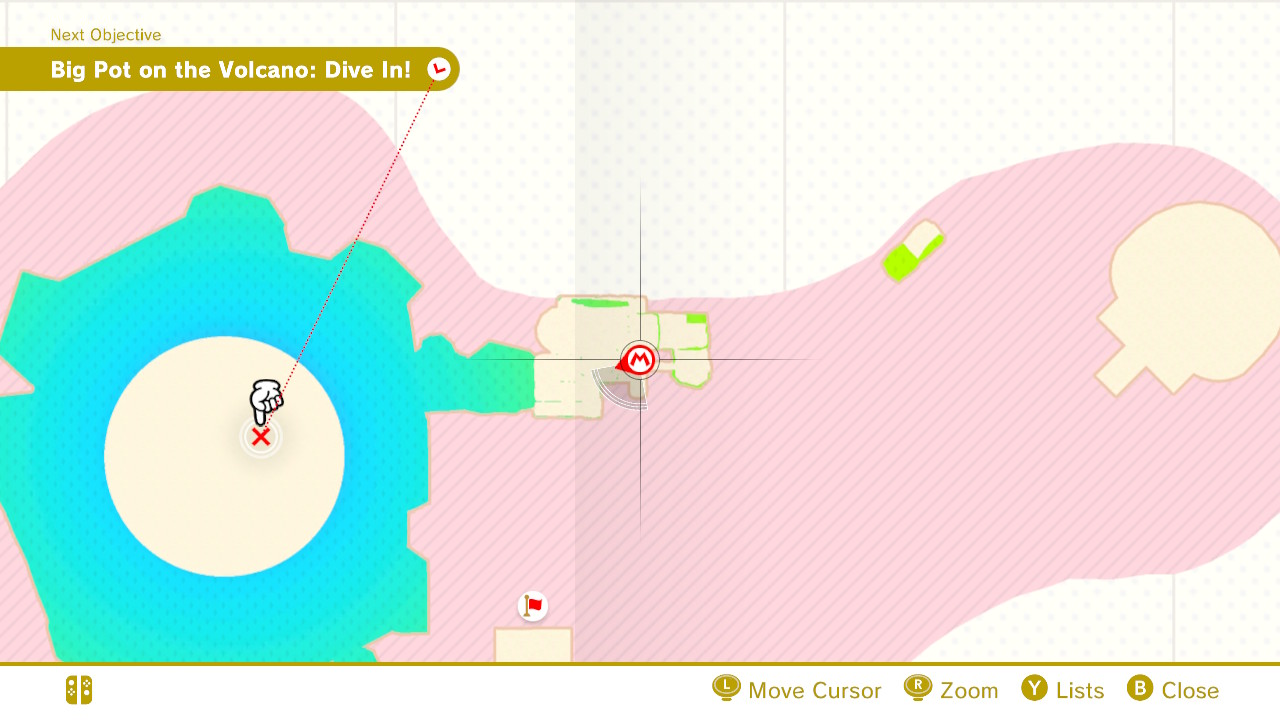
03 – Big Pot on the Volcano: Dive In!
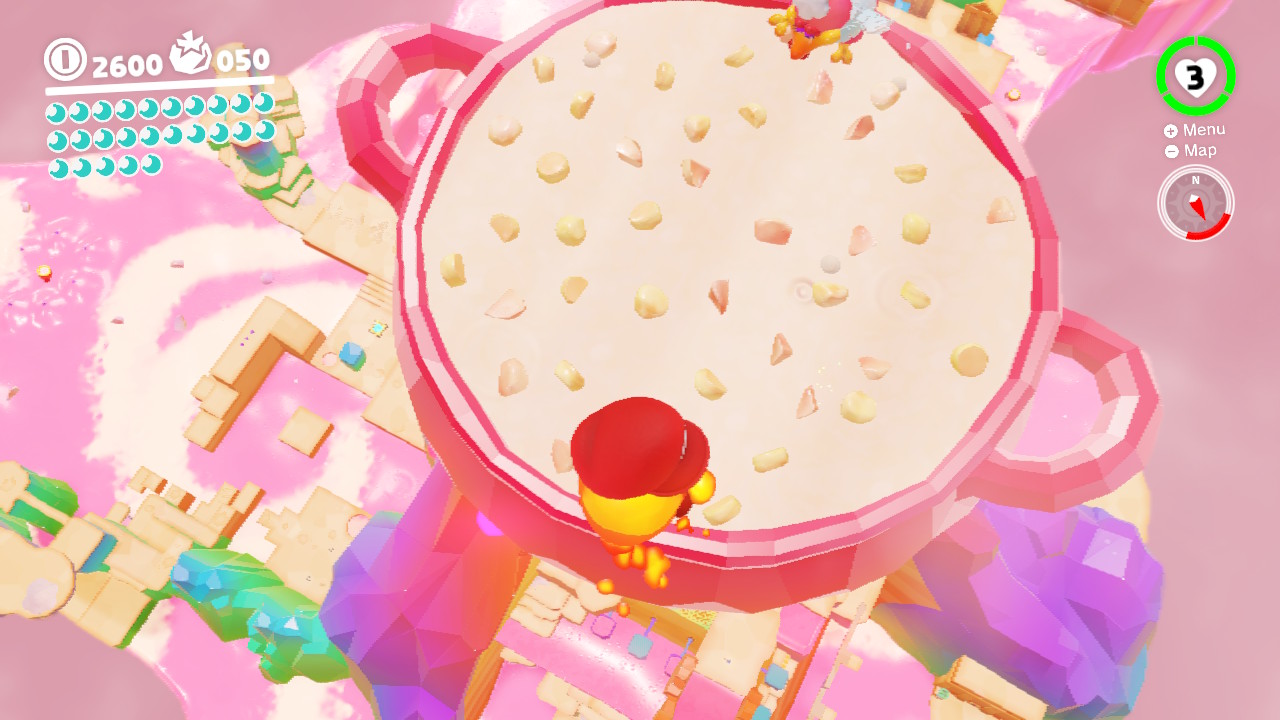
1- This is the third story-based Power Moon in the Luncheon Kingdom…
2- Traverse across the lava and up the platforms. Next you must (comicially) capture the giant peice of meat…
3- You will be dropped into the big bowl of soup where you can climb up and grab the Power Moon! (Multi-Moon at that!)
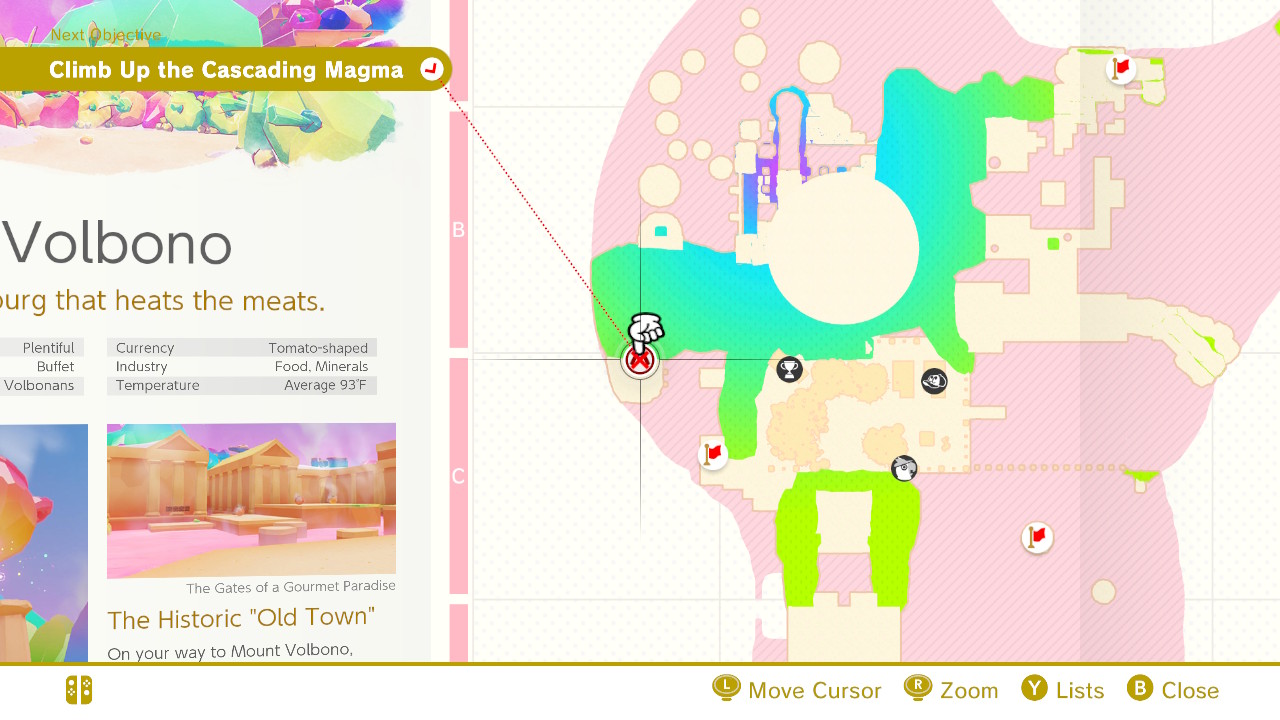
04 – Climb Up the Cascading Magma
1- This is the fourth story-based Power Moon in the Luncheon Kingdom. You will start back at the Odyssey, capture a Lava Bubble and head down the lava path to the left…
2- Swim through the lava, fly in the air with cannons, and on once you get past the lava section, a Power Moon will be waiting for you!
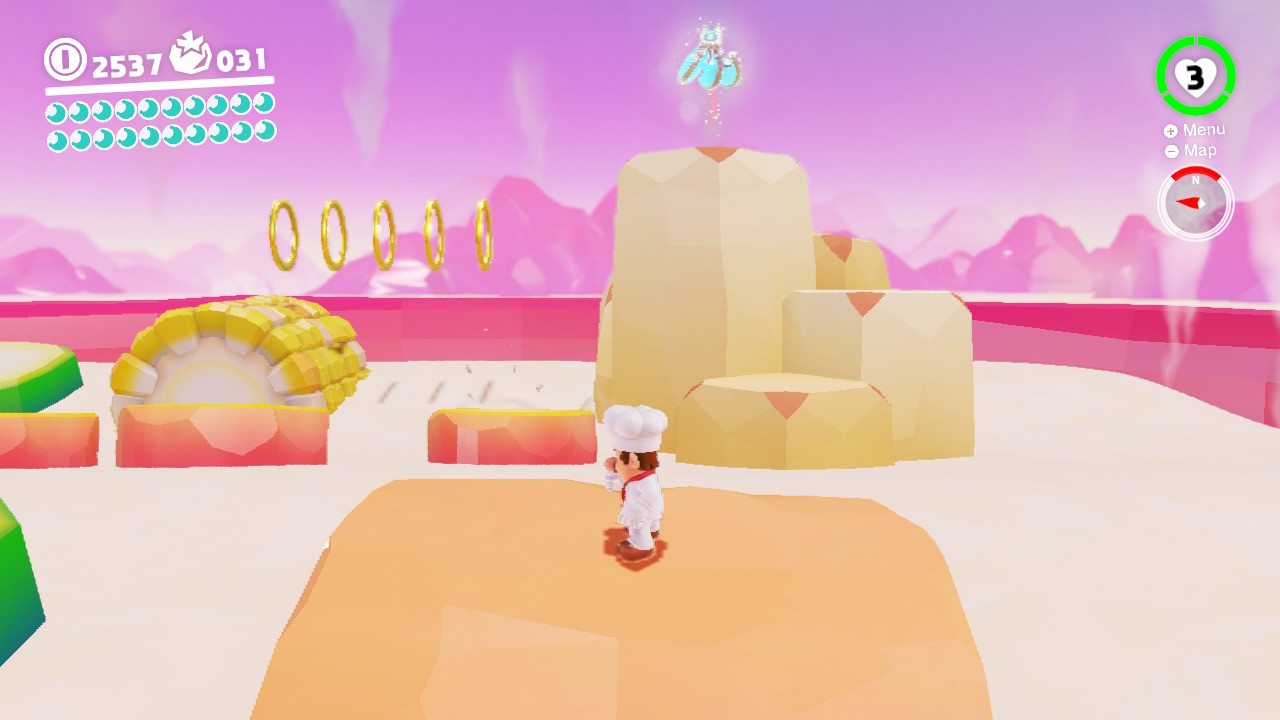
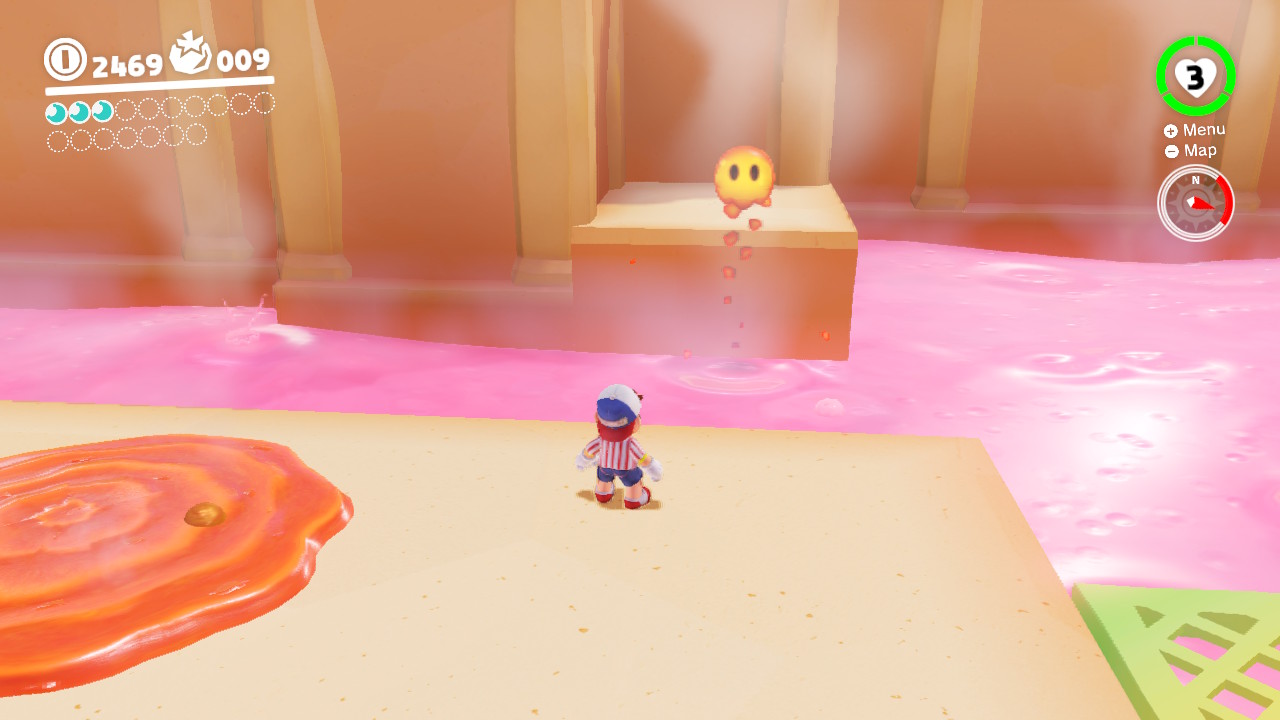
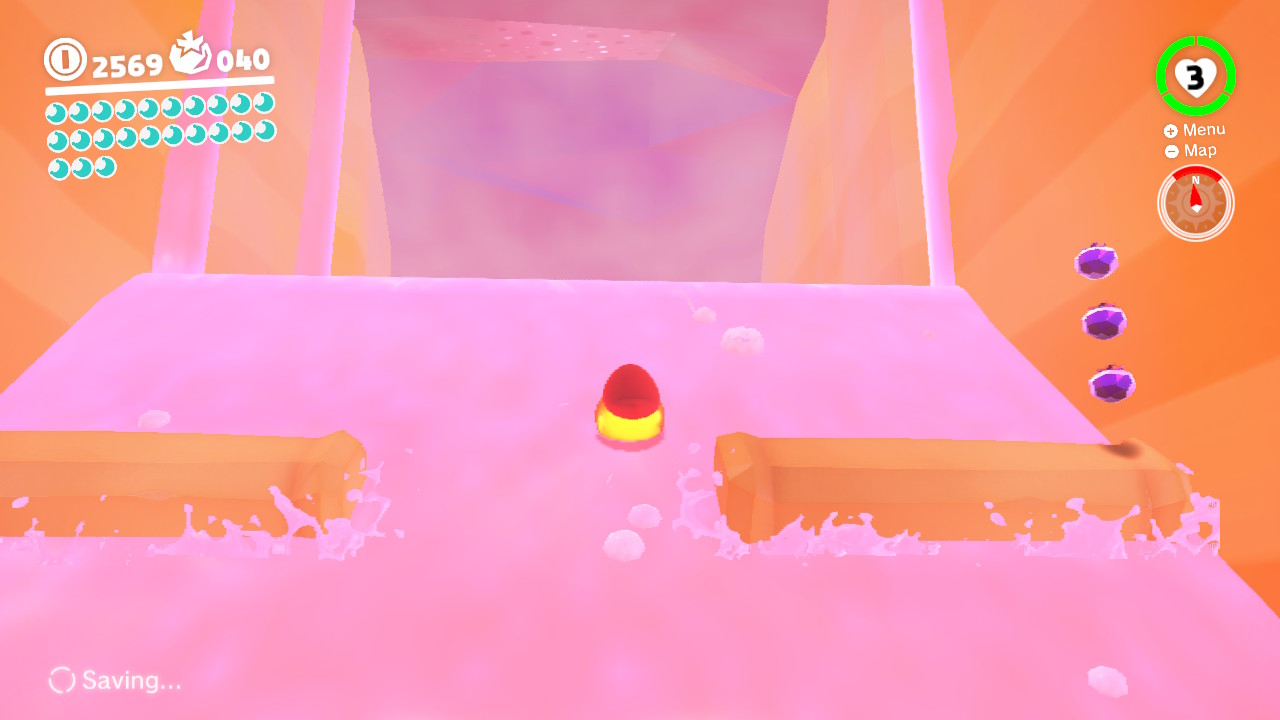
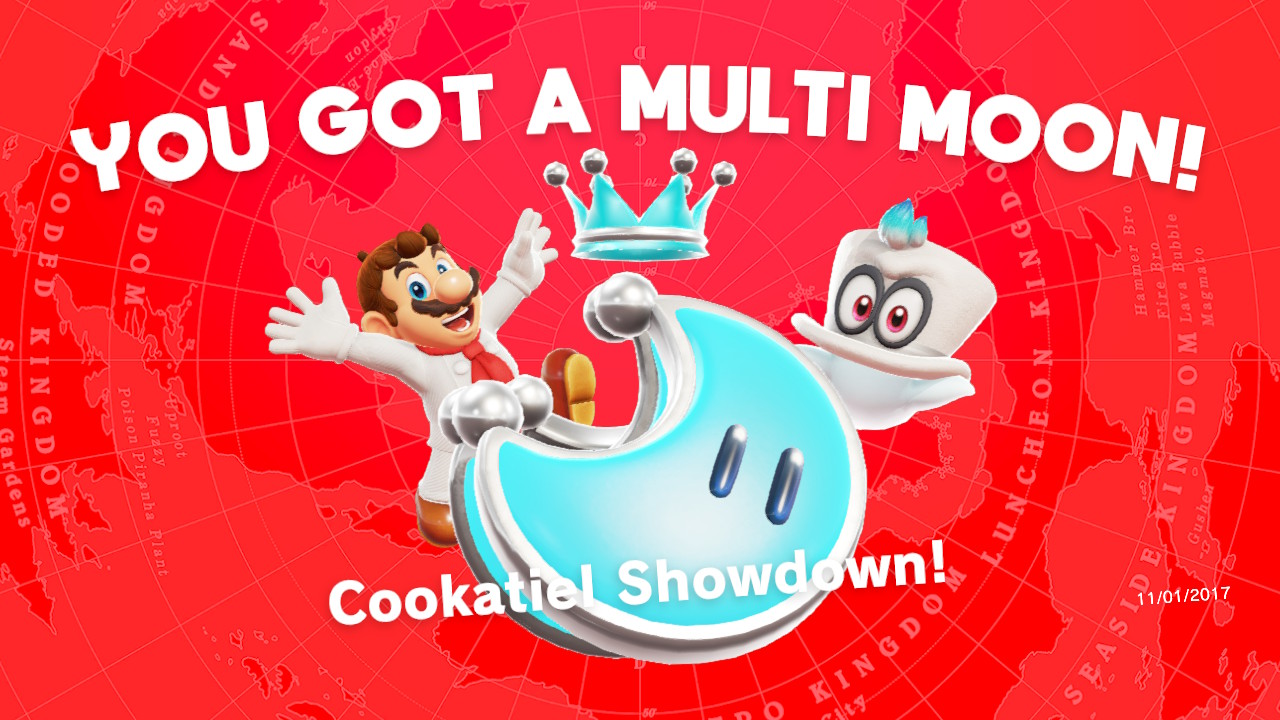
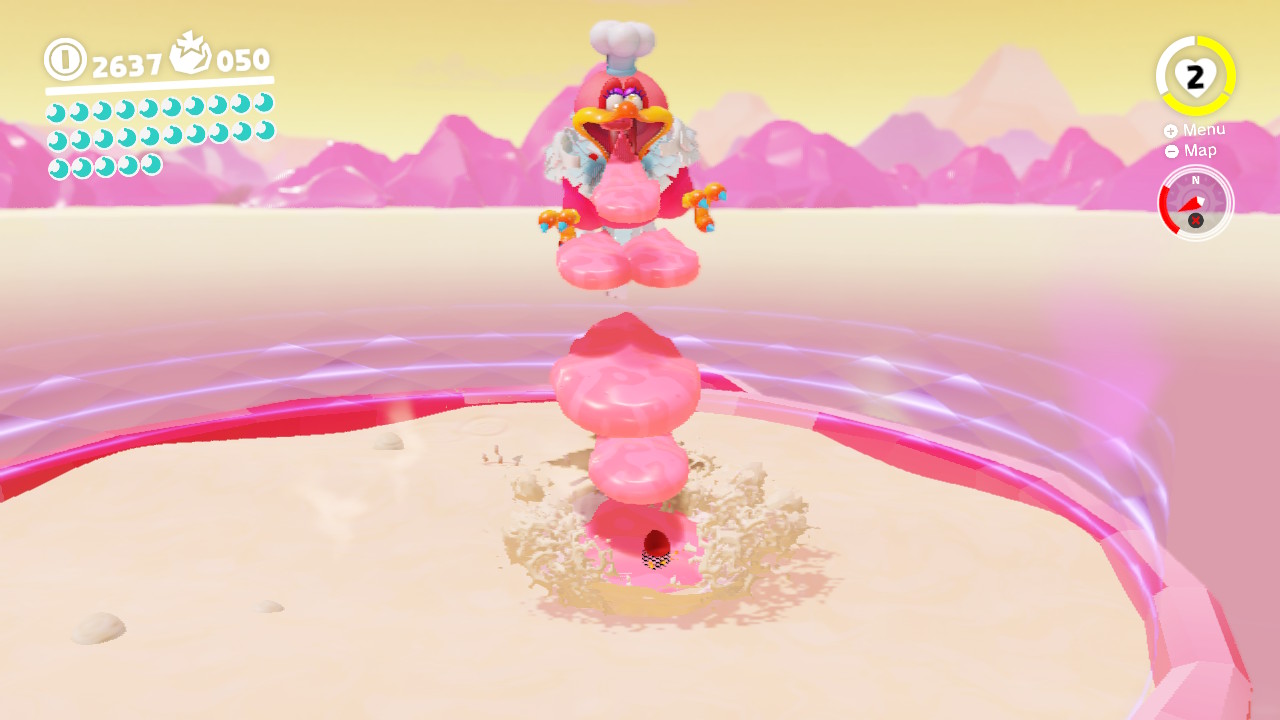
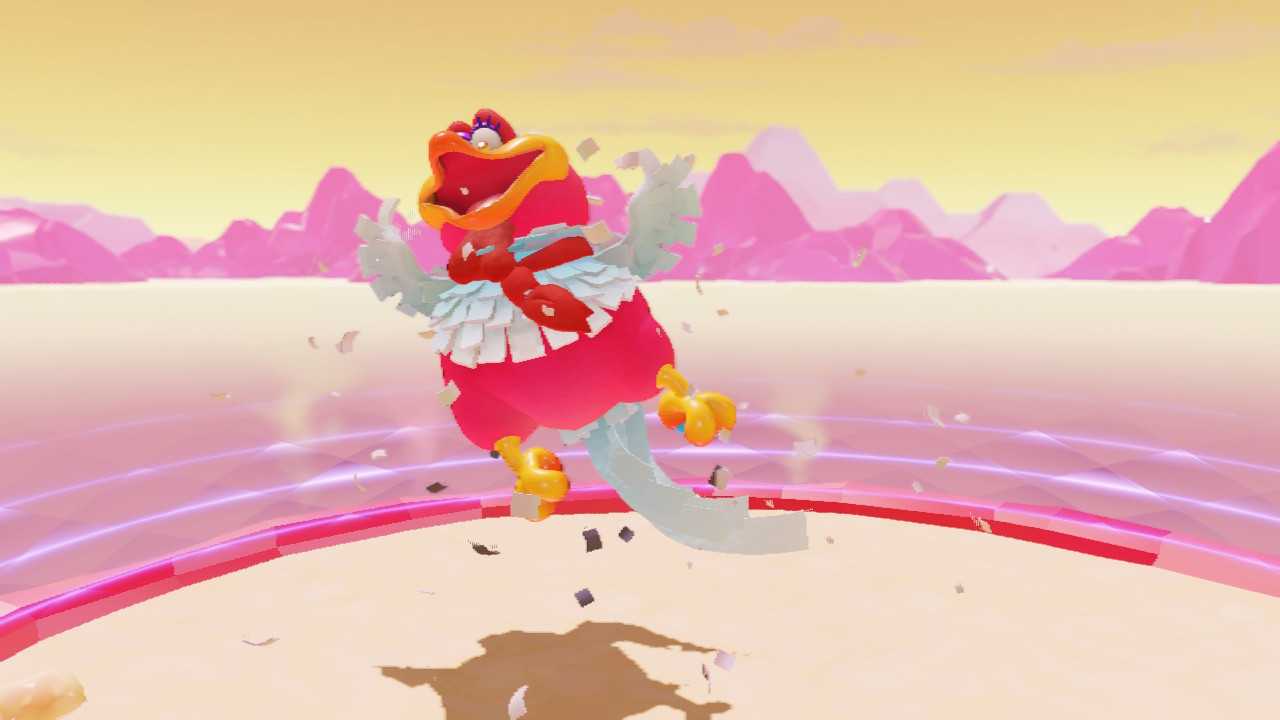
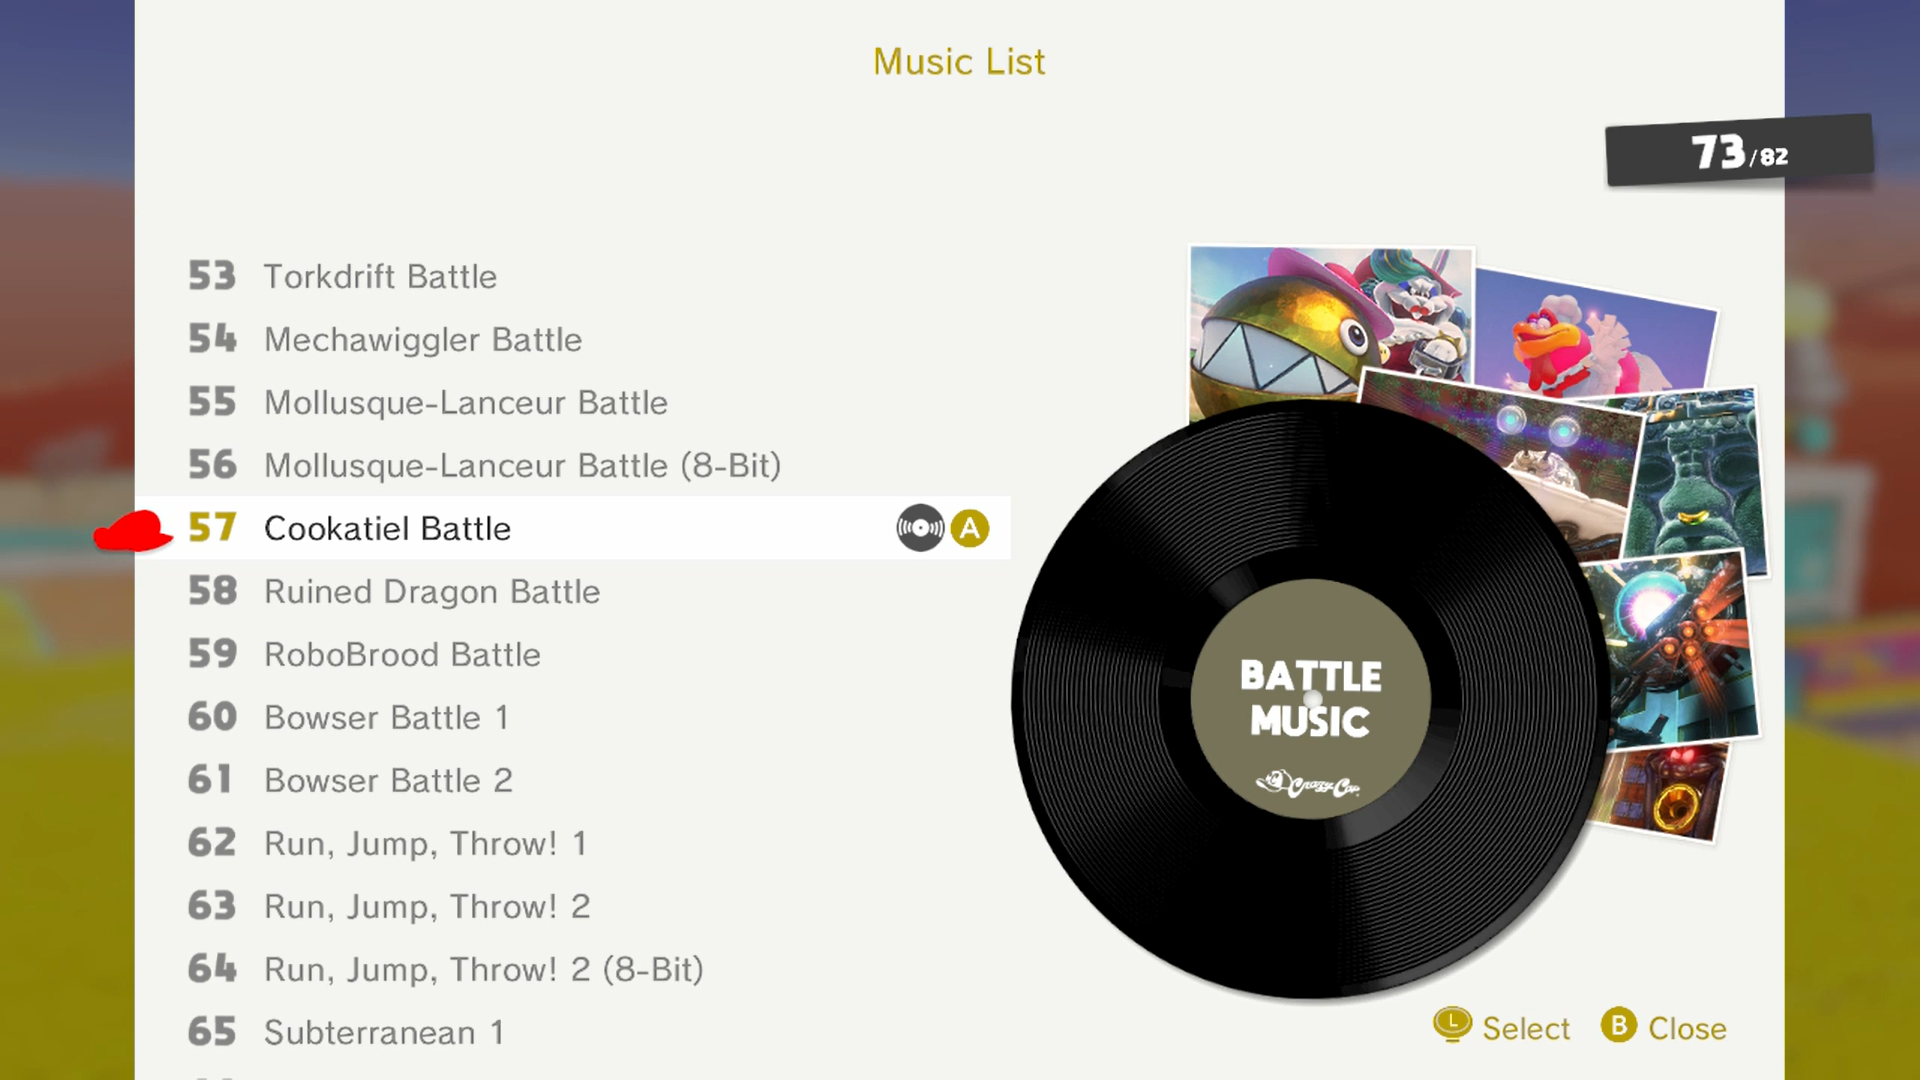
05 – Cookatiel Showdown!
1- This is the fifth and final story-based Power Moon in the Luncheon Kingdom, continue on the path and climb up the mountain side…
2- You will be launched into the giant soup kettle…
3- This is where you fight the epic battle with Cookatiel…
4- Climb up the lava that Cookatiel spews from its mouth to land killer blows! Three hits and the Power Multi-Moon is yours! YAAAAY!
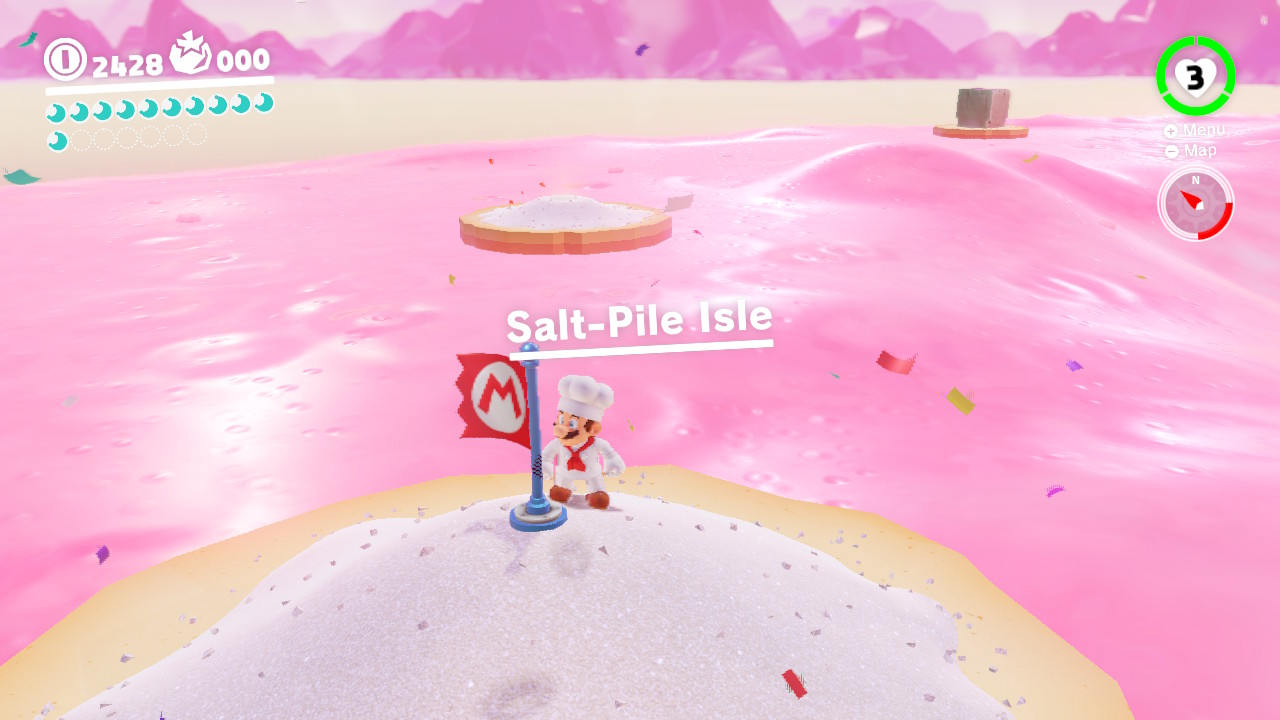
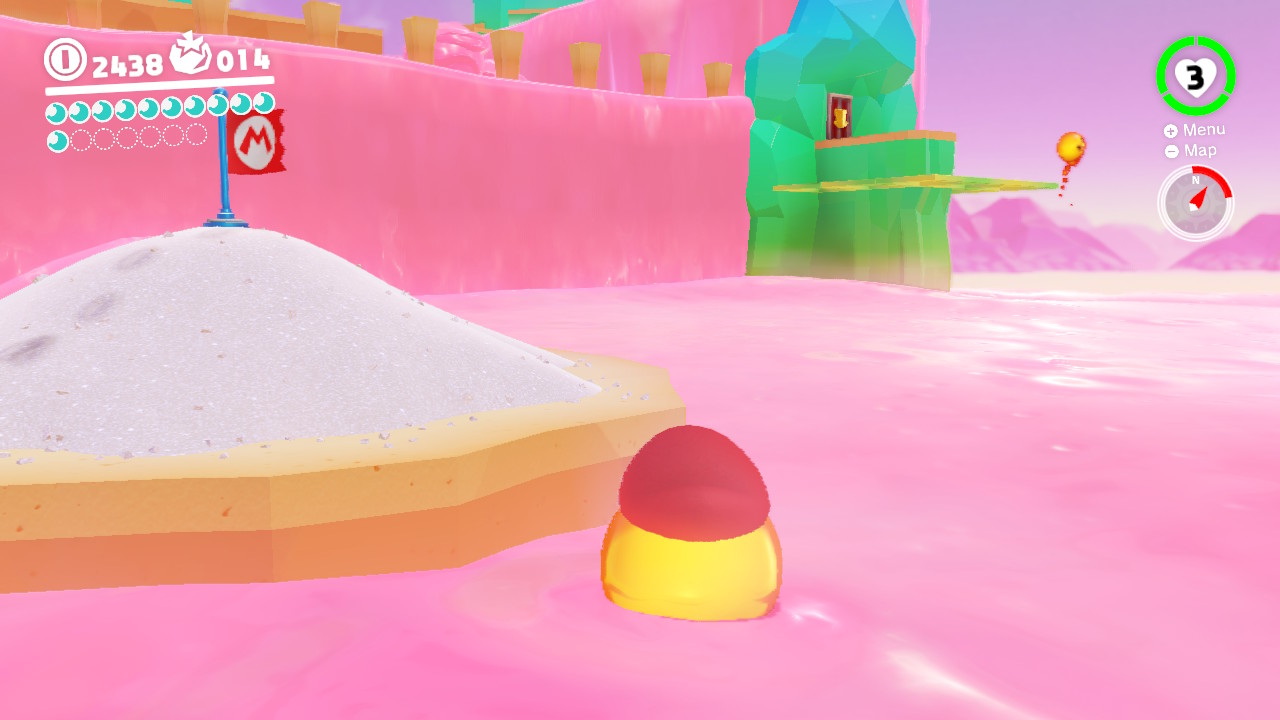
06 – Piled on the Salt
Location-
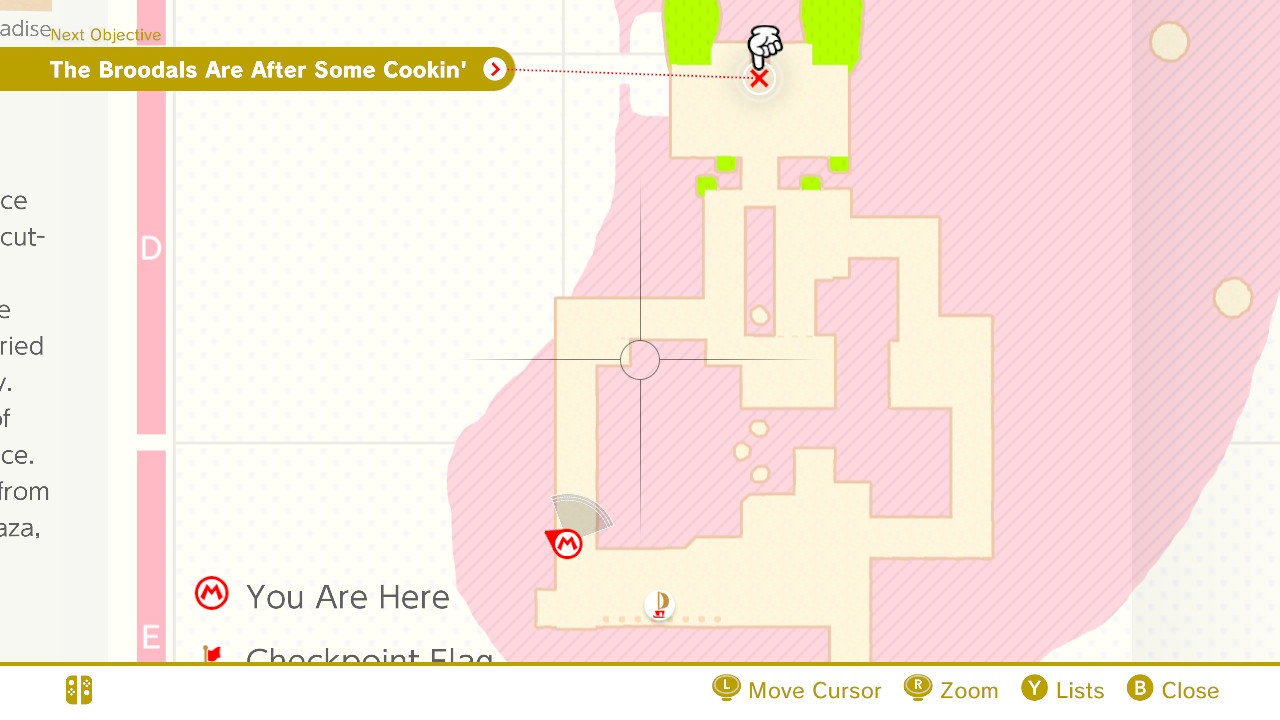
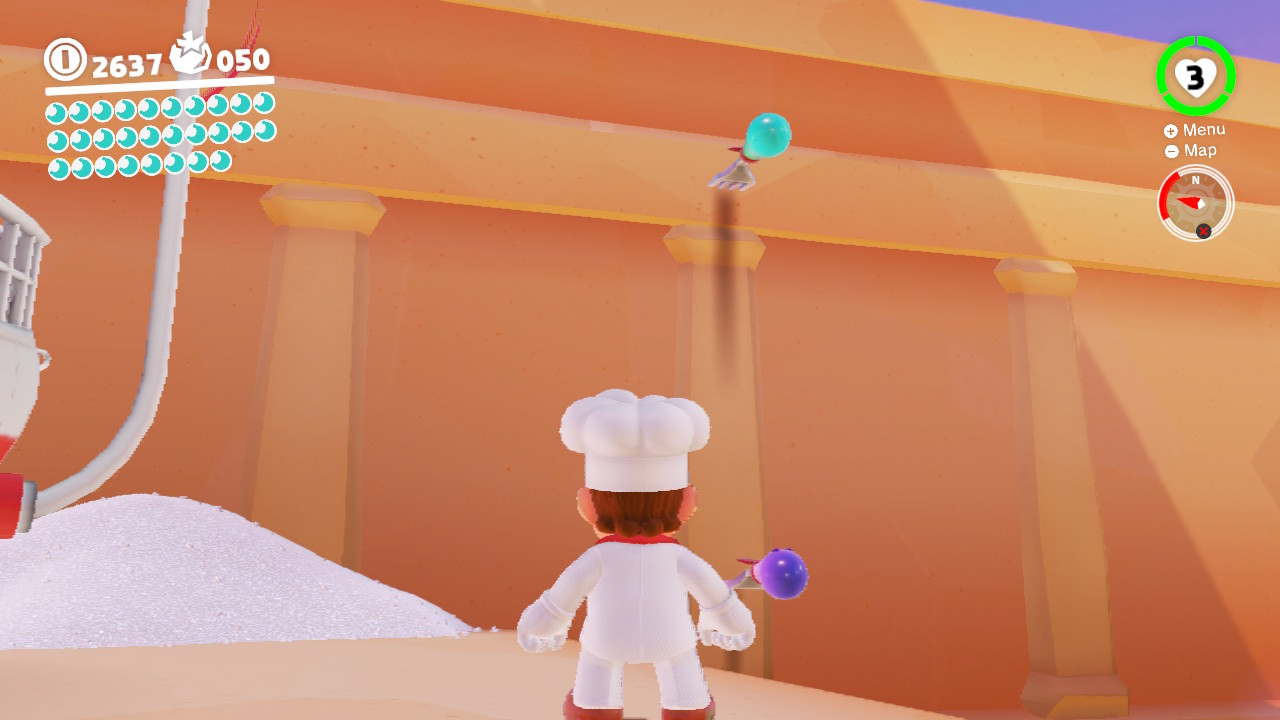
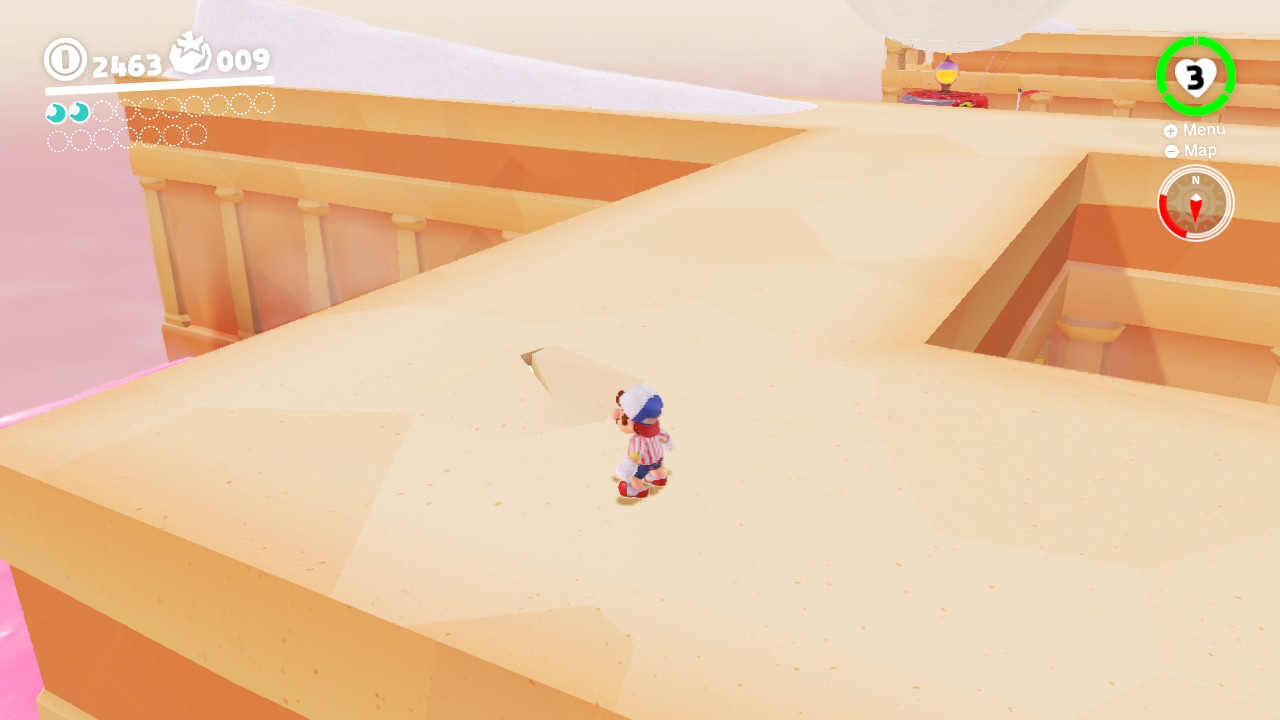
1- From right behind the Odyssey you can “flick” yourself onto the rooftops…
2- Dash all the way around the roof tops to the opposite side…
3- From here you will find…
4- A Power Moon on top of a pile of salt!
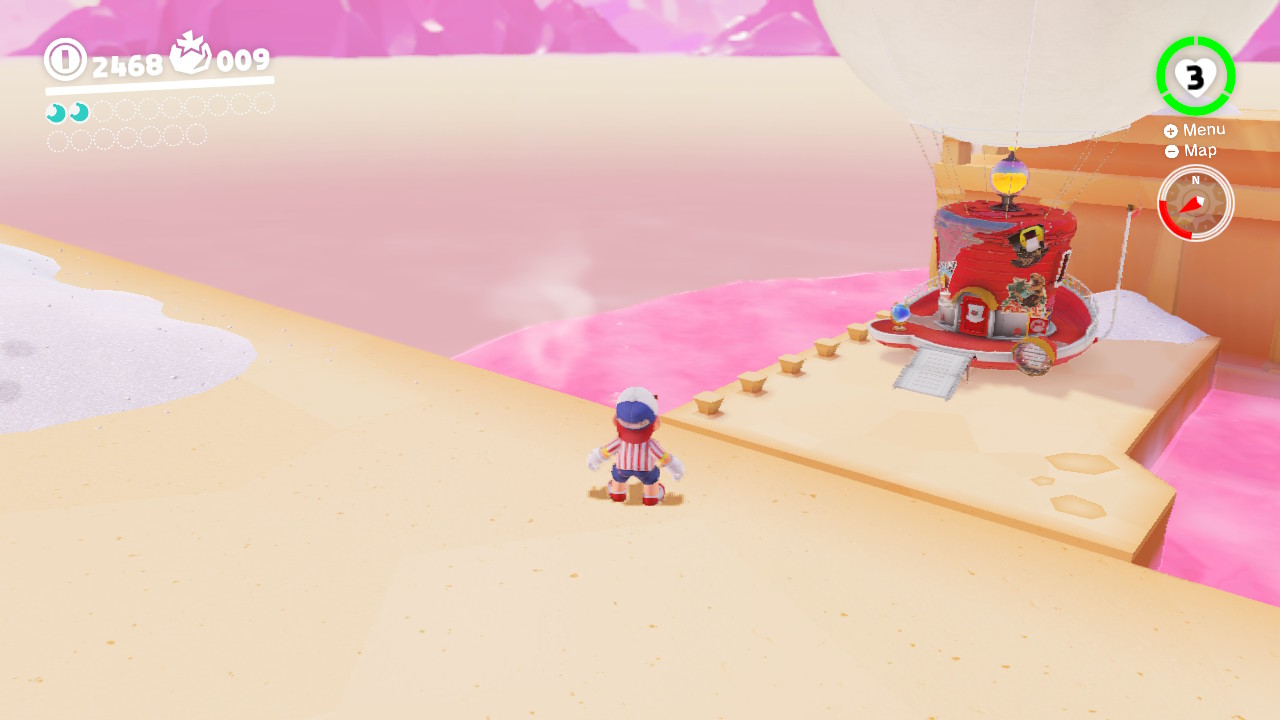
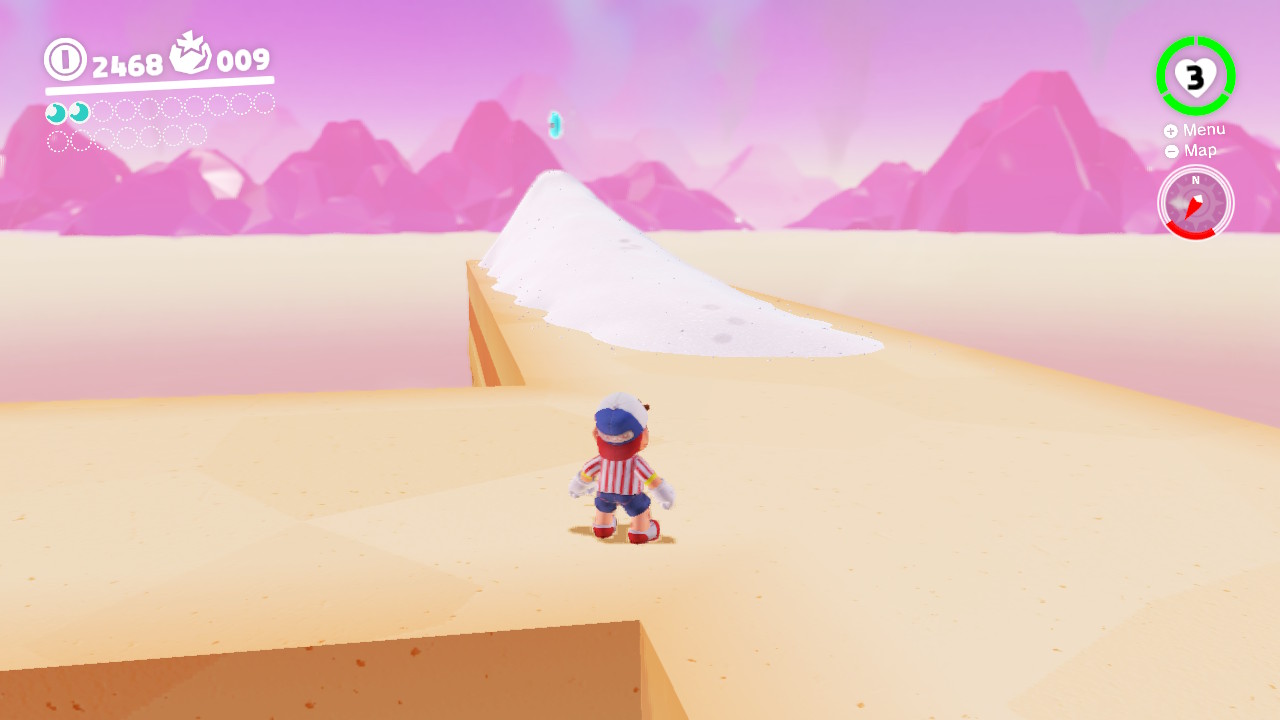
07 – Lurking in the Pillar’s Shadow
Location-
1- First you need to capture a Lava Bubble…
2- Swim through the lava along the wall…
3- Jump onto the next layer of lava and then onto the platform, a Power Moon is hiding in the shadows!
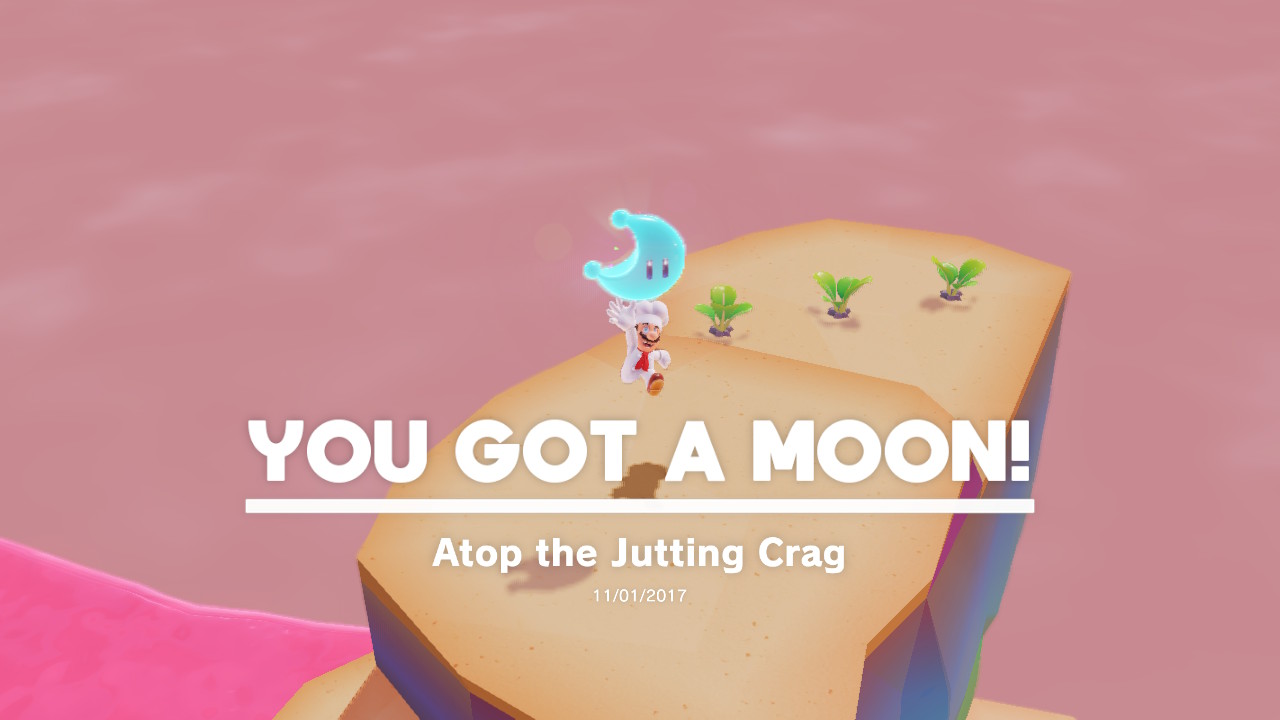
08 – Atop the Jutting Crag
Location-
1- There’s a Power Moon on top of this structure (apparently it’s a Jutting Crag? Huh?). To reach it you will need to capture a Hammer bro/Frying-pan bro…
2- Jump HIGH with the hammer bro and then “uncapture” it to jump off with Mario! Then do a wall jump to reach the rooftop…
3- This video will show you what to do…
4- It’s a tough jump! But it’s worth it!
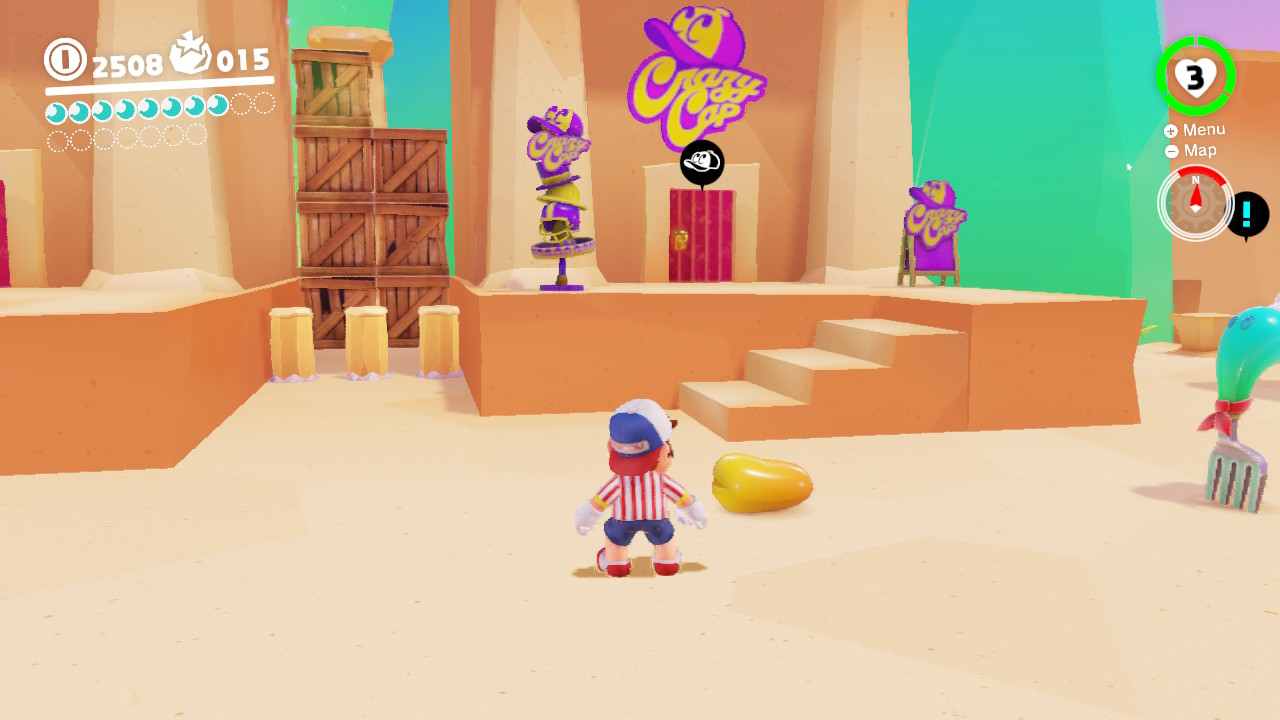
09 – Is This an Ingredient Too?!
Location-
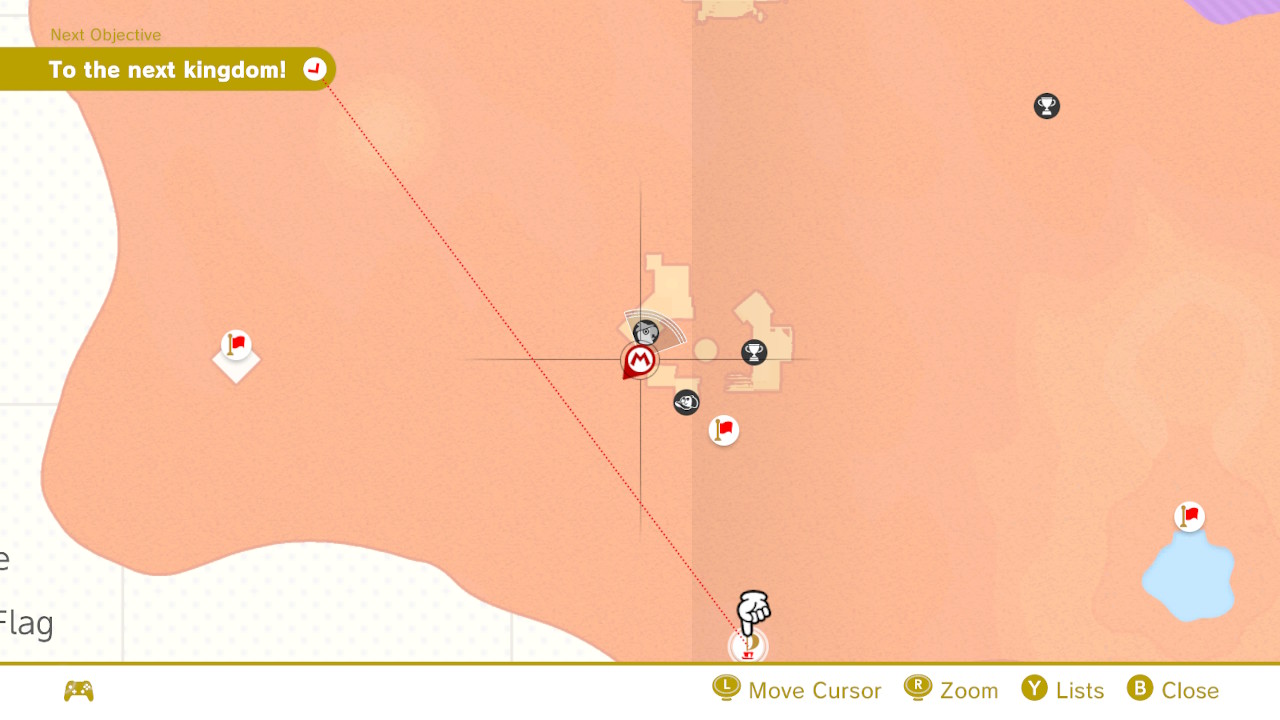
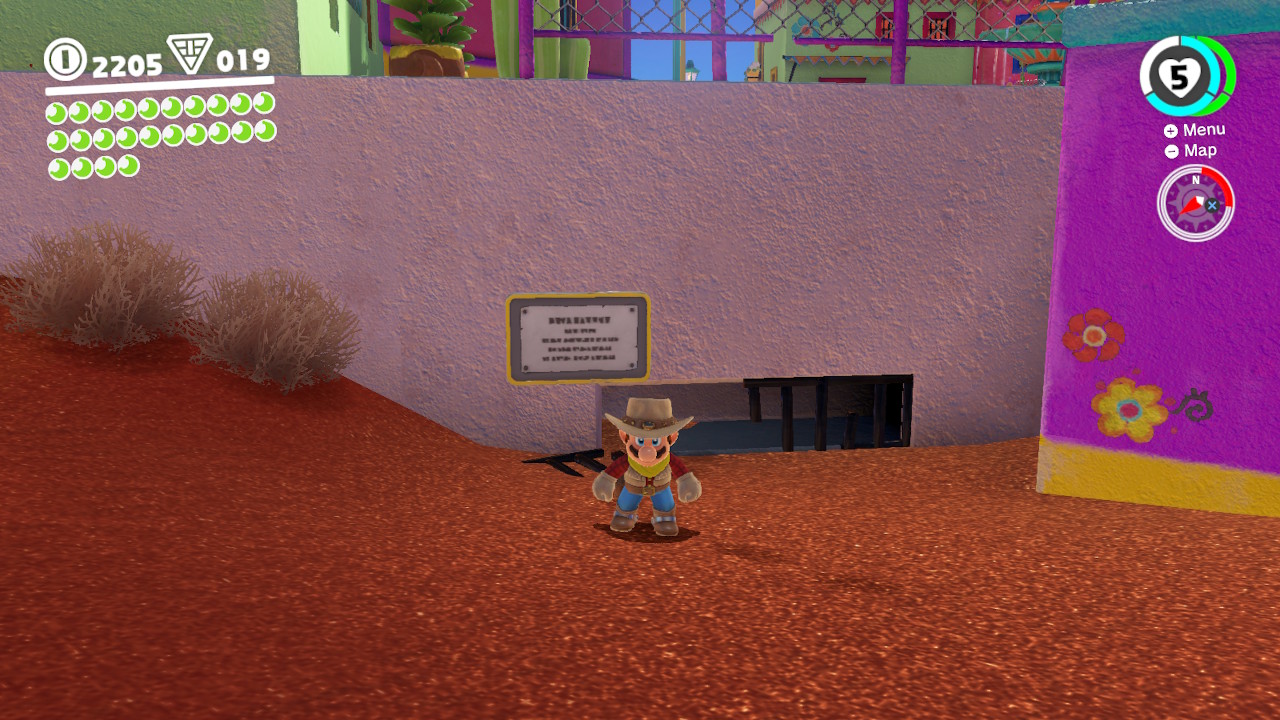
1- Right inbetween the two buildings where Crazy Caps resides, you will find a bunch of boxes…
2- Destroy the boxes to reaveal a Power Moon…
3- The Power Moon will jump up onto the roof! Wall-jump after it and snatch that Moon!
10 –
11 –
12 –
13 –
14 – Light the Lantern on the Small Island
Location-
1- From this area you should notice an unlit torch/lantern in the middle with a Power Moon locked away beside it…
2- You will need to capture a Lava Bubble and JUMP onto the Lantern…
3- This video shows what to do!
15 –
16 –
17 –
18 – Luncheon Kingdom Timer Challenge 1
Location-
1- From right behind the Odyssey you will see some forks you can use to “flick” yourself onto the rooftops…
2- Once on top, you will see a scarecrow! Throw Cappy at it and then do some good ol’ fashion wall-jumping for a Power Moon!
19 –
20 –
21 –
22 –
23 –
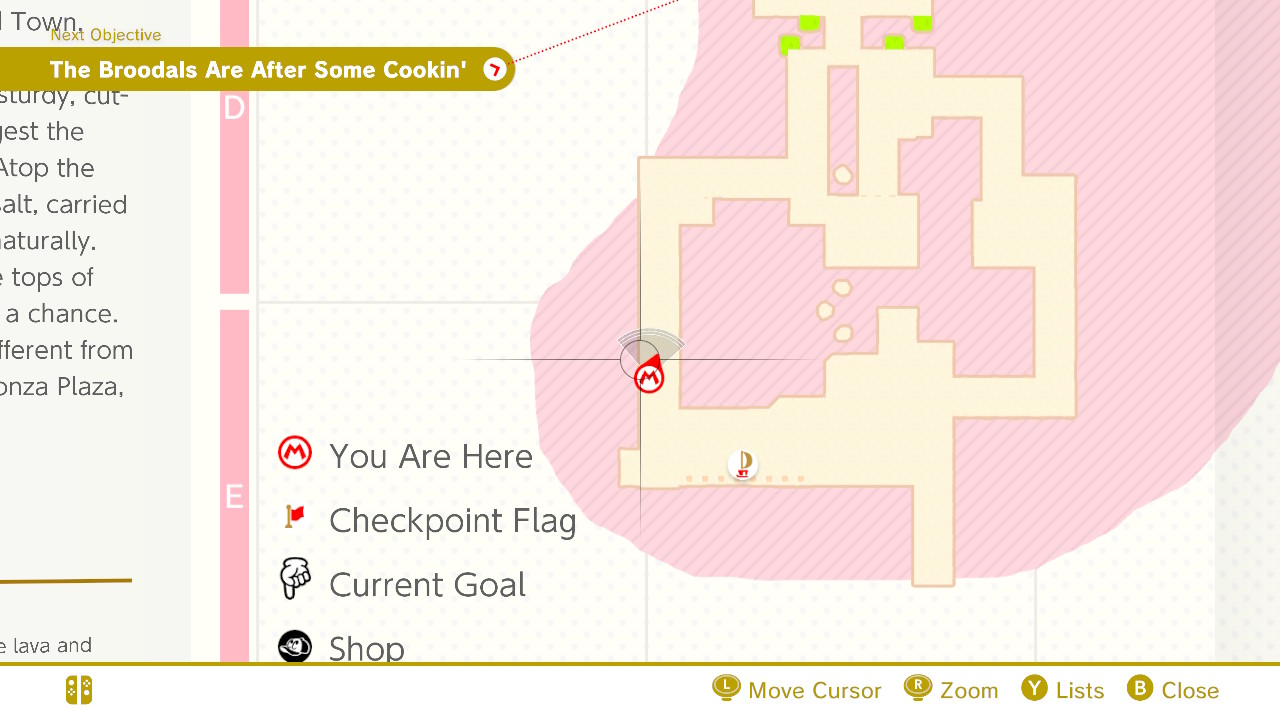
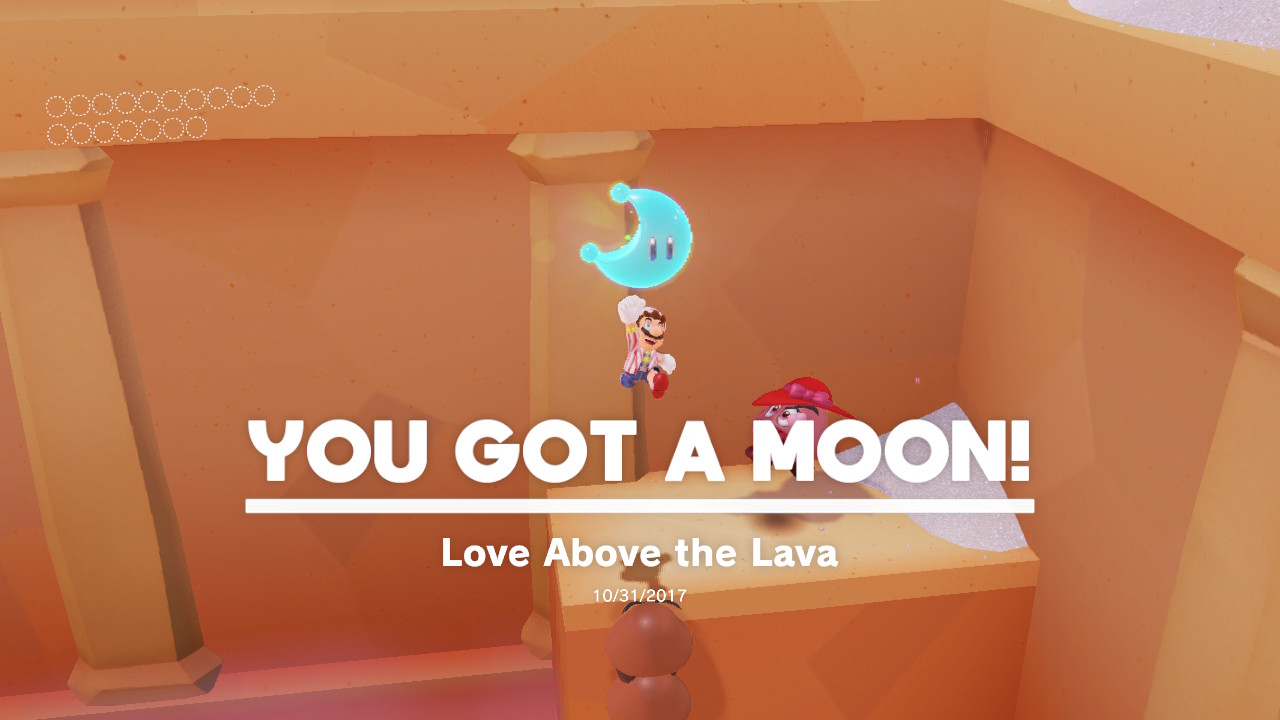
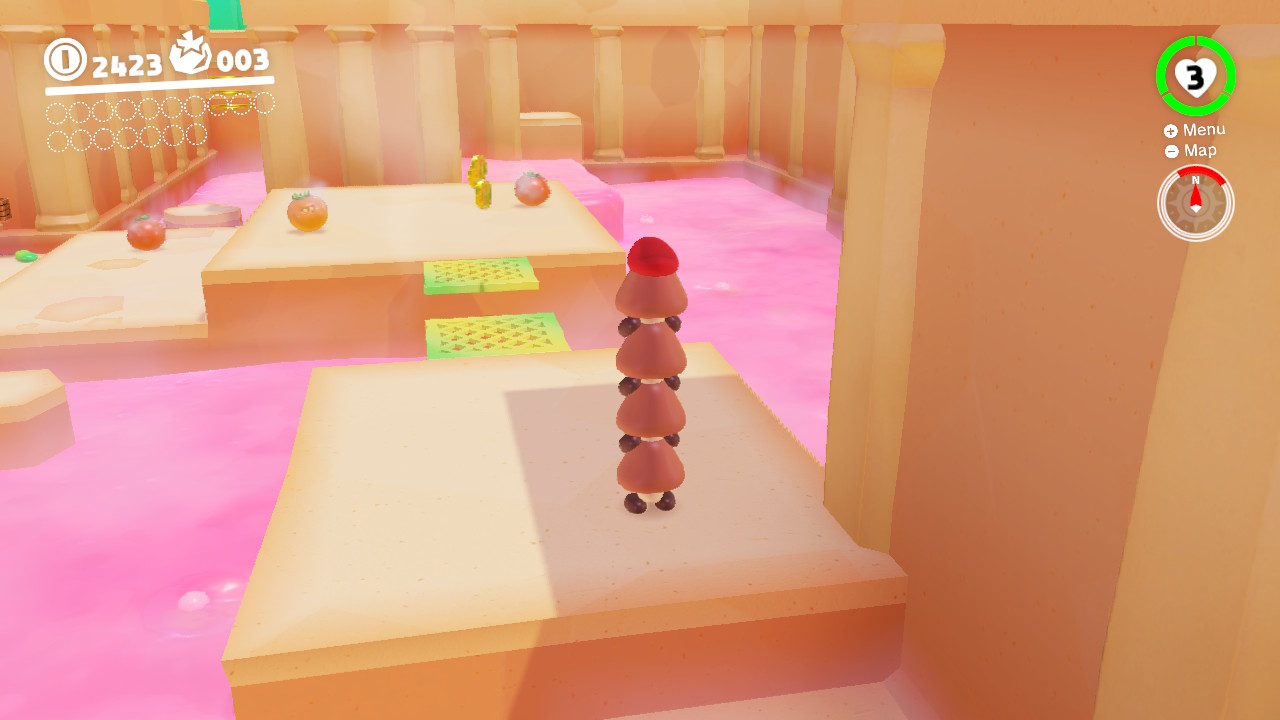
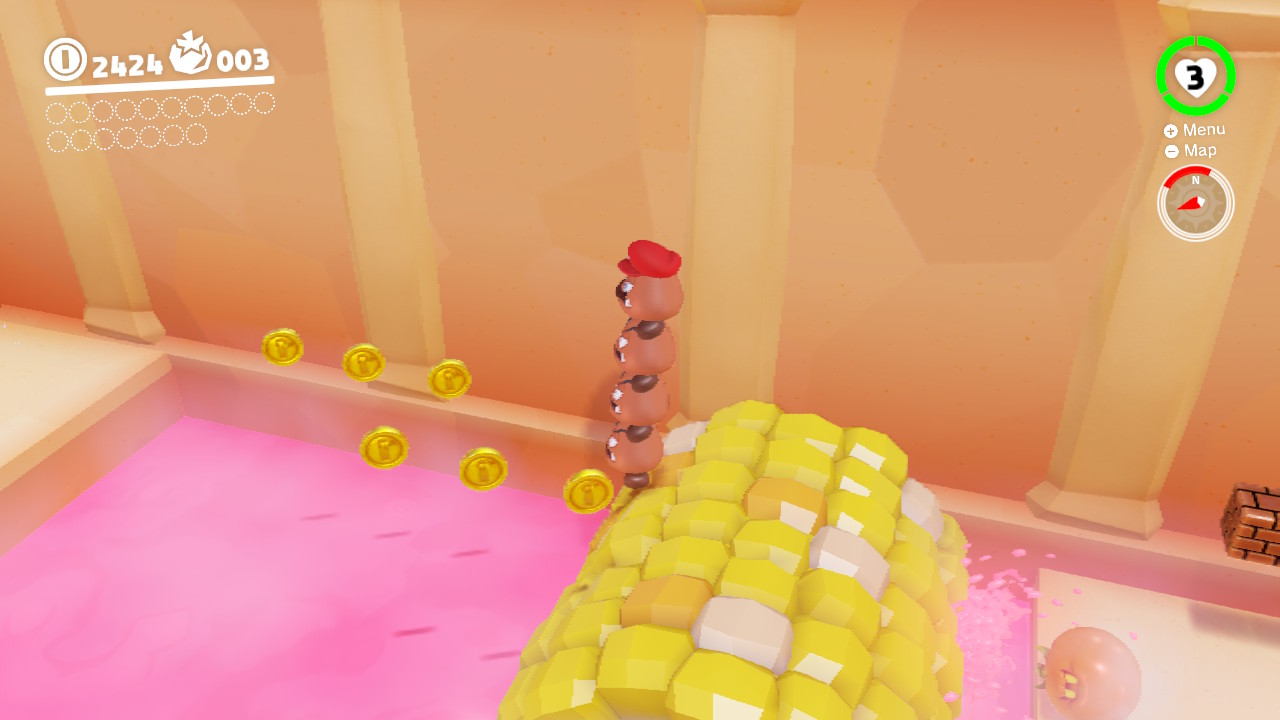
24 – Love Above the Lava
Location-
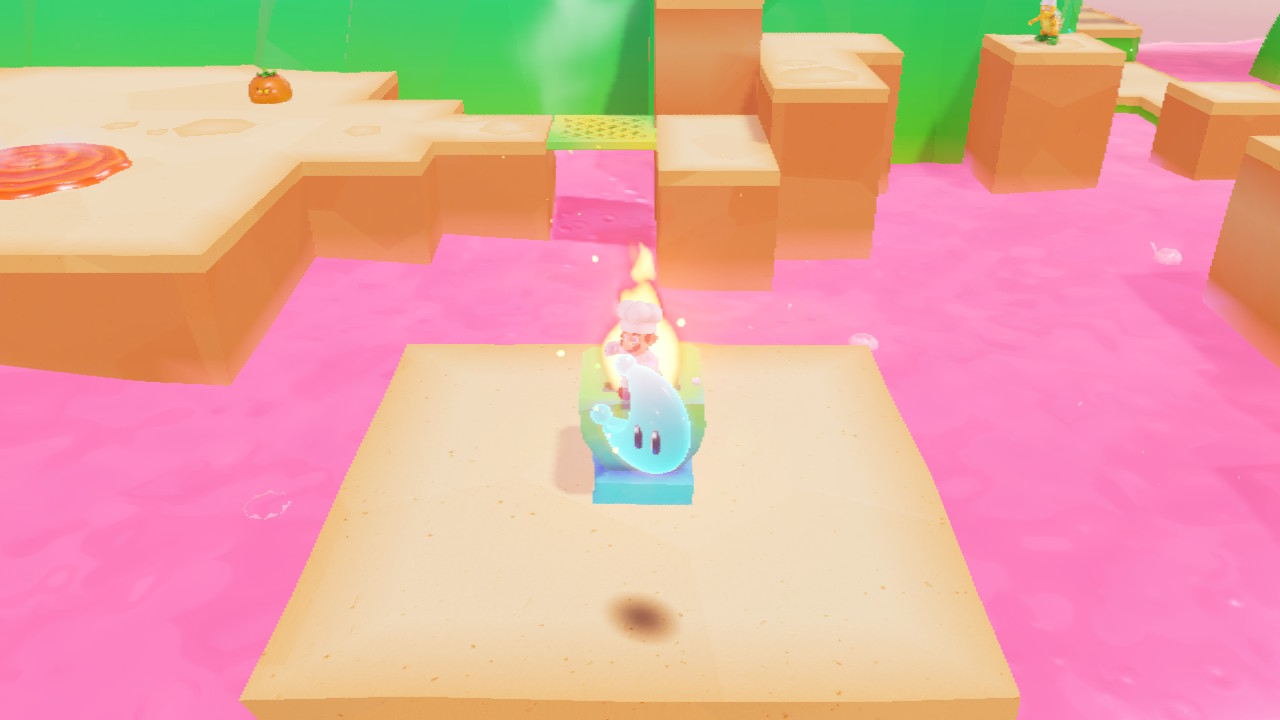
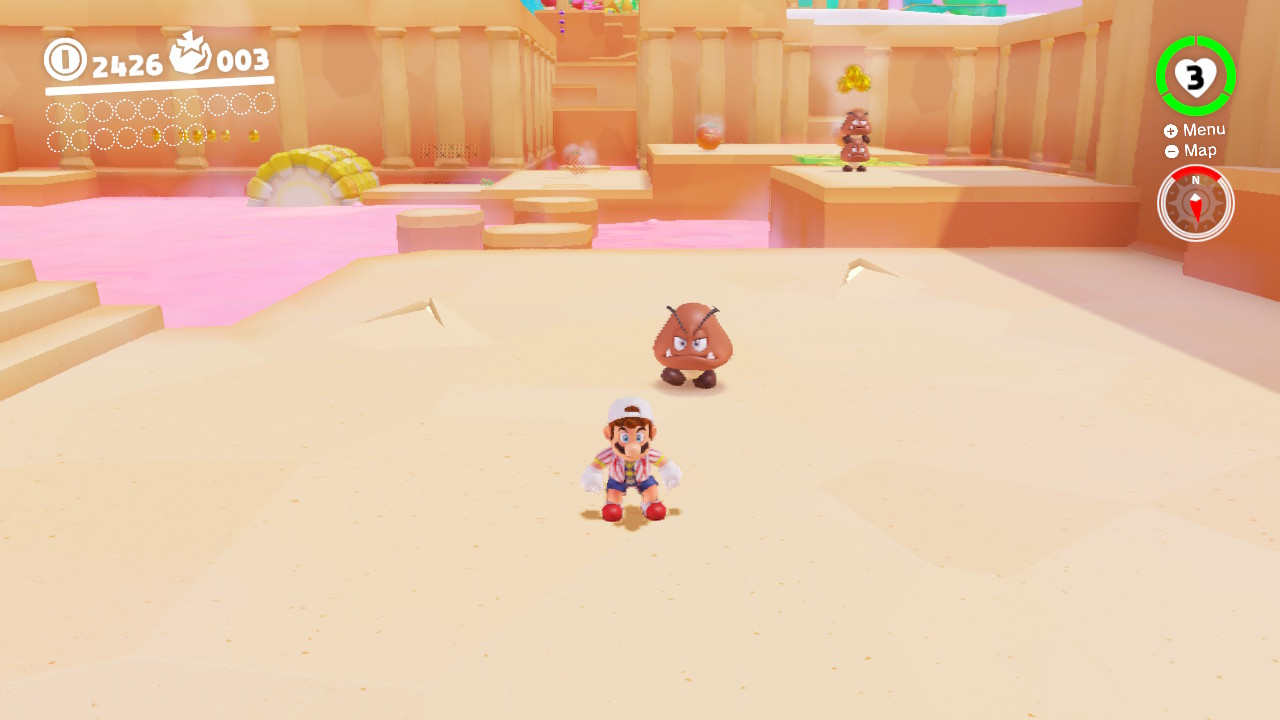
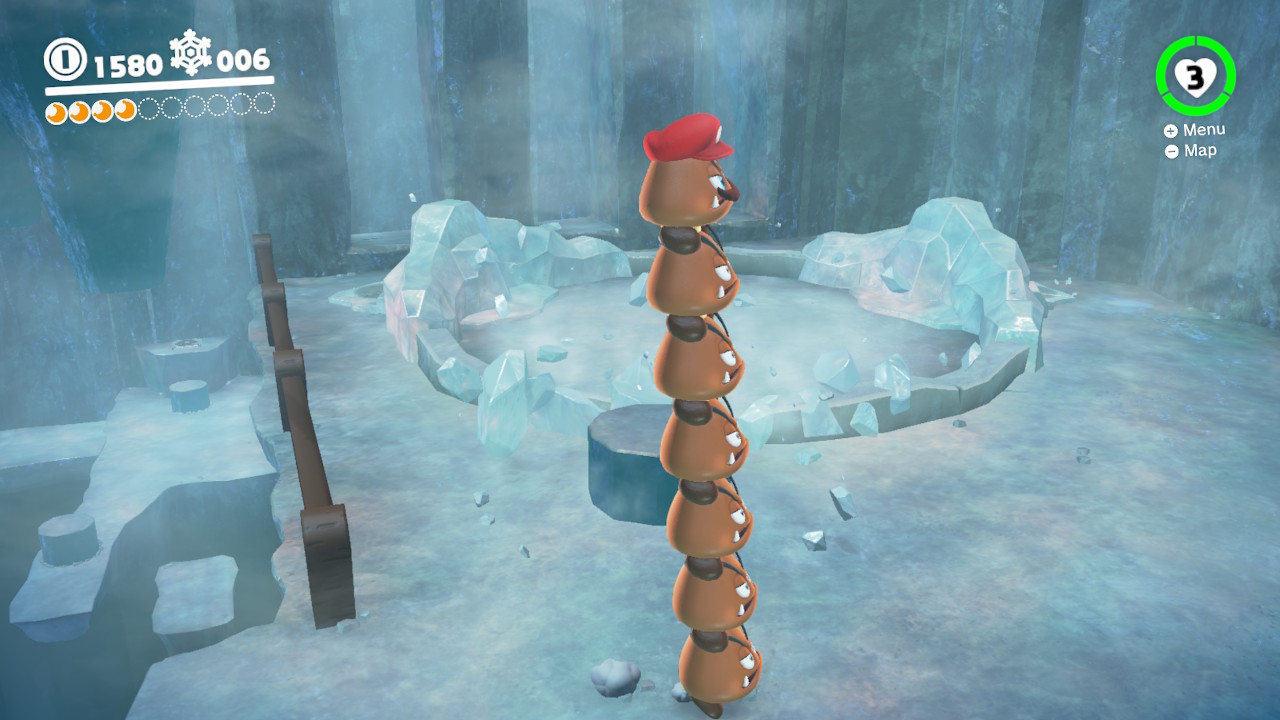
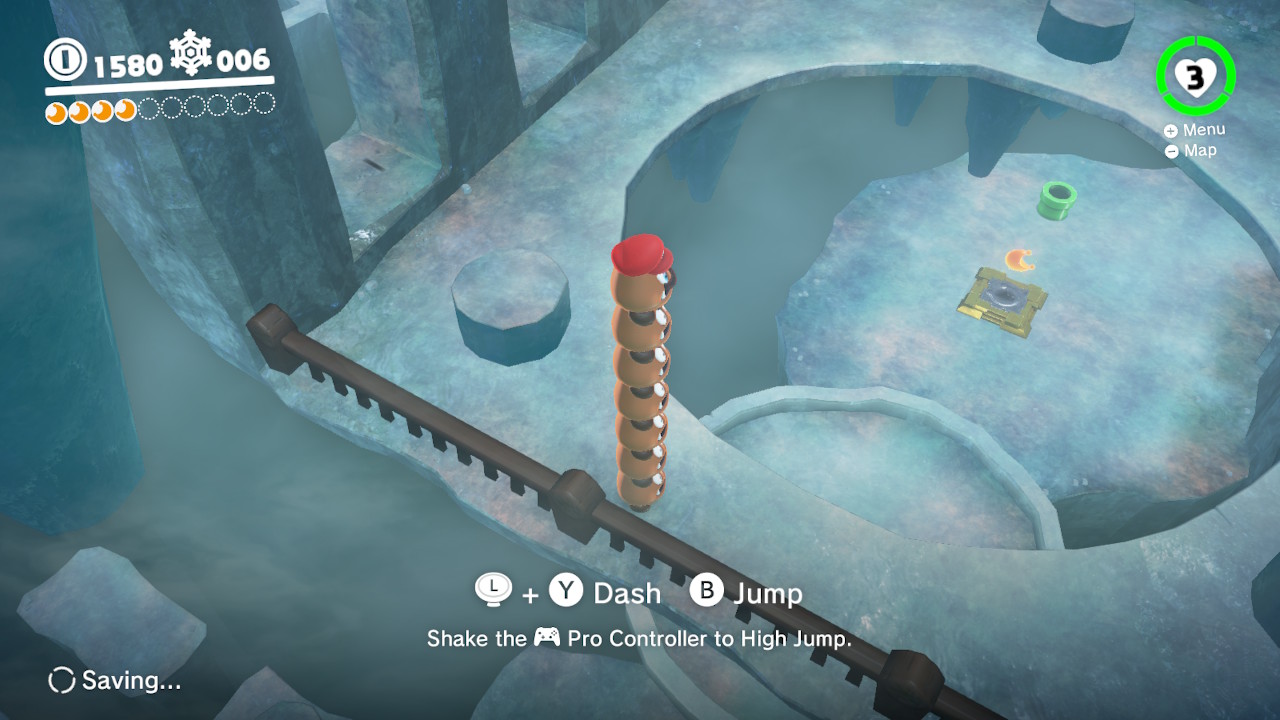
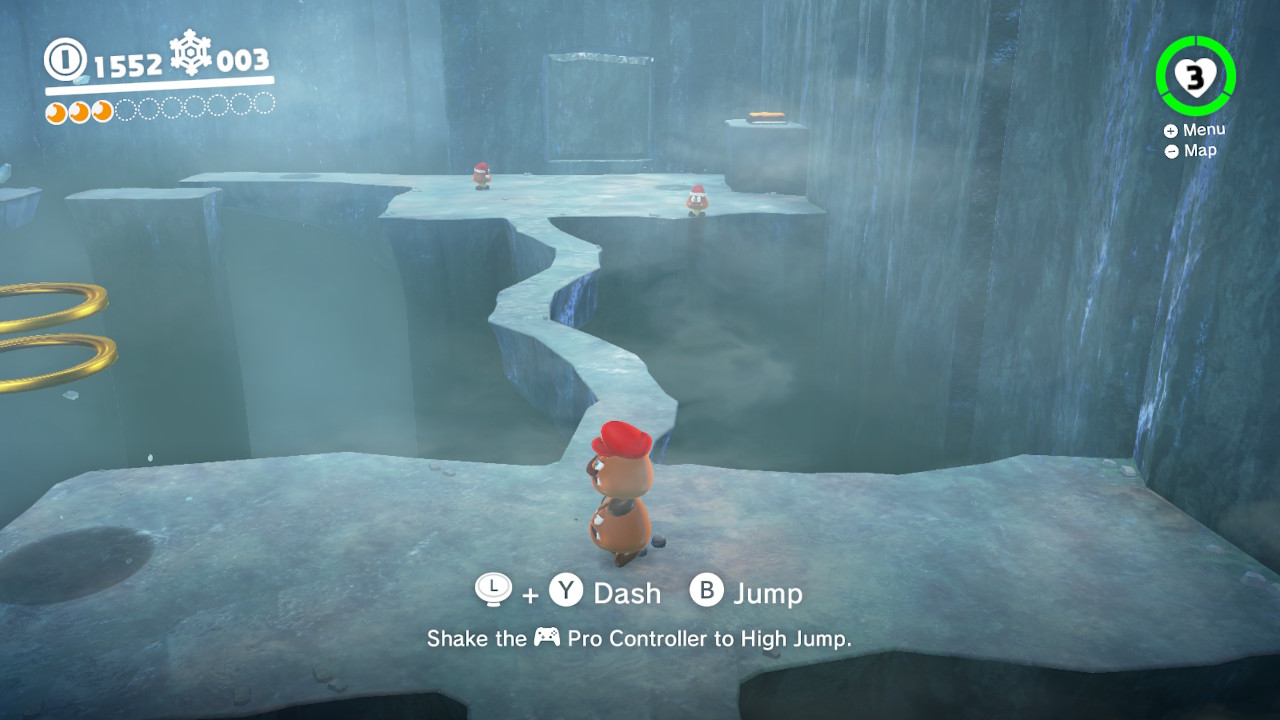
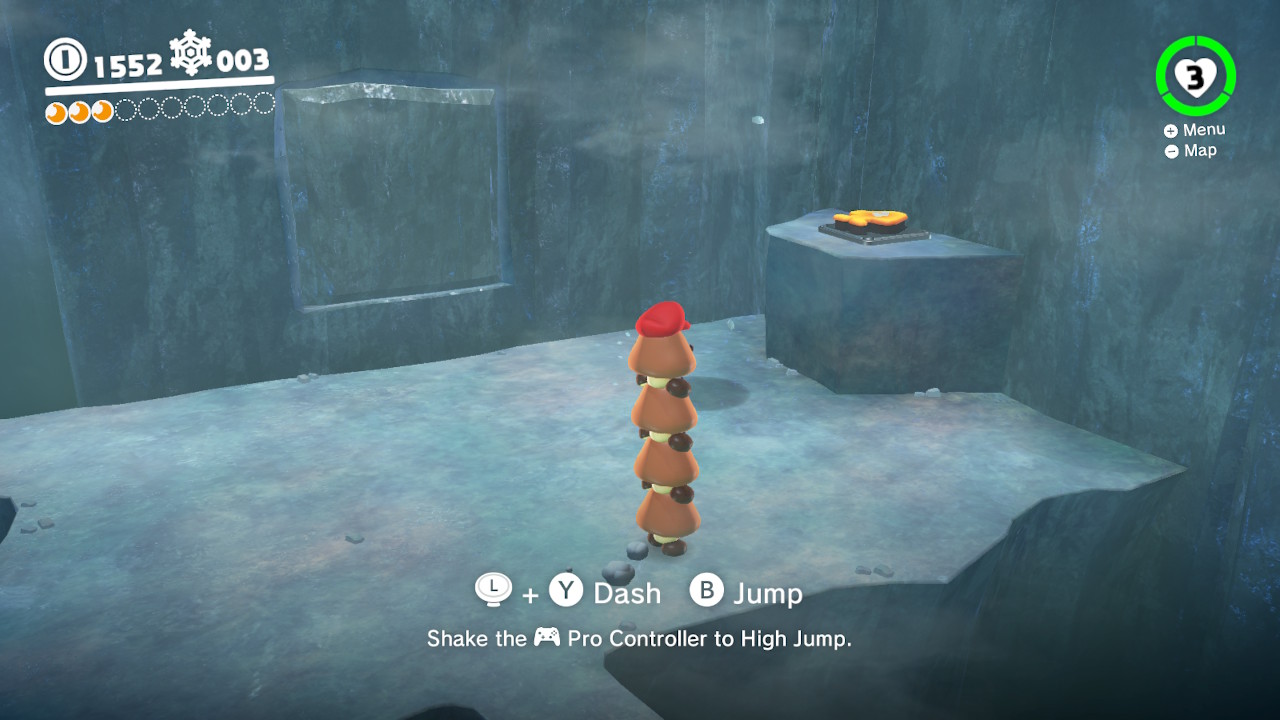
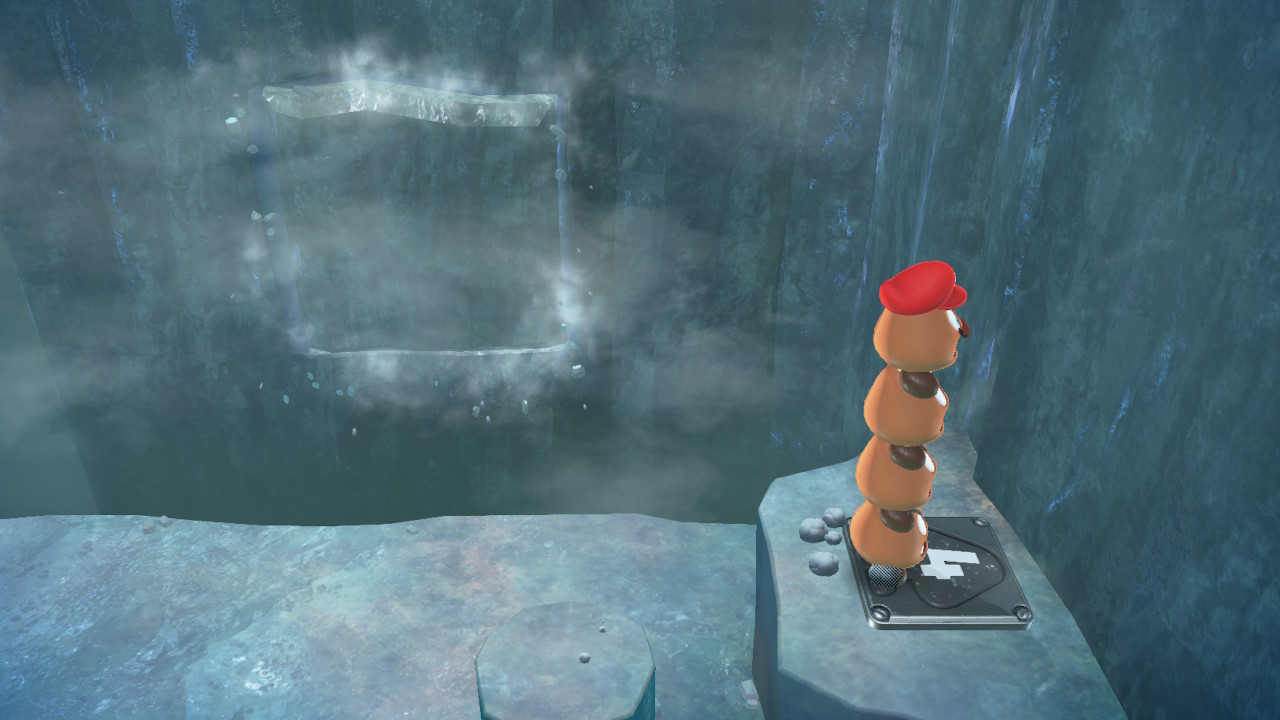
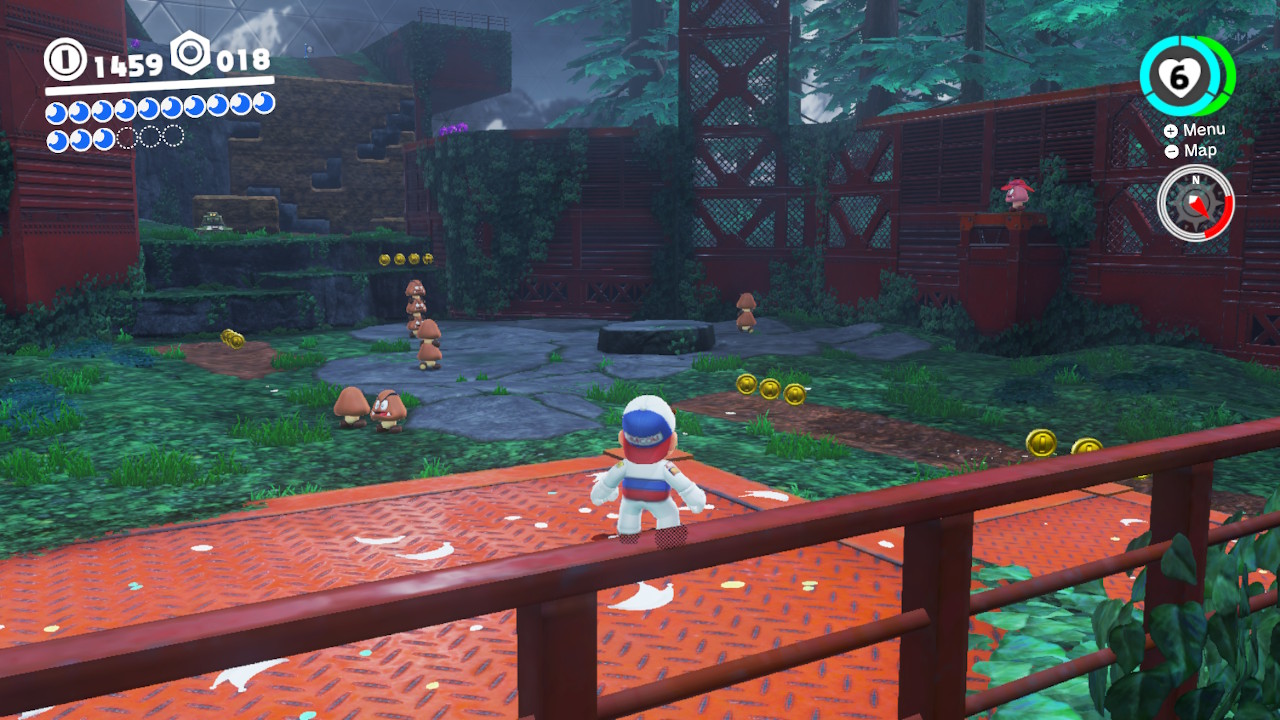
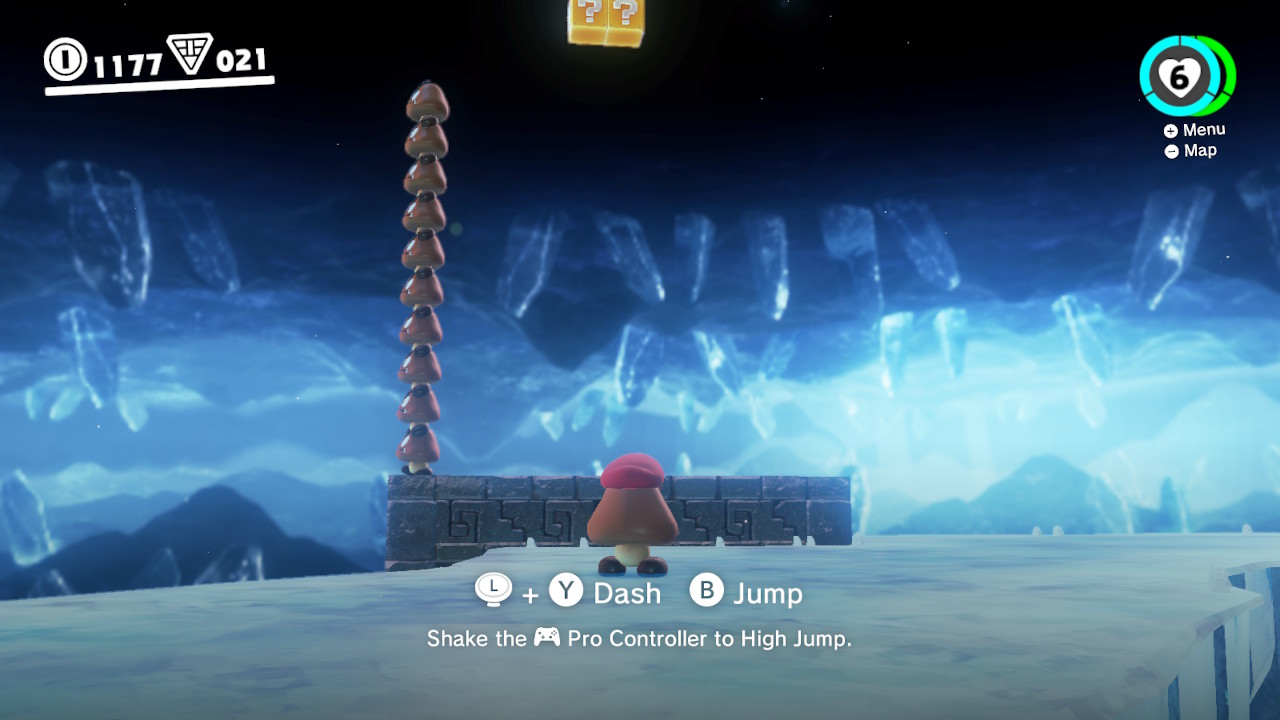
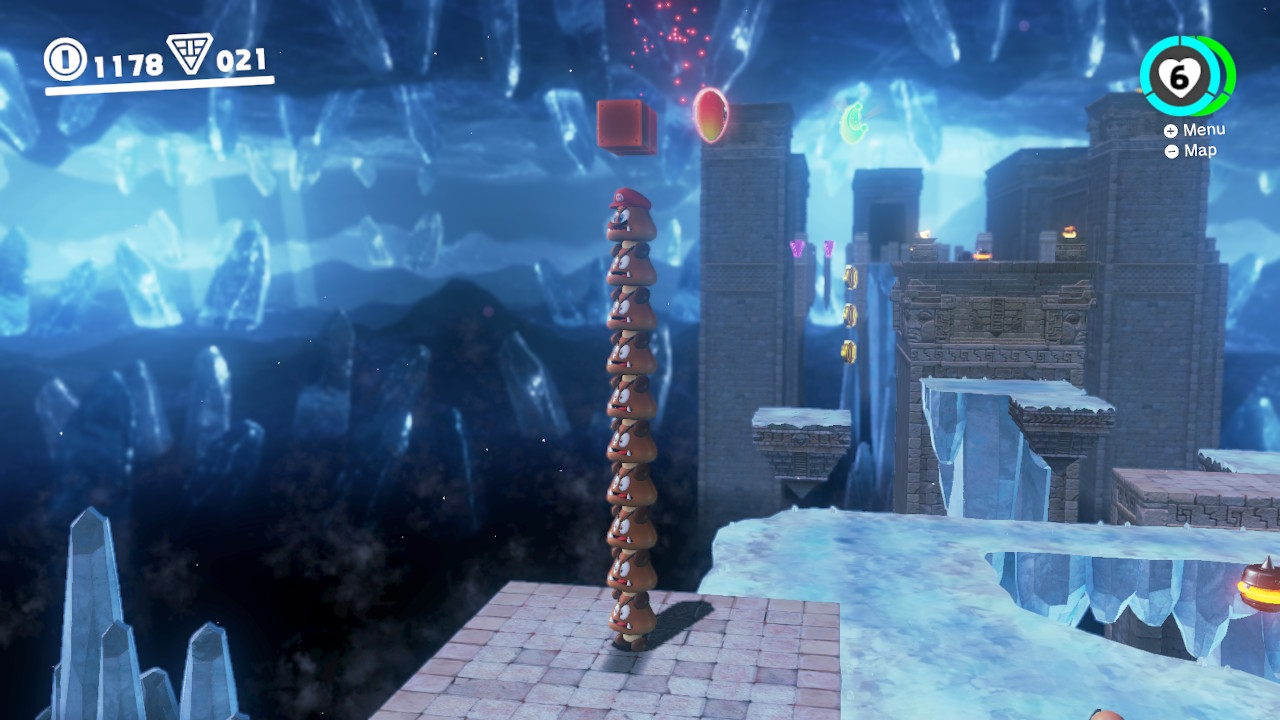
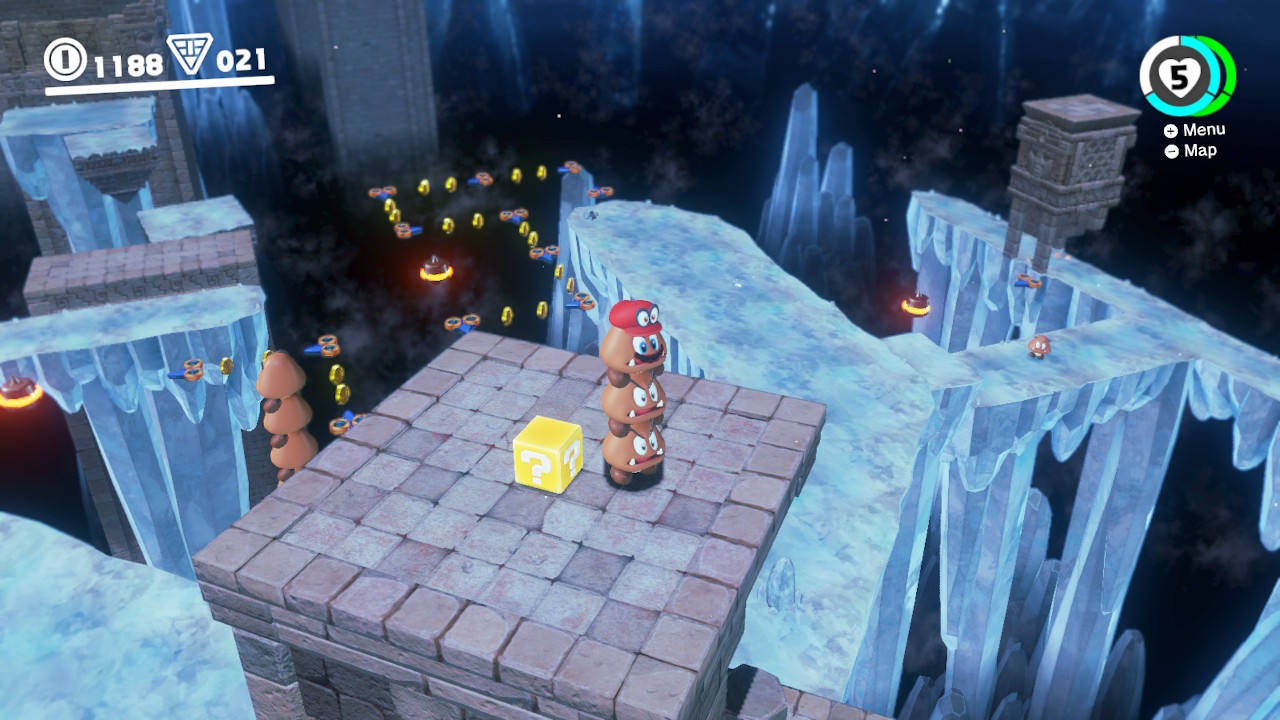
1- A Lady Goomba is looking for love in the open area in front of the Odyssey…
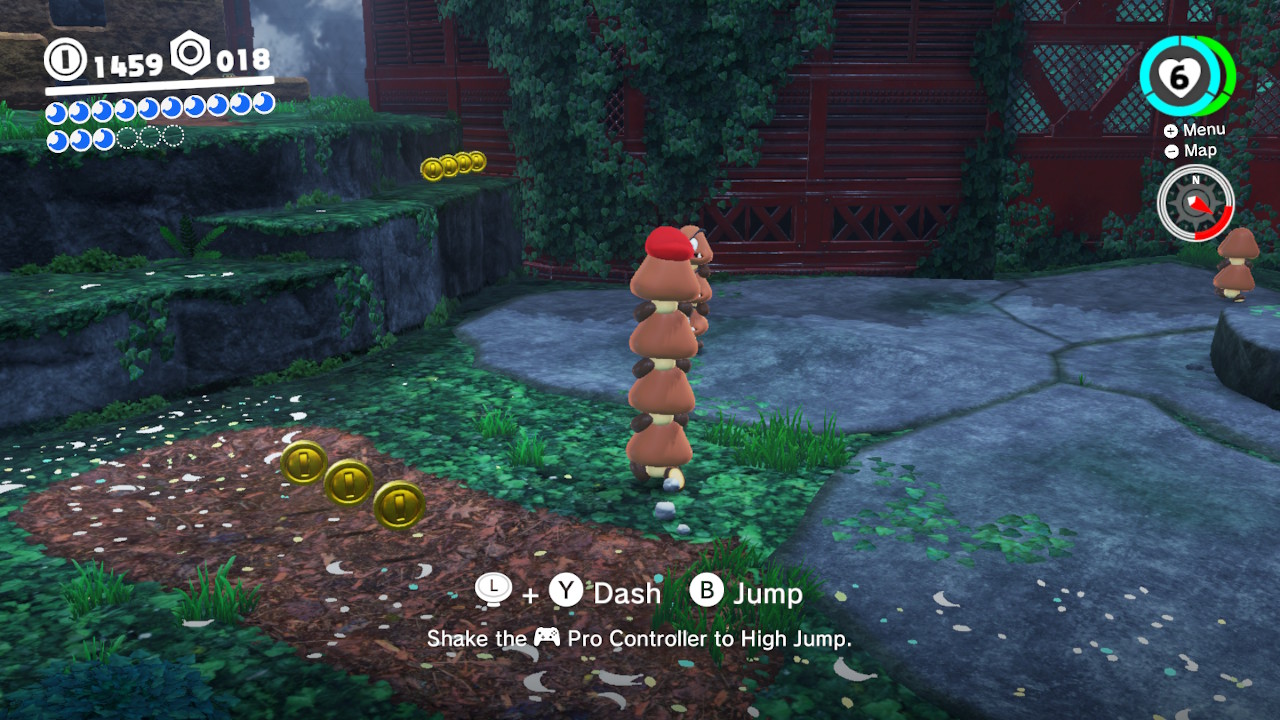
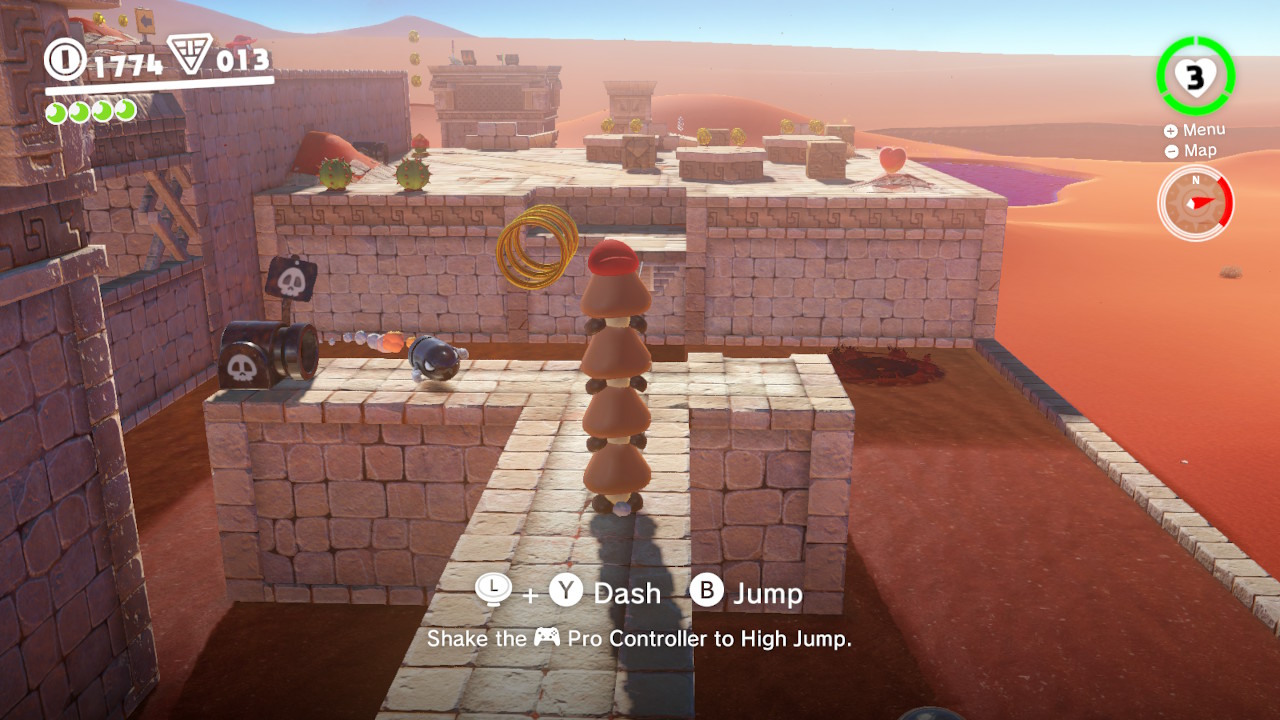
2- Capture and stack four Goombas. Make sure to SUPER JUMP by shaking the controller to make the big jumps over the lava…
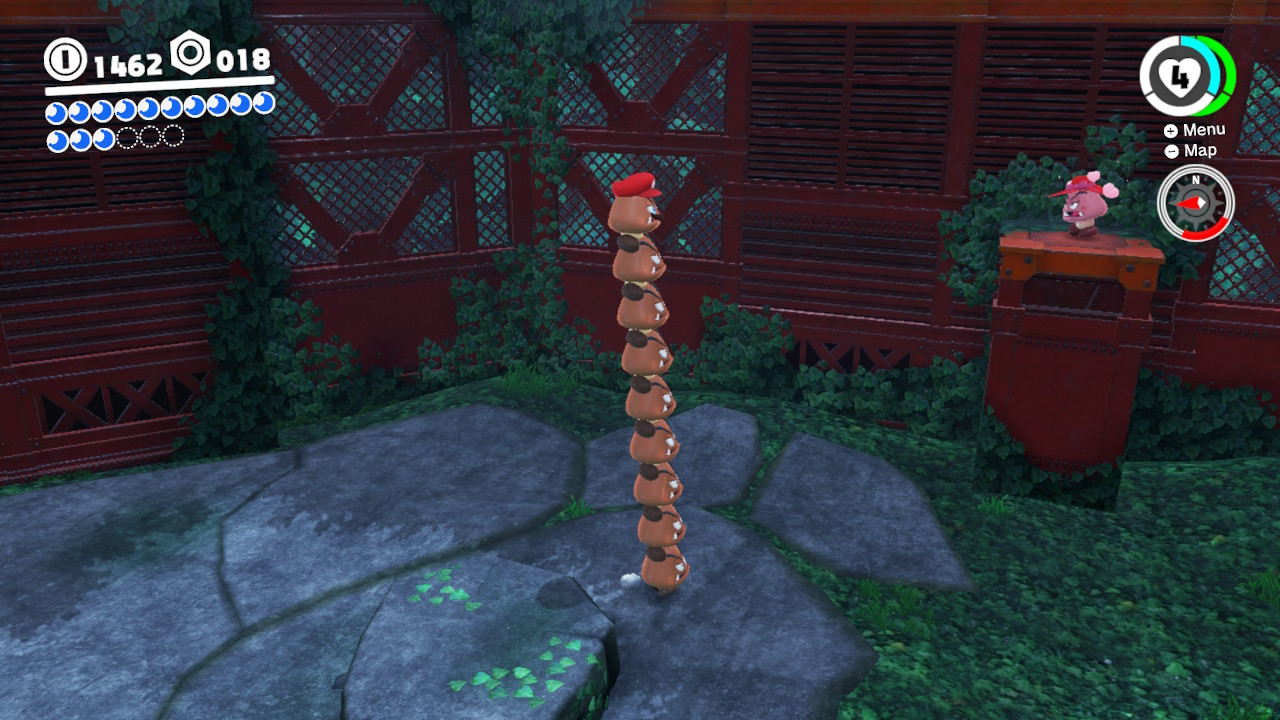
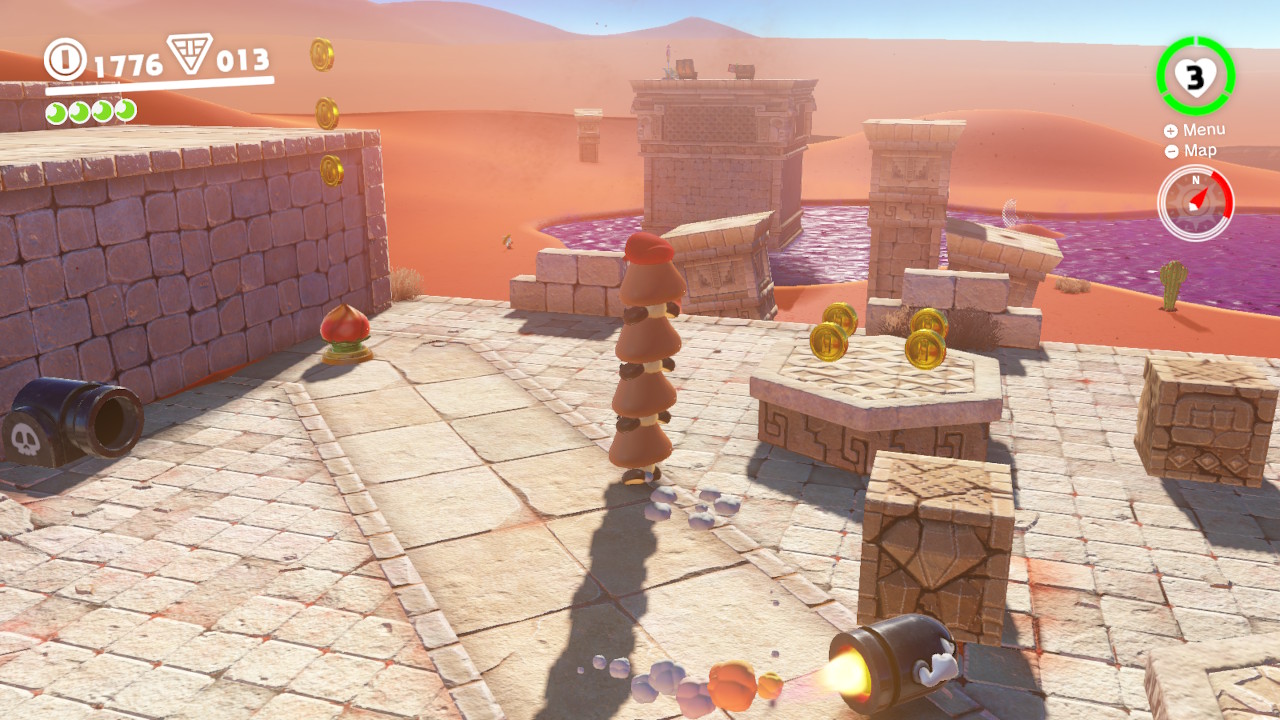
3- Balance the Goomba tower across the rolling corn…
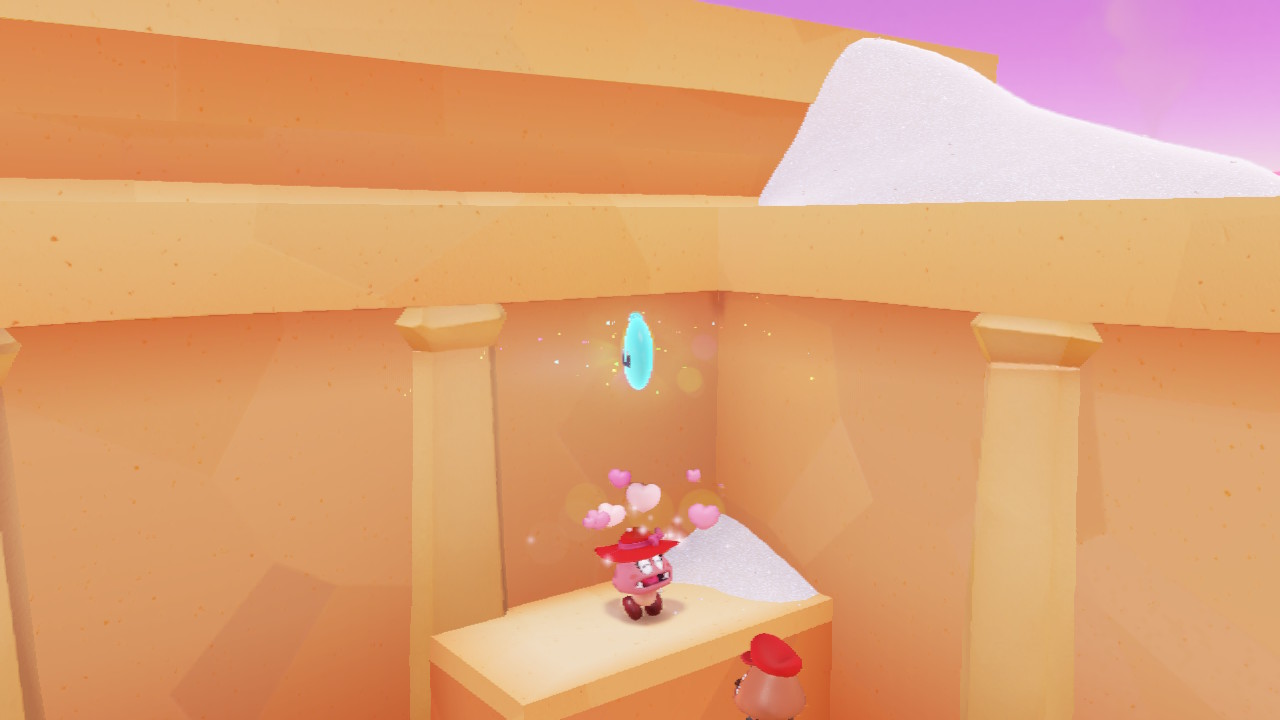
4- Stare directly into that BEAUTIFUL lady Goomba’s eyes and she will give you an equally beautiful prize!
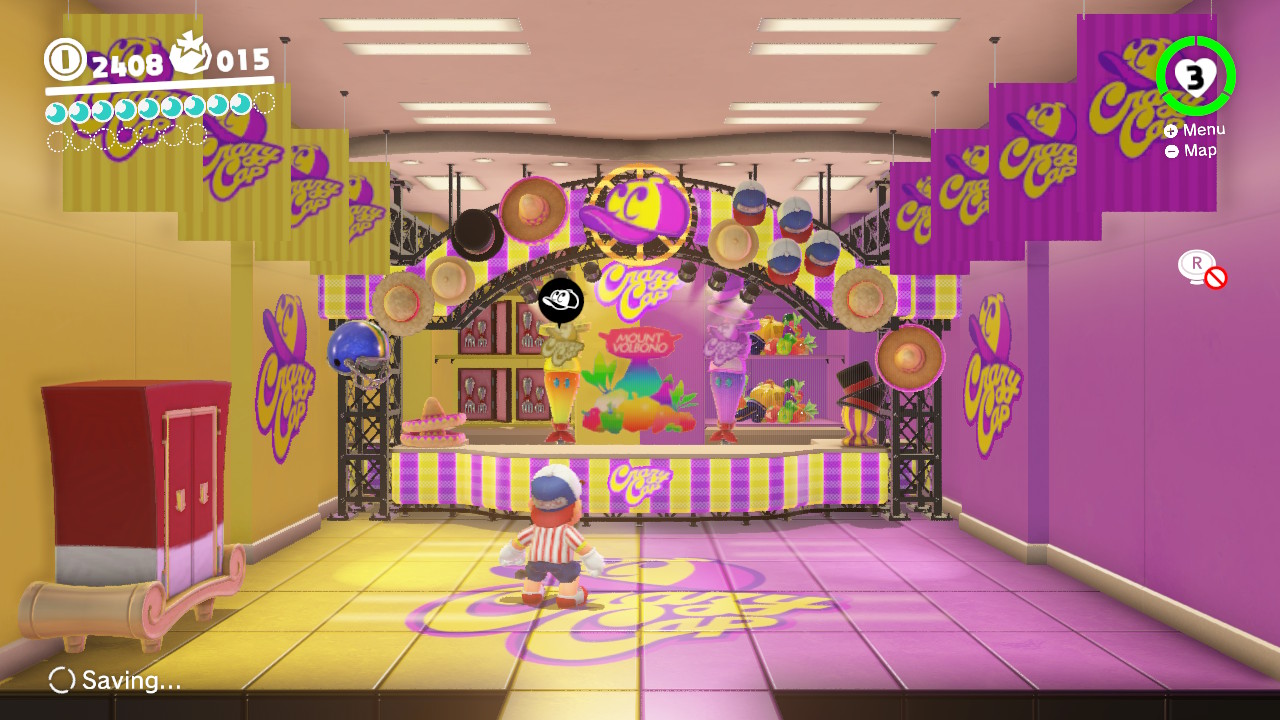
25 – Shopping in Mount Volbono
Location-
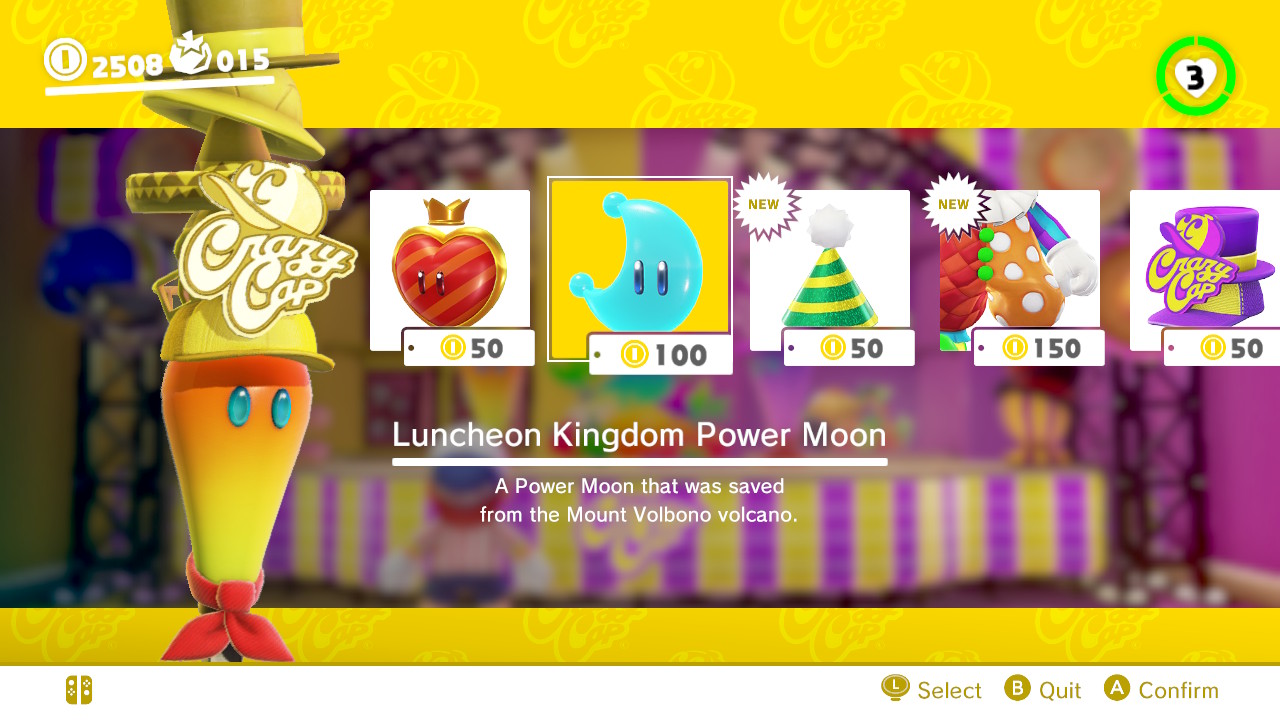
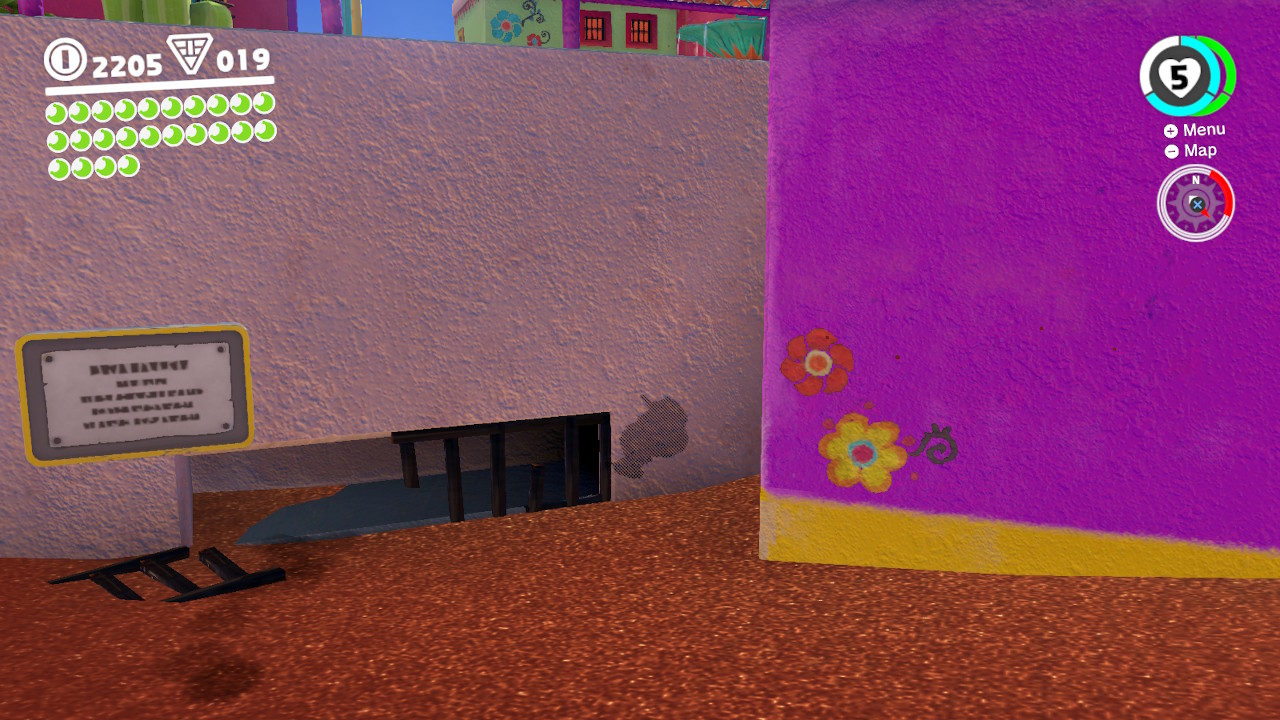
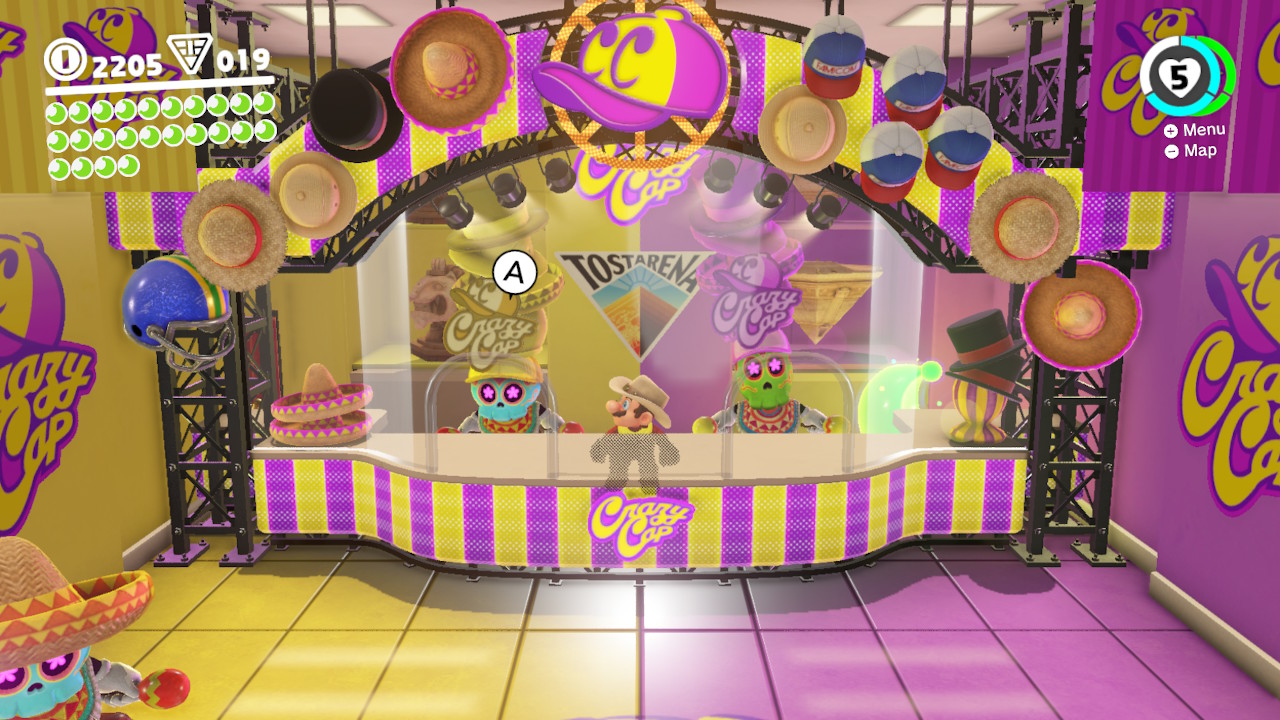
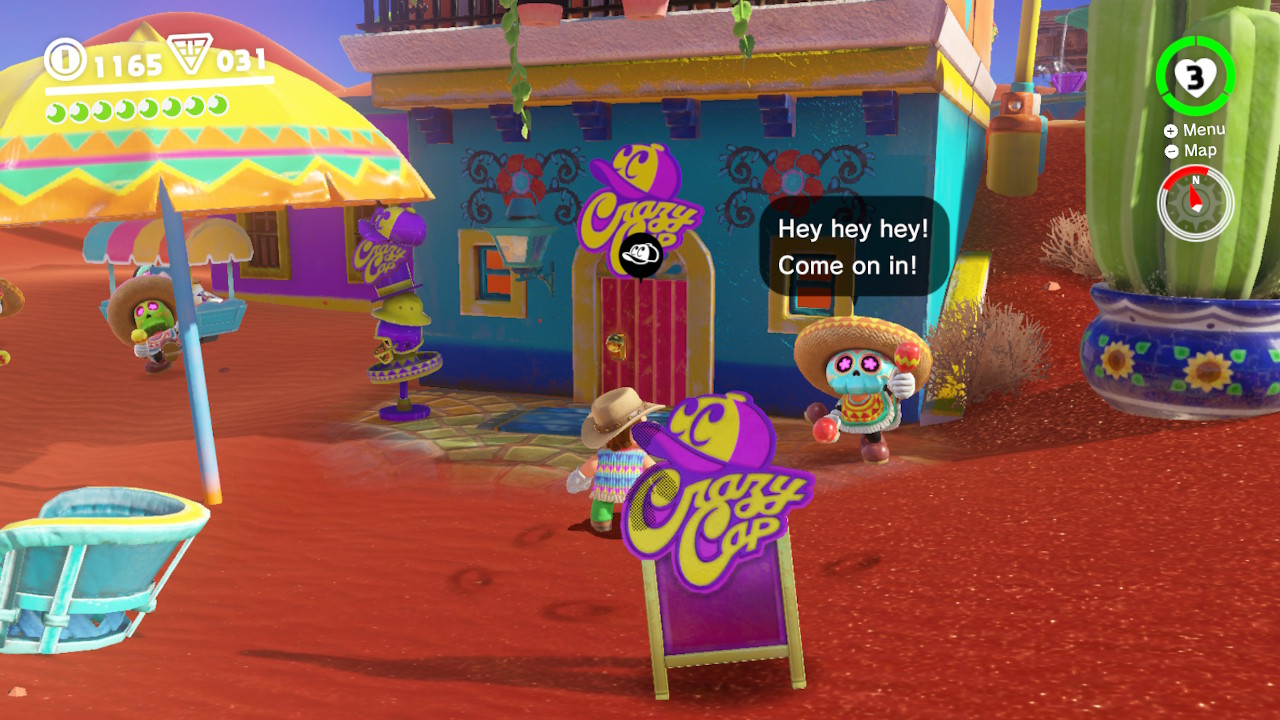
1- Crazy Caps is open for business in the Luncheon Kingdom!
2- What could possibly be for sale inside?…
3- Oh what do you know?! A Power Moon for 100 coins!
26 –
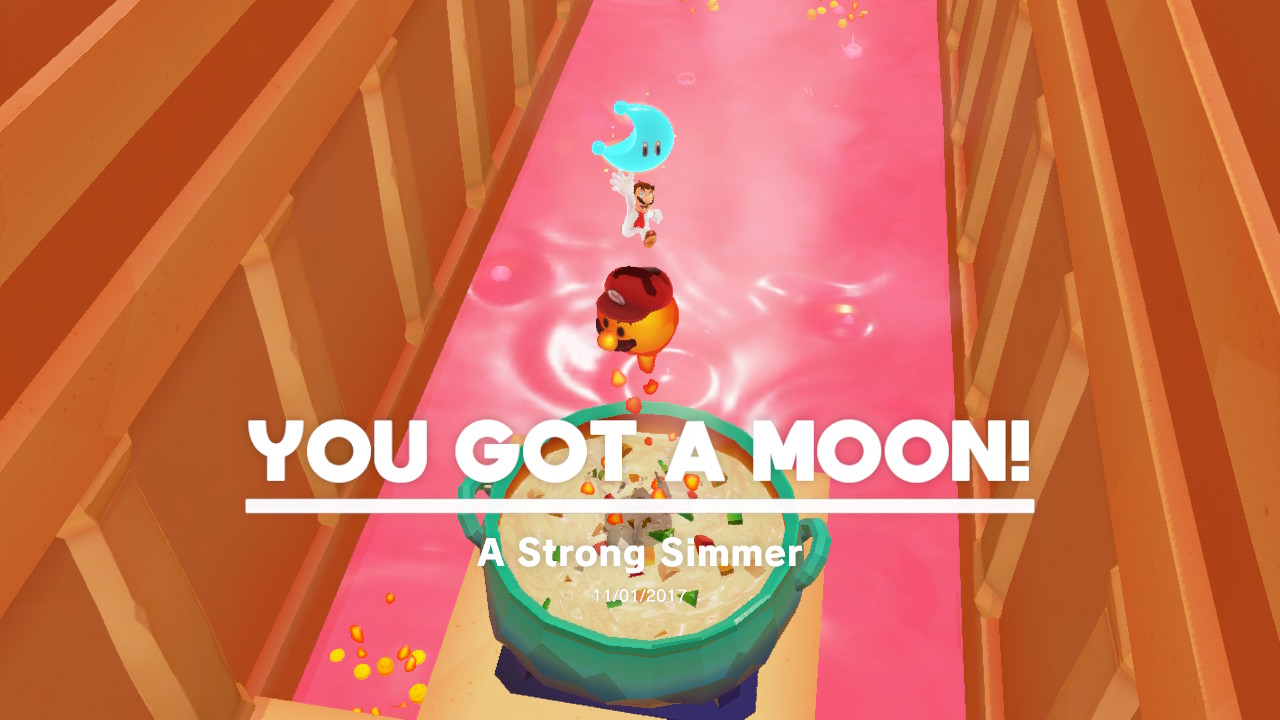
27 – A Strong Simmer
Location-
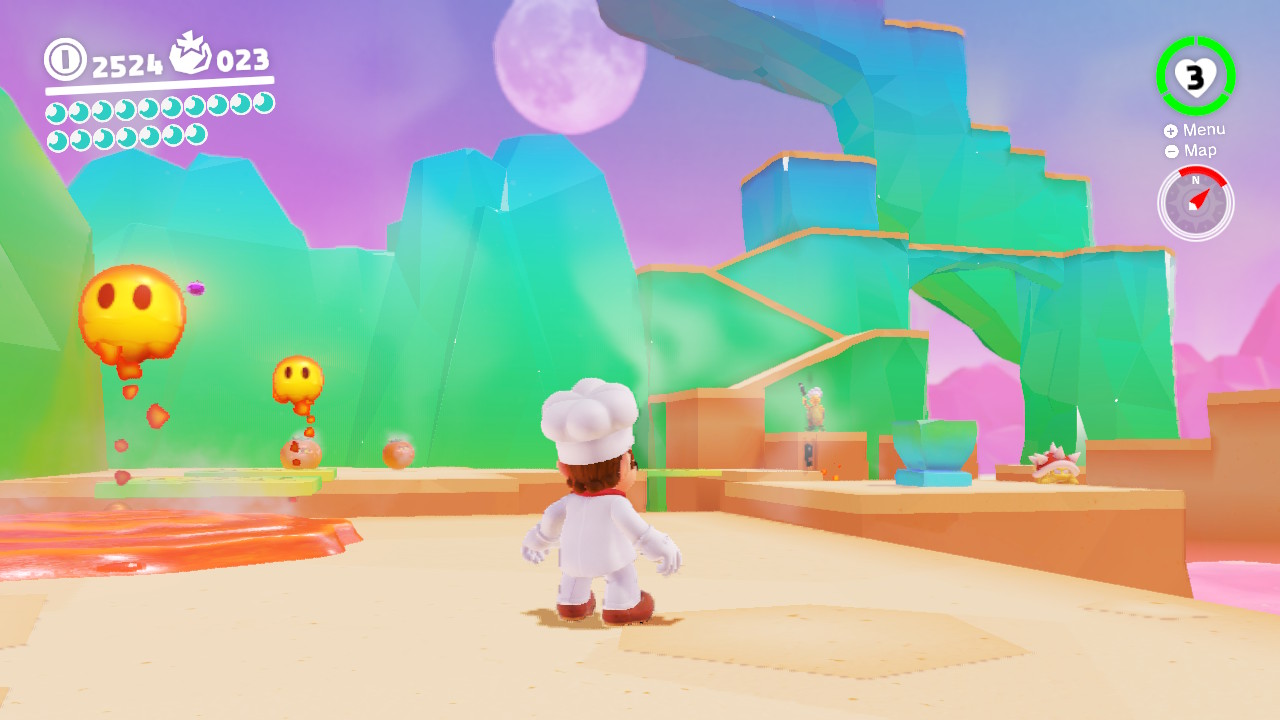
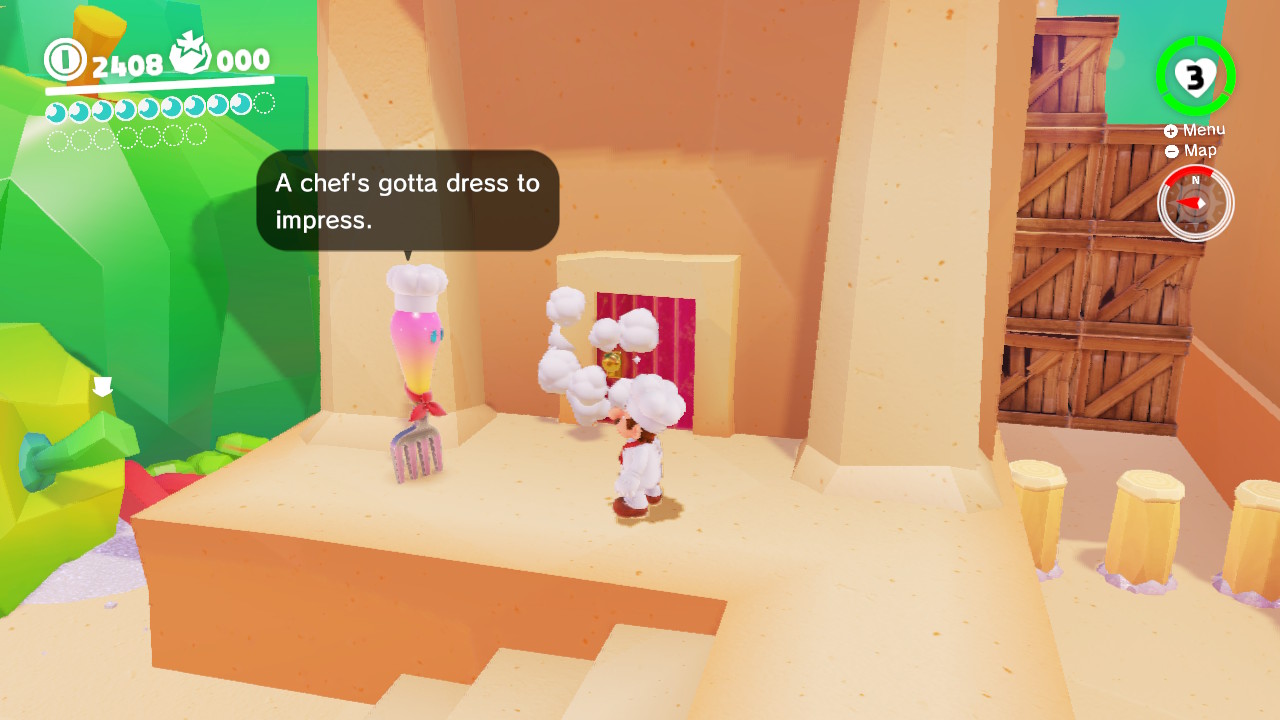
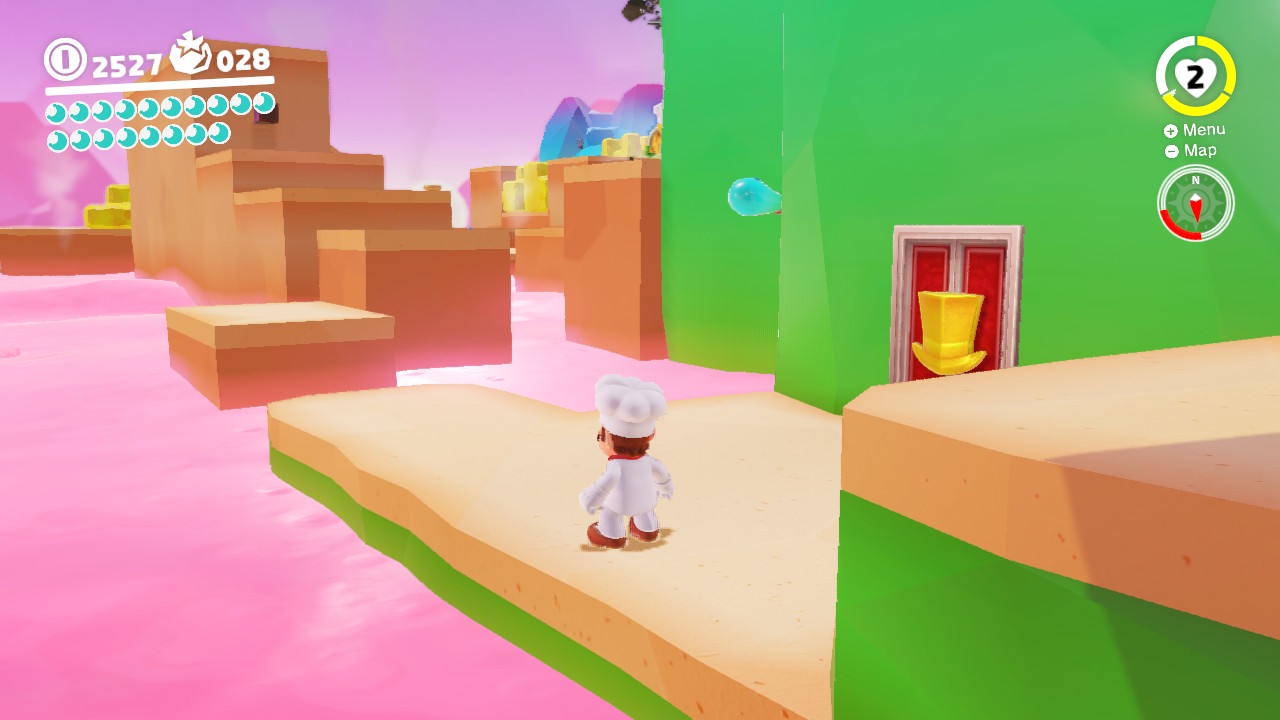
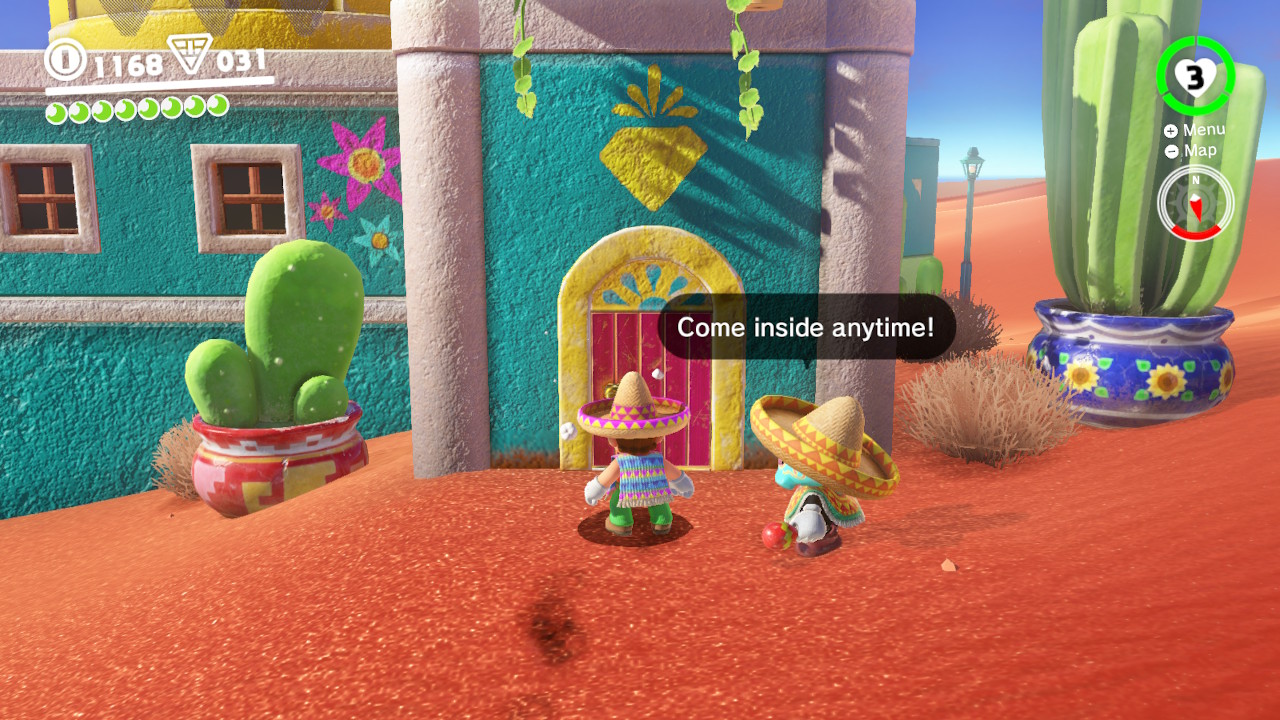
1- There’s a secret society for all cooks! Mario can’t get inside without his cook outfit, let’s head over to Crazy Caps (luckily it is RIGHT next door)…
2- Buy the Chef Hat and Chef Suit for a total of 15 Kingdom Coins…
3- Chef Mario…
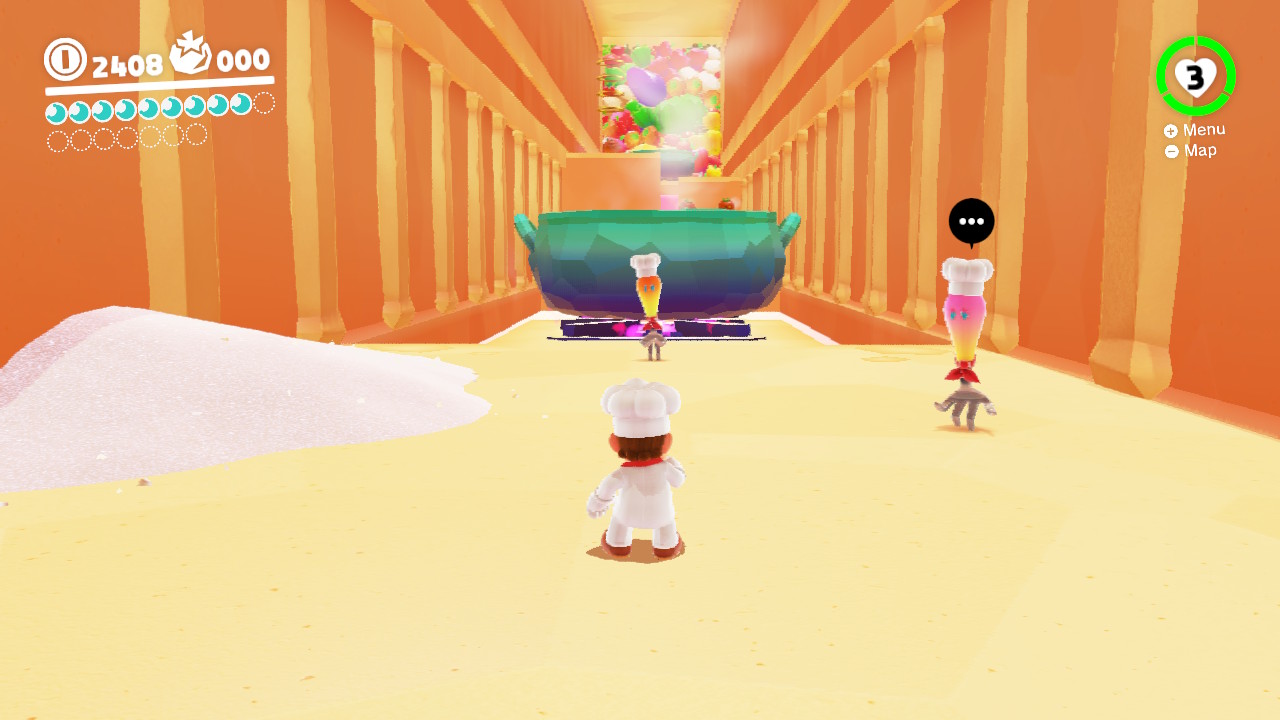
4- Now Mario can enter…
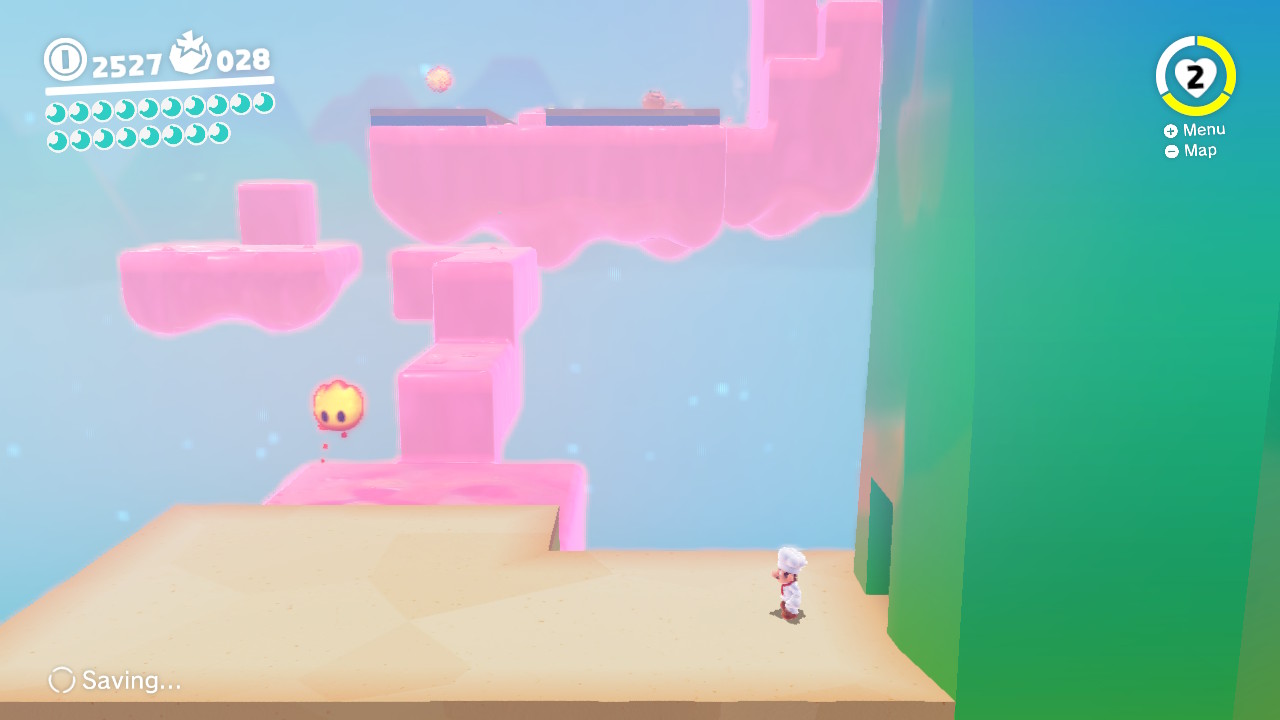
5- Inside you will see a bowl of soup that apparently needs to be HOTTER…
6- Capture a Lava Bubble…
7- Now jump into the soup bowl for a delicious snack! (And a tasty Power Moon)
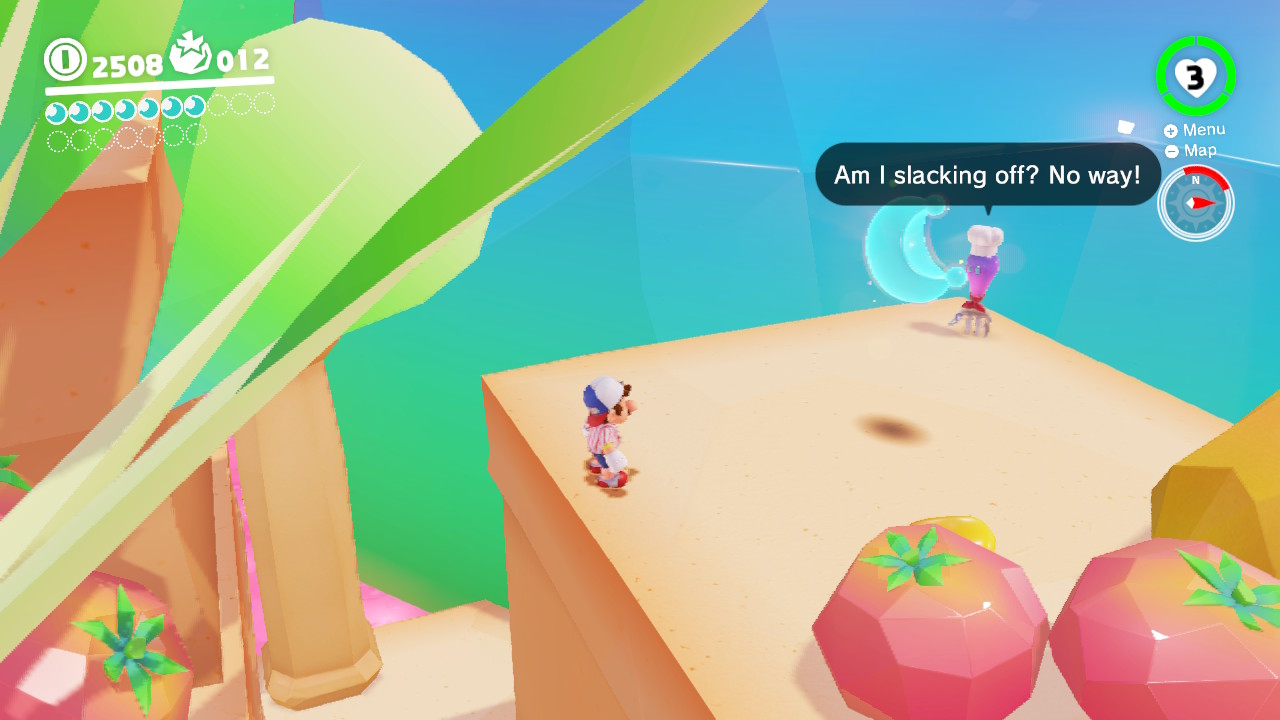
28 – An Extreme Simmer
Location-
1- There’s a secret society for all cooks! Mario can’t get inside without his cook outfit, let’s head over to Crazy Caps (luckily it is RIGHT next door)…
2- Buy the Chef Hat and Chef Suit for a total of 15 Kingdom Coins and put them on…
3- Now Mario can now enter the exclusive club…
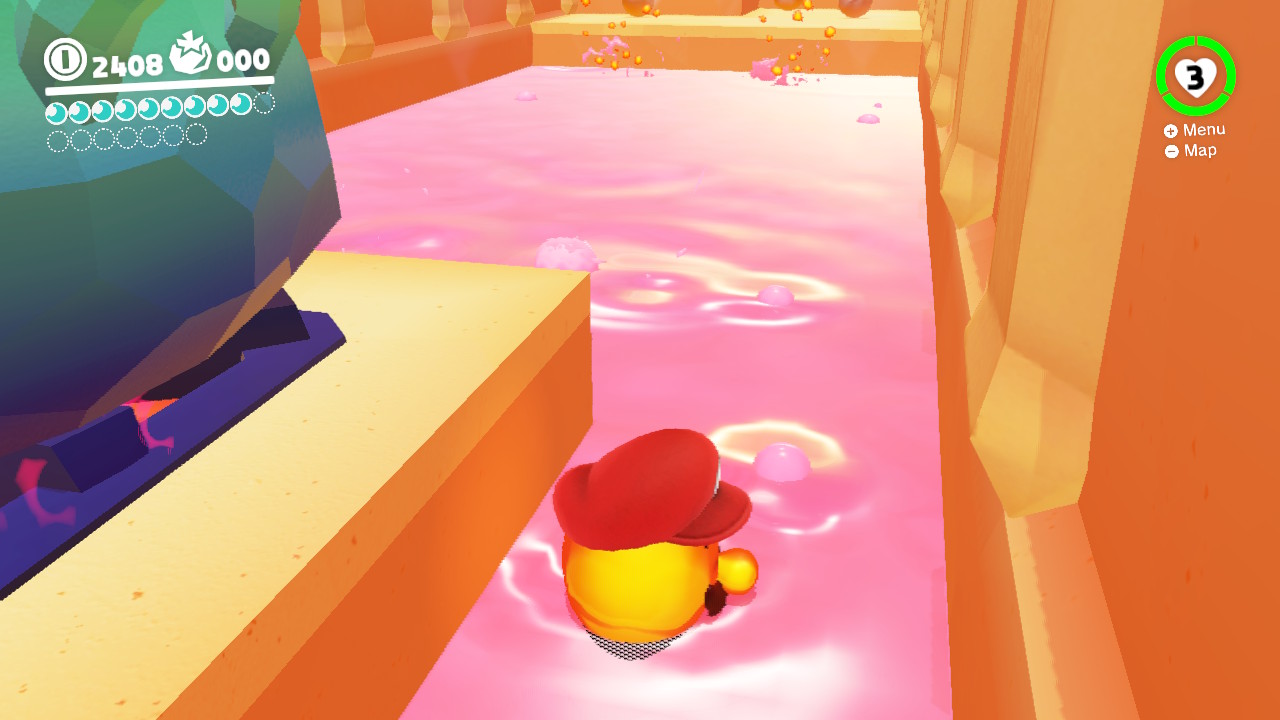
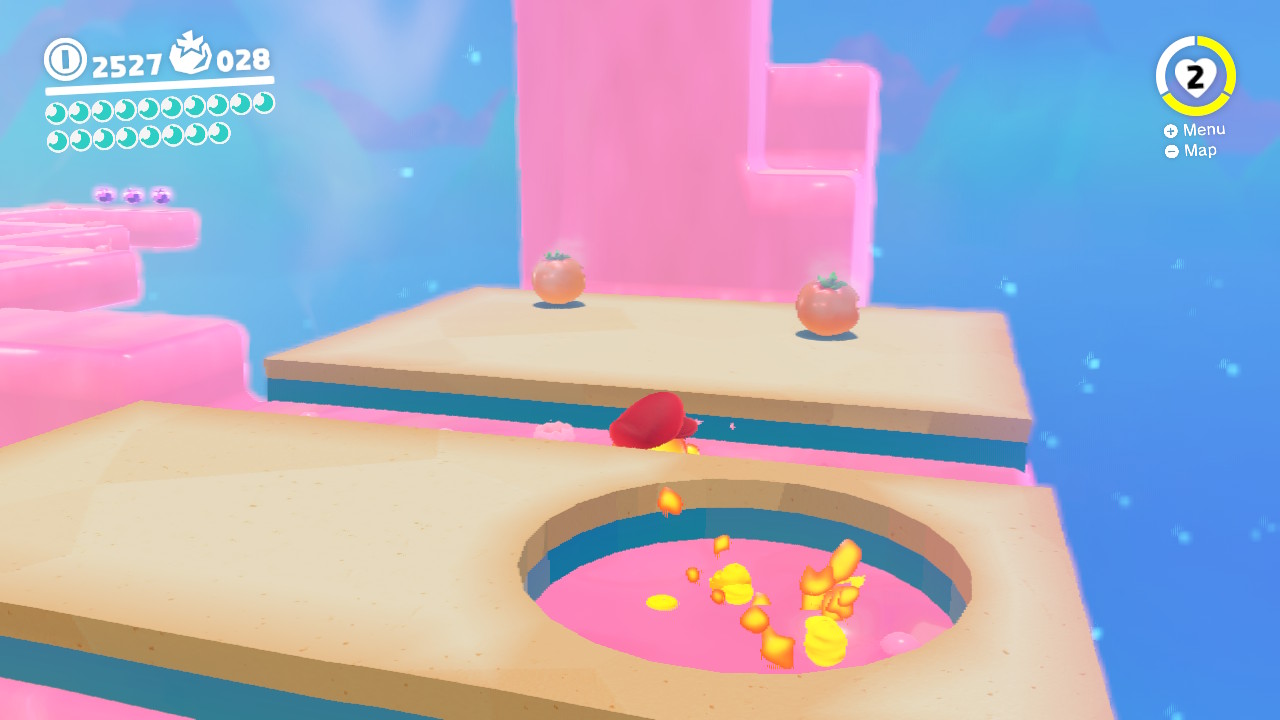
5- Inside you will see a bowl of soup. But BEYOND this bowl is where ANOTHER secret Power Moon is brewing…
6- Capture a Lava Bubble and head towards the back of the room…
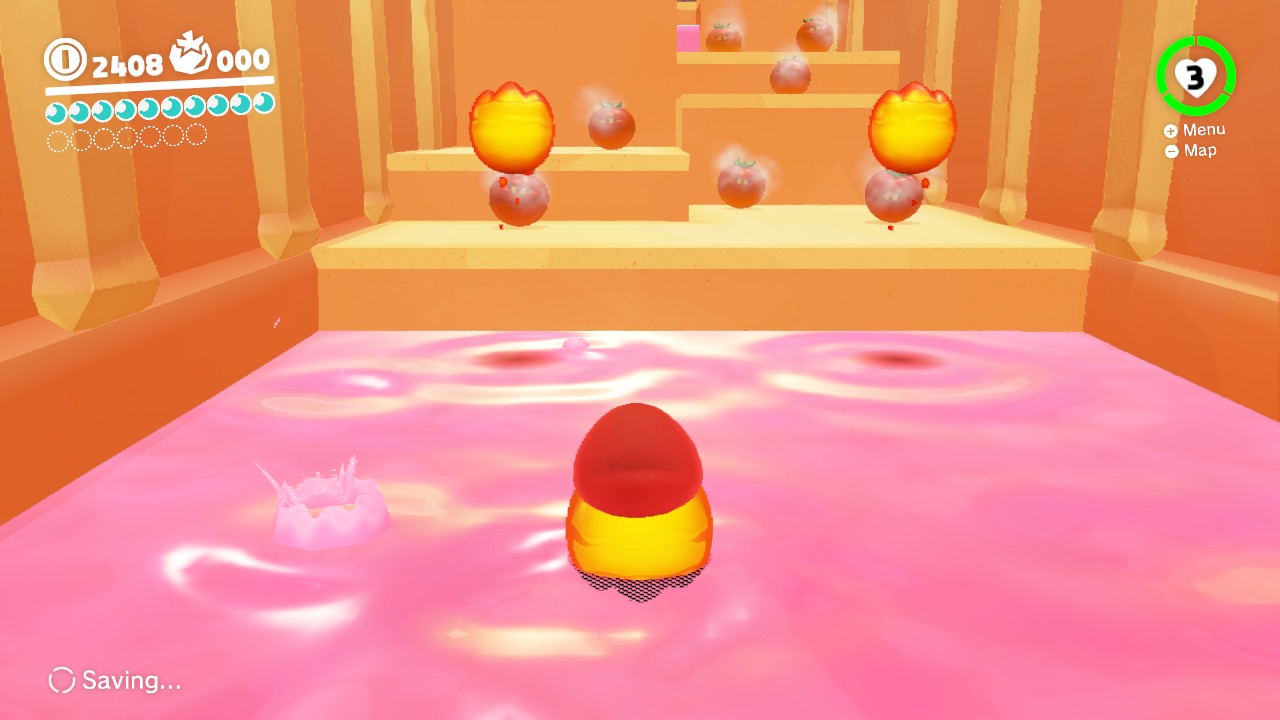
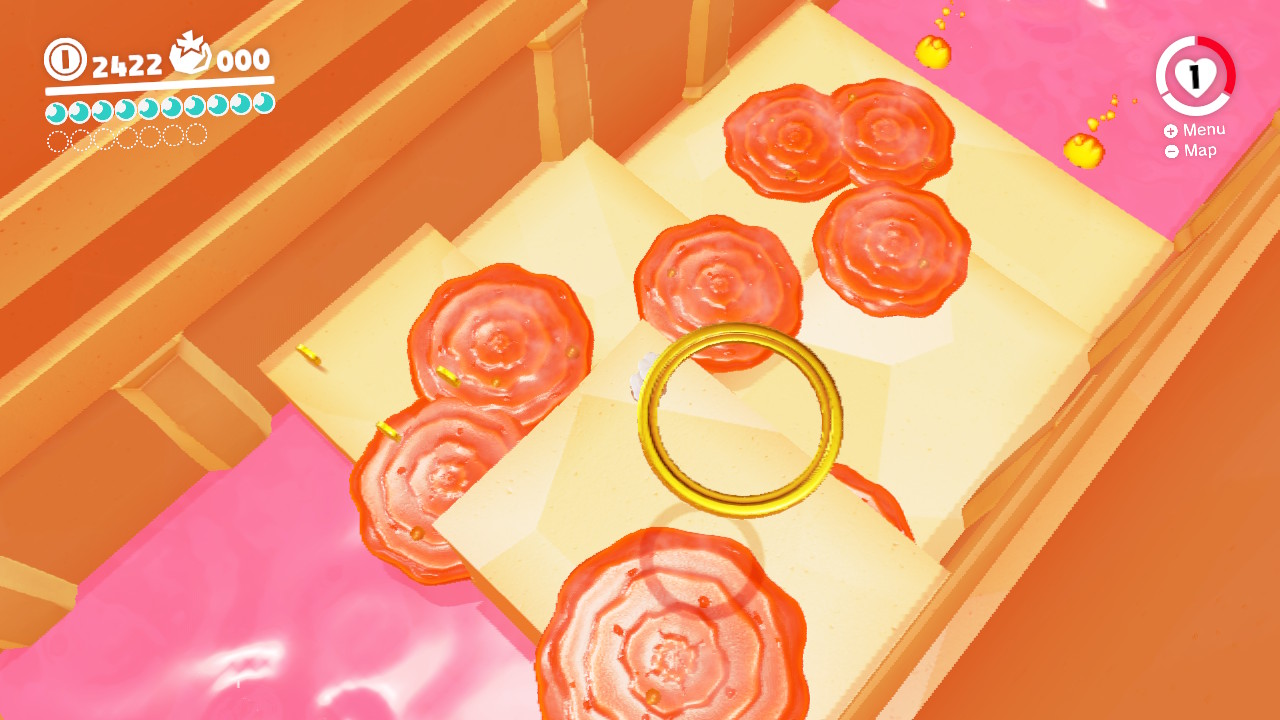
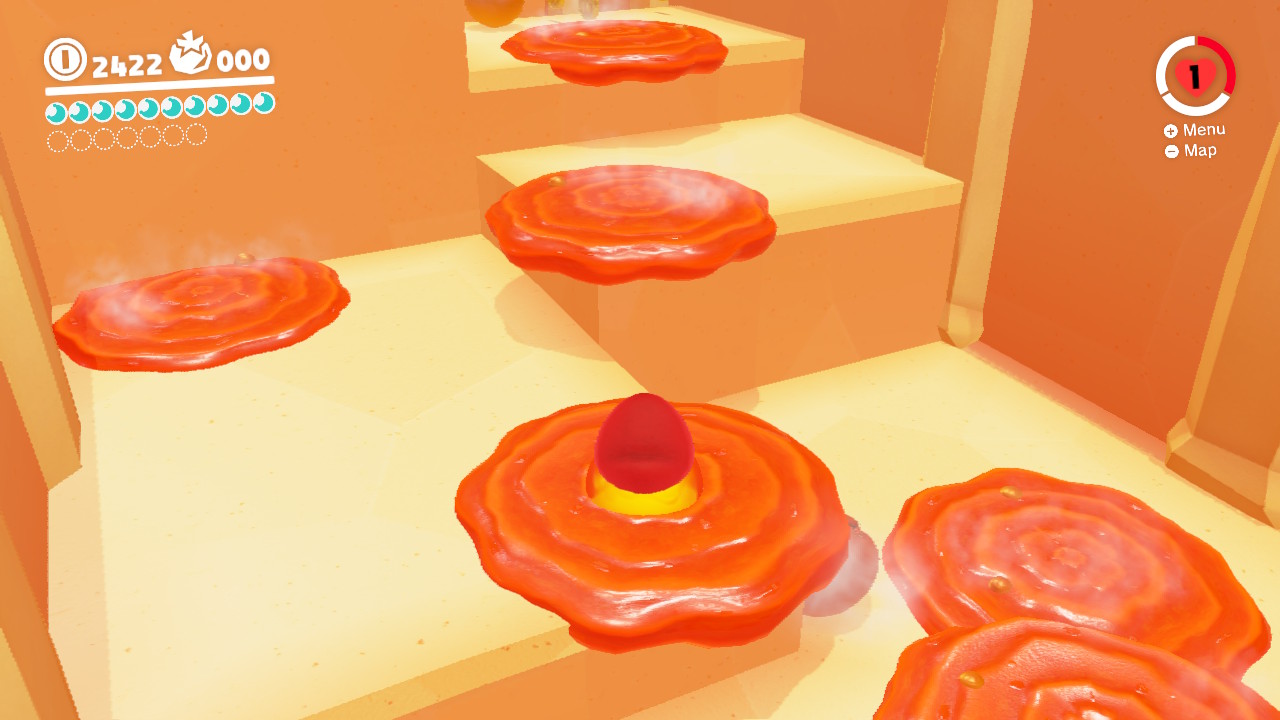
7- There are a bunch of hot tomatoes bouncing around, hit them with Cappy or by jumping on them to create a hot pool for your Lava Bubble to jump on…
8- Hop across the tomatoe pools…
9- On the other side is ANOTHER soup bowl…
10- Jump inside the soup bowl for a Power Moon!!
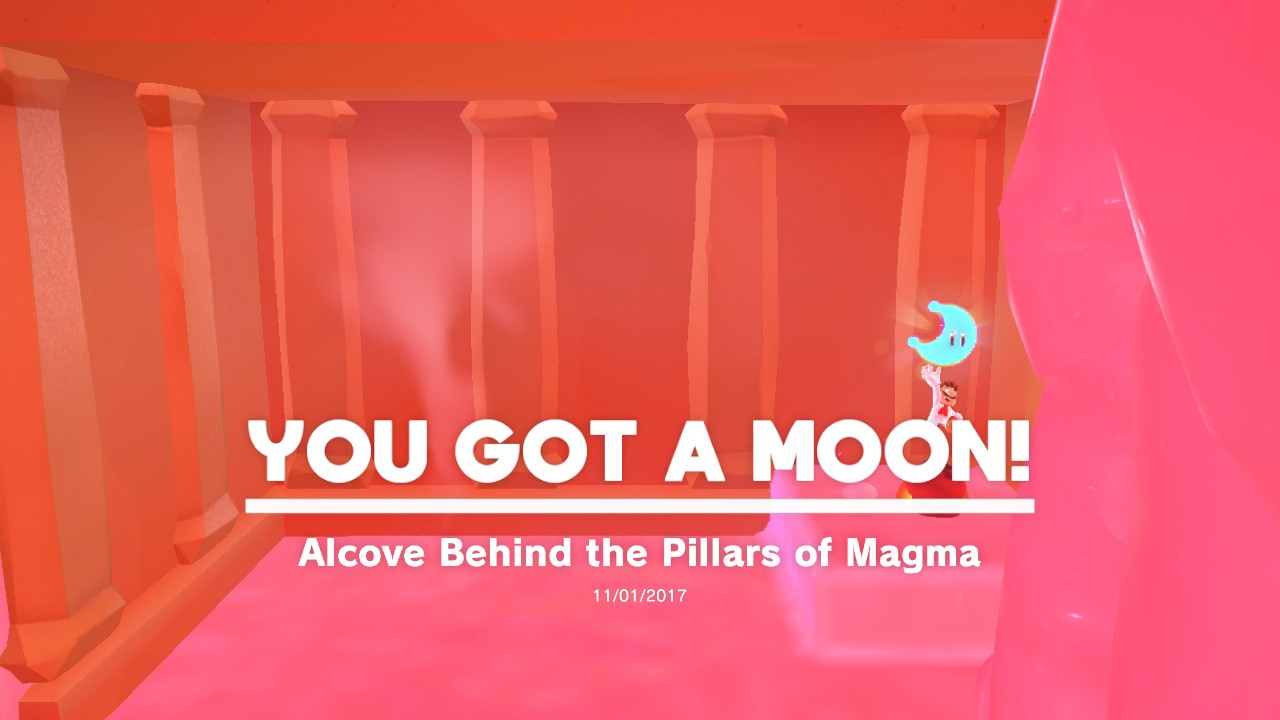
29 – Alcove Behind the Pillars of Magma
Location-
1- On the path towards the “Climb Up the Cascading Magma” Power Moon there is another secret Moon hiding behind the magma…
2- While on the magma pillars, turn around and you see notice the Power Moon!
30 –
31 –
32 –
33 –
34 –
35 –
36 –
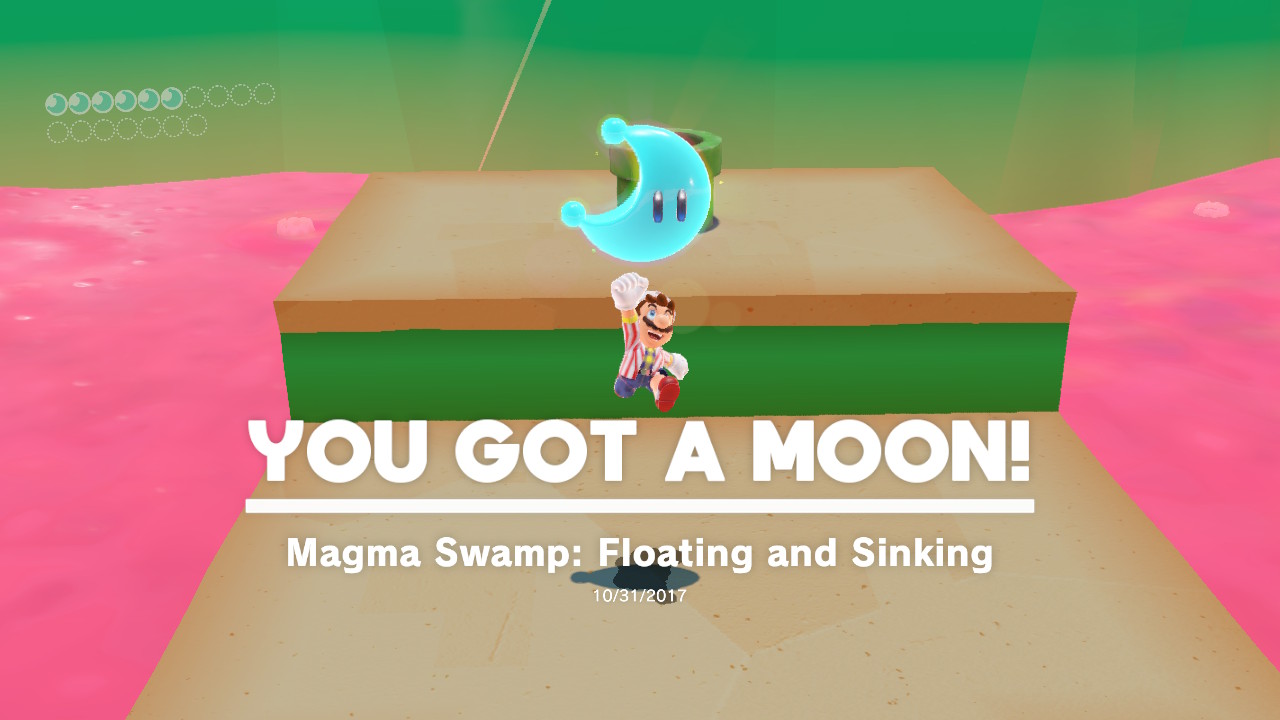
37 – Magma Swamp: Floating and Sinking
Location-
1- Hidden down beneath the walkway that heads towards the Peronza Plaza is a Cappy doorway…
2- Inside is a lava-filled obstacle course…
3- Five moon shards need to be collected…
4- The floating platforms move up and down, so be careful… (shard 1/5 shown)
5- There are Piranha Plants as well so watch out… (shard 2/5 shown)
6- Don’t touch the lava… (shard 3/5 shown)
7- Be carefullllll… (shard 4/5 shown)
8- The last shard… (shard 5/5 shown)
9- The Power Moooooon!
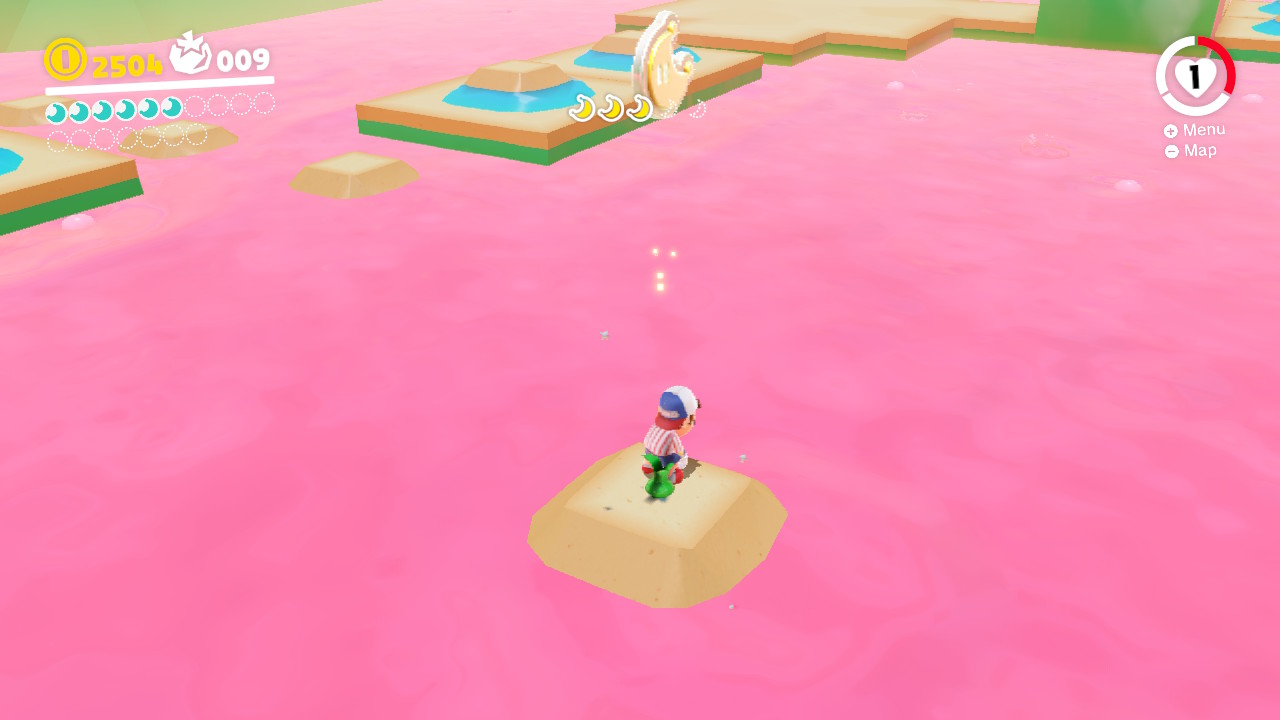
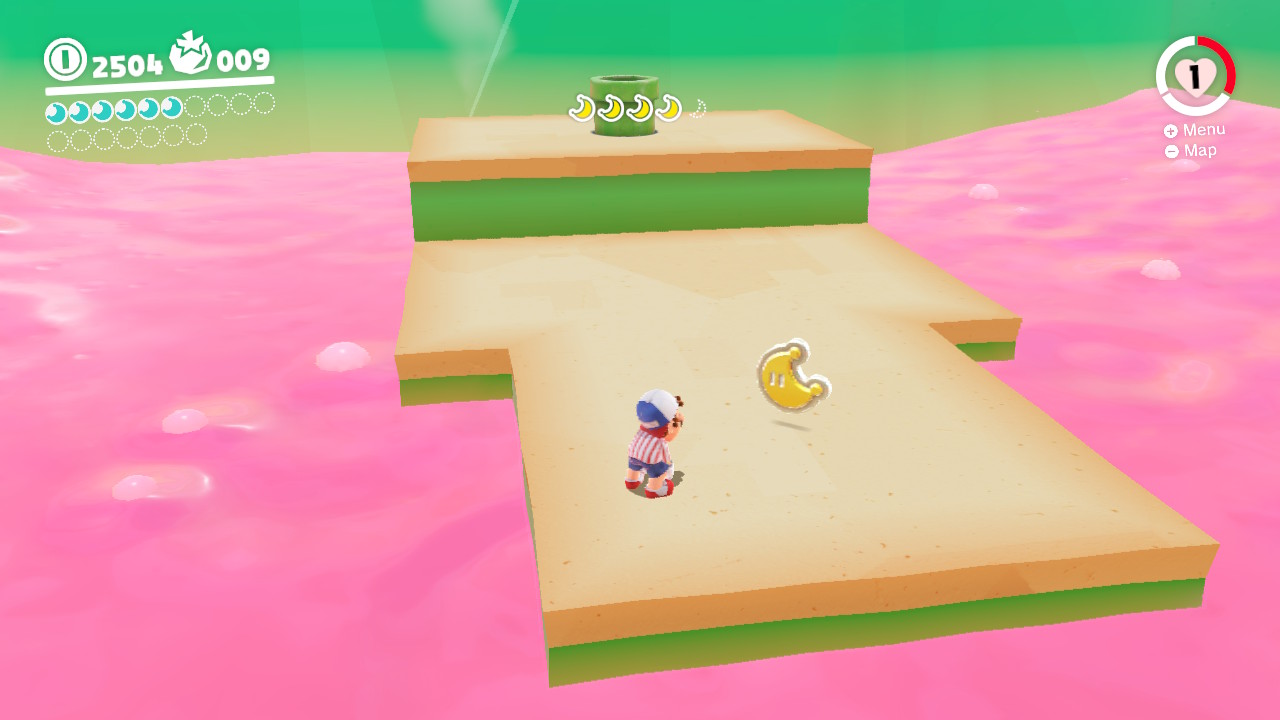
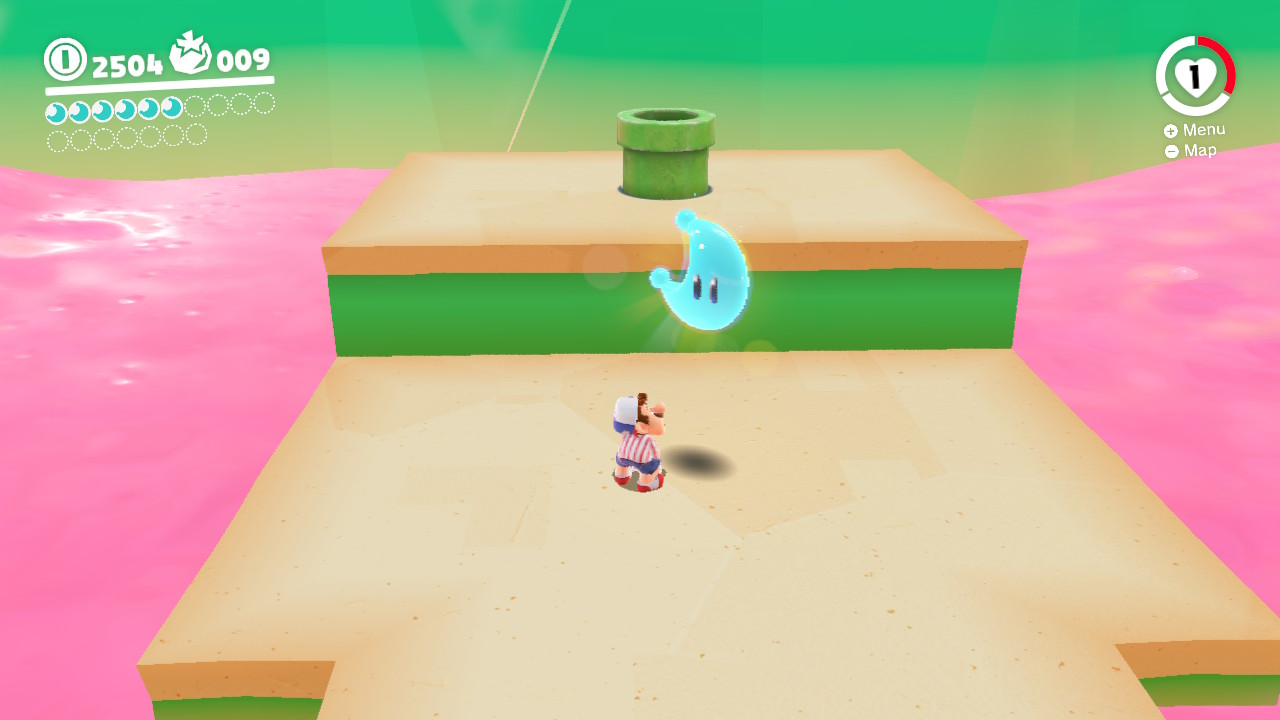
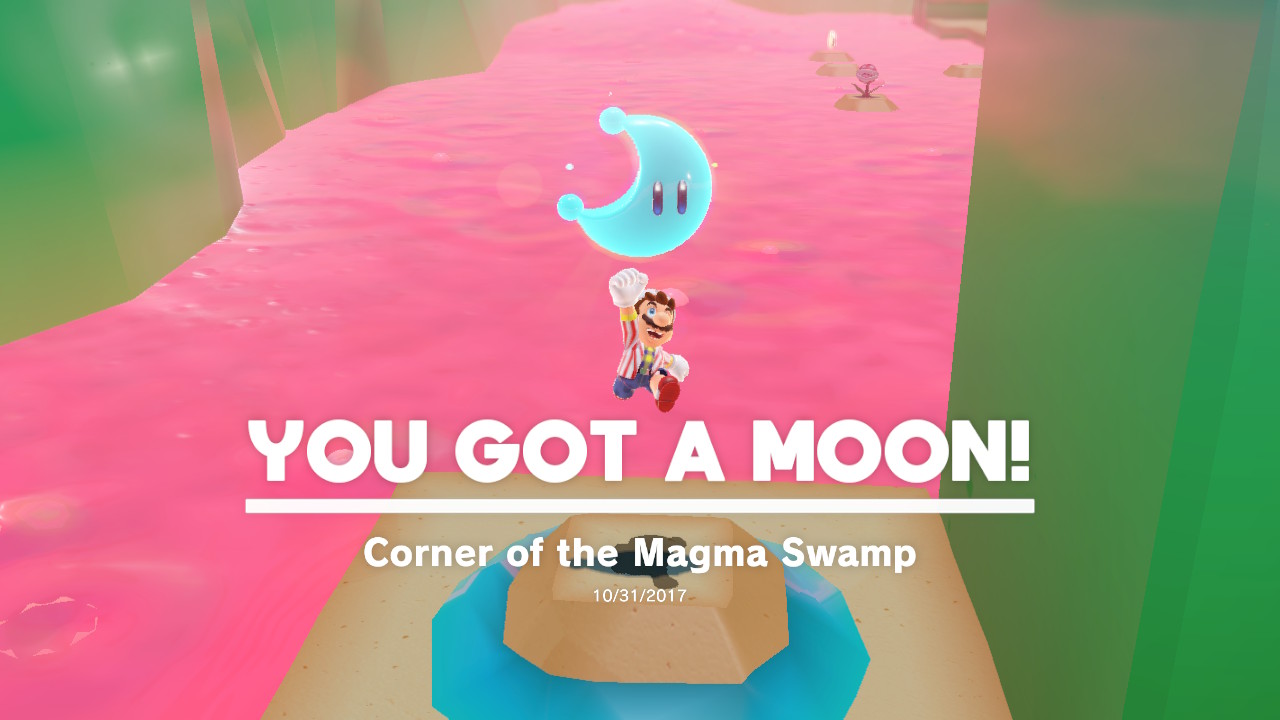
38 – Corner of the Magma Swamp
Location-
1- Hidden down beneath the walkway that heads towards the Peronza Plaza is a Cappy doorway…
2- Inside is a lava-filled obstacle course…
3- Instead of collecting all the shards, turn around to see some hidden floating platforms…
4- Around the corner is the Power Moon! (Don’t touch the Lava!)
39 – Magma Narrow Path
Location-
1- Around this corner is a hidden Cappy door…
2- Inside is a Lava Bubble course of death…
3- Capture the Lava Bubble and swim through the lava…
4- Be VERY careful on the skinny lava-ways and reach the Power Moon at the finish!
40 – Crossing to the Magma
Location-
1- Around this corner is a hidden Cappy door…
2- Inside is a Lava Bubble course of death…
3- Halfway through there are a couple hot tomatoes and a lava stairway…
4- Destory the hot tomatoes, capture the Lava Bubble, and climb up the lava stairway…
5- On top of the lava stairway is the “Crossing to the Magma” Power Moon!
41 – Fork Flickin’ to the Summit
Location-
1- There is a Cappy door that can be seen from the “Salt-pile Isle” checkpoint…
2- Capture a Lava Bubble and jump in the lava…
3- Swim over and jump up onto the platforms…
4- Inside is a flicktastic obstacle course…
5- Throw Cappy onto the Fork Flicks and arrows to launch upward…
6- Keep flickin’…
7- At the top is a Power Moon!
42 – Fork Flickin’ Detour
Location-
1- There is a Cappy door that can be seen from the “Salt-pile Isle” checkpoint…
2- Capture a Lava Bubble and jump in the lava…
3- Swim over and jump up onto the platforms…
4- Inside is a flicktastic obstacle course, flick all the way to the top…
5- Once at the top, notice another structure to the right. You will need to long jump across…
6- The Power Moon is a long jump away! Check out the video!
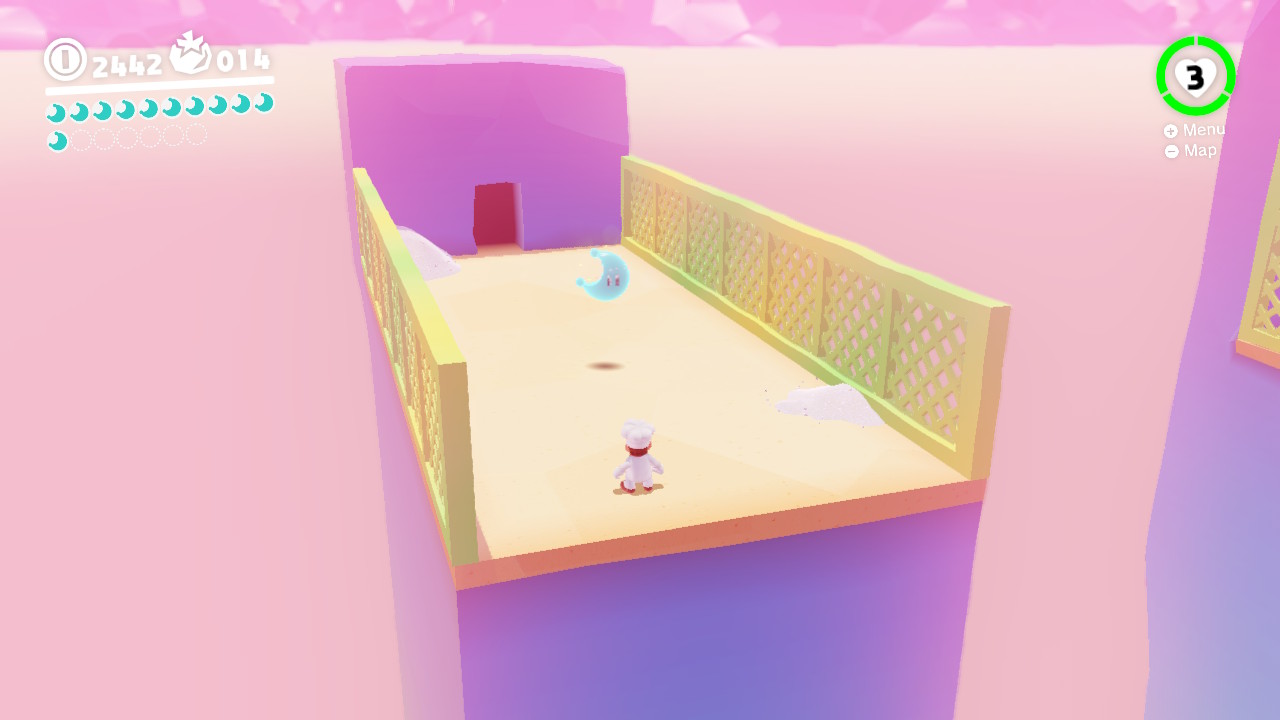
43 – Excavate ‘n’ Search the Cheese Rocks
Location-
1- There is a Cappy door hiding behind a cheese wall, you’ll need to capture a Hammer Bro…
2- Take the Hammer Bro behind the structure…
3- Destroy the cheese chunk and you will have access to the door…
4- Inside is an insane room of cheese rocks, you need to find the 5 shards…
5- You will need to break away the cheese rock to reveal the shards… (Shard 1/5 shown)
6- Here is another shard… (Shard 2/5 shown)
7- Against the far wall is a hole where another shard is found… (Shard 3/5 shown)
8- Keep breaking apart the cheese rocks… (Shard 4/5 shown)
9- This last one took me a LONG time to find, it’s hidden UNDER the cheese rocks on the left wall… (Shard 5/5 shown)
10- The Power Moon!!!
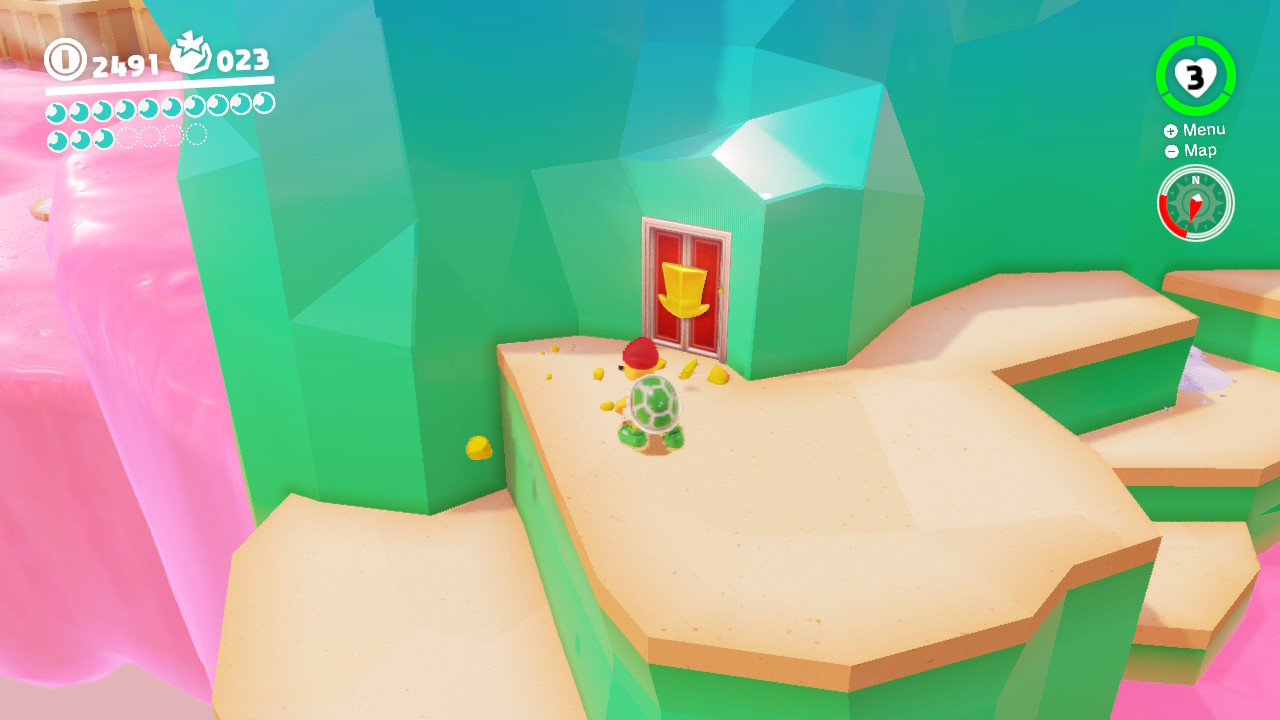
44 – Climb the Cheese Rocks
Location-
1- There is a Cappy door hiding behind a cheese wall, you’ll need to capture a Hammer Bro…
2- Take the Hammer Bro behind the structure…
3- Destroy the cheese chunk and you will have access to the door…
4- Inside is a cheese room, look to the right side and you will notice a stairway wall of cheese rock…
5- Break up and climb the wall of cheese to find a hole in the wall…
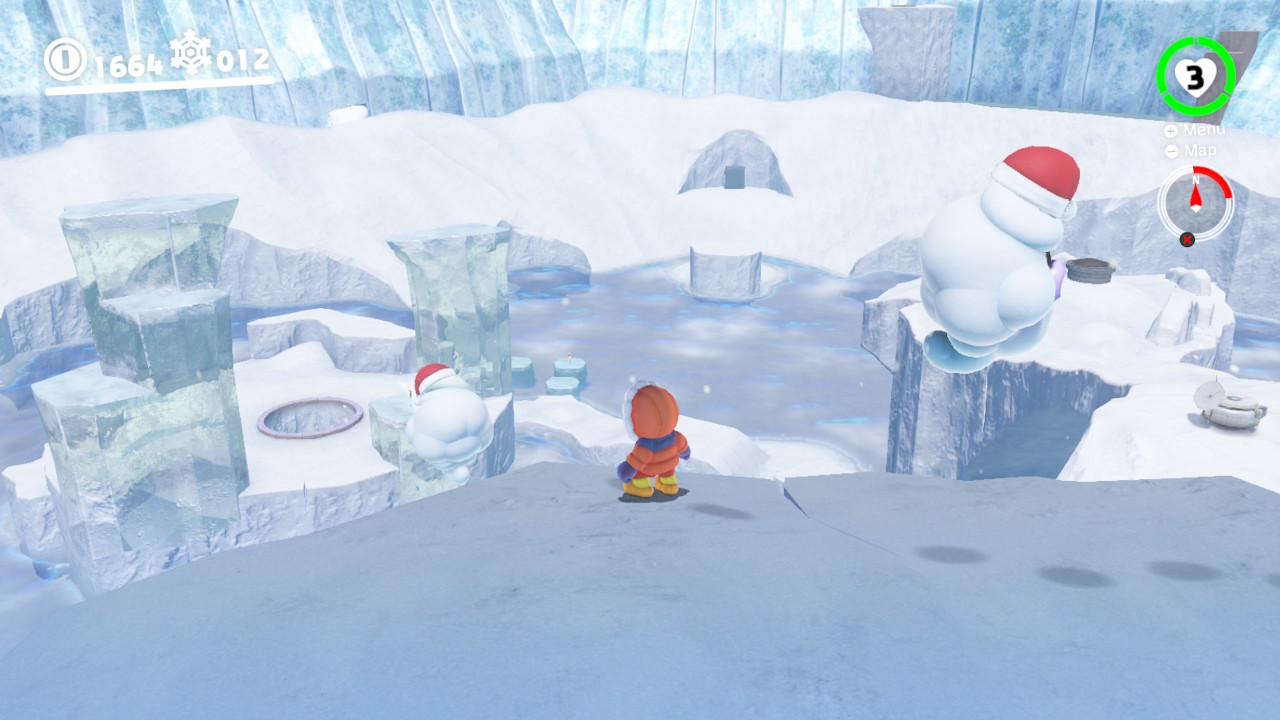
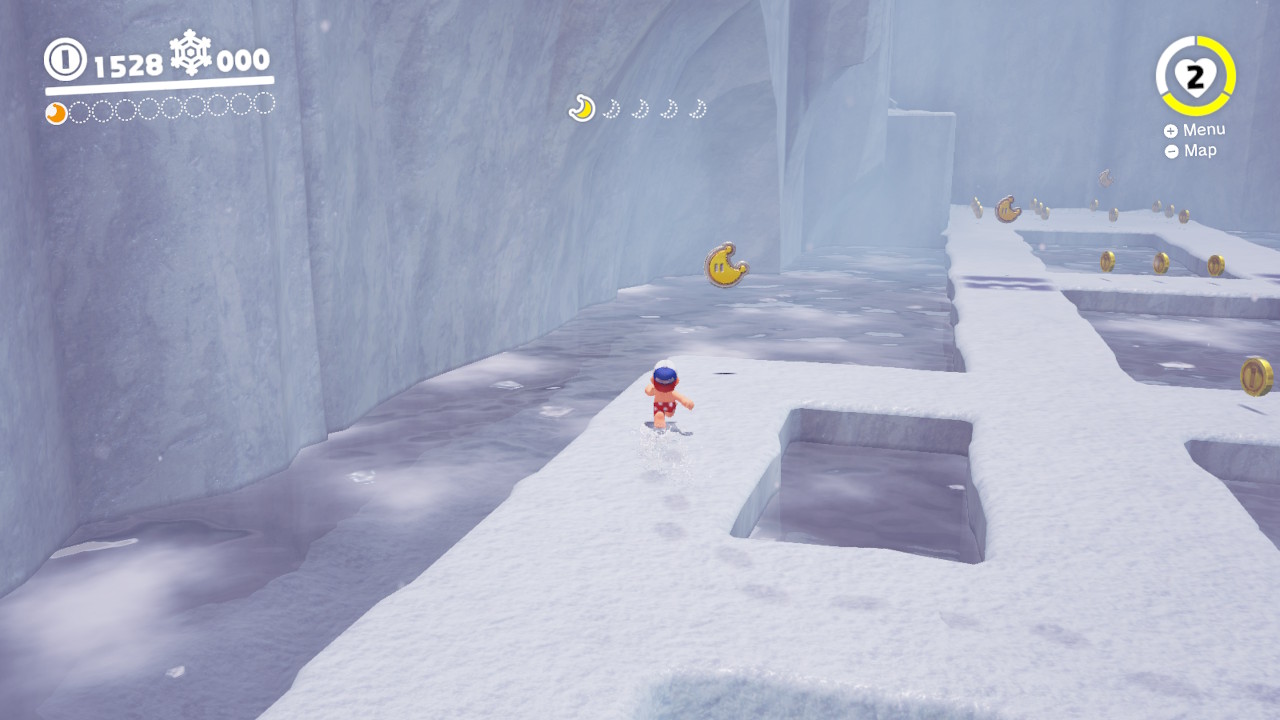
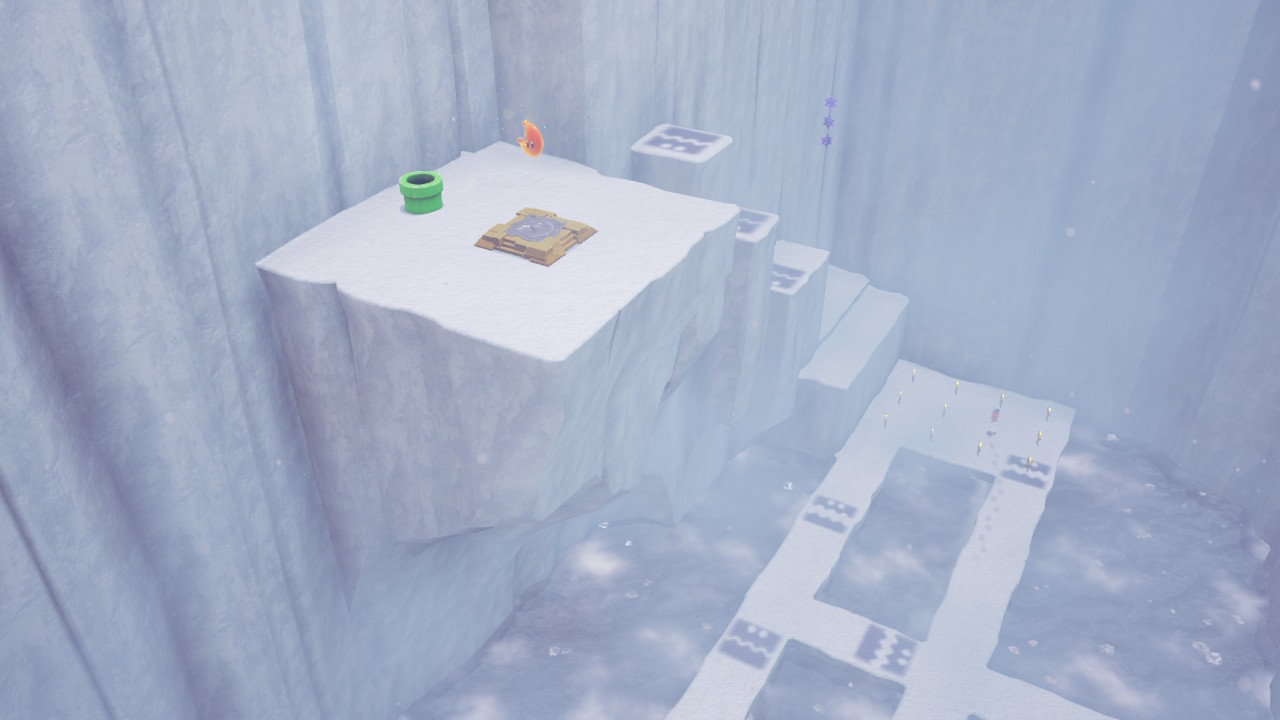
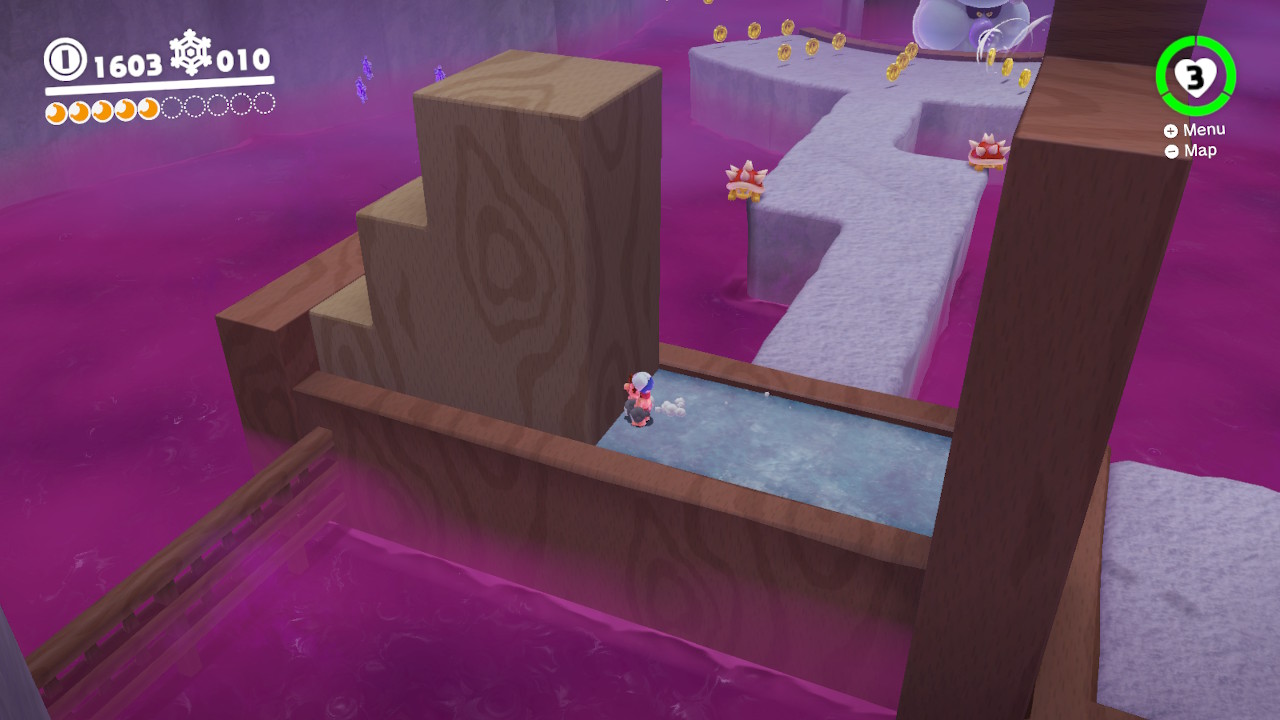
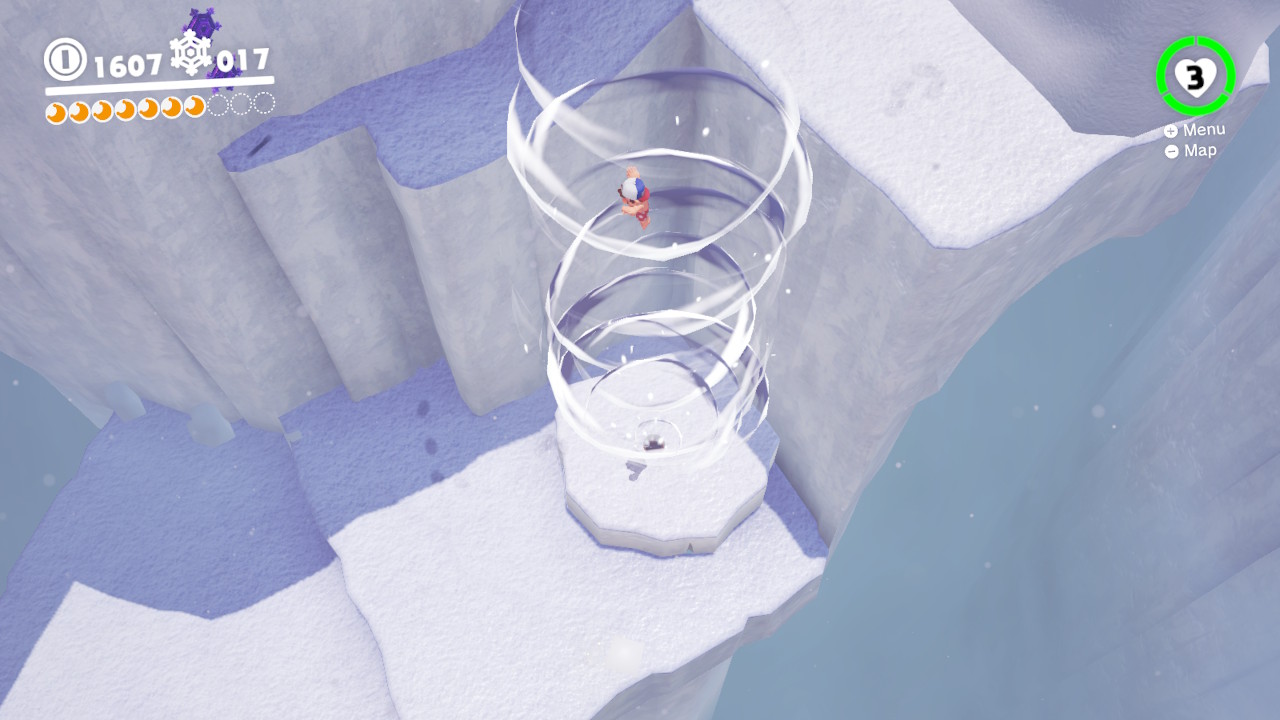
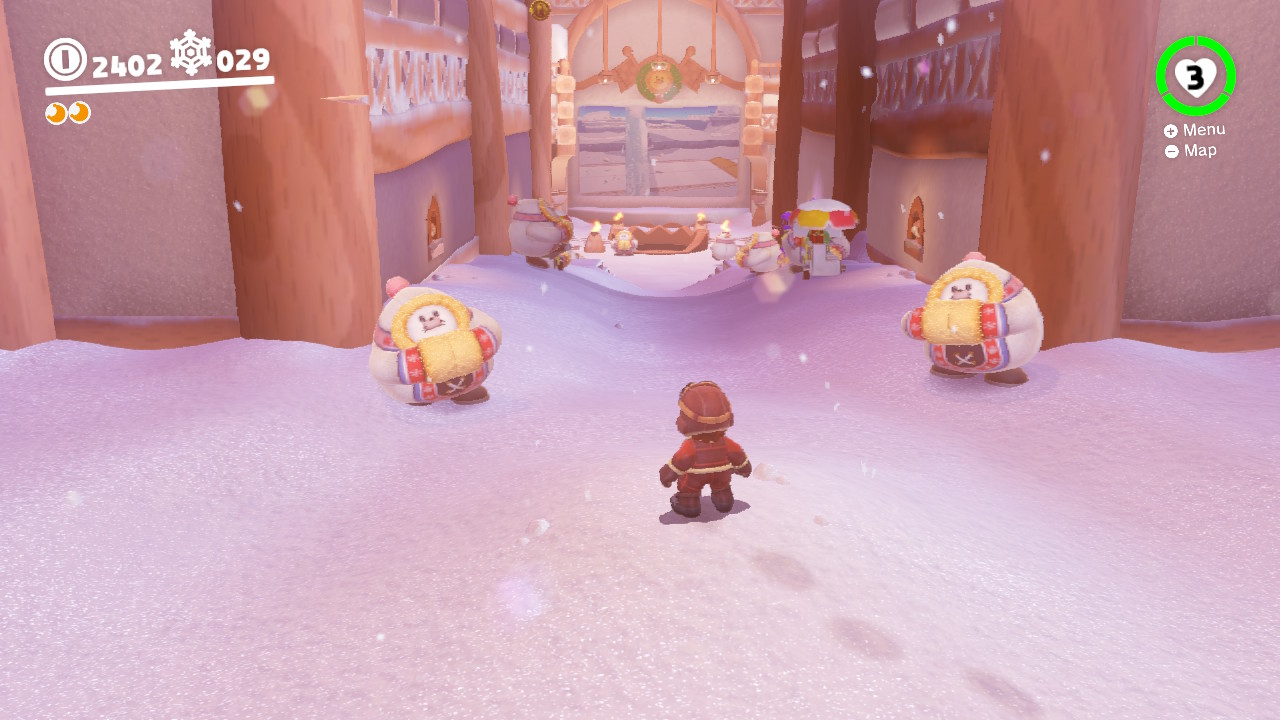
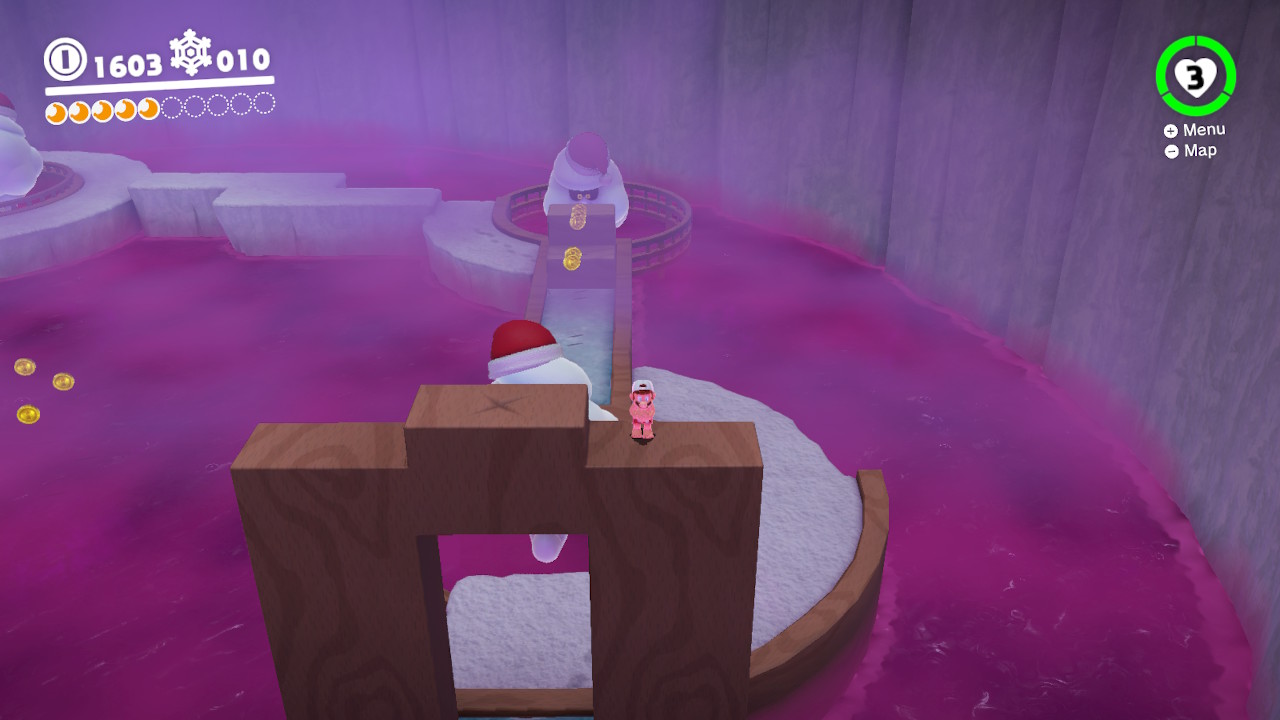
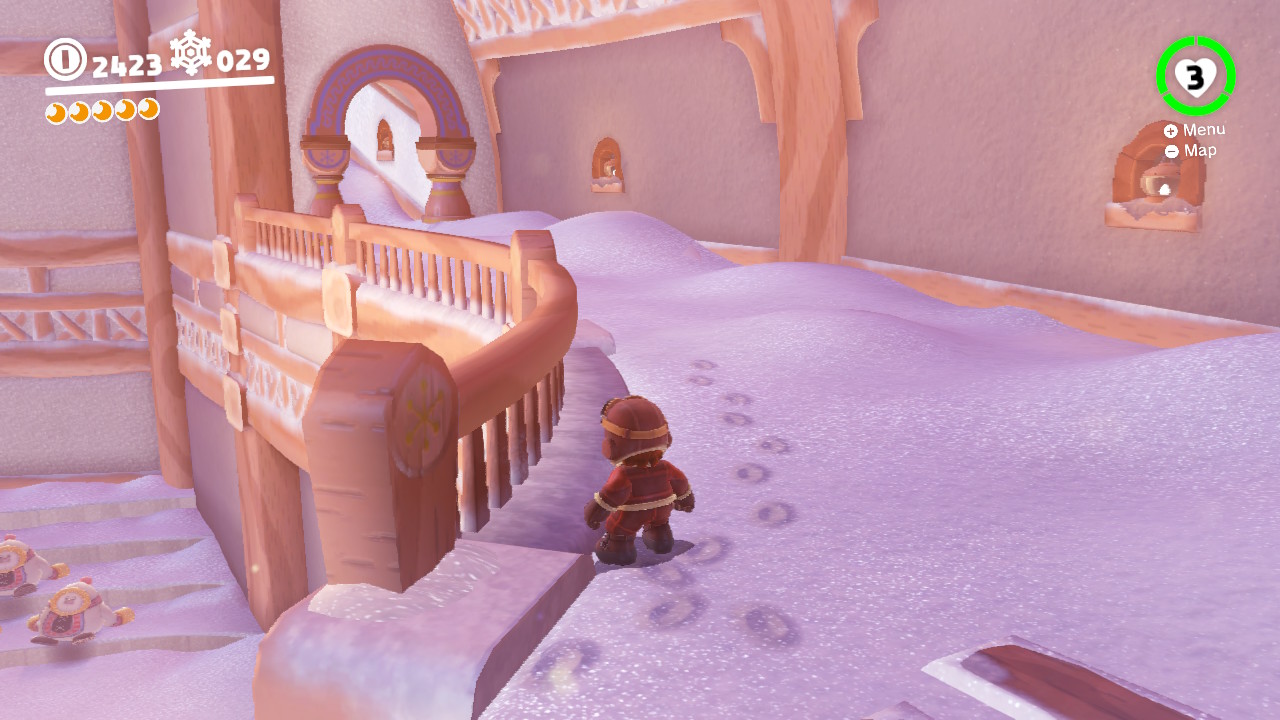
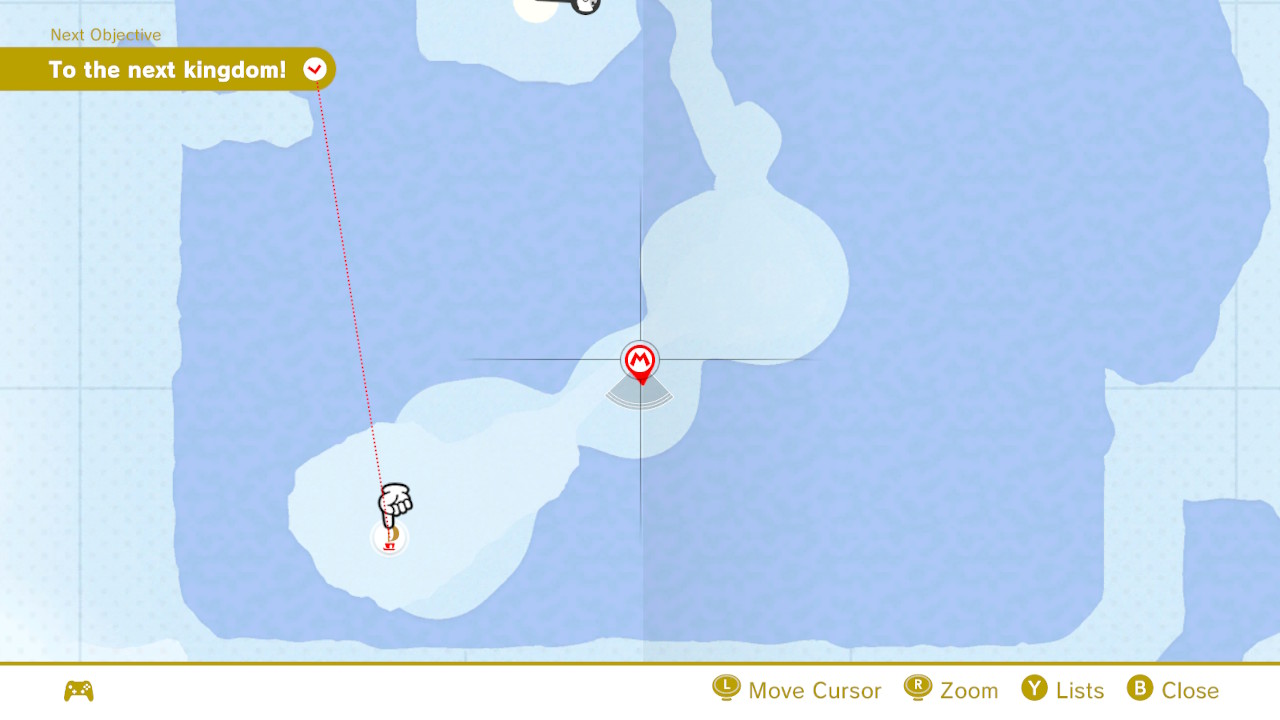
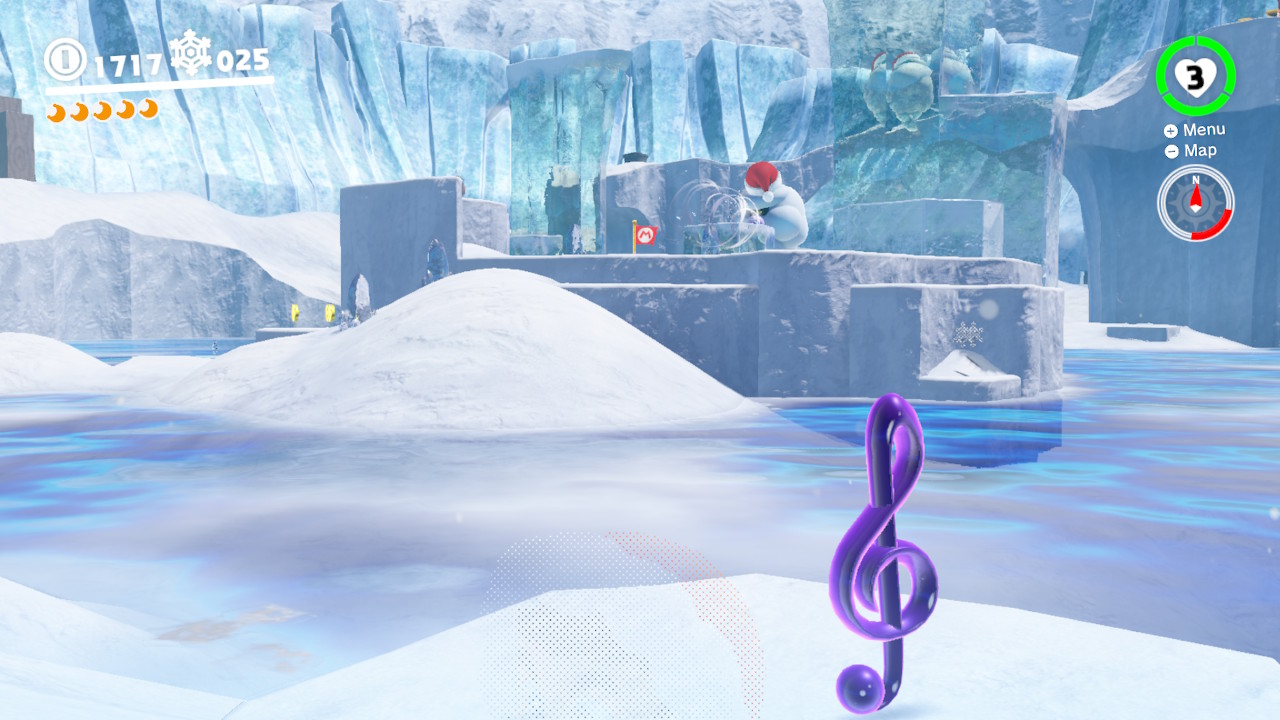
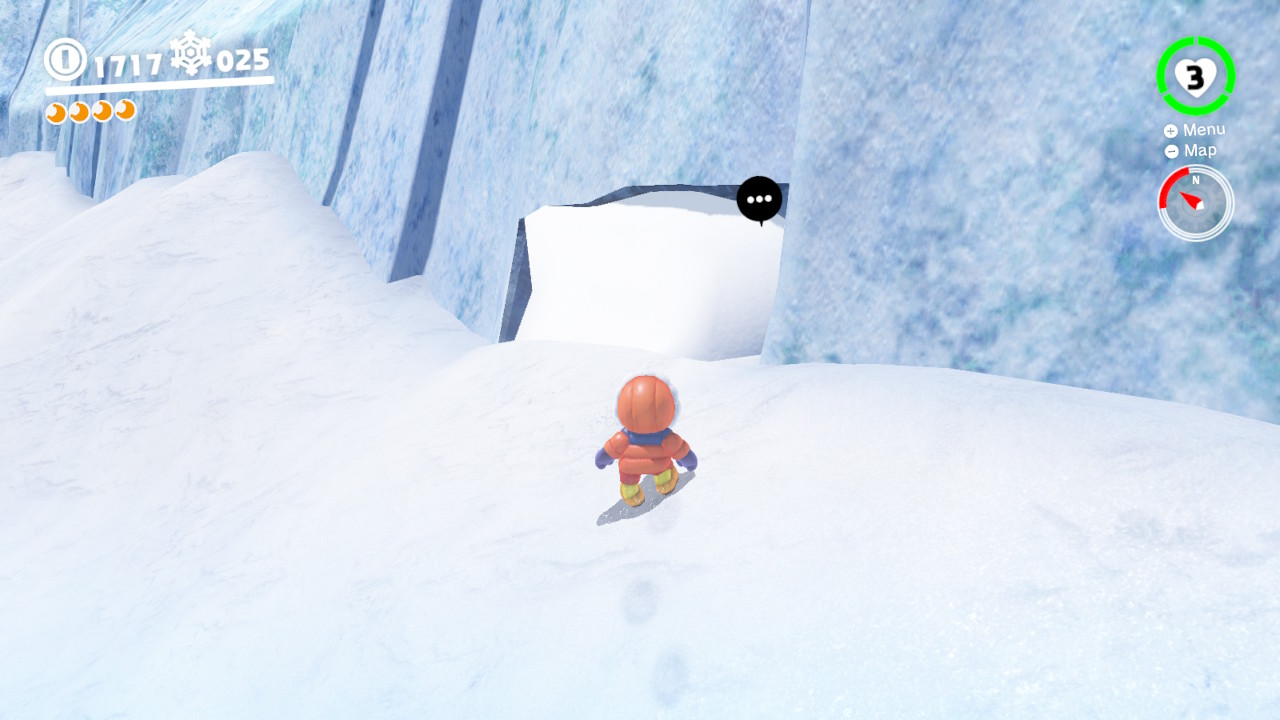
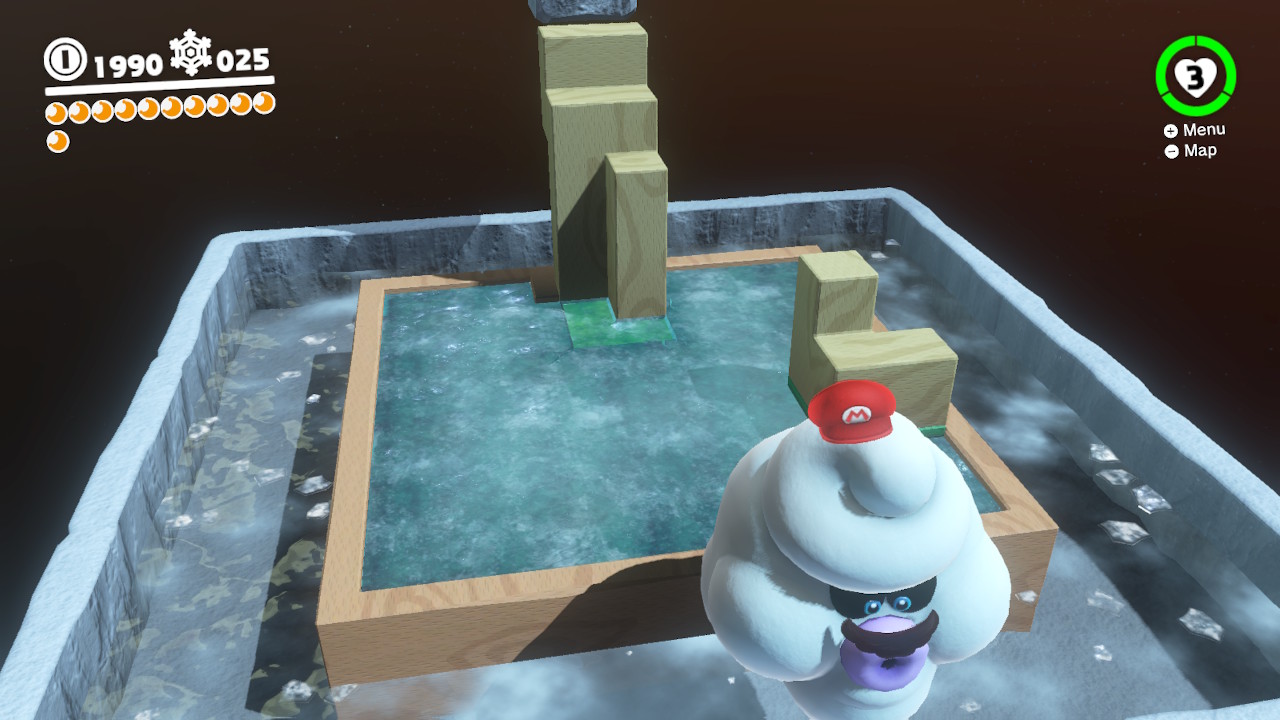
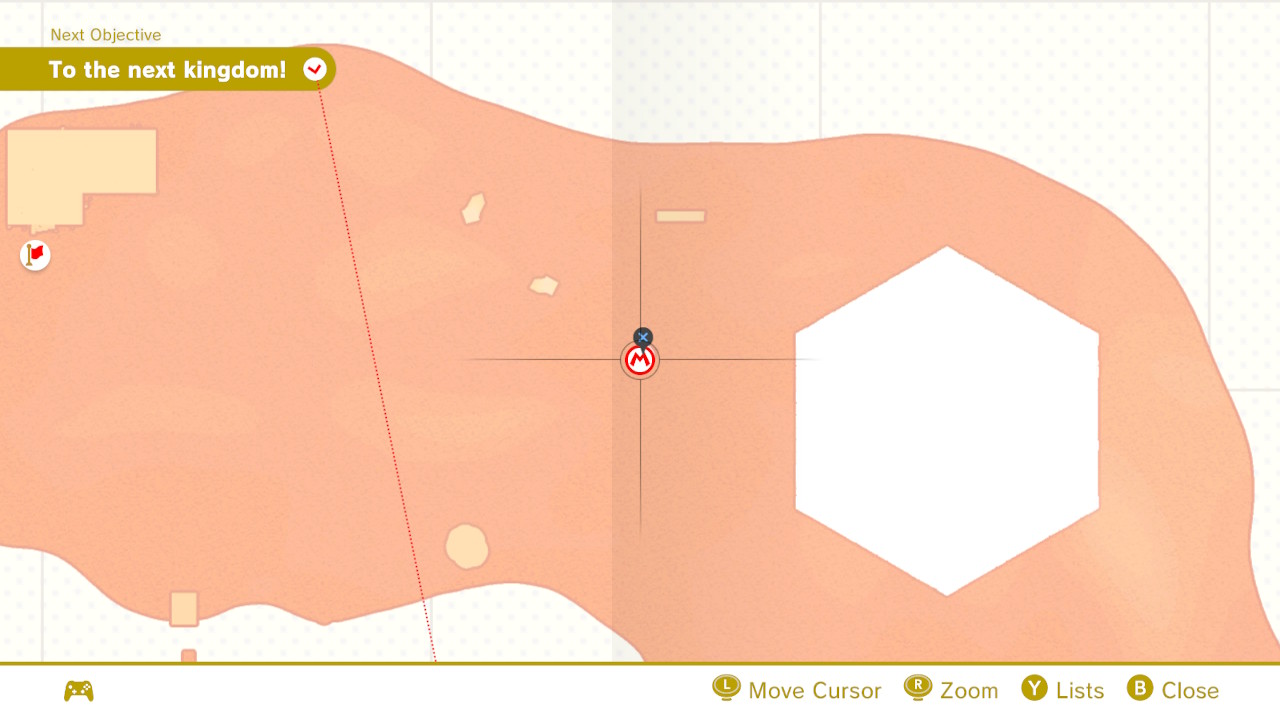
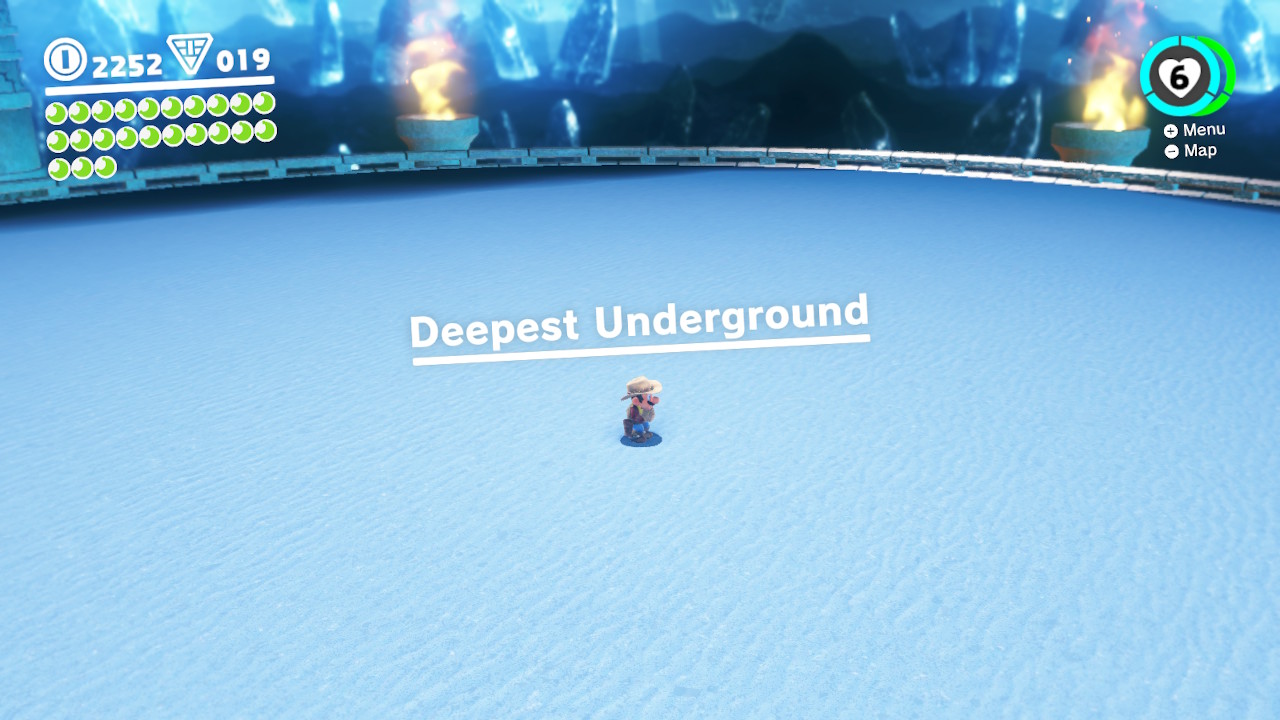
1- From the middle of Shiveria Town, go down the pathway shown in the image above…
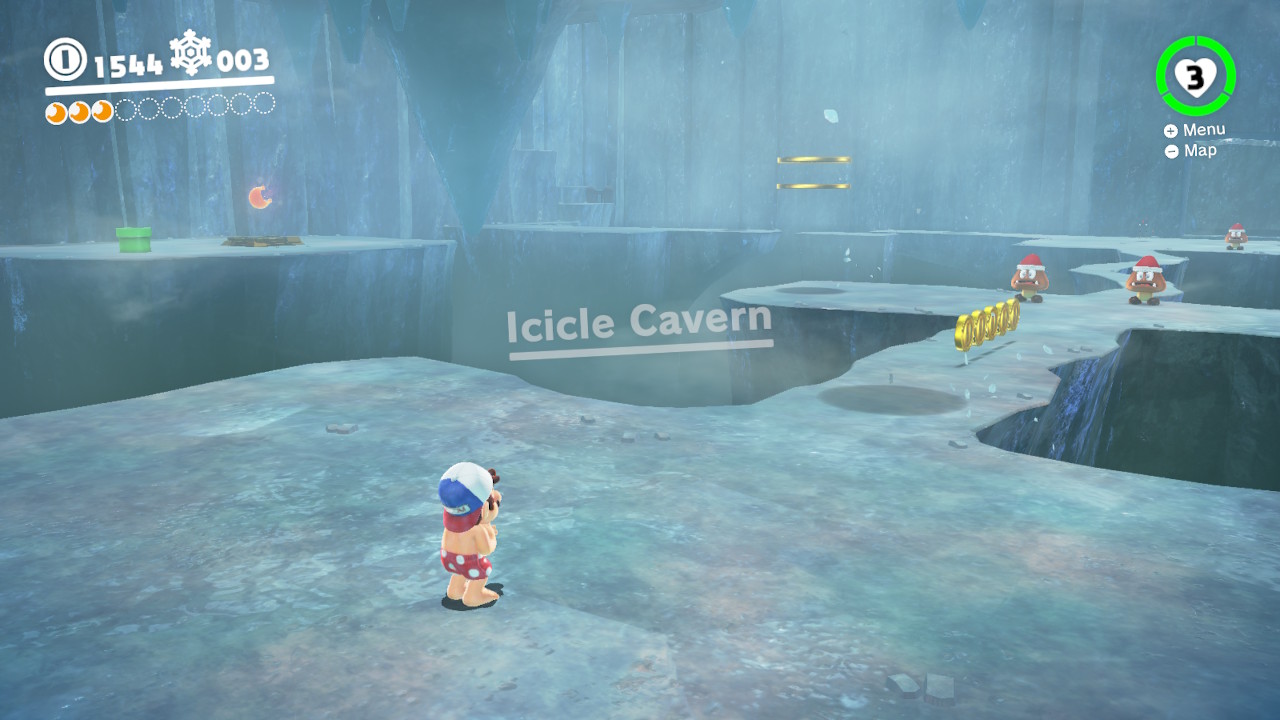
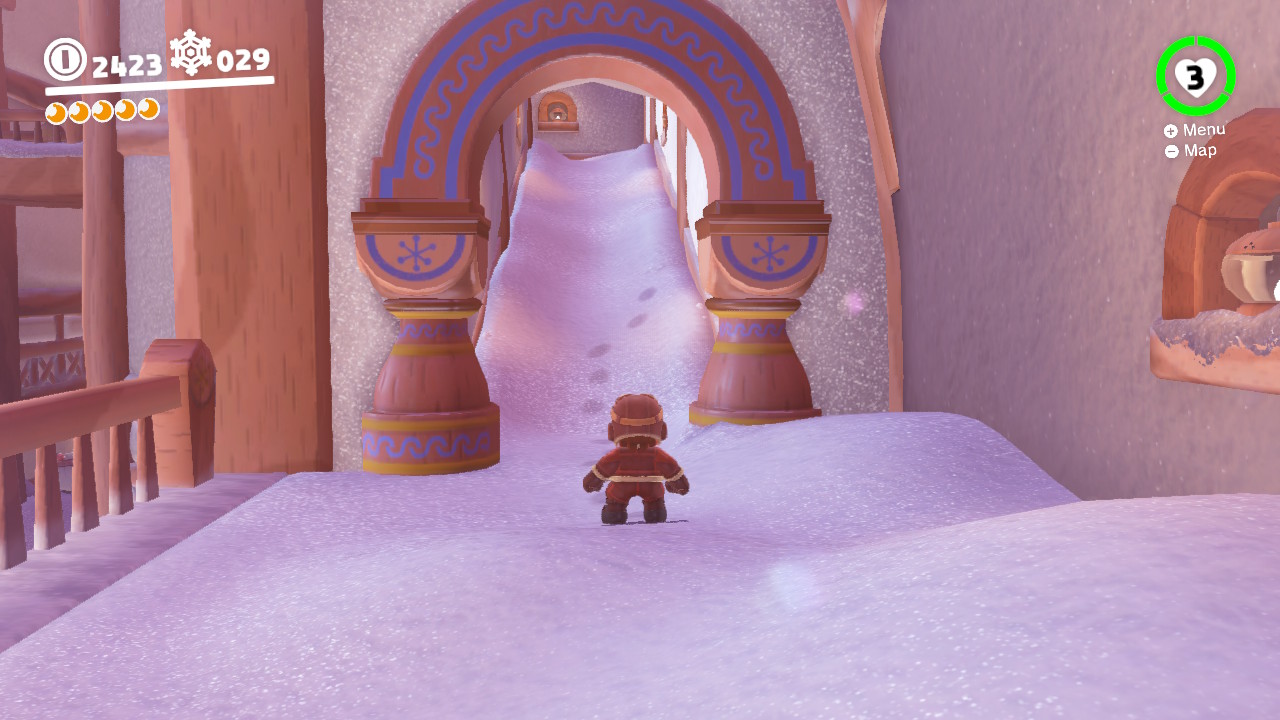
2- This will take you to the Icicle Cavern…
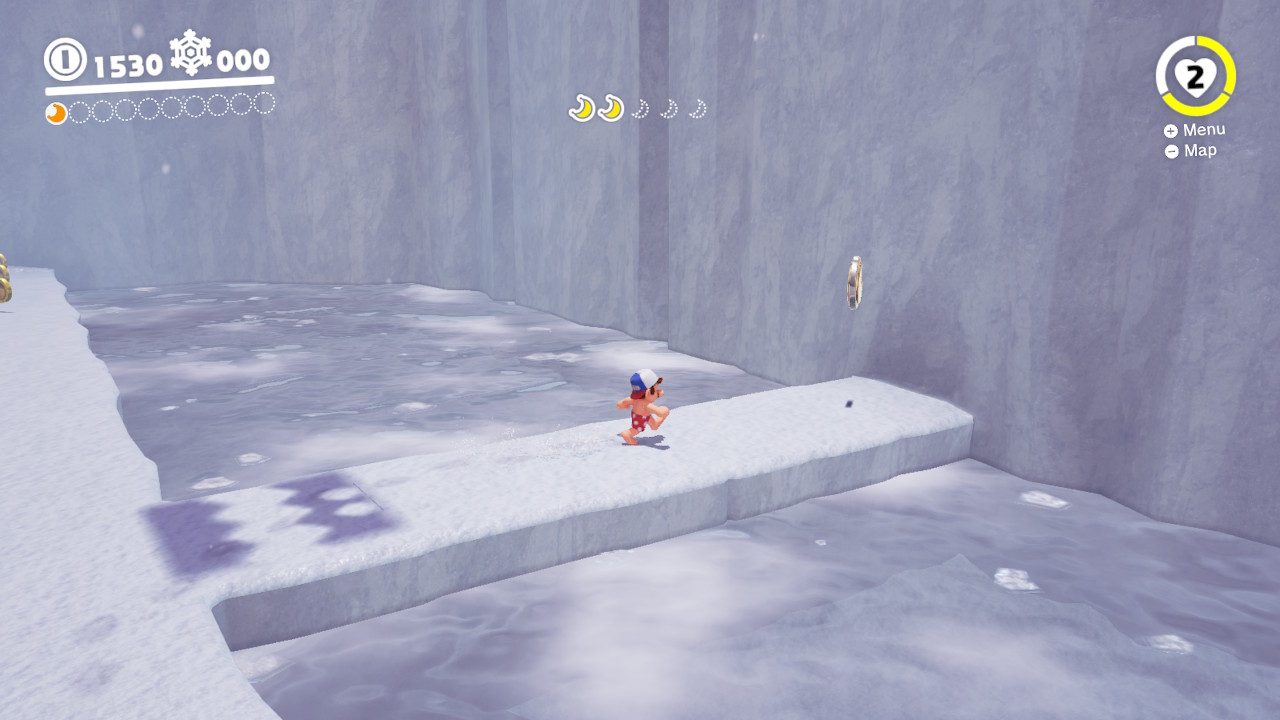
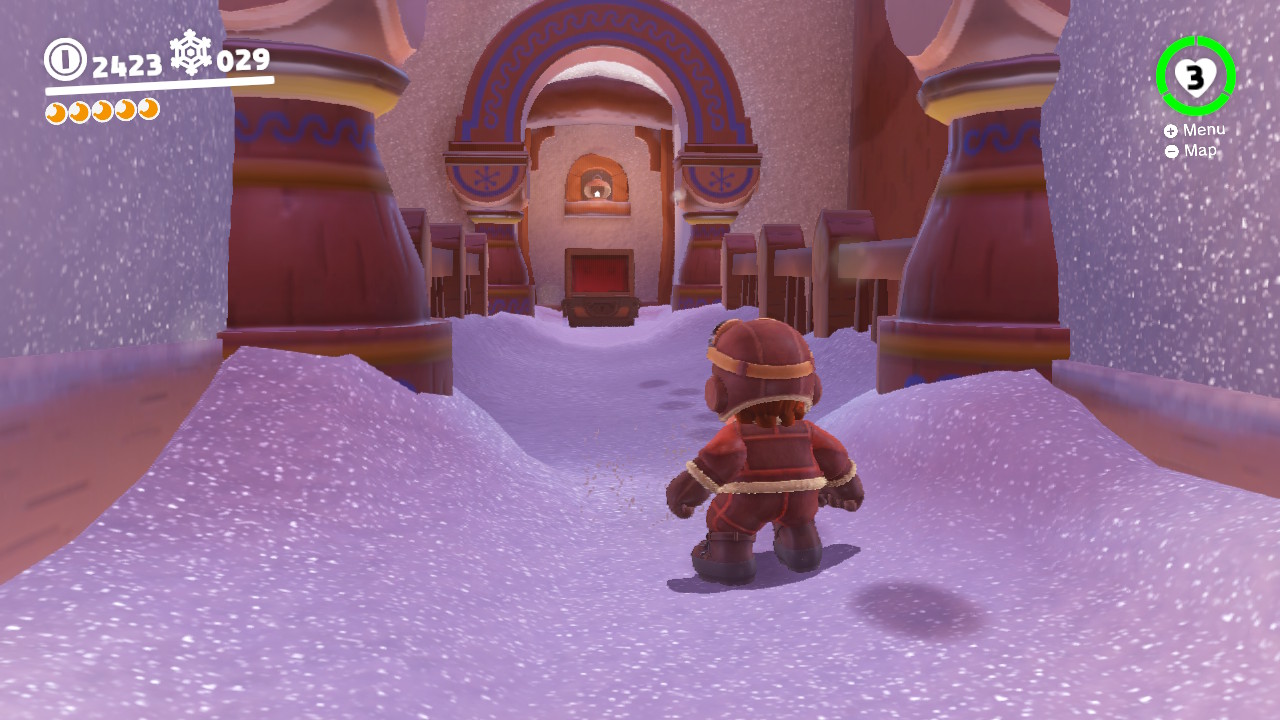
3- Navigate the slippery path…
4- Possibly Capture some Goombas for better footing, they don’t slip… (Plus you’ll need the Goombas for the secret Power Moon in this area, more on that later…)
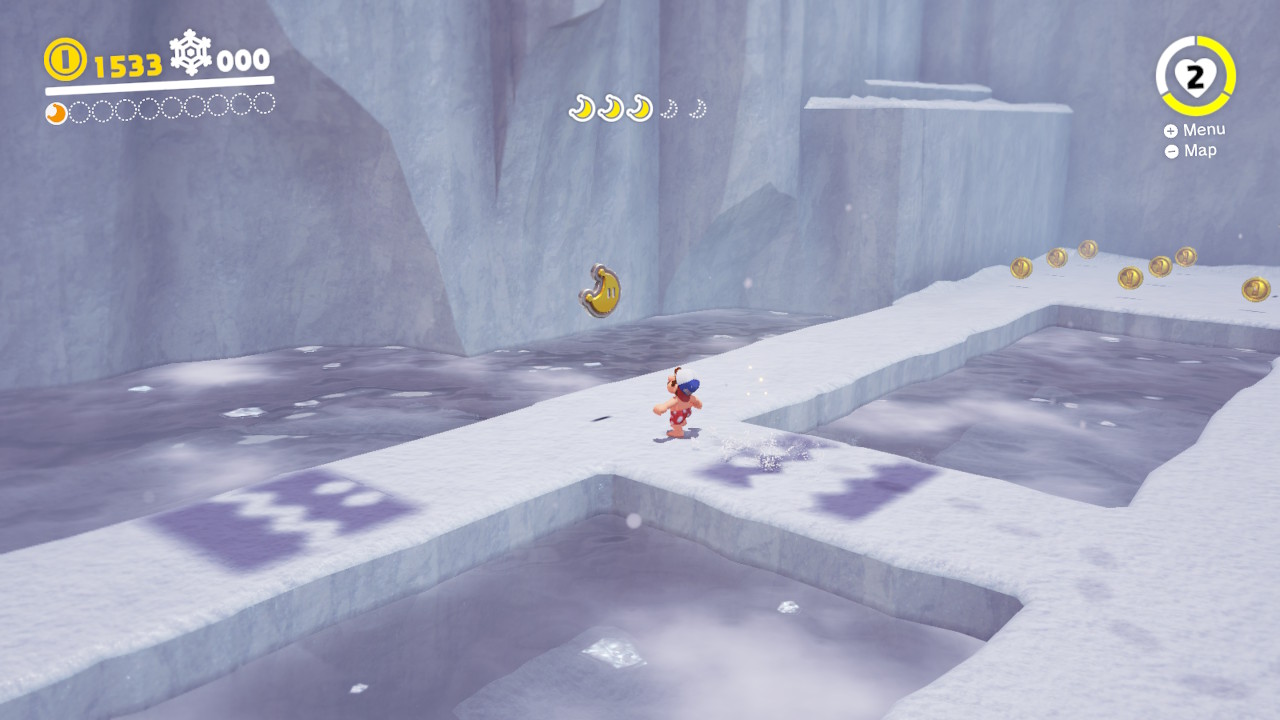
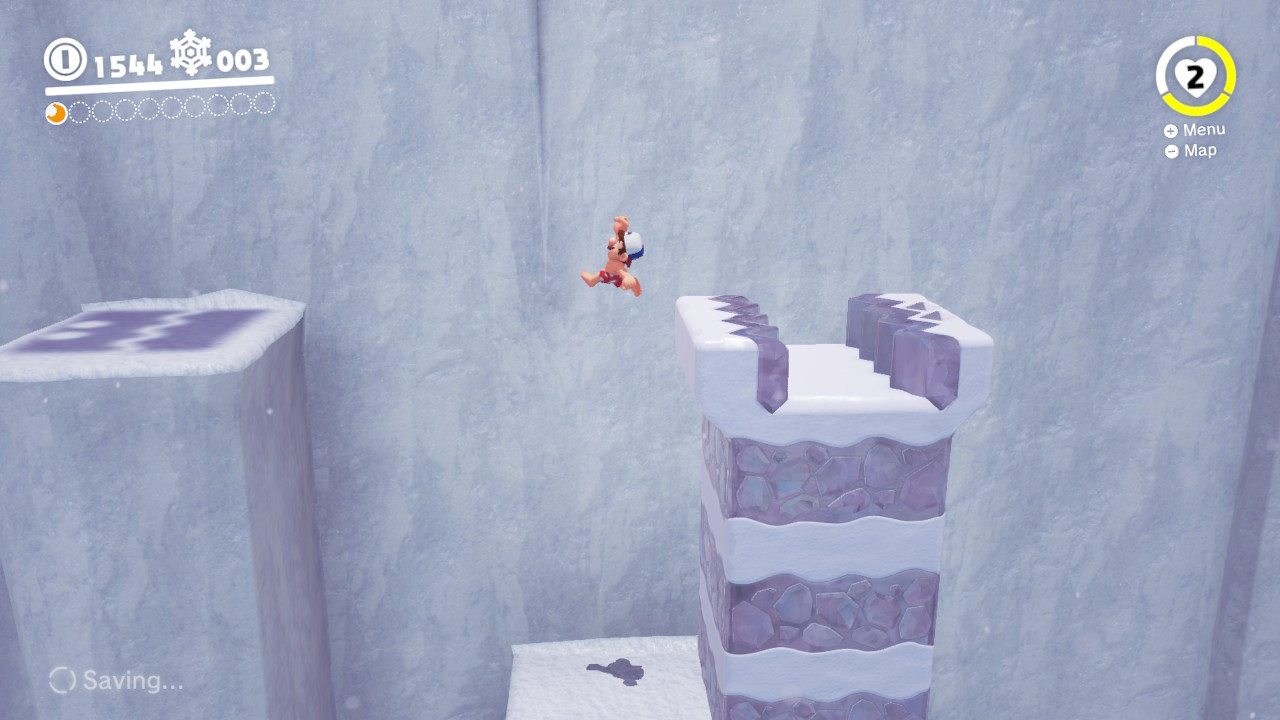
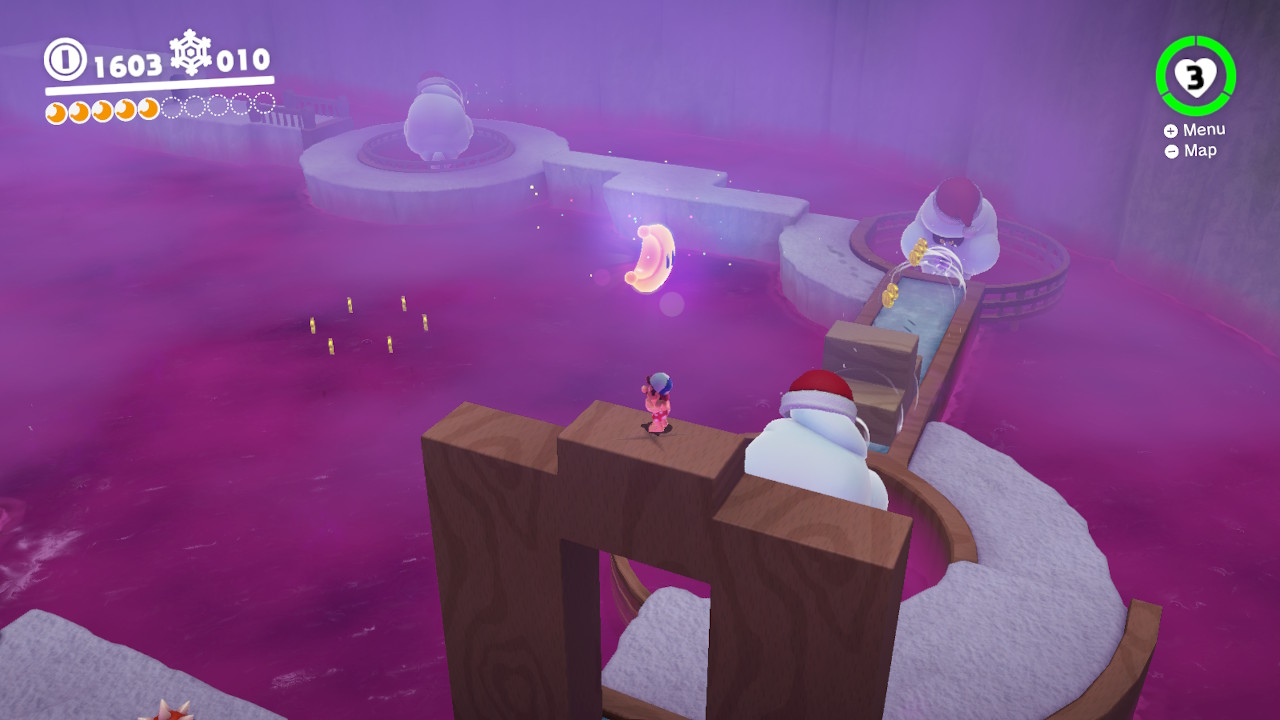
5- Towards the end you will see a stairway, above it there are three switches that can be hit with falling icicles…
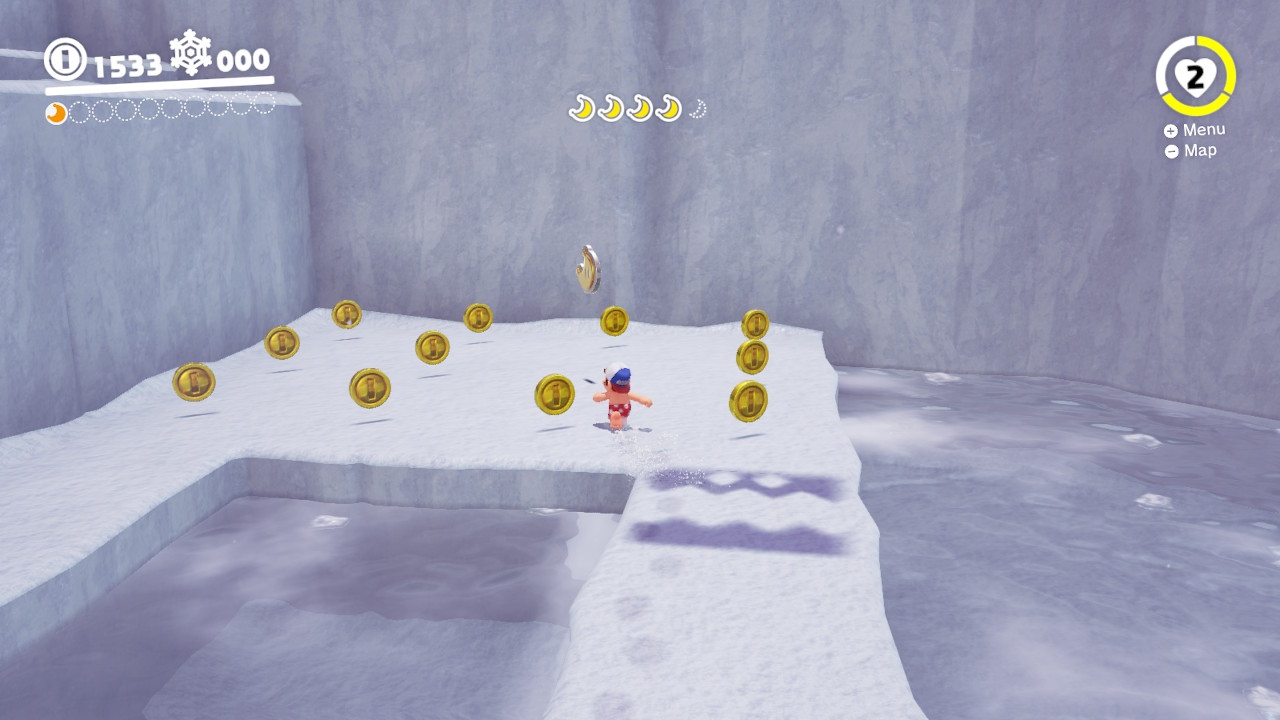
6- Allow all the switches to be hit and the platform will fall…
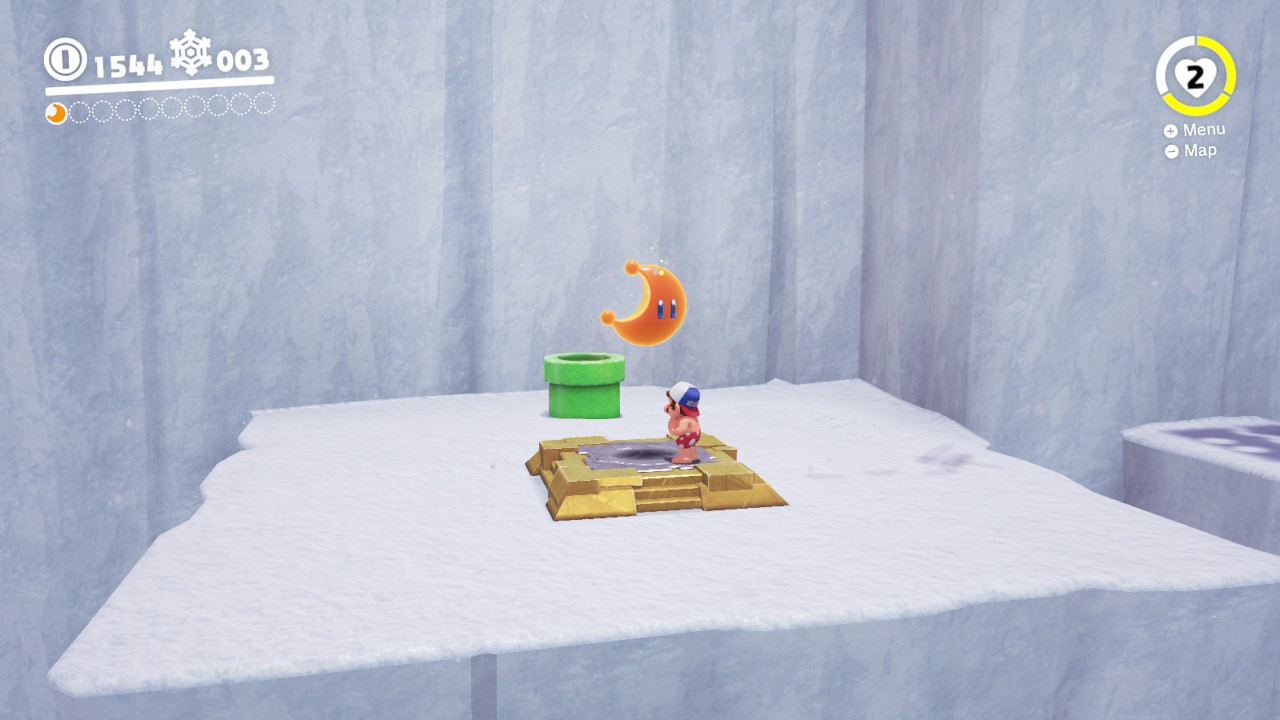
7- Now you can snag the Power Moon!
02 – The Ice Wall Barrier
Location- Shiveria Town/Hollow Crevasse
1- From the middle of Shiveria Town, go down the pathway shown in the image above…
2- This will take you to Hollow Crevasse… (1/5 Moon shard shown)
3- You will need to collect all 5 of the moon shards… (2/5 Moon shard shown)
4- All while dodging creatures from below… (3/5 Moon shard shown)
5- Just dodge and collect… (4/5 Moon shard shown)
6- Until you get the final shard… (5/5 Moon shard shown)
7- The Moon will appear on top of a pillar…
8- Climb to the top…
9- And it’s yours! Power Mooooon!
03 – The Gusty Barier
Location- Shiveria Town/Wind Chill Cavern
1- From the middle of Shiveria Town, go down the pathway shown in the image above…
2- This will take you to Wind-Chill Cavern…
3- Travel along the path, don’t fall in the poison, and avoid the powerful gusts…
4- Capture the windy gust guys (don’t know the names off the top of my head) and blow off all the Spinies at the end…
5- The Power Moon will appear!
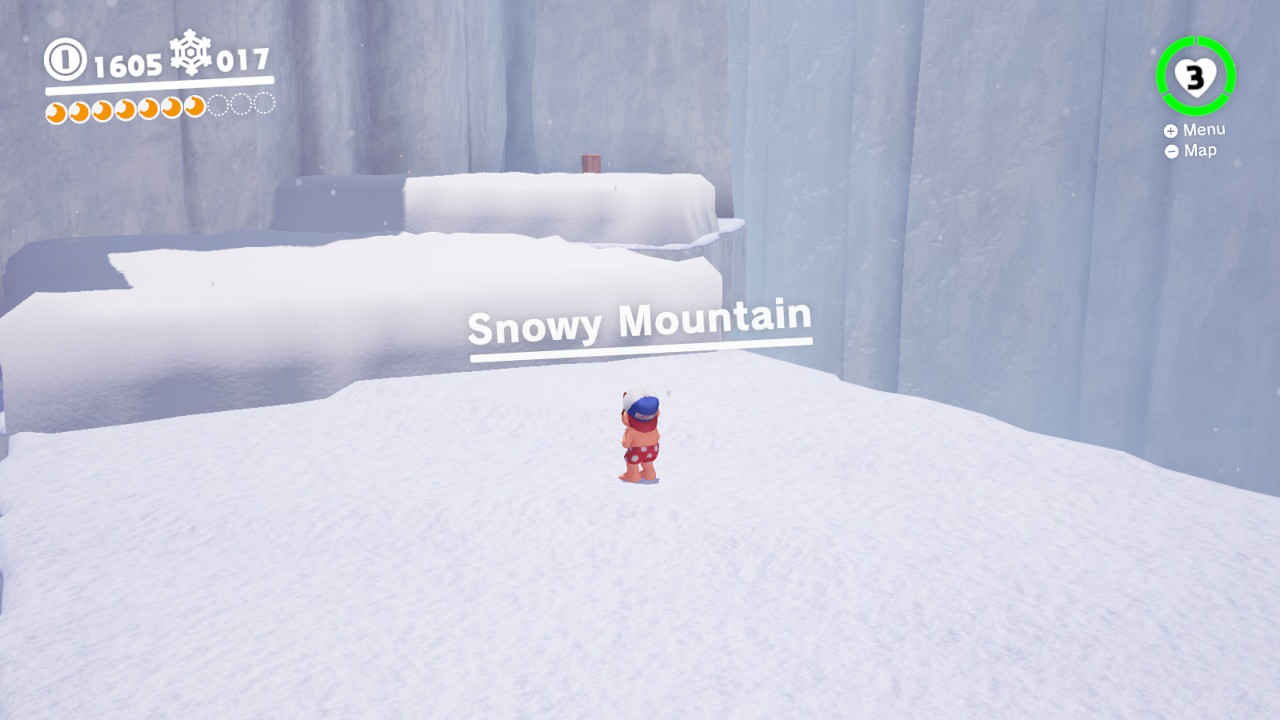
04 – The Snowy Mountain Barrier
Location- Shiveria Town/Snowy Mountain
1- From the middle of Shiveria Town, go down the pathway shown in the image above…
2- This will take you to Snowy Mountain…
3- Climb the Snow Mountain by catching the gusts of wind… (that you make appear by using Cappy on the wooded posts…)
4- Go all thw ay to the top where you will find…
5- The Broodals ready for a right…
6- Beat them up…
7- And get your Power Moon!
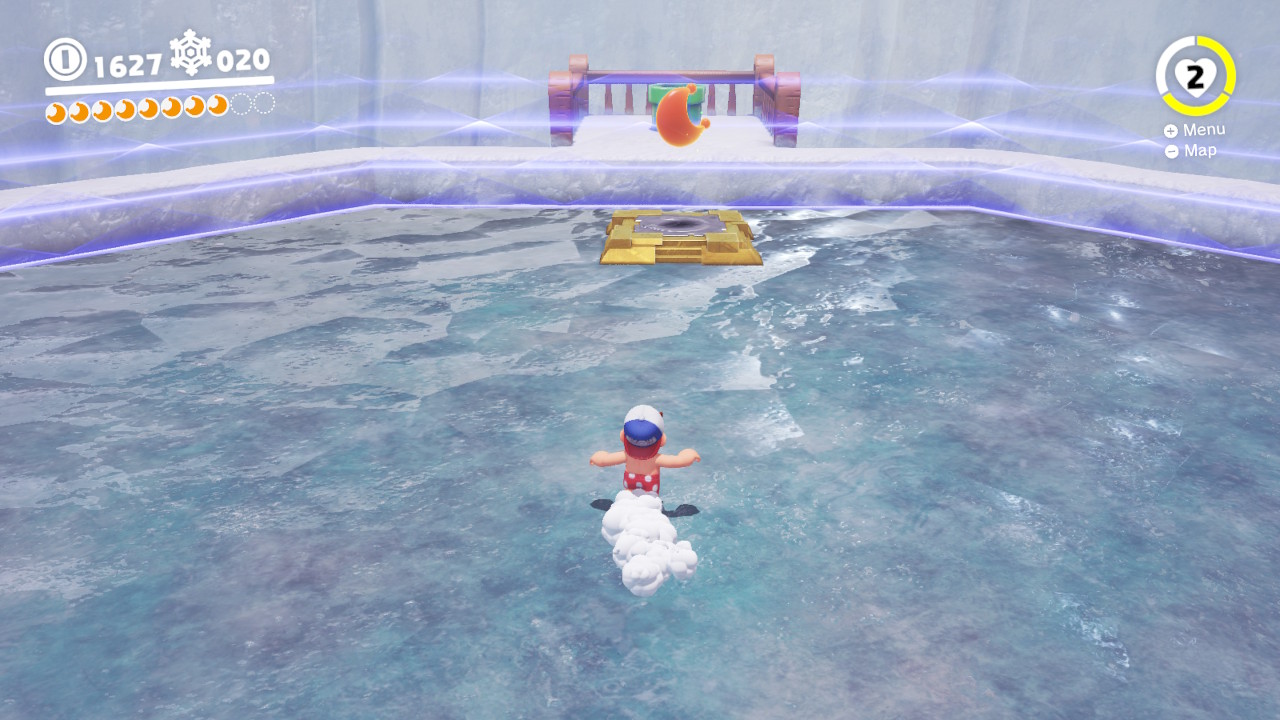
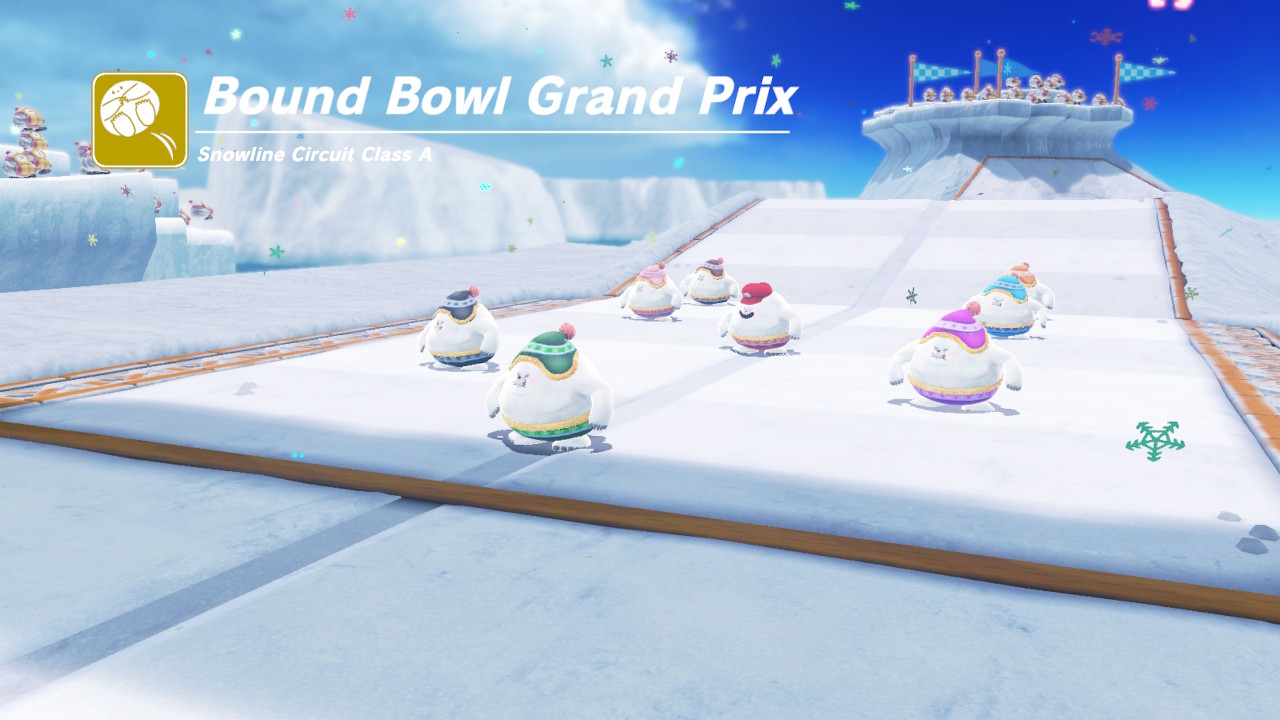
05 – The Bound Bowl Grand Prix
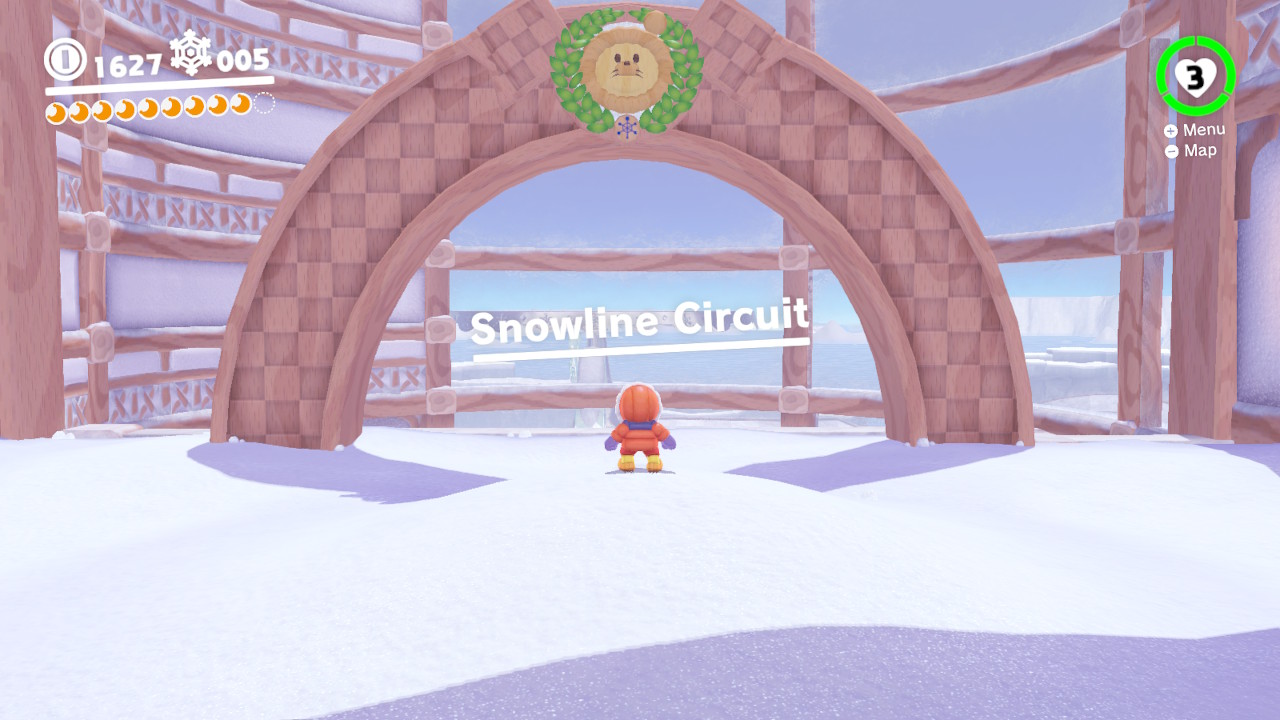
Location- Shiveria Town/Snowline Curcuit
1- After you’ve completed the four Barrier Power Moon, the hole will be open…
2- This will take you to Snowline Curcuit
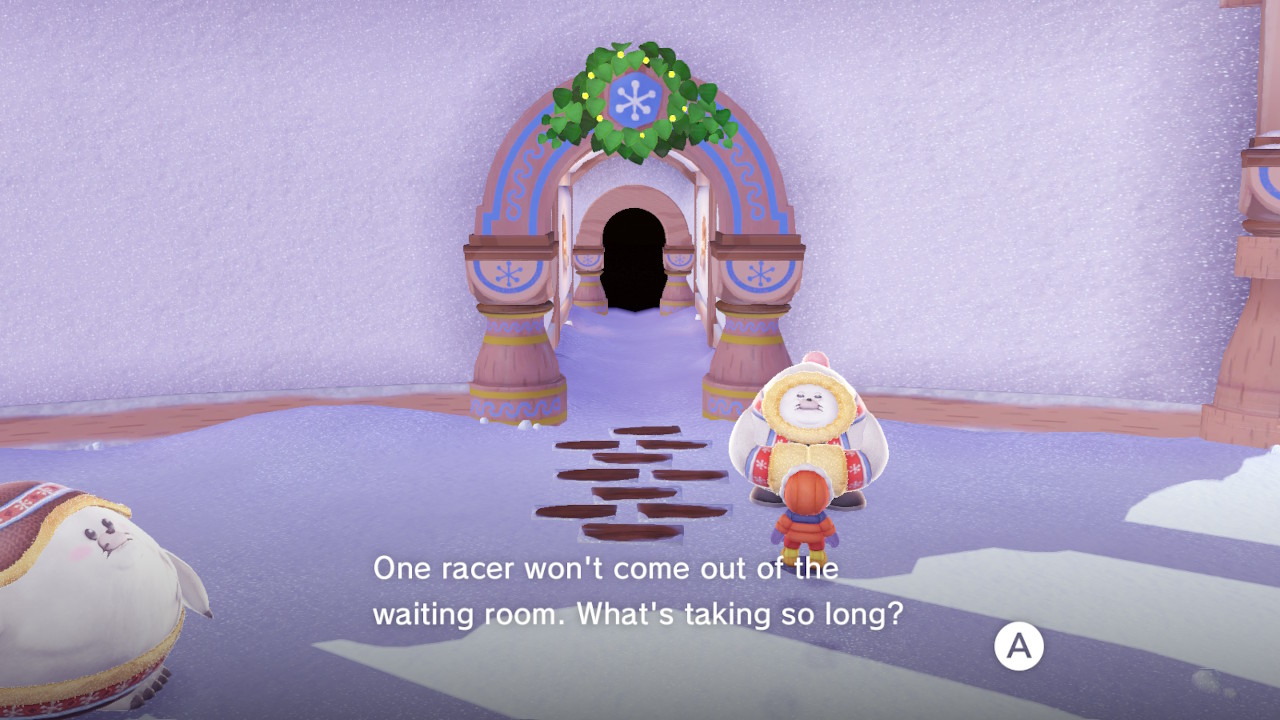
3- Go through the doorway on the left…
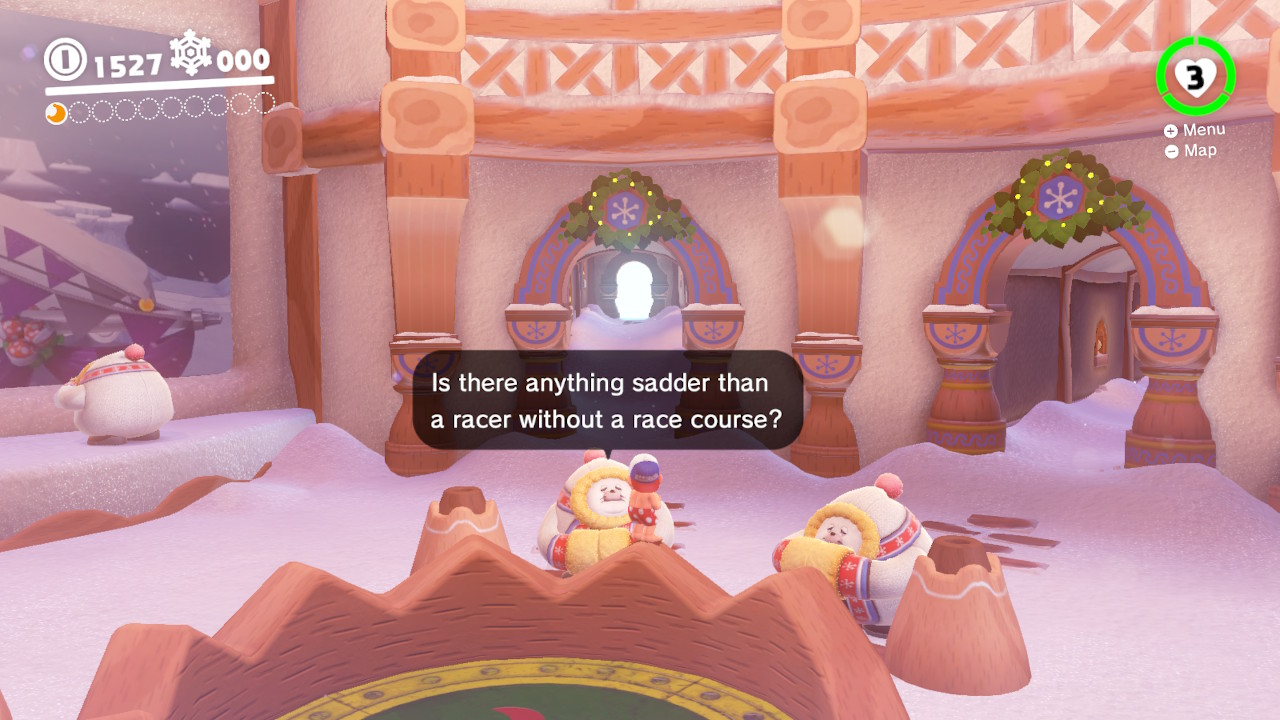
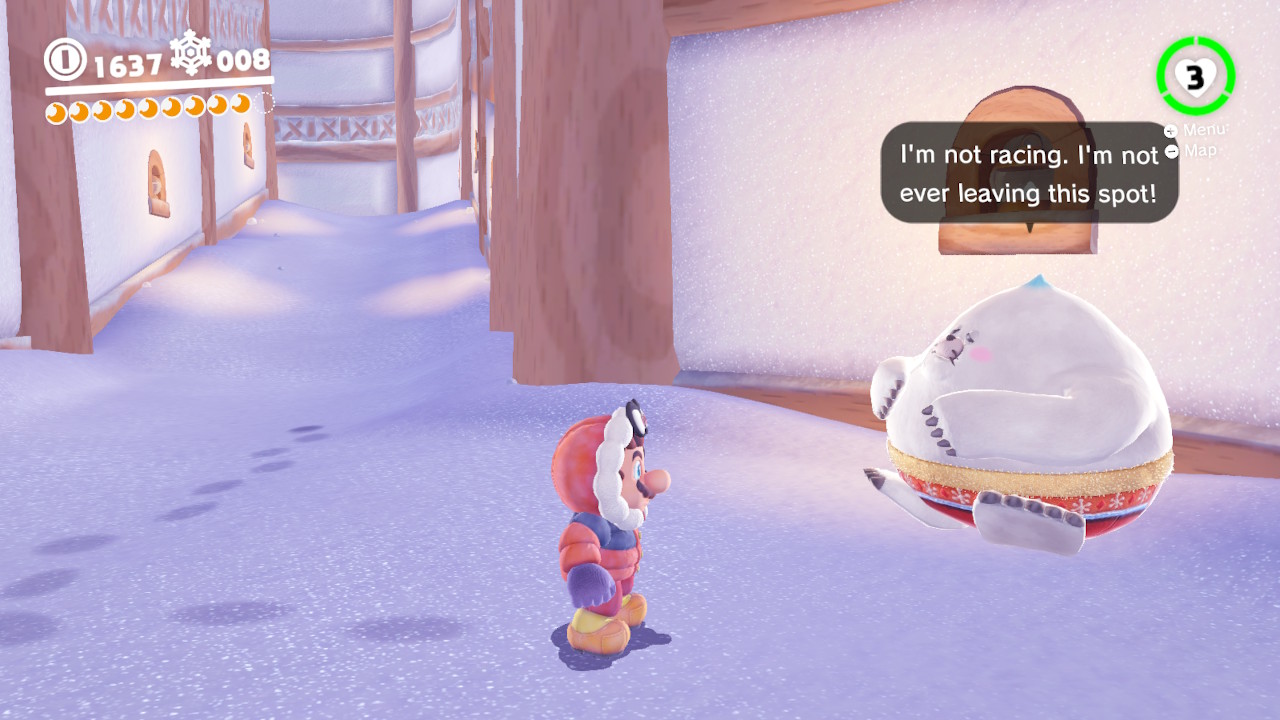
4- Loop around and you will find a sulking Shiverian racer who doesn’t want to compete…
5- Use Cappy to capture him!…
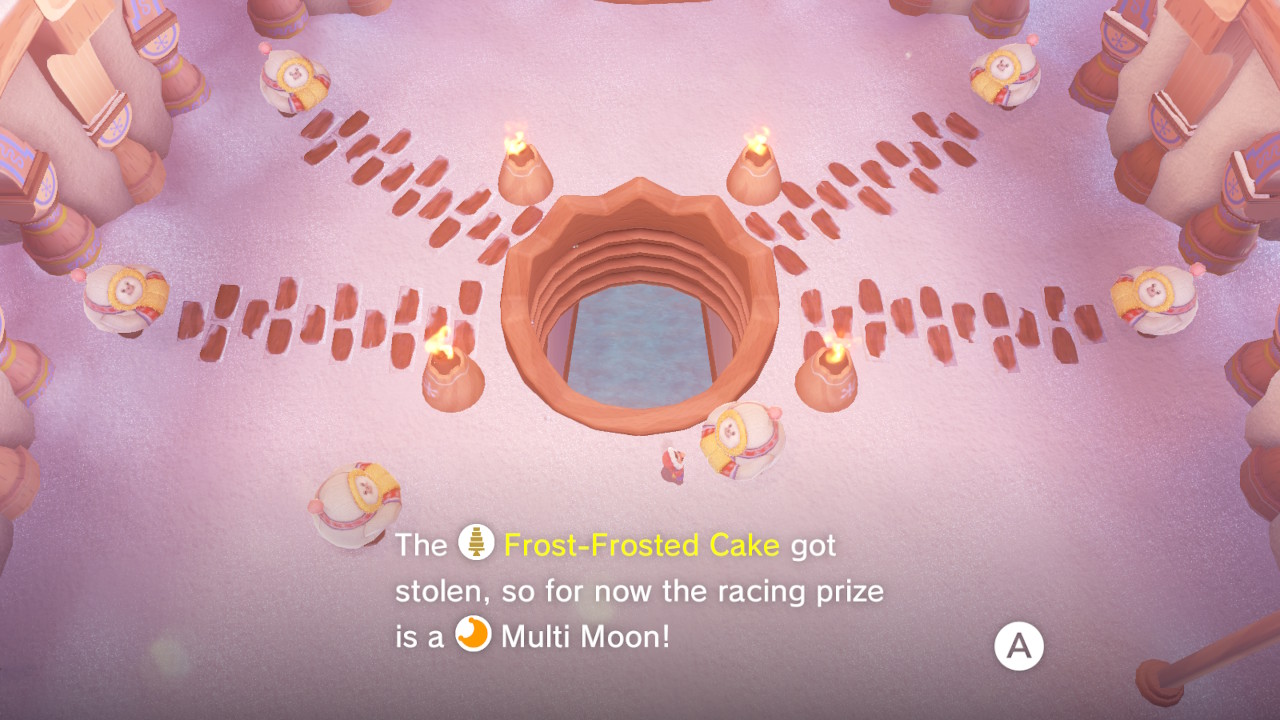
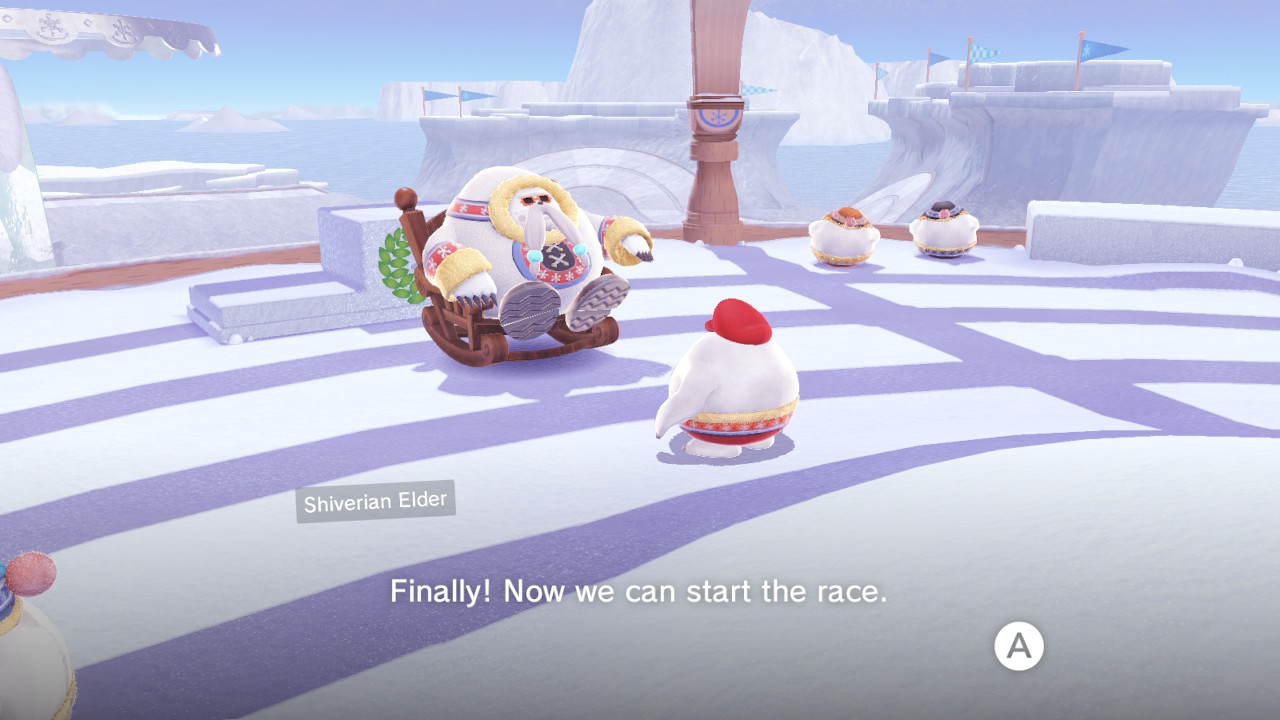
6- Follow through the path and talk to the Shiverian Elder, he will set you up for the race, including a tutorial section…
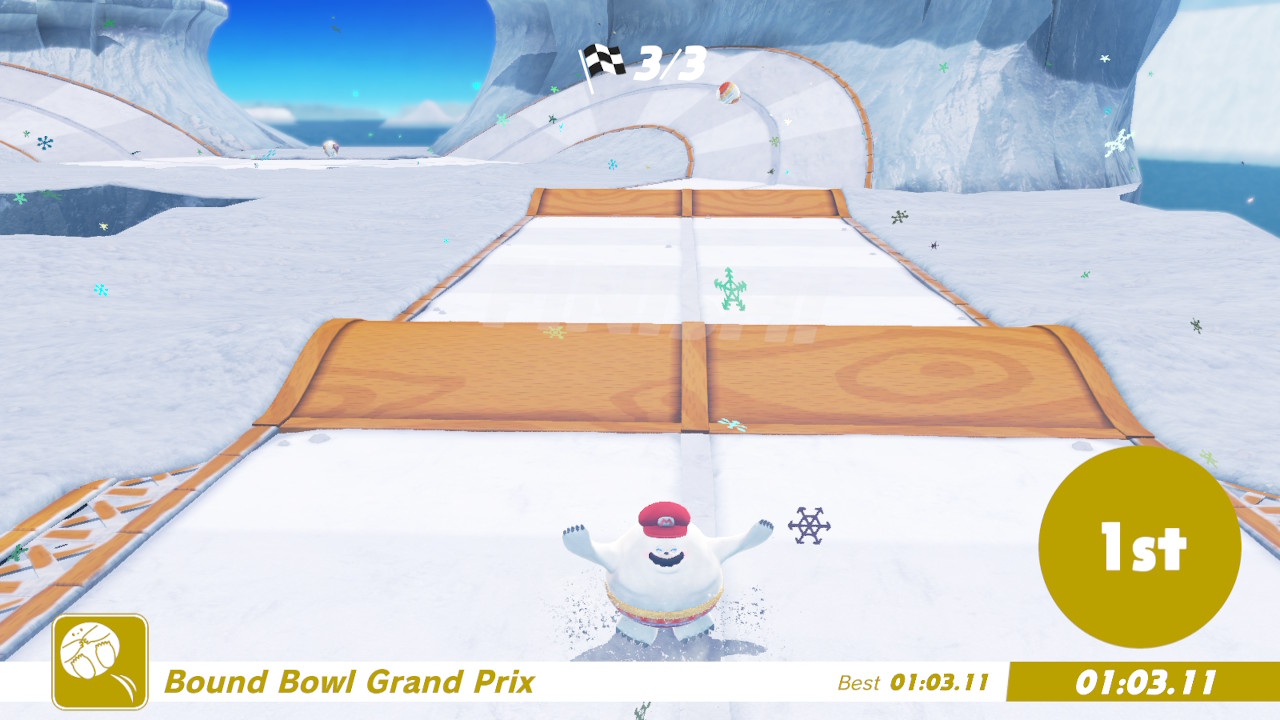
7- One race, three laps, make sure you stay on the course but BOUNCE often to pick up speed…
8- Win the race and you will be rewarded with a Multi-Moon!!!
06 – Entrance to Shiveria
Location- Shiveria Town
1- Right as you drop into Shiveria Town, turn around…
2- You will notice a Power Moon up above some boxes in the corner…
3- Climb up the boxes with jumps and wall jumps to get the Power Moon!
07 – Behind Snowy Mountain
Location- Shiveria Town/Snowy Mountain
1- From the middle of Shiveria Town, go down the pathway shown in the image above…
2- This will take you to Snowy Mountain…
3- Climb the Snow Mountain by catching the gusts of wind… (that you make appear by using Cappy on the wooded posts…)
4- Instead of going all the way to the top, you can either use the gust of wind to go over the ledge….
5- Or break up the snow directly under it to open up a small gap to walk through…
6- Either way you will now have access to the Power Moon hiding around the corner!
08 – Shining in the Snow in Town
Location- Shiveria Town
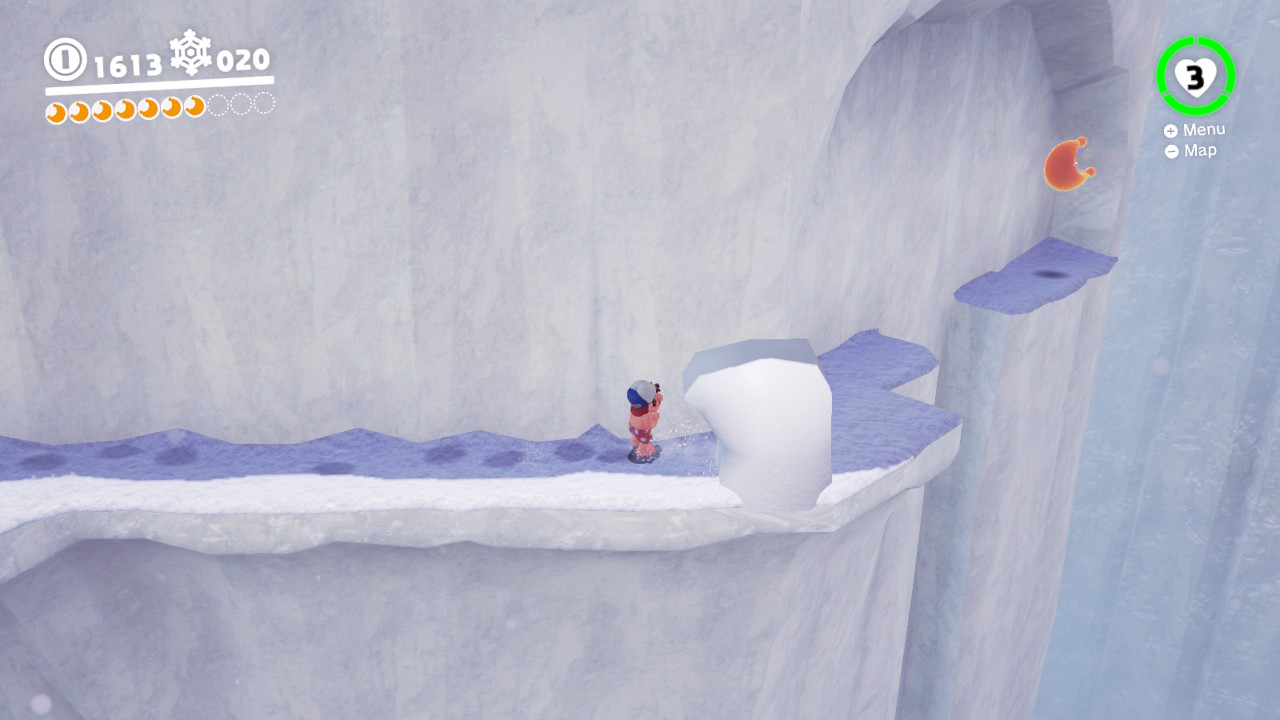
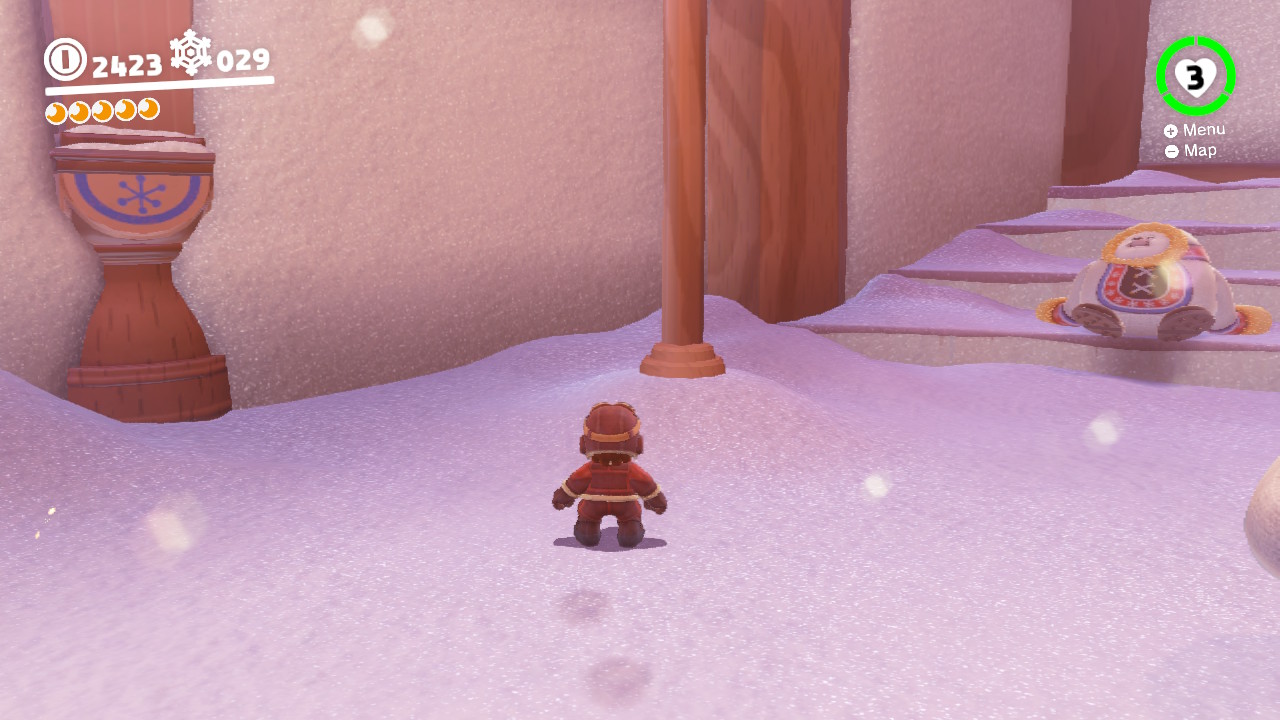
1- Once you drop into Shiveria Town, run forward…
2- There will be a pole on the righthand side…
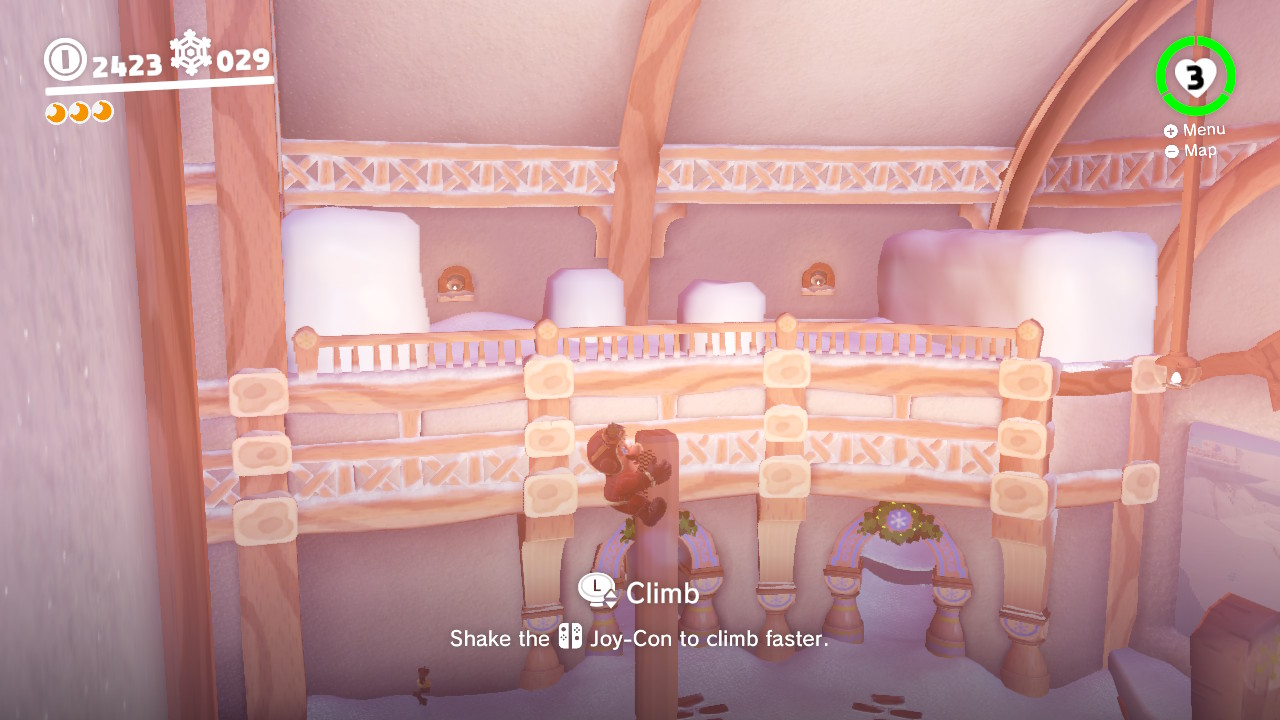
3- At the top you will notice a balcony area, and on the opposite side the balacony is filled with snow…
4- Jump over there and knock away all the snow in the corner, you will see a shiny spot on the ground. Ground pound it and the Power Moon is yours!
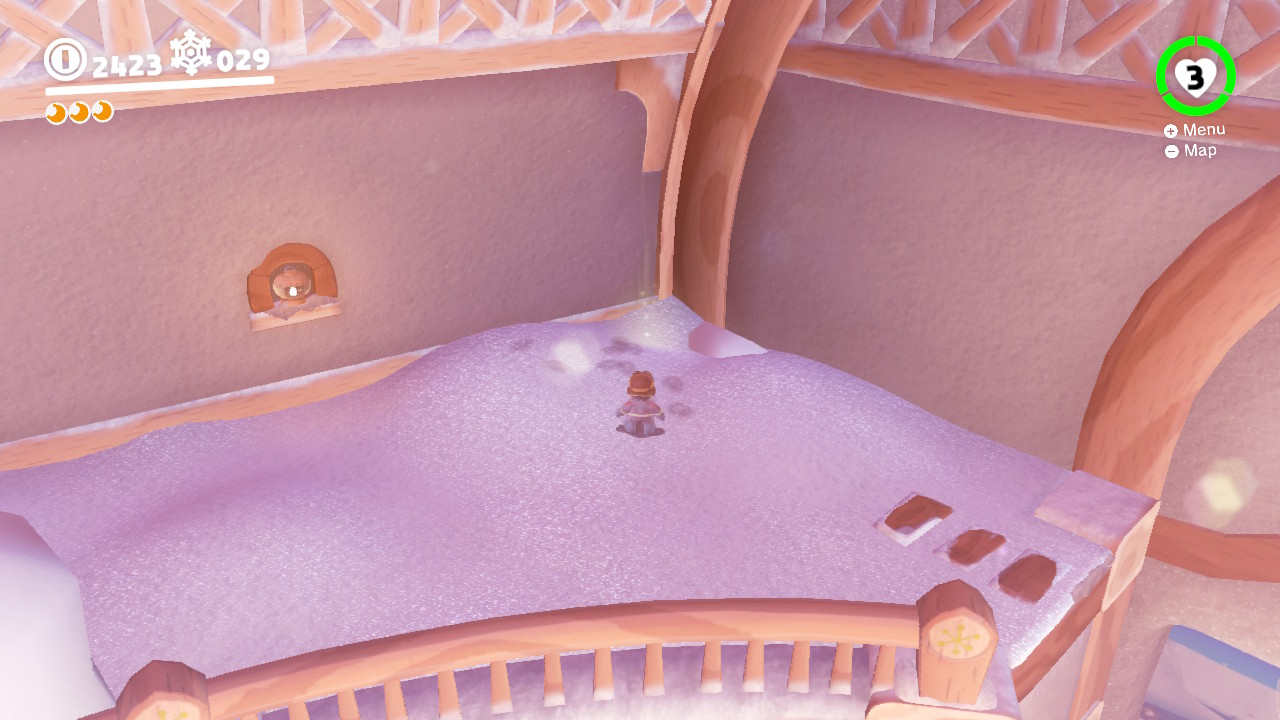
09 – Atop a Blustery Arch
Location- Shiveria Town/Wind Chill Cavern
1- From the middle of Shiveria Town, go down the pathway shown in the image above…
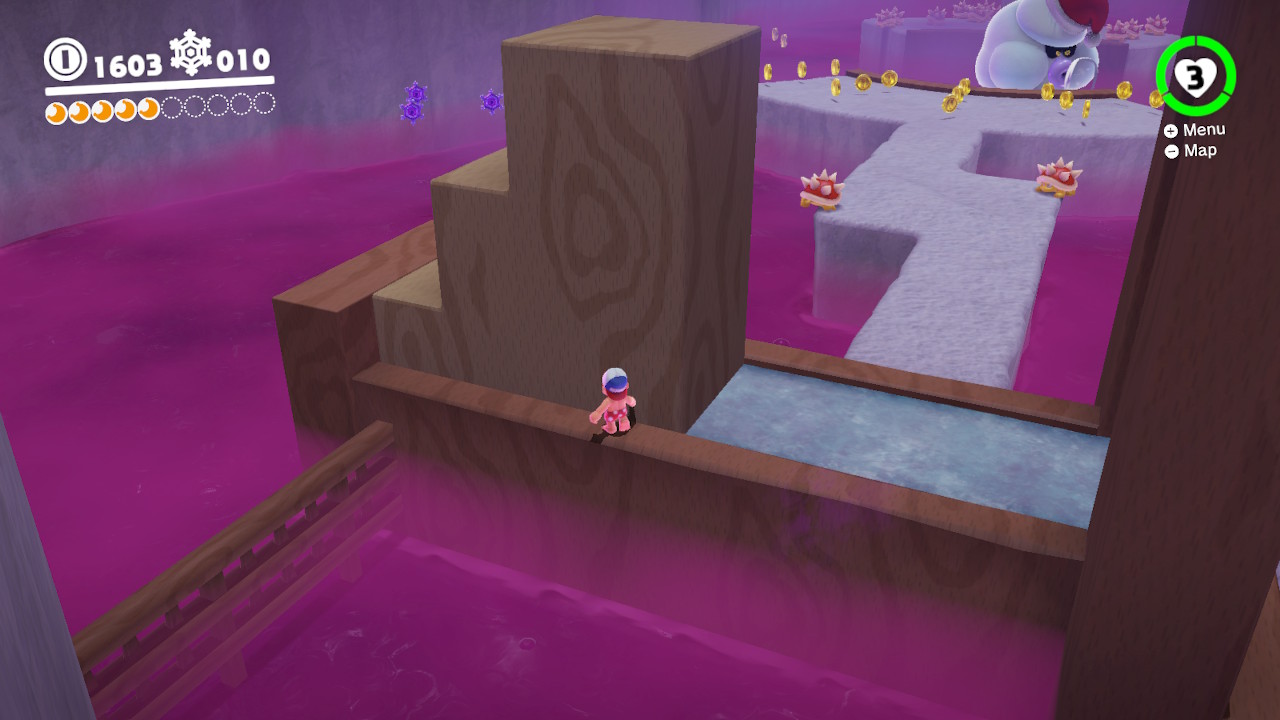
2- This will take you to Wind-Chill Cavern…
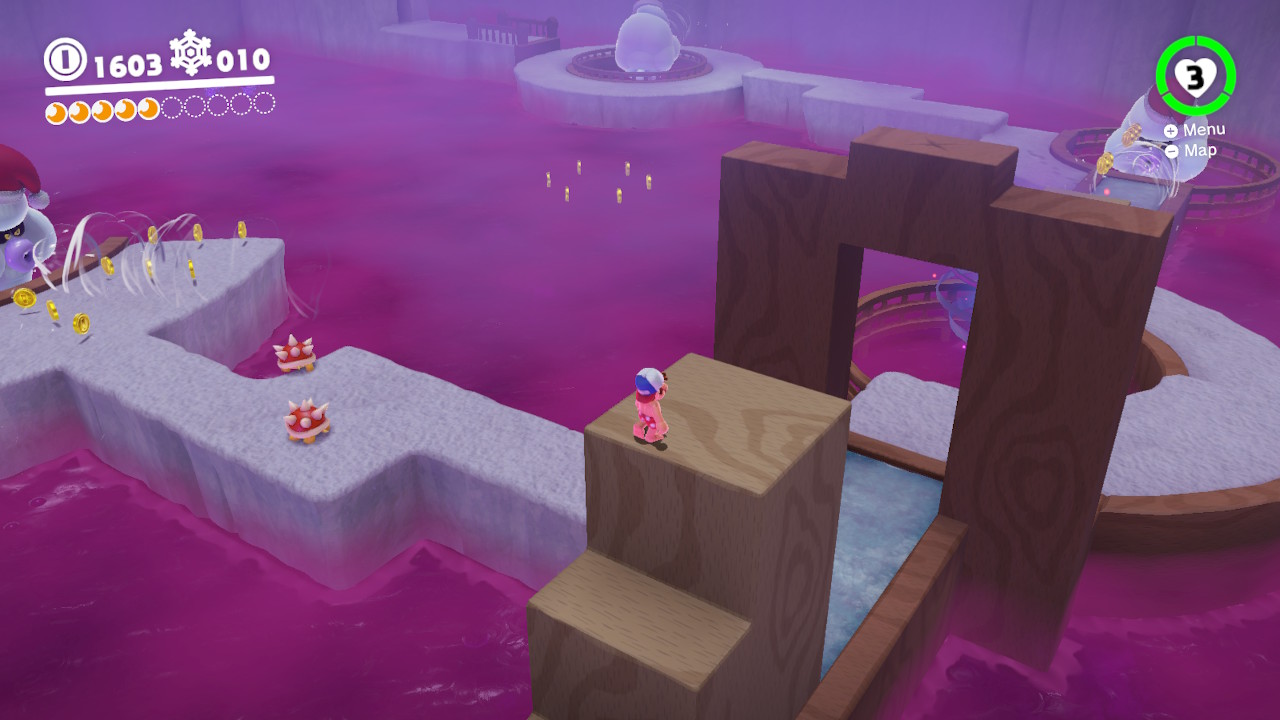
3- Halfway through the Cavern you will see a “stair-like” structure…
4- Climb to the top…
5- Jump across to the arch…
6- Ground pound the “x” on the archway and a Power Moon will appear! Whadyaknow!
10 – Caught Hopping in the Snow!
Location-
1- Near the area of one of the moon shards you will see the bunny running around in the snow…
2- Hit it with Cappy and he’ll give you his Power Moon!
11 –
Location- Shiveria Town
1- Once you drop into Shiveria Town, run forward…
2- There will be a pole on the righthand side…
3- At the top you will notice a balcony area, and on the opposite side the balacony is filled with snow…
4- Jump across and knock away all the snow, you will notice an doorway/opening…
5- Run through the doorway…
6- And around the corner you will see a treasure chest on the other side of a bridge/catwalk!
12 – Treasure in the Ice Wall
Location- Shiveria Town/Hollow Crevasse
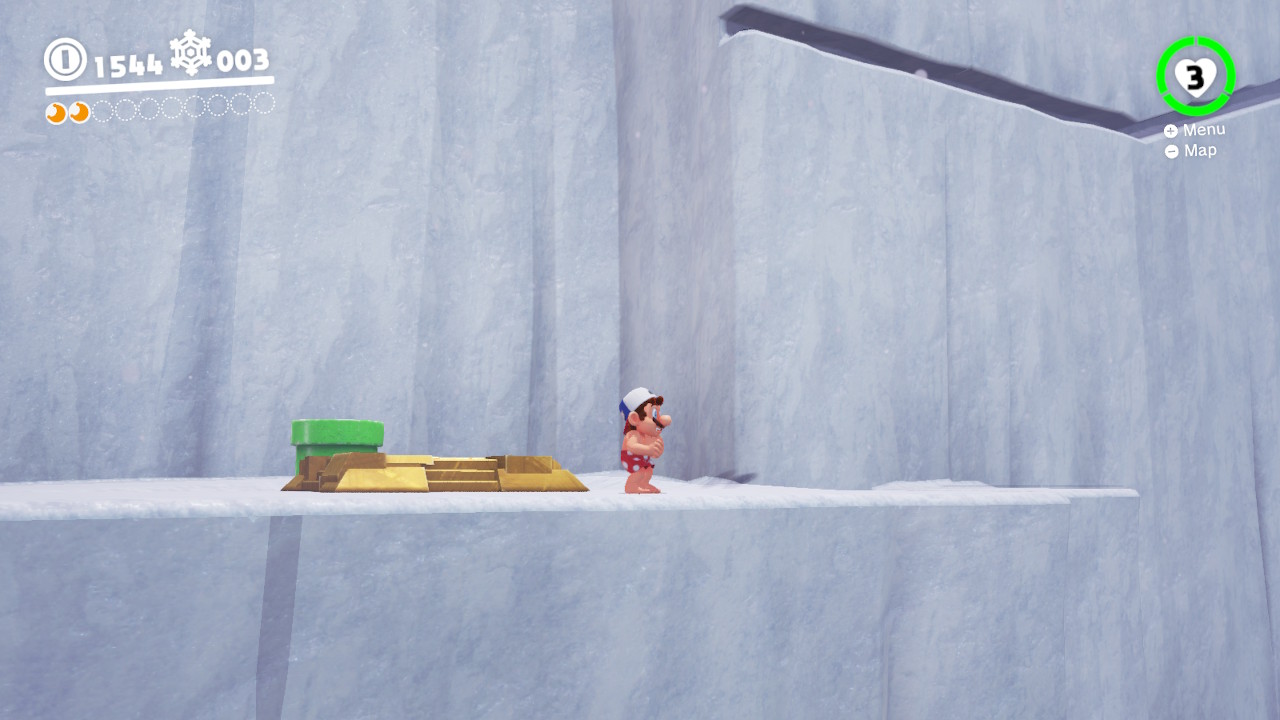
1- From the middle of Shiveria Town, go down the pathway shown in the image above…
2- This will take you to Hollow Crevasse…
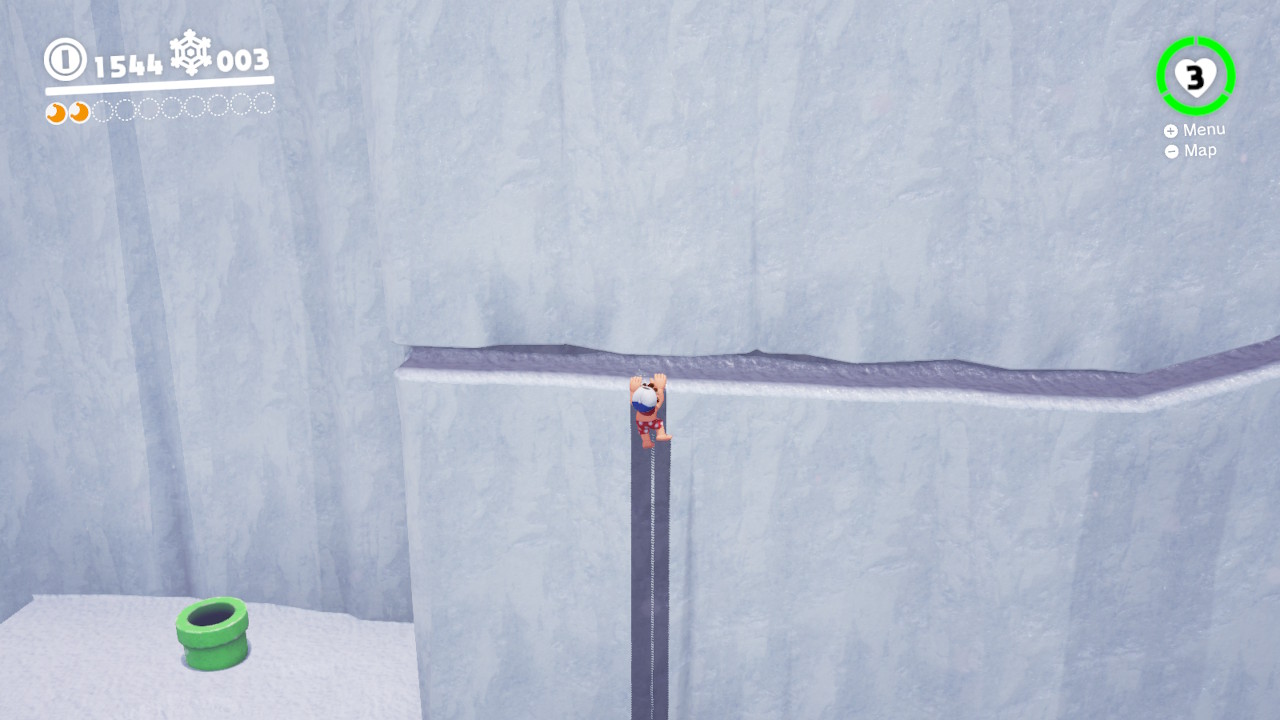
3- You can see from this angle, this is where the Moon appears once you collect all the shards, however a hidden Moon is up here as well…
4- There is a ledge that can be reached that leads to the treasure…
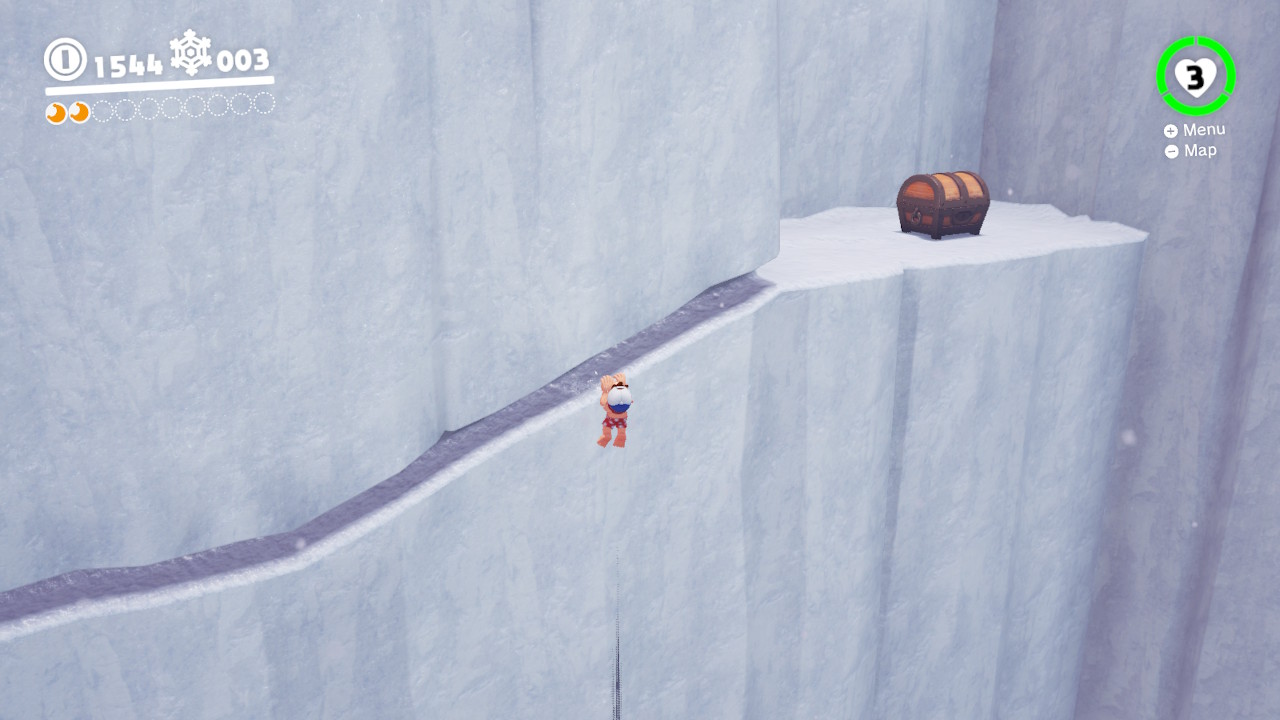
5- Jump up…
6- Shimmy across and the Moon is inside the treasure chest!
13 –
14 – Snow Kingdom Timer Challenge 2
Location-
1- Underneath the archway there is a scarecrow…
2- Throw Cappy at it and the obsticle course will appear, reach the Moon in time!!
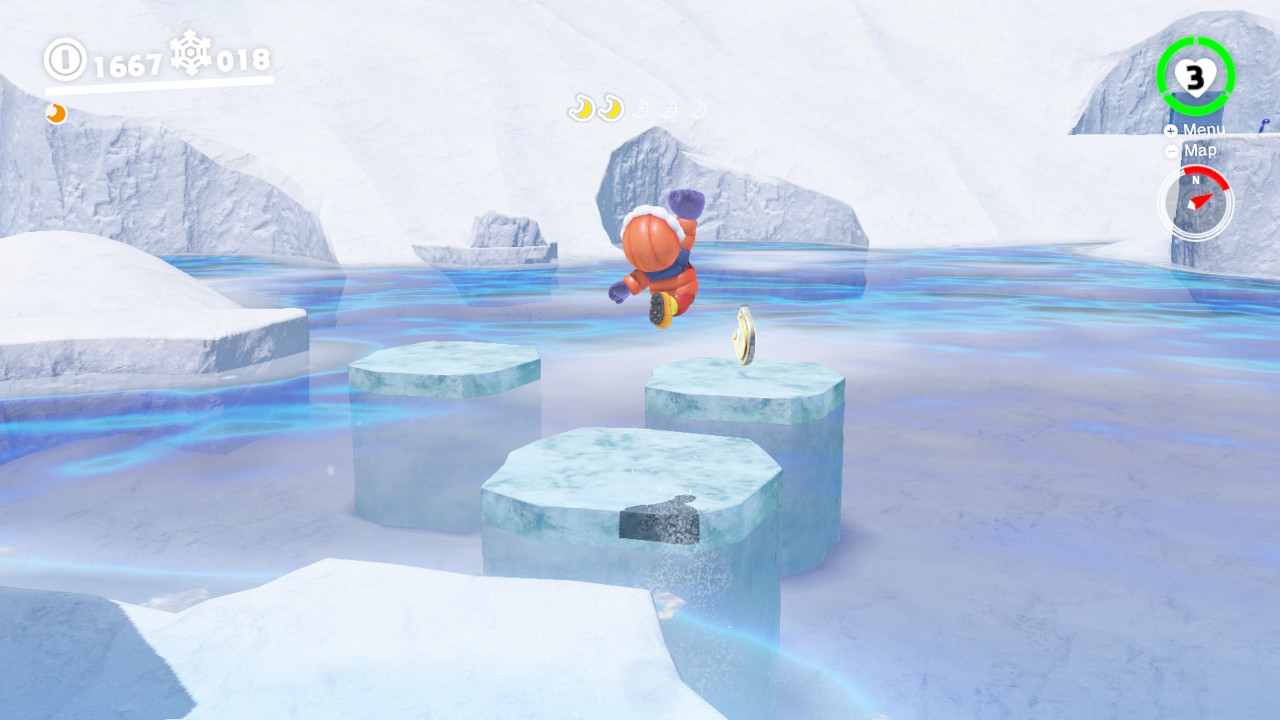
15 – Moon Shards in the Snow
Location –
1- Collect all five moon shards for the Power Moon to appear, here’s the first one…
2- And the second one…
3- The third one is on these floating ice chunks…
4- Don’t get blown away as you snag the fourth one…
5- Aaaaaand the last one is hiding under the water….
6- And now you have your POWER MOON!!
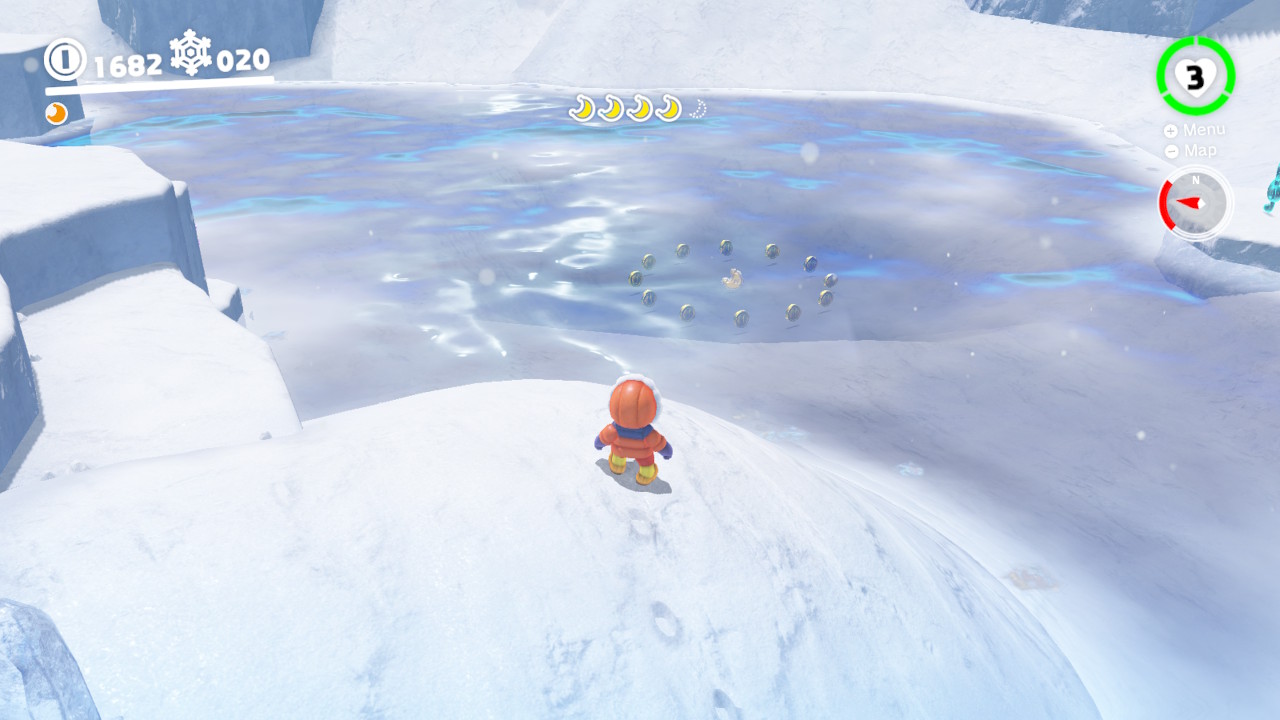
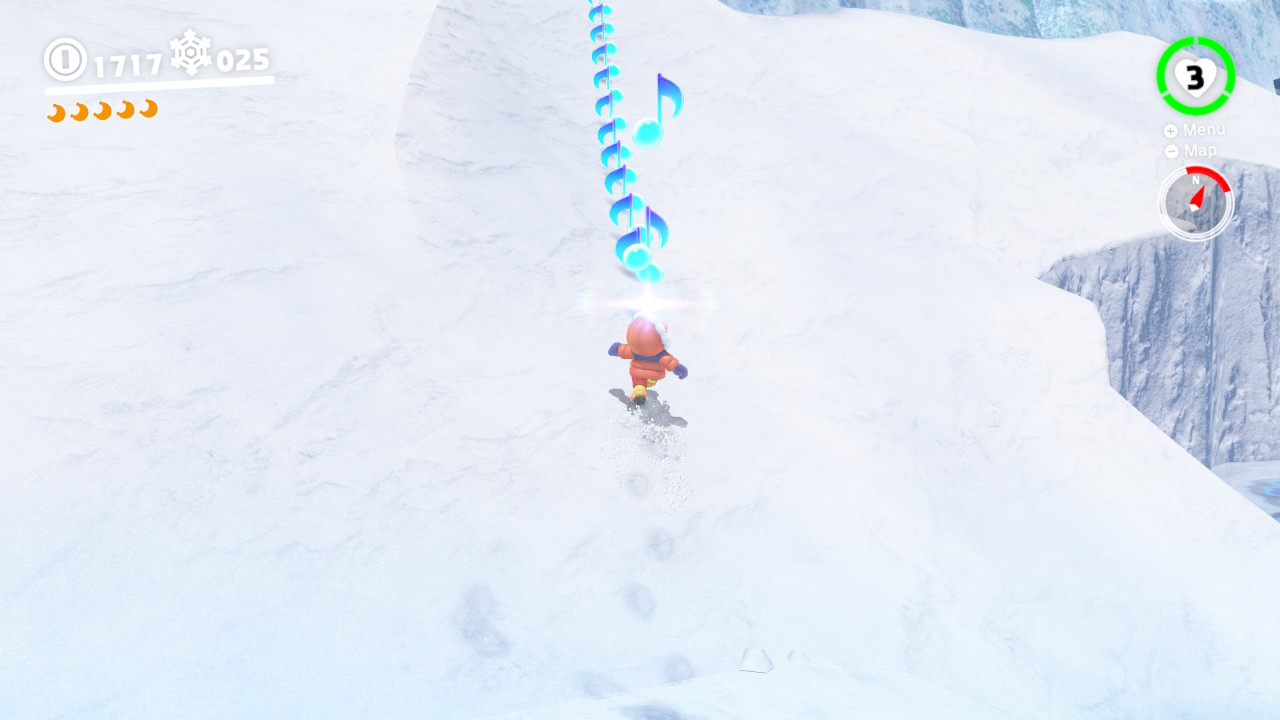
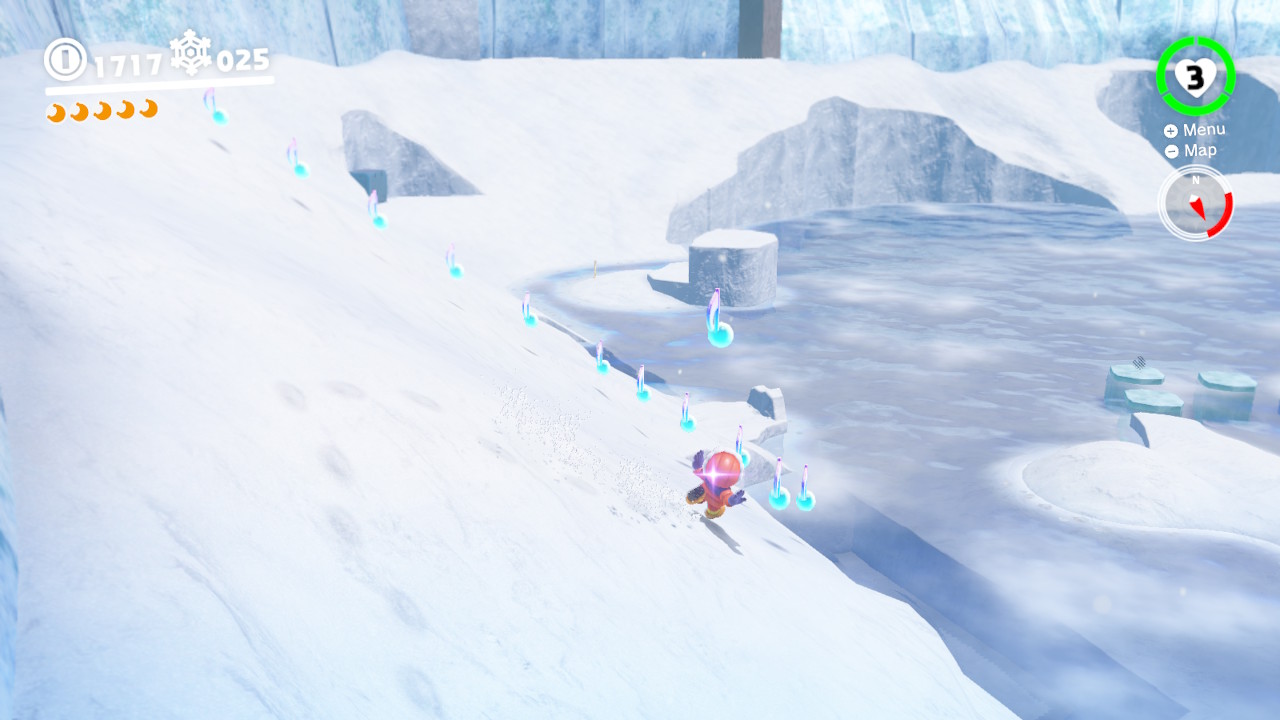
16 – Taking Notes: Snow Path Dash
Location-
1- On the far side of the waters you will see a music note…
2- Once you touch the music note, a bazillion more will appear…
3- A total of three “sets” of music notes will appear, every time you finish one, another set of a dozen or so appear…
4- Get them all in time and the Power Moon is yours! Music to my ears!
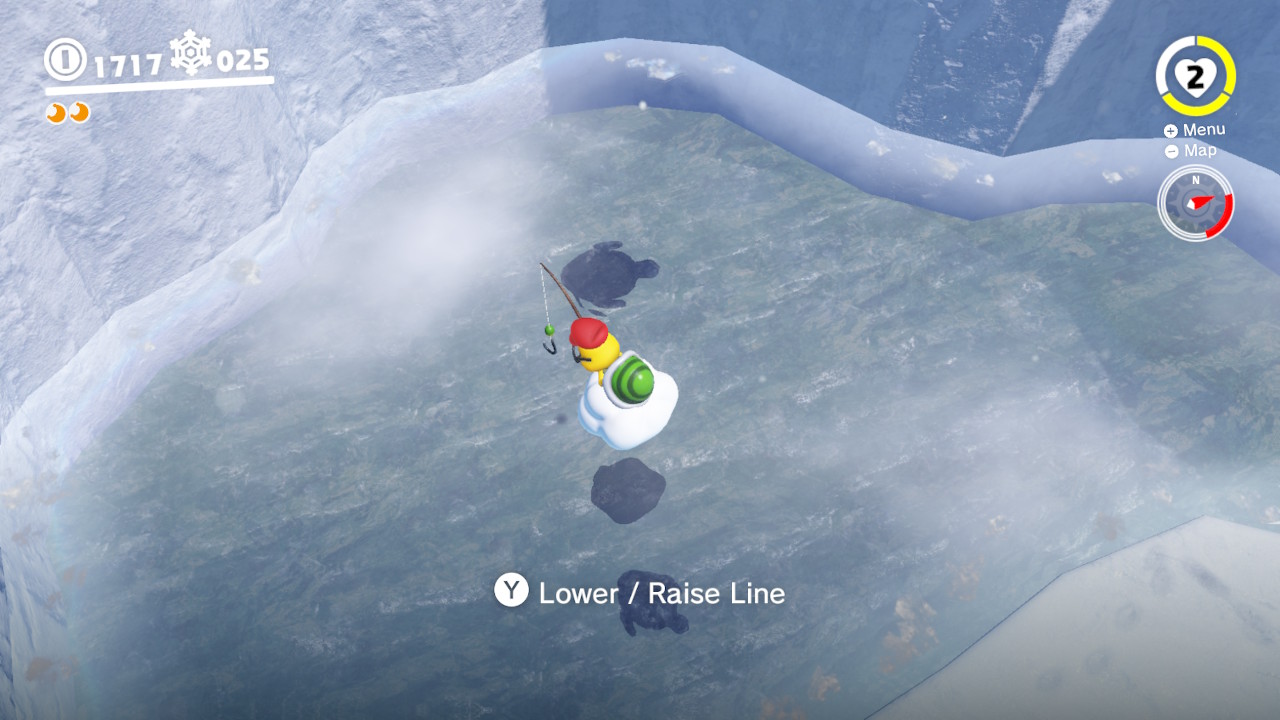
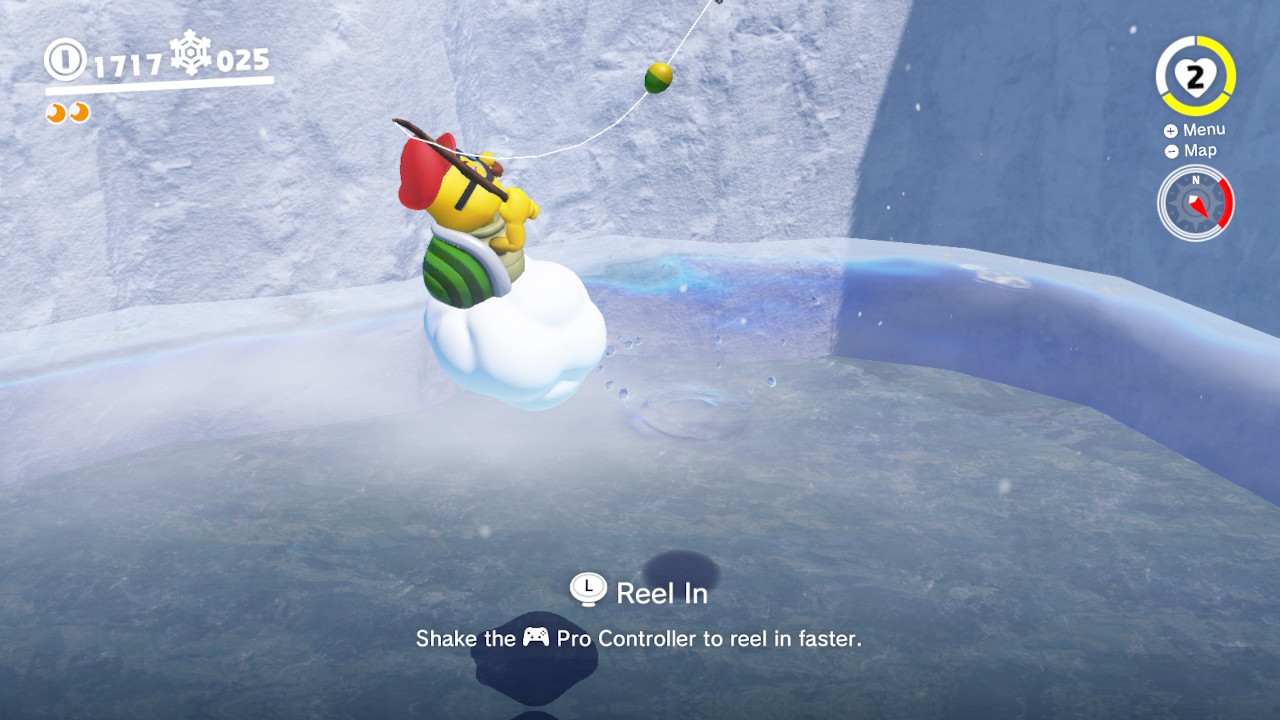
17 – Fishing in the Glacier!
Location-
1- On the near right side of the waters you will see a Lakitu fishing in a small pond of water…
2- Take control of the Lakitu and catch the BIGGEST fish silhouette…
3- Reel him in with you feel the rumbles…
4- You got a Power Moon! What a crazy fish tale!
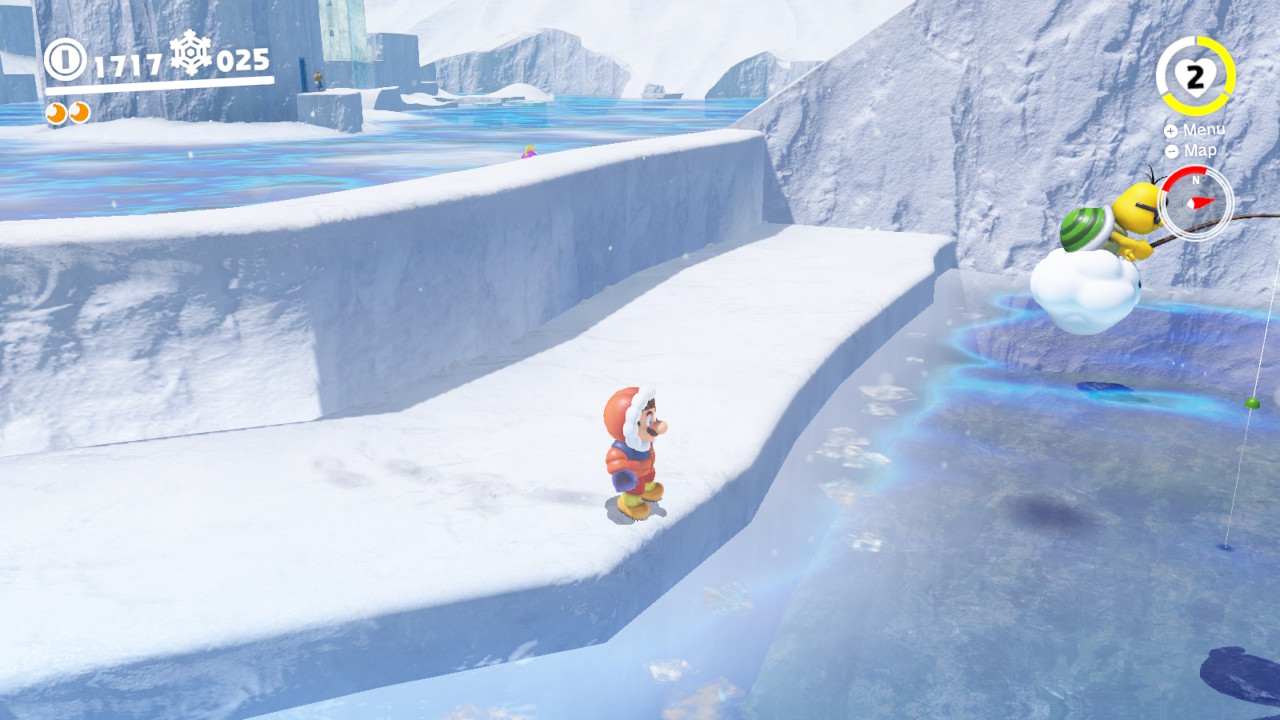
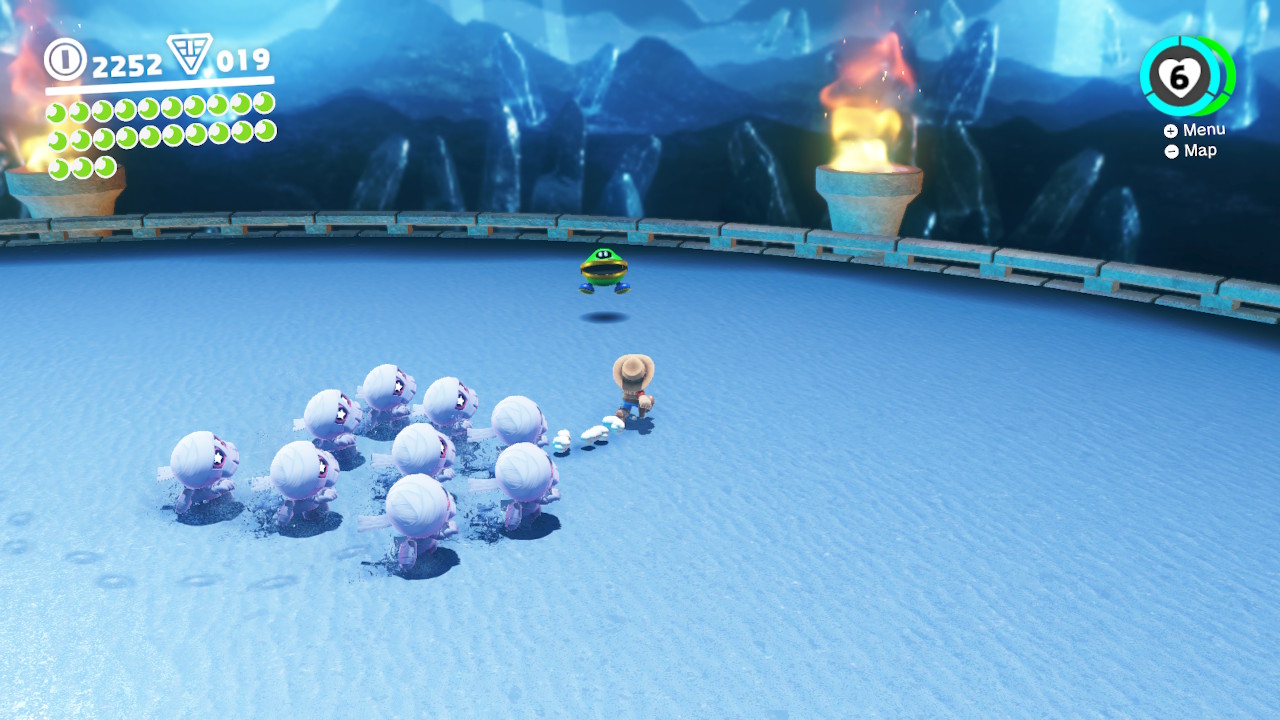
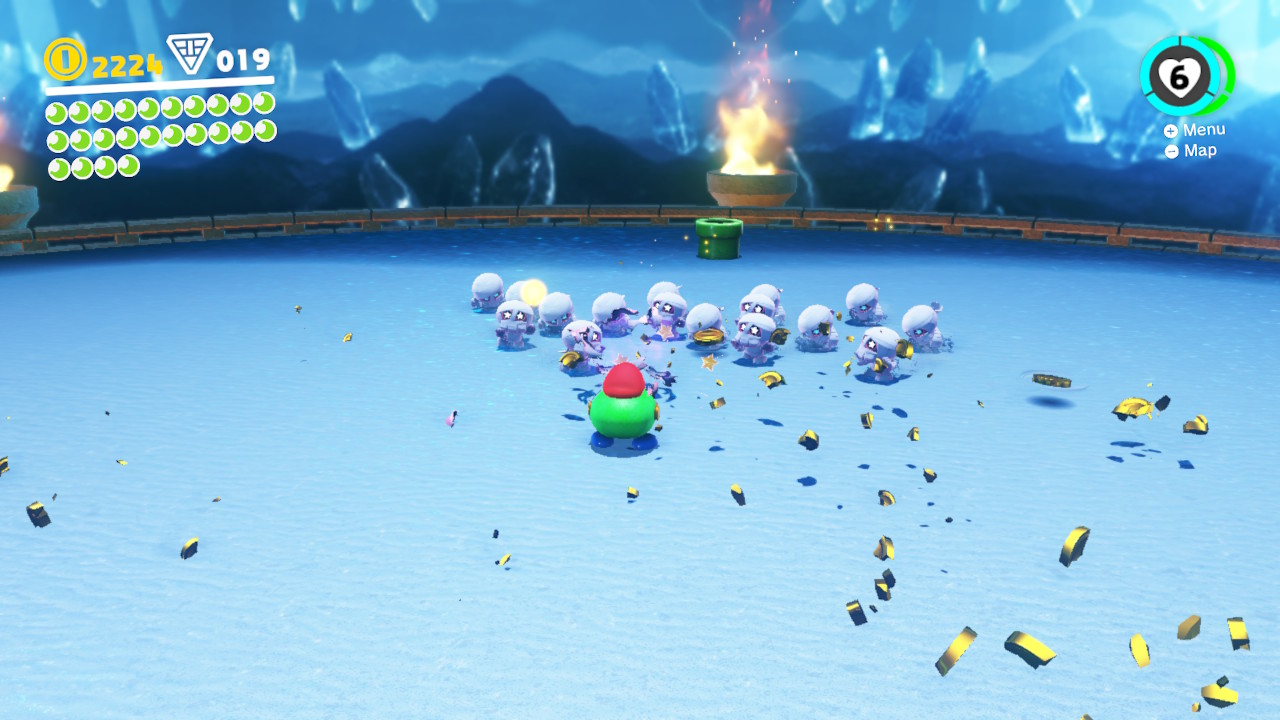
18 – Ice-Dodging Goomba Stack
Location- Shiveria Town/Icicle Cavern
1- From the middle of Shiveria Town, go down the pathway shown in the image above…
2- This will take you to the Icicle Cavern…
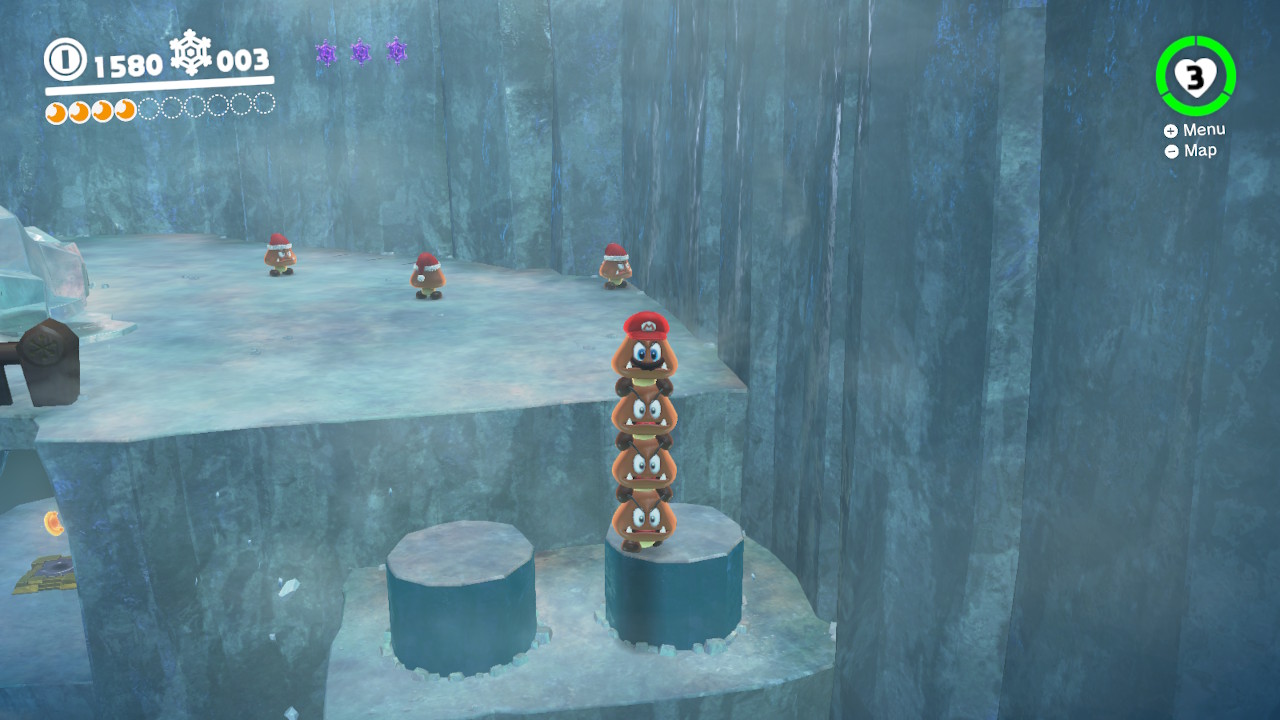
3- Once inside, capture a Goomba and start stacking…
4- Jump on the other Goombas to make a tower of Goombas…
5- Jump on the switch with all four Goombas and the Power Moon will appear!
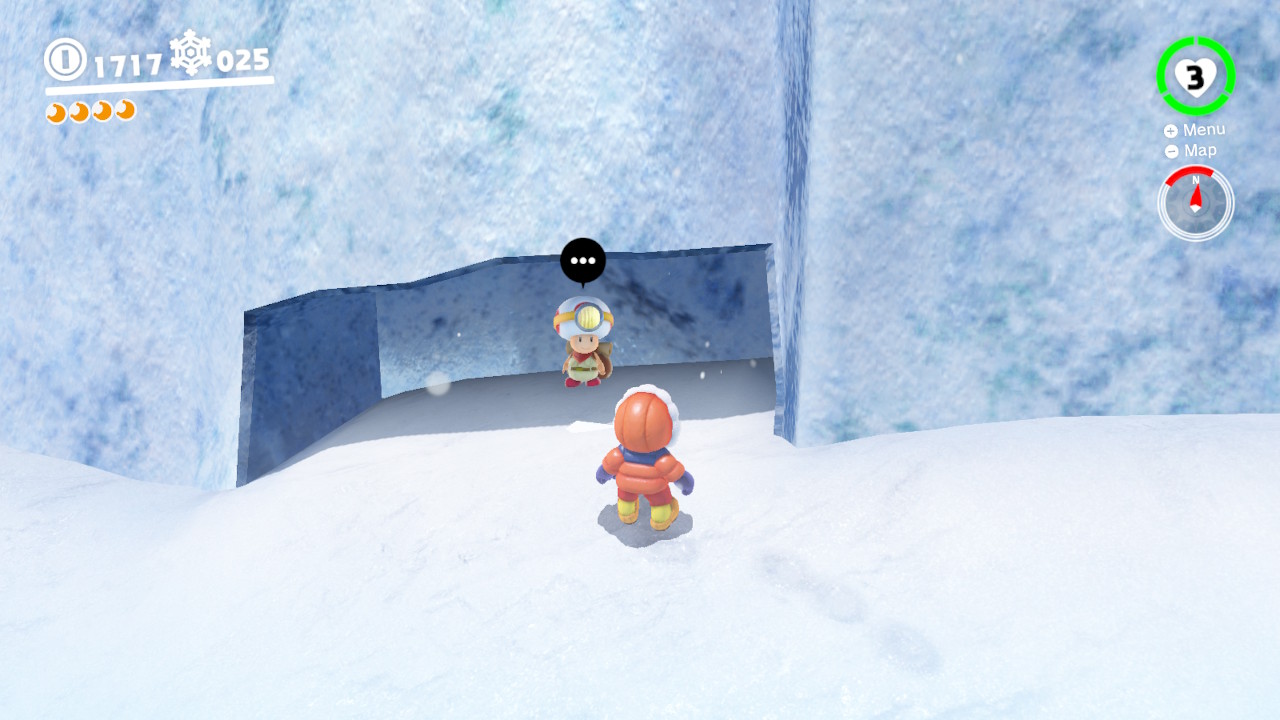
19 – Captain Toad is Chilly!
Location-
1- On the far hillside (You can sorta see it directly straight from the Odyssey), you will see a strange lump of snow…
2- Captain Toad is chillin back there and has a Power Moon!
20 –
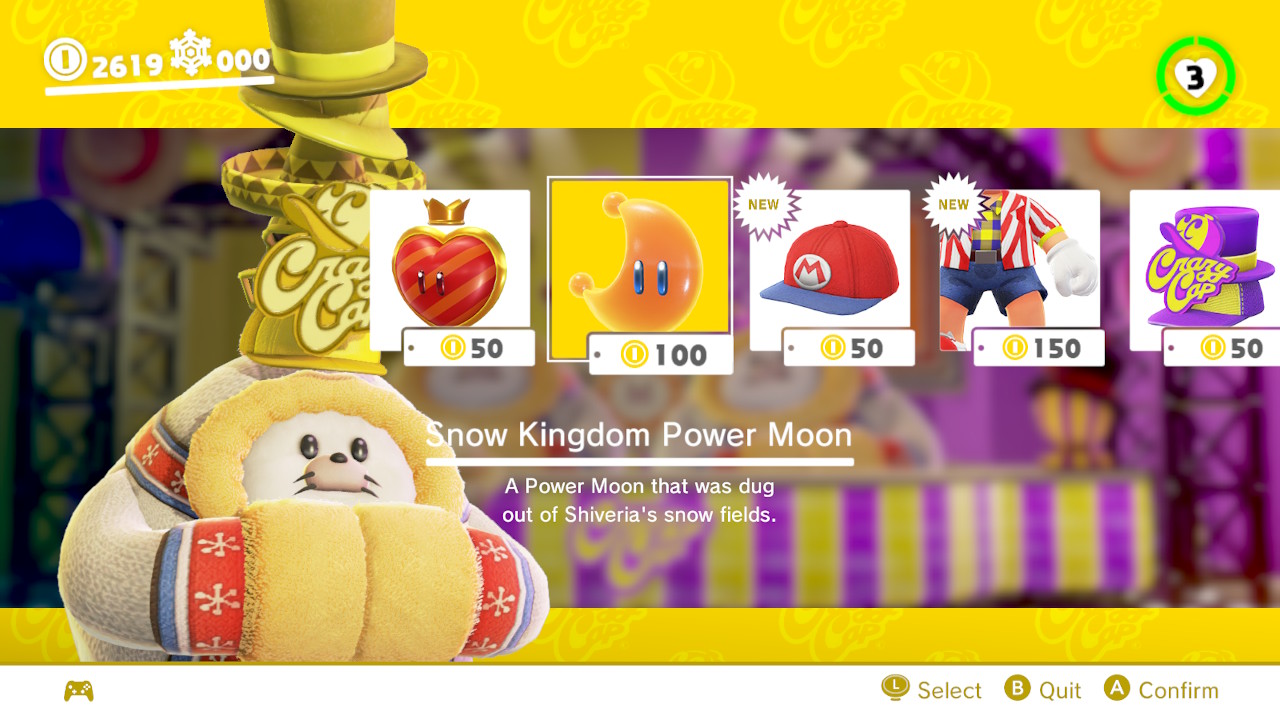
21 – Shopping in Shiveria
Location- Shiveria
1- From inside Shiveria you will see Crazy Caps…
2- You can buy a Power Moon for a cool 100 coins inside!
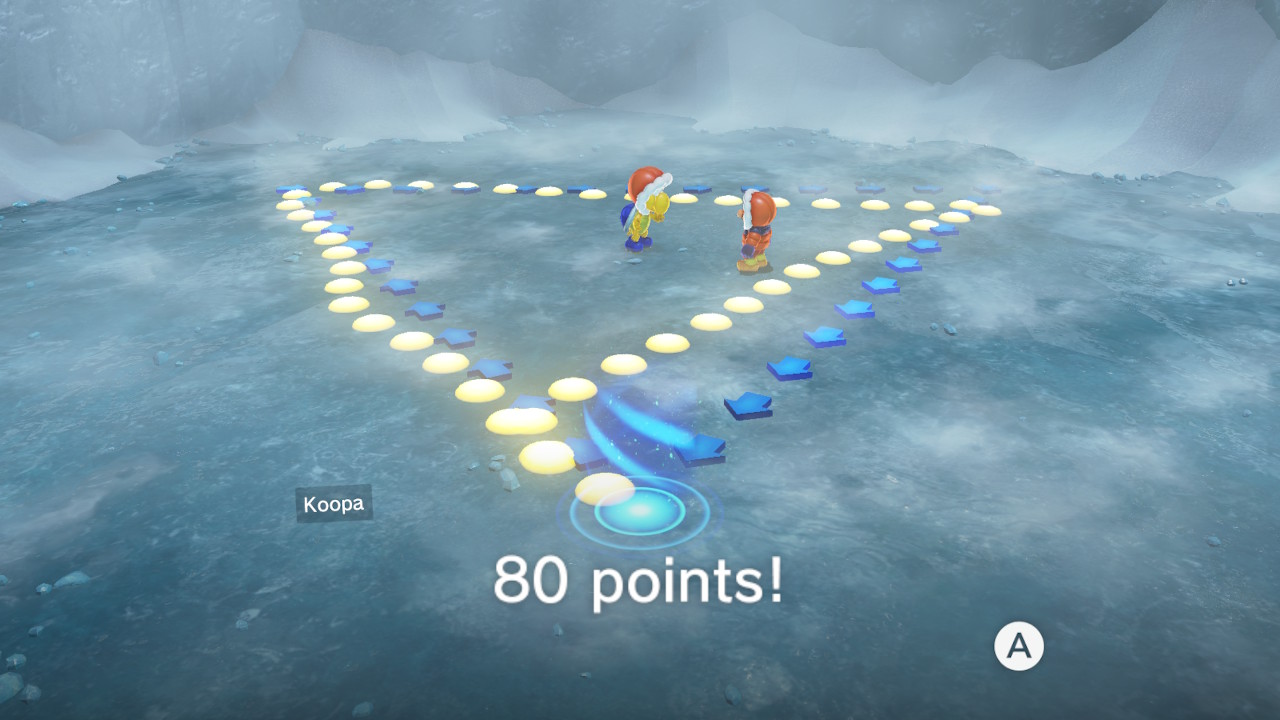
22 – Walking on Ice!
Location-
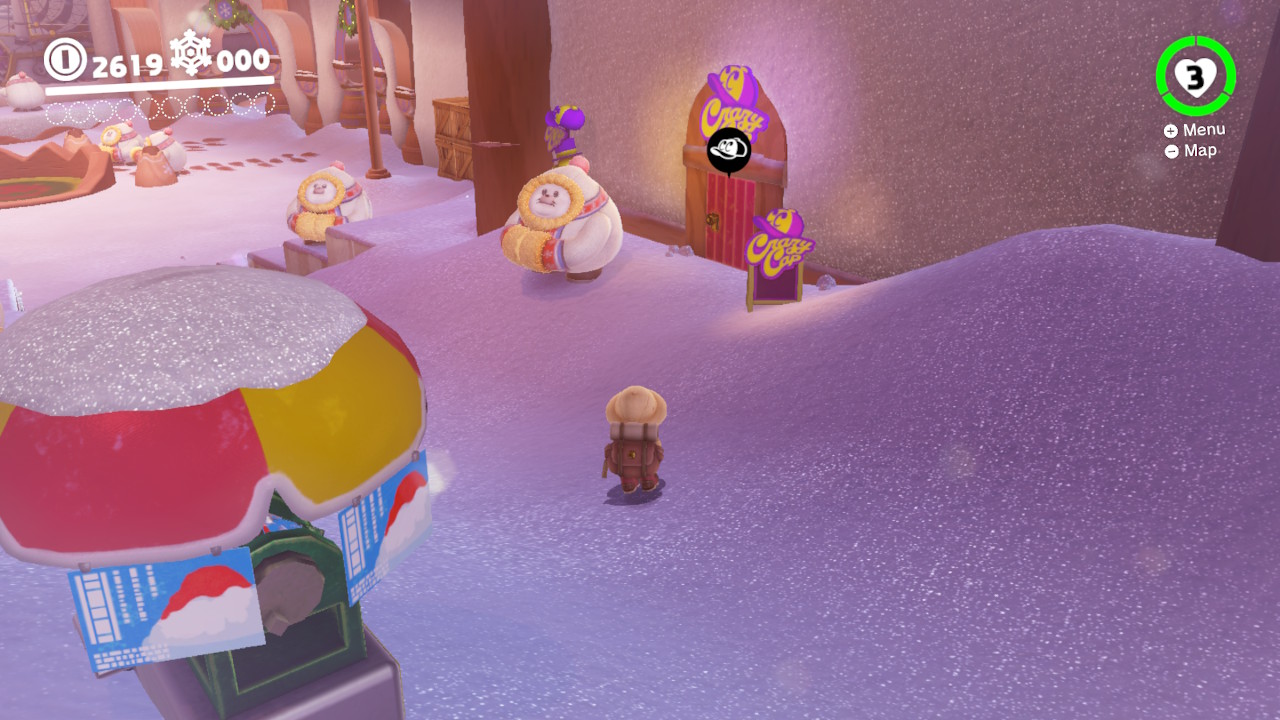
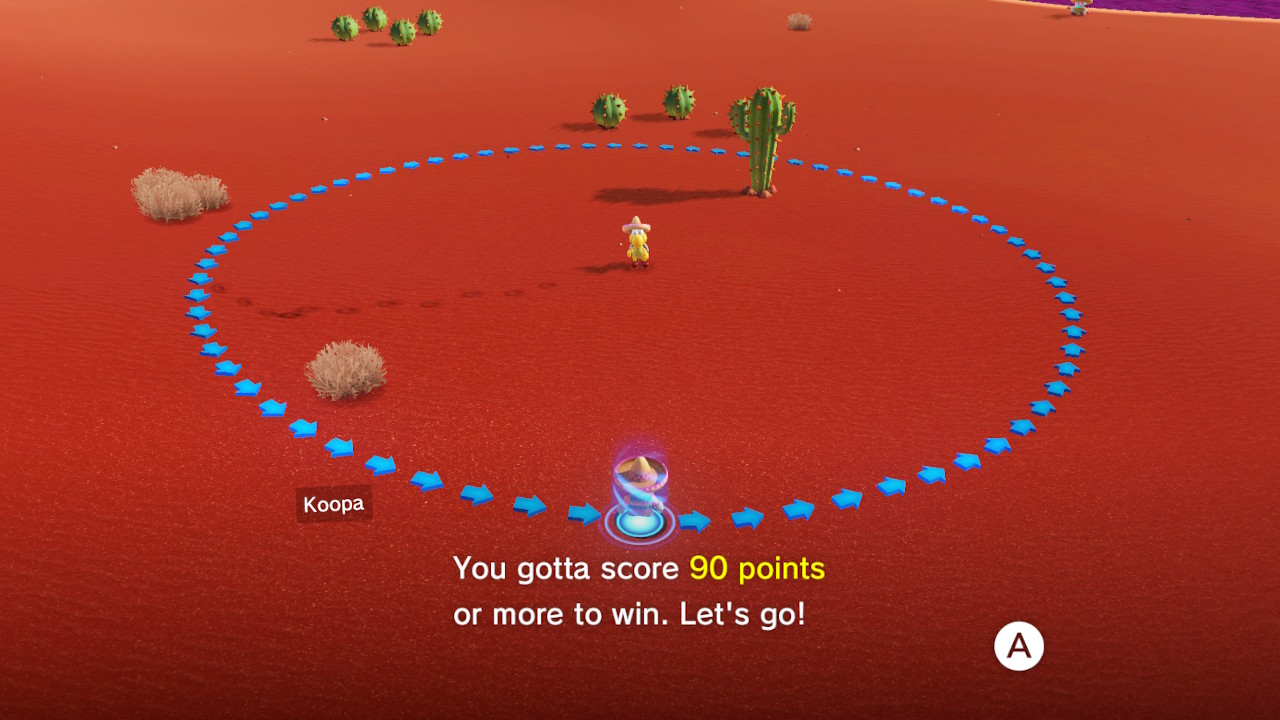
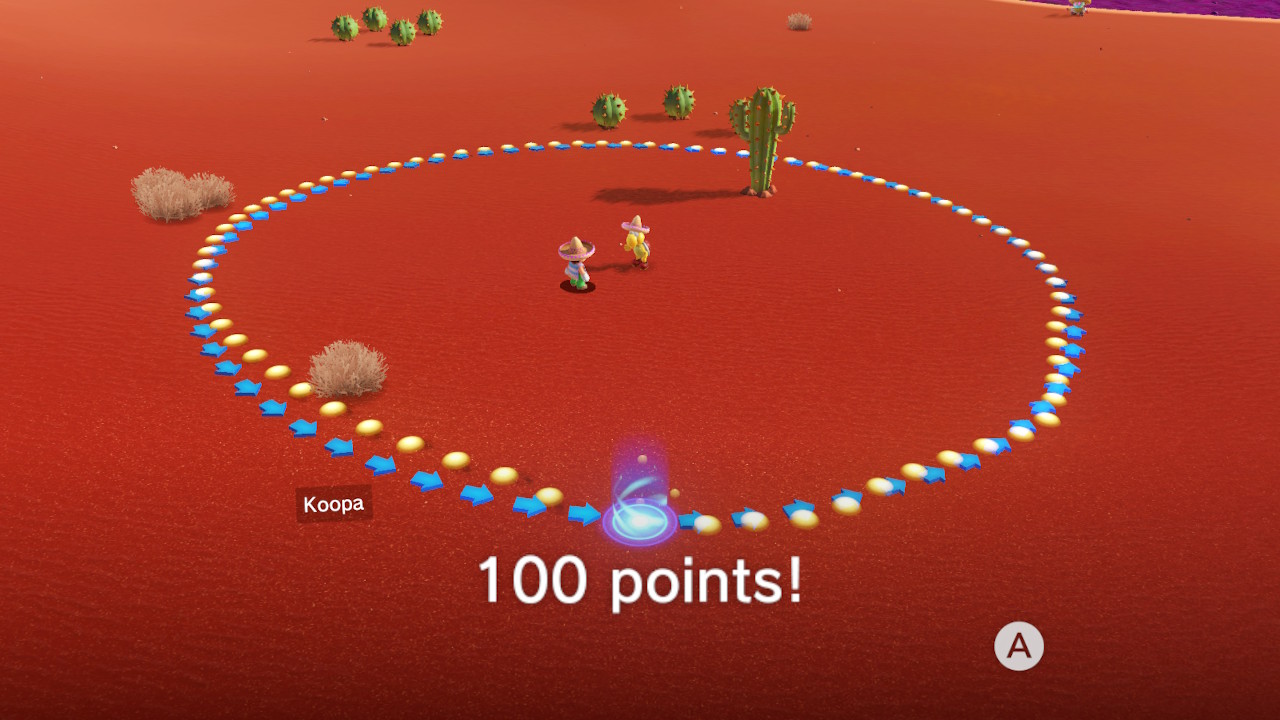
1- Hiding around the corner and right next to the checkpoint is a door…
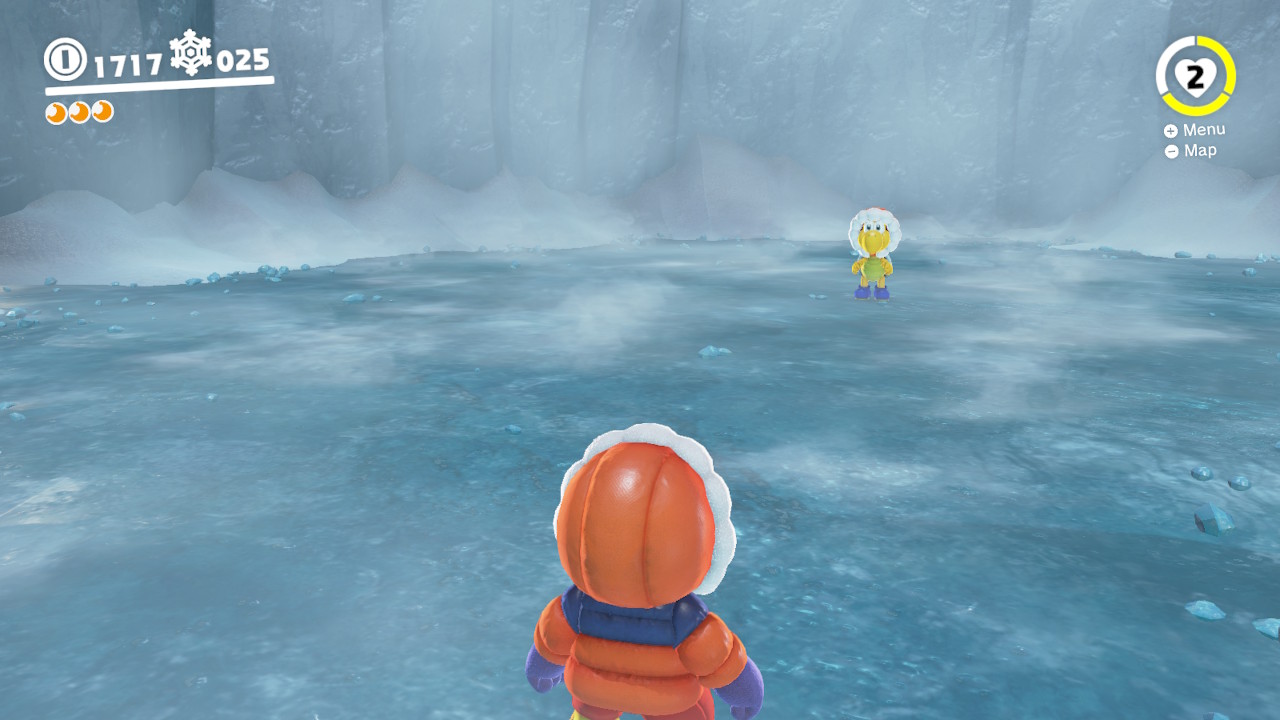
2- Inside, you will find a Koopa who is ready to play another walking game…
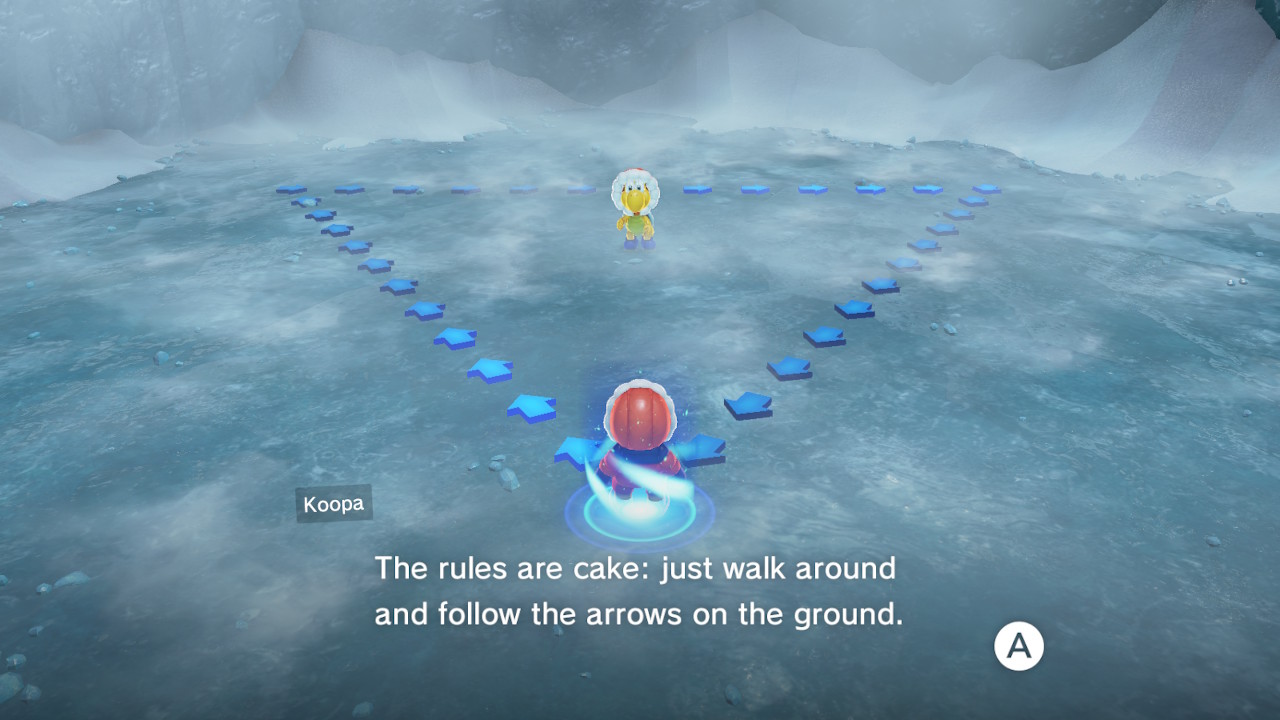
3- Walk on the dotted line, and remember it will dissapear, and try to get 80 or more points…
4- It is slippery so it’s tough to stay in line, but if you manage, you get your Power Moon!
23 –
24 – Dashing Over Cold Water!
Location-
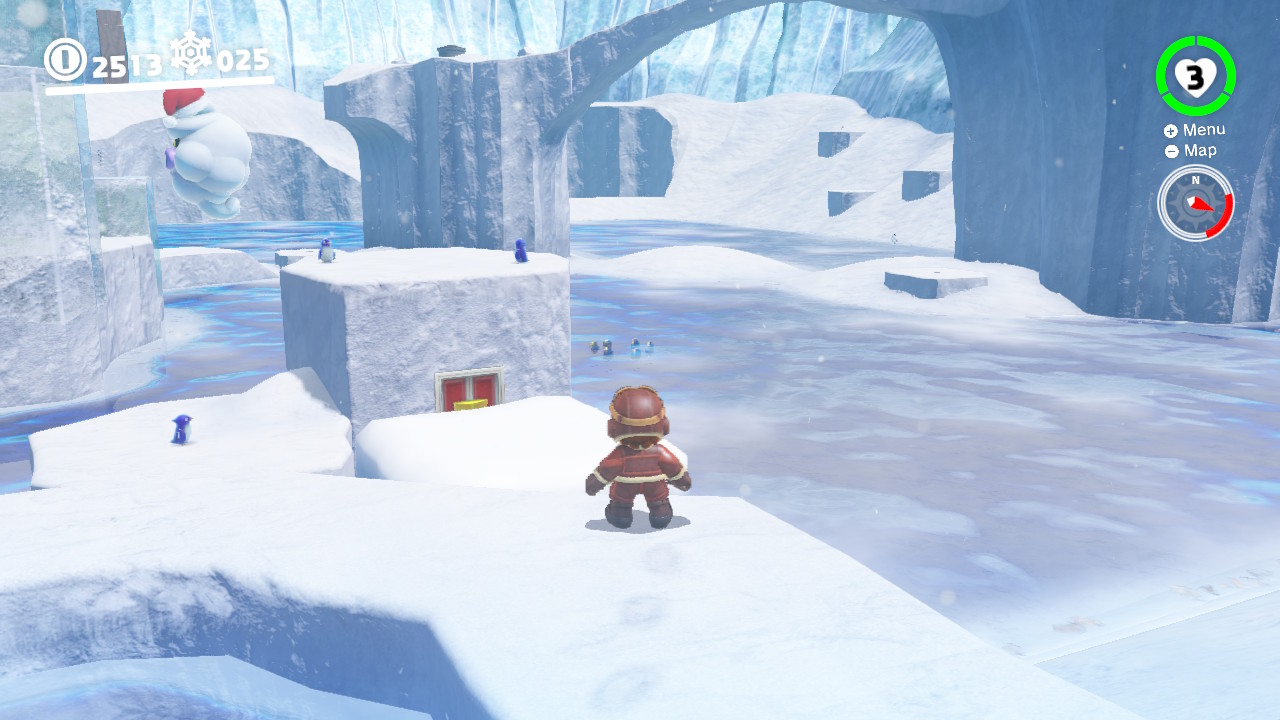
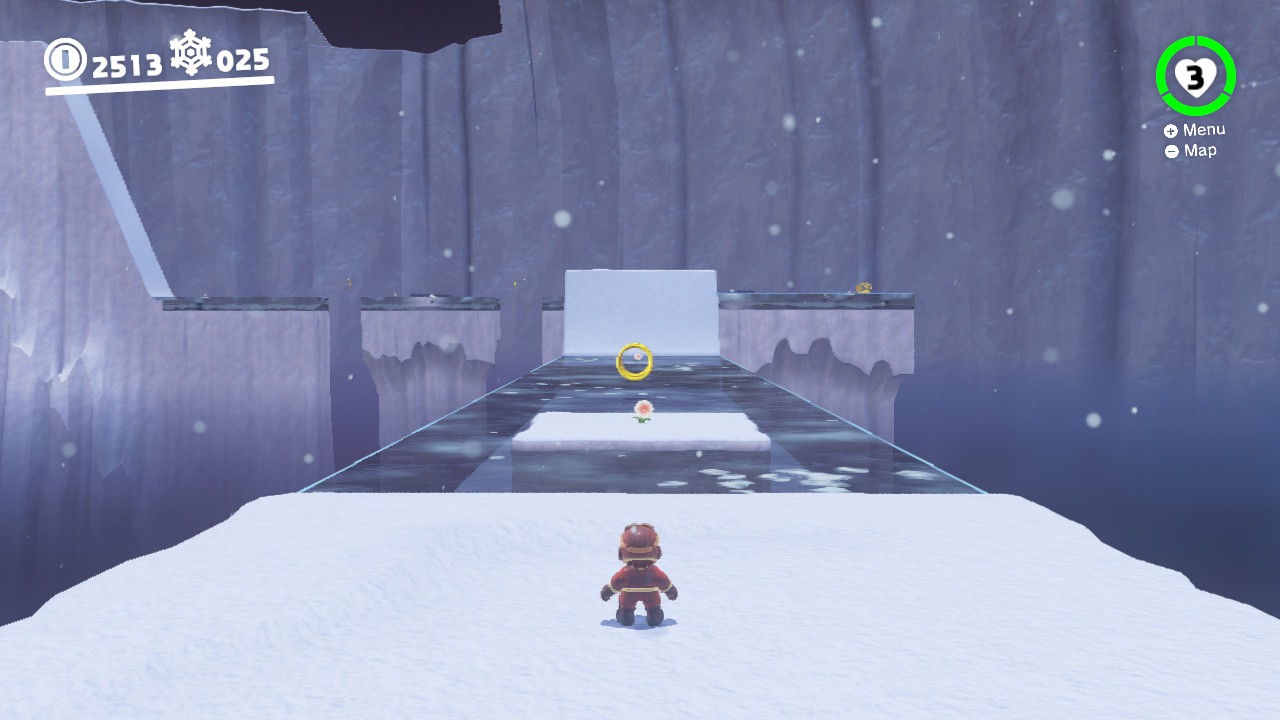
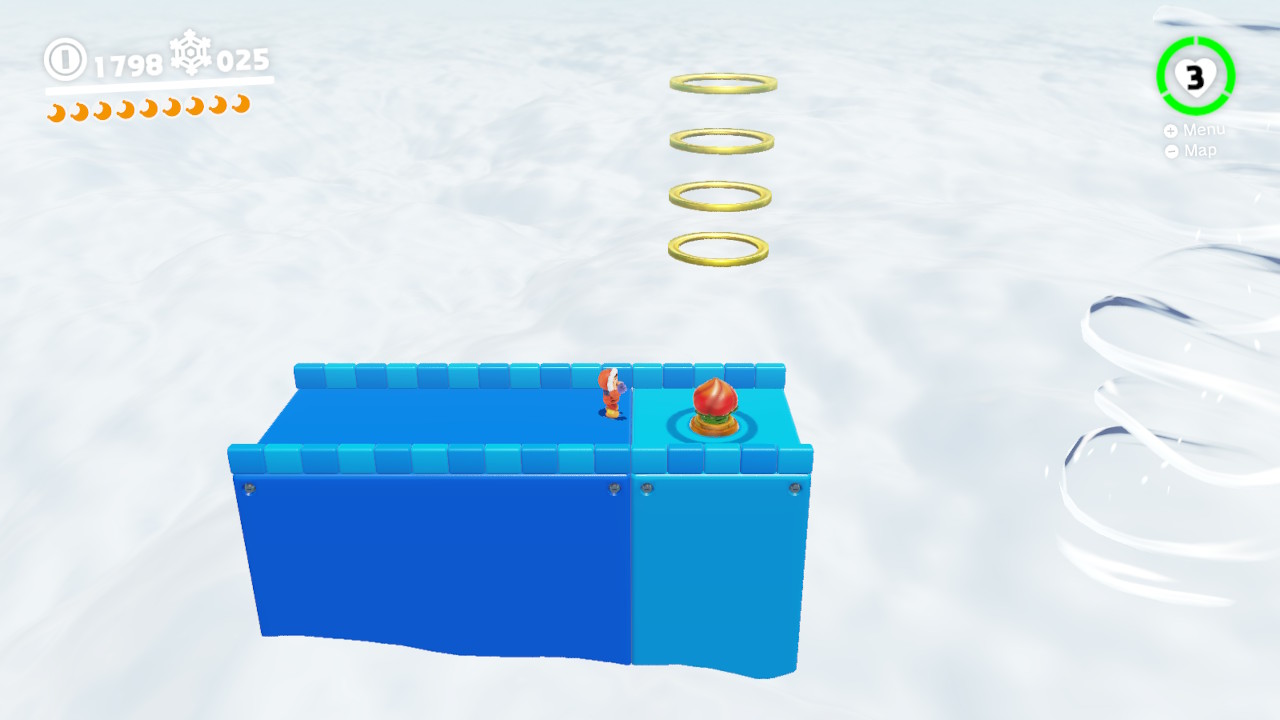
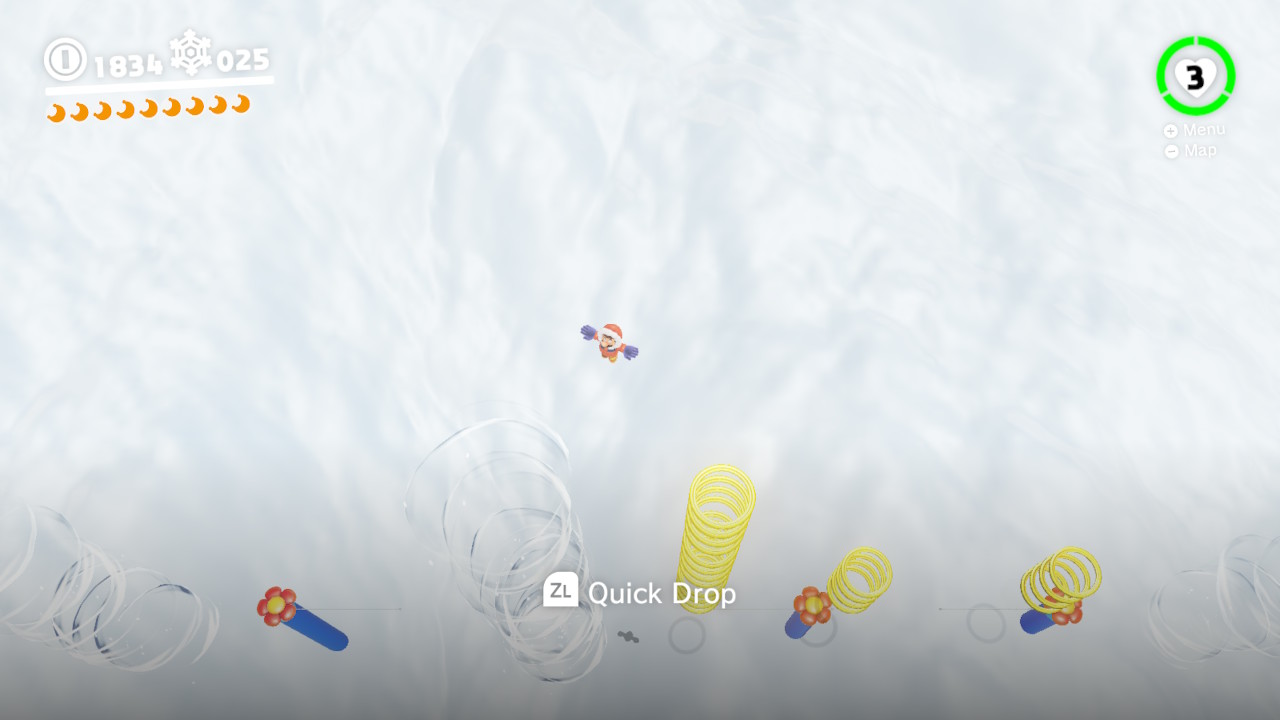
1- Hiding behind a block of ice and behind some snow is a Cappy door…
2- Inside is a REALLY fun water running challenge…
3- Throw Cappy at the flowers to run lightning fast across the water…
4- And up the hill to the Power Moon!
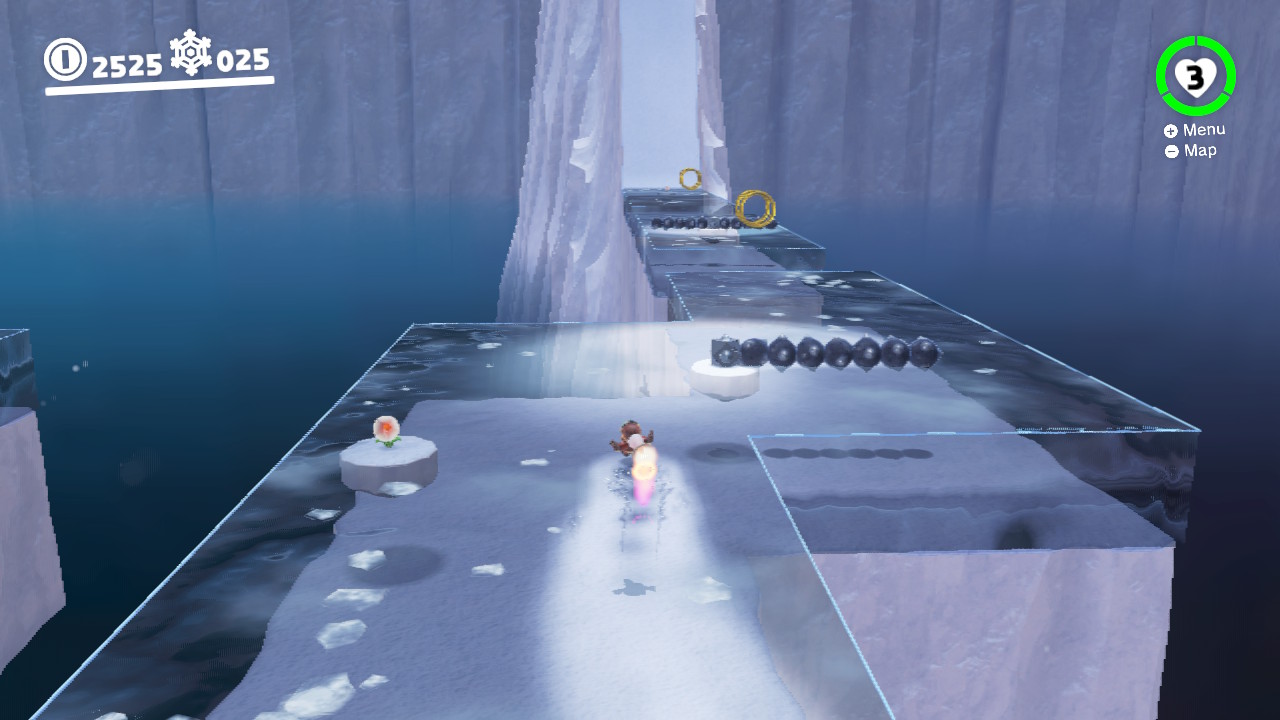
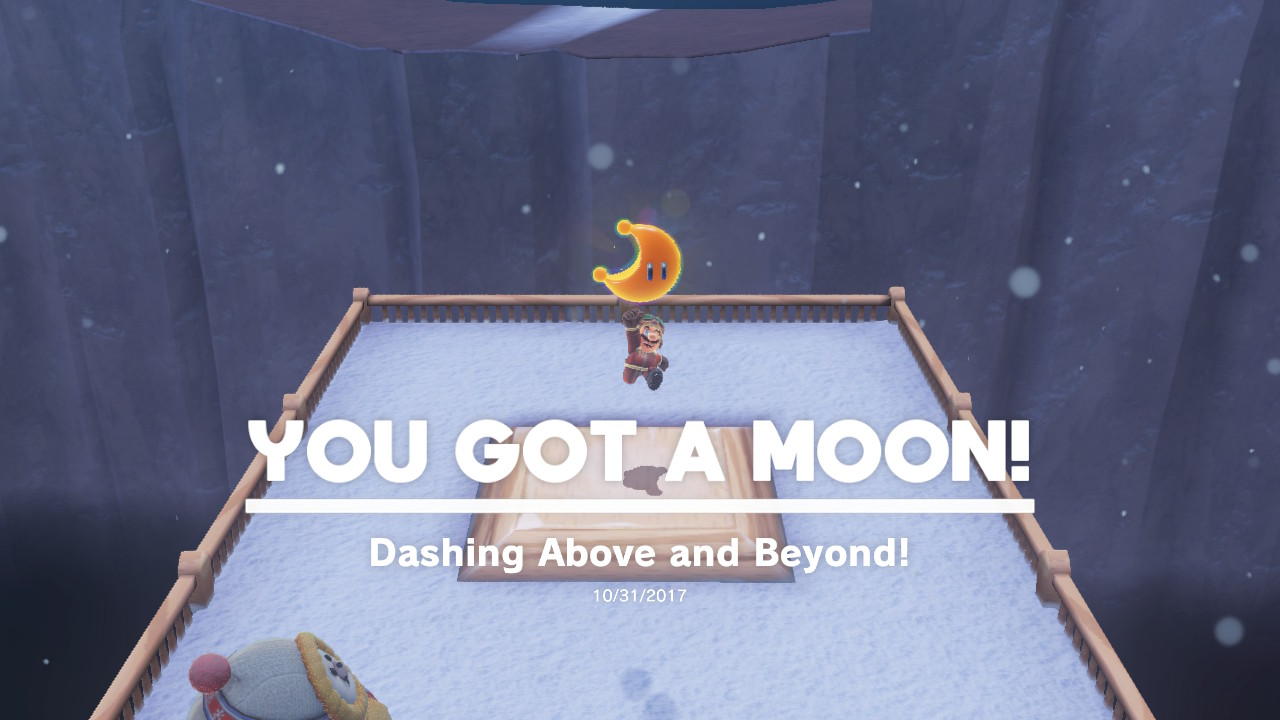
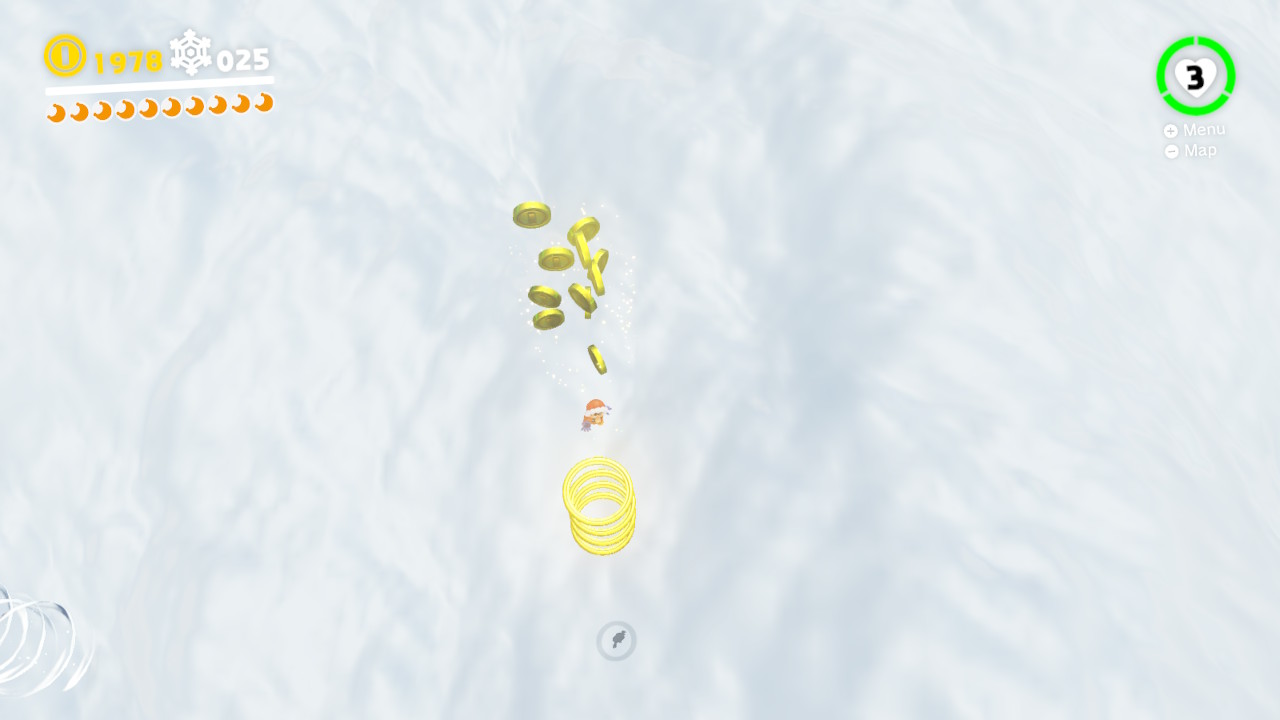
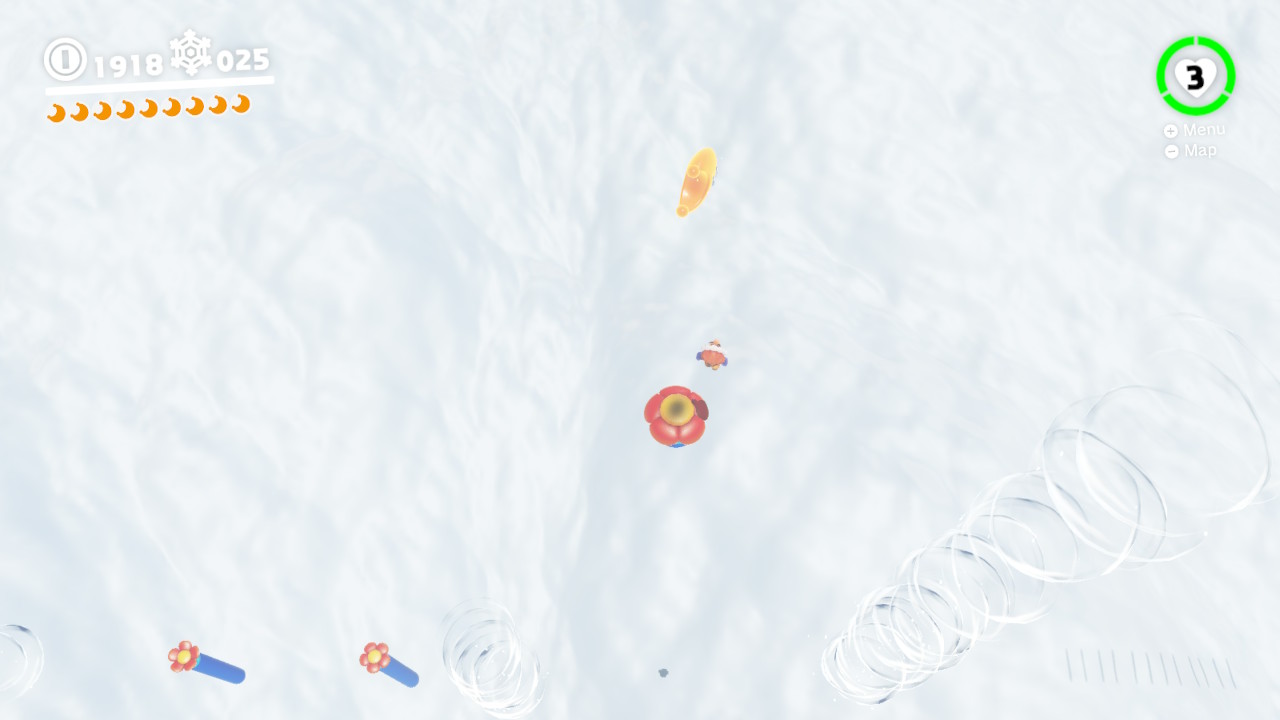
25 – Dashing Above and Beyond!
Location-
1- Hiding behind a block of ice and behind some snow is a Cappy door…
2- Inside is a REALLY fun water running challenge…
3- Throw Cappy at the flowers to run lightning fast…
4- Instead of grabbing the Power Moon however, keep running past it and up the next hill…
5- You’ll need to grab a lot of the flowers along the way. Thankfully you don’t need all of them. You can miss one and still have enough momentum to reach the top…
6- Once you climb the mountain, you can snag the Power Moon! Also this guy is impressed!
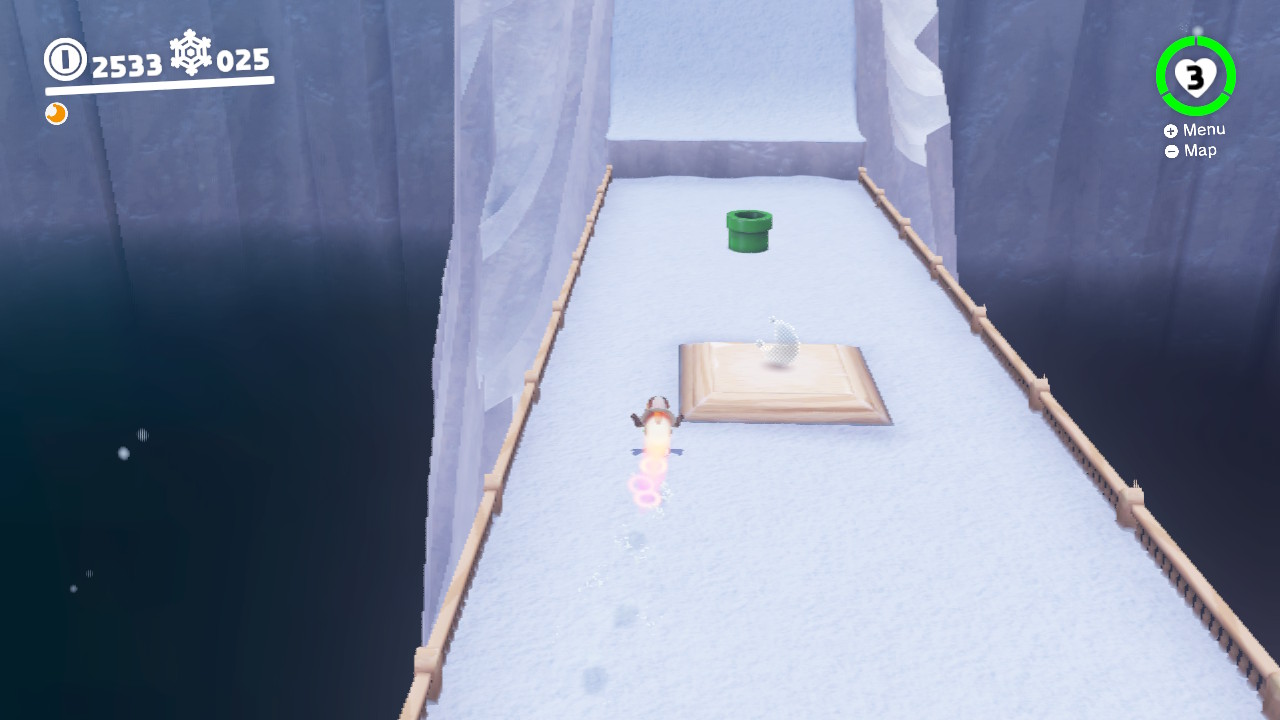
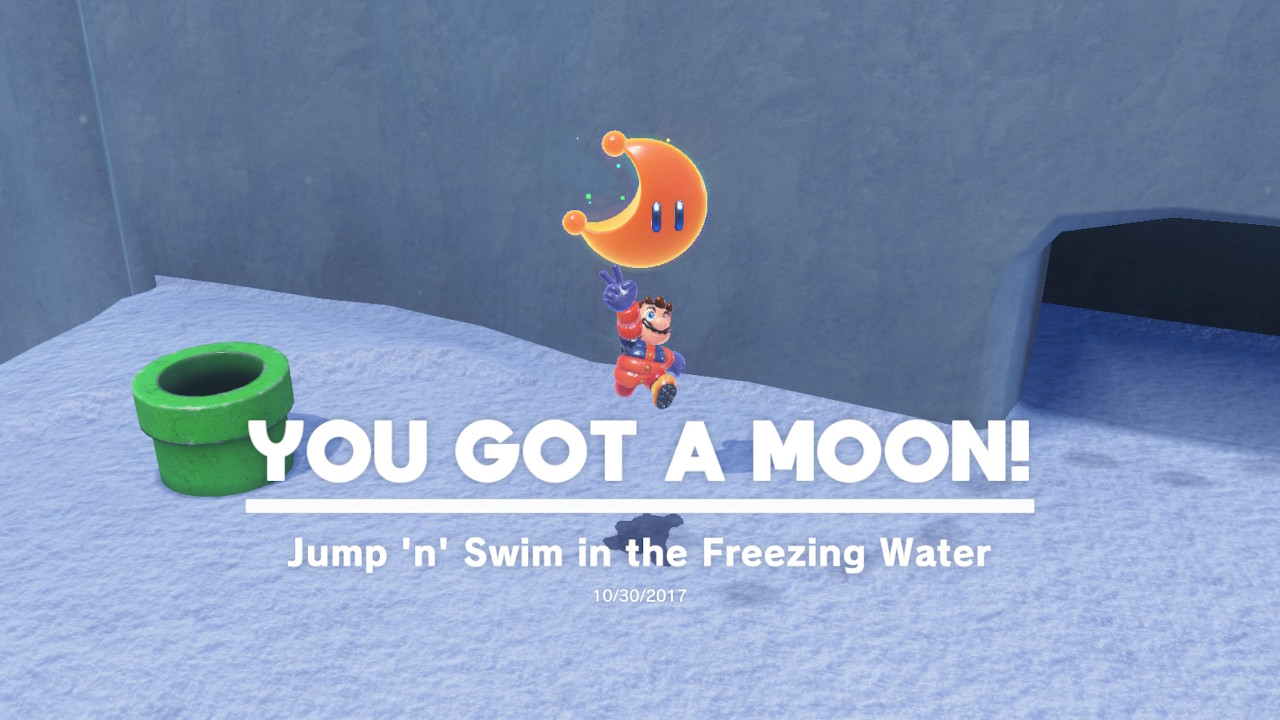
26 – Jump ‘n’ Swim in the Freezing Water
Location-
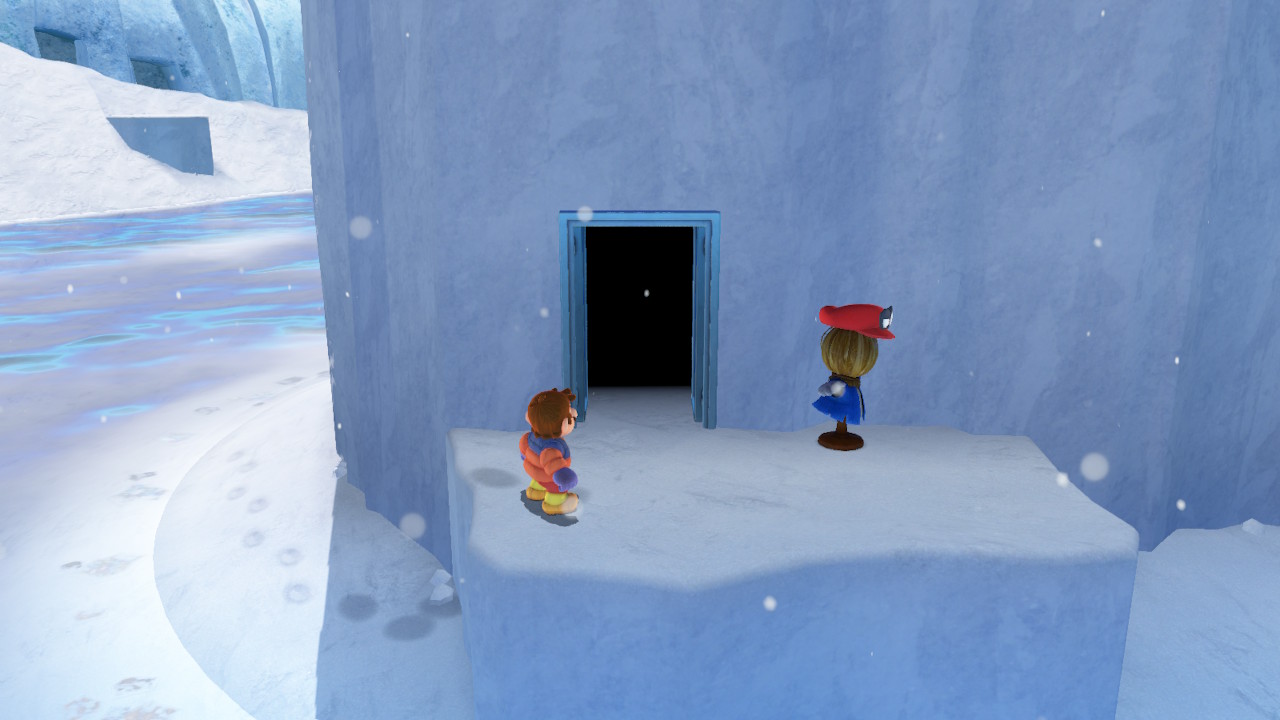
1- Down below the cliffside and on the egde of the water, a scarecrow is waiting, throw Cappy at him to open the door…
2- Now you are inside a big icy cavern but WITHOUT the help of Cappy…
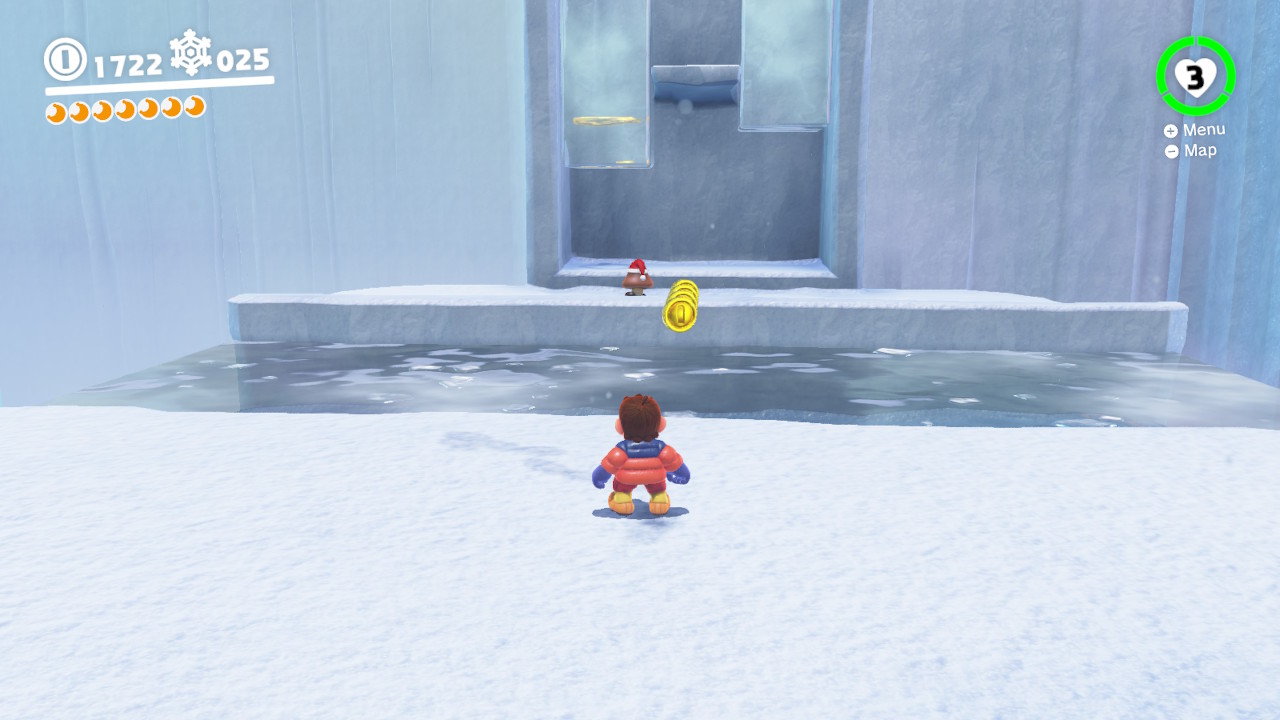
3- Swim up the freezing waters…
4- Avoid the Goombas…
5- Don’t stay in the waters too long…
5- At the end of the freezing obstacle course you will find your Power Moon!
27 – Freezing Water Near the Ceiling
Location-
1- Down below the cliffside and on the egde of the water, a scarecrow is waiting, throw Cappy at him to open the door…
2- Now you are inside a big icy cavern but WITHOUT the help of Cappy…
3- Swim up the freezing waters…
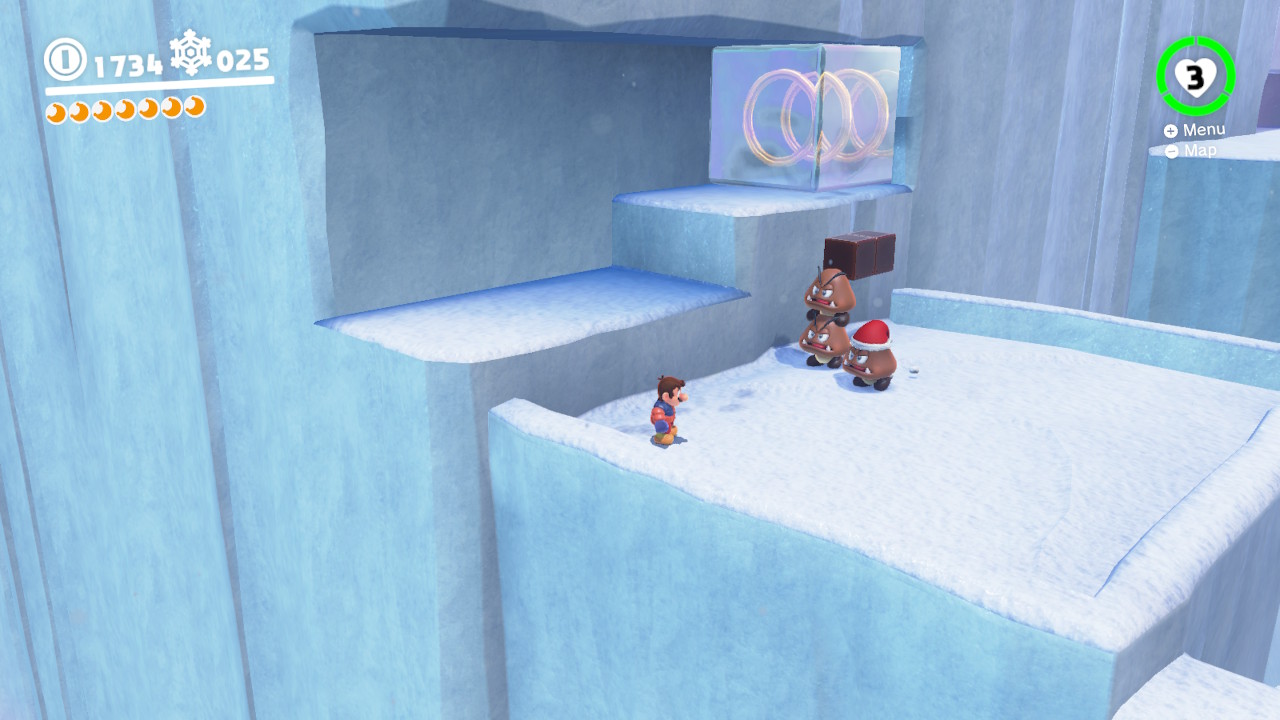
4- Towards the end, you will see a moving platform with freezing water and rings inside. Normally you will swim down here to get the Power Moon. However, there is a secret above! Jump on TOP of the platform instead…
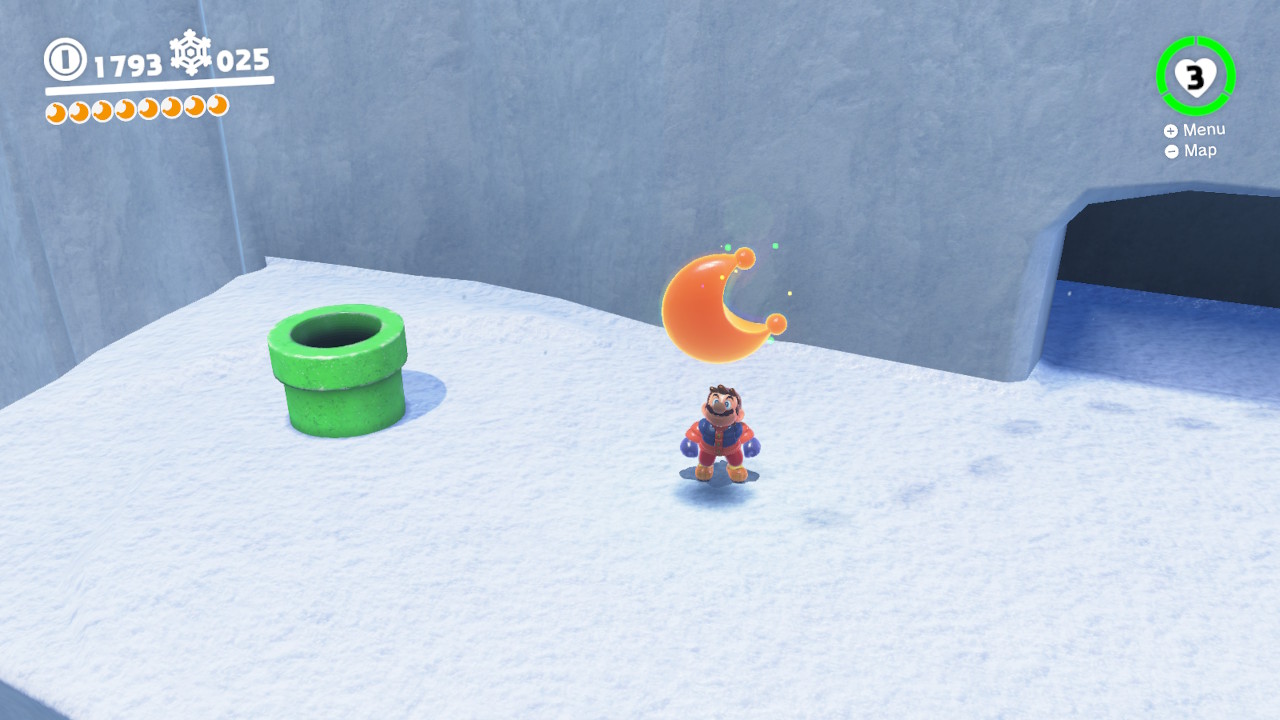
5- Next you will need to jump from the swinging poles…
6- At the top left corner inside the freezing cold water is the Power Moon!
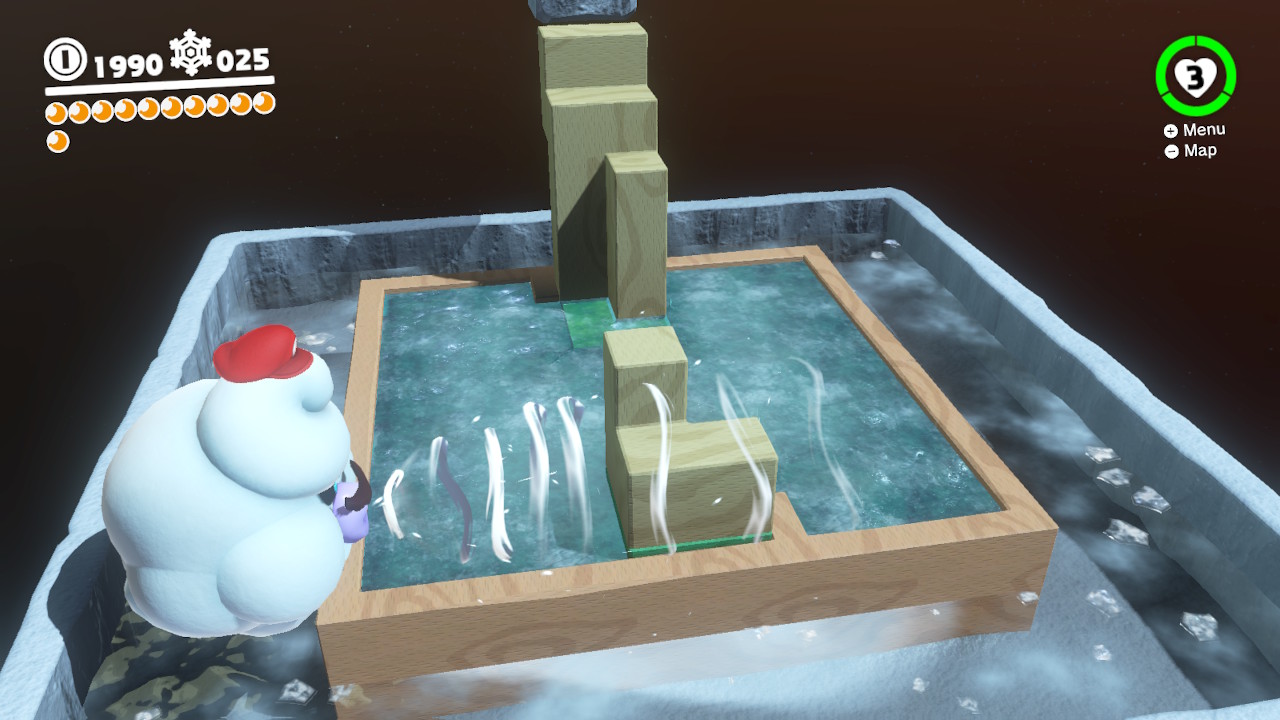
28 – Blowing and Sliding
Location-
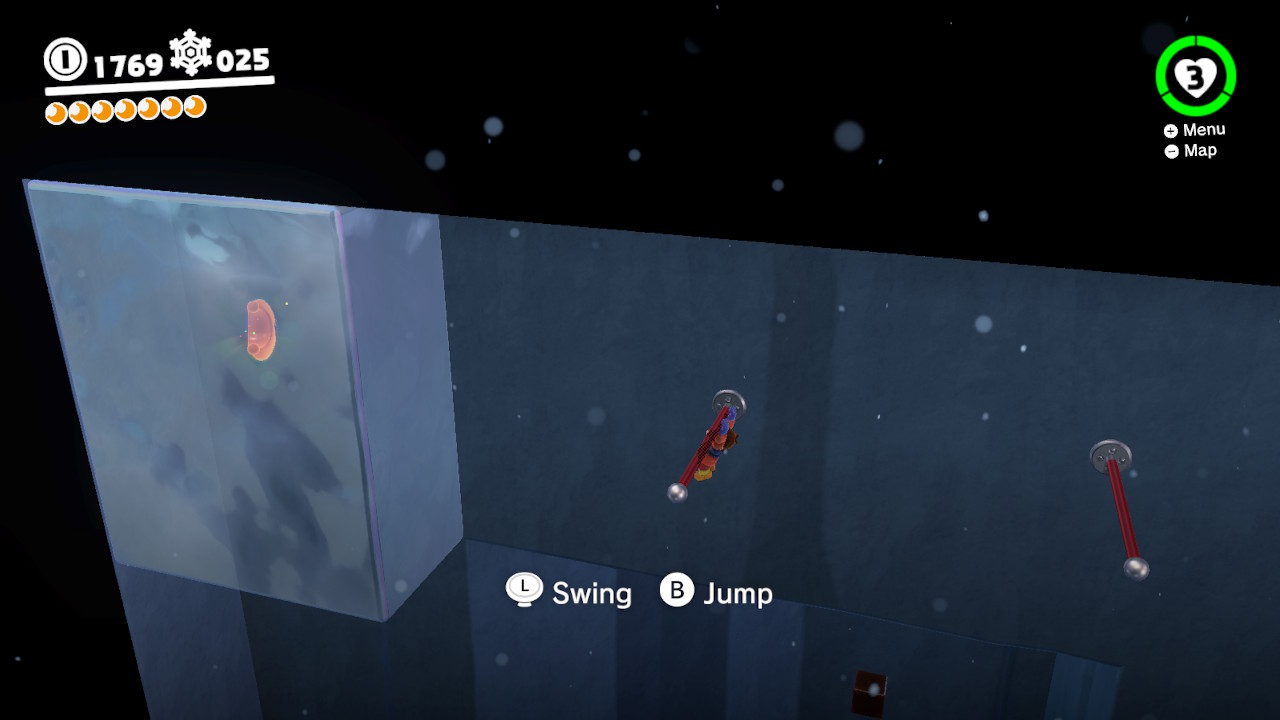
1- This one takes quite a few steps, first find the one of the big blowing guys…
2- Capture him…
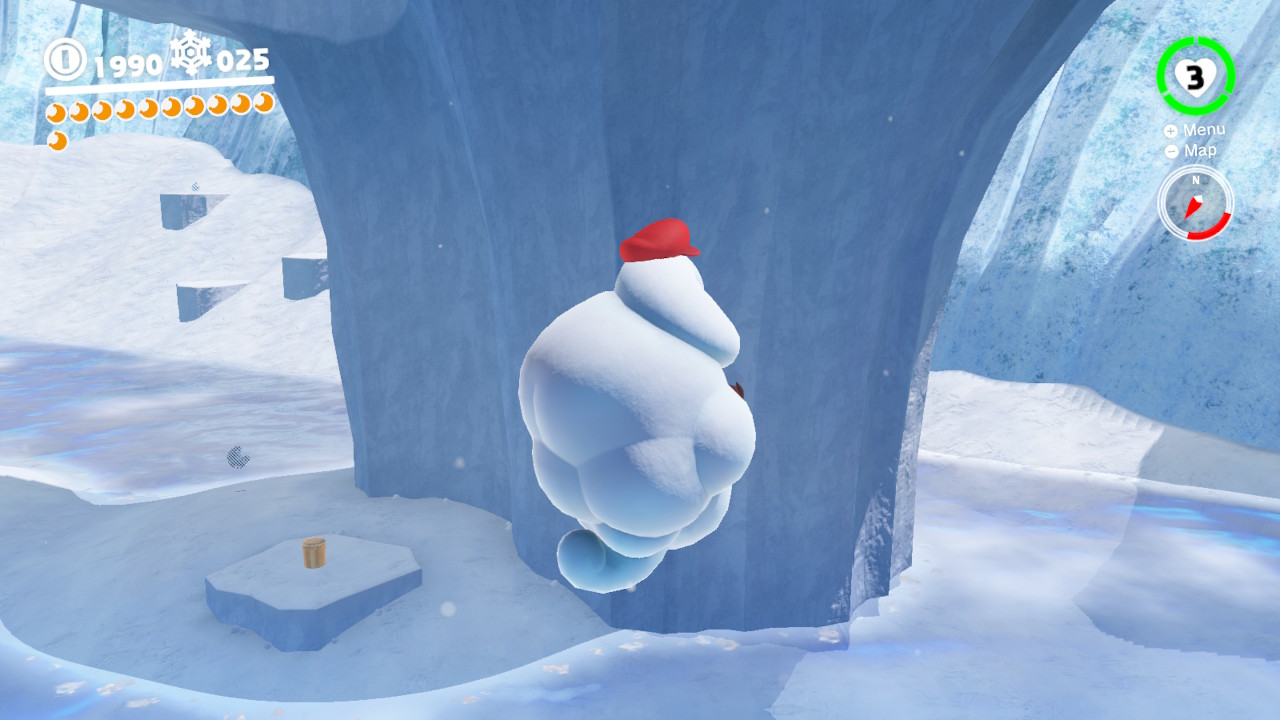
3- Now head around the ice pillar that the Odyssey is on top of…
4- Blow the block out of the way and a door will appear…
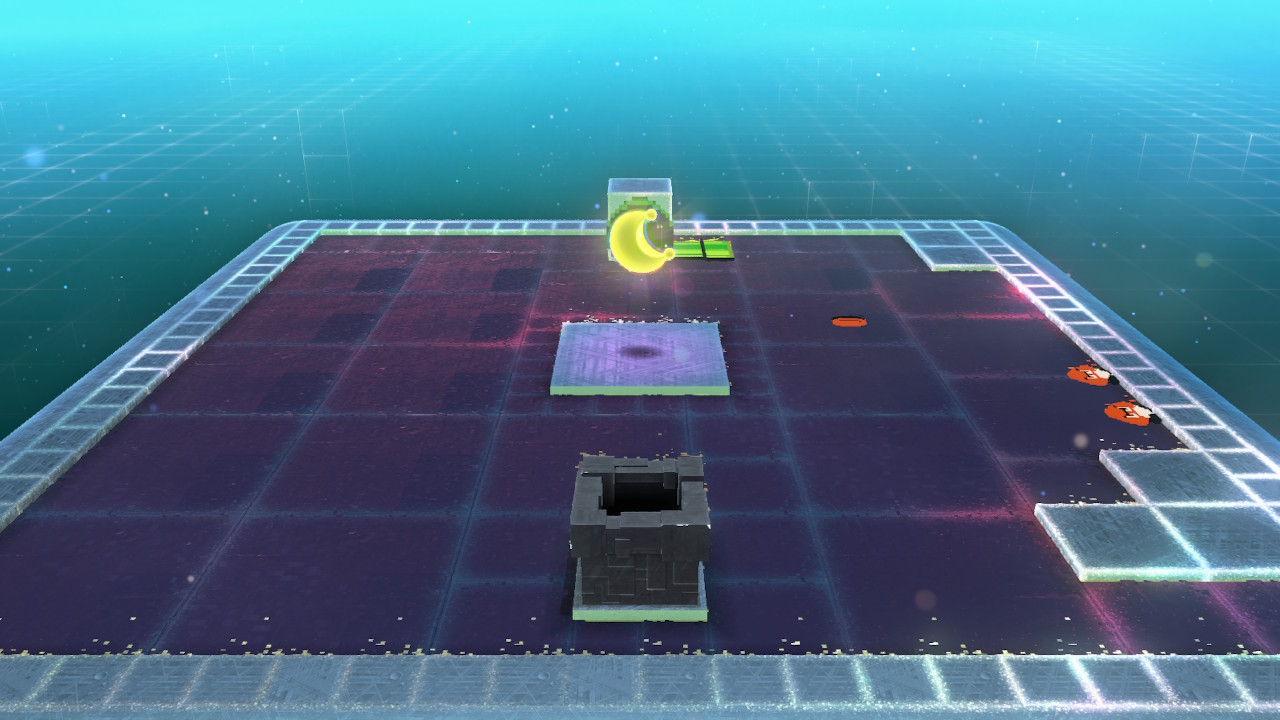
5- Inside you will be treated to a puzzle…
6- Capture the cloud blowing dude and push the RED block against the left-front wall.
7- Now push towards the middle and against the ledge…
8- And then into place at the back under the Power Moon…
9- Now blow the GREEN block to the far left wall, followed by a push to the left-front wall just like we did with the red one…
10- And again just like we did with the red one, push it toward the middle, and then back up against the other one under Power Moon…
11- FINALLY THE POWER MOON IS ALL OURS!!!!!
29 –
30 –
31 – Spinning Above the Clouds
Location-
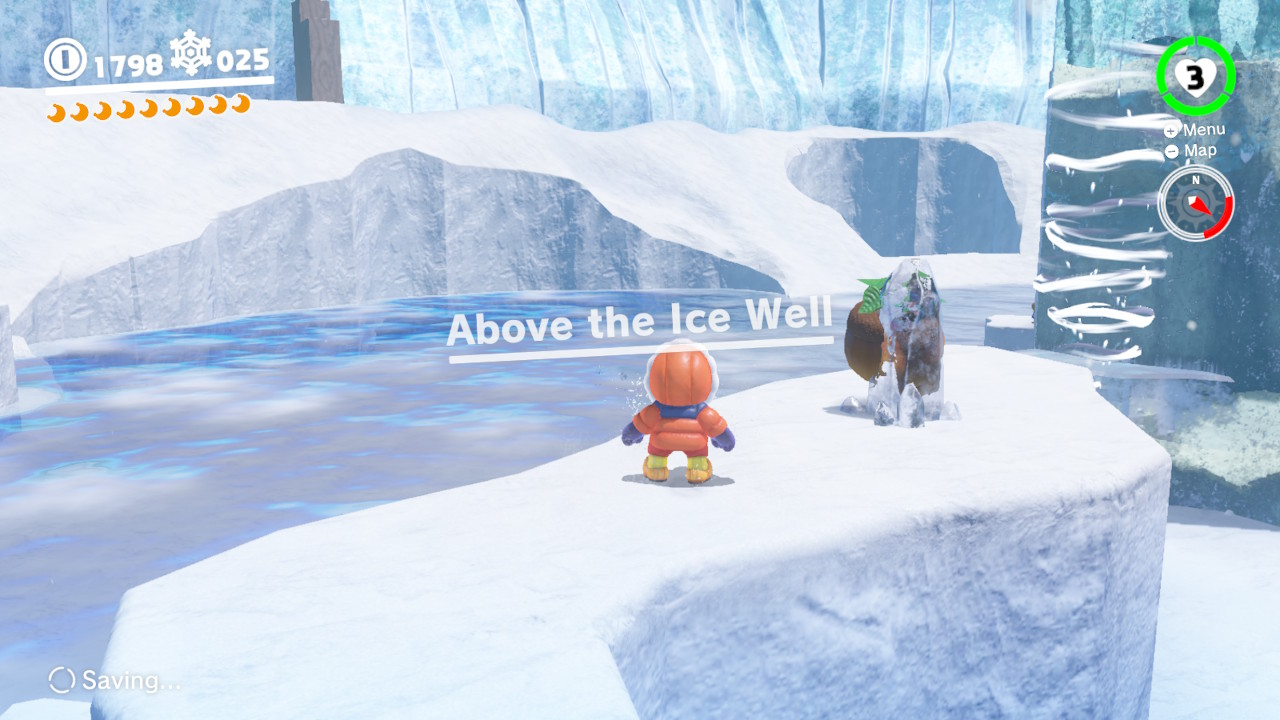
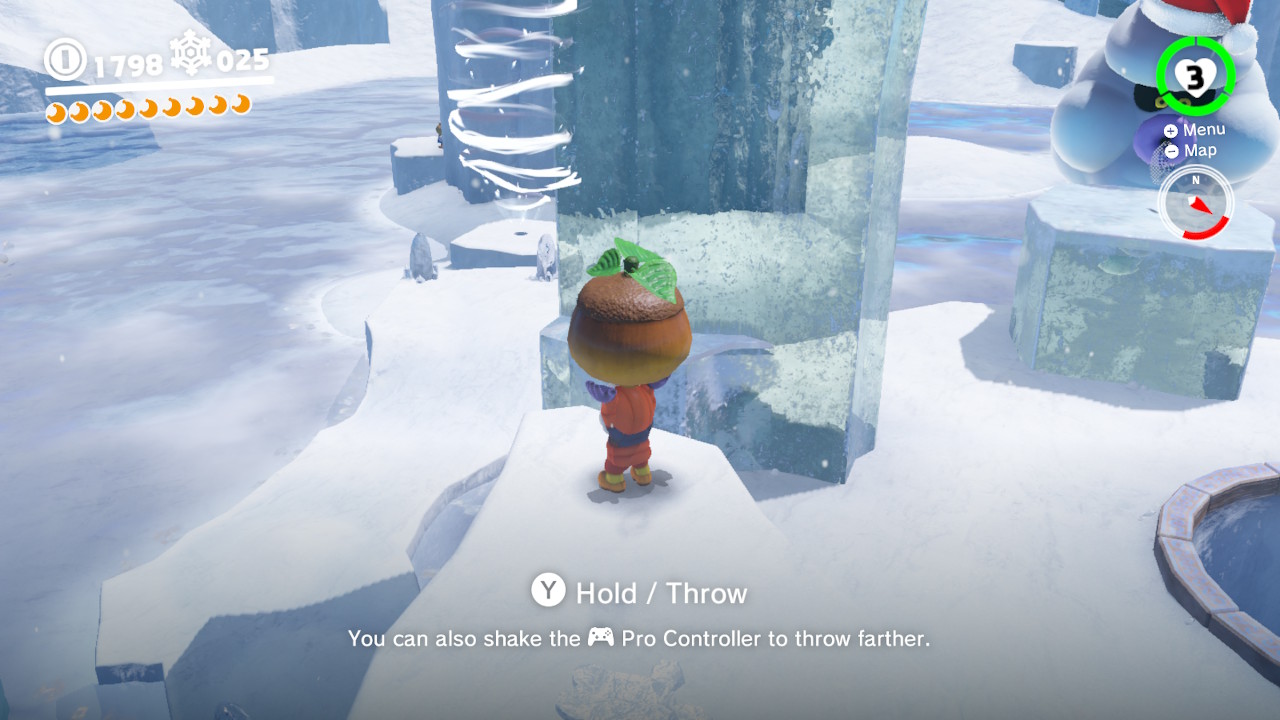
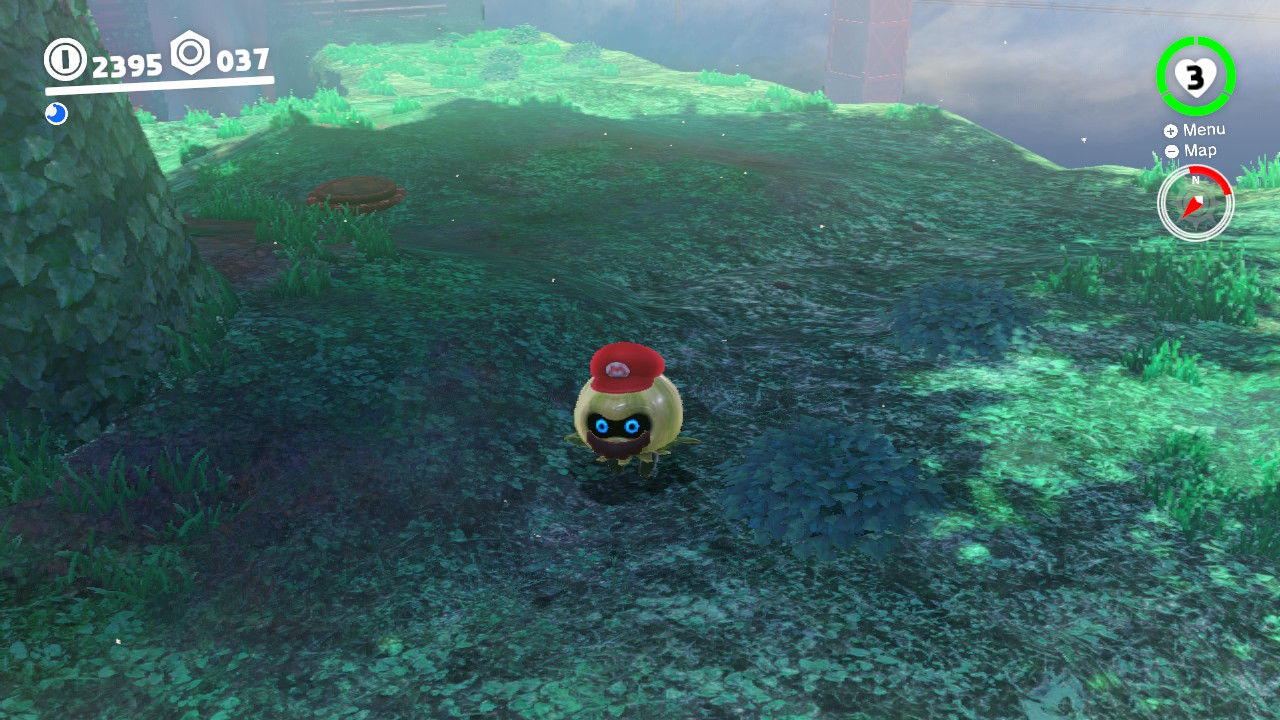
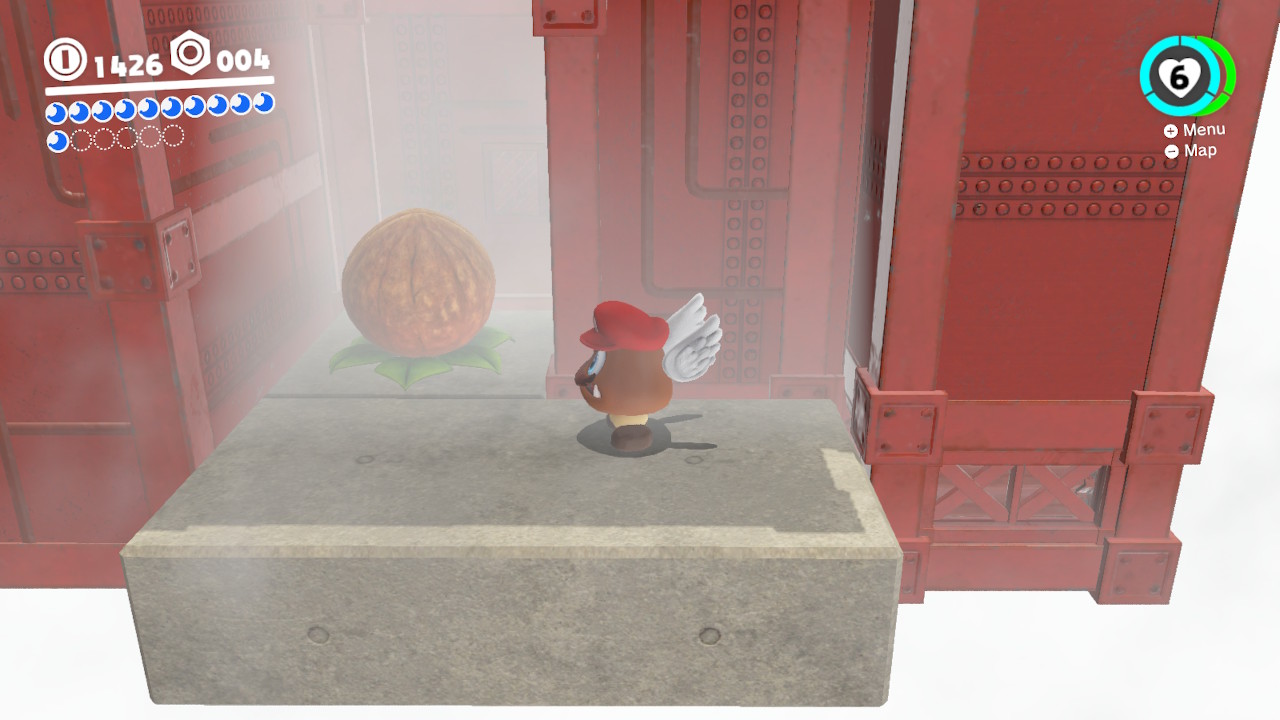
1- For this Power Moon we will need to make a GIANT beanstalkgrow from the ground. To do this we will need this NUT stuck in some ice near the “Above the Ice Well” checkpoint…
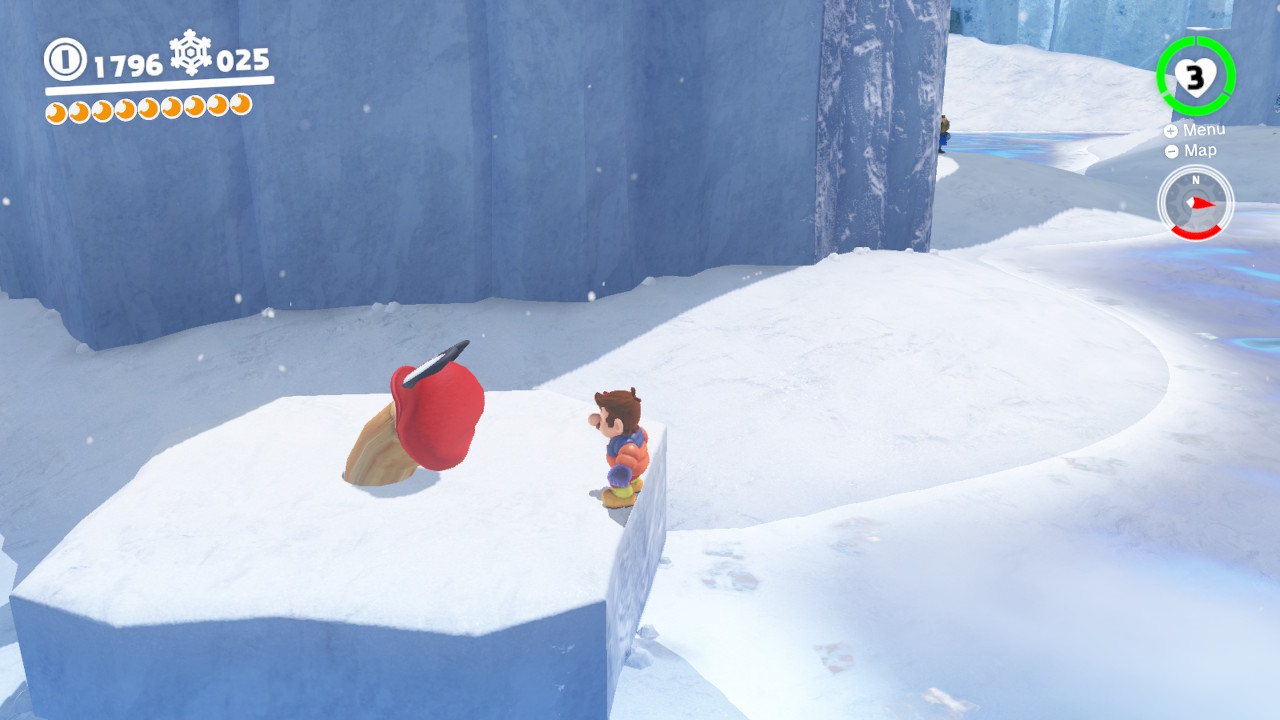
2- Take the nut into the blowhole…
3- To open the hole you will need to use Cappy on the wooden post…
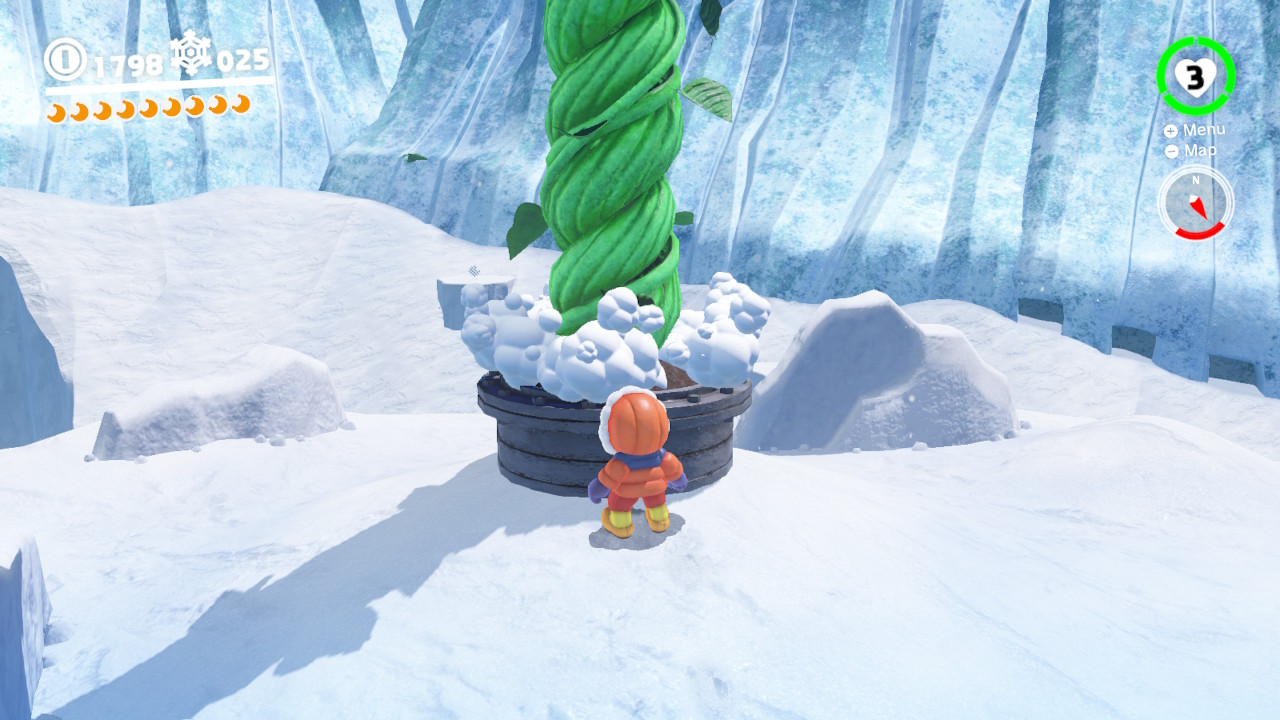
4- Jump into the wind and land above, where you will find a pot to plant the nut in…
5- A gigantic beanstalk will appear…
6- Climb to the top…
7- Up here you will be treated to a high-flying obstacle course… (And more importantly, some AMAZING Super Mario World music!!!!!!)
8- Hop on some flowers, catch some wind…
9- And reach the Power Moon at the end! (There’s also an additional secret Power Moon here, look below for those details)
32 – High-Altitude Spinning
Location-
1- For this Power Moon we will need to make a GIANT beanstalkgrow from the ground. To do this we will need this NUT stuck in some ice near the “Above the Ice Well” checkpoint…
2- Take the nut into the blowhole…
3- To open the hole you will need to use Cappy on the wooden post…
4- Jump into the wind and land above, where you will find a pot to plant the nut in…
5- A gigantic beanstalk will appear…
6- Climb to the top…
7- Up here you will be treated to a high-flying obstacle course… (And more importantly, some AMAZING Super Mario World music!!!!!!)
8- Towards the “finish line” you will see a BIG gust of wind that blows you upward.The level is designed to go to the right, BUT, in true Mario fasion, there are always more secrets…
9- Go to the LEFT side after cathing the huge gust of wind and you will find the High-Altitude Spinning Power Moon!
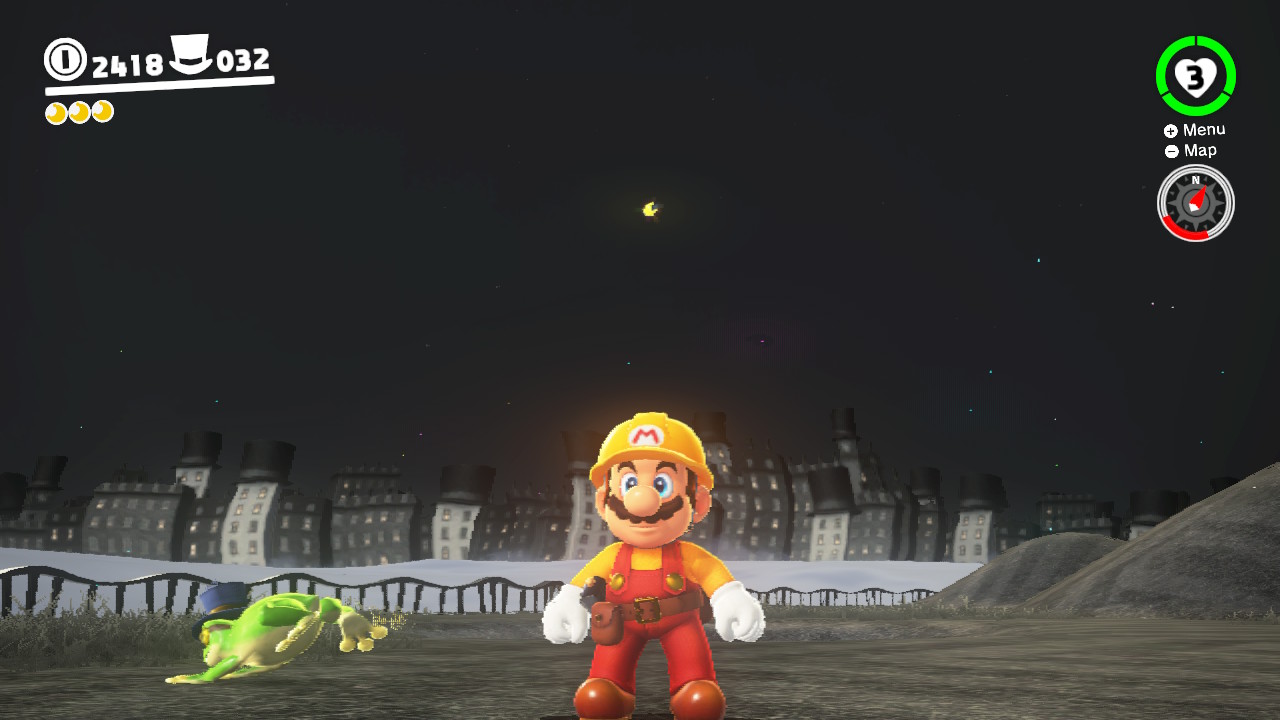
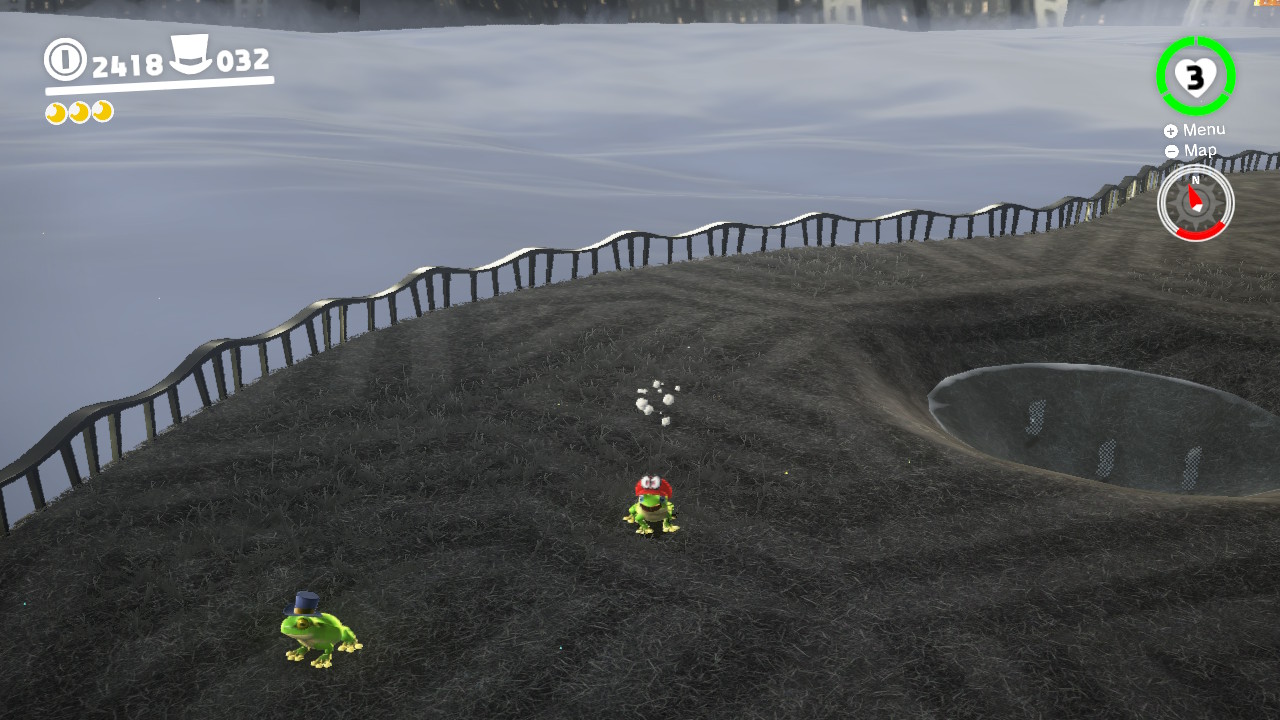
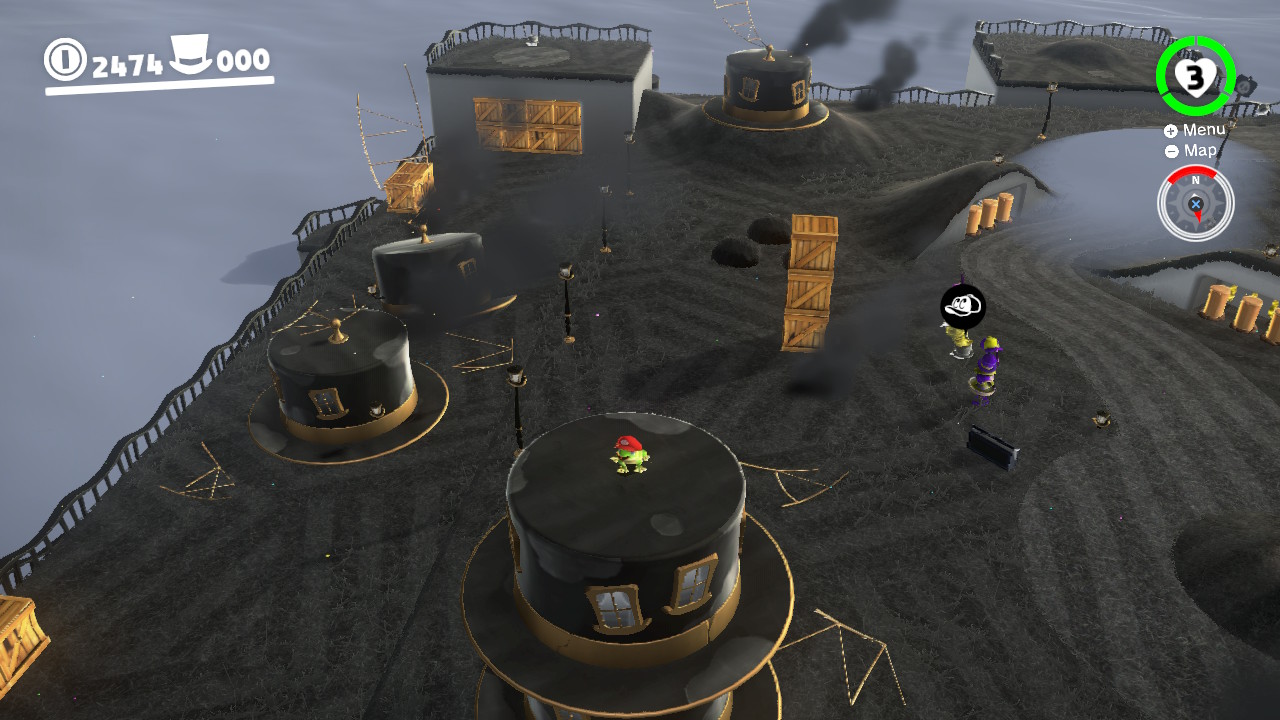
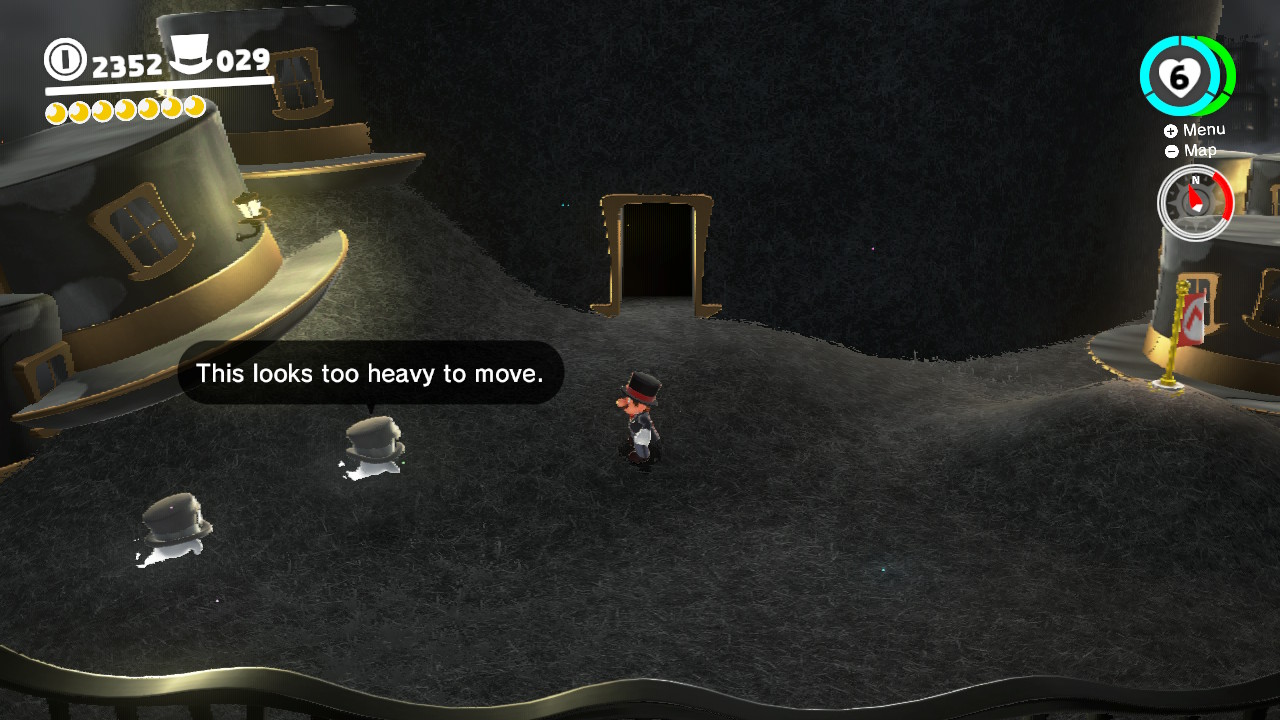
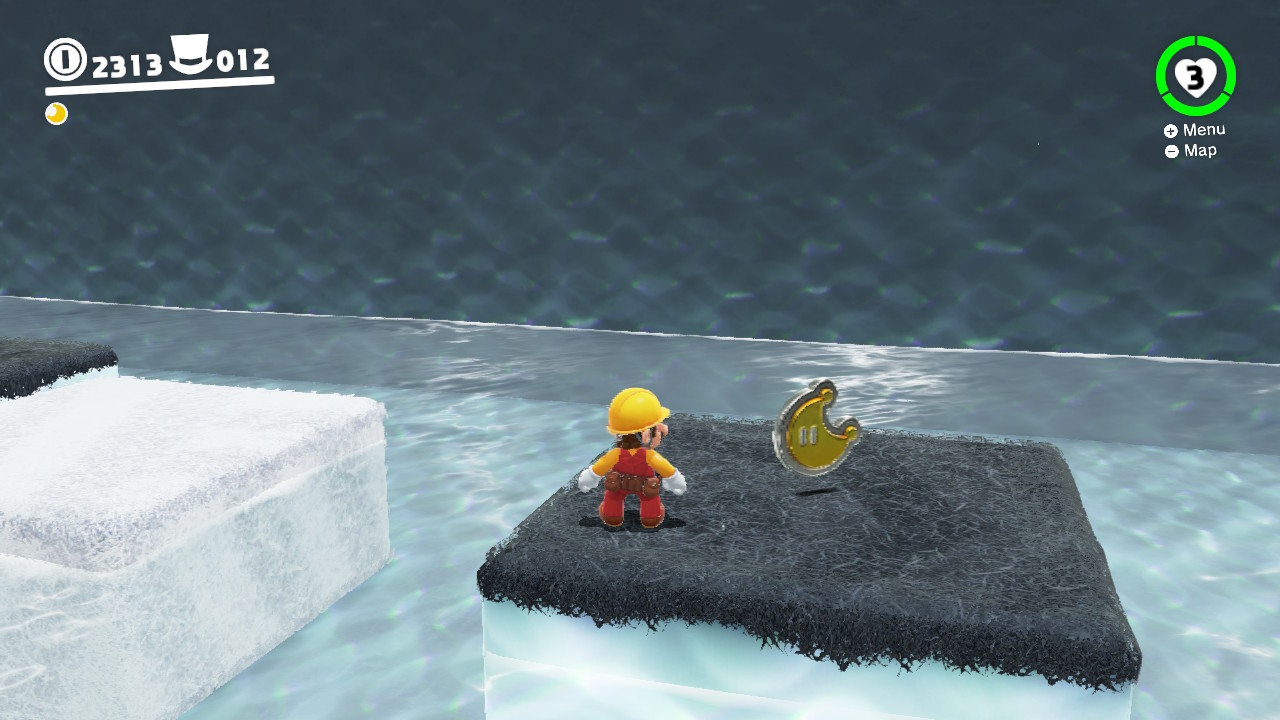
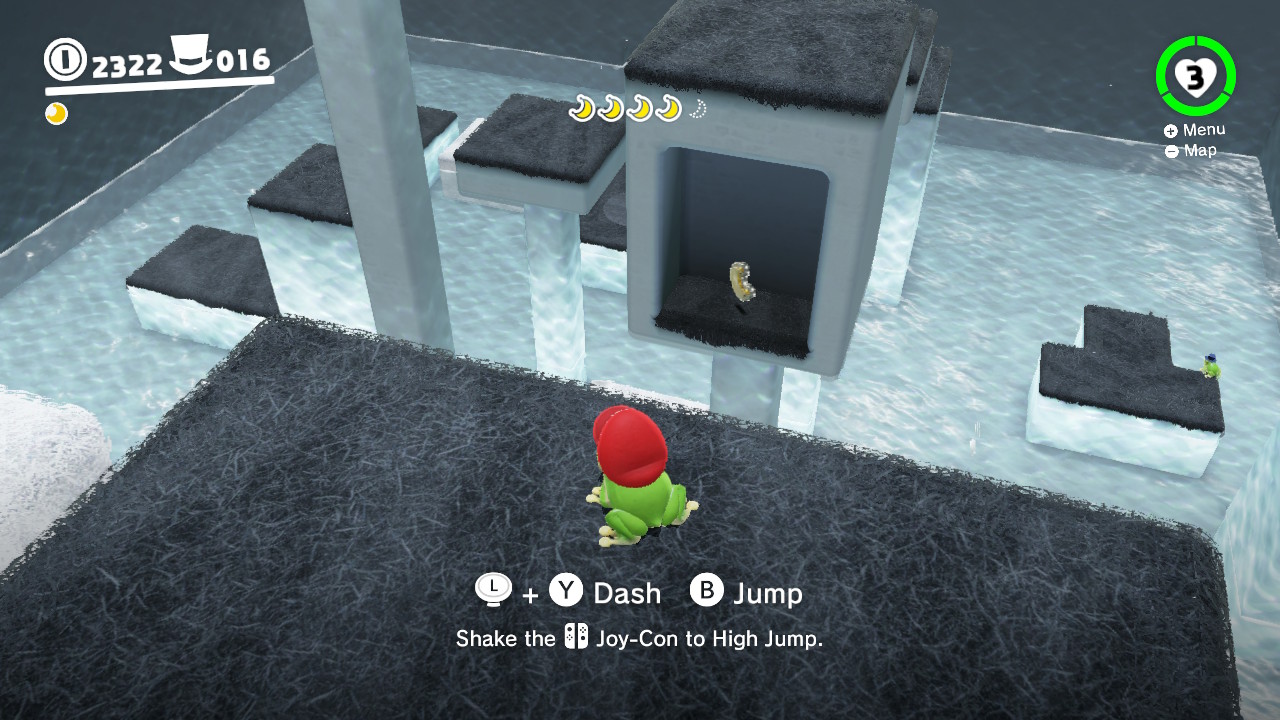
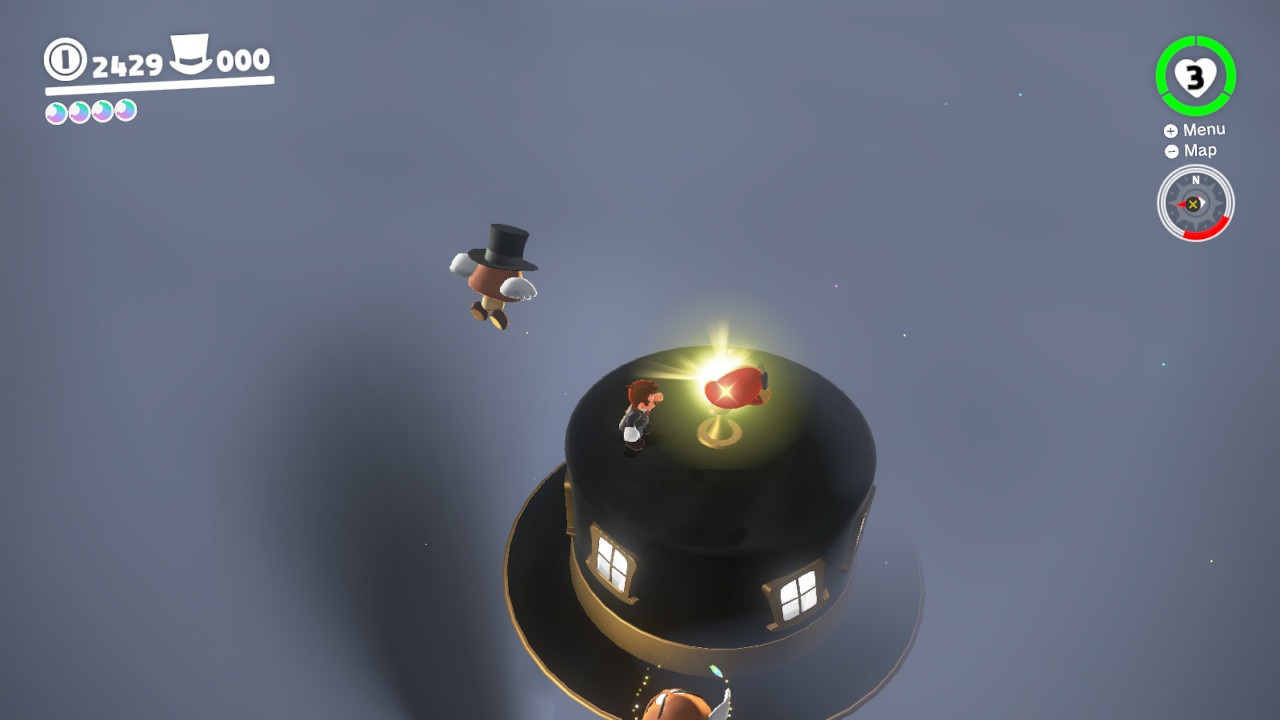
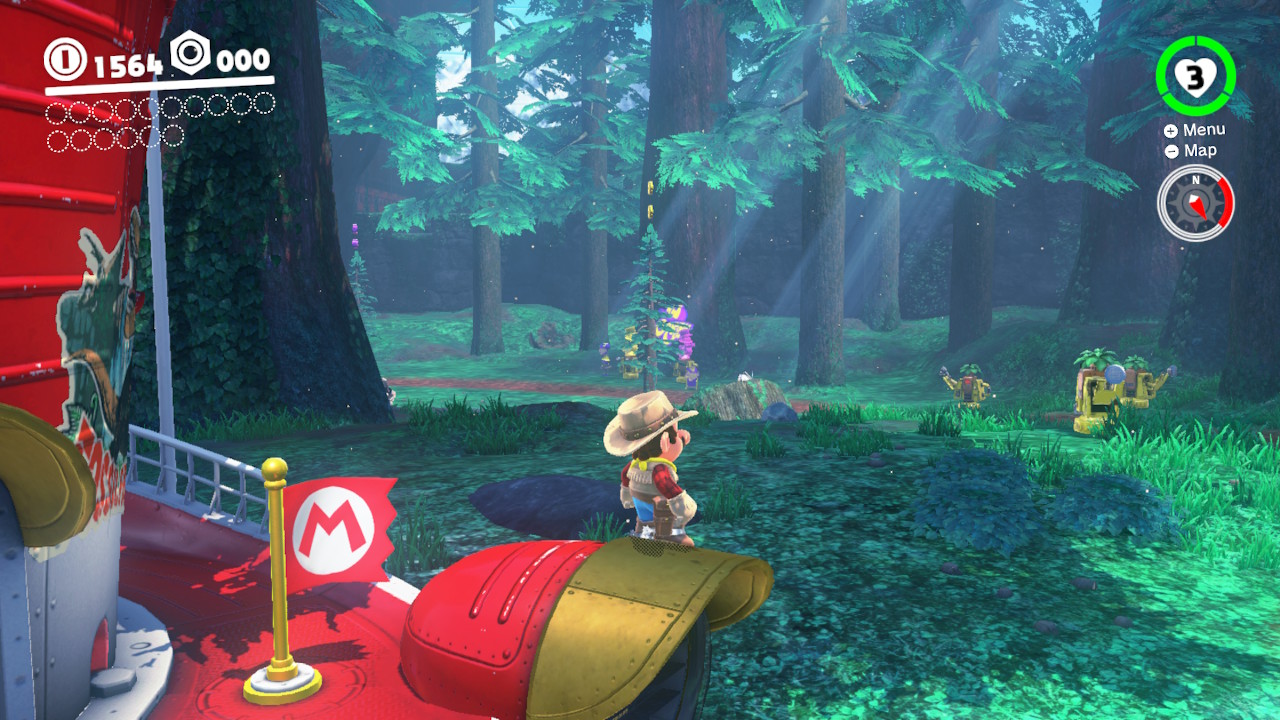
1- Directly from the open starting area from where the Odessey lands you will see a few frogs jumping together, behind them floating HIGH in the air is a Power Moon…
2- Capture a frog and head towards the Power Moon…
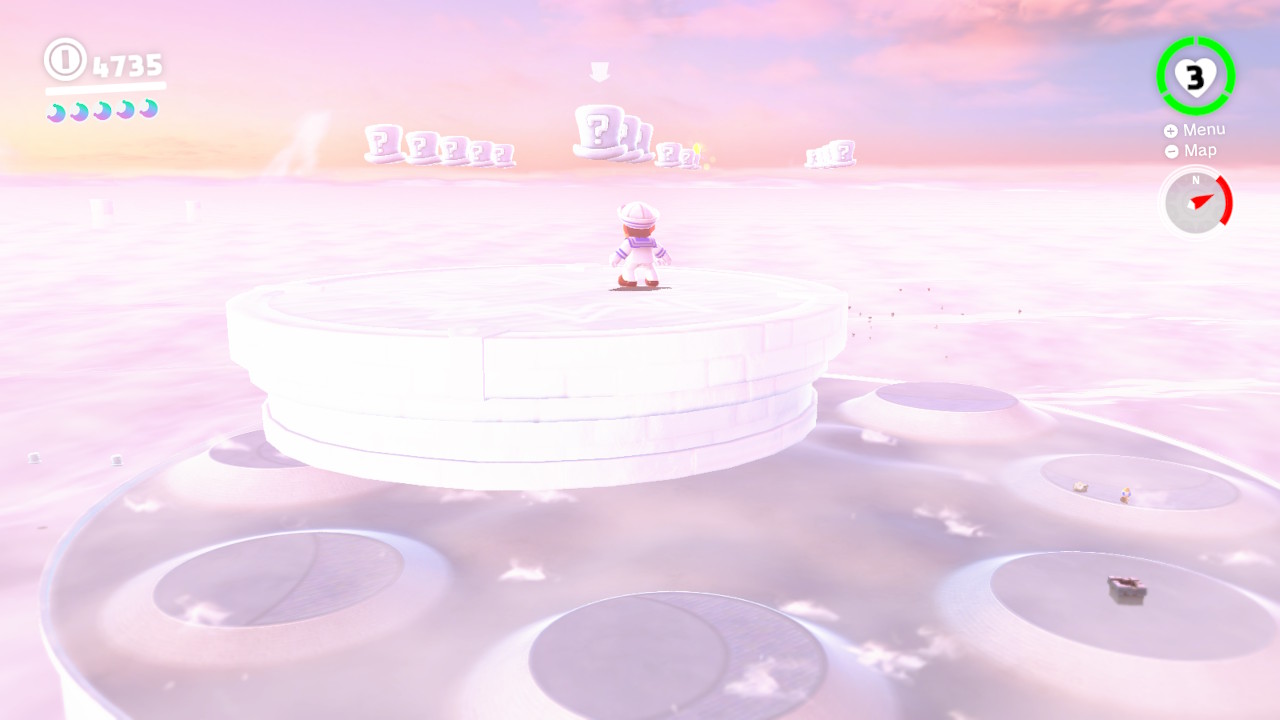
3- Jump onto the floating top hat and you will see some blocks…
4- Jump onto the blocks and jump again, you will hit an invisible block. Jump on top of the invisible block and NOW you are in jumping range of the Power Moon! Ribbit!!
02 – Frog-Jumping from the Top Deck
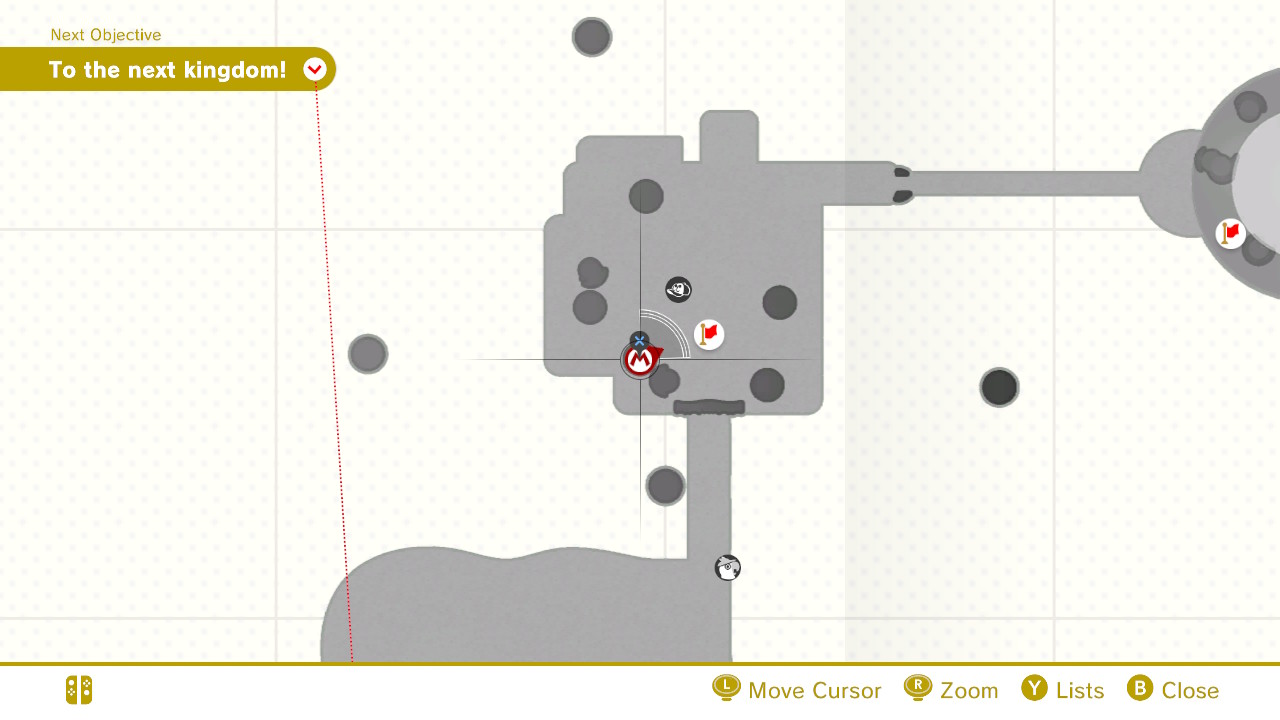
Location-
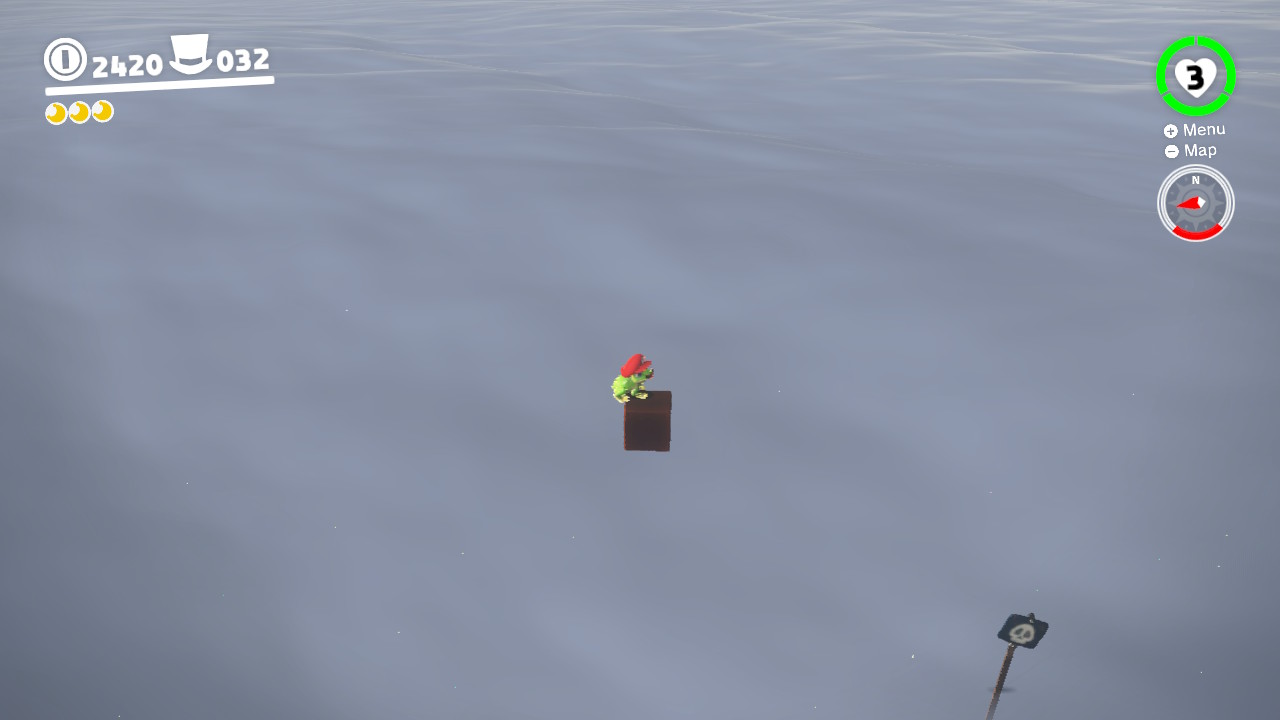
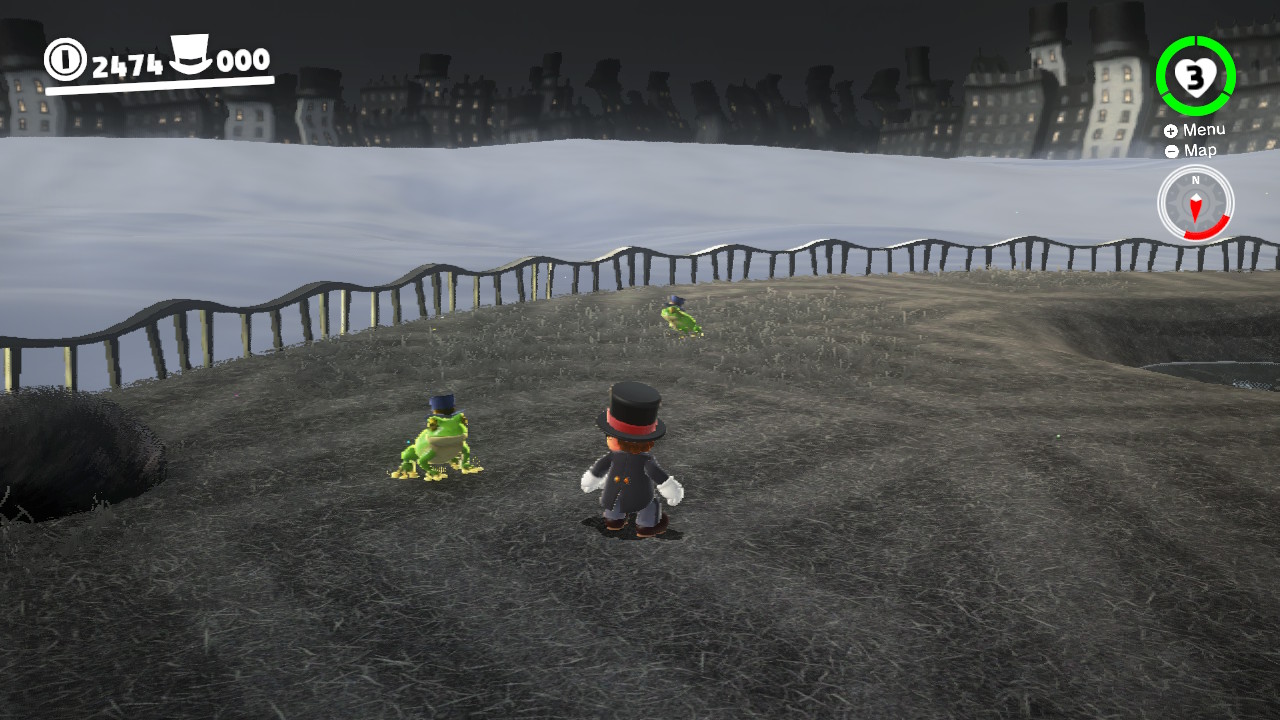
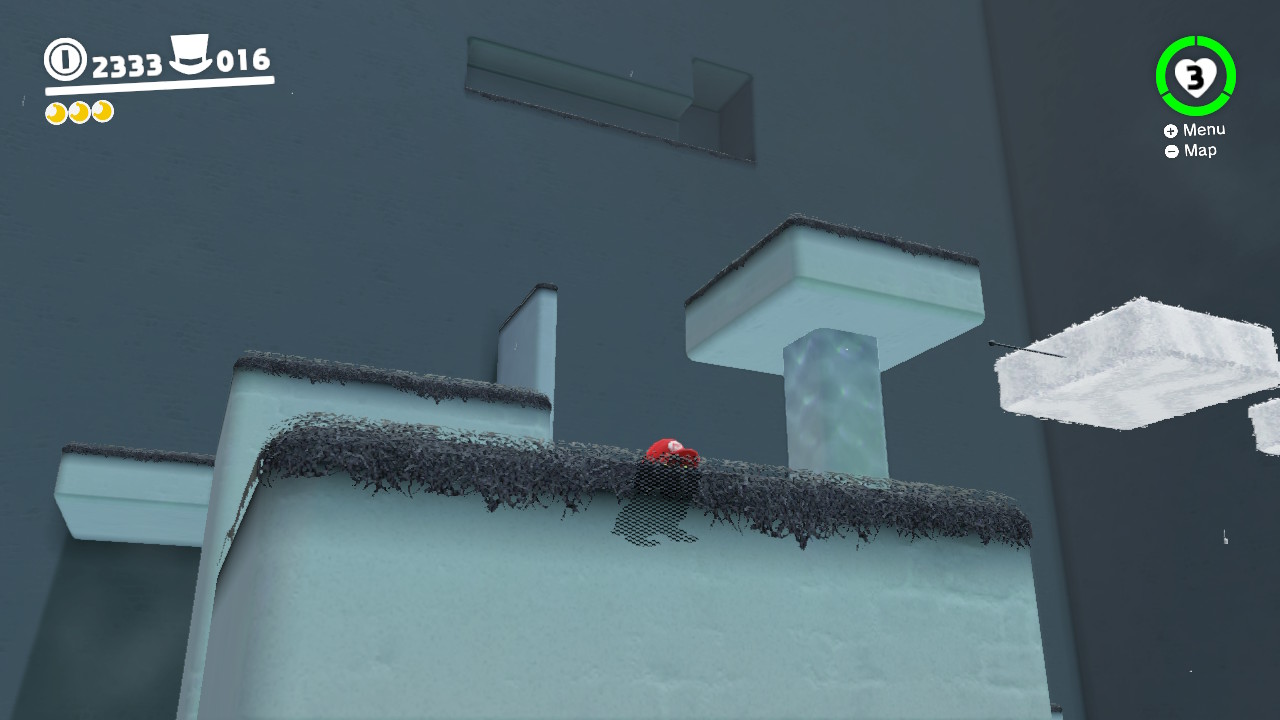
1- On top of this top-hat is a Power Moon, only it’s REALLY high in the air…
2- You’ll need to capture a frog for this one…
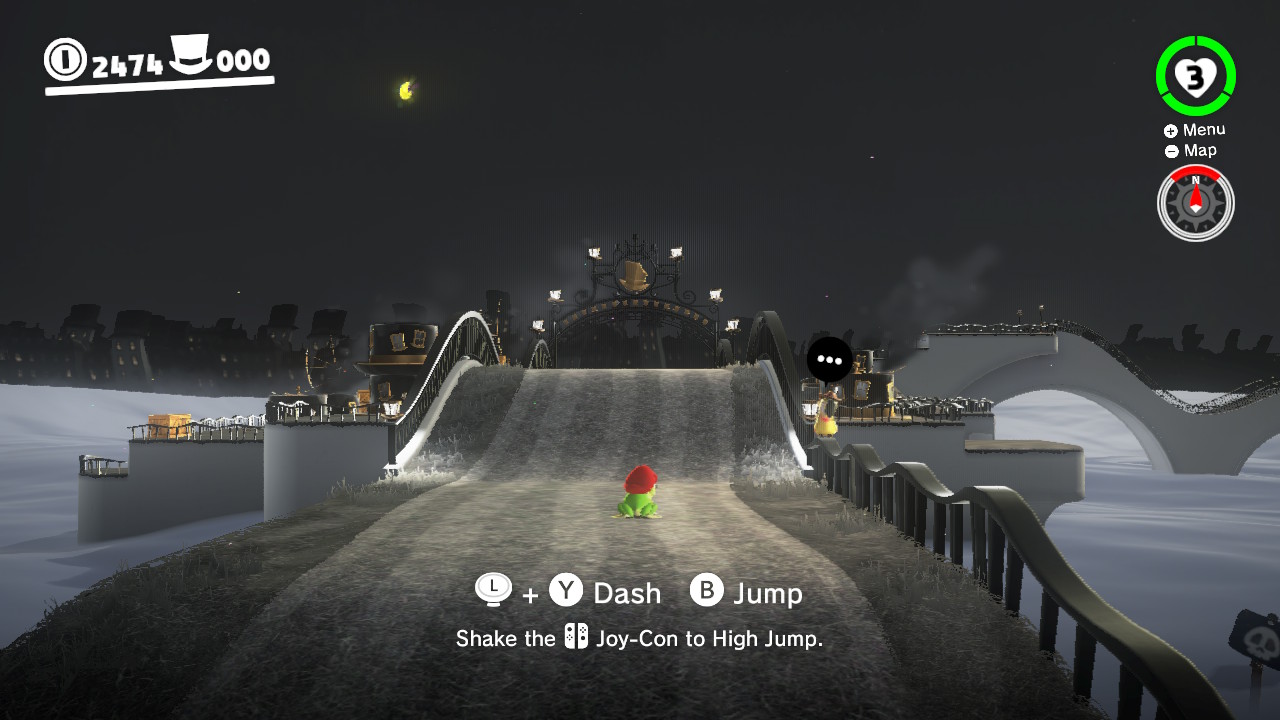
3- Head back to the top-hat, you can see the Power Moon HIGH up in the air…
4- Jump onto the top-hat and then do a SUPER JUMP by shaking the controller to jump even higher! You can now reach the Power Moon!
03 – Cap Kingdom Timer Challenge 1
Location-
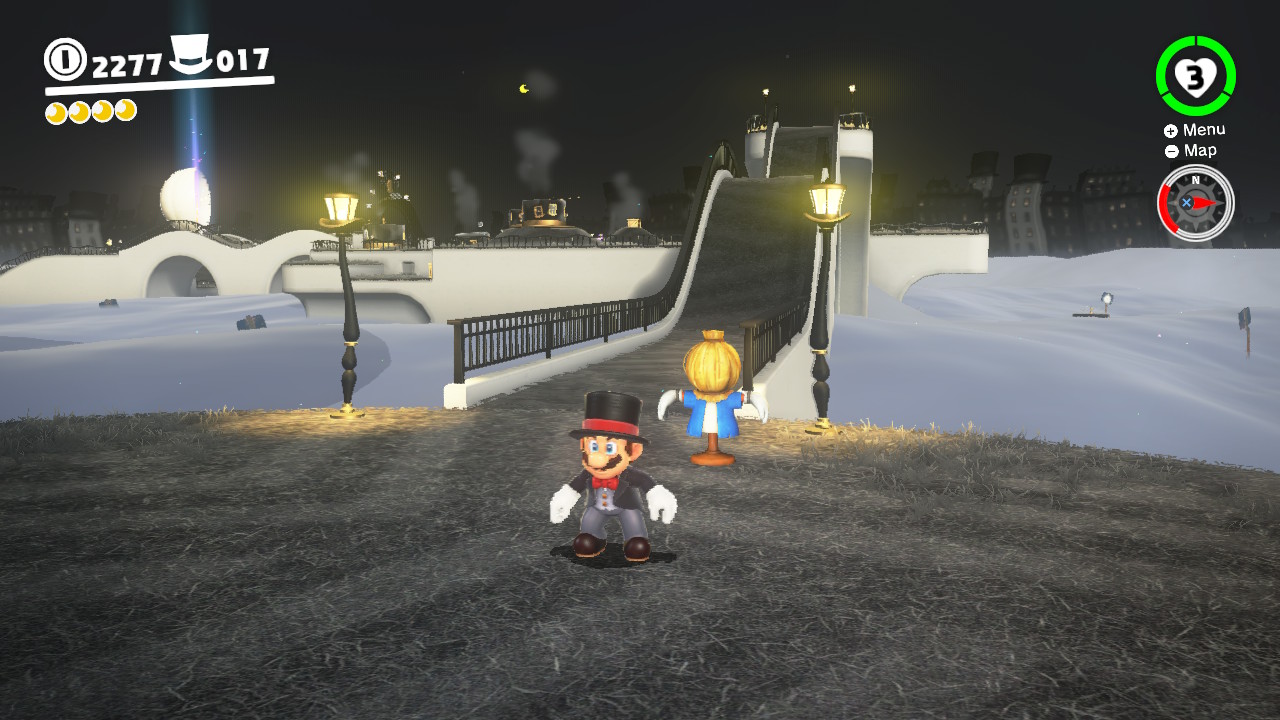
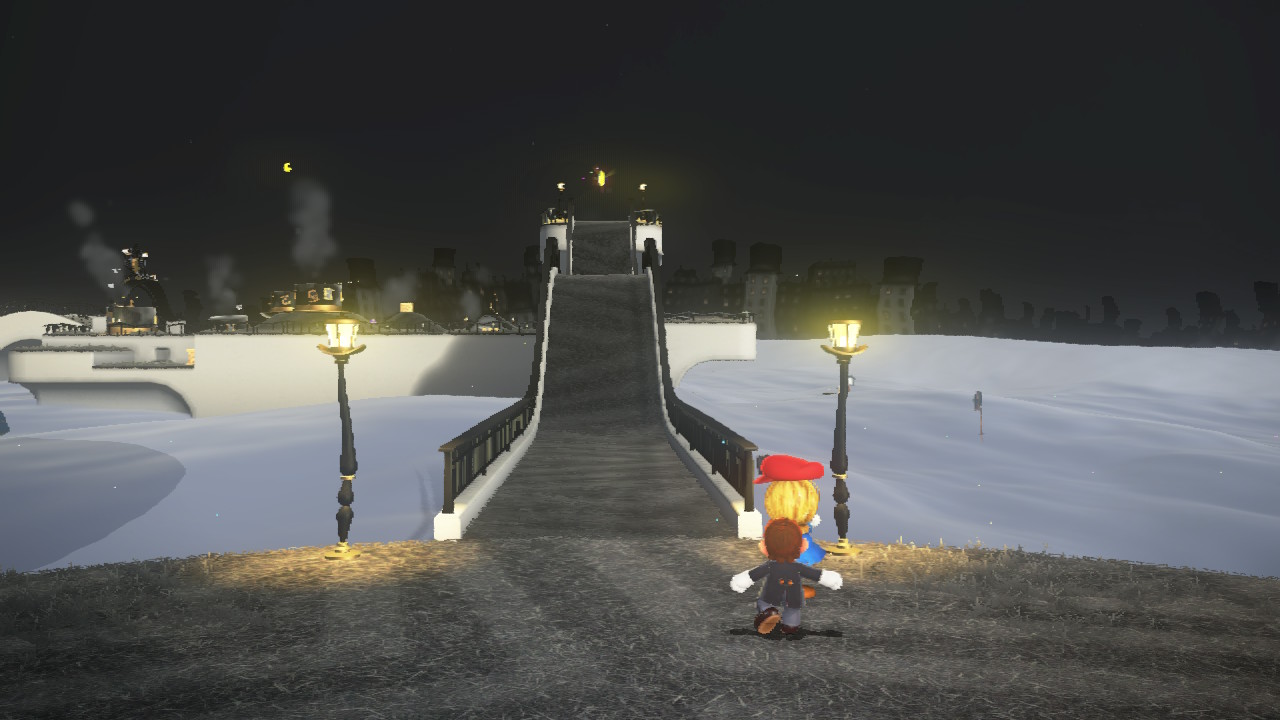
1- Right across the crazy wavy bridge you will see a scarecrow…
2- Throw Cappy onto the scarecrow’s head, the Power Moon will appear…
3- Run as fast as you can, do a couple long jumps or triple jumps, and you will reach the Power Moon in time! (Remember, no “Cappy” moves to help you here, just Mario)
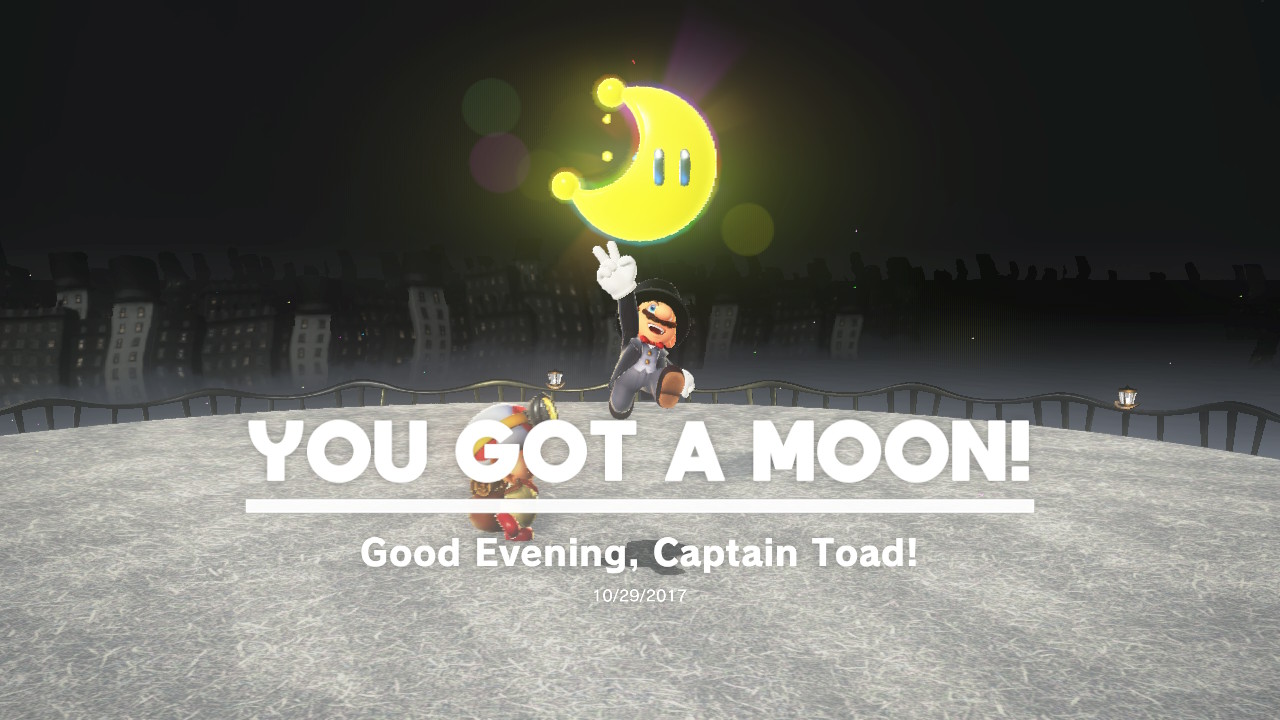
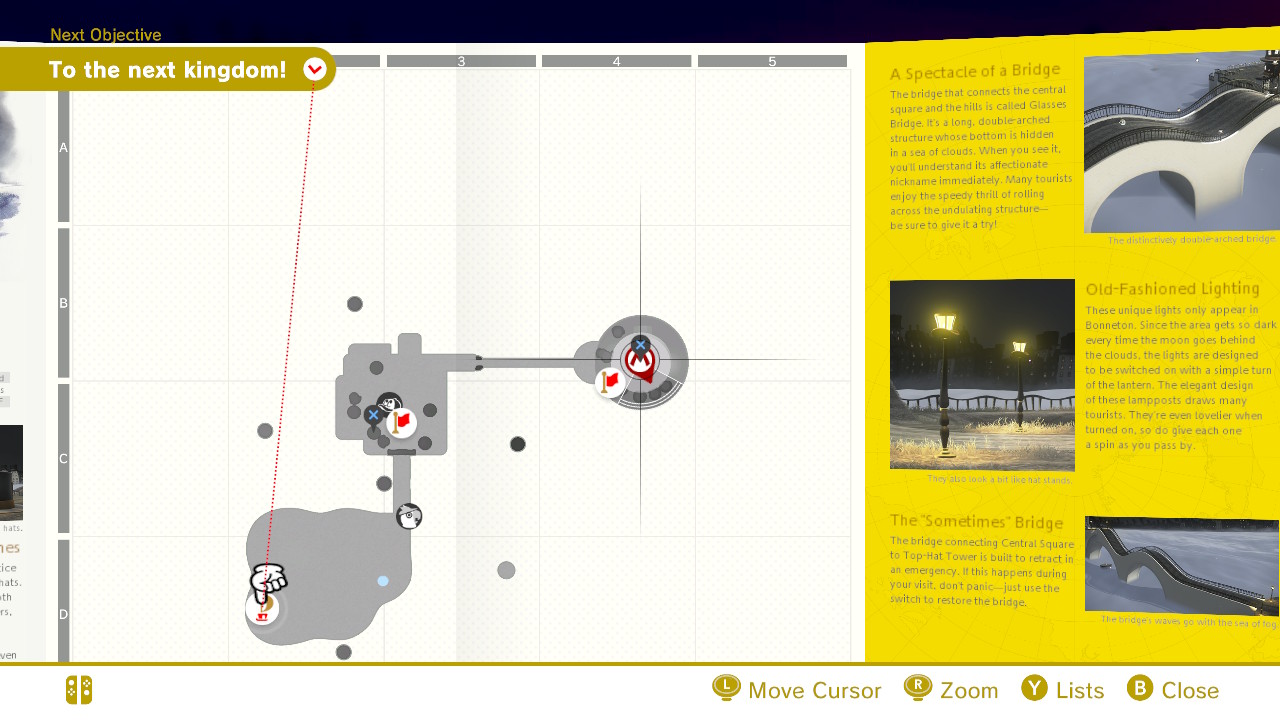
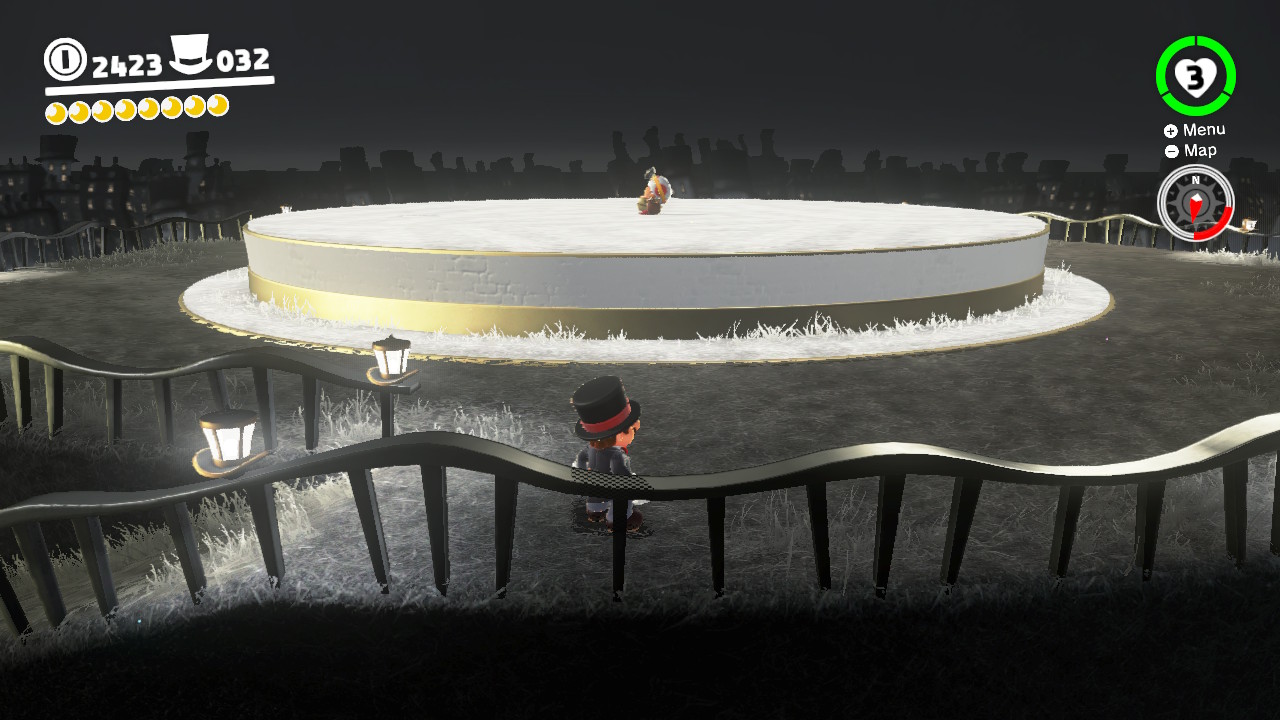
04 – Good Evening, Captain Toad!
Location-
1- You can use the checkpoint on top of the tower to reach here easily. On the tip-top of the top hat tower, Captian Toad is waiting for you!
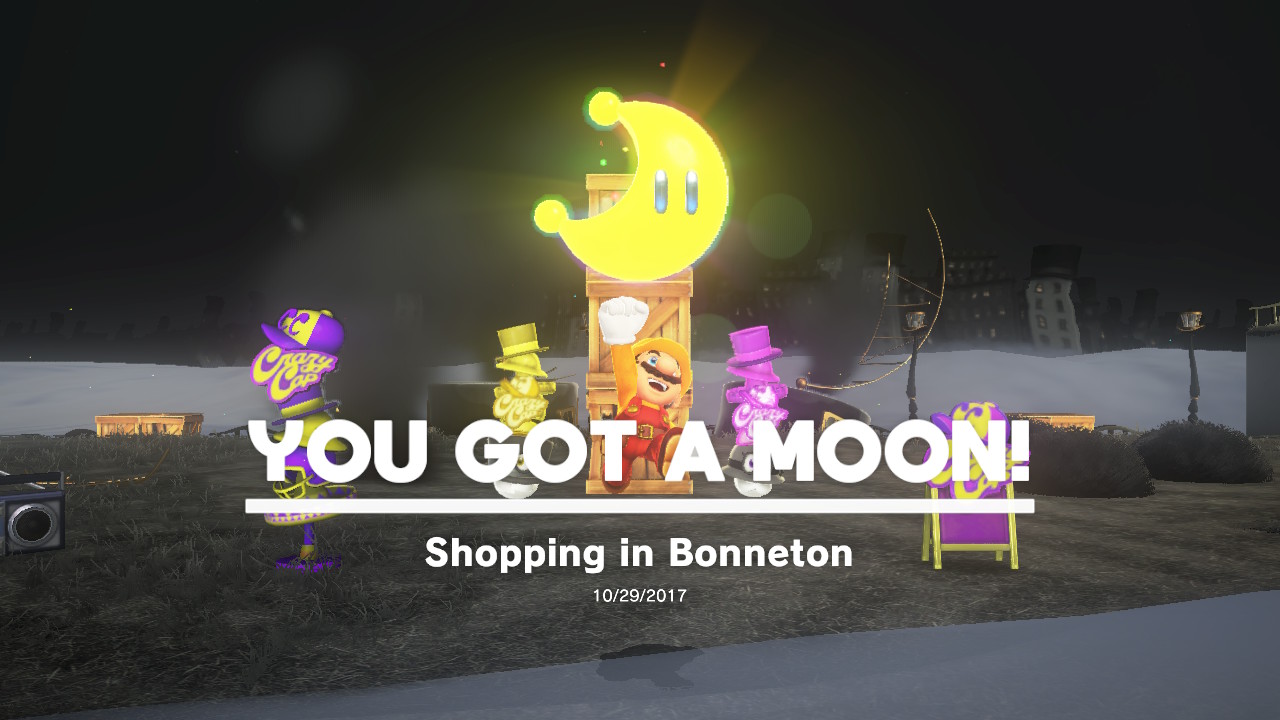
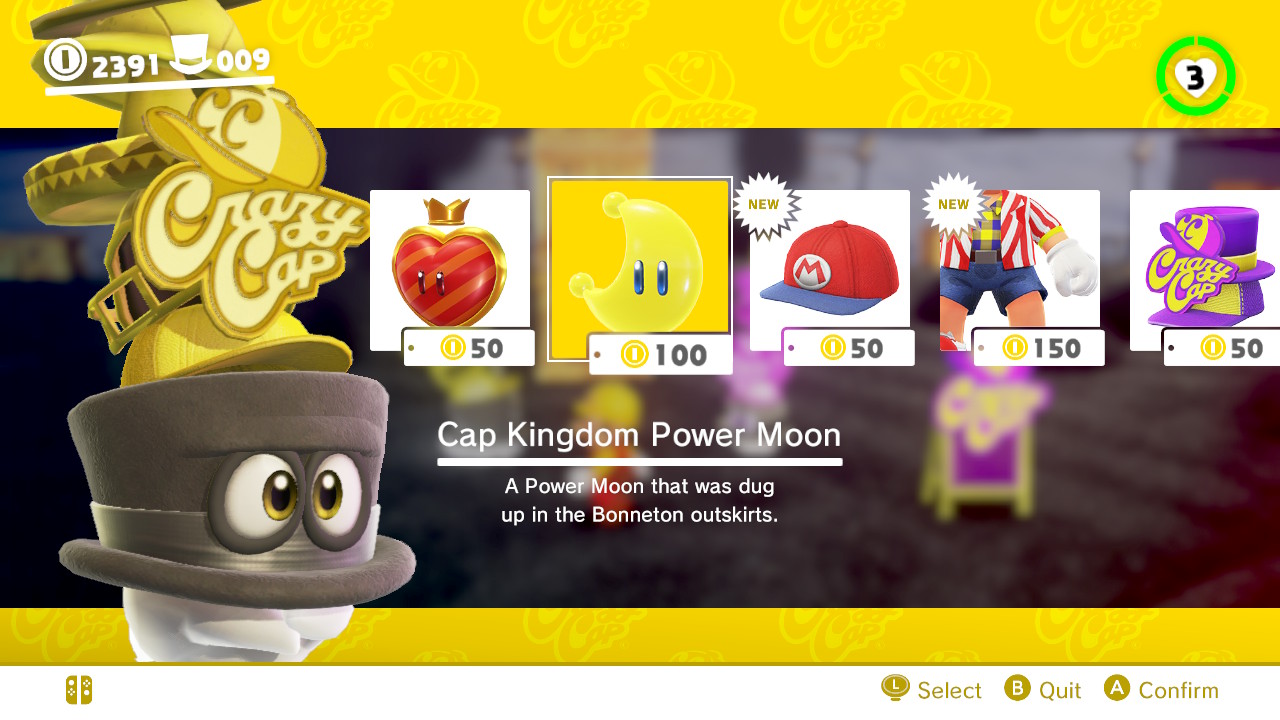
05 – Shopping in Bonneton
Location-
1- From the Central Plaza checkpoint you can see the “Crazy Caps” store…
2- You can buy a Power Moon from the shop for only 100 coins! What a steal!!!
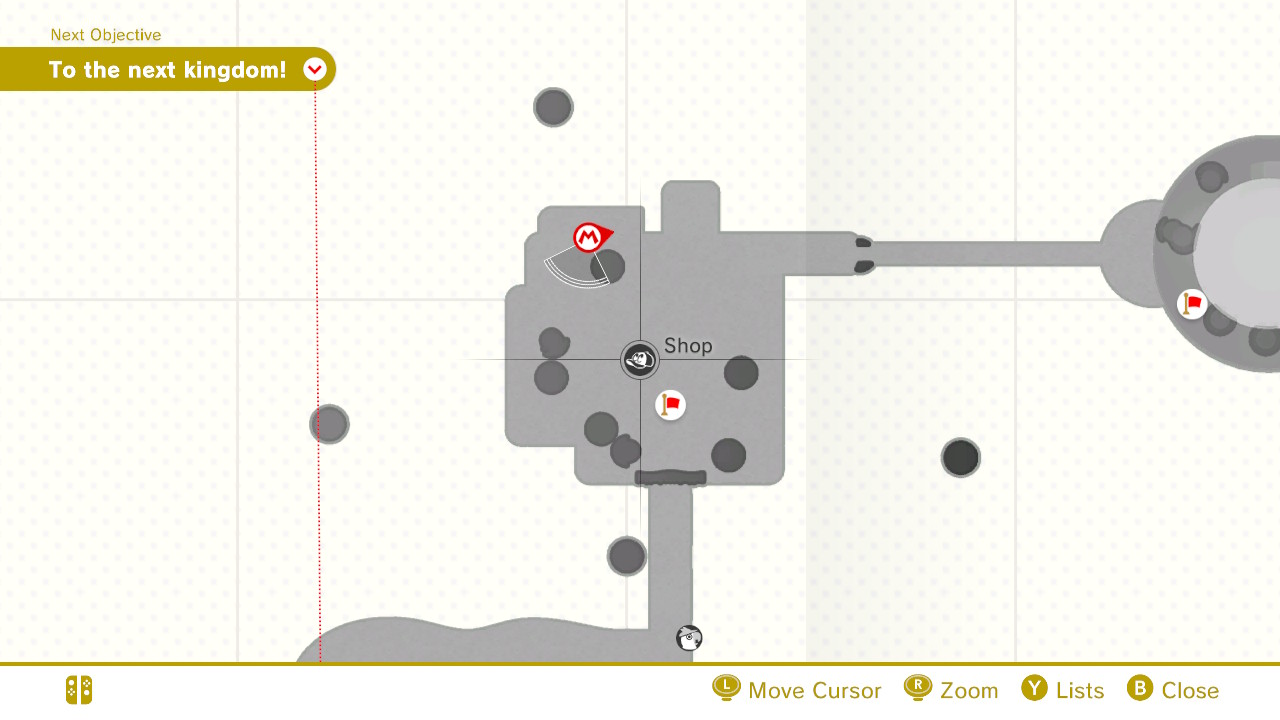
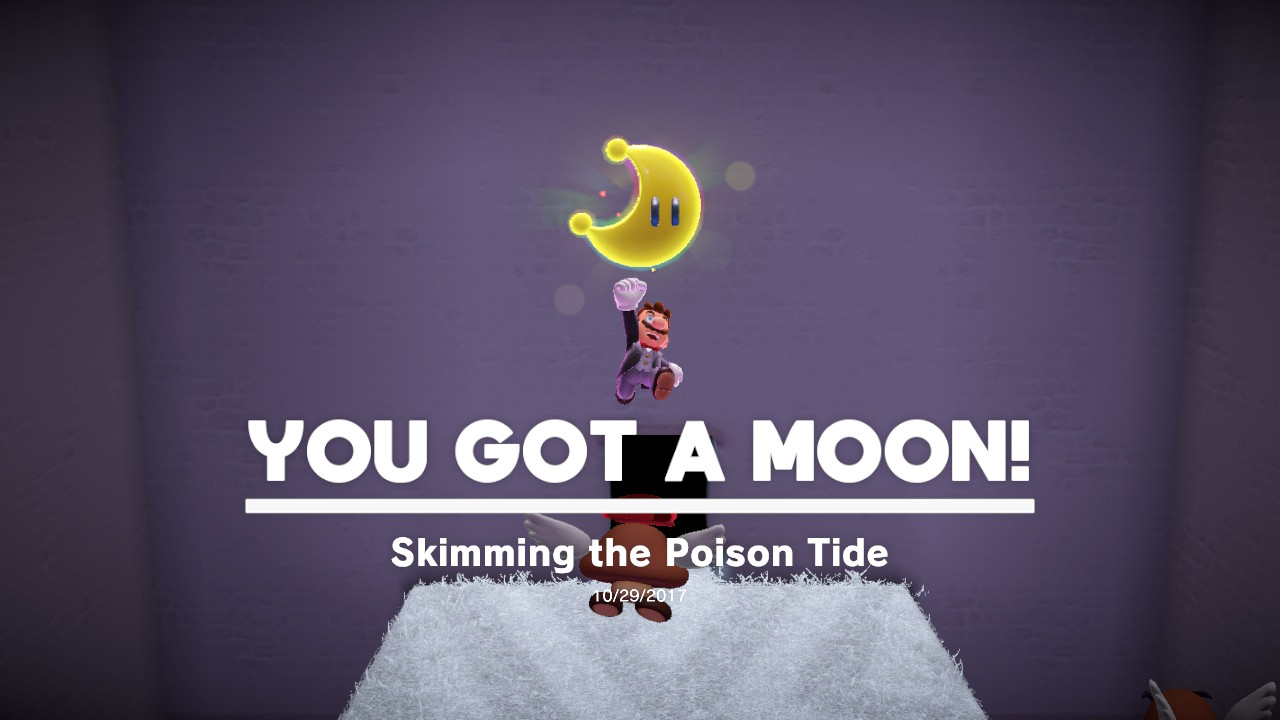
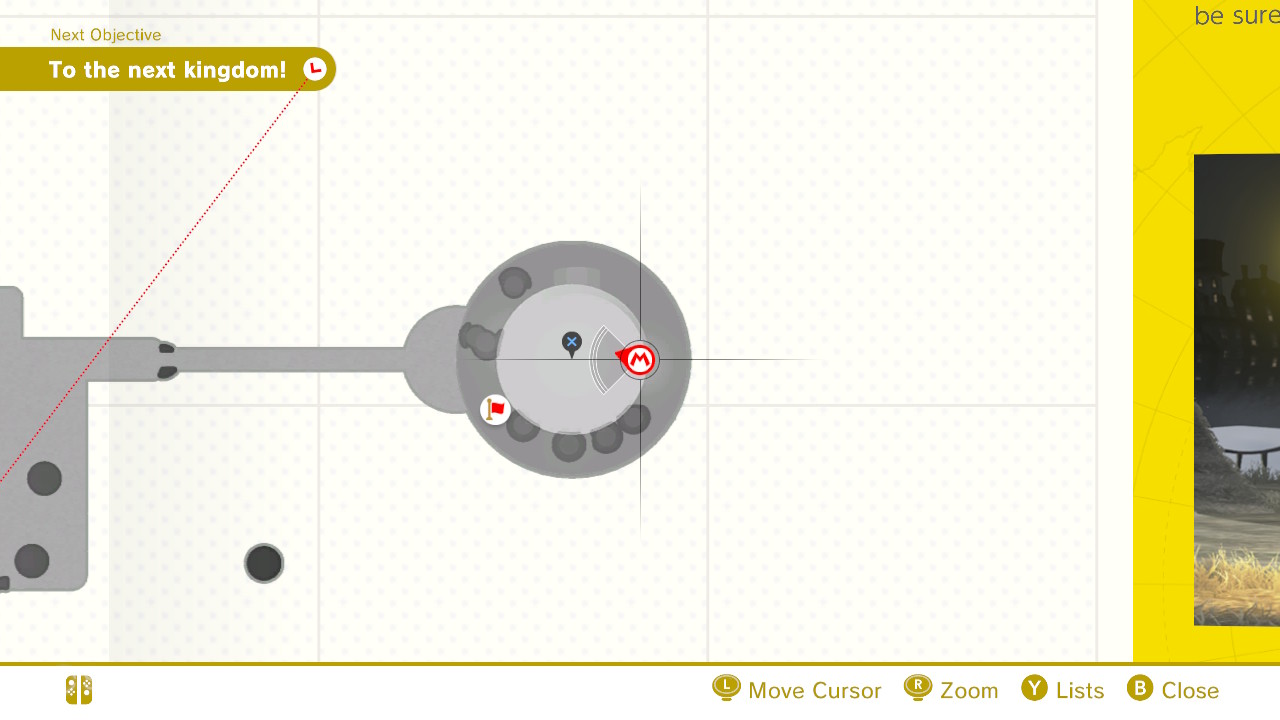
06 – Skimming the Poison Tide
Location-
1- On the backside of the top hat tower you will find a secret cappy door…
2- To get there you will need to capture ParaGoomba and fly around the tower…
3- Inside you will see a wave pool of poison…
4- Fly up and down while avoiding the poison and collect the 5 shards…
5- The trickiest one is very low and beneath the platform, be careful not to touch the poison! Once you get them all, the Power Moon will appear!
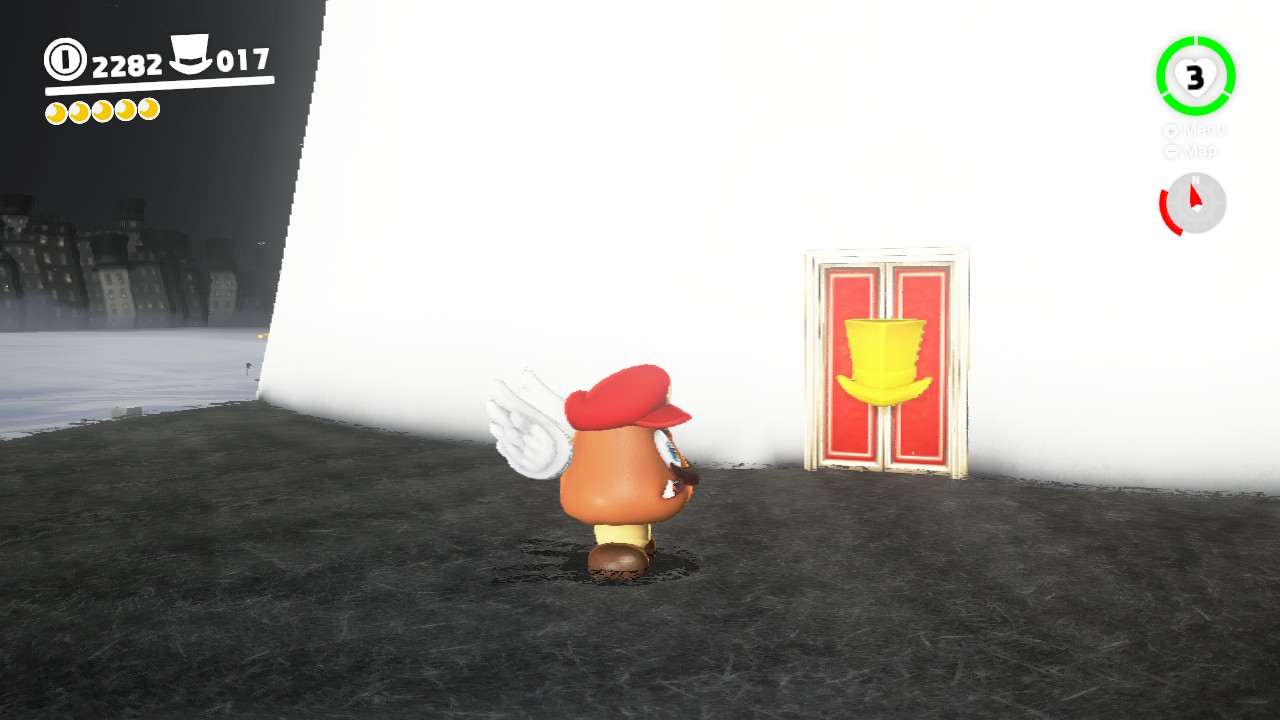
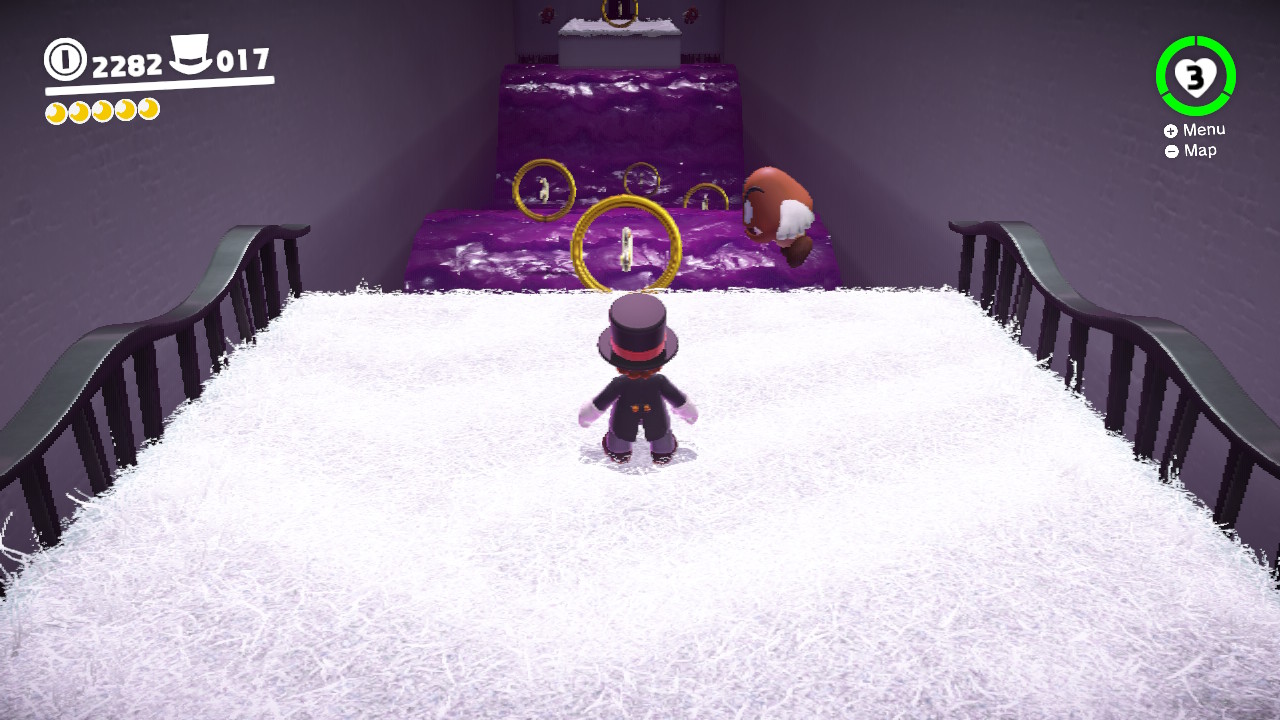
07 – Slipping Through the Poison Tide
Location- (Same as Skimming the Poison Tide)
1- On the backside of the top hat tower you will find a secret cappy door…
2- To get there you will need to capture ParaGoomba and fly around the tower…
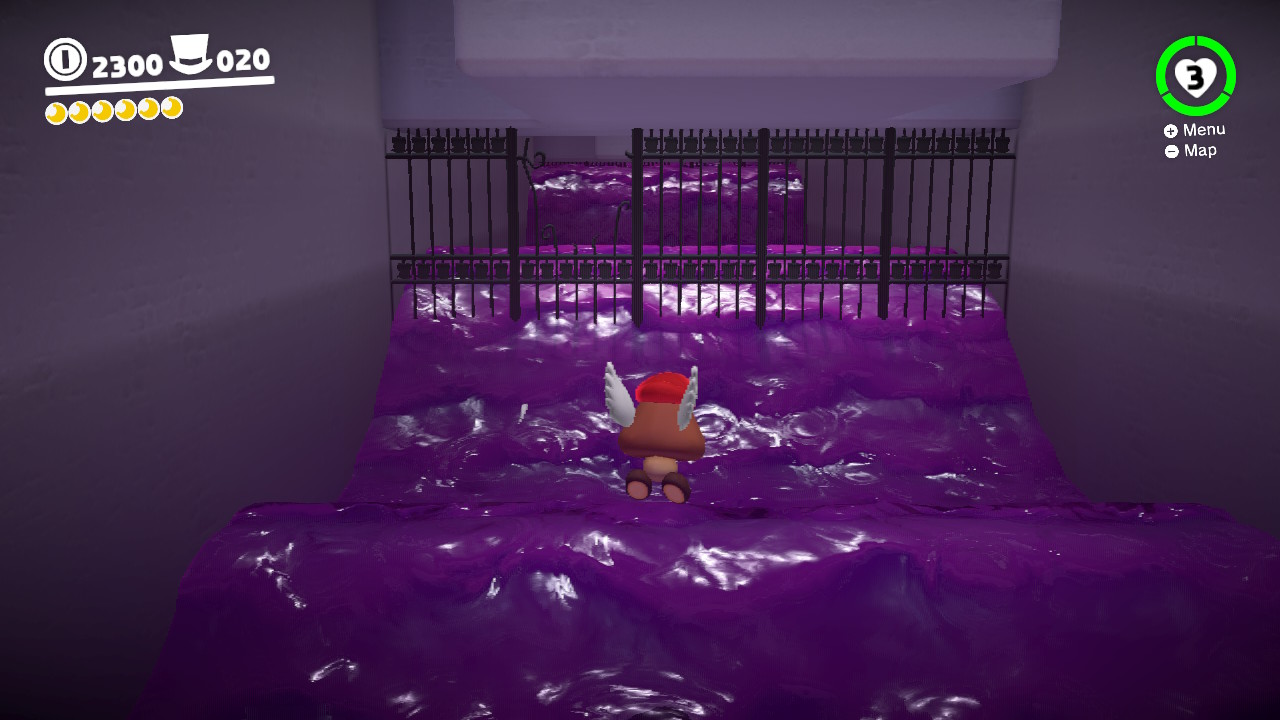
3- Inside you will see a wave pool of poison…
4- Instead of collecting the 5 moon shards, you will need to fly underneath the platform…
5- And through the hole in the gate…
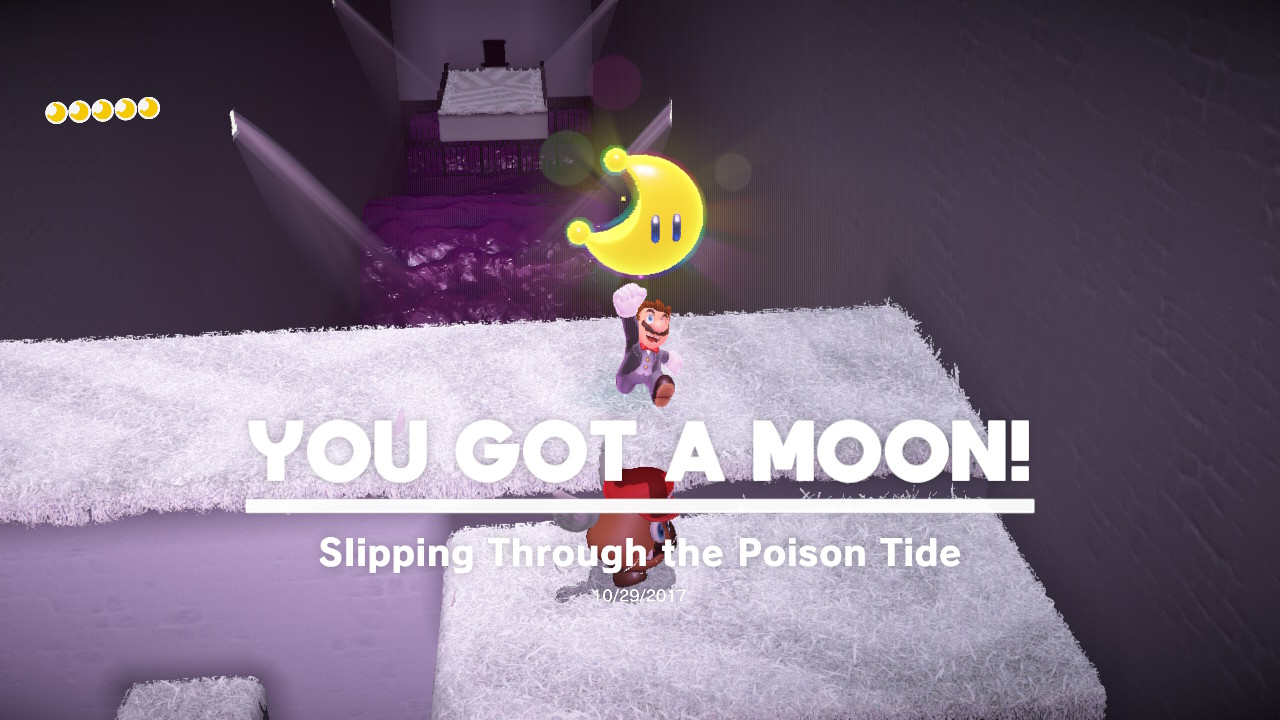
6- On the other side you will find the hidden Power Moon above a stair of ledges! WOOHOO!!
08 – Push-Block Peril
Location-
1- If you start from the checkpoint on the top hat tower and run to the left…
2- You will see a Cappy door on some moving platforms…
3- Inside you will see a push-block obstacle course…
4- Platform your way to the top and bada-bing-bada-boom you got the Power Moon!
09 – Hidden among the Push-Blocks
Location-
1- If you start from the checkpoint on the top hat tower and run to the left…
2- You will see a Cappy door on some moving platforms…
3- Inside you will see a big push-block obstacle course…
4- Continue up the obstacle course as usual BUT very close to the top is a second Power Moon…
5- While on the safe non-moving platform, turn around to see a Power Moon hiding inside of the push-block; GRAB IT!
10 – Searching the Frog Pond
Location-
1- On the southern side of town there is a ledge hidden away…
2- There is a Cappy door down there!
3- Inside you are tasked with collecting the 5 moon shards…
4- After the first one, you will need to get the remaining 4 with a captured frog…
5- Each shard is hiding on top of a tricky platform you need to jump to…
6- Here’s the third one…
7- And the fourth…
8- And the last one is inside this hole in the wall! Power Moon time!!!!
11 – Secrets of the Frog Pond
Location-
1- On the southern side of town there is a ledge hidden away…
2- There is a Cappy door down there!
3- Normally you’ll need to collect the moon shards but for this secret one you can find the power moon hiding REALLY high…
4- It’s ALL the way up here, although in this image I had already obtained it.
5- You need to jump on the moving platforms against the wall, on top of the skiny platform, and the Power Moon is yours!!!
These next few Power Moons can only be obtained once you’ve progressed further and or beaten the game
12 – The Forgotten Treasure
Location-
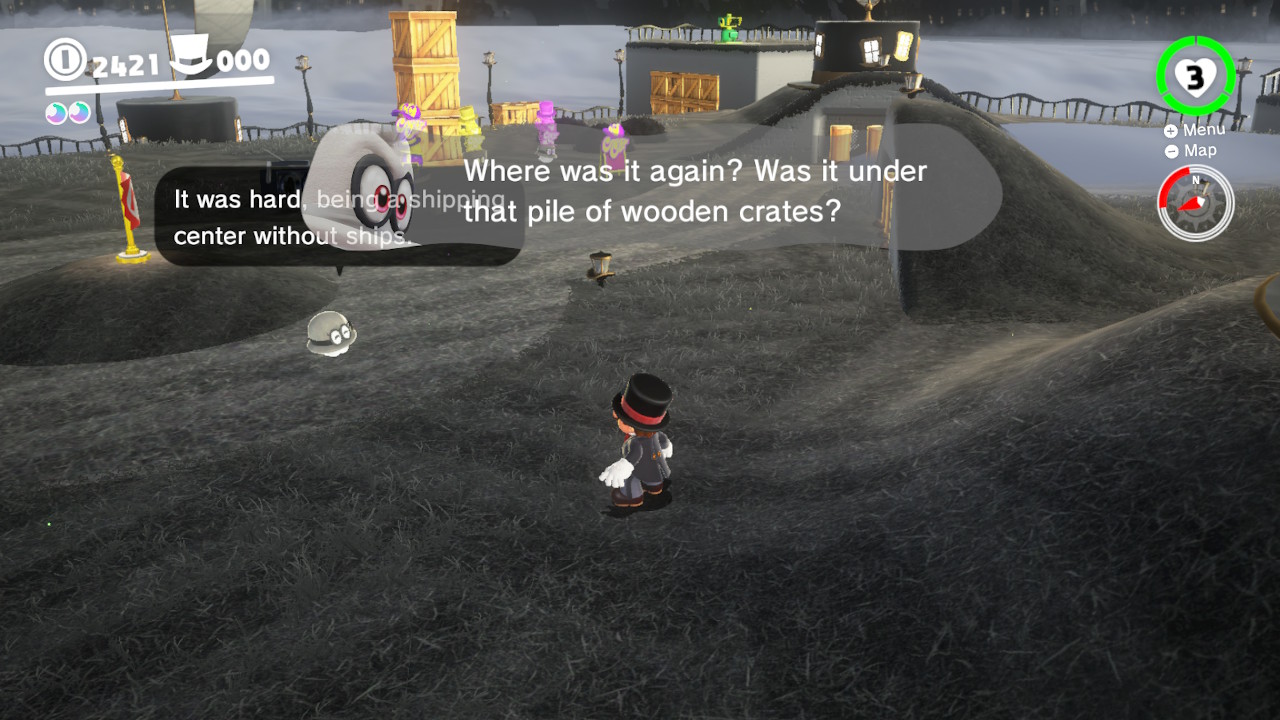
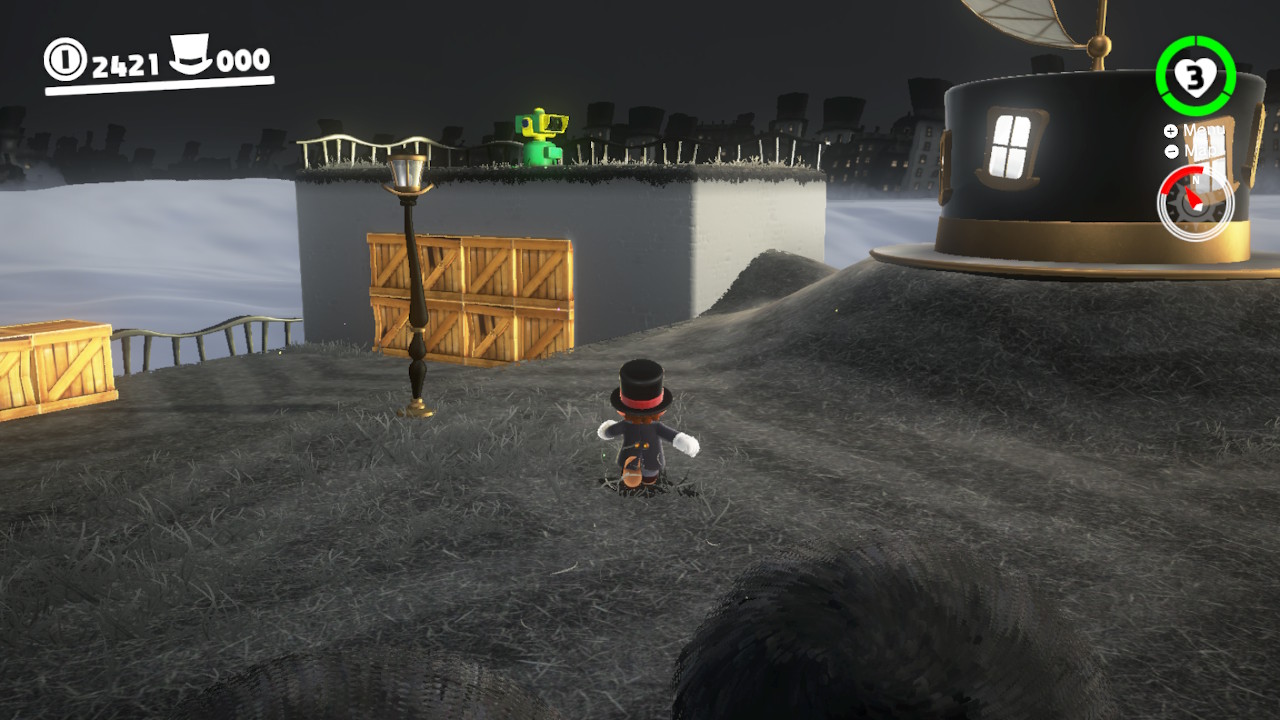
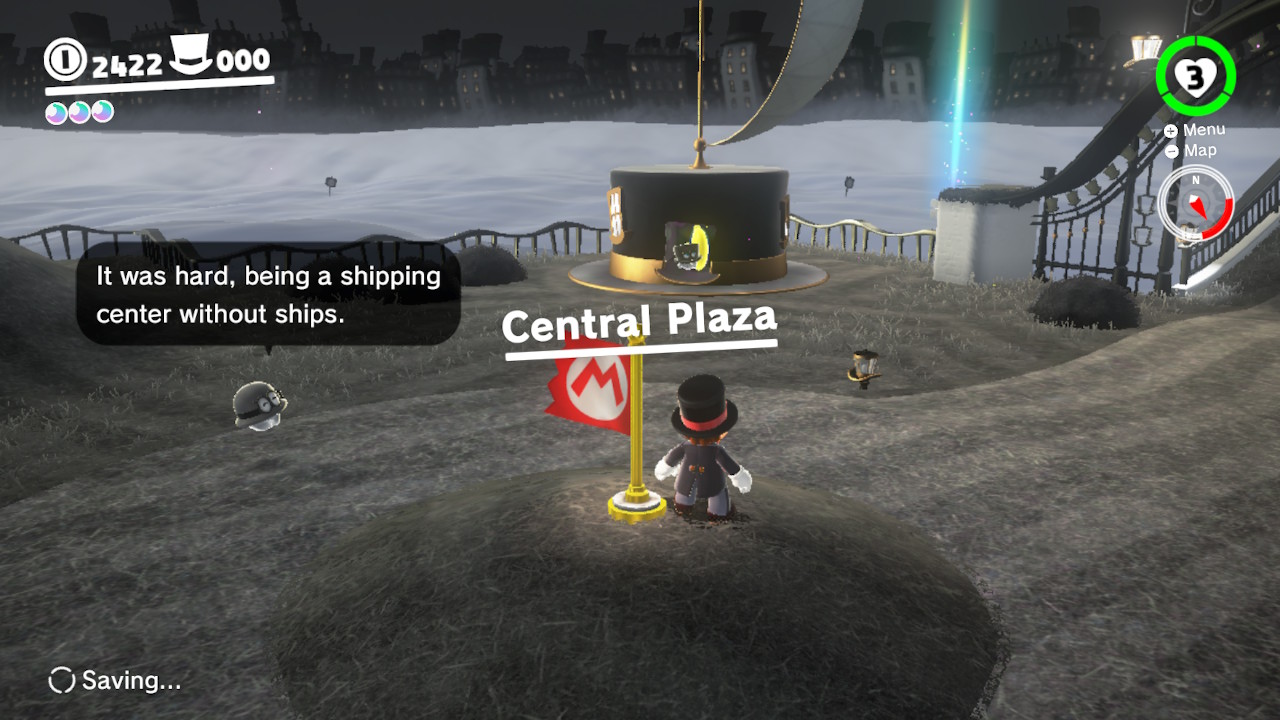
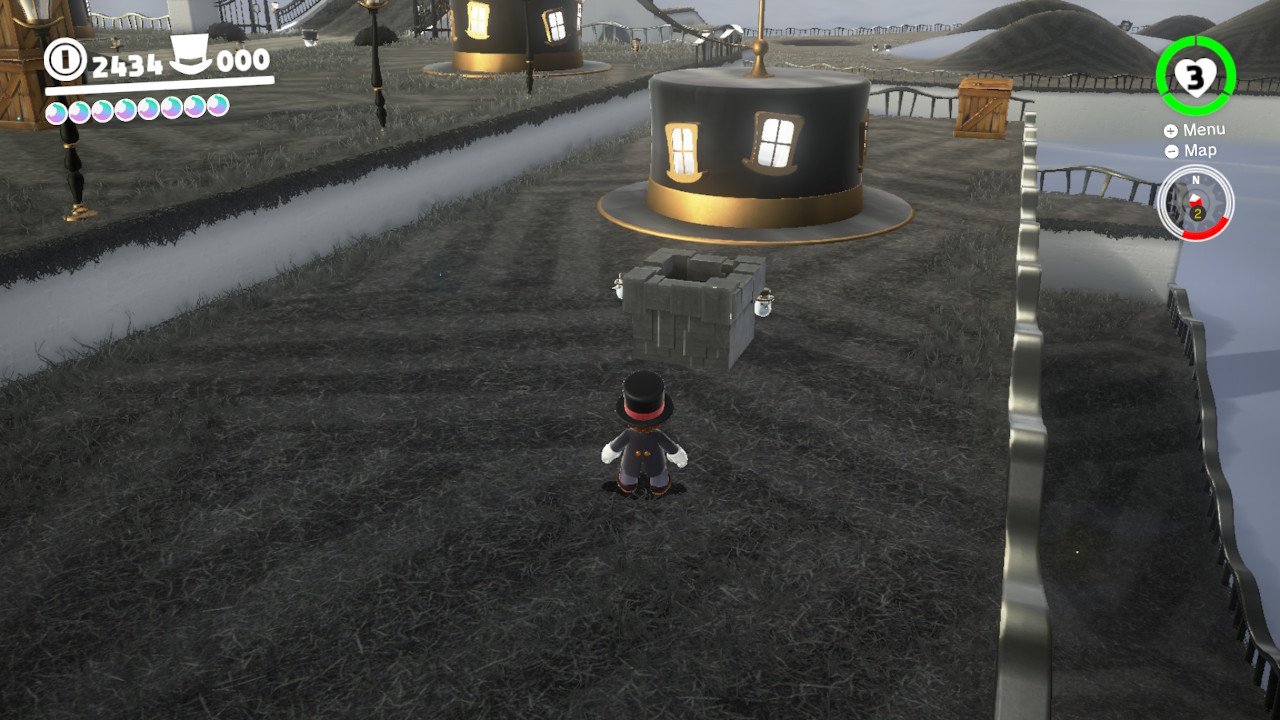
1- Obtaining this Power Moon takes us on quite the adventure, we’ll need to run through half of Bonneton on a treasure hunt. From the Central Plaza you can see a “Bonneter” floating on the roof of his house. Talk to him and he will start the treasure hunt…
2- First thing you’ll need to do is head towards the stack of crates/boxes, perhaps the Moon is hiding there?
3- The stack of crates is right behind Crazy Caps, but the moon is not there…
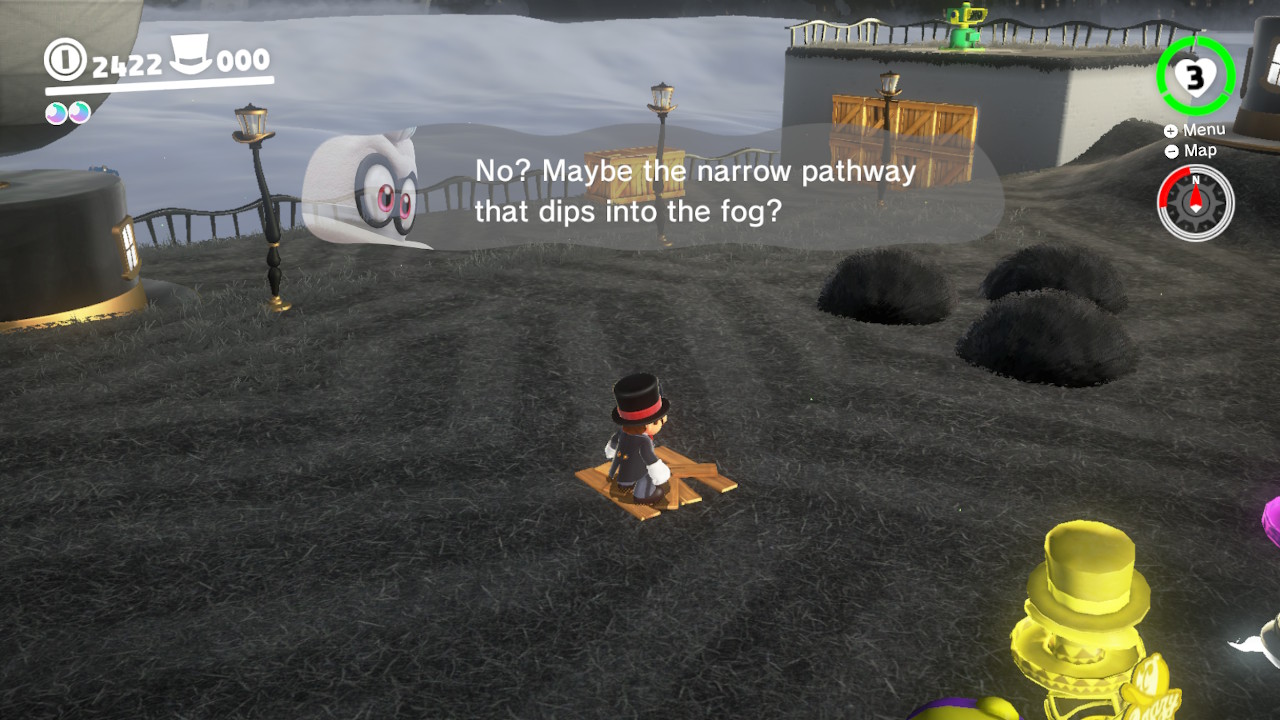
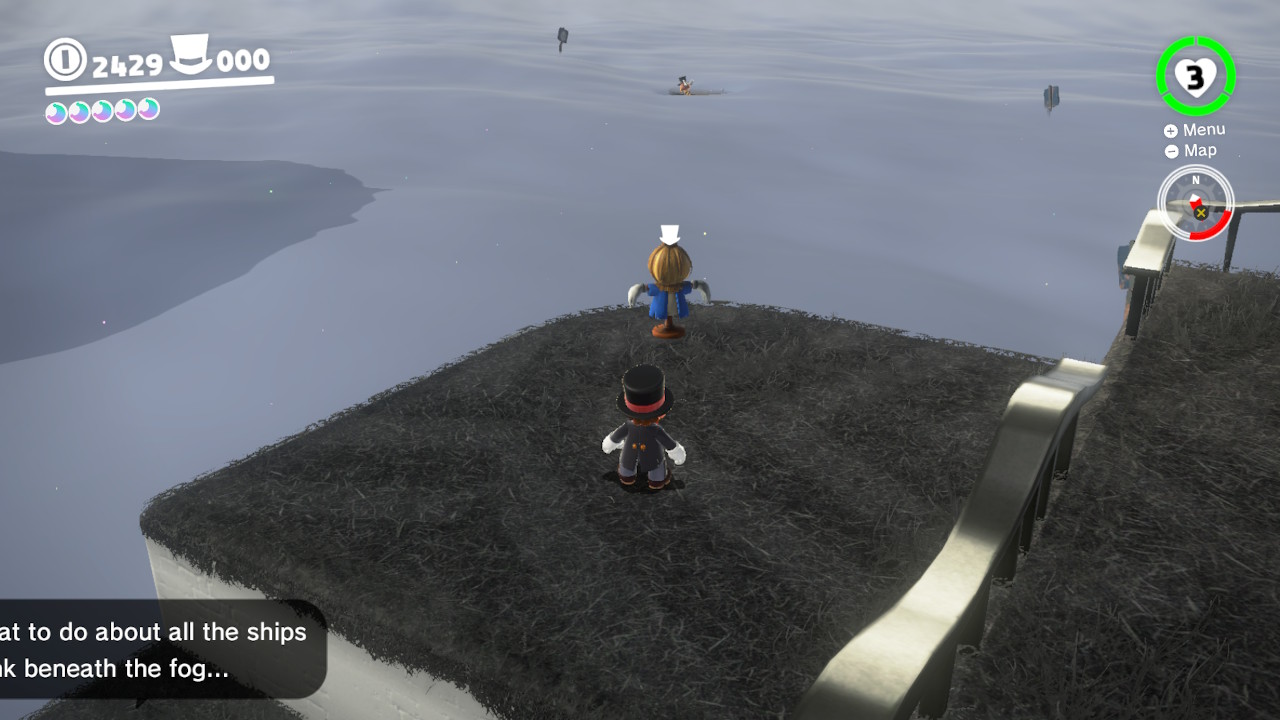
4- Next you’ll need to head to a “foggy path”, this is a a bit further thatn the crates but in the same direction. Off of the ledge is a path that has some coins and a lot of fog, but no moon…
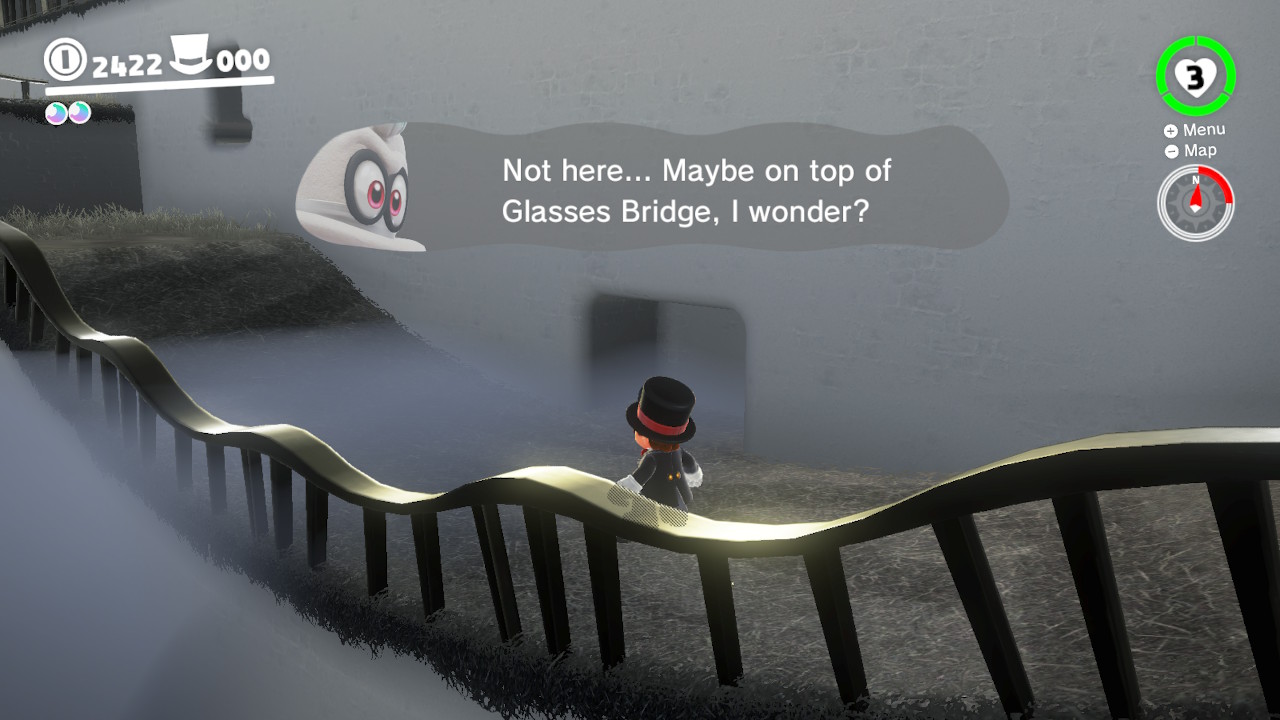
5- Now it’s time to go to the bridge, Cappy thinks the Moon might be here, but it is not…
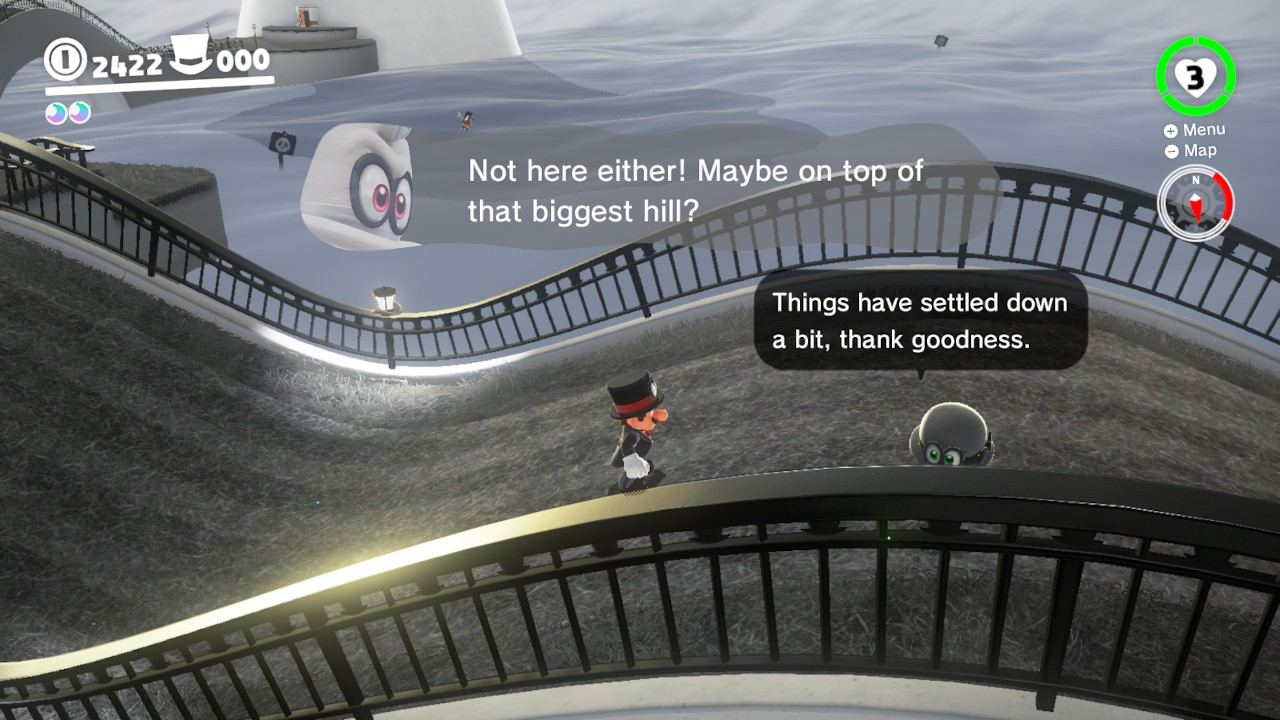
6- The large hill right next to the Odessey is where you’ll need to head to now, but again the Moon isn’t here…
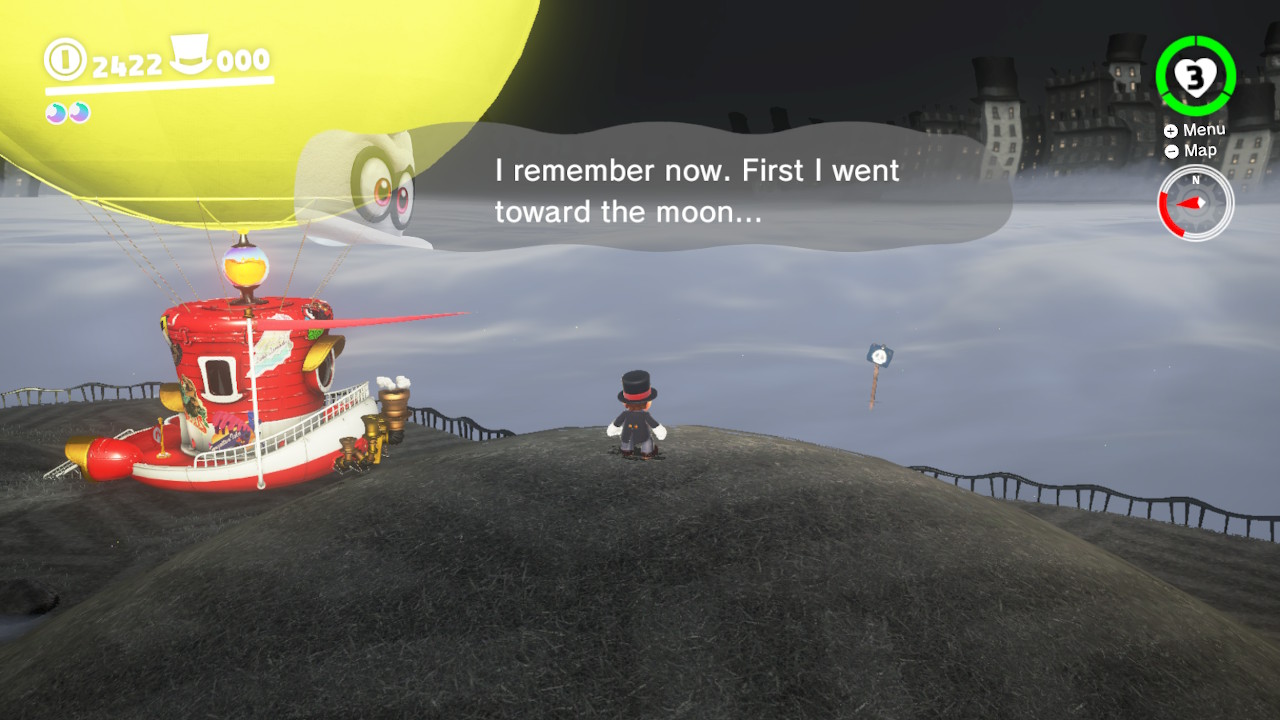
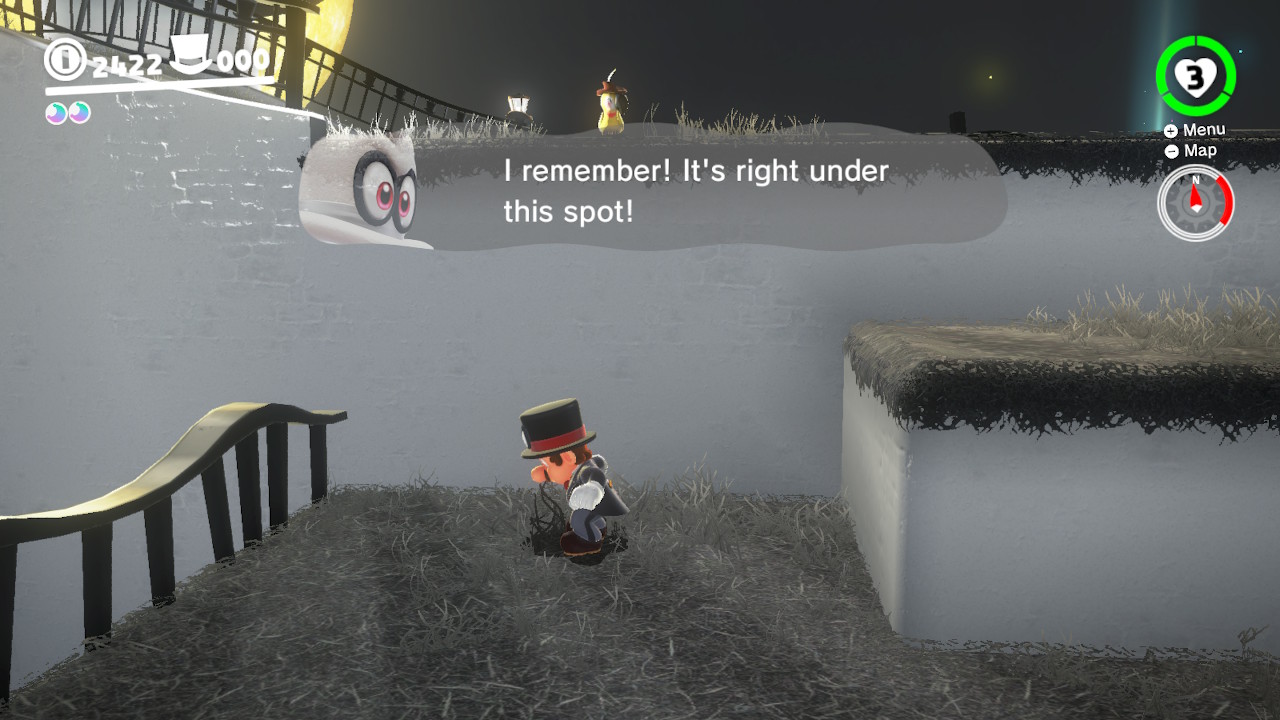
7- Finally Cappy remembers! Head down the big hill and towards the bridge again, on the ledge right beside the bridge. Ground pound THIS spot and the Power Moon will appear!
13 – Taxi Flying Through Bonneton
Location-
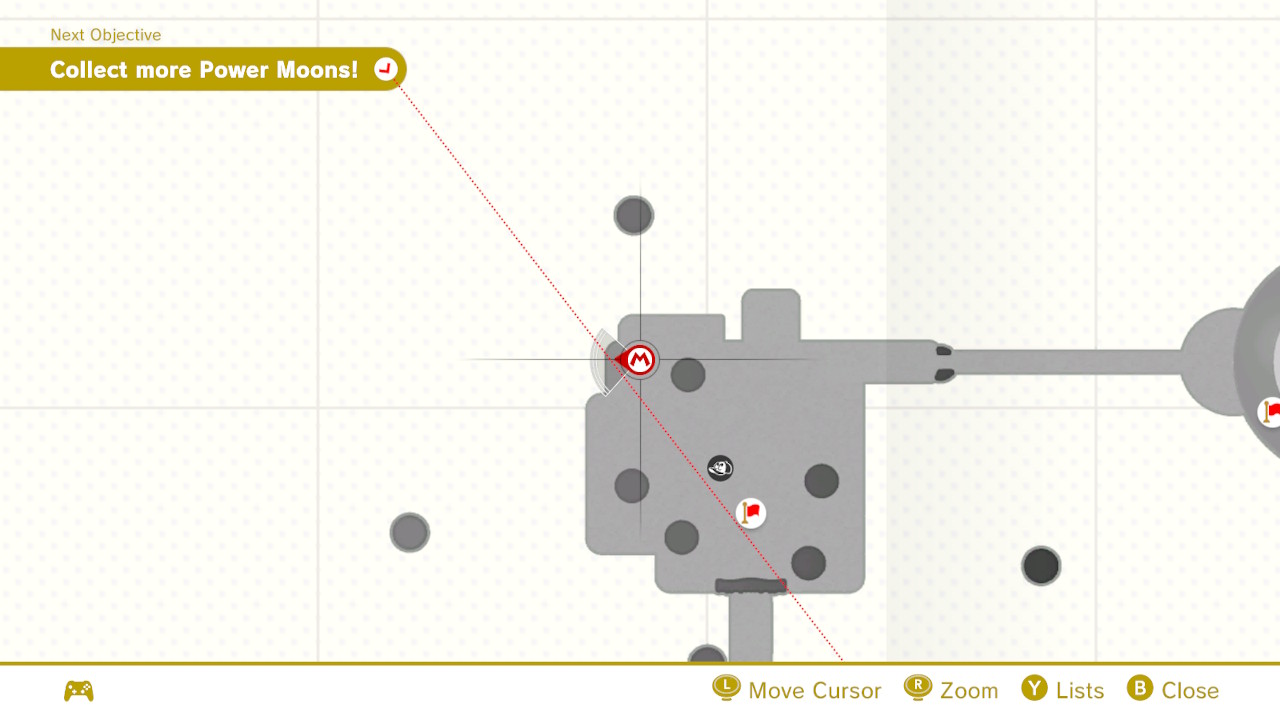
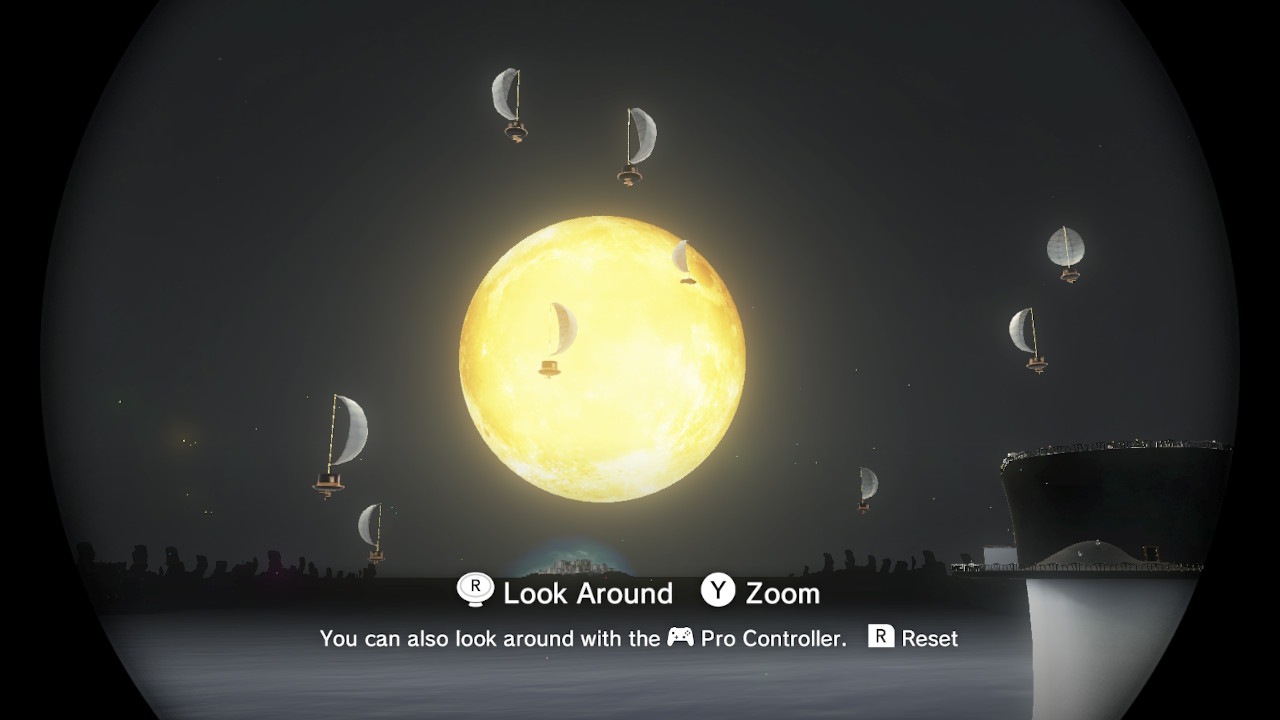
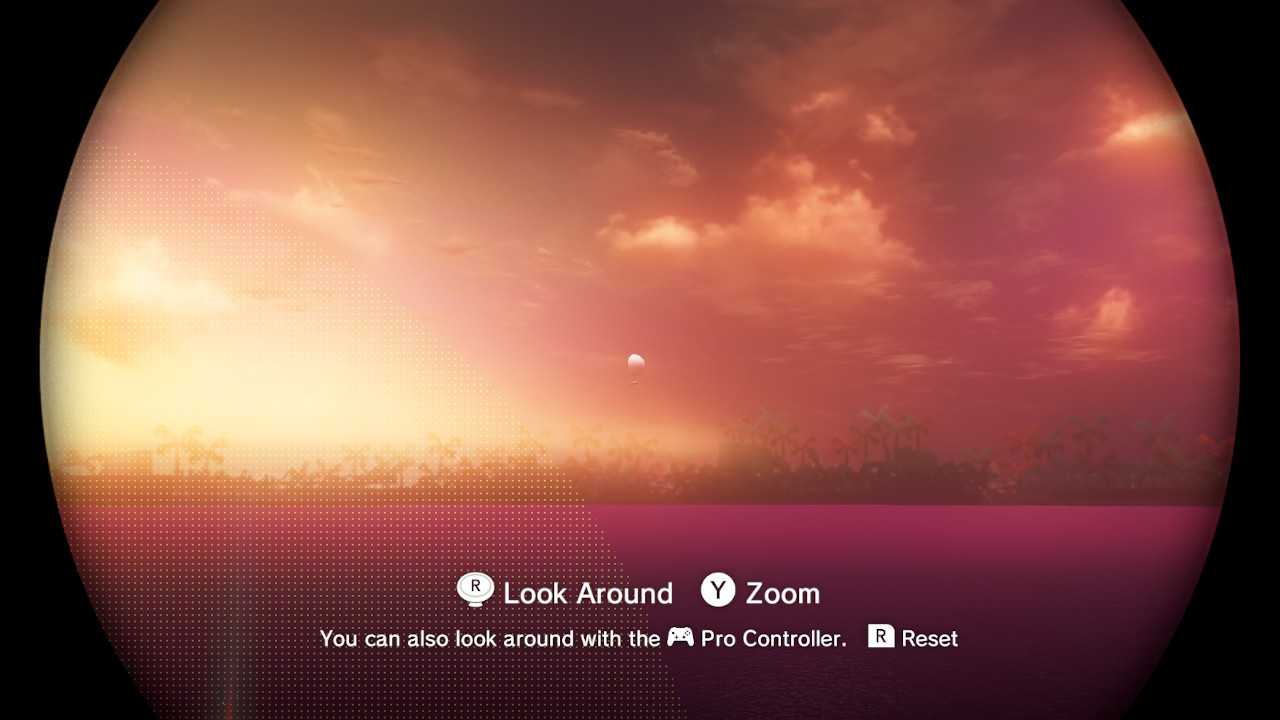
1- In the far corner of Bonneton there is a new set of Binoculars for sight-seeing…
2- Capture it and check out the view…
3- Pay attention to the flying ships soaring around the moon…
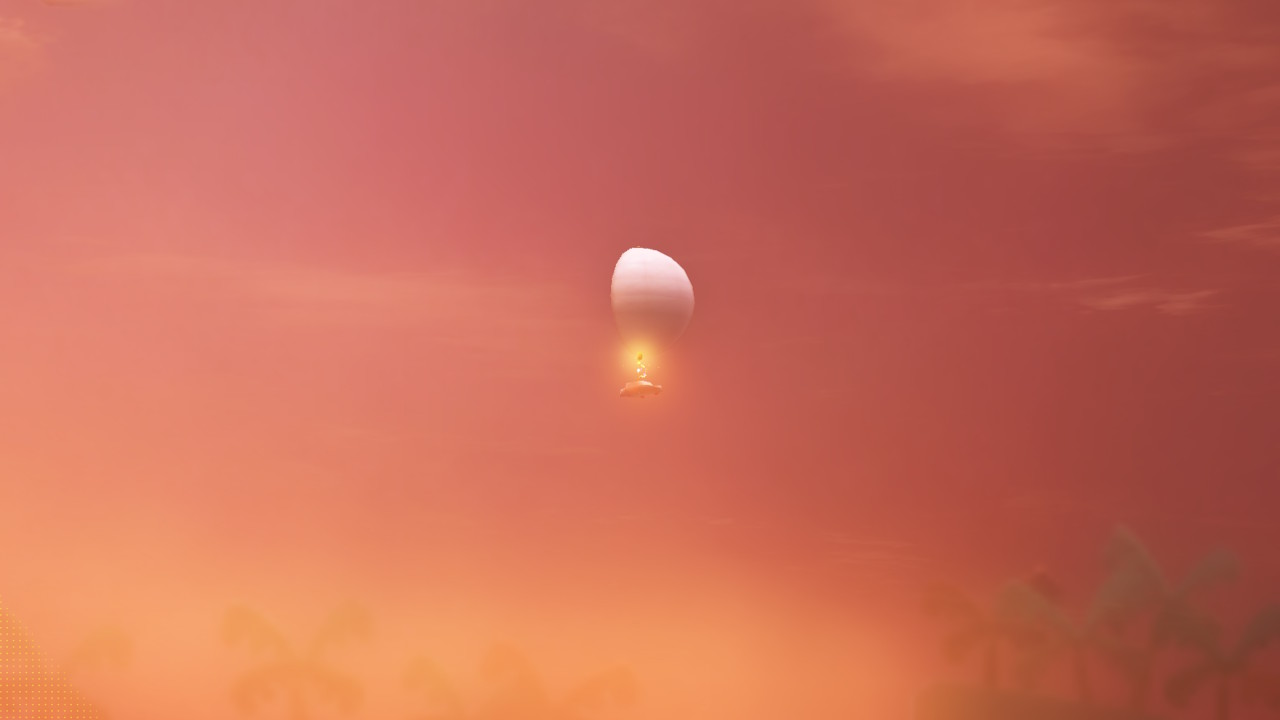
4- Zoom in or a closer view and you will notice that a TAXI is floating up there! Stare at it for a few moments and it will shoot you a Power Moon…
5- The Moon lands just a few feet away…
6- Snag the Moon!
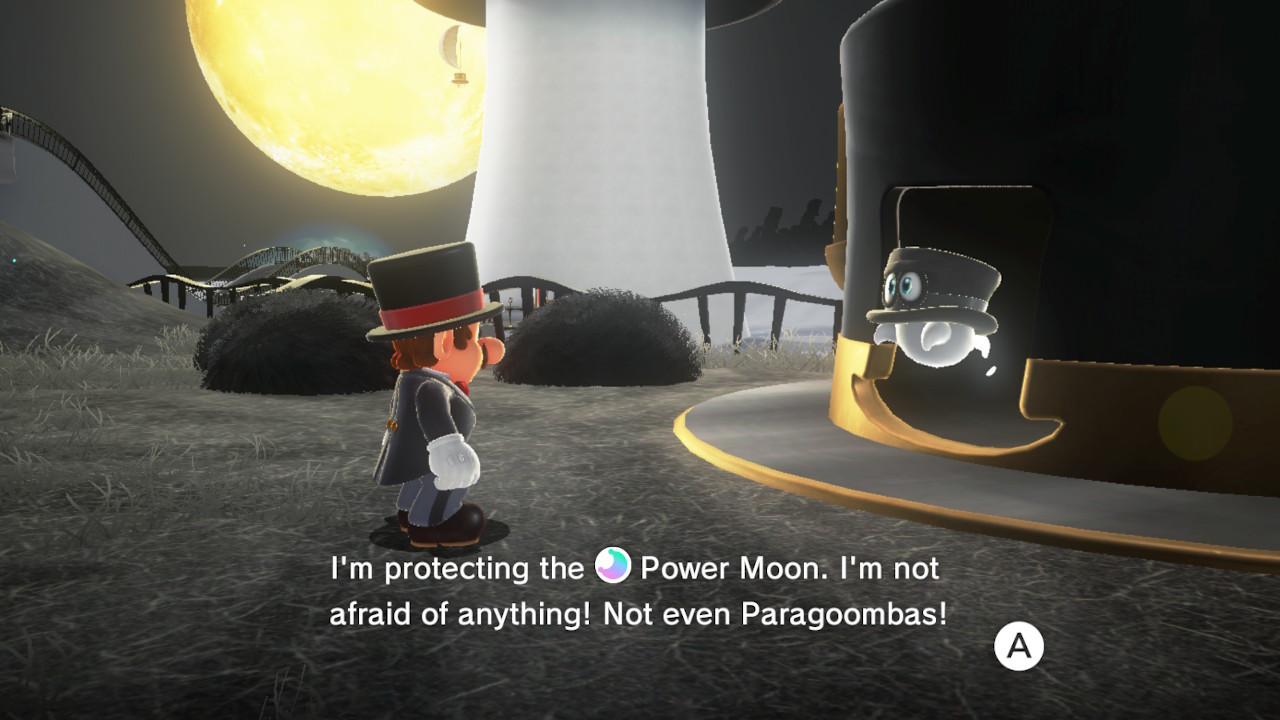
14 – Bonneter Blockade
Location-
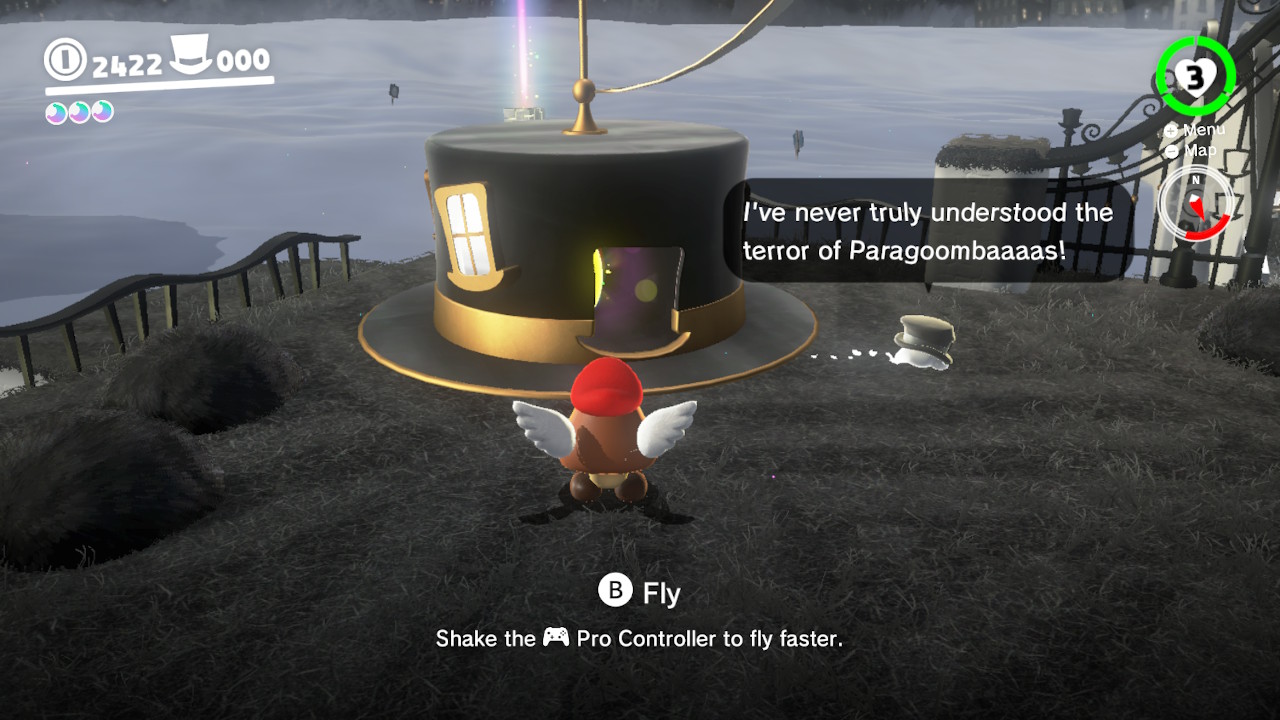
1- Right beside the Central Plaza checkpoint is a Bonneter protecting a Power Moon…
2- He claims that NOTHING will scare him away from protecting the Moon…
3- Go capture a Goomba, come back and scare him away, and the Power Moon is yours!
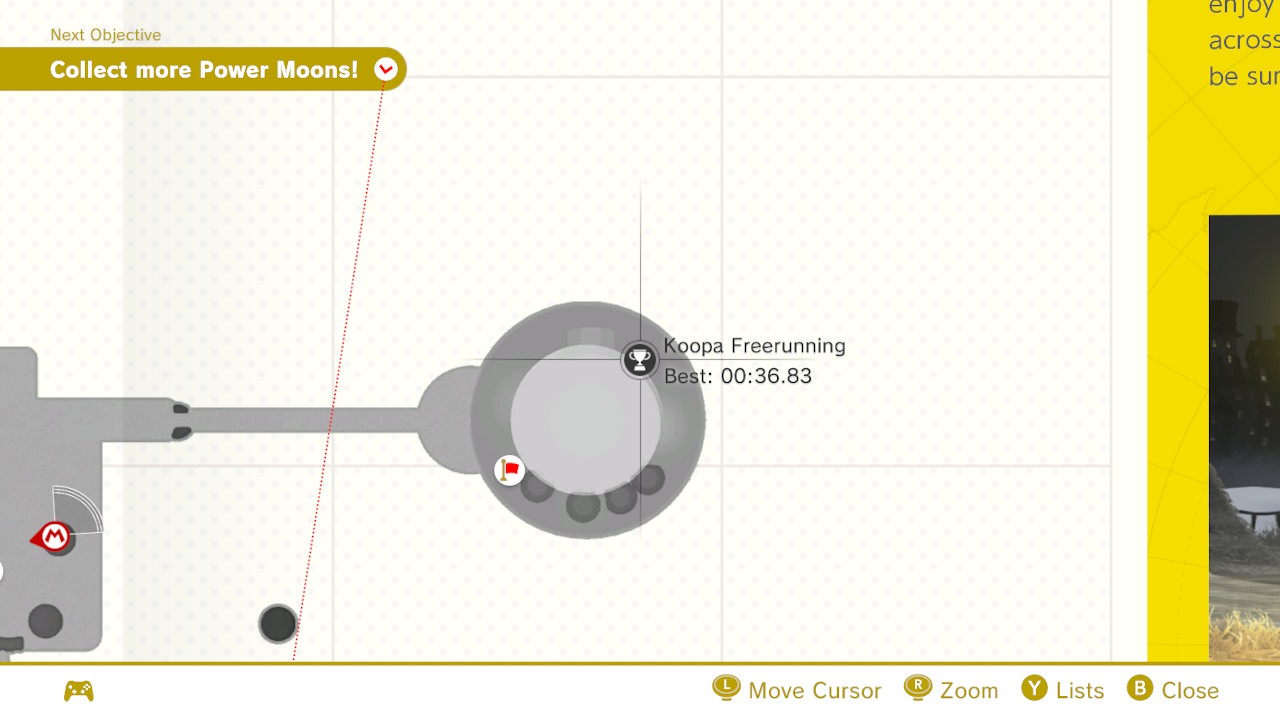
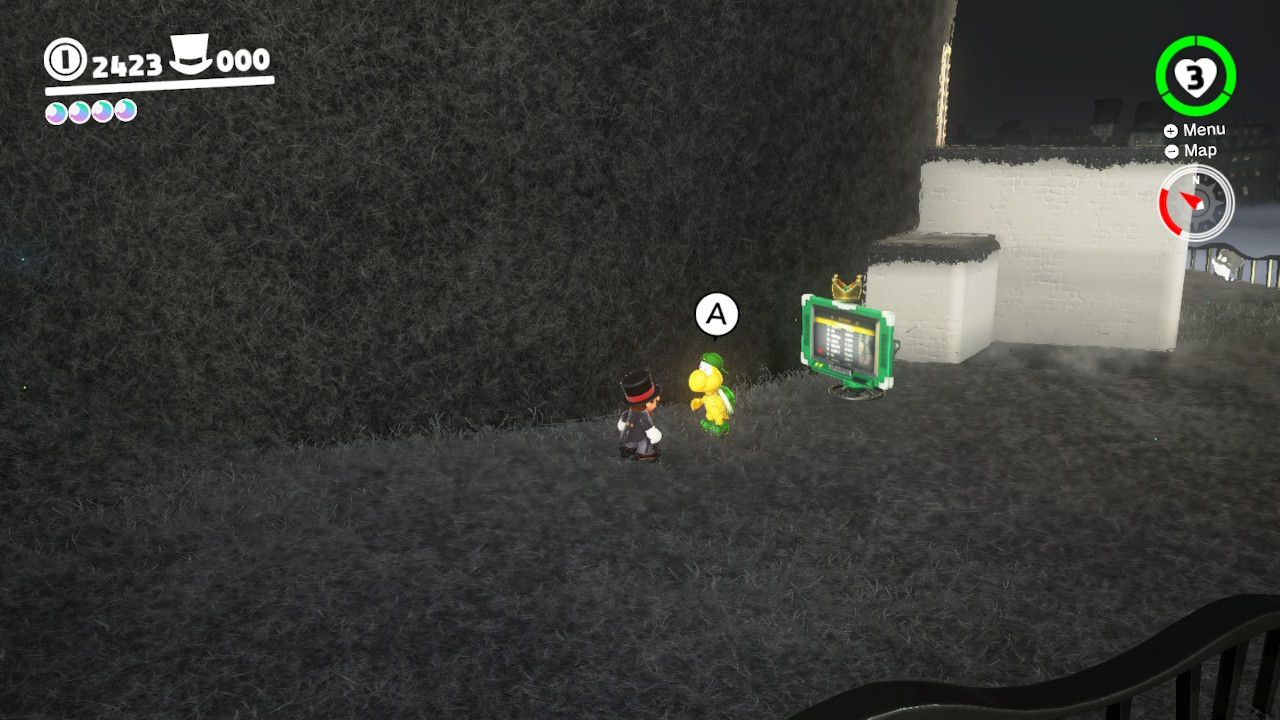
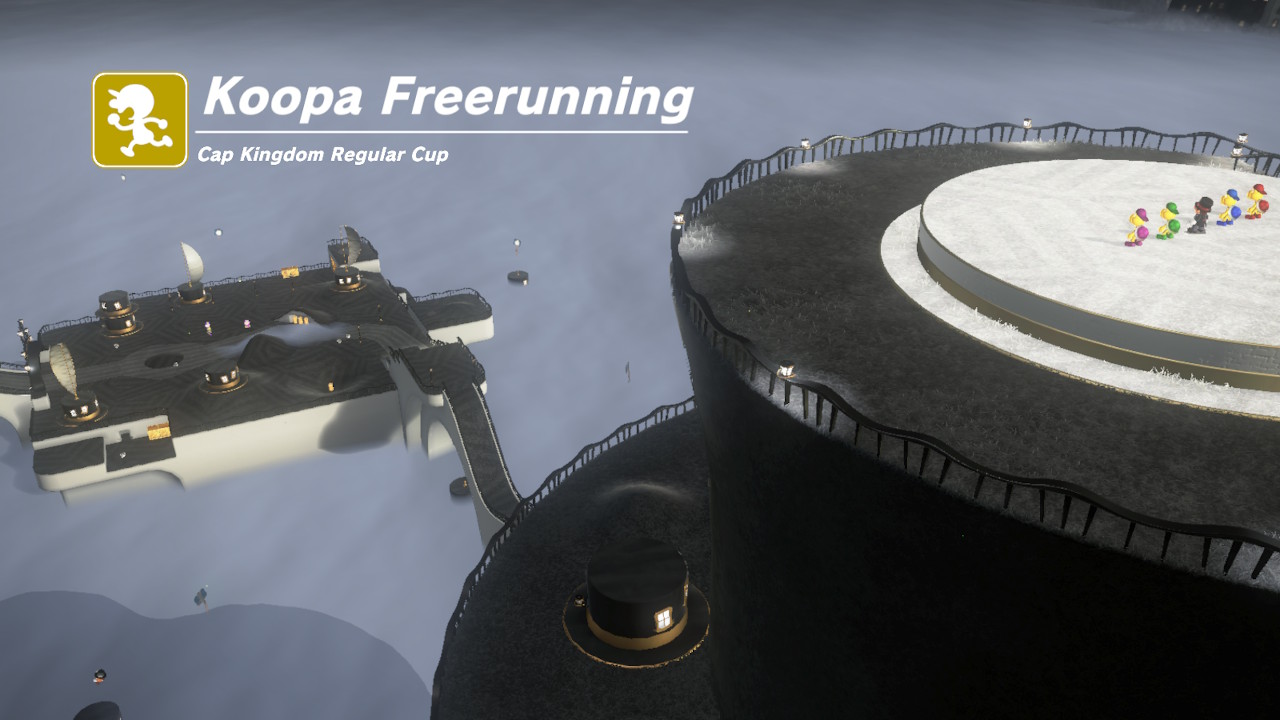
15 – Cap Kingdom Regular Cup
Location-
1- Around the corner on the top of Top-Hat Tower is a Koopa ready to race…
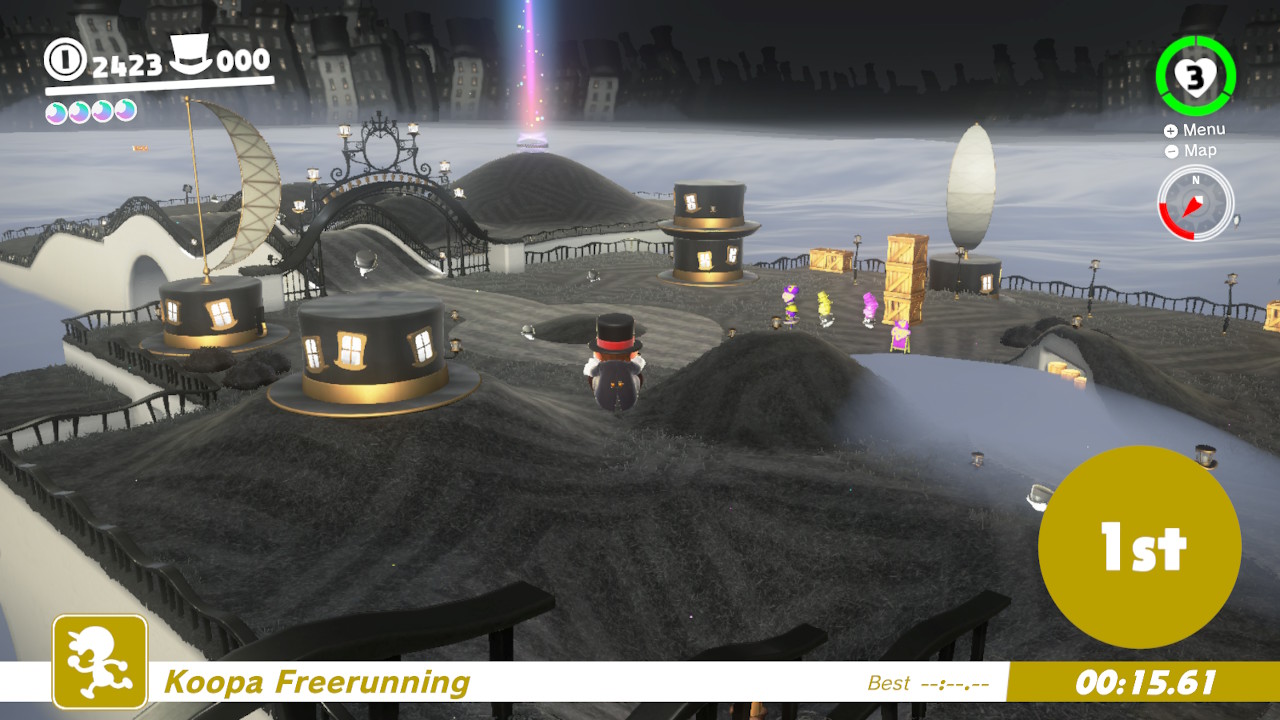
2- Talk with him and you will enter into a freerunning race with a bunch of other Koopas…
3- Use long jumps, rolls, and shortcuts where you can…
4- Reach the finish line before anyone else and you’re first place reward is a Power Moon!
16 – Peach in the Cap Kingdom
Location-
1- Now that Peach has been saved, she has gone sight-seeing around world! Just beyond the Central Plaza chekpoint is where to find her…
2- Talk with here and she will give you a Power Moon! How sweet!
17 – Found with Cap Kingdom Art
Location-
1- Among all the Power Moons in the Cap Kingdom, this one is the most time consuming. First, let me explain something (that honestly confused me at first). There are “Hint Arts” hidden throughout the Kingdoms. They give small hints for where to find Power Moons. HOWEVER, they always show a hint for a Power Moon in ANOTHER Kingdom. But even though that Power Moon is found in another Kingdom, it is actually a Power Moon from the “Hint Arts” home. So in this case, we are going to go to another Kingdom, but the Power Star will count towards the Cap Kingdom…
2- This hint art is found plastered on the wall of the stairway that heads towards the wavy bridge towards “Top-Hat” tower…
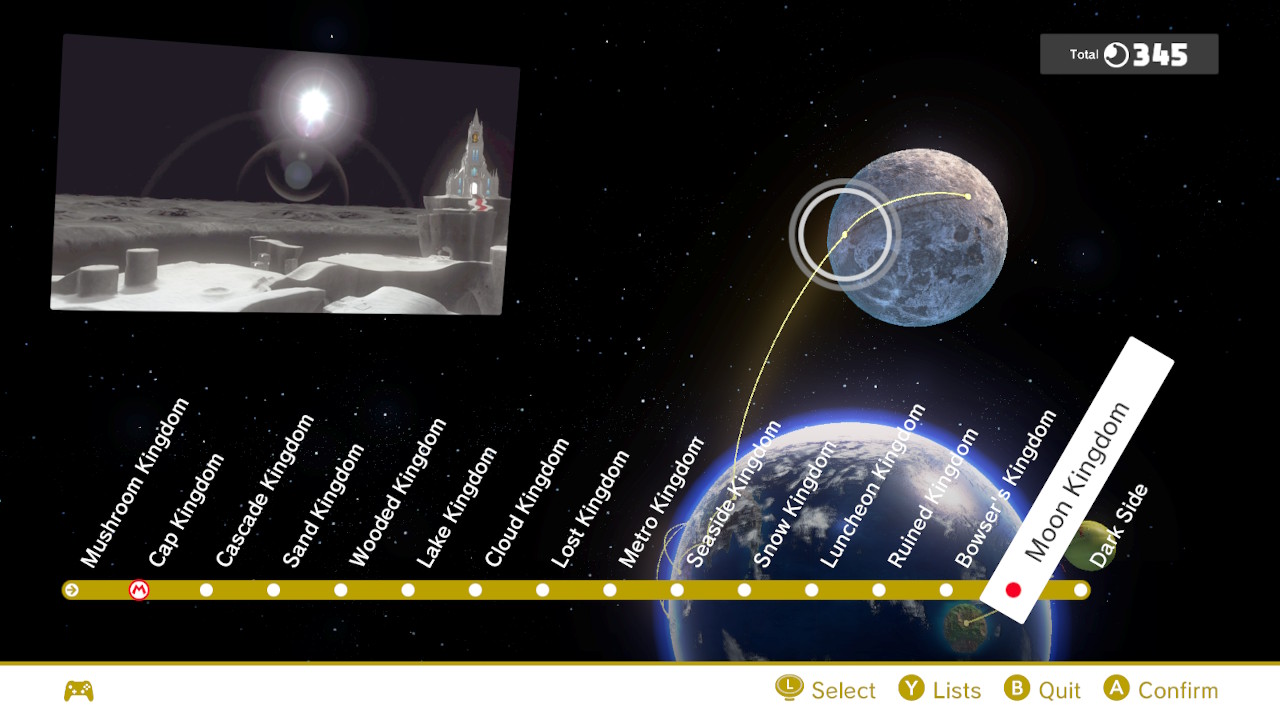
3- The hint is for a Power Moon that is on the Moon Kingdom! So let’s head over there…
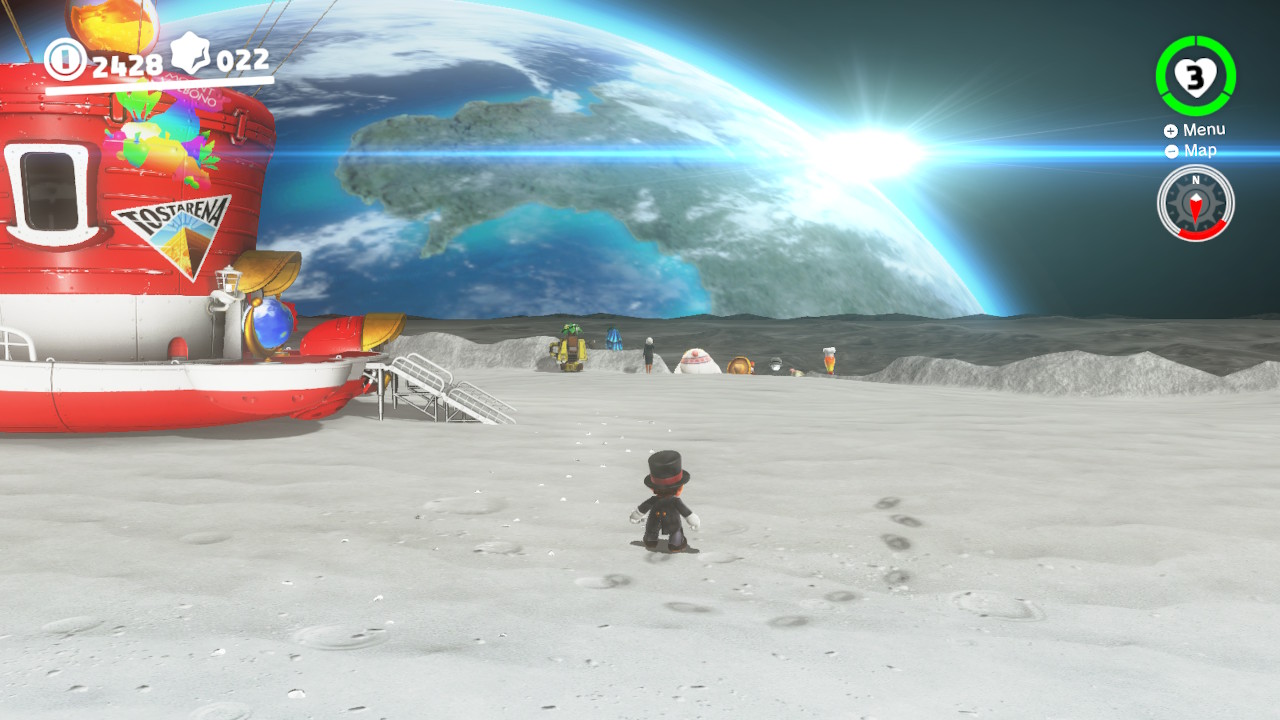
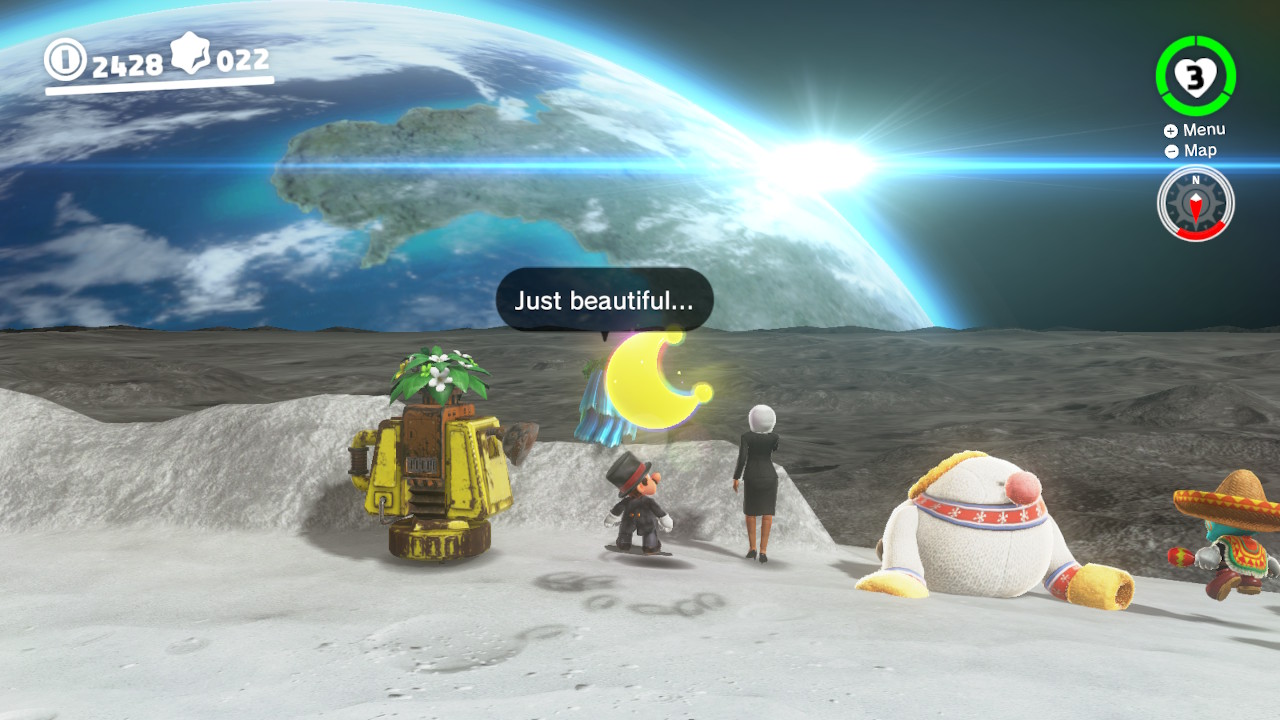
4- Once on the moon, directly off of the Odessey you will see a bunch of civilians from all the different Kingdoms checking out the beautiful view of Earth… THIS is what the Hint Art was hinting at…
5- Walk up behind the group and ground pound this spot, the same area the Hint Art was pointing too! The Power Moon will pop out of the ground! Remember, this will count towards the Cap Kingdom!
SPOILER ALERT!
The remaining Power Moons can only be found in the “End Game” portion of Mario Odyssey!
– Now that you’ve beaten the game, these mysterious Moon Rocks can be BUSTED open! In doing so, MORE Power Moons will spread throughout the Kingdom!
– The Moon Rock in the Cap Kingdom is hidden in the fog!
– To reach it, capture a ParaGoomba and fly over to it! Break it open and 14 new Power Moons will be available to collect!
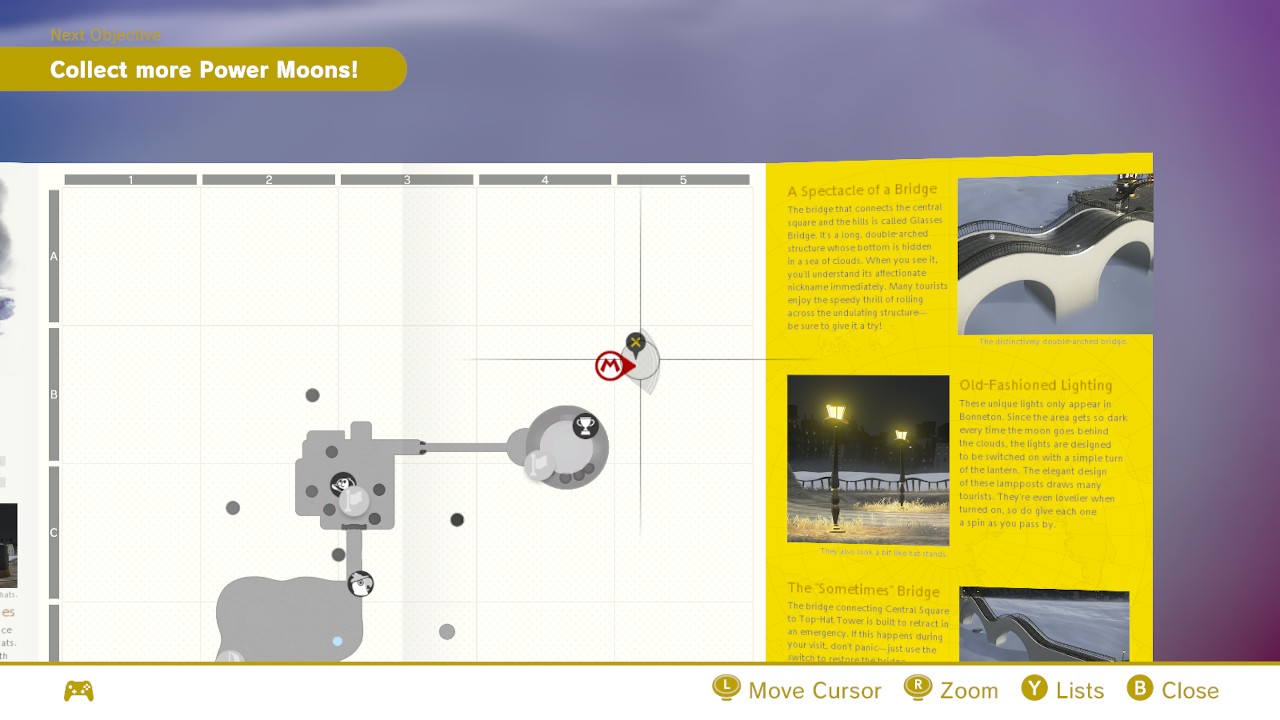
18 – Next to Glasses Bridge
Location-
1- Very easy to obtain and right beside “Glasses Bridge” is the first Moon Rock Power Moon…
2- Jump on the platform/hat and grab that Power Moon!
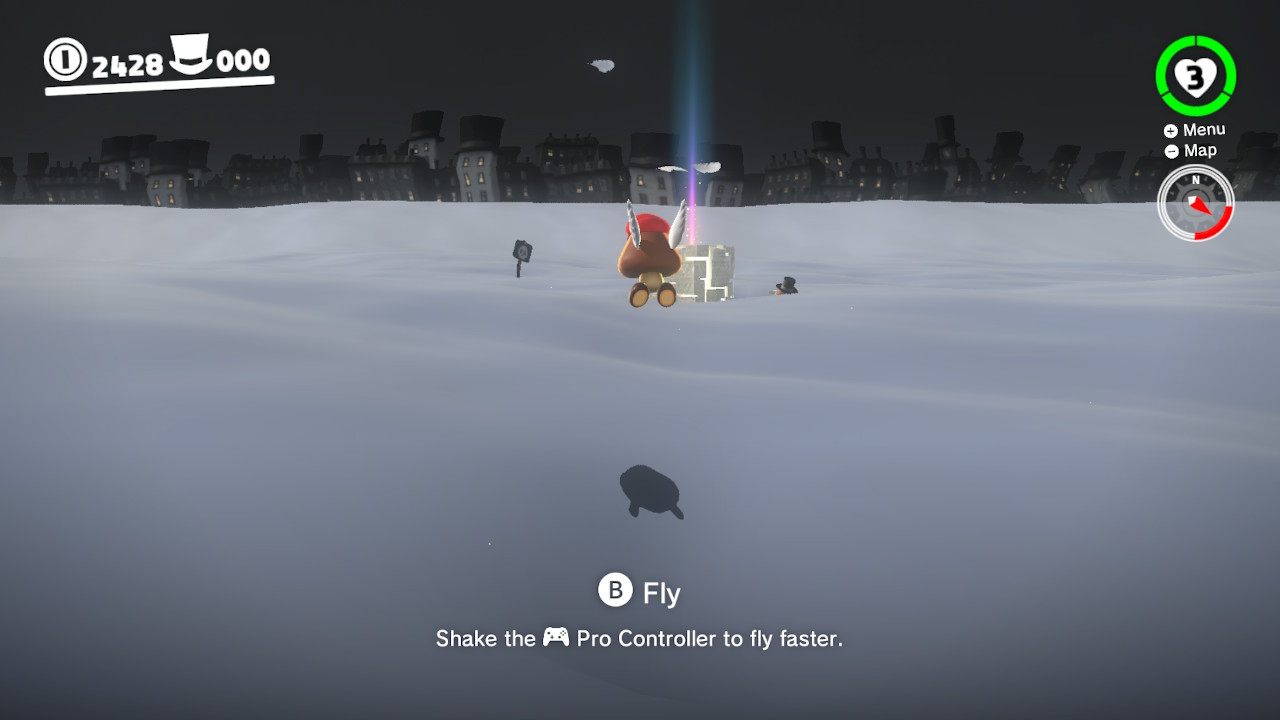
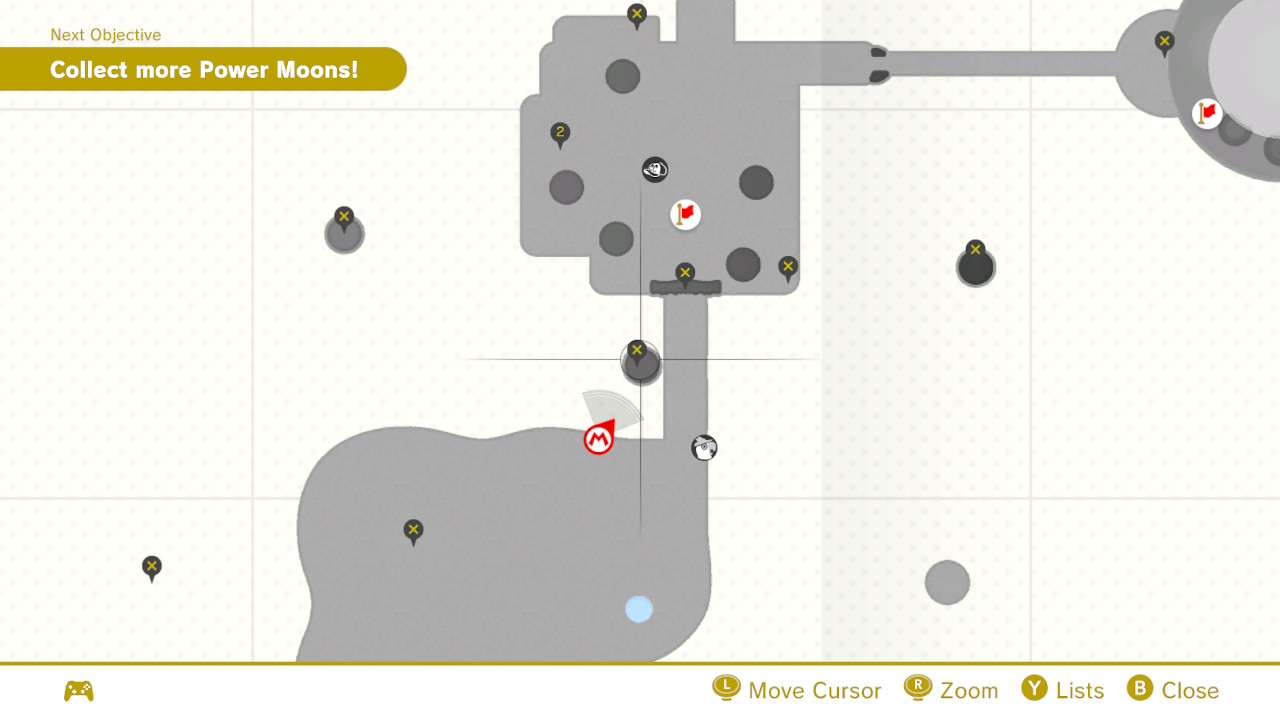
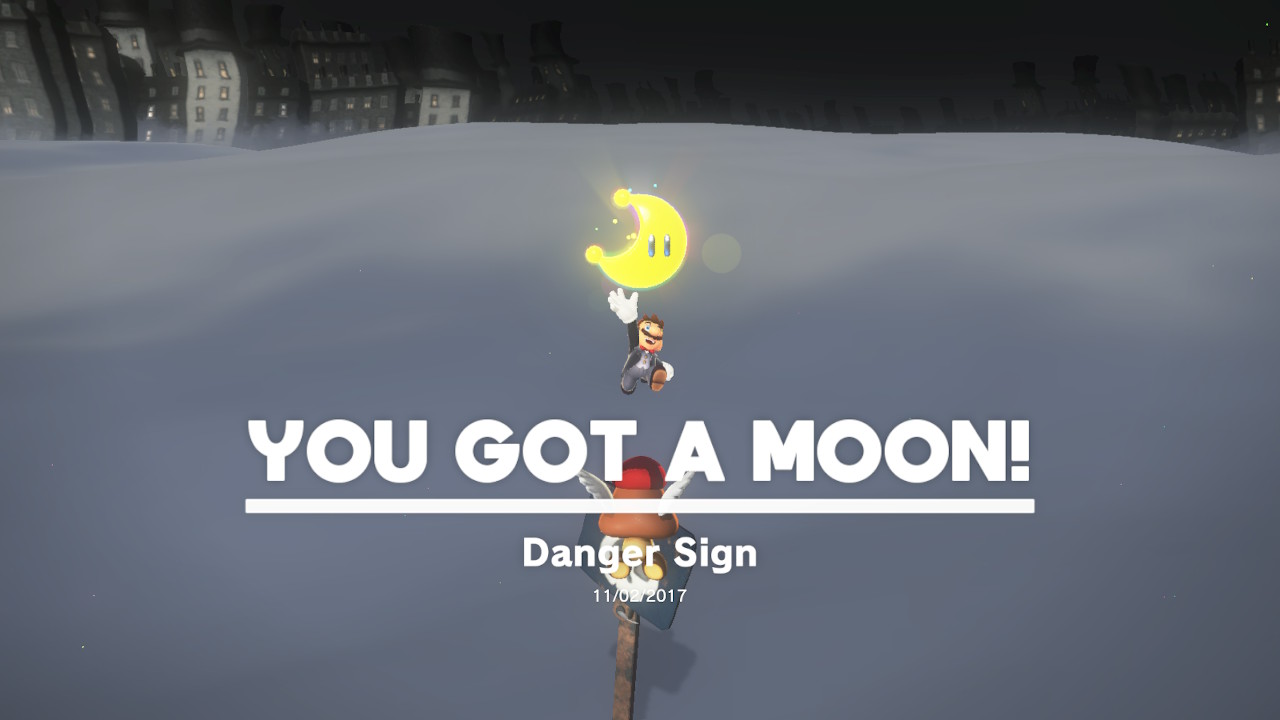
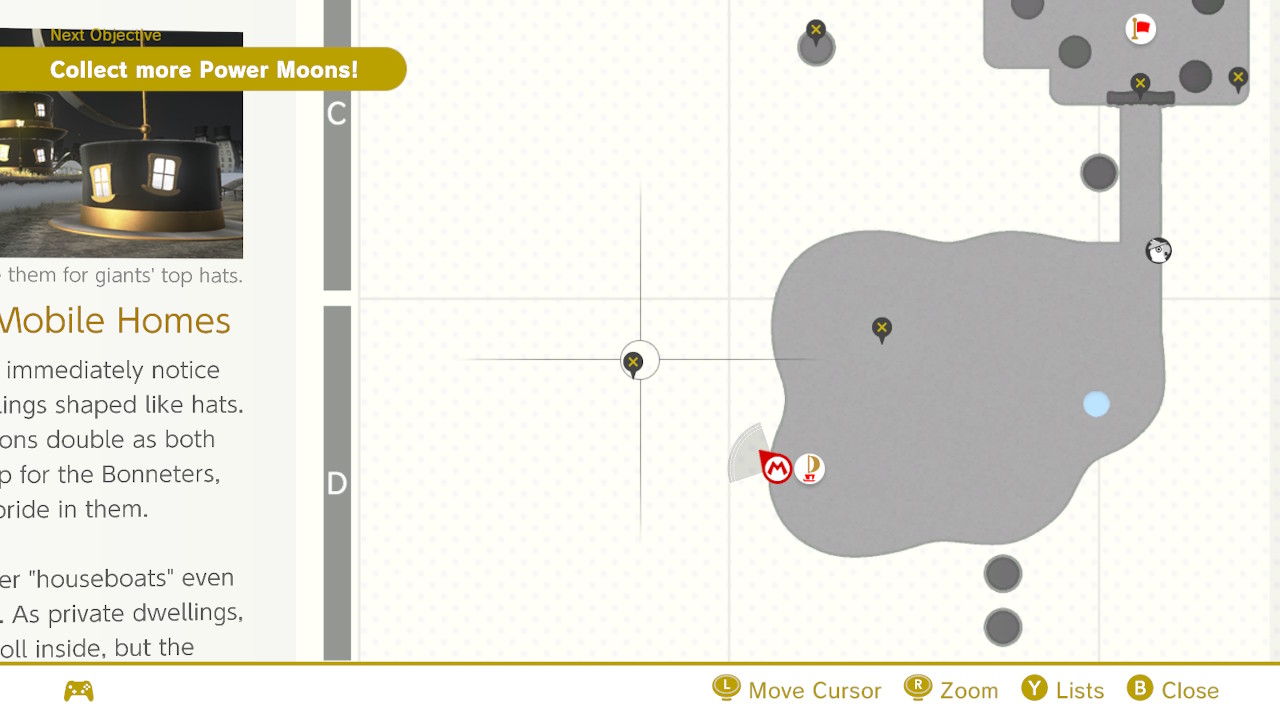
19 – Danger Sign
Location-
1- Behind the Odyssey amidst the mist is a Power Moon on top of a danger sign…
2- To reach it, simply capture a ParaGoomba and fly out there!
20 – Under the Big One’s Brim
Location-
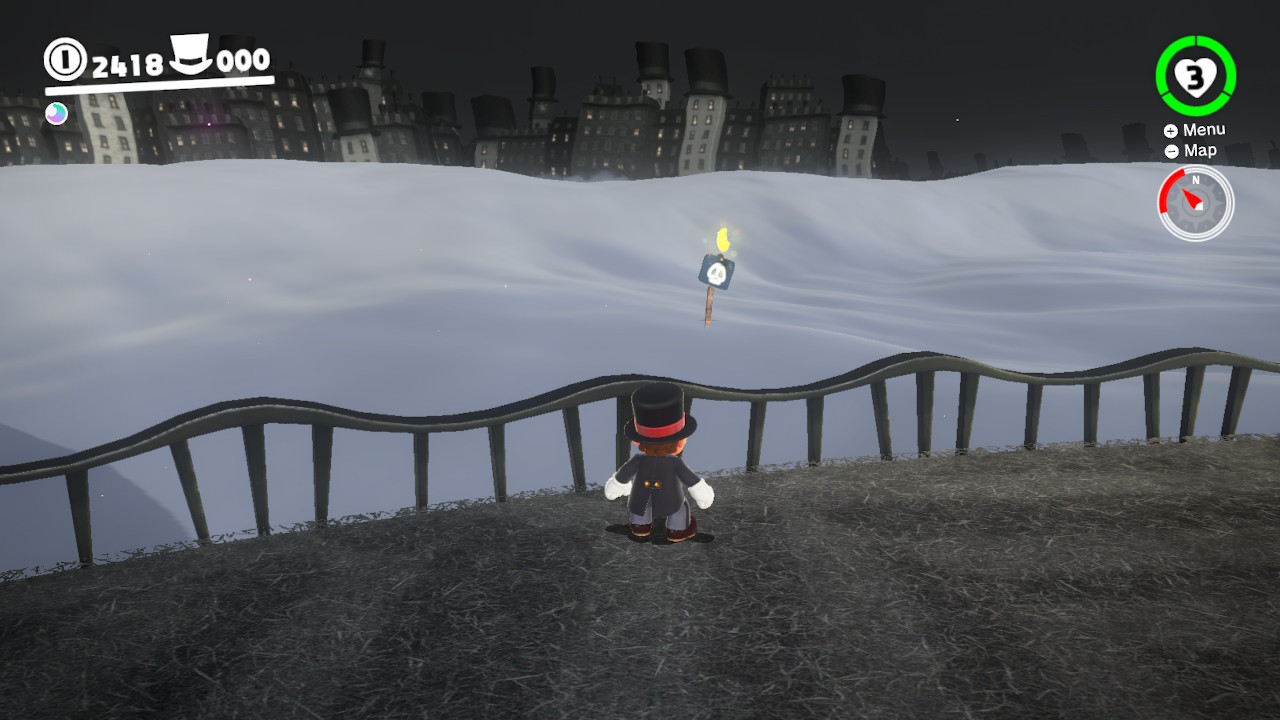
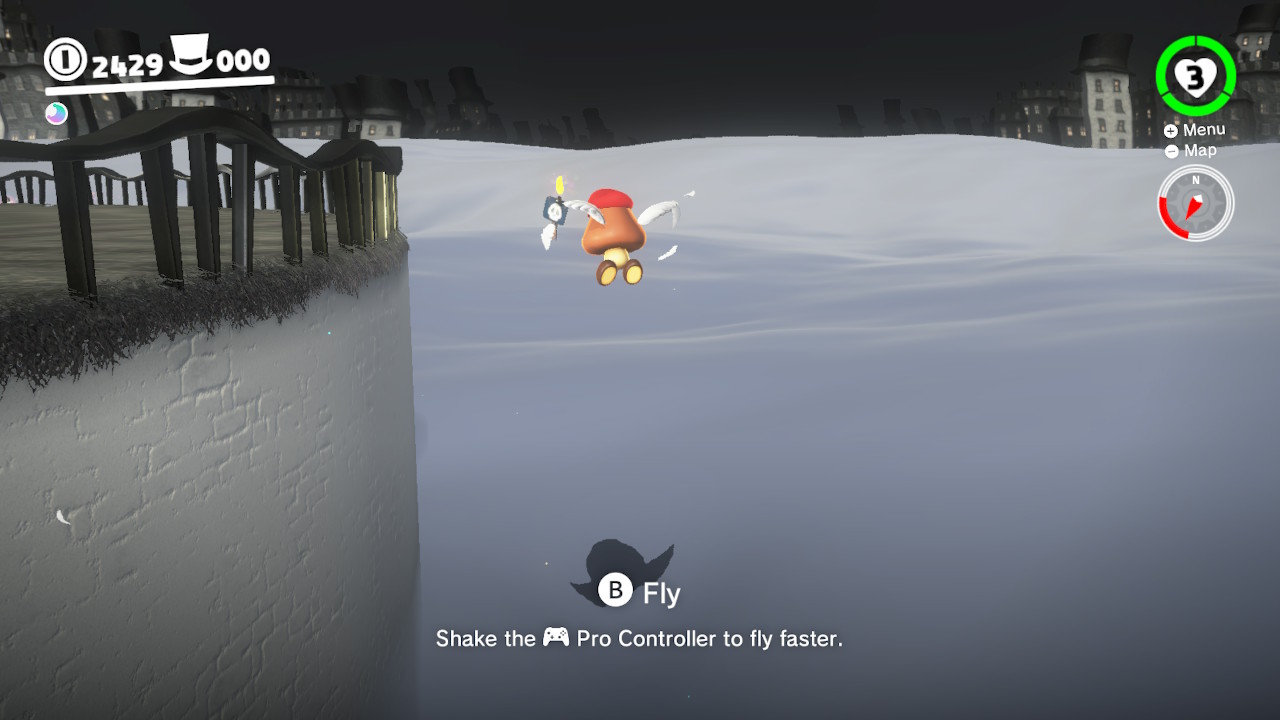
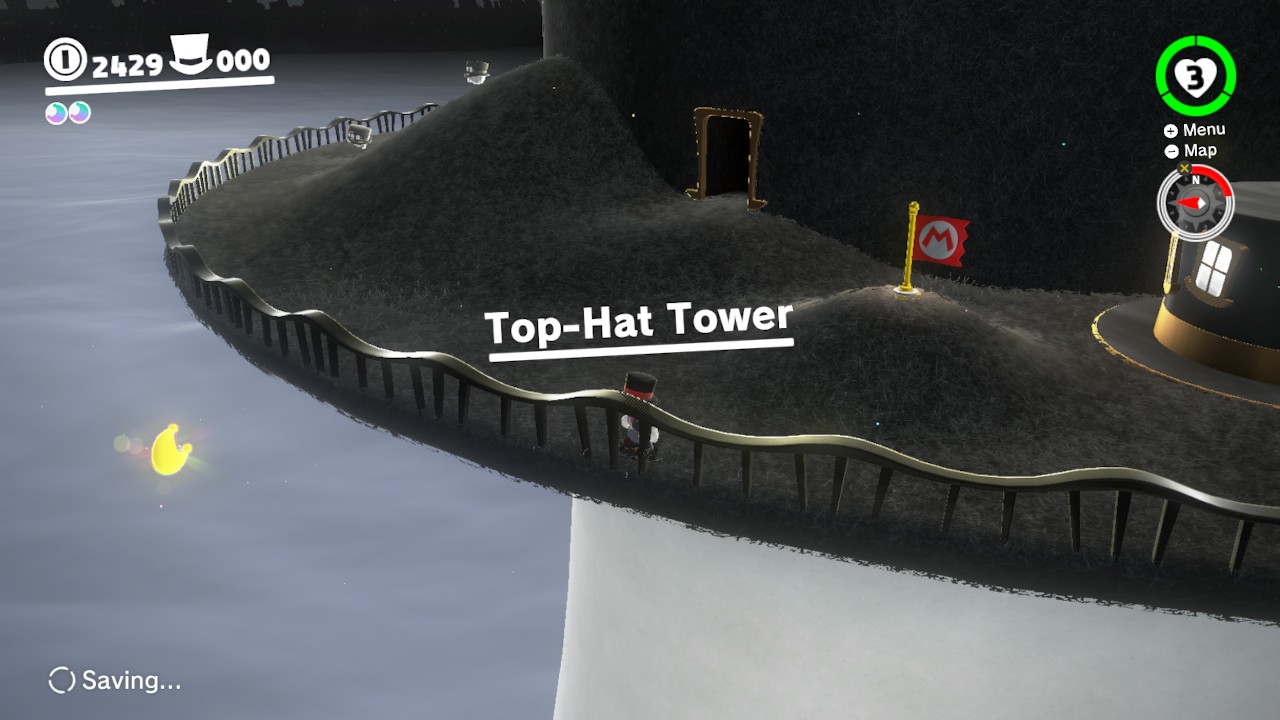
1- Start off at the “Top-Hat Tower” checkpoint and angle the camera to notice a Power Moon dangling in the air right under the brim…
2- Hang off the edge and drop down to catch it! (Good thing there’s no fall damage anymore for Mario!)
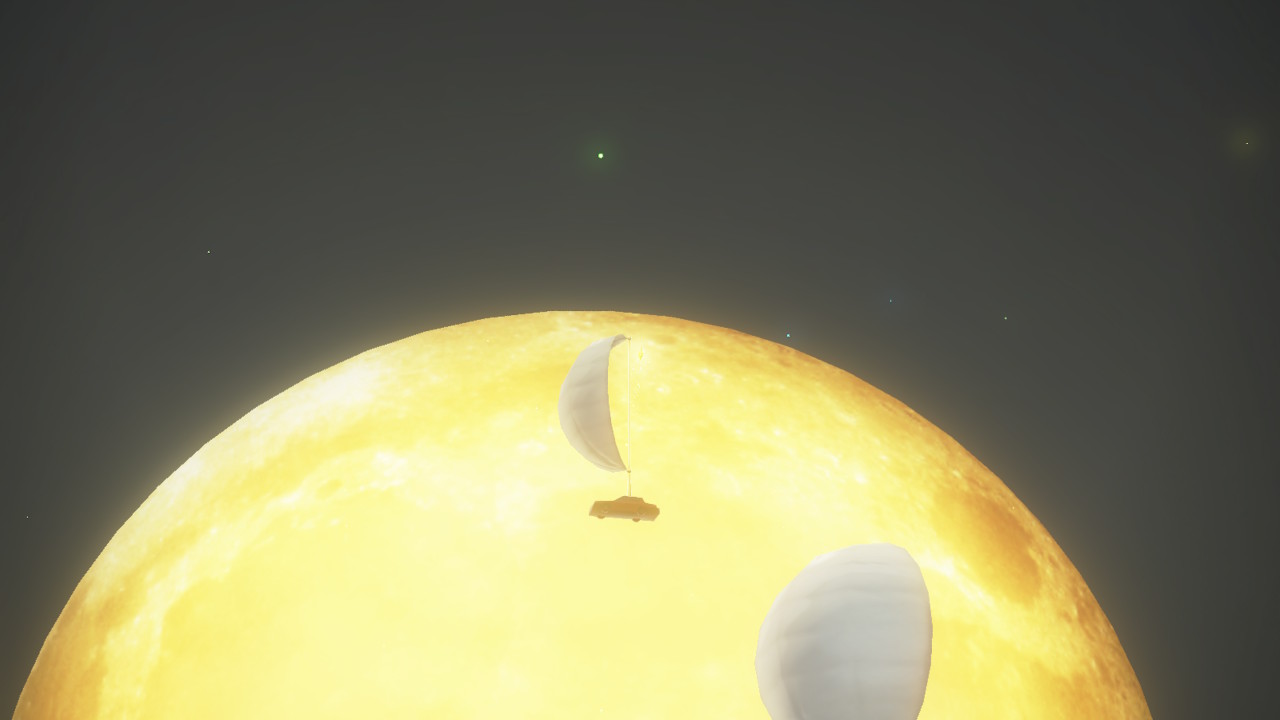
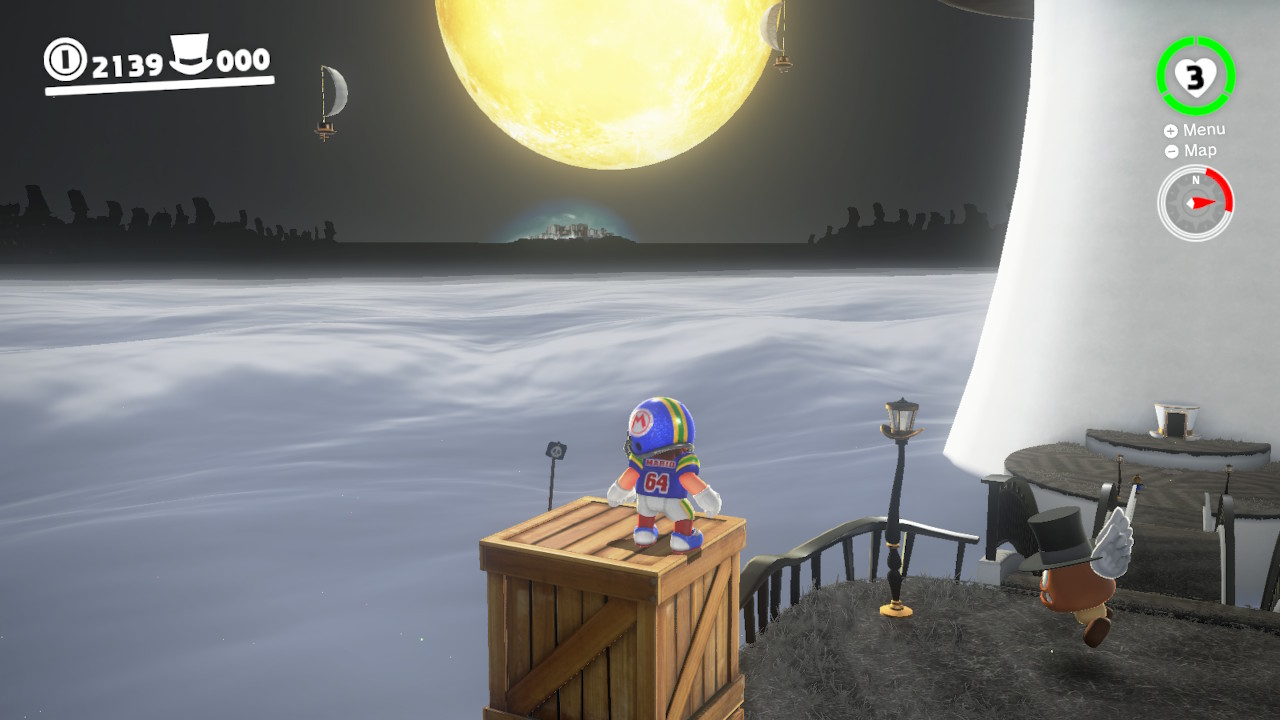
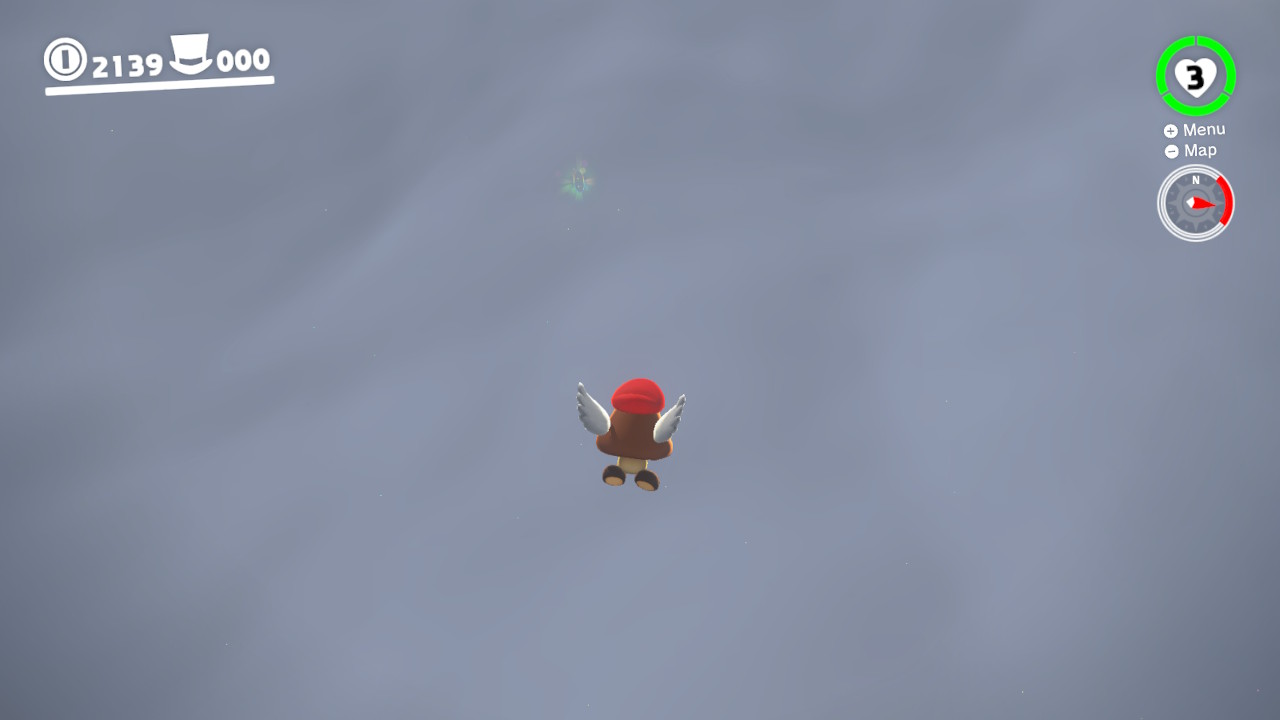
21 – Fly to the Edge of the Fog
Location-
1- This Power Moon is tough to see, far off in the fog towards the GIANT full moon where you can find it…
2- Capture a ParaGoomba and fly towards the full moon, the Power Moon is DEEP DOWN inside the fog! Go get it!
22 – Spin the Hat, Get a Prize
Location-
1- On top of the arch that serves as the entrance to the plaza is a golden Top Hat…
2- Hit it with Cappy and a Power Moon will launched out!
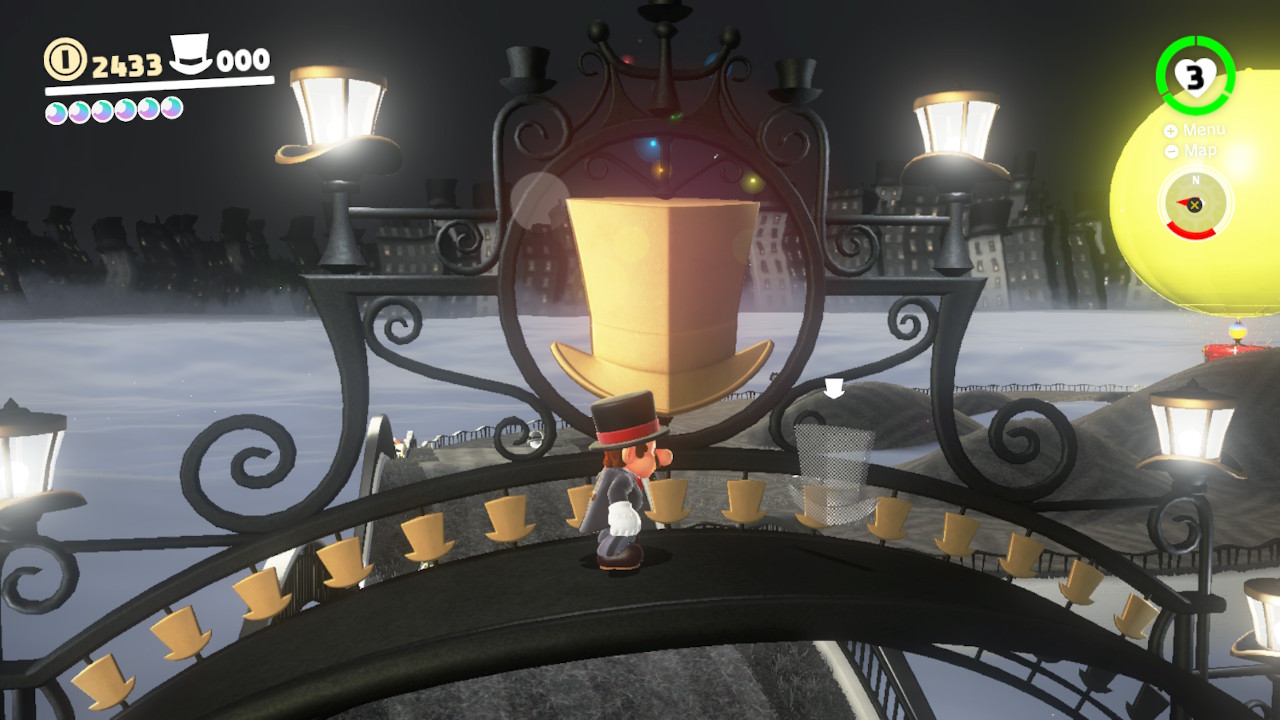
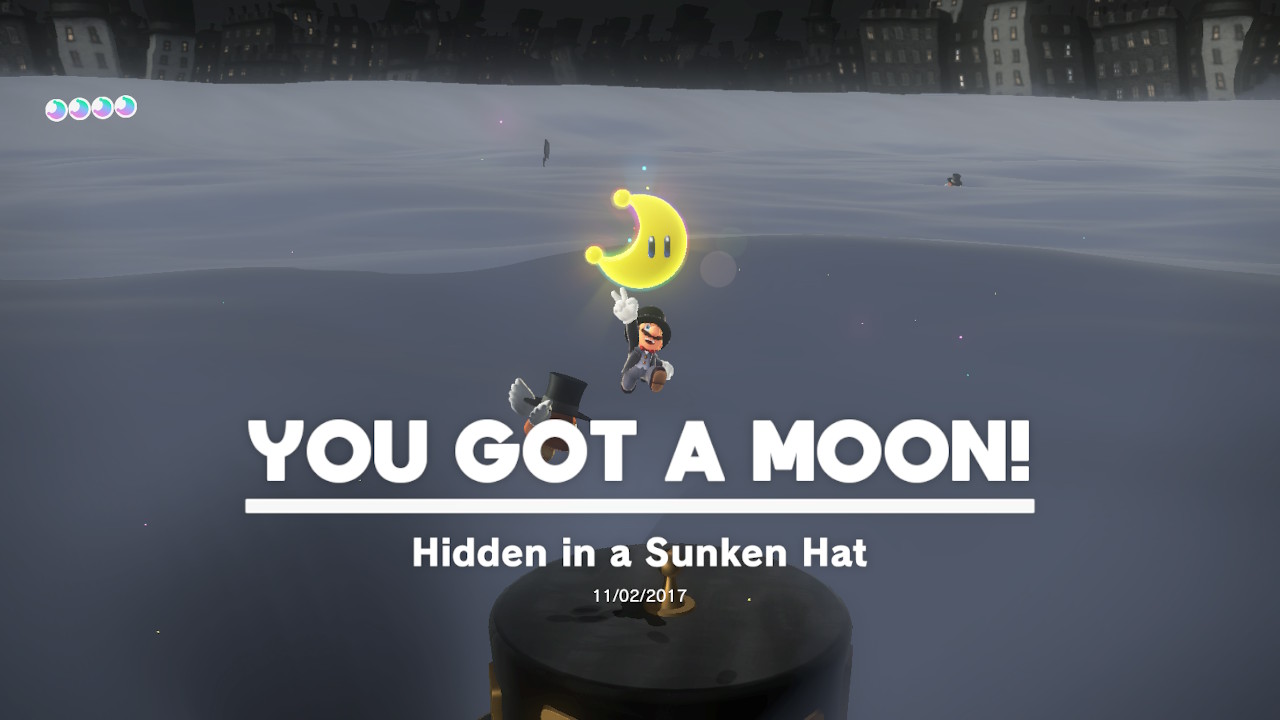
23 – Hidden in a Sunken Hat
Location-
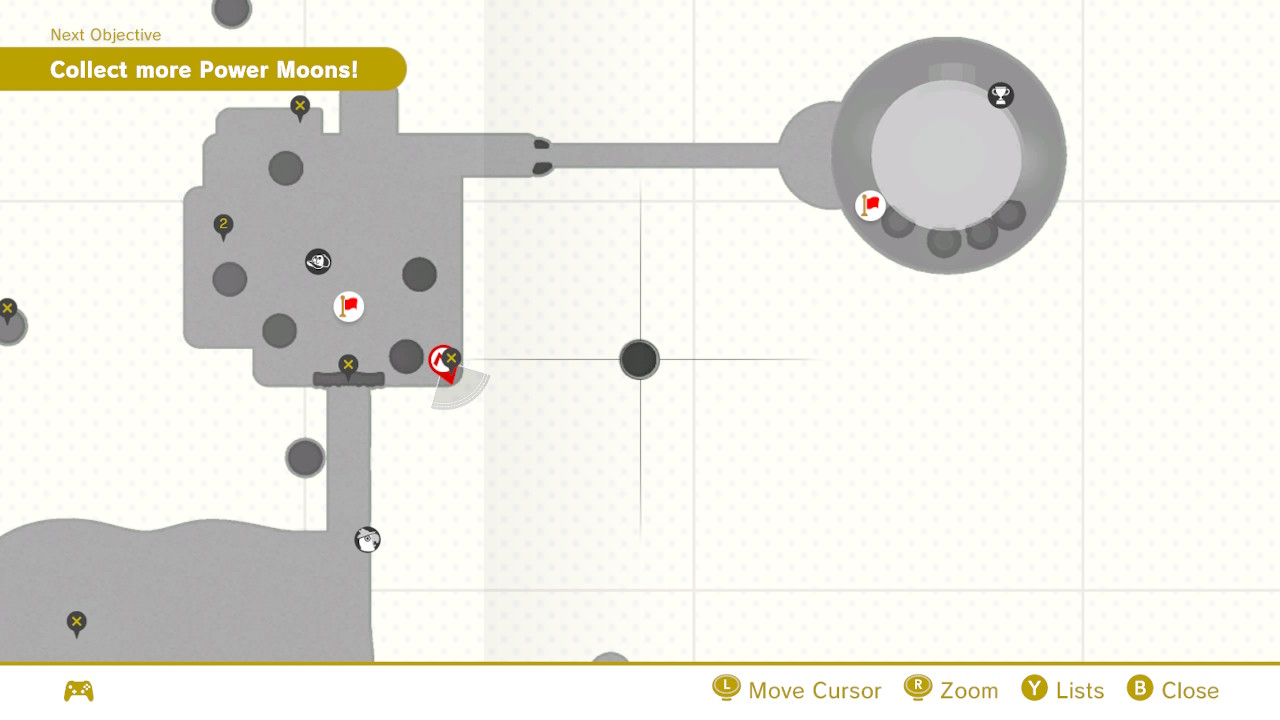
1- There is a hat hiding in the fog in-between teh Top-Hat Tower and the Plaza…
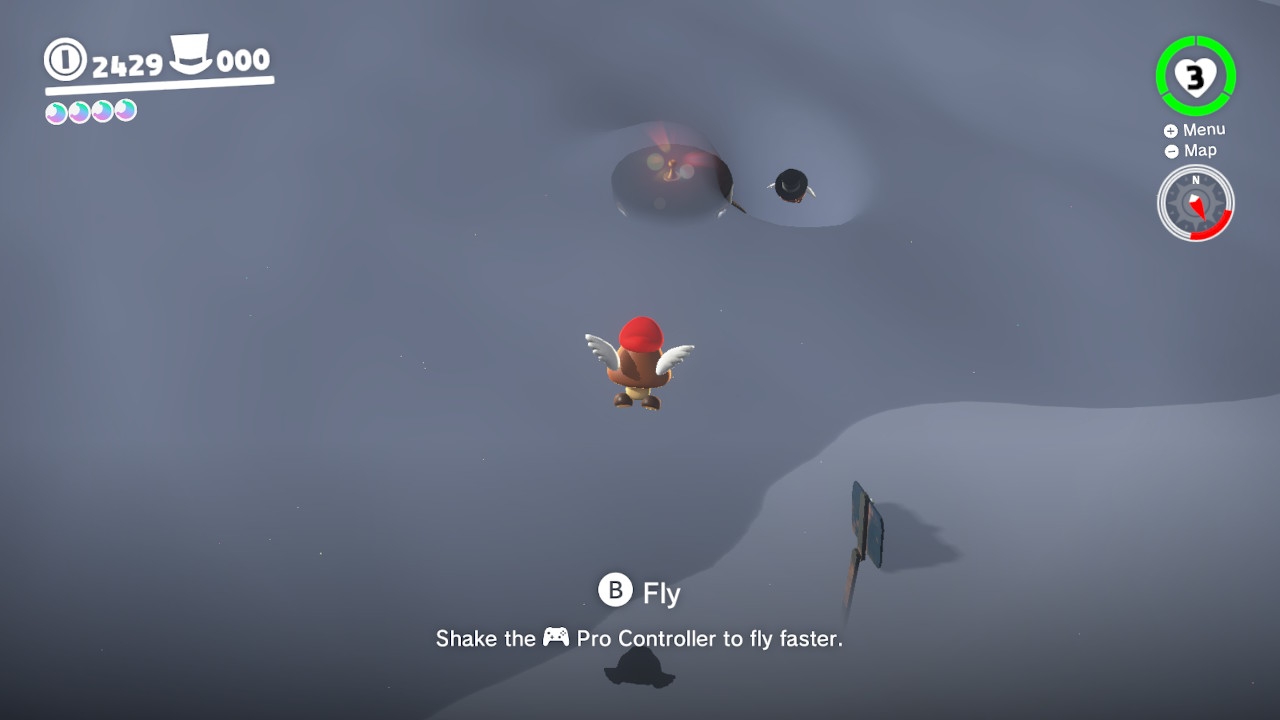
2- Capture a ParaGoomba and fly to it…
3- Throw Cappy on the tip of the hat, make sure to hold down the button so Cappy spins around for a few seconds and a Power Moon will come forth!
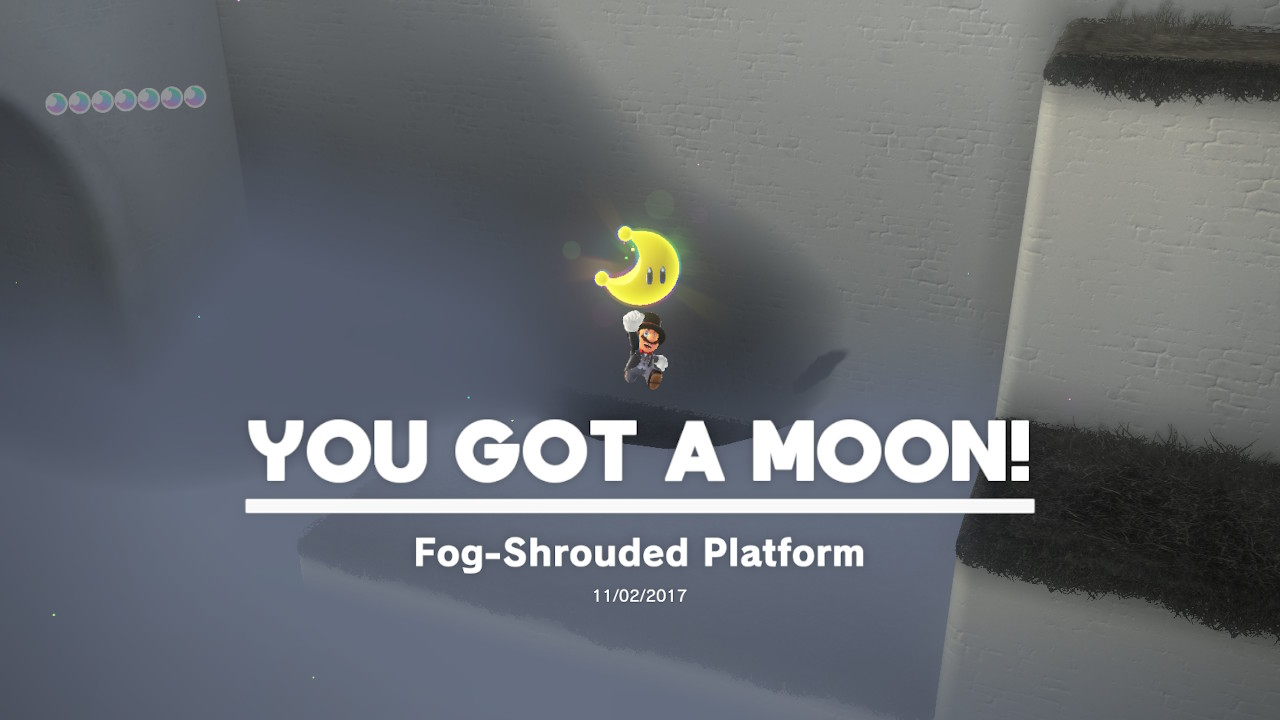
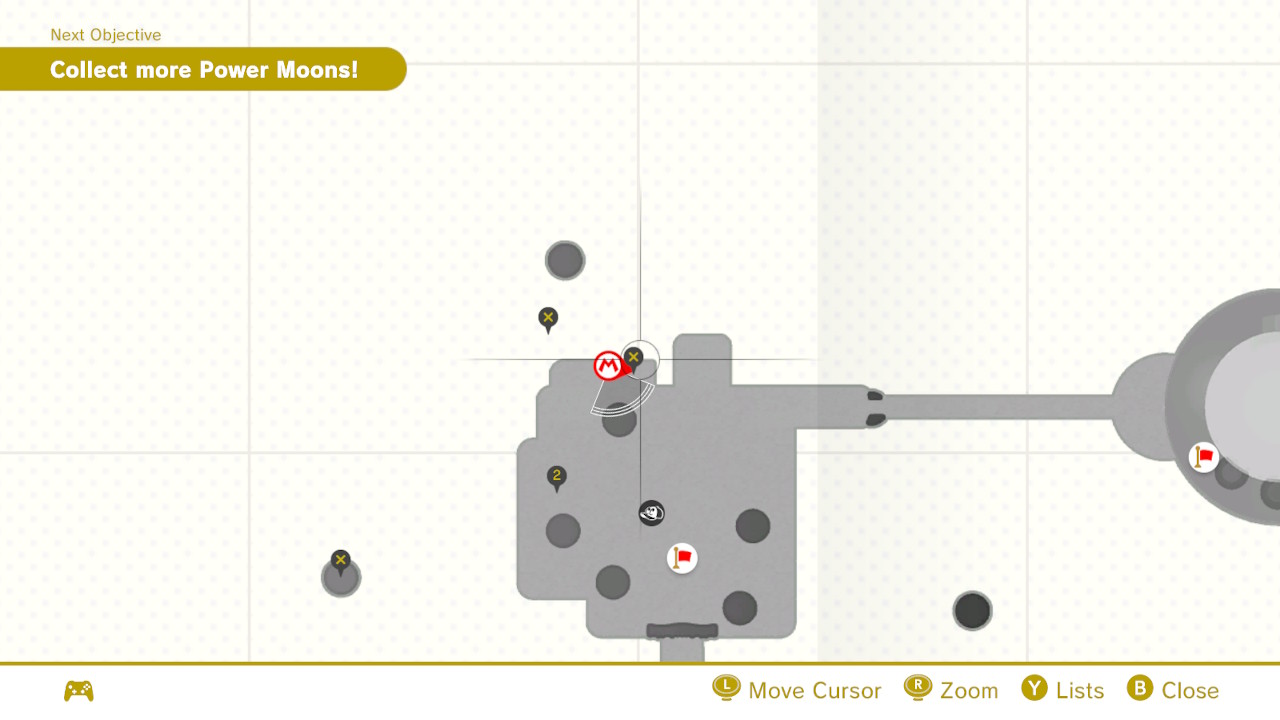
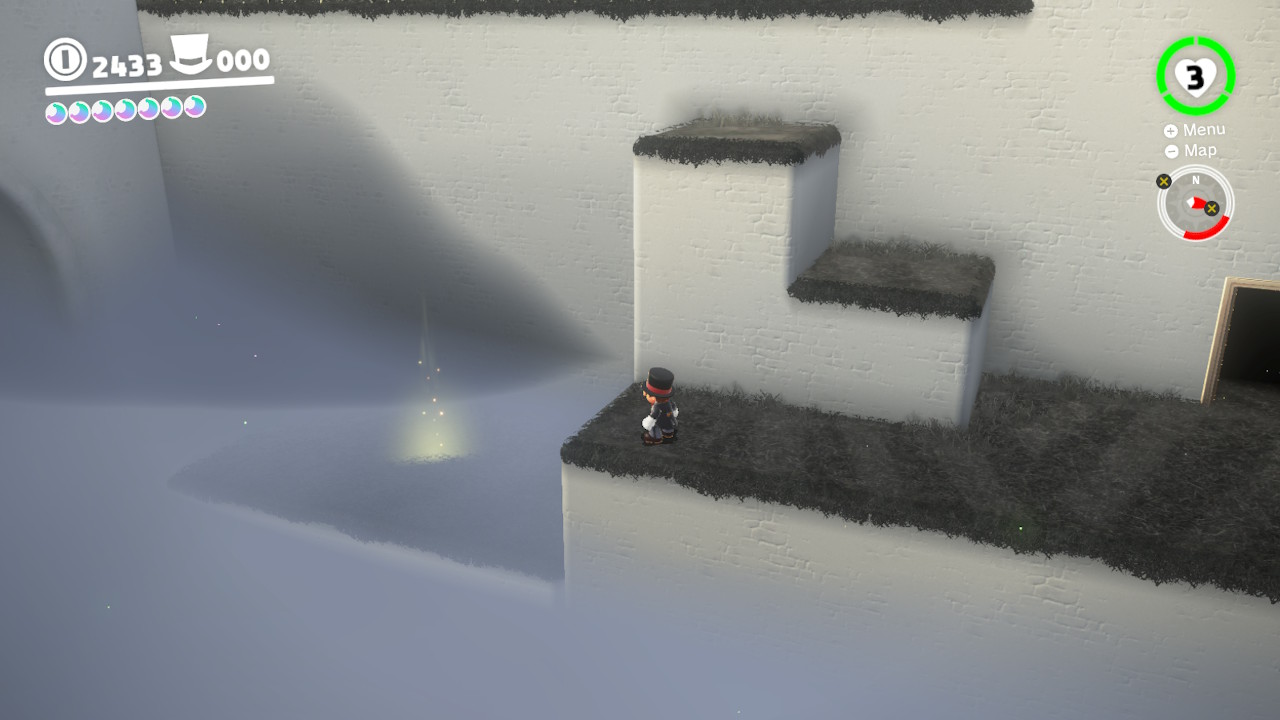
24 – Fog-Shrouded Platform
Location-
1- Down on the lhis super foggy ledge you will notice the ground being mysteriously sparkly in one area…
2- Ground pound it for a Power Moon!
25 – Bird Traveling in the Fog
Location-
1- This one is a bit tricky. There is a pigeon that flies in a giant circle around Bonneton, to get the Power Moon you need to catch it with a ParaGoomba…
2- Best thing to do is find a good spot to cut it off and wait for it to fly to you. You are faster than it, so try to cut it off and chase it down…
3- I found the best area to cut it off is from the wavy bridge; just jump down on top of it and chase it until it gives you a Power Moon! All you need to do is bump into it!
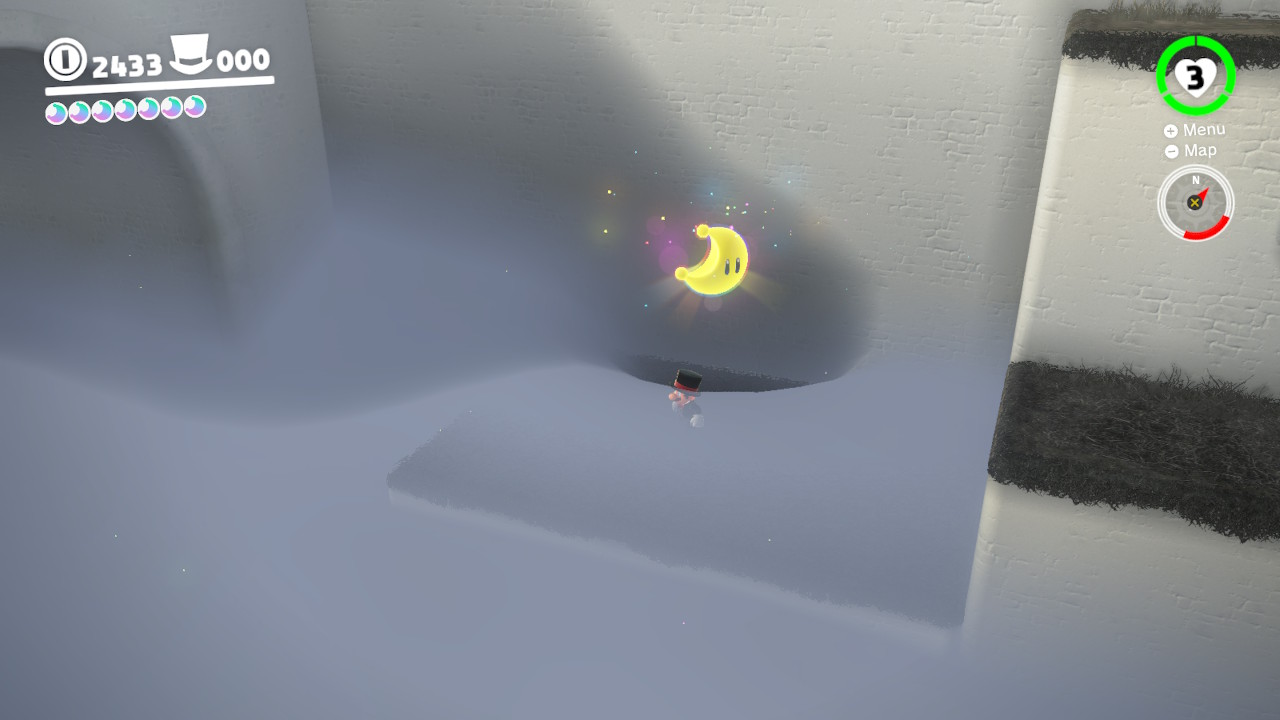
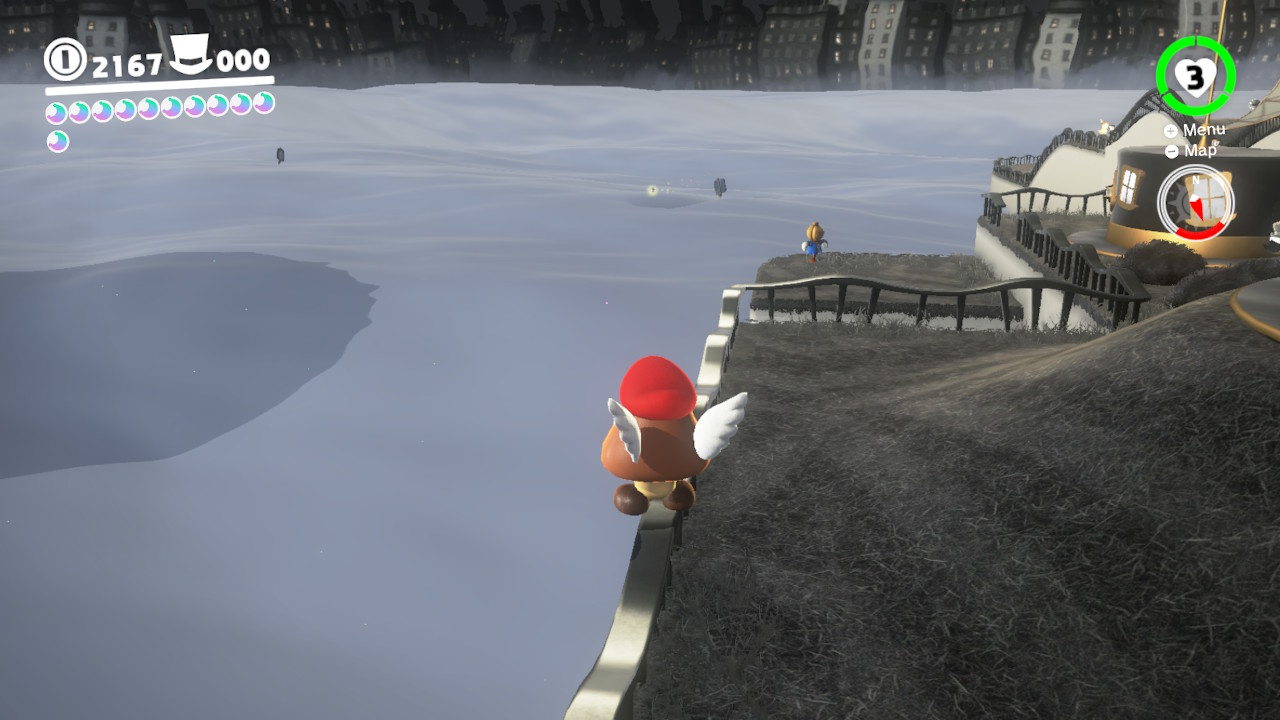
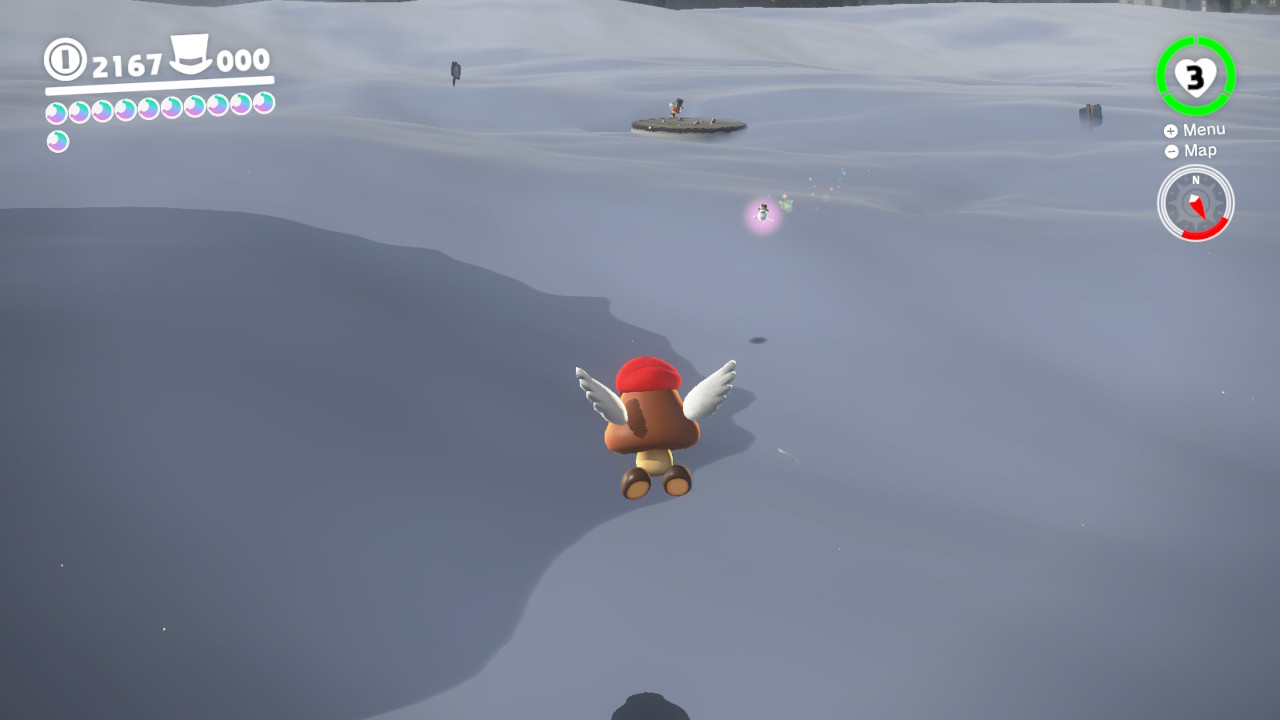
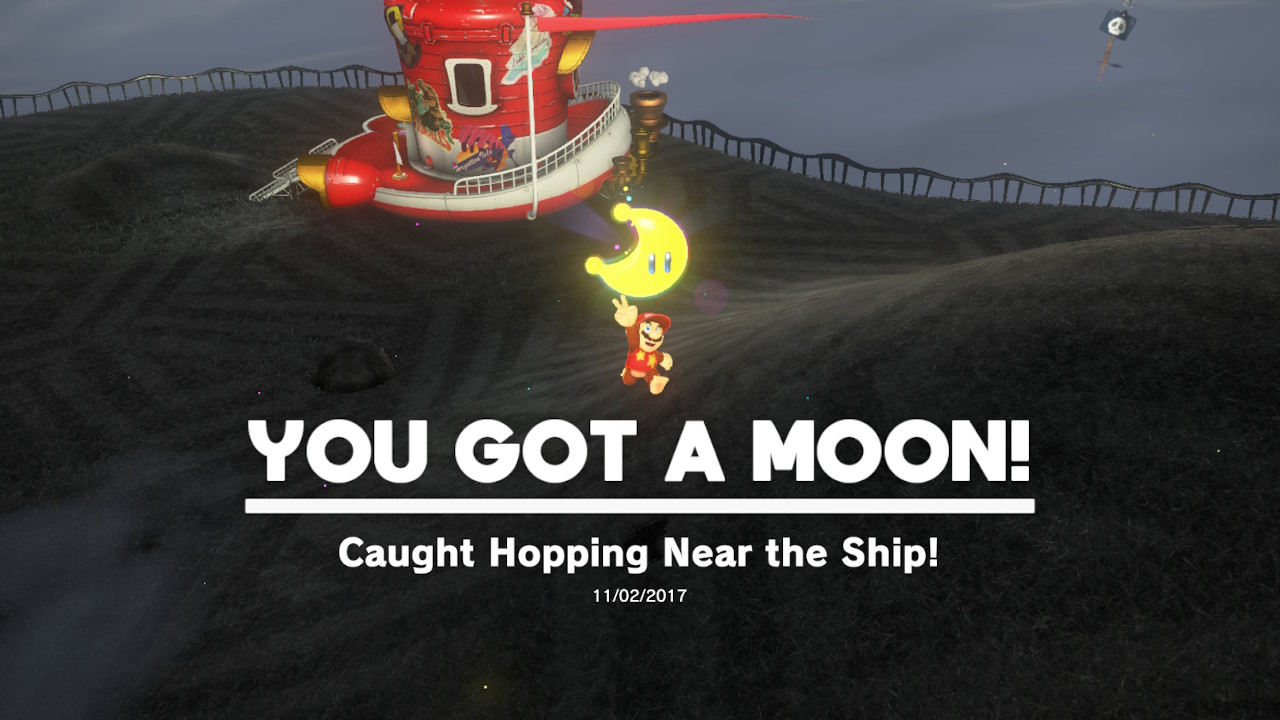
26 – Caught Hopping Near the Ship!
Location-
1- The frisky elusive rabbit is at it again on top of the big hill right next to the Odessey…
2- The rabbit circles around up and down the lumps/hills, chase it down for the Power Moon!
27 – Taking Notes: In the Fog
Location-
1- Buried in the fog west of Bonneton is a music note…
2- Capture a ParaGoomba and fly to it…
3- Once you touch it, more music notes will appear! Hit them all in time for the Power Moon!
28 – Cap Kingdom Timer Challenge 2
Location-
1- There is a scarecrow on the west side of the Plaza area down on a ledge, throw Cappy at it…
2- A timed obstacle course will commence. Jump on the moving platform, grab the key, and make it back before time runs out!
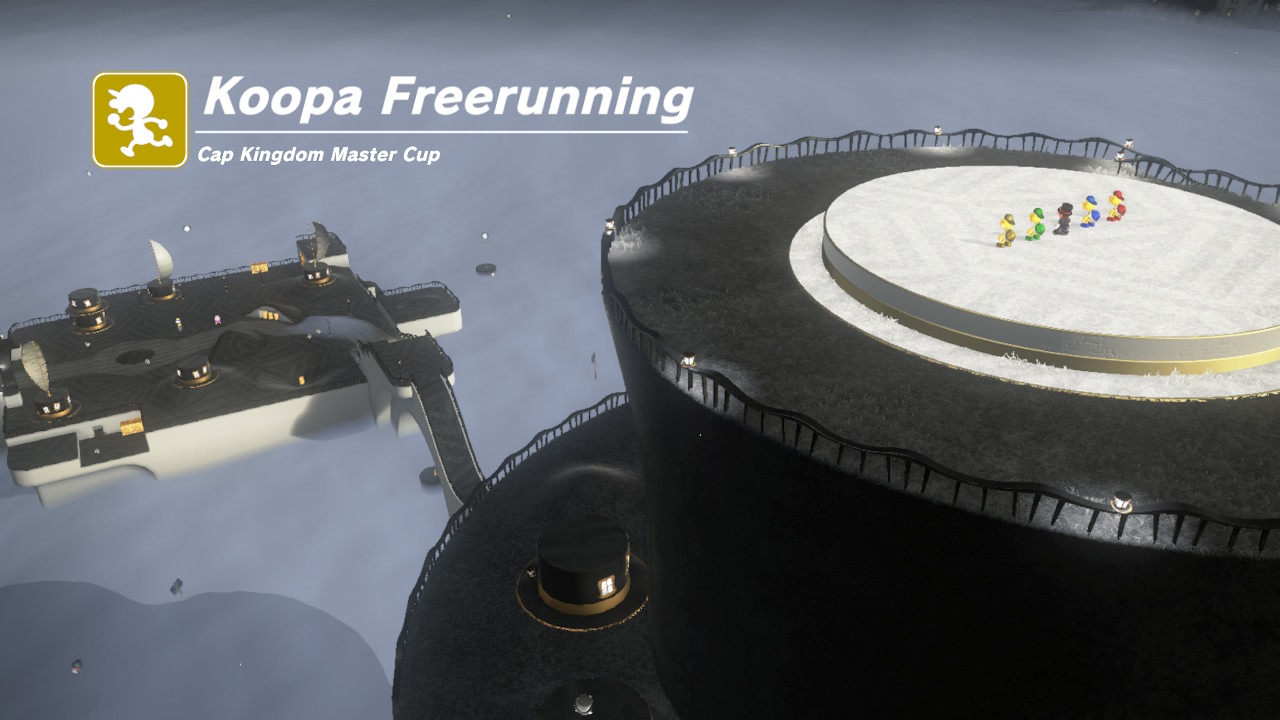
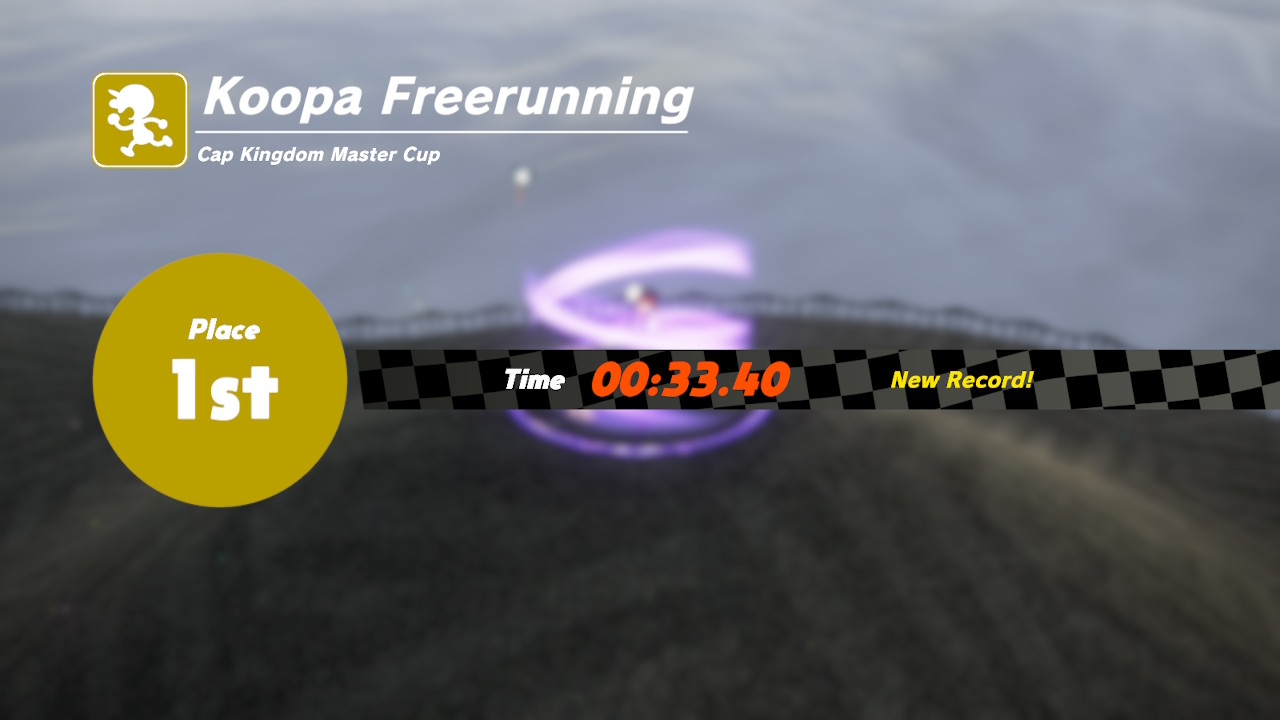
29 – Cap Kingdom Master Cup
Location-
1- Around the corner on the top of Top-Hat Tower is a Koopa ready to race…
2- Talk with him and you will enter into a freerunning race with a bunch of other Koopas. However, this time around it’s a lot tougher…
3- The competition stepped it up, make sure to take advantage of shortcuts…
4- You’ll need to reach the finish in around 35 seconds or faster…
5-Win the race and win a Power Moon!
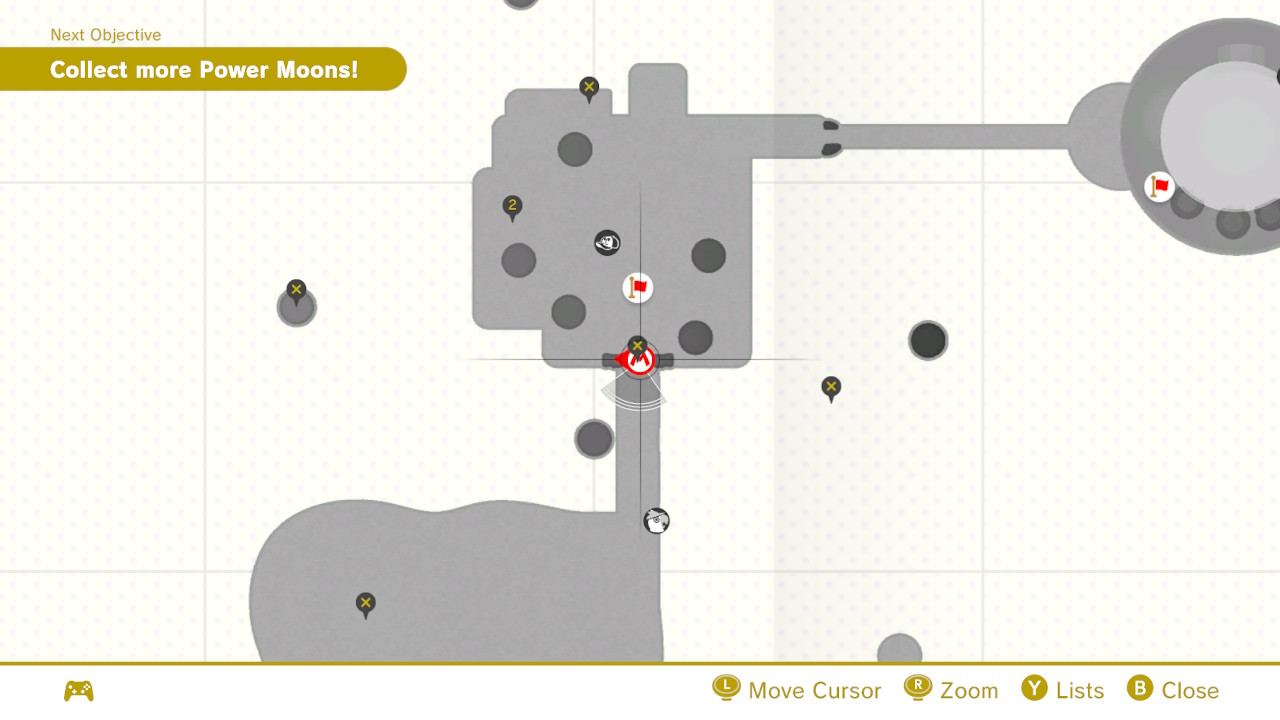
30 – Roll On and ON
Location-
1- Once you break open the Moon Rock, new Moon Rock Warp Pipes will appear with fun new challenges…
2- This one is a GIANT hill-filled rolling course!…
3- Stay on course, dodge the enemies, and don’t fall…
4- At the bottom of the course is a Power Moon!
31 – Precision Rolling
Location-
1- Just like the “Roll On and On” Power Moon, this one can be found inside the Moon Rock Warp Pipe that appears on the west side of Bonneton…
2- Once you warp down, you will be greeted with a HUGE downhill rolling course!…
3- Almost immediately you will notice a SKINNY path to the left with a Power Moon at the end of it!
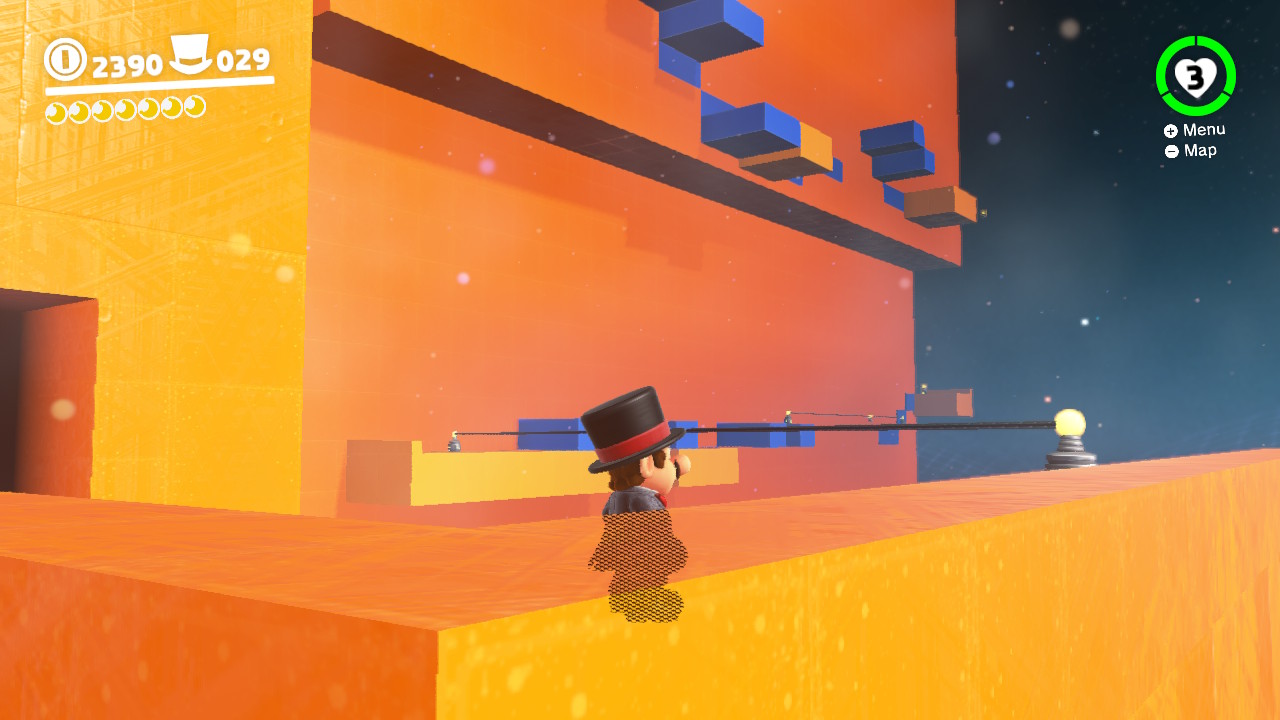
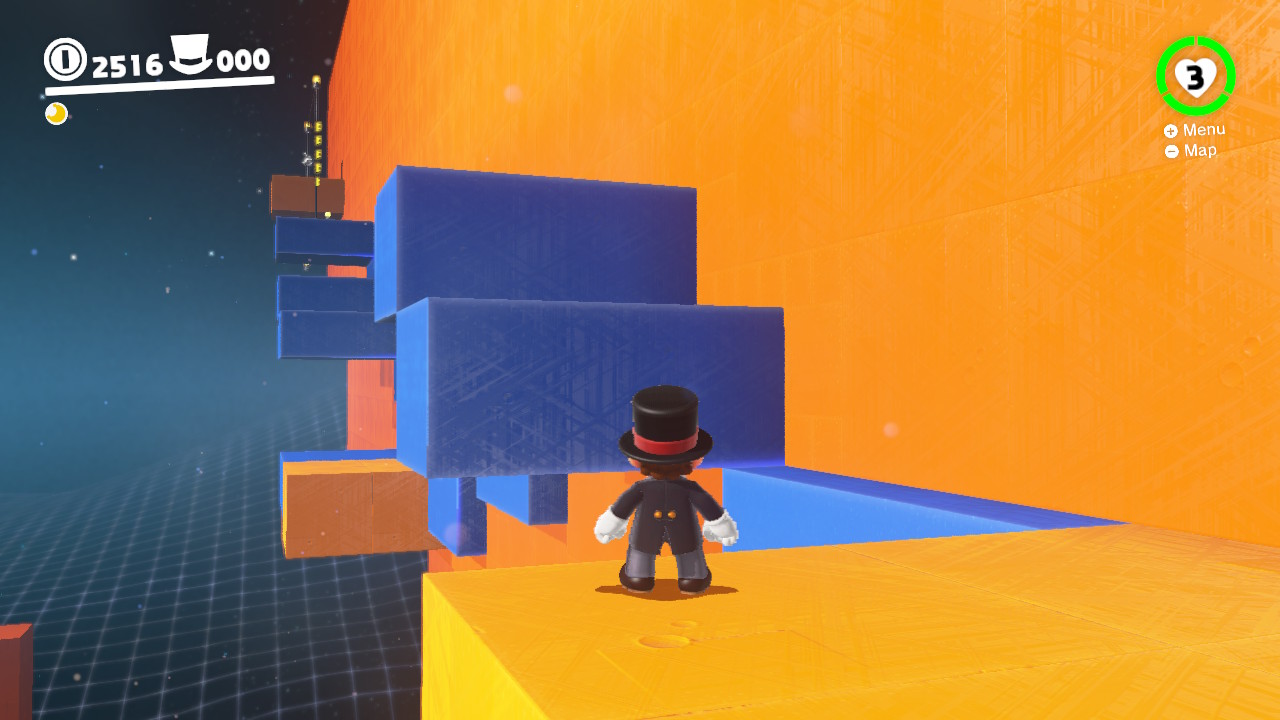
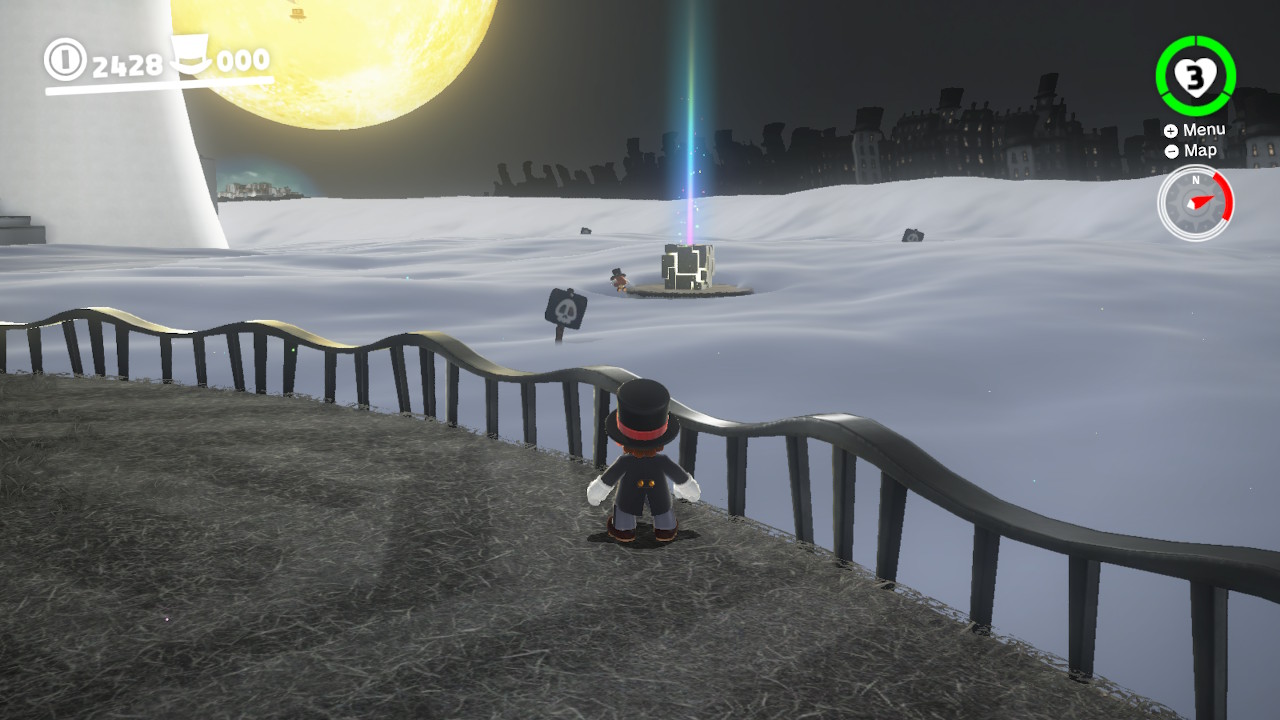
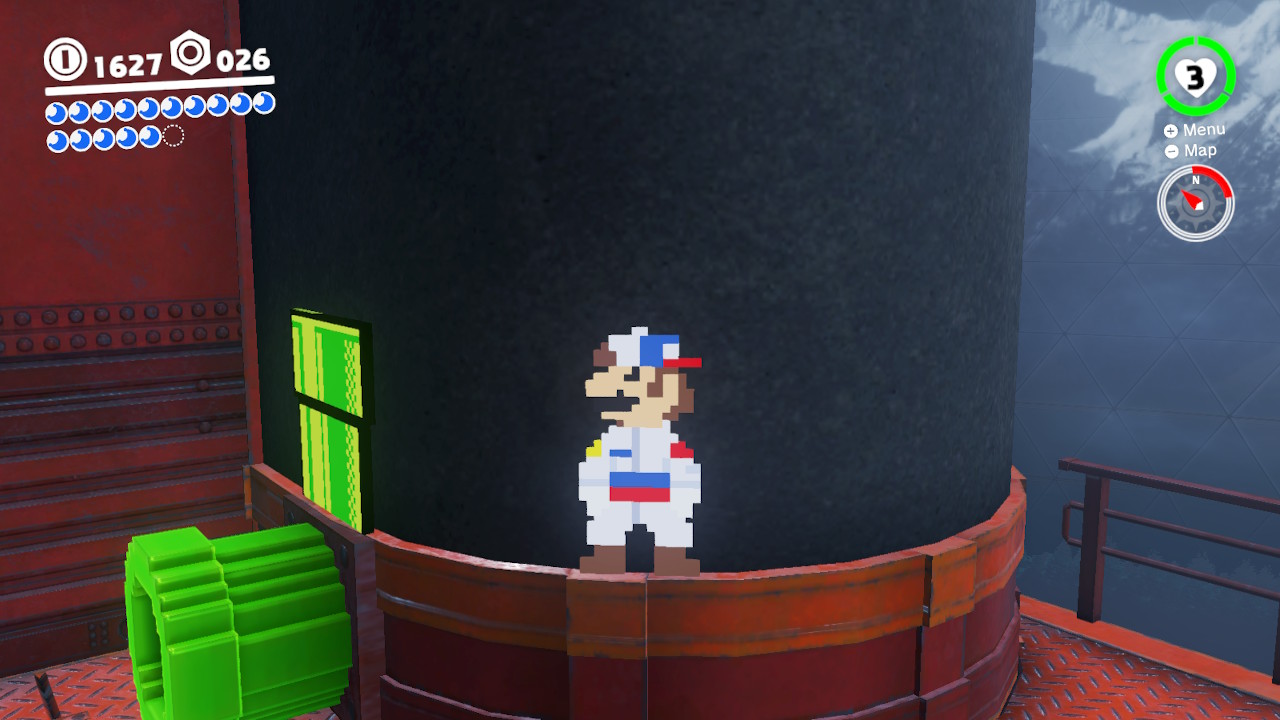
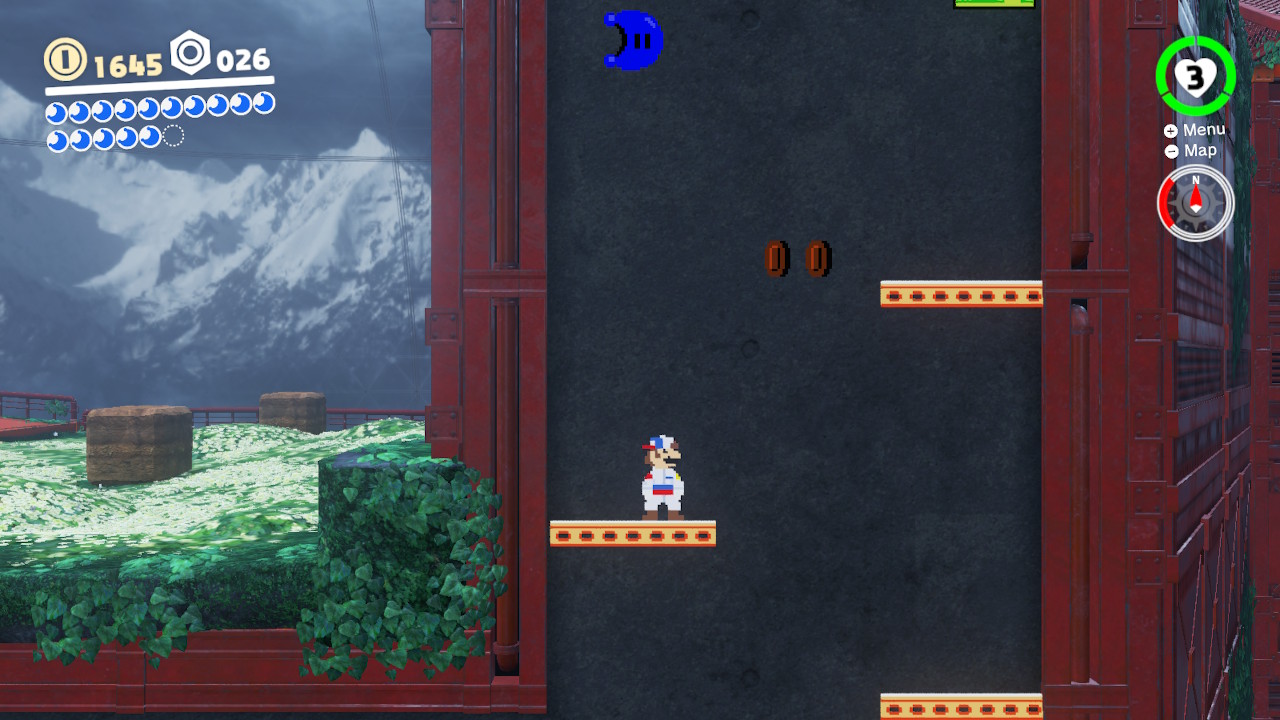
1- First we will need to use Cappy to capture the beanstalk guys, smash the blocks on teh wall to reveal a hole…
2- Climb through the hole and you will see an 8-bit warp pipe…
3- Run all the way around whilst enjoying the 8-bit tunes…
4- Jump up the moving platforms and BAM! There it is, in its 8-bit glory!
07 –
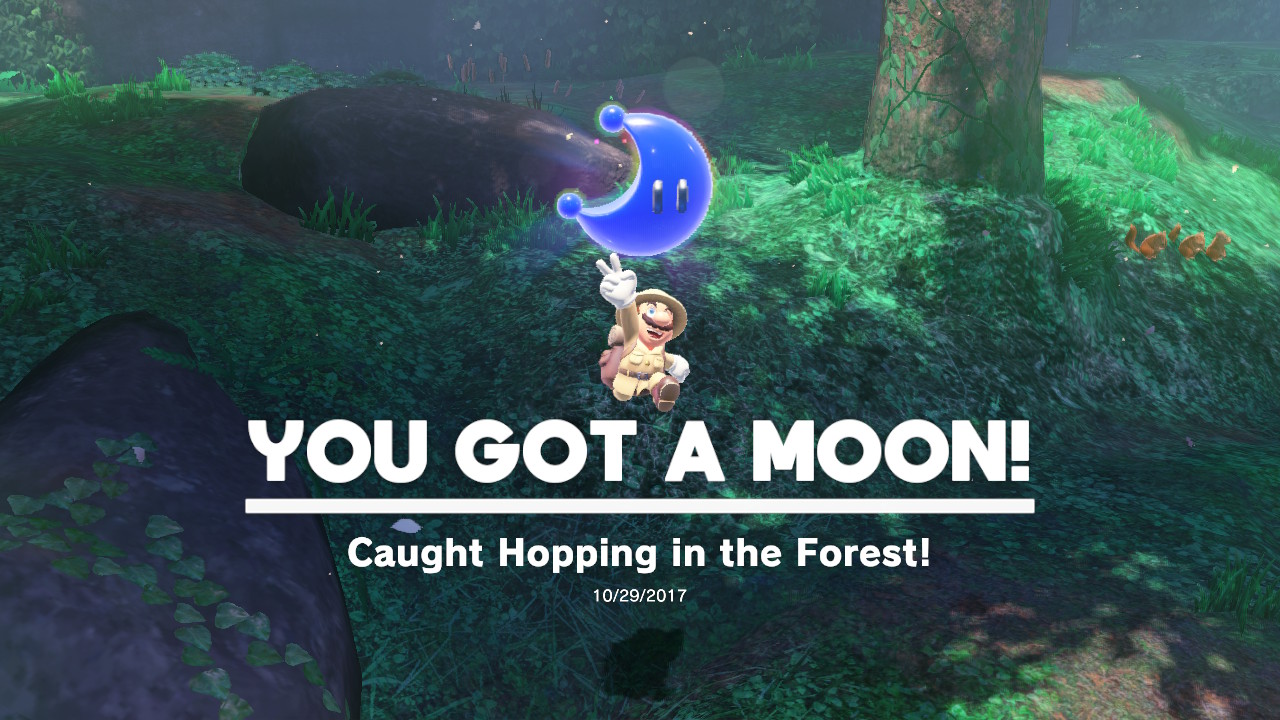
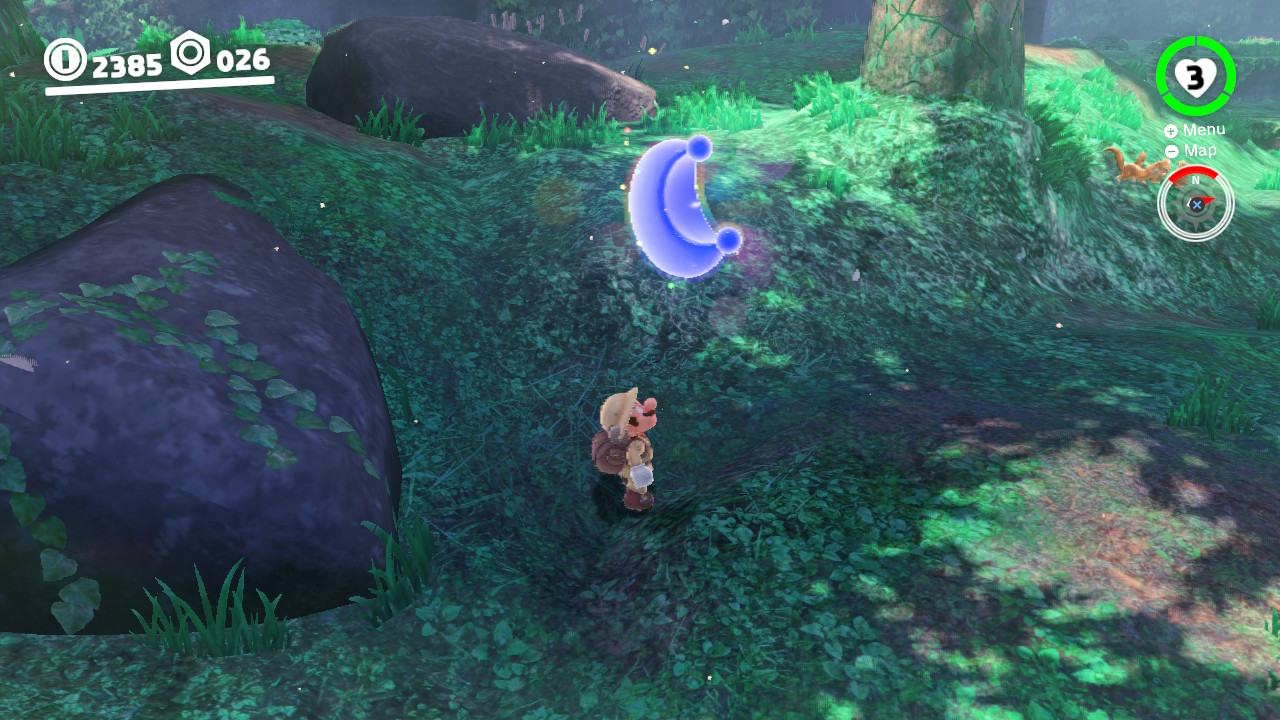
08 – Caught Hoping in the Forest!
Location-
1- Right across from the Crazy Cap shop you will see a Bunny hopping around and hiding amidst the grass and trees…
2- Chase him around and hit him with Cappy! Try to cut him off by reading his movements and going the opposite direction…
3- Catch the rabbit and he will reward you with a Power Moon! Happy Easter!
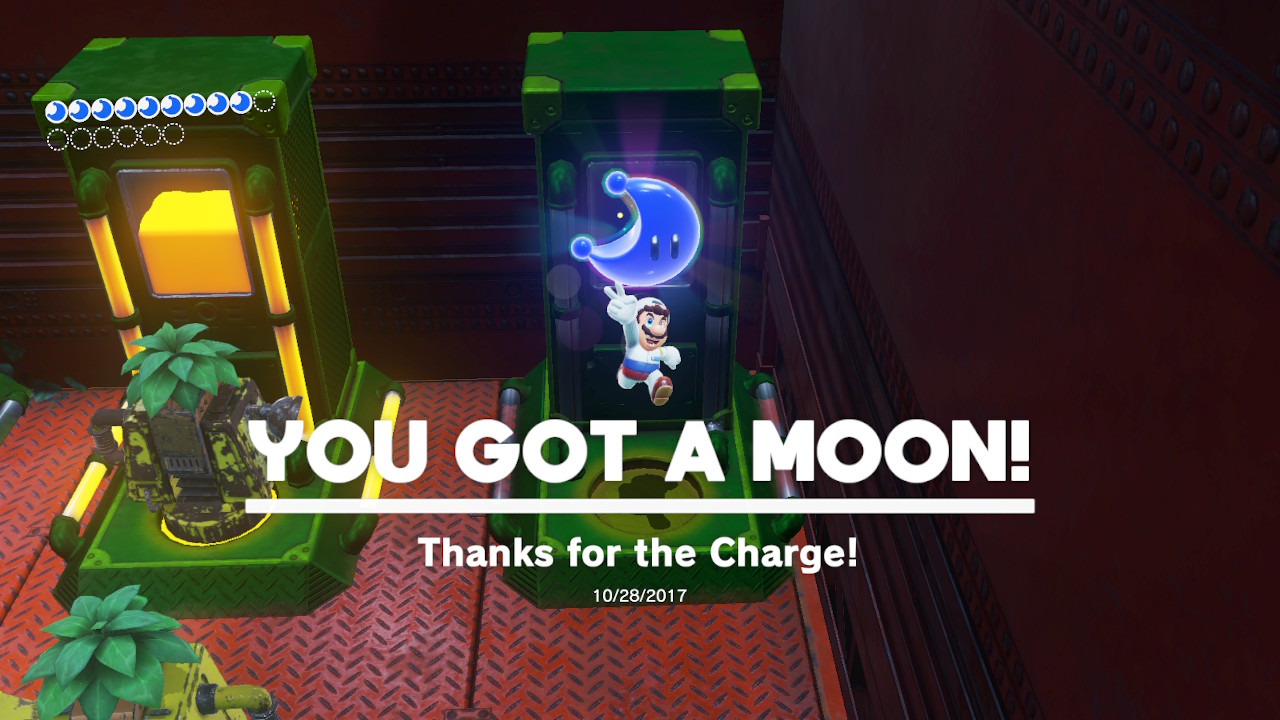
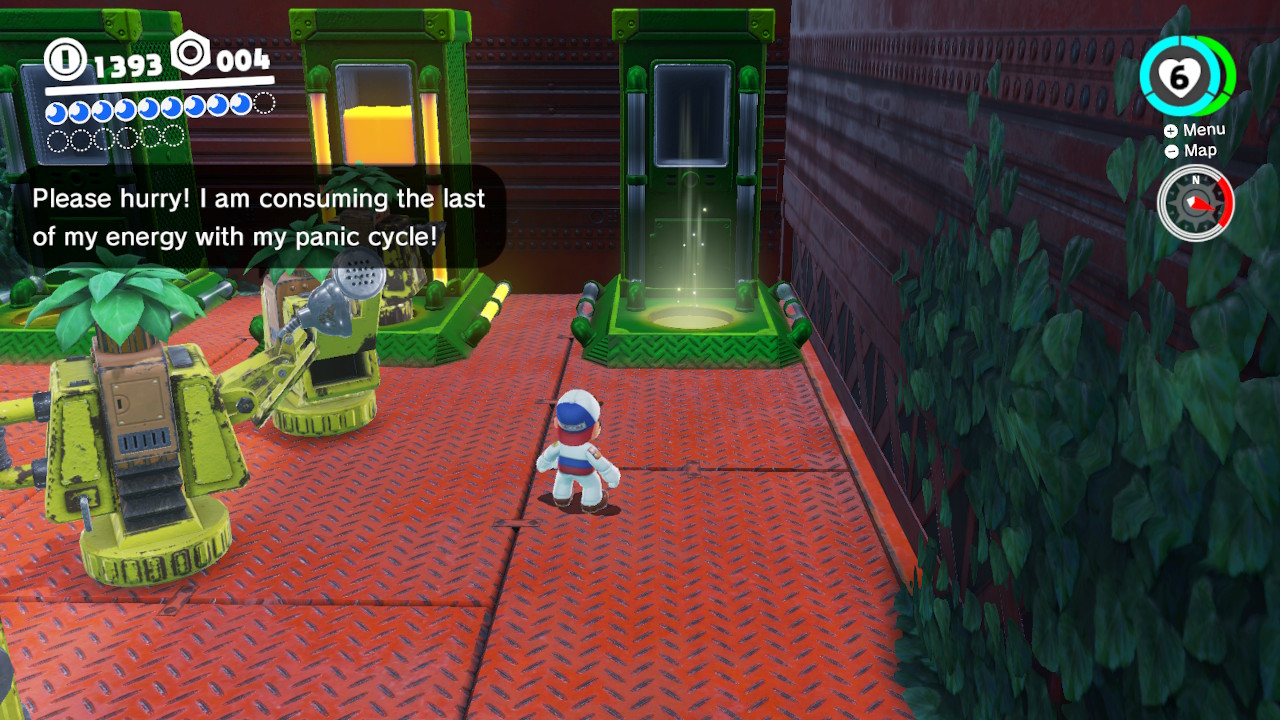
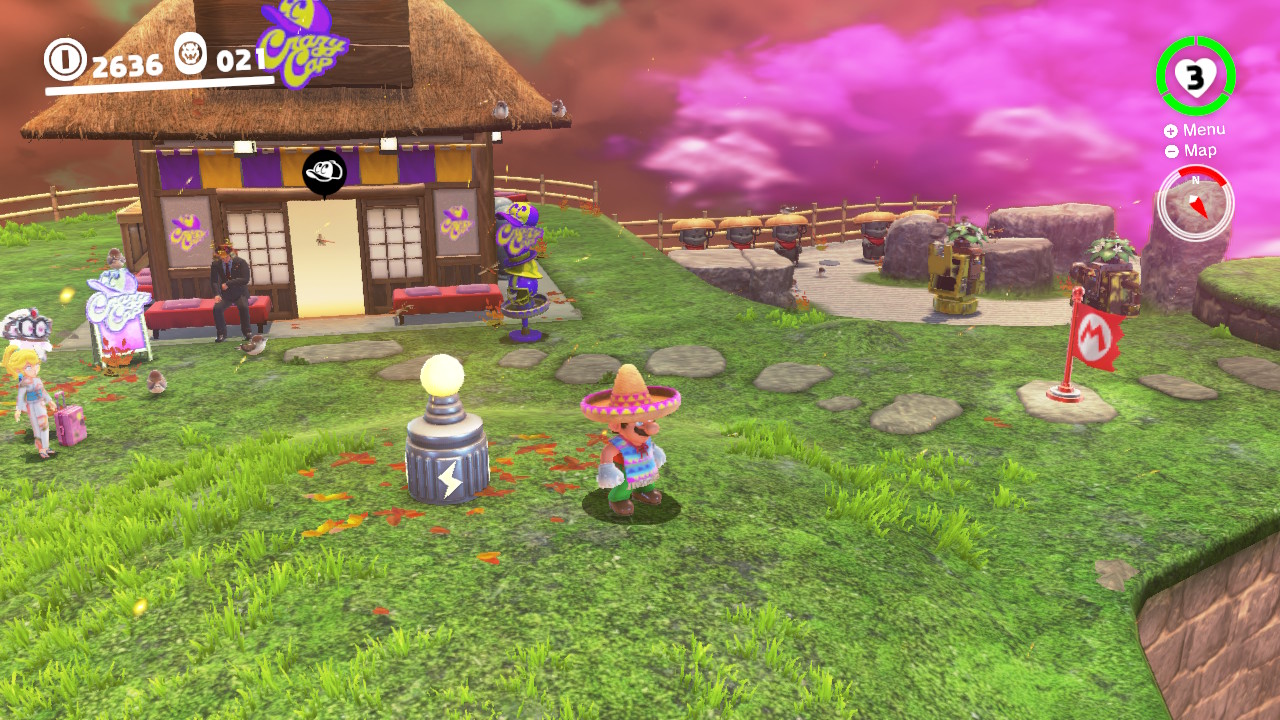
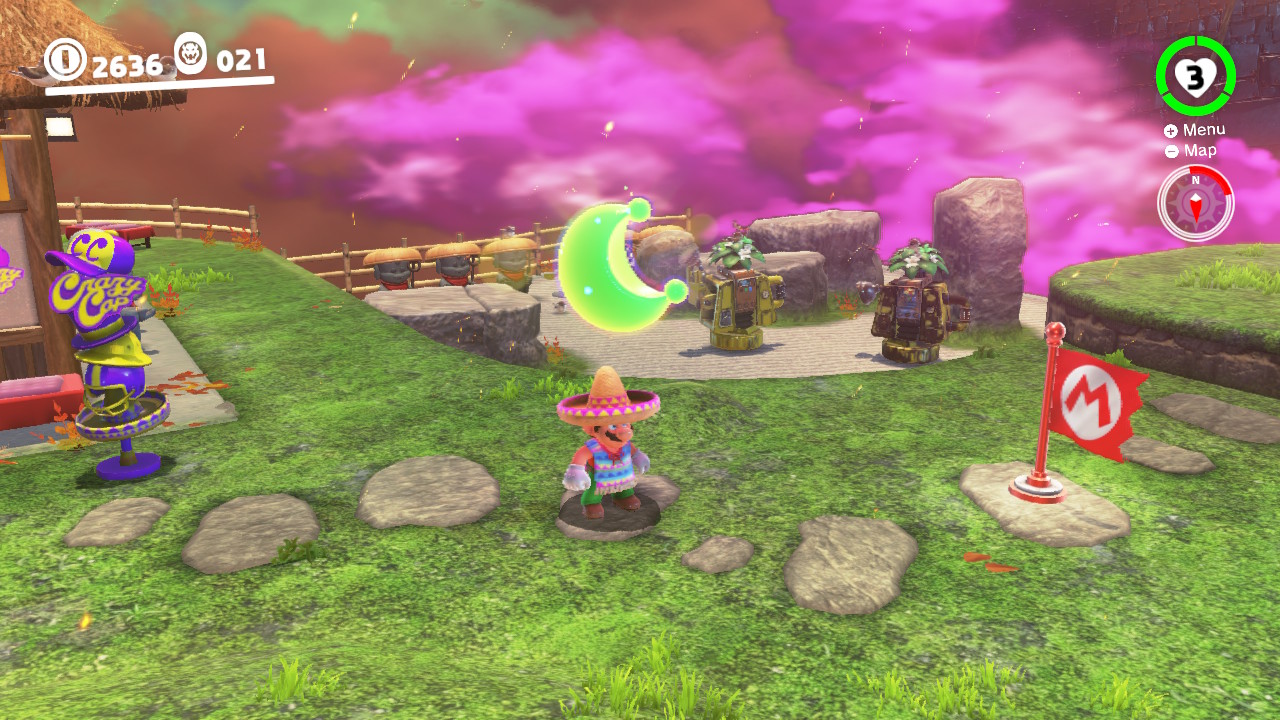
09 – Thanks for the Charge!
Location-
1- Directly from the checkpoint we see a bunch of guys lined up to “recharge”… groundpound the machine on the right and the Moon will appear!
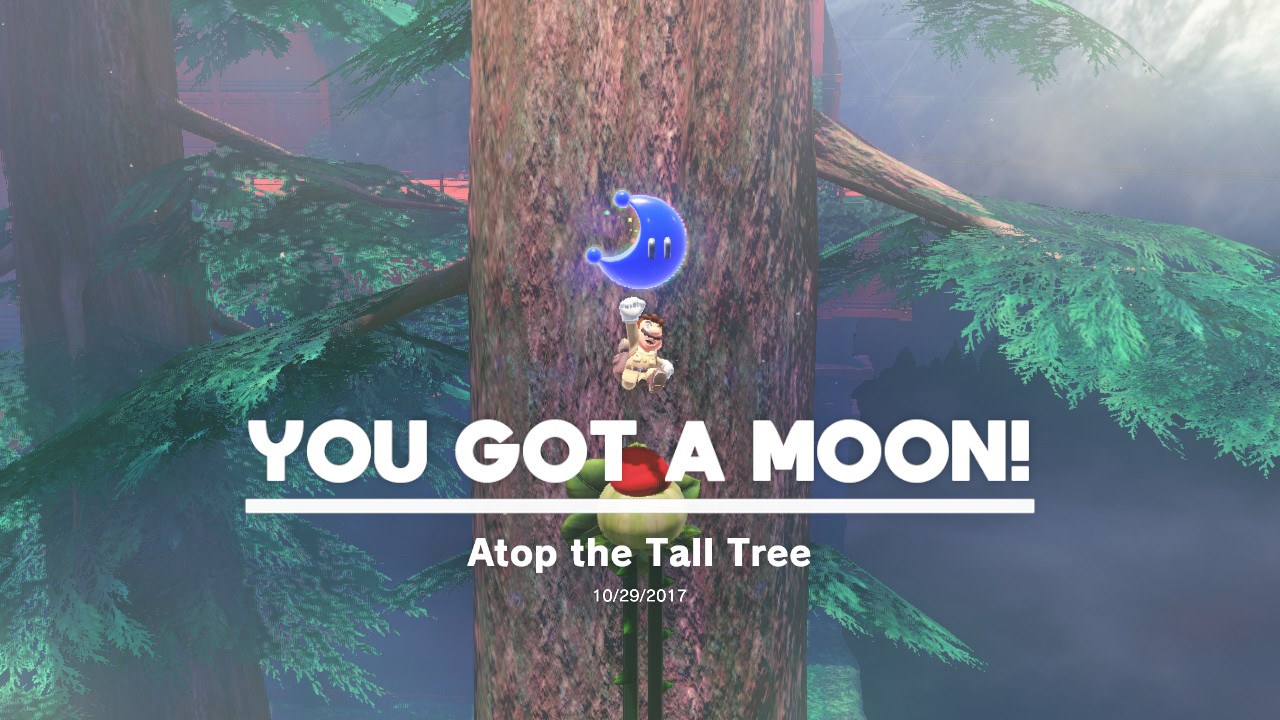
10 – Atop the Tall Tree
Location-
1- From this area you will need to capture an “Uproot”…
2- Start climbing the tall tree all the way to the top…
3- Near the top of the tree you will find a nut, in the nut is a Power Moon! Cool!
11 –
12 –
13 – The Nut ‘Round the Corner
Location –
1- Around the corner there are platforms that drop when you step on them…
2- Use Cappy to capture the enemy…
3- Walk across, climb upwards, and capture that Moon!
14 –
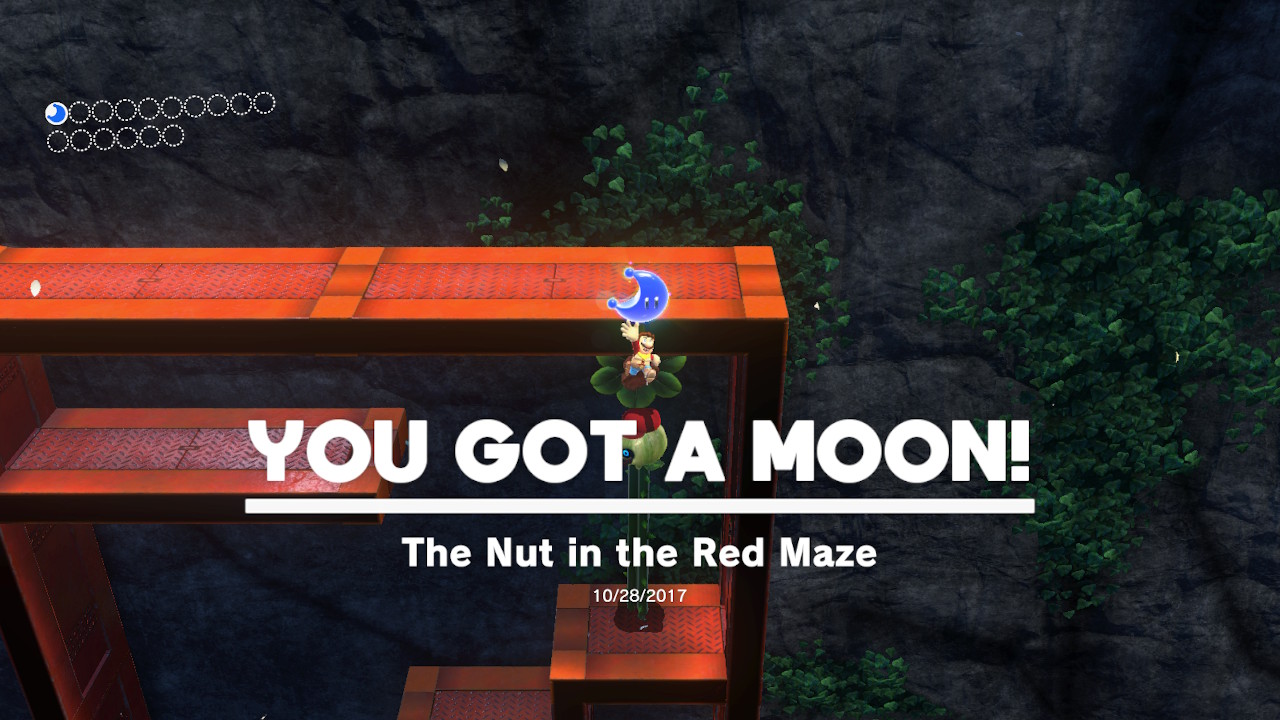
15 – The Nut in the Red Maze
Location-
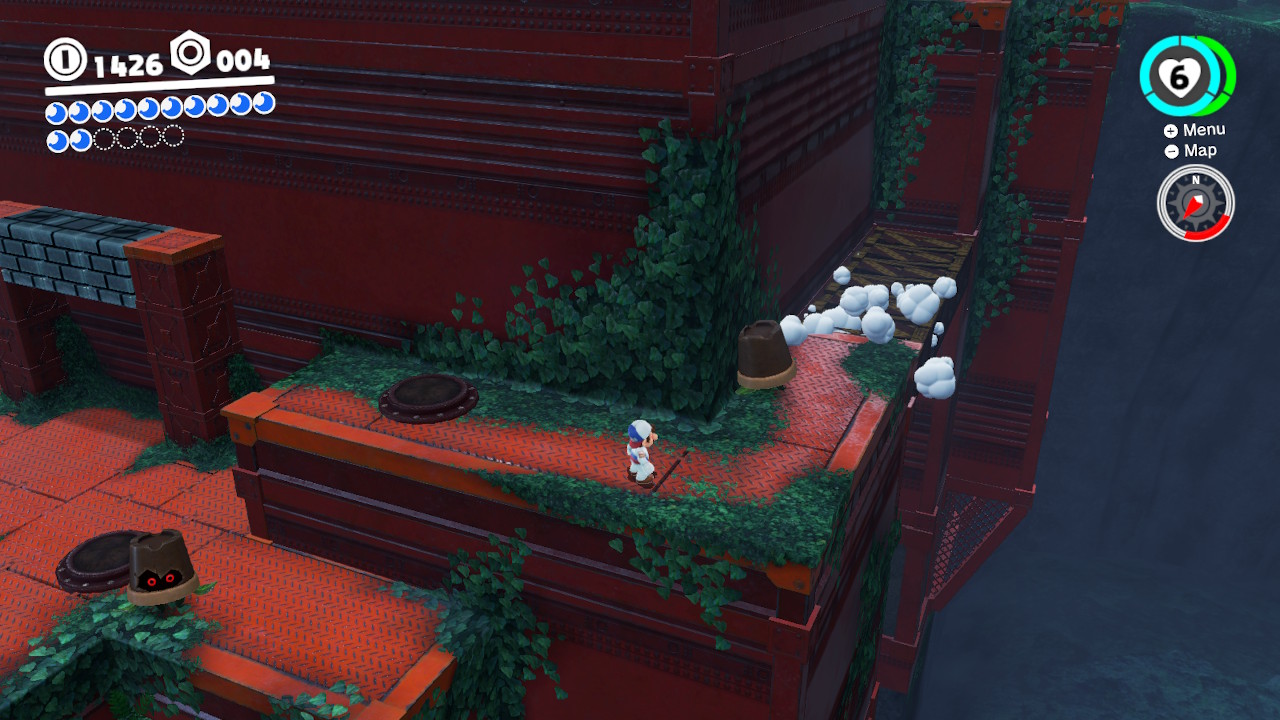
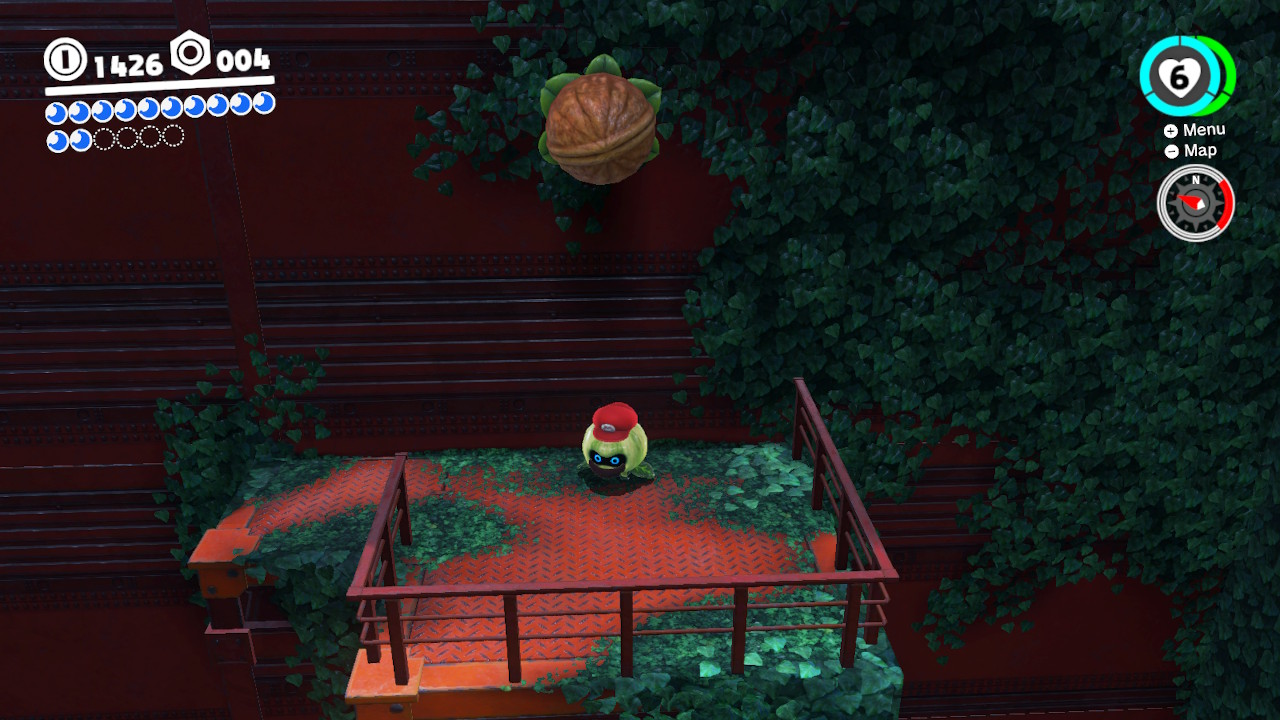
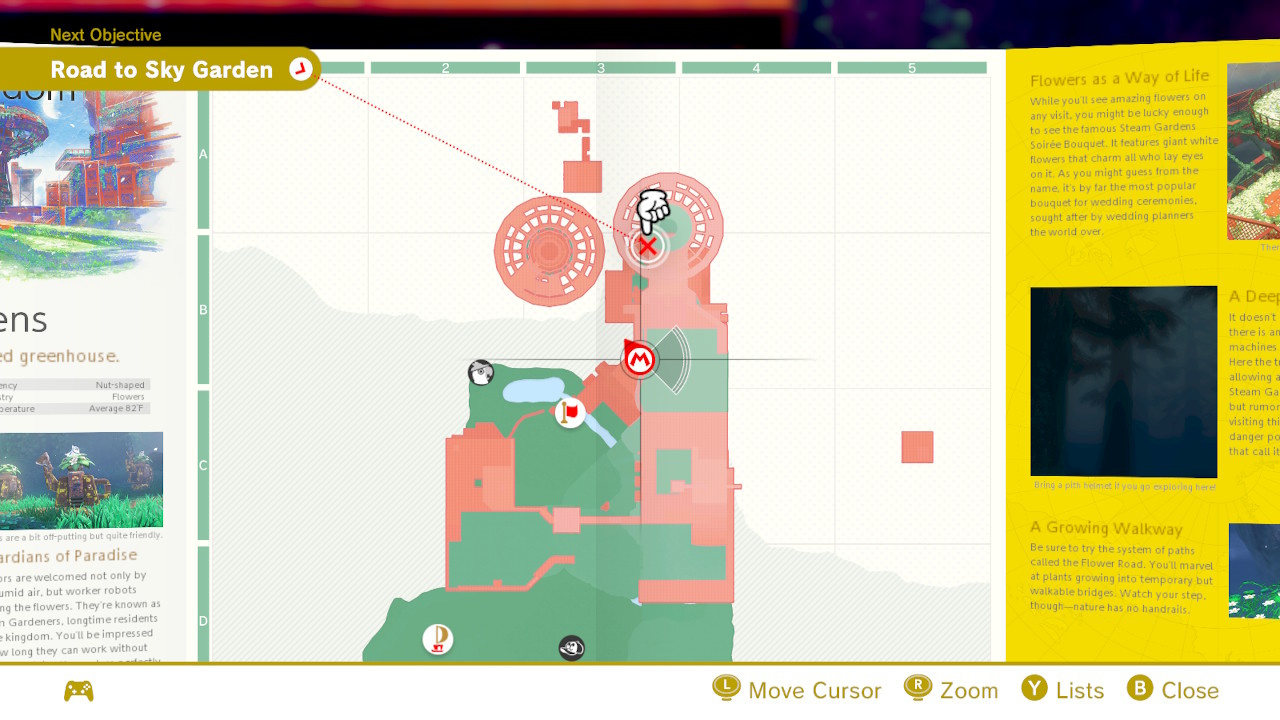
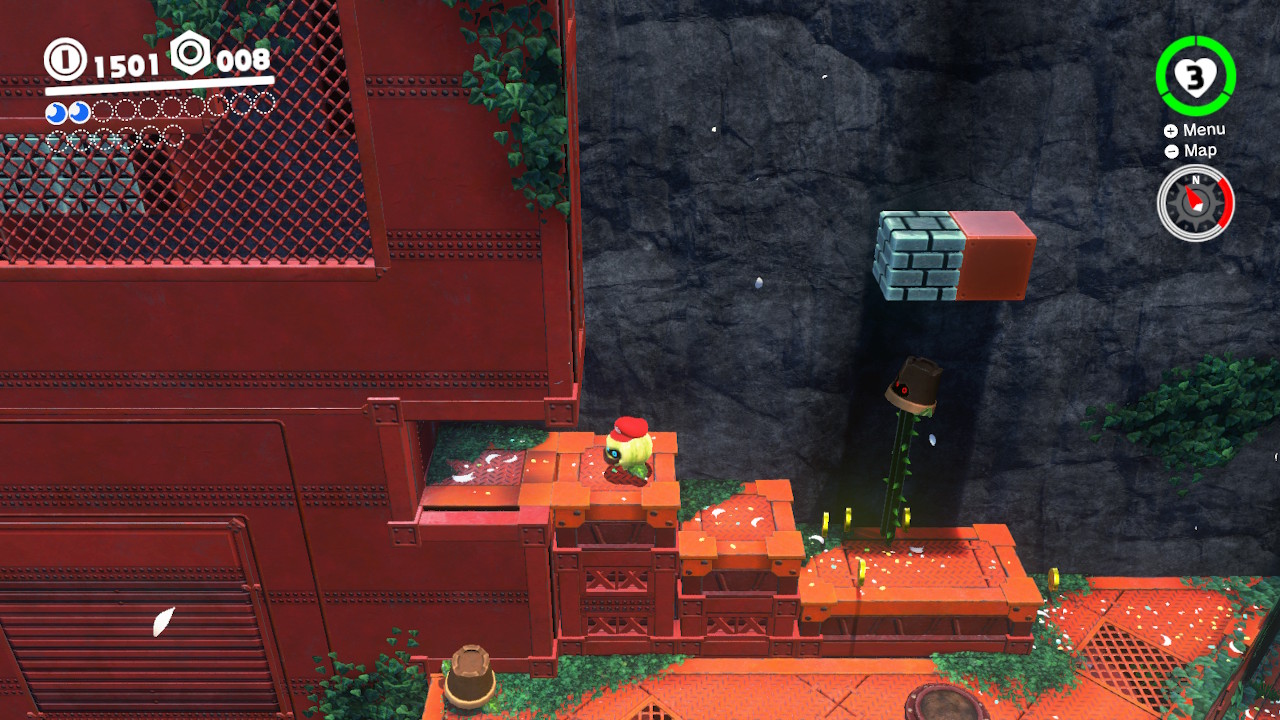
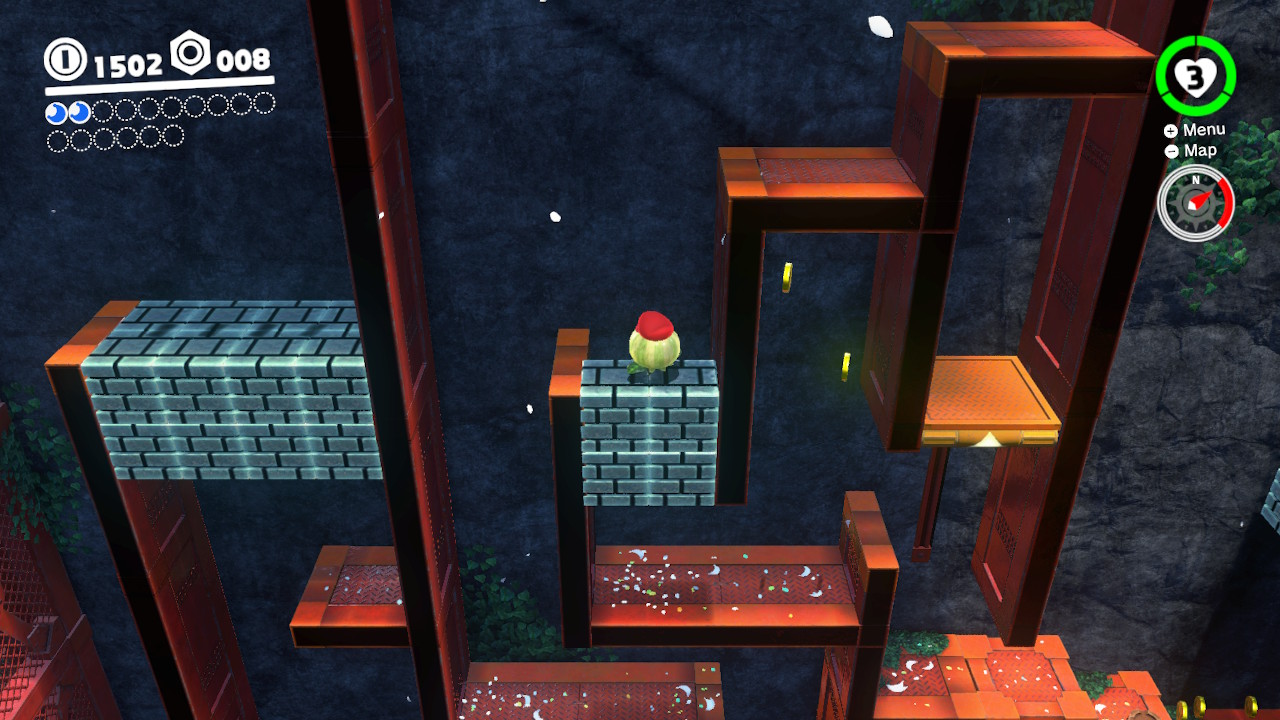
1- As we travel towards “The Road to Sky Garden”, there will be a hole to climb under with our captured beanstalk guy…
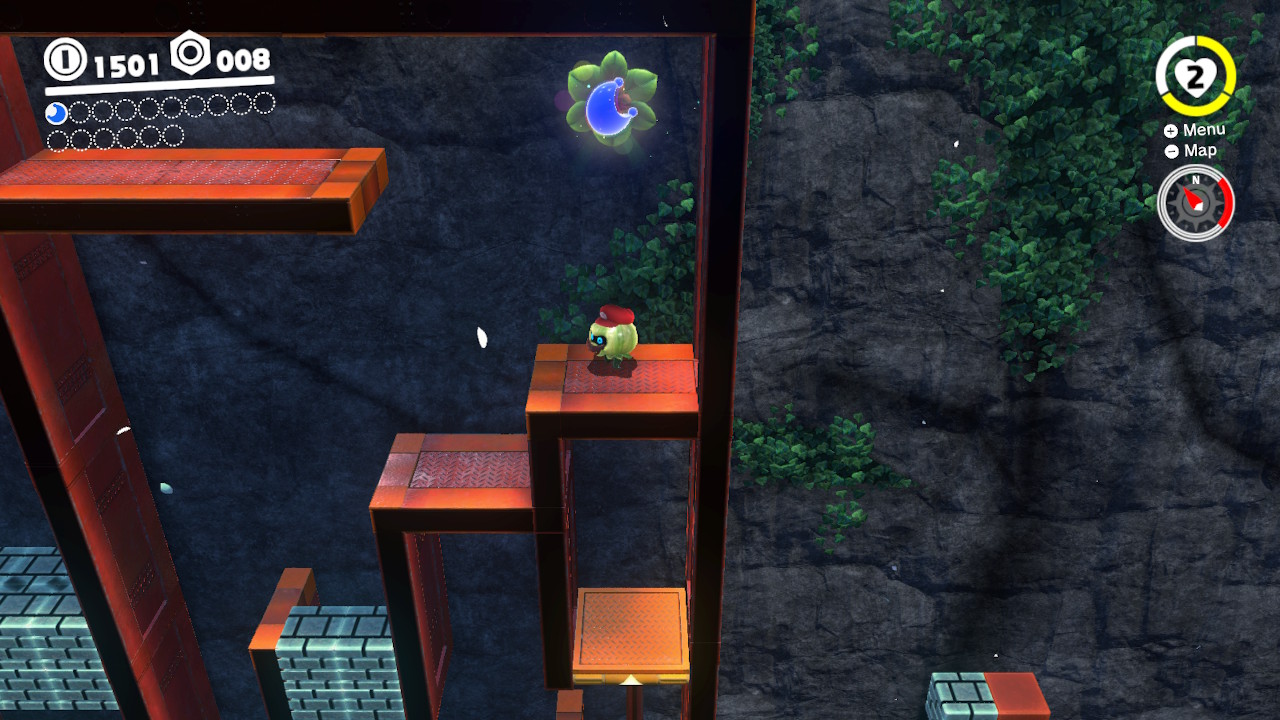
2- Instead of climbing down after smashing these bricks, we need to climb higher to the right…
3- The Power Moon is hiding just out of sight, climb up and it’s yours!
16 –
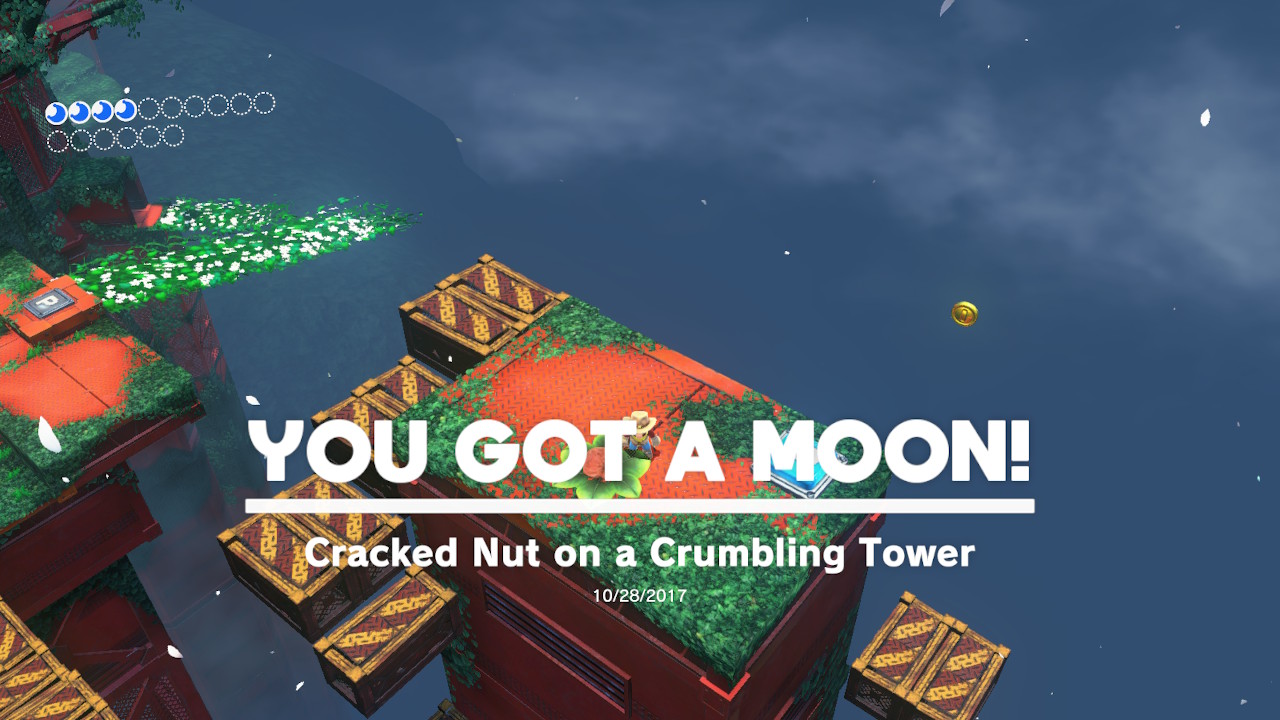
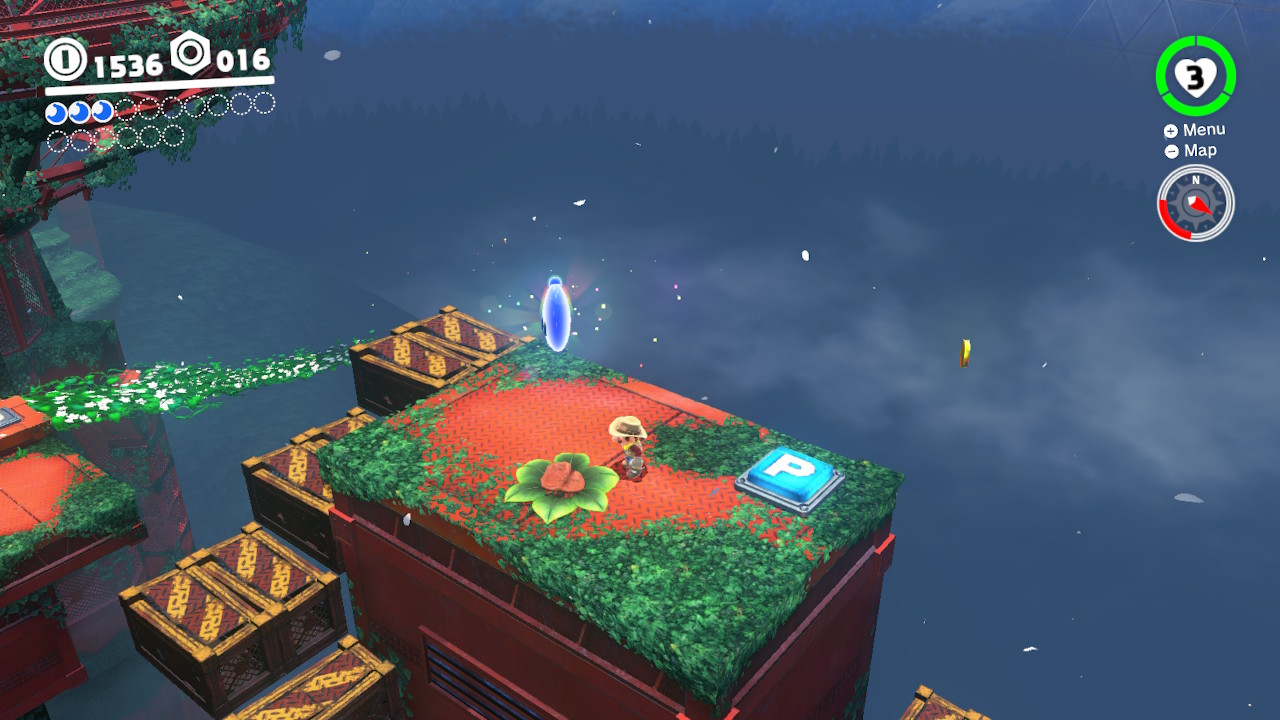
17 – Cracked Nut on a Crumbling Tower
Location-
1- Right after getting “The Road to Sky Garden” moon, the path will open up… Instead of flolowing the flower path, head towards the floating structure…
2- Run quickly and don’t fall! The Power Moon is on top!
18 –
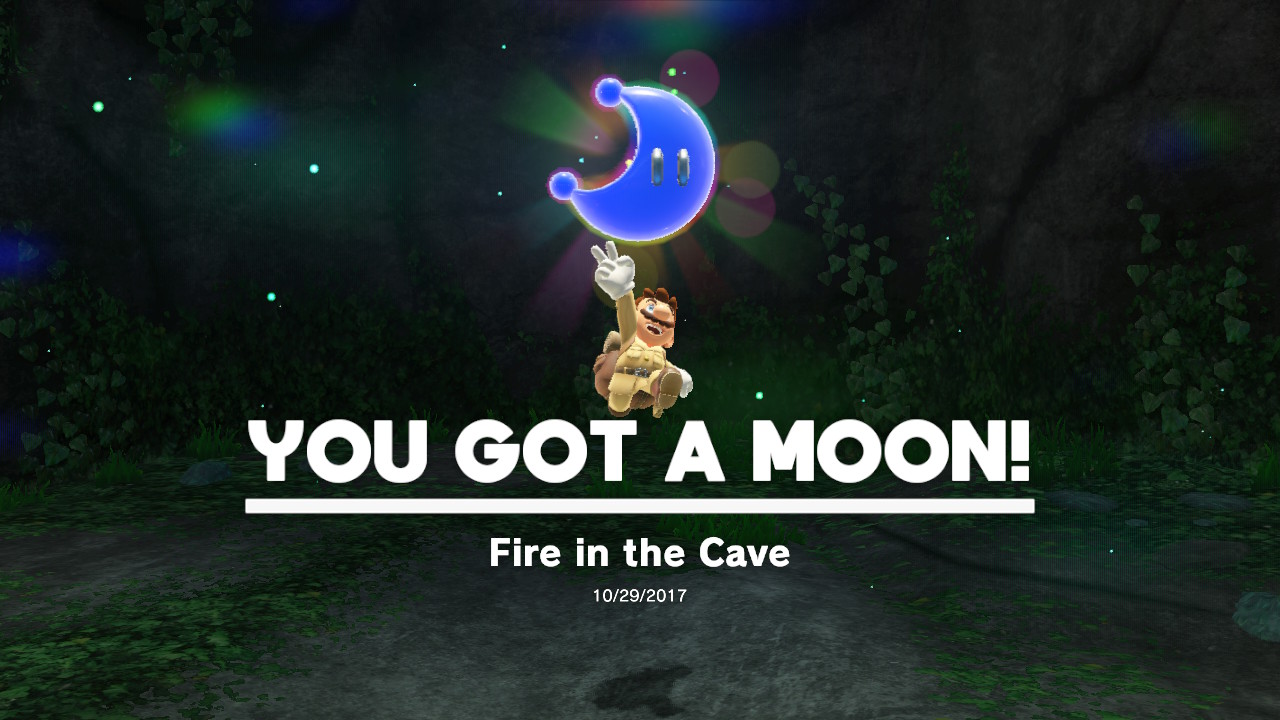
19 – Fire in the Cave
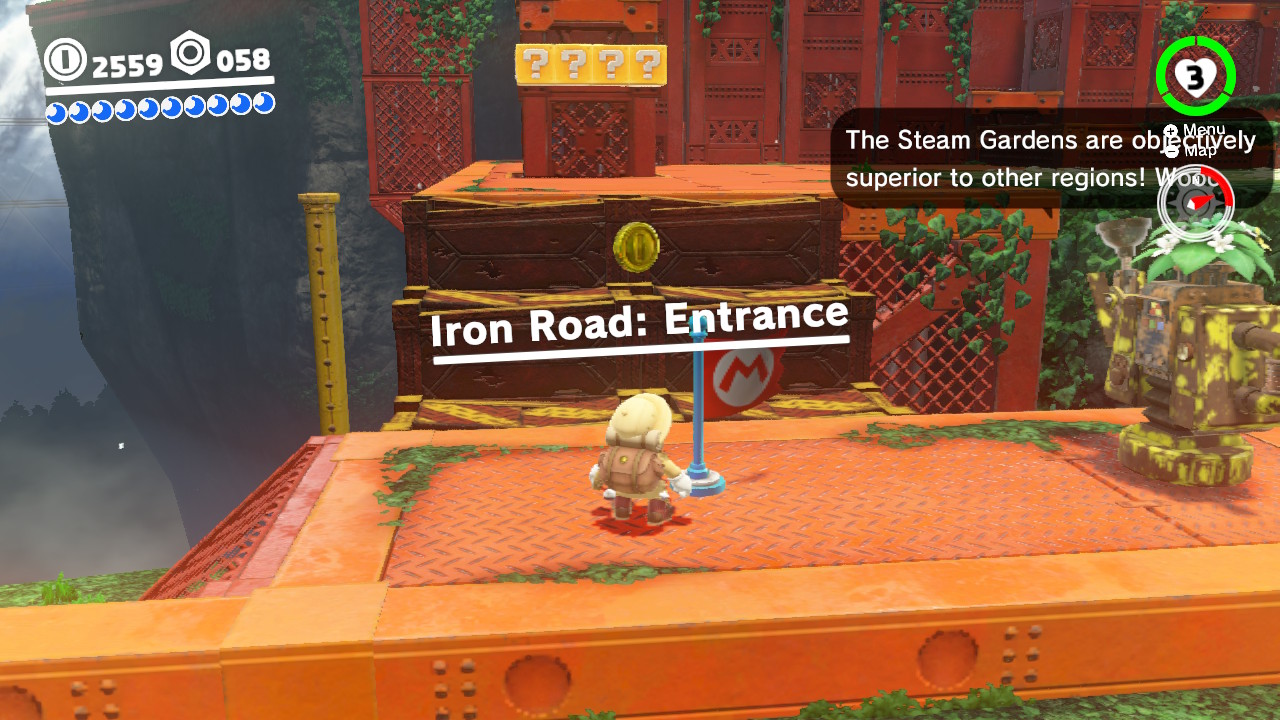
Location-
1- From the “Iron Road: Entrance” checkpoint, if you walk towards the left side…
2- You will see a hidden path…
3- Around the corner is a scarecrow…
4- Throw cappy on the scarecrow and the door will open, you will need to fight the fire-throwing Hammerbro WITHOUT the help of Cappy…
5- Once defeated, the Power Moon will be yours!
20 –
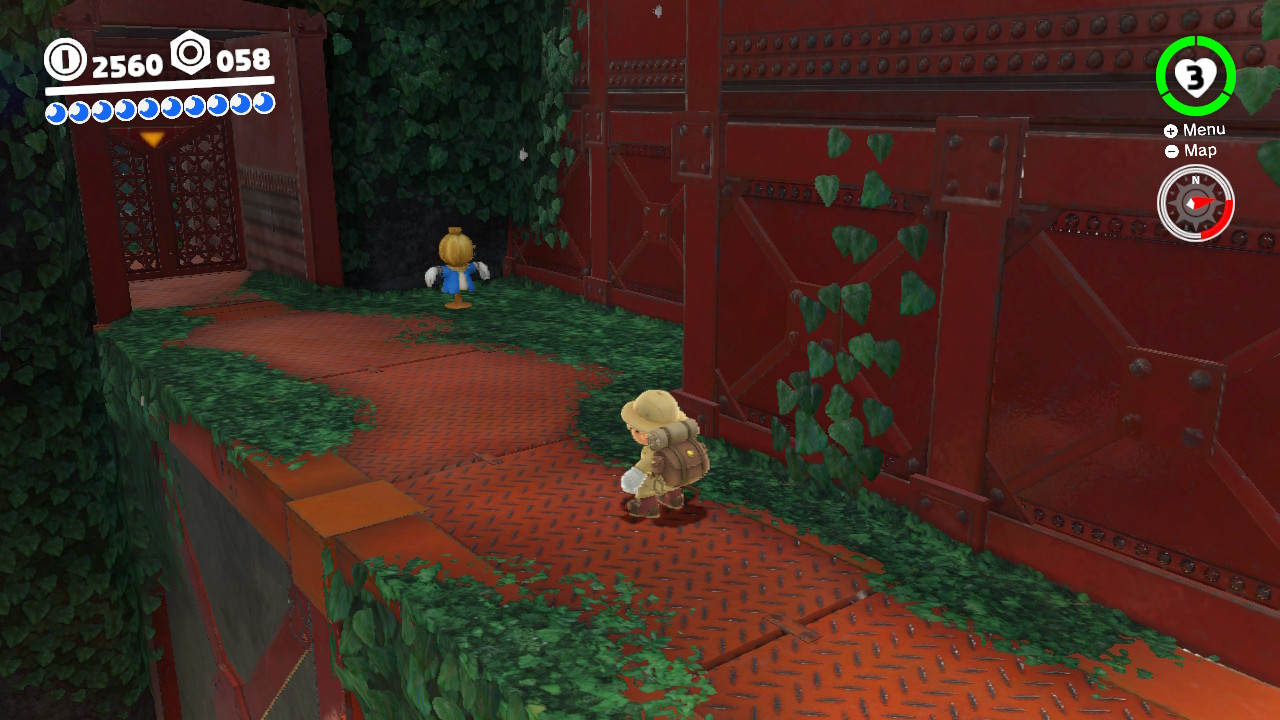
21 – Love in the Forest Ruins
Location-
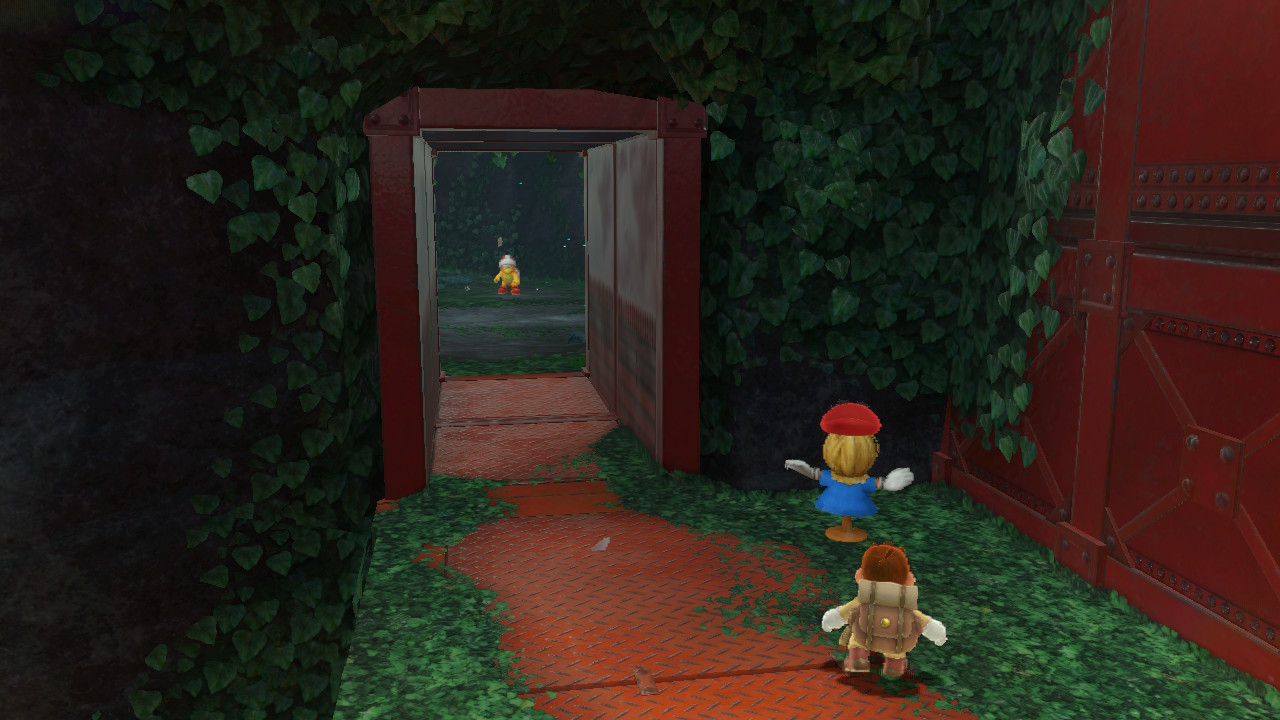
1- In the open area with a bunch of Goombas, you will see a female Gooma on the platform high in the air…
2- Capture a set of Goombas stacked on eachother…
3- From there, jump on a platform and jump on top of another stack…
4- Make a tower of Goombas and look at that beautiful lady Goomba directly into her pearly eyes, she will fall in love and give you a Power Moon!
22 –
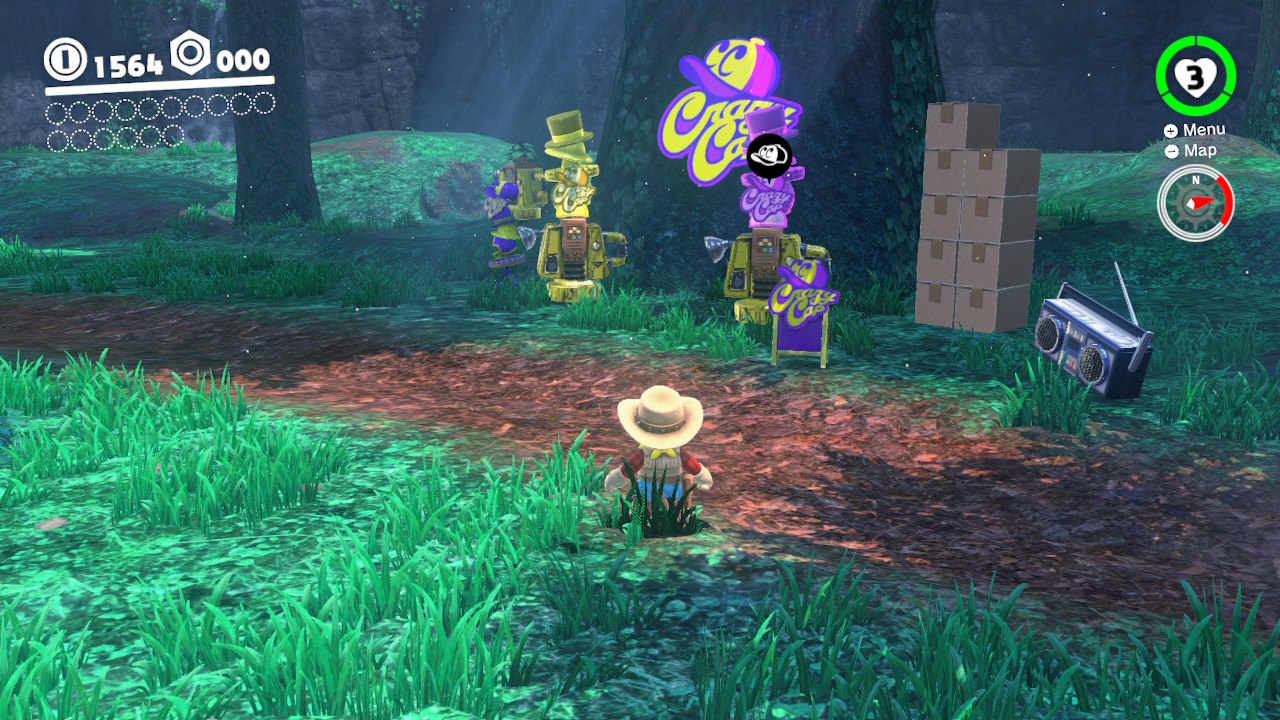
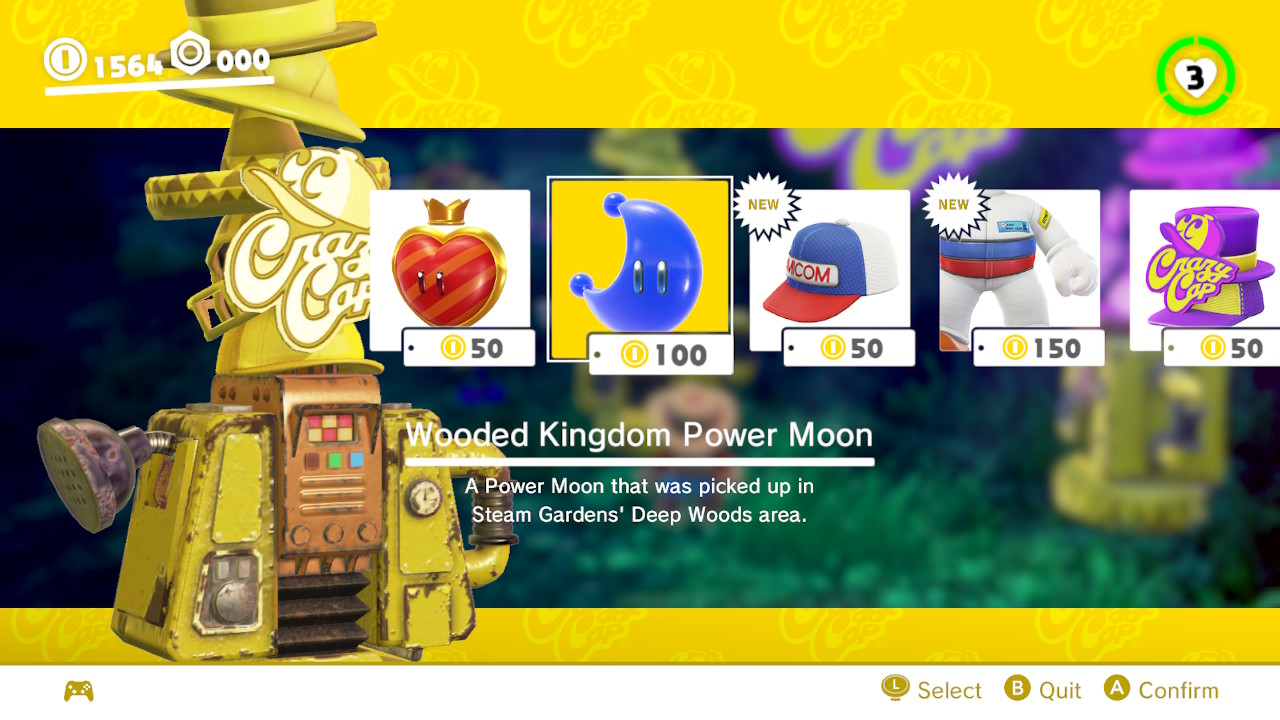
23 – Shopping in Steam Gardens
Location-
1- Crazy Caps is located just a few steps away from the starting point of the Wooded Kingdom…
2- A Power Moon is for sale for just 100 coins! What a deal!!
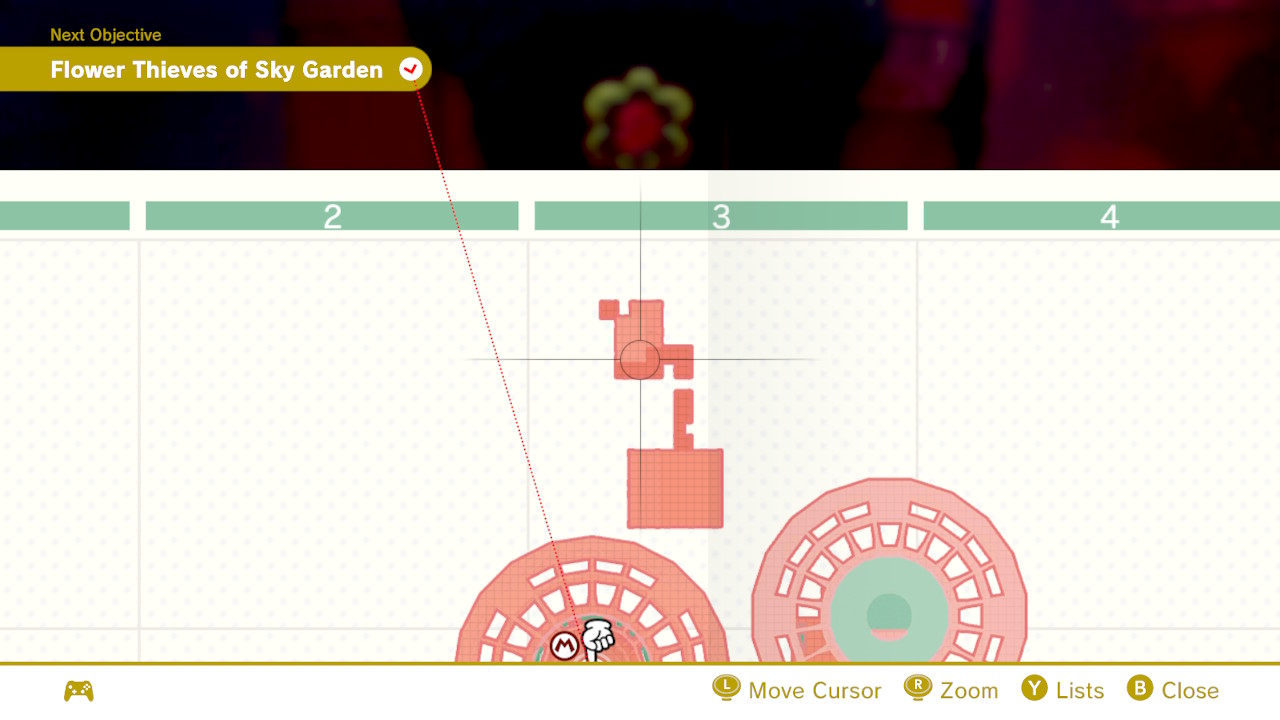
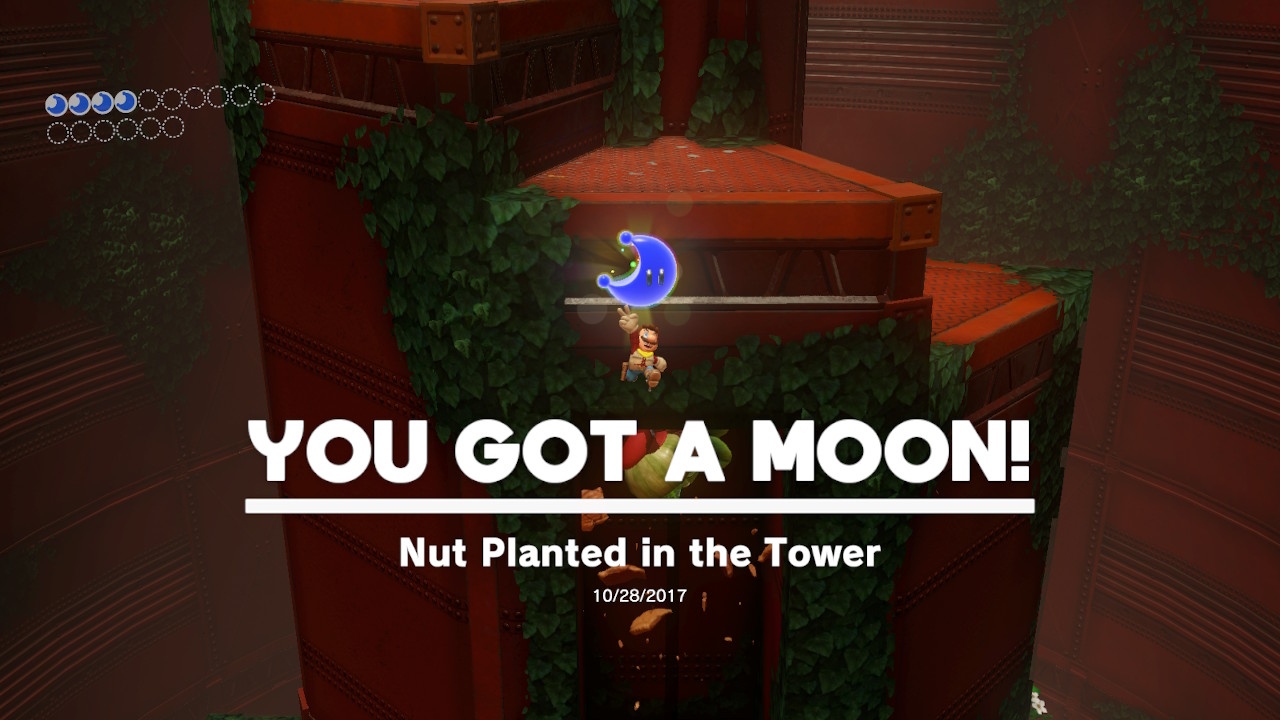
24 – Nut Planted in the Tower
Location-
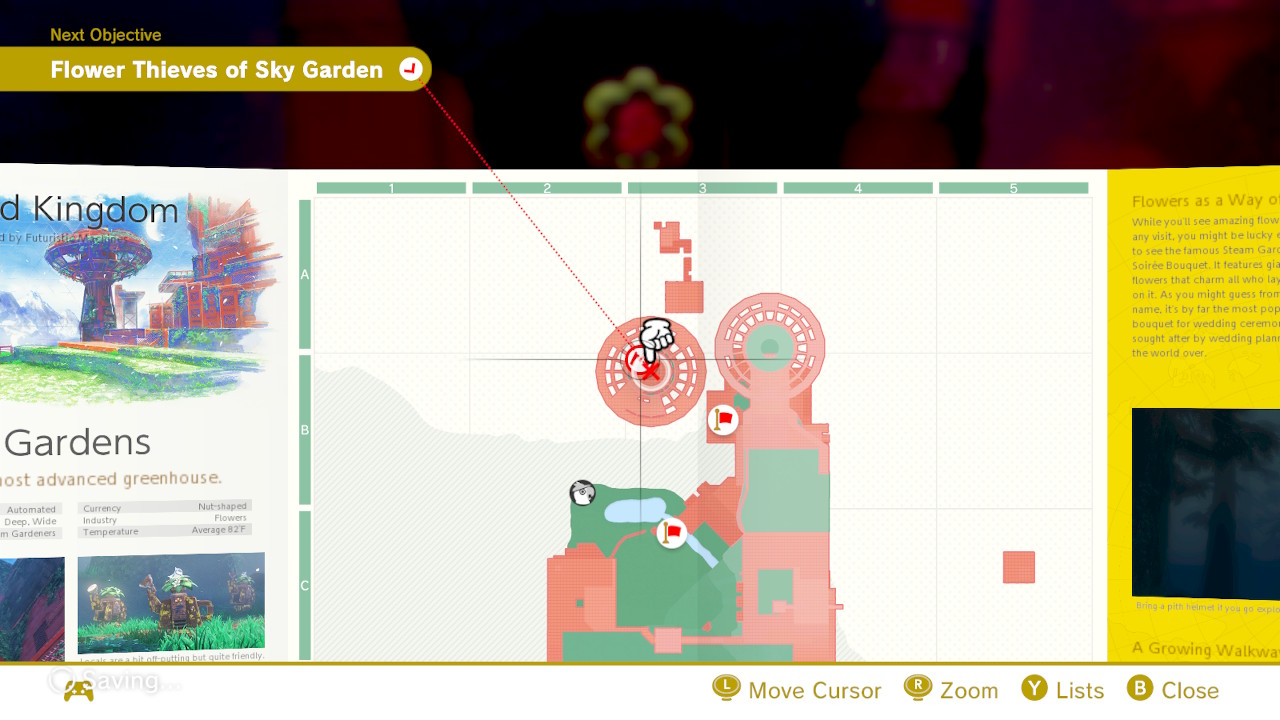
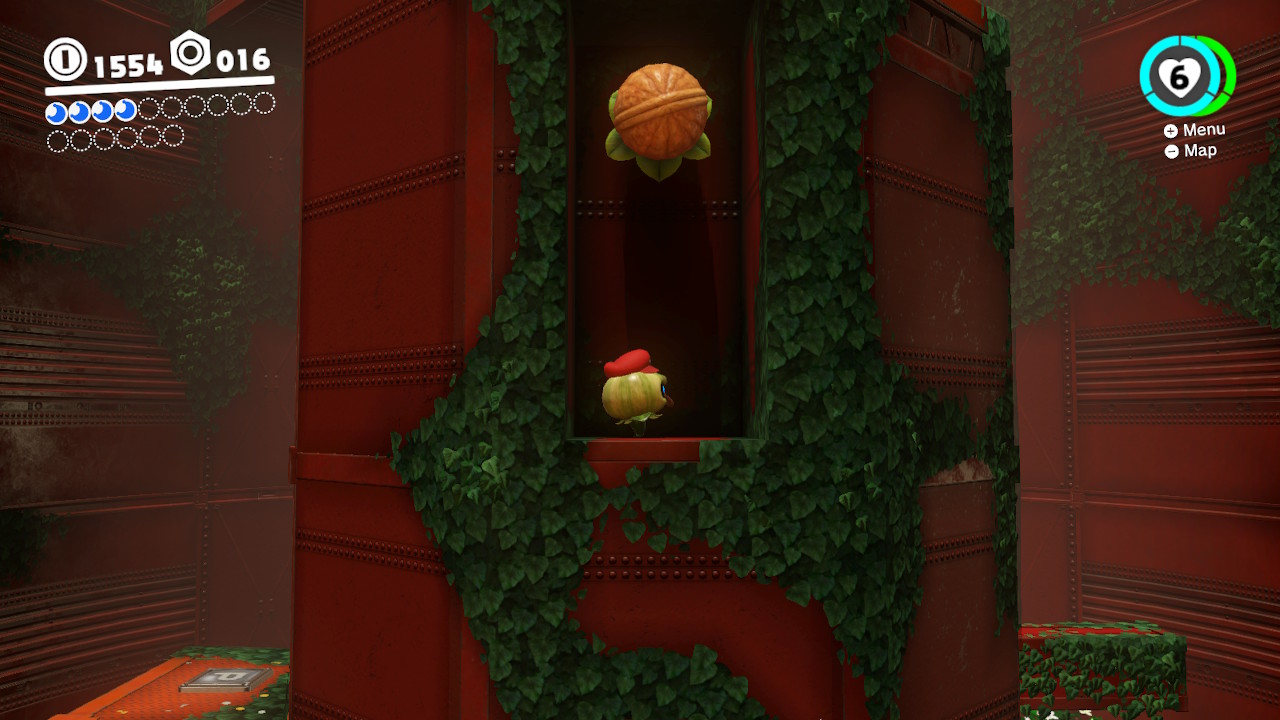
1- As you climb the inside of the tower towards “Flower Thieves of Sky Garden”, you will see a “nut” hiding inside the wall… Smash it by stretching up and hitting it! There’s a Power Moon inside!
25 – Stretching Your Legs
Location-
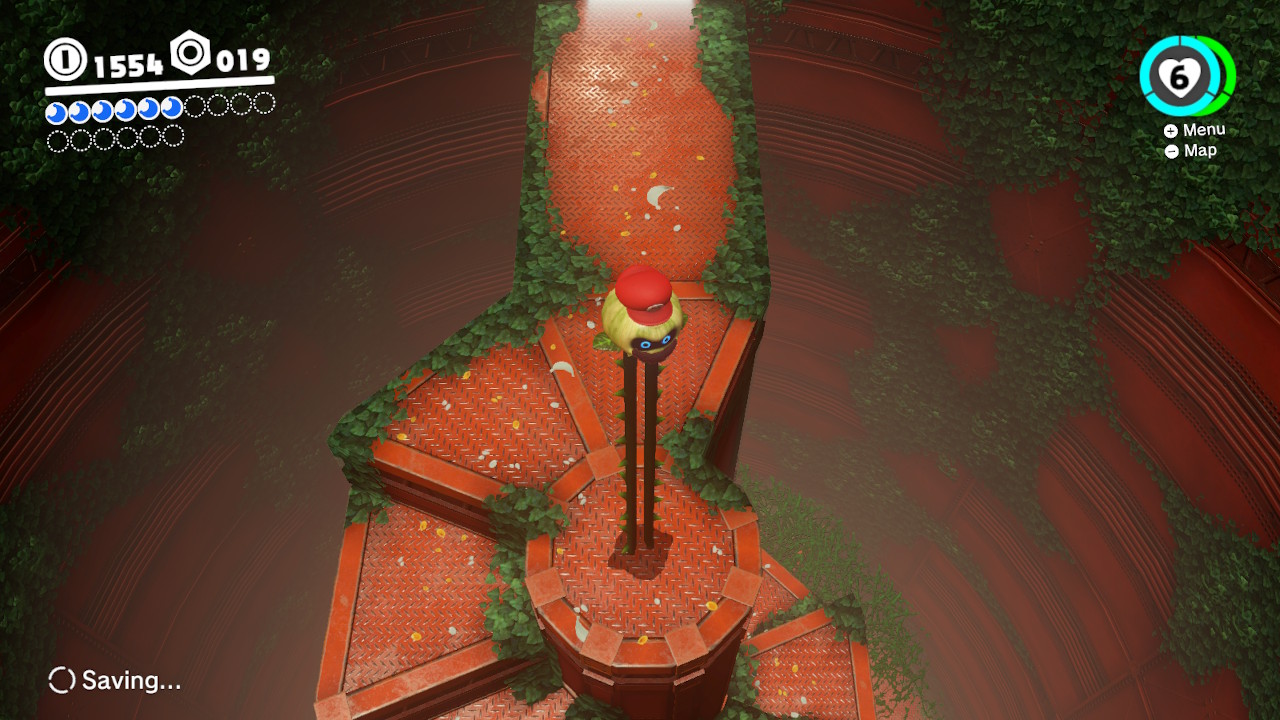
1- As you climb the inside of the tower towards “Flower Thieves of Sky Garden”, stop before exiting! SSTTRRETCCHH as high as possible and you will collect the Power Moon dangling in the air!
26 – Spinning-Platforms Treasure
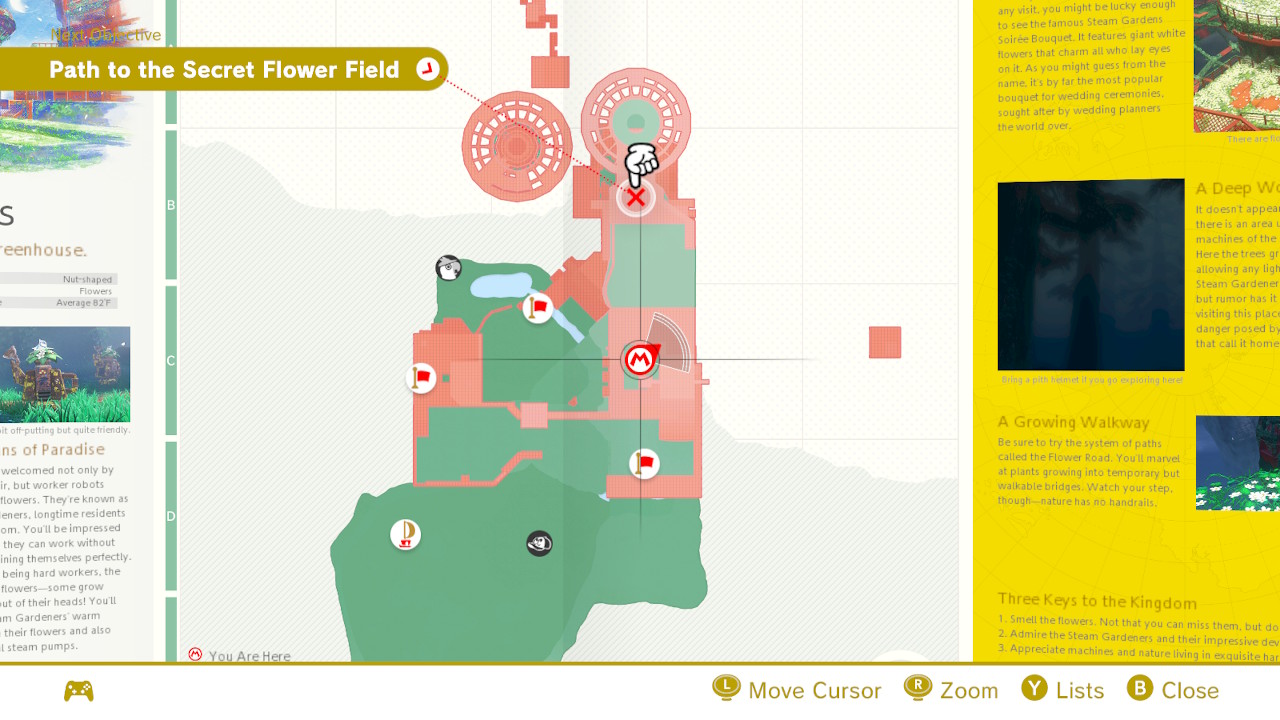
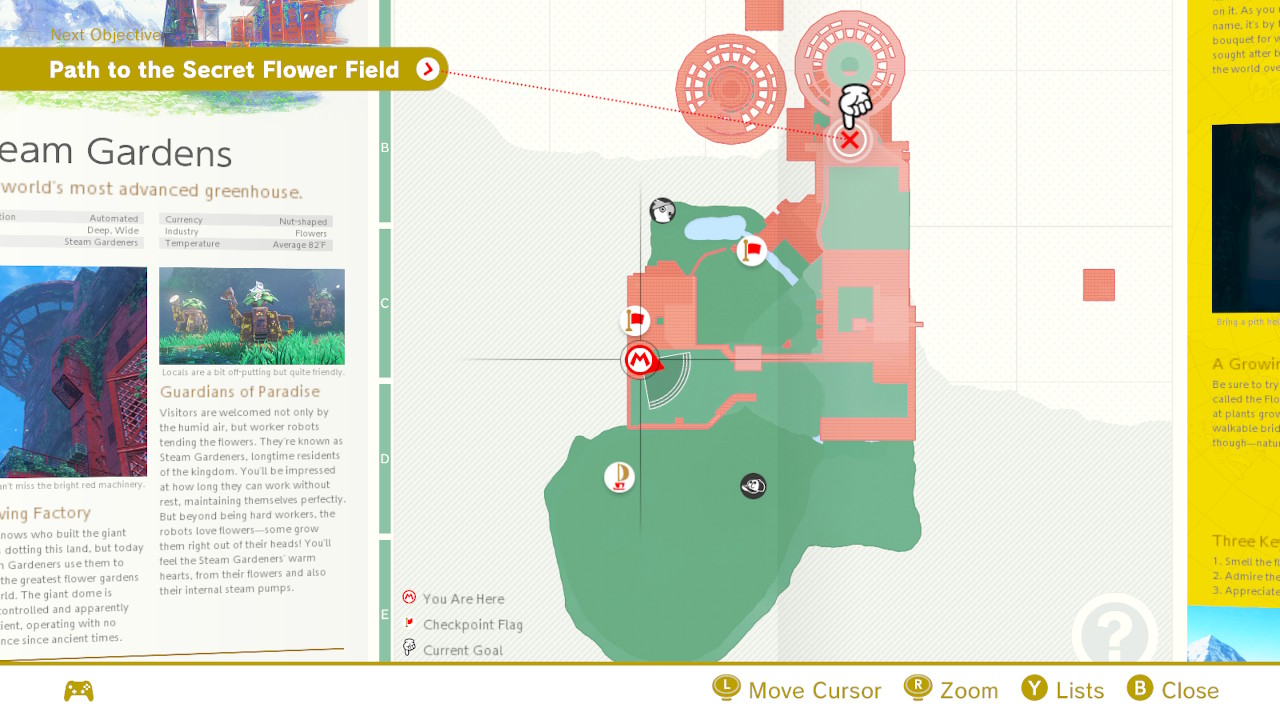
27 – Make the Secret Flower Field Bloom
28 –
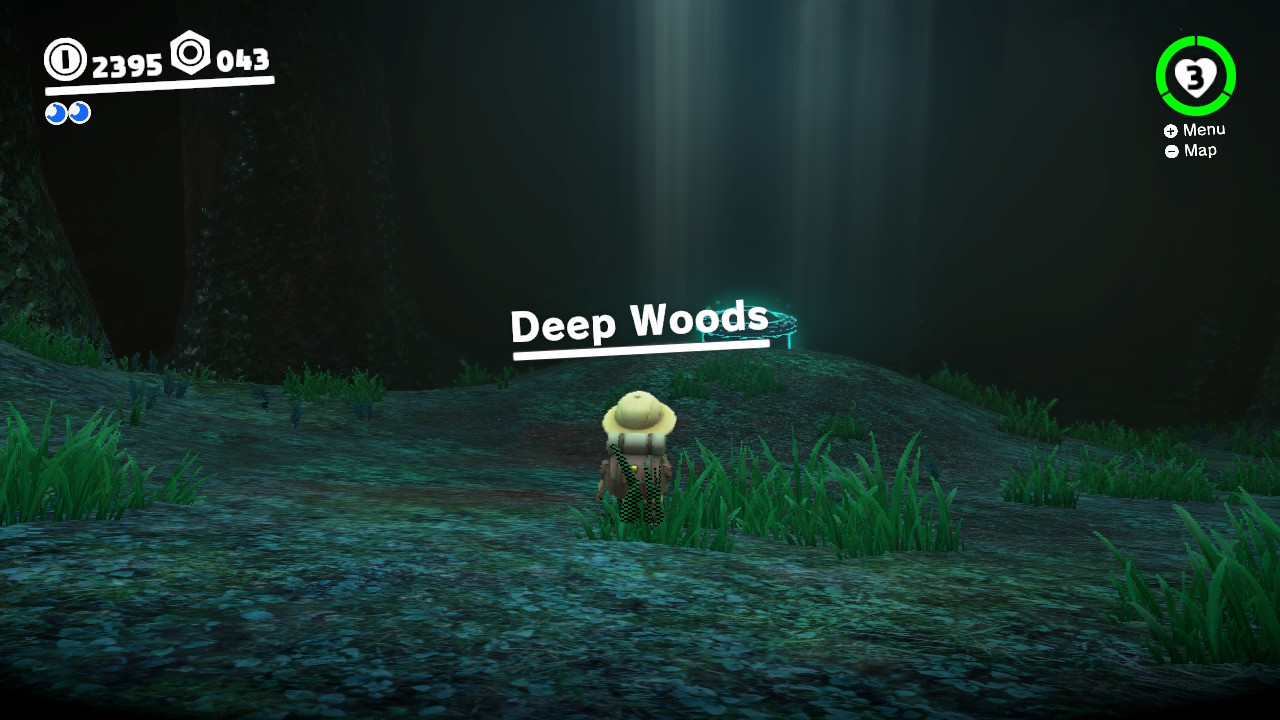
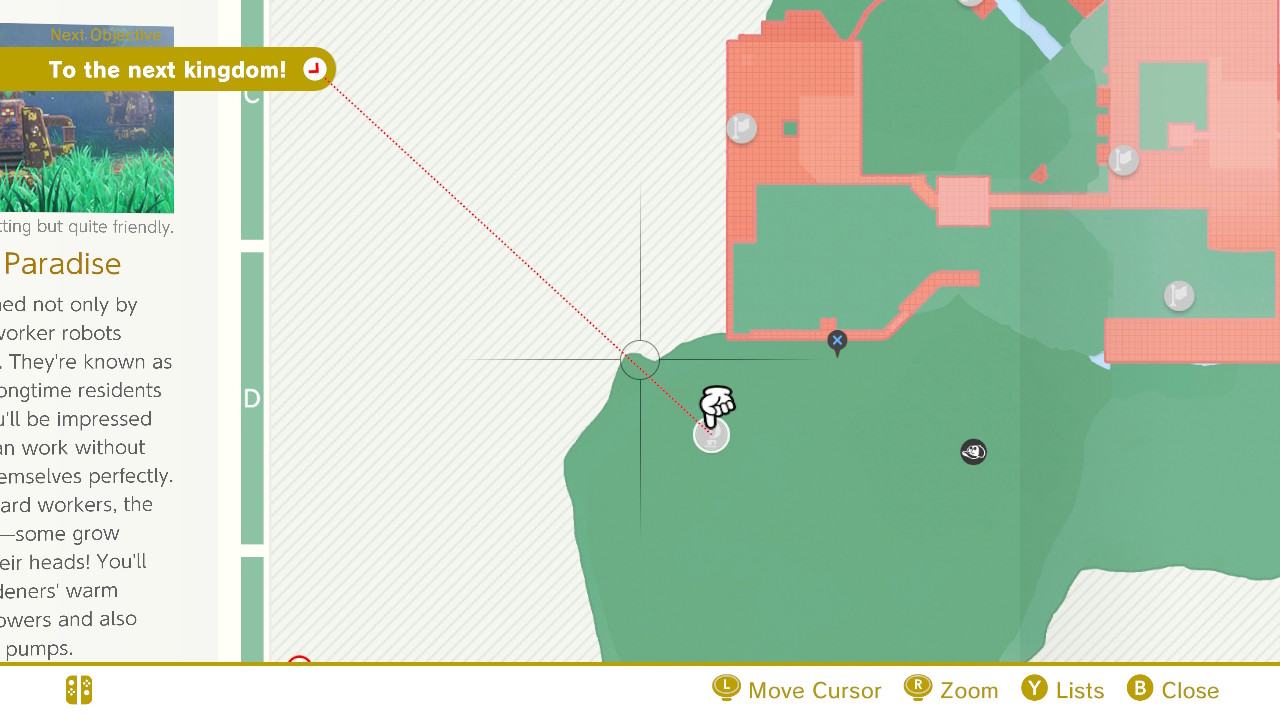
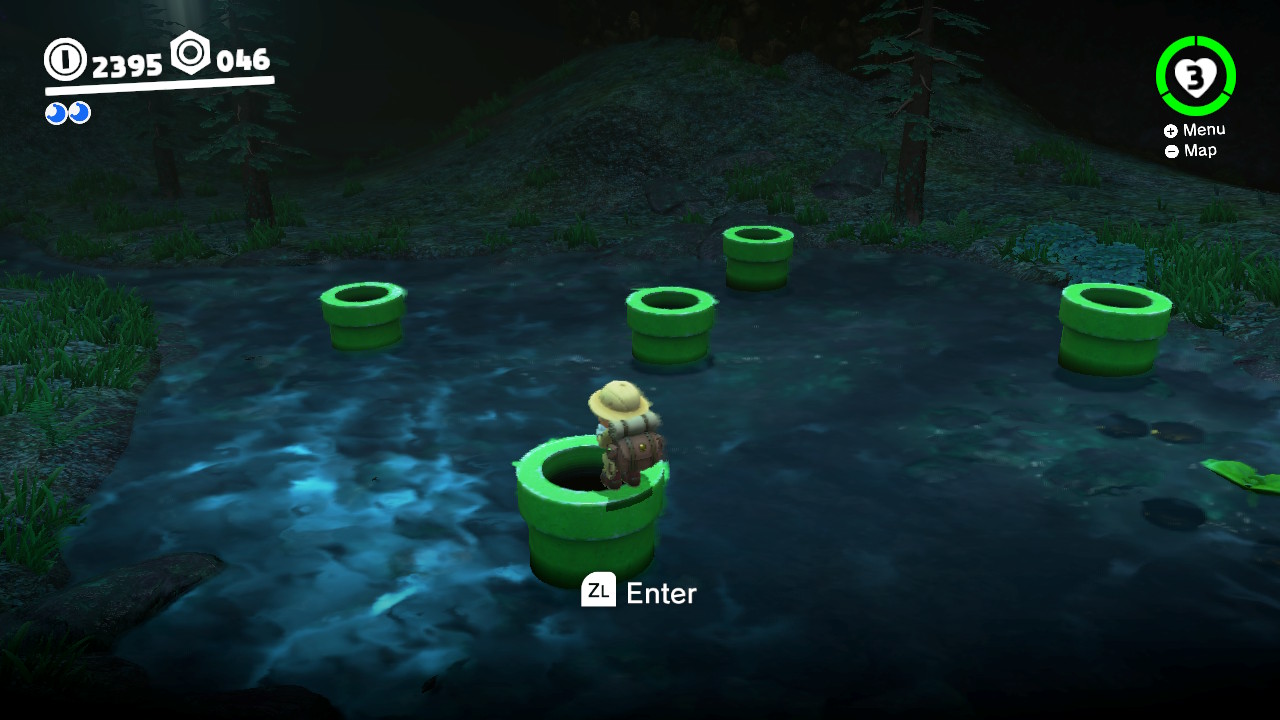
~Deep Woods Area~
Many of the Power Moons can be found in the “Deep Woods”. To reach this area you will need to take a leap of faith by jumping directly into the abyss below. I’ll attach a video to give a demonstration for this…
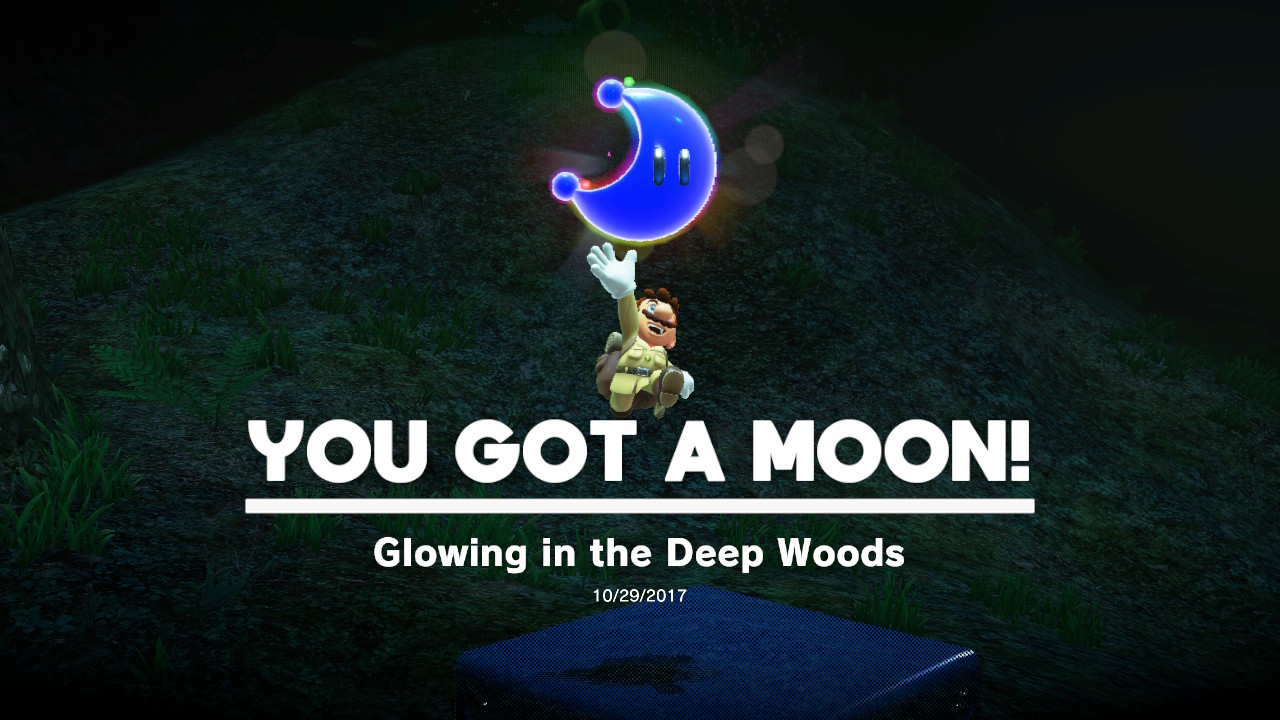
29 – Glowing in the Deep Woods
Location- Deep Woods
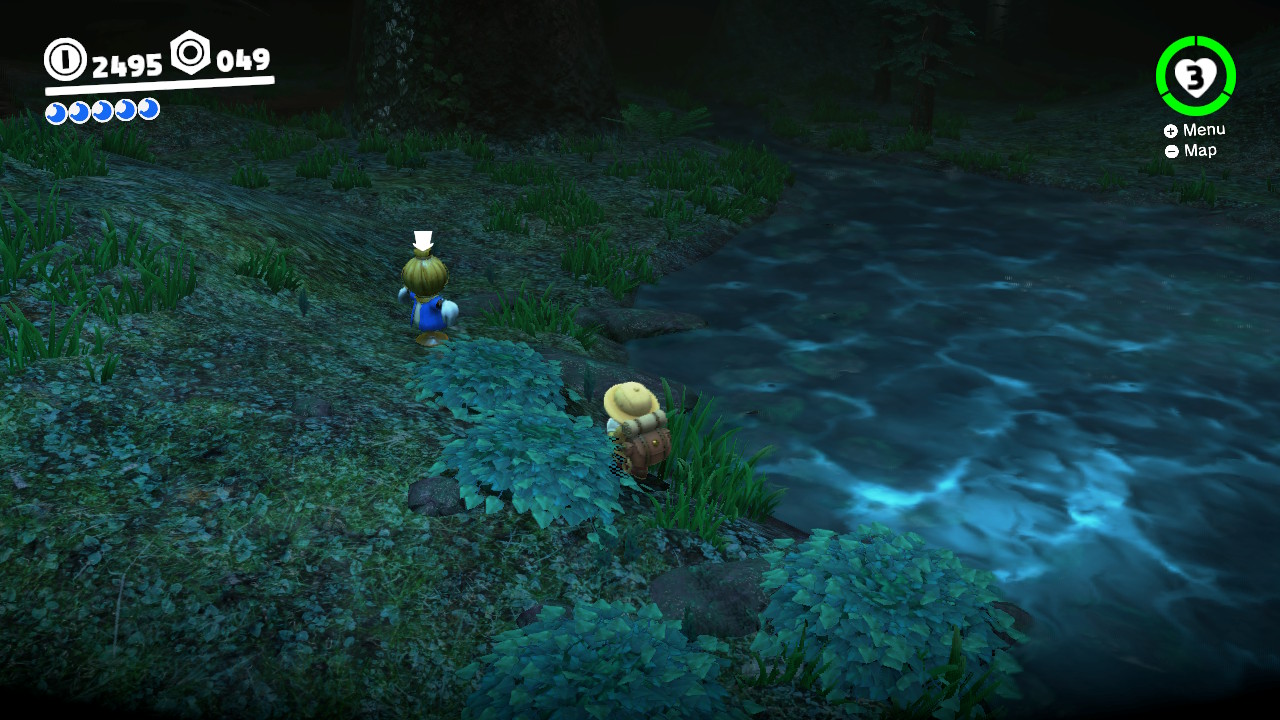
1- In the Deep Woods towards the middle (you can see exact location on the map image attached above), you will see a scarecrow…
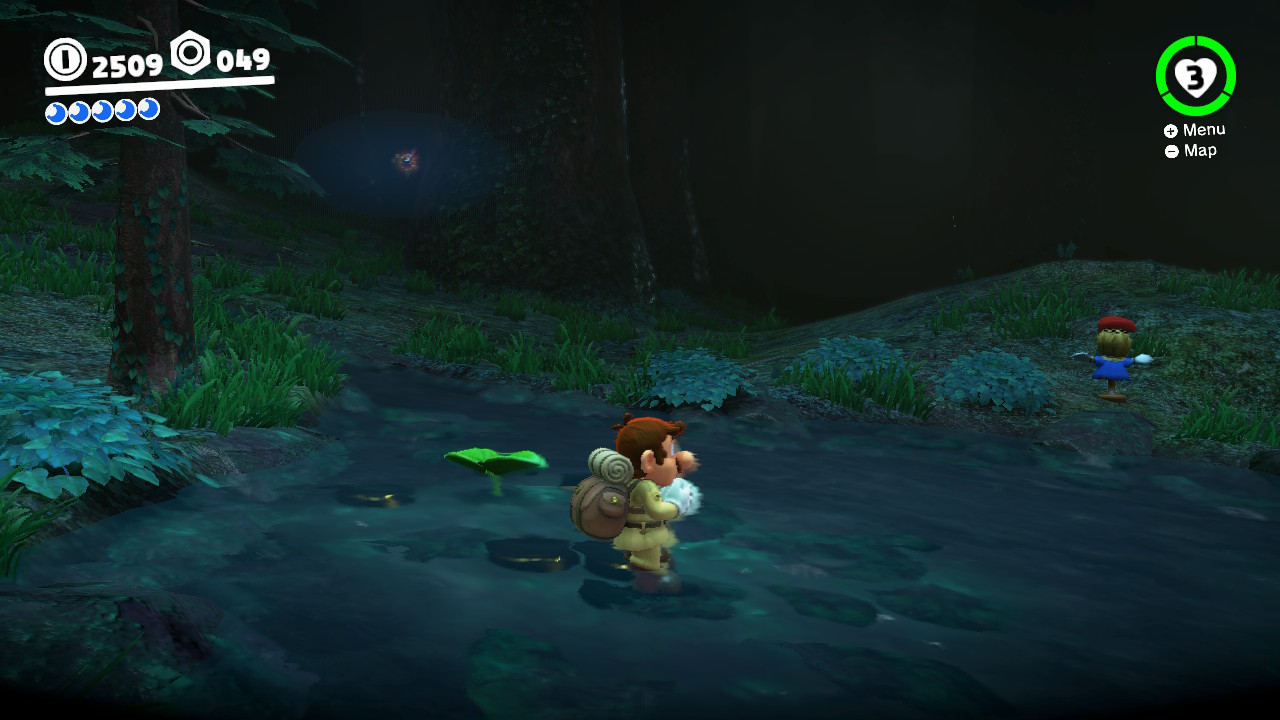
2- Once you throw cappy at the scarecrow, a moon will appear pretty far away, it’s very hard to tell where it is…
3- This image shows where the Power Moon is hiding…
4- Run to it as fast as you can! Yay for Moons!!!
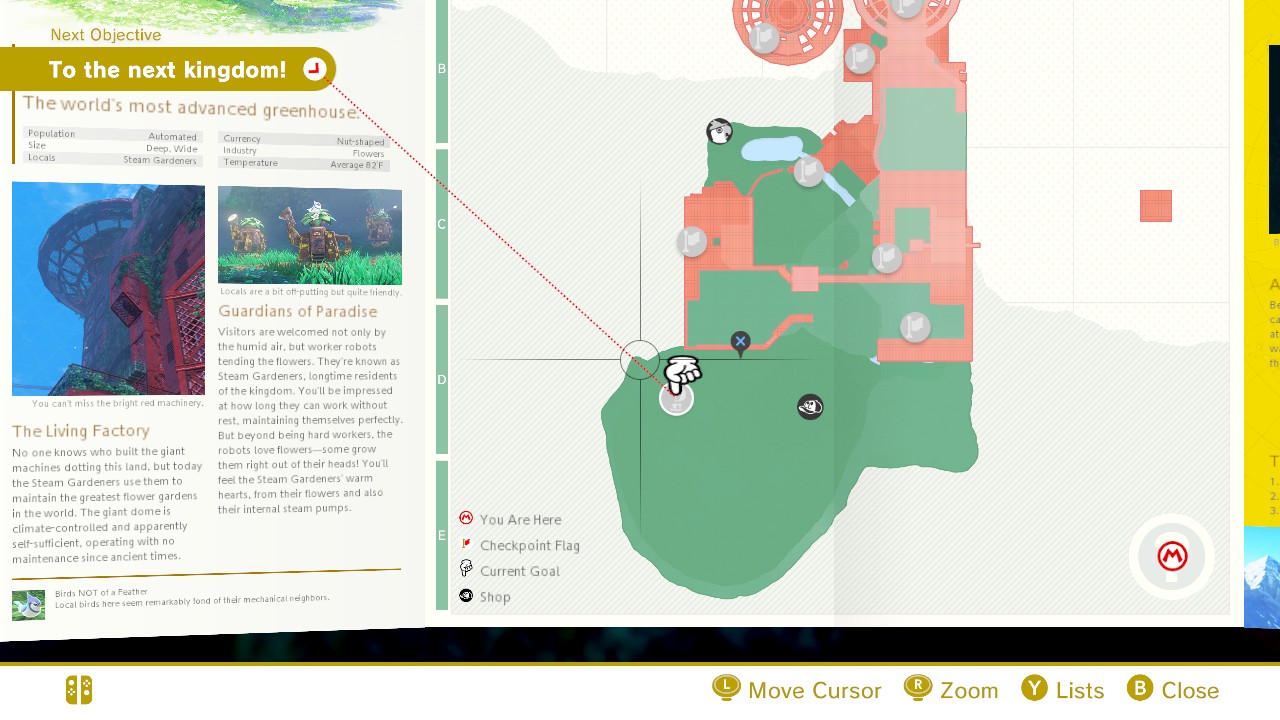
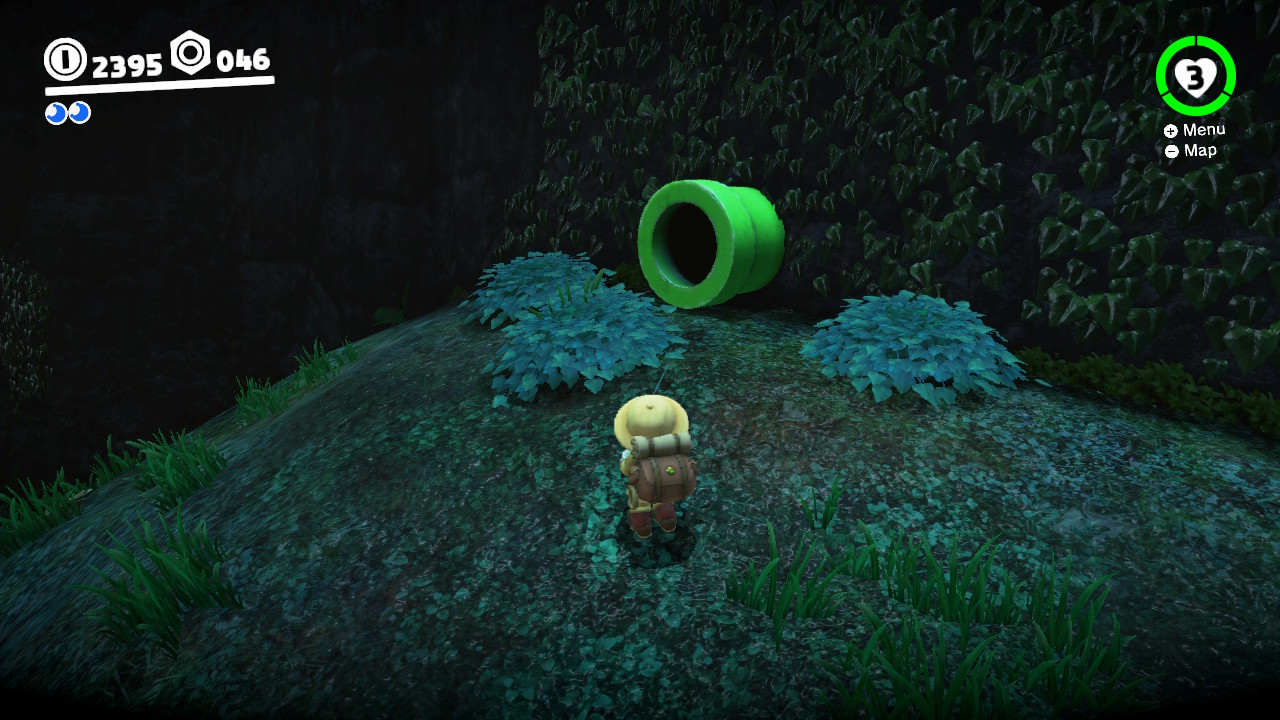
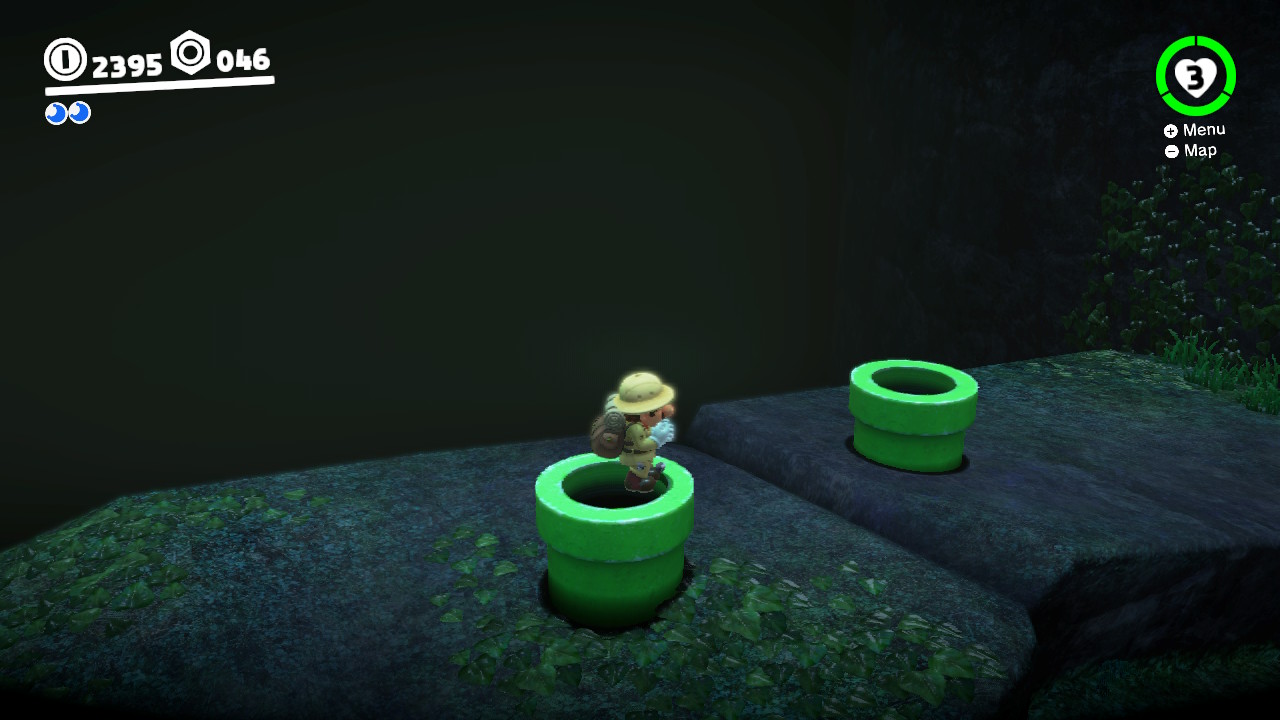
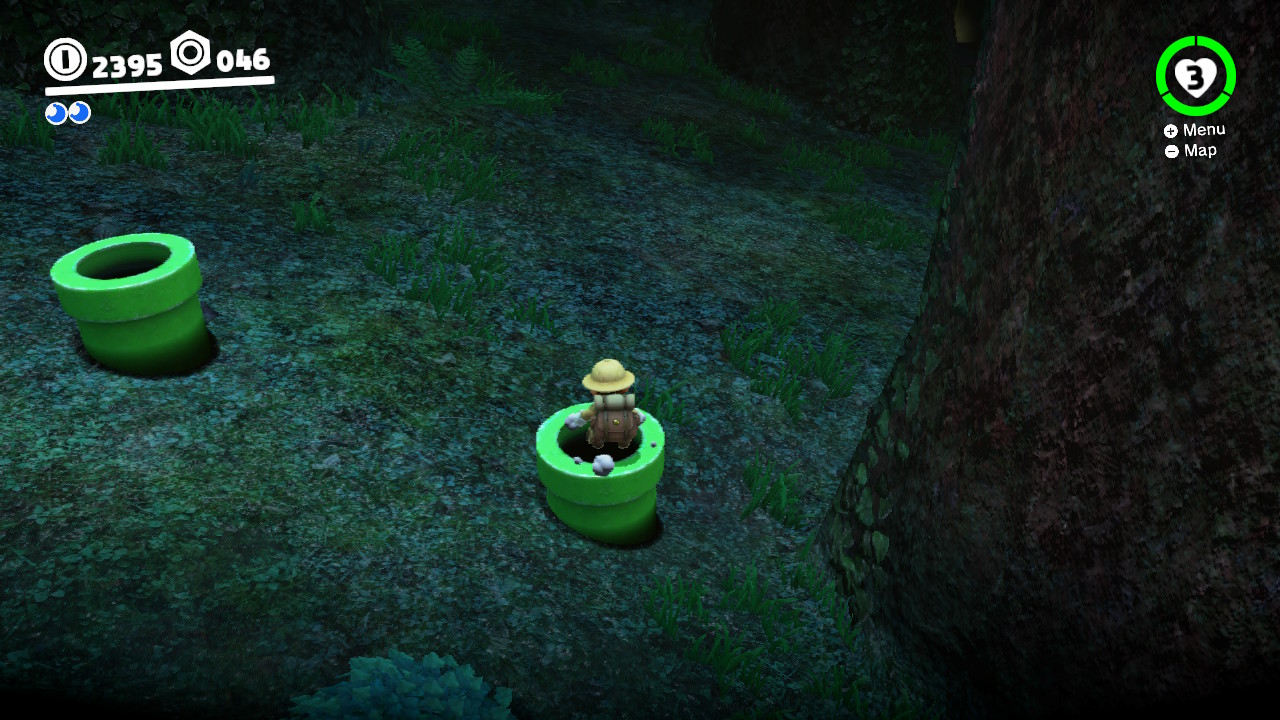
30 – Past the Peculiar Pipes
Location- Deep Woods
1- In the Deep Woods you will see a green pipe protruding from the wall (for exact location see the map image above…)
2- First, go into the LEFT PIPE! (You will need to jump into the correct pipe every time. If you guess wrong, you will need to start over…)
3- Next go into the FAR RIGHT pipe…
4- Lastly, there will be five pipes to choose from, go into the front leftmost pipe…
5- You did it!!!
31 –
32 –
33 –
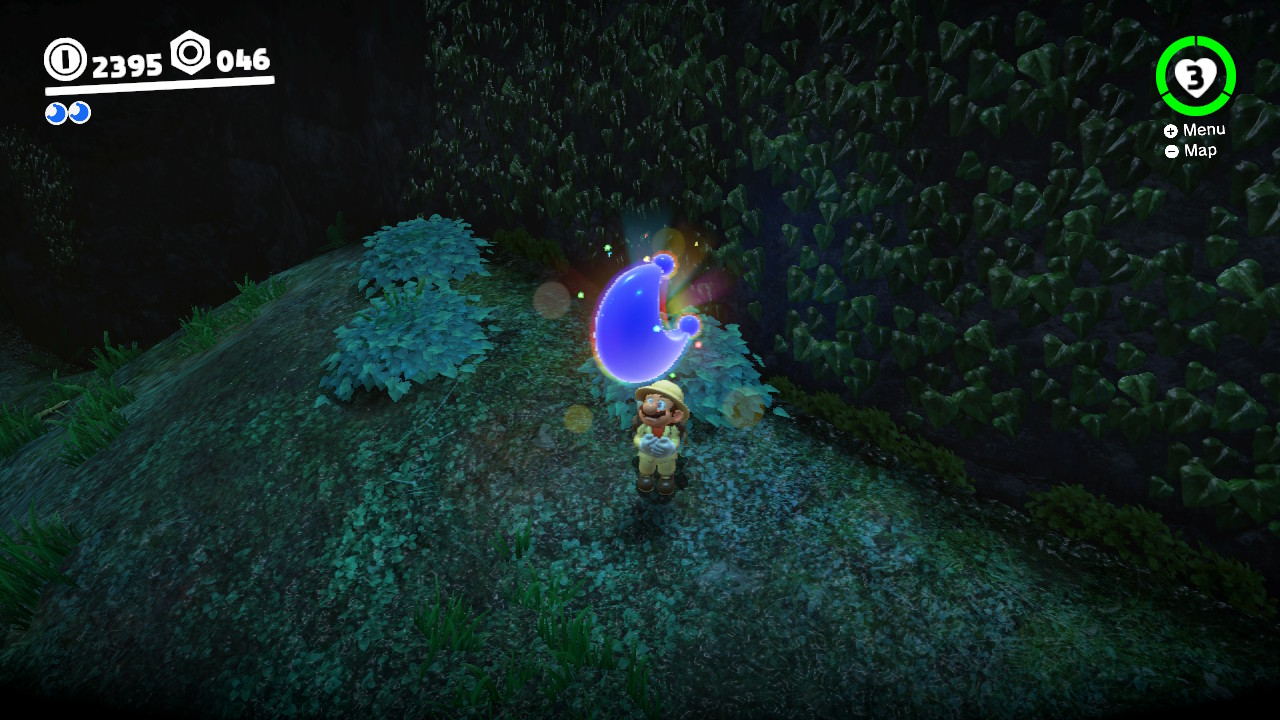
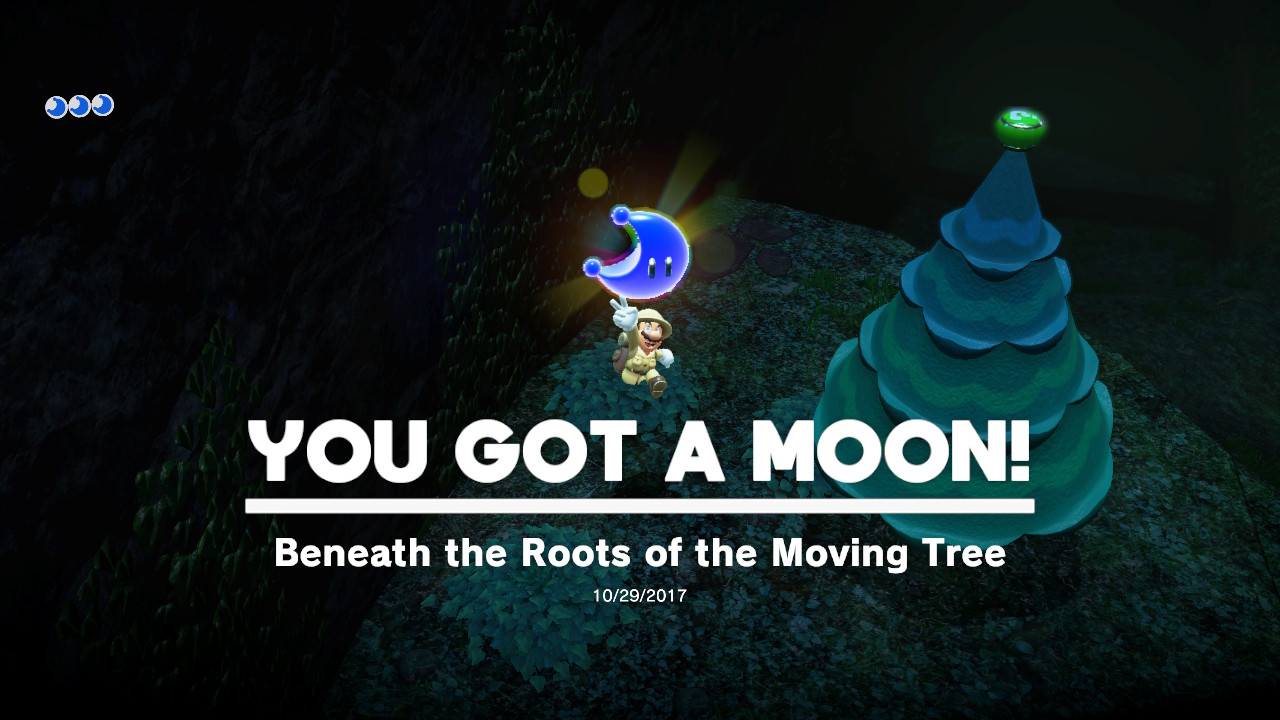
34 – Beneath the Roots of the Moving Tree
Location- Deep Woods
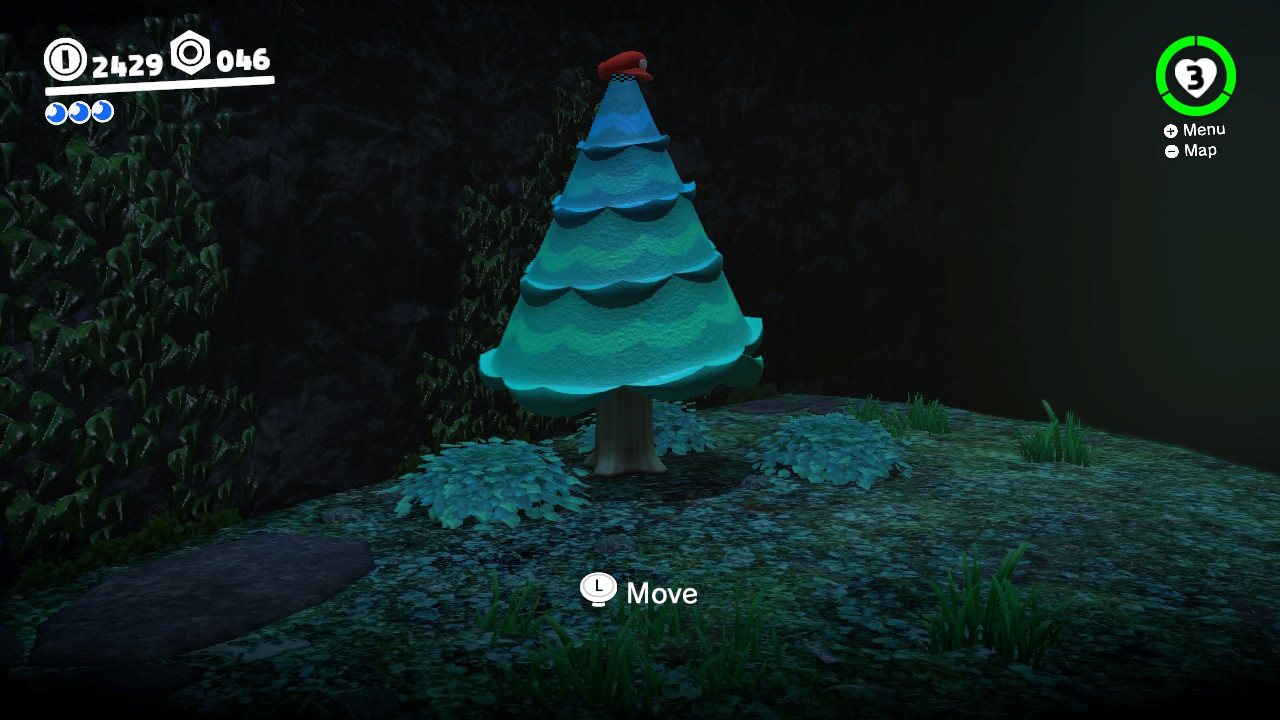
1- In the Deep Woods you will see a Chistmas tree looking tree…
2- Use Cappy to move the tree…
3- Once you move it, a sparkly light will appear from the ground. Ground Pound! Bam! Power Moon!
35 –
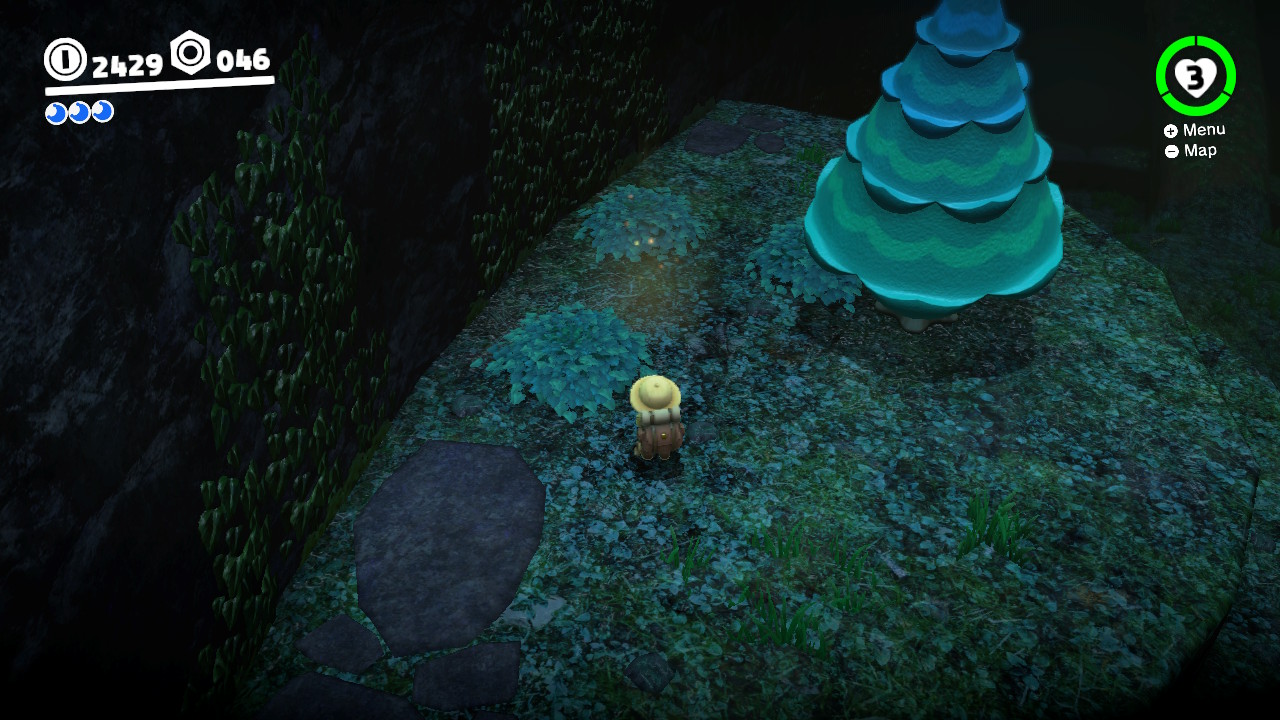
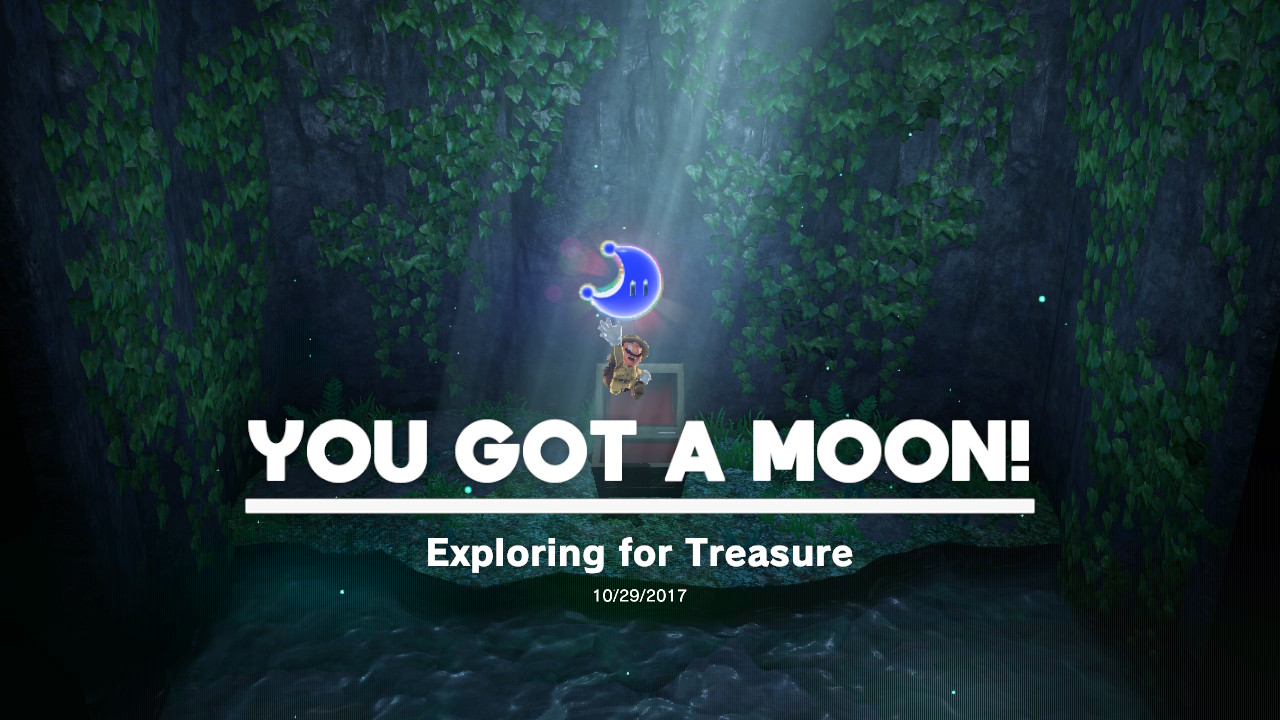
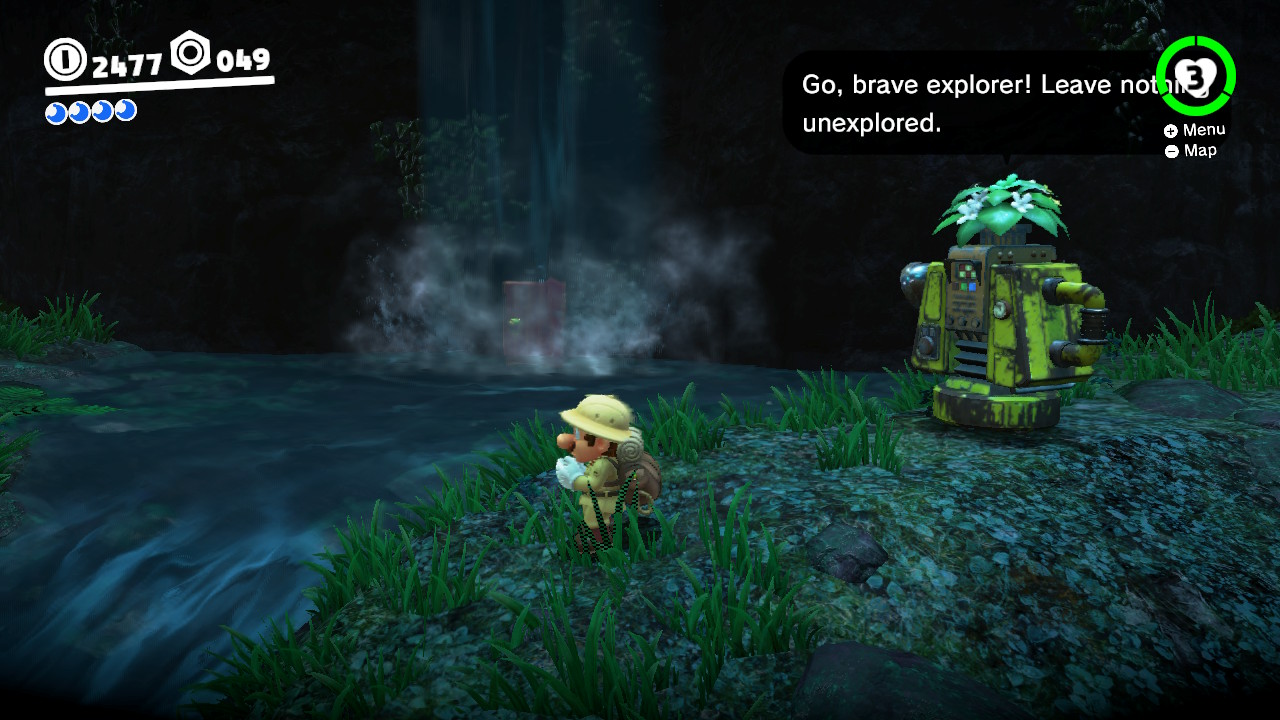
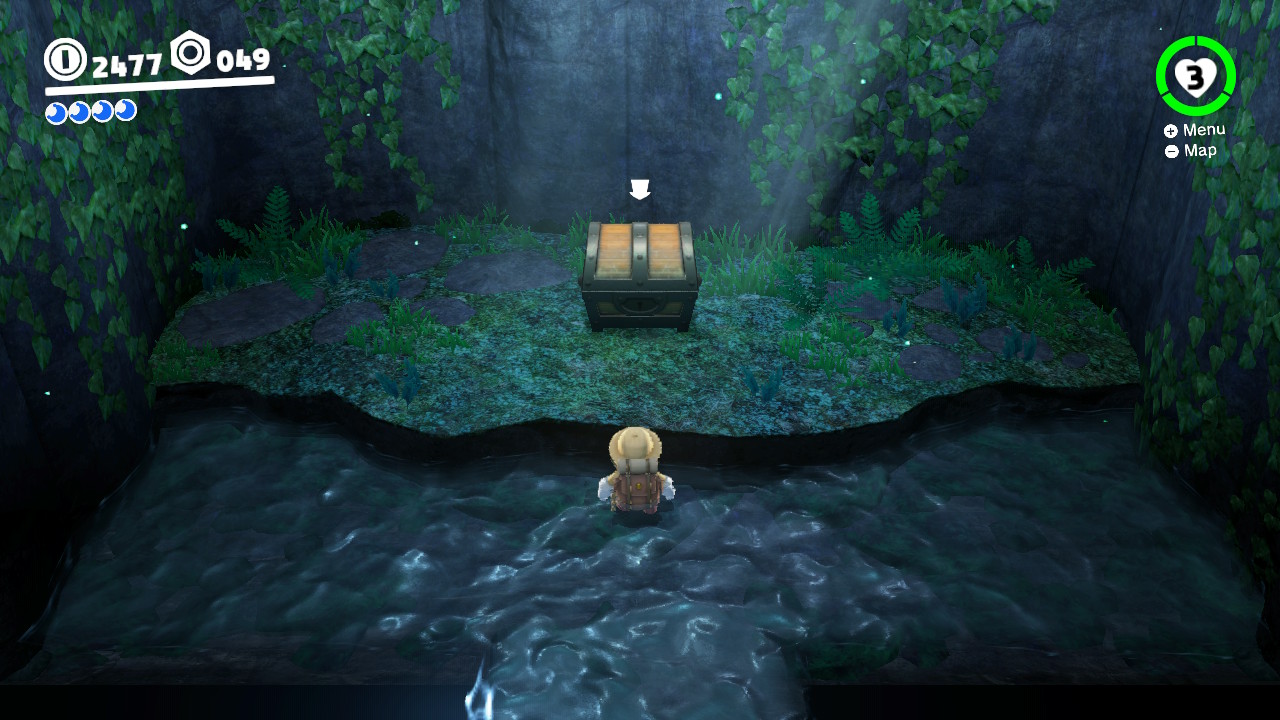
36 – Exploring for Treasure
Location- Deep Woods
1- There is a waterfall in he Deep Woods…
2- Behind it is a door… Inside the door is a room… Inside the room is a treasure chest… And inside the treasure chest?… you guessed it!
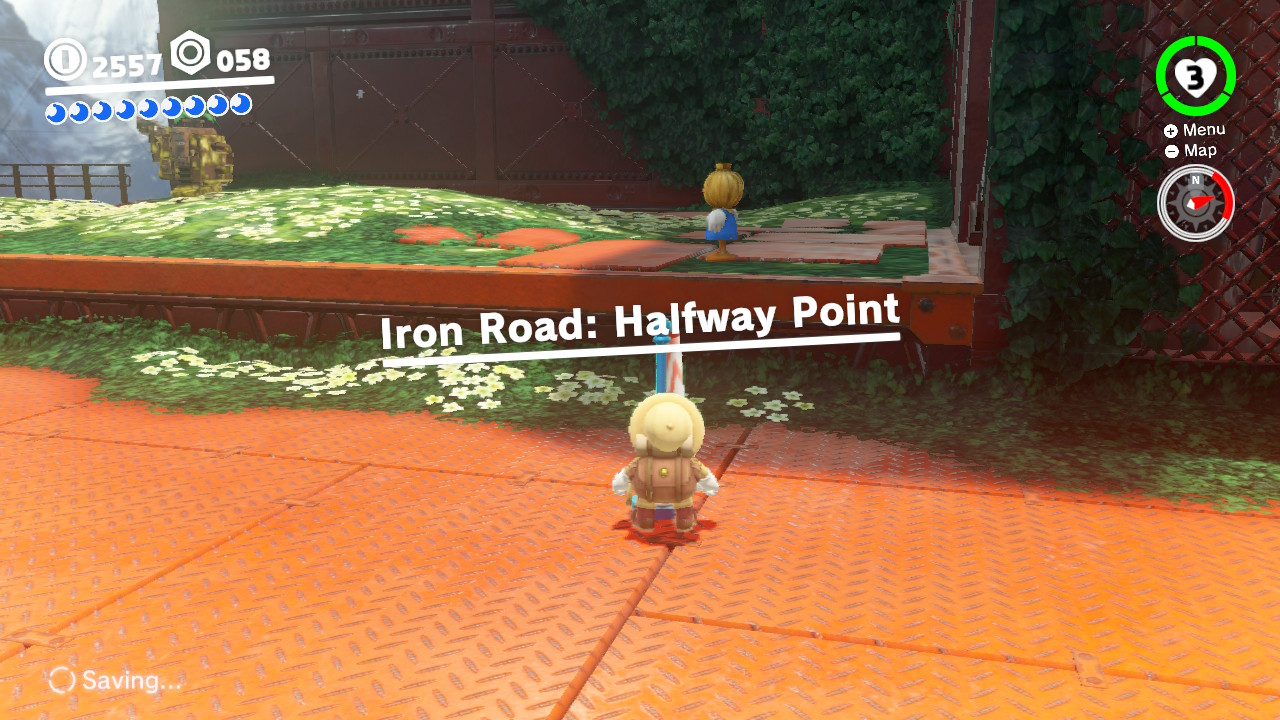
37 – Wooded Kingdom Timer Chellenge 1
Location- Iron Road: Halfway Point
1- From the Iron Road: Halfway Point checkpoint, you can see a scarecrow…
2- Throw Cappy on the scarecrow and you’ll need to climb to the top to reach the moon…
3- Flip your way to the top and the Power Moon is yours!
38 – Wooded Kingdom Challenge 2
Location-
1- From the checkpoint here you can see the scarecrow…
2- Throw Cappy on the scarecrow and you’ll need to climb to the top get get the moon…
3- Time your jumps, you won’t be able to use Cappy at all, and reach the top! Power Moooooooon!
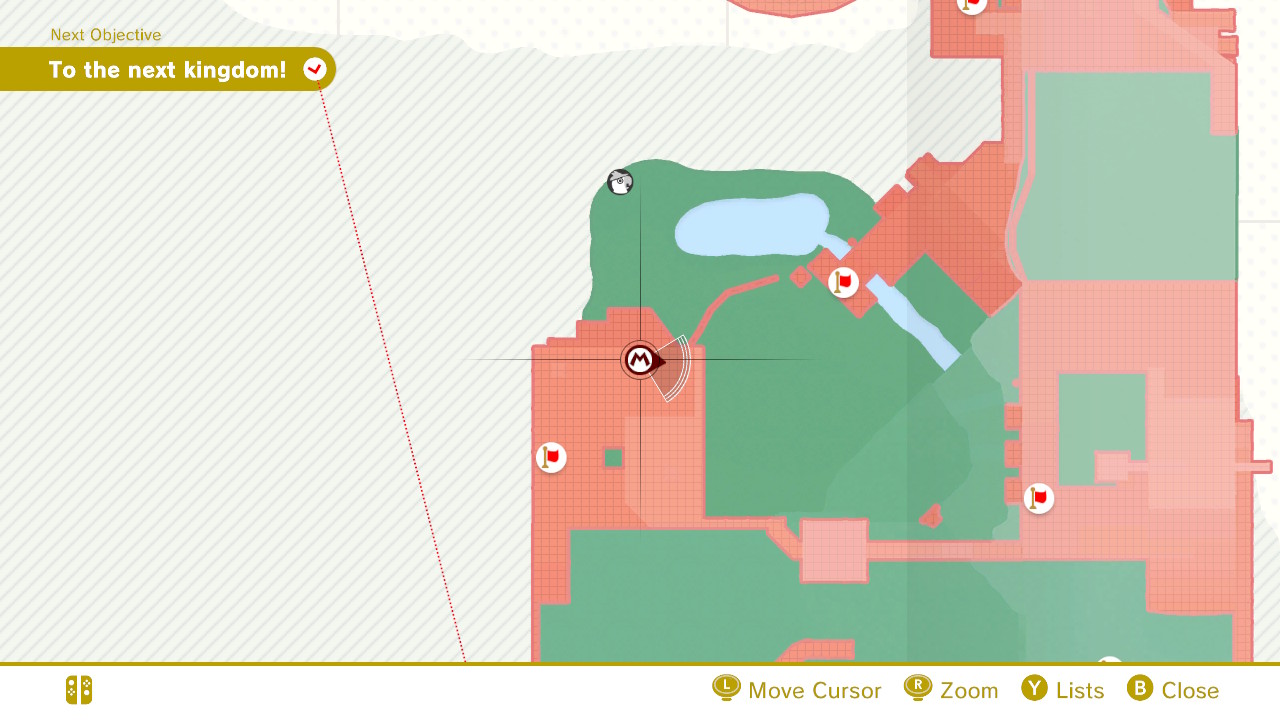
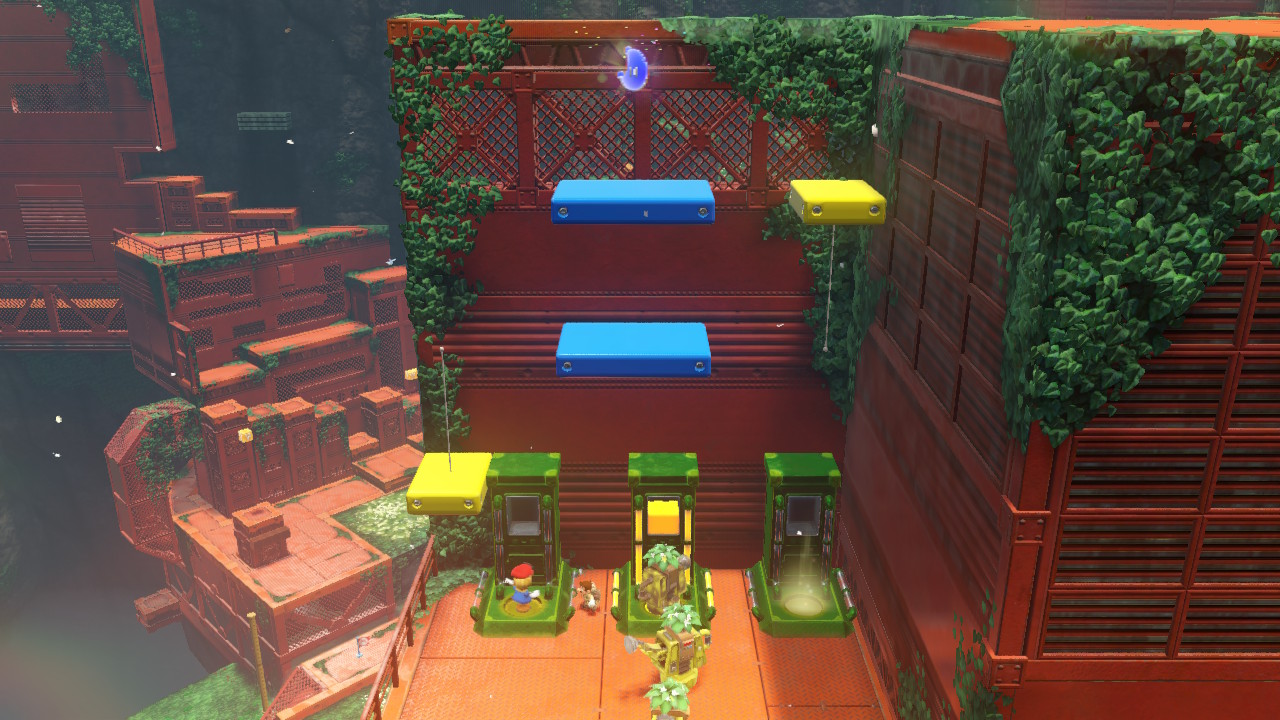
39 – Flooding Pipeway
Location-
1- Under the water you will see a warp pipe…
2- Swim into the pipe…
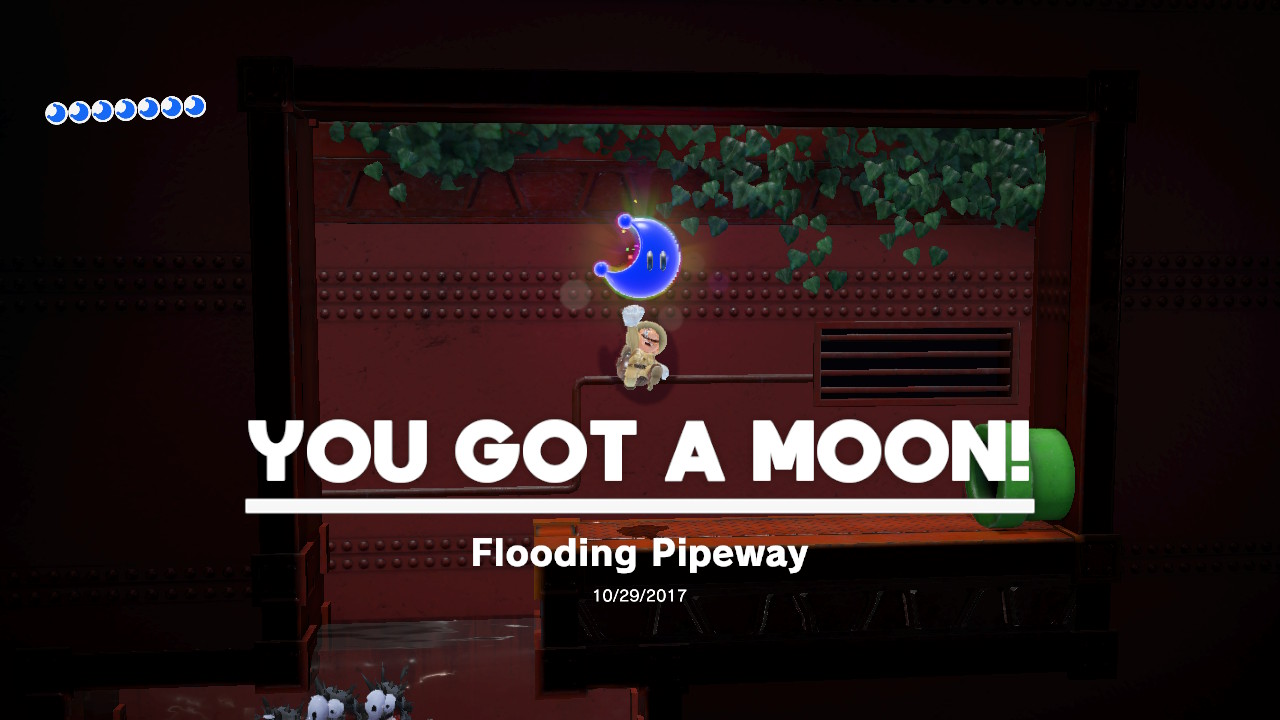
3- Inside you will be treated with a swimming obstacle course…
4- Swim and dodge the bad guys…
5- Reach the exit where your Power Moon has been waiting decades for you!
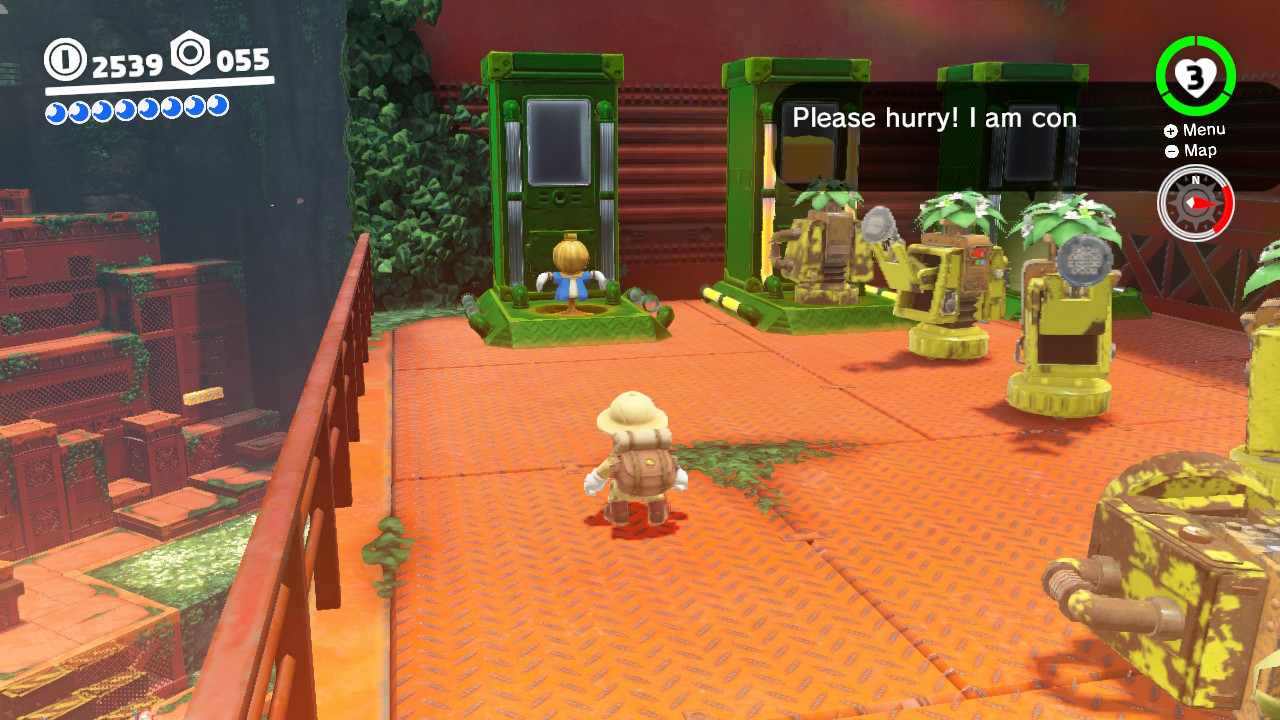
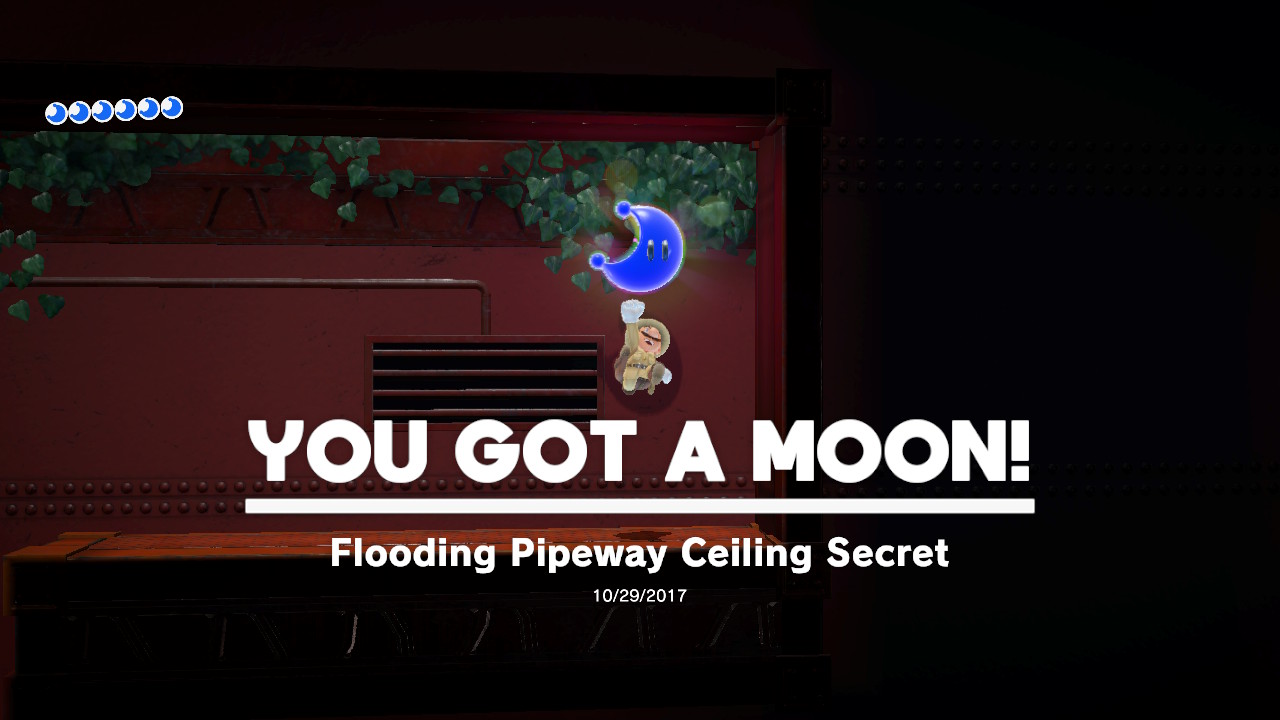
40 – Flooding Pipeway Ceiling Secret
Location- Same as “Swimming Pipeway”
1- Under the water you will see a warp pipe…
2- Swim into the pipe…
3- Inside you will be treated with a swimming obstacle course…
4- Halfway through you will notice a hole in the ceiling…
5- Jump to the top! The secret Power Moon is hiding up there!
41 – Wandering in the Fog
Location-
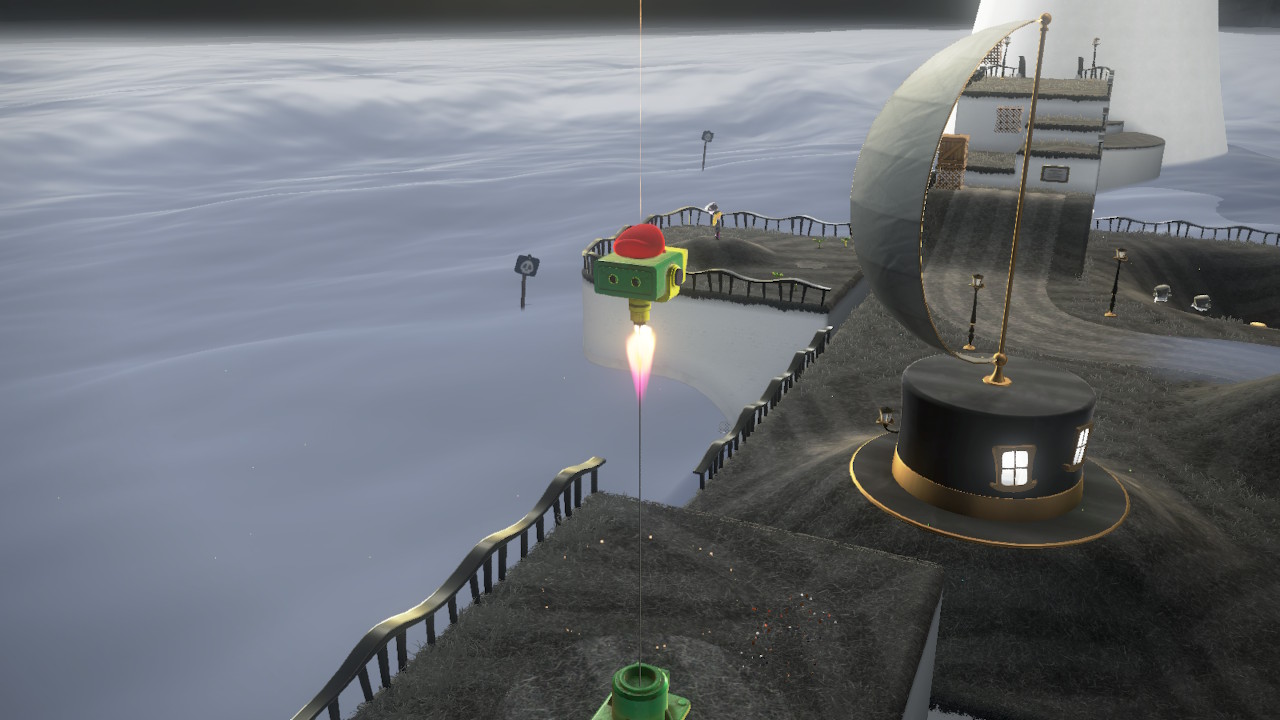
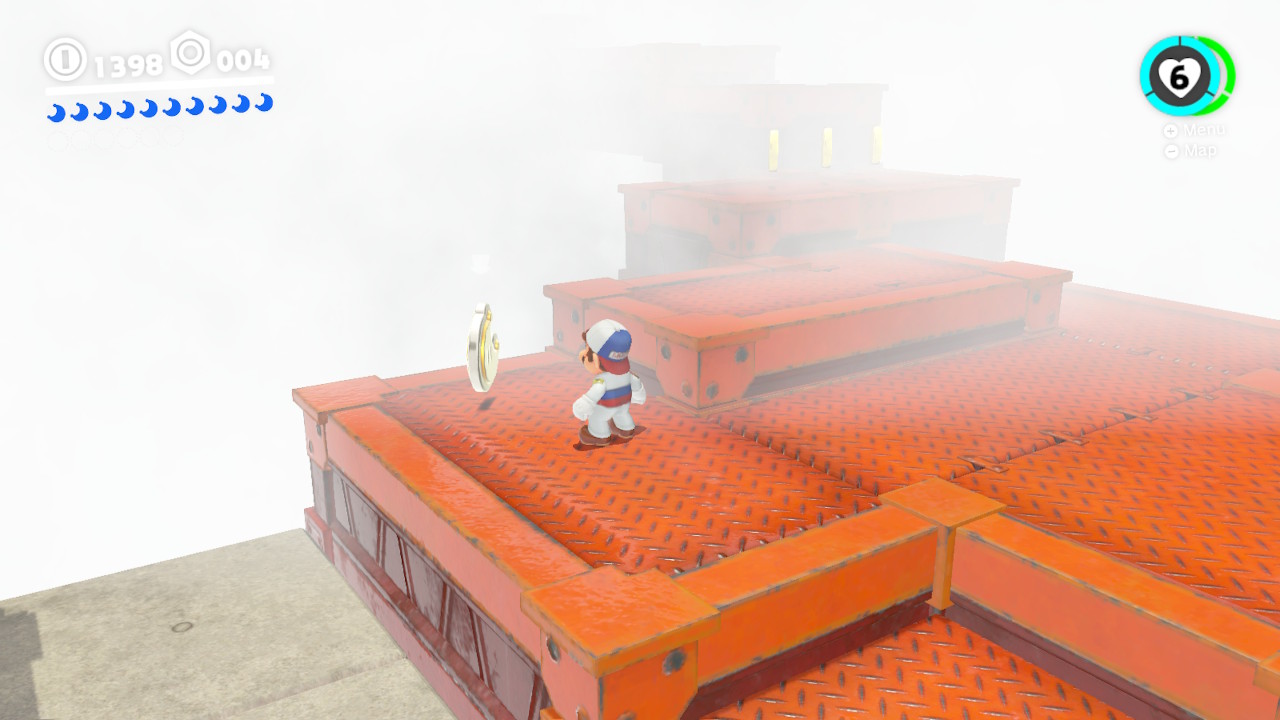
1- Right in front of the checkpoint you will see a rocket ship sitting on top a small struture, hit the invisible blocks behind it to climb up…
2- Hit the rokcet ship with Cappy and you will BLAST OFF to a foggy secret area, you’ll need to collect shards, pick up the first one…
3- Use Cappy to capture the flying Goomba, collect the next shard…
4- Fly and FOLLOW THE COINS…
5- After collecting the third shard, drop down slowly while FOLLOWING THE COINS…
6- Underneath the floating platform is where you will find the fourth shard, FOLLOW THE COINS underneath to fly back up…
7- When you fly back up while FOLLOWING THE COINS, you will see the final shard, the Power Moon will appear!!!
PS! THERE IS ALSO ANOTHER SECRET POWER MOON IN HERE! LOOK RIGHT BELOW FOR HOW TO FIND IT!
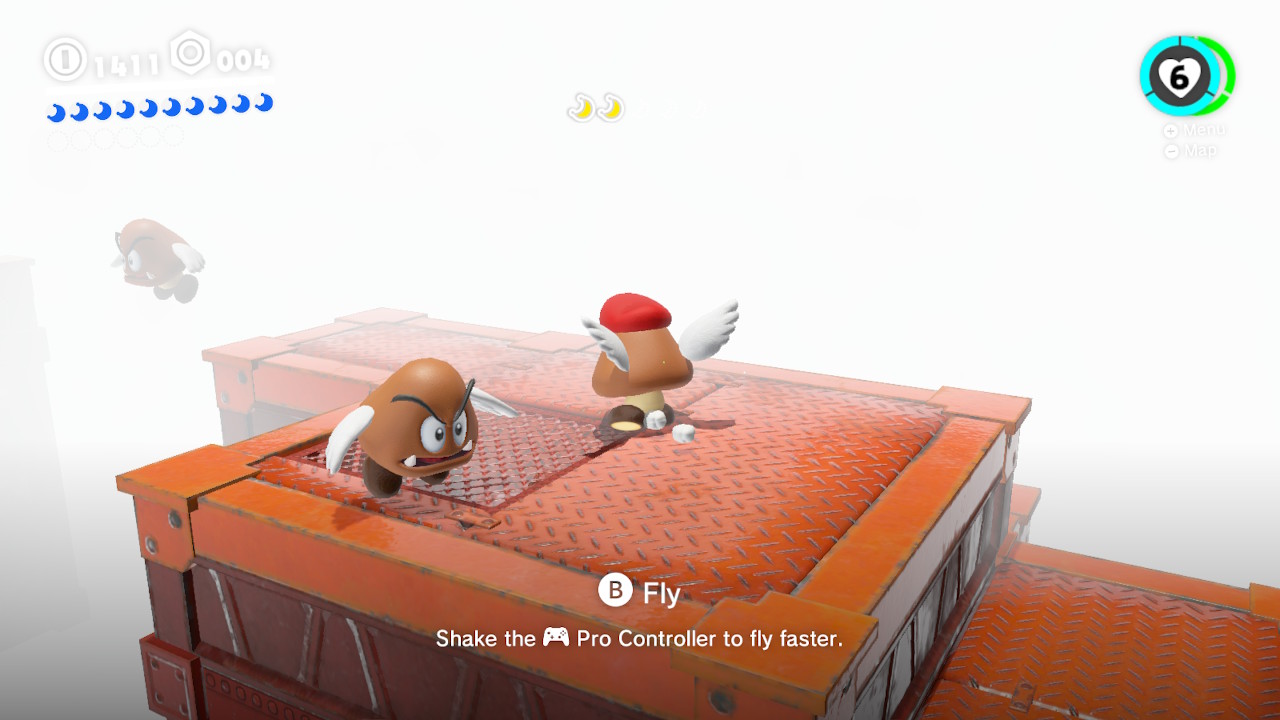
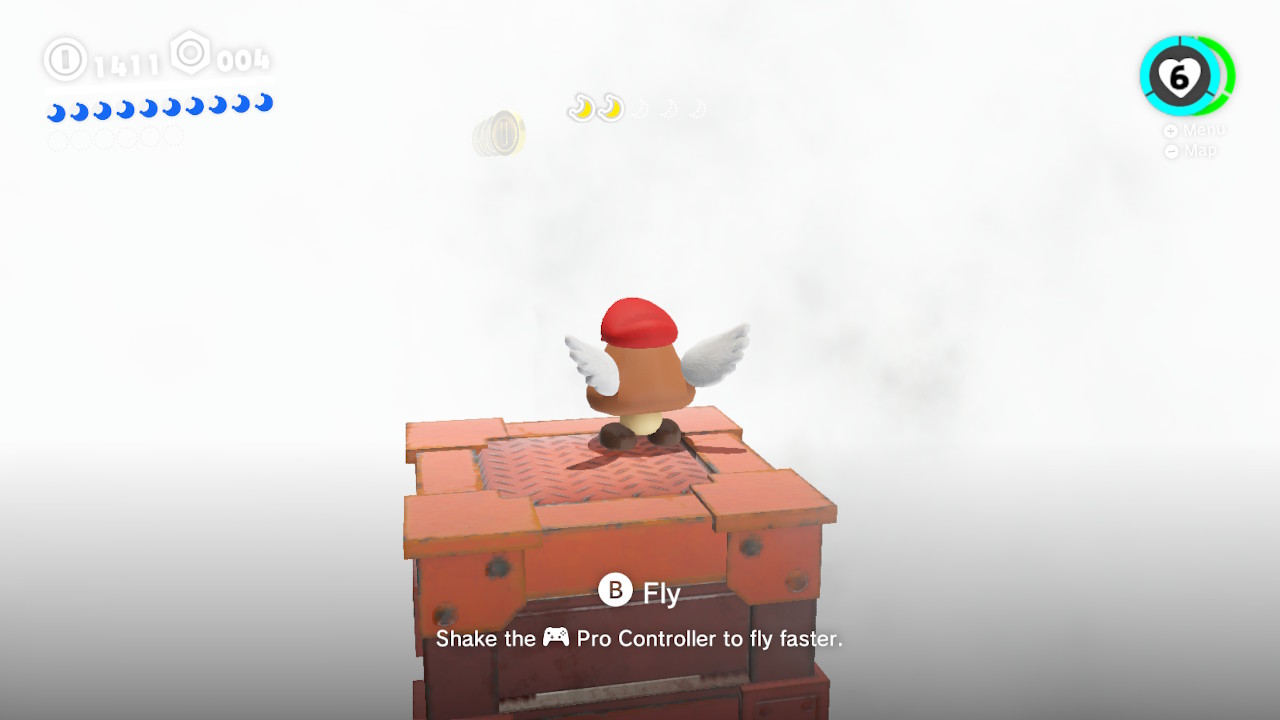
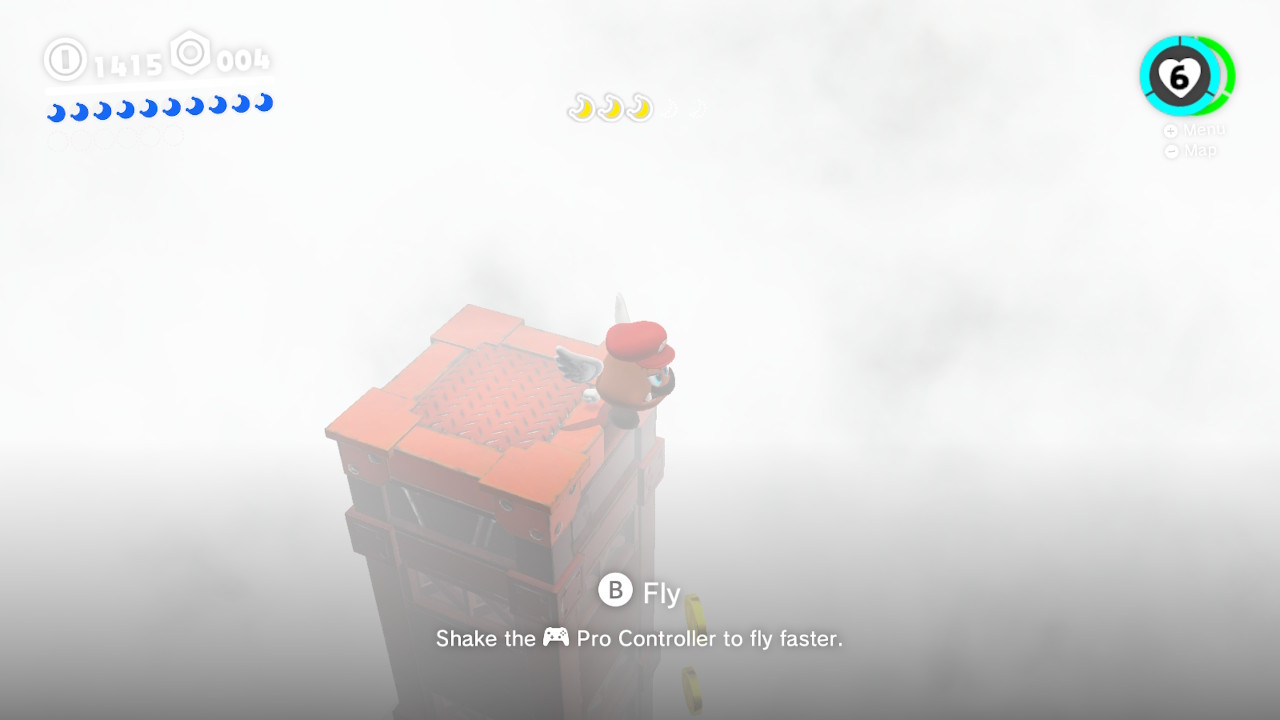
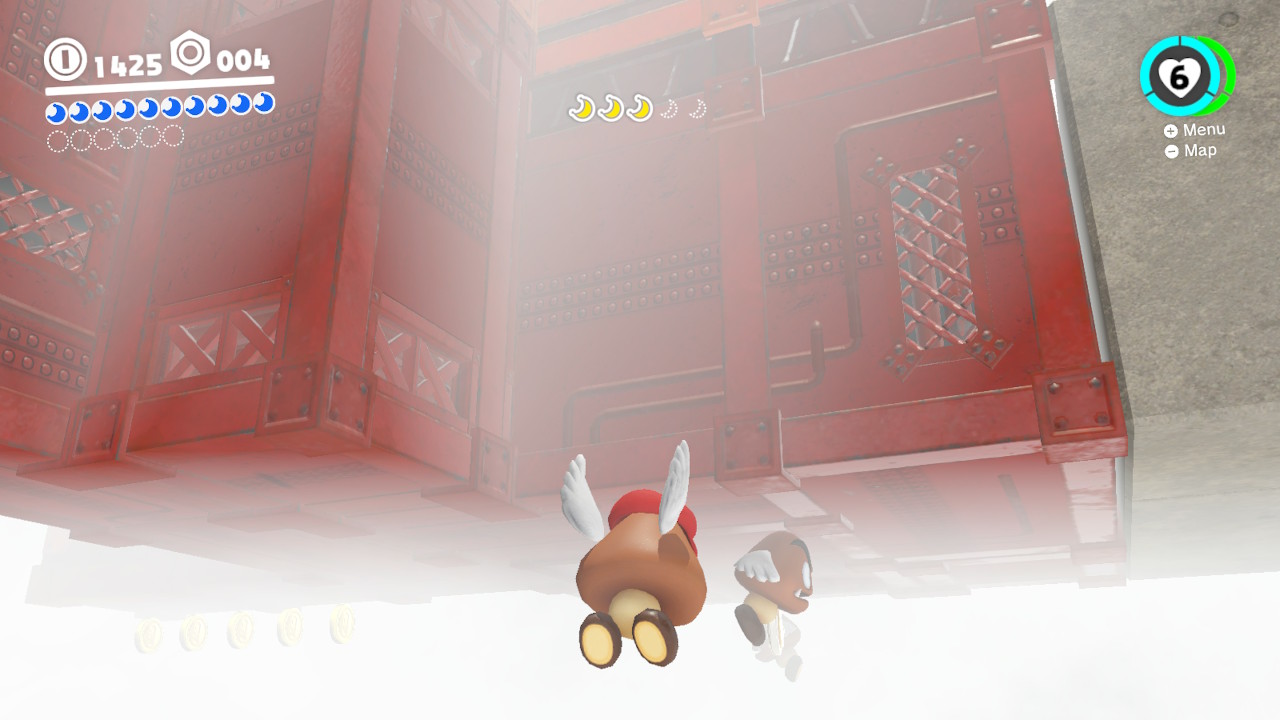
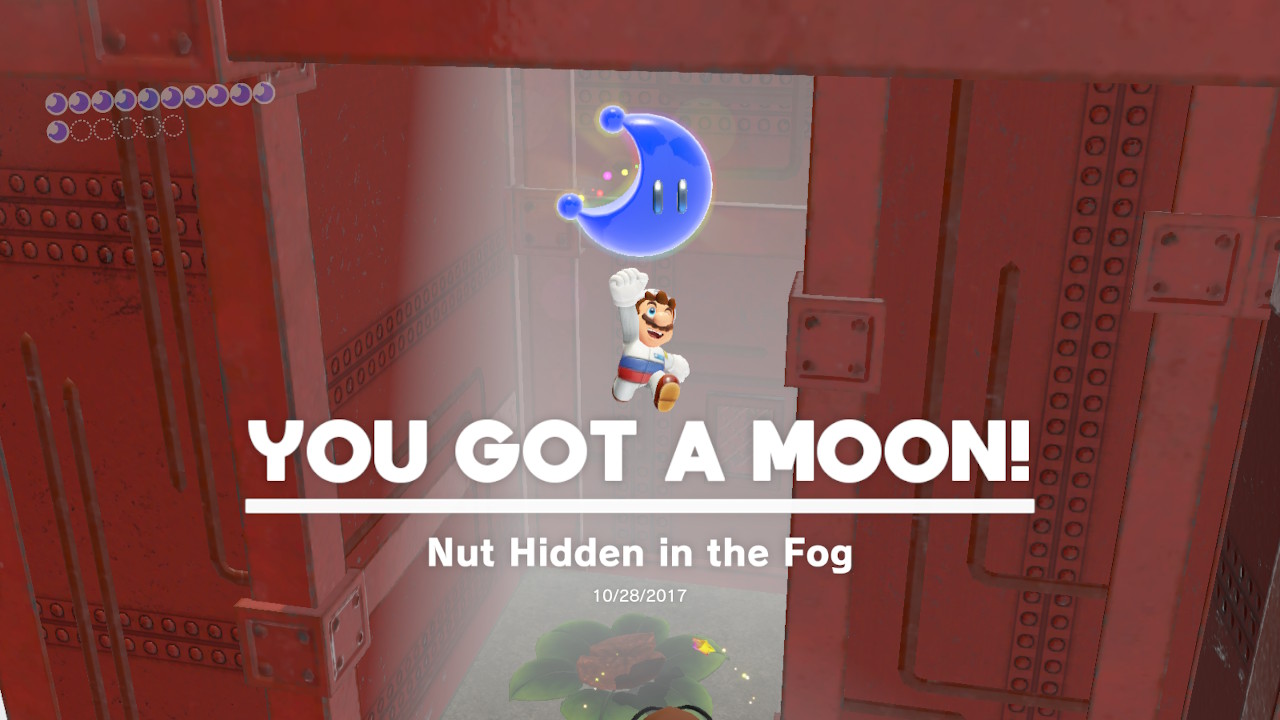
42 – Nut Hidden in the Fog
Location- Same as “Wandering in the Fog”
1- Right in front of the checkpoint you will see a rocket ship sitting on top a small struture, hit the invisible blocks behind it to climb up…
2- Hit the rokcet ship with Cappy and you will BLAST OFF to a foggy secret area, CAPTURE THE FLYING GOOMBA…
3- Below the platform and off to the side is a hidden nut, carefully fly off the side of the platform to find it!
43 –
44 –
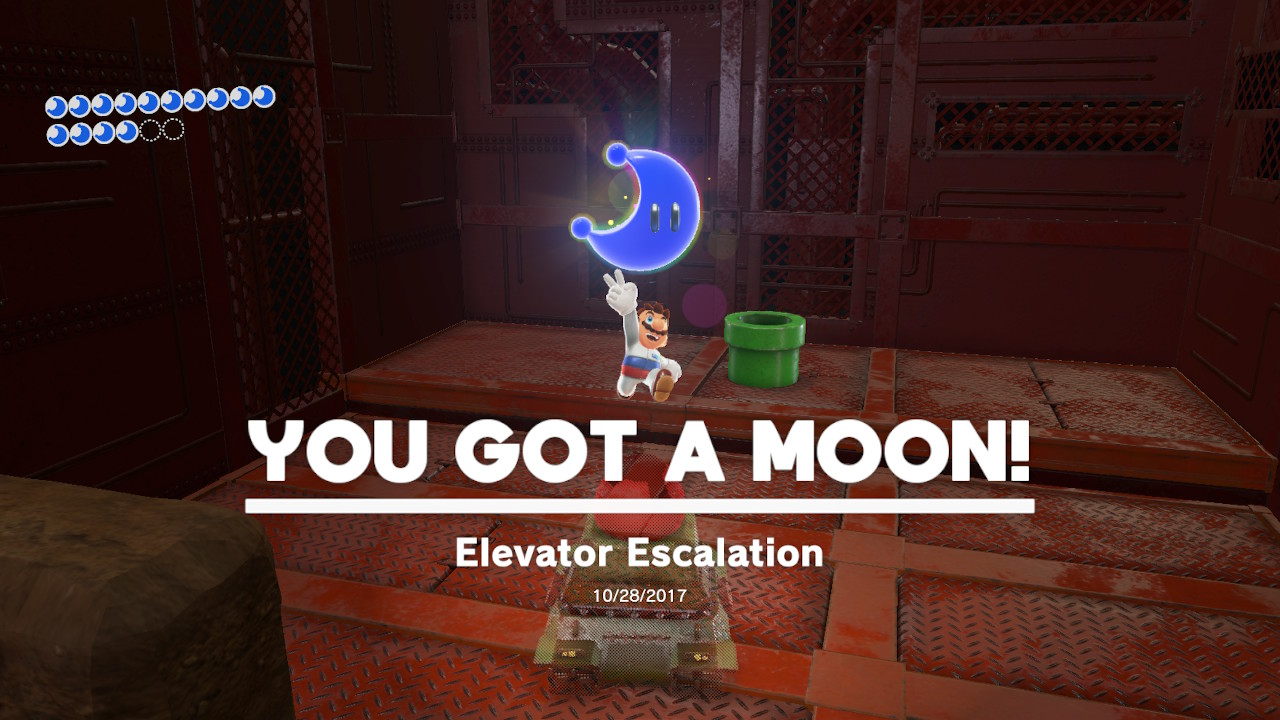
45 – Elevator Escalation
Location-
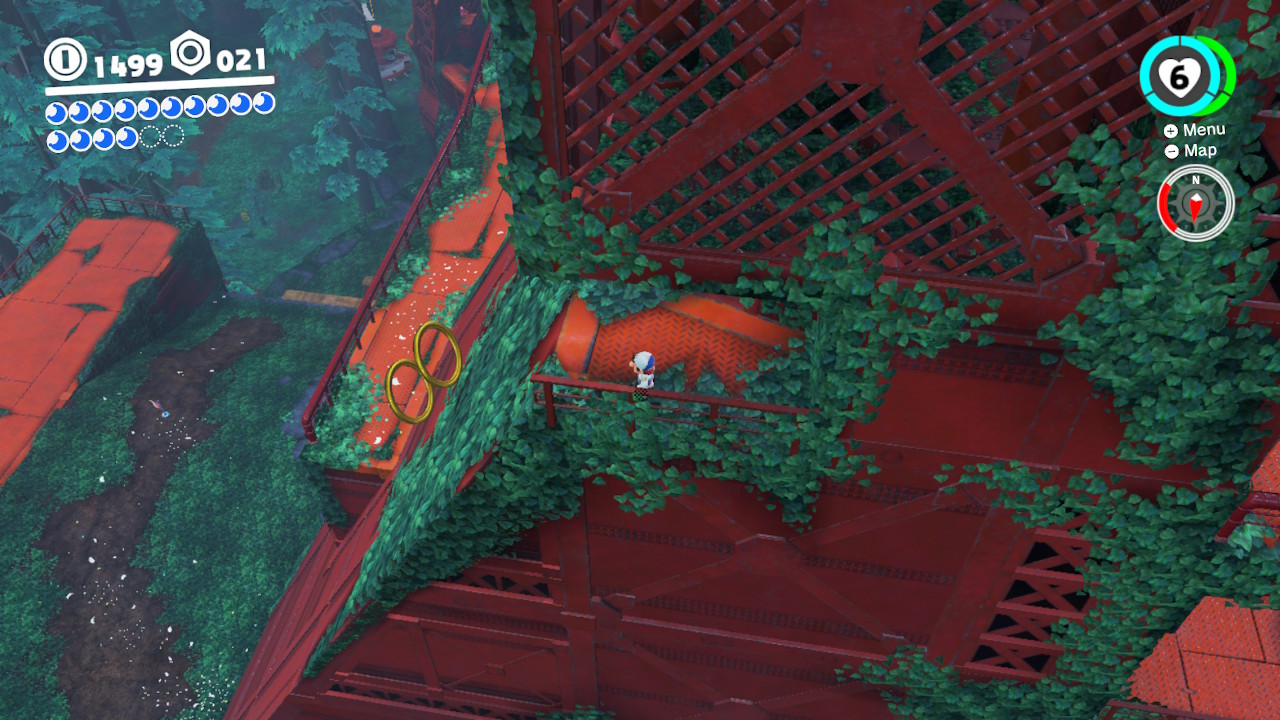
1- Normally you need to use the flowers at the bottom of the hill to climb up, but for this secret area you will need to climb ALL the way up as the image shows…
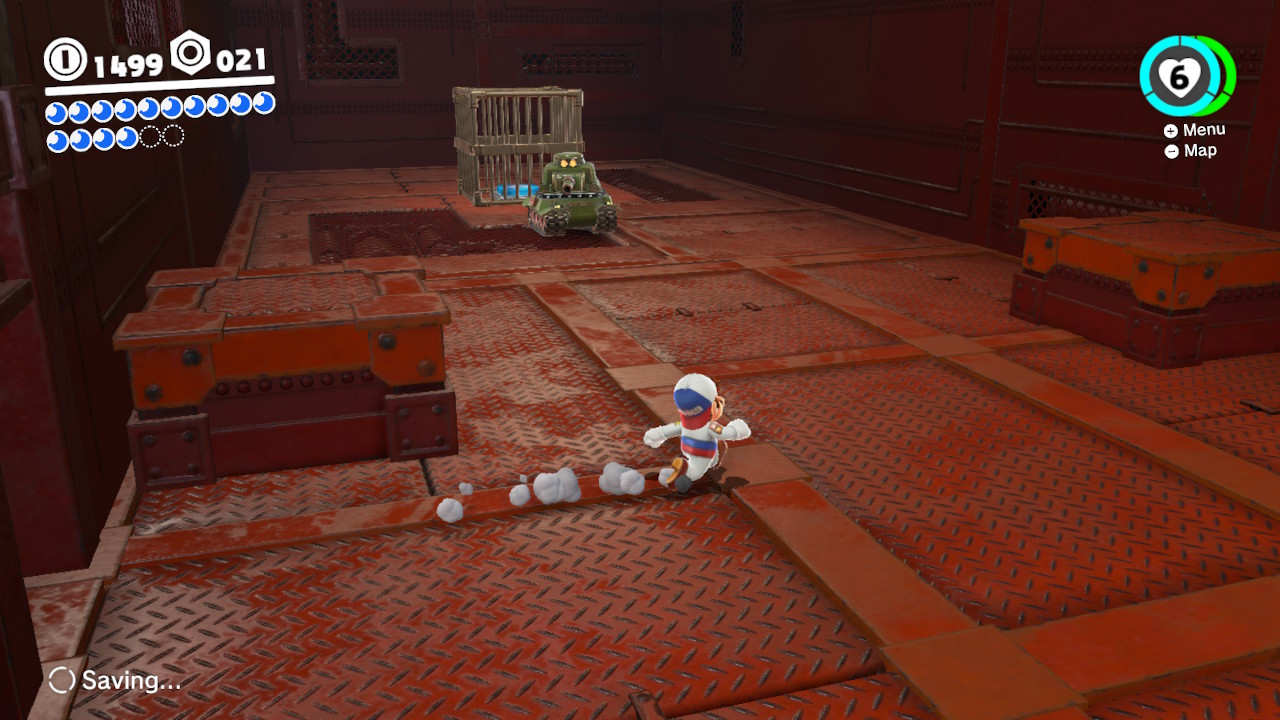
2- At the top there is a Cappy door, inside is a tank battleground…
3- Battle your way through each of the rooms, killing the enemies and hitting the switch by running over it…
4- There are four rooms, the hardest of which is filled with firethrowing hammerbros…
5- The last room is a total tank brawl…
6- The Power Moon is hiding behind the enemies and behind some bricks!!!
1- From the very first checkpoint that you reach, you will see a Power Moon above the spinning platforms to the north…
2- Jump across the platforms and the Power Moon is yours!
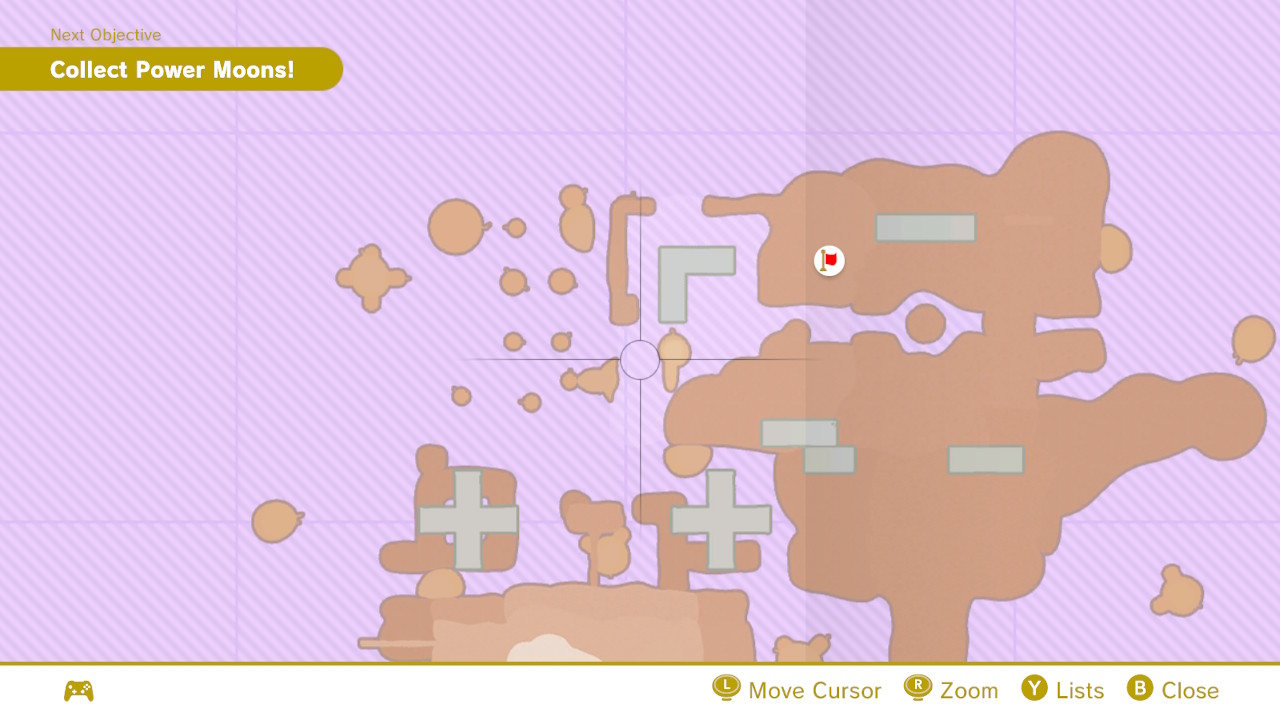
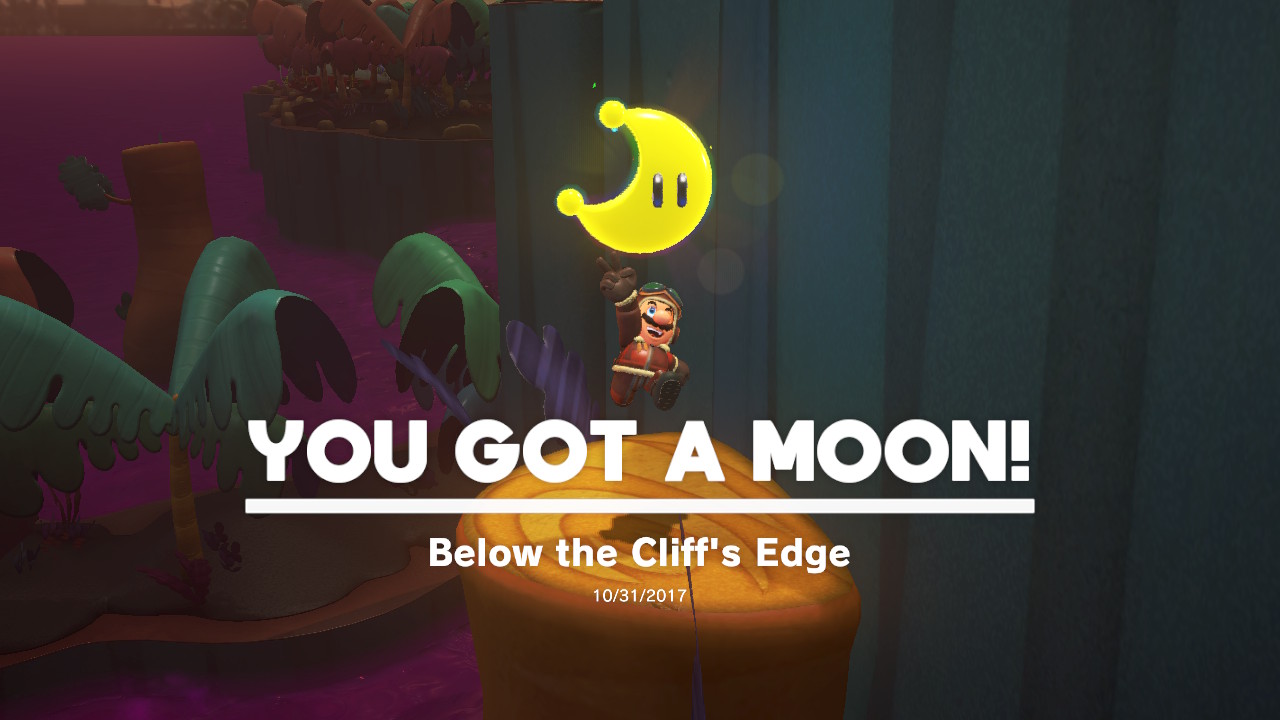
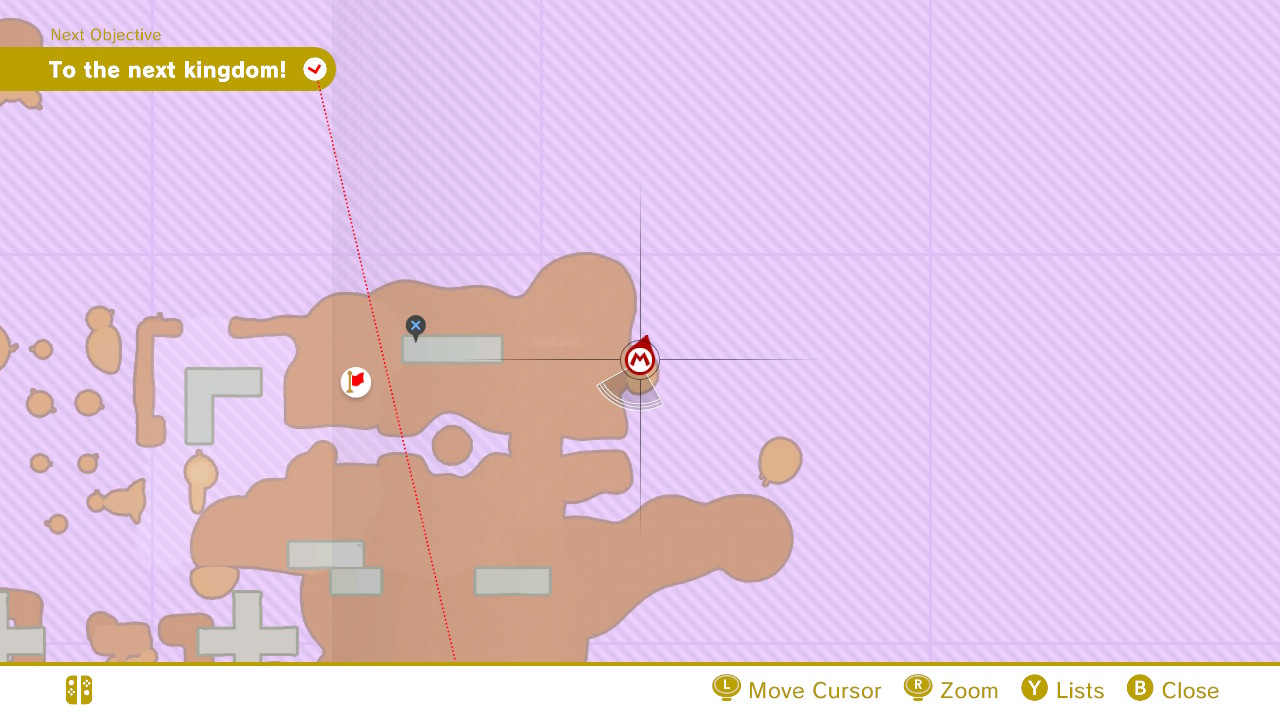
02 – Below the Cliff’s Edge
Location-
1- Right off this edge there is a Power Moon just sitting there…
2- Drop down and pluck it away!
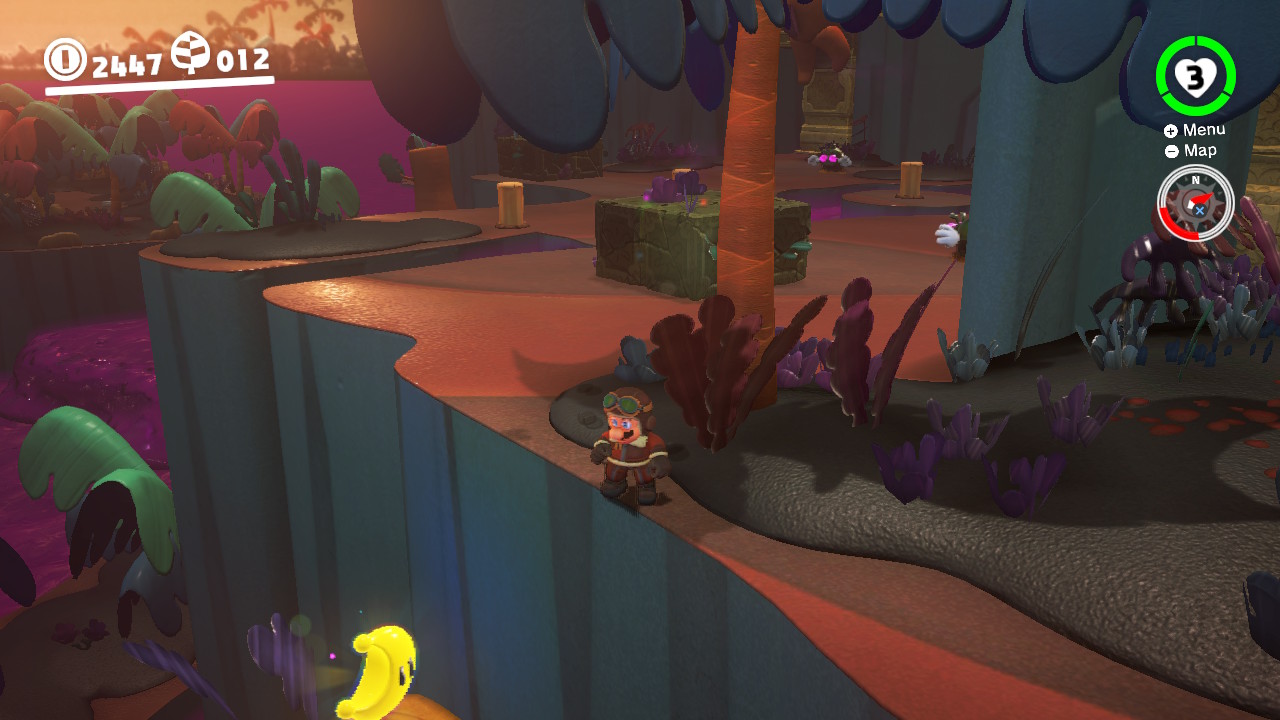
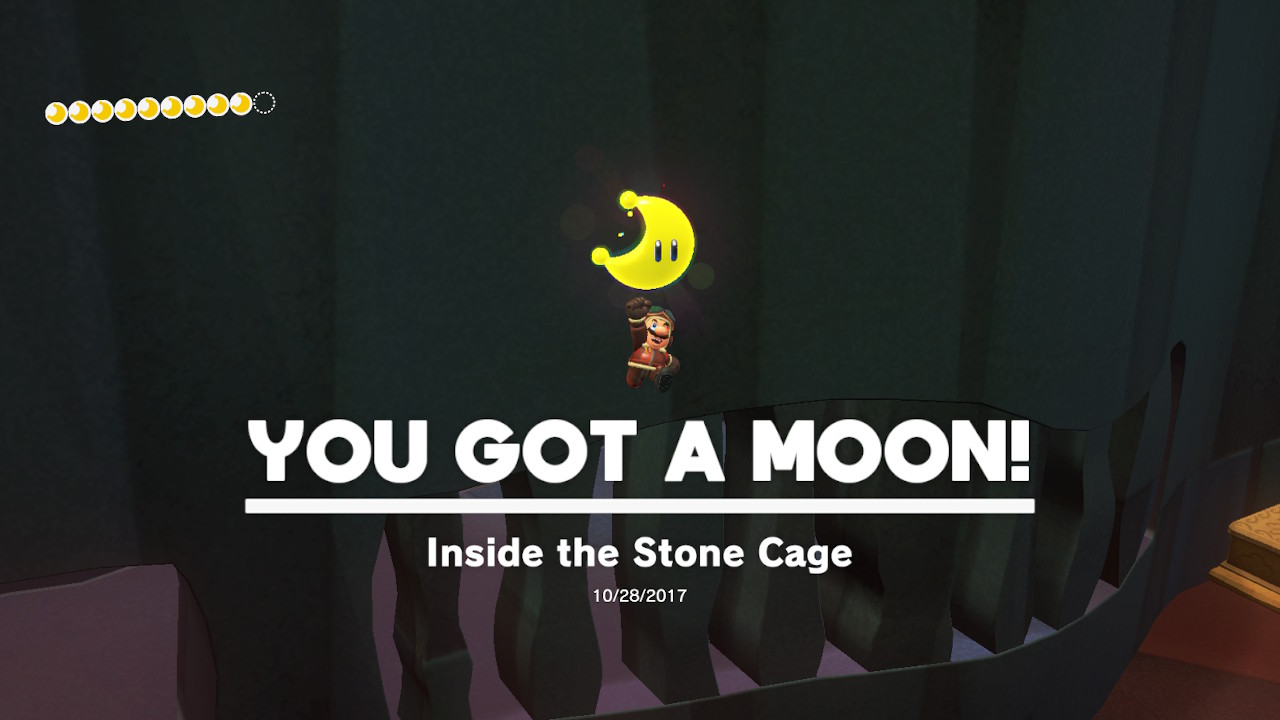
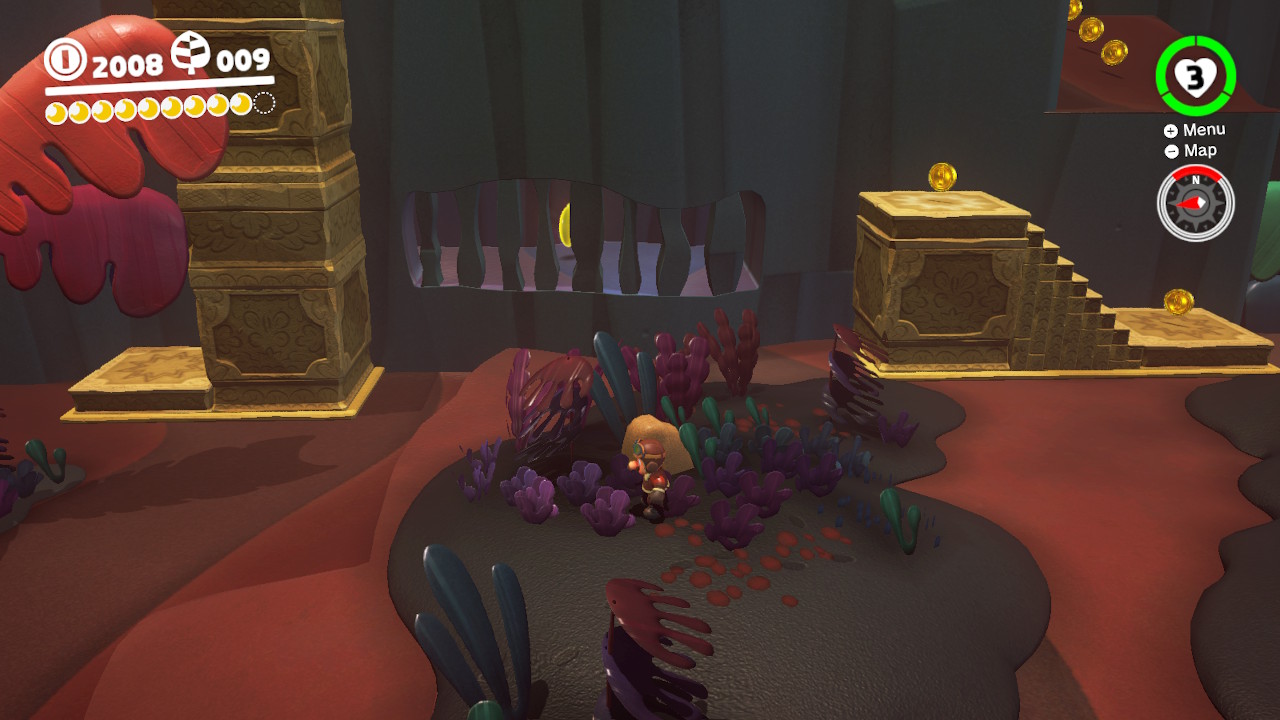
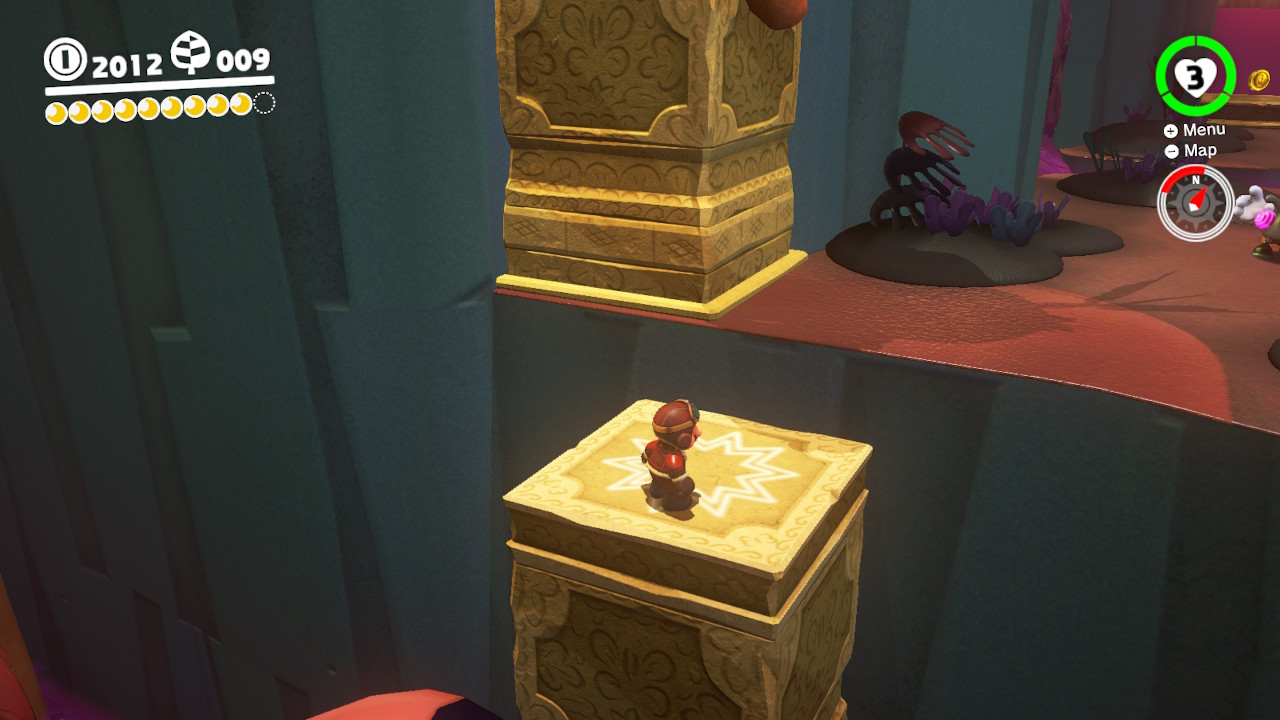
03 – Inside the Stone Cage
Location –
1- Hiding behind a stone bars in a cave is the Power Moon…
2- Climb directly above it and you will see a pillar to the right…
3- Ground pound and lower the pillar and you can now reach the Power Moon!
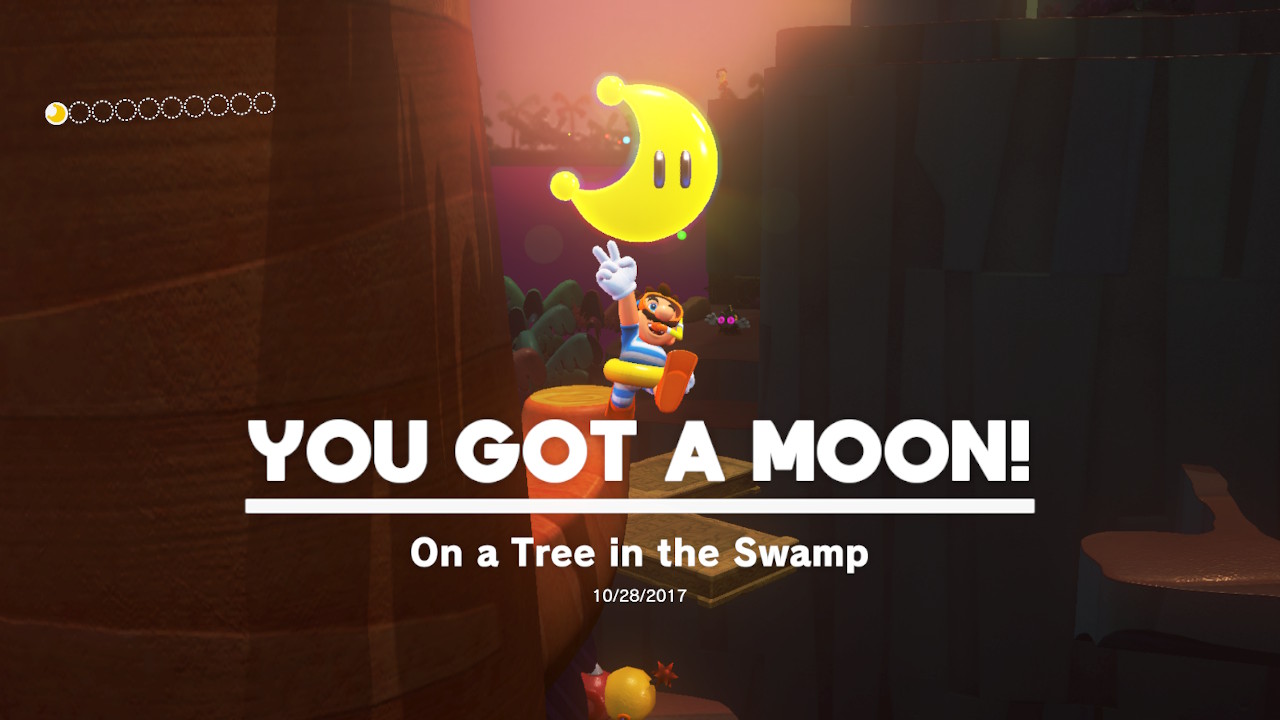
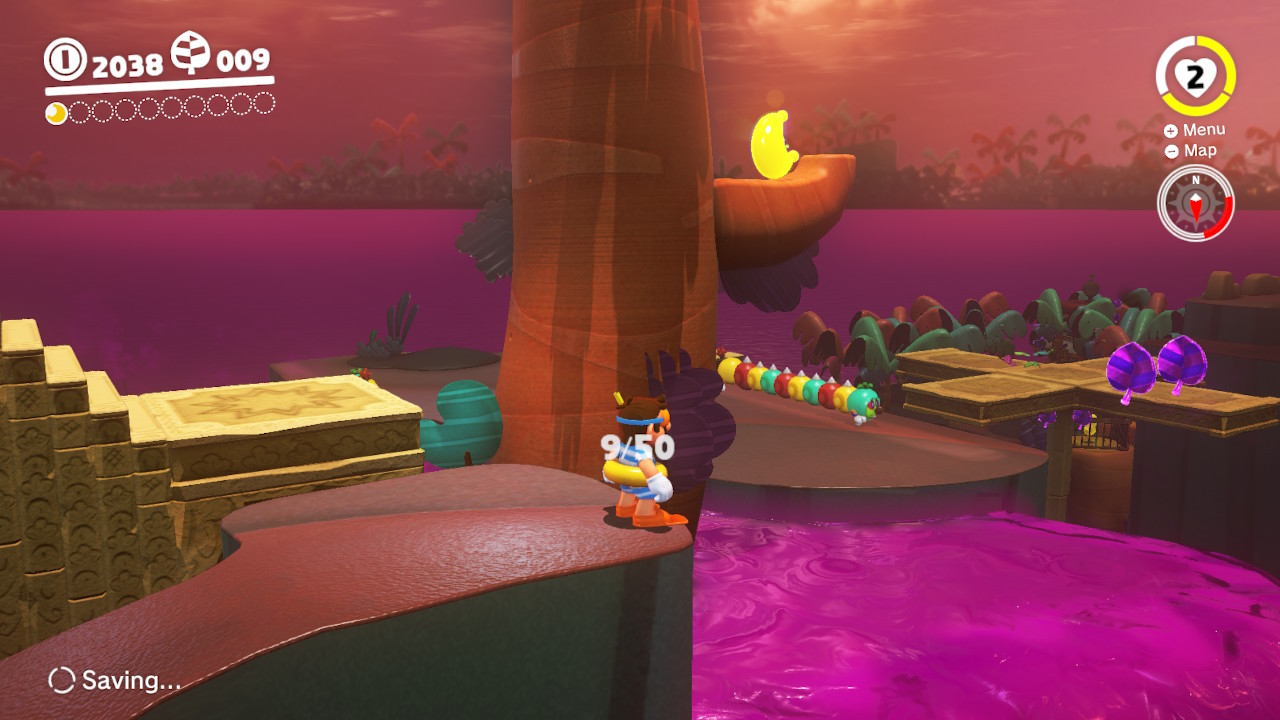
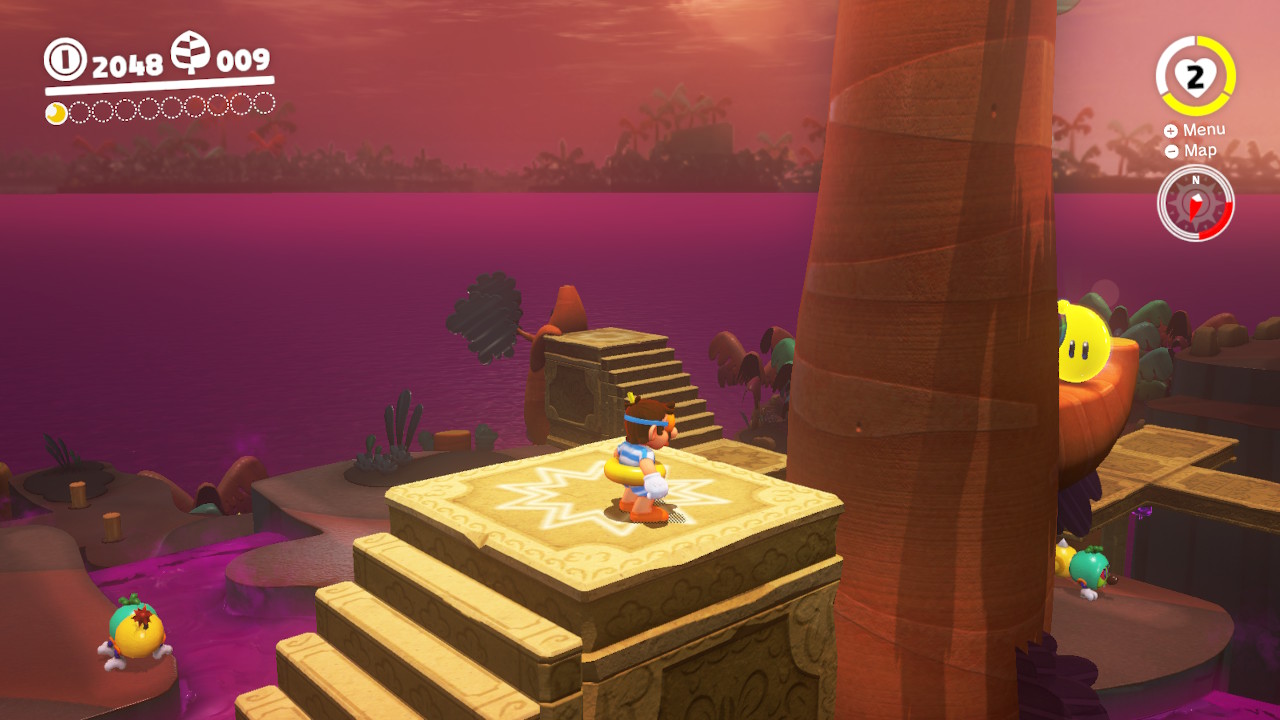
04 – On a Tree in the Swamp
Location-
1- This Moon is hiding on a branch that seems JUST out of reach…
2- Ground pound the yellow platforms to raise them up. Now it will take some tricky jumping, but the Power Moon is now reachable! (You may die getting it, like I did!)
05 – Over the Fuzzies, Above the Swamp
Location-
1-Right from the checkpoint you will see a Power Moon, one in the wall and one in the open. For this one, you want to jump on the platforms across to get the moon!
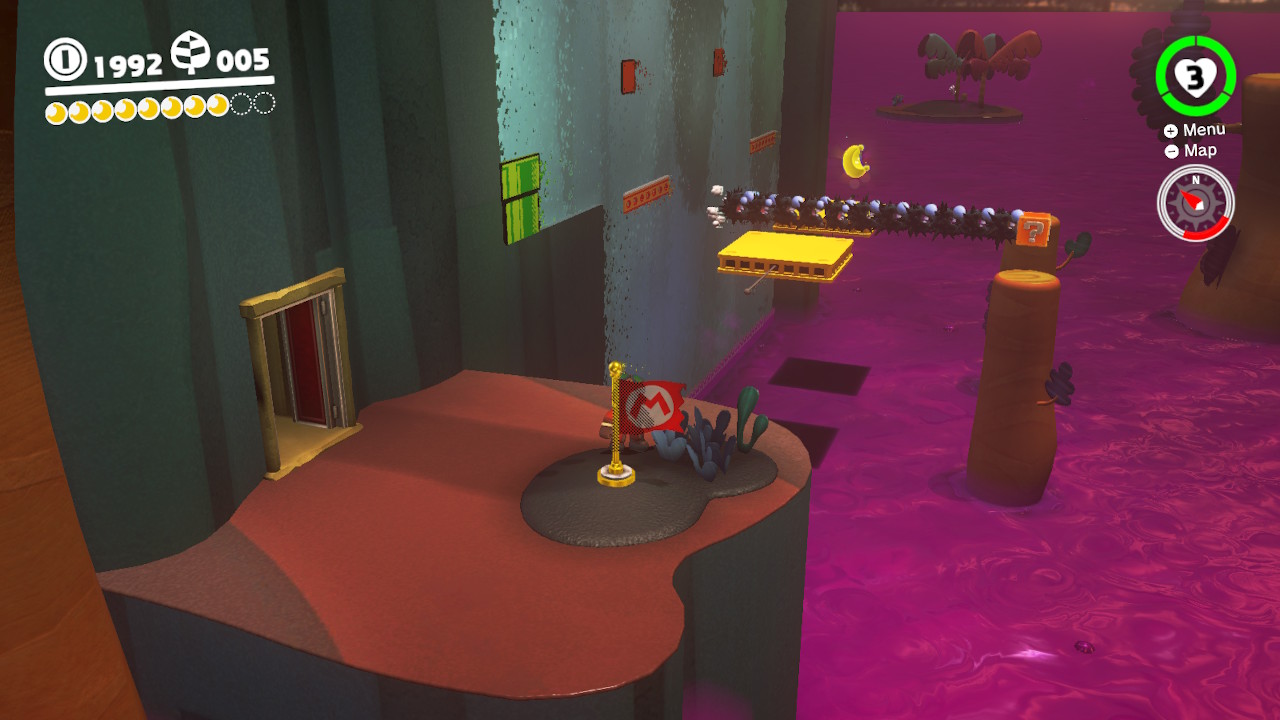
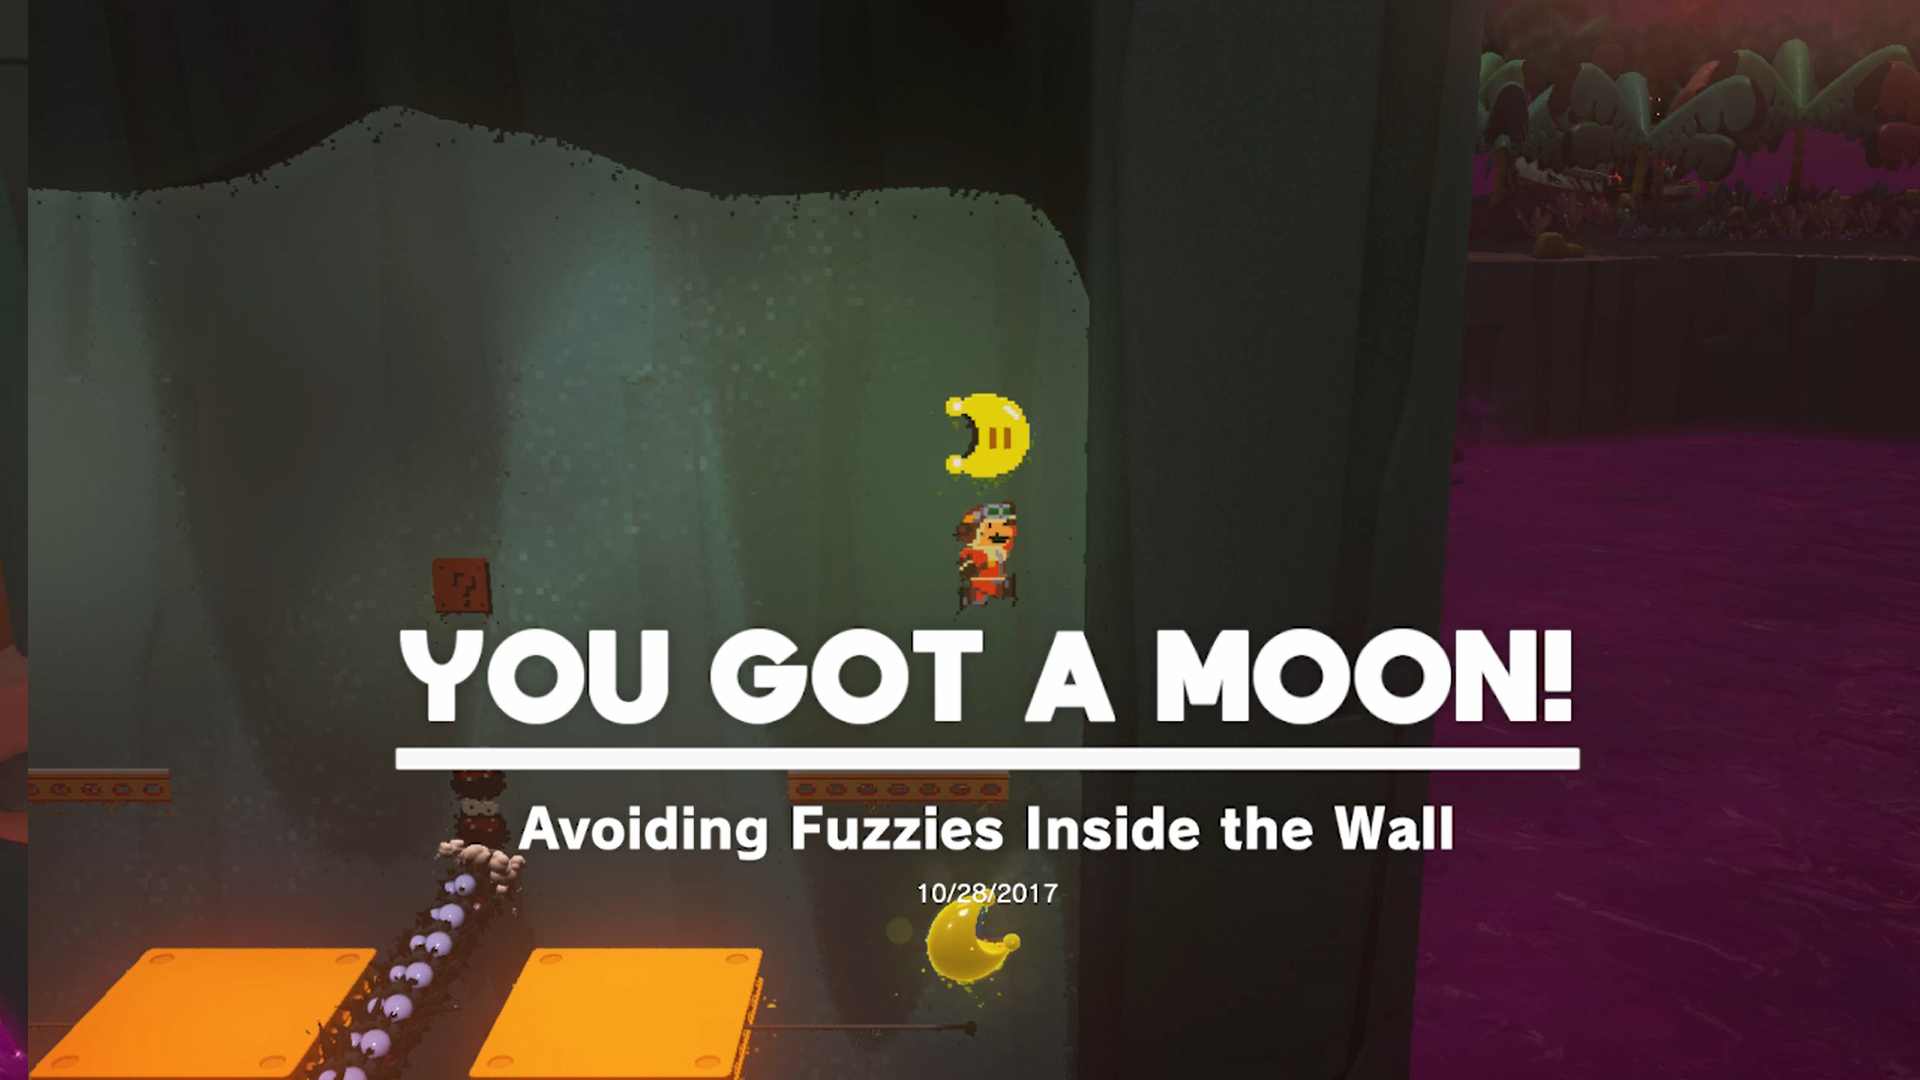
06 – Avoiding the Fuzzies Inside the Wall
Location-
1- From the checkpoint you will see a door, open it with Cappy and an 8-bit tunnel is behind it…
2- Go through the pipe, jump on the moving platforms, and the Power Moon is waiting for you! (Take a minute and enjoy the 8-bit music while you’re at it!)
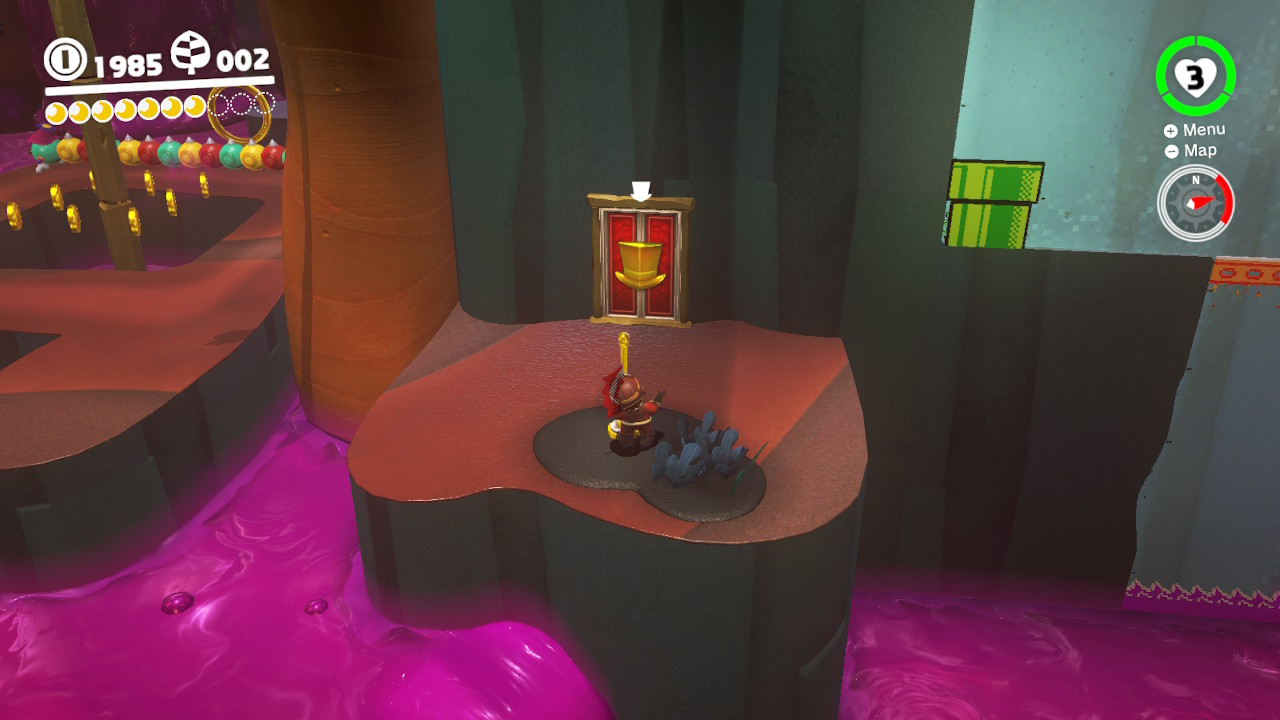
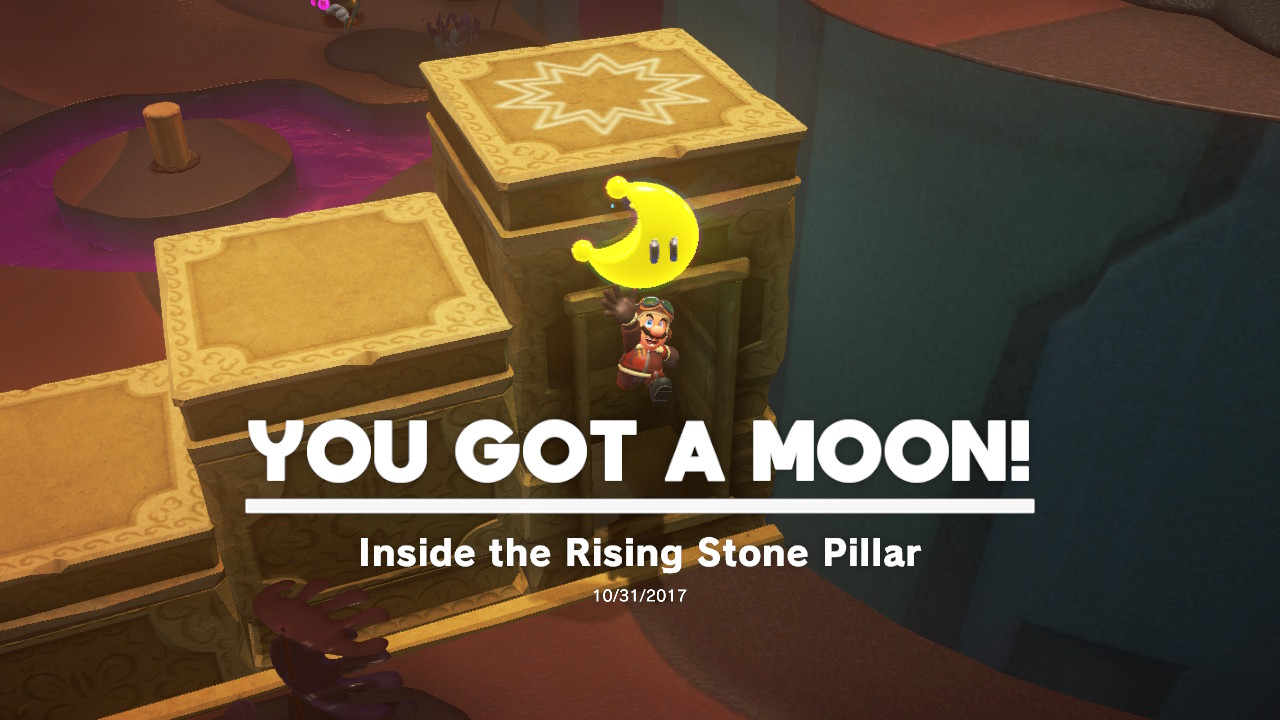
07 – Inside the Rising Stone Pillar
Location-
1- On the rising pillar that you initially used to reach the “Swamp Hill” checkpoint, there is a Moon hiding underneath…
2- Ground pound the pillar and…. Check it out! Look what’s hiding down there!
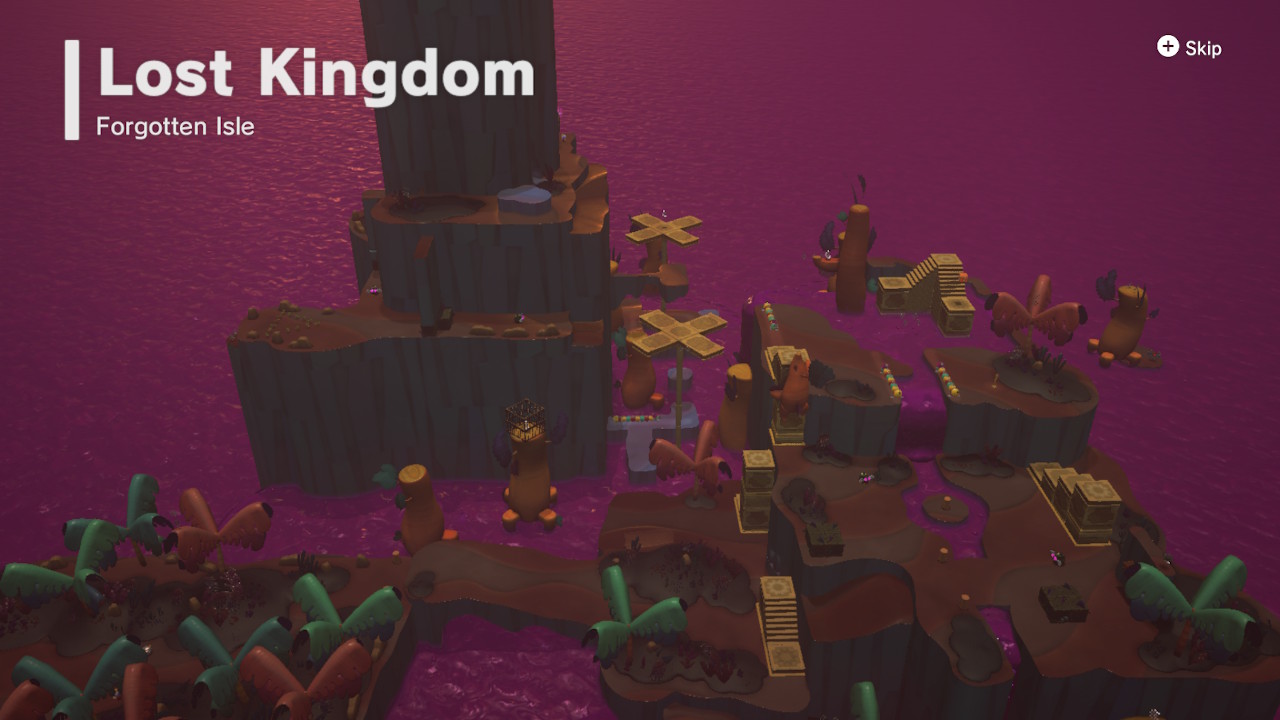
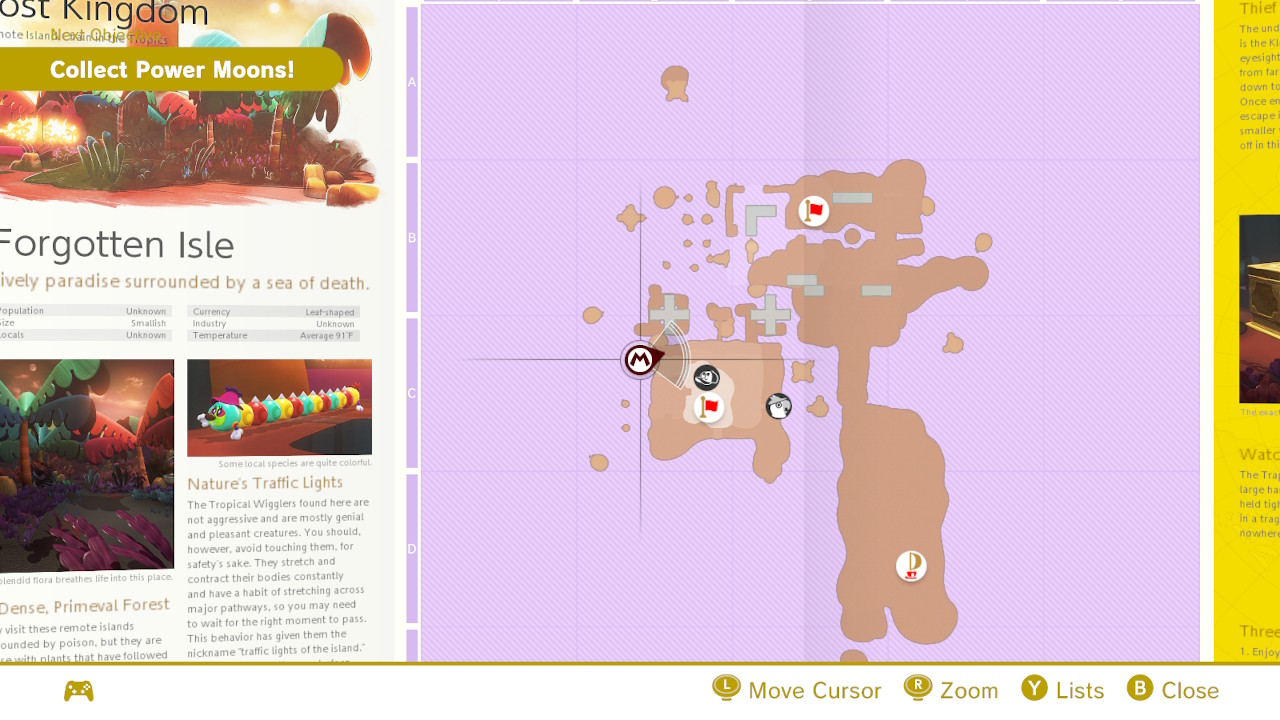
08 – Enjoying the View of Forgotten Isle
Location-
1- Directly to right right of “Crazy Caps” you will see a tree, dangling above it is the Power Moon! Climb the tree and check out the view!
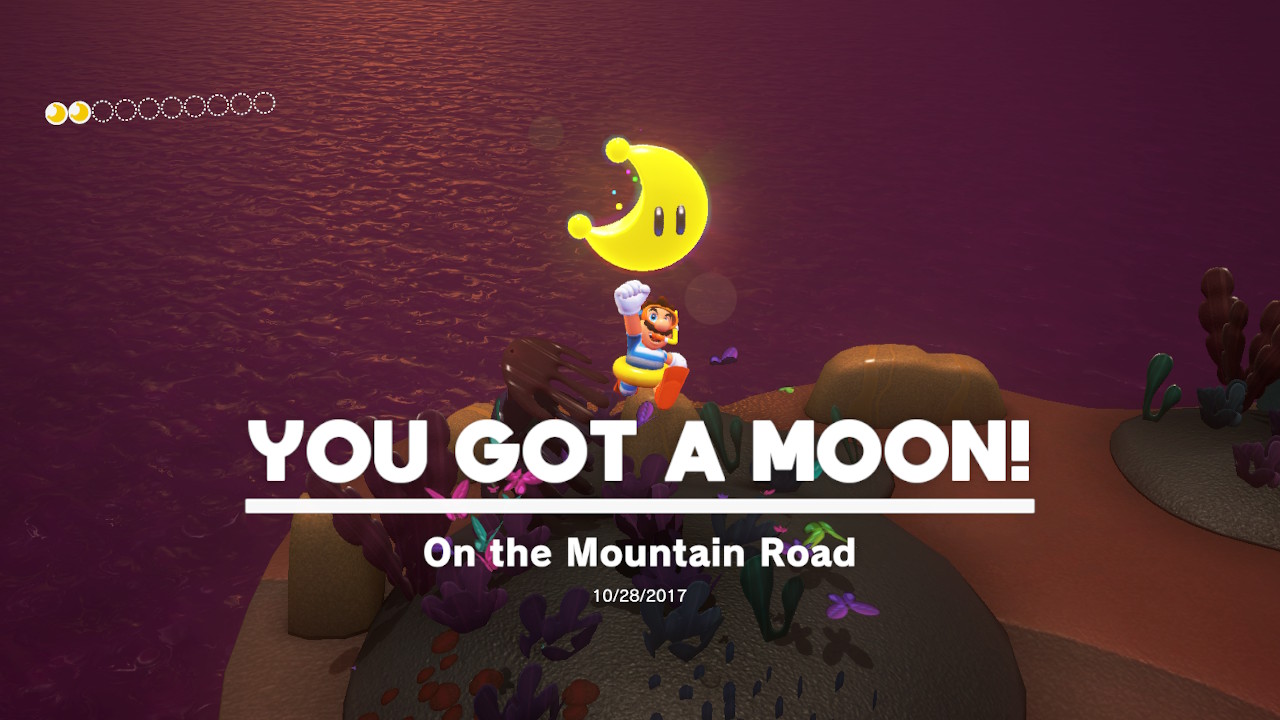
09 – On the Mountain Road
Location-
1- On the path towards the top of the Forgotten Isle mountain you will see a glowing light coming from a pile, ground pound it and the Moon will pop out!
10 – A Propeller Pillar’s Secret
Location-
1- On the spinning propeller pillar with a bunch of butterlies…
2- You should be able to feel a vibration right in the middle…
3- Ground pound that spot and Power Moon pops up!
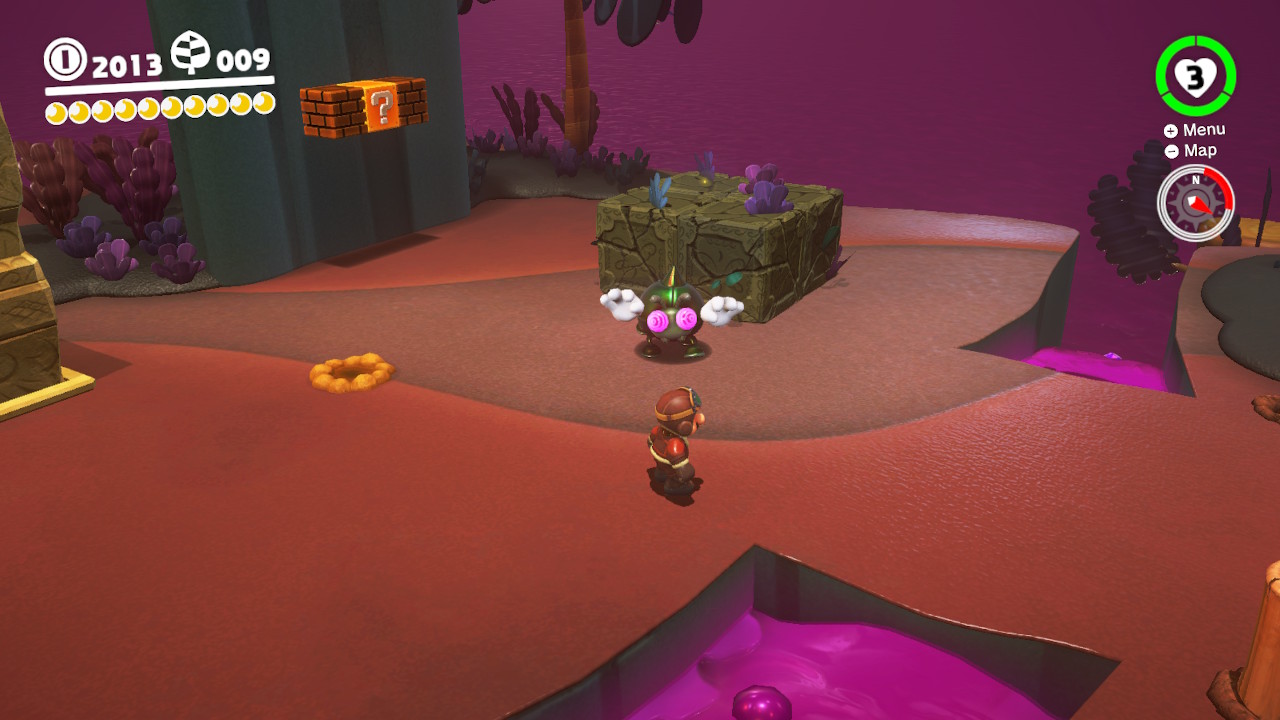
11 – Wrecked Rock Block
Location-
1- From this spot you will see a pile of four blocks and a sparkling light coming out from one of them… throw Cappy at the enemy…
2- Once it grabs Cappy, he will home in on you to try to blow you up. So stand on top of the blocks and he will blow the blocks up for you! You may need to do this four times to blow them all, but once you do, the Moon will appear!
12 – A Butterfly’s Treasure
Location-
1- There is a sparkly butterfly relaxing on the ledge…
2- Crouch walk up to it VERY slowly and once in range, hit it with Cappy!!!
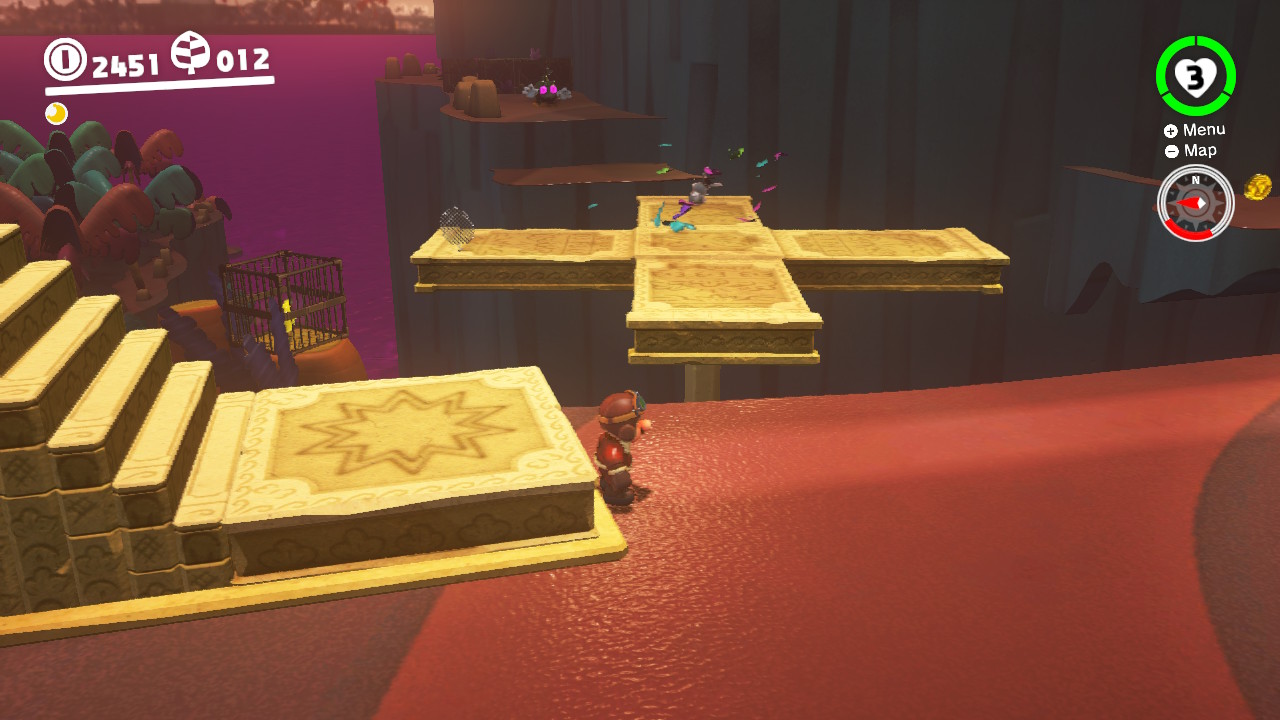
13 – Caught Hopping in the Jungle!
Location-
1- From the “Swamp Hill” checkpoint, run towards the spinning propeller platforms…
2- You will see the rabbit jumping around…
3- Cut the rabbit off, hit it with Cappy, and it’ll give you a Power Moon!
14 – Cave Gardening
Location-
1- On a skinny ledge wrapping around the tip of the mountain top there is a cave…
2- Inside the cave you will see a bunch of little flowers…
3- Throw Cappy at all of them and they will bloom! When all of them bloom, the Power Moon will magically appear!
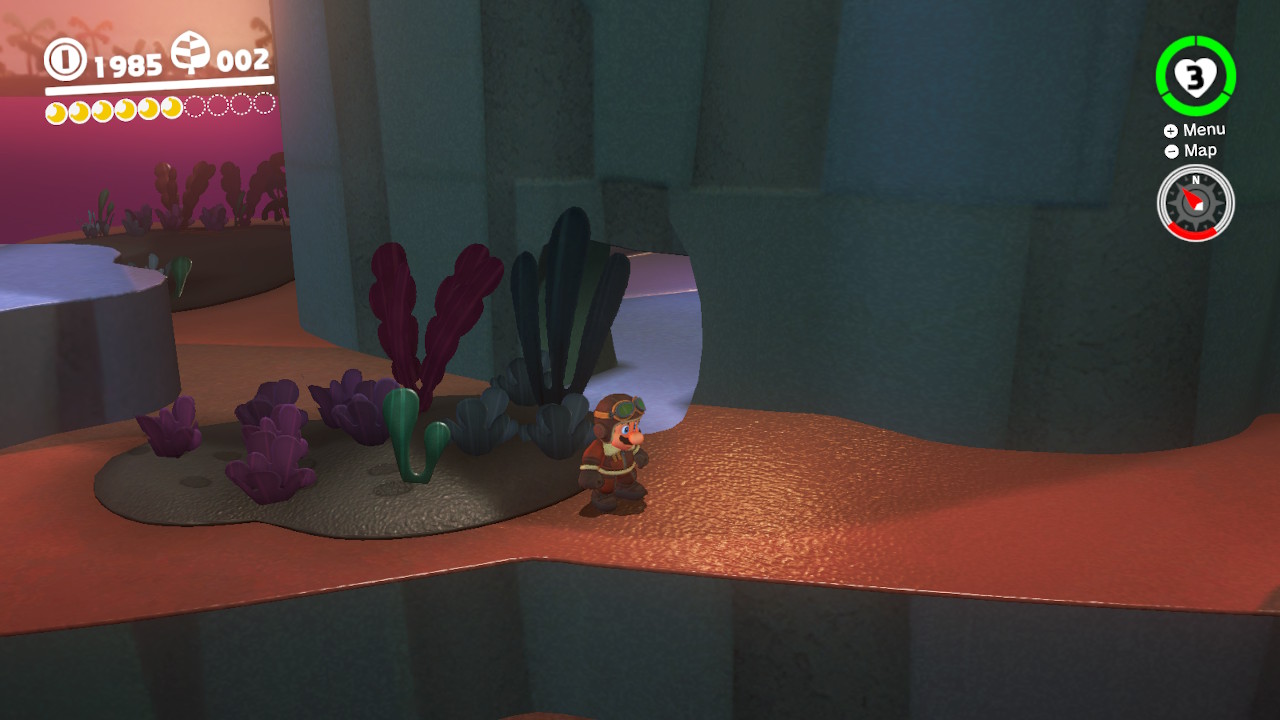
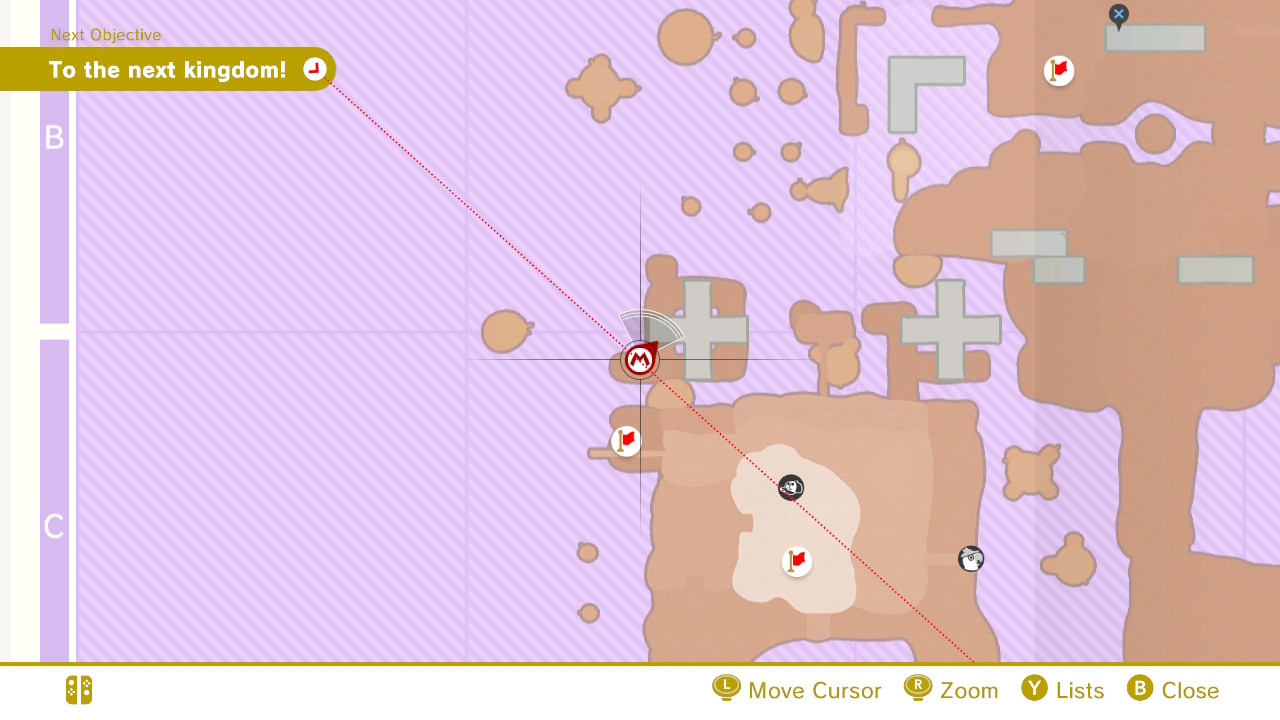
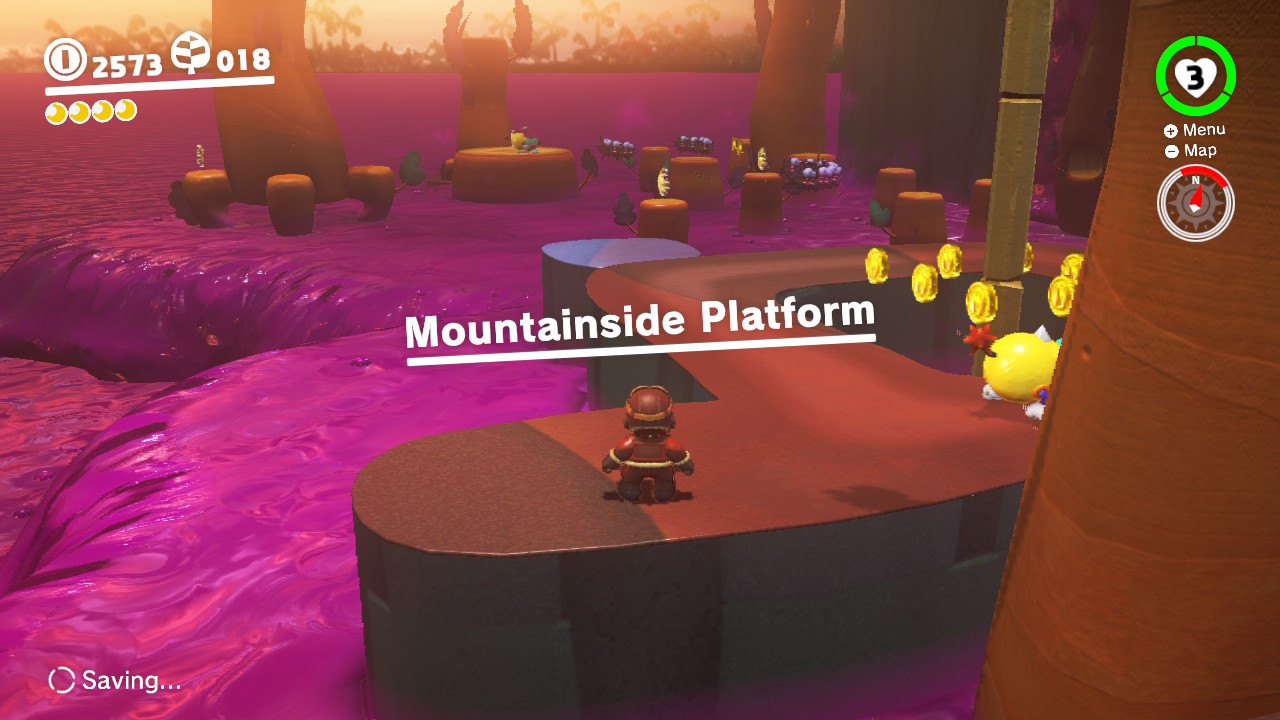
15 – Moon Shards in the Jungle
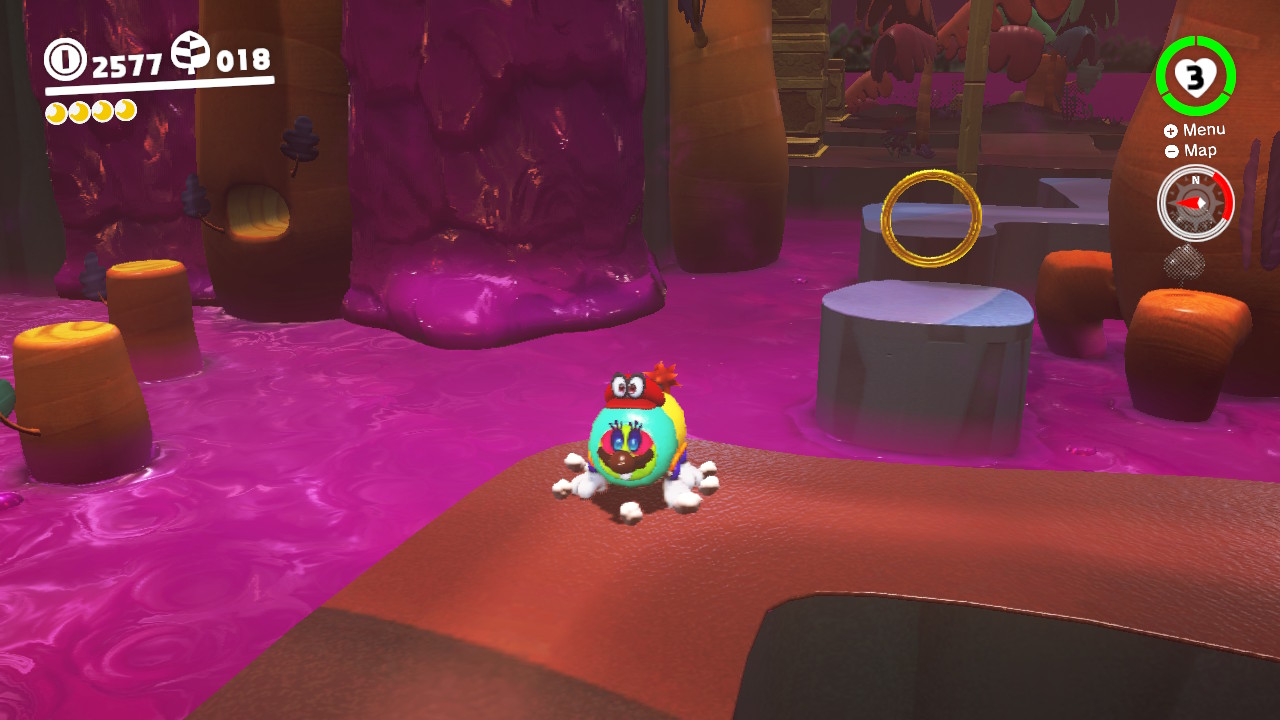
1- From the “Mountainside Platform” checkpoint you will see a bunch of moon shards dangling above the poison…
2- Capture one of the Tropical Wigglers
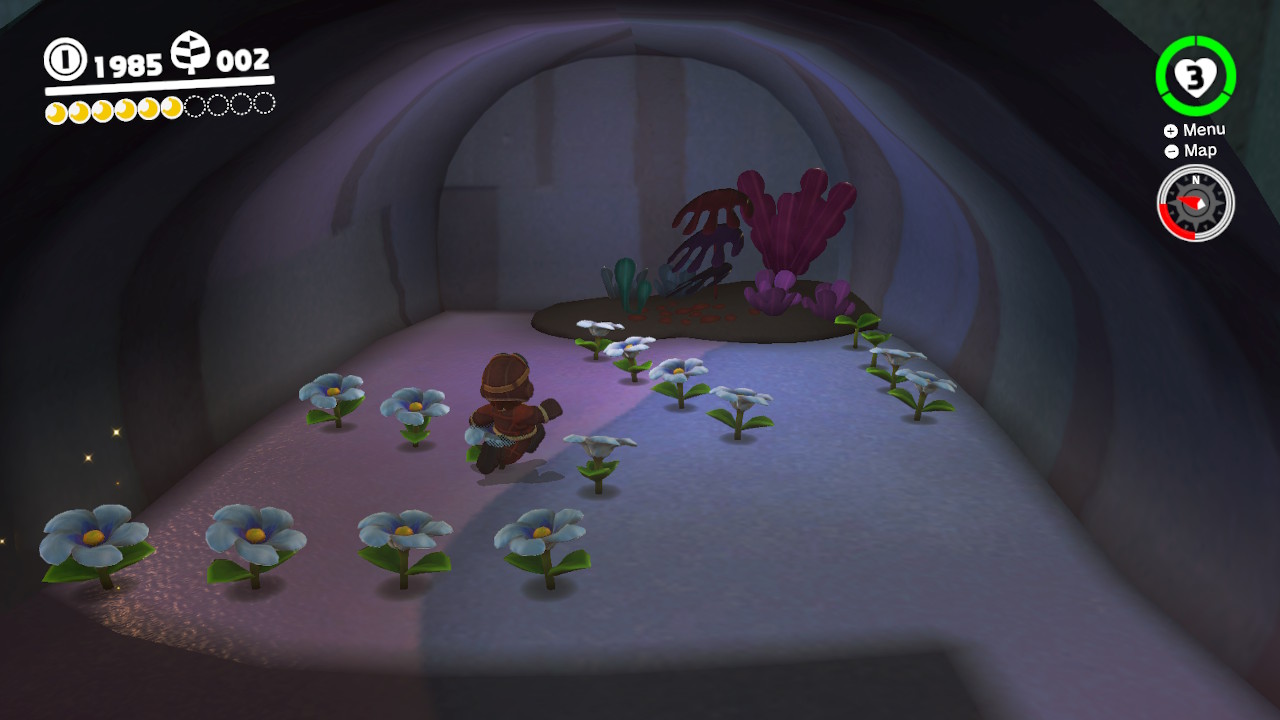
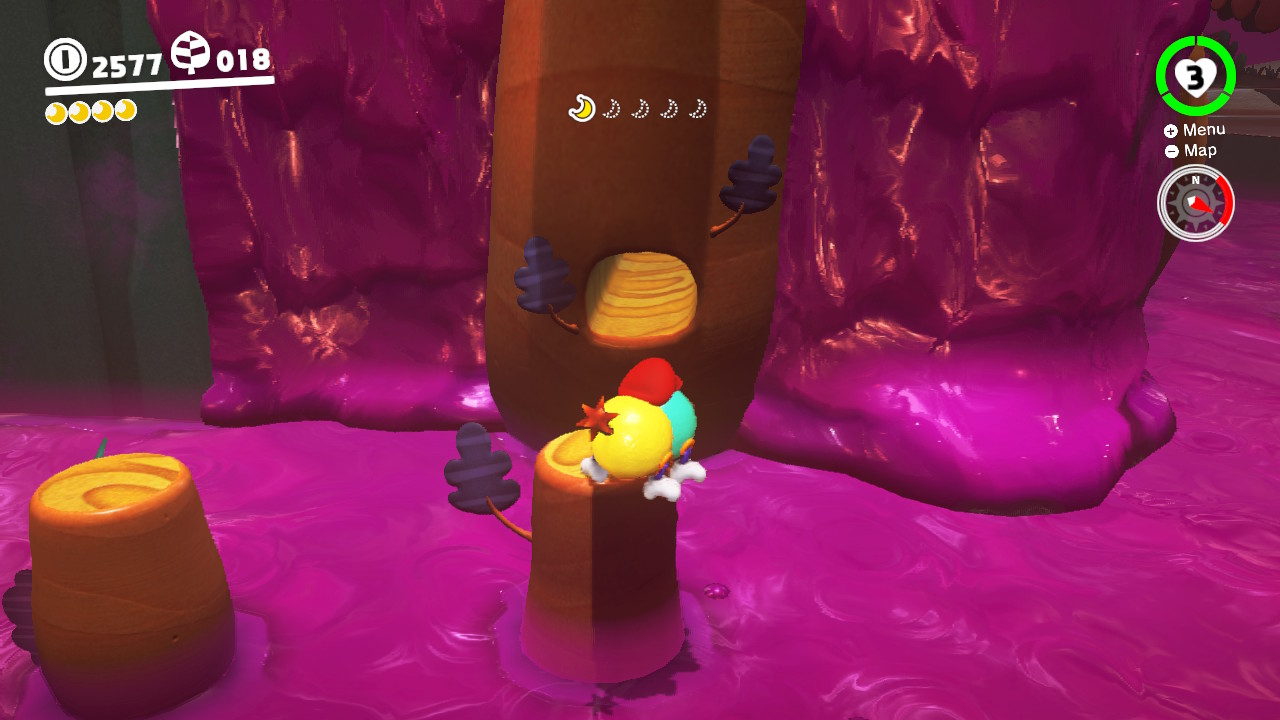
3- Stretch across the platforms and over the poison to start collecting the shards… (Shard 1/5 shown)
4- Avoid the enemies… (Shard 2/5 shown)
5- One of the shards is hiding inside this tree… (Shard 3/5 shown)
6- Here’s another shard… (Shard 4/5)
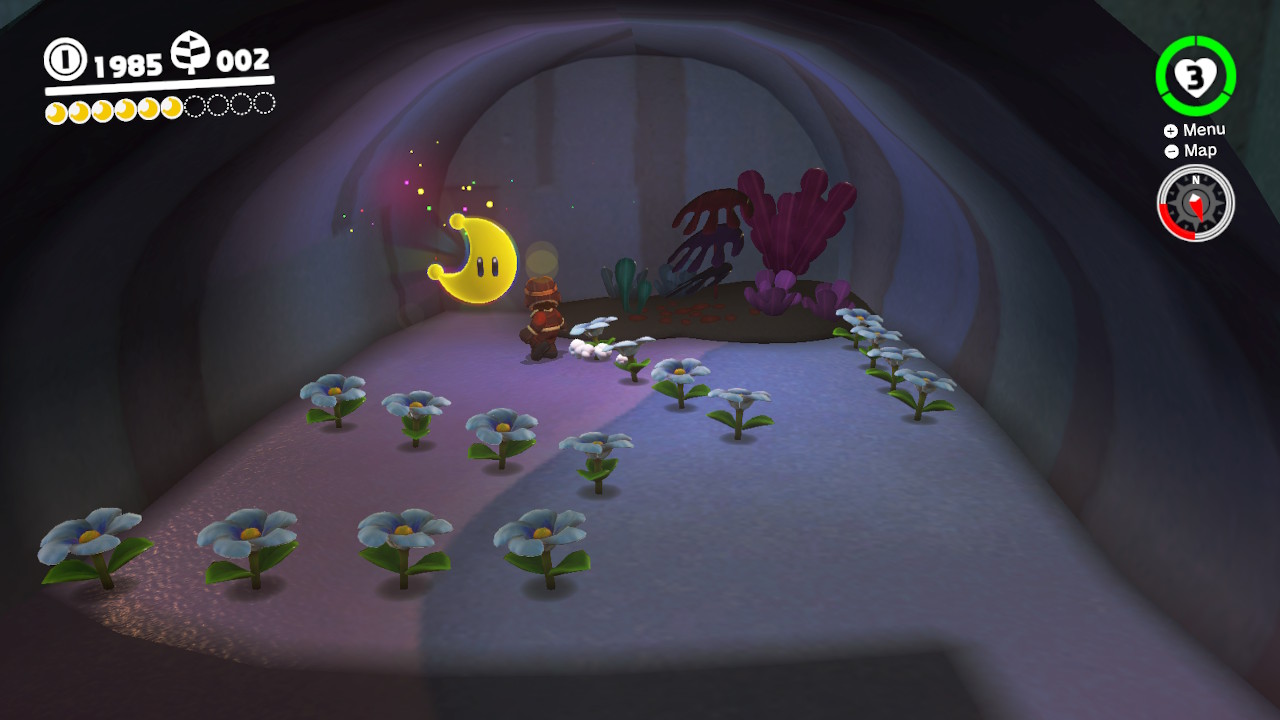
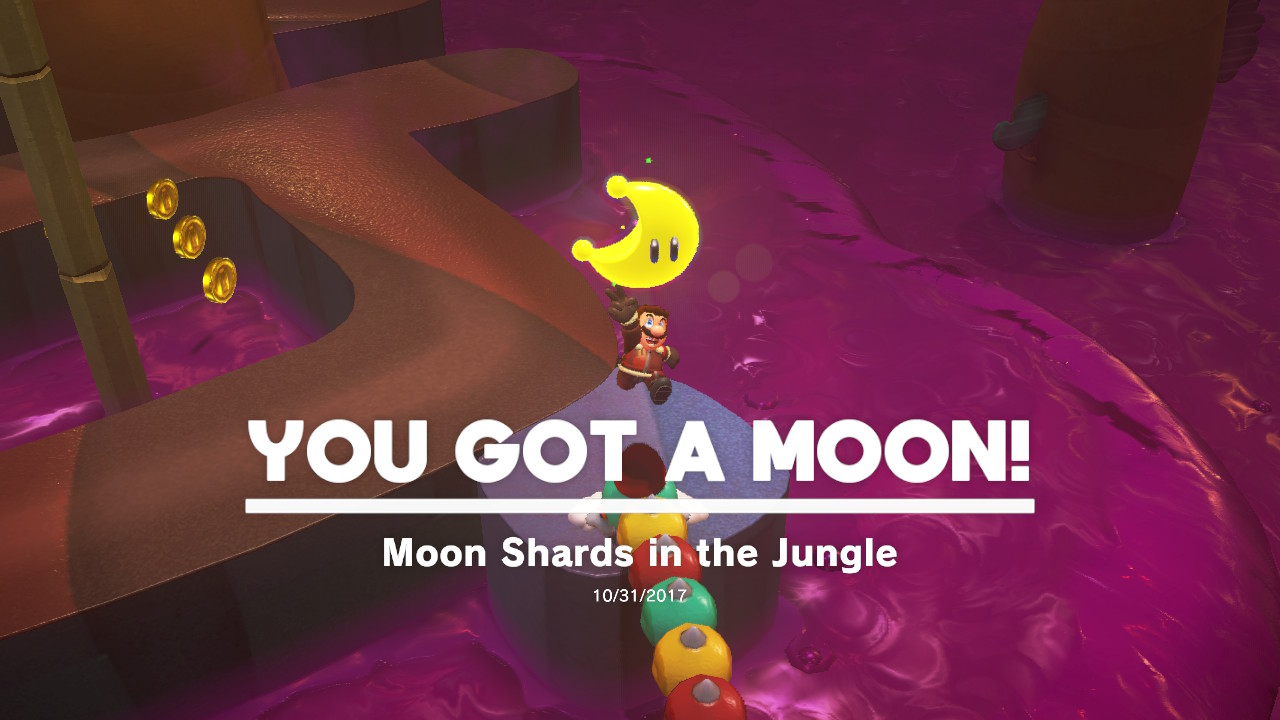
7- The last shard is hiding around this tree! (Shard 5/5 shown) Now you can get your Power Moon!!!!
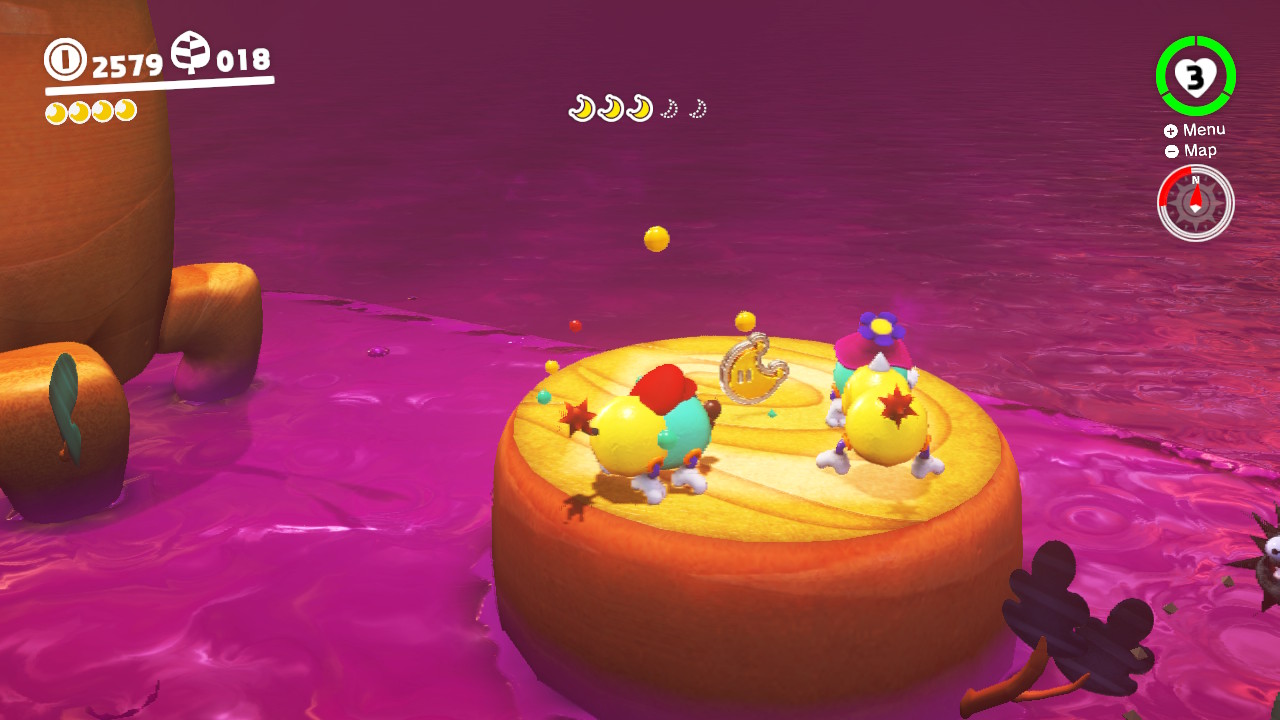
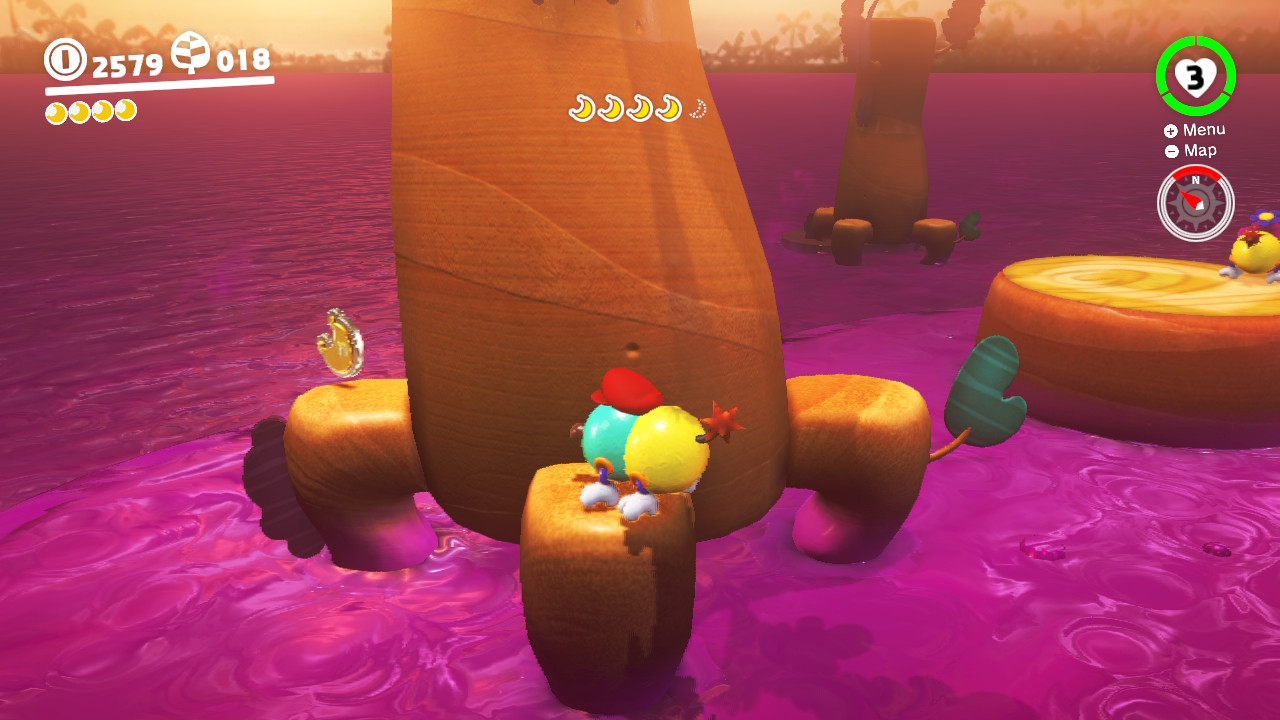
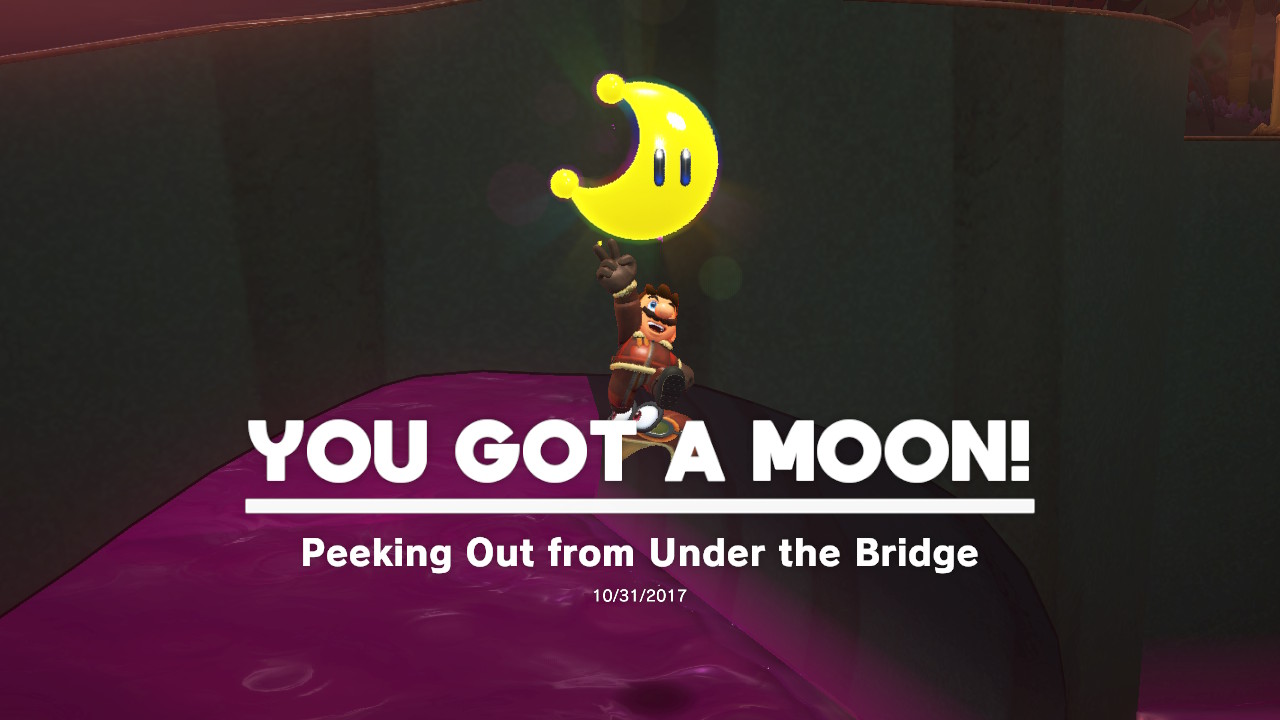
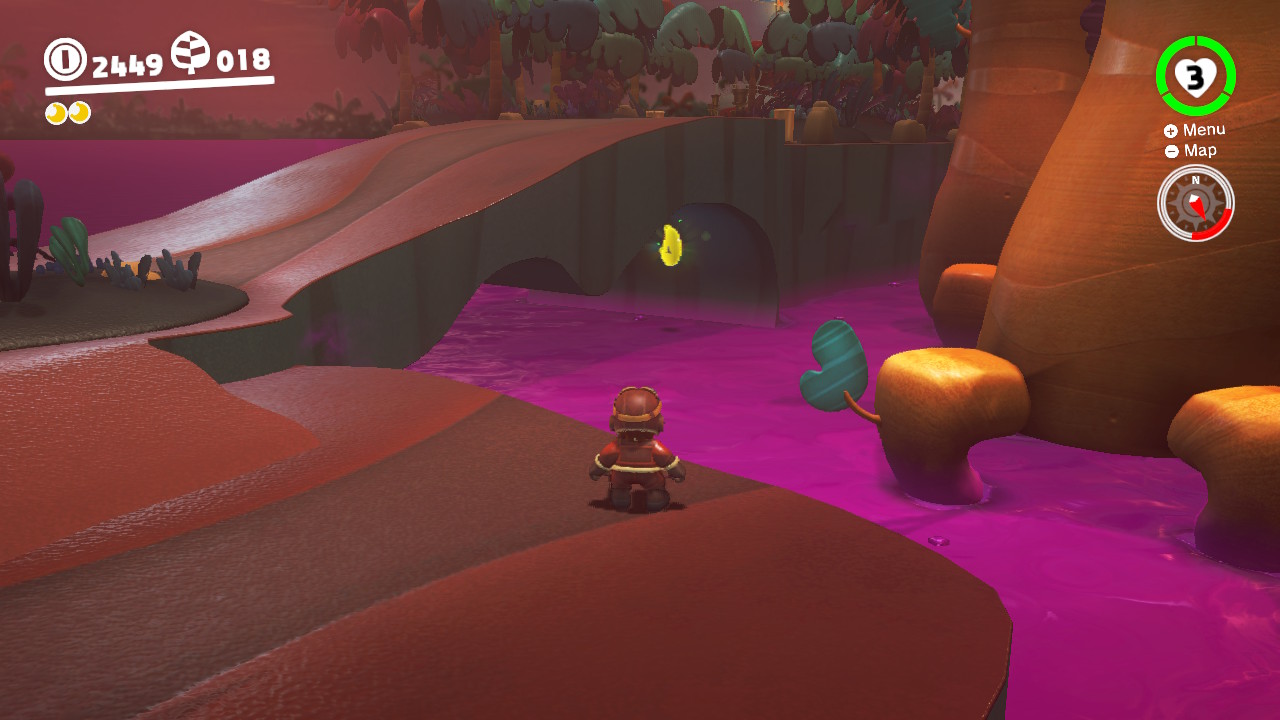
16 – Peeking Out from Under the Bridge
Location-
1- Underneath the first bridge (The one you pass over after getting off the Odyssey) is a Power Moon…
2- There are a few ways you can grab it. The best method is to use a Wiggler to stretch right underneath. Another way uses Glydon, but it’s super tricky to glide under the bridge. I chose to just long jump to it…
3- Of course as soon as I snagged it, I fell to my death… But oh well I got my Power Moon!
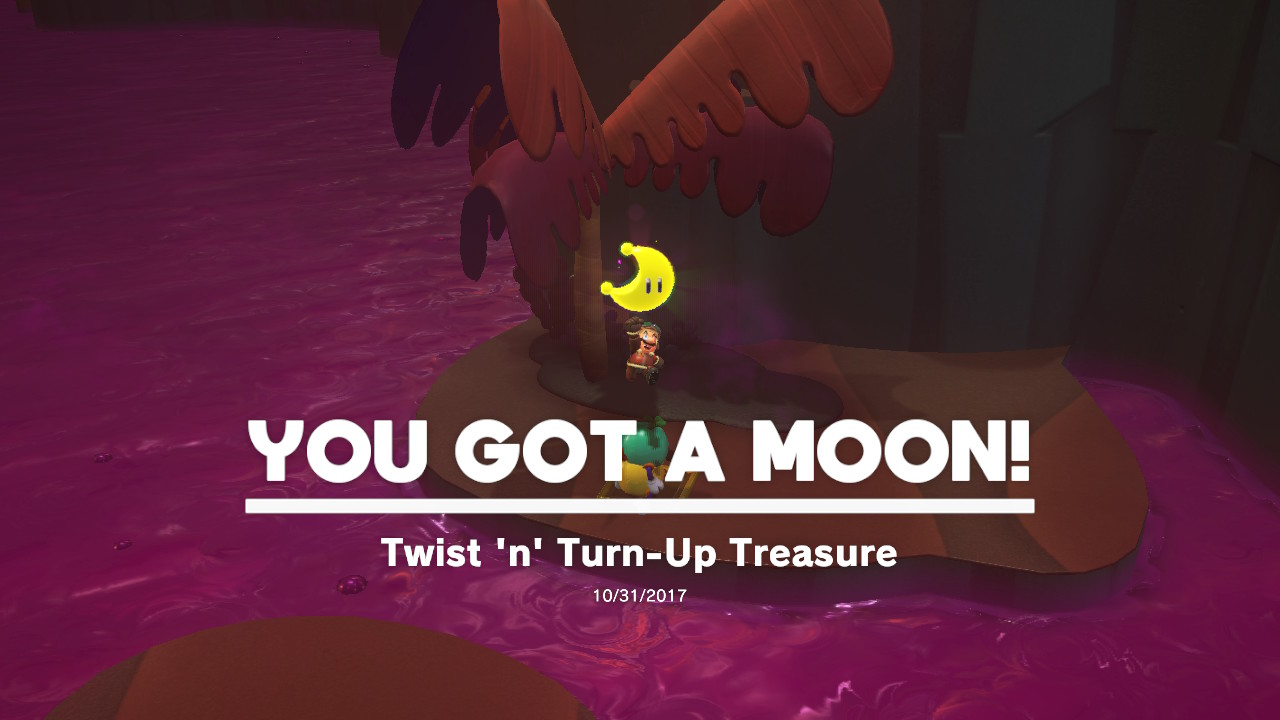
17 – Twist ‘n’ Turn-Up Treasure
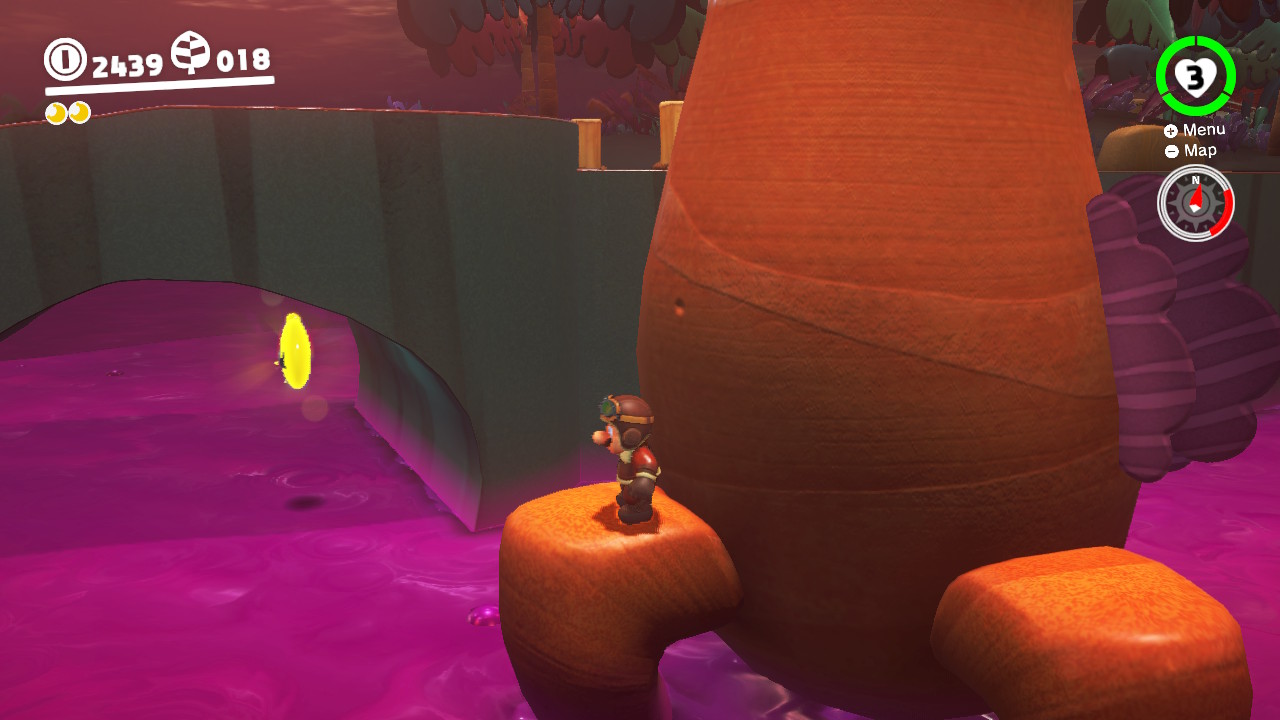
Location-
1- Right beside the Odyssey and over a ledge there is a small flat shoreline. A KEY is hiding close by…
2- To get this Moon we will need a Tropical Wiggler… (Grab one from the “Swamp Hill” checkpoint)
3- Take the Wiggler back to where the KEY is hiding…
4- Now you can ssstttttrrretttcchhhh across the poison to grab the KEY and then grab the Power Moon!
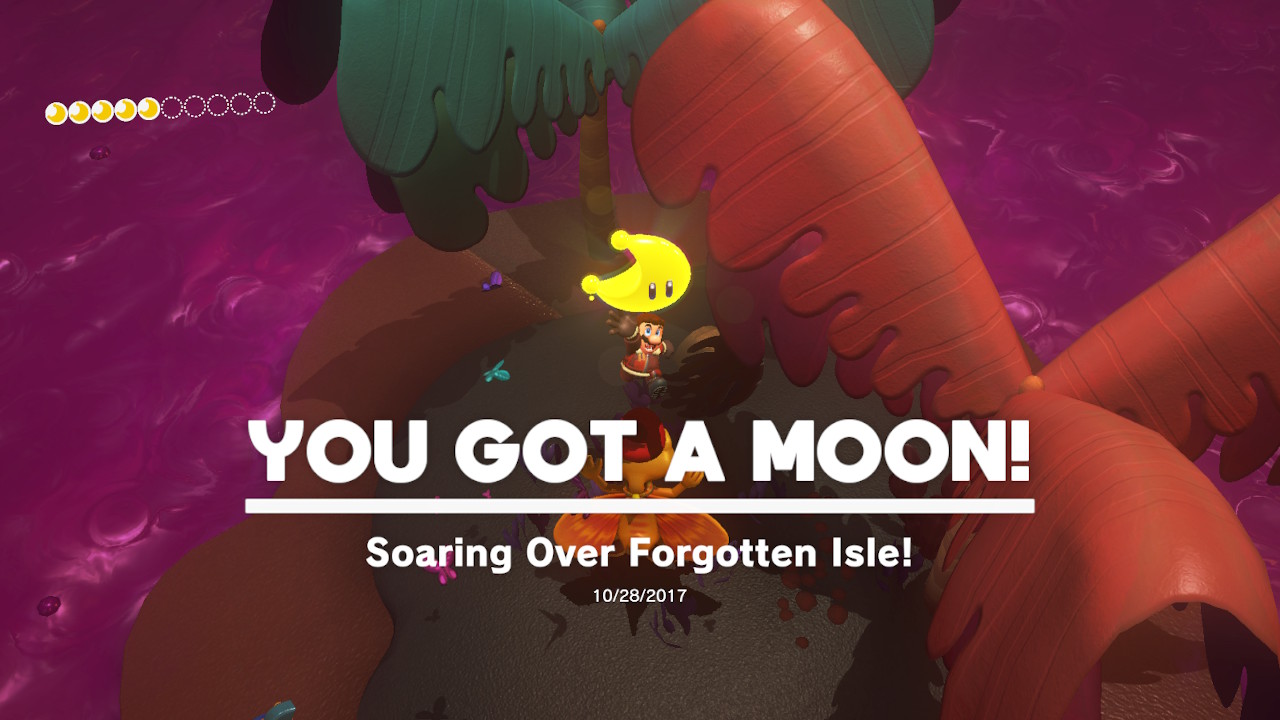
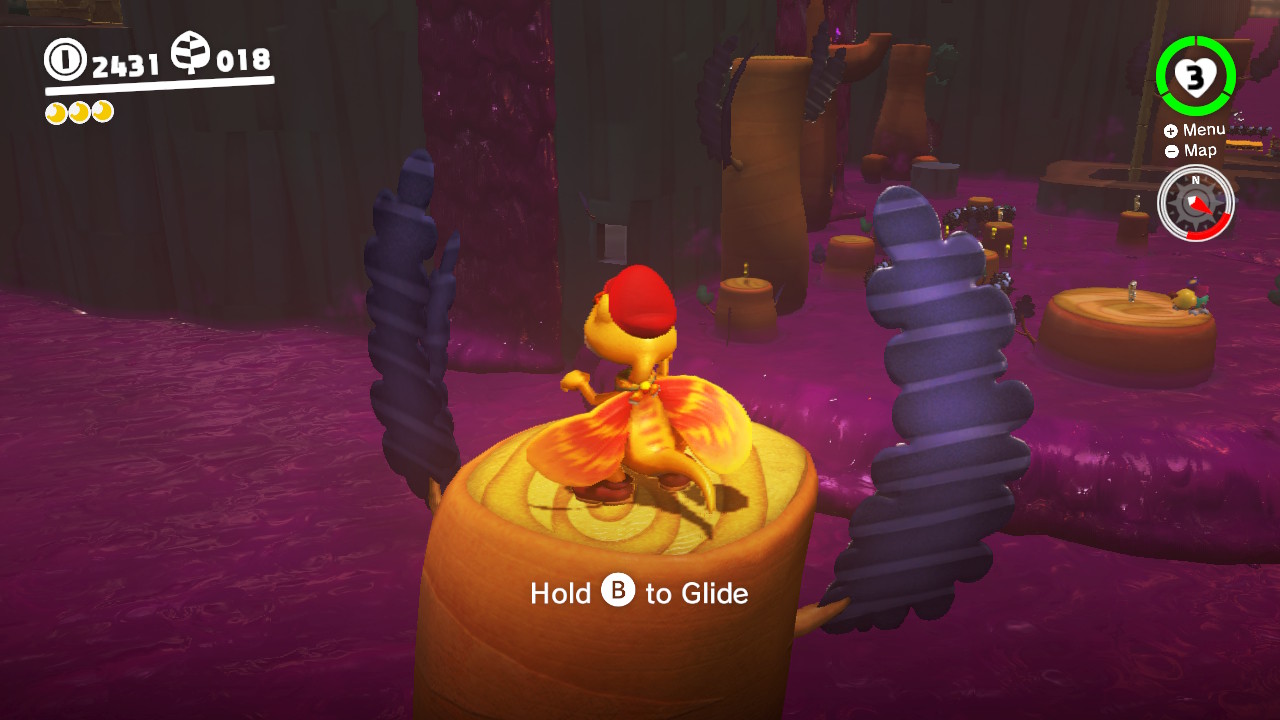
18 – Soaring Over Forgotten Isle!
Location-
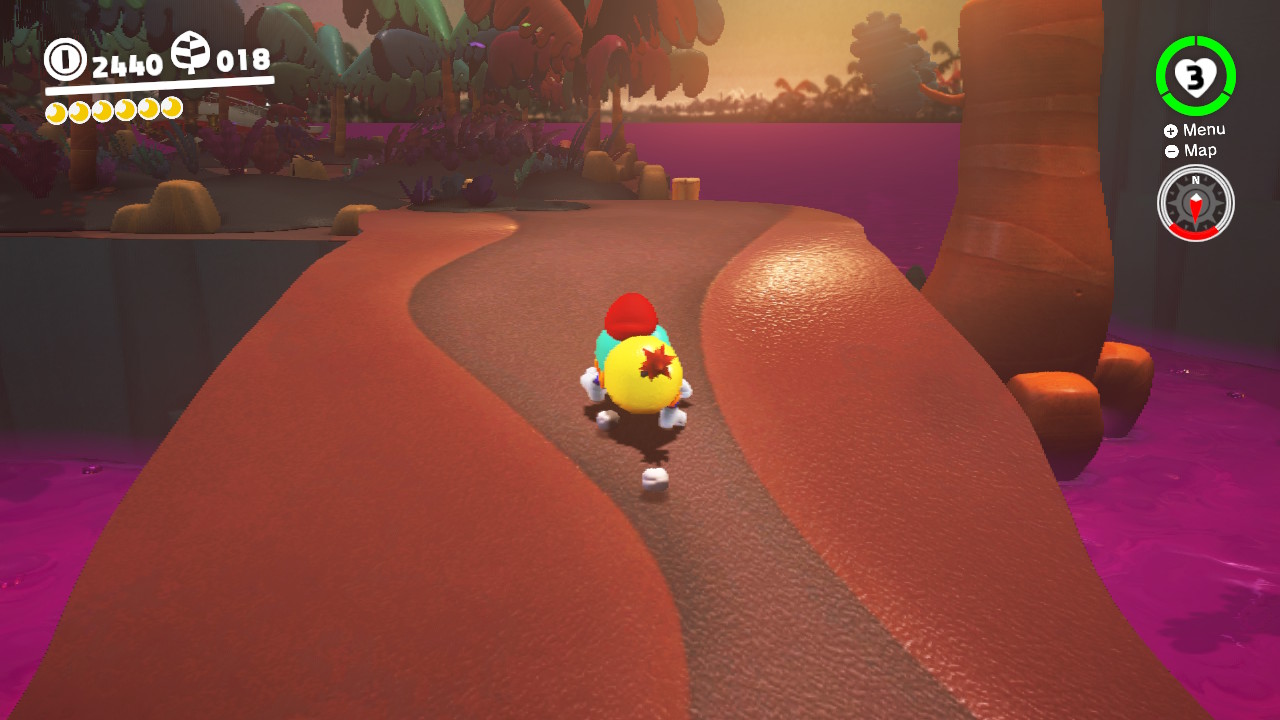
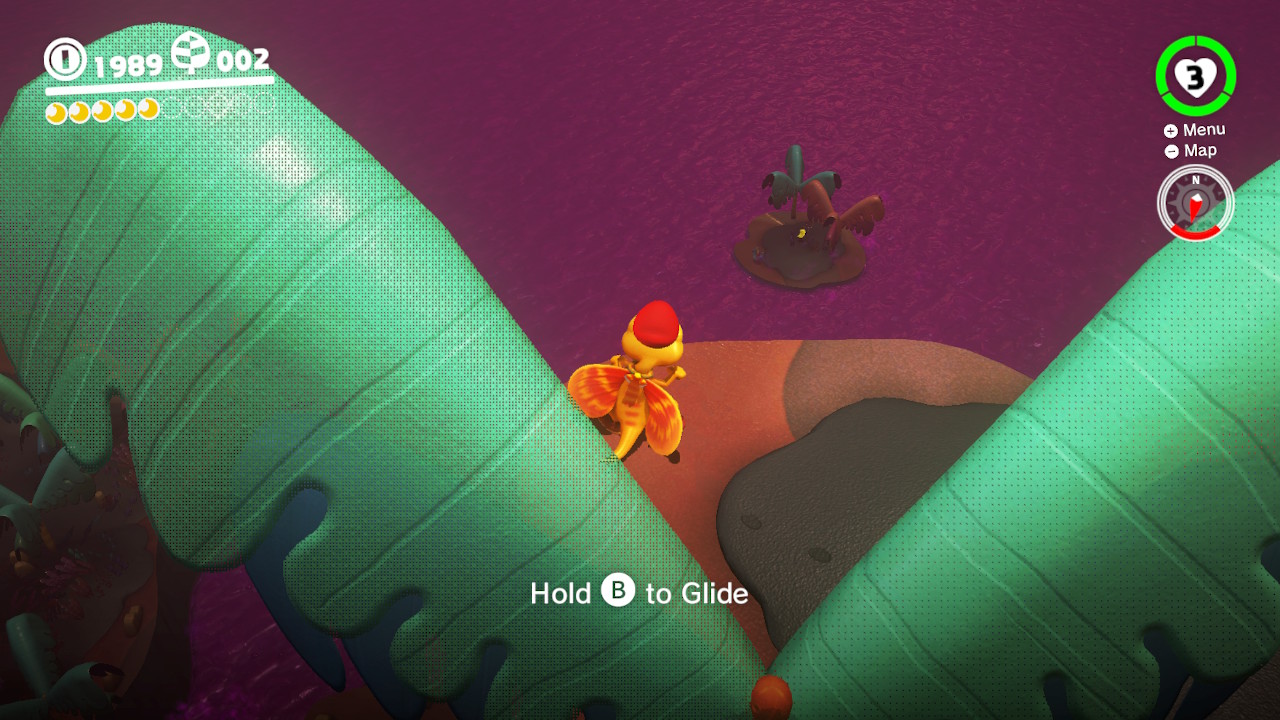
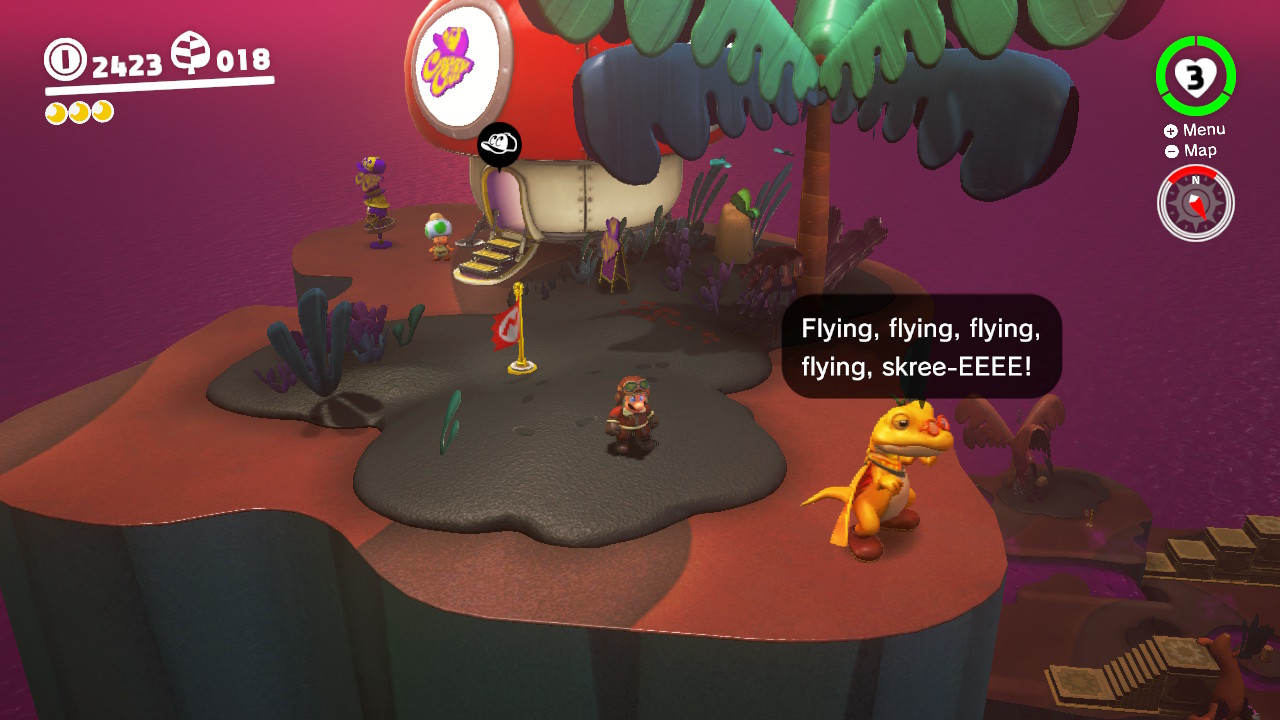
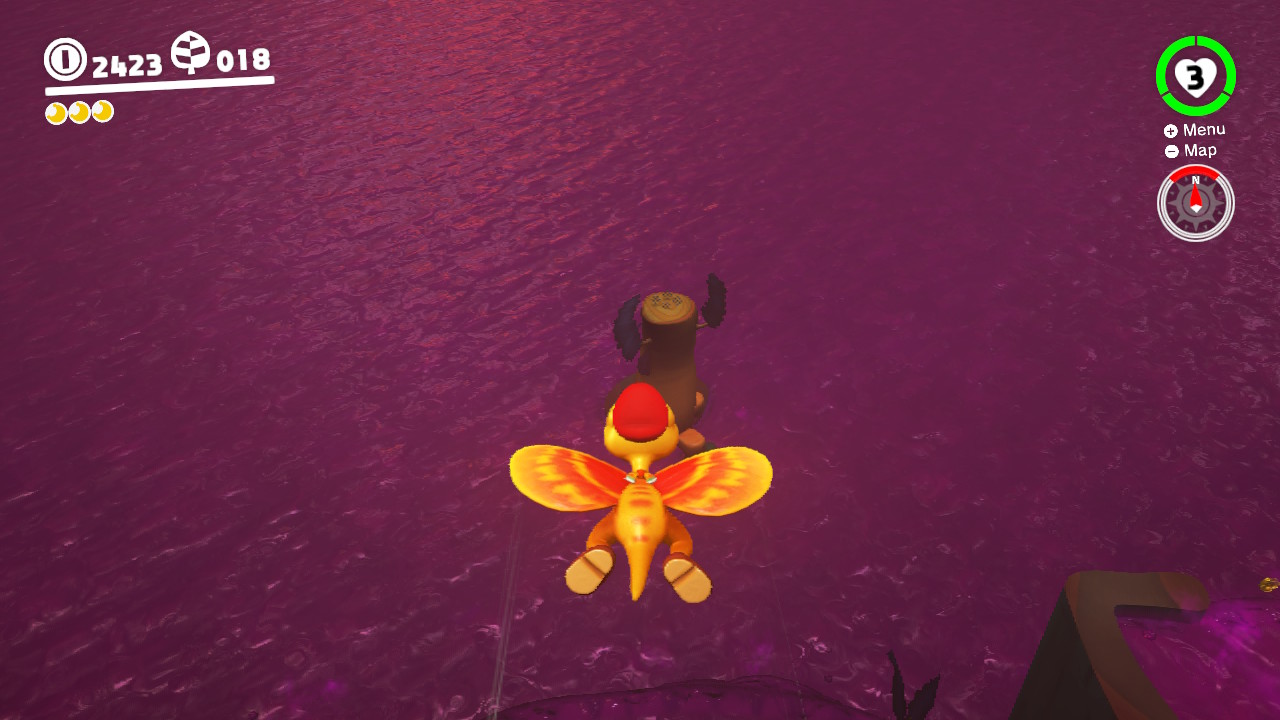
1- From the very top of the Forgotten Isle, you will see a flying dinosour friend named Glydon…
2- Throw Cappy at Glydon, now we can fly! Look down towards the northen end of the isle and you will see a tiny island with our Power Moon…
3- Jump and glide alllllll the way down and TADA! The Power Moon!
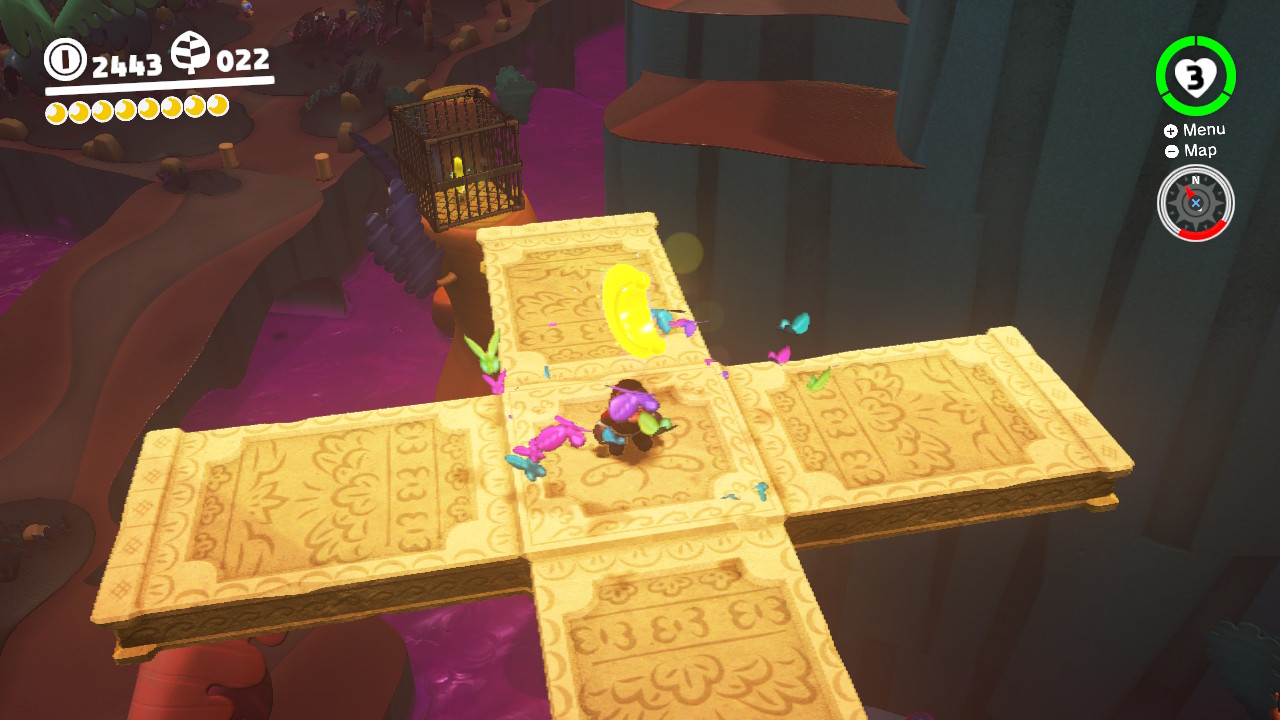
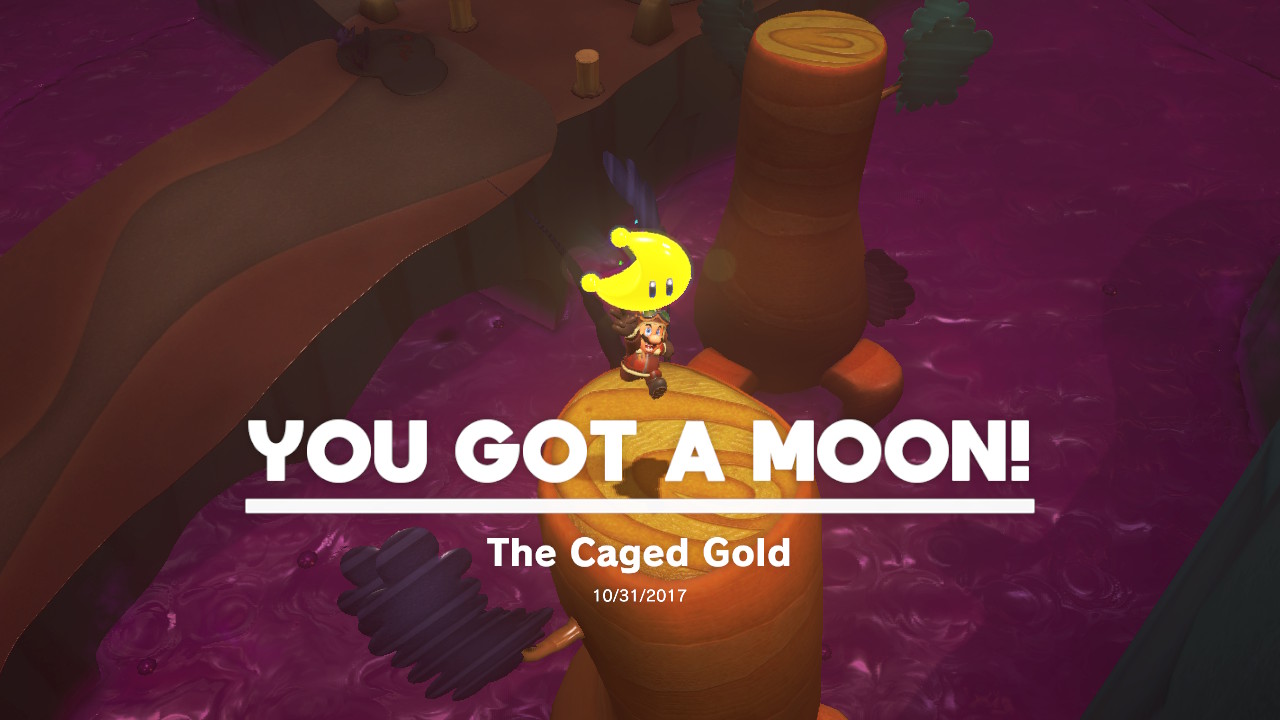
19 – The Caged Gold
Location-
1- Right smack-dab in the middle of the jungle is a Power Moon in a cage…
2- To BLOW it open you will need to throw Cappy at one of these guys and then face the cage, he will launch towards the cage…
3- Do this perfectly and the Power Moon is alllll yours!
20 – Get Some Rest, Captain Toad
Location-
1- Captain Toad is camping out in a cavern inside of a crevasse next to the poison waterfall…
2- We need to capture Glydon…
3- Soar down to this pillar…
4- Then glide into the small hole! Captain Toad is waiting for you! (How did he get here?)
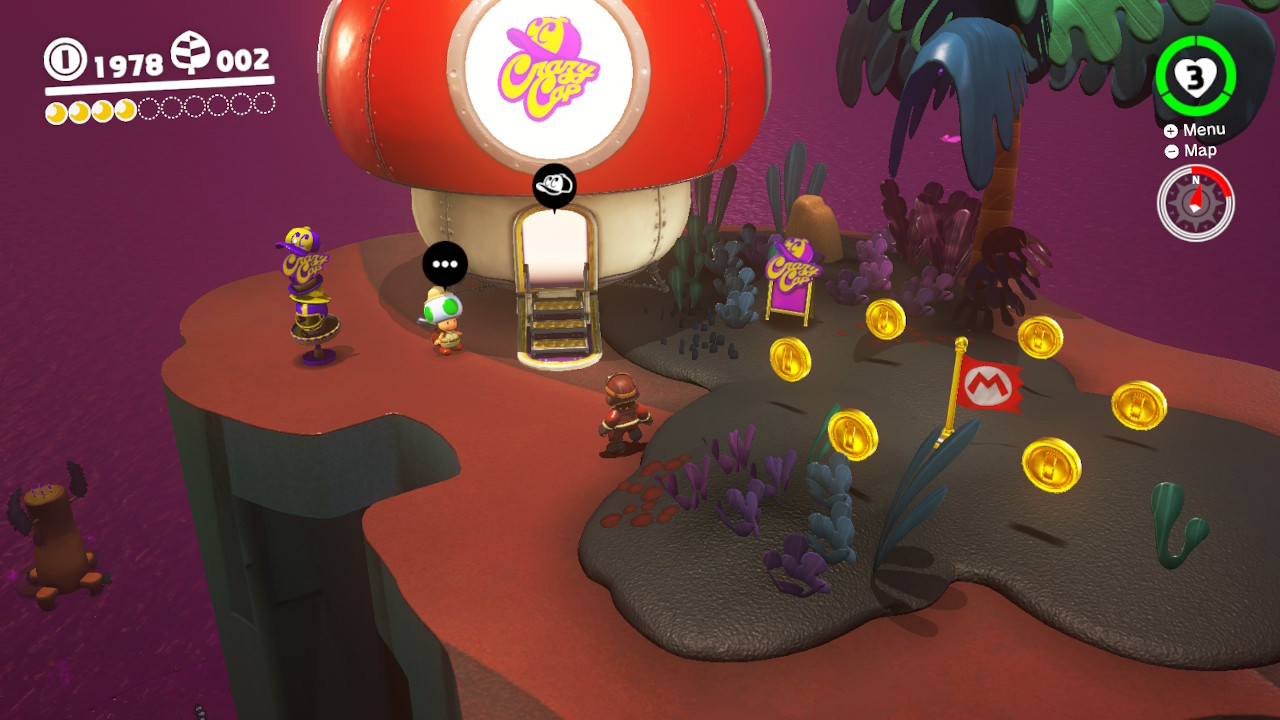
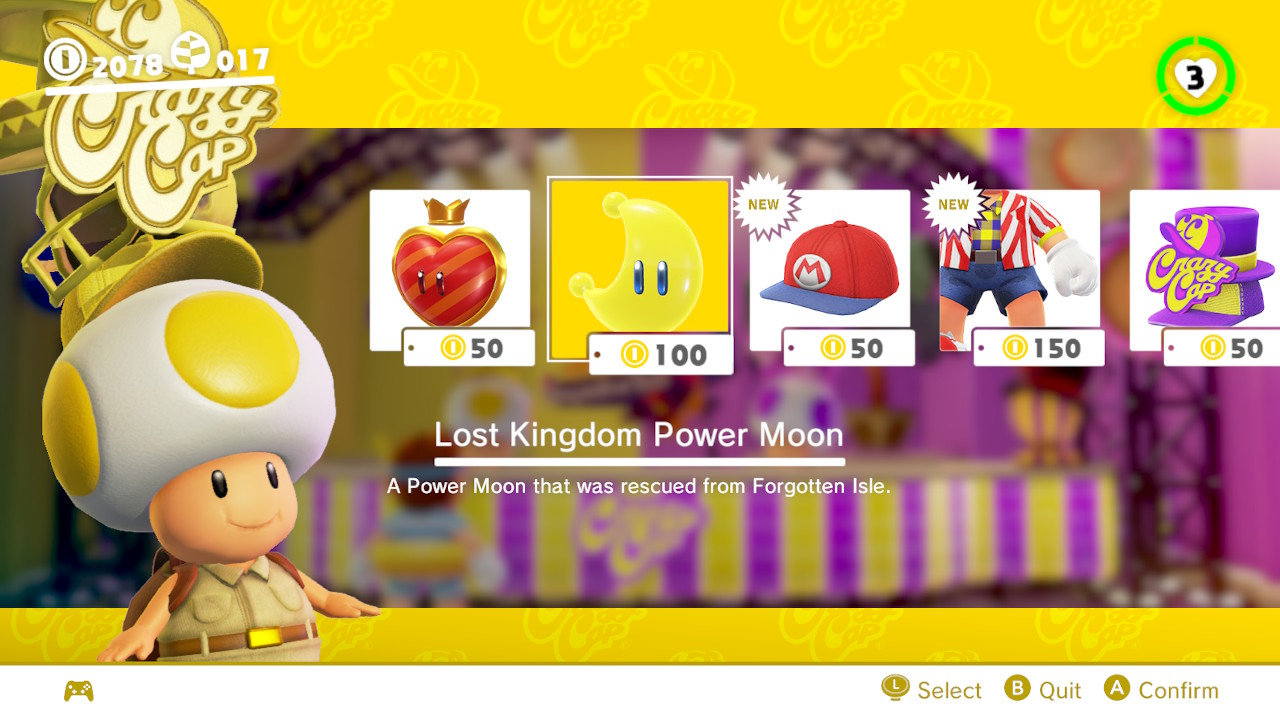
21 – Shopping on Forgotten Isle
Location-
1- Crazy Cap is on the very top of The Forgotten Isle mountain…
2- Inside you can purchase a Power Moon for 100 coins!
These next few Power Moons can only be obtained once you’ve progressed further and or beaten the game
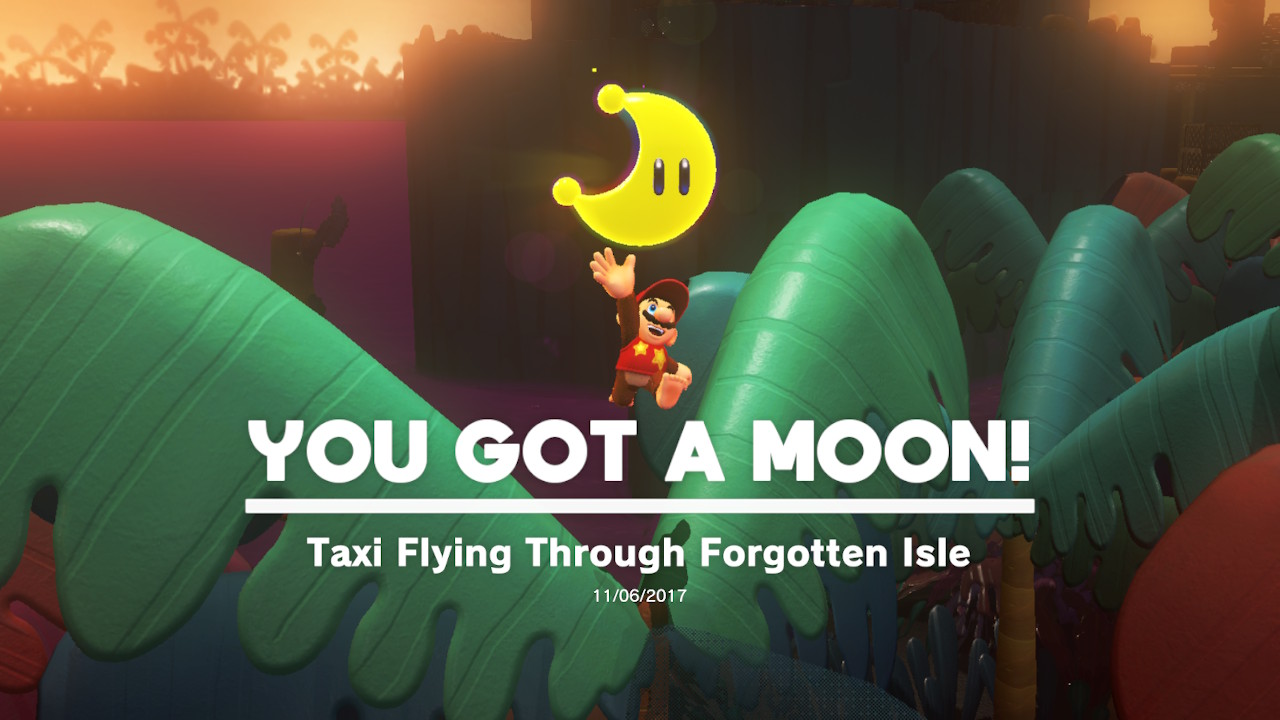
22 – Taxi Flying Through Forgotten Isle
Location-
1- Right behind the Odyssey you will find the binoculars…
2- Above the Odyssey to the right you should see something flying in the air…
3- Zoom in and you’ll see that it is a taxi! Stare at it for a few momenst and it will shoot a Power Moon down at you!
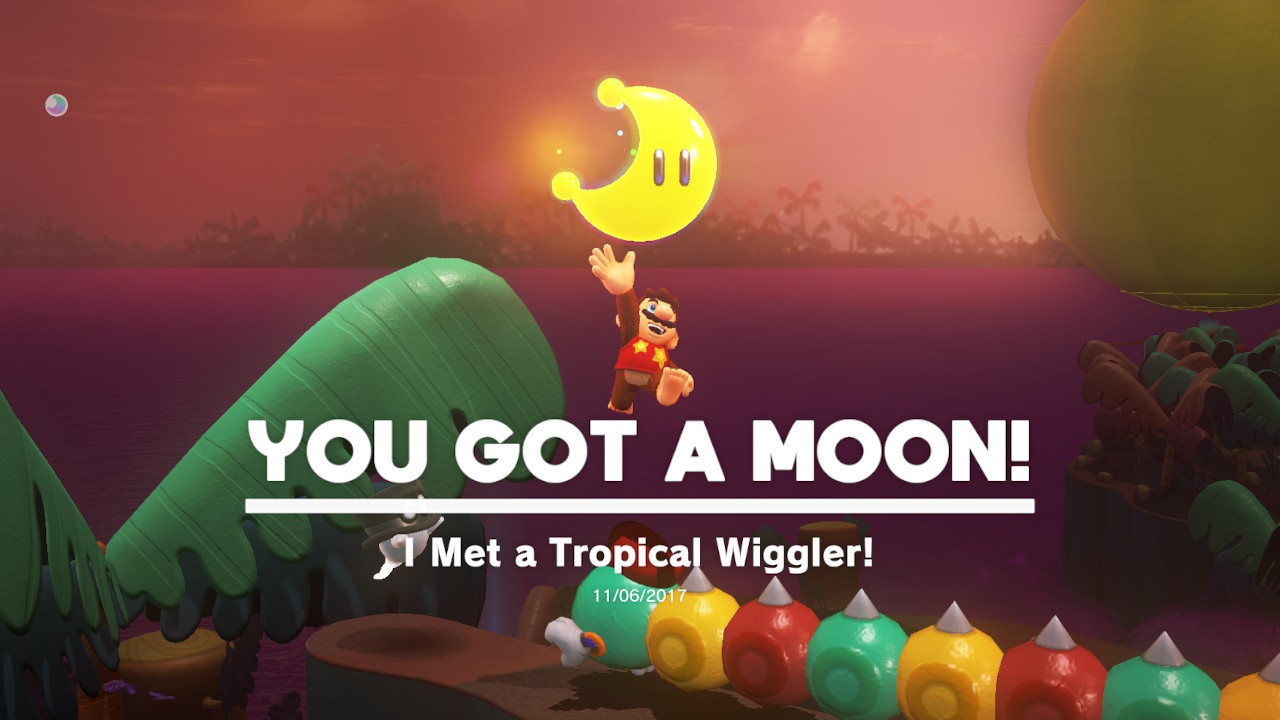
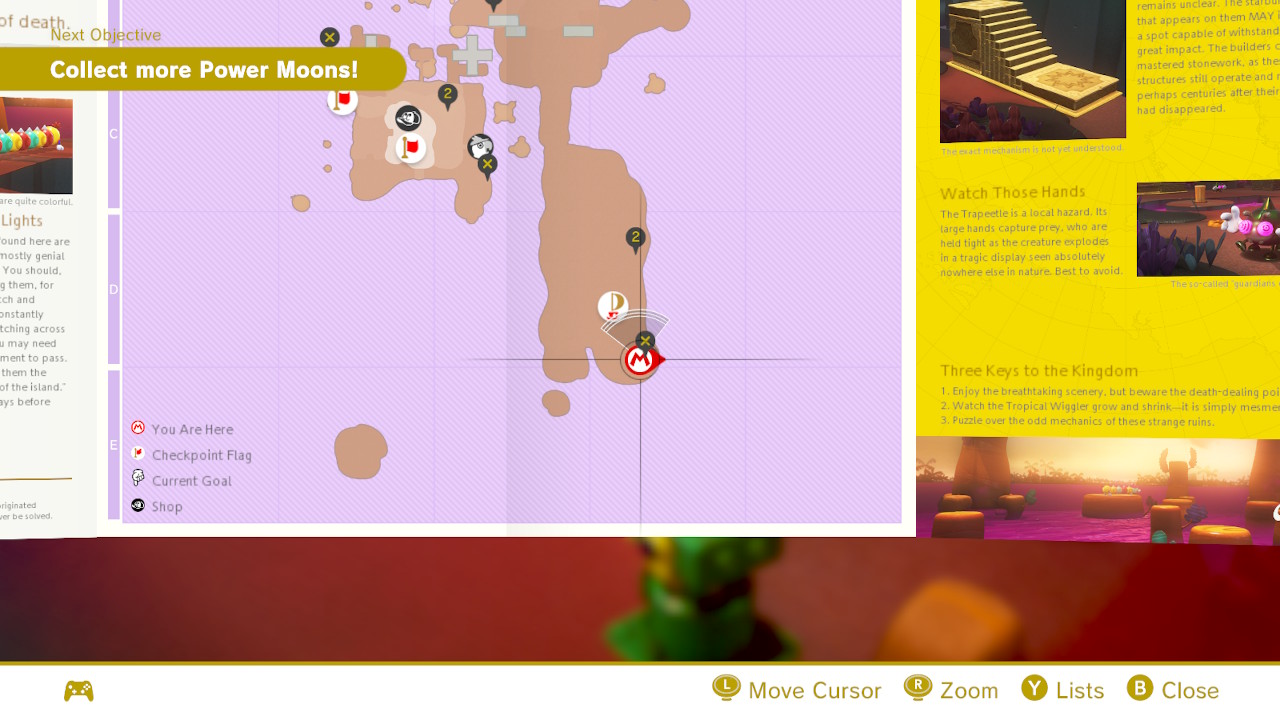
23 – I Met a Tropical Wiggler!
Location-
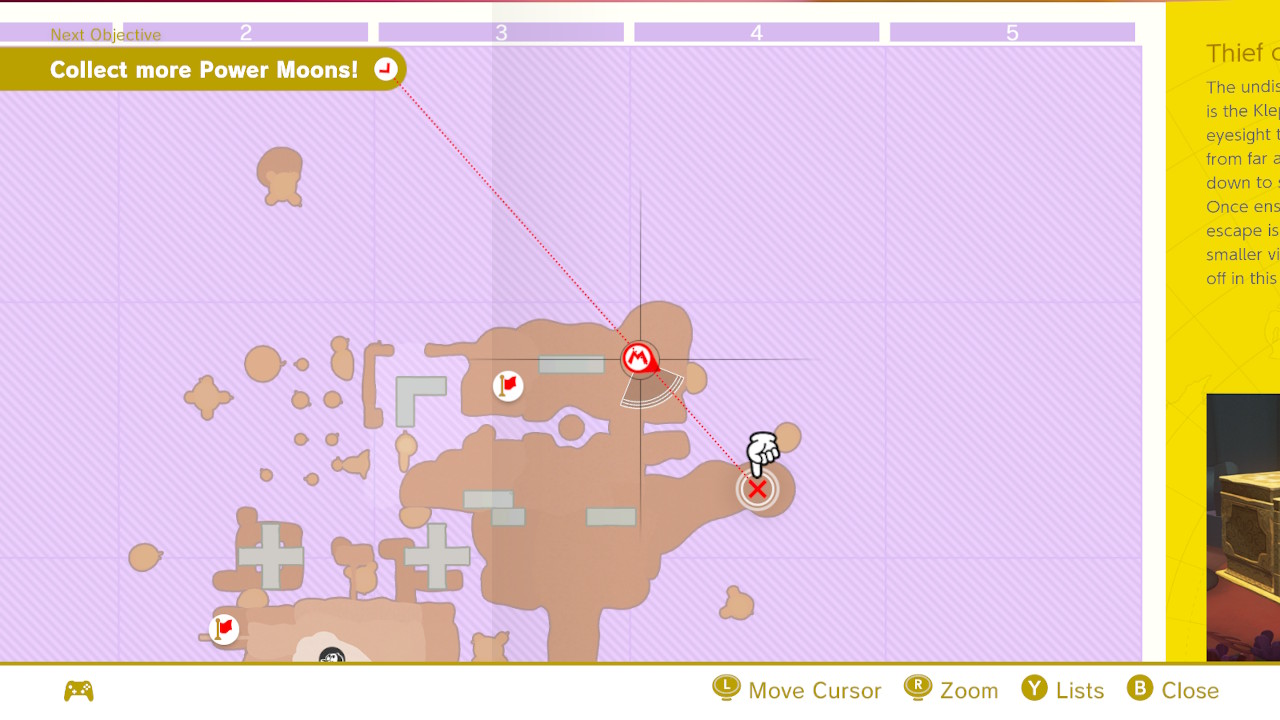
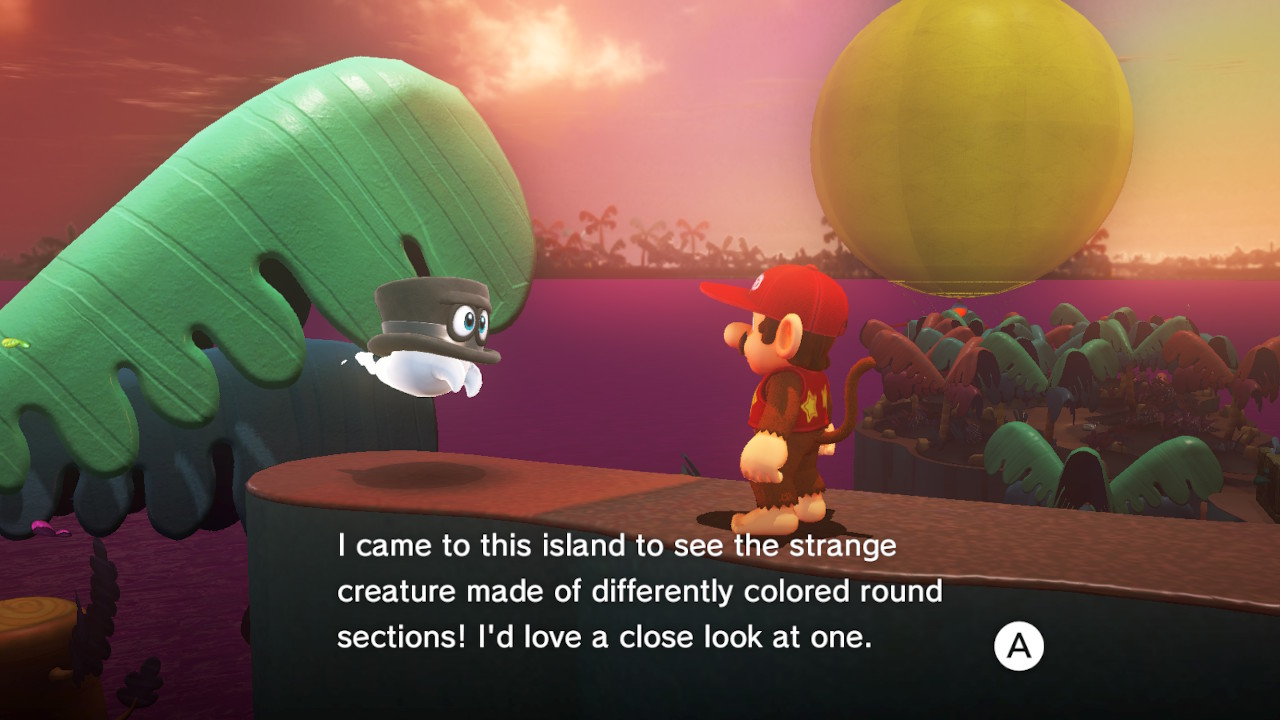
1- Right below the “Swamp Hill” checkpoint you will find a Bonneton who is looking for a “Tropical Wiggler”…
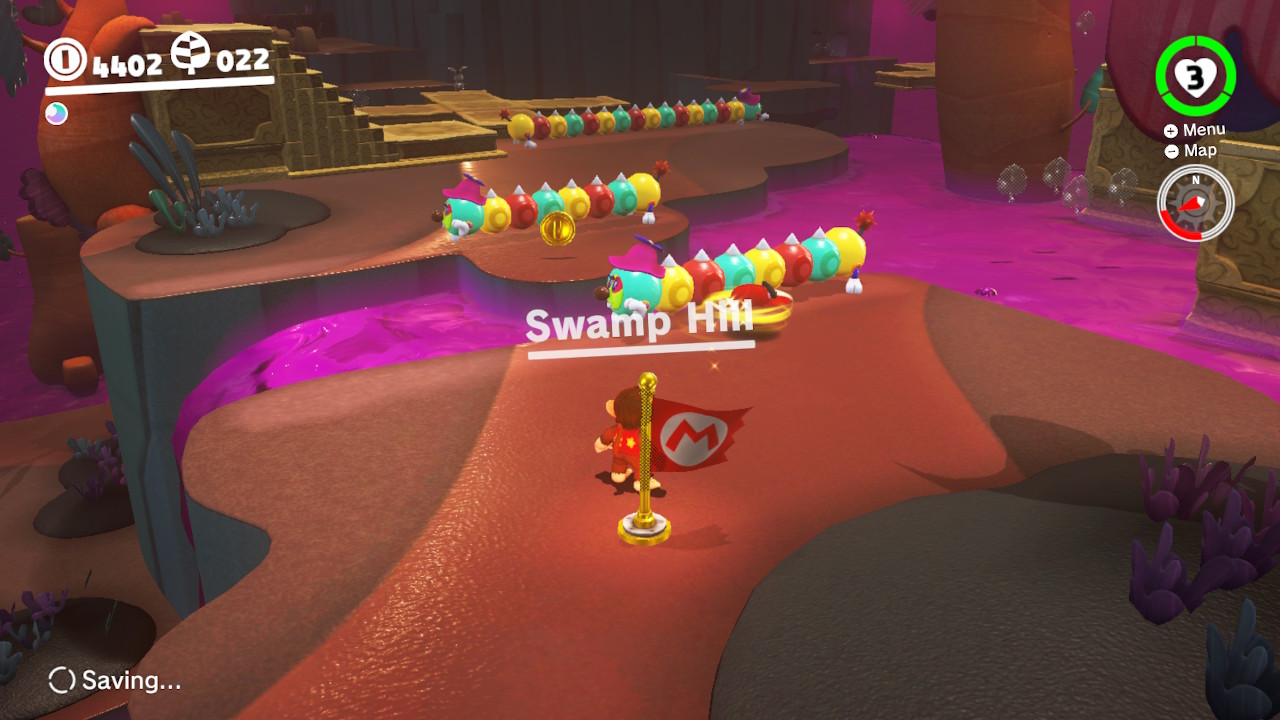
2- From the “Swamp Hill” checkpoint, you will need to capture a Wiggler…
3- Head back down the ground pound staircase, take the wiggler to the bottom and jump back out as Mario! Now ground pound the opposite side…
4- The staircase will now be high enough for you to reach the Bonneton…
5- Stretch over to him and he will glady give you a Power Moon!
– Check out the video to see how it’s done!
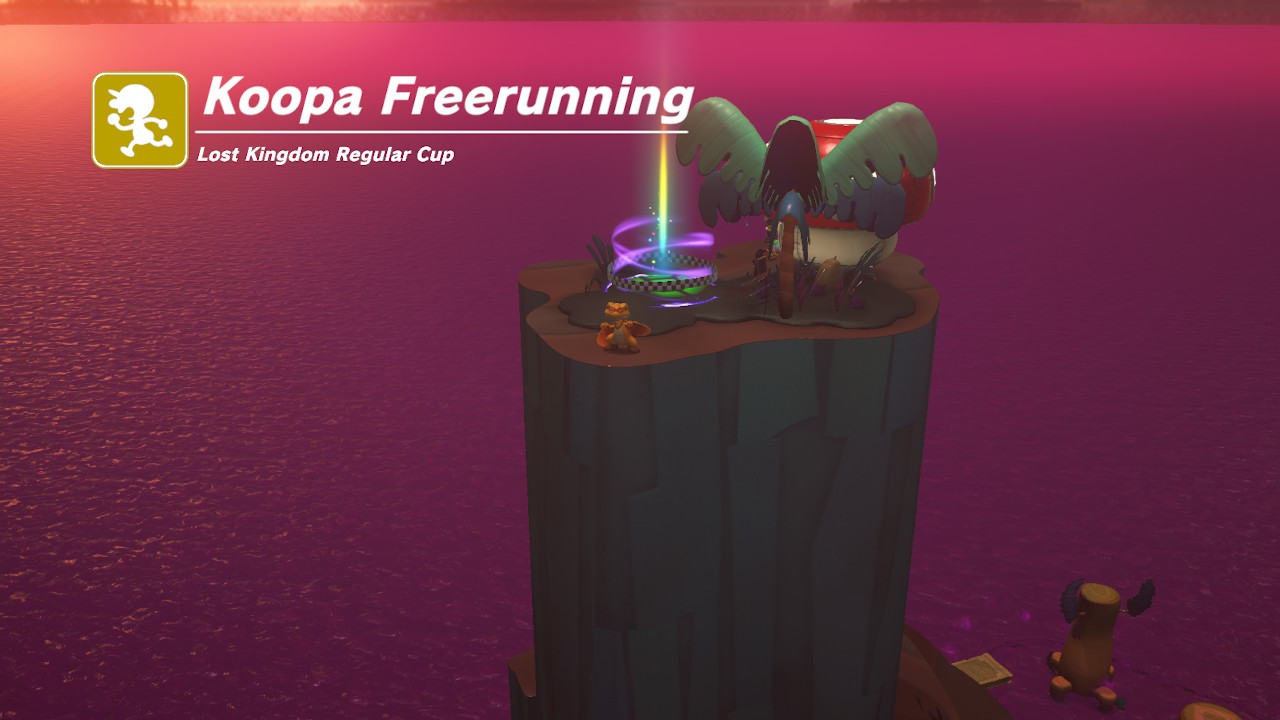
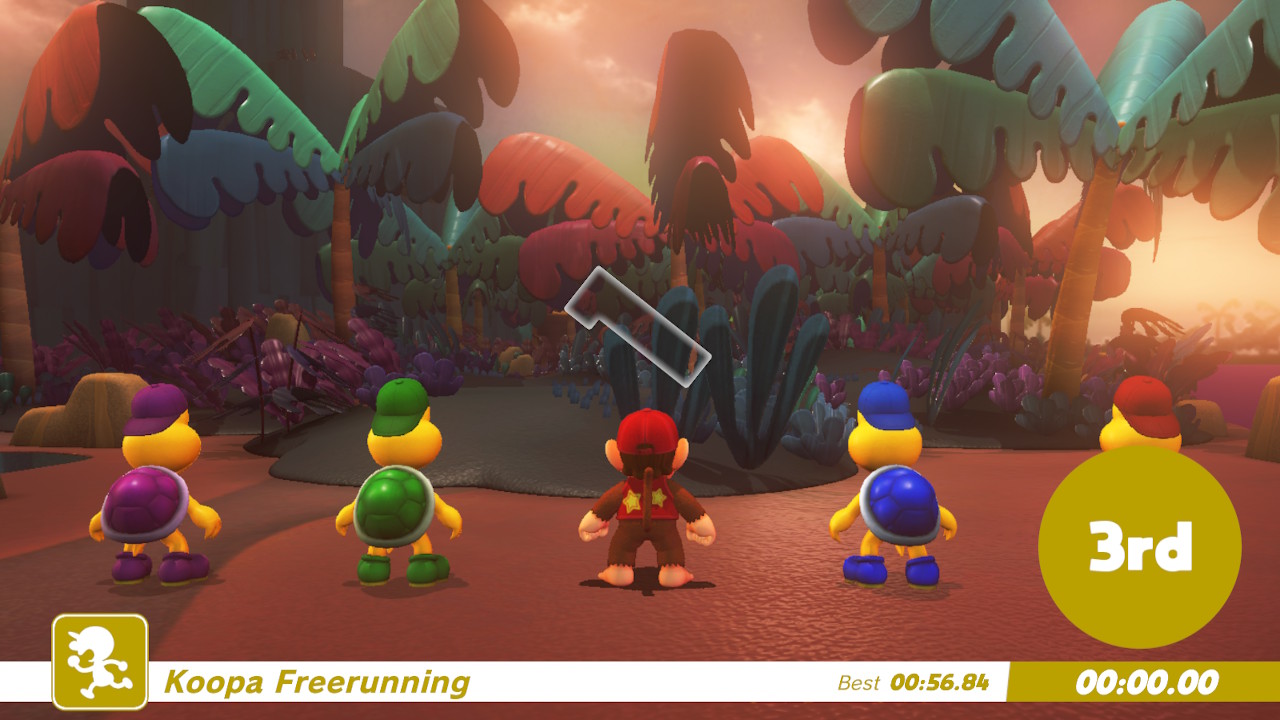
24 – Lost Kingdom Regular Cup
Location-
1- Right behind the Odyssey is where you can find the Koopa who is ready to race…
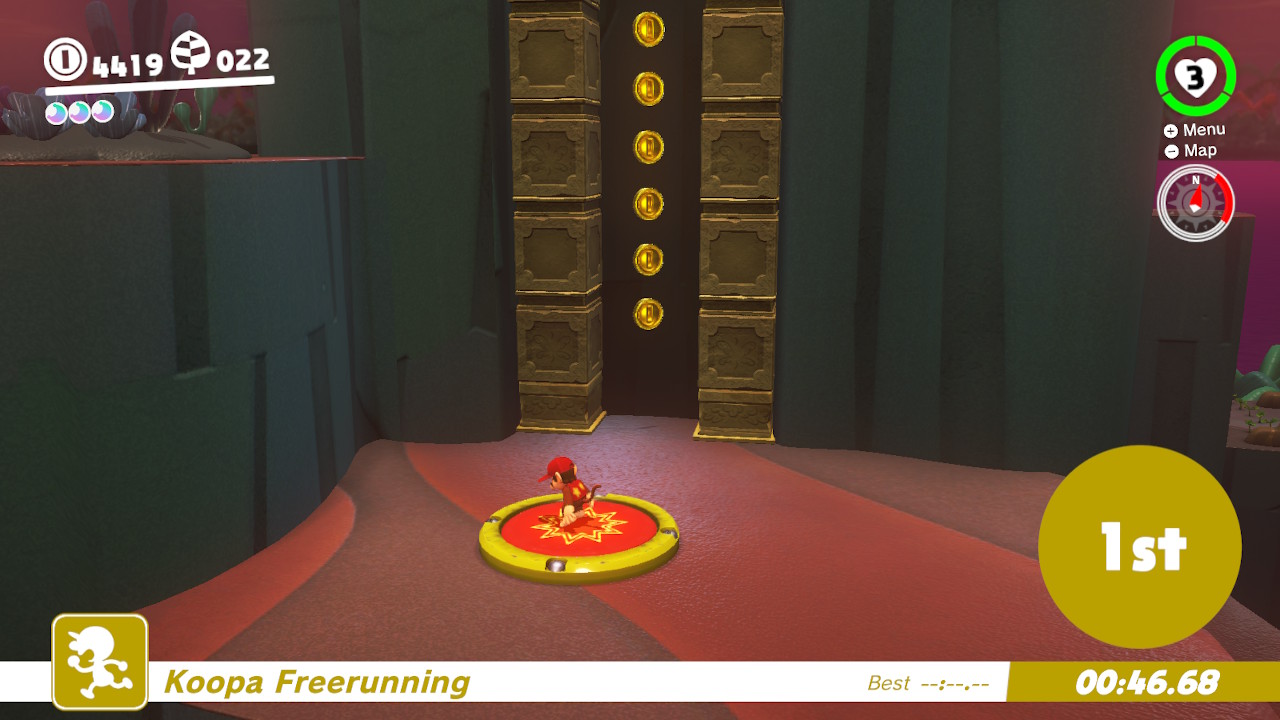
2- The finish line is the top of the mounatin…
3- Race to the top, using shortcuts where you can…
4- The last stretch is a wall-jumping section…
5- Get the the finish line first and your reward is a Power Moon!
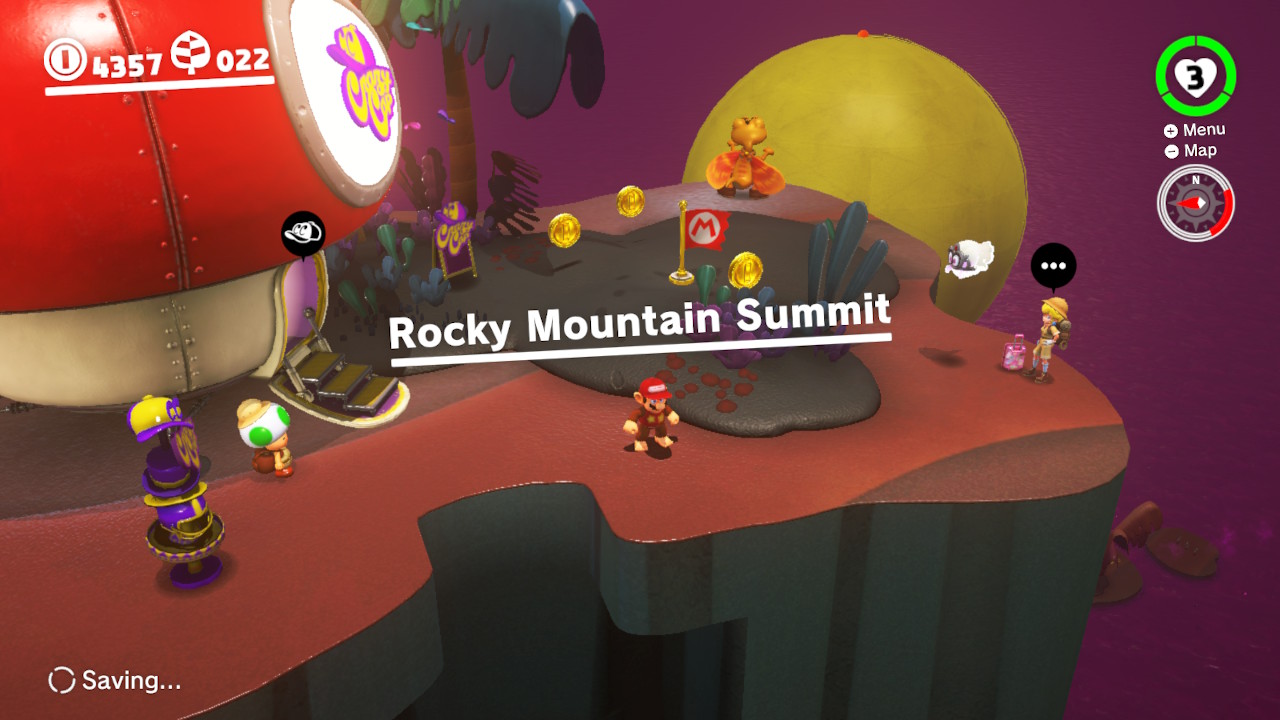
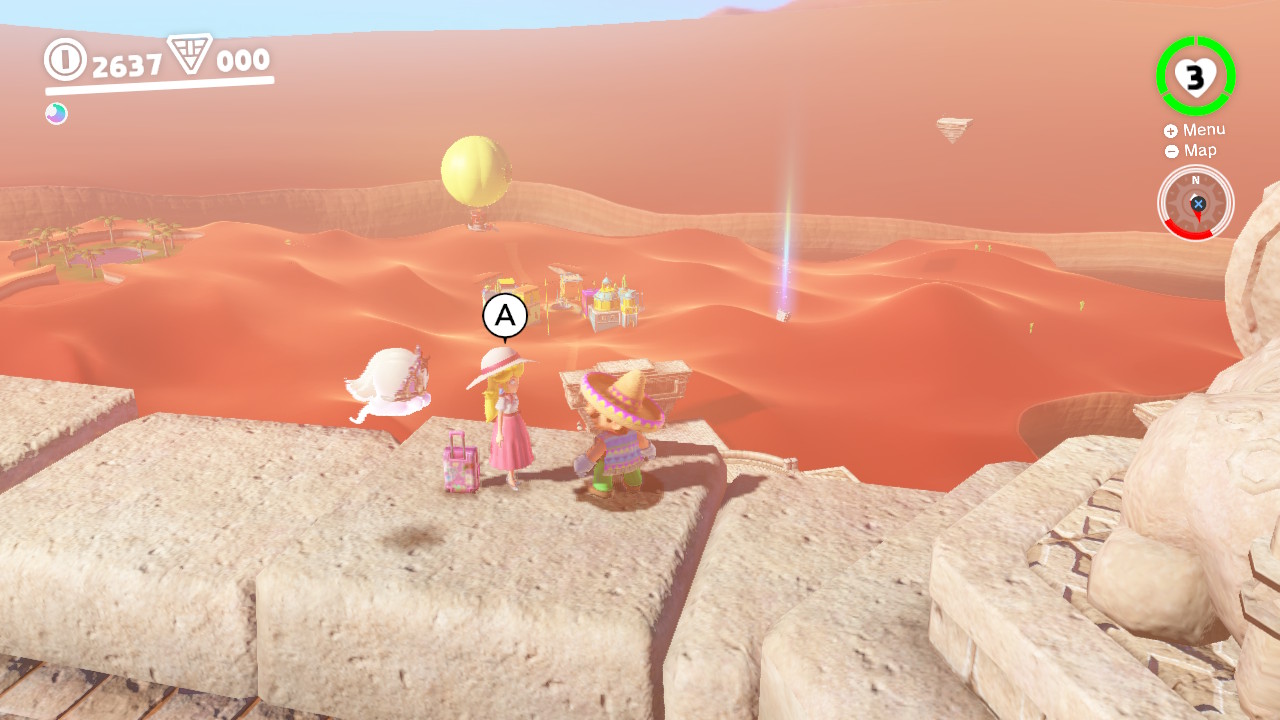
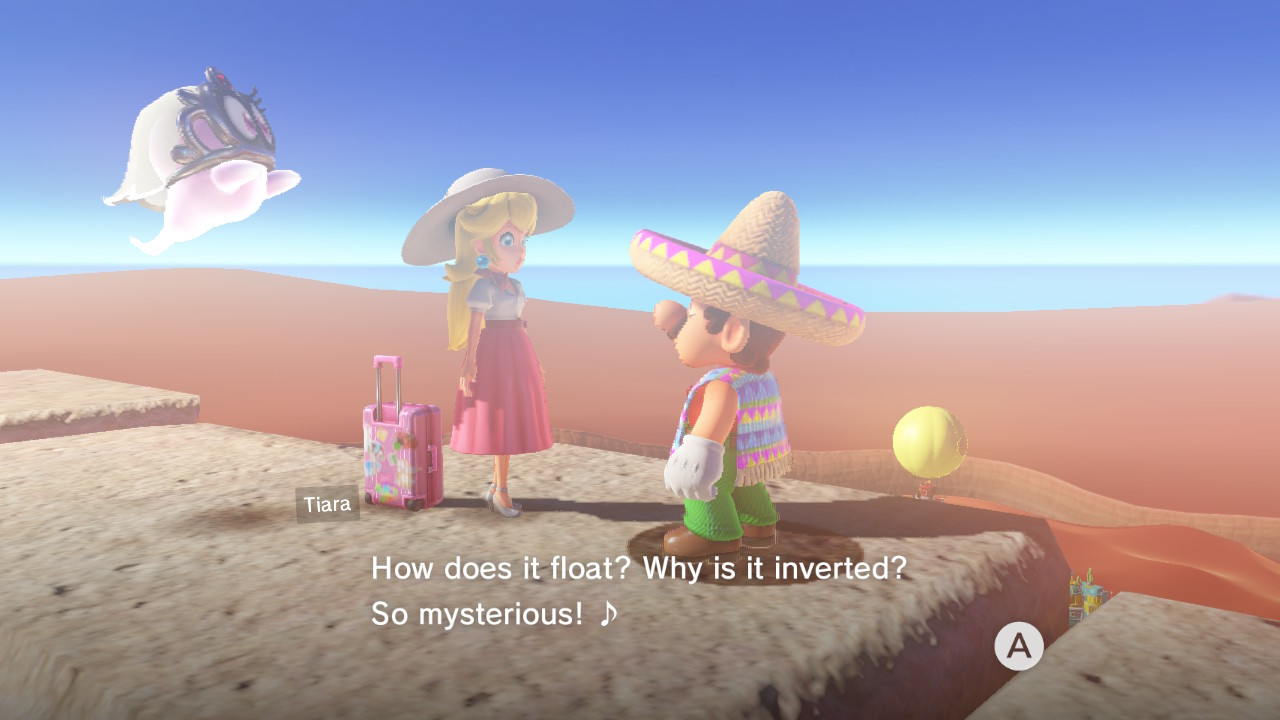
25 – Peach in the Lost Kingdom
Location- Rockey Mountain Summit
1- Peach and Tiara are on the top of the Rockey Mountain Summit…
2- Talk to Peach and she’ll give you a Power Moon!
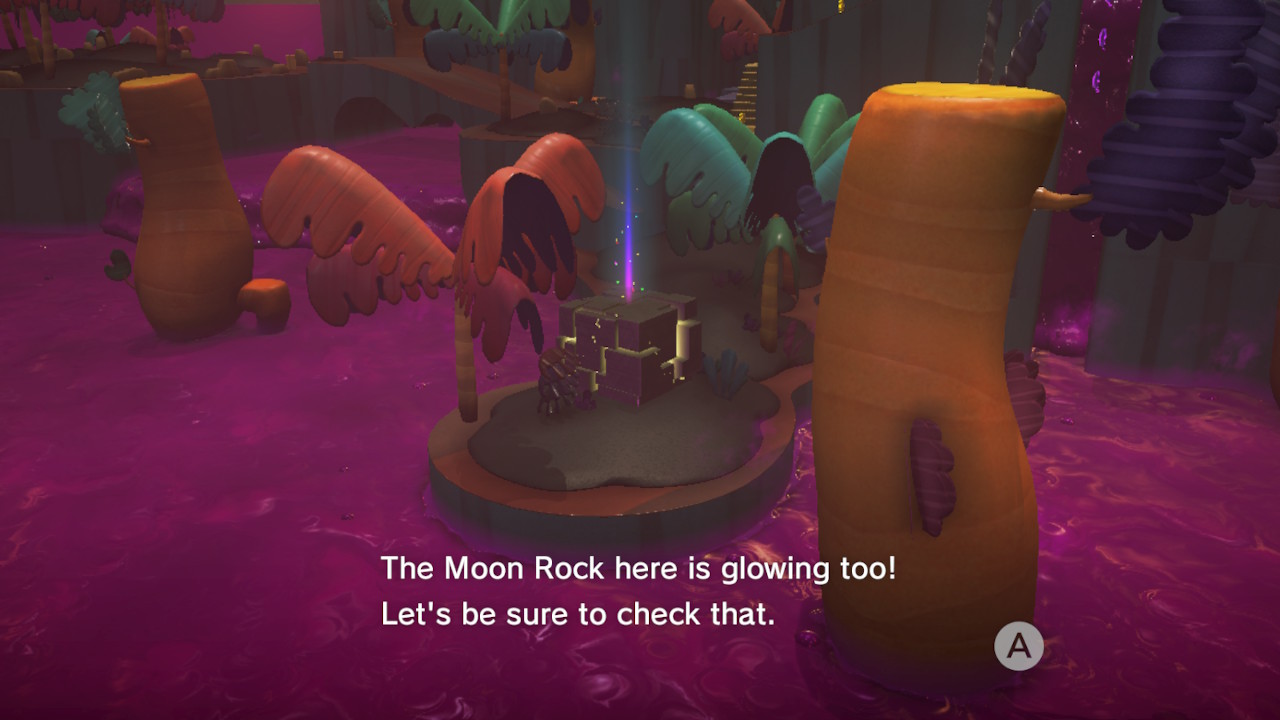
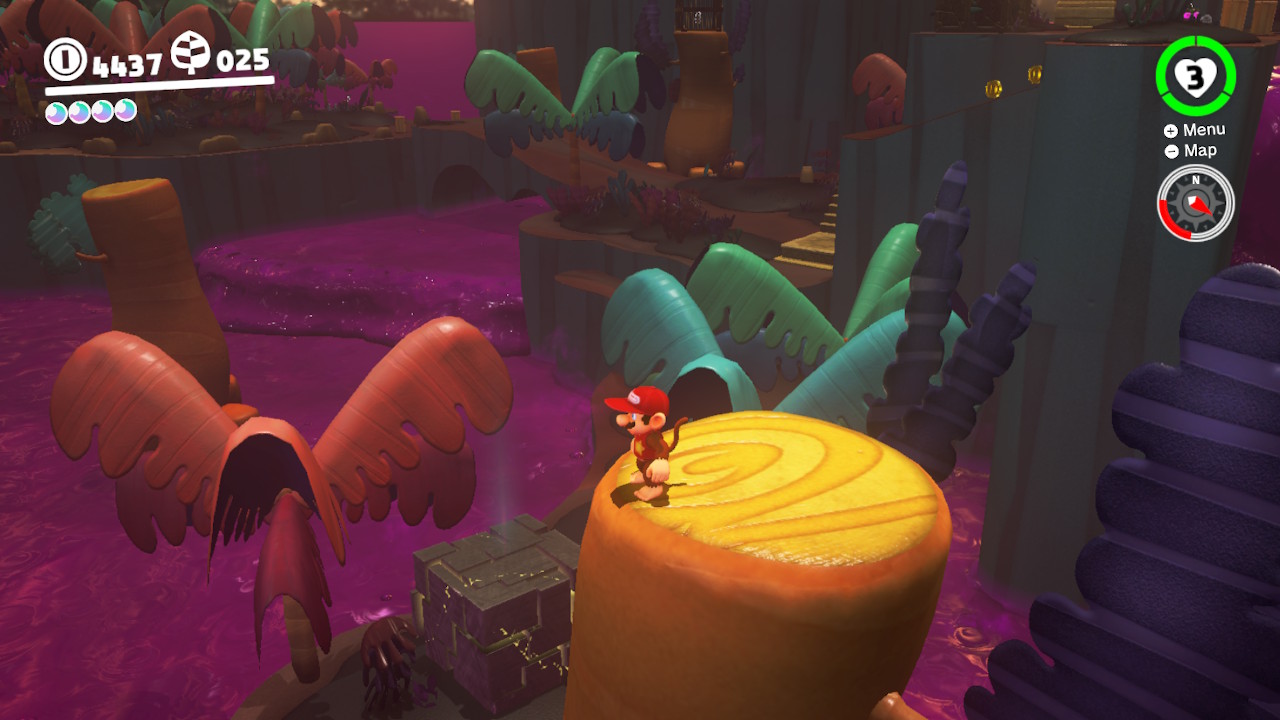
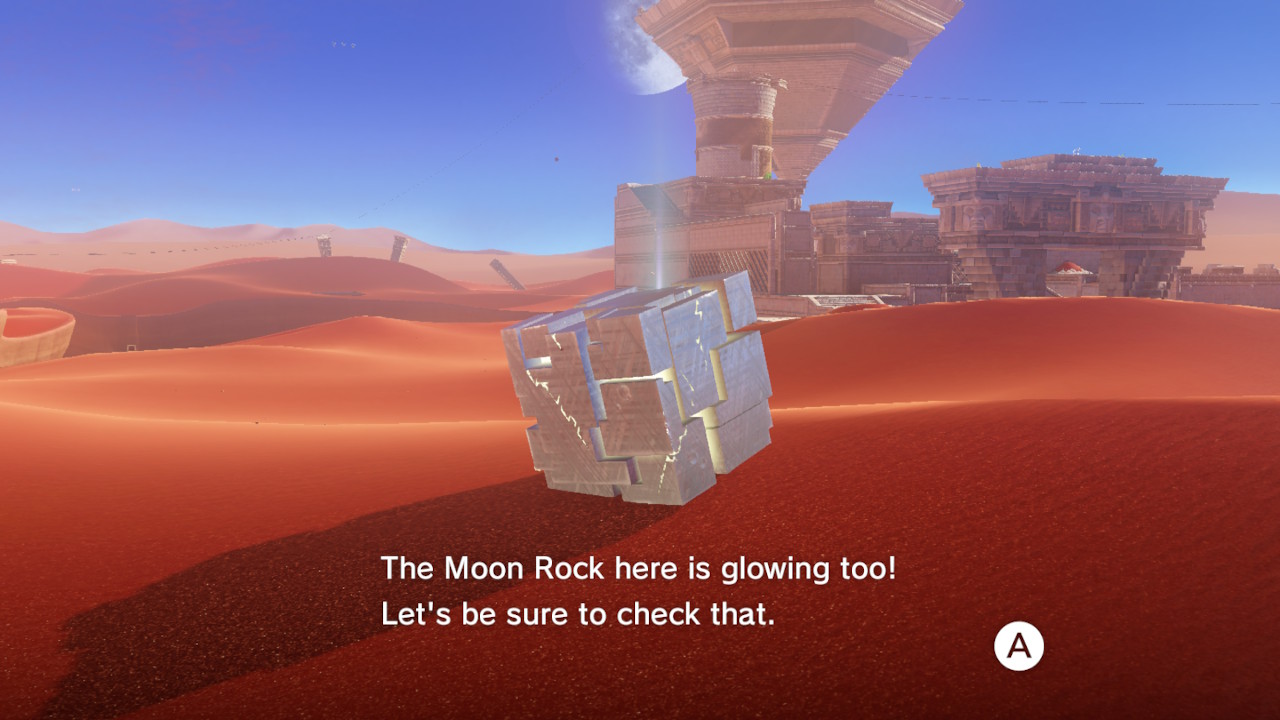
SPOILER ALERT!
The remaining Power Moons can only be found in the “End Game” portion of Mario Odyssey!
– Now that you’ve beaten the game, these mysterious Moon Rocks can be BUSTED open! In doing so, MORE Power Moons will spread throughout the Kingdom!
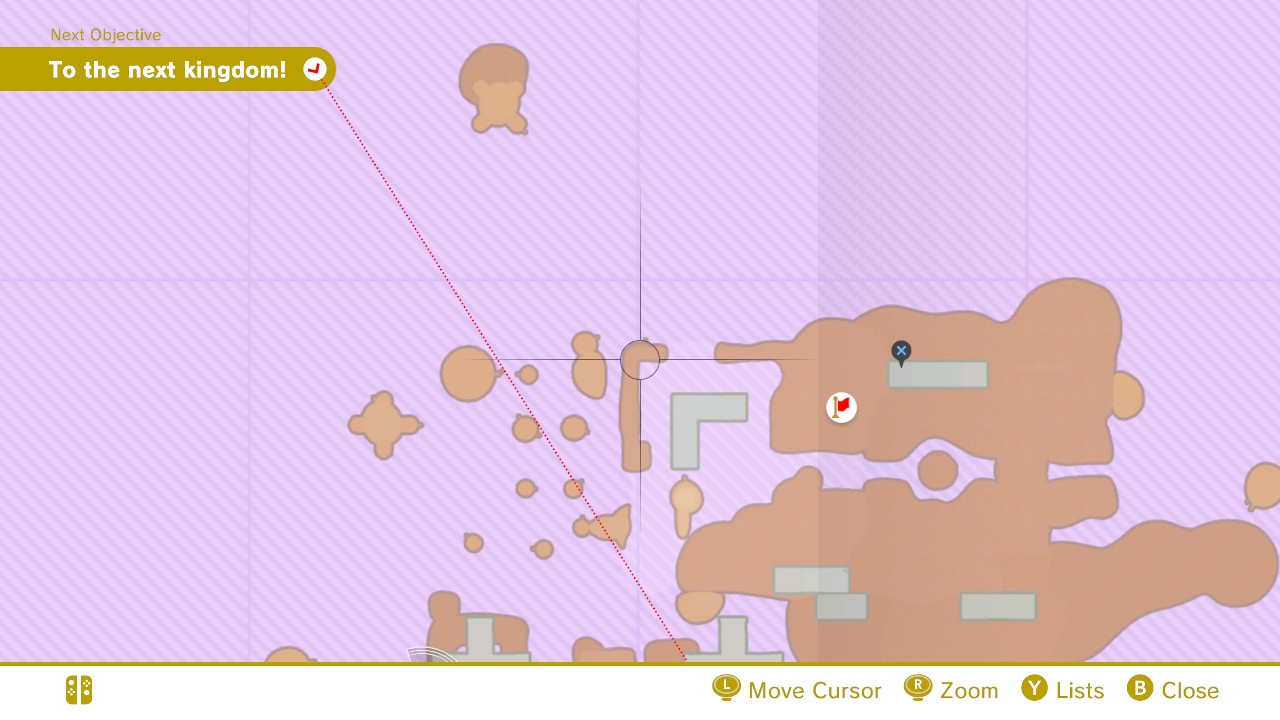
– The Moon rock in The Lost Kingdom is down on a ledge in the southeast side of the island. Break it open and 10 brand new Power Moons will spread throughout the kingdom!
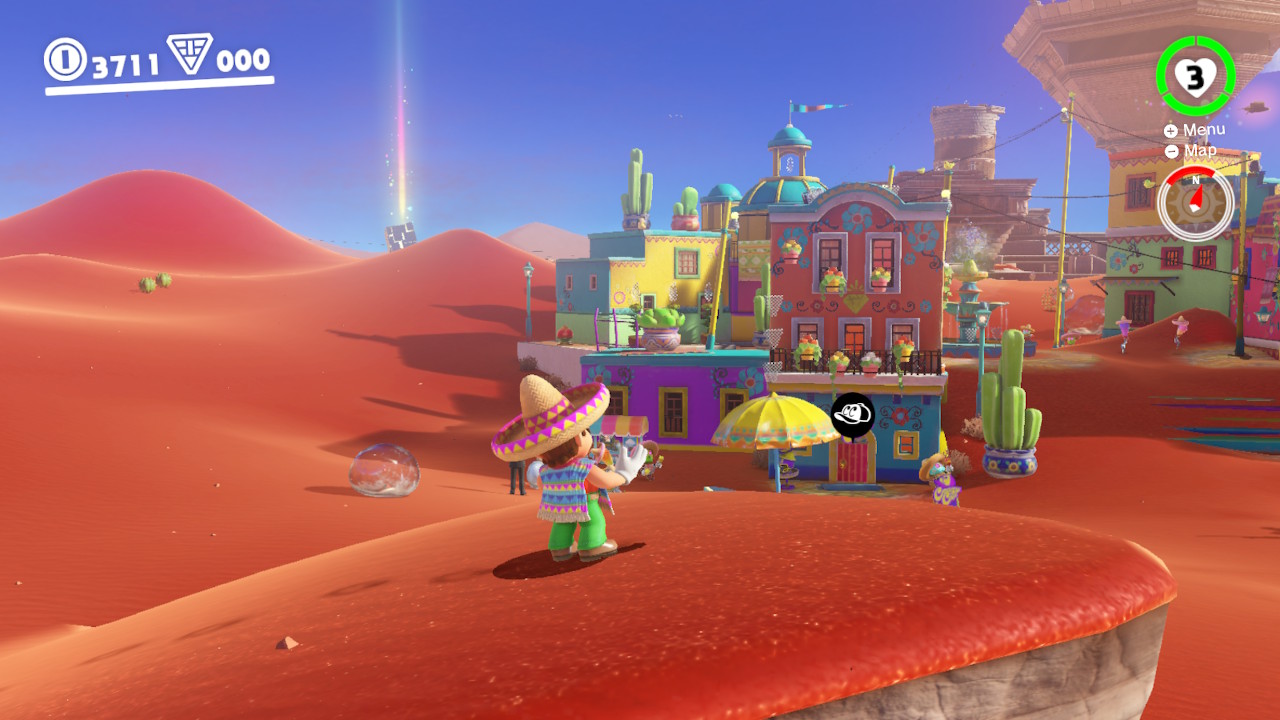
26 – The Shining Fruit
Location-
1- This one is super easy to spot and get. (I actually forgot to capture footage of myslef grabbing it!) It’s right on the edge of the opening jungle area just sitting under a tree!
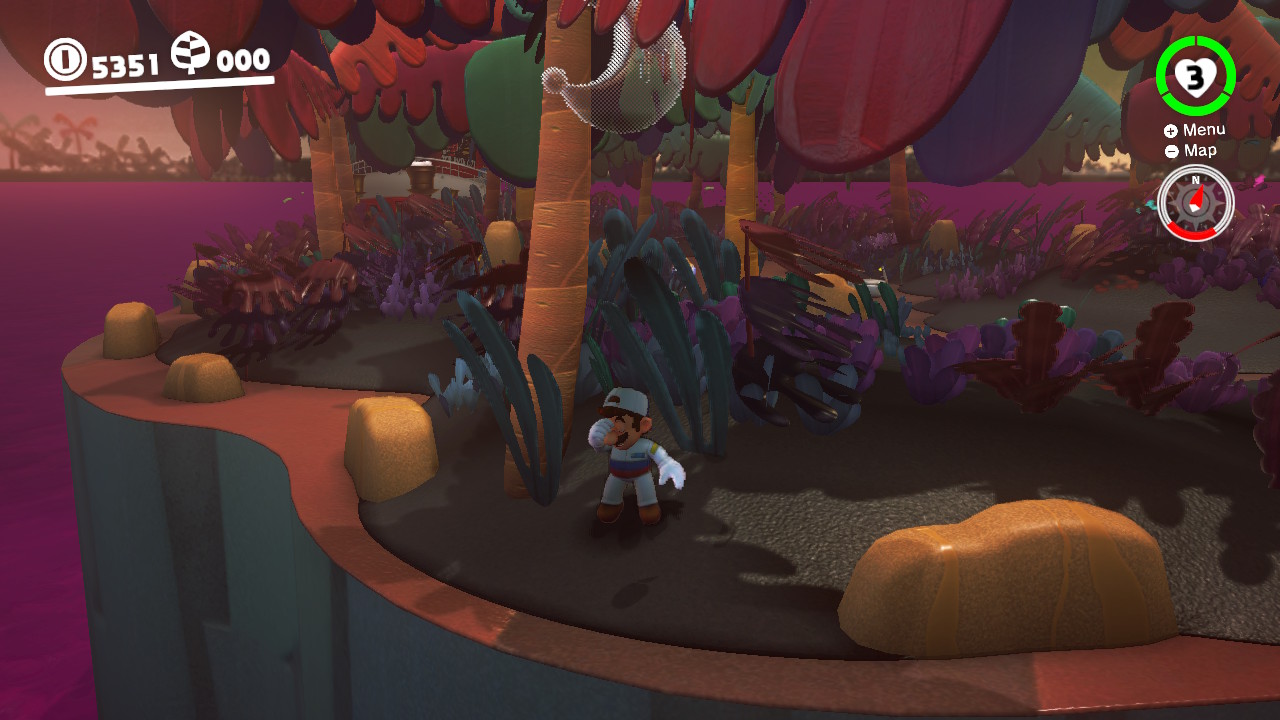
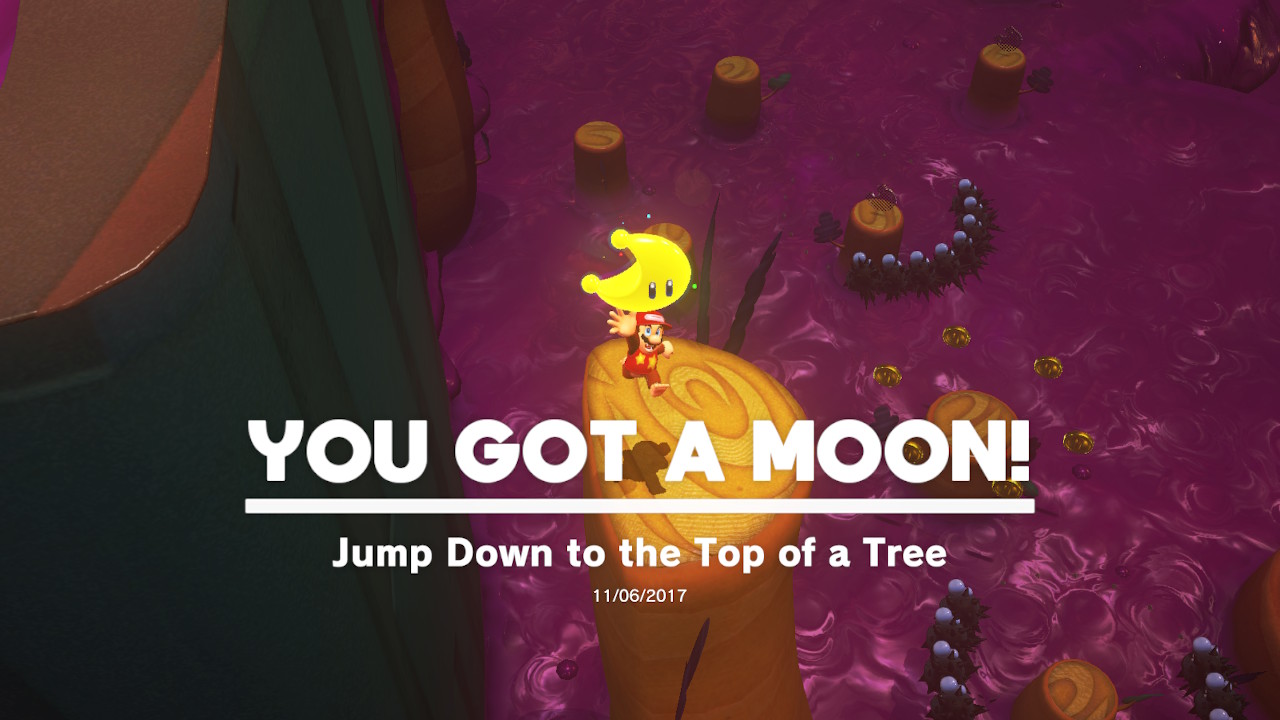
27 – Jump Down to the top of a Tree
Location-
1- There’s a Power Moon above the poison, on top of the tree, and below the “Swamp Hill’ area…
2- Just drop down onto the Moon to grab it!
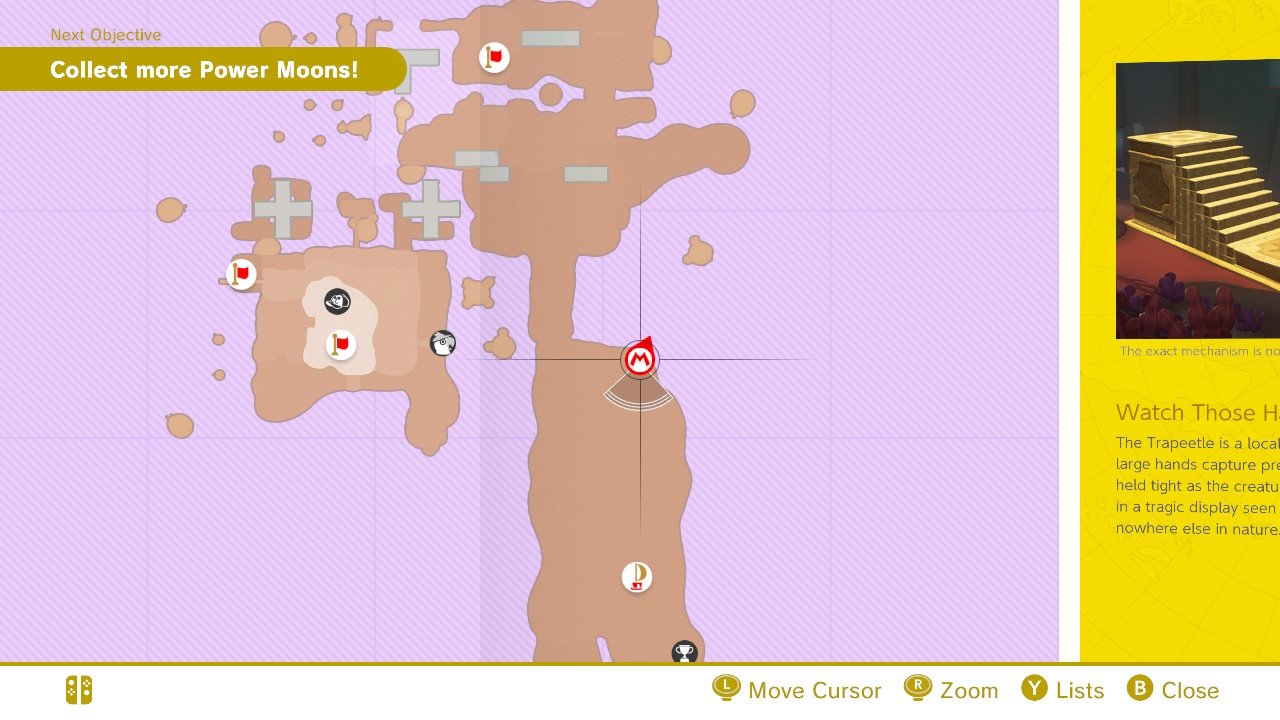
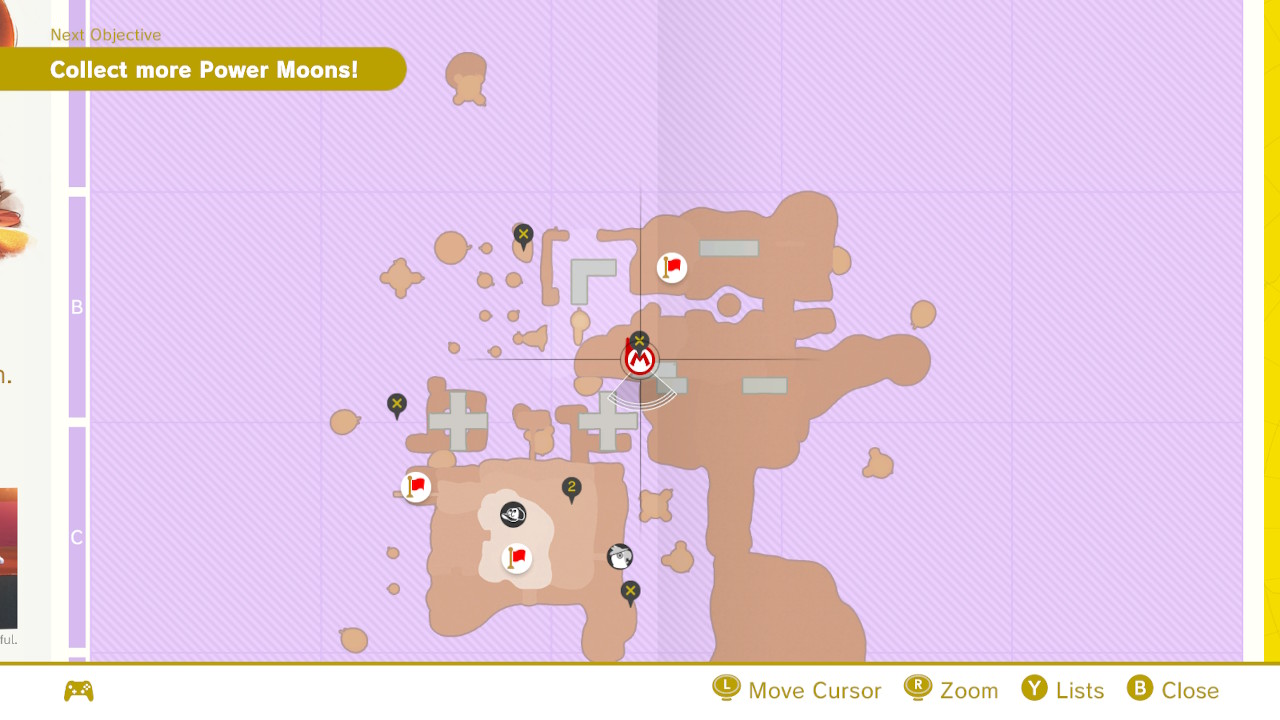
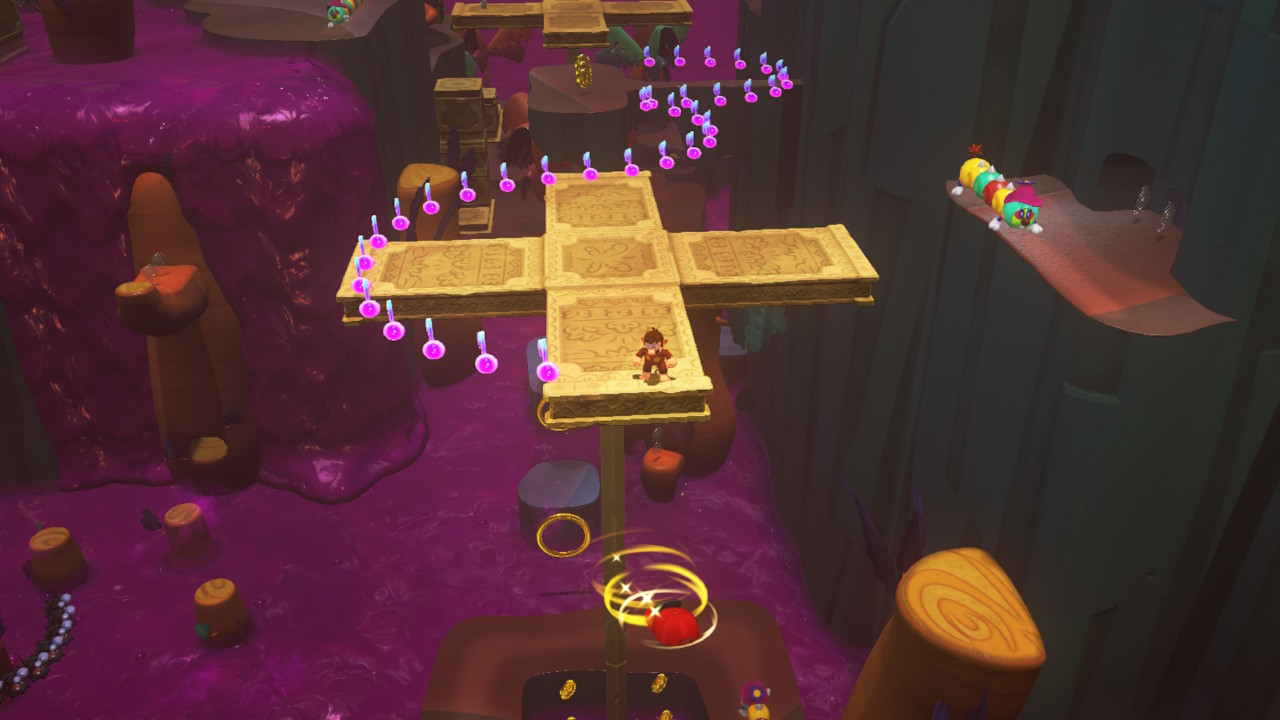
28 – Line It Up, Blow It Up
Location-
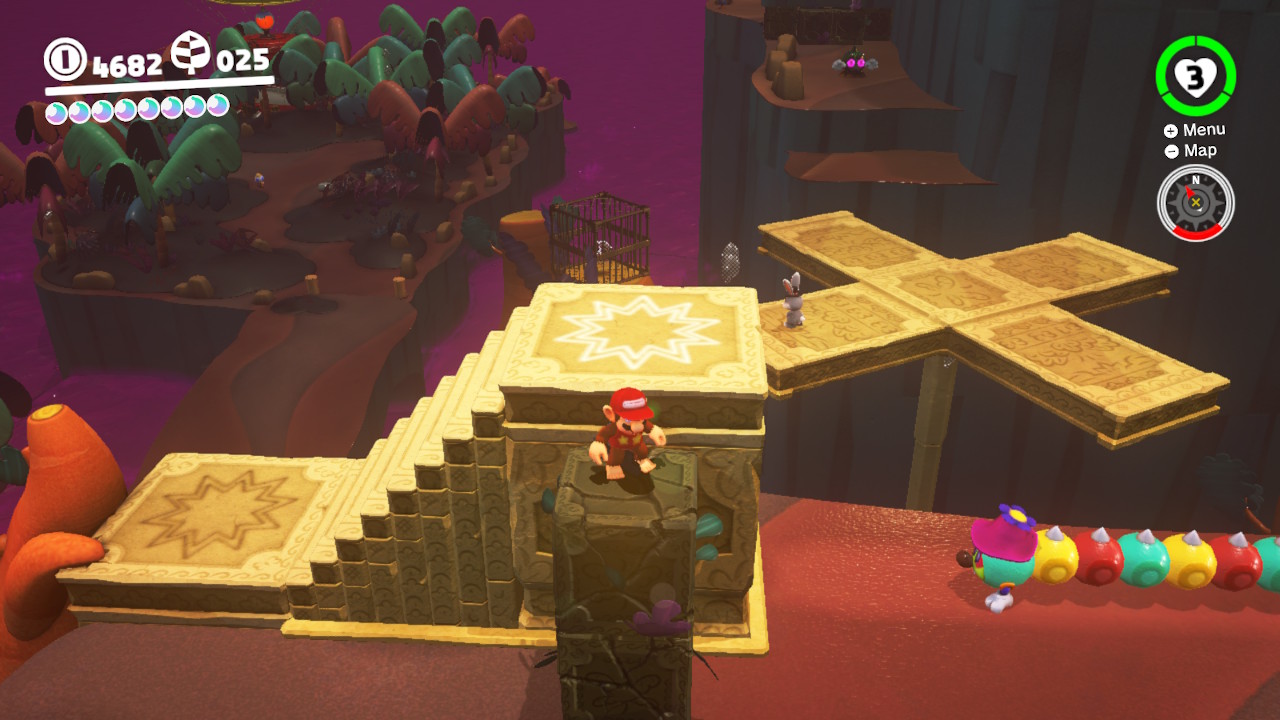
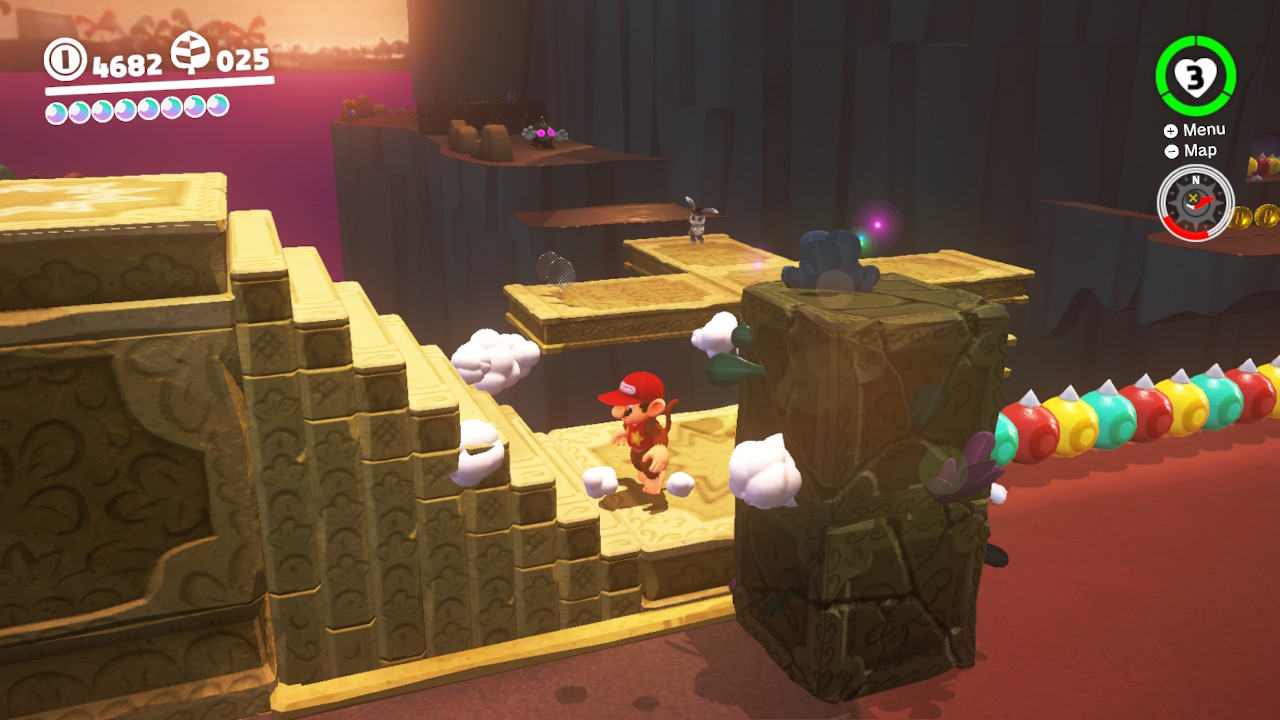
1- Right in the “Swamp Hill” area you should see a sparkly block, it’ll need to be blown up…
2- Ground pound the staircase so that the block can be accessed/blown up…
3- Now you’ll need to throw Cappy at the “Trapeetle” and line it up so he launches towards the block with the Power Moon! (Watching the video should show you all you need to know!)
29 – Taking Notes: Stretch and Shrink
Location-
1- On the furthest spinning pillar is where you can find a music note…
2- Collecting all the music notes in time is pretty tricky, you’ll need to throw Cappy, spin Cappy, etc. to grab them all…
3- This video shows how I did it, it took me a couple tries! Good Luck!
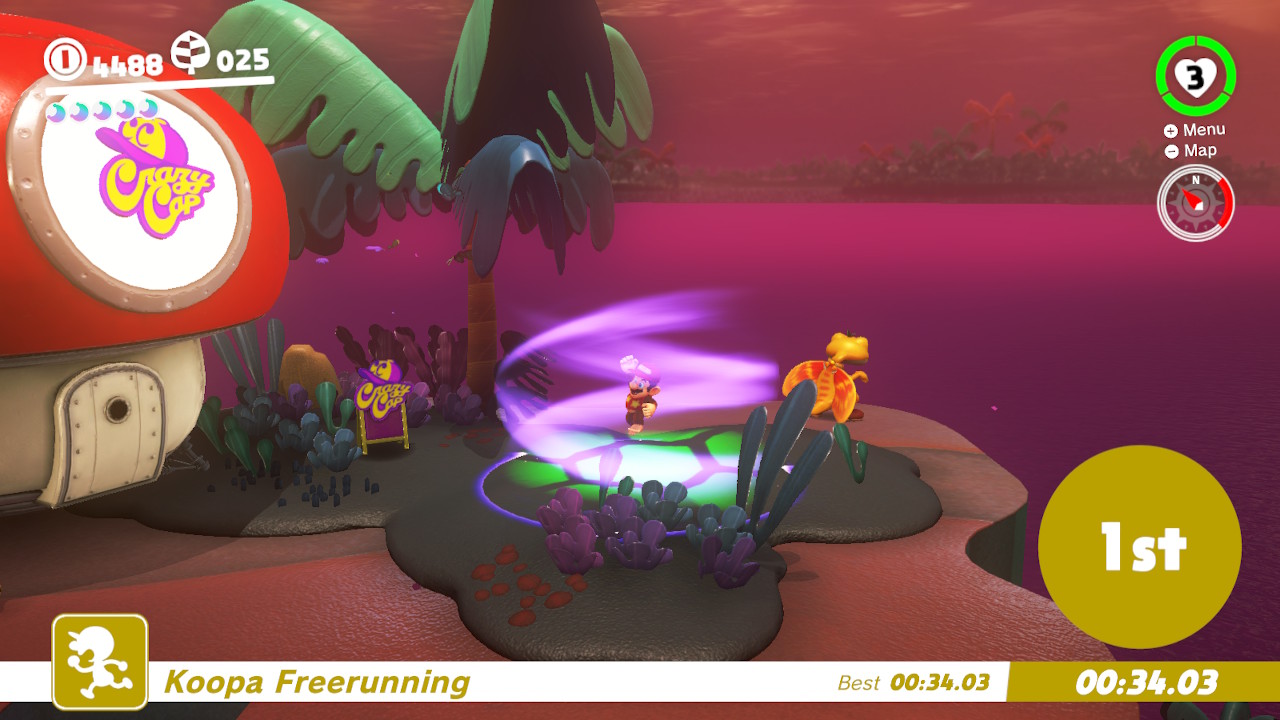
30 – Lost Kingdom Master Cup
Location-
1- You will find Koopa right behind the Odyssey…
2- Talk with him to start the race, the finish line is on top of the mountain…
3- If you have trouble finding a good short cut, watch the GOLD Koopa, he takes a few great shortcuts…
4- First place nets you a Power Moon!
– This video shows a difficult path but one that’ll net you first place with ease!
31 – Lost Kingdom Timer Challenge
Location-
1- You will find a scarecrow overlooking the jungly area and the Odyssey…
2- Throw Cappy at the scarecrow, a Power Moon will appear in the Jungle…
3- Long jump down; if you land on the tree tops you can grab it even quicker, but if not you’ve still got time to climb up the tree and get the Power Moon!
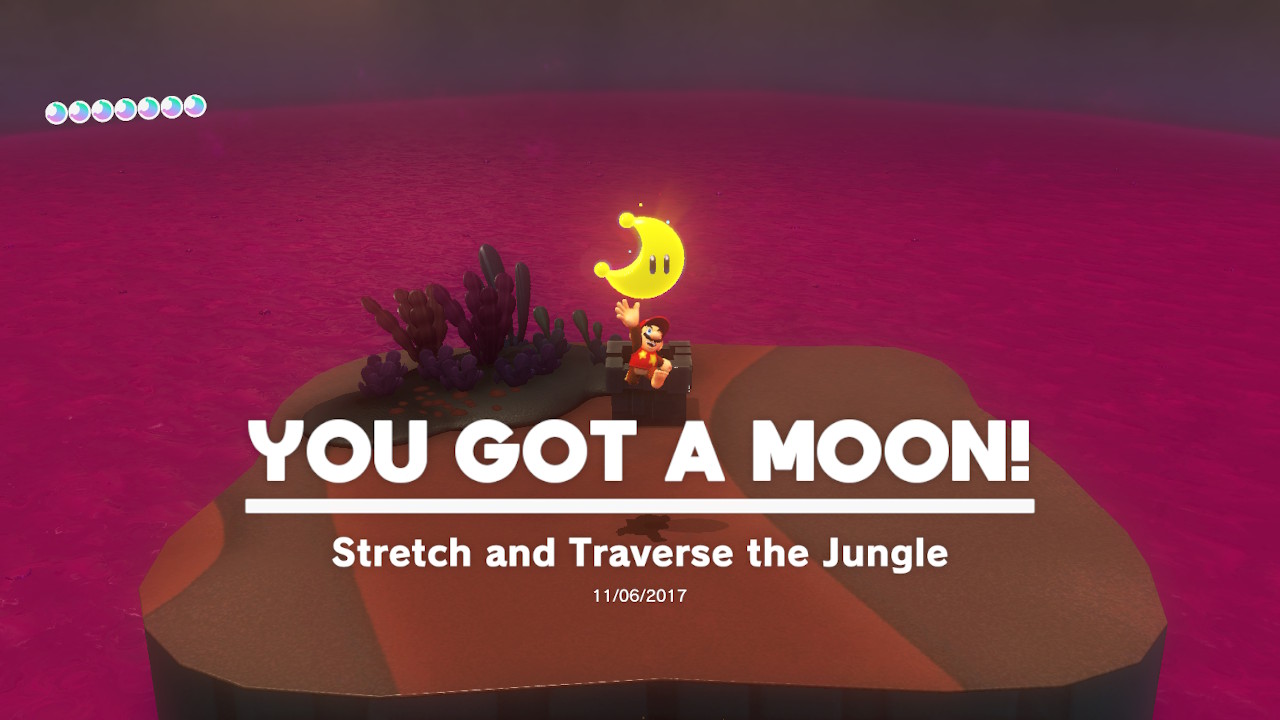
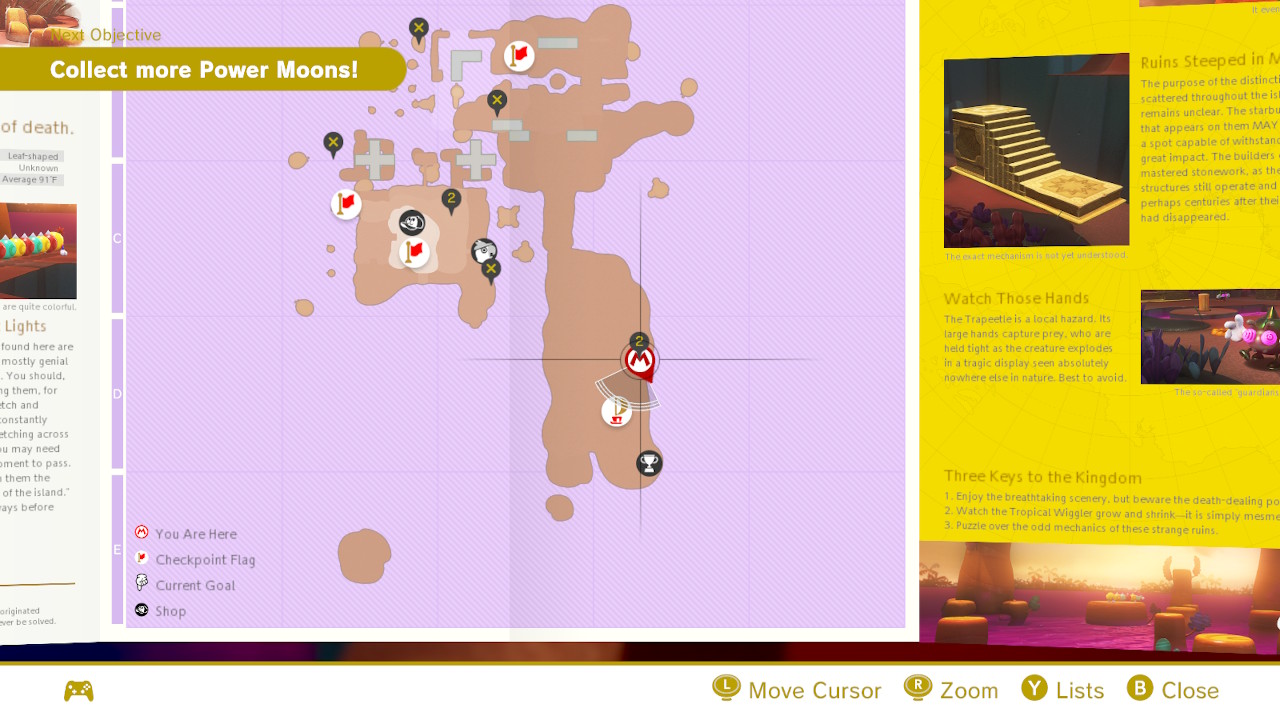
32 – Stretch and Traverse the Jungle
Location-
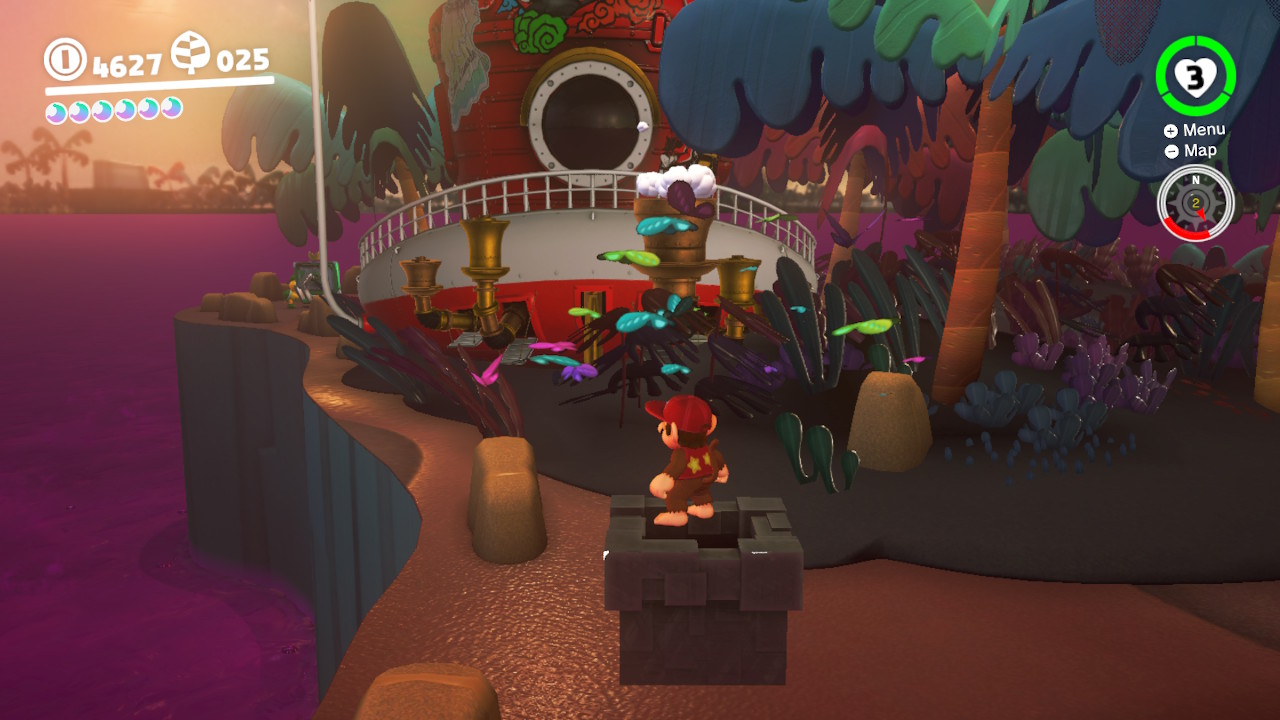
1- After busting open the Moon Rock, a brand new Moon Rock Warp Pipe will appear in front of the Odessey…
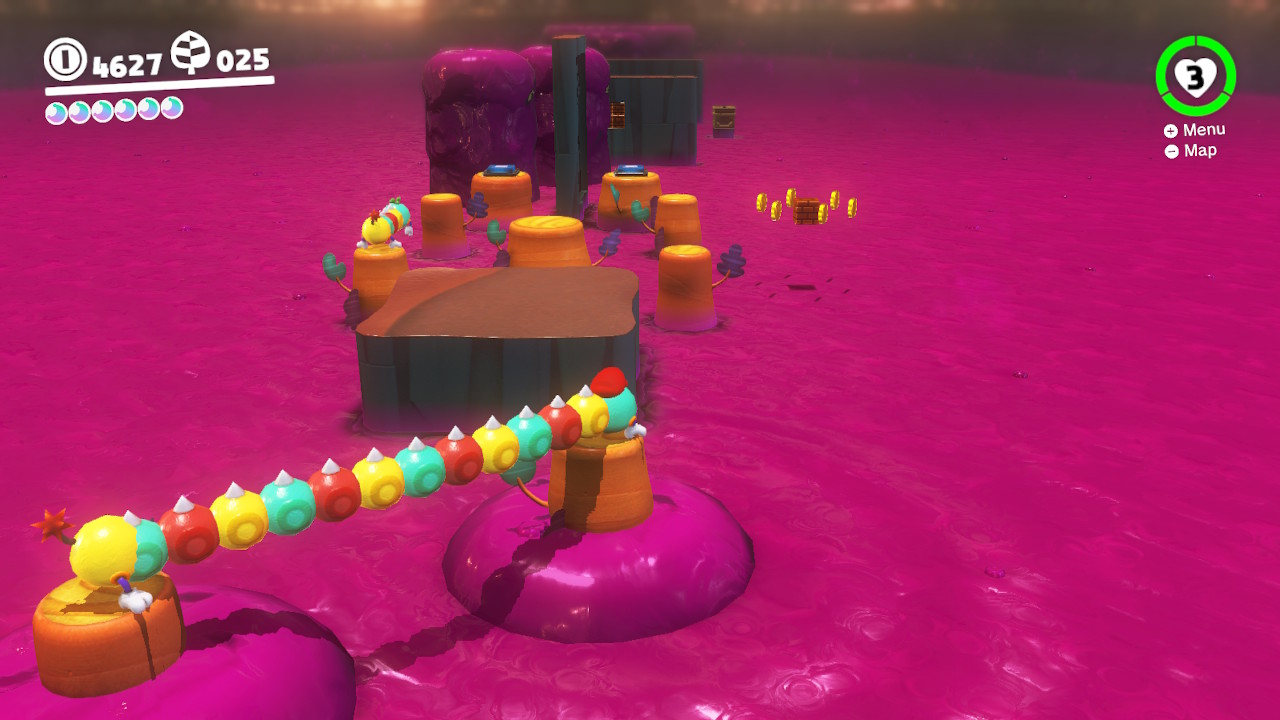
2- Inside is a poison death trap with Tropical Wigglers…
3- Capture the Tropical Wiggler. You’ll need to hit the P switches and STRETCH above the poison…
4- A Power Moon is waiting for you at the end!
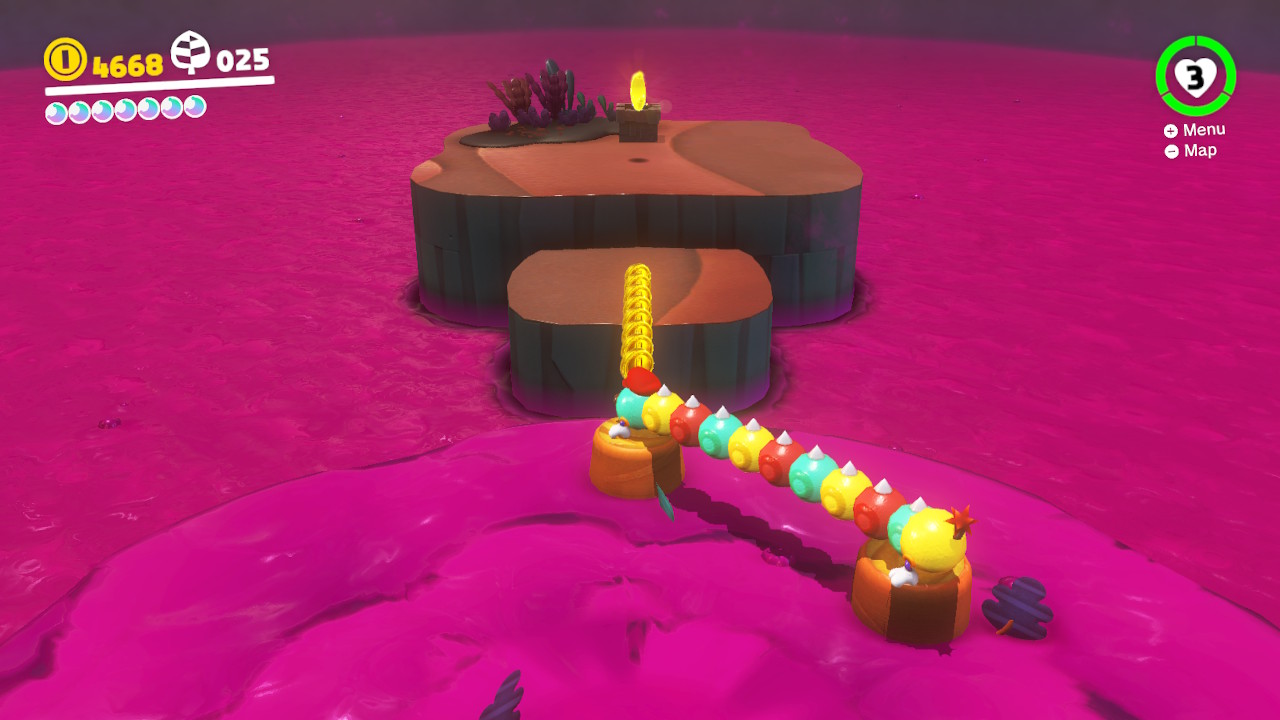
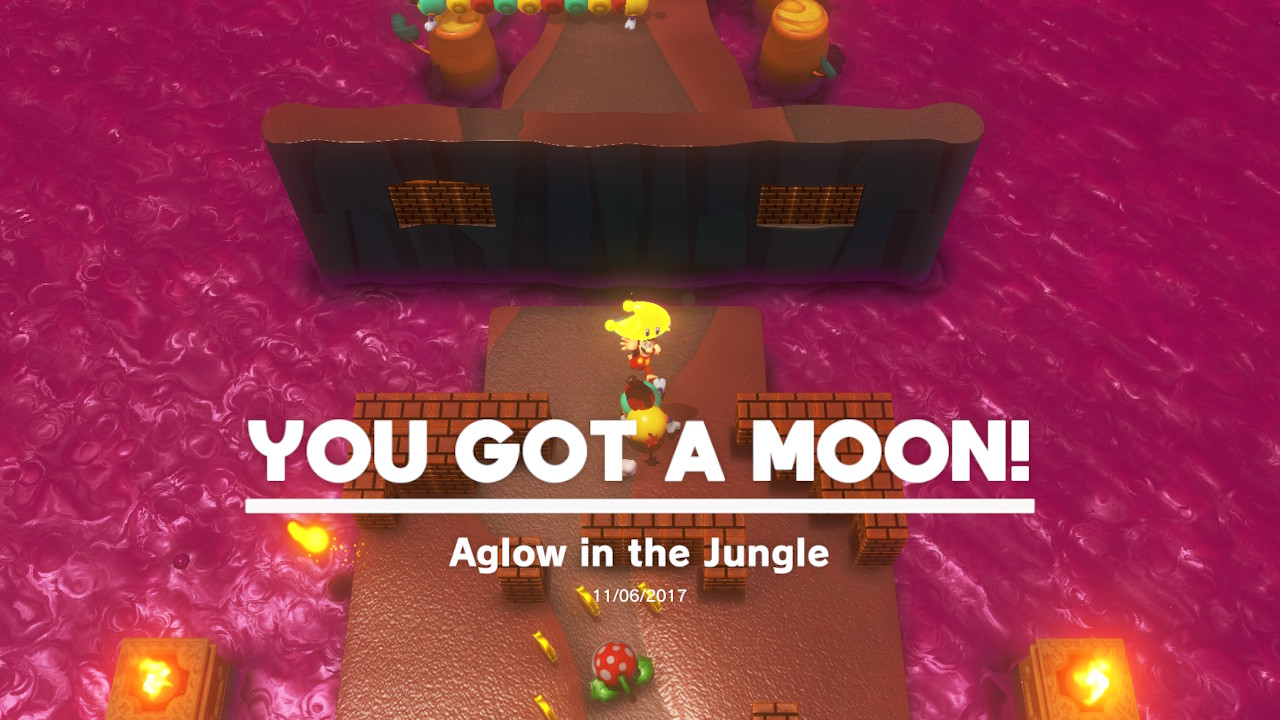
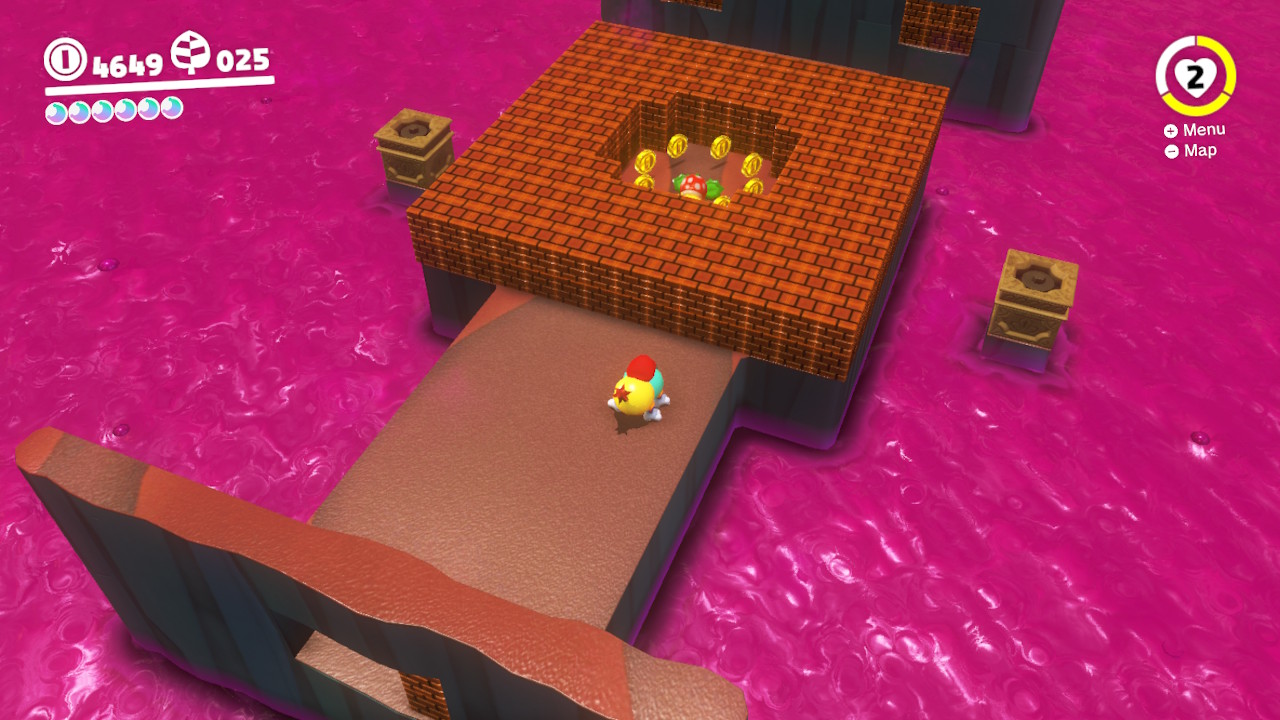
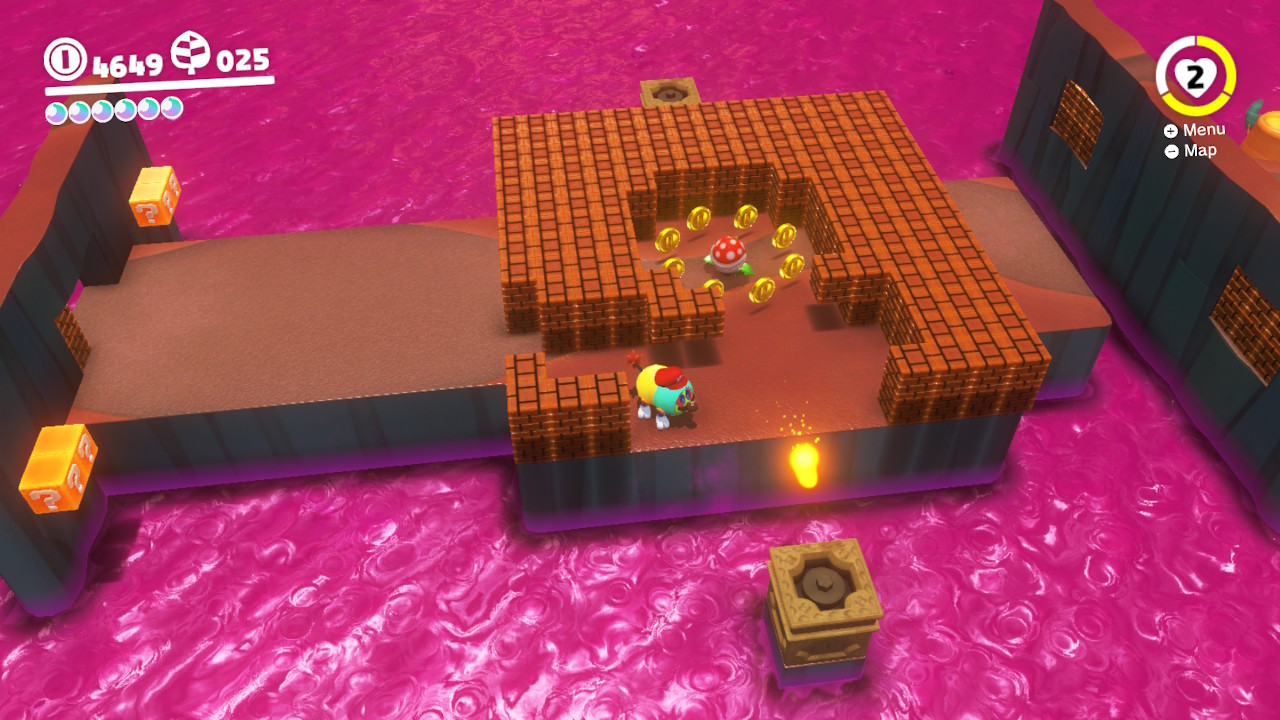
33 – Aglow in the Jungle
Location- Same as “Stretch and Traverse the Jungle”
1- After busting open the Moon Rock, a brand new Moon Rock Warp Pipe will appear in front of the Odessey…
2- Inside is a poison death trap with Tropical Wigglers, you’ll need to capture one and stretch above the poison…
3- About half way through is an area with a Piranha Plant and a bunch of breakable blocks…
4- Destroy the blocks and line up the Piranha Plant’s fireball to hit the lanterns on each side…
5- Once both lanterns are lit, the secret Power Moon will be yours!
– Check out this video to show how it is done!
34 – Chasing Klepto
Location-
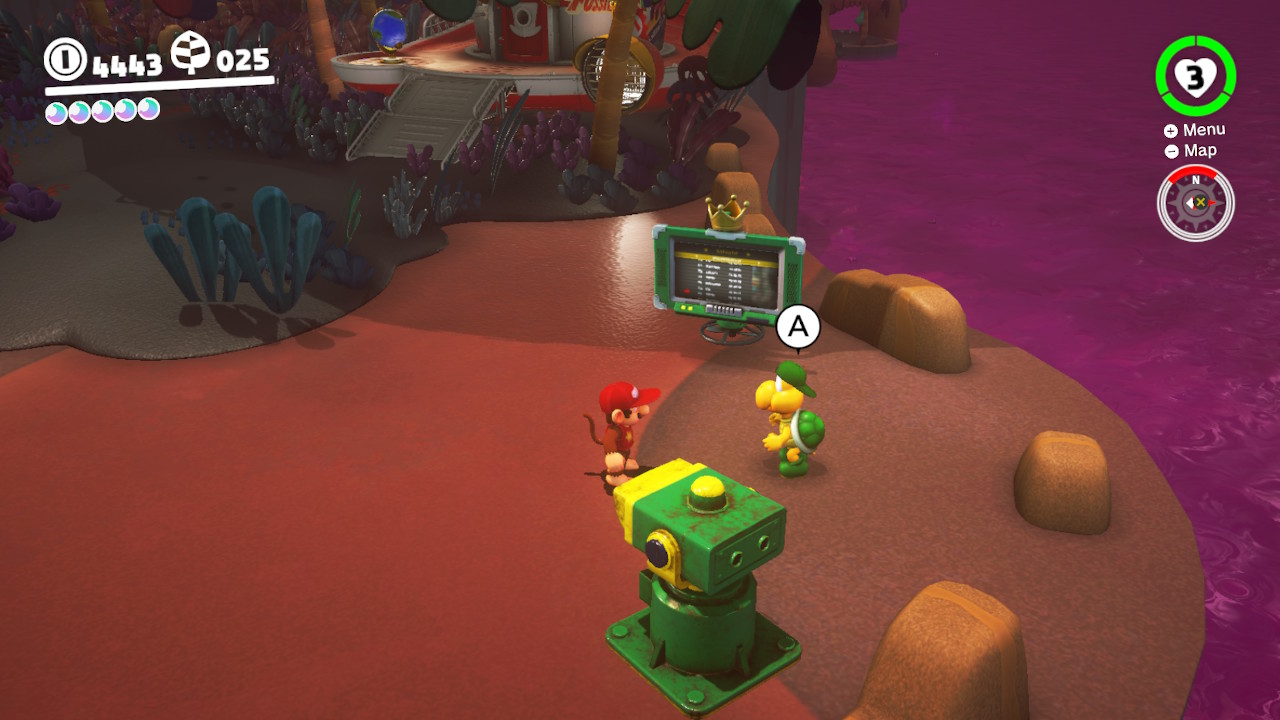
1- There is another Moon Rock Warp Pipe that overlooks the Jungle and Odessey…
2- Inside is a lava-filled arena where…
3- Klepto the bird will take Cappy AGAIN…
4- Chase the Klepto down, it will leave as soon as you get to close…
5- Hit this block once so that it is set up that the bird will land on the LOWER side, now when the bird lands here you can GROUND POUND the spot and the bird will go flying…
6- Now that you’ve got Cappy back, hit the switch and grab the Power Moon!
35 – Extremely Hot Bath
Location- Same as “Chasing Klepto”
1- There is another Moon Rock Warp Pipe that overlooks the Jungle and Odessey…
2- Inside is a lava-filled arena where Klepto will take Cappy again…
3- Once you get Cappy back, normally you’d hit the switch and grap the Power Moon. However there is an additional secret Moon hiding in here…
4- Find the closest Lava Bubble and capture it…
5- Start swimming to the giant tower that Klepto was sitting on earlier…
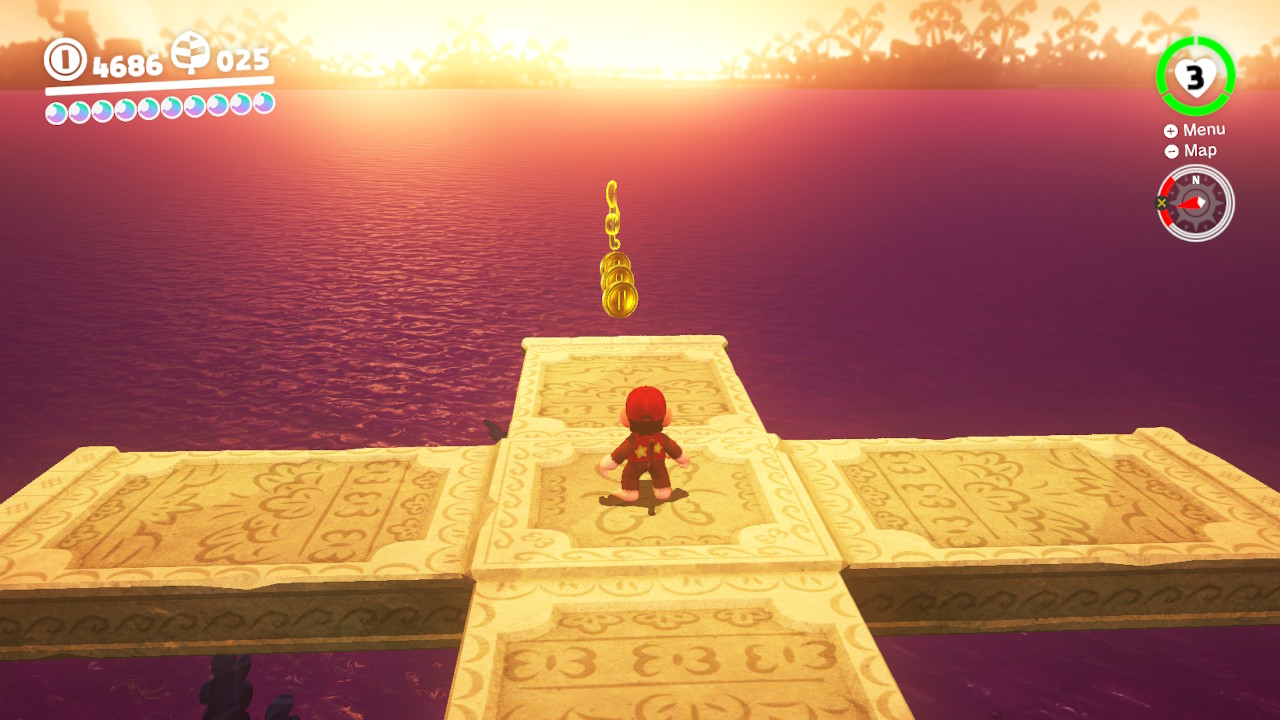
6- On the opposite side of the tower you will find the hidden Power Moon!
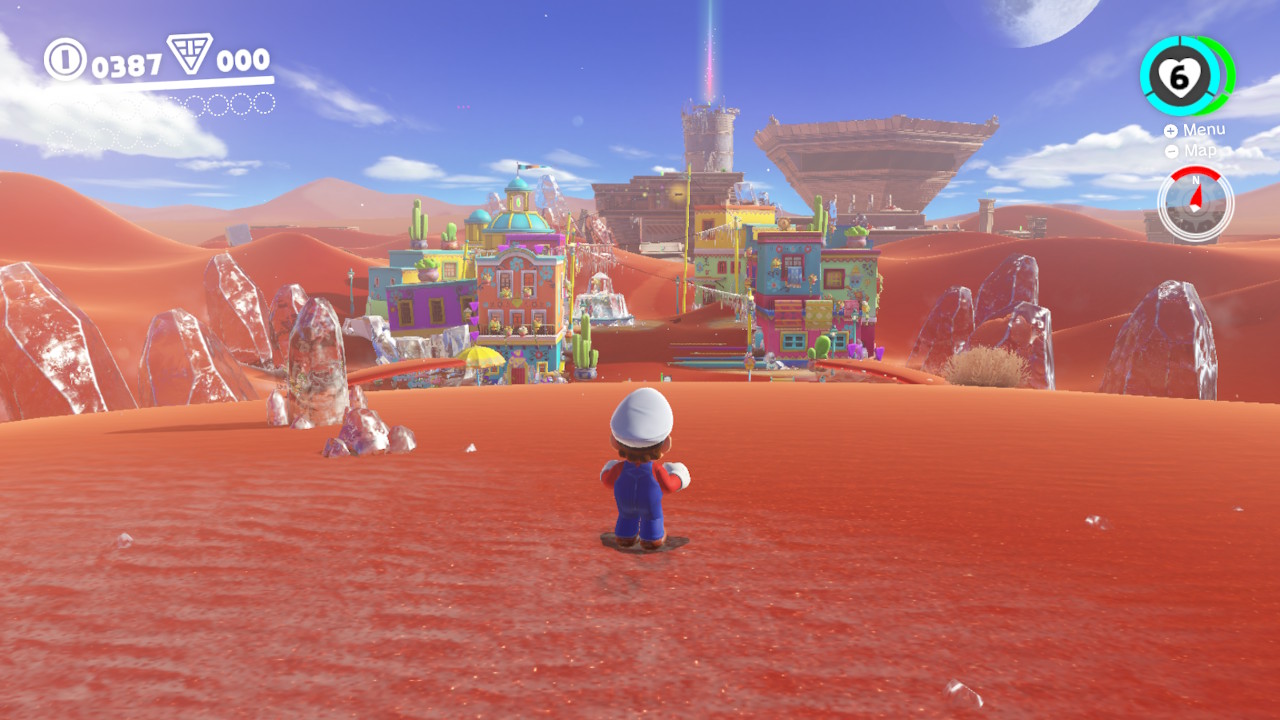
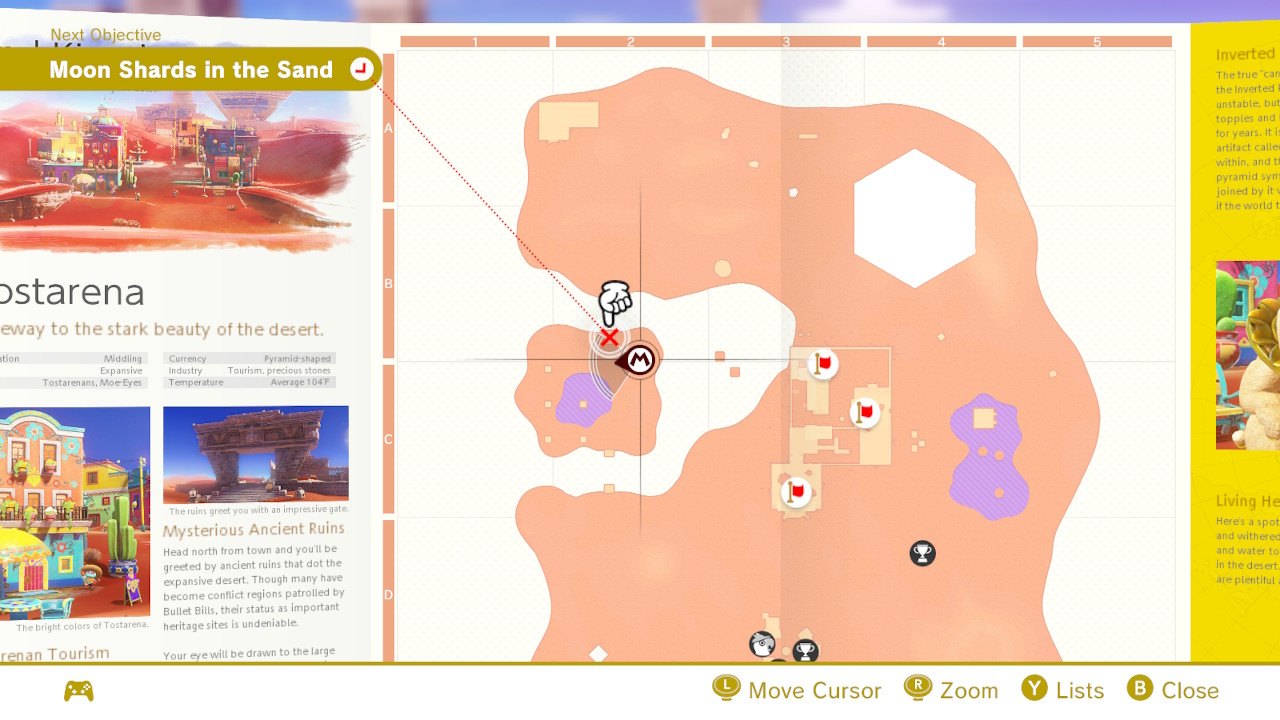
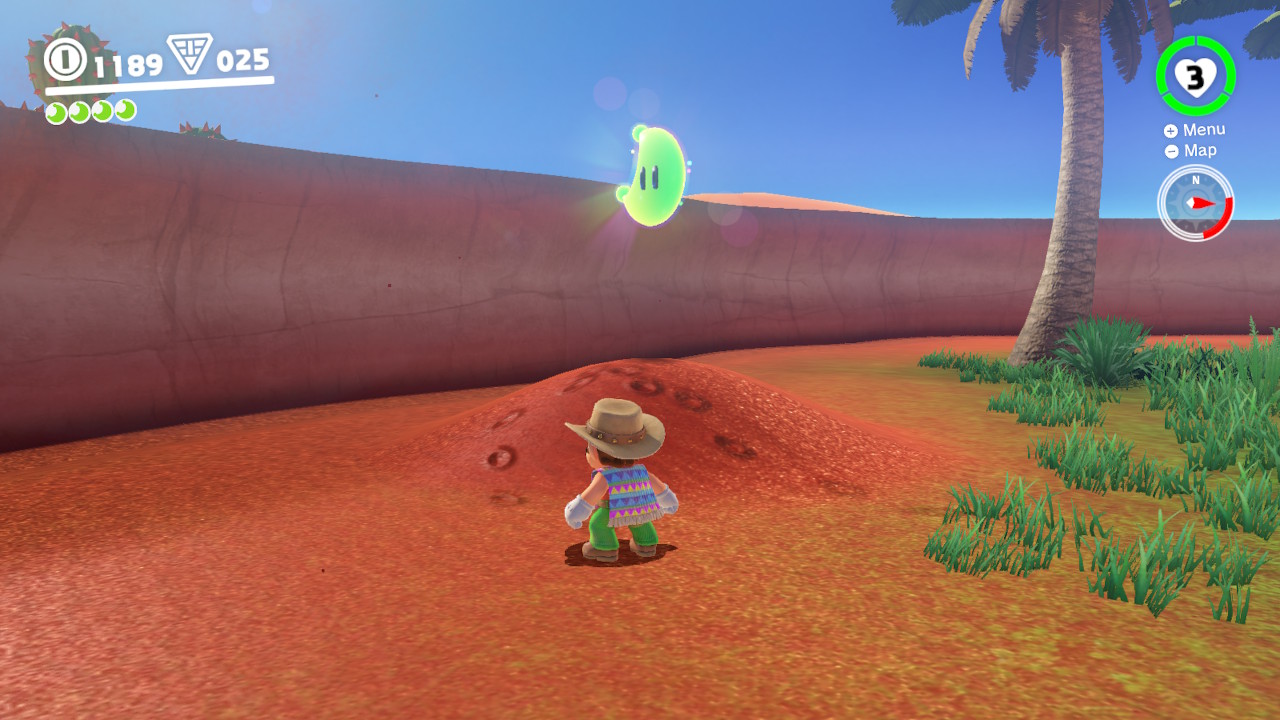
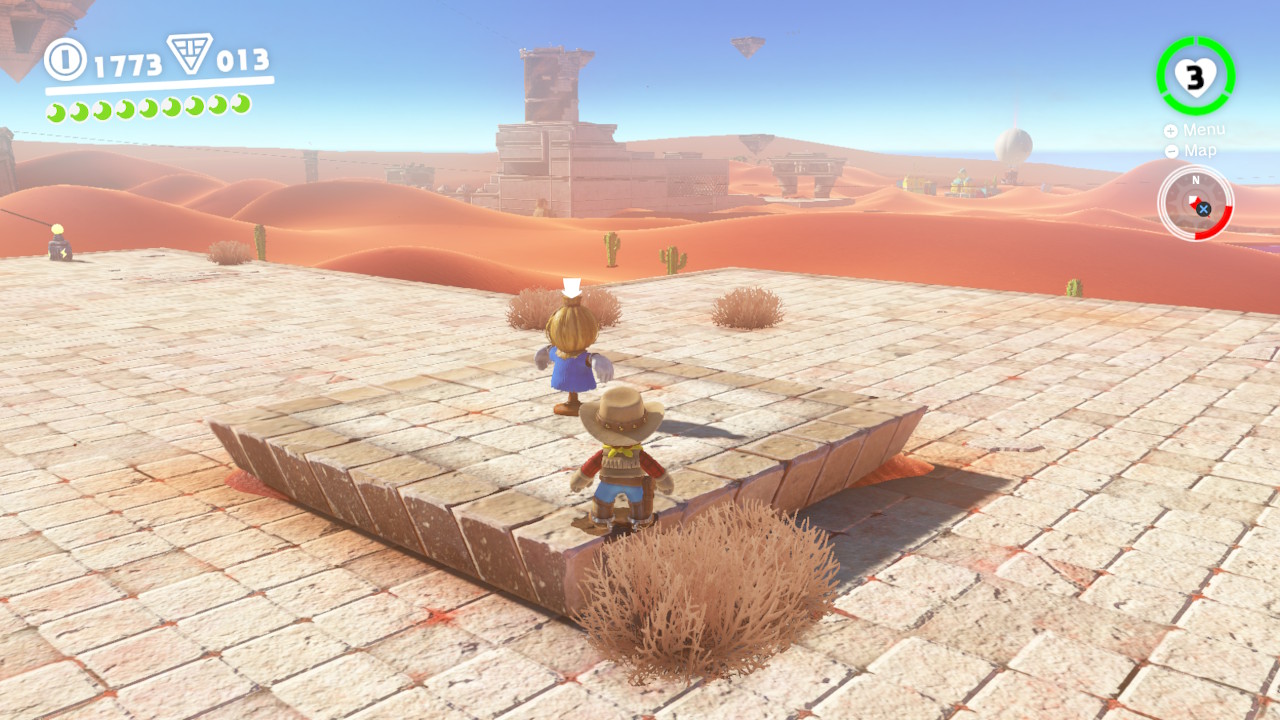
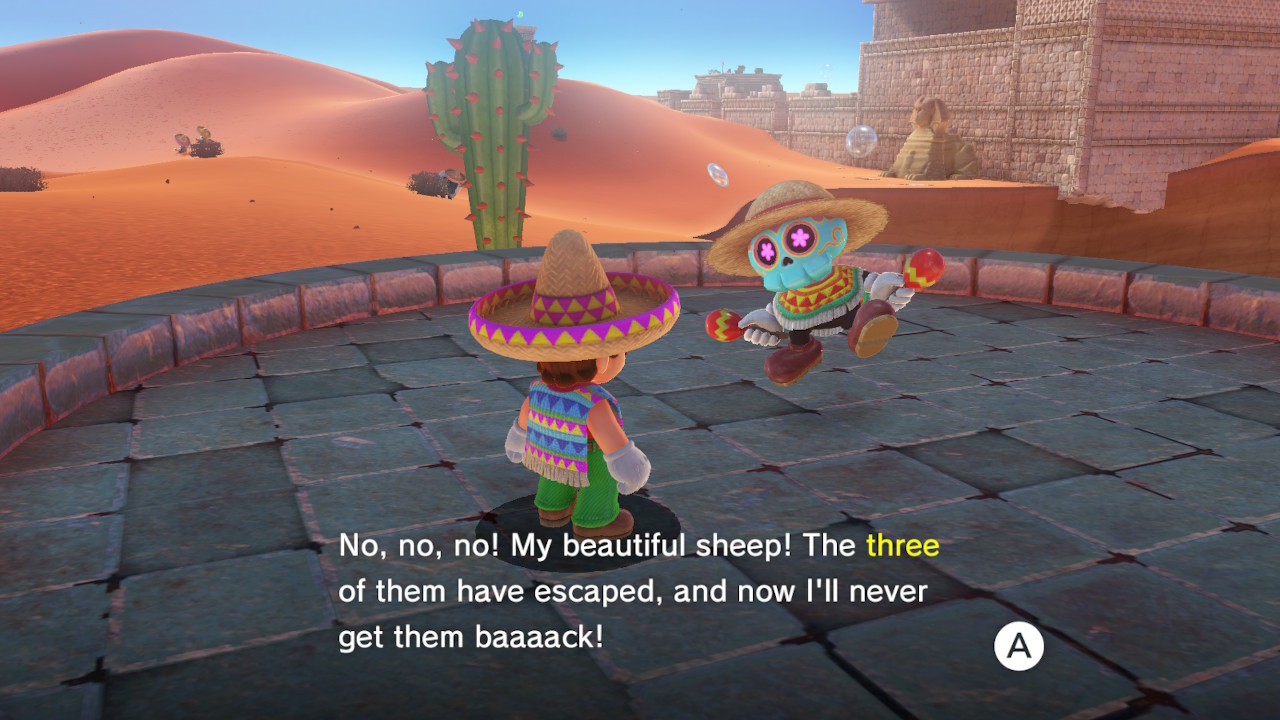
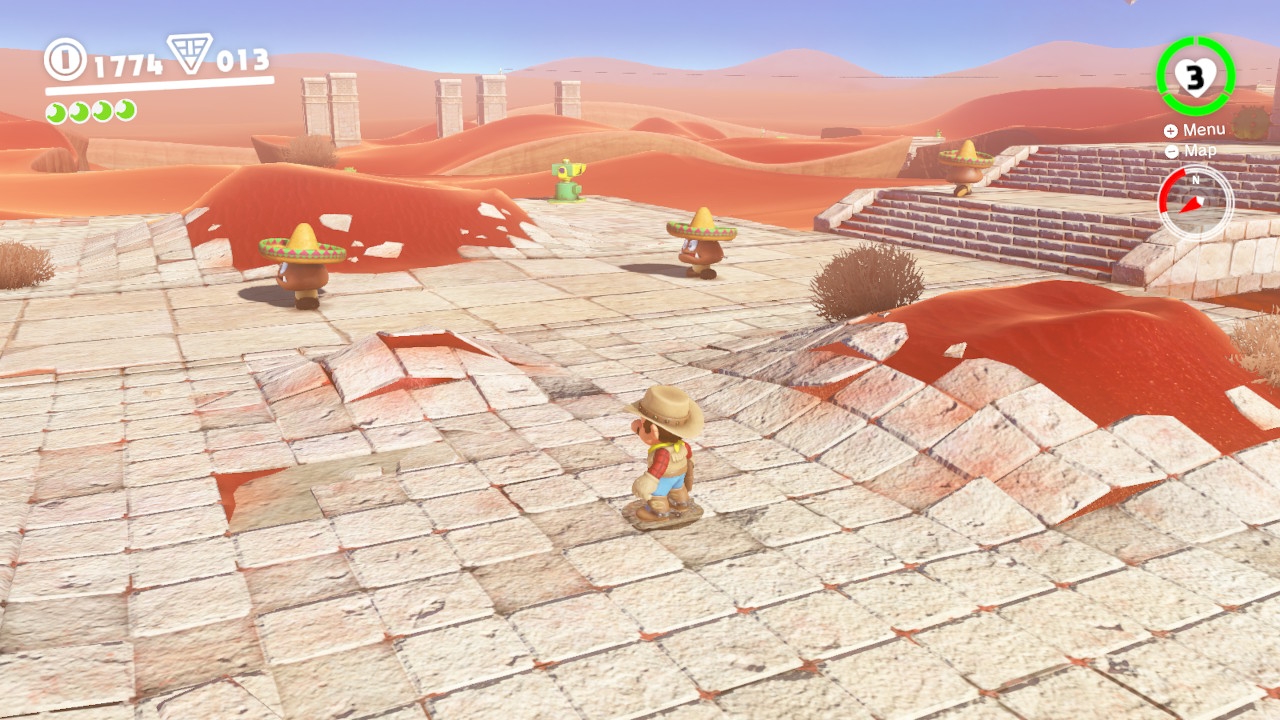
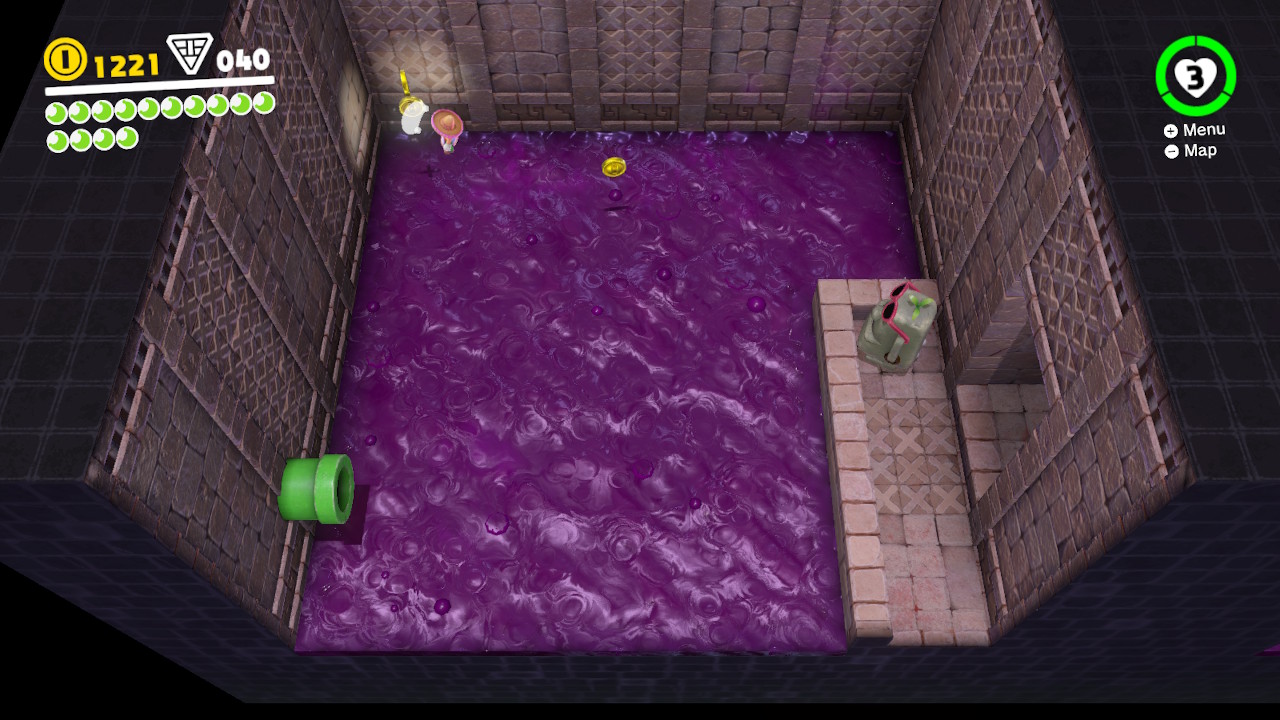
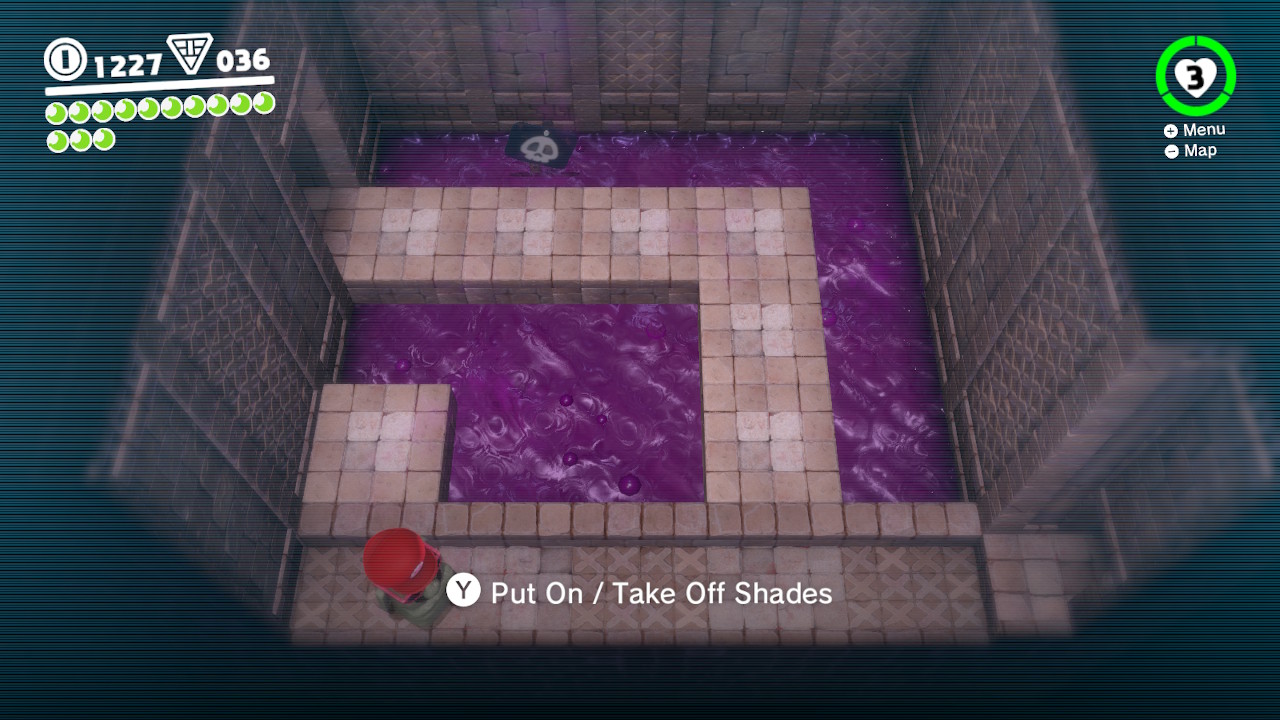
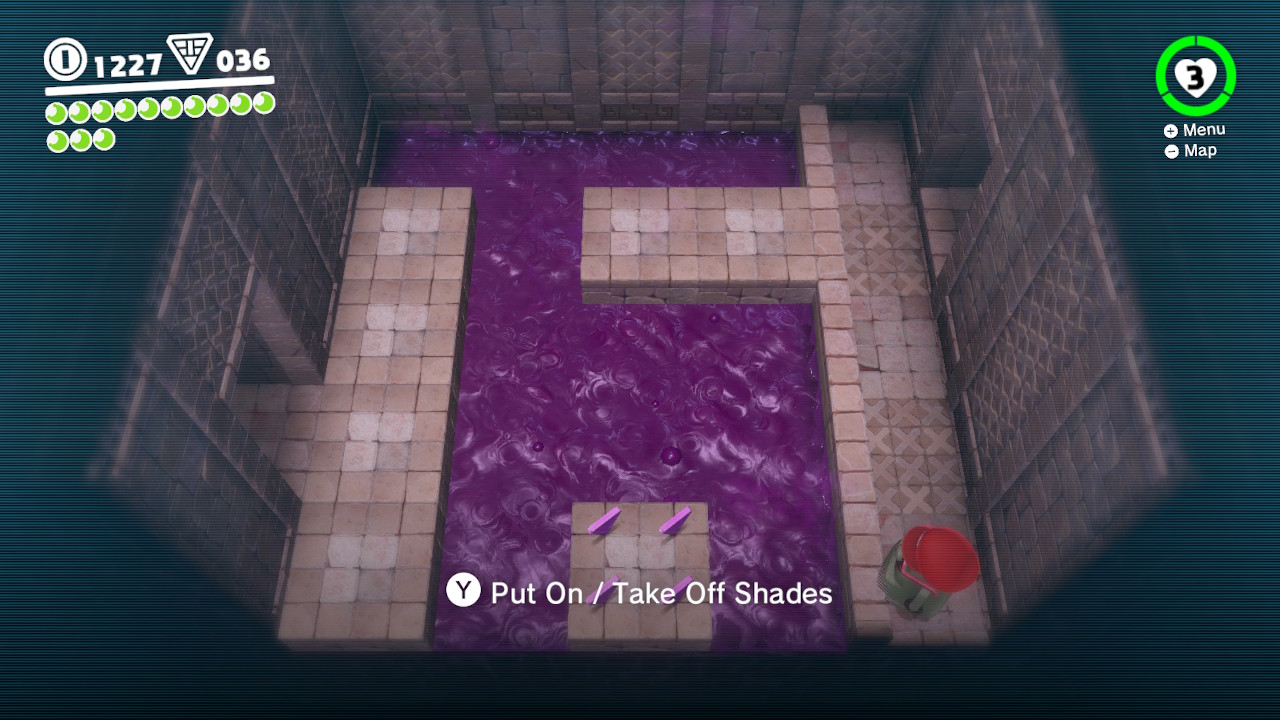
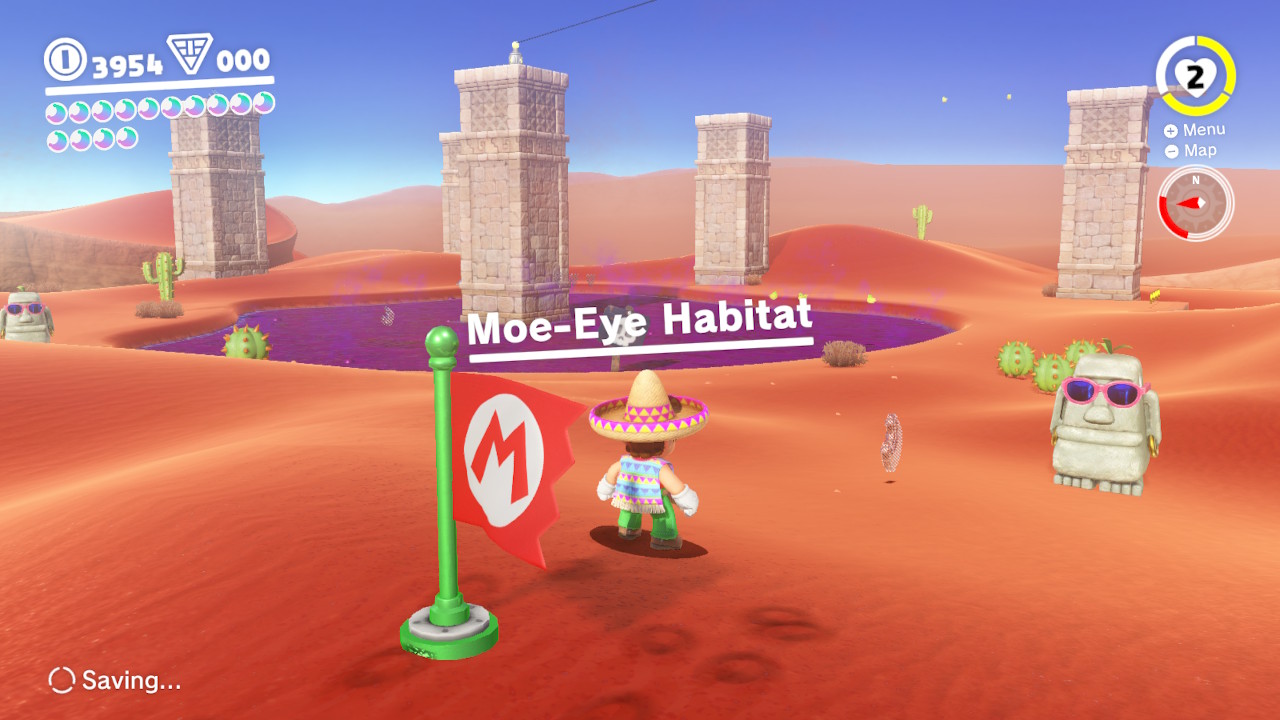
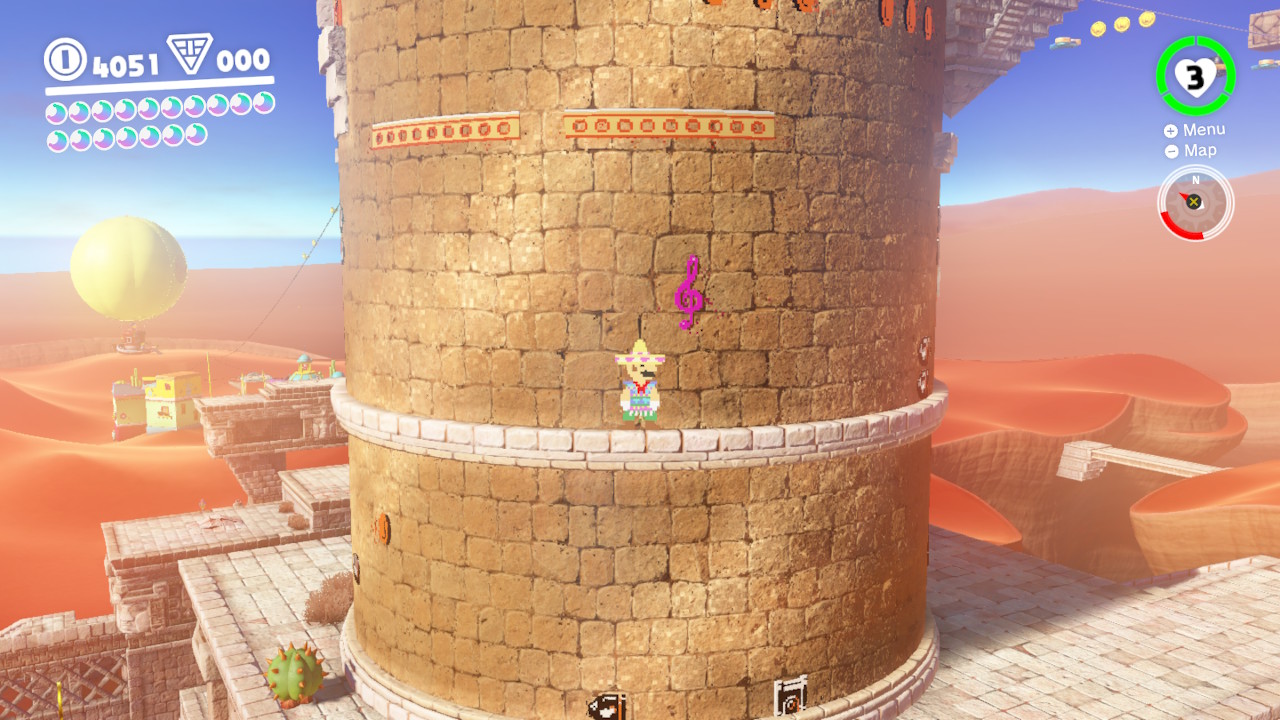
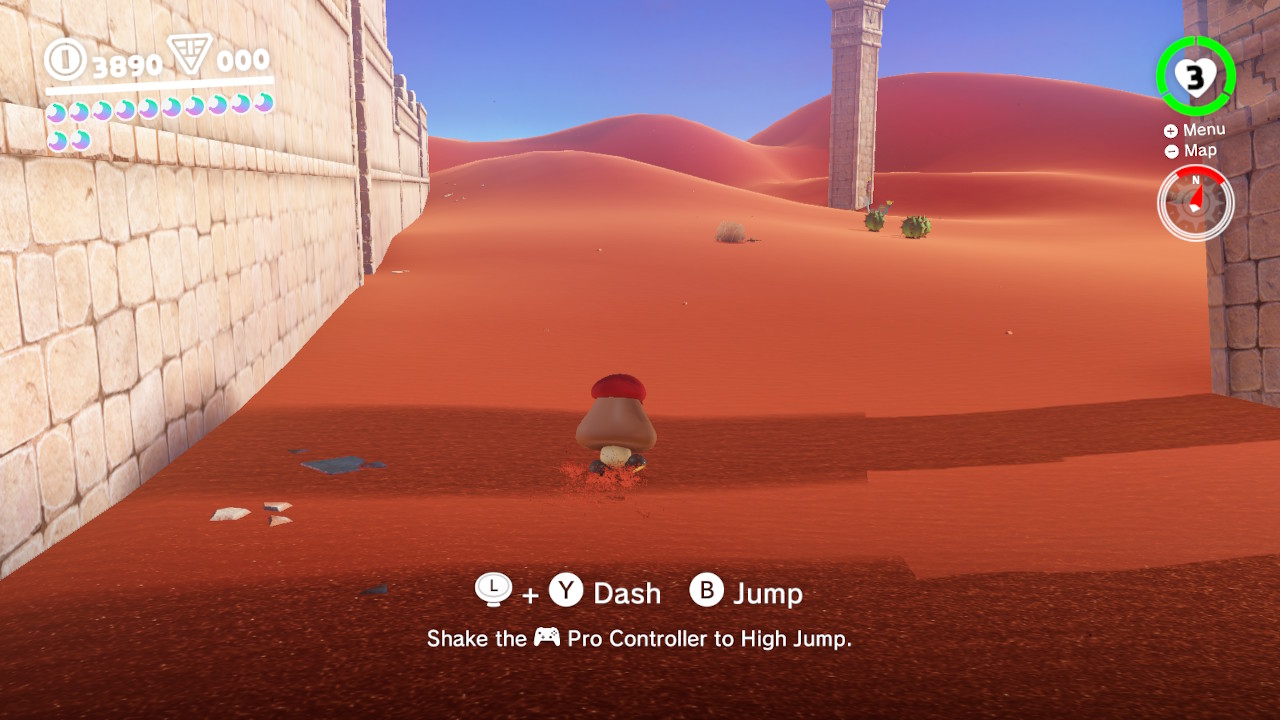
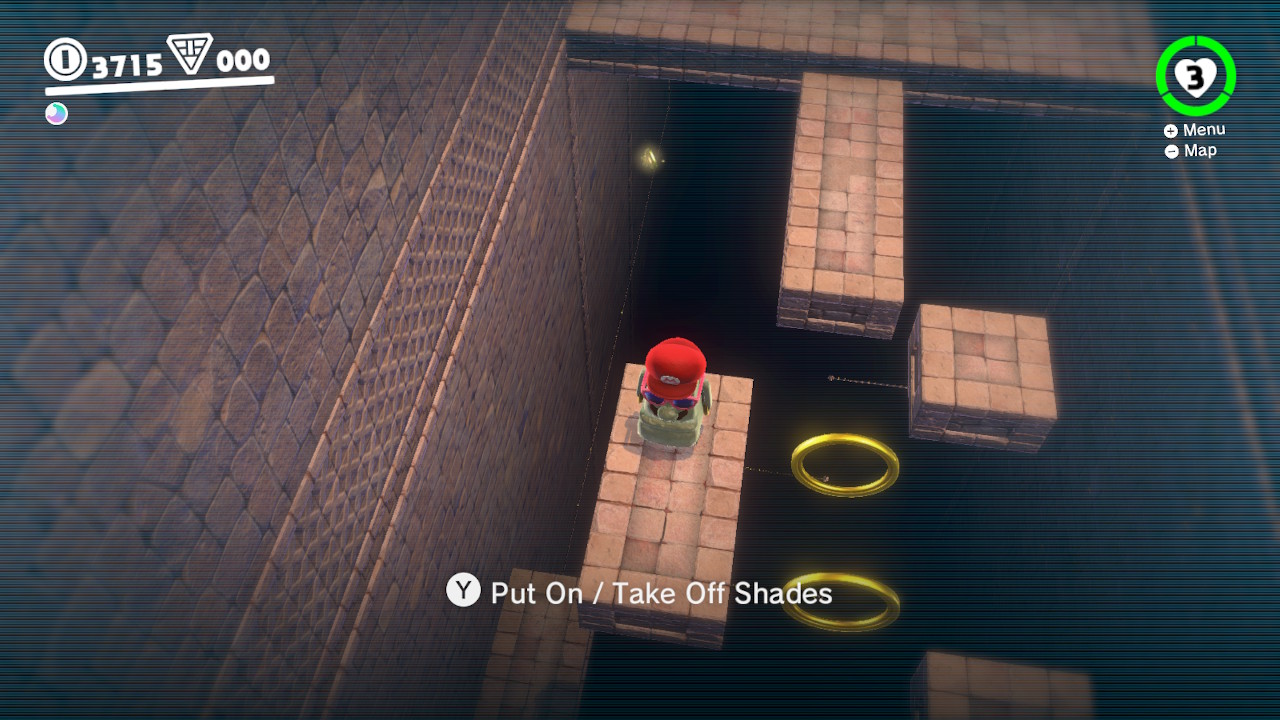
1 – To get this power moon we will need to collect all of the moon shards! To do this we need to capture the Easter Island looking dudes (Moe-eyes) and use thier “shades” to show where we can walk…
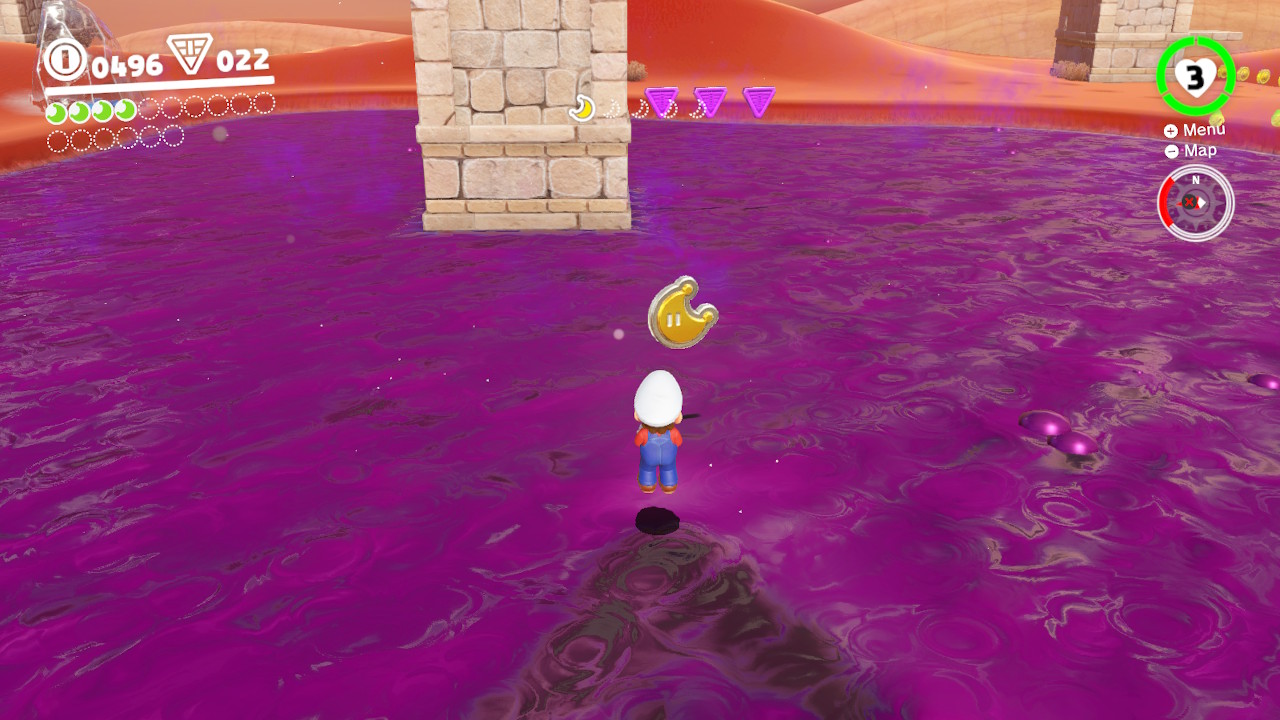
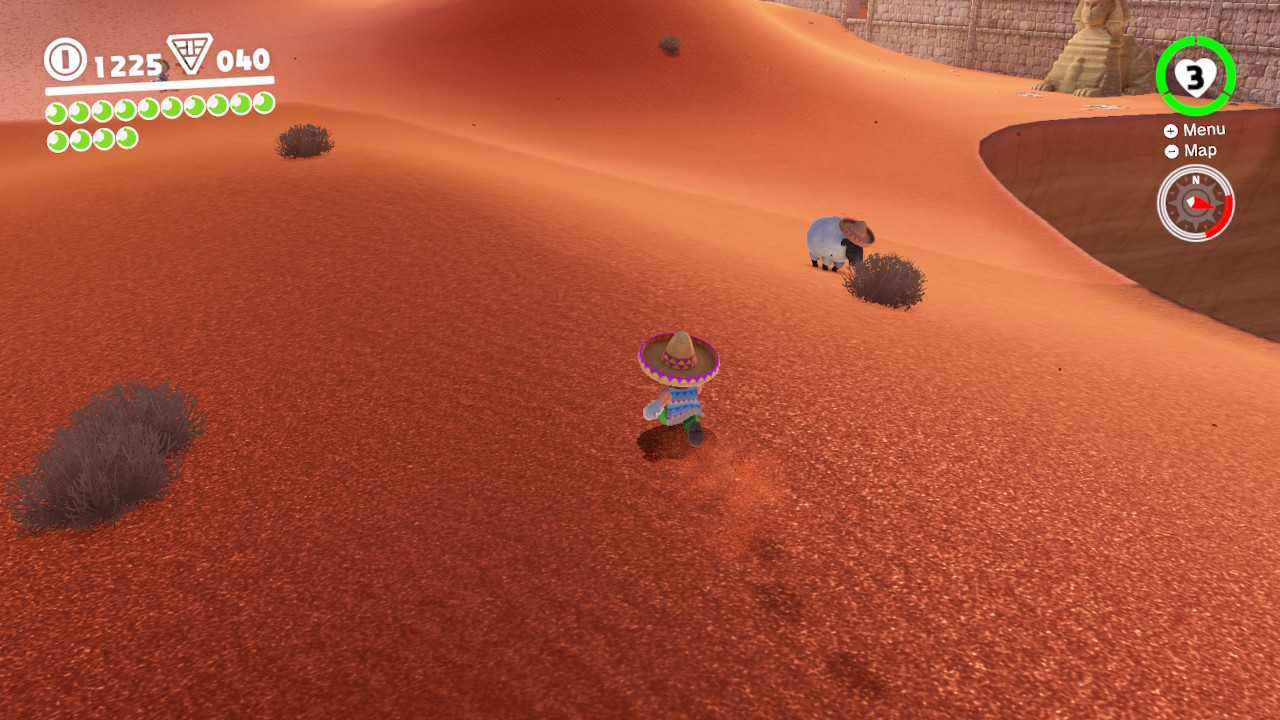
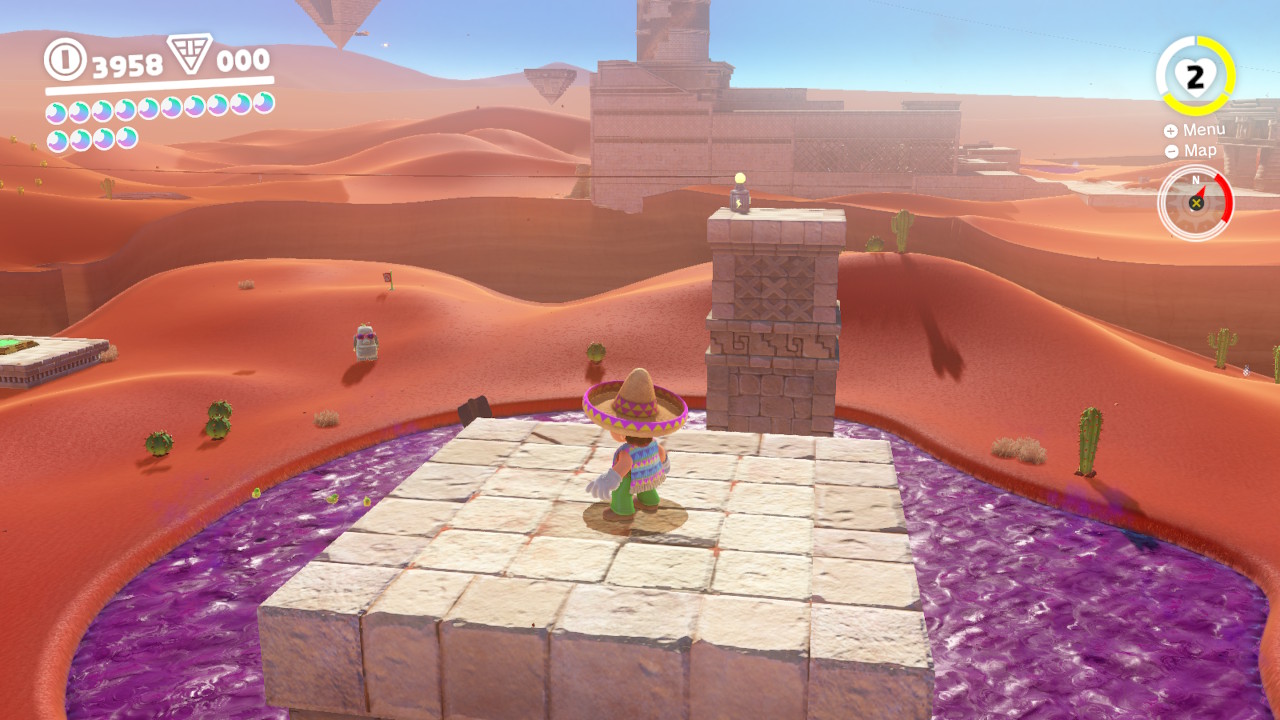
2 – Once we do this, we can head over to this power moon shard above the poisoness waters, don’t fall!…
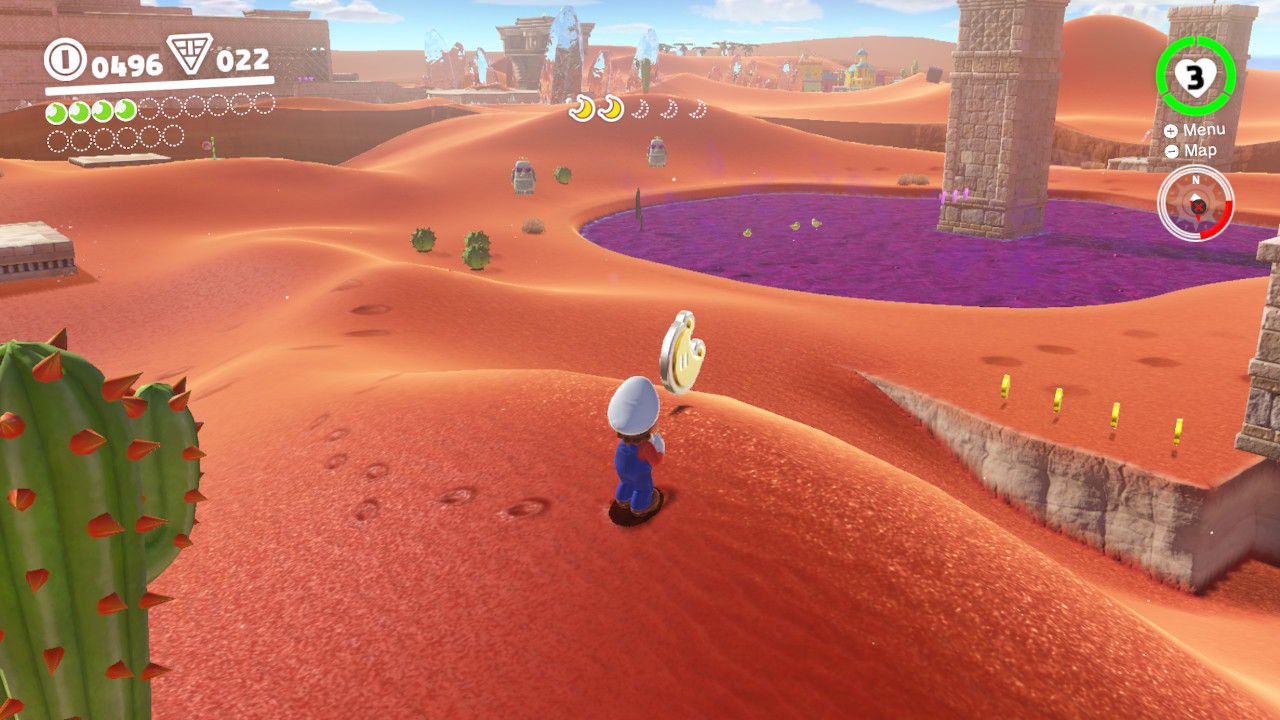
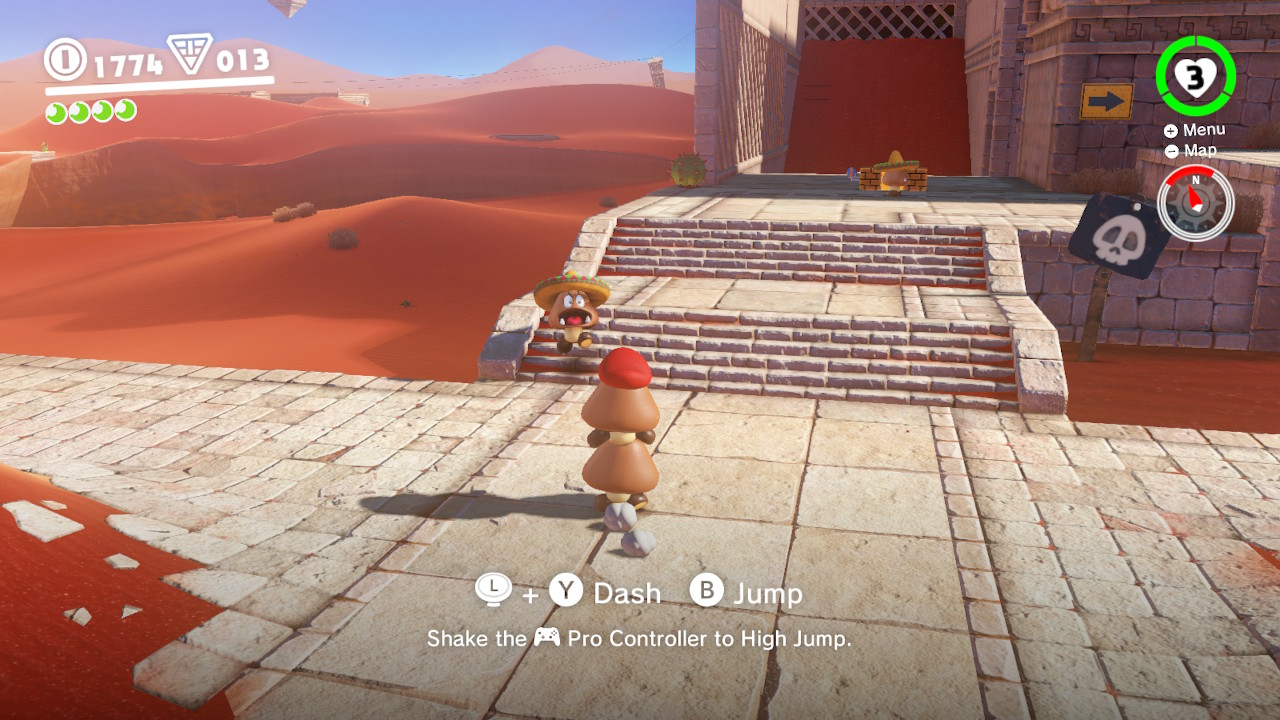
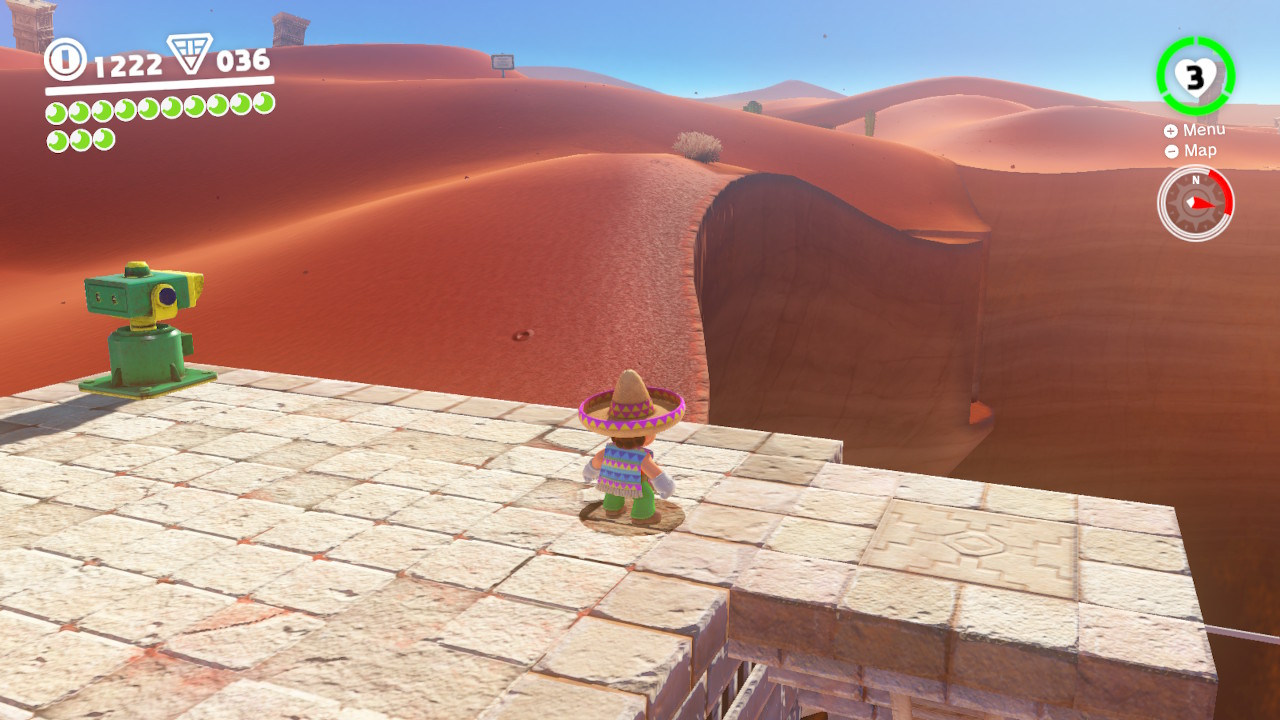
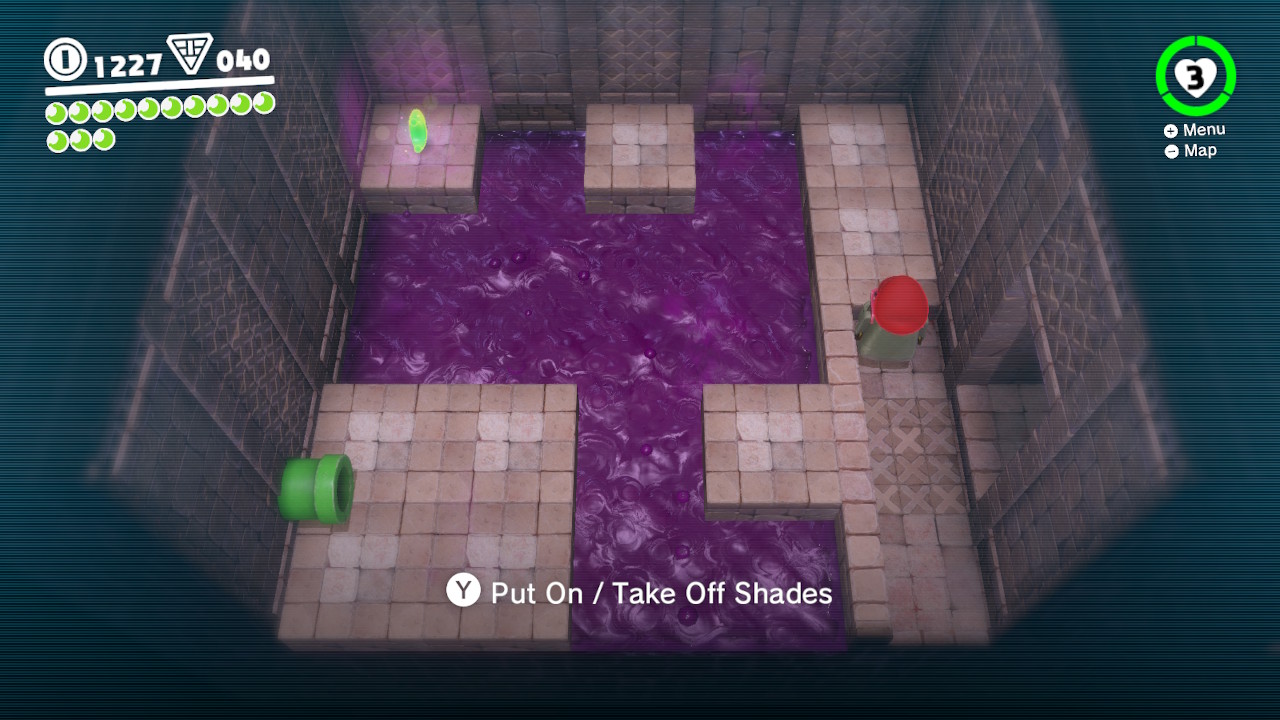
3- The next shard is on a hill above where the Easter Island dudes are walking around…
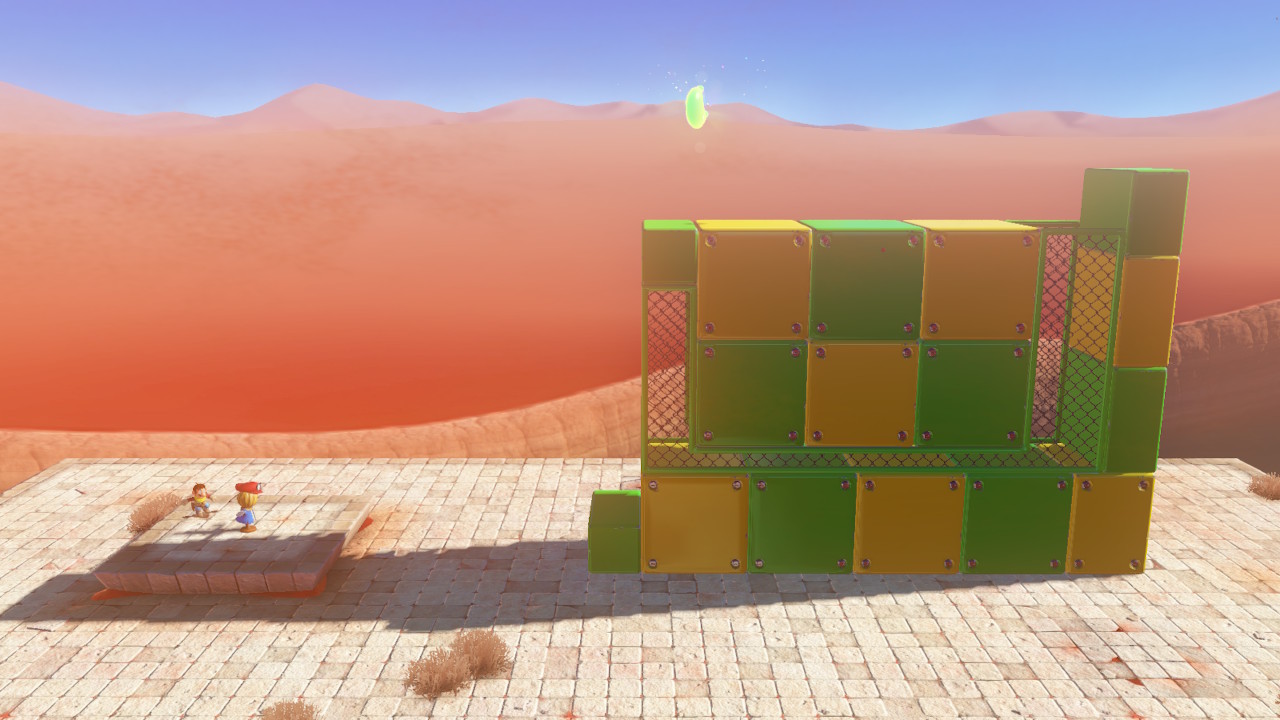
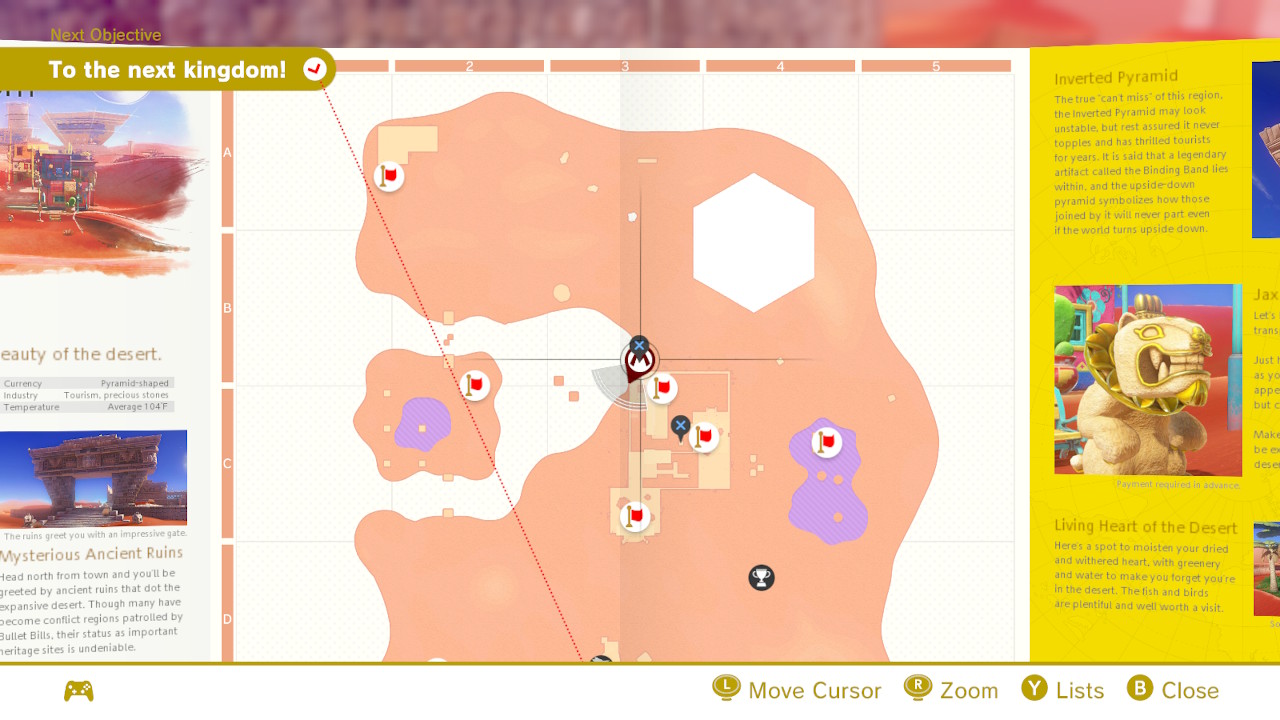
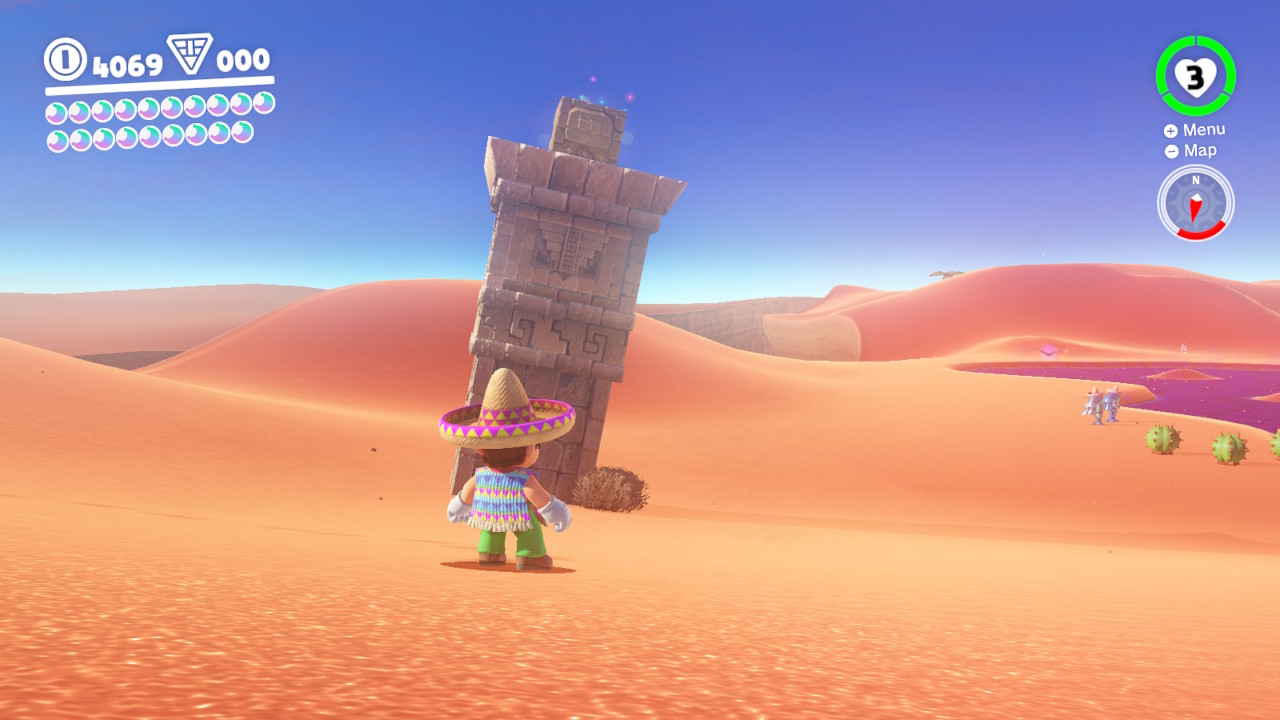
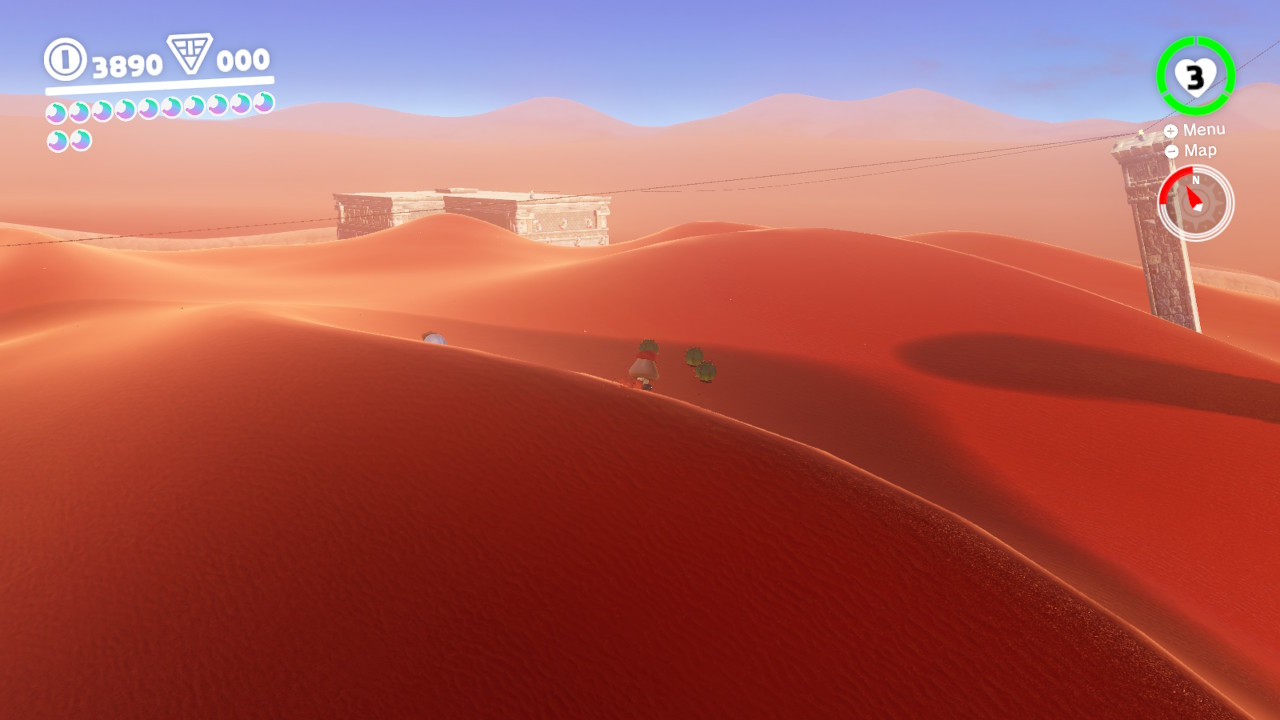
4- The next shard is on top of the pillars. Use the Easter Island Shades to see where you can and cannot walk, OR just follow the image below!…
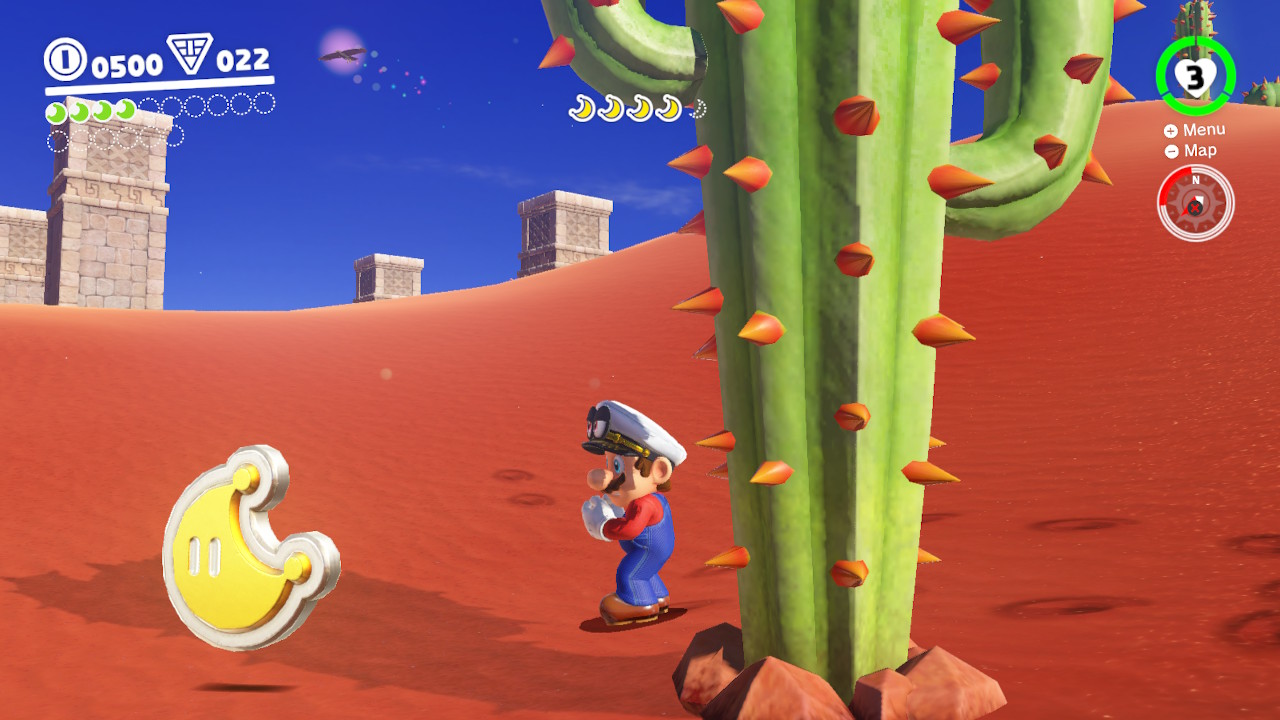
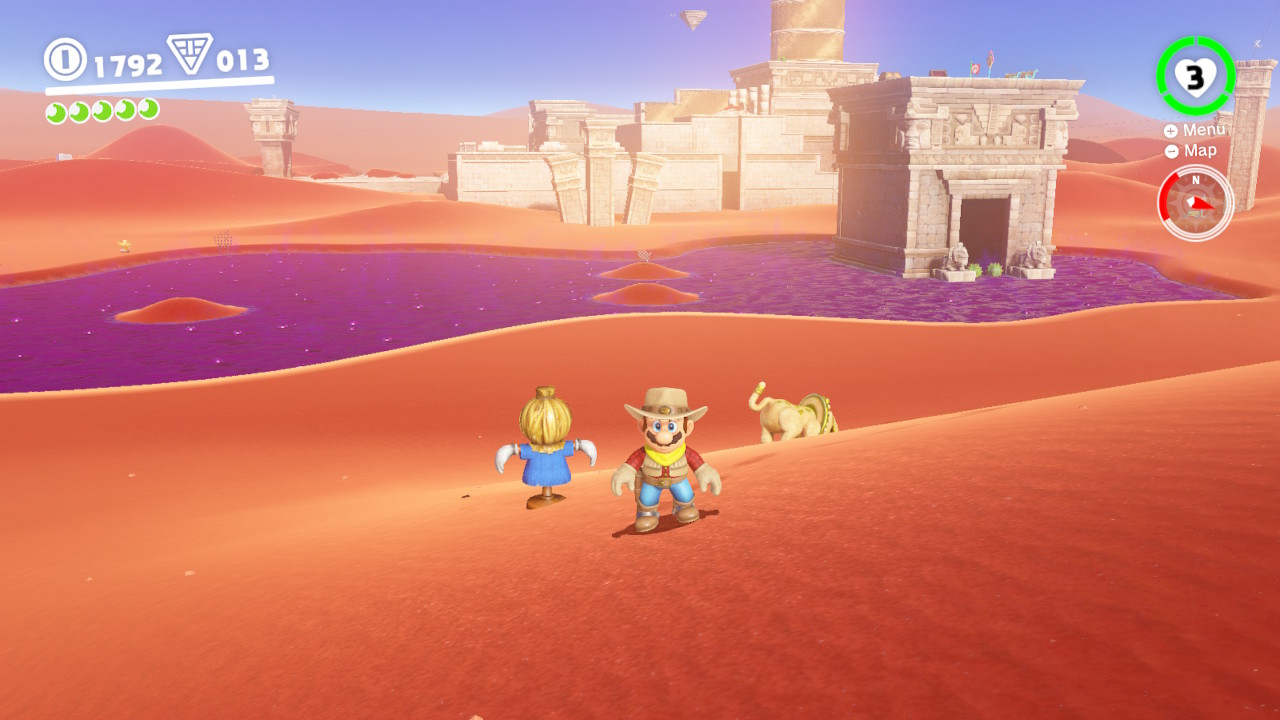
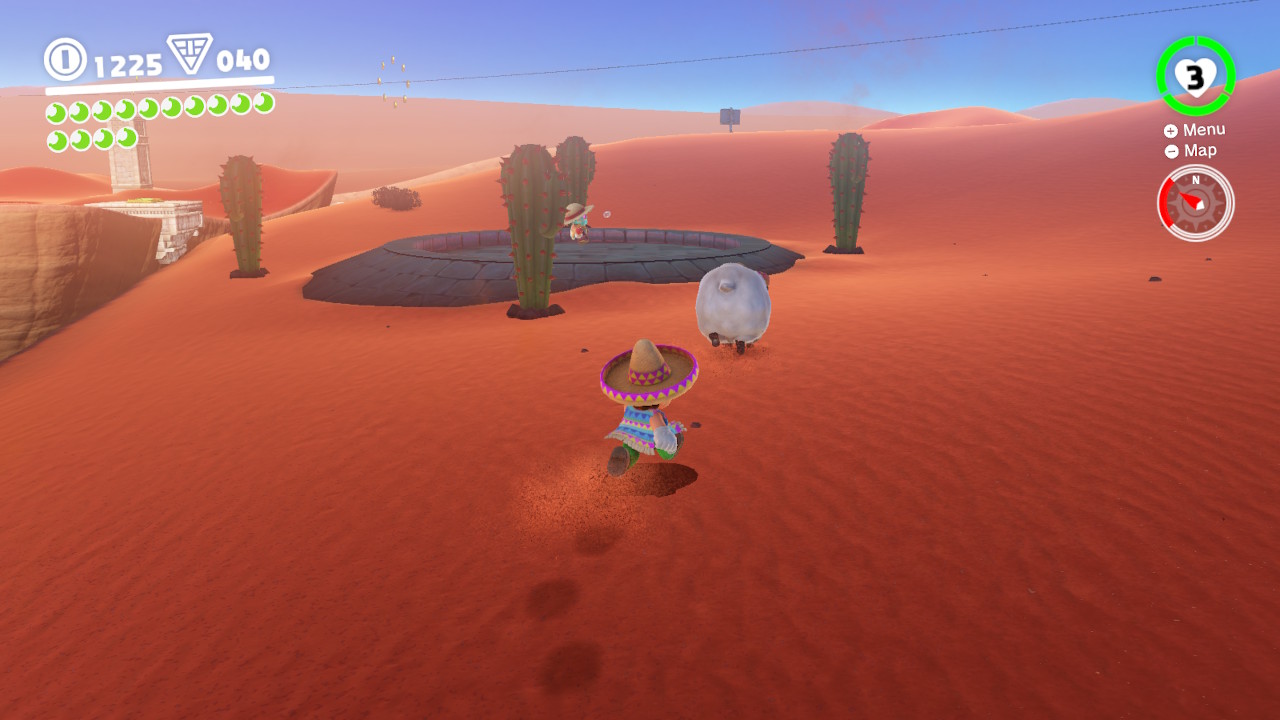
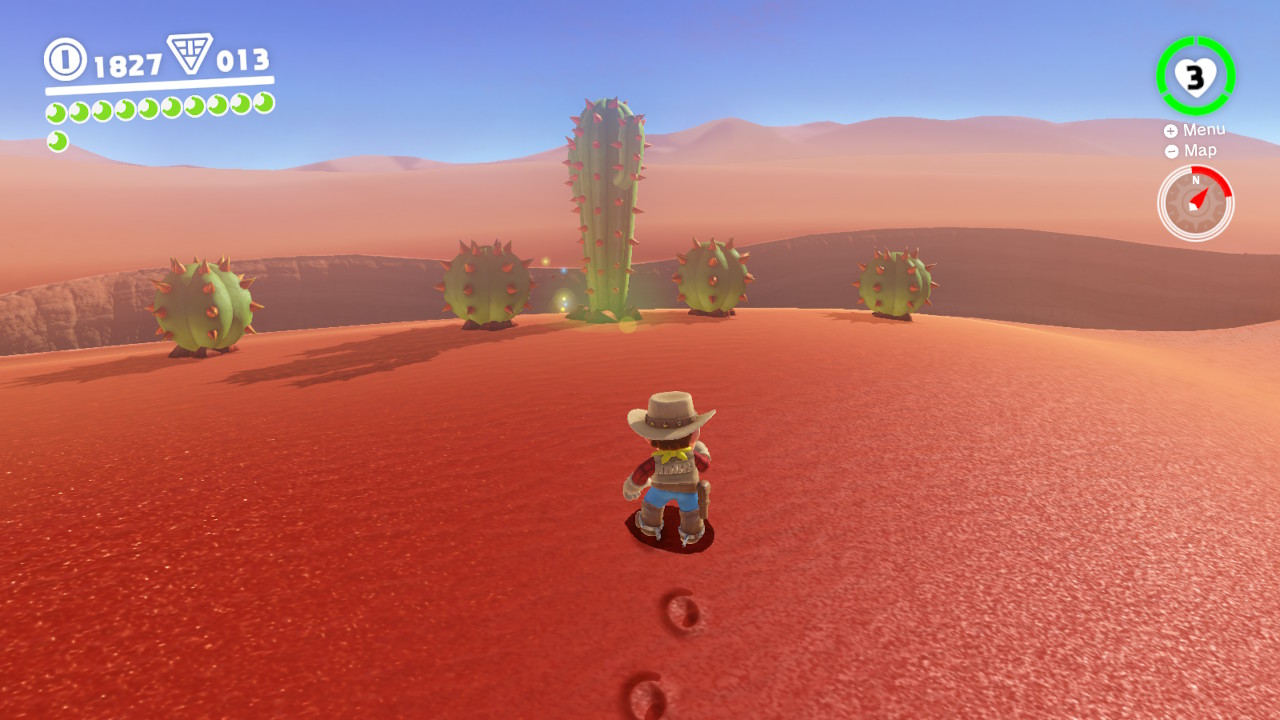
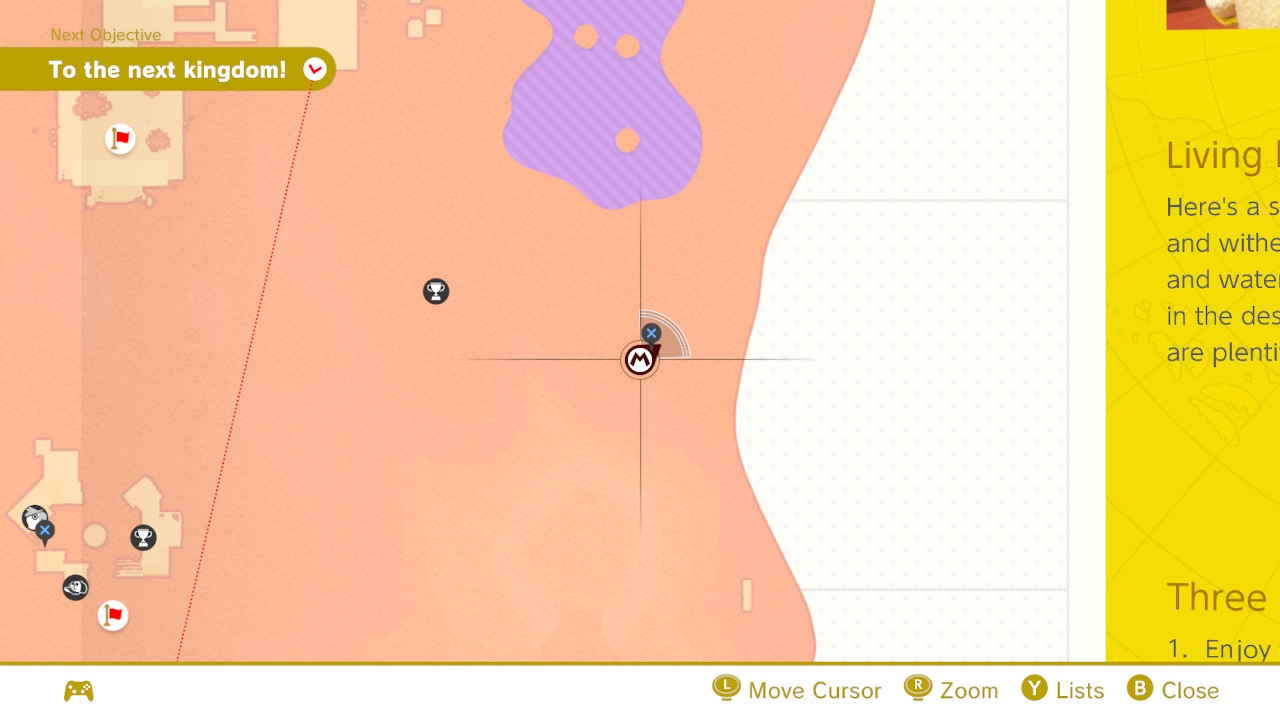
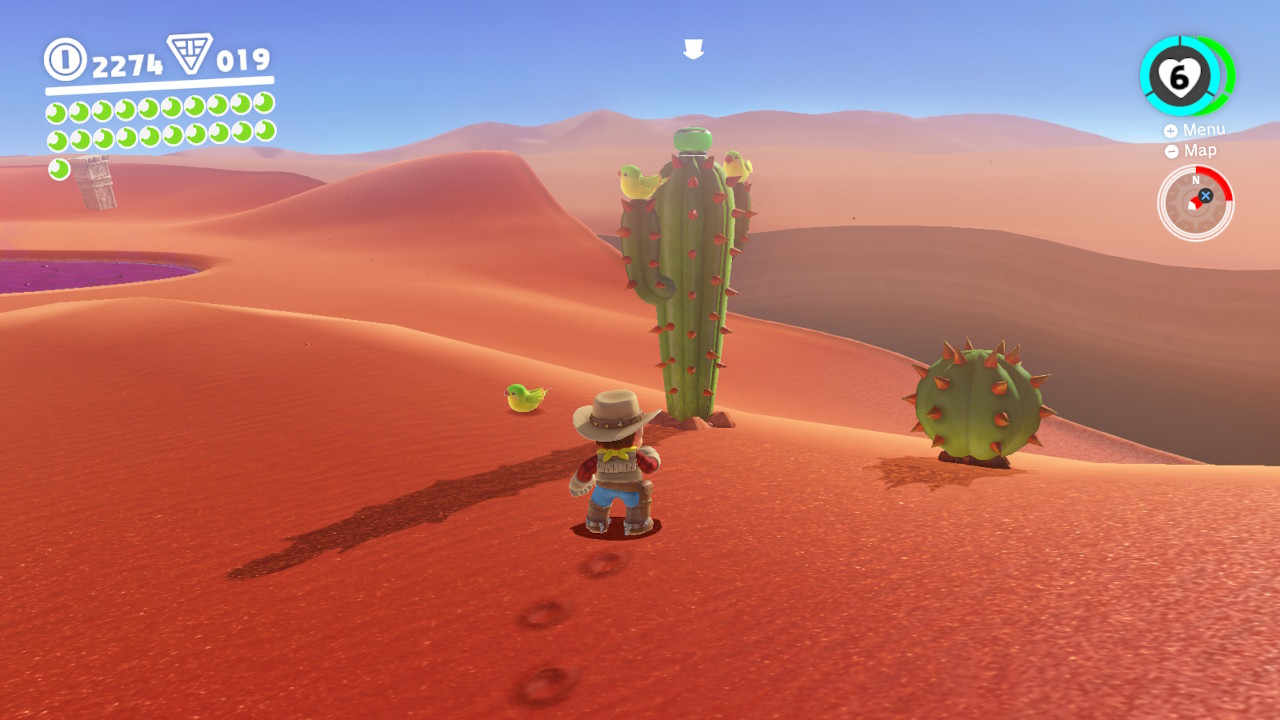
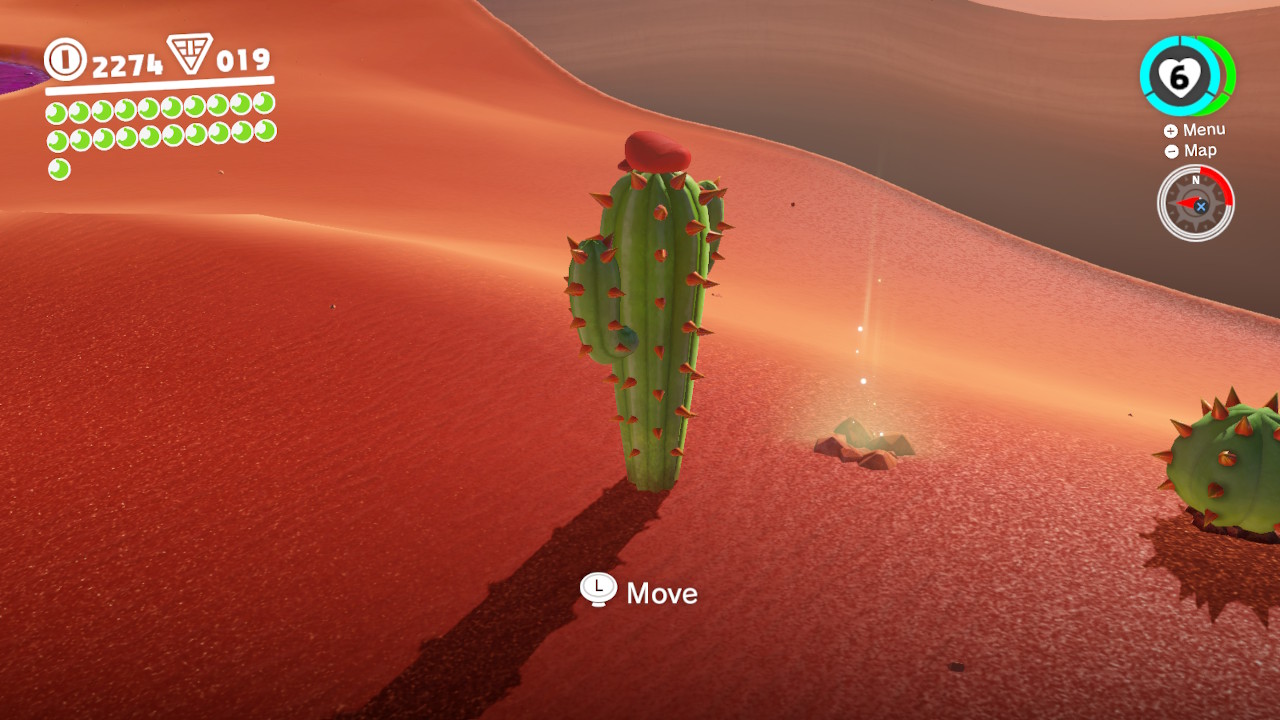
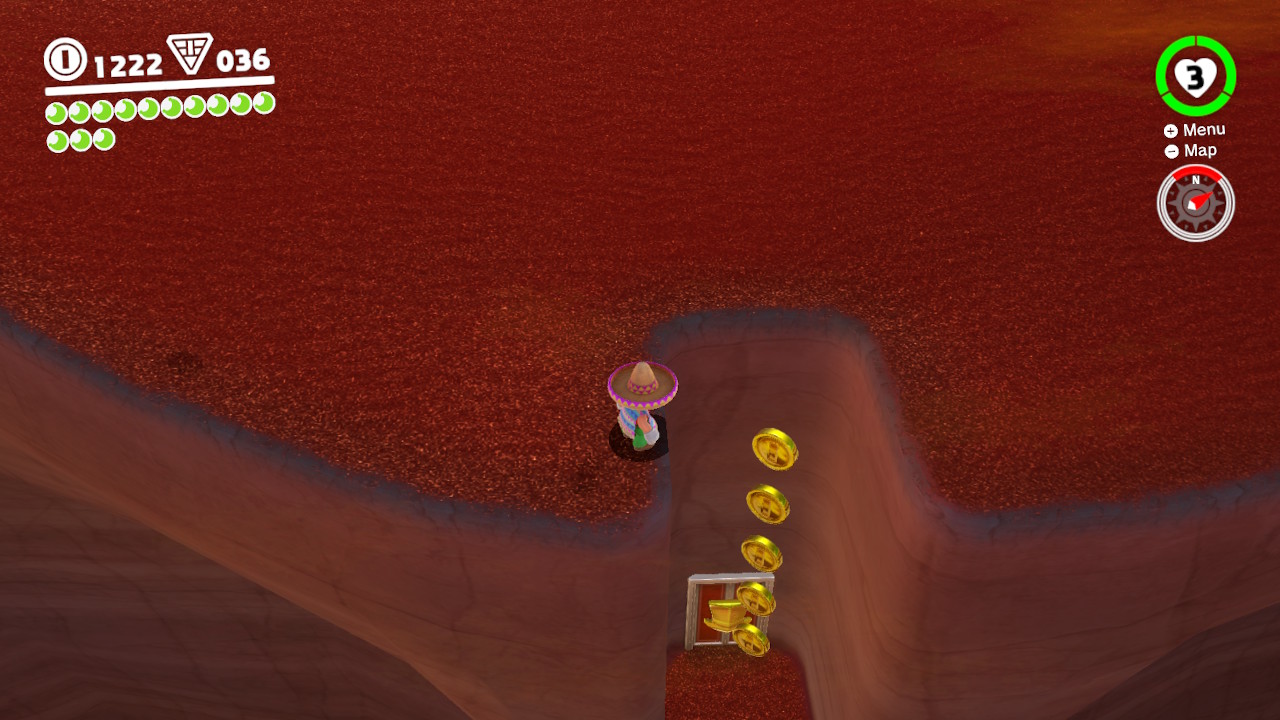
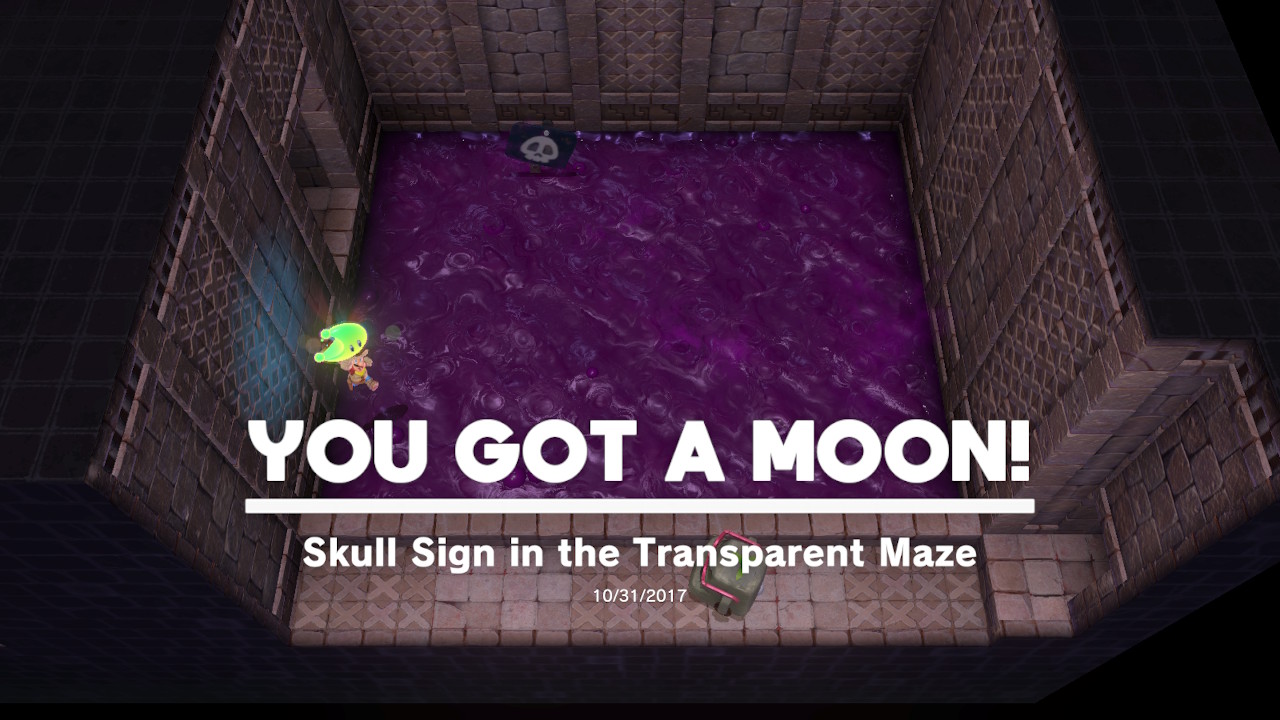
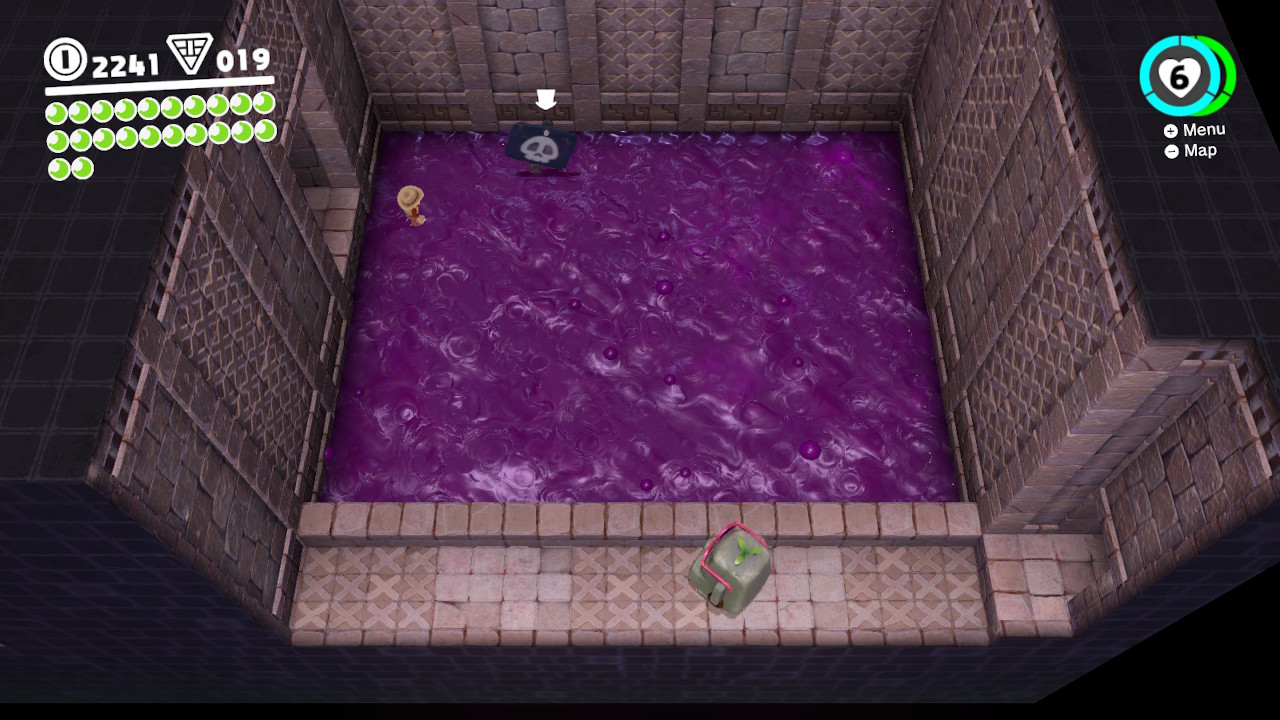
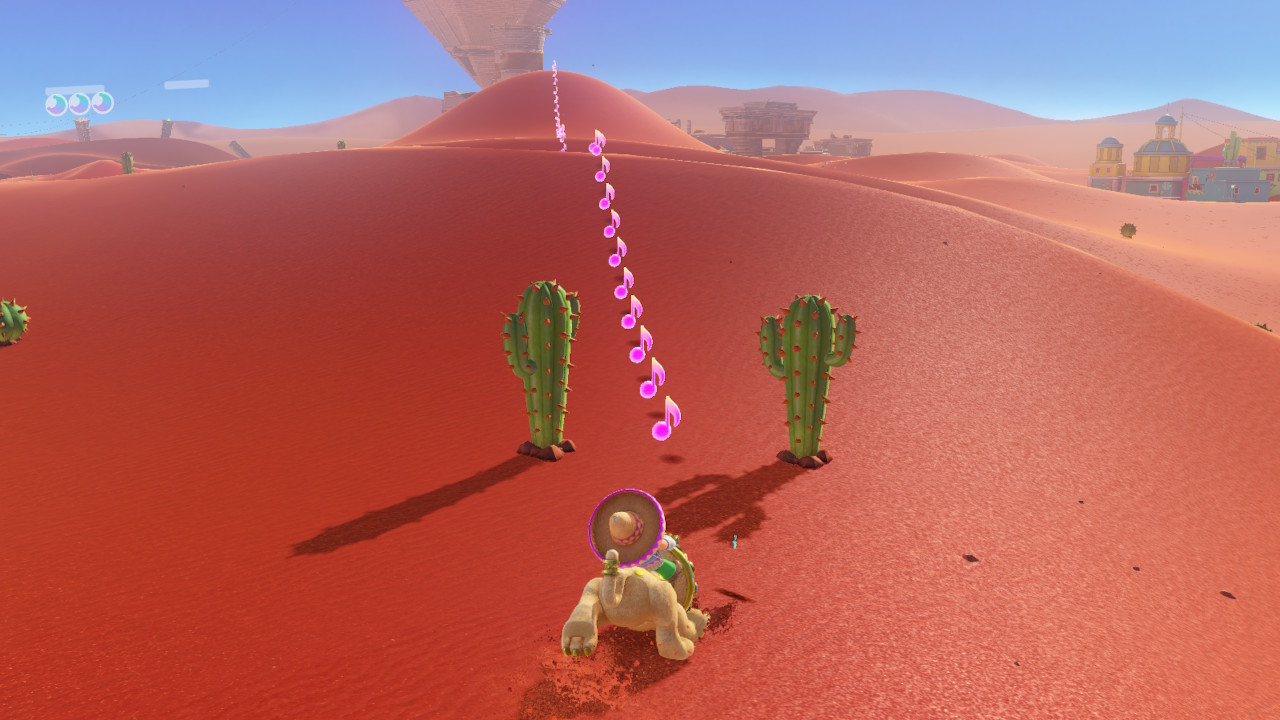
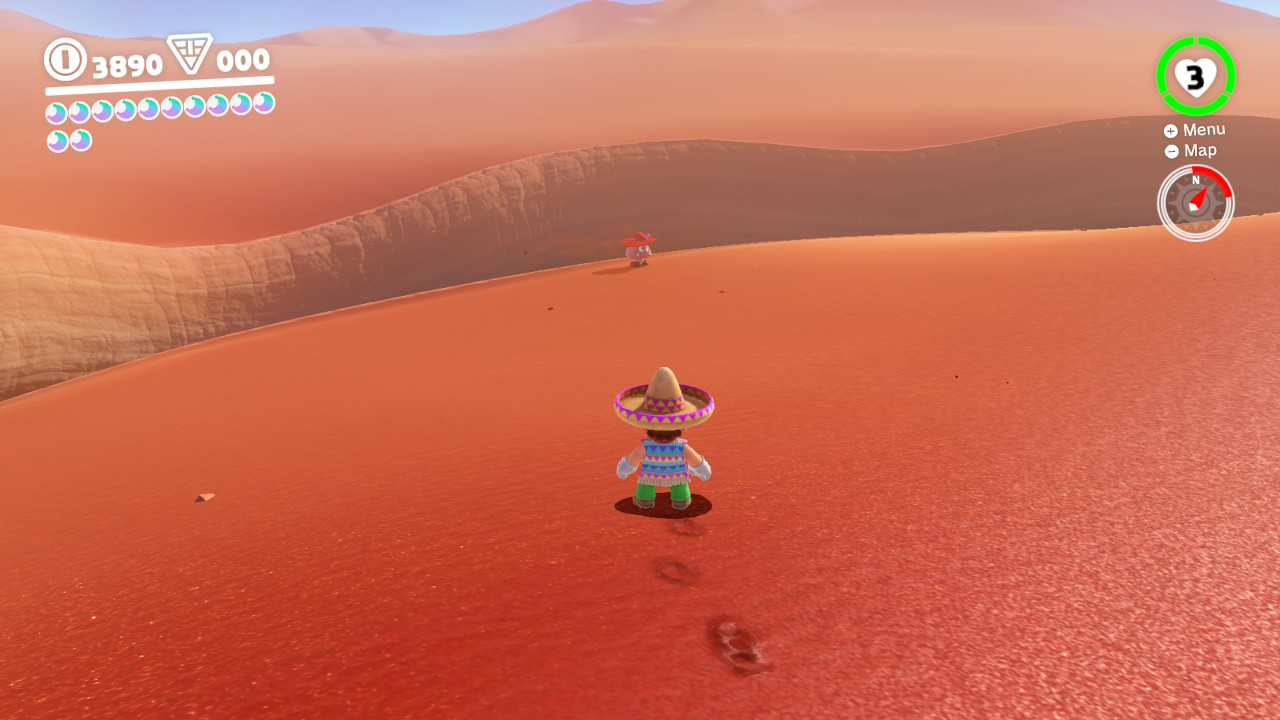
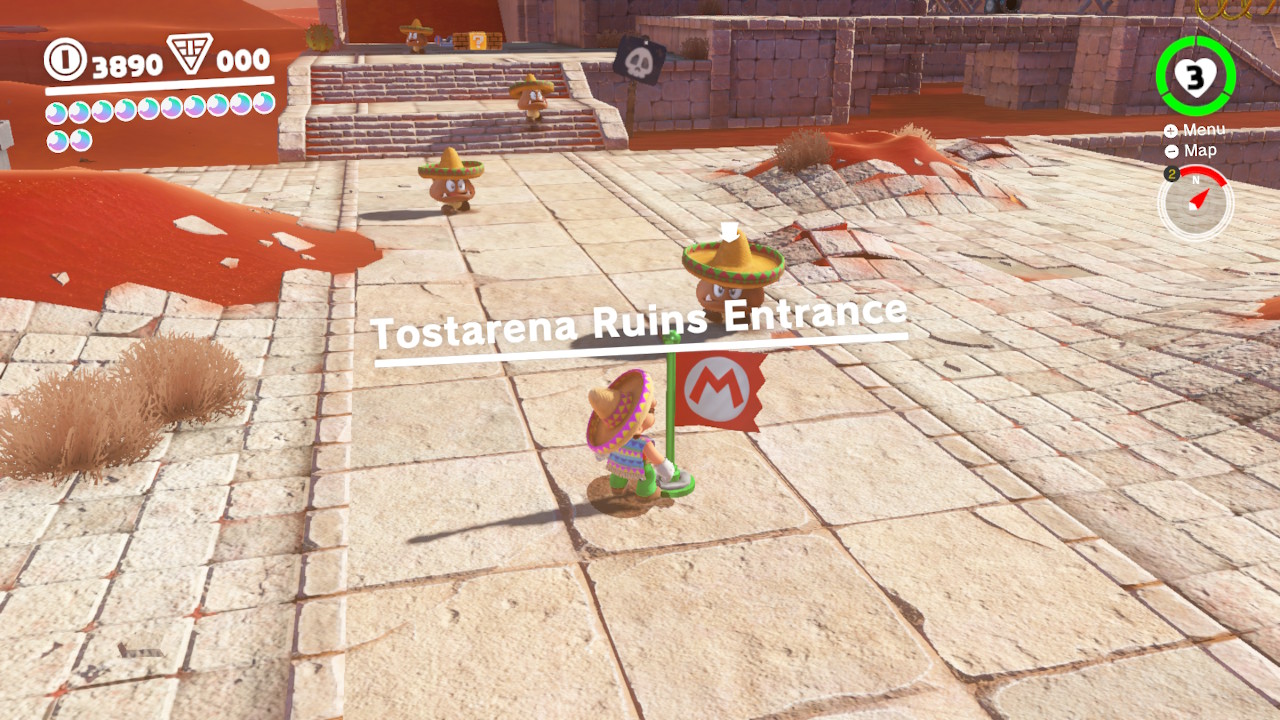
5- The last shard is hiding below the sand dunes, you can spot it from the pillars. It’s right in between some cacti…
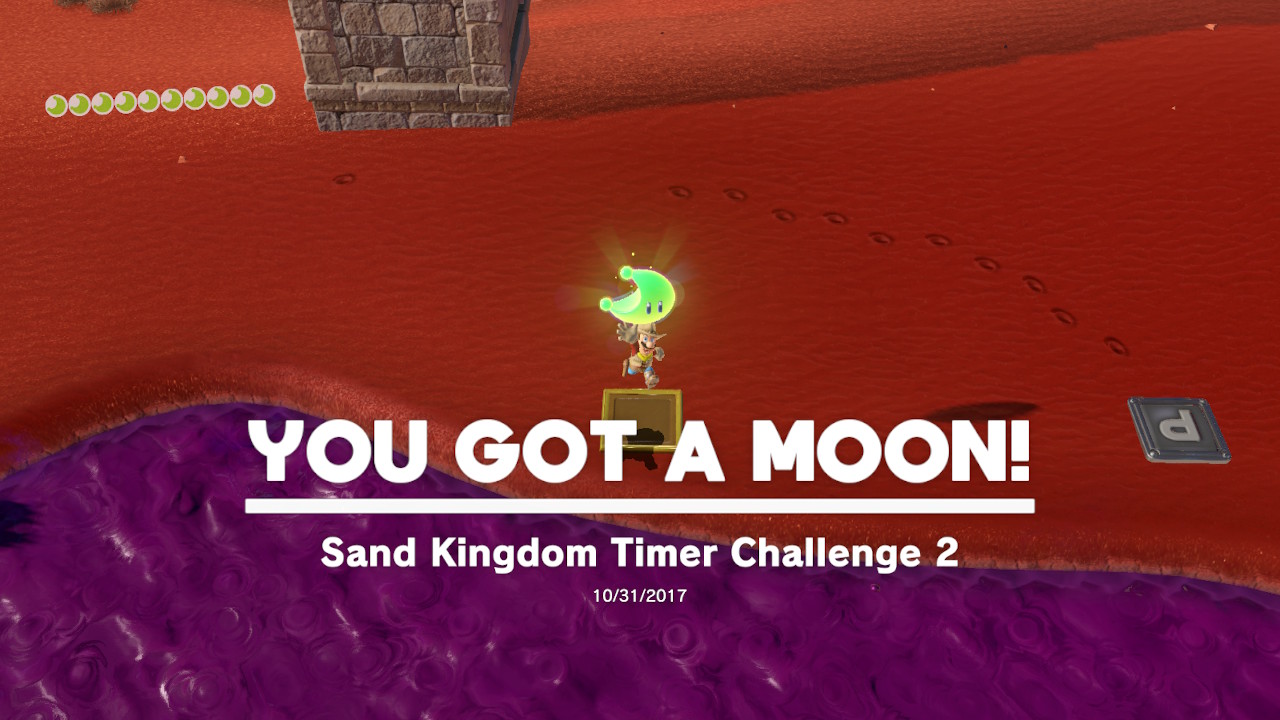
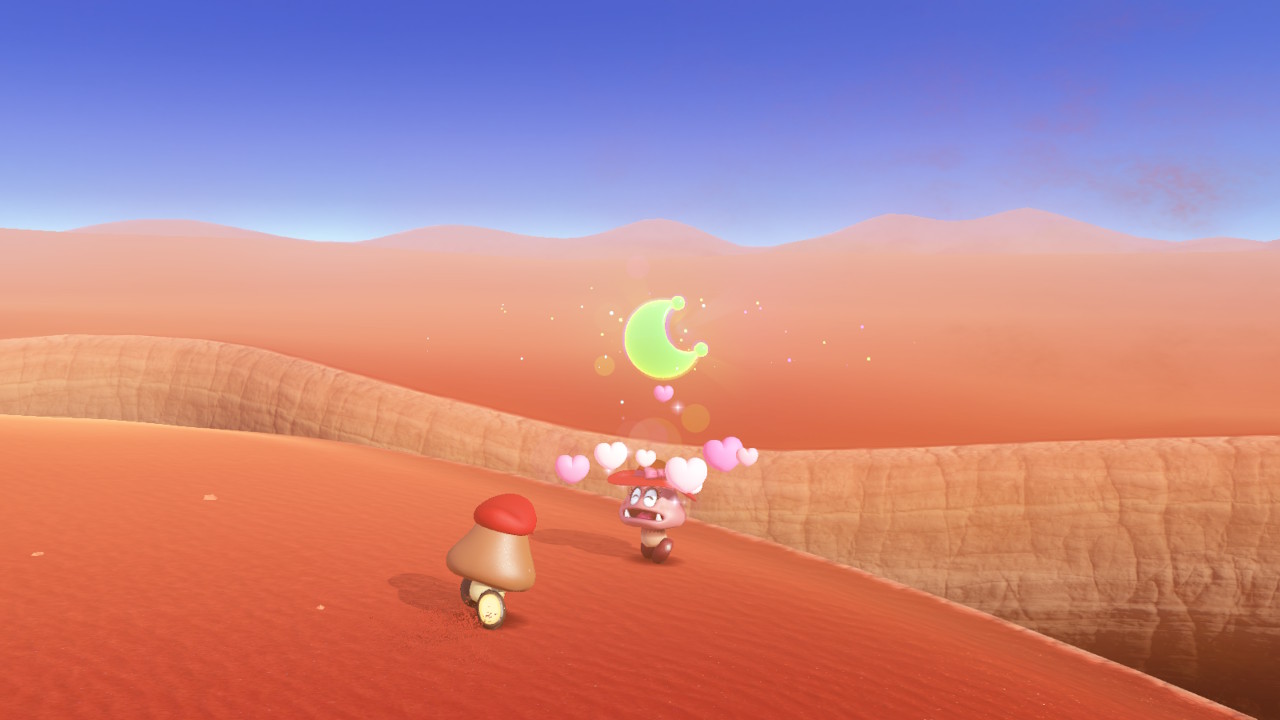
6- Now that you’ve collected them all, the Power Moon will appear!
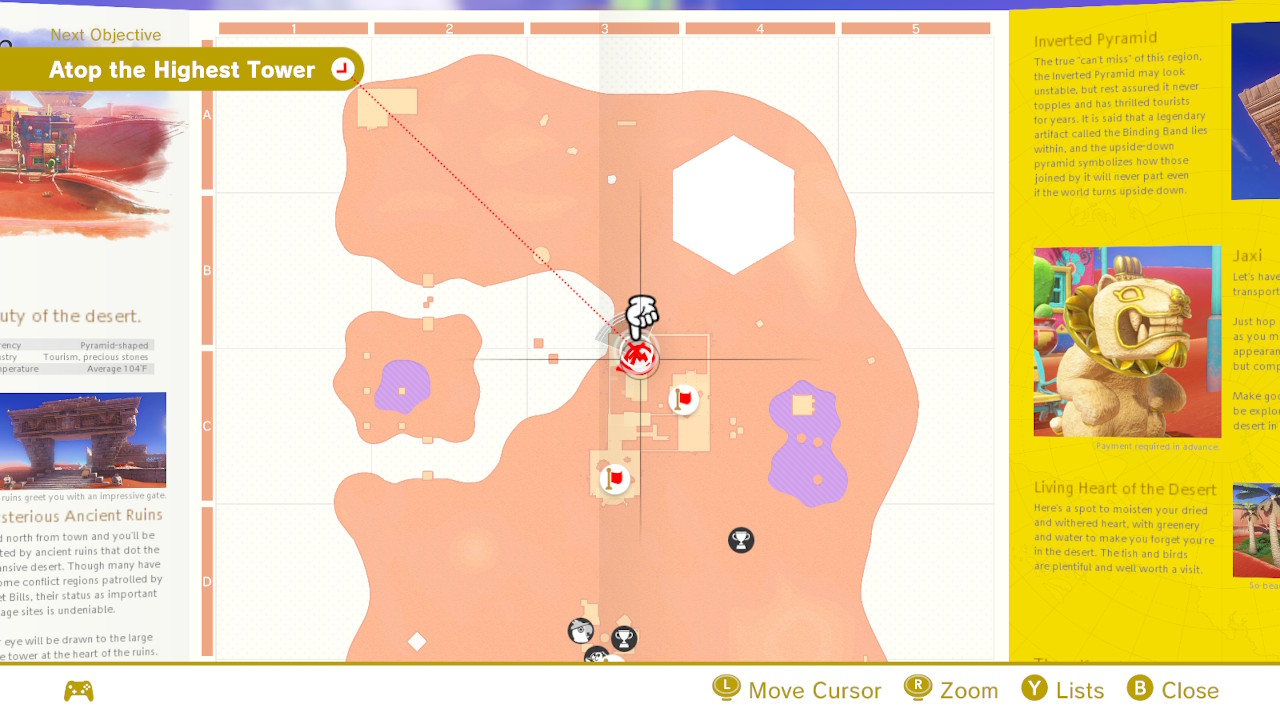
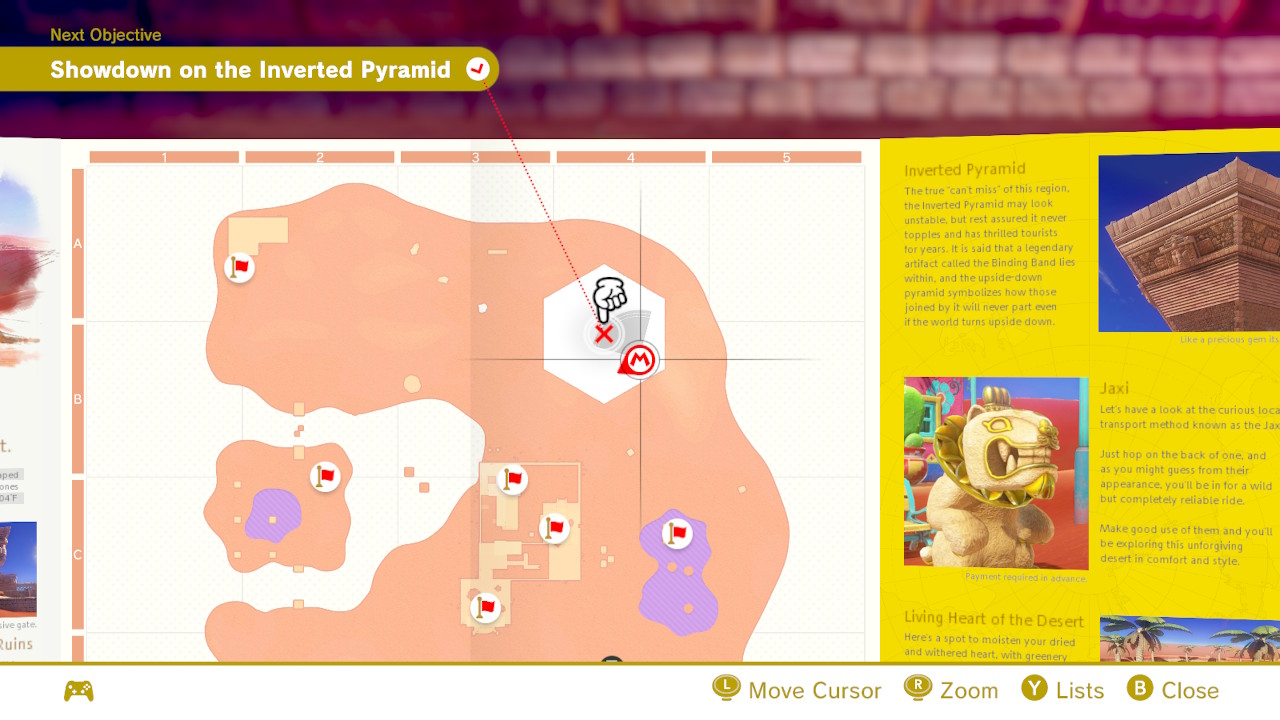
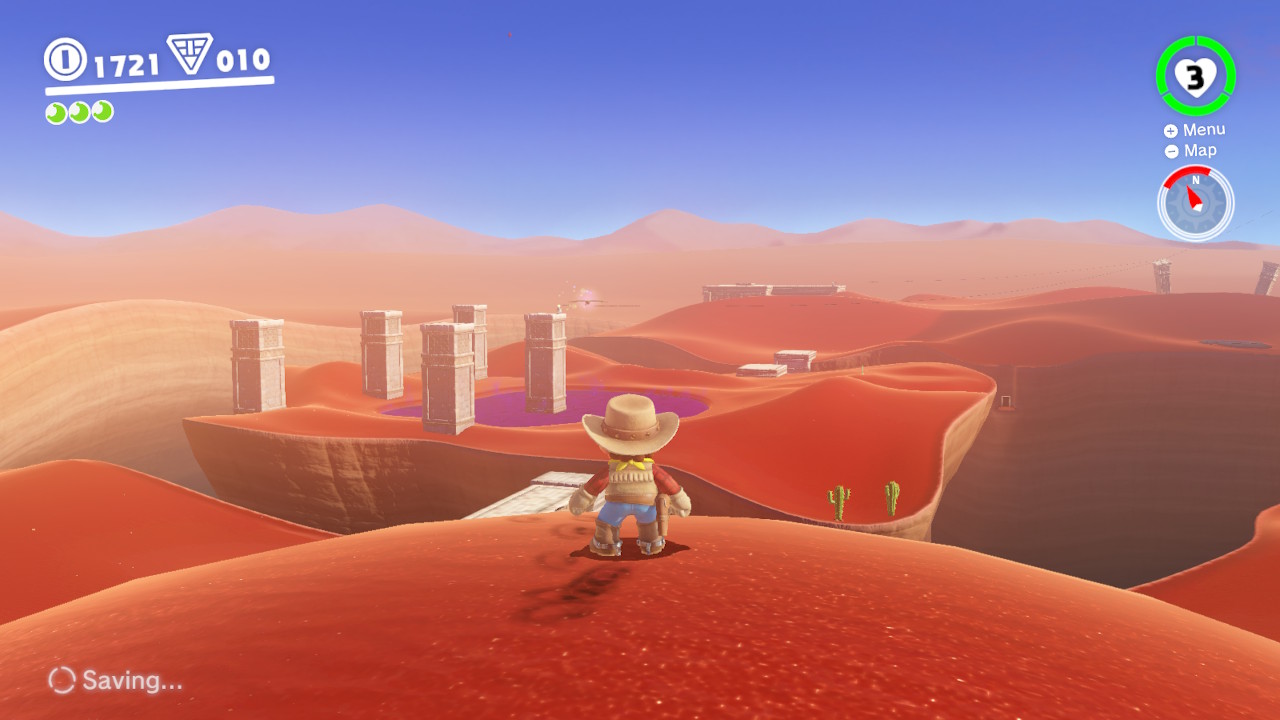
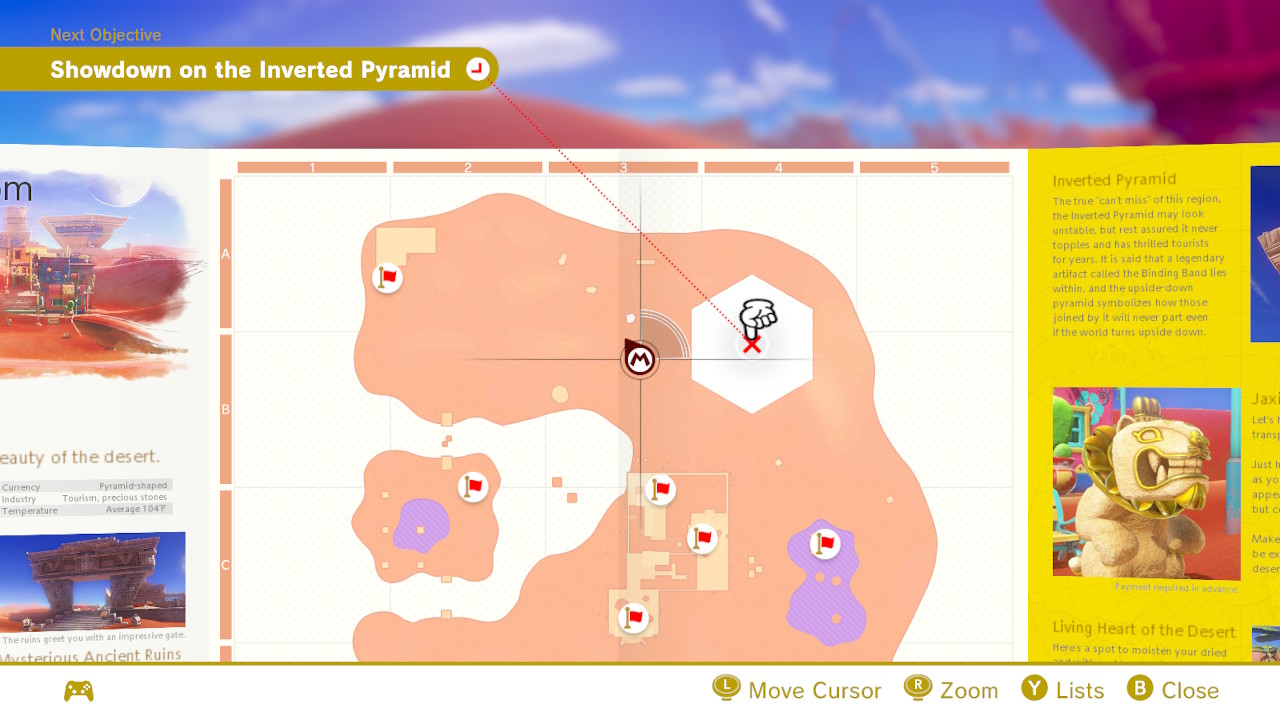
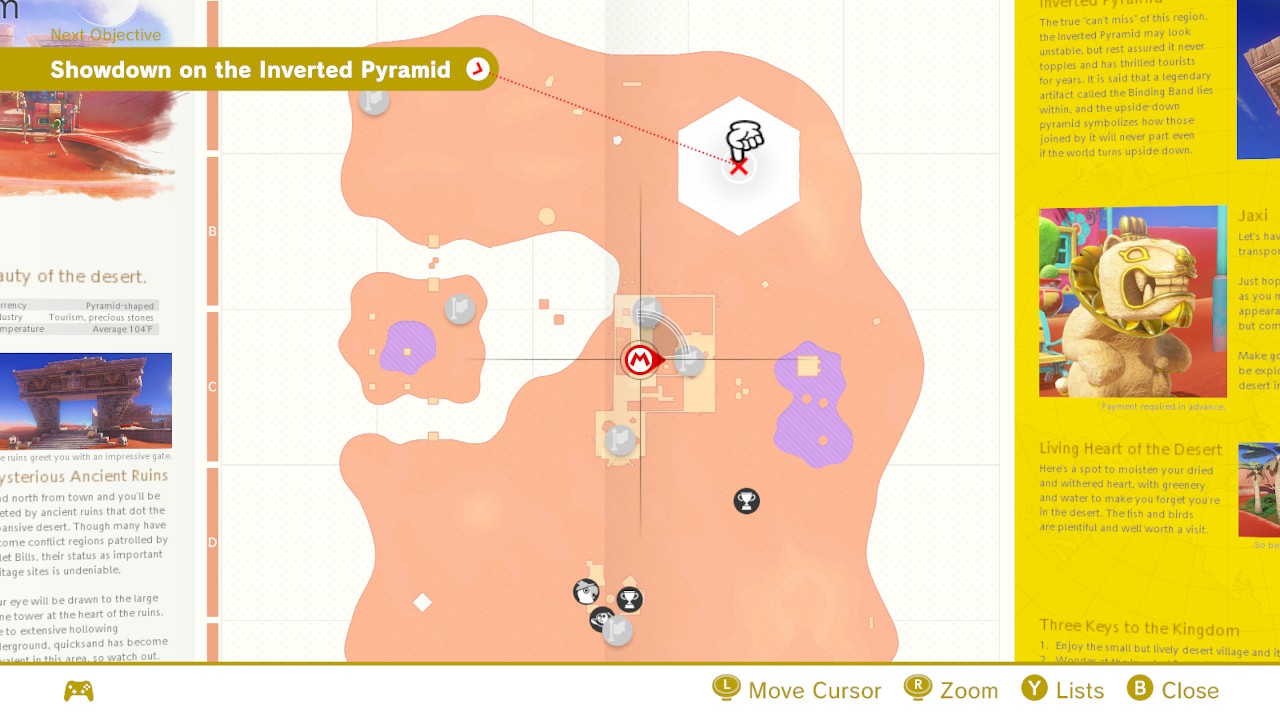
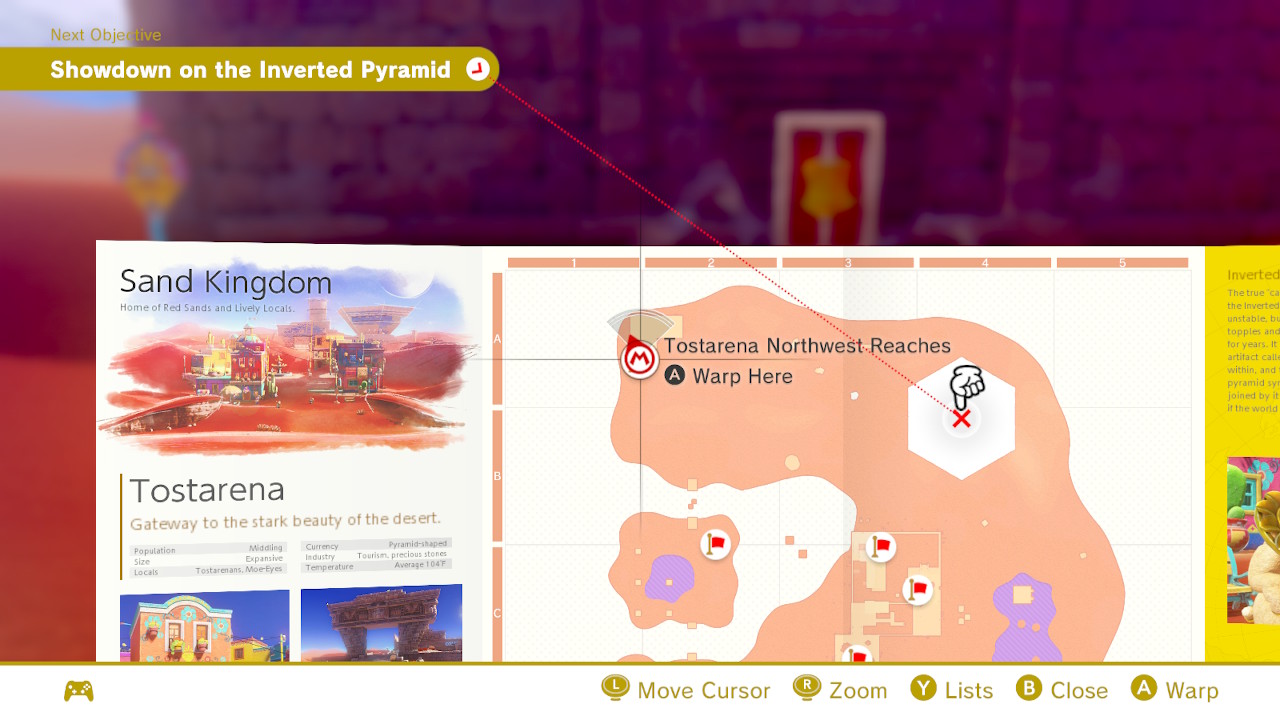
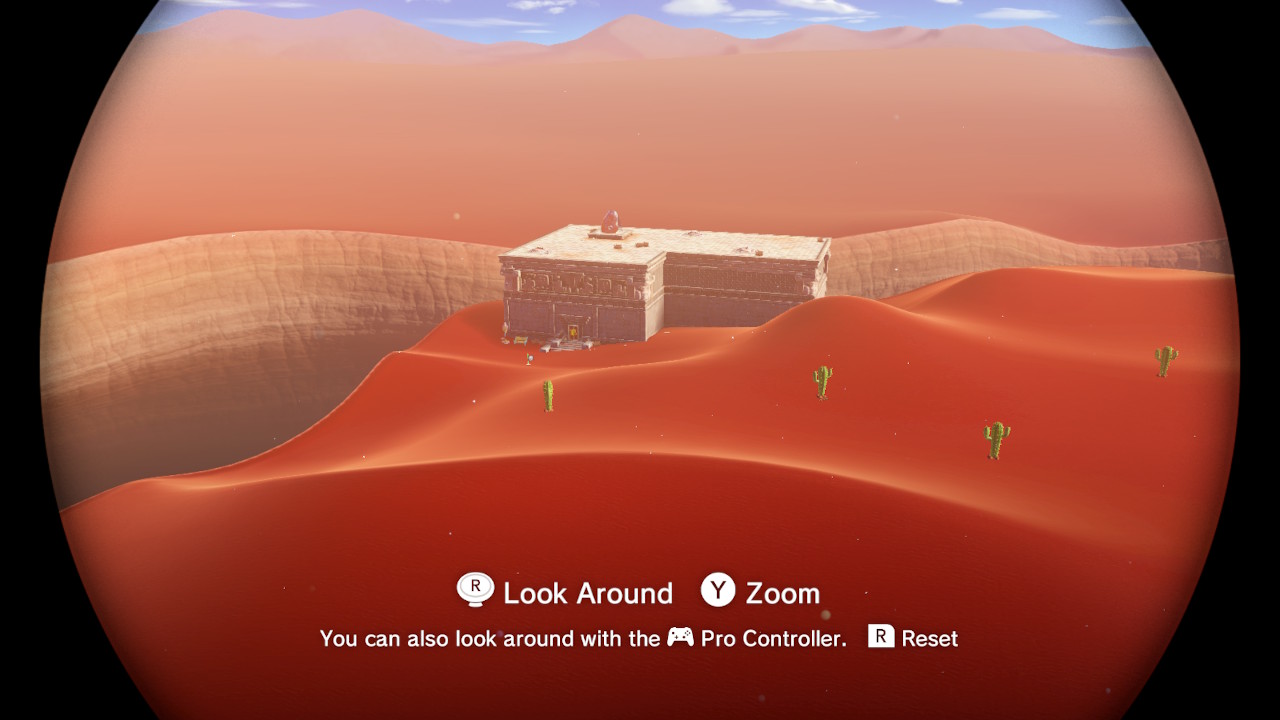
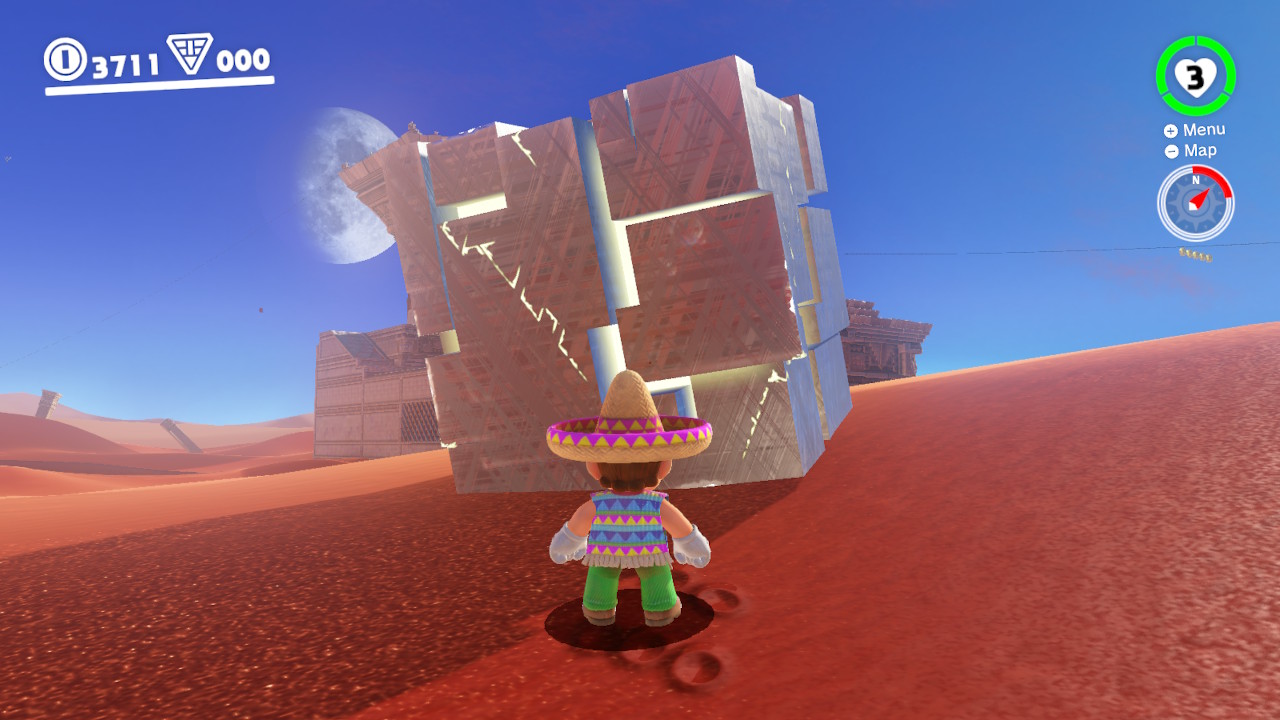
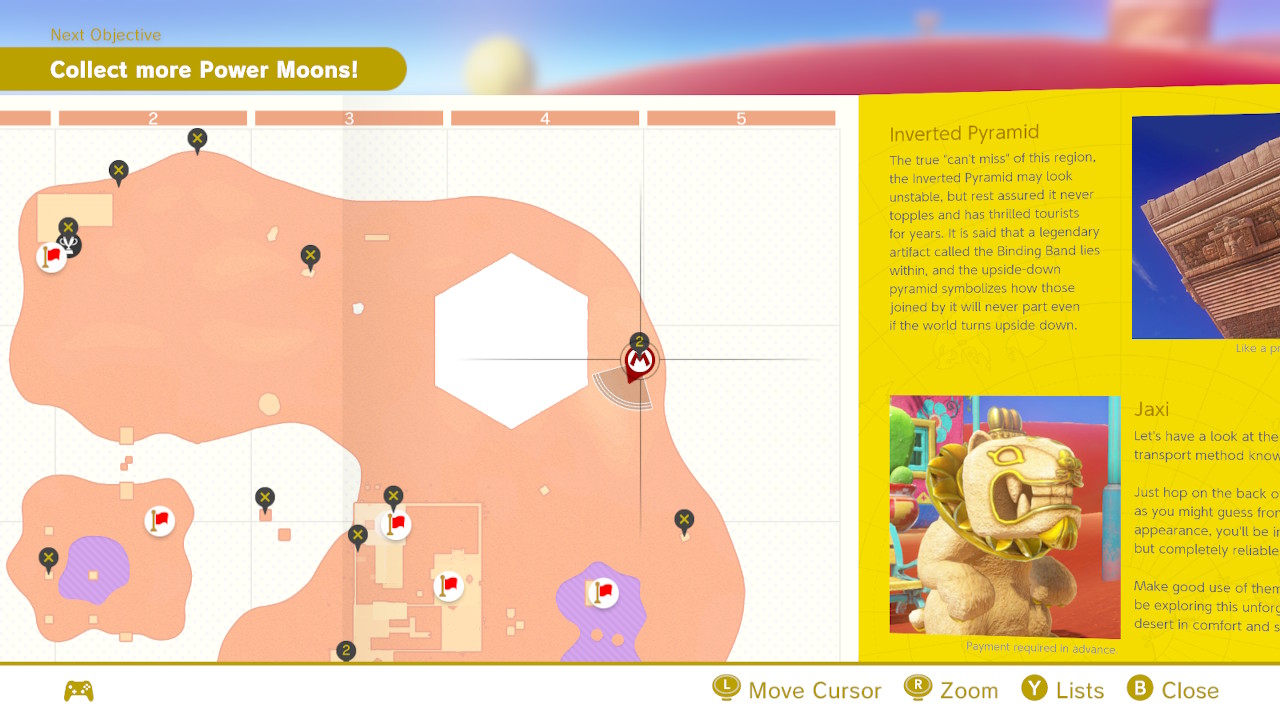
03 – Showdown on the Inverted Pyramid
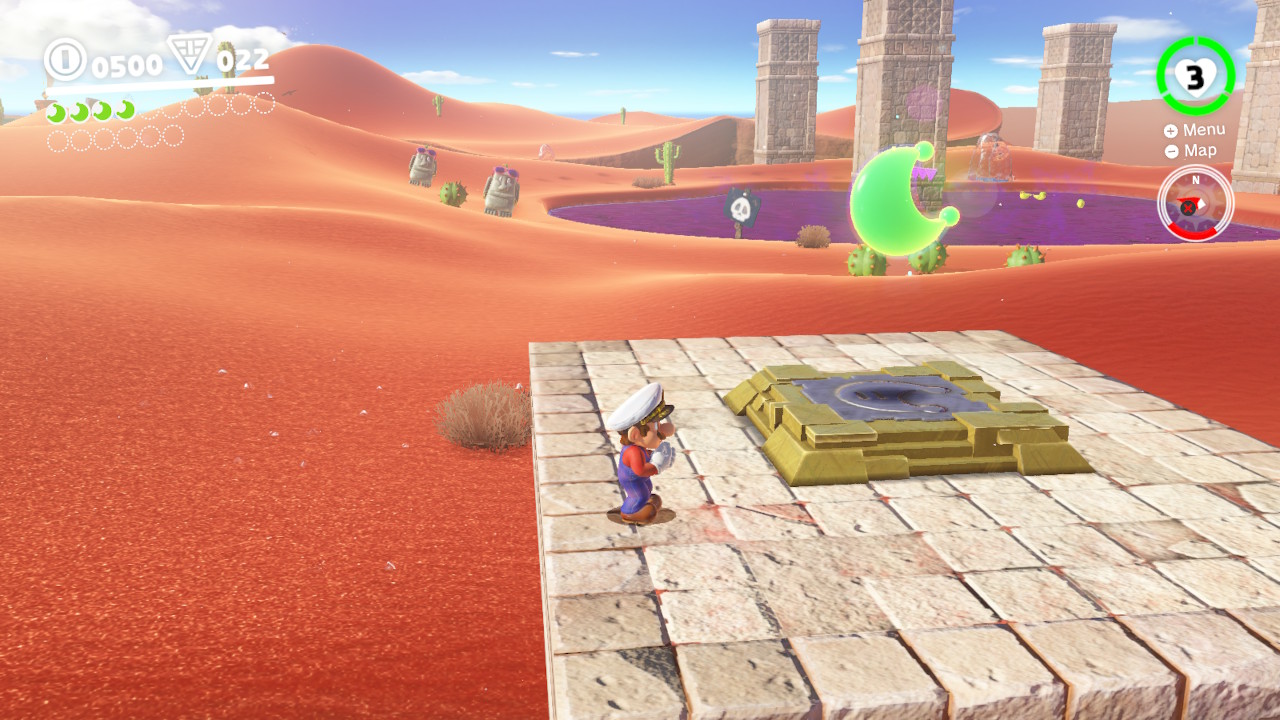
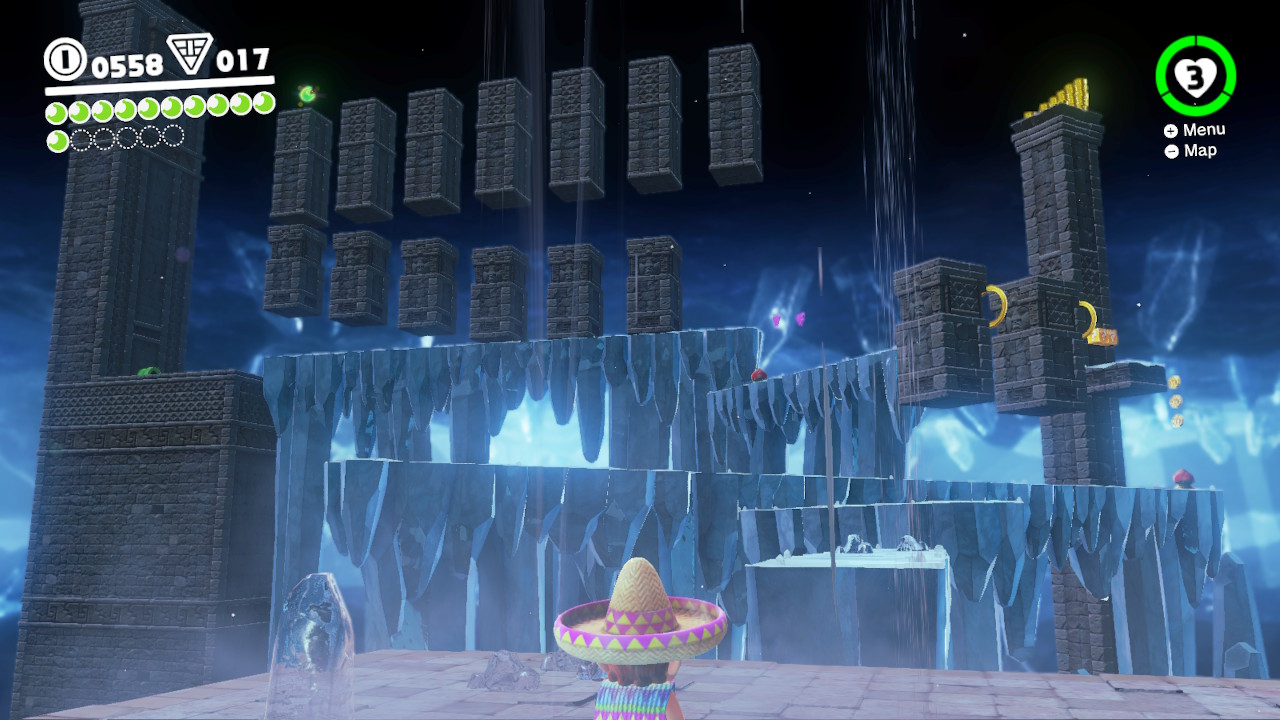
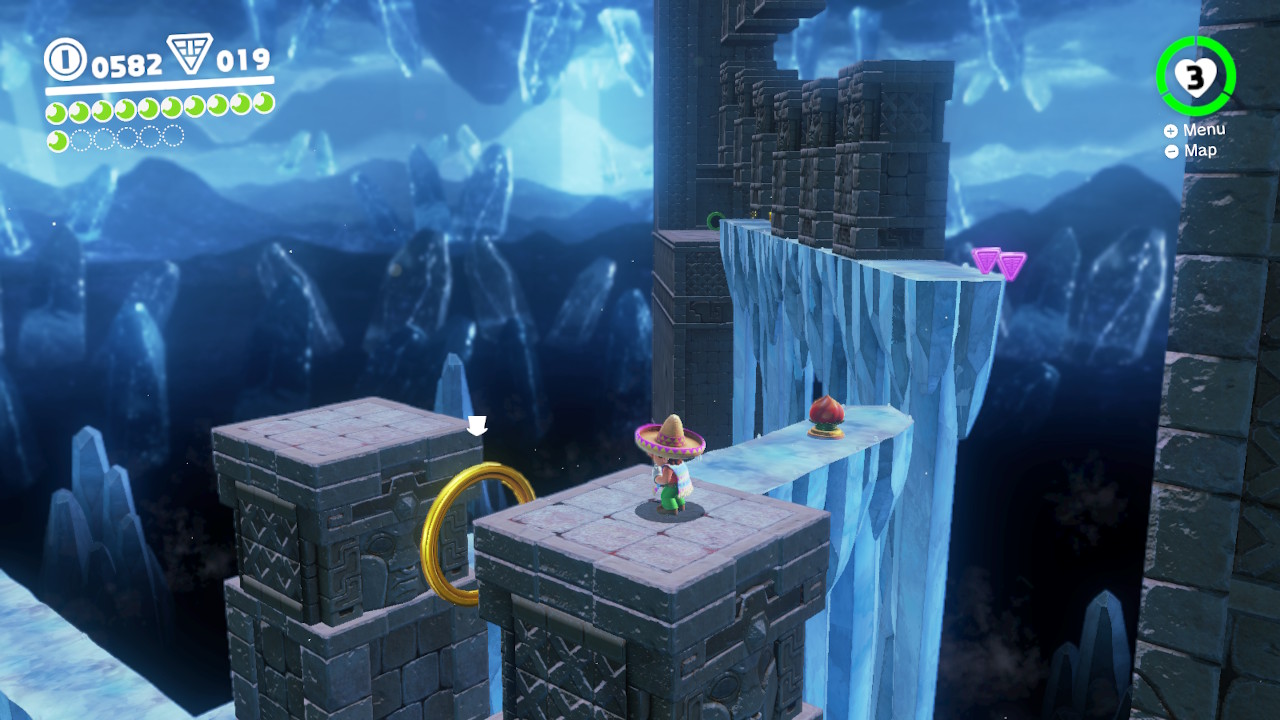
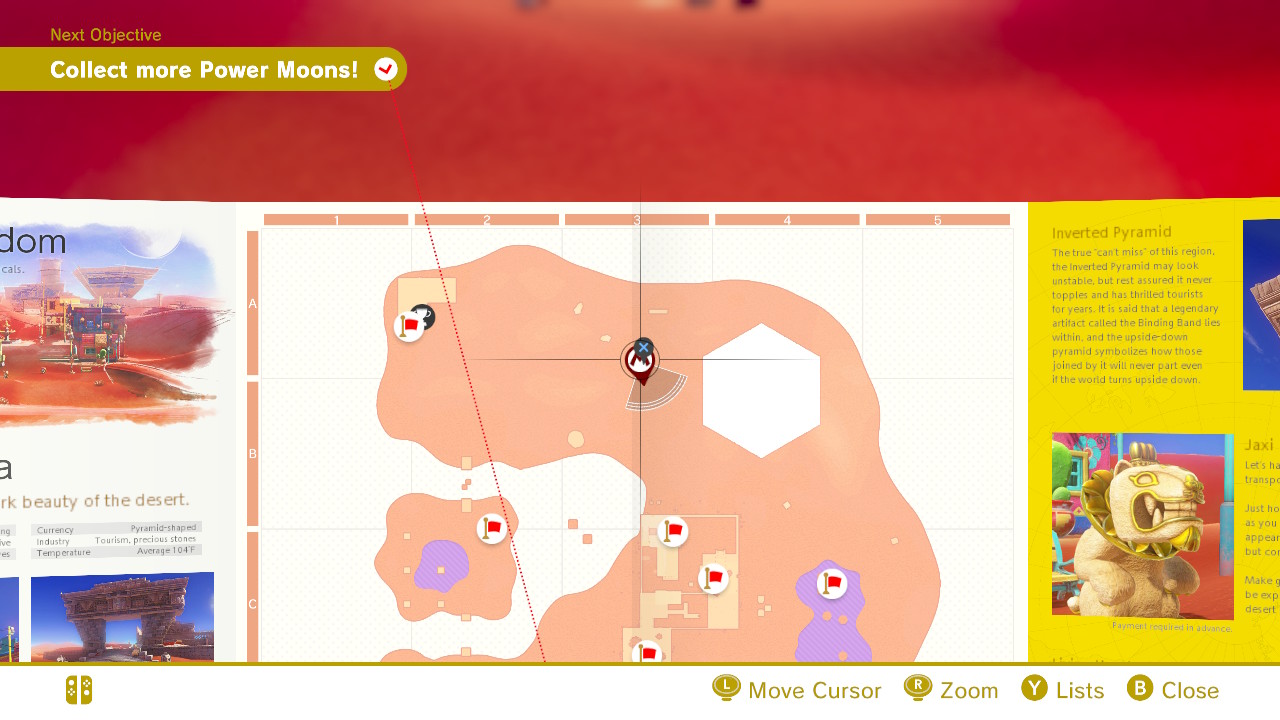
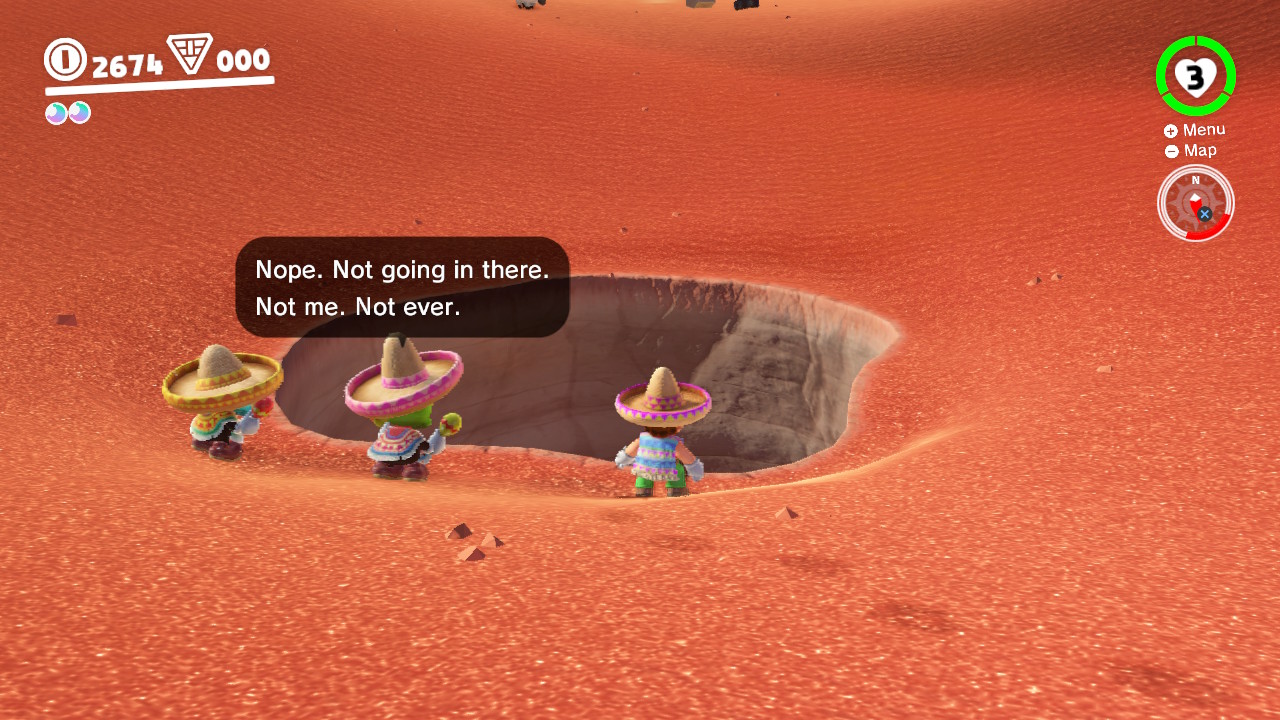
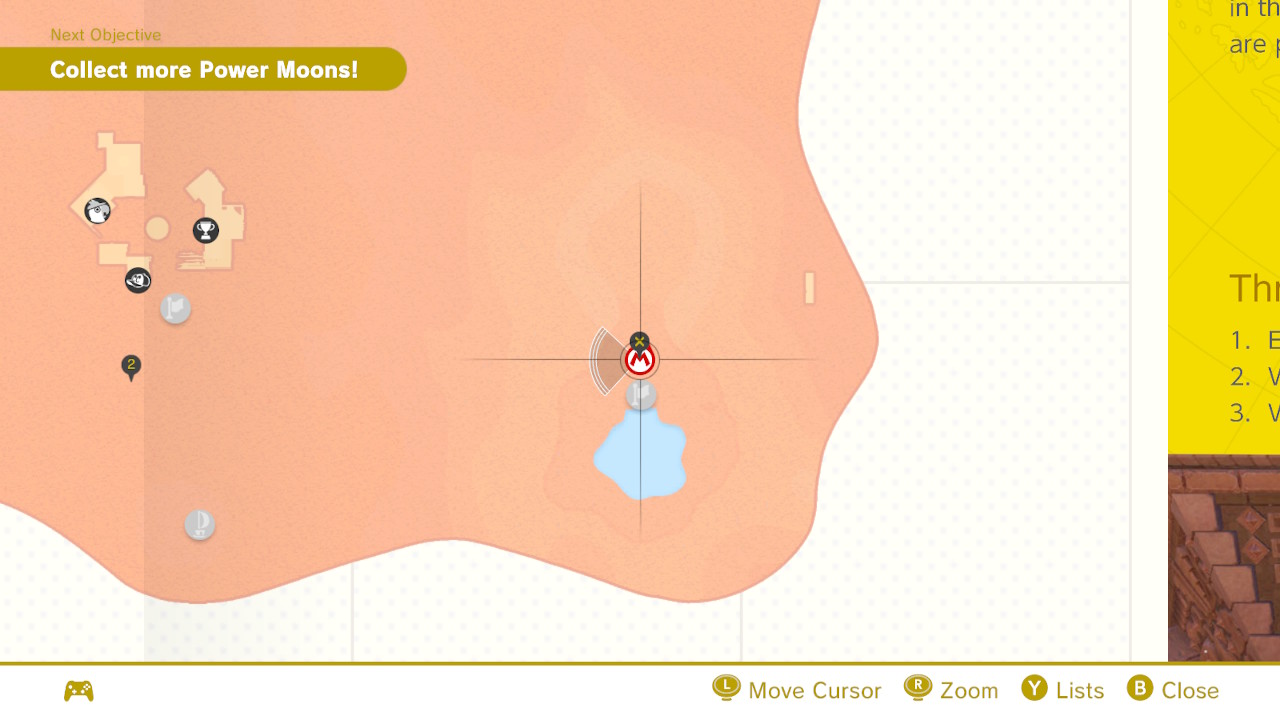
04 – The Hole in the Desert
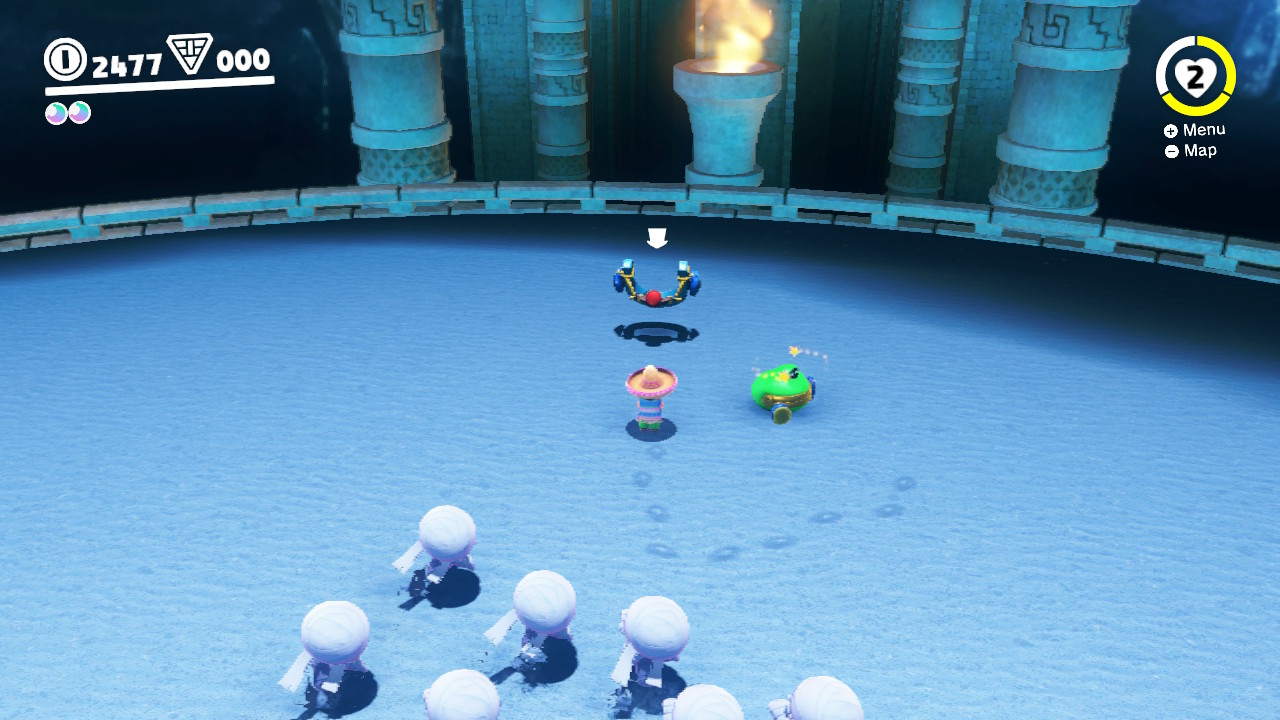
—Beat the boss by punching it with its own hands!
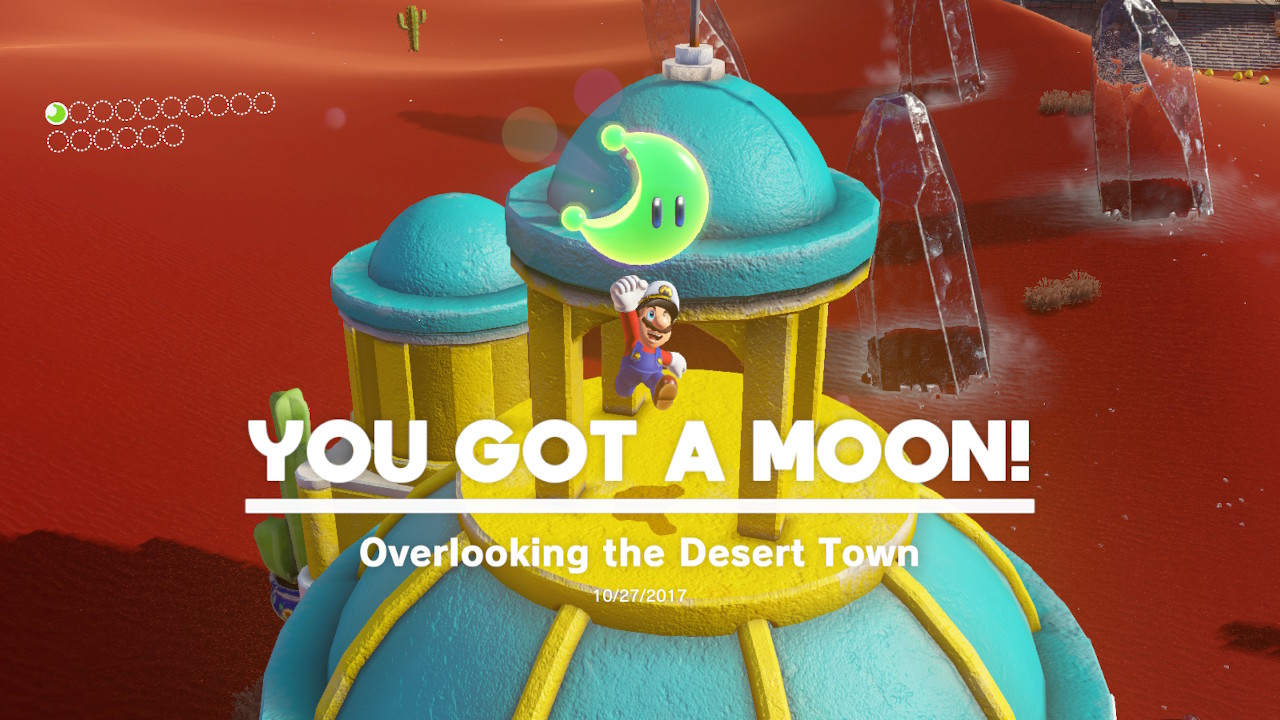
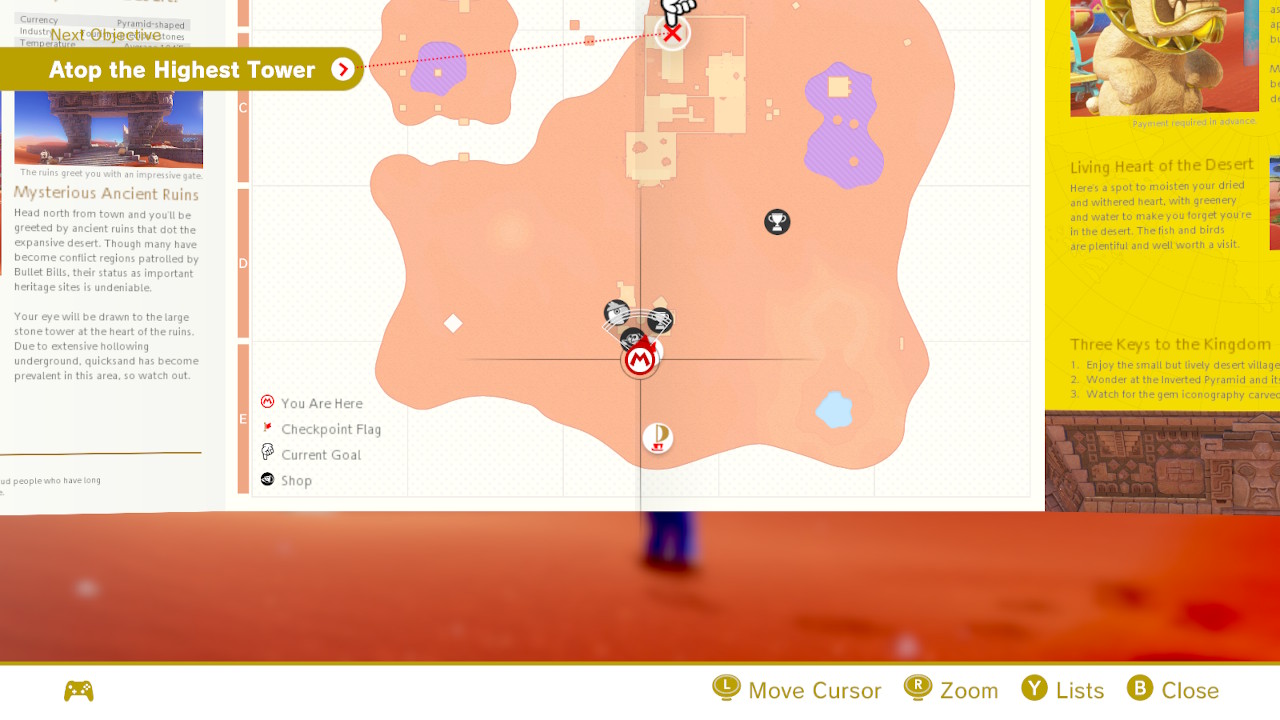
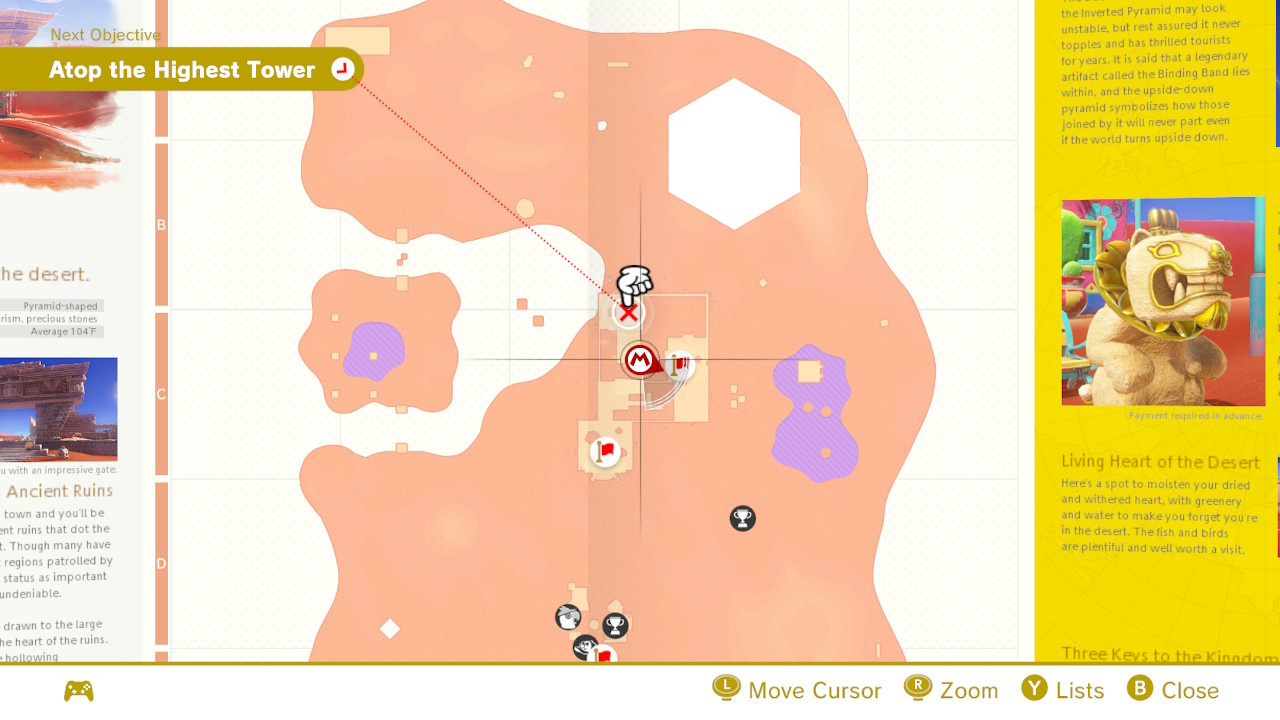
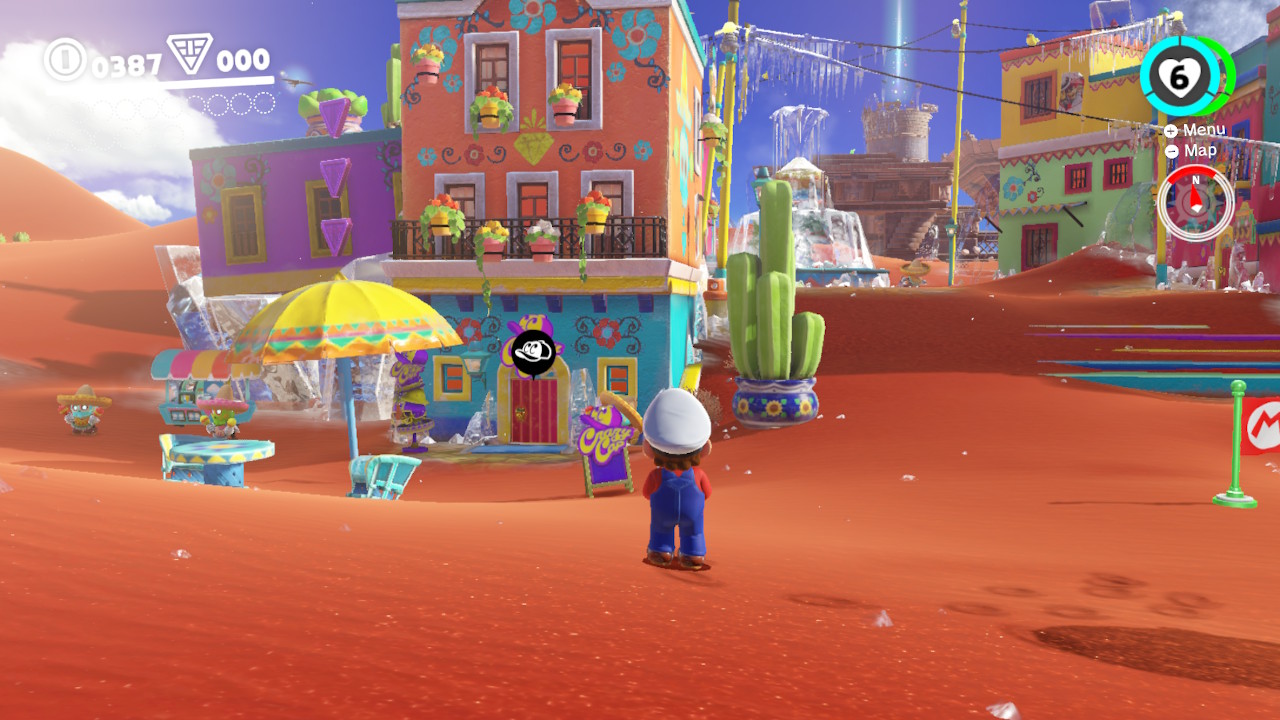
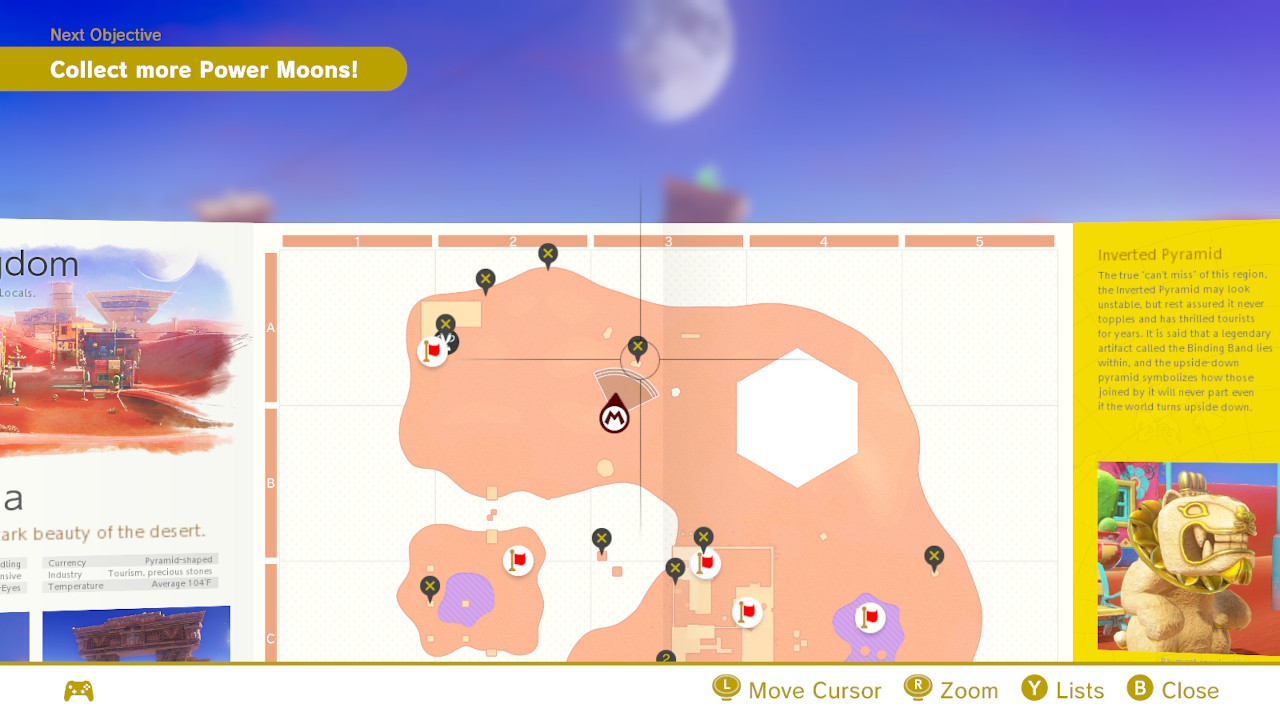
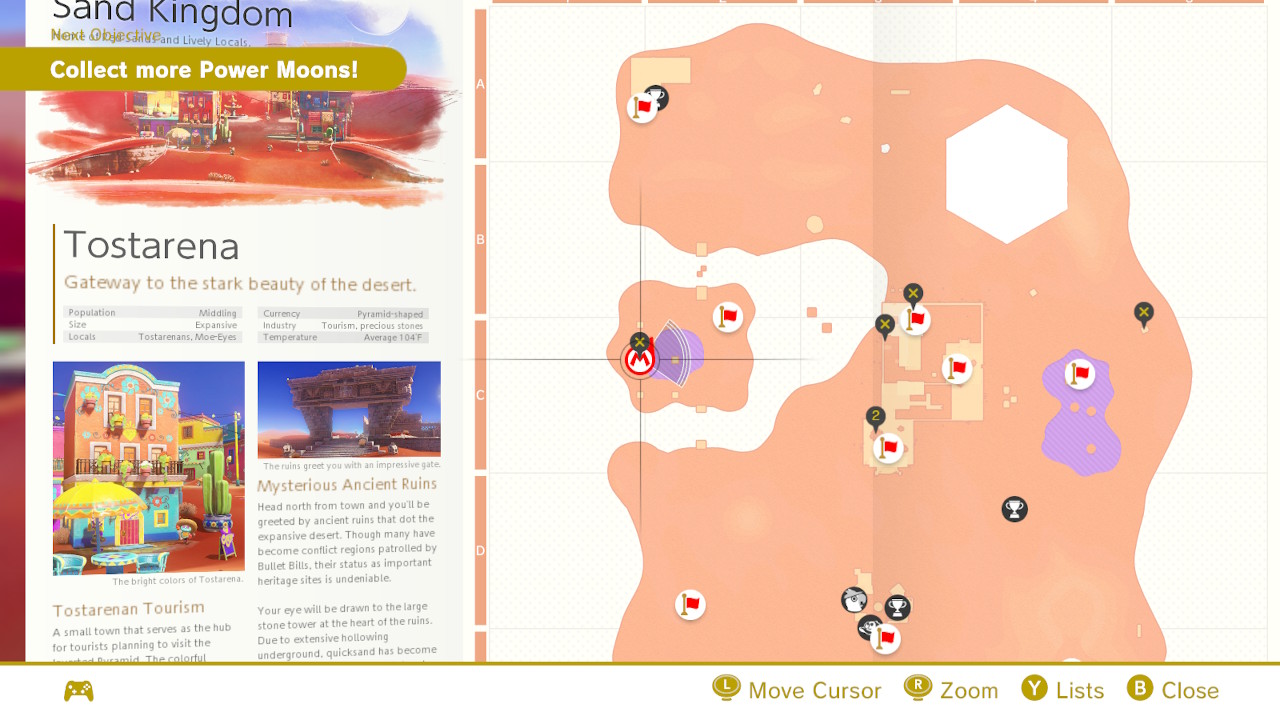
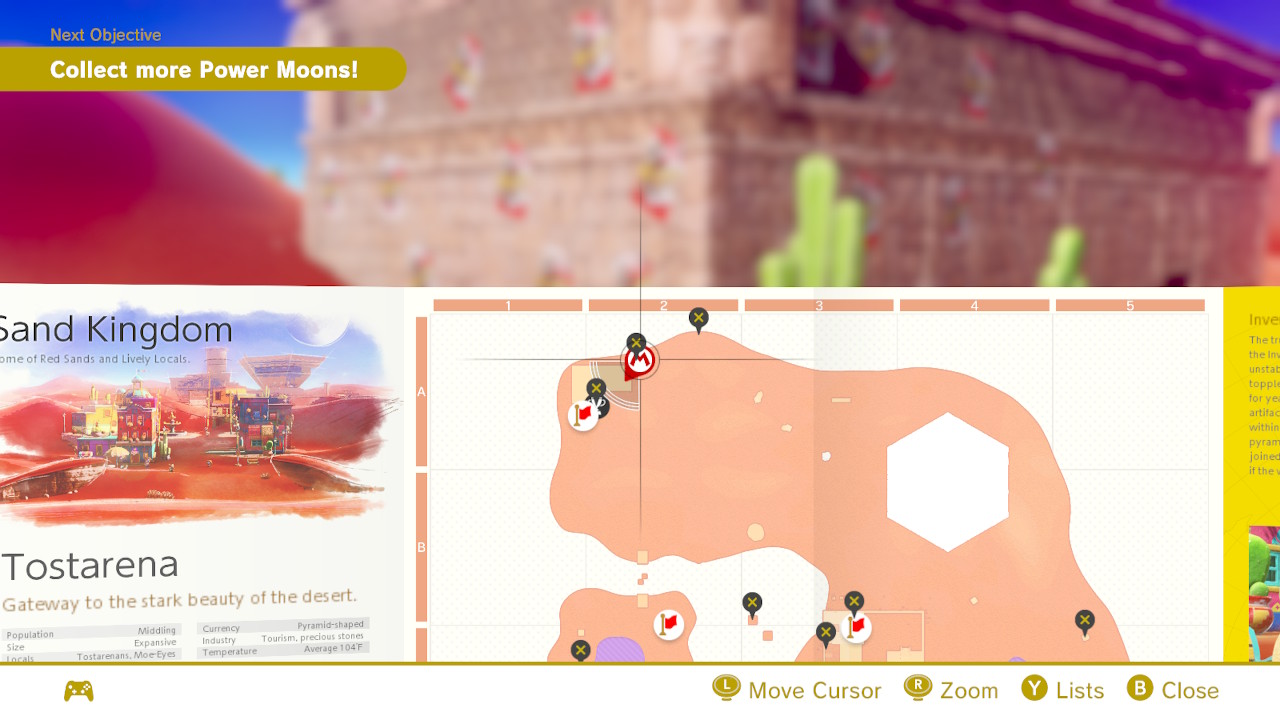
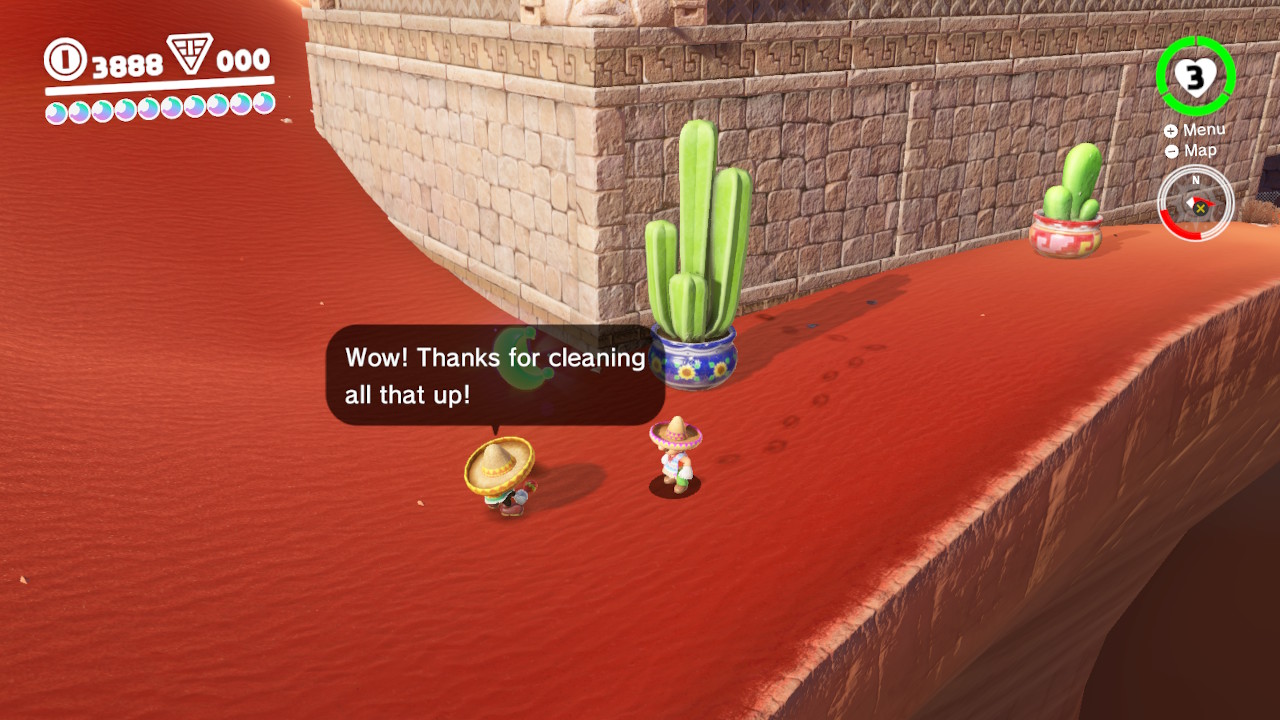
05 – Overlooking the Desert Town
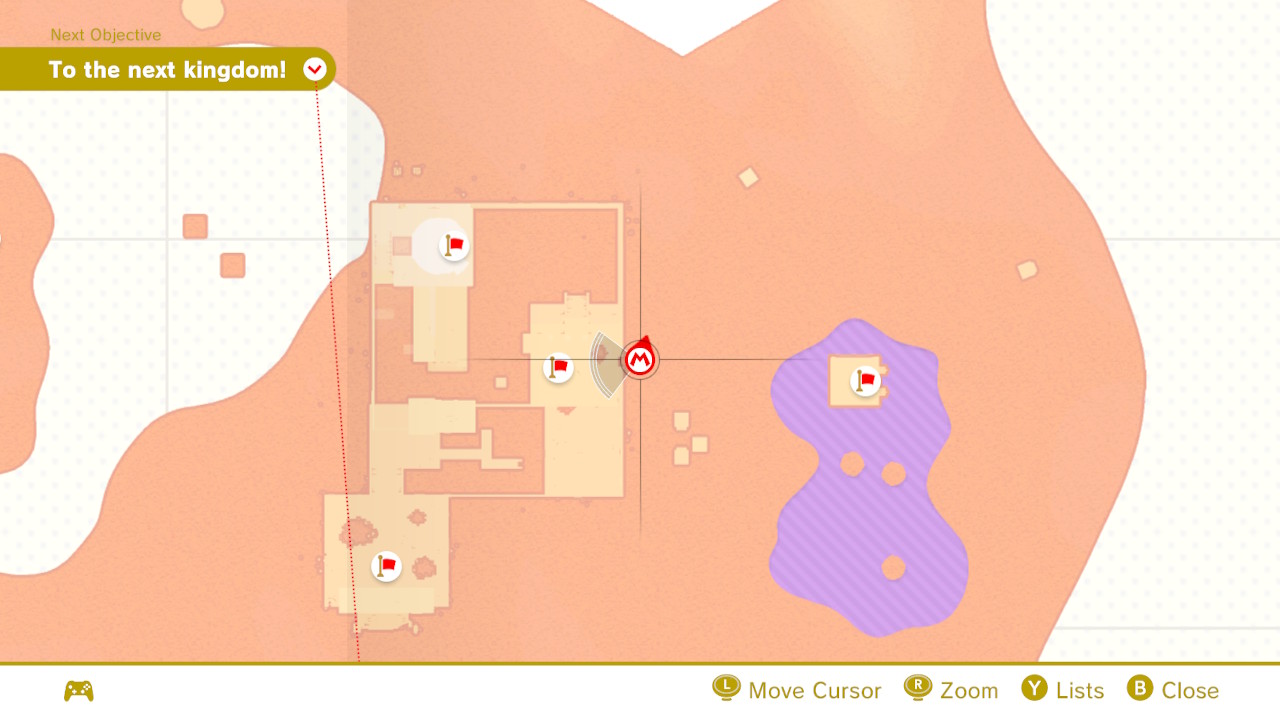
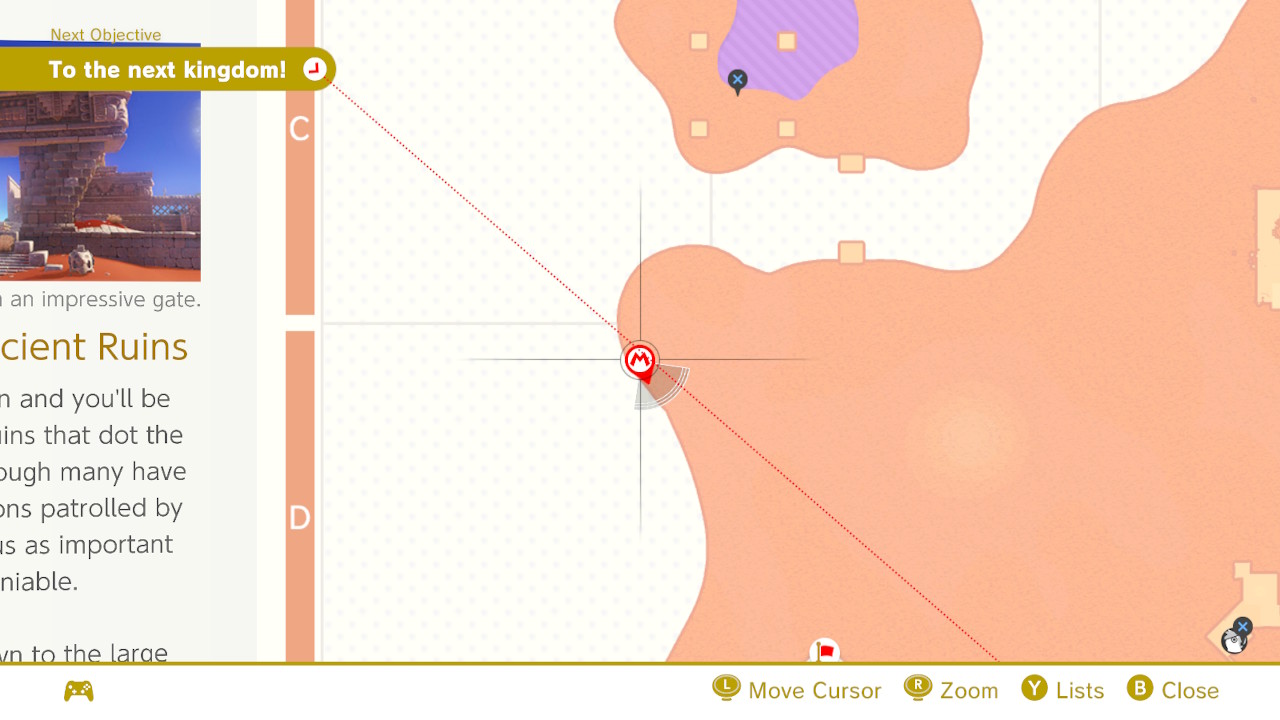
Location –
1 – Get on the rooftops by either jumping on the flowers, umbrellas, or capturing the elctric wires. From here you can easily jump and walk over the the location!
06 – Alcove in the Ruins
Location –
1- This one may be a bit tricky to explain but here goes… There is a switch that needs to be hit to open up a gate…
2- The switch needs to be accessed from the opposite side, from where “A Crate in the Ruins” can be found…
3- Once the switch is hit and the gate is lowered, you’ll have to find a Bullet Bill to capture…
4- Fly around the corner and you’ll see a cove along side the wall just beyond the ice slab…
5- The Power Moon is waiting for you inside!
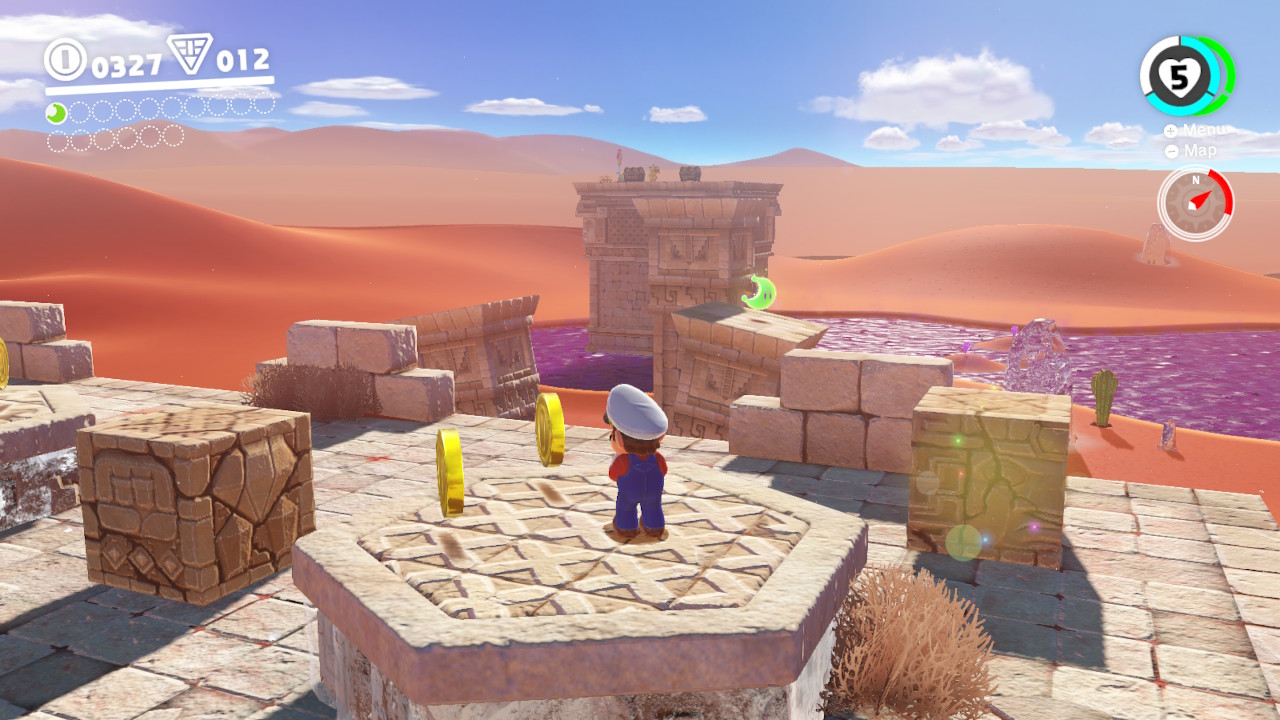
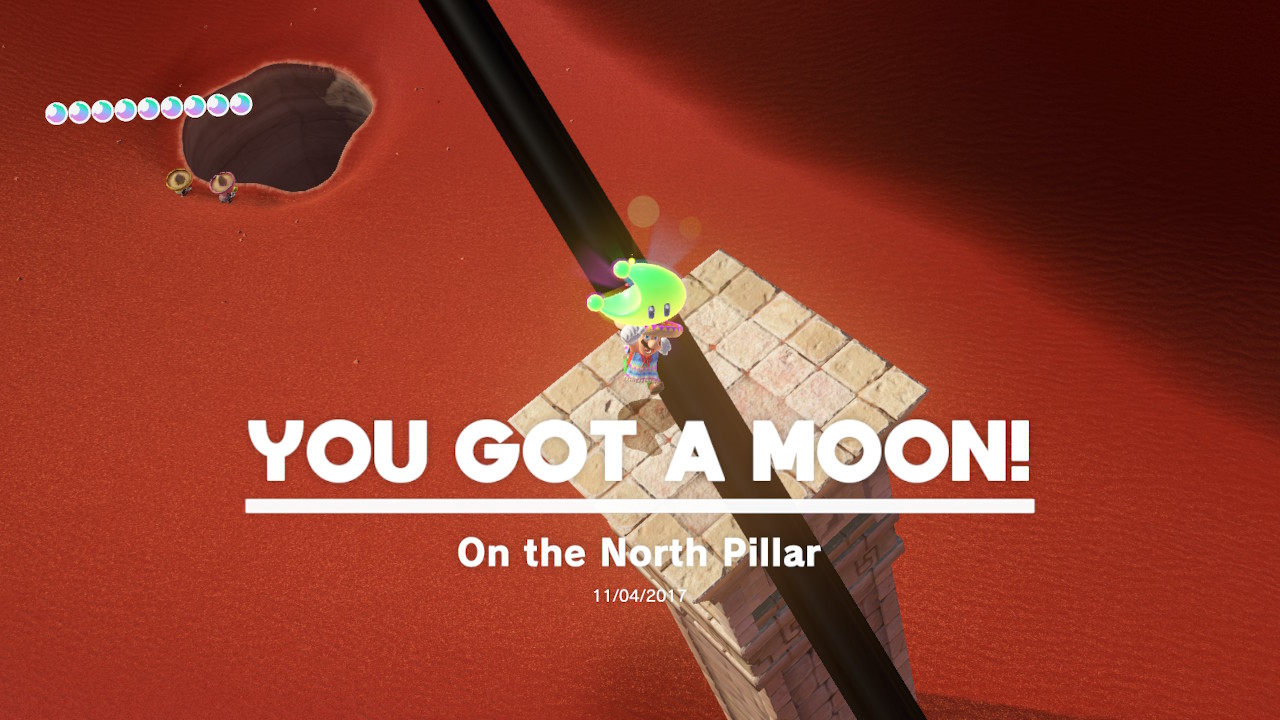
07 – On the Leaning Pillar
Location –
1- You will see the power moon out of easy jumping reach…
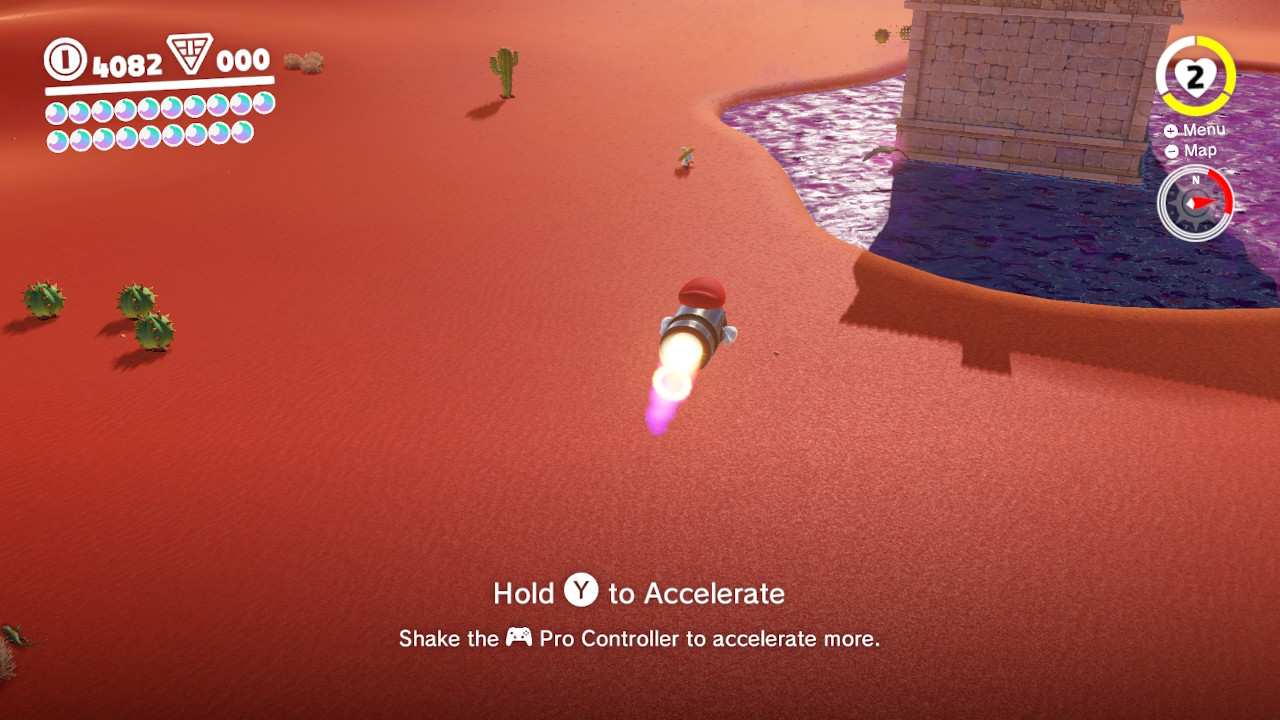
2- Find a Bullet Bill…
3- Capture the Bullet Bill…
4- Fly across the gap and onto the pillar!
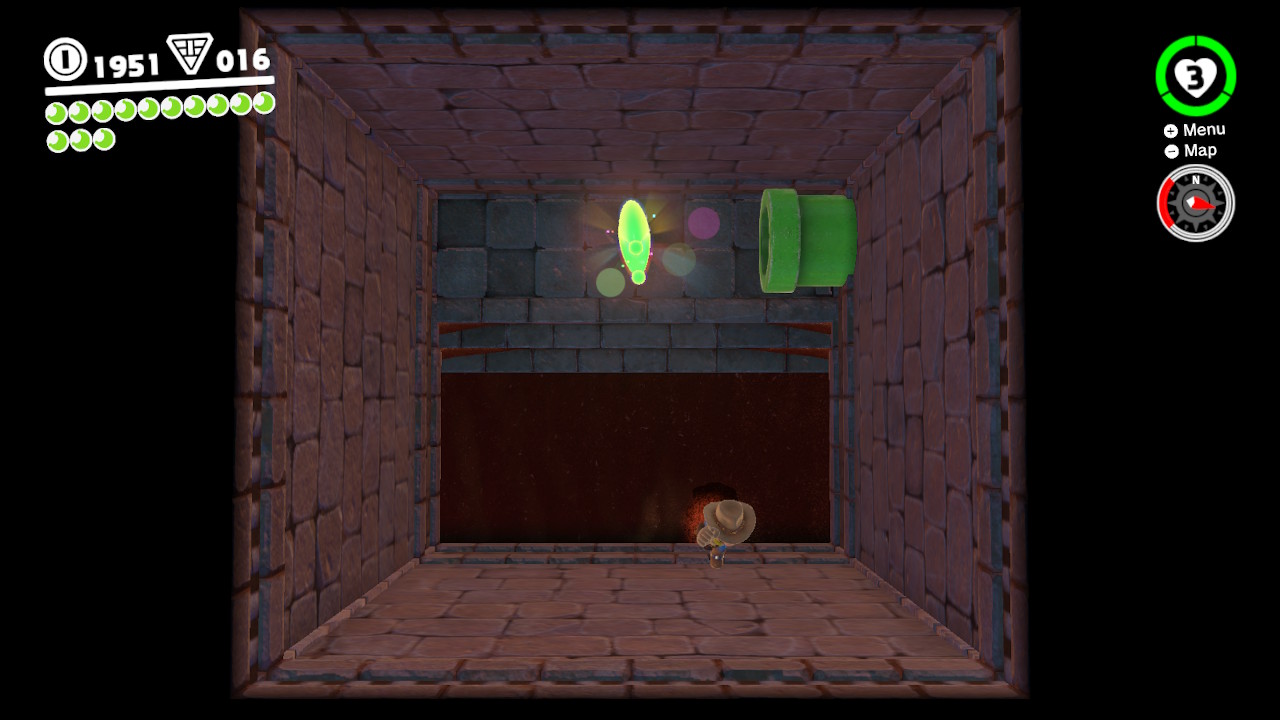
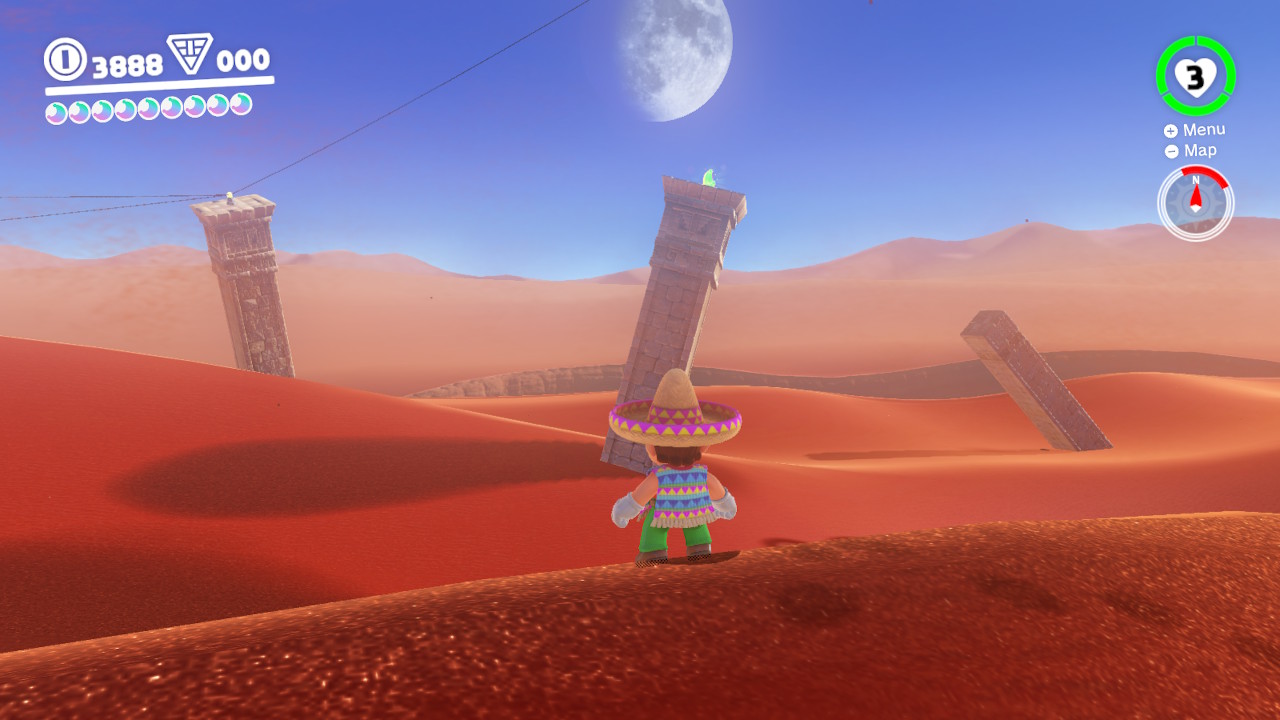
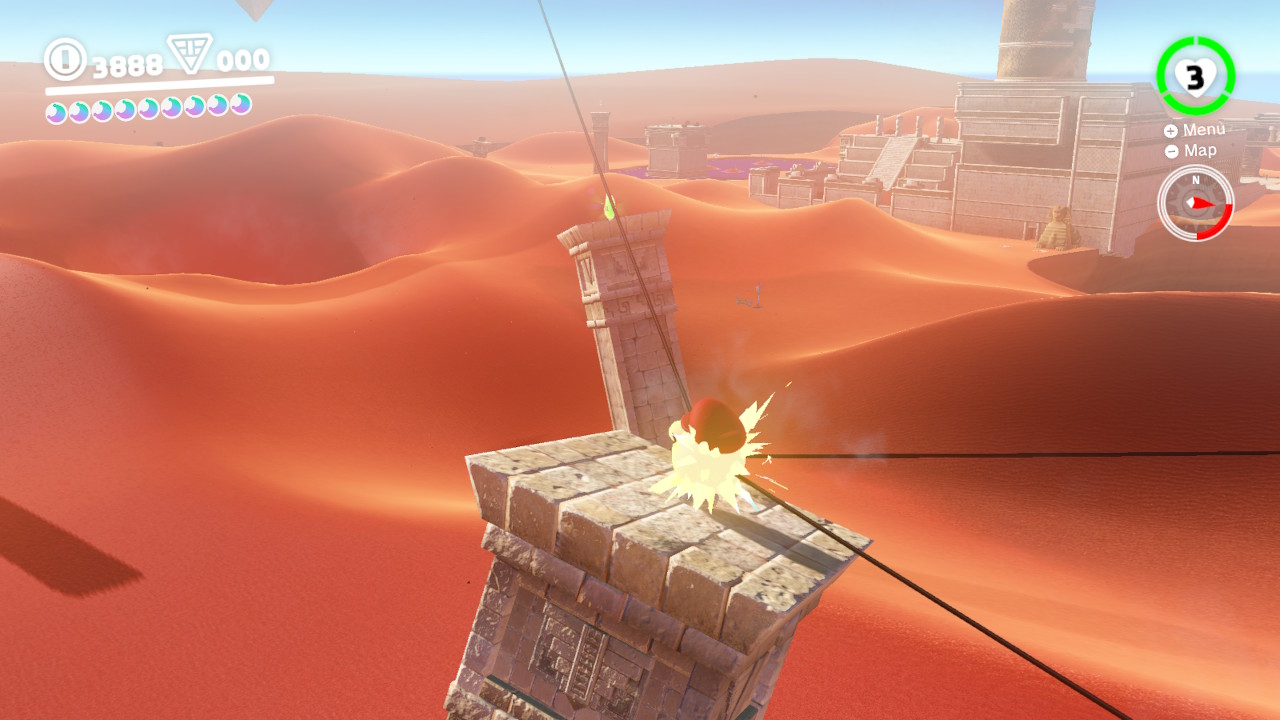
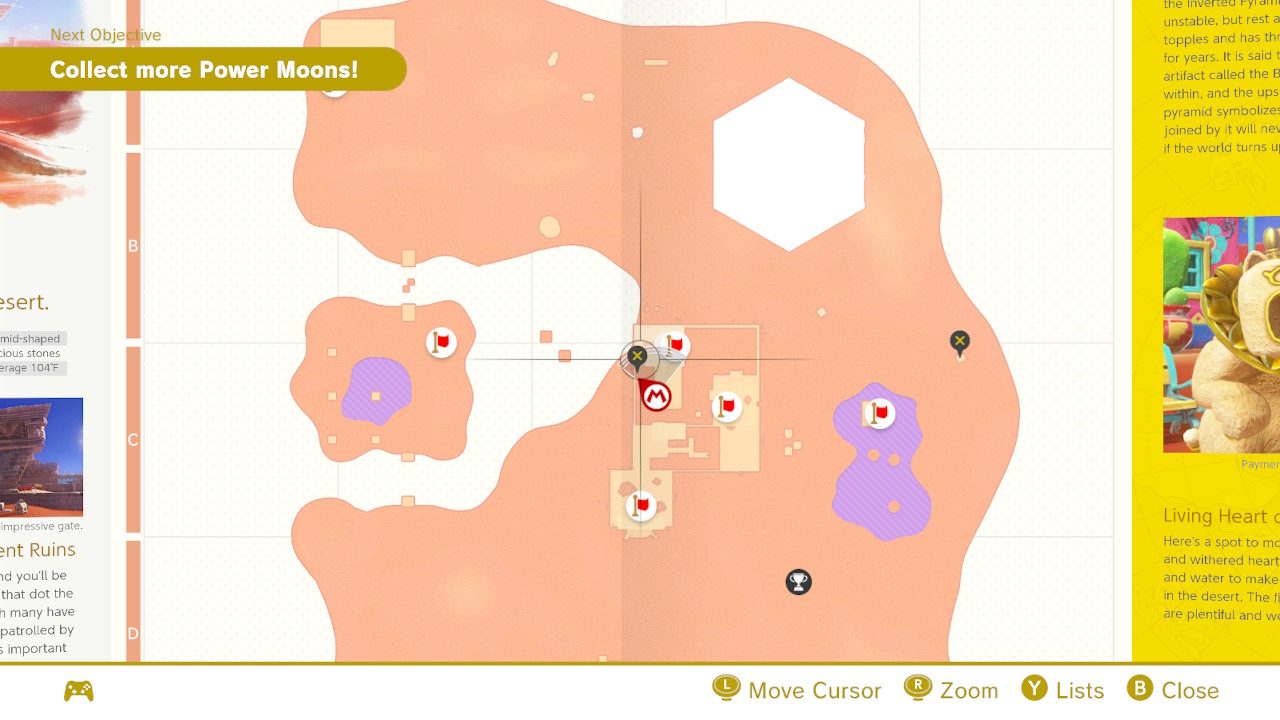
08 – Hidden Room in the Flowing Sands
Location-
1- Right to the side of the whirlpool of sand there is a SUPER TINY gap in the wall….
2- Fall into it while jumping so you don’t drown…
3- Inside you will find a Power Moon!
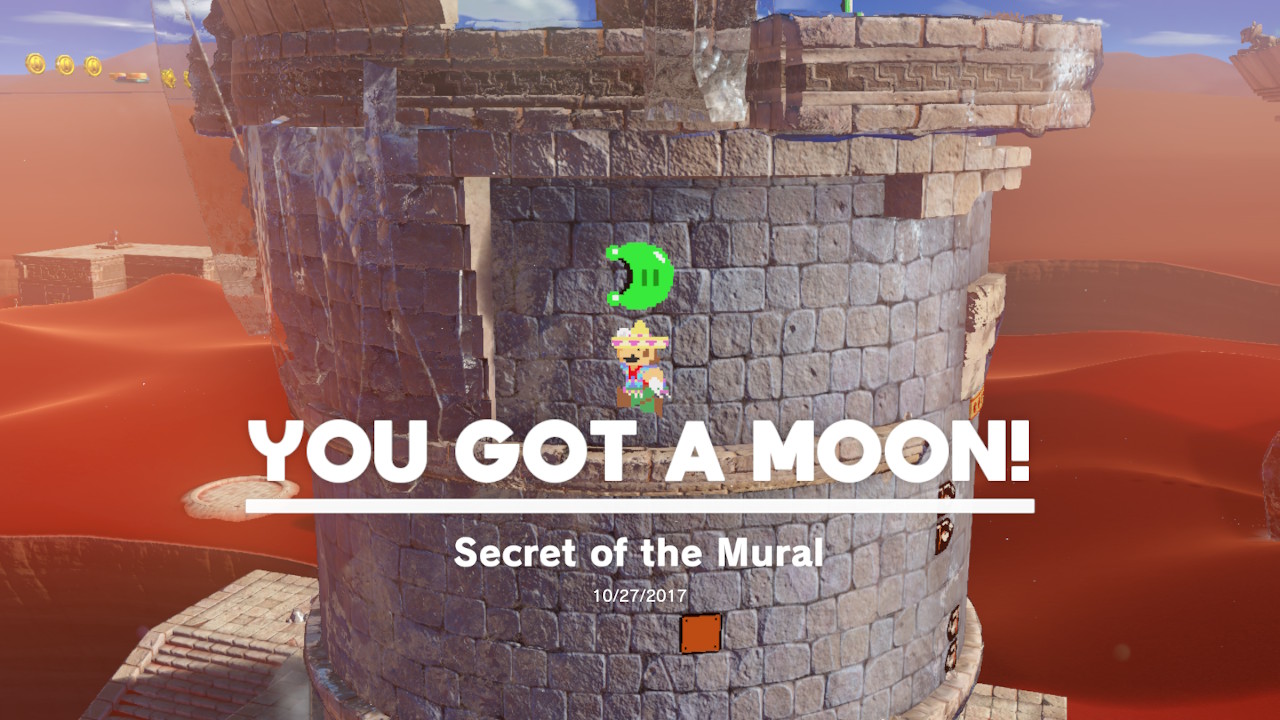
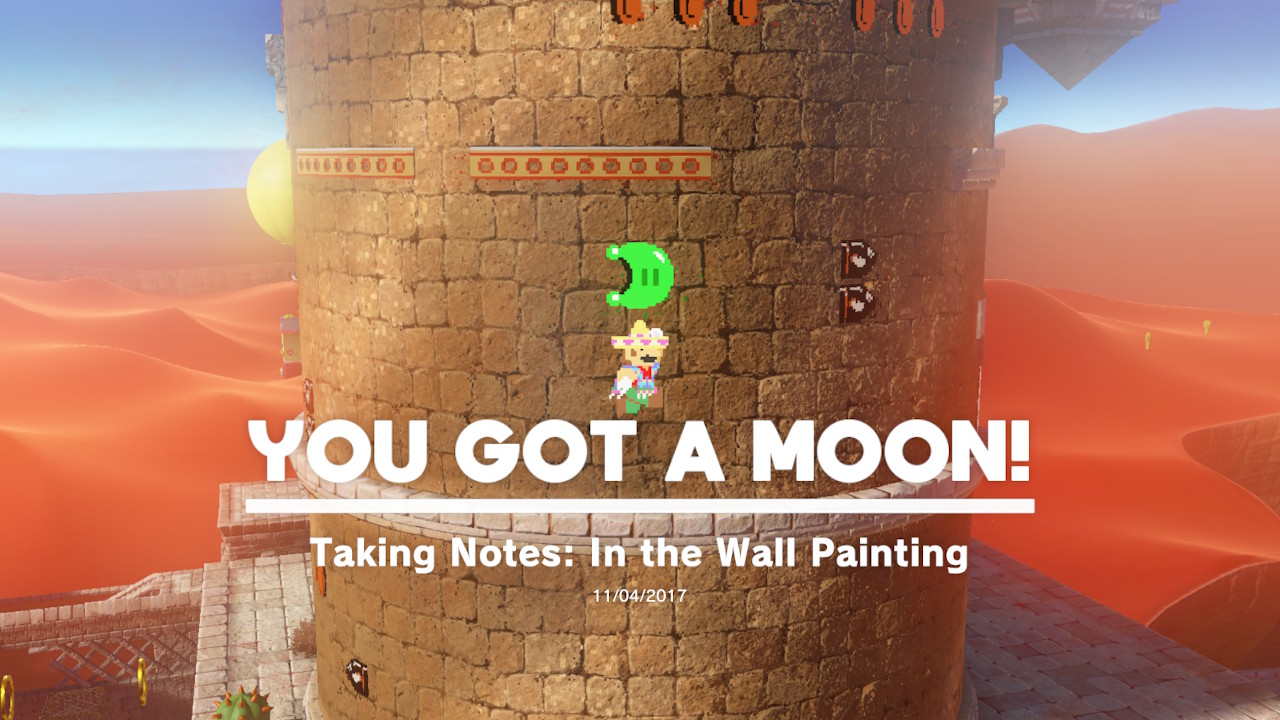
09 – Secret of the Mural
Location-
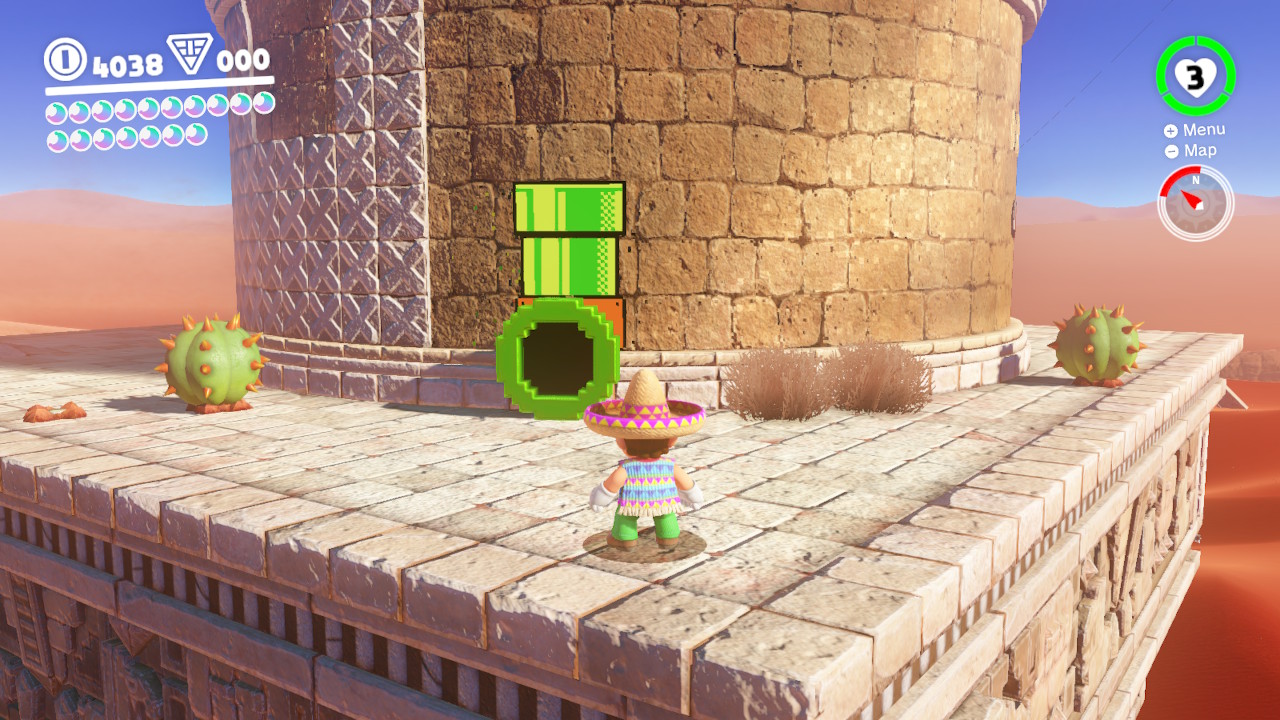
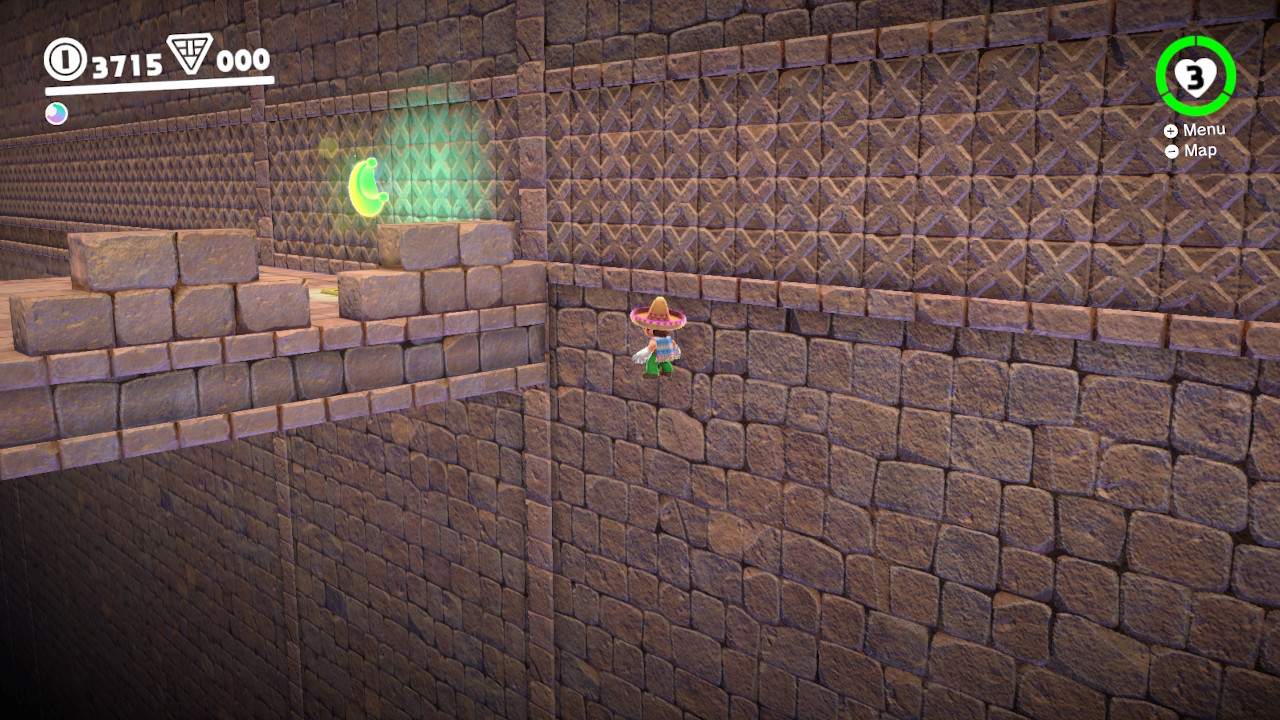
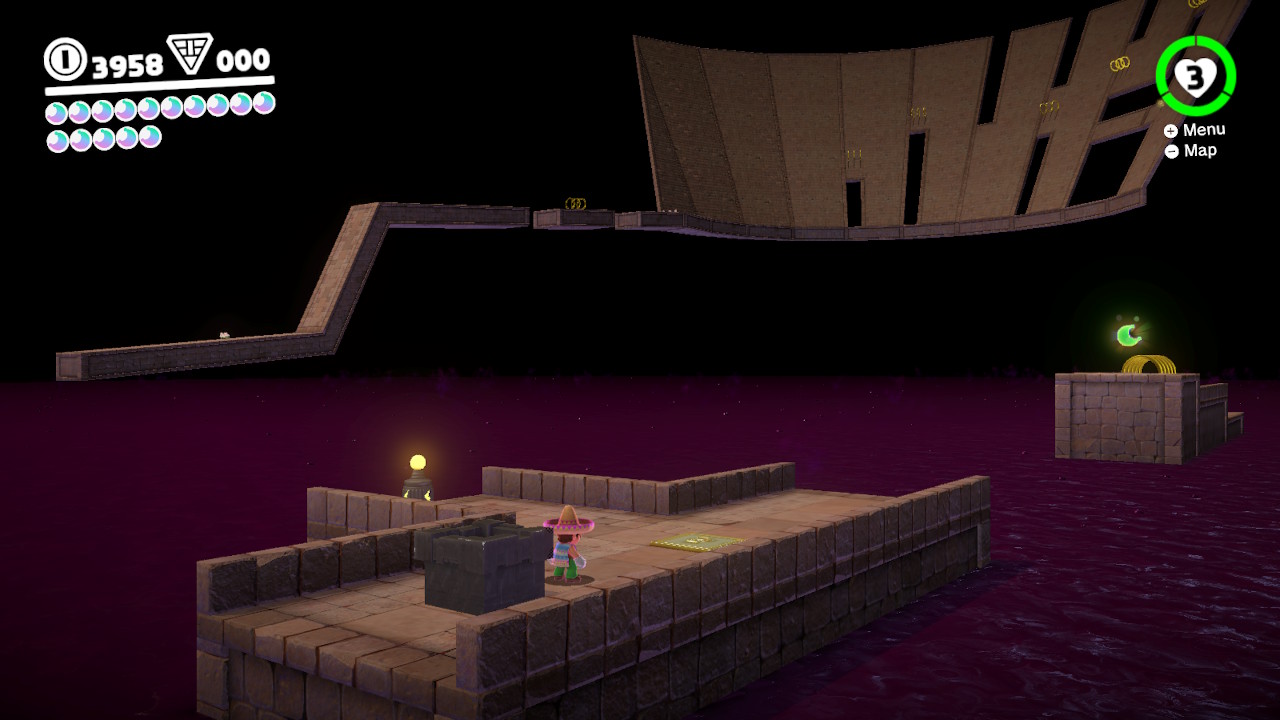
1- As you climb the last area of the ruins before you reach “the highest point”, you will enter into an 8-bit area. You can get here by going to the “Tostarena Ruins Round Tower” Checkpoint and jumping down below the 8-bit section. Once you do this,go into the 8-bit pipe and climb to the top. When you reach the top, BE SURE NOT TO JUMP OUT OF 8-BIT! Directly to the left there is a solid wall…. hmmm a solid wall just standing there with no purpose? My Nintendo secret finding senses are tingling! Jump INTO the solid wall and you will find that it is a secret area with the Power Moon!
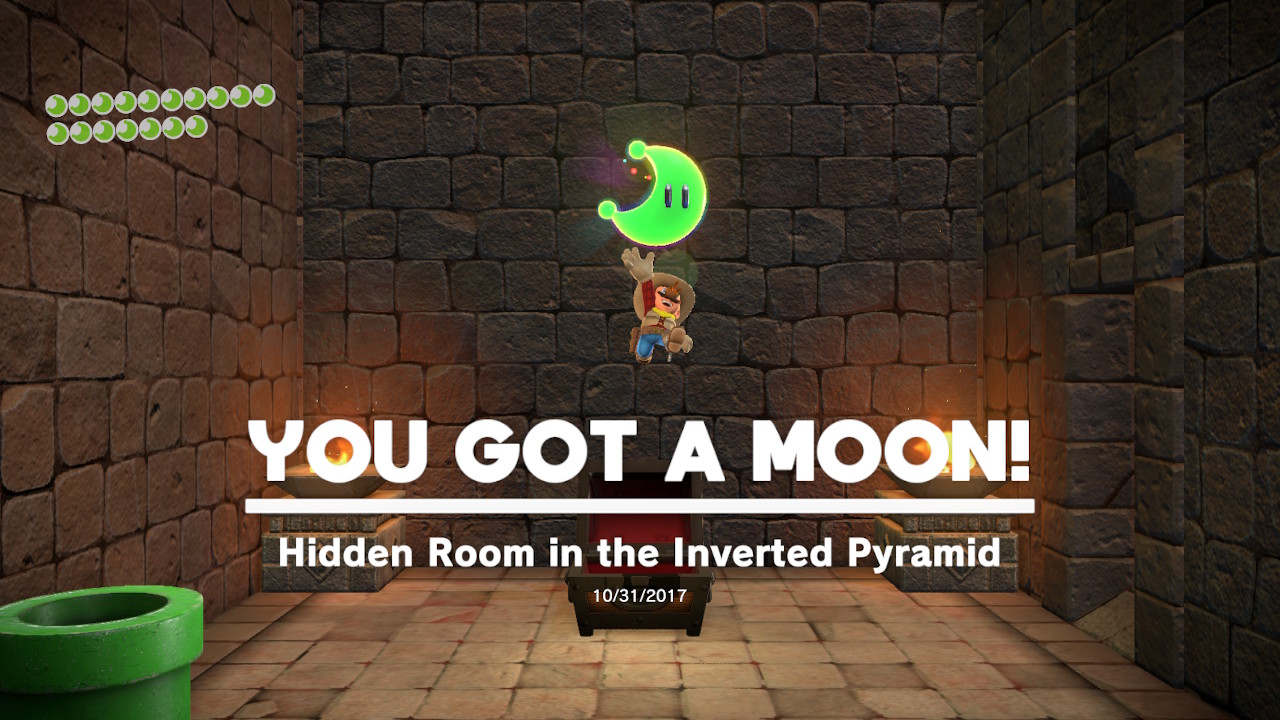
10 – Secret of the Inverted Mural
Location –
1- As you travel through the 8-bit section of the Inverted Pyramid Power Moon, there is a crack in the wall before the warp pipe…
2- Jump through the wall and the Power Moon is yours!
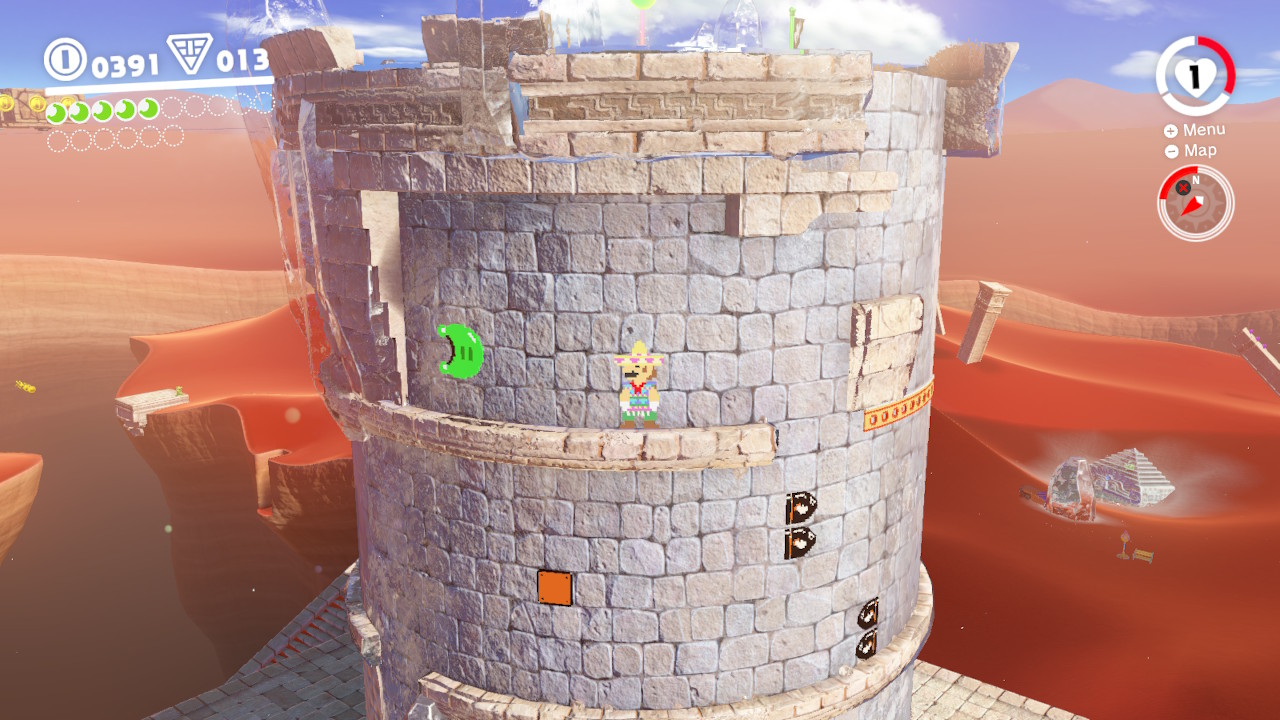
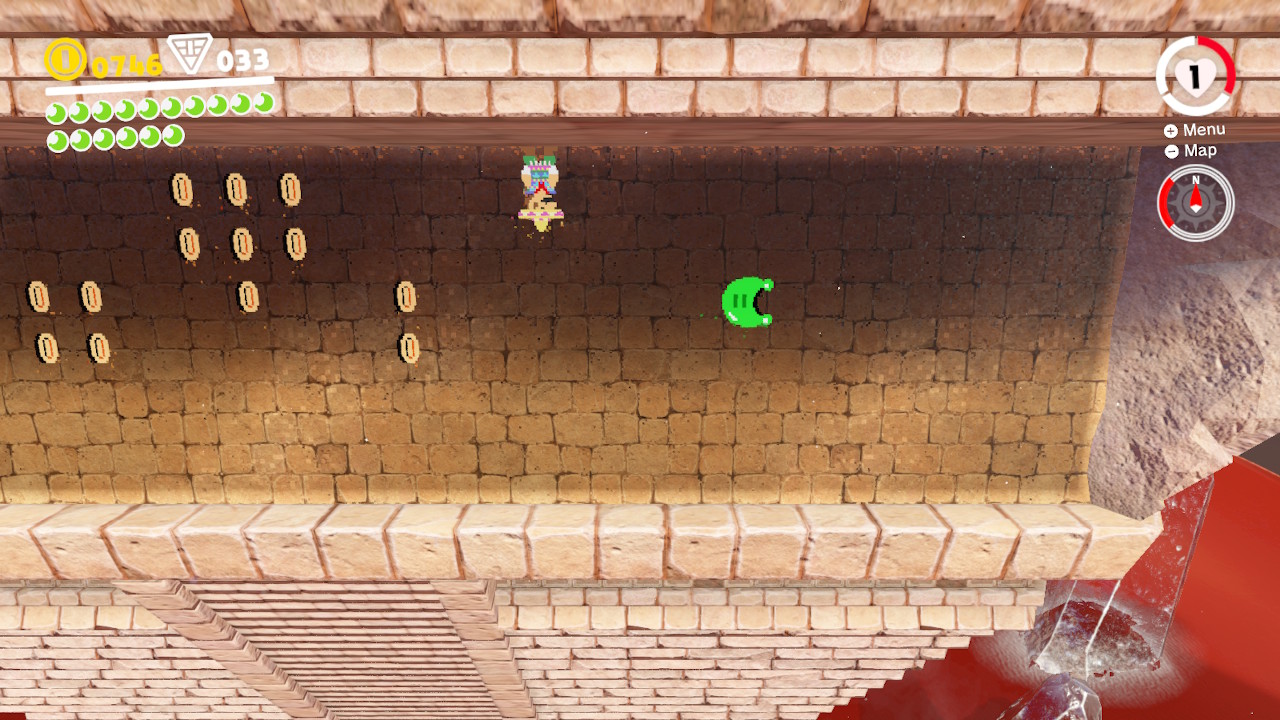
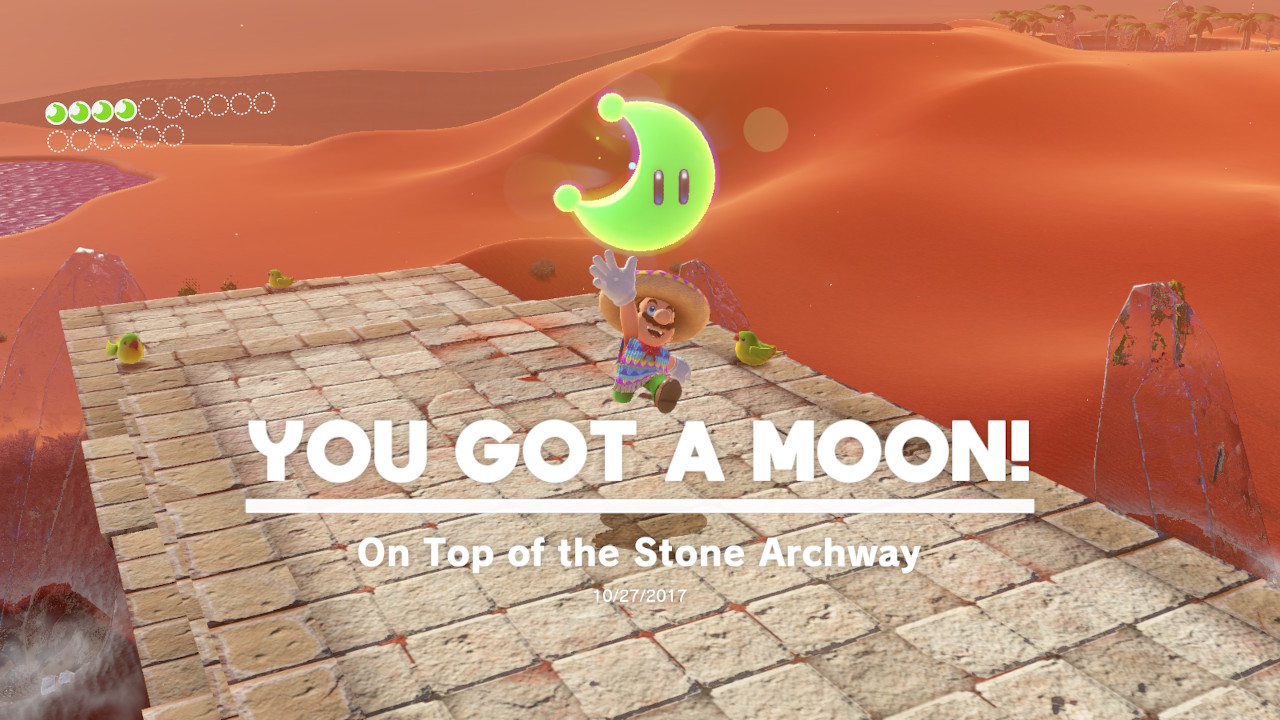
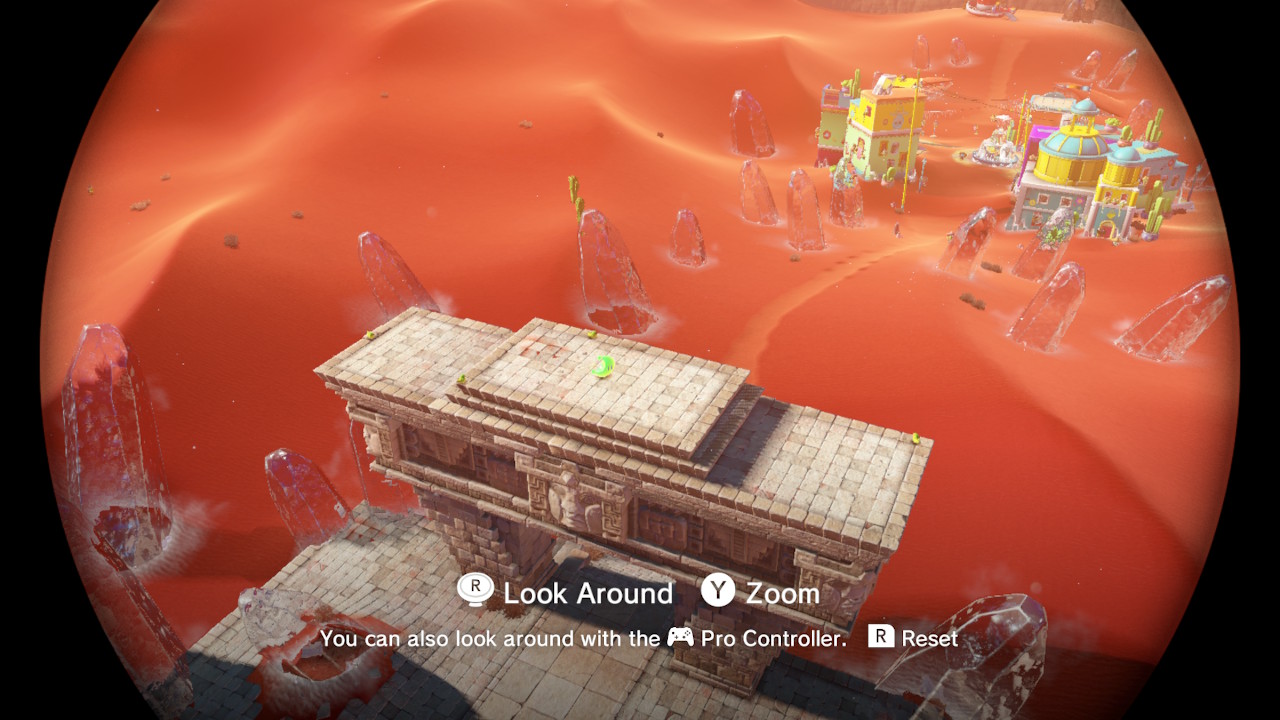
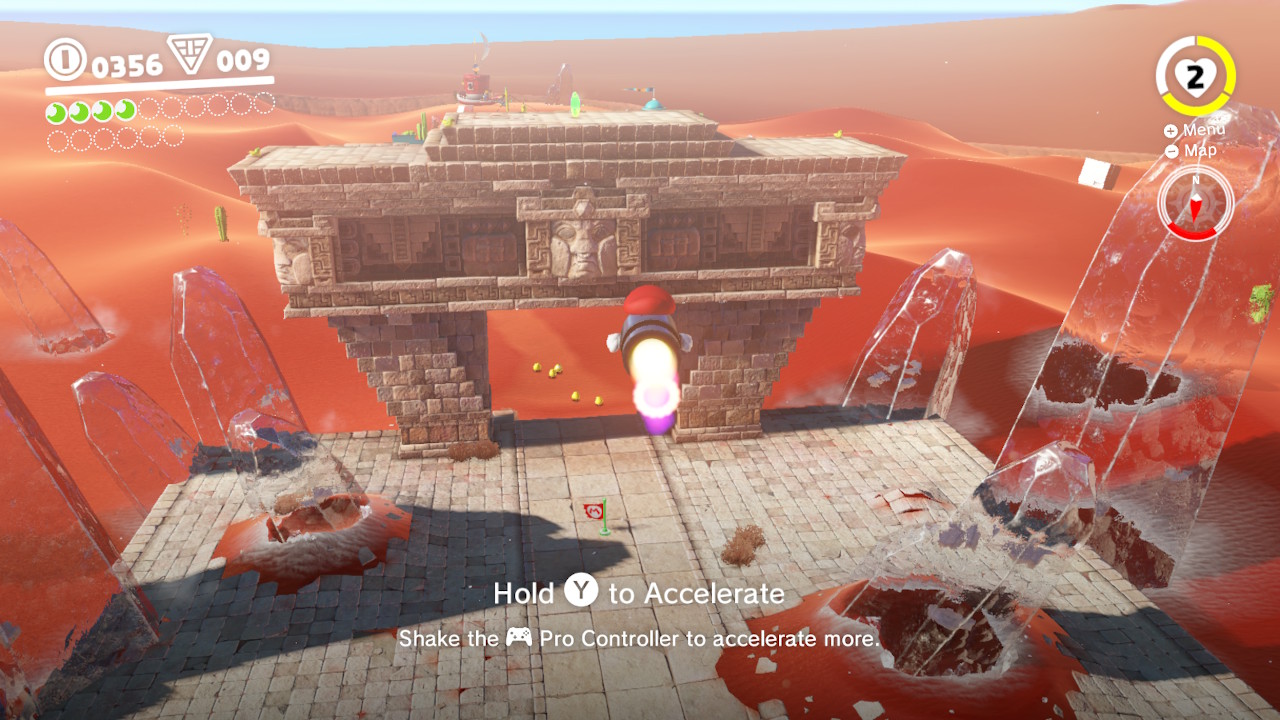
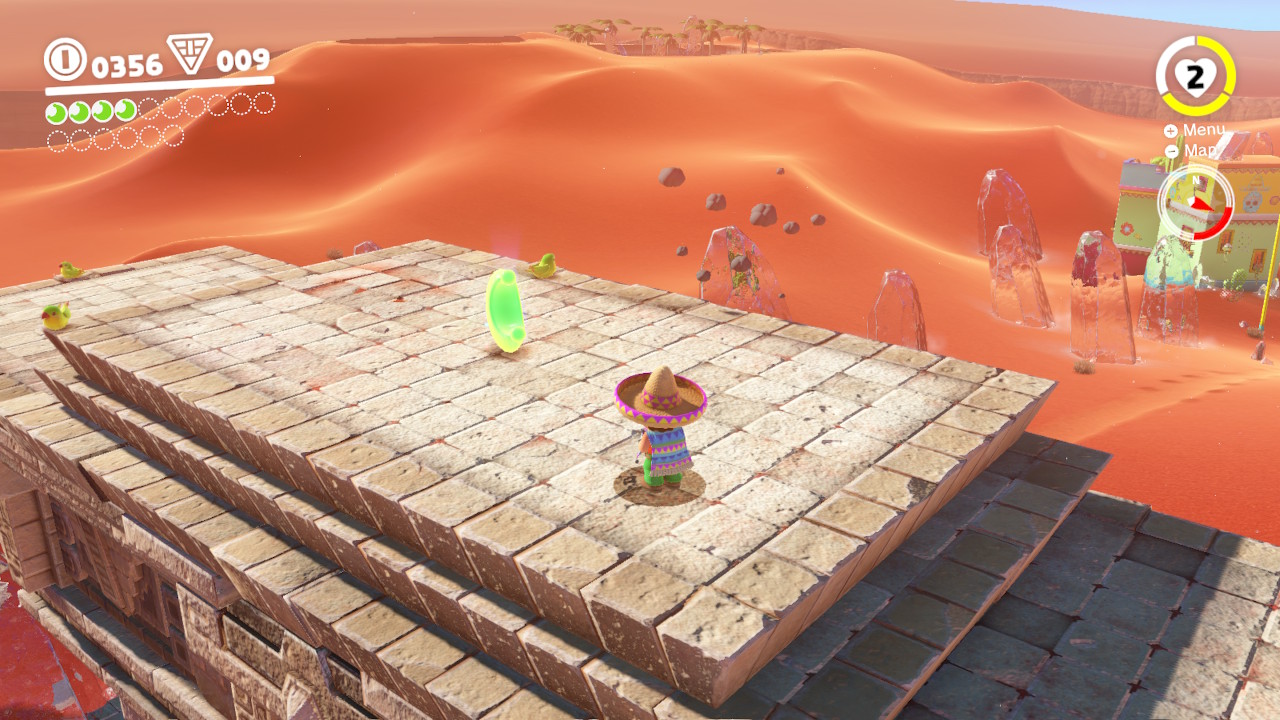
11 – On Top of the Stone Archway
Location –
1- There is a Power Moon above the giant archway in a seemingly difficult place to reach…
2- To reach the archway, you’ll have to capature a Bullet Bill from the same area wher the “From a Crate in the Ruins” Power Moon is found…
3- Capture the Bullet Bill anc accelerate as fast as you can the whole time, you’ll need to be boosting nonstop…
4- Make it to the archway and you’re all set!
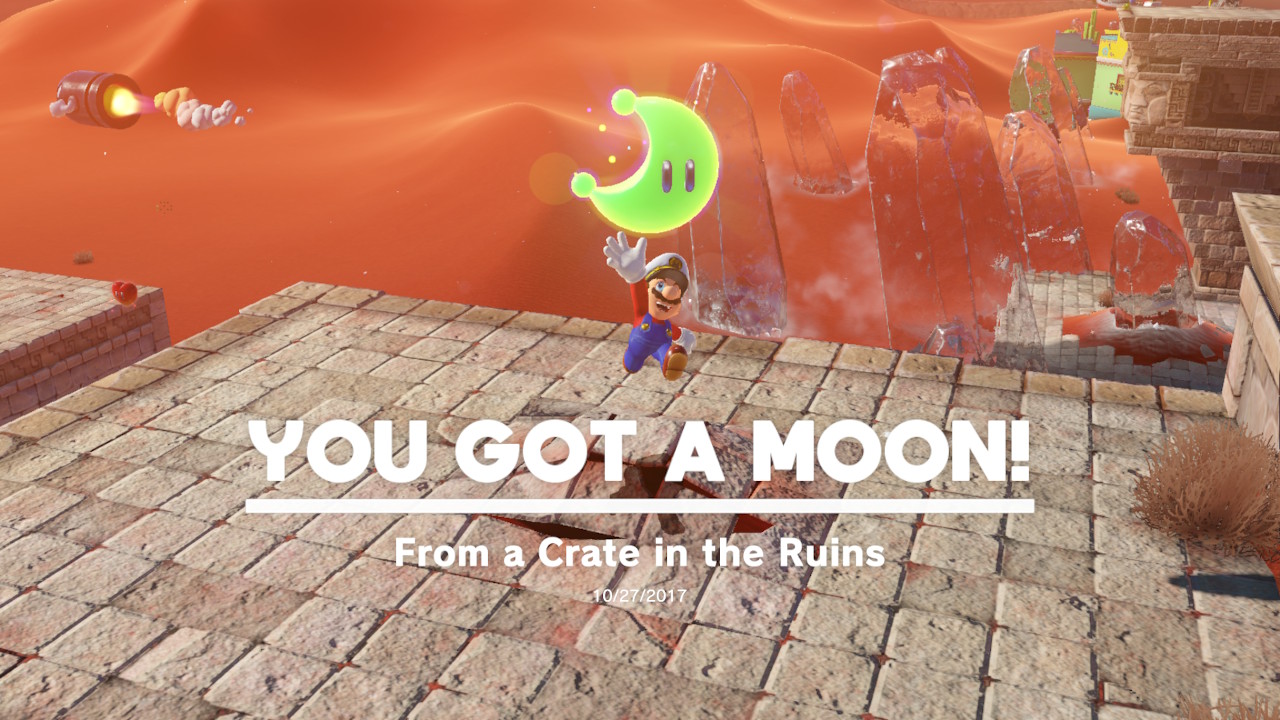
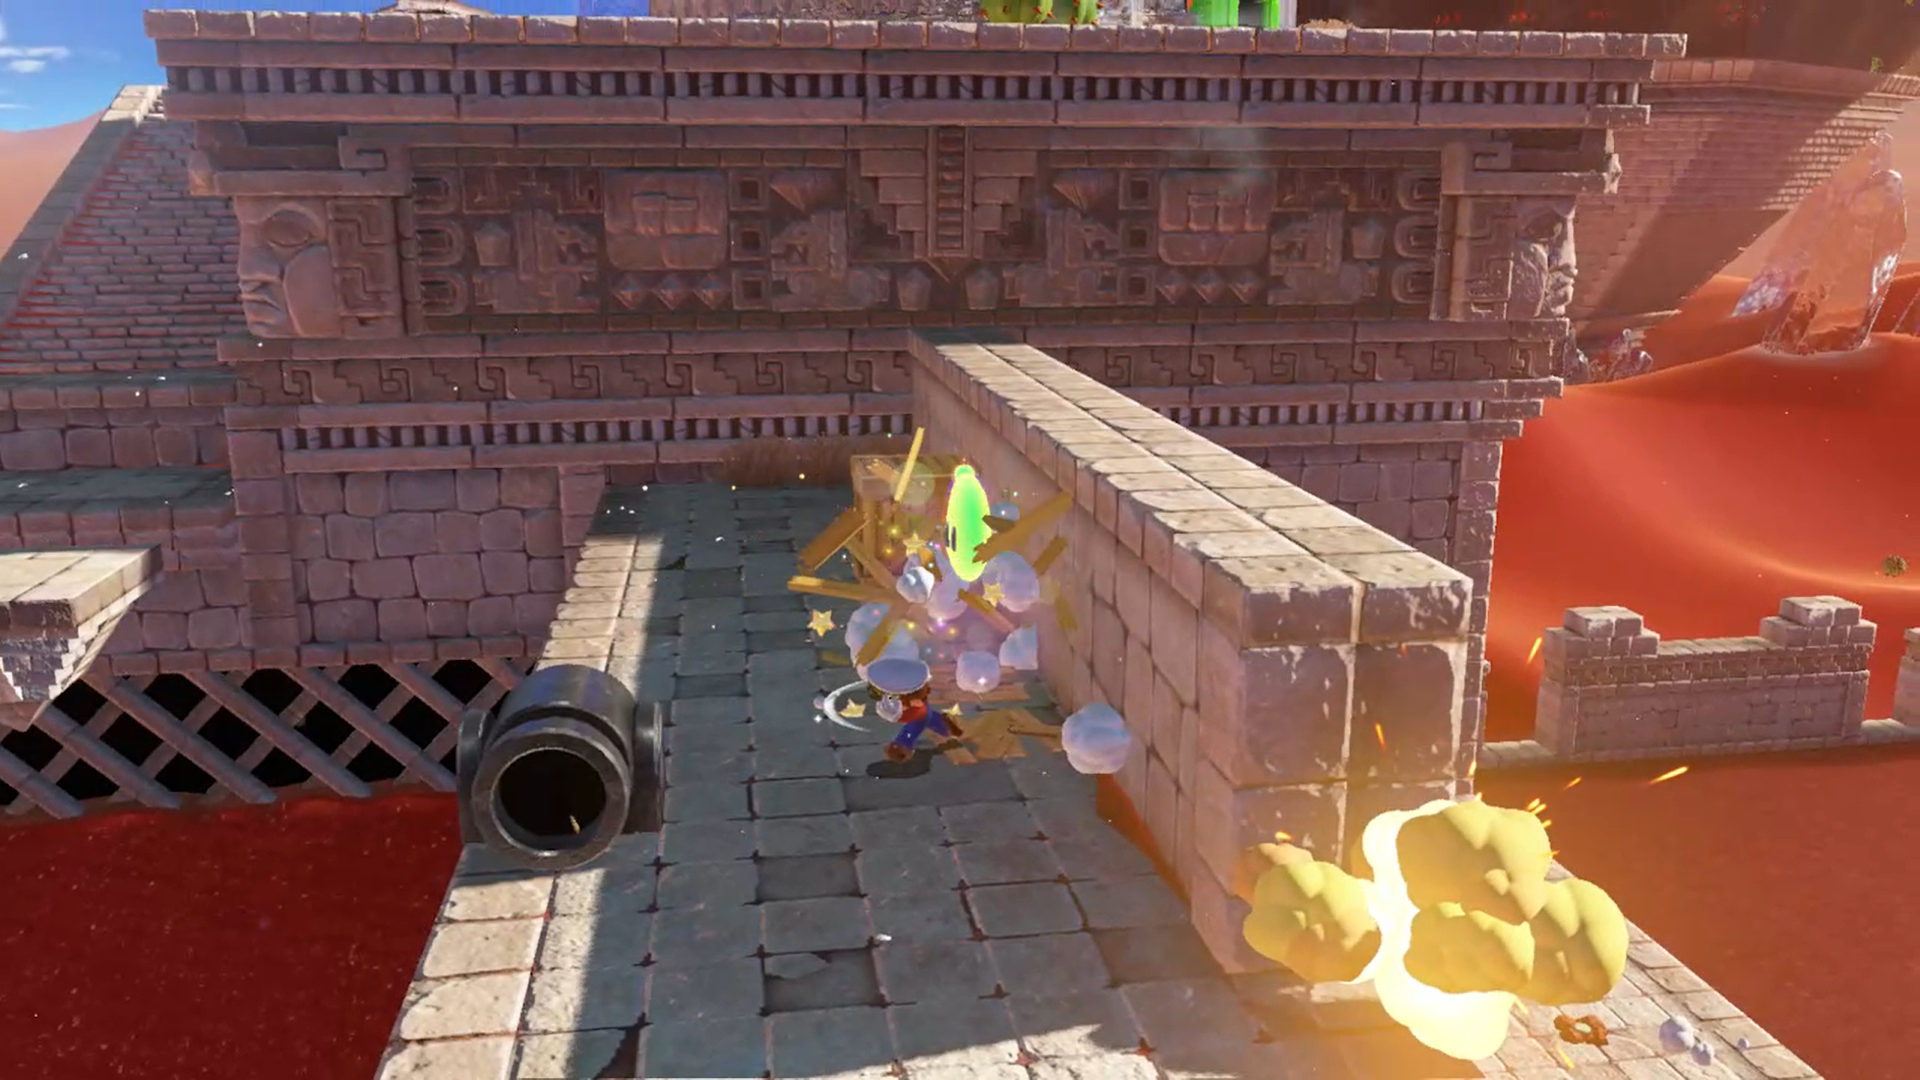
12 – From a Crate in the Ruins
Location –
1 – After going through the 8-bit section and dudging bullet bills, you will see a box of crates, hit it with cappy…
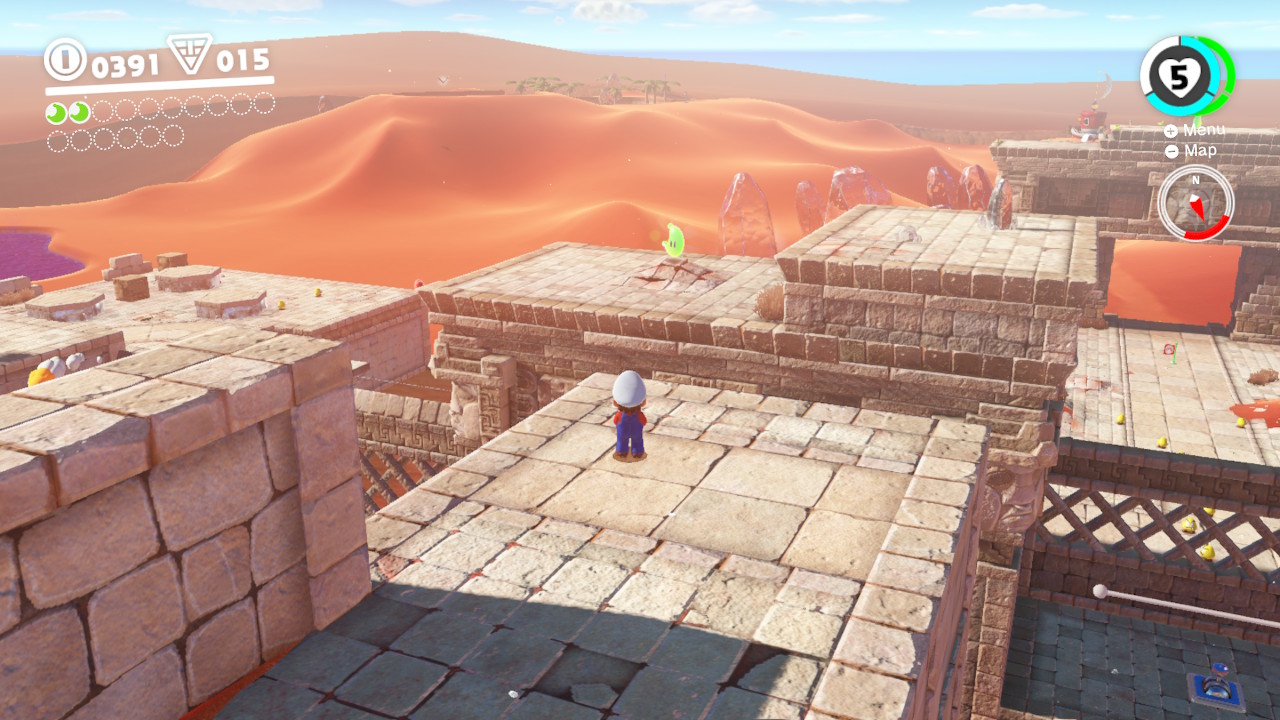
2- After doing that the Power Moon will jump across a gap to a platform…
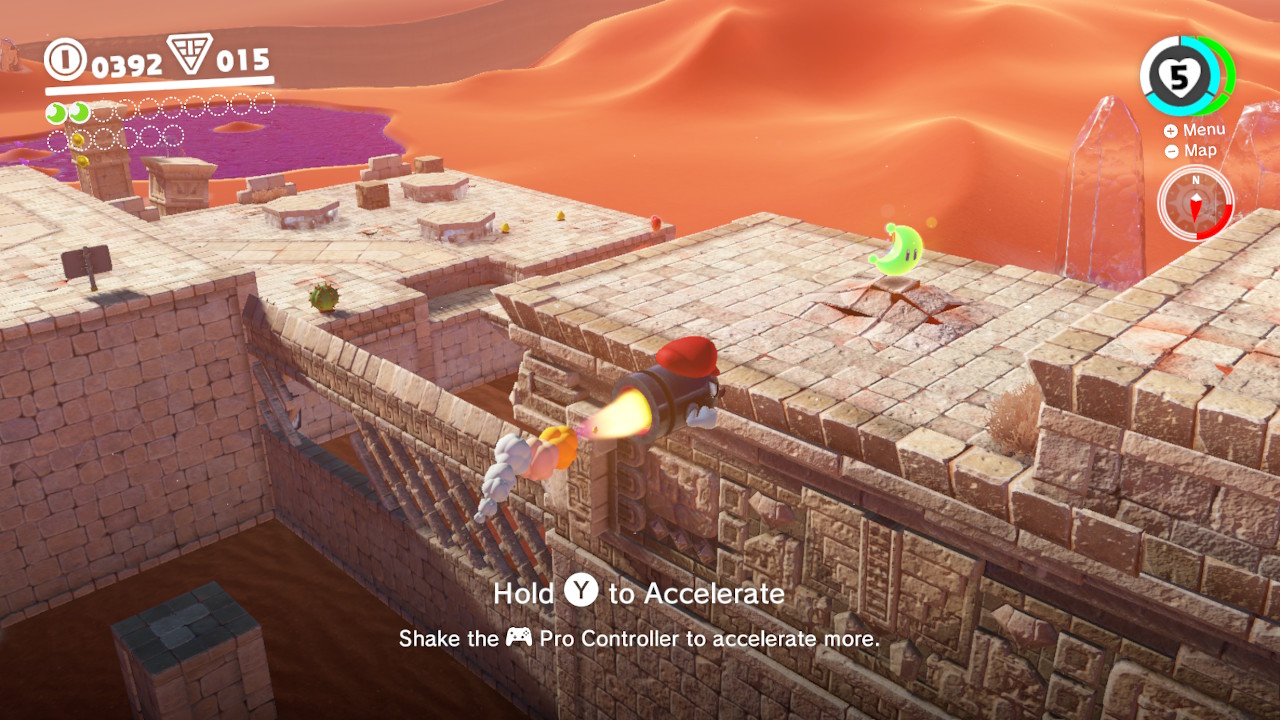
3- Either do a fancy long jump and cappy hop OR simply capture the bullet bill to get to the other side!
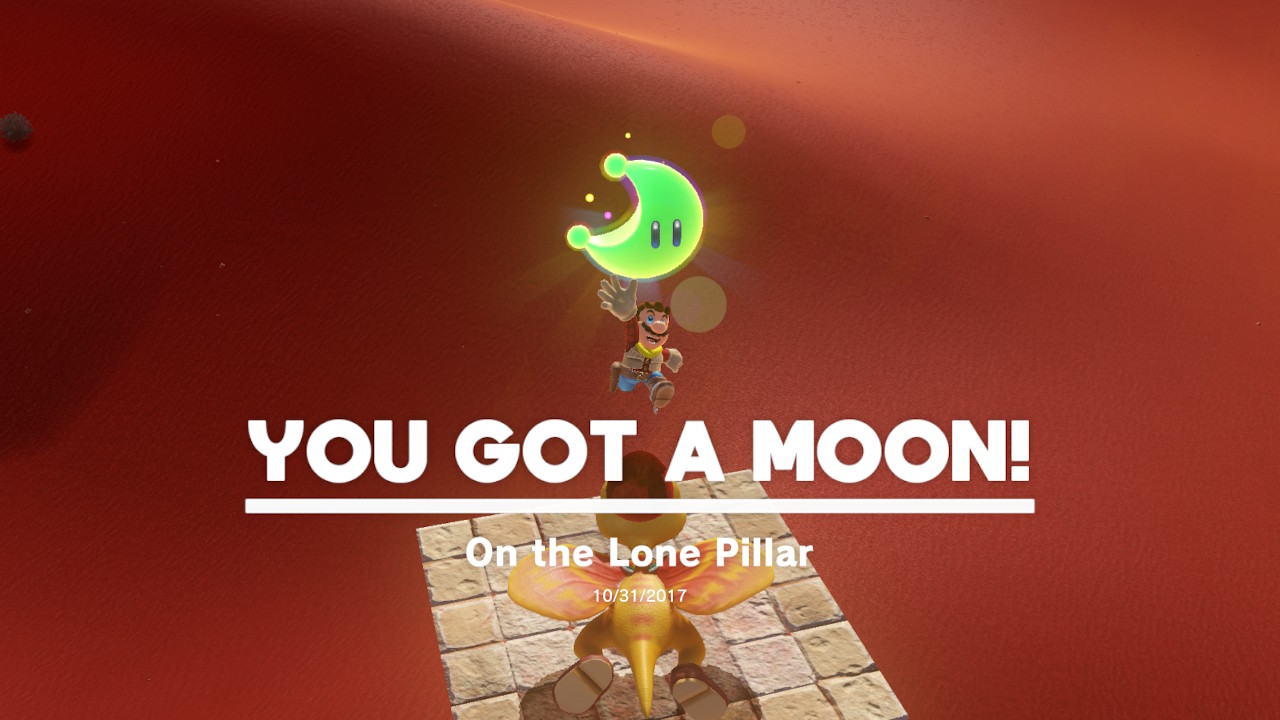
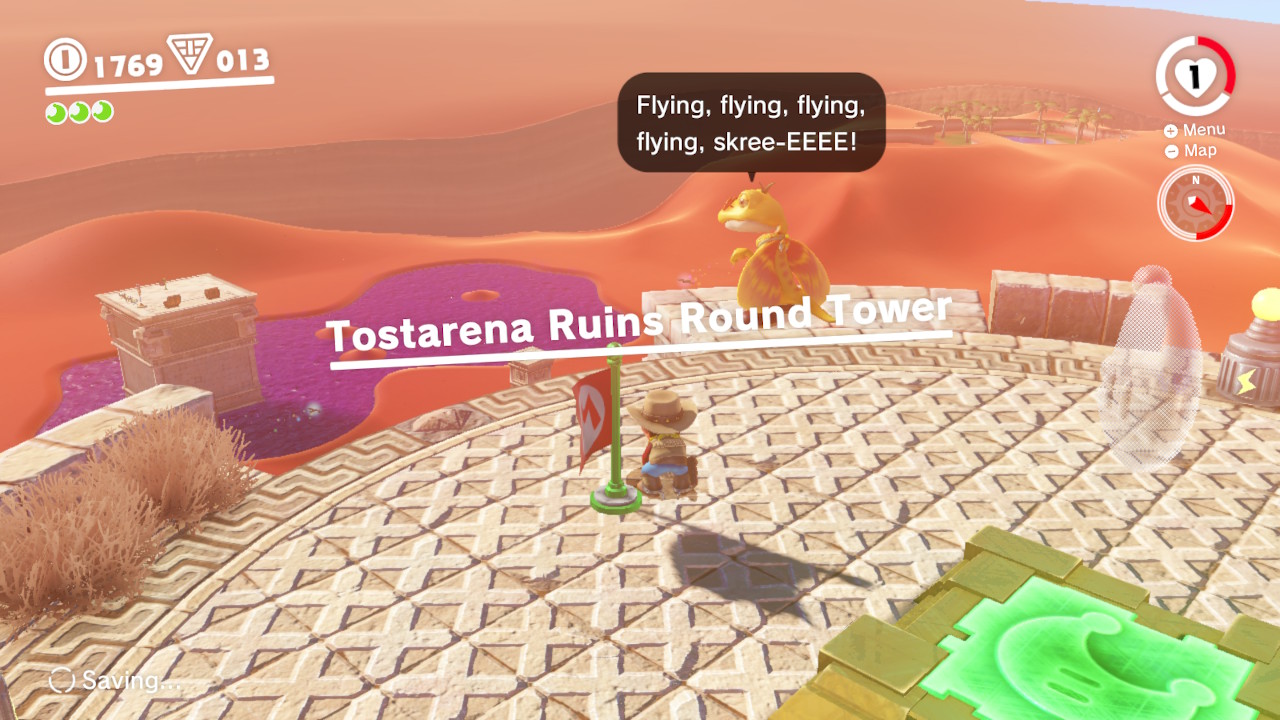
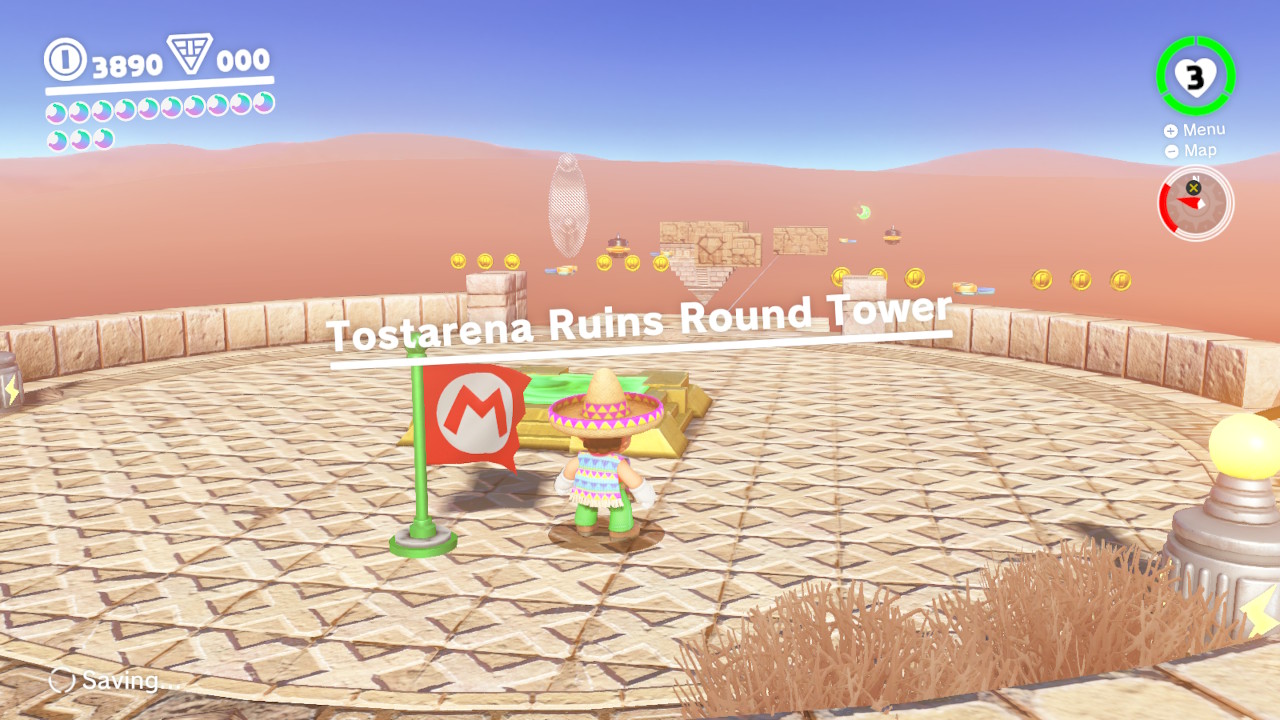
13 – On the Lone Pillar
Location- Tostarena Ruins Round Tower
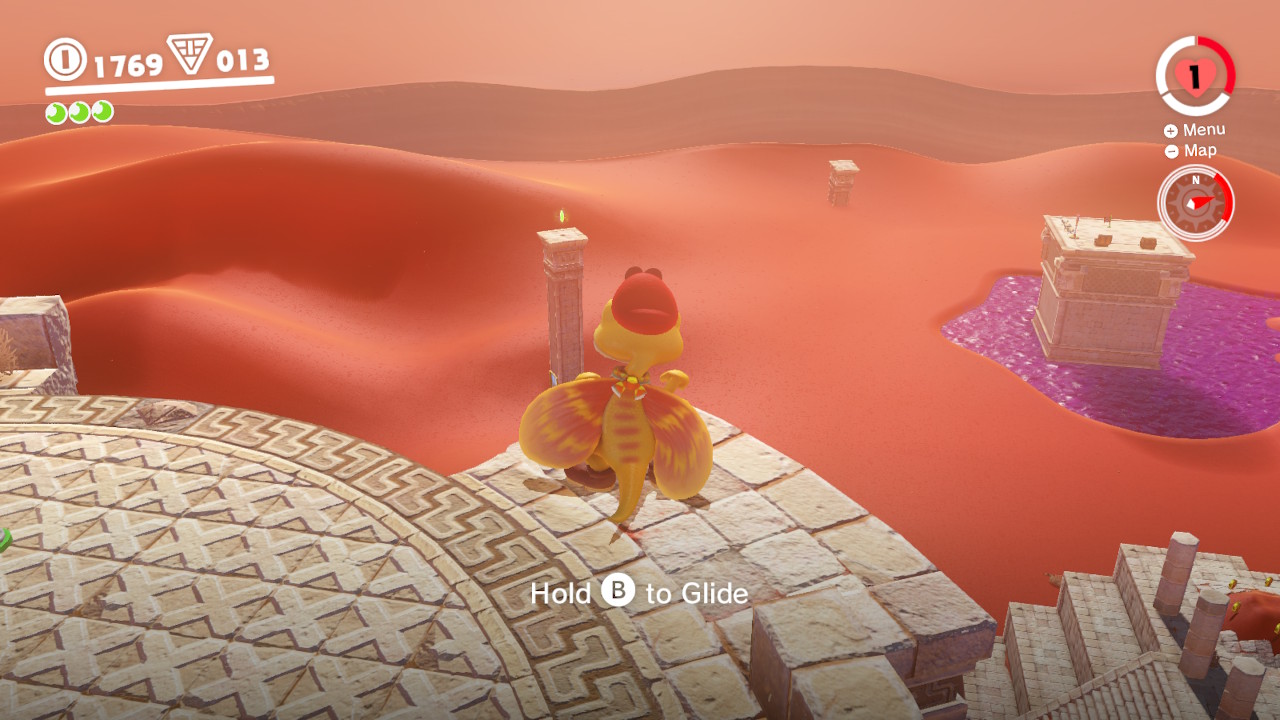
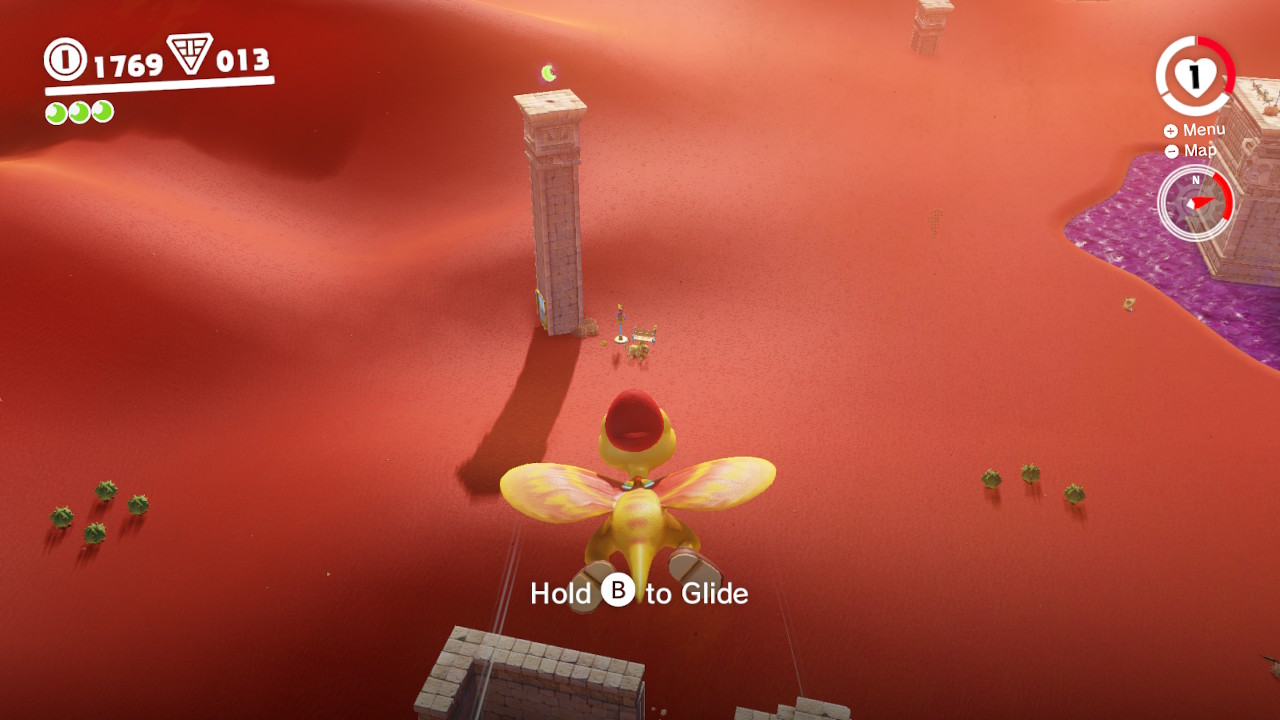
1- From the “Tostarena Ruins Round Tower” checkpoint you will see Glydon… (After you’ve visted the “Lost Kingdom”)
2- Capture him with Cappy and you should be abe to see a pillar with a Power Moon…
3- Jump off the tower and glide towards to the pillar!
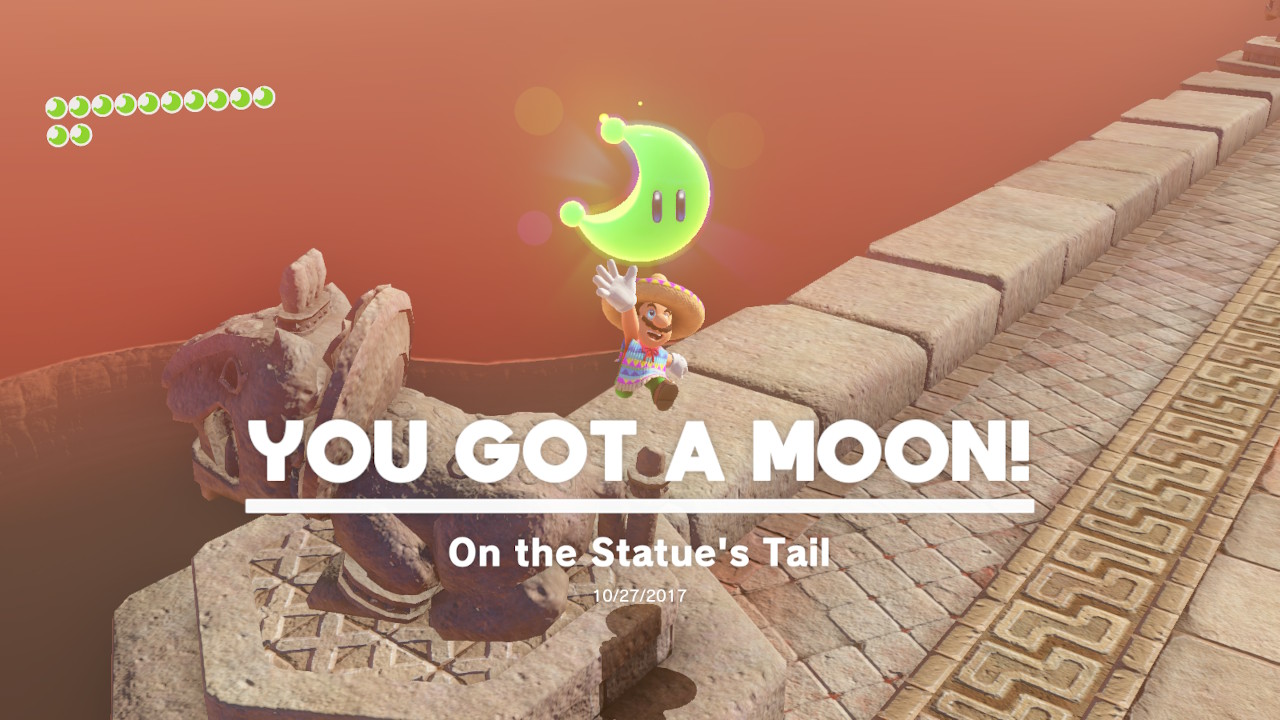
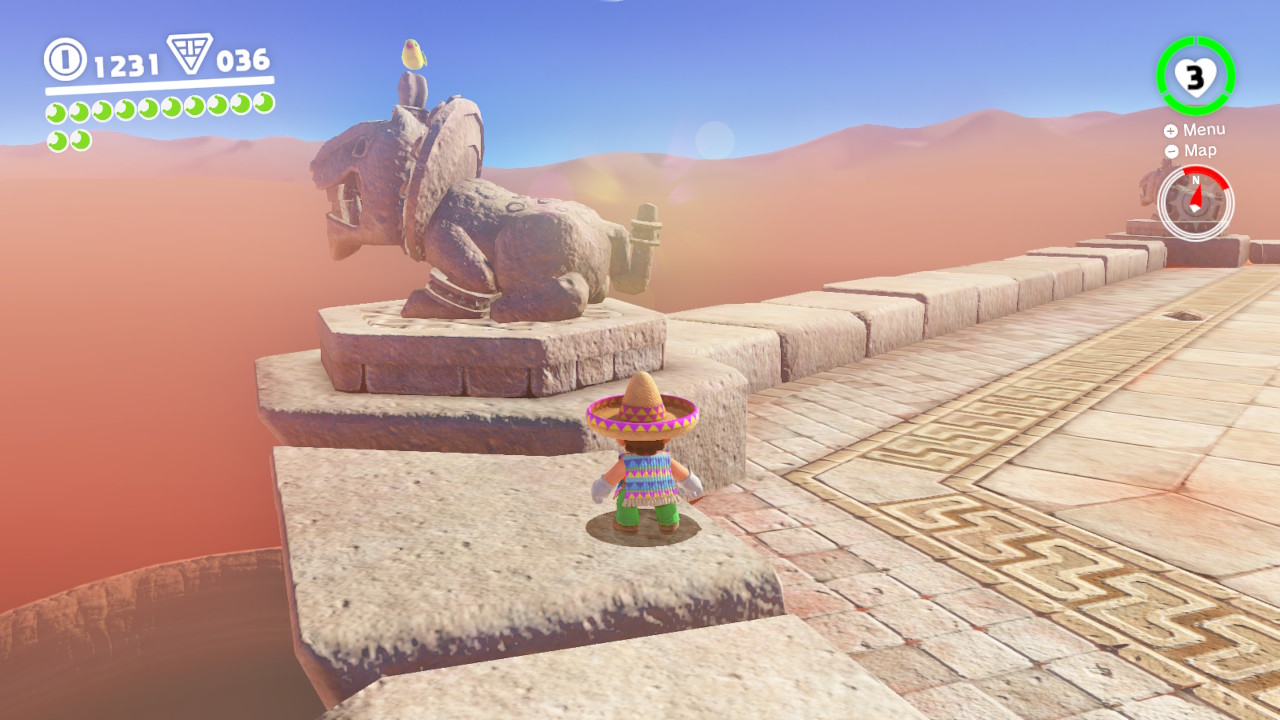
14 – On the Statue’s Tail
Location- On top of the Inverted Pyramid
1- Get on top of the Pyramid by either using the checkpoint marker OR riding the electrical wires to the top. Once there, find the statue that is facing the opposite direction of the ruins and village…
2- Throw Cappy at its tail but HOLD the button to keep Cappy Spinning! After a few seconds, the Power Moon will come out of… his tail… Yay!
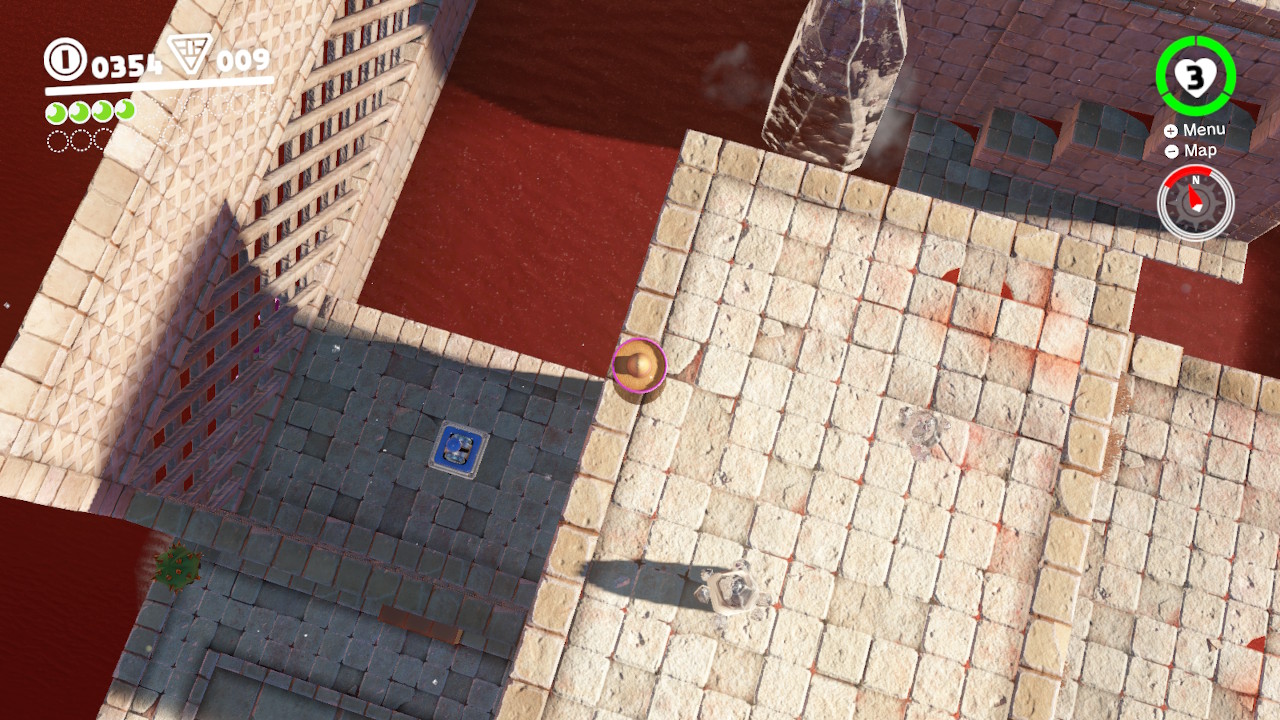
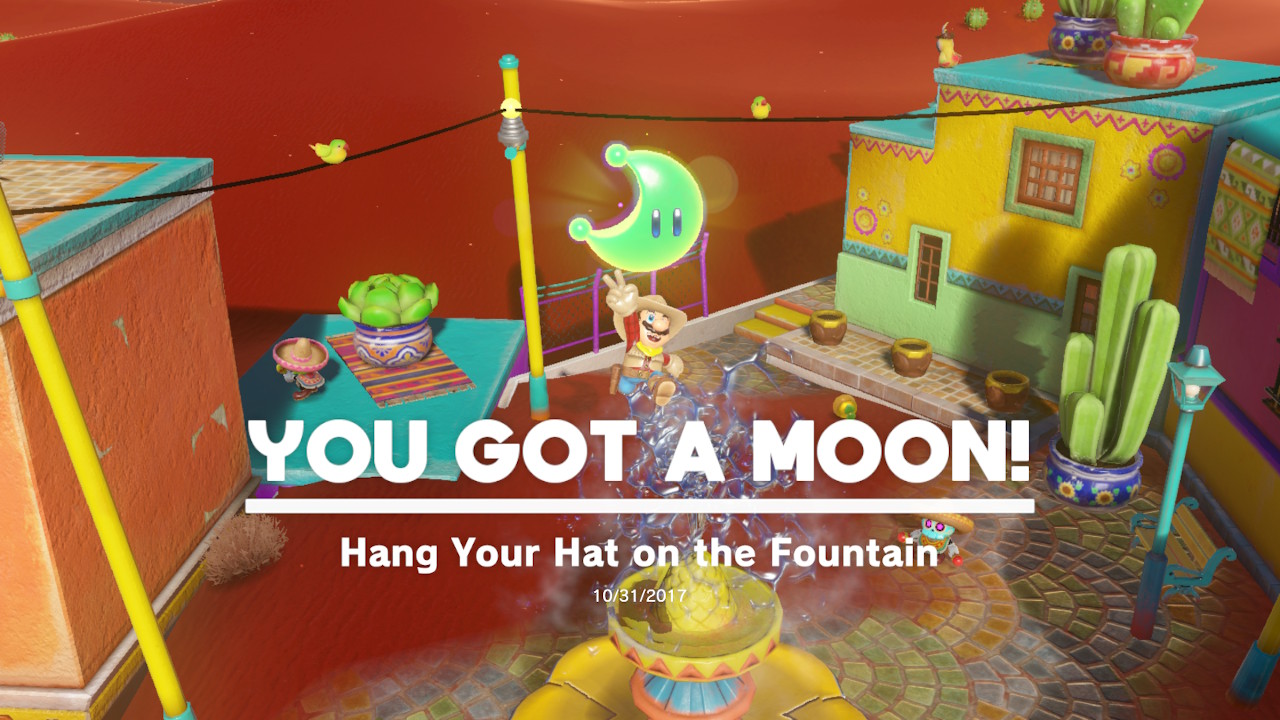
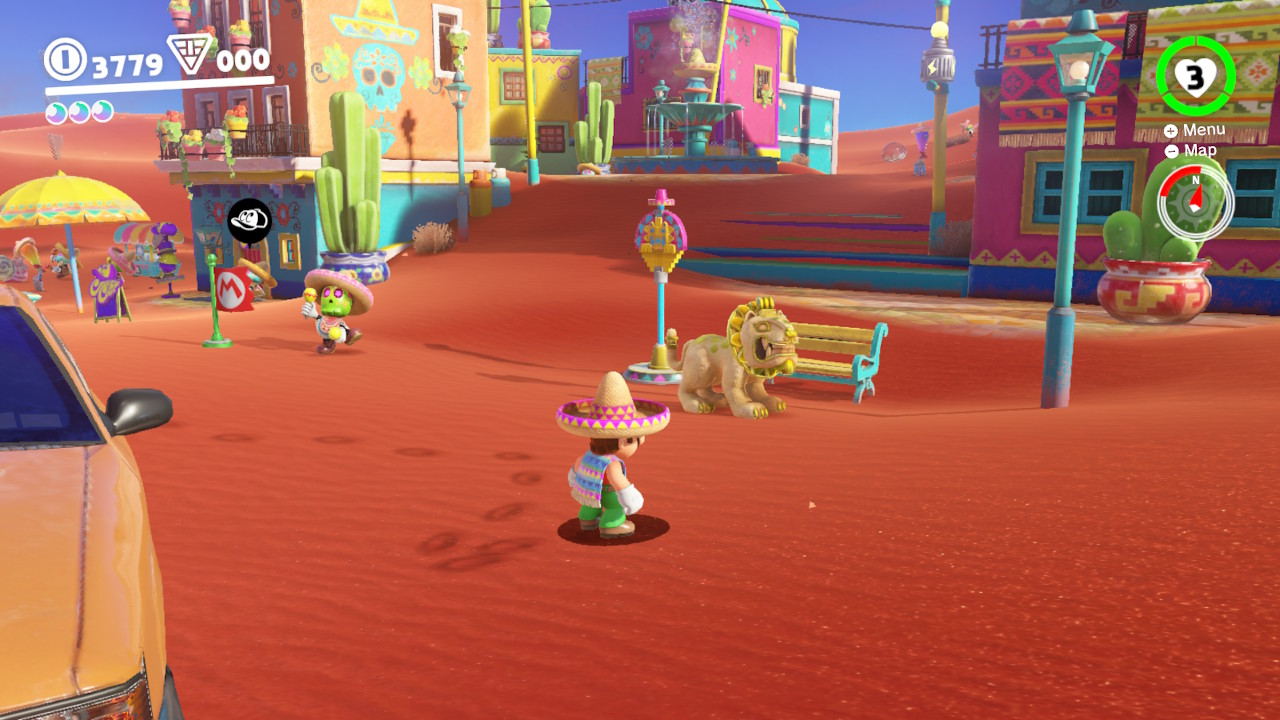
15 – Hang Your Hat on the Fountain
Location- Tostarena Square
1- A fountain is located in the middle of downtown Tostarena….
2- Throw Cappy on the top of it, HOLD the button down so cappy can spin around for a few seconds. The Power Moon will spring out!
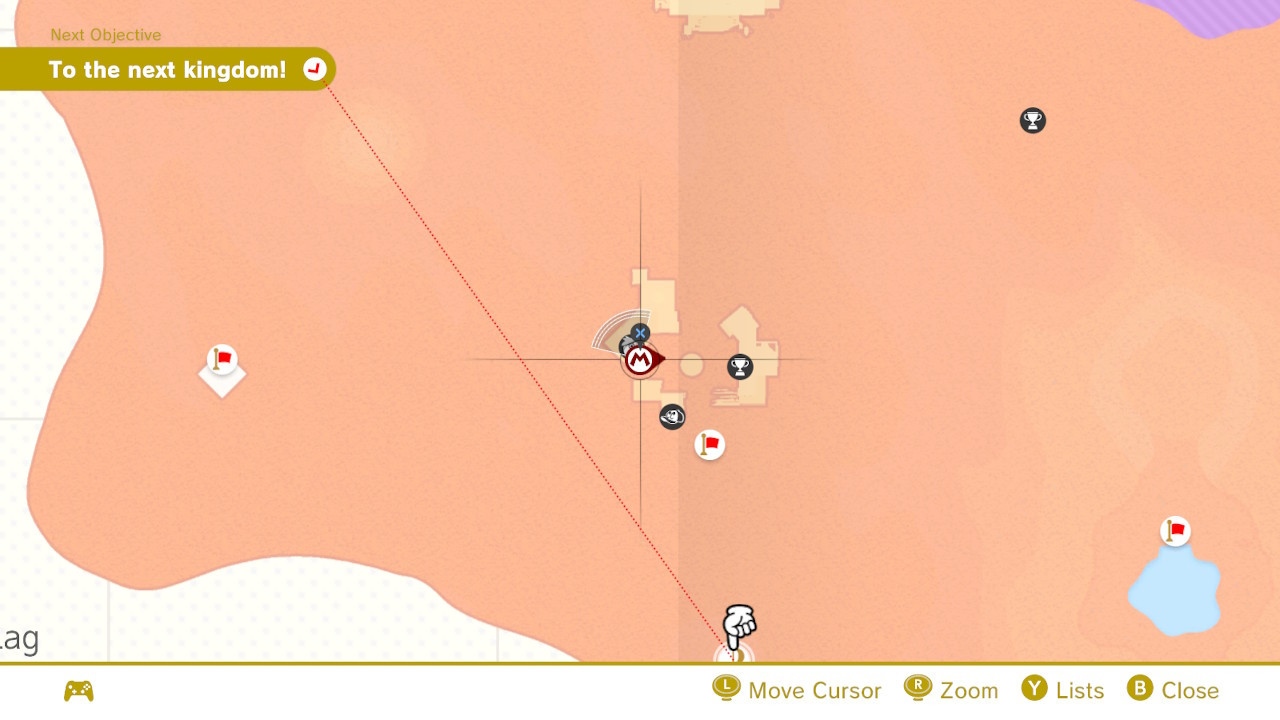
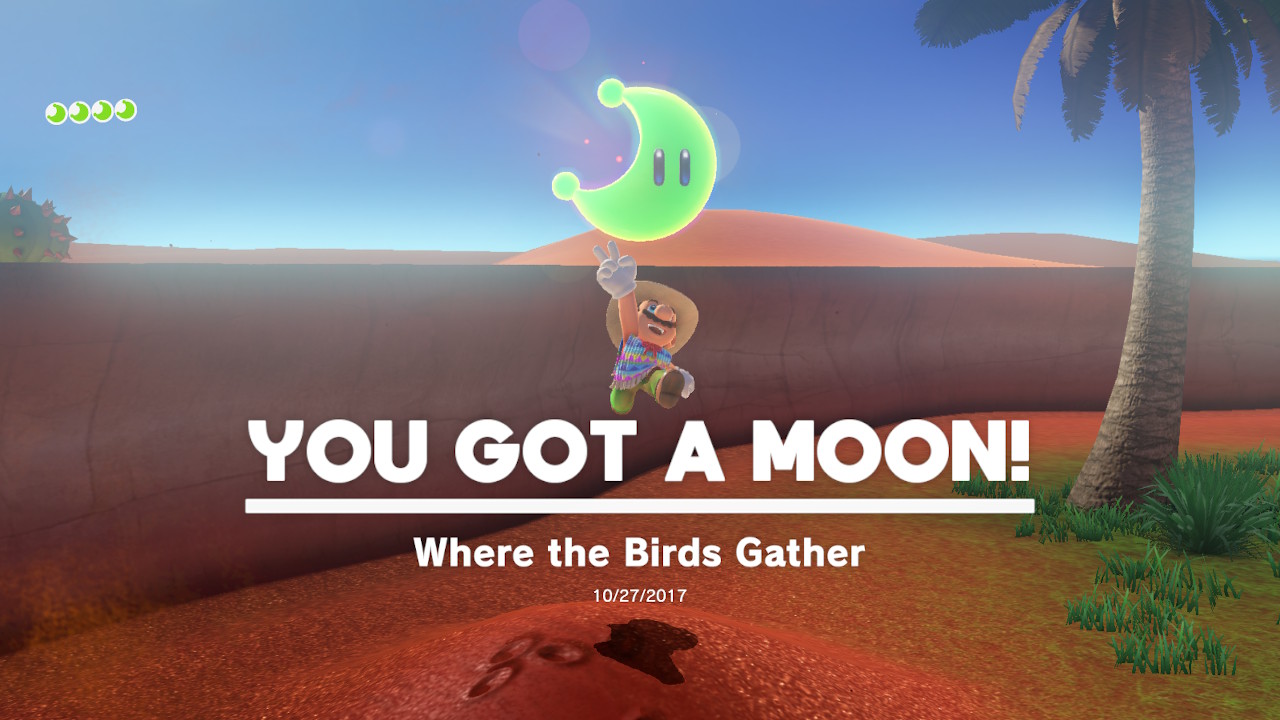
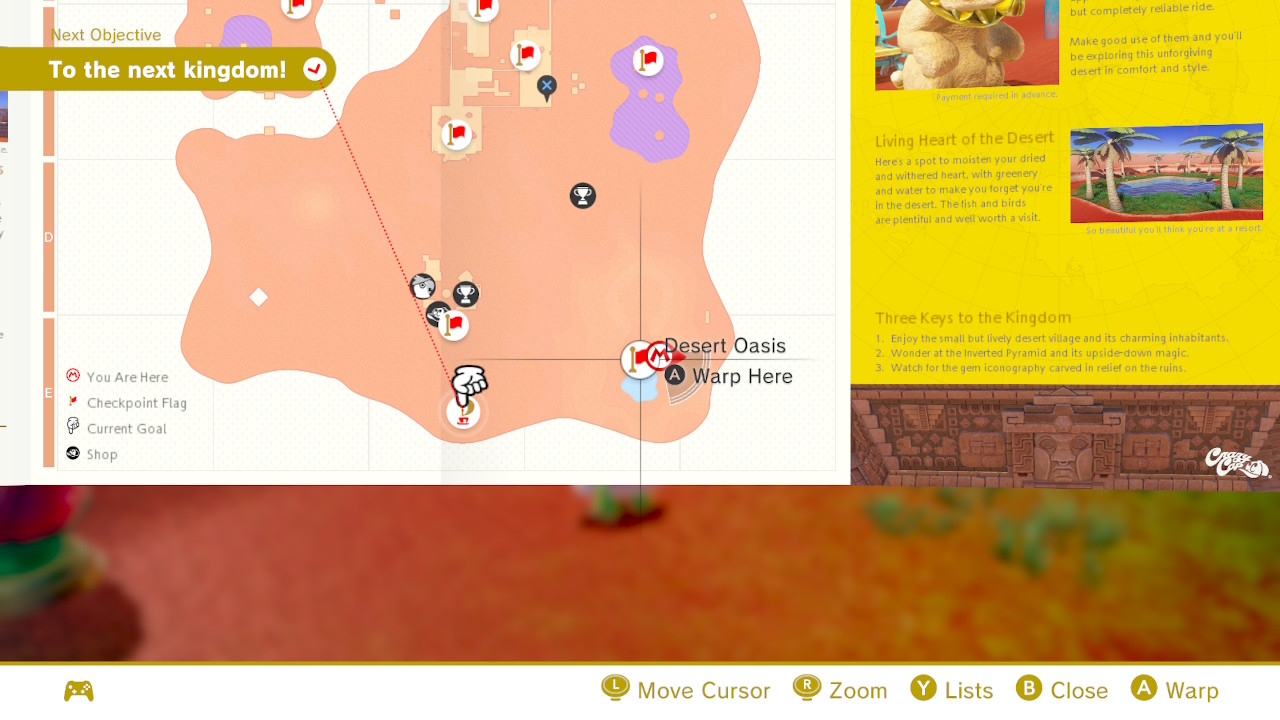
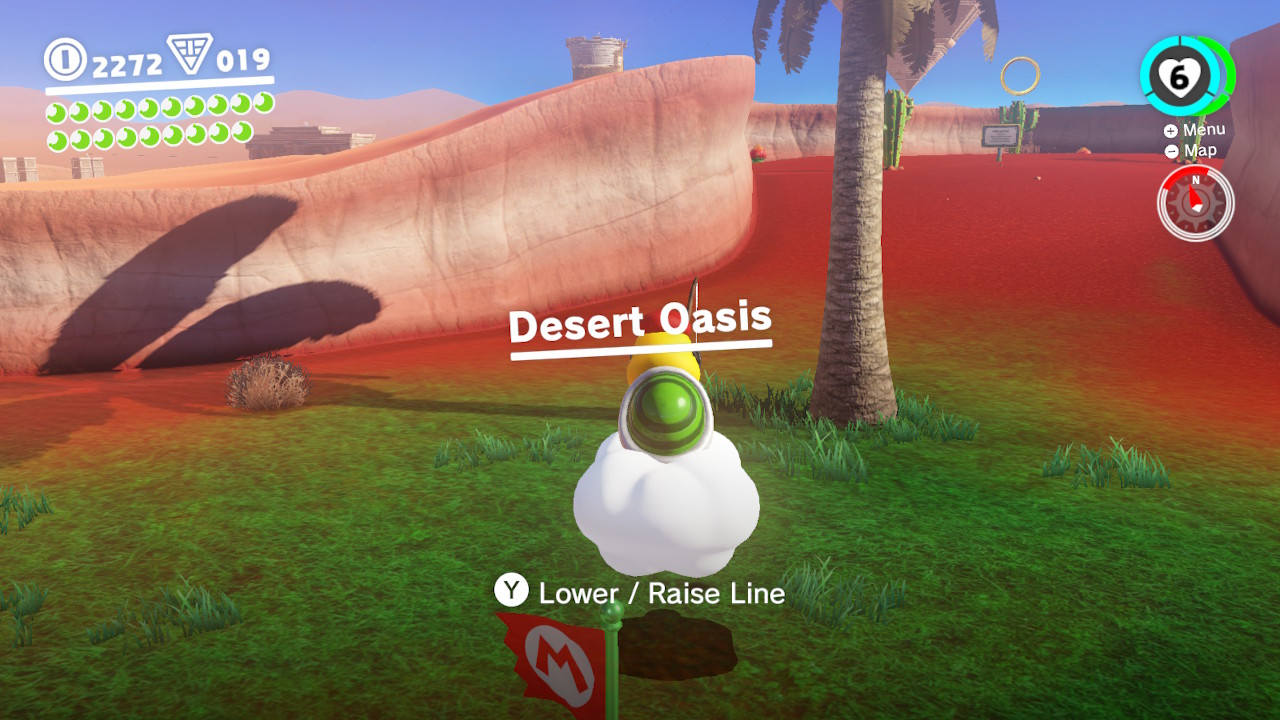
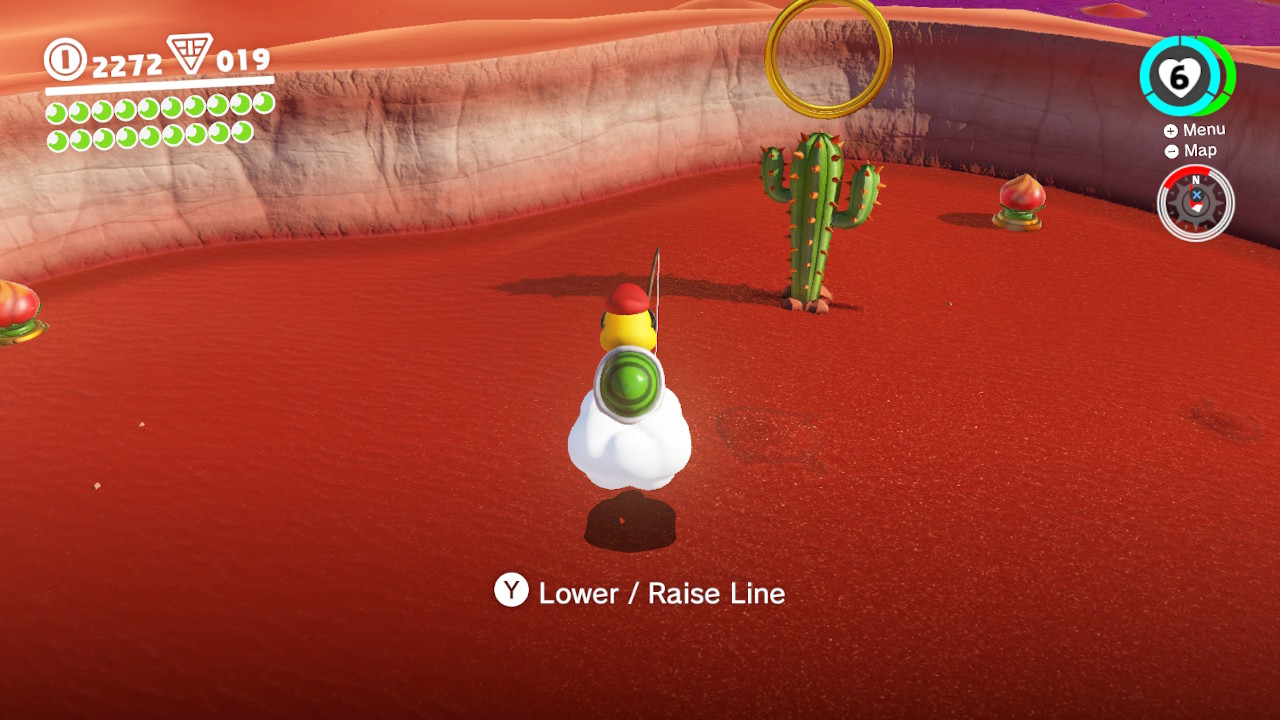
16 – Where the Birds Gather
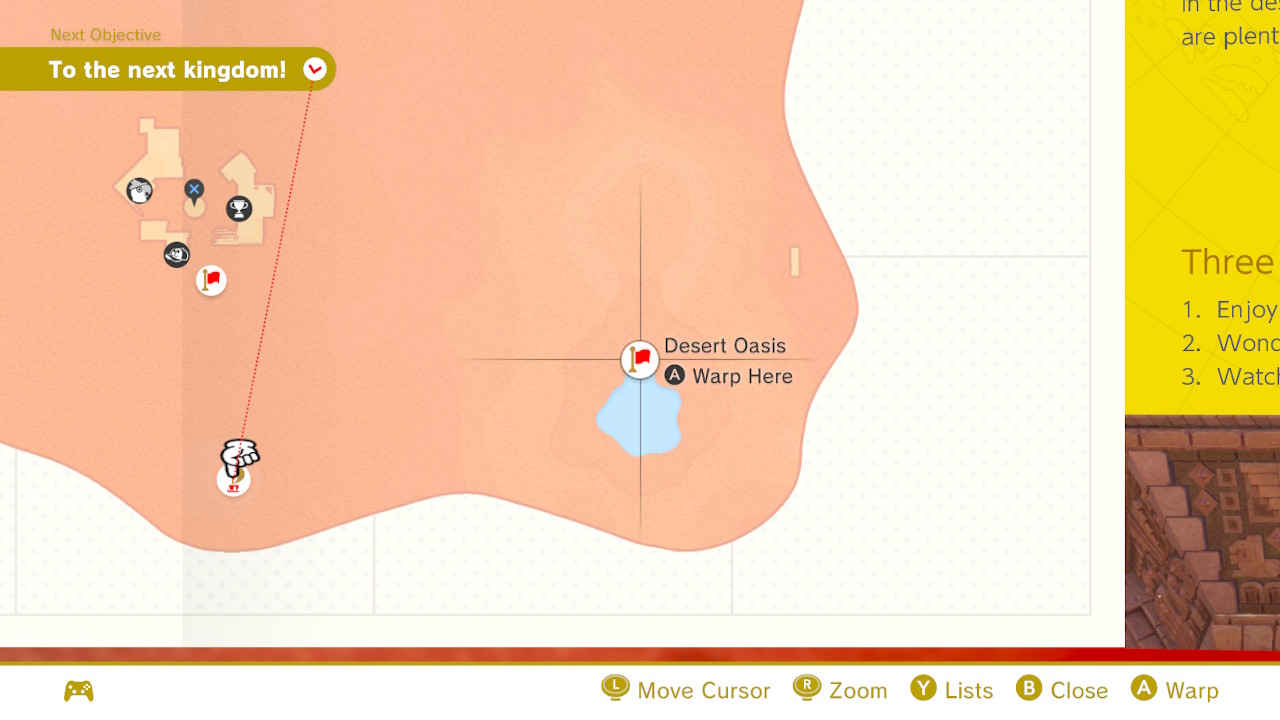
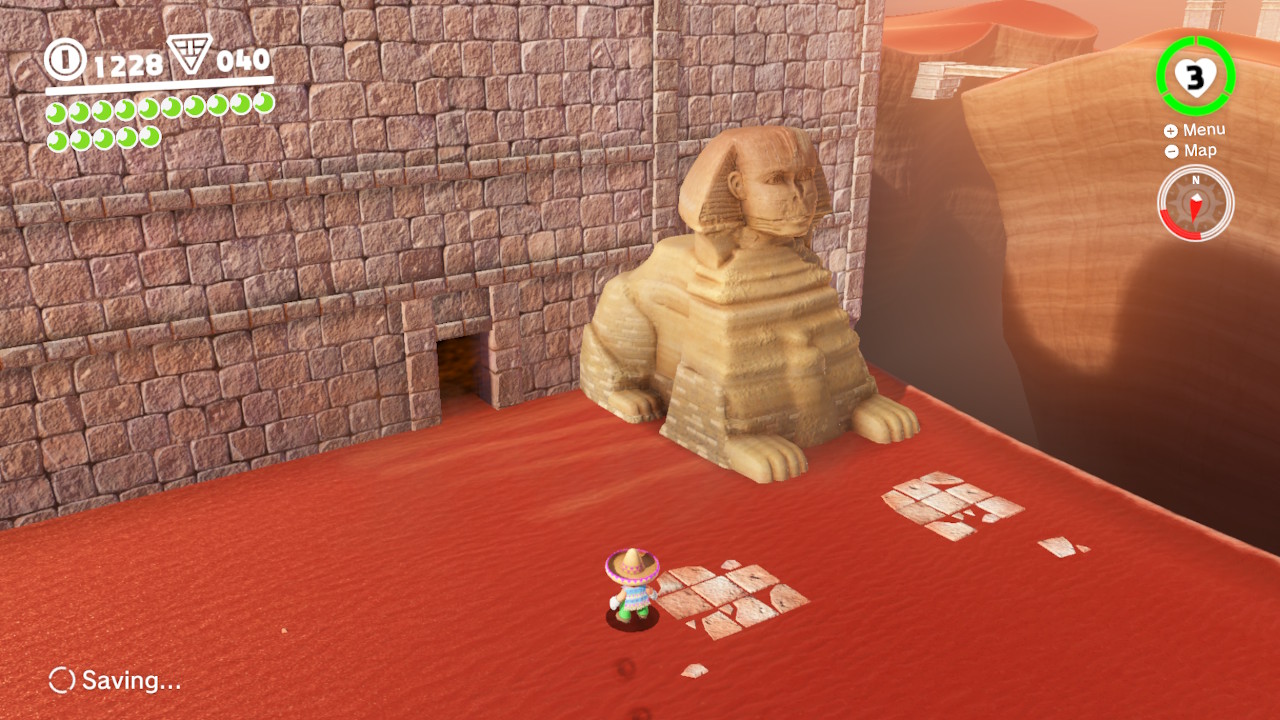
Location- Desert Oasis
1- Right behind where the Lakitu is fishing, you will see a dirt pile with a punch of birds hanging out on it… Ground pound it!!! Done!
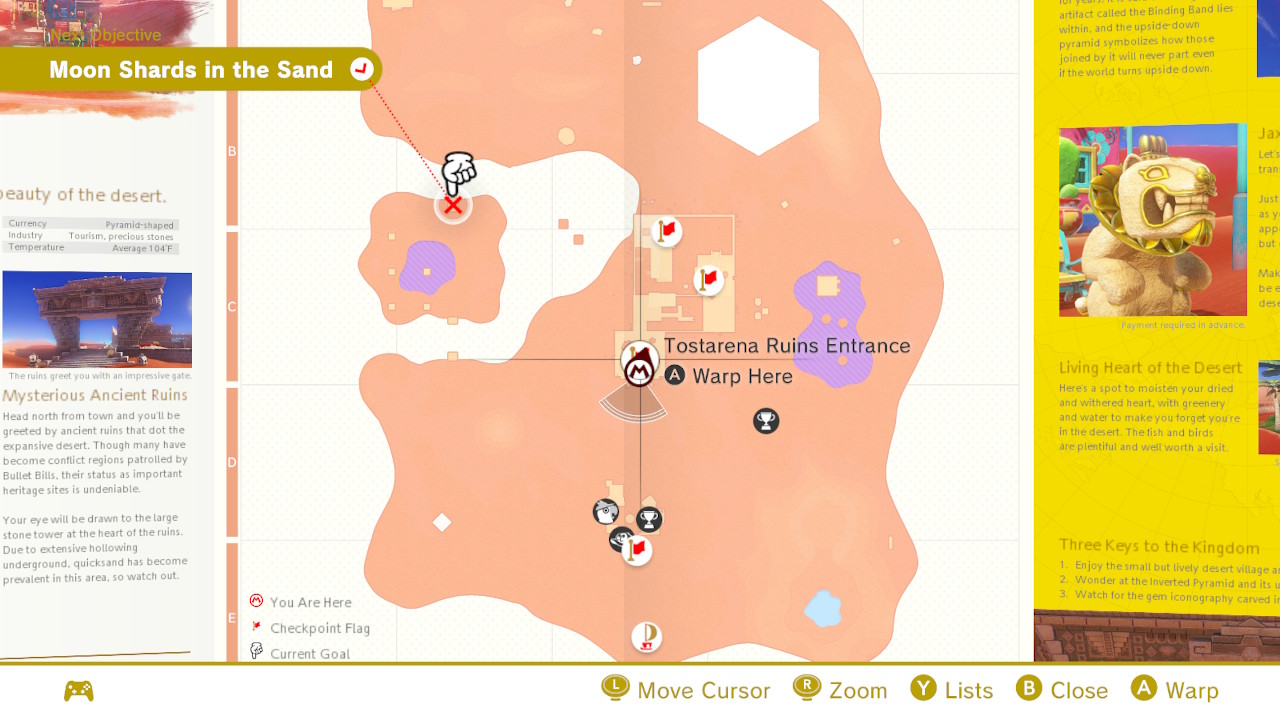
17 – Top of a Dune
Location-
1- On top of this dune in the dessert you will feel rumblings…
2- Feel the rumble and ground pound RIGHT HERE! The Power Moon is under the sand!
18 – Lost in the Luggage
Location – Right before the Inverted Pyramid
1- Right next to where the human (If we didn’t see New Donk City footage yet WOW would we be tripping out here) has his car stuck in the ice, you will see a bunch of luggage scattered around the ground. In the location where you see sparkles coming out of the sand, GROUNDPOUND and a Power Moon will appear! (In this image the Power Moon is already there, I didn’t get a picture from before I ground pounded, so just slam the ground in between the luggage where you see sparkles)
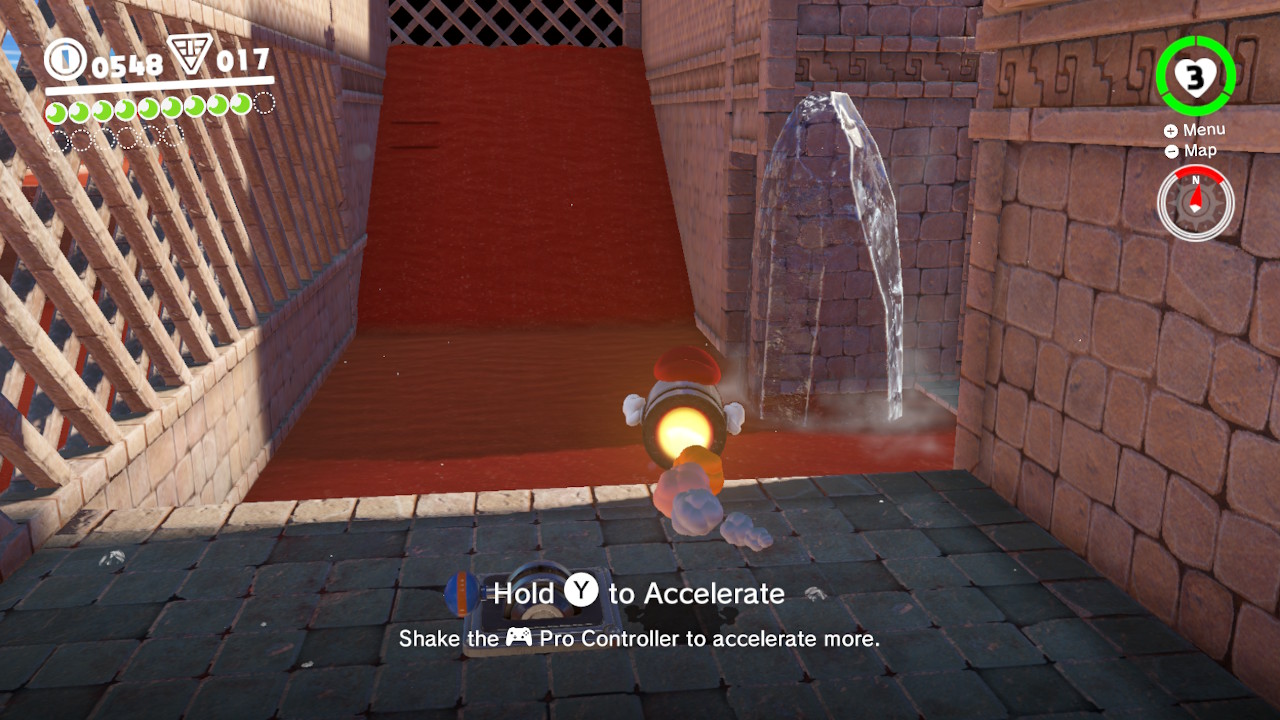
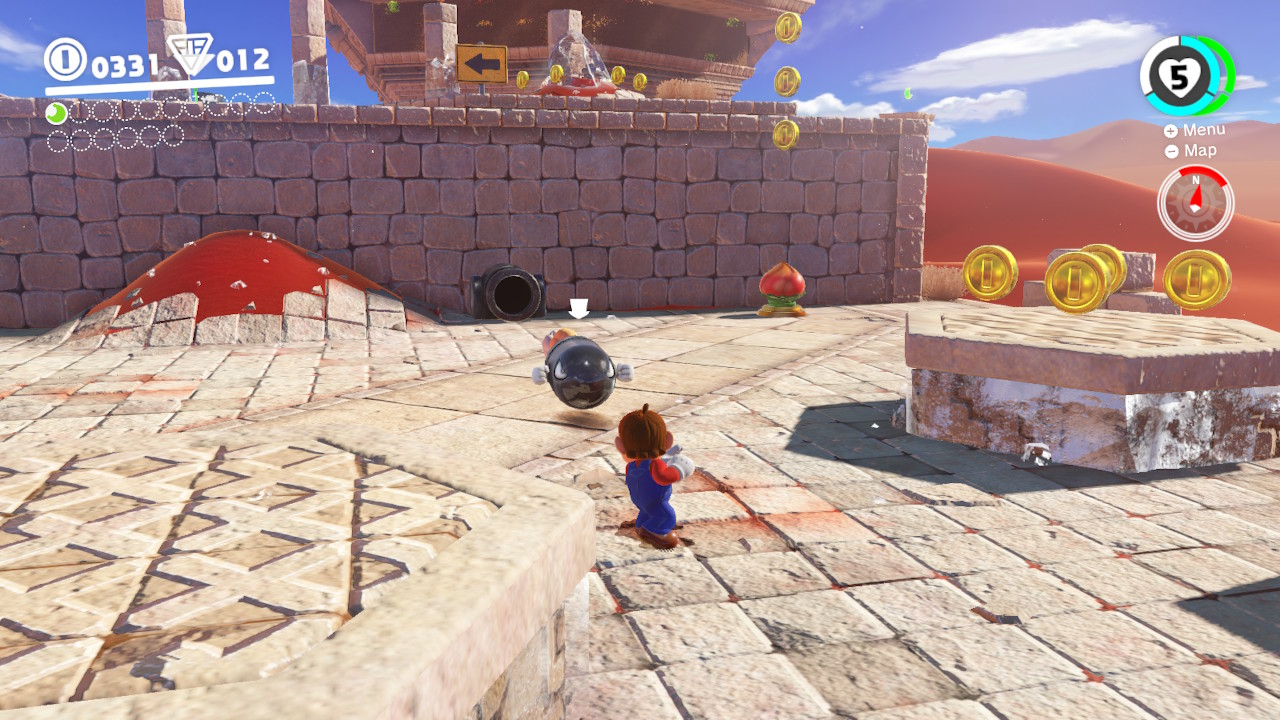
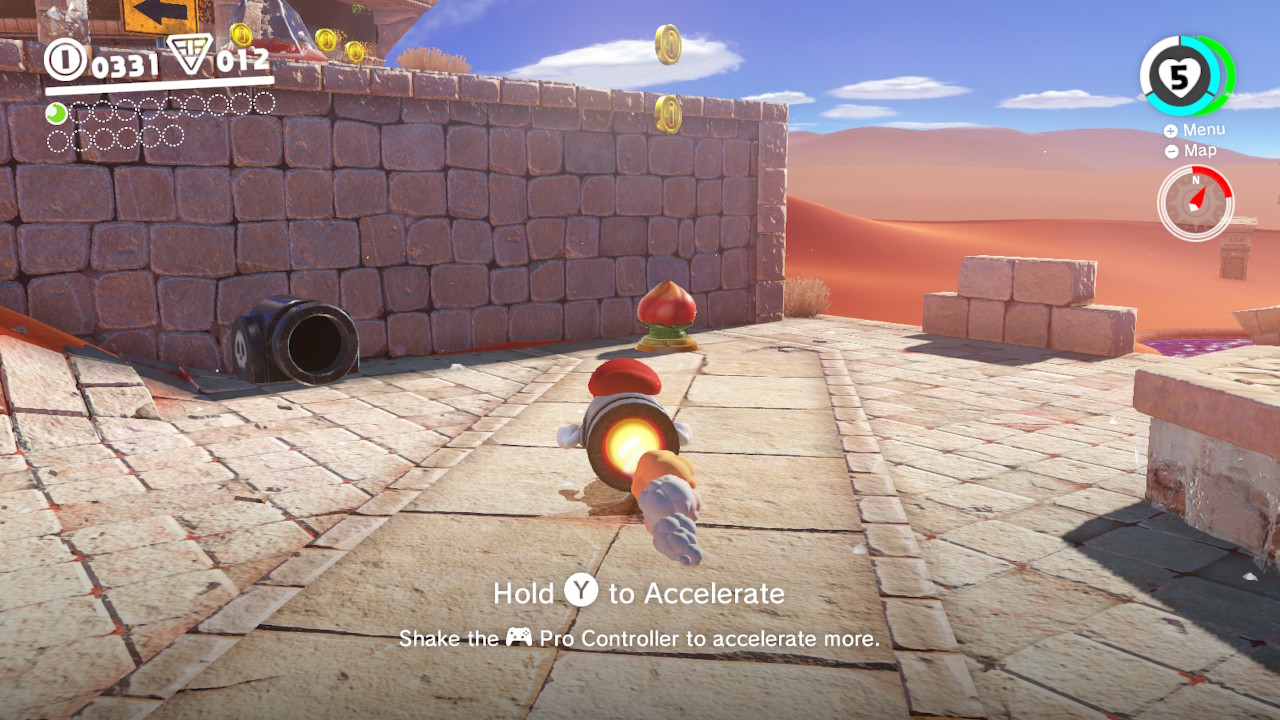
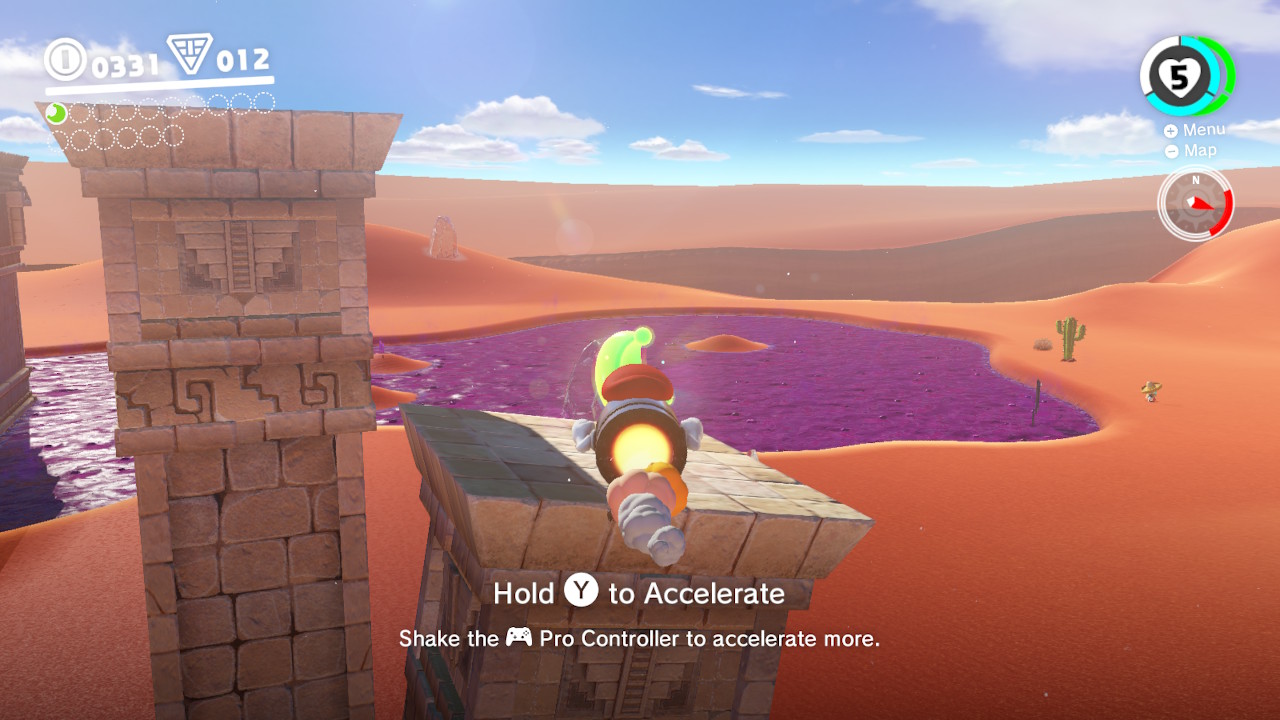
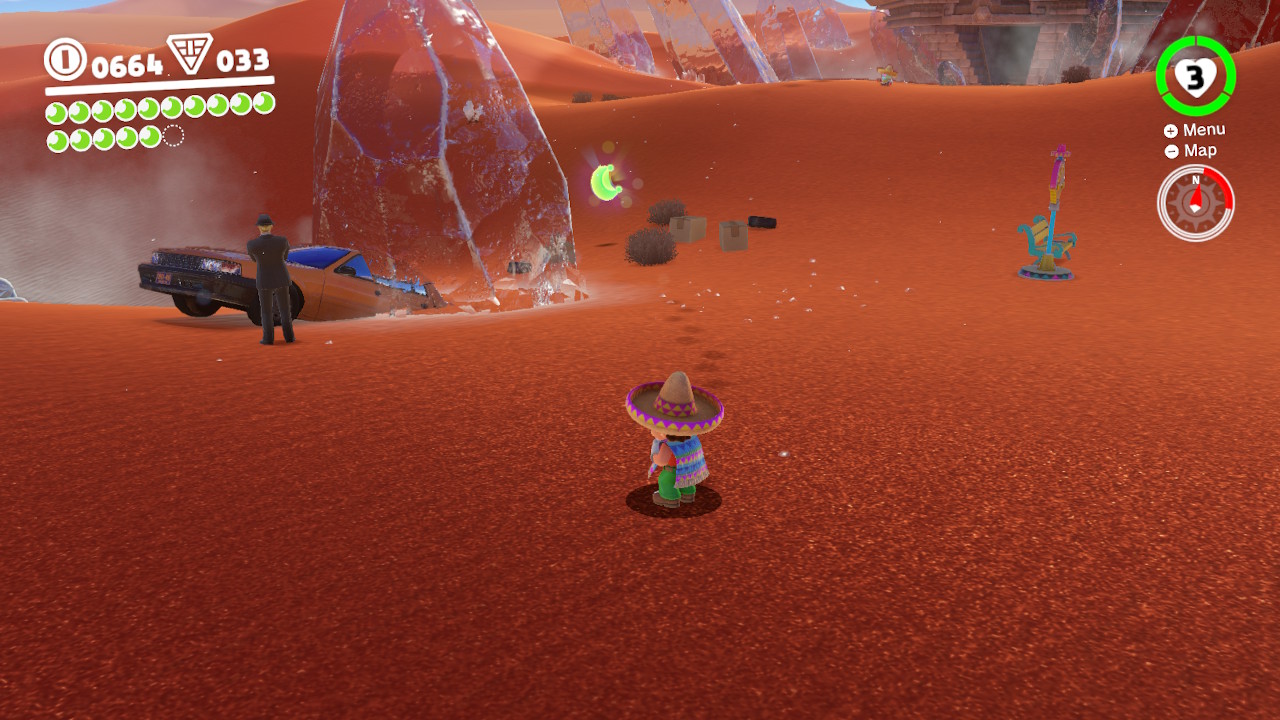
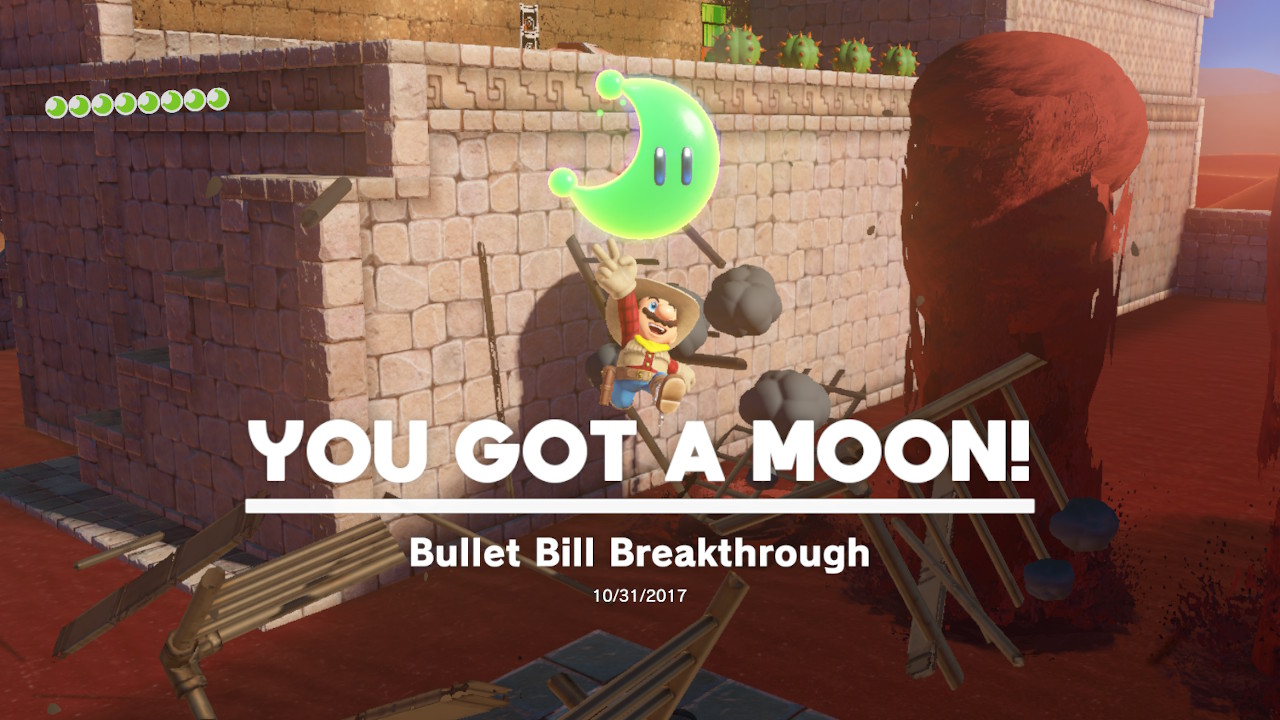
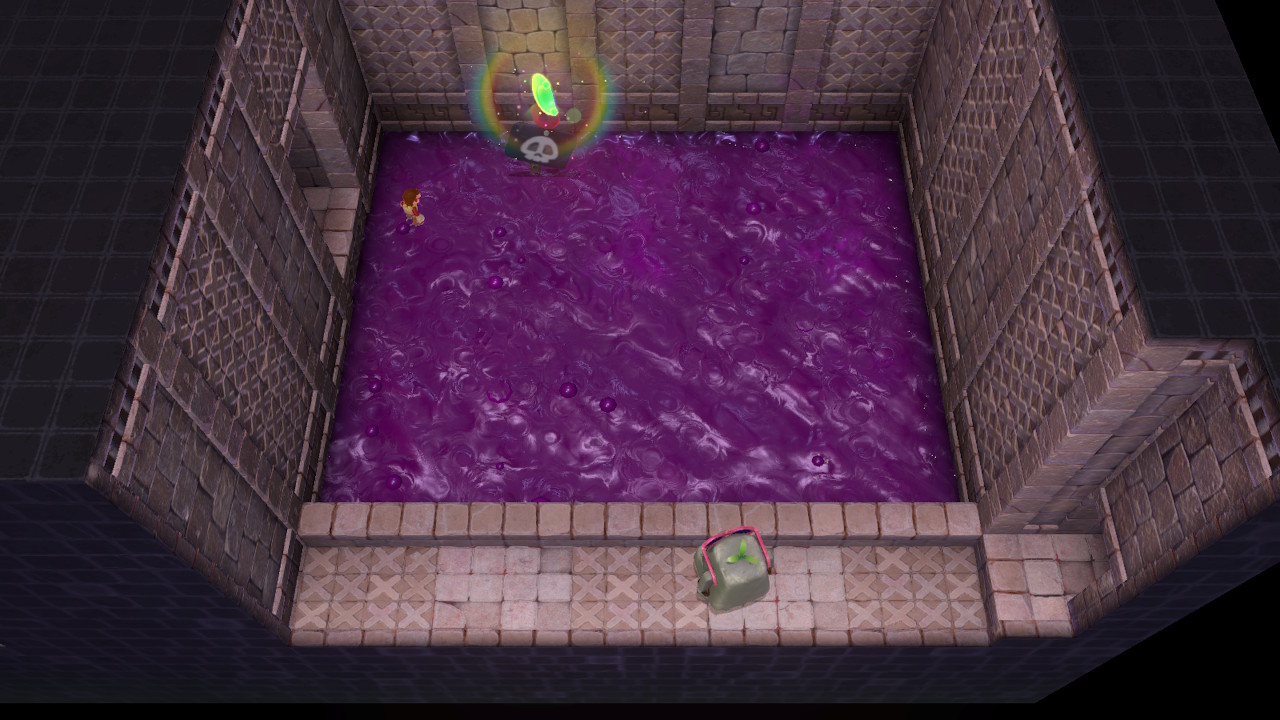
19 – Bullet Bill Breakthrough
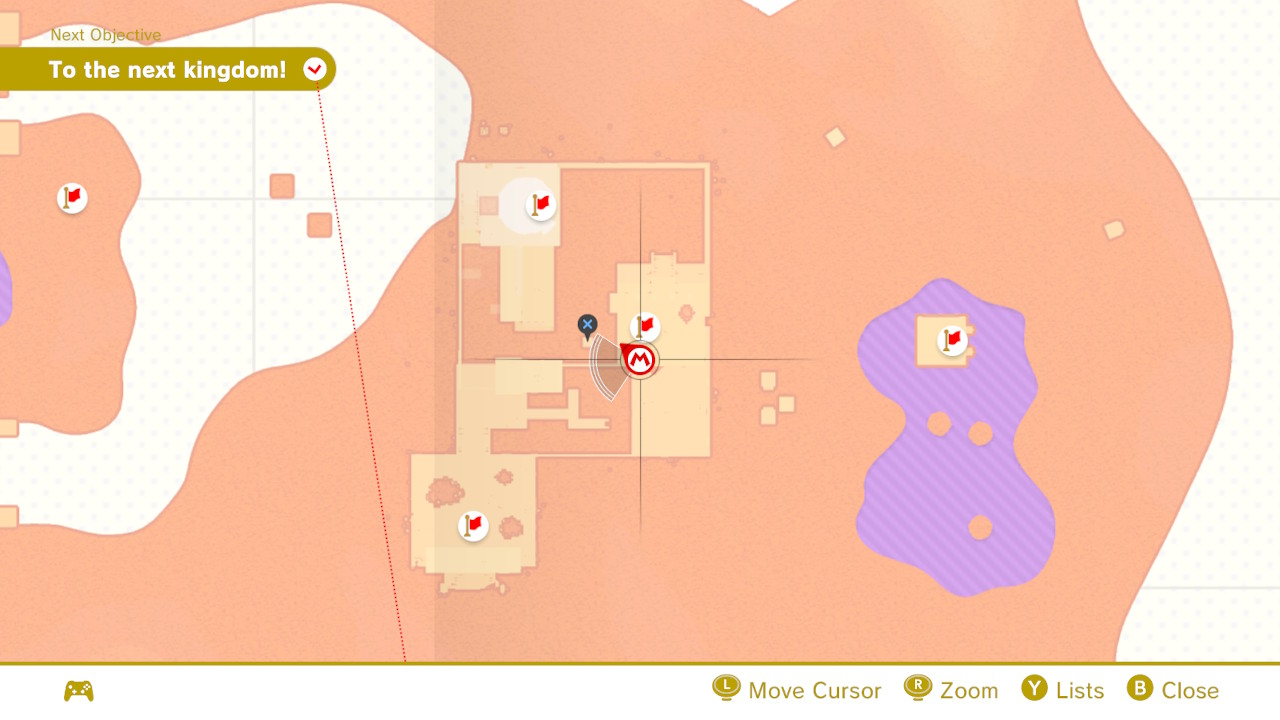
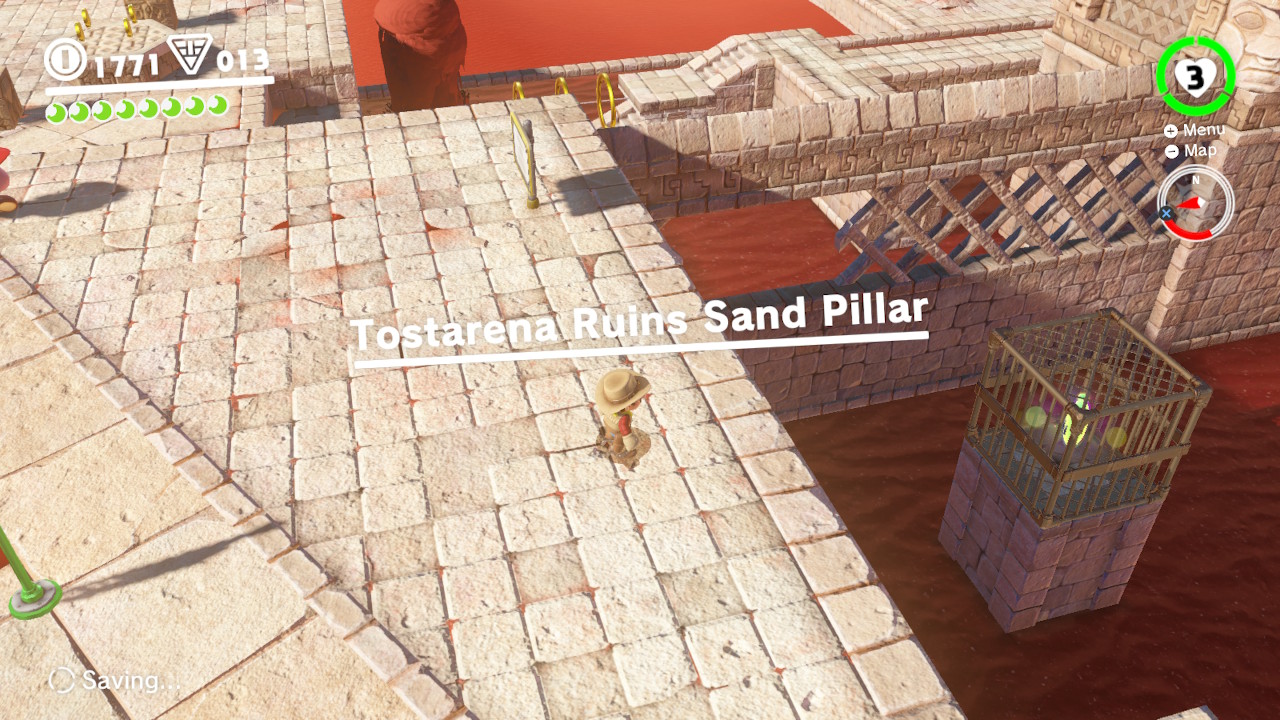
Location- Tostarena Ruins Sand Pillar
1- From the Tostarena Ruins Sand Pillar checkpoint you will notice a Power Moon inside of a cage…
2- Capture a Bullet Bill using Cappy…
3- Fly through the hole in the wall/fence and smash into the cage! The Power Moon is now within your grasp!
20 – Inside a Block Is a Hard Place
Location-
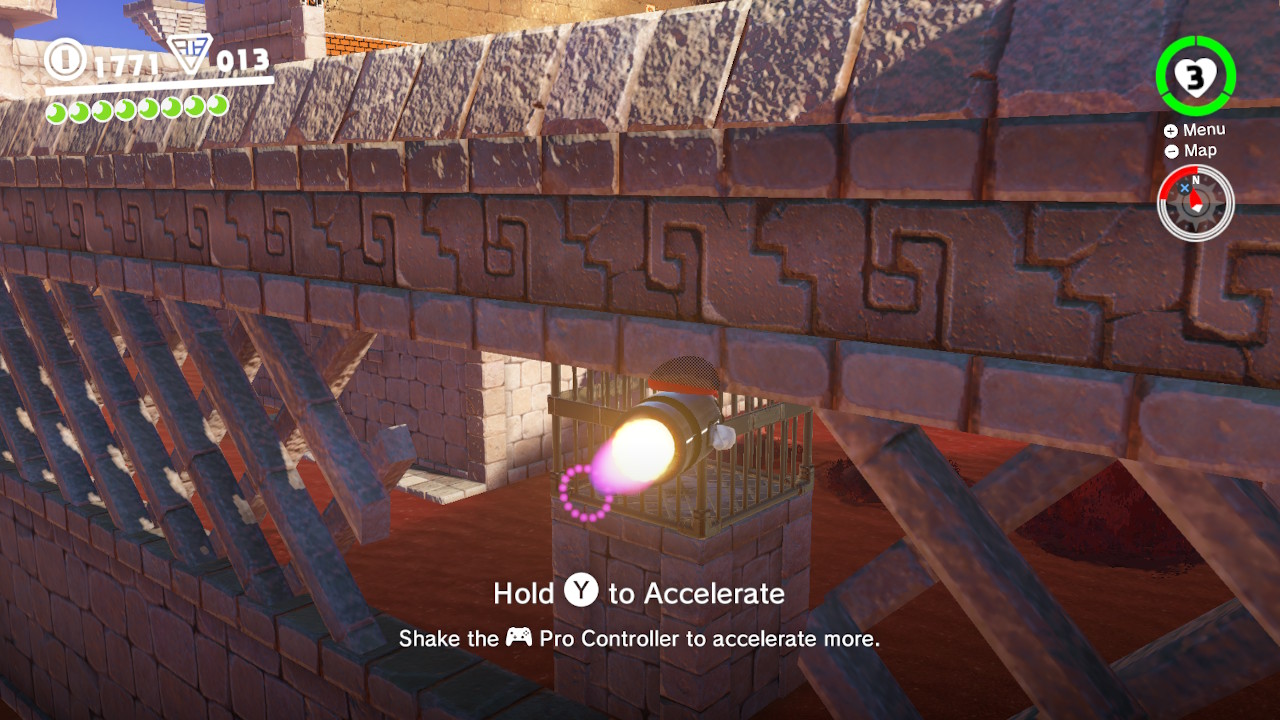
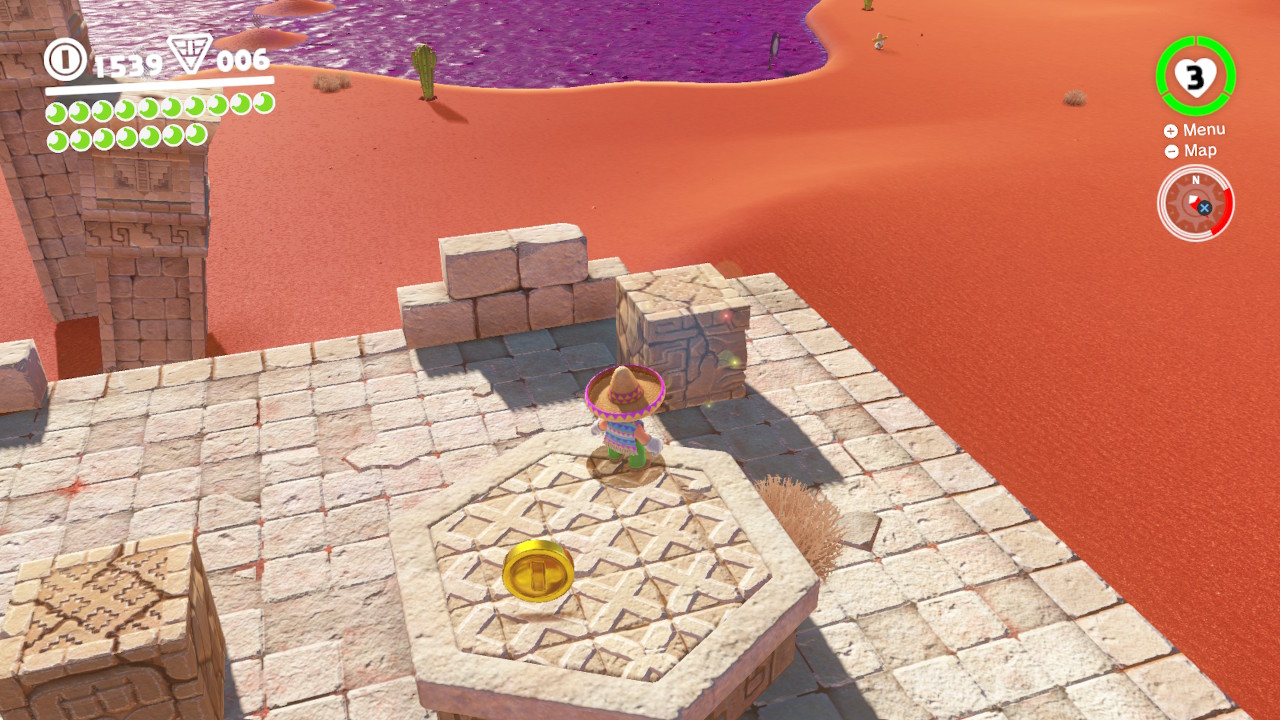
1- This block right here looks mighty suspicious… (It’s got a Power Moon in it!)
2- Capture a Bullet Bill…
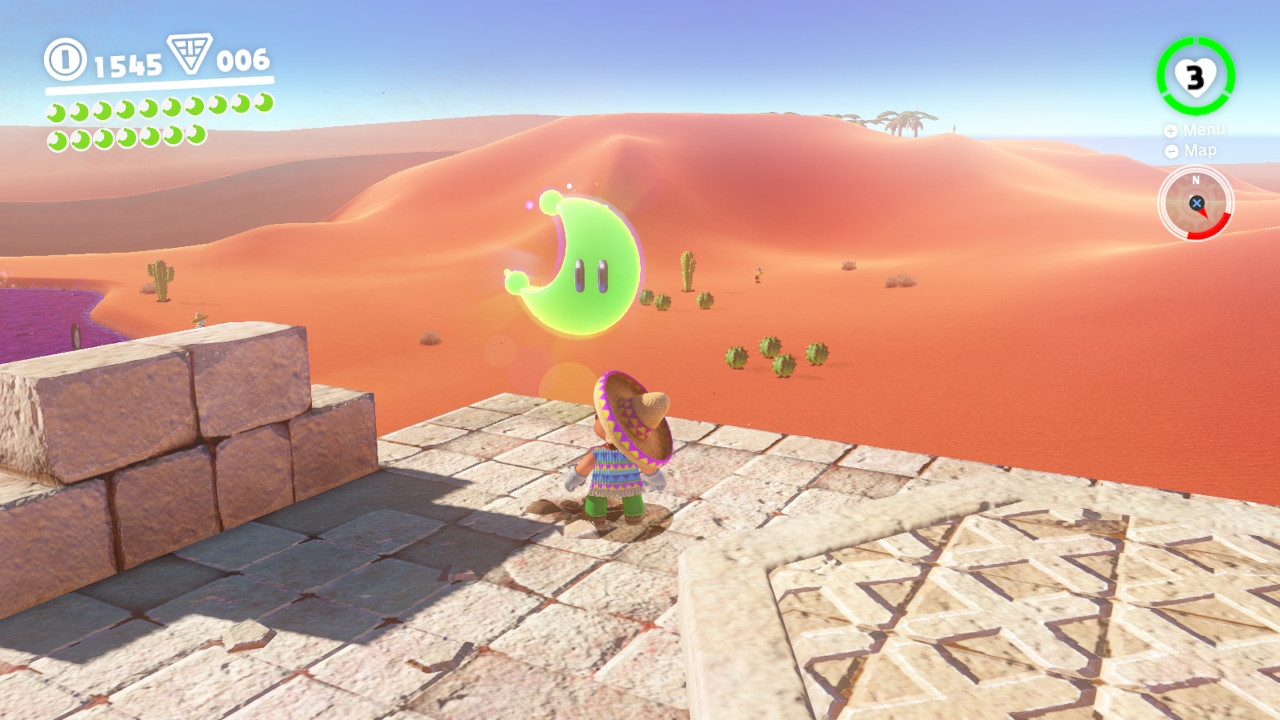
3- Smash open the block, and we have ourselves a Power Moon!
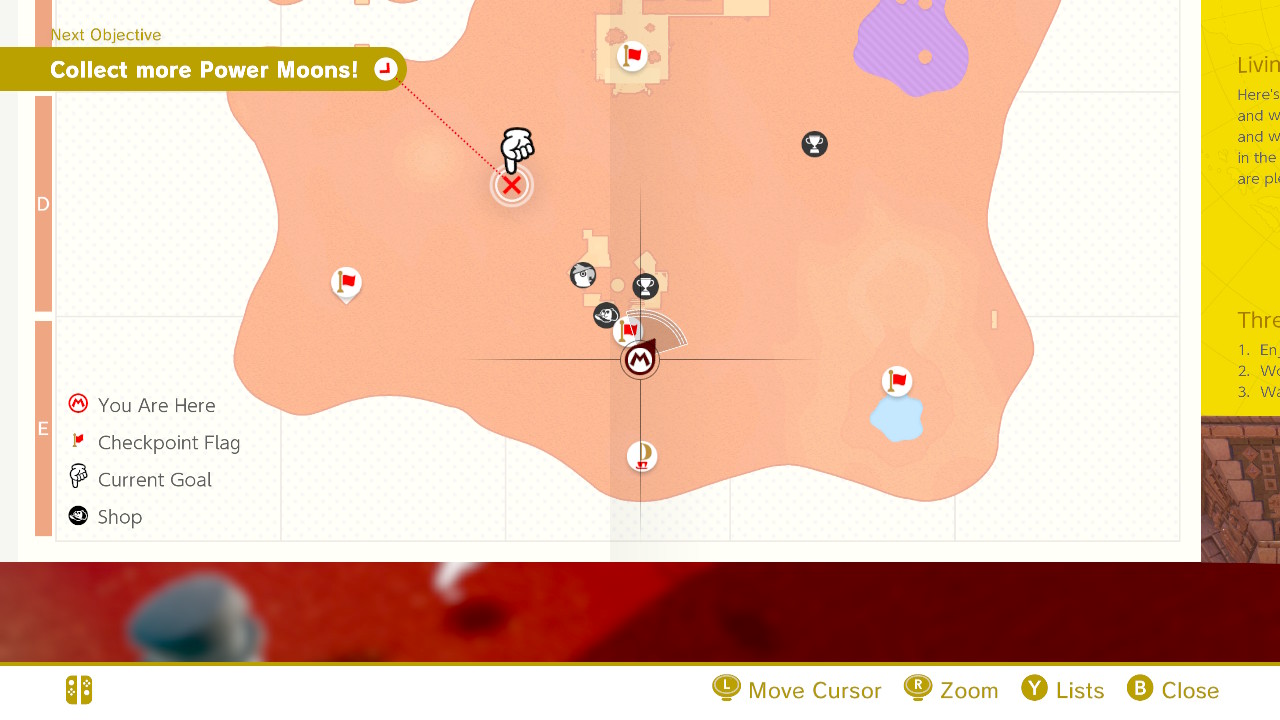
21 – Bird Traveling the Desert
Location- Desert area (Oasis, Jaxi’s area, etc)
1- This one is tough because two birds can be found flying all throughout the Kingdom, but it’s often out of reach. There are two birds to capture for two Moons. I found the best place to try to get this Power Moon (Dessert Bird) was in the Oasis. You need to hit the bird with Cappy, which is not an easy thing to do…
2- Just go for Power Moons throughout the Kingdom and if the bird is nearby STOP EVERYTHING to try to hit it!…
3- Eventually you’ll hit it and get the Power Moon! (It was easier in Mario 64!)
22 – Bird Traveling the Wastes
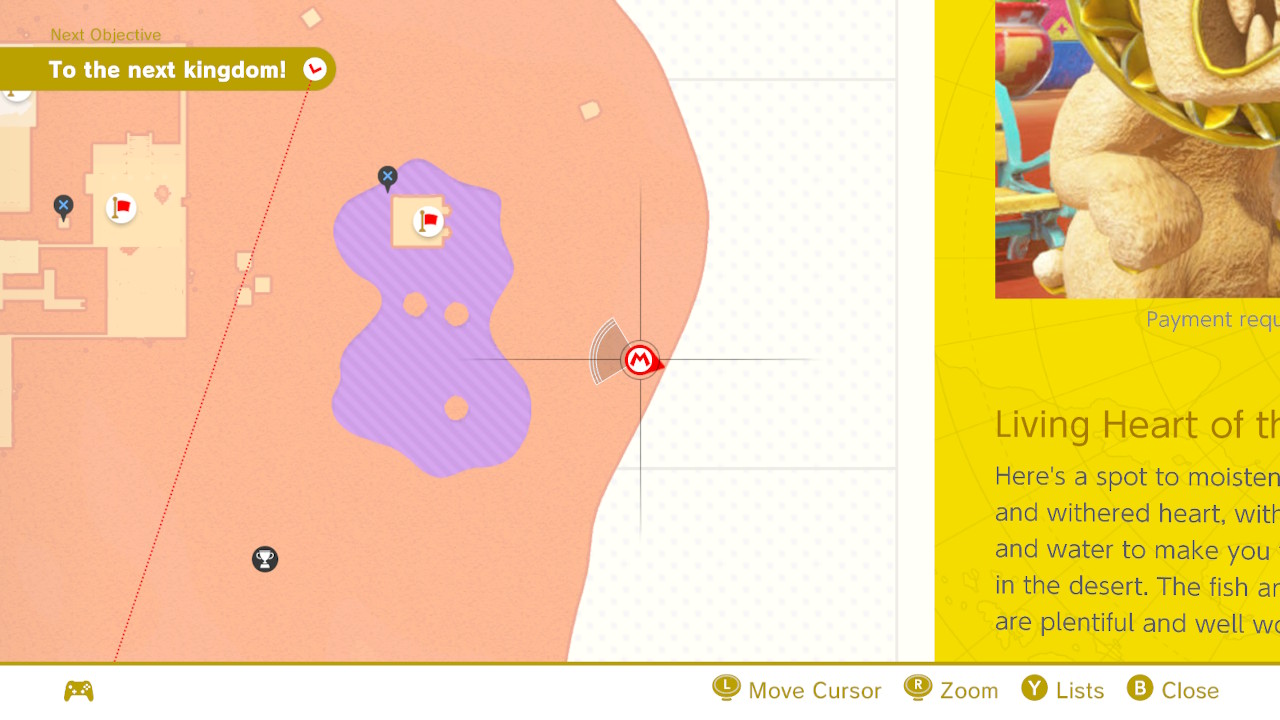
Location-
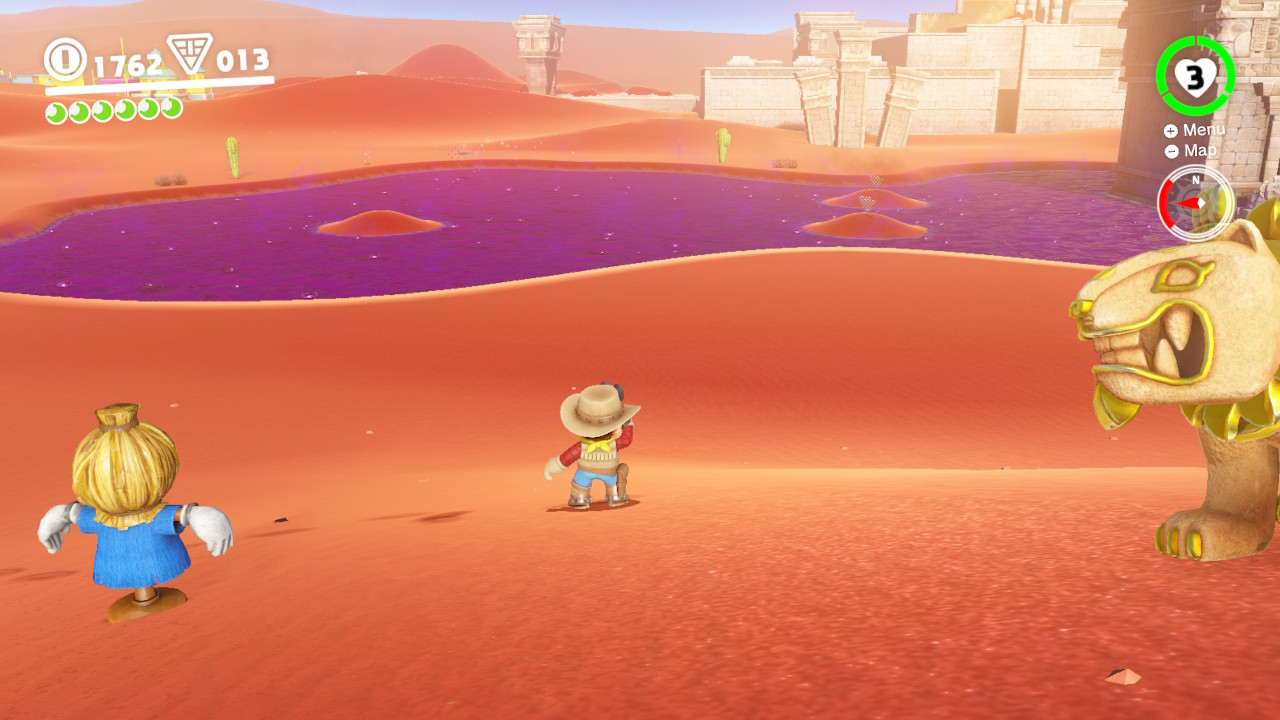
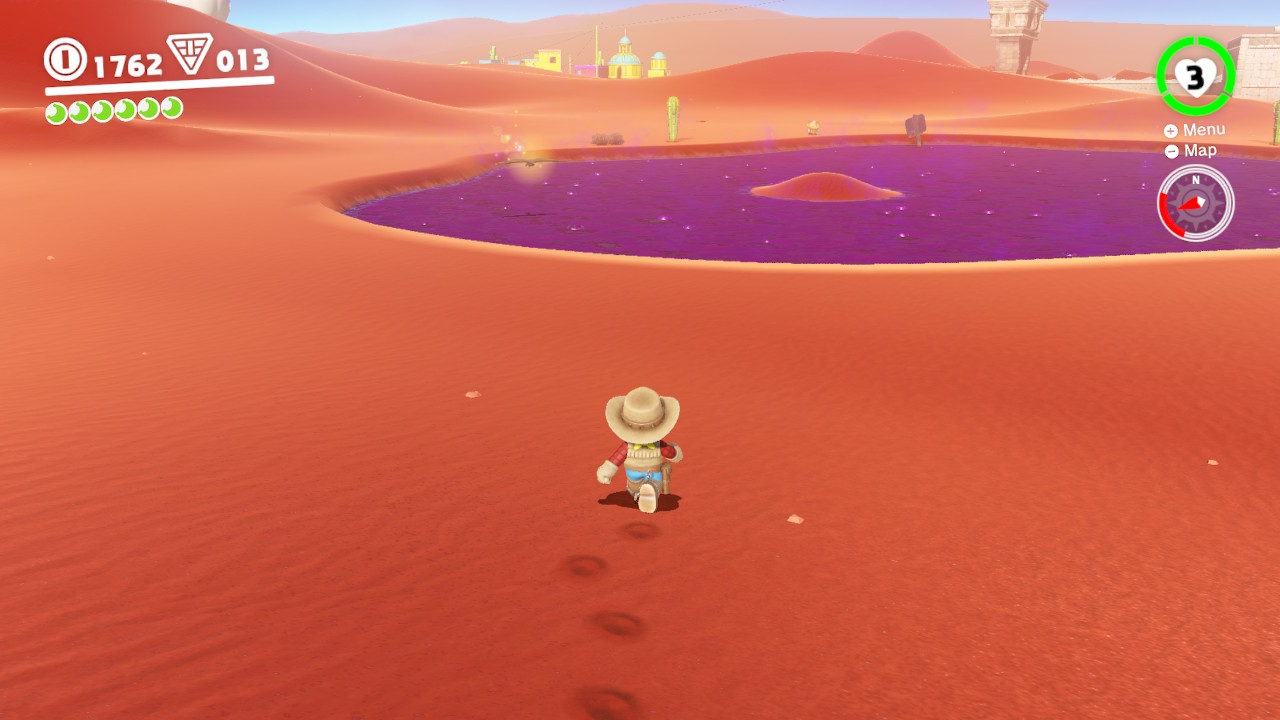
1- The second of the traveling birds, this one can be found flying above the poisonous waters, I found the best thing to do is wait in this spot…
2- It flies in a short circle around the poison, so ou don’t have to wait long at all…
3- Once he flies by, hit him with Cappy and he will drop a Power Moon!
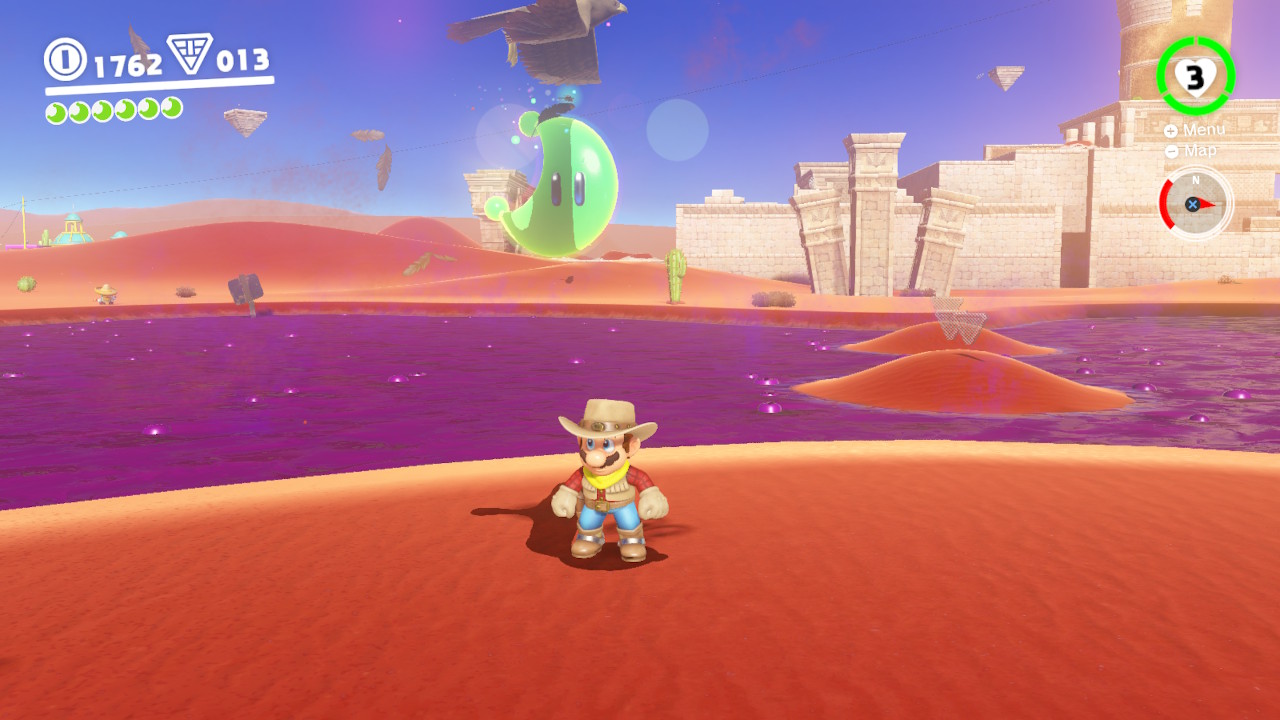
23 – The Lurker Under the Stone
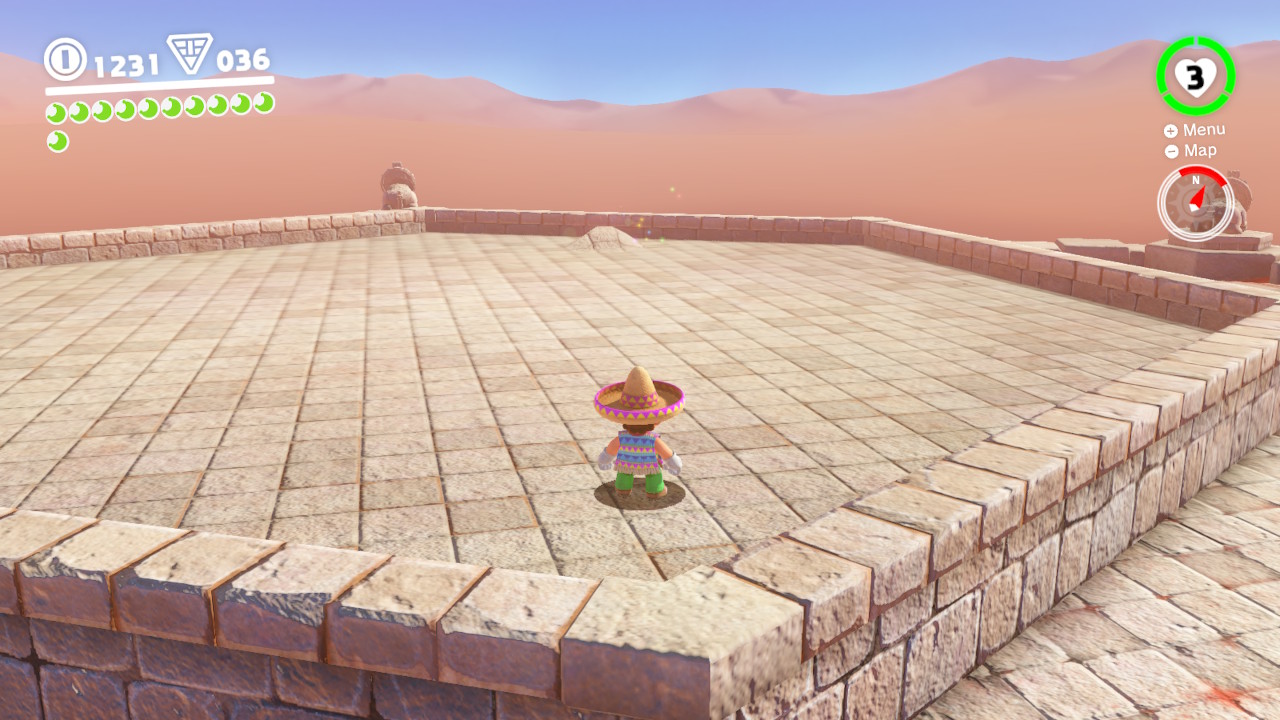
Location- On top of the Inverted Pyramid
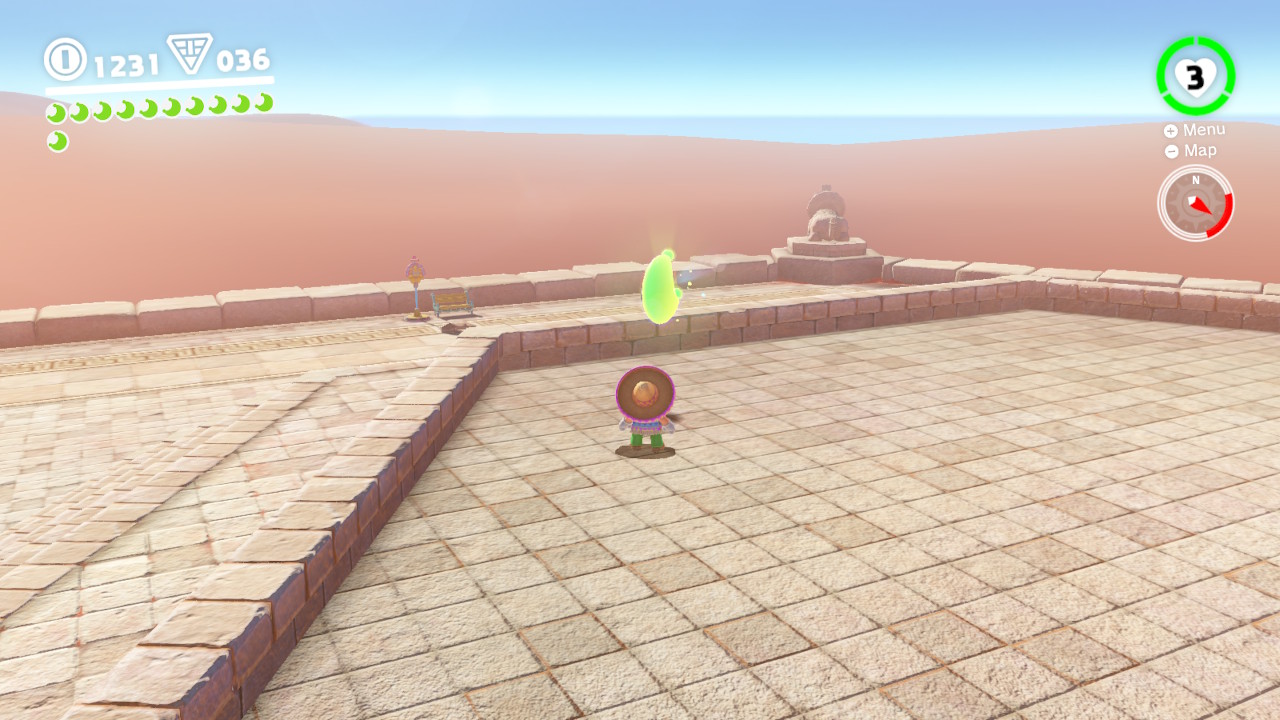
1- Get on top of the Pyramid by either using the checkpoint marker OR riding the electrical wires to the top. Once there, you will see a lump moving around beneath the surface…
2- Hit it with cappy and then ground pound it, hoozah!
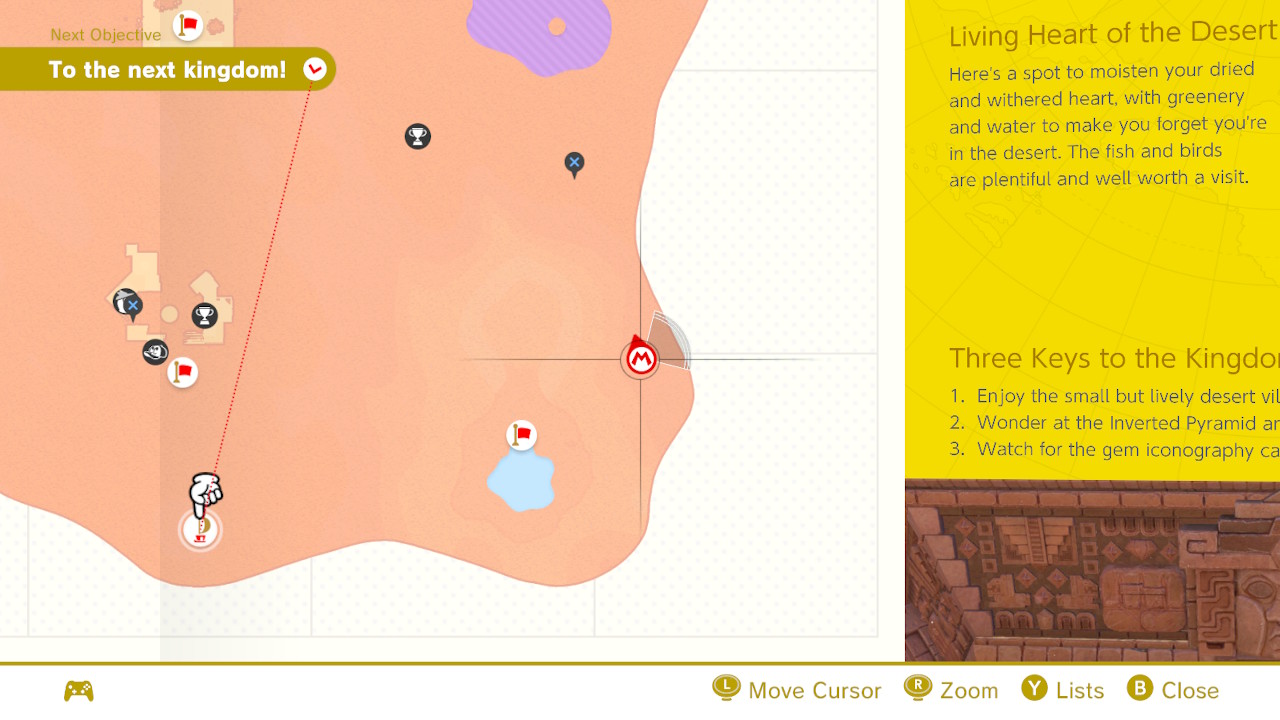
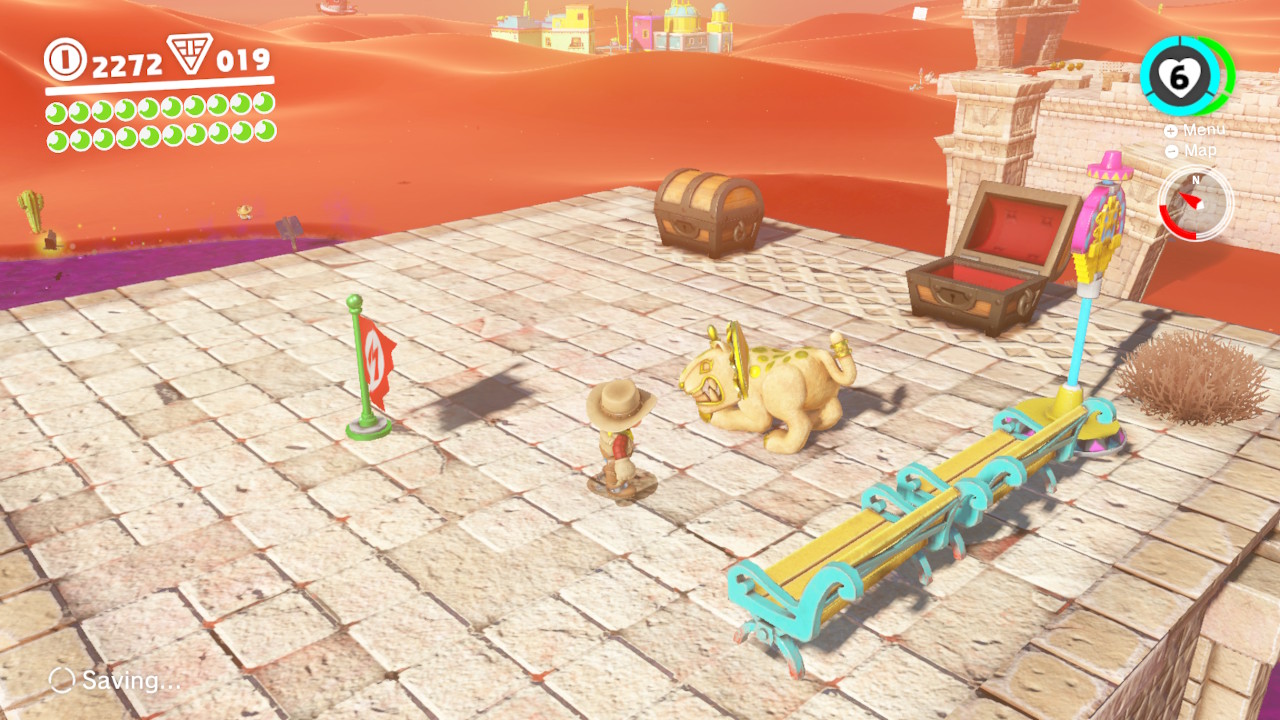
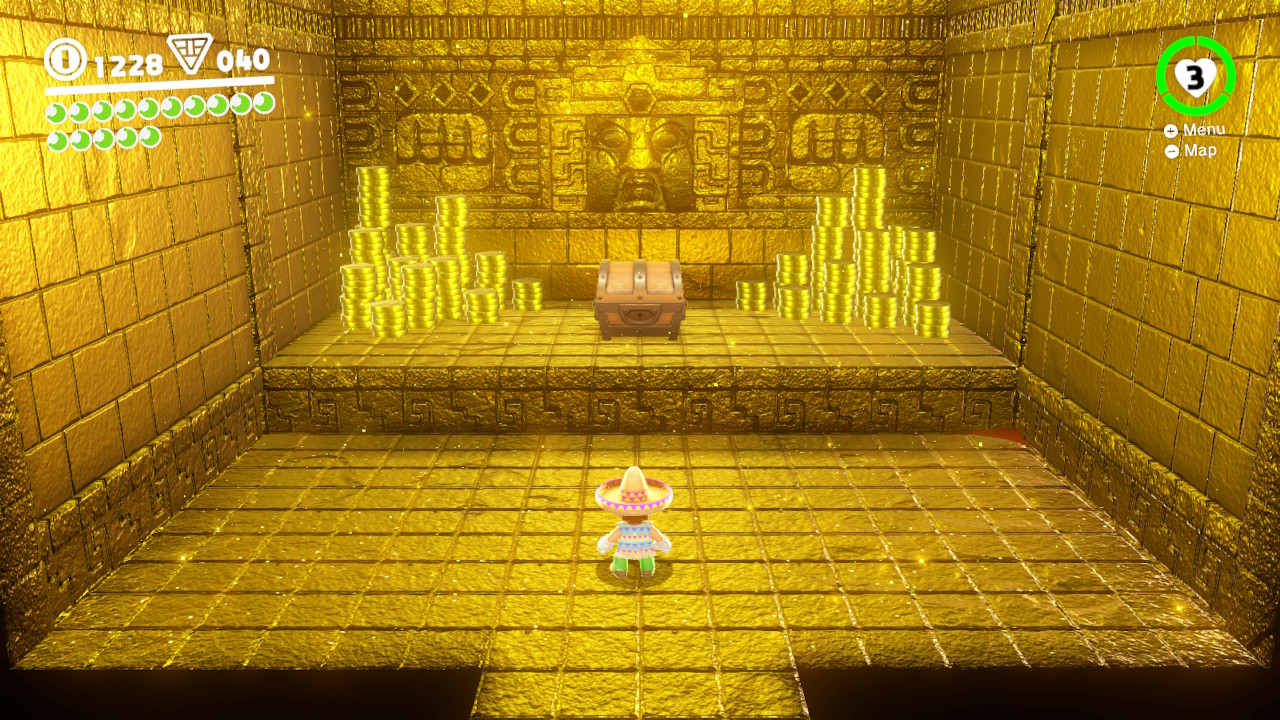
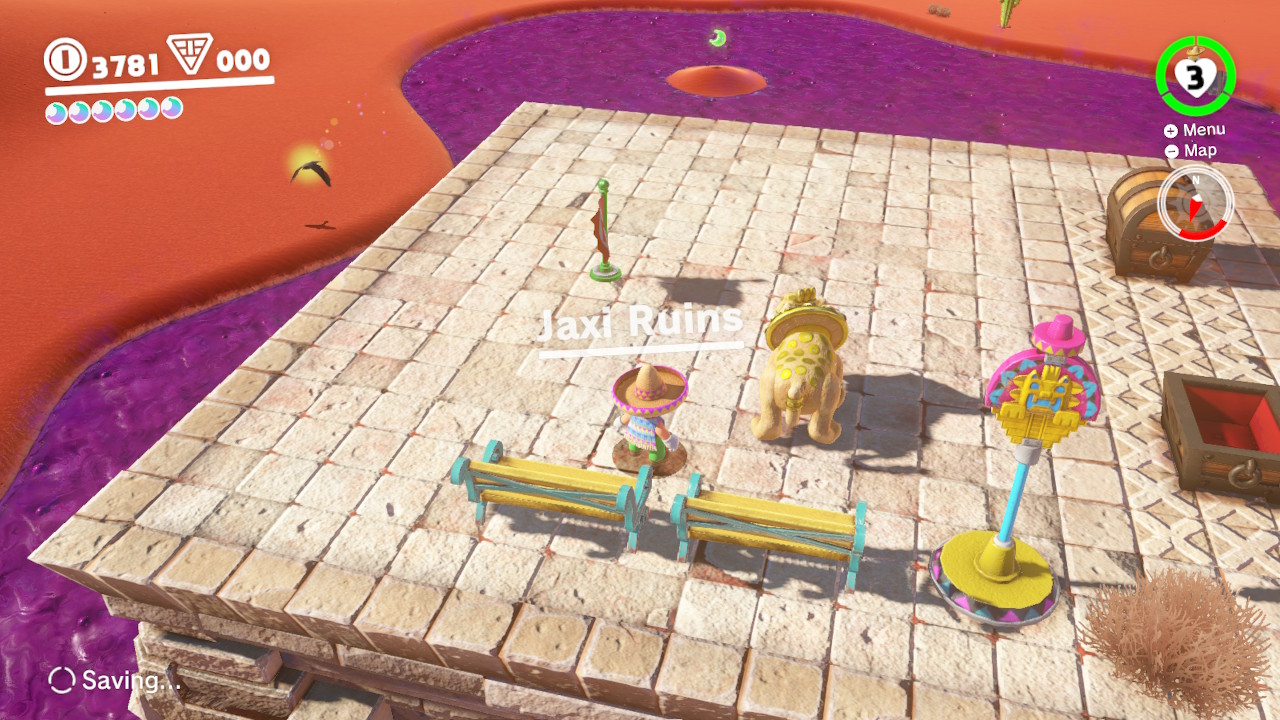
24 – The Treasure of Jaxi Ruins
Location- (Same as “Ice Cave Treasure”)
1- From inside the ruins, you will see a quick sand whirlpool…
2- Jump into the middle of the whirlpool, be careful not to actaully drown in the sand itself…
3- You will fall into an ice cave with a traditional Mario obstacle objective, go from point a to point b without falling…
4- Don’t slip on the ice, pick up the purple coins where you can, and avoid the crushing pillars…
5- Once you reach the end, you’ll go through a warp pipe and arive on top of “Jaxi’s Ruins”, the Power Moon is waiting for you inside the treasure chest!
25 – Desert Gardening: Plaza Seed
Location-
1- Right in downtown Tostarena, near the fountain, you will find three pots and one seed in front…
2- Throw the seed in one of the pots and wait…
3- And wait…
4- In time the plant will be fully grown and a Power Moon is inside! (Is this where they come from?!?!?!)
26 – Desert Gardening: Ruins Seed
Location-
1- On the right side of the ruins, inside an alley you will find a seed…
2- Take the seed back to the plaza in Tostarena where you will find three pots, throw it in one of them and wait…
3- And wait…
4- In time the plant will be fully grown and a Power Moon is inside! (Is this where they come from?!?!?!)
27 – Desert Gardening: Seed on the Cliff
Location-
1- On the cliffside off the edge you will see a seed…
2- Take the seed back to the plaza in Tostarena where you will find three pots, throw it in one of them and wait…
3- And wait…
4- In time the plant will be fully grown and a Power Moon is inside! (Is this where they come from?!?!?!)
28 – Sand Kingdom Timer Challenge 1
Location- Tostarena Northwest Reaches
1- On top of the structure at the Tostarena Northwest Reaches checkpoint, you will find a scarecrow…
2- Throw Cappy on the scarecrow and the obstacle course will appear…
3- Roll, wall jump, and long jump your way to the Power Moon!
29 – Sand Kingdom Timer Challenge 2
Location- Moe-eye habitat
1- From the moe-eye habitat you will see a “P” switch in between the pillars…
2- Hit the switch and a platform will appear, it will also dissapear in a moment so memorize the loaction…
3- Half-way through you will grab a key, which will allow the Power moon to appear, run all the way around without falling to snag the Power Moon!
30 – Sand Kingdom Timer Challenge 3
Location-
1- On the other side of the poisonous swampy area, you will find a scarecrow…
2- Throw Cappy at the scarecrow to allow the obstacle course to appear, this one is tough…
3- You’ll need to time your long-jumps perfectly all the way across to reach the Power Moon!
31 – Found in the Sand! Good Dog!
1- From the very front of Tostarena you will see an adorabe dog, go up to him and stand still for a moment, he will run off…
2- Chase after him and he will lead you to a Power Moon…
3- Ground pound the area he digs up for the Power Moon!
32 – Taking Notes: Jump on the Palm
Location- Desert Oasis
1- On top of the palm trees to the right of the lake, you should see a music note…
2- Climb the palm tree by either jumping from the dessert area or simply climbing the tree, hit the music note and more notes will appear…
3- Collect all the notes and the Power Moon is yours!
33 – Herding Sheep in the Dunes
Locaaaaaation- (Sheep Pun)
1- This guy lost his sheep and he needs our help! Thankfully all the sheep are close by…
2- The first sheep is 20 feet away…
3- Herd it by walking behind it and directing it back…
4- The second sheep is near the GIANT hole, herd it along as well…
5- And the last one is JUST above on the other side of the dune hill…
6- Bring them all back and the Power Moon is yours!
34 – Fishing in the Oasis
Location- Desert Oasis
1- In the Desert Oasis you will see a small body of water and a Lakitu…
2- Capture the Lakitu and start fishin’…
3- Look for the biggest fish silhouette and lower the rod…
4- Once he bites, reel him in and get your Power Moon!
35 – Love in the Heart of the Desert
Location- Tostarena Ruins Sand Pillar
1- From the “Tostarena Ruins Sand Pillar” checkpoint you will see a lady Goomba sightseeing the Ruins…
2- Towards the entrance of the Ruins you will see a bunch of Goombas…
3- Capture a Goomba and start “stacking” by jumping on other Goombas…
4- Stack them high and start heading towards the lady Goomba…
5- Dodge Bullet Bills and jump on flowers to reach her…
6- She is so amazed with your handsomeness that she gives you a Power Moon! (Now that I’ve thought of it, you may not NEED to stack the Goombas, one may be enough)
36 – Among the Five Cactuses
Location-
1- There are five curious cacti (cactuses? cacti?) right up against the cliff…
2- You’ll need Jaxi for this one, so bring him to this location from any of the spots you can pick him up (closest will probably be Tostarena Northwest Reaches)…
3- Smash into the MIDDLE CACTUS for the Power Moon!
37 – You’re Quite a Catch, Captain Toad!
Location- Desert Oasis
1- In the Desert Oasis you will see a small body of water and a Lakitu…
2- Capture the Lakitu…
3- Instead of fishing in the water, head towards the sandy area…
4- For some reason there are fish under the sand?…
5- Catch the largest fish aaand…..
6- Captain Toad pops out of the sand?!?!?! Yay Power Moon!
38 – Jaxi Reunion!
Location-
1- You will need Jaxi for this one ride him over to the other side of the Desert Oasis…
2- You will see a statue that looks like Jaxi with an empty slab of rock right in front of it…
3- Ride Jaxi onto that empty spot, he will be tahnkful that you brought him to see his family, we will give you a Power Moon!
39 – Welcome Back, Jaxi!
Location- On top of Inverted Pyramid
1- On top of the Inverted pyramid you should see Jaxi (I didn’t always see him here, so this may be a case of you needing to progress in the game to some degree for him to show up, not entirely sure)…
2- There are FIVE Jaxi looking statues on the pyramid, but there’s an empty spot where a SIXTH looks like there should be. This is where Jaxi used to be at one point. So ride Jaxi onto this spot (remember to use break to be able to steer him properly)…
3 Jaxi likes the moment of nostalgia, but his standing days are long gone! Which is great for us because he is a helpful friend. Speaking of which, he gives you another Power moon!
40 – Wandering Cactus
Location-
1- Just outside of the Desert Oasis you will see a peculiar looking cactus…
2- Use cappy to move teh Cactus. Now GROUND POUND the area that is all sparkly! Guess what is burried in the sand?!?!?
41 – Sand Quiz: Wonderful!
Location- Sphynx
1- We’ve talked to the Sphinx before for a Power Moon, but he’s got another one for us…
2- He is going to ask us a few more questions, we need to get them all right. After you guess correctly, just keep talking to him for more questions…
3- It costs 30 coins to ride Jaxi across the sands…
4- The traveler’s car was stuck in ice…
5- There are 5 Jinx statues on the Inverted Pyramid (normally 6 of them , but Jaxi is running wild)…
6- On the final question he will ask you what his name is. (Sorry I didn’t capture an image for this one) His name is SPHINX…..
7- Once you guess the final answer, Sphinx will reward you with a Power Moon!
42 – Shopping in Tostarena
Location –
1 – Go to the “Crazy Cap” store…
2 – When you get into the store, you will see a Power Moon for 100 coins! Buy it!
43 – Employees Only
Location-
1- There is a Power Moon behind the counter in Crazy Caps! But how do we get it? Outside and around the corner there is a crawlspace…
2- Crouch and crawl your way through it…
3- Once inside, you will have access to the Power Moon! Be sure to talk to the employees as well for a good laugh!
44 – Sand Kingdom Slots
Location –
1- Right in the downtown area within the right set of structures is a slots building…
2- Inside you can play a game of slots for 10 coins…
3- Line up three of any of the items and you will win, obviously the goal here is to get three Power Moons…
4- Throw Cappy a SPLIT SECOND before each the heart changes into the Moon and you should be good to go! Three in a row and it is yours!
45 – Walking the Desert!
Location –
1- Between the ruins and the Oasis you will see a friendly Koopa Troopa…
2- He will ask you to play a game… walk around on the line…
3- You need to score 80, but remember, the line will dissapear about halfway through…
4- Walk all the way around and stay touching the blue line, even when it disappears, and you will get the Power Moon!
46 – Hidden Room in the Inverted Pyramid
Location- Inside Inverted Pyramid
1- This one is one of the trikier to spot… You can get here from either going into the Inverted Pyriamid from the front, and then moving throughout the Pyramid’s obstacles. OR, and this is the better choice, just entering the doorway from the ROOF of the Inverted Pyramid. There are platforms that move across that you are supposed to dodge using the Bullet Bill. However there is a room hiding in-between the platforms and the wall… The next video shows this…
2- To get into the room, jump on the conveyor that the platforms are moving on…
3- The room is filled with SOOOO much money! And the Power Moon of course!
47 – Underground Treasure Chest
Location- Inside the Underground Temple
1- Progress through the Underground Temple as you normally would, however once you reach the Bullet Bill spot, you’ll need to go off path…
2- Capture the Bullet Bill and head to the right…
3- Around the pillar you will see some steps…
4- On top of the giant pillar is a bunch of coins…
5- But that’s not all! Walk across the catwalk and hit the invisible block…
6- Jump onto the next pillar and WOOOOHOOO a treasure chest with GUESS WHAT inside?!?!
48 – Goomba Tower Assembly
Location – Inside the Underground Temple
1- Use Cappy to capture the first Gooma you see, he’s just chilling by himself…
2- Follow the path and capture the tower of Goombas…
3- Use the tower to jump on top of the platform with the triple Goombas, capture the triple Goombas…
4- While still capturing the triple Goombas, JUMP ON TOP of the tower of Goombas to make an even BIGGER tower of Goombas… (Goombaception?)
5- Now go get the Power Moon that is dangling in the air 50 feet high!
49 – Under the Mummy’s Curse
Location- Deepest Underground
1- Drop into the “Deepest Underground”, which is where you had the big boss fight, by droping into the hole that is located on the map above…
2- Once down there, you will be attacked by a million little mummies! Find the green coin purse frog guy from Mario 64! Capture him with Cappy…
3- Now attack all the mummies with your coins…
4- When you kill them all, a Poer Moon will appear! And then more mummies pop up as well so RUUUUUN!
50 – Ice Cave Treasure
Location-
1- From inside the ruins, you will see a quick sand whirlpool…
2- Jump into the middle of the whirlpool, be careful not to actaully drown in the sand itself…
3- You will fall into an ice cave with a traditional Mario obstacle objective, however instead of going directly to the end (which you need to do for another Power Moon), you’ll need to do some tricky jumping at one point…
4- Instead of running directly under the giant crushing pillars (which again, you will need to do for another Power Moon), you need to wall jump inbetween the pillars to reach the top…
5- At the top, the Power Moon is waiting for you!
51 – Sphynx’s Treasure Vault
Location-
1- The large Sphinx sorta blends in at first because it’s hard to tell that it’s an actual living creature! Talk to him and he’ll ask you to answer a riddle…
2- The answer to the riddle is “THE RING”, Bowser wants the ring…
3- Once answered correctly, the Sphinx openes the door and the Power Moon is all yo…. LOOK AT ALL THAT MONEY!!!!
52 – A Rumble from the Sandy Floor
Location –
1- From the rooftops, you will see a warp pipe hidden between a couple roofs…
2- Go down the pipes and you will be greated by with a game…
3- You are tasked with finding the area that “rumbles” the most. I beleive it’s the same for everyone, if so just ground pound the area in this image.
53 – Dancing with New Friends
Location –
1- This one is located on teh backside of the village, facing the ruins. However the door is locked unless you are wearing the cool gear that the bouncer at the door requires…
2- You’ll need the poncho and the sombrero, both of which can be purchased at Crazy Caps in the front of town…
3- They aren’t too expensive (10 and 5 Purple coins)…
4- Put on the poncho and sombrero…
5- And now return to the locked door, the bouncer will let you in…
6- Once in, take center stage, dance, and play…
7- You made some new friends! (And earned yourslelf a Power Moon)
54 – The Invisible Maze
Location-
1- Hidden along side the cliff there is a gap in the ground…
2- Enter the hidden door…
3- With the help of Cappy, we can use the Moe-eye’s shades to spot out where to travel above the poison…
4- There are a total of three rooms…
5- Don’t die! Capture the Power Moon! Easy peasy!
55 – Skull Sign in the Transparent Maze
Location-
1- Hidden along side the cliff there is a gap in the ground…
2- Enter the hidden door…
3- With the help of Cappy, we can use the Moe-eye’s shades to spot out where to travel above the poison…
4- However, before we progress past the first room, throw Cappy at the Skull Sign!
5- Make sure to hold down the button so Cappy SPINS for a few moments, the Power Moon is yours!
56 – The Bullet Bill Maze: Break Through!
Location – Tostarena NorthWest Reaches
1 – Off the beaten path, the opposite direction of the inverted pyramid, there is a fortress of sorts…
2- Go that way and you will also get a checkpoint (Tostarena NorthWest Reaches) to be able to fast travel to that area…
3- Once inside, you will see poiness waters and a Bullet Bill, capture the Bullet Bill and navigate through the holes…
4- Whenever you have footing below you, switch out of the Bullet Bill and get ready to capture the next one…
5- Avoid the obstacles and use the accleration ONLY when you have a straight away…
6- You made it!
57 – The Bullet Bill Maze: Side Path
Location – Tostarena NorthWest Reaches
1 – This Power Moon is in the exact same location as Bullet Bill Maze: Break Through!, so see the ABOVE INSTRUCTIONS for how to get here. Instead of flying straight after capturing the SECOND Bullet Bill, hug the left side and go through the opening…
2- Circle around carefully and the Power Moon will be waiting for you!
58 – Jaxi Driver
1- Before being able to do this mission you will need to have found “Jaxi”, the Jaguar Taxi Sphinx (because you know, Nintendo!). To do this you will need to complete “The Treasure of Jaxi Ruins”, which you can find directly above. Once that one is completed, talk to Jaxi once and then you can find him throughout the Sand Kingdom to ride him around for 30 coins.
2- Once you pay for a Jaxi ride, you can use him to go through the hole in the pillar that is DIRECTLY BELOW where you find Jaxi initially…
3- Go down into the abyss….
4- Once you’re down, you will notice a crazy Jaxi course of death…
5- Ride Jaxi, stay on course, try to get the purple coins! There’s also a hidden additional Power Moon down here, you’ll see it below…
6- Don’t forget to use break (“B” button) as often as possible, it’ll save your life around tight corners…
7- With unlitmied lives, don’t worry if you fall a bunch (I did)…
8- You did it!
59 – Jaxi Stunt Driving
1- Before being able to do this mission you will need to have found “Jaxi”, the Jaguar Taxi Sphinx (because you know, Nintendo!). To do this you will need to complete “The Treasure of Jaxi Ruins”, which you can find directly above. Once that one is completed, talk to Jaxi once and then you can find him throughout the Sand Kingdom to ride him around for 30 coins.
2- Once you pay for a Jaxi ride, you can use him to go through the hole in the pillar that is DIRECTLY BELOW where you find Jaxi initially…
3- Go down into the abyss….
4- Once you’re down, you will notice a crazy Jaxi course of death… (deja vu?)
5- About halfway through the course you will see a big opening with a platform Mario can jump on in the middle, to the left you will see a music note! Hit the music note and a million more music notes will pop up! Hit them all to reveal….
6- The Jaxi Stunt Driving Power Moon!
60 – Strange Neighborhood
Location – On the rooftops, above the slots building
1- Climb onto the rooftop by jumping, using the flowers, electrical wires, etc. You will see a rocket ship…
2- Cappy the rocket ship and BLAST OFF….
3- You will land in a strange obsticle course where you need to get to the end WITHOUT the help of Cappy….
4- Time your jumps, collect purple coins along the way…
5- And don’t die! And you’ve done it! Congrats!
61 – Above a Strange Neighborhood
Location – SAME AS “Strange Neighborhood”, it is hidden within this level
1- Climb onto the rooftop by jumping, using the flowers, electrical wires, etc. You will see a rocket ship…
2- Cappy the rocket ship and BLAST OFF….
3- You will land in a strange obsticle course where you need to get to the end WITHOUT the help of Cappy….
4- This time, about half way through you will see some blocks and a question block. Jump on TOP of these, on TOP of the next block, and….
5- BAM! There’s a Power Moon hiding up there!
These next few Power Moons can only be obtained once you’ve progressed further and or beaten the game
62 – Secret Path to Tostarena!
Location- Southwestern Floating Island
1- This is a “painting” moon. The only way to get this Power Moon is by jumping into a painting from ANOTHER kingdom. This is also random for every playthrough. The paintings will be in the same place for everyone, but where the painting leads is random. For me, as you can see in the image, the Wooded Kingdom painting took me here…
2- Once you jump into painting it will take you to another kingdom, in this case, The Sand Kingdom…
3- There will also be checkpoints in these areas so you can warp to these spots from other locations in the Kingdom as well! And every one of these rewards you with a Power Moon!
63 – Found with Sand Kingdom Art
Location-
1- In Tostarena there is a poster with “Hint Art” plastered on the wall…
2- “Hint Art” Power Moons are a bit tricky and confusing. The “Hint Art” shows were a Power Moon is hidden IN ANOTHER KINGDOM. However, even though the Power Moon is found elsewhere, it still counts as a Power Moon from where the “Hint Art” came from.
3- In this case, the “Hint Art” is telling us to go to “Bowser’s Kingdom”…
4- Once in Bowser’s Kingdom, fast travel to the checkpoint where you find Crazy Caps…
5- Here you may notice the resemblence to the “Hint Art” from the Sand Kingdom…
5- Ground pound the “6th” rock from the shop and the “3rd” rock from the checkpoint! The Power Moon is yours! remember, it counts towards the Sand Kingdom!
64 – Jammin’ in the Sand Kingdom
Location-
1- Toad is hanging out on the rooftops of downtown Tostarena jammin’ out…
2- Talk to him and he’ll ask you to play a song; he wants something with the theme of “Memories of a tough battle”…
3- Once the song list pops up, select the tune “Cookatiel Battle”…
4- That’s EXACTLY the song he was looking for! Toad will excitedly reward with with a Power Moon!
65 – Hat-and Seek: In the Sand
Location-
1- Right next to Crazy caps is an popsicle stand with a long line…
2- On top of one of the customers is a “Bonneton” disguised as a sombrero! Talk to him and he’ll give you a Power Moon to stay hush-hush about his secret!
66 – Sand Kingdom Regular Cup
Location- Tostarena Northwest Reaches
1- From the “Tostarena Northwest Reaches” checkpoint you will see a Koopa getting ready for a race…
2- Talk with him to start the freerunning race…
3- You’ll need to race from here all the way to the other side of Tostarena…
4- You will start on the roof, jump down and jump on the Jaxi for gigantic boost of speed…
5- Reach the finish in first place and your reward is a Power Moon!
67 – Binding Ban Returned
Location-
1- Now that you’ve beaten the game, all of the iconic memories for each Kingdom have been returned! Jump down the hole to check it out…
2- Use the slingshot to launch upwards…
3- Up here you will find a whole bunch of tourists checking out the gigantic ring…
4- Ground pound the top of the ring (don’t worry, it’s diamond, it won’t crack) and a Power Moon will appear!
68 – Round-the-World Tourist
Location-
1- This Power Moon takes quite a few steps. This “Desert Wanderer” has been touring the world with the help of his taxi driver. But to make him appear HERE again you will need to visit him in all the locations that he visits. You need to find him and talk to him in the Metro Kingdom, Cascade Kingdom, Luncheon Kingdom, Moon Kingdom, and lastly the Mushroom Kingdom. Once you meet up with him in all of these areas he will return back home…
2- Once he’s traveled the world and returned home, talk to him and he will give you a Power Moon!
69 – Peach in the Sand Kingdom
Location-
1- Now that Peach is free from Boswer’s grasp, she is sight-seeing the world…
2- In the Sand Kingdom she is checking out the view from on top of the Inverted Pyramid. Talk with her and she will give you a Power Moon!
SPOILER ALERT!
The remaining Power Moons can only be found in the “End Game” portion of Mario Odyssey!
– Now that you’ve beaten the game, these mysterious Moon Rocks can be BUSTED open! In doing so, MORE Power Moons will spread throughout the Kingdom!
– You can see the Moon Rock from in front of downtown Tostarena, it is in the sand dunes to the left!
– Break open the Moon Rock to spread 20 more Power Moons throughout the Sand Kingdom!
70 – Mighty Leap from the Palm Tree!
Location- Desert Oasis
1- From the “Desert Oasis” checkpoint, if you look directly above you will see a Power Moon above the palm tree…
2- Climb the Palm Tree and jump high (Backflip, ground pound jump, etc.) to grab the Power Moon!
71 – On the North Pillar
Location-
1- Above the northmost pillar there is a Power Moon dangling in the air…
2- perhaps it is reachable with a skillful jump, but the easier rout is to go on top of the building right next to the “Tostarena Northwest Reaches” checkpoint…
3- From there, jump onto the electrical wire and start riding the wire towards the Power Moon…
4- Drop down at the PERFECT time to land on the Power Moon! (Check out the video to see how it’s done)
72 – Into the Flowing Sands
Location-
1- Right next to the lone Bullet Bill in the Tostarena Ruins you can see a Power Moon below on top of the sandfall (sand waterfall? sanderfall?)…
2- As soon as you tough this fast-flowing sand you will slide downward, so drop on top of it from this vantage point and you’ll snag it easily!
73 – In the Skies Above the Canyon
Location-
1- Start off on the “Tostarena Ruins Round Tower” checkpoint…
2- Jump on the platform to make it move, wait til you reach the Power Moon and you can grap it!
74 – Island in the Poison Swamp
Location-
1- Start from the “Jaxi Ruins” checkpoint. The Power Moon is surrounded by poison so you’ll need Jaxi for this one…
2- Jump on Jaxi (enjoy the music) and ride to the Power Moon! (Then give Jaxi a high rating on Uber)
75 – An Invisible Gleam
Location-
1- This Power Moon is up on one of the pillars at “Moe-Eye Habitat”…
2- Ride the lift to the top, then on top of the BACK MIDDLE pillar you will find the area of the Power Moon. Ground pound this spot (which will be rumbling and also have a shiny glimmar to it) and the Power Moon is yours! (To be honest the name of this Power Moon confuses me… How can something that is Invisible Gleam? Wouldn’t it be visible if it is gleaming?? oh well…)
76 – On the Eastern Pillar
Location-
1- Allright, time for perhaps the trickest Power Moon in all of the Sand Kingdom! On top of this pillar is a mysterious block, the only way to blow this block open is with a Bullet Bill…
2- You’ll want to head over to the “Tostarena Ruins Sand Pillar” checkpoint and drop down below where unlimited Bullet Bills spawn…
3- You’ll need to catch a Bullet Bill from THIS pillar, because the Bullet Bill is timed and will blow up before you make it to the Power Moon if you capture one any closer.
4- You will then need to accelerate AND shake your controller/joy-con for extra boosts to make it to the pillar with the block… It isn’t easy at all. Watch the video below, hopefully it helps…
5- So get a Bullet Bills attention, jump to the pillar, THEN capture it, and finally ACCERATE AND BOOST your way to the Eastern Pillar!!
77 – Caught Hopping in the Desert!
Location-
1- In the dessert that is left of downtown Tostarena you will find THREE rabbits…
2- You do not HAVE to catch all three, because only one of them is holding the Power Moon…
3- BUT, you don’t know which one it is…
4- So you may end up needing to catch all three after. Just catch one, and if it doesn’t give you a Power Moon, move onto the next! Eventaully the Power Moon will be yours!
78 – Poster Cleanup
Location-
1- Right around the corner of the “Tostarena Northwest Reaches” building you will find a distressed Tostarenan…
2- Someone put up hideous Bowser posters all over the wall!…
3- Clean them all up by throwing Cappy at them and the Tostarenan will give you a Power Moon!
79 – Taking Notes: Running Down
Location-
1- In the desert west of downtown Tostarena is a music note…
2- It’s not easy to snag them all on foot, perhaps it’s possible, but I found it easier to use Jaxi…
3- Use the break to slide into place and then just rush forward and you can grab them all…
4- Check out this video to see how it is done!
80 – Taking Notes: In the Wall Painting
Location-
1- Just below the “Tosarena Ruins Round Tower” checkpoint is an 8-bit warp pipe…
2- Crawl into the pipe and part-way through you will see a music note…
3- Grap all the notes in time and the 8-bit Power Moon is yours!
81 – Love at the Edge of the Desert
Location-
1- Waaaaay out in the northmost edge of Tostarena is Goombette (a lady Goomba) looking for love…
2- You’ll have to head all the way back to the “Tostarena Ruins Entrance” checkpoint…
3- From here, capture a Goomba and start your trek across the desert…
4- It’s a LOOOONG walk…
5- When you finally reach Goombette, she will give you a Power Moon!
82 – More Walking in the Desert!
Location-
1- If you loved the adrenline-filled rush of walking in a giant circle the first time, get ready for round two!!!…
2- Talk to the KoopaTroopa and he’ll tell you that you need to score at least 90 points… (last time it was 80)
3- Stay on course, remember the lines disappear about half way through…
4- Here’s a video to give a good idea of the path and speed you should take, just use the first half to get the angle and then HOLD that angle the whole way through!
83 – Sand Kingdom Master Cup
Location- Tostarena Northwest Reaches
1- Travel to the “Tostarena Northwest Reaches” checkpoint, a Goomba is there ready to race…
2- The freerunning race asks you to make it all the way to the front of downtown Tostarena…
3- You’ll start on top of the building, just jump down and jump on Jaxi…
4- Ride him all the way to the finish, the koopa is quite fast as well so you’ll have to get first place by timing around 36 seconds or faster! Good luck!
84 – Where the Transparent Platforms End
Location-
1- After you bust open the Moon Rock, this Moon Rock Warp Pipe will appear right in front of the Tostarena Plaza area, you can’t miss it…
2- Inside is a Moe-Eye and a difficult obstacle course…
3- Capture the Moe-Eye and use his “shades” to see where the invisible platforms are…
4- You’ll have to swap back and forth between using the shades and taking them off because the Moe-Eye moves slowly when the shades are on, and some points you will need to run…
5- At the end of the Moe-Eye maze is your Power Moon!
85 – Jump Onto the Transparent Lift
Location- Same as “Where the Transparent Platforms End”
1- After you bust open the Moon Rock, this Moon Rock Warp Pipe will appear right in front of the Tostarena Plaza area, you can’t miss it…
2- Inside is a Moe-Eye and a difficult obstacle course. You’ll need to capture the Moe-Eye and use his “shades” to see where the invisible platforms are…
3- But instead of progressing forward, right away look down and you will see a key…
4- Drop down on the invisible platform and it will start to move you towards the key…
5- It’ll run you right into the key and back up on the platform where the Power Moon has now appeared! (Check out the video below to show exactly how it’s done)
86 – Colossal Ruins: Dash! Jump!
Location- Tostarena Ruins Entrance
1- Directly in front of the “Tostarena Ruins Entrance” checkpoint is a new Moon Rock Warp Pipe…
2- Inside is a GIANT wall running course with the help of the dash flowers…
3- Throw Cappy at every flower you see to maintain your speed and reach the Power Moon at the end before the whole thing calapses! (There’s also an aditional secret Power Moon in here, scroll down to see how to get it AND a video that shows me capturing BOTH Power Moons)
87 – Sinking Colossal Ruins:
Hurry!
Location- Tostarena Ruins Entrance
1- Directly in front of the “Tostarena Ruins Entrance” checkpoint is a new Moon Rock Warp Pipe…
2- Inside is a GIANT wall running course with the help of the dash flowers…
3- But there’s also a secret additioanl Power Moon in here, you’ll need to snag this key to get it…
4- You’ll need to hug the bottom edge and jump over the gaps. Check out this video to see the path you need to take!
88 – Through the Freezing Waterway
Location-
1- A new Moon Rock Warp Pipe has appeared underneath and to the east of the Inverted Pyramid…
2- Inside is a maze filled with poison and freezing waters…
3- Capture a Gushen and start dashing through, be careful not to touch the poison…
4- The last dash is a bit tricky, you’ll need to dash to the right, up, and back to the left without touching the ground! (Here’s a video to show you how it is done)
89 – Freezing Waterway: Hidden Room
Location- Same as “Through the Freezing Waterway”
1- A new Moon Rock Warp Pipe has appeared underneath and to the east of the Inverted Pyramid…
2- Inside is a maze filled with poison and freezing waters. you’ll need to capture a Gushen and work your way through the treacherous waterways…
3- A few moments into the labyrinth, if you look upwards you will notice a secret path…
4- It’s a bit tricky navigating through without touhing the poison. This video should show how to make it to the end and reach the secret Power Moon!
Of all the genres that have been reborn thanks to the rise of Indies, adventure (and specifically the walking simulator) games perhaps have it better than any. Specifically, story-based adventure games have been resurrected, and I’m personally thrilled about that. There’s something special about being sucked into the world of a game with great storytelling and atmospheric design. Gameplay usually takes a back seat, but that’s okay, it’s nice to play a game where I can sit back a little bit and focus more on the narrative. However, the gameplay still needs to hold up. Pacing is still important. Maneuvering throughout the world and exploring needs to be fun. There’s a delicate balance between a game working as an adventure game and wondering if it should have just been a book. Oxenfree walks this line dangerously at some points. However, the mysterious story and solid writing carries the game, and it’s an experience I won’t soon forget.
Oxenfree follows a group of teens on a rebellious night gone terribly wrong. The story is ambiguous, clever, and intriguing. I won’t get into any details because, in a game like this, any small element can be a bit spoilery. Every line spoken by the characters, every plot twist should be experienced personally be each player. So I won’t mention a single specific story element. What I will say is that the scary cryptic story is written well when compared to most video games.
And that’s the point here. I’m a pretty big critic when it comes to video game writing. There are a few games out there, like the Uncharted series for example, with phenomenal writing no matter what it is compared to. But for the most part, I’m afraid my beloved video game industry is kind of behind. I believe that most of the games that have reputations of fantastic writing really only have average writing compared to books, tv, and movies. And a video game with average writing when compared to its counterparts has below average writing compared to the other entertainment mediums. There are exceptions of course. I loved what CD Project RED did with The Witcher 3. Firewatch had a phenomenal script between Henry and Delilah. I’m only harsh on video game writing because I’m passionate about the industry and I want it to improve and grow.
The scripting, writing, and voice-acting in Oxenfree aren’t perfect, but it’s a step in the right direction. There are moments where the characters lines are pretty cringe-worthy, but other instances where the fantastic storytelling swept me away. That sort of sums up the game in general. Some moments wowed me and others bored me. The pacing is off. The game often ramped up to what seemed like an enormous moment, only to slow down seconds later as my adrenaline was still pumping. I won’t spoil anything here, but there are multiple heart-pounding, spine-tingling moments.
All the characters have their own personality and feel. Alex is rebellious. Clarissa is a jerk. Ren is a bit kooky. Etc. Everyone feels very real and relatable. And there is an intertwining backstory for the gang that I learned about as the game progressed. The most positive attributes of the game are in the character development and storytelling.
The island that the game takes place on is a character itself. It is fascinating, dark, shadowy. It’s just not fun to walk around in. I couldn’t help thinking that I wished this game was a short animated feature or that the walking around was replaced with cutscenes. Many “walking simulators” or adventure games struggle to find gameplay that is genuinely fun. Sadly, Oxenfree is one of those titles. There is an overwhelming sense of uncertainty that carries the game’s gameplay and story. Probably for a bit too long, however, at about 5 hours I would have preferred the game ended an hour before it actually did.
As soon as I finished the game I jumped online to see the various multiple endings. Based on how I interacted with the characters and the decisions I made, some pretty big changes can occur. This aspect of storytelling is something that only games can do, and I loved how Oxenfree handled it.
The sound design and music in Oxenfree are top notch, helping to push the game forward with a truly eerie atmosphere. Visually it has a unique art style that I don’t personally love, but I can see the appeal.
Oxenfree’s characters and storytelling are wonderful. I was genuinely on the edge of my seat at moments throughout the game. However, there is an inconsistency with the writing that is a bit disappointing, with some eye-rolling one-liners and a heavy reliance on “cliché” character types. That being said, when Oxenfree is at its best, it has an 80’s Spielberg feel to it that I really dig.